1.6 gti rescue resto pic heavy the world's longest project
Posted
Old Timer

Looking good!
Posted
Settling In

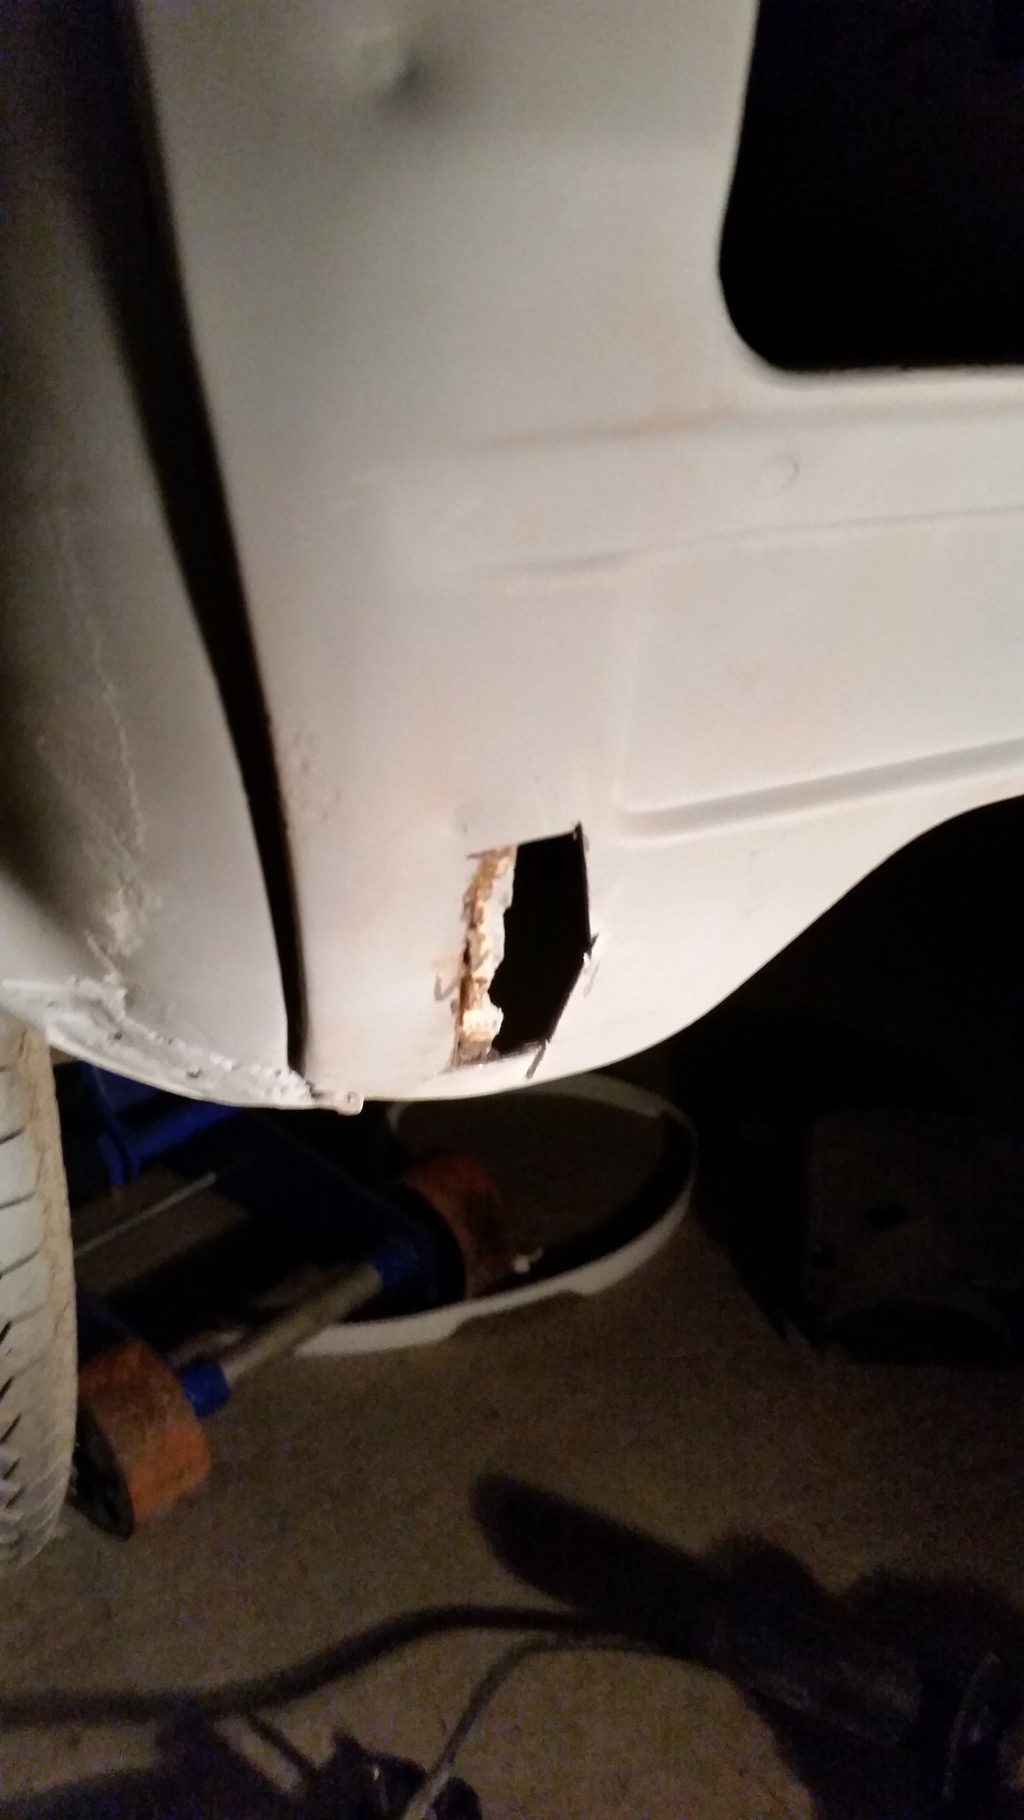
And underneath I found this mesh used to bridge holes with filler
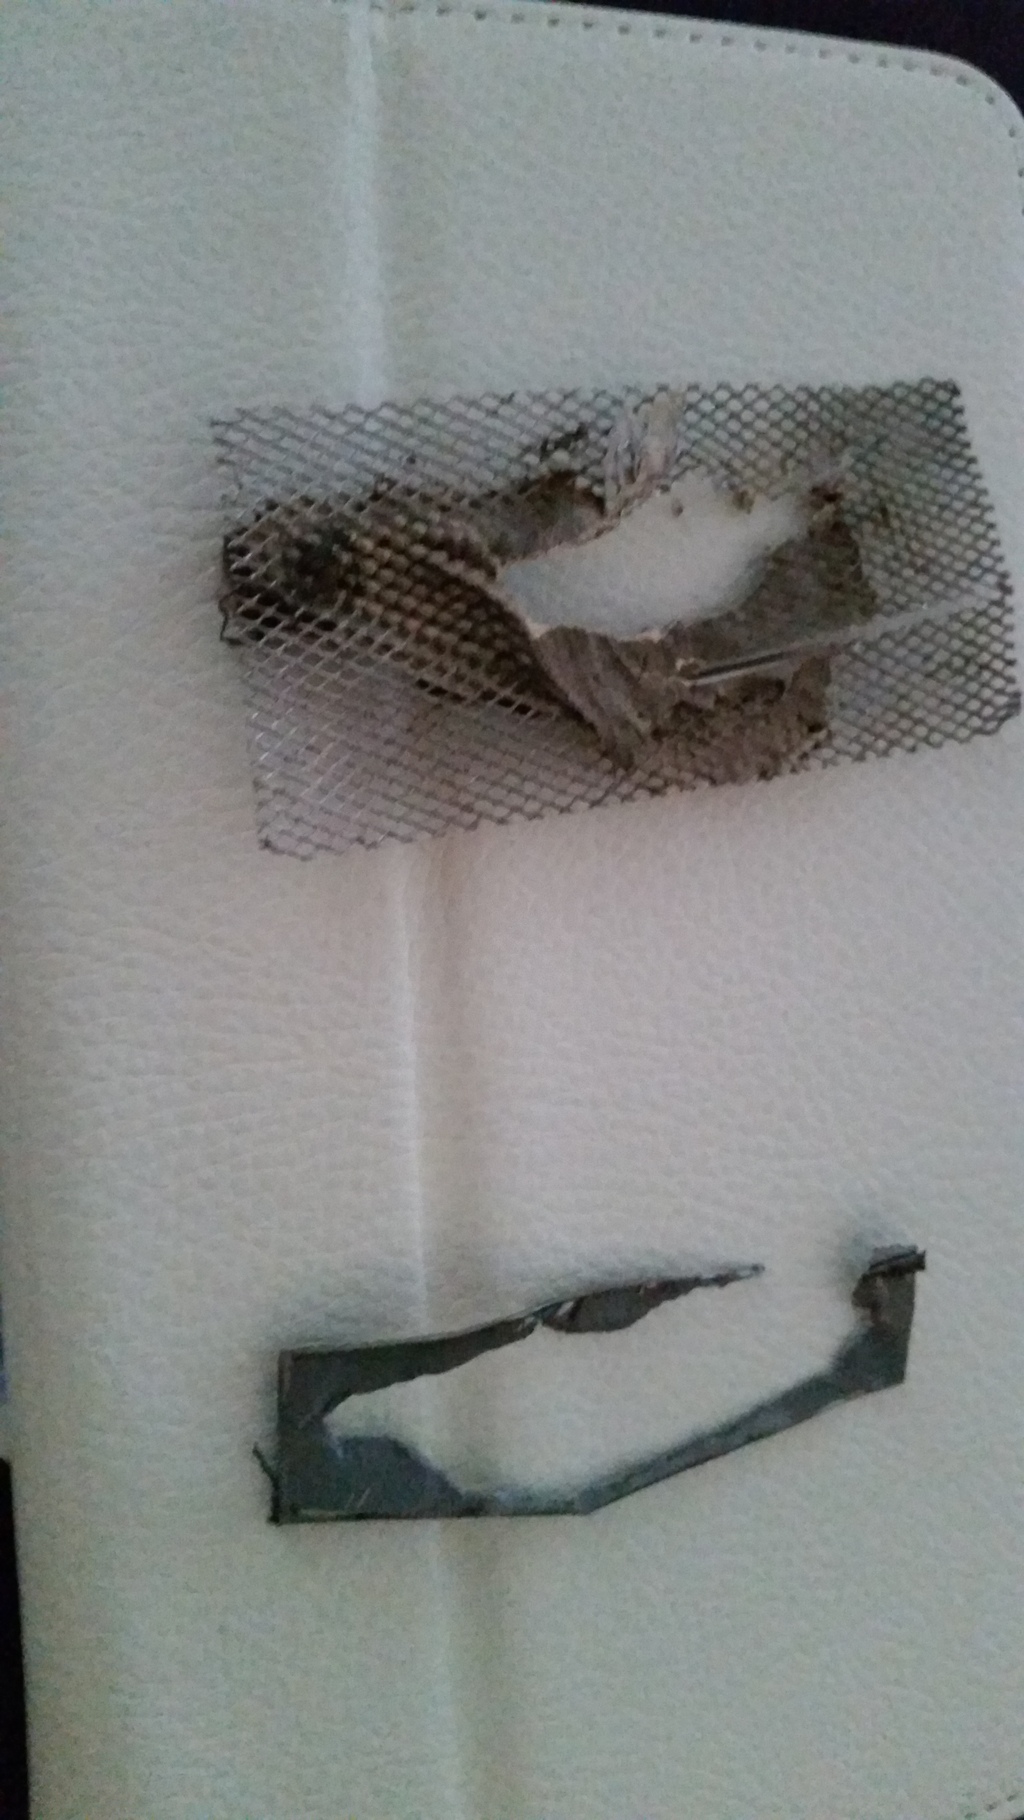
not the best way to filler holes "/ anyway after I got a massive sheet of zintec for a bargain £10 I decided to chop a piece out and use the old piece I cut out as a template to form the new patch
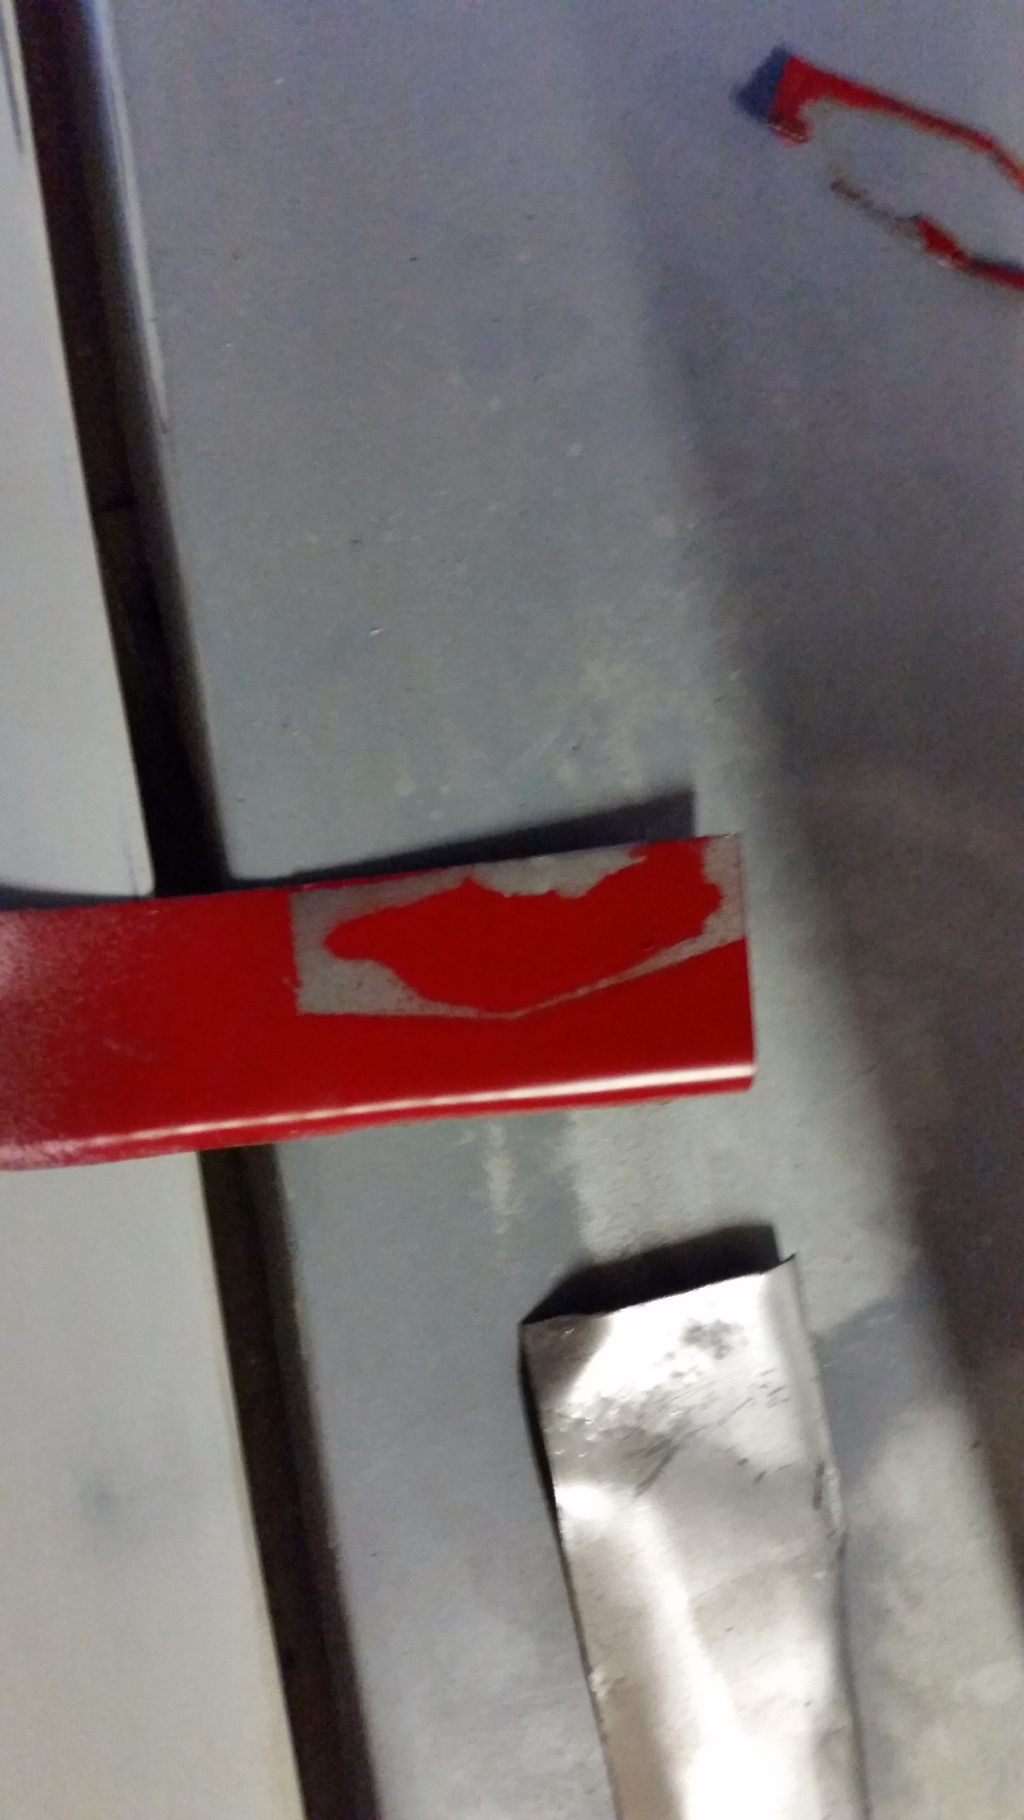
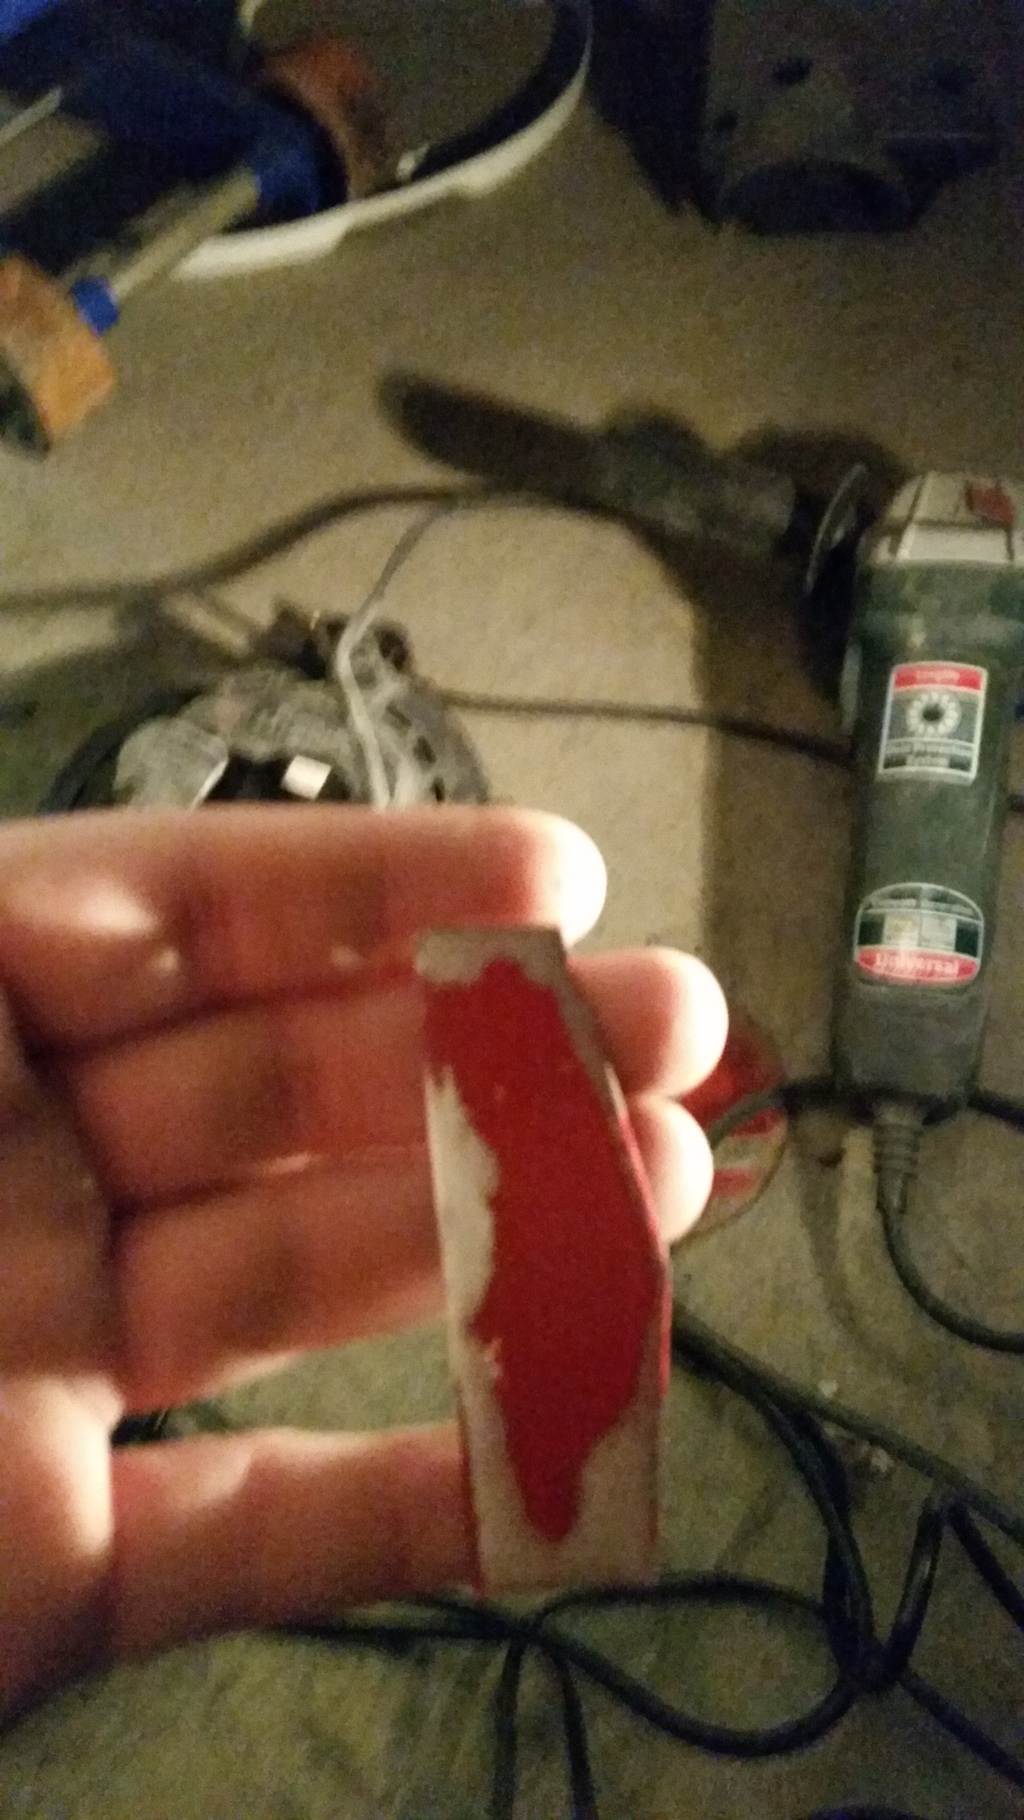
after that I checked it fit and dug out the welder to make it permanent
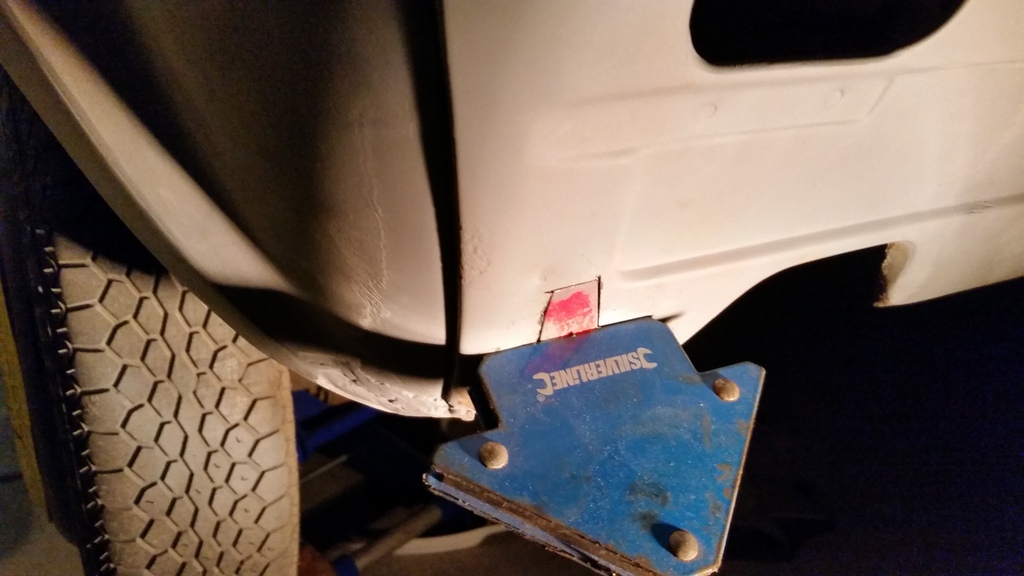
after the test fit I clean all the paint off surrounding the hole and then had a massive headache with wire feed issues on the welder, after taking it apart and putting it back together 3 times it still starts welding like all will be good then sticks and creates a mess so this will need more investigation, shame really as the last time I used it the welds looked like this
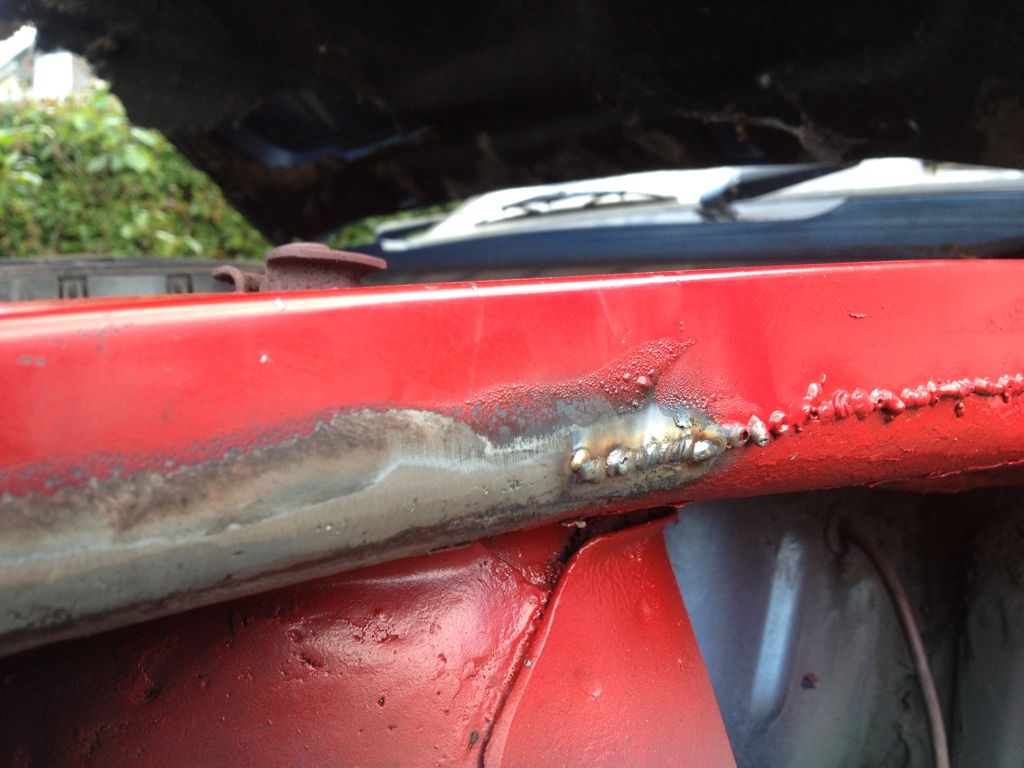
the left side here had already been dressed, until I get the welder sorted tomorrow that's all I'm afraid, as always comments and suggestions welcome, James
Posted
Old Timer


Posted
Settling In

So after my success with the welder I decided to weld the hole up,
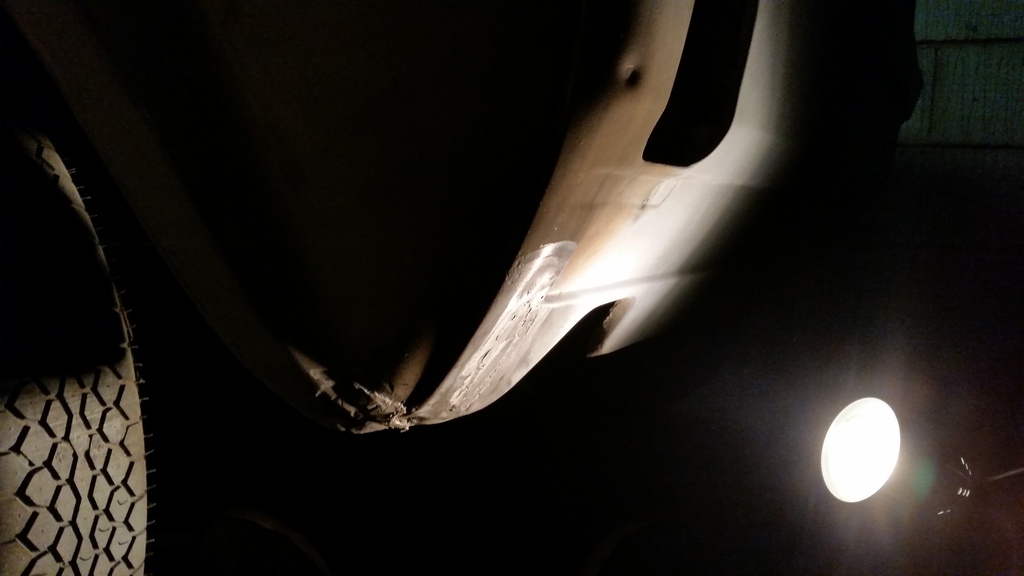
Then I had to do it again because even though the old repair was a massive bodge whoever did it decided to drench it in wax oil, that wax oil kept running into the weld pool and leaving pin holes every where, eventually though I got to here

This still needs two pin holes welding up but the welder has decided to birds nest the wire on the feed roll and my flap wheel is shot now as it's full of old wax oil "/ ill be back on it tomorrow to continue the fight but now I've gotta get ready and be sociable with swmbo as always comments and suggestions welcome, James
Posted
Settling In

Posted
Settling In

Anyway some of whats been going on, after welding up the left hand side of the rear panel I picked a scab on the right hand side,
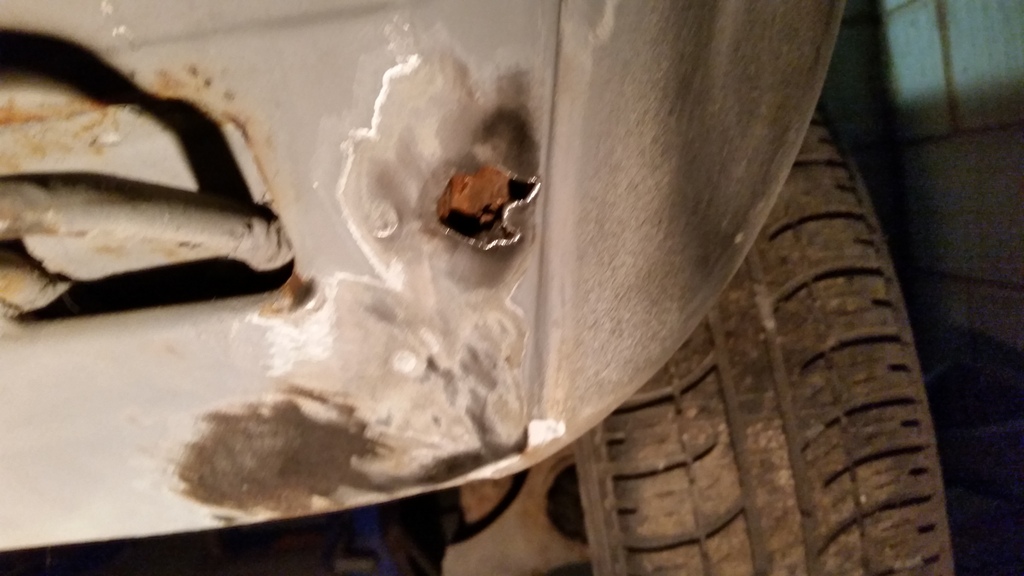
Not good same story as the other side, so i cut it out

Still not good so cut out some more

That lump at the bottom is wax oil "/ this blocked up the drain hole and caused the rust sometimes the worst things are done with the best intentions i suppose.
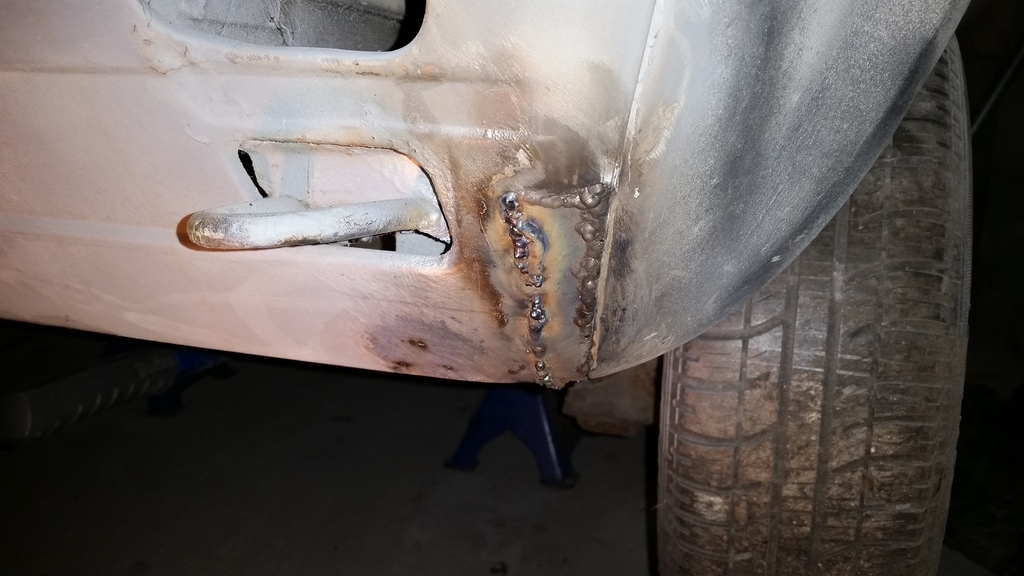
Now all cut out i cleaned up inside and rust treated it before making an infill patch again.
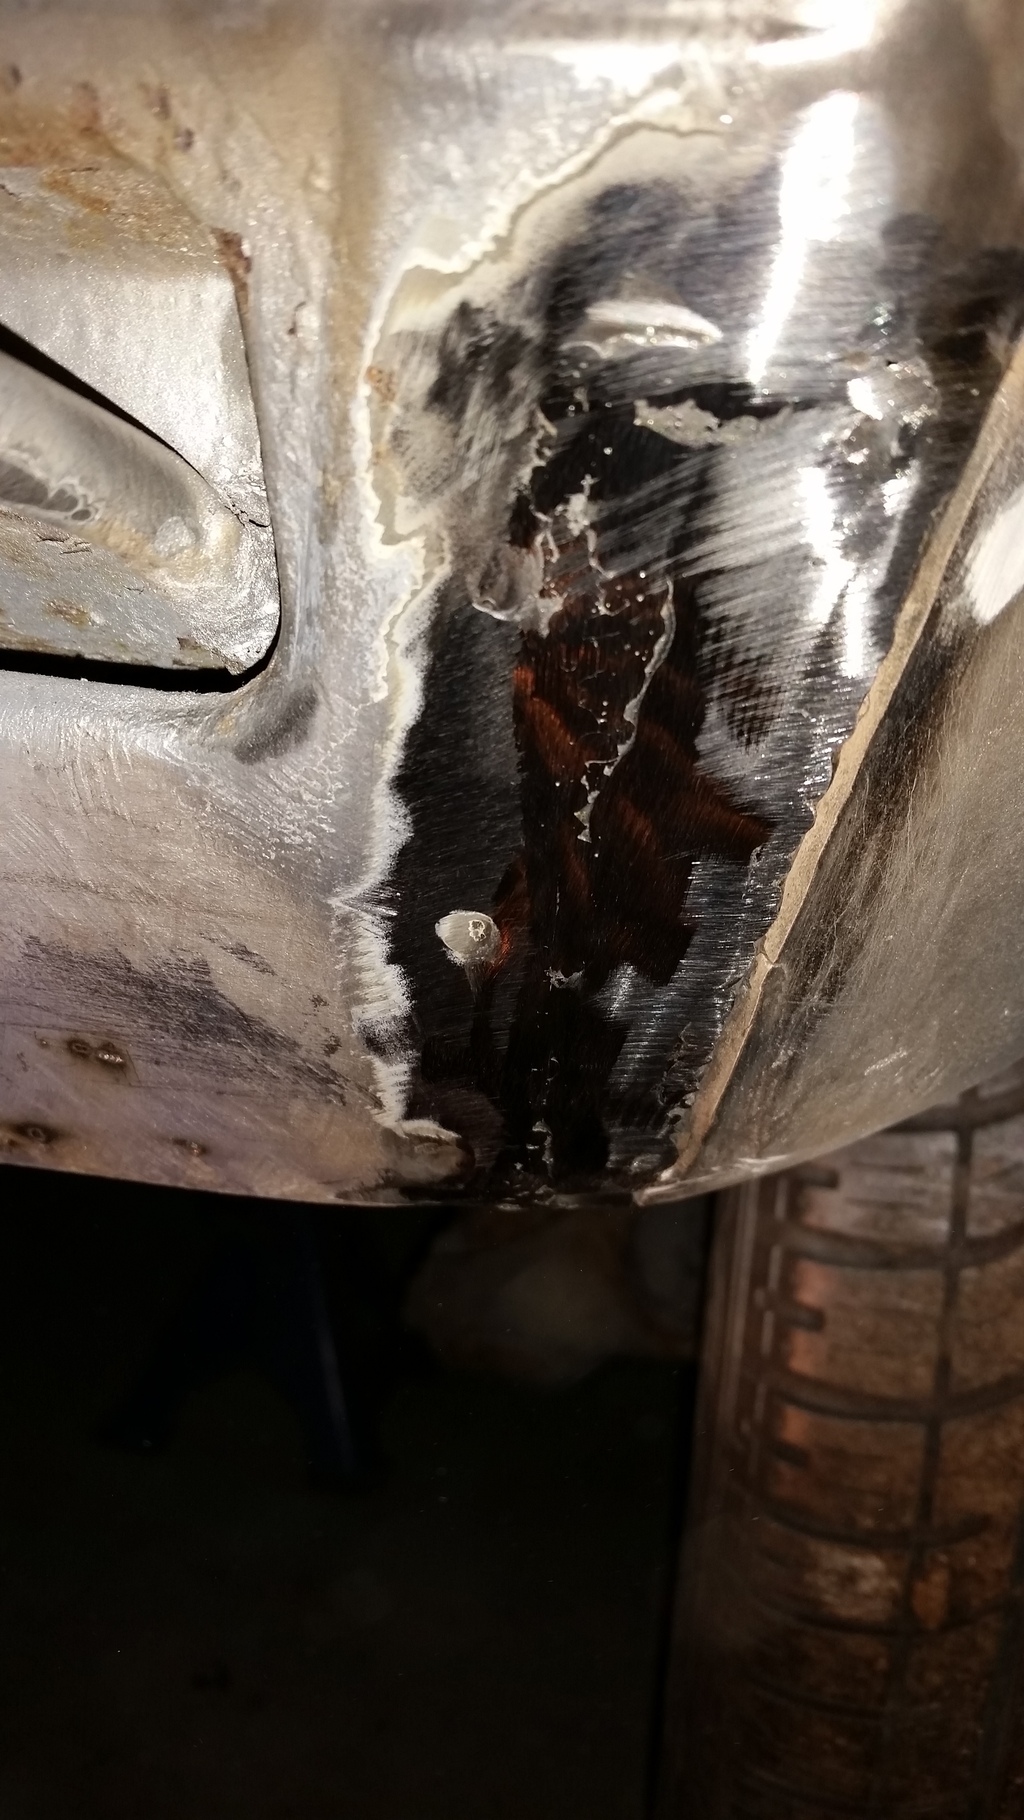
Then i buzzed it in.
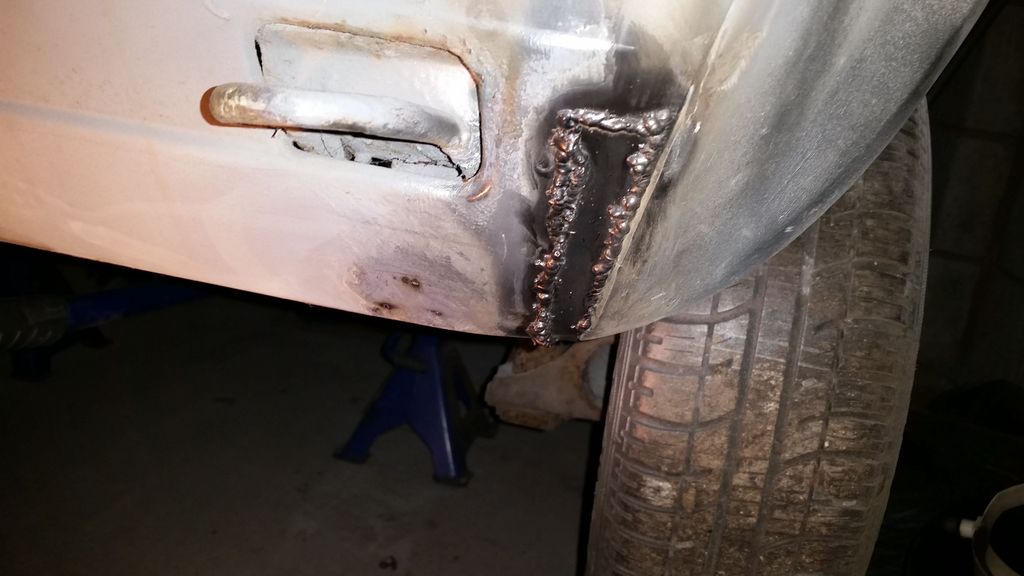
Wire wheeled off
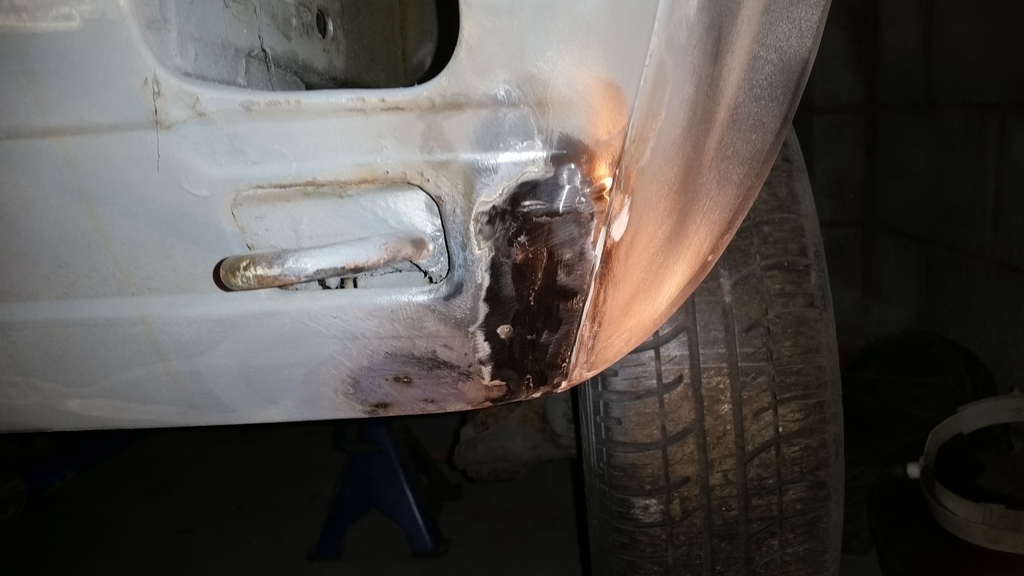
And the welds dressed this will be skimmed and called done.
Then i started on the rust around the windscreen and cut this out
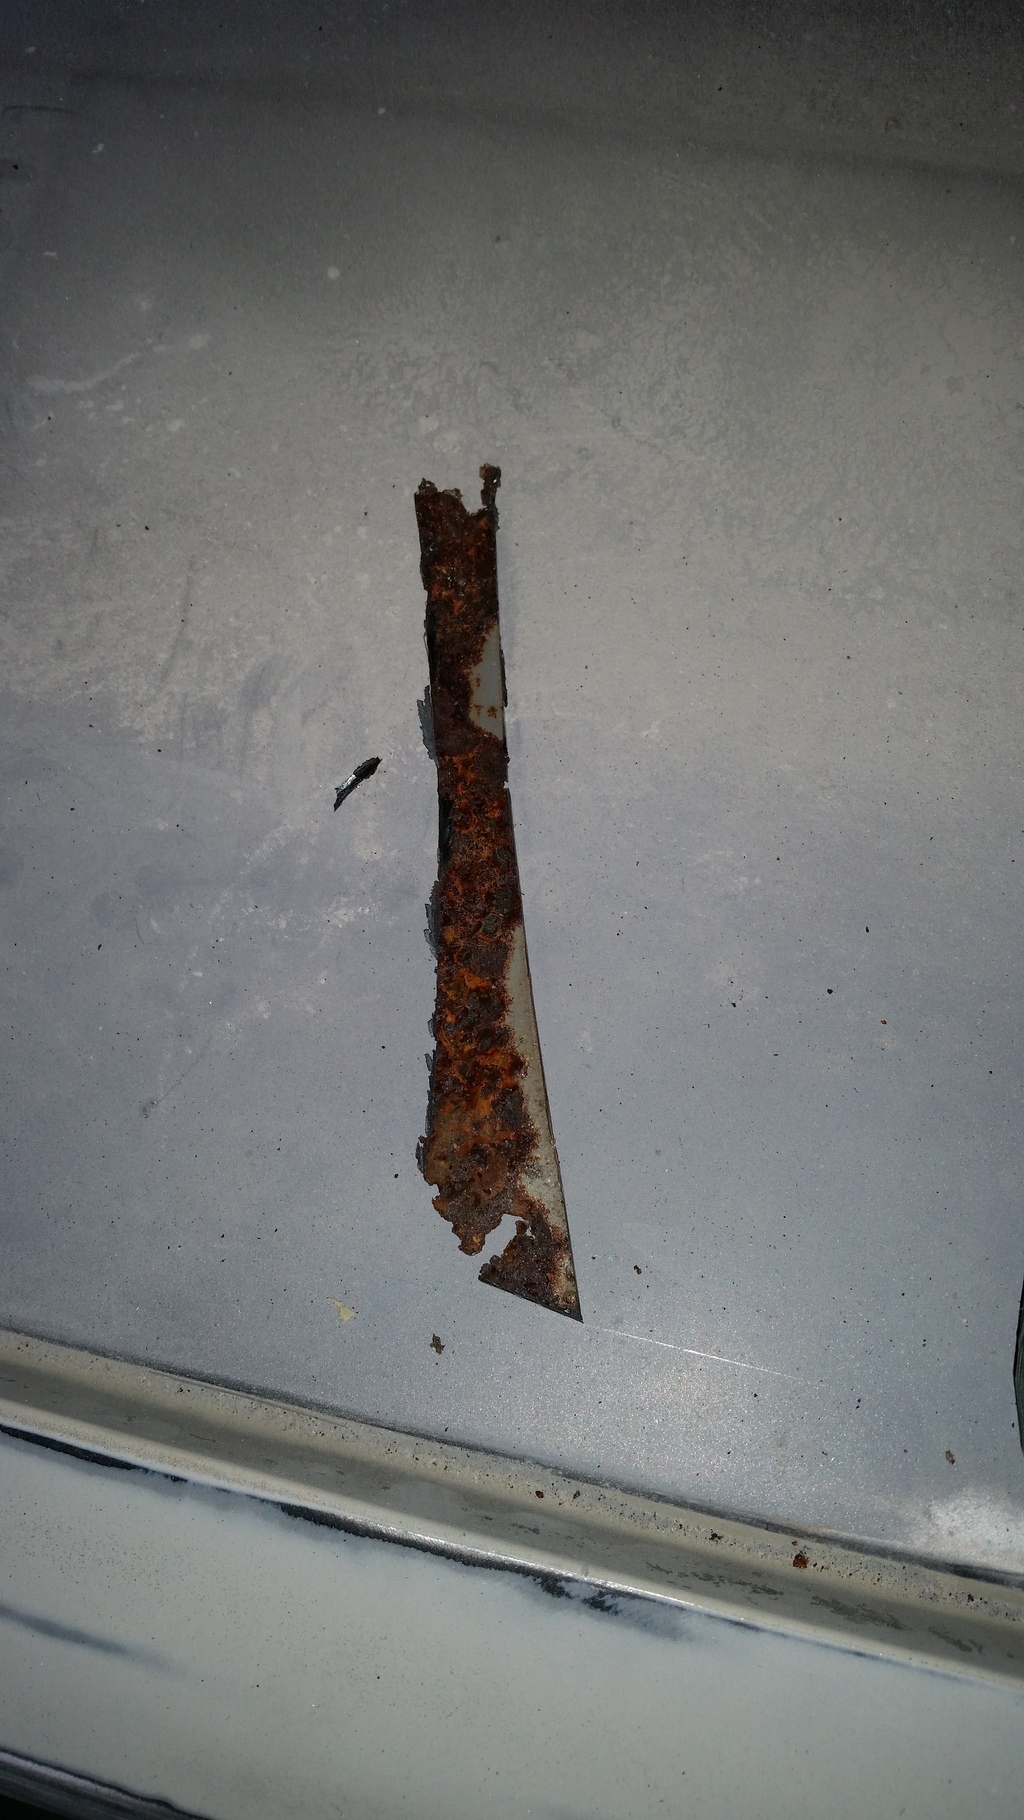
Made a template
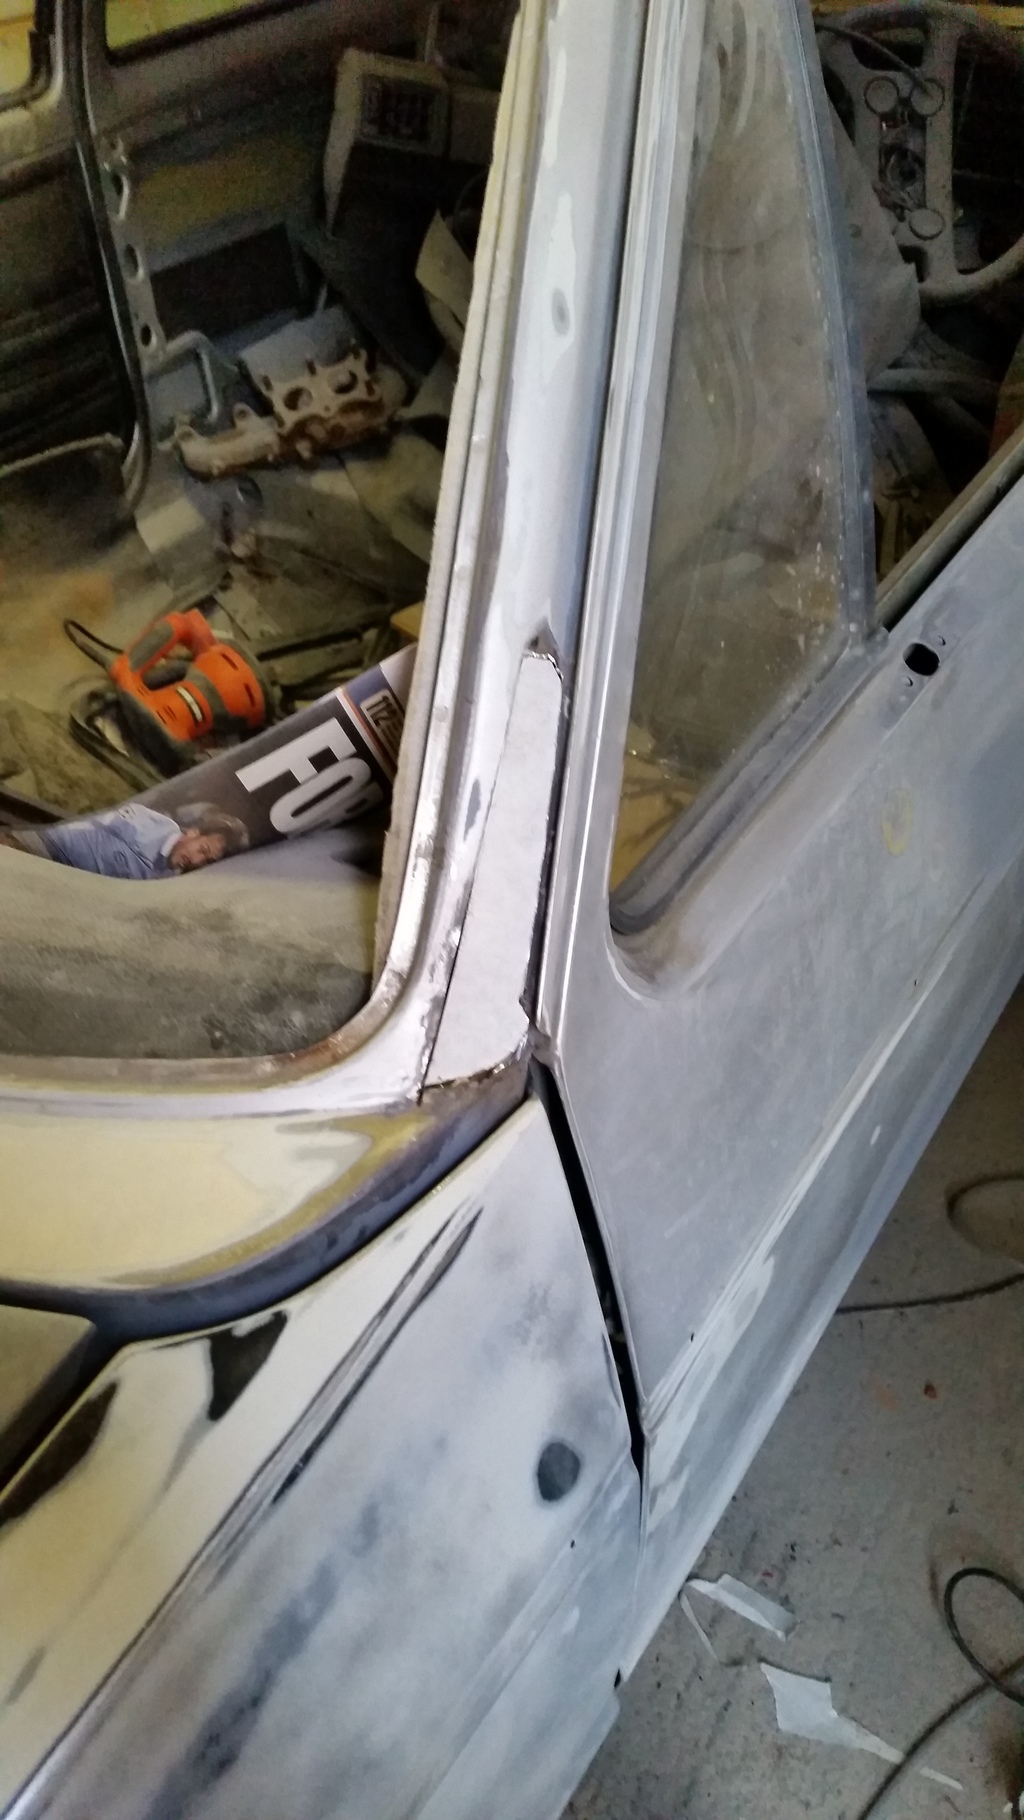
Then buzzed the patch in


And started cleaning the weld down

Now it looks like this
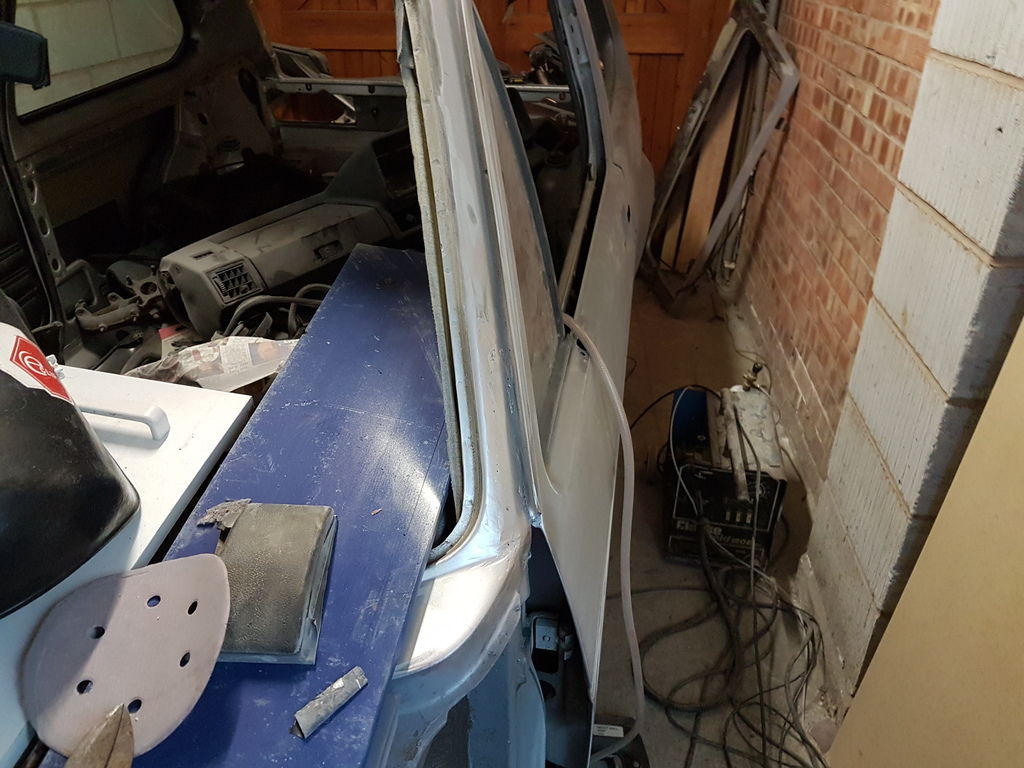
More to follow
Posted
Settling In

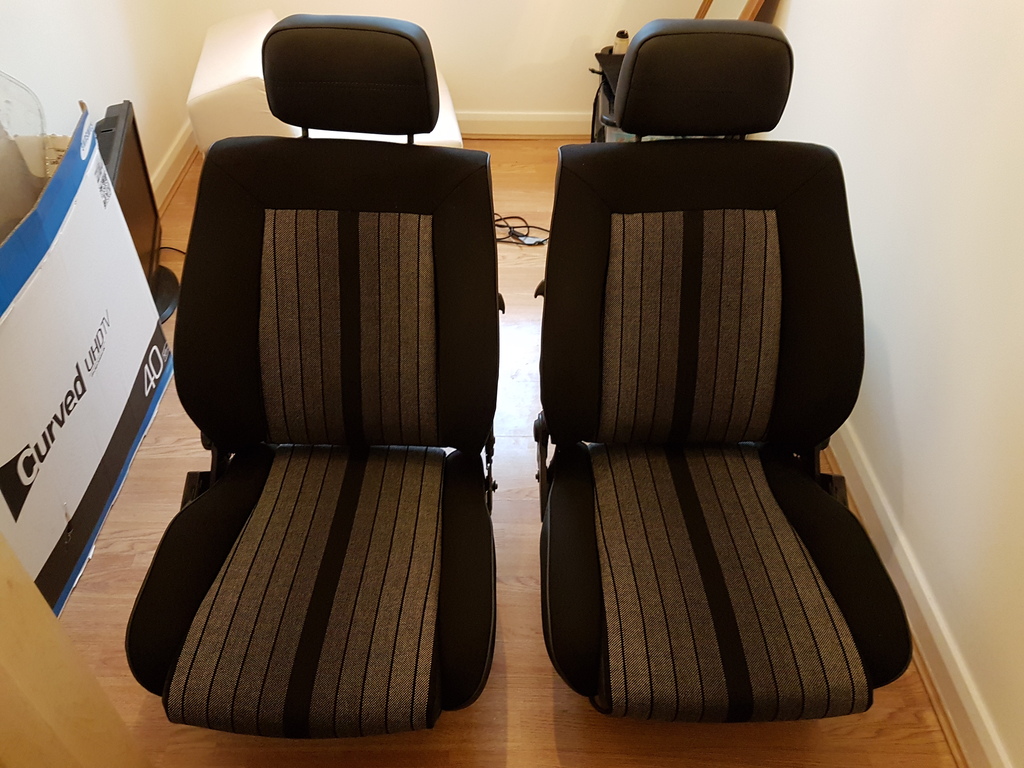
Passenger seat now
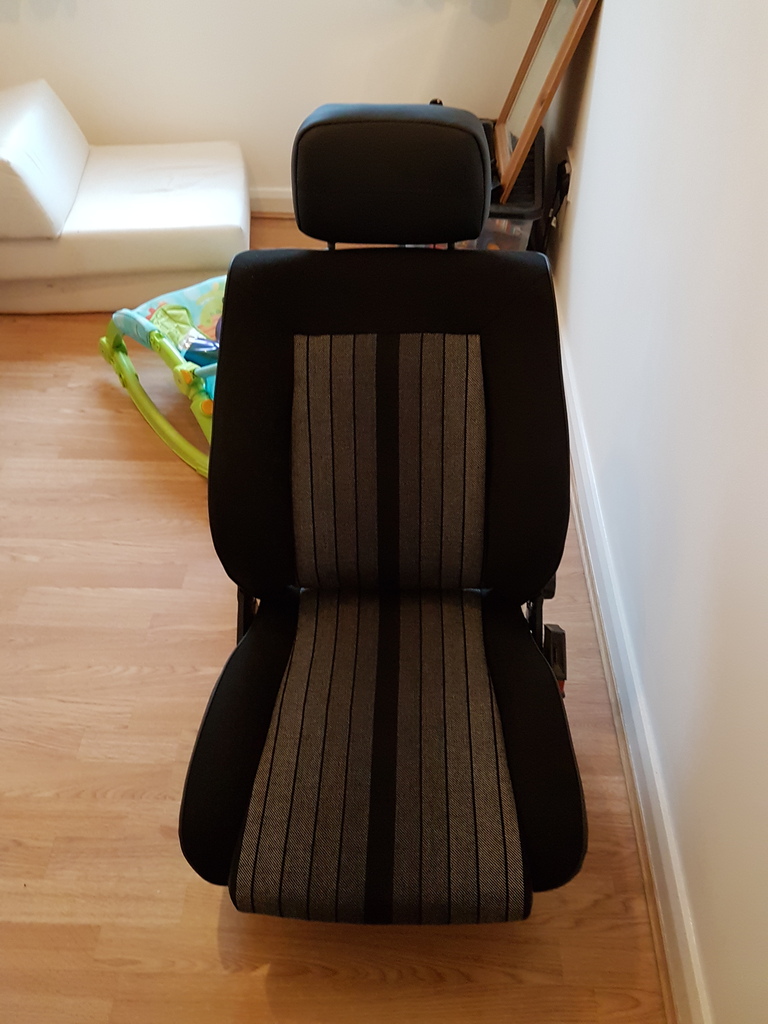
Driver seat and passenger seat
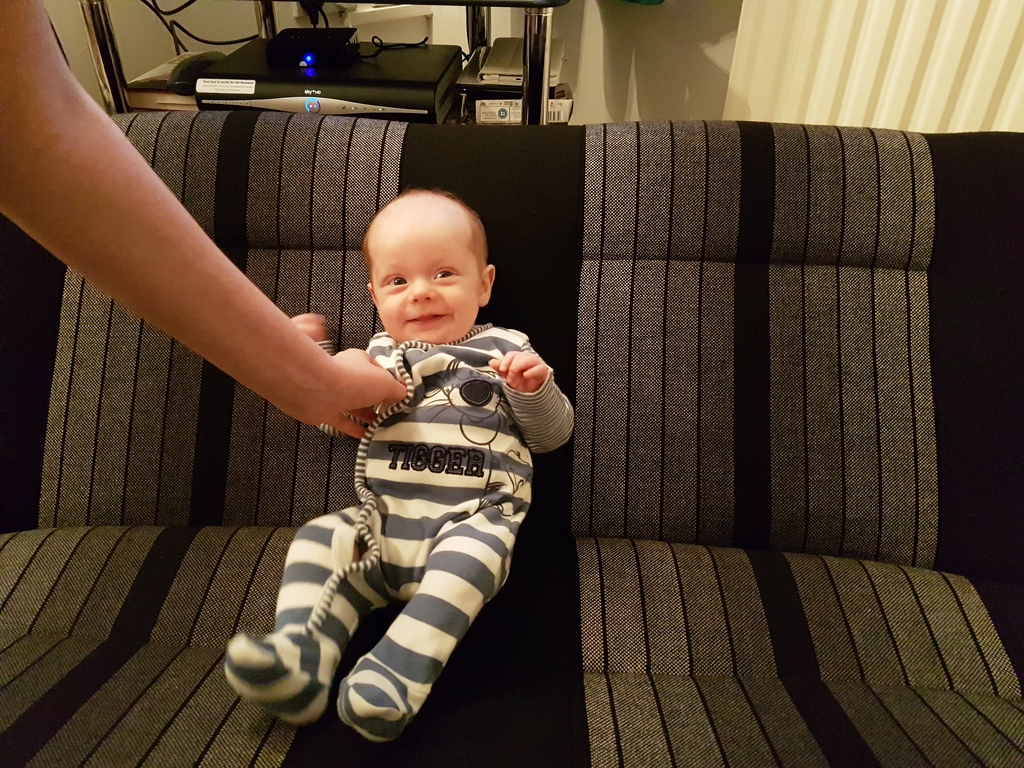
My lad approves of the back seat
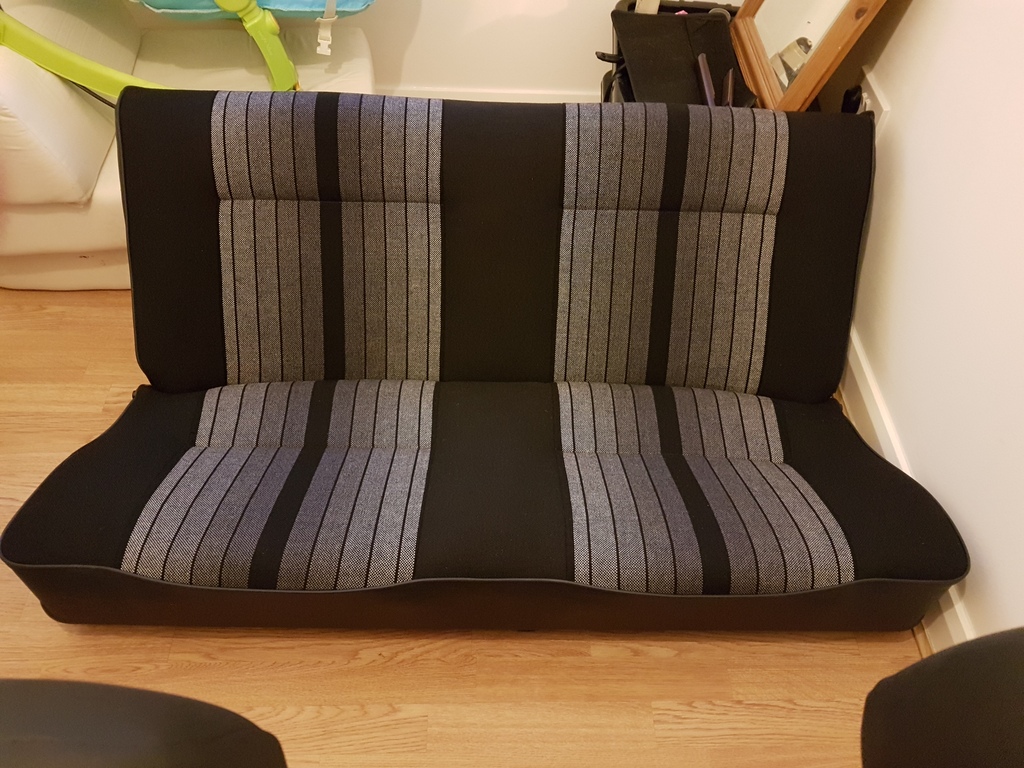
Rear seat
Altogether
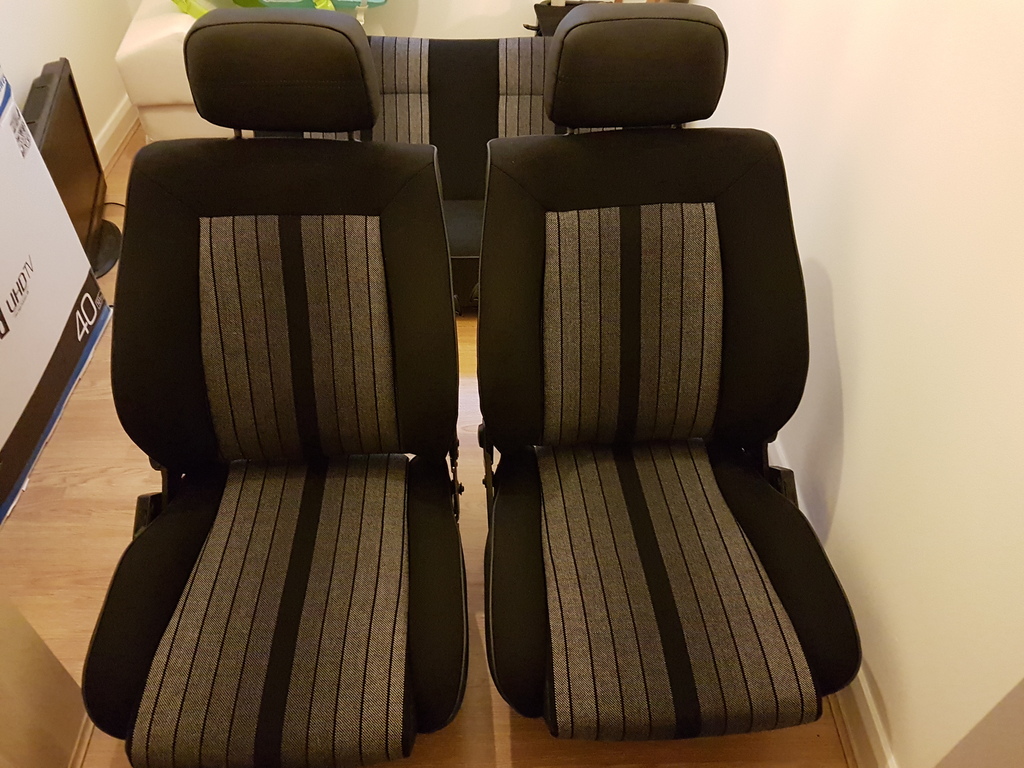
Really made up with these if anyone wants theirs done look for tricky stitch brewer on Facebook all done with vw heritage material, he had to buy another interior from a polo to use the springs as mine had rotted away all foam uprated and comfortable as you can get i love em, the other half was chuffed too so she should be as its her car lol
Today i started cleaning up the worst of the seven steering wheels I've got here it is before
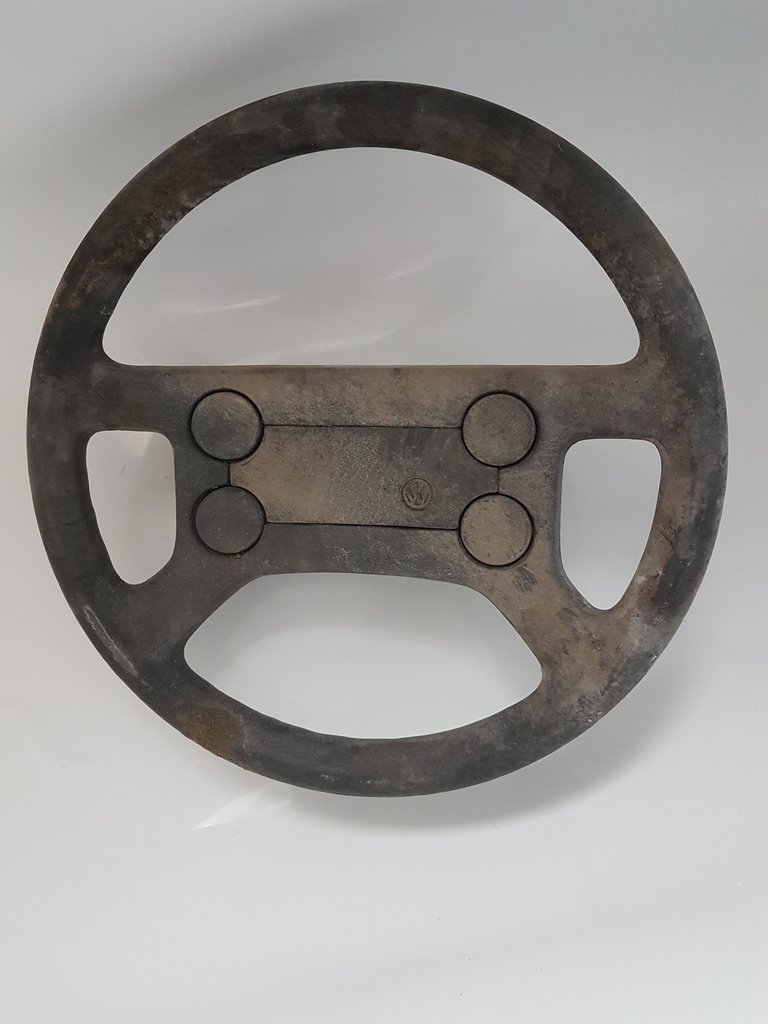
50/50
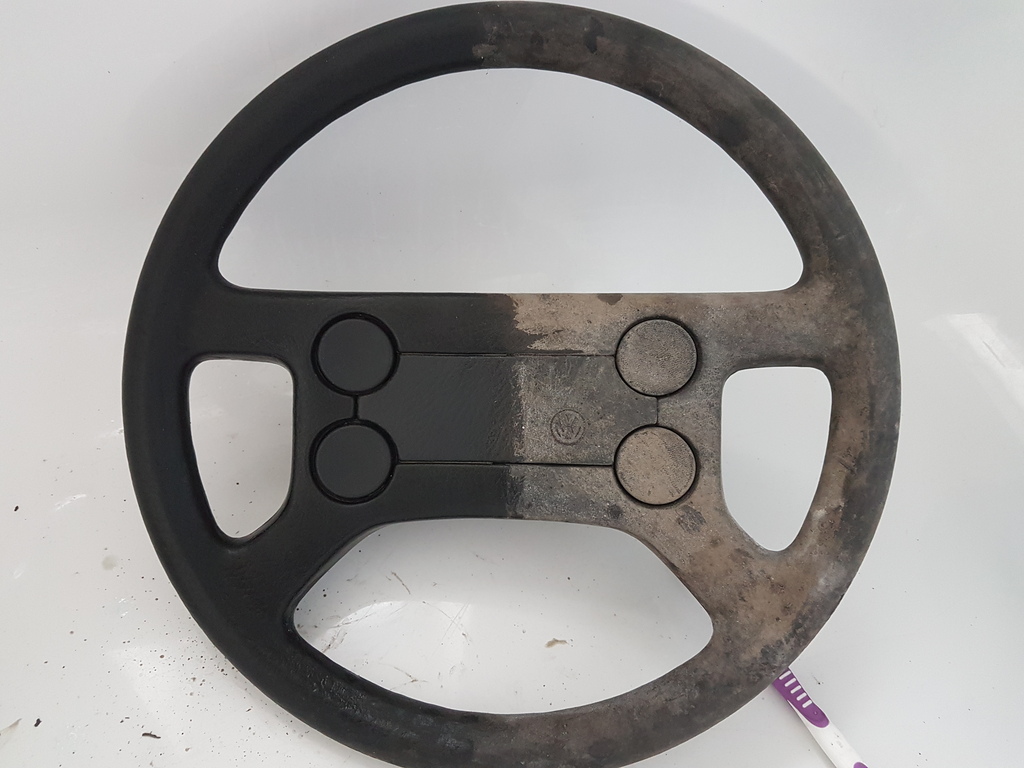
And done not too bad hoping the gti emblemmed wheel comes up as good

Also cleaned up the under dash panels passenger side here

Then went rummaging and found these, p slots are looking more and more likely just hope the previous owner finds the wheels now

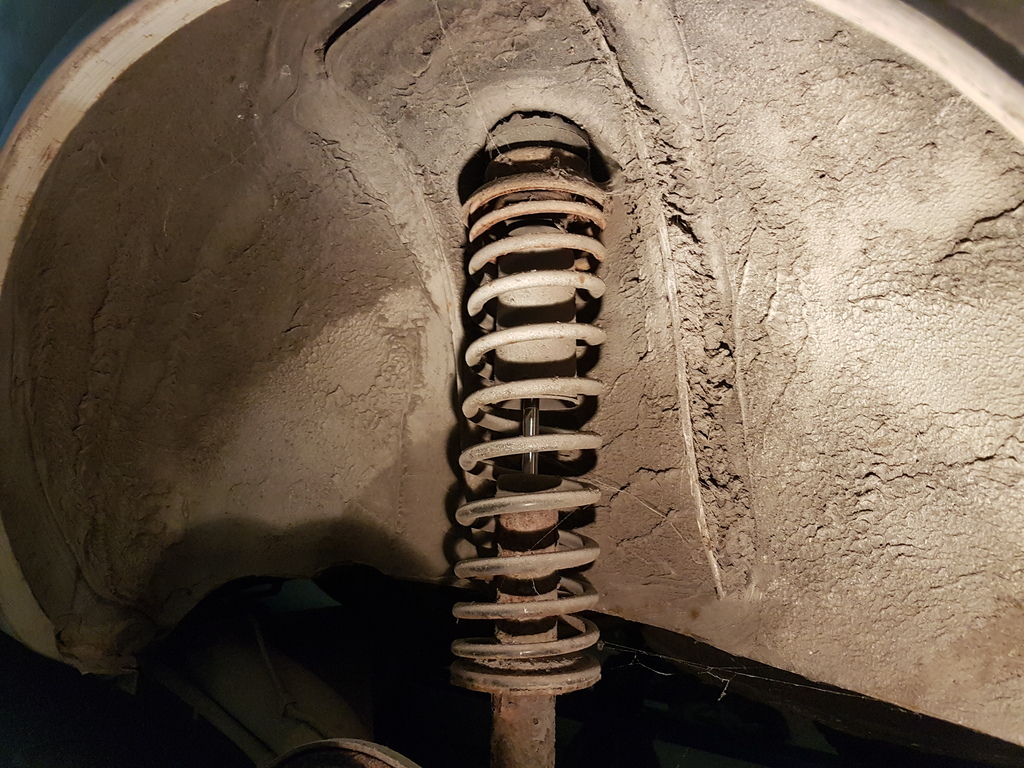
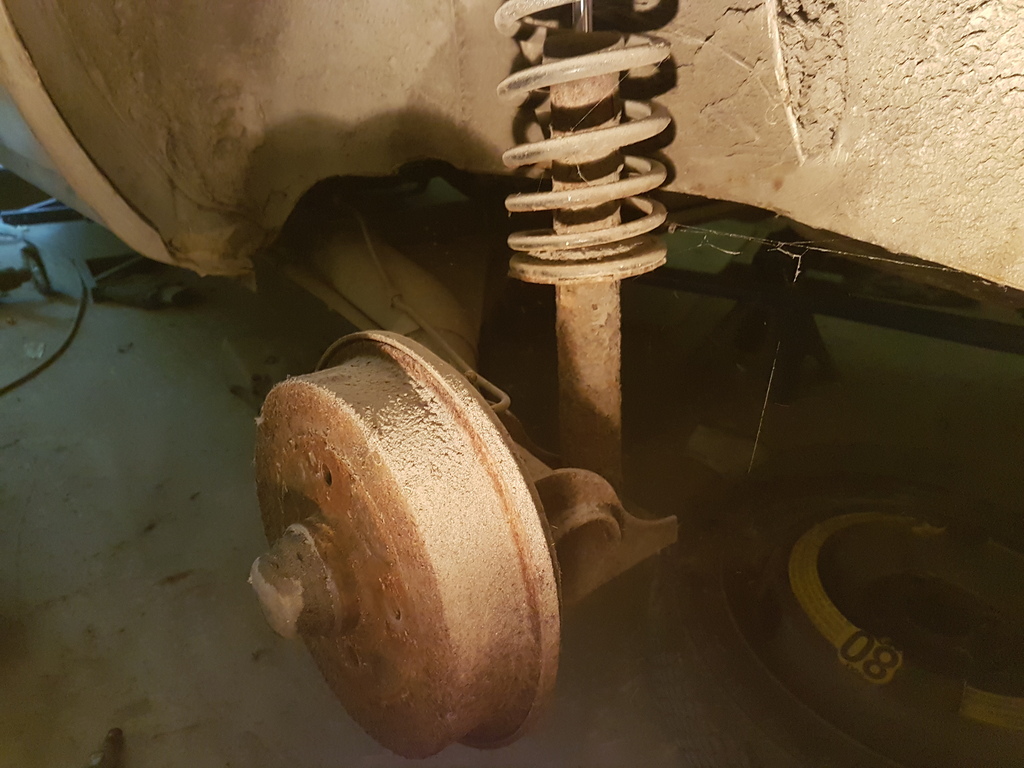
After that i took the rear wheels off to have a look behind, the inner arches are good but the shock and spring have had it
As has the drum
Underneath isn't too bad just surface rust
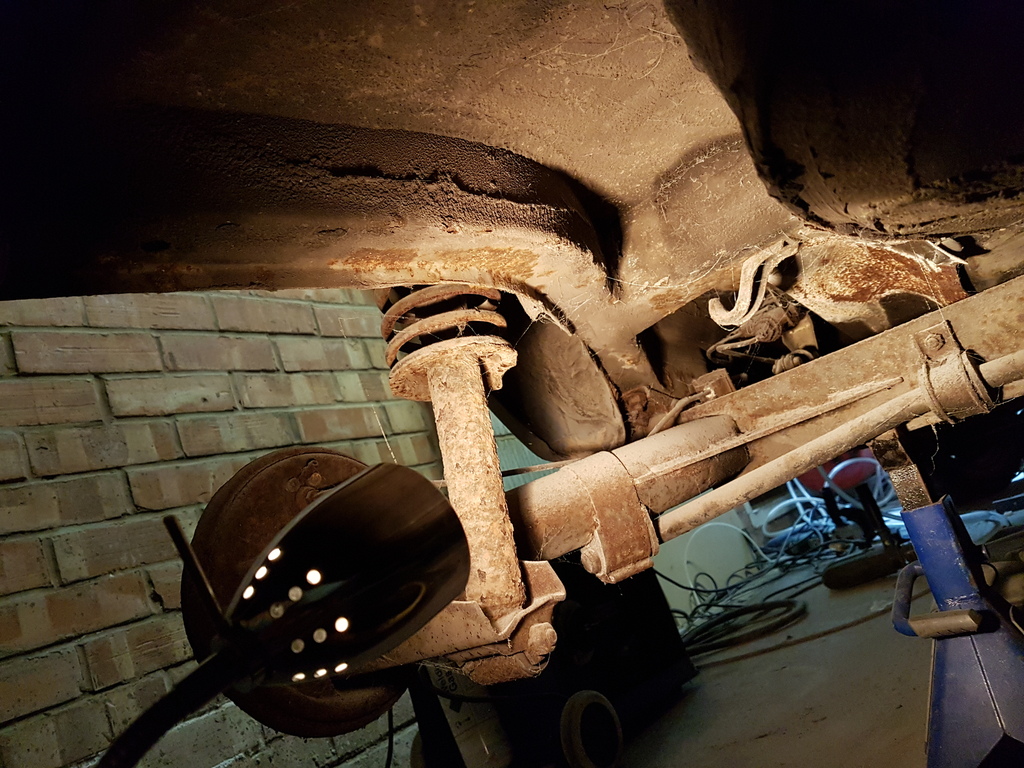
Including the beam mounts
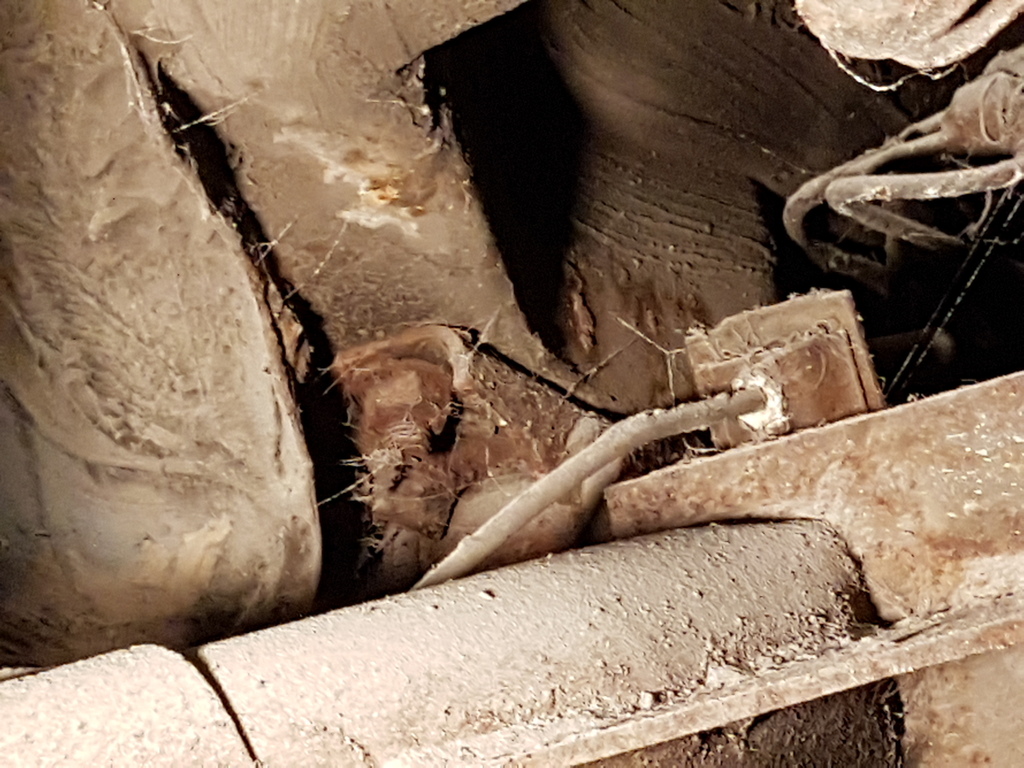
Then i found where the smell of stale fuel is coming from the pipe to this has been cut does anyone know what it is? Fuel pump has had it as well but the tank looks good thank fully
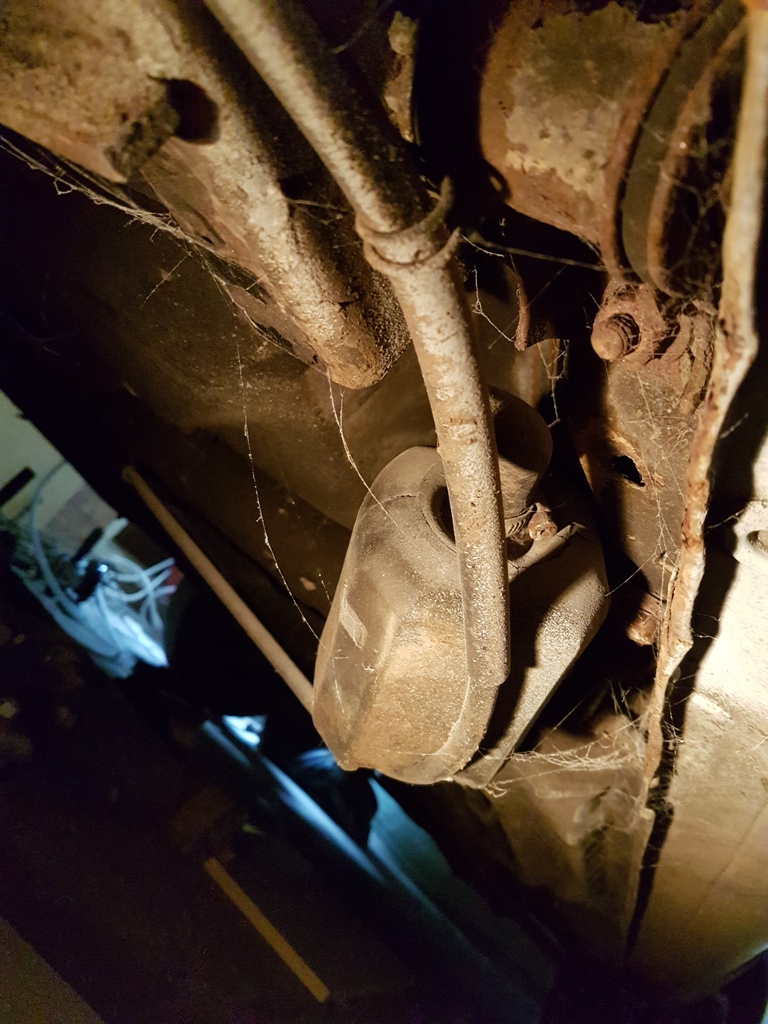
Were pretty much up to date now wont leave it so long next time lol as always comments and criticism welcome
James
Posted
Settling In

Posted
Old Timer

Matt
Posted
Settling In

After buying the p slots shown above i ended up bare metaling the roof for the second time as surface rust had started under the etch primer
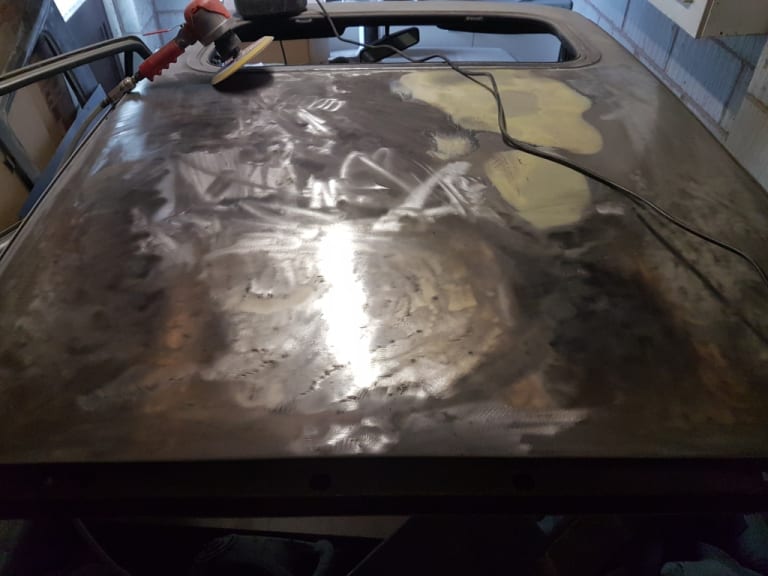
The filler shown here was also removed and the entire roof skimmed as it had became apparent someone had walked across the roof at some point, this does need final finishing but will be finished when the rest of the car is prepped properly for primer.
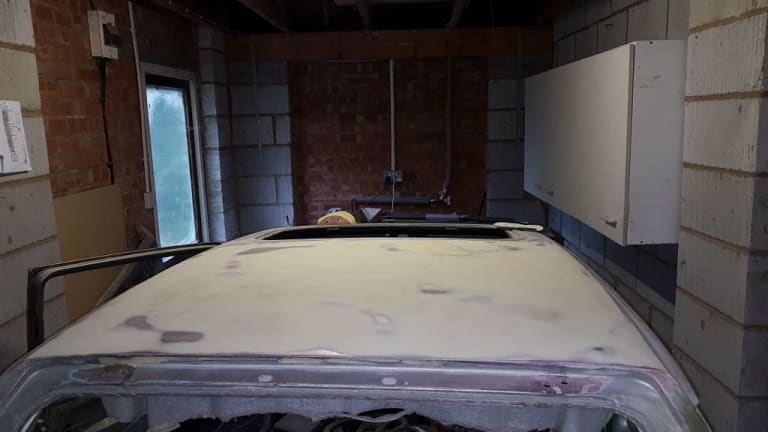
The rear panel also got a skim on the areas welded before after being baremetaled again, this was pointless as will become aparent later…

Then etched properly but have no picture of this you will see it later on, its the reason the rear panel is green, anyway carrying on, the windscreen pillar repair was skimmed up and just requires finishing where it meets the scuttle
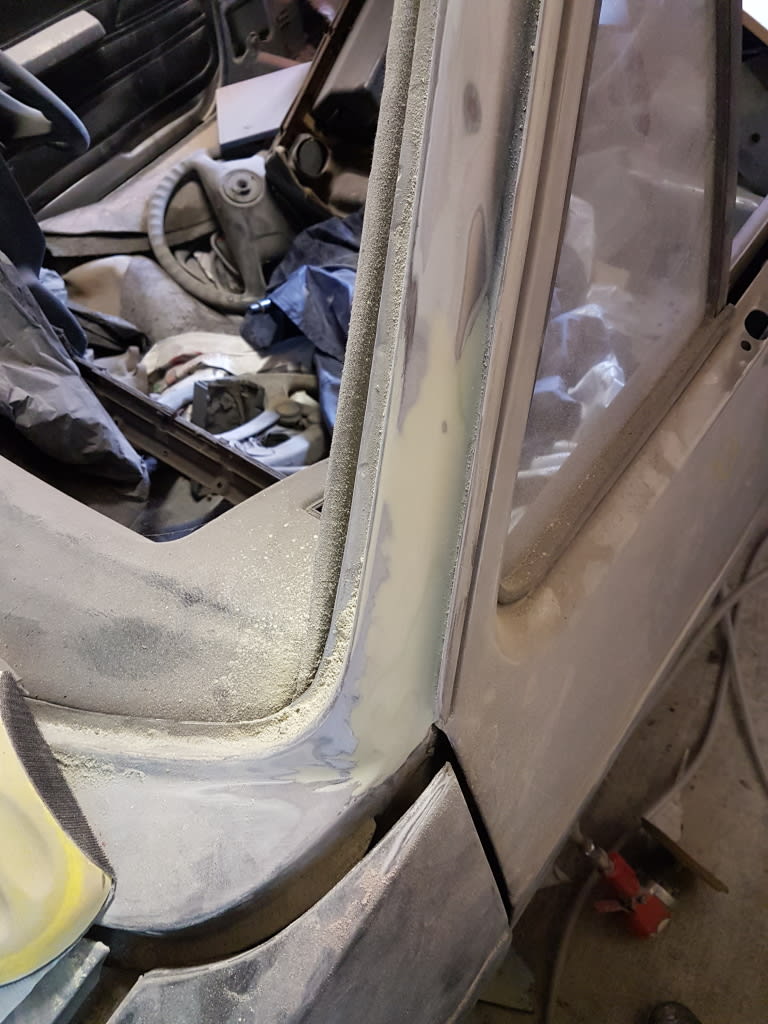
Then it all started to go wrong, seriously wrong, I was about to finish working on the car for the day when I noticed something strange about the rear arches, the profile seemed off, too rounded to be normal, a closer look revealed filler, i thought this was a little weird as the arches had been replaced before i bought the car so i had a little sand back and got to a patch of filler that hadnt hardened, naturally it would all have to come off then, this is what i found

Looked to be all intact so i removed the rest
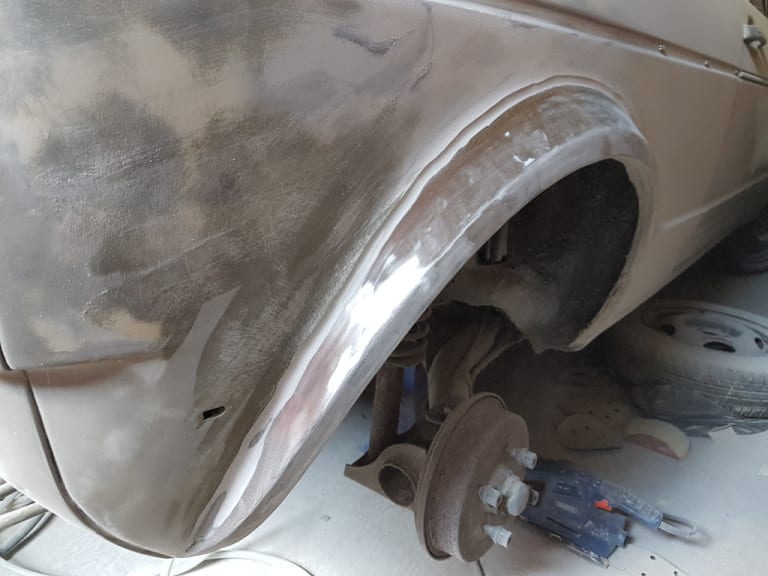
That line shows how deep the filler was on a seemingly decent arch, ok it had a few little dents but nothing needing that much filler, i was left feeling uneasy about this but decided to carry on flatting the side of the car back and noticed a high ridge on the rear quarter panel, you should be able to make it out in this picture, the bare metal is the high spot

The high spots carried on all the way up the quarter around the filler cap too, only one thing for it then bare metal again this revealed the true depth of the filler as seen here


You may be wondering what all that was hiding, well the answer was the worst welding welding I've seen on a body panel of a car that was meant to be a show car, i feel for the previous owner as hed paid for someone to do this and the filler work
Filler panel
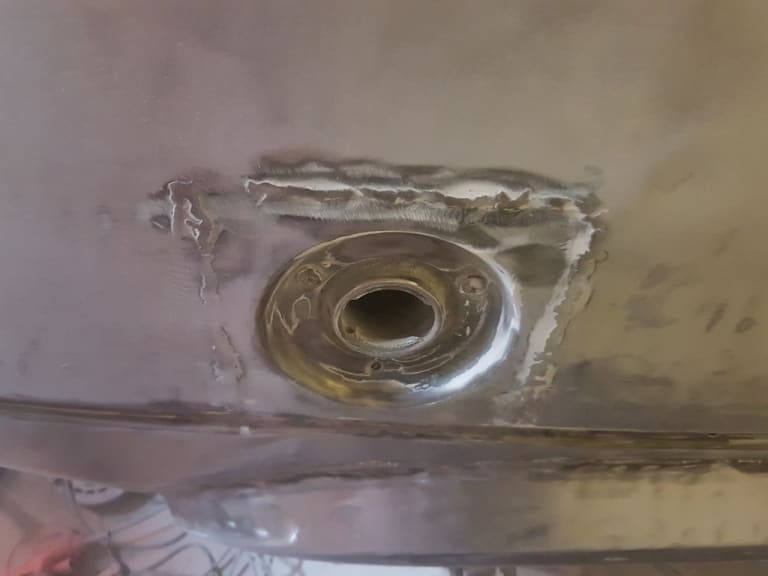
Rear arch
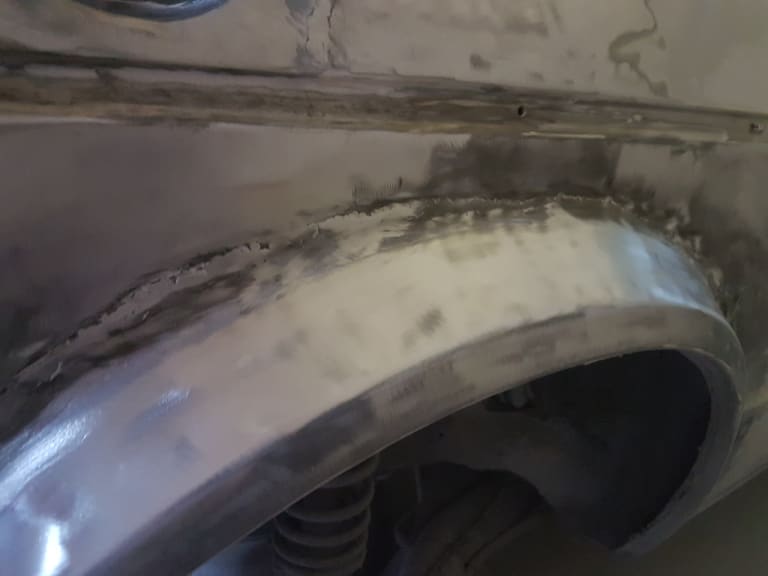
Nice bit of warping

And an overall shot of the drivers rear quarter

Passenger wasn't much better
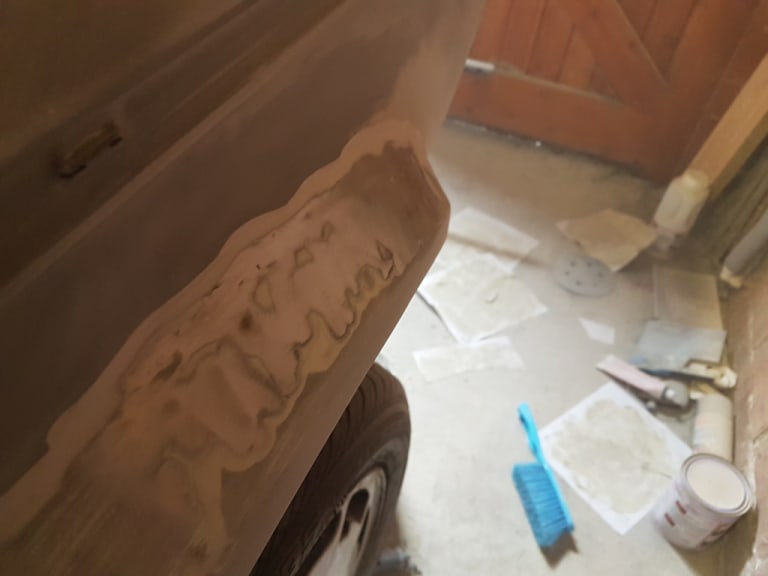

Only one thing to do then, cut it all back off

As you can see the inner arch was only tack welded on i had to cut this off then ugly weld it back on to get it in the correct position to mark up the new outer ready for cutting and fitting, the filler panel was also removed and it shows they've welded over rust, ive hit my daily upload limit now so will show the rest of the findings and work later, for now comments and criticism welcome thanks James.
Posted
Old Timer

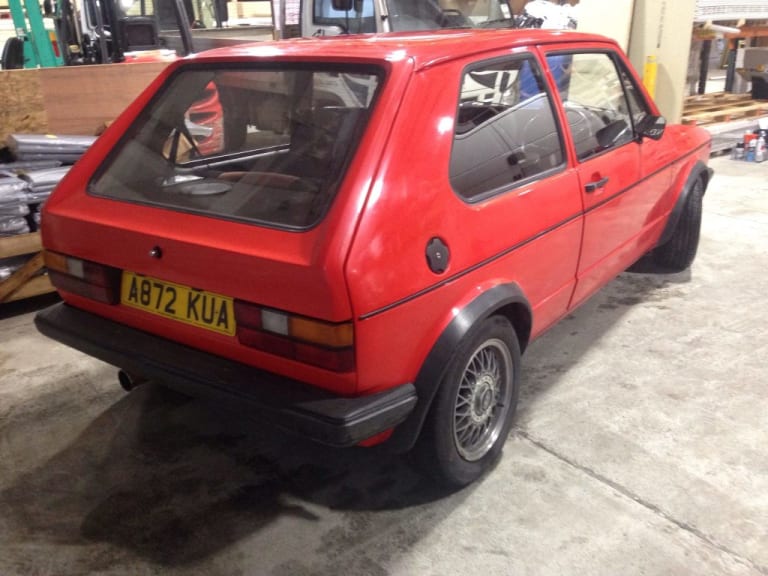
also check out the welding on this cabby I just bought.


Posted
Old Timer


sporttrucker said
also check out the welding on this cabby I just bought.

What's that white metal bar running across the car?
Posted
Settling In

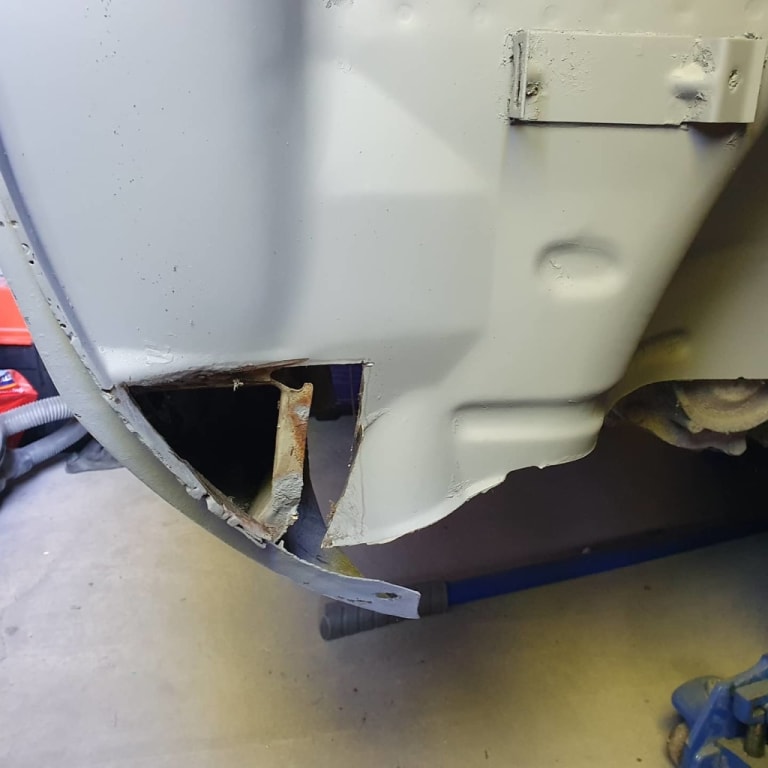
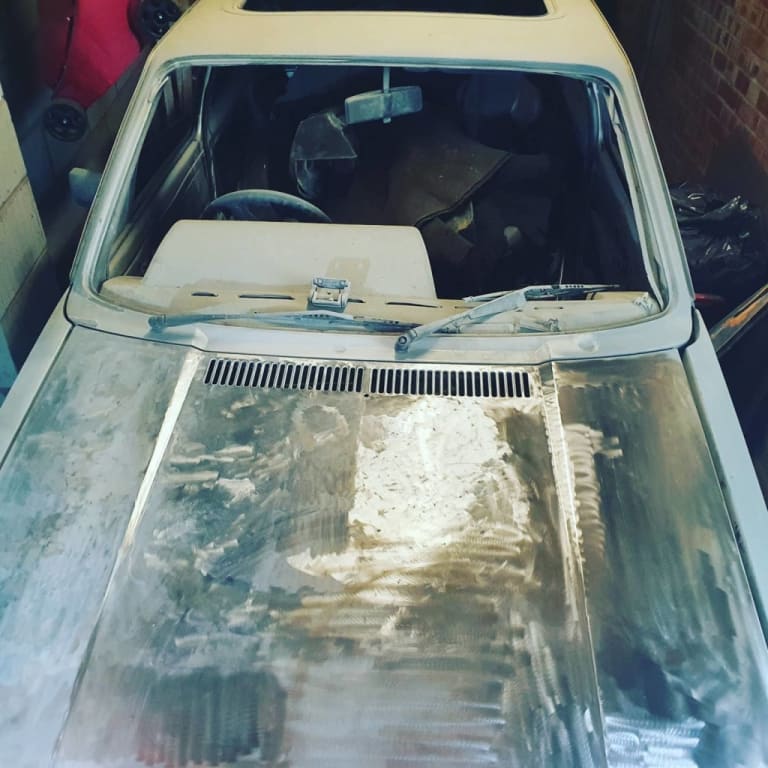
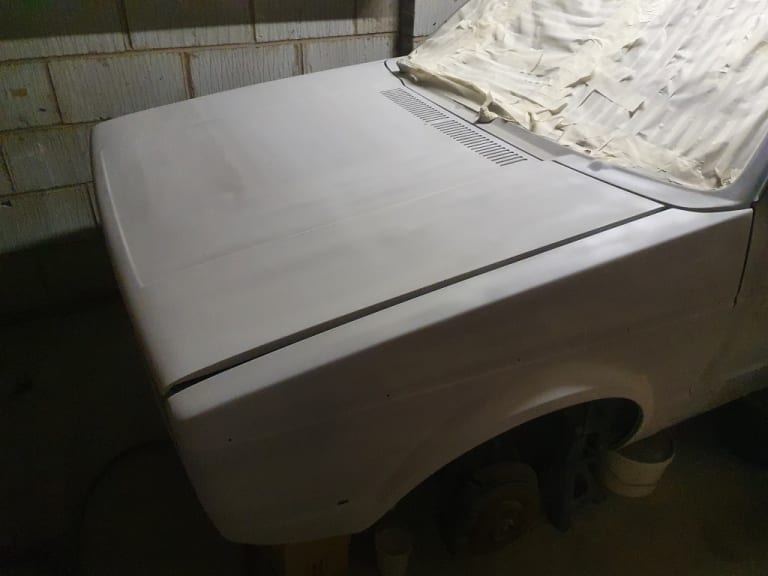
Since the last instalment I moved back to the front of the car to prep the bonnet and found the paint could be scraped off in sheets, this meant going back to bare metal. The ns inner wing was cleaned back and primed as well as having a weld repair to a small area of rot and the bonnet primed back up. Looking to complete all of the front sub frame and suspension next so can repaint the underside with it all removed and have it as brand new going back together.
Does anyone know which spec shocks and springs would be standard for a 1.6 gti? I want bilstein but not sure if there's differences between the gti and normal golf's.
Pics show some of the work carried out and thanks for any replies regarding suspension.


 Last edit: by rostill
0 guests and 0 members have just viewed this: None.


