Old project new thread - '83 gti
Posted
Settled In

Back at it after 2 years
A little ebay purchase…
Posted
Local Hero


Andy
LINCOLNSHIRE REGION - https://www.facebook.com/groups/467122313360002/
1983 MK1 Golf GTI Campaign Model - Under (looooong) resto!
1962 Rover P4 80
2002 BMW 745i
2008 BMW Z4 2.5Si
LINCOLNSHIRE REGION - https://www.facebook.com/groups/467122313360002/
1983 MK1 Golf GTI Campaign Model - Under (looooong) resto!
1962 Rover P4 80
2002 BMW 745i
2008 BMW Z4 2.5Si
Posted
Settled In

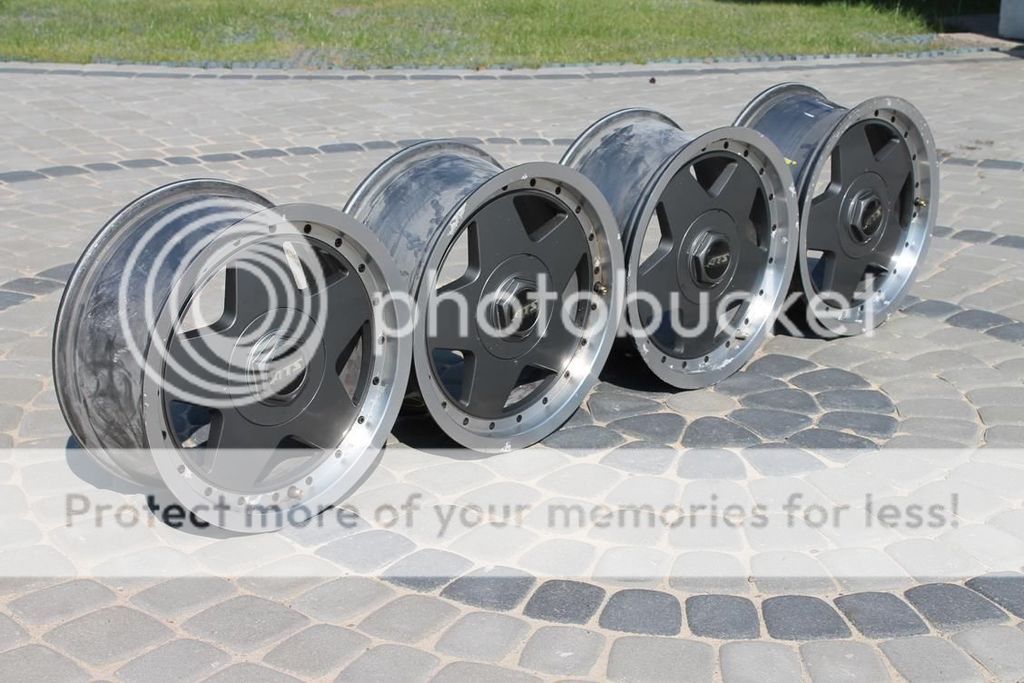
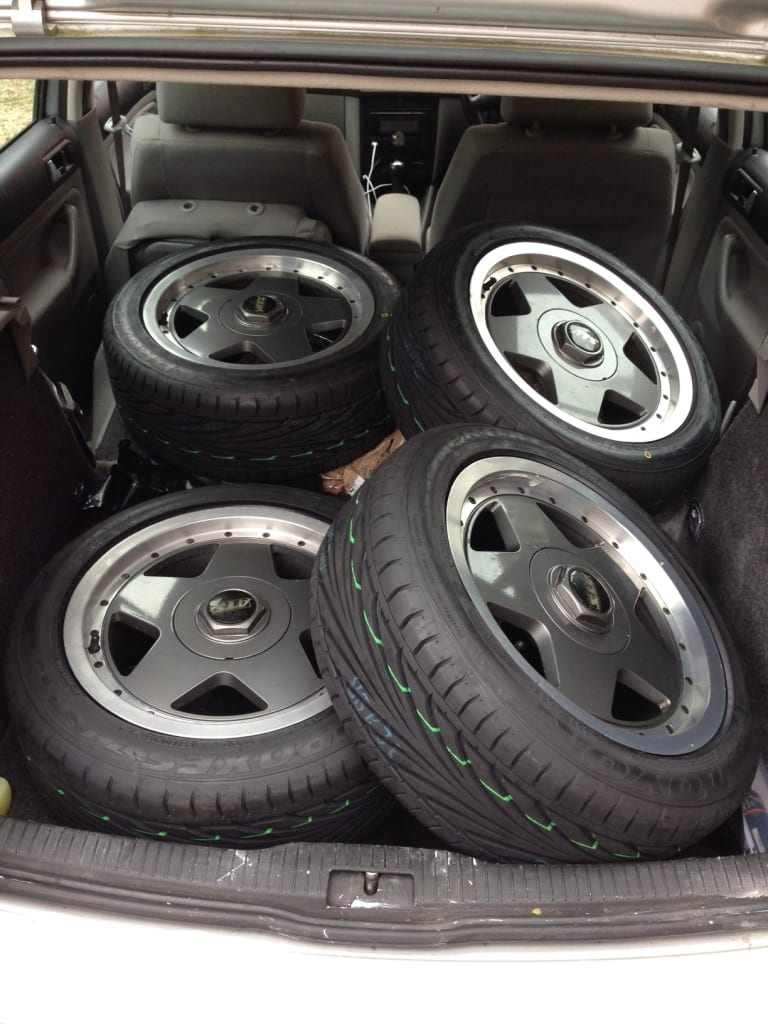
Going to get some Toyo T1R's for them, and I will need to sort out some of the curb marks etc and the centre bore needs increasing by 0.05mm, another job for the dremmel!
These arrived today, got them off a member on here, in need a bit of a clean
Posted
Settled In

Got some nice tyres for the new wheels
The bit that was welded, quite hard to see because of the sealer/paint
Then got round to fitting the new fuel tank
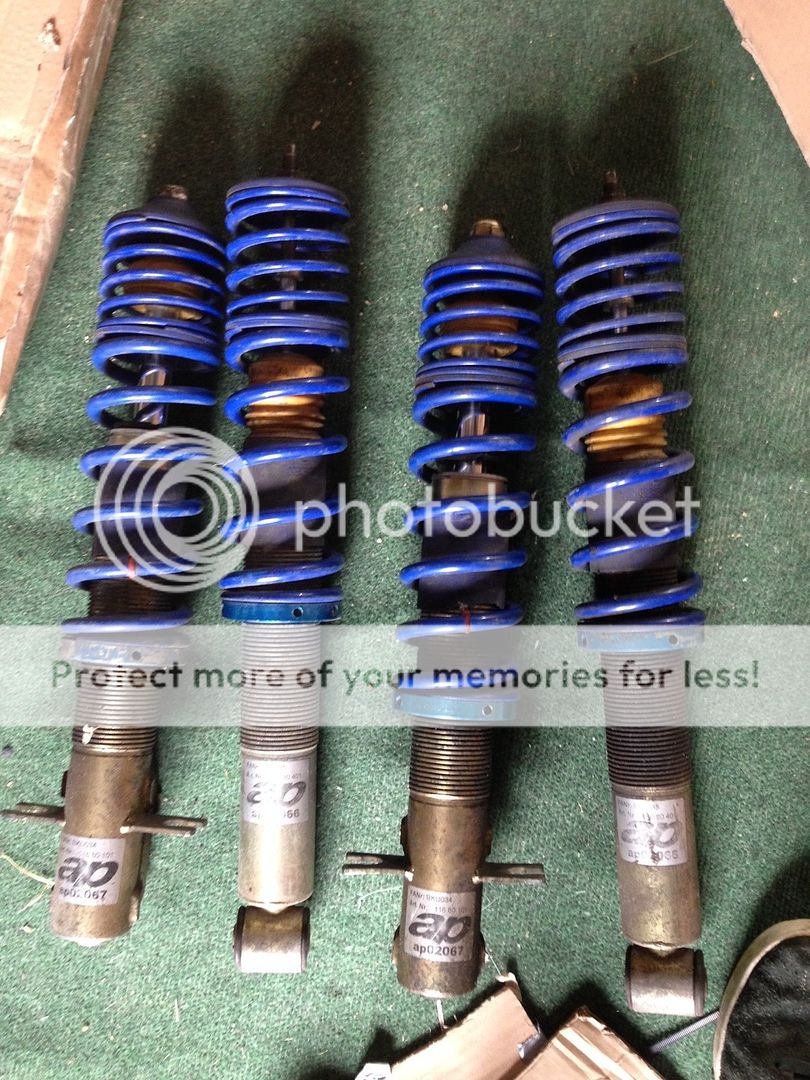
Rear beam went back in along with new coilovers, wheels fit nicely on the back
Had to fit a new caliper onto the front passenger side, the old one had seized.
It had goodridge braided hoses on there which had different connections and couldn't find any way to fit the new flexi hose as the connectors were pretty badly rusted on.
In the end I bought a rigid line flaring kit to put a new bit on and just cut the end off with the old connector on.
New brake on and bled all the brakes, but couldn't get the last bit of air out the system, after pumping the pedal a few times it would go hard and the brakes worked well, however it would then go all soft again and I'd have no brakes
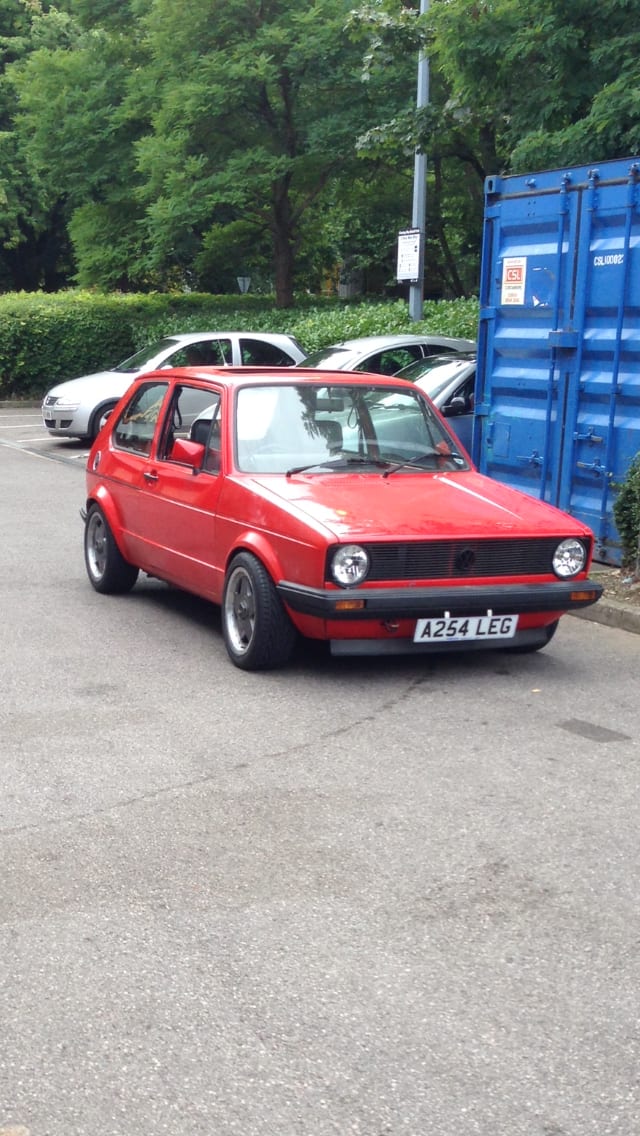
As I had the mot booked in for today I took it down there and asked them to have a go at bleeding the brakes again which should see it pass! It's at the test as I type this so fingers crossed
Posted
Settled In

Bought a mig welder and a few other bits so I don't need to rely on outside help and hopefully going to learn a few things.
I can't quite remember what has been done to the car since I last posted, did pass it's mot eventually and I had one great summer of use out of the car.
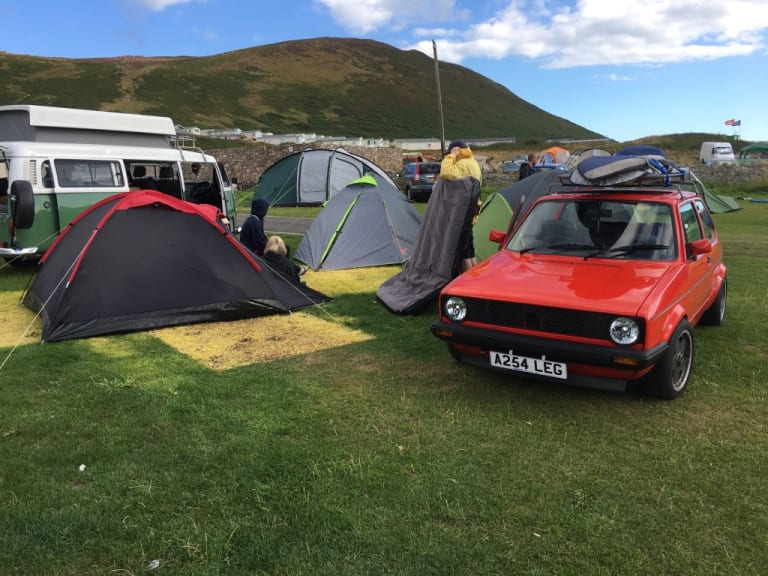
Took it to the coast in Wales for a weekend (about 3 hours each way) and it rained the whole time, turns out the sunroof and door seals are very leaky.
At the end of the summer the thermostat stopped working so it went back into the garage where it remained untouched for the past two years.
Fortunately I left the sunroof open a bit so I could access the fittings and get it out, the mechanism was completely jammed with rust.

Drip tray and wind deflector are too far gone so will be replacing those. Managed to free up the mechanism but got a new winder part as that was done as well.
Today I replaced the heater fan which solved that problem, and wired up the vdo gauges which I had been putting off for a long time, turned out to be quite straightforward and I learned how to solder wires.

Will dig out some photos and get some of the current process up soon
Posted
Old Timer


Looks pretty tidy. Other than the sunroof, does it need much doing to it?
J
Posted
Settled In

Fortunately someone was in the back watching for fires but ripped the headliner when he was trying to hop out the boot. They set off a powder extinguisher which somehow got everywhere, so before the dash etc goes back in I'll need to clean that mess up.
As far as the interior I need to do:
New headliner and sunroof piece etc
New door cards
Would like to fit electric windows
Finish the vdo gauges and other electrical gremlins
Put the dash and the rest back in.
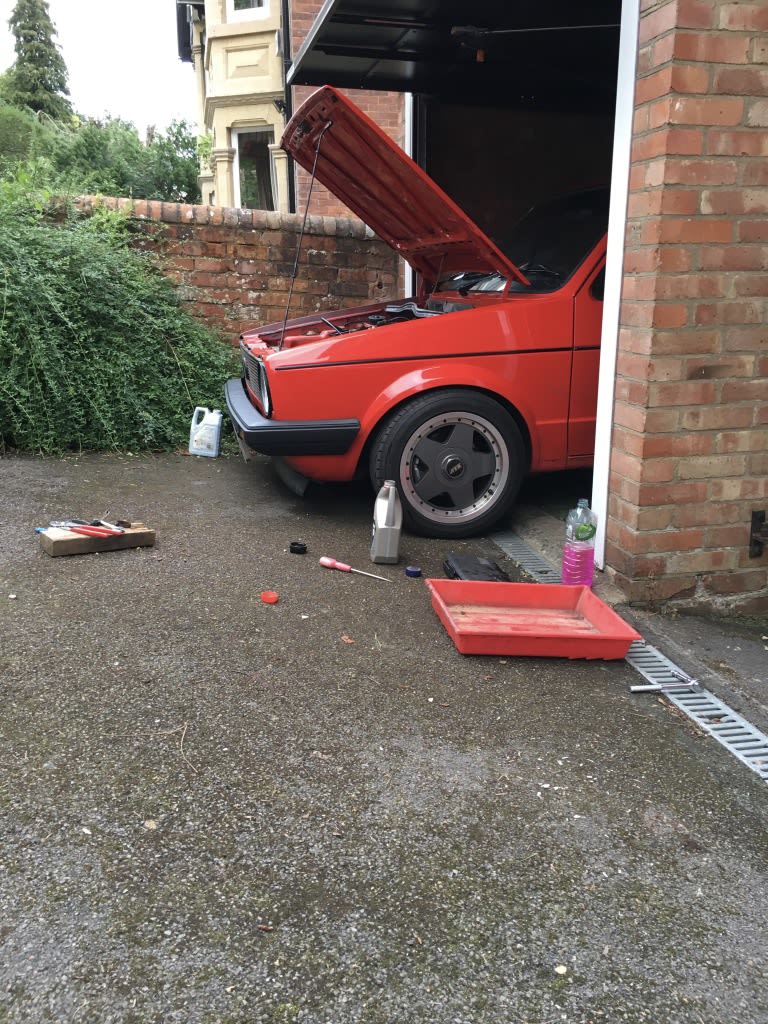
The engine runs pretty sweet, I'm going to do some servicing and I got a polished and ported intake manifold with an Audi throttle body on eBay recently to go on.
Most of my time will be doing body work, I had the driver side sill and rear lower balance replaced before. Both rear arches and lower corner panels need chopping as they are full of rust. And a few patches elsewhere like on the roof and under the windscreen.
Hopefully get started finding the extent of the rust this week.
Posted
Settled In






Posted
Settled In


I wanted to run the car for a bit to make sure the pressure and temp gauges work but the car wouldn't fire up, tested the fuel pump and didn't get any power, then popped that spare relay in and it primed when I turned the ignition.
So popped out to gsf and picked up a relay, still wouldn't start. Forgot there was a fuse as well for the fuel pump, which turned out to be completely melted…
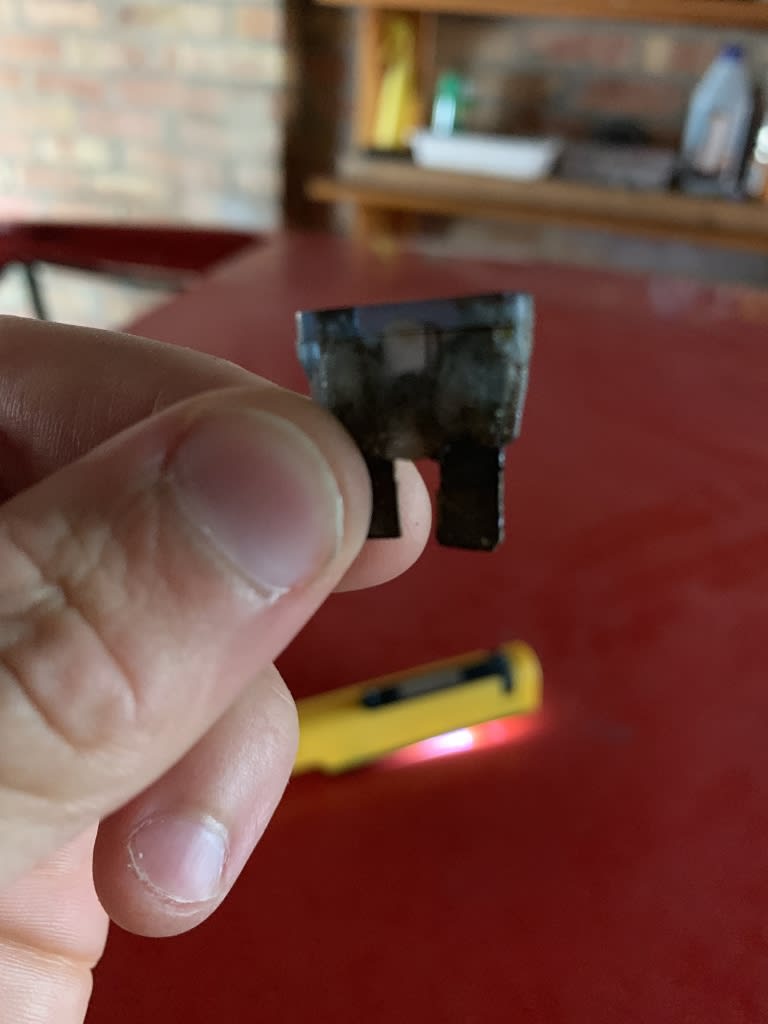
Swapped this out and still wouldn't start, fuel was pretty low so I popped out again and filled up a Jerry can but still nothing, then I remembered a wire for the coil had dropped off the negative terminal as I had been taking it on and off so many times, got that back on and it fired right up. At least I have a spare relay now.
Got the car out the garage and let it warm up, all the gauges working fine, the oil pressure goes to just over 3 when the engine is under load then drops down a bit at idle. Can anyone confirm if this is correct?


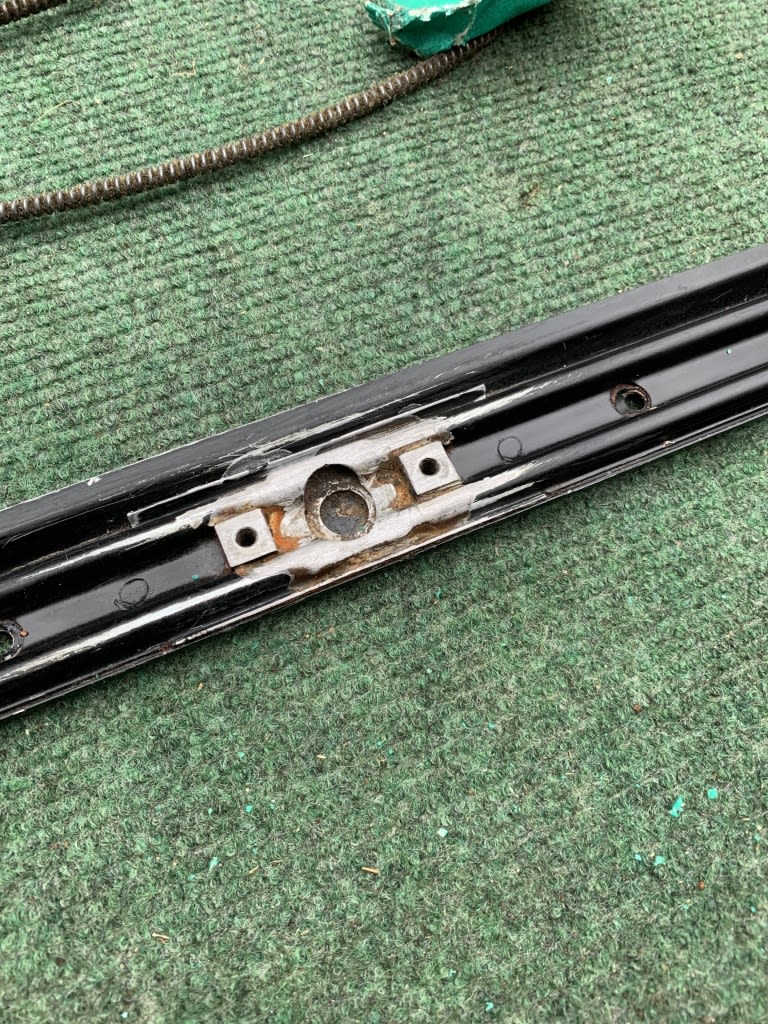
New mechanism for the sunroof arrived, shocking how bad the old one is in comparison

Took a bit of the rusty spots away on part of the sunroof frame and painted it back up, won't be seen so not fussed for it to be perfect.


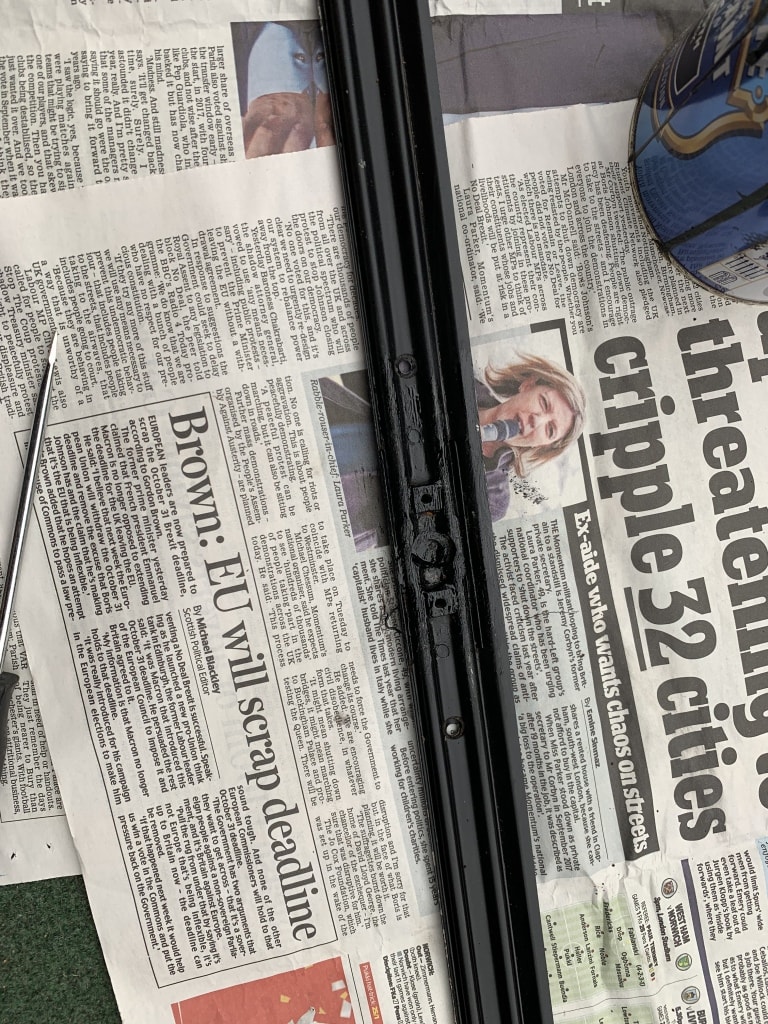
Pulled the bumper off to check out the rust on the rear corner which I will investigate a bit more next time

Posted
Settled In


Will definitely be covering everything with dust sheets next time.
Discovered that a new lip/repair piece had been spot welded on, it didn't seem to be welded to the inner arch but there was a thick layer of some kind of rubber sealant inside.
Working from the back I ground away the spot welds and pulled the repair panel away.
There was another bit of patch work in front of the arch and it also looks like there are 3 skins, so I'm assuming the inner arch was also repaired at some point.


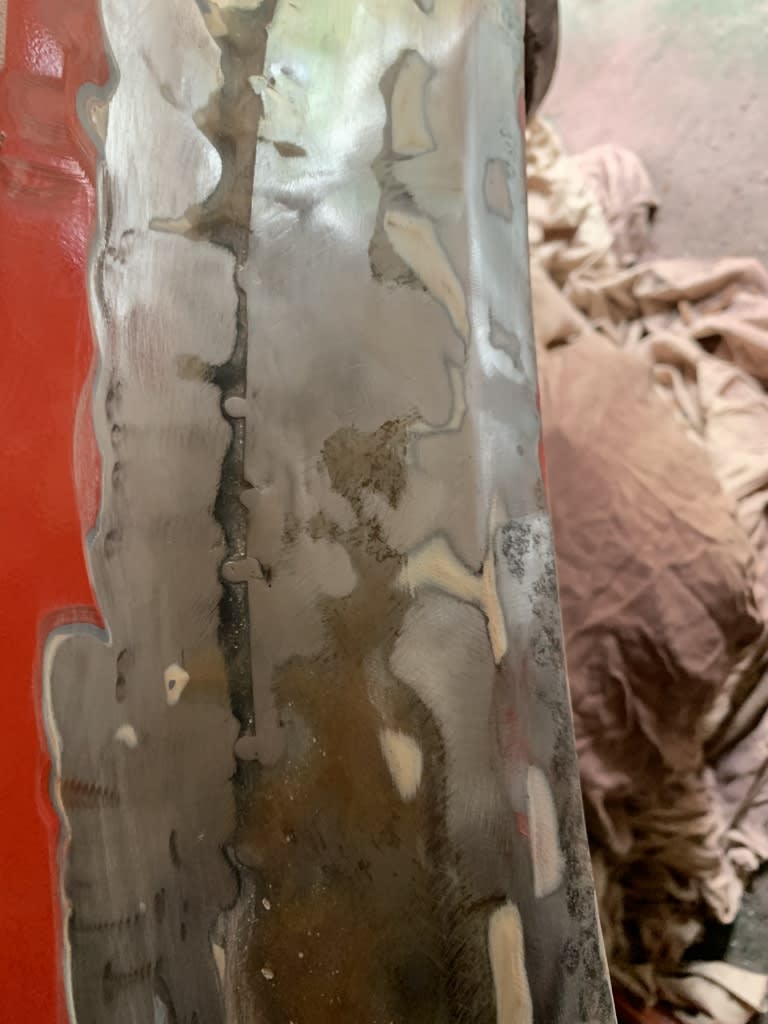


Felt like a lot of progress today, my gf came with and got stuck in too, first time I've had someone help me with the car for a full day.

I haven't decided if it's going to be easier to strip away the under-seal to investigate the repairs done to the inner arch, or if I'll be able to see it once the rest of the arch is cut out.
Posted
Local Hero


1983 Mars Red 1.8 Golf GTI
1987 Alpine White 1.8 Clipper Cabriolet
The trouble with doing nothing is that you never know when you are finished.
1987 Alpine White 1.8 Clipper Cabriolet
The trouble with doing nothing is that you never know when you are finished.
Posted
Settled In

just the one girlfriend actuallyEarly-1800 said
Where do you find these girl friends????
Posted
Settled In

Will need to the replace some of the inner arch so ordered a panel for both sides as I'm sure it's the same case on the other side of the car.

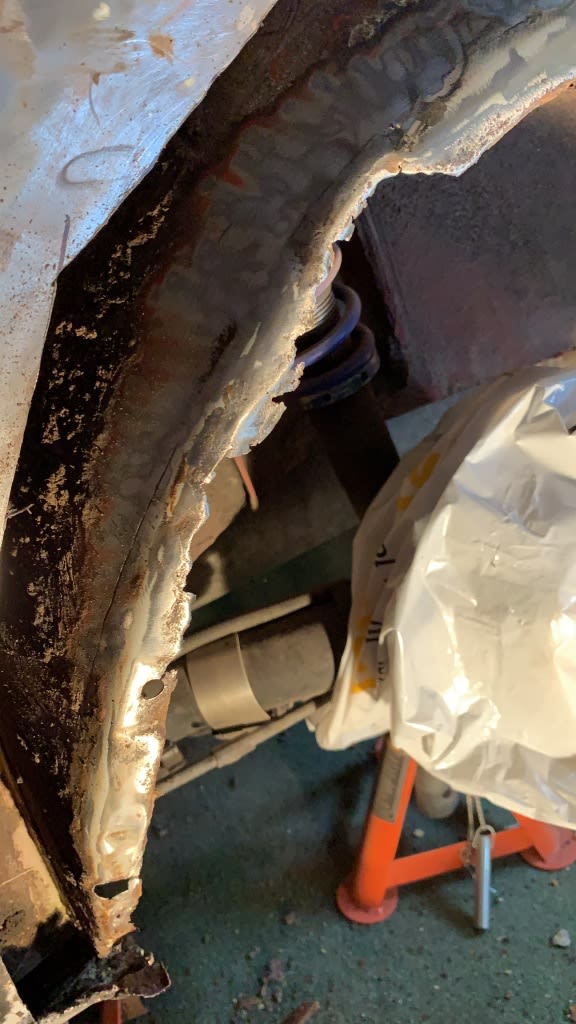
Started cutting the arch panel down a little bit at a time, some funny shapes to cut out and get right at the bottom corners so taking my time with it. Finally fitting into place nicely now when I test it but still a few more bits to cut out before I move on to grinding the edges to make it flush with the car.

The plan is to get this piece fitting perfectly before I start chopping anything else away on the inner arch so I still have this piece for reference if that makes sense.
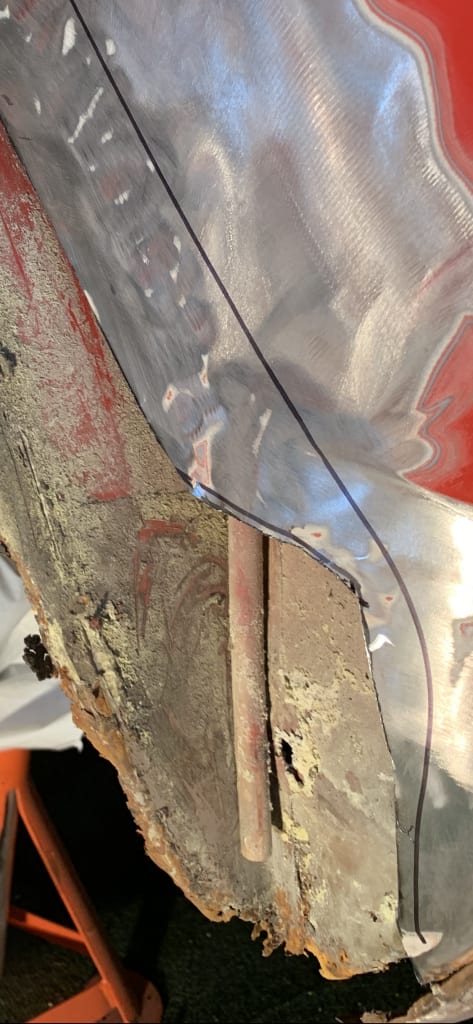
I think it was particularly rusty as this drainage tube was completely shut in with nowhere for the water to get out, I'm assuming this is for the sunroof and is in the correct place?
Posted
Settled In

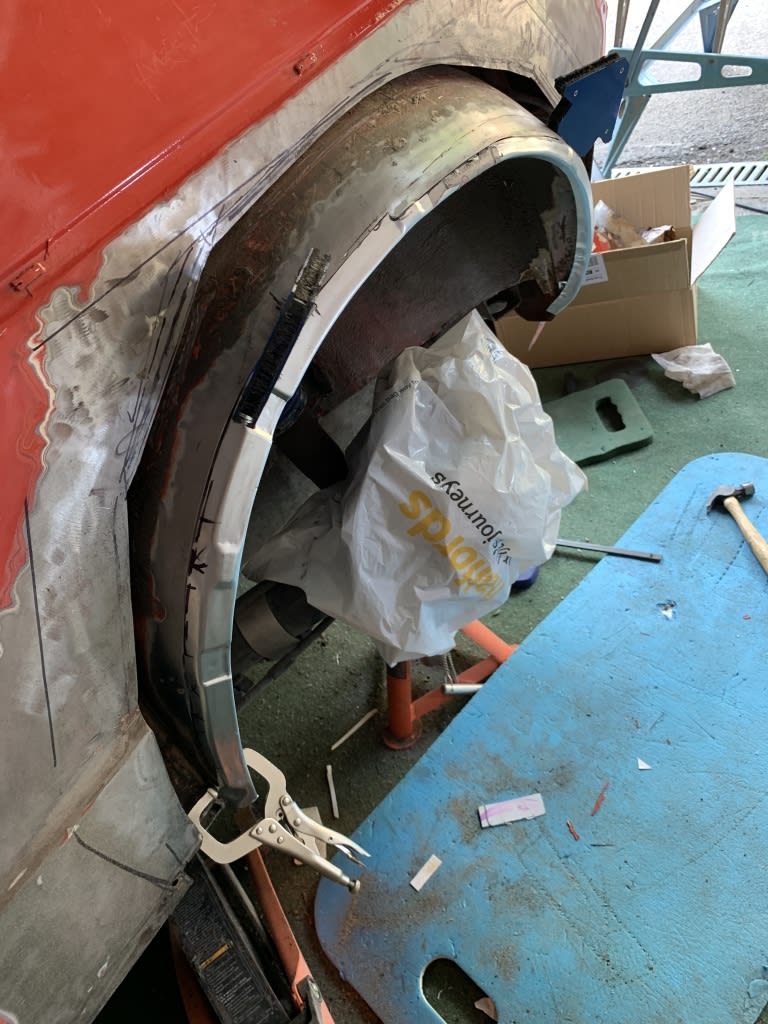
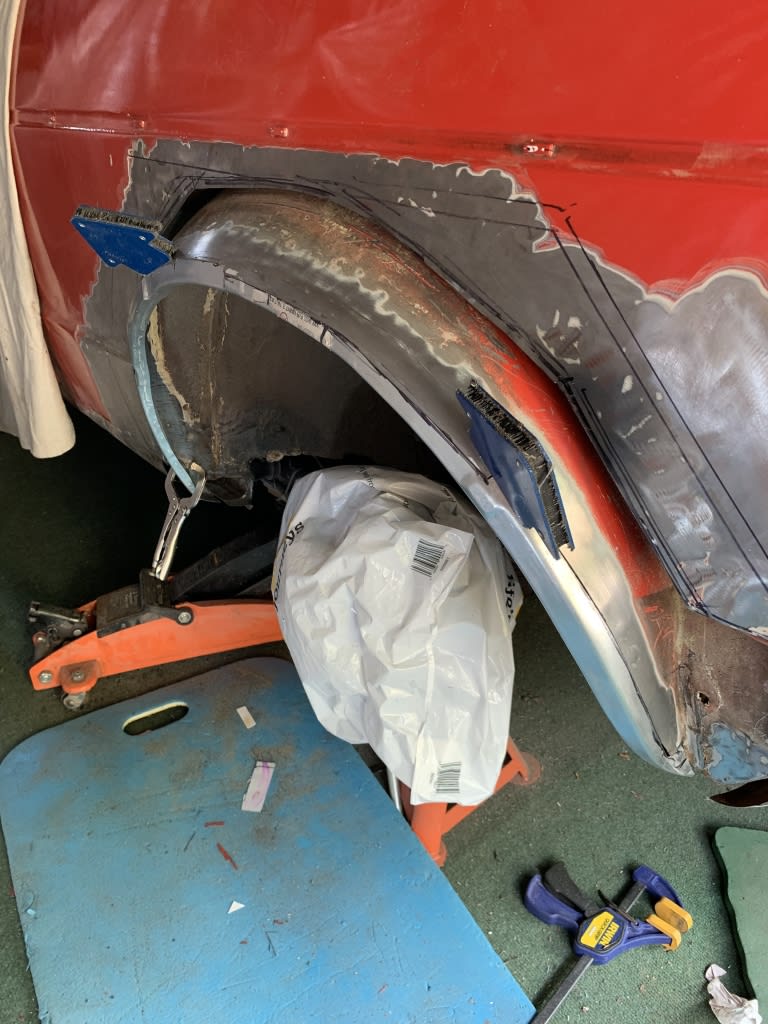
A couple more bits to finish but each side fits quite flush now, ignore all my sharpie marks!

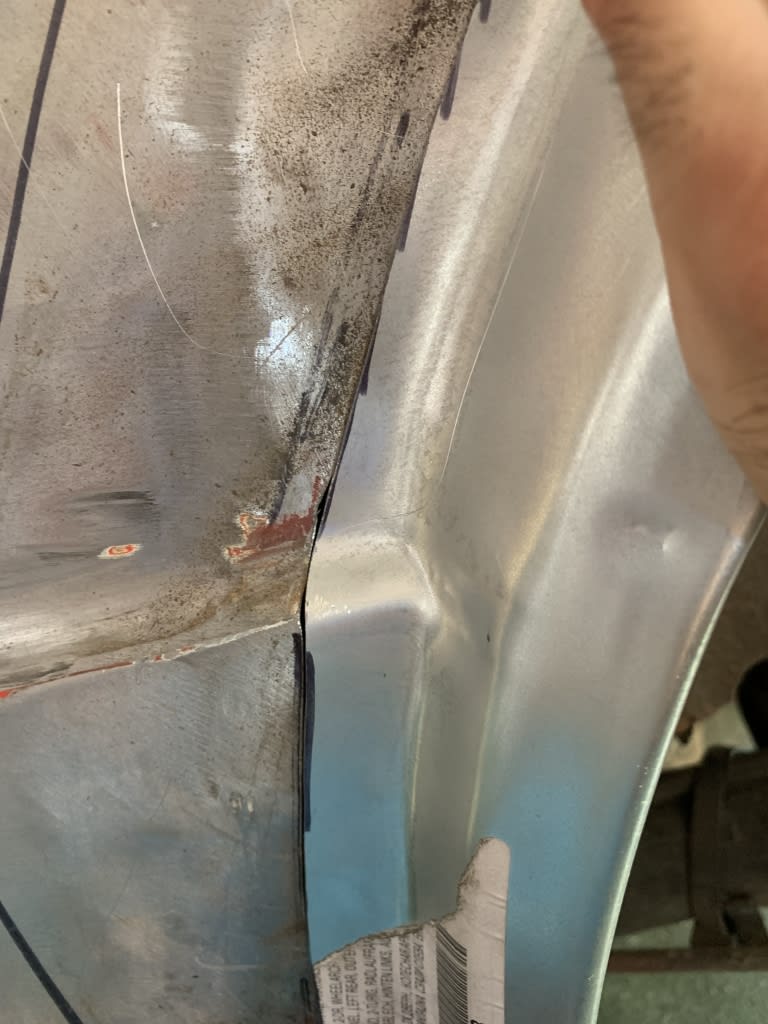
The inner arch came today, pretty much the entire lip of the old one was rusted so chopped that out today and started cutting the new piece down to fit, will finish that up tomorrow once the outer is done then I should be ready to weld.

Posted
Settled In


Posted
Settled In


Posted
Settled In


Posted
Settled In

Got halfway welding the arch, I put a thin layer of sealant in between the lips, not sure if this is what other people have done but will definitely keep things water tight.


Posted
Settled In

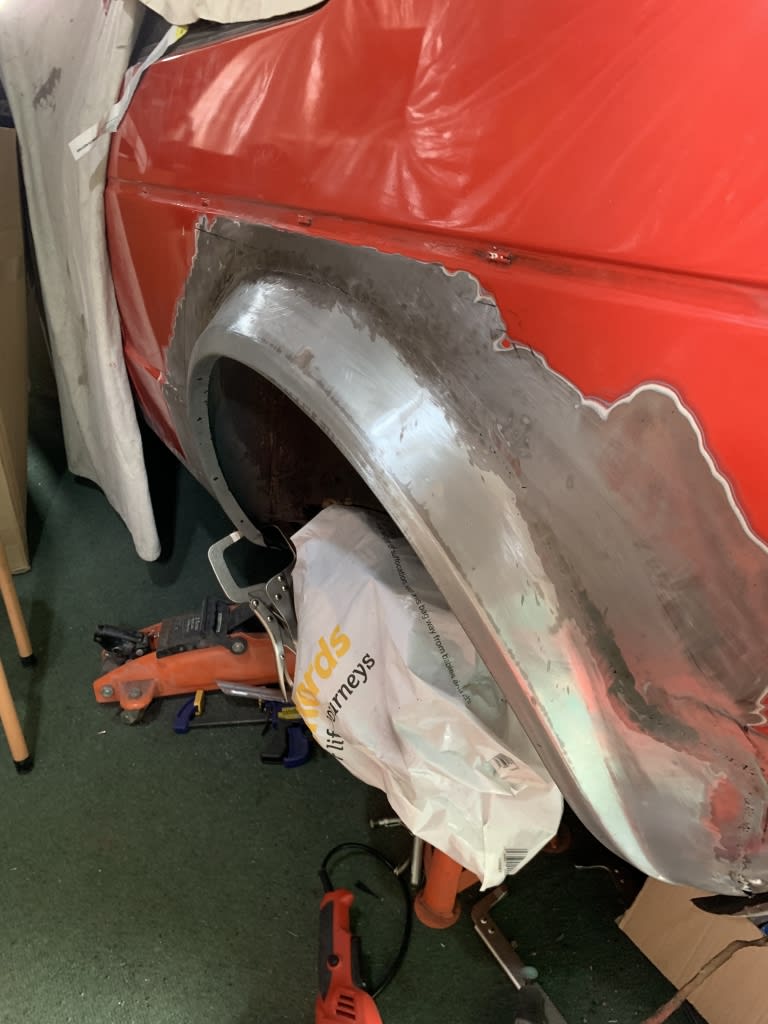
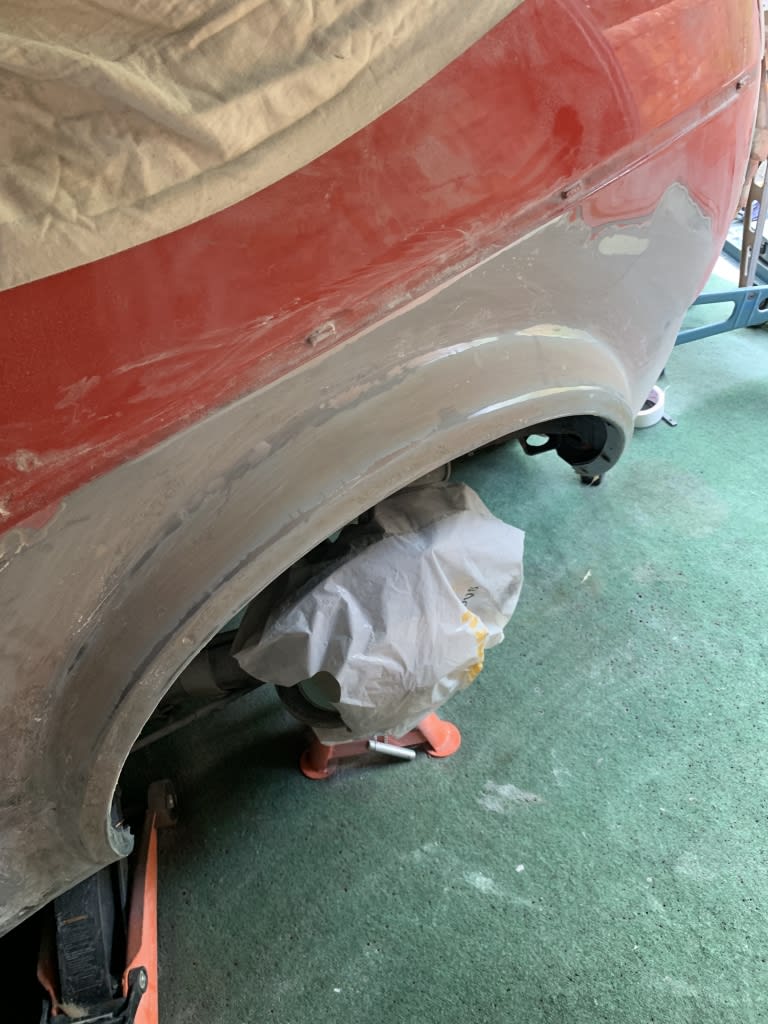
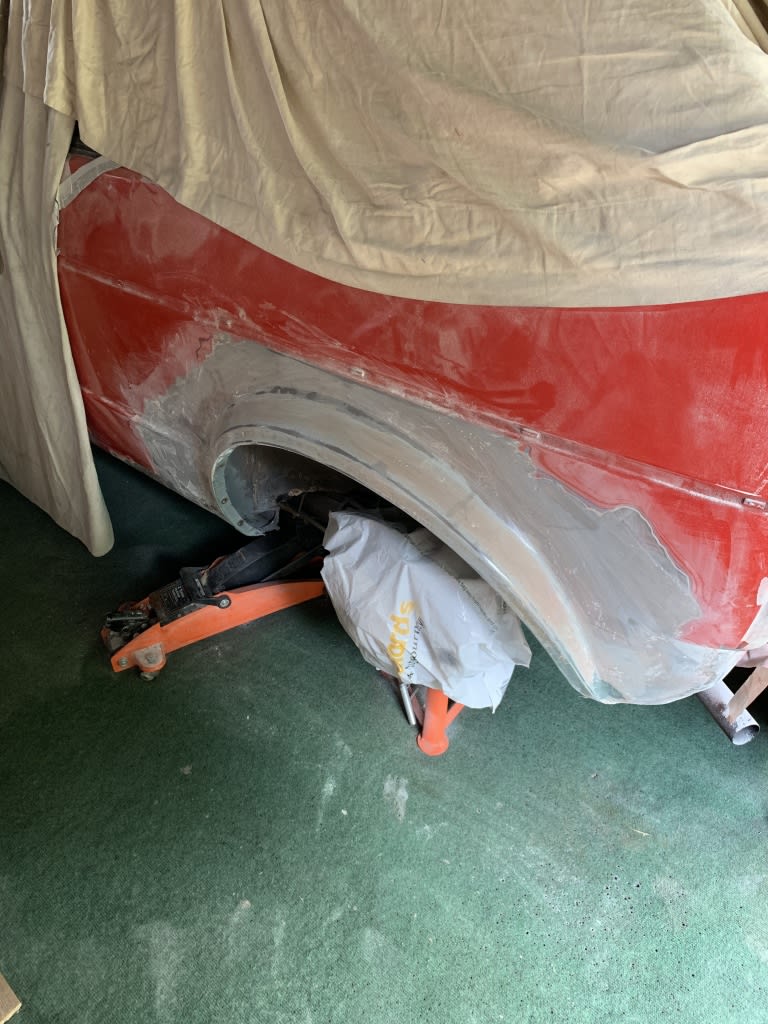
More block sanding to do but coming along nicely
Posted
Moderator


0 guests and 0 members have just viewed this: None.


