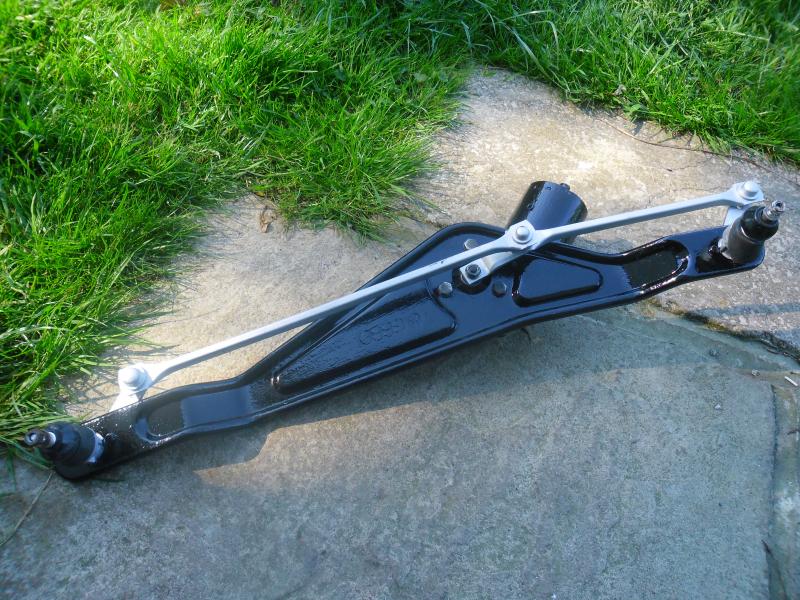
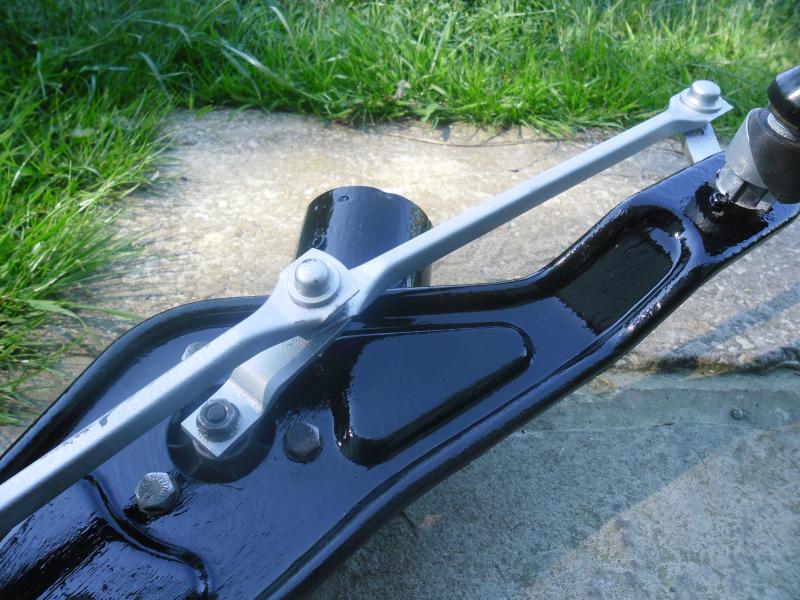
Jamie's MK1 Gti Tintop Project ...Miami Blue :D
Posted
#1422580
(In Topic #187429)
Settled In

2.0 16v to go in
My plans are to tidy the engine bay up half smooth it …tidy up all the engine parts and reinstate engine keeping the fuel injection for now …then repair all the rusty bodywork and respray it (unsure on colour yet ) , Source all new interior and fit
Some pics of car when I got it,
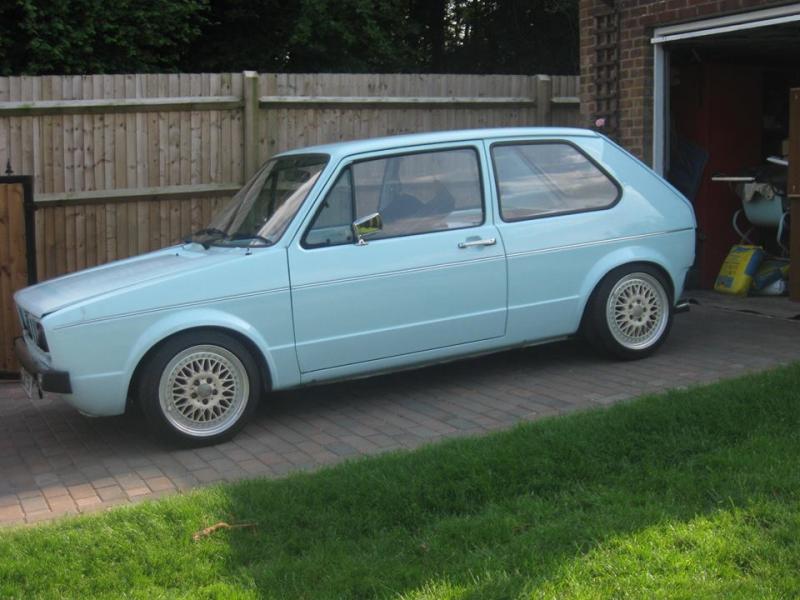
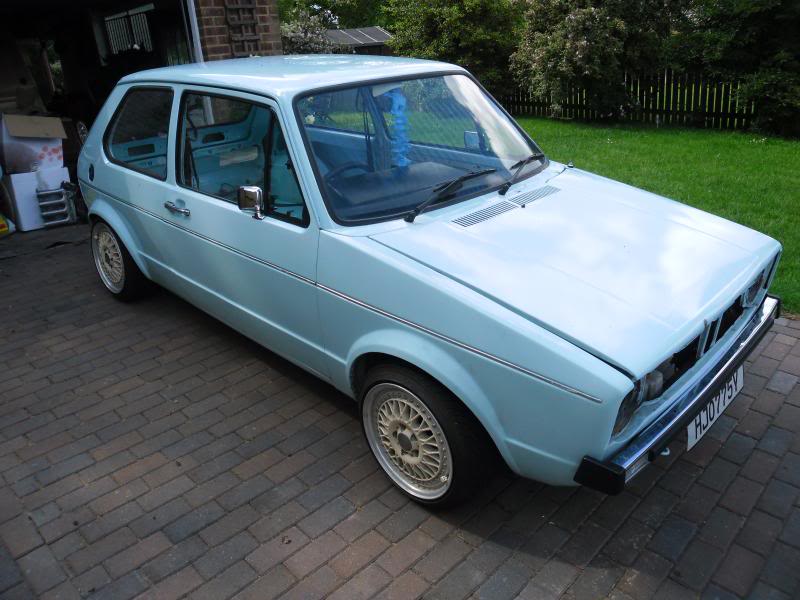
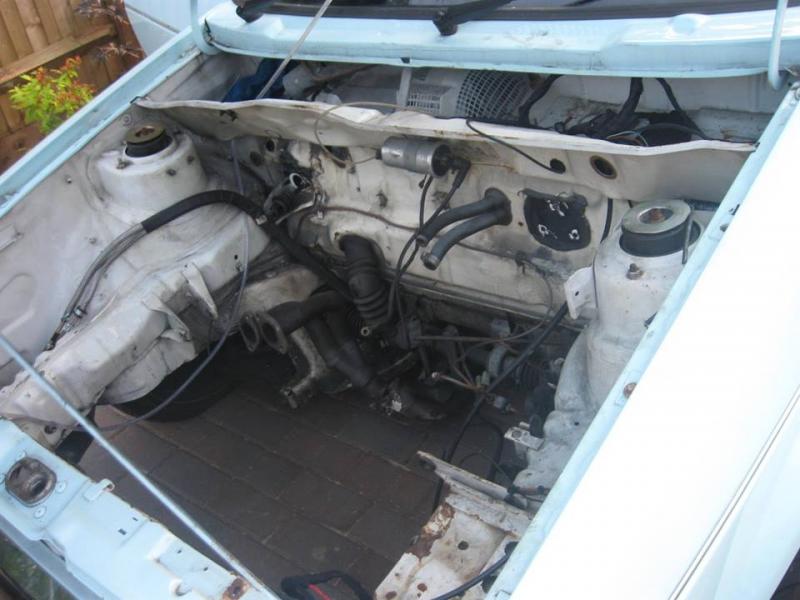
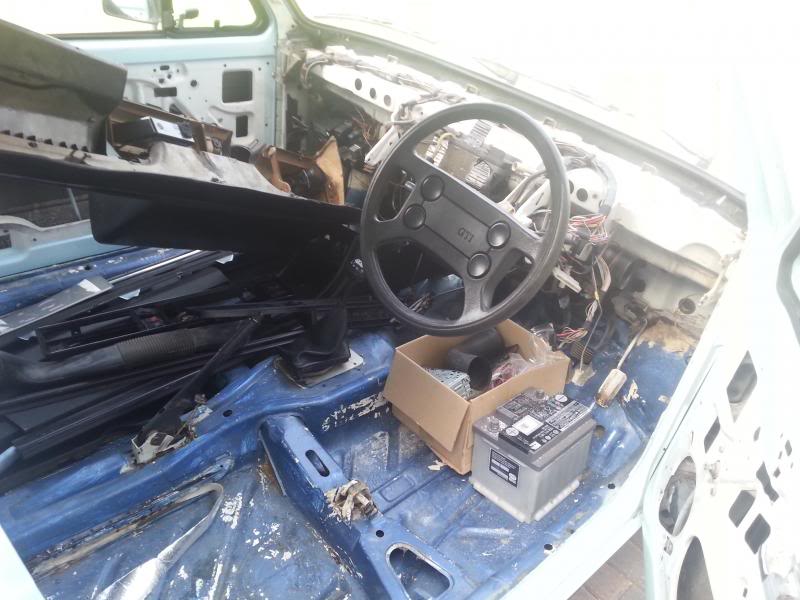
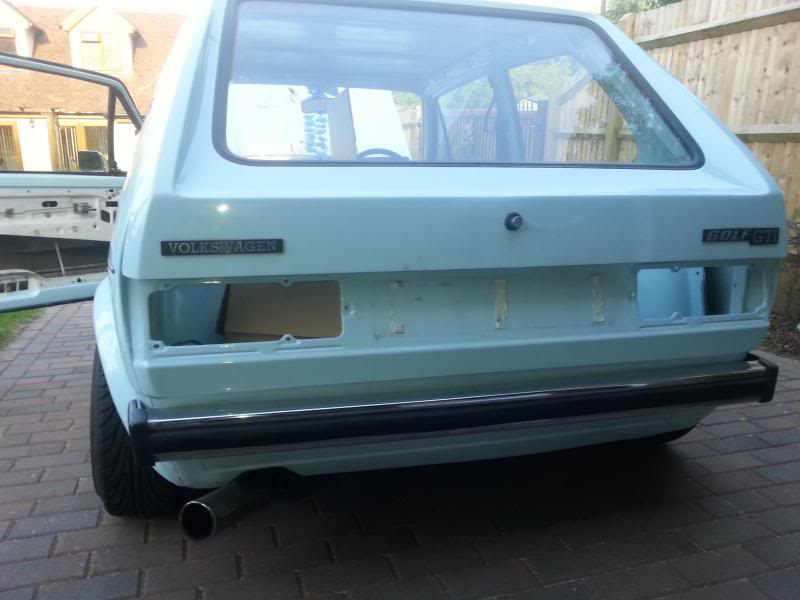
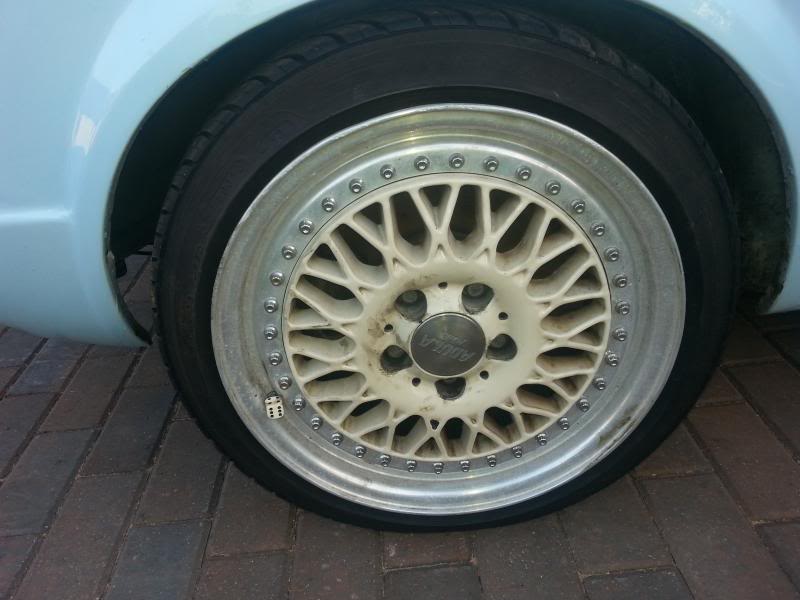
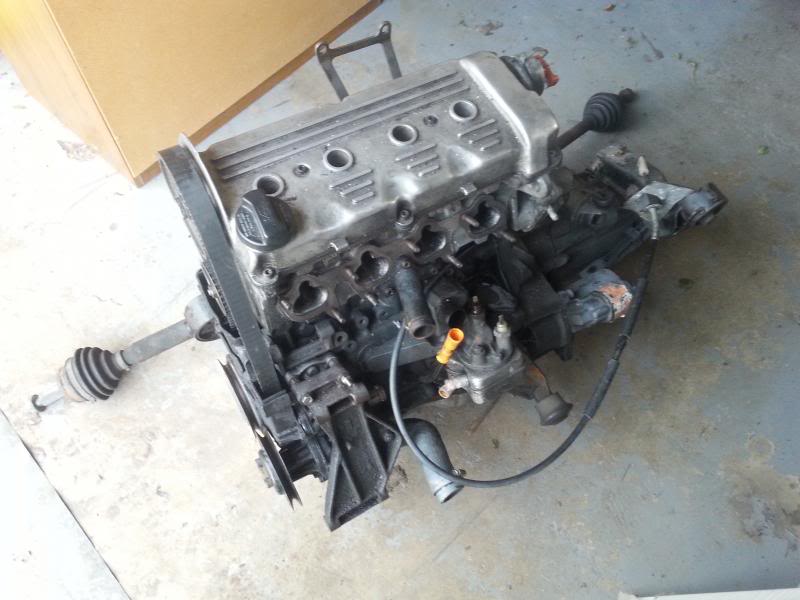
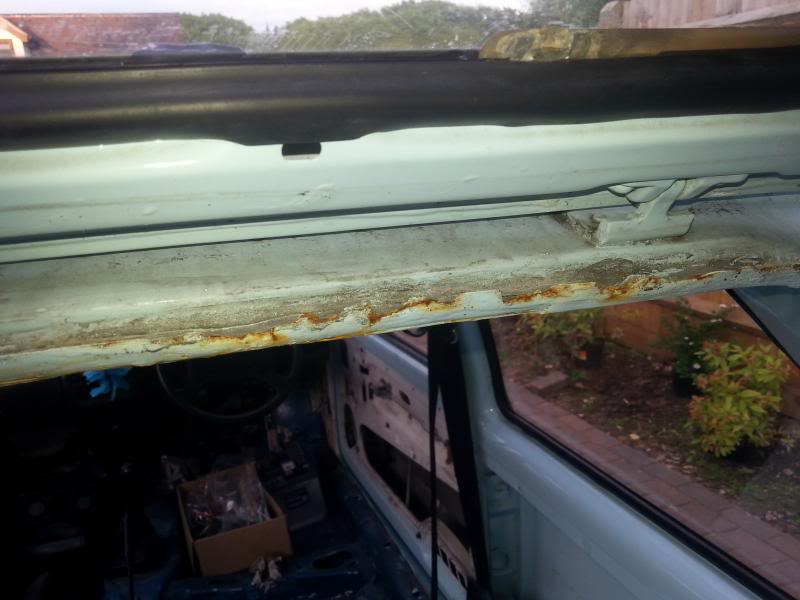

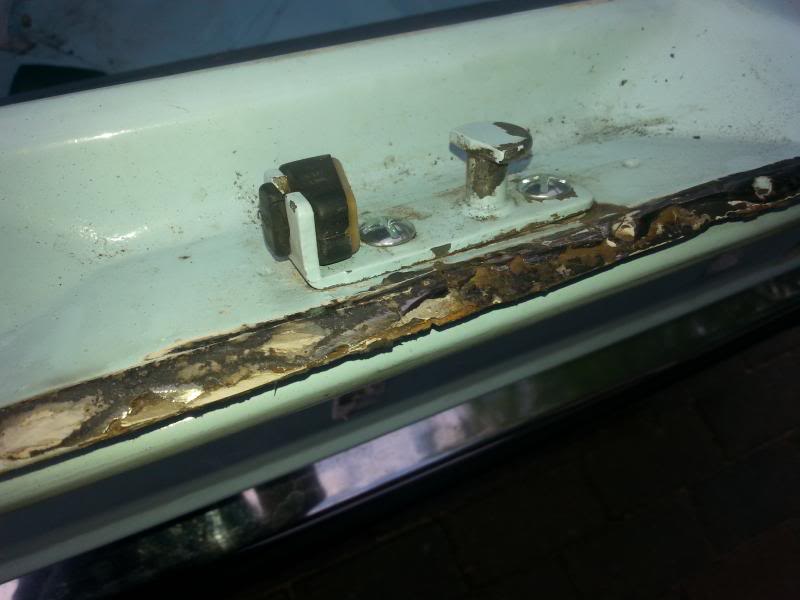
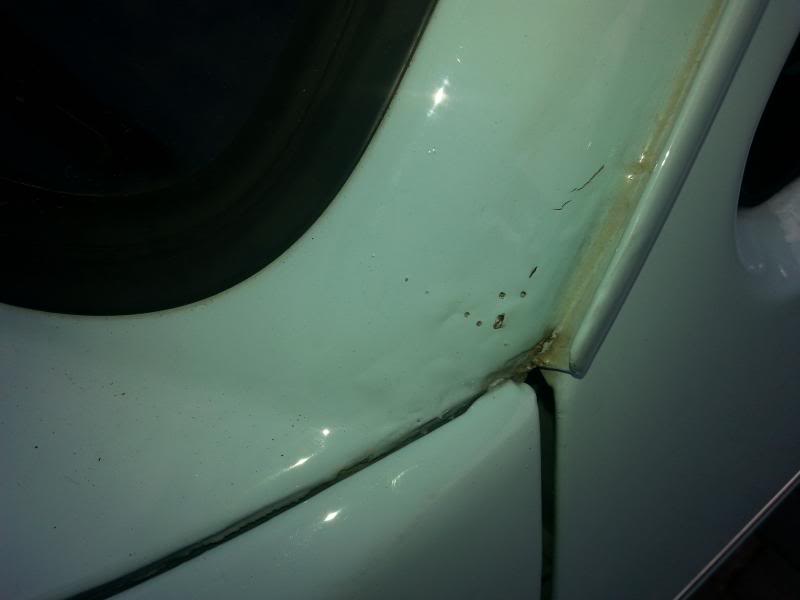
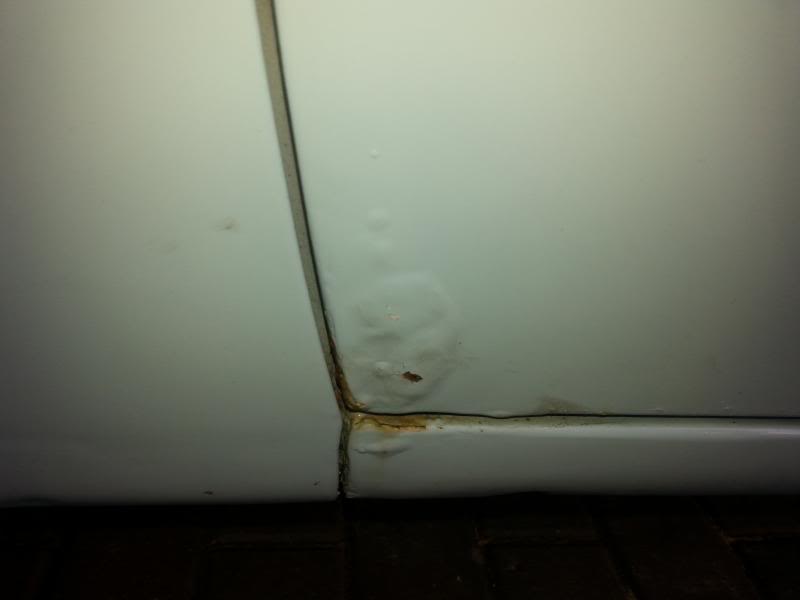
Thanks
 Last edit: by mk1 Jamie
Posted
Local Hero


Are you staying with Florida Blue?
Looking forward to the updates
Andy
LINCOLNSHIRE REGION - https://www.facebook.com/groups/467122313360002/
1983 MK1 Golf GTI Campaign Model - Under (looooong) resto!
1962 Rover P4 80
2002 BMW 745i
2008 BMW Z4 2.5Si
LINCOLNSHIRE REGION - https://www.facebook.com/groups/467122313360002/
1983 MK1 Golf GTI Campaign Model - Under (looooong) resto!
1962 Rover P4 80
2002 BMW 745i
2008 BMW Z4 2.5Si
Posted
Settled In

YepHairyarse said
Just commented on your other post, and this one answers my question! Looks like the body does need a bit of work, nothing too bad though.
Are you staying with Florida Blue?
Looking forward to the updates
Im unsure on colour yet I don't even know if it is Florida blue I think it is ….I may do it new vw beetle denim blue will have to get some opinions on that though
J
Posted
Settled In

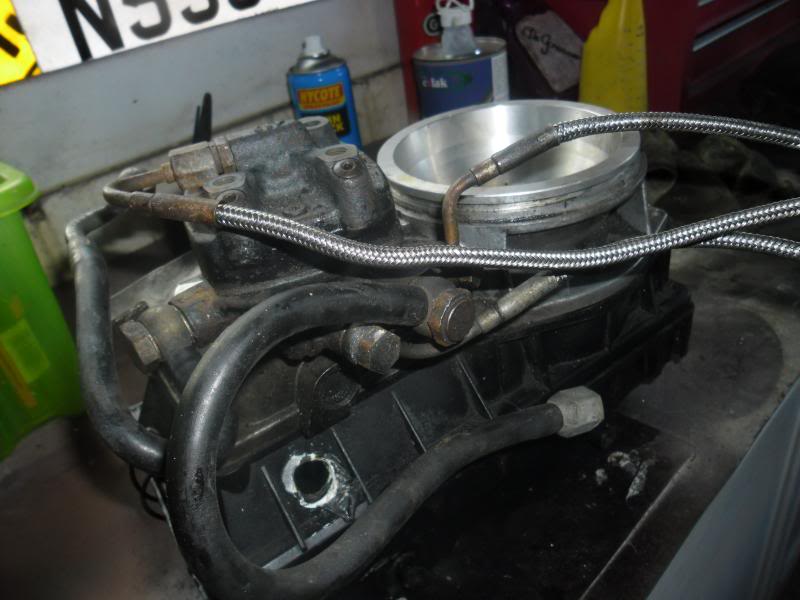
Engine Degreased
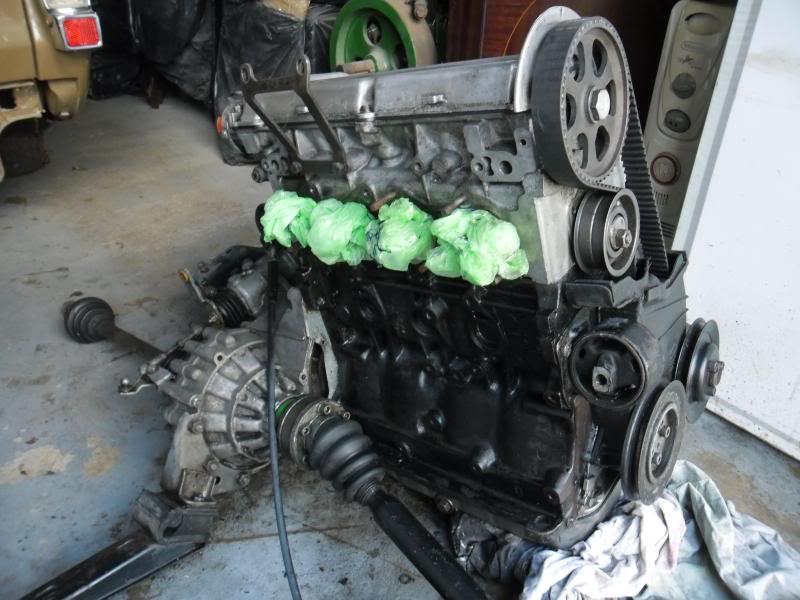

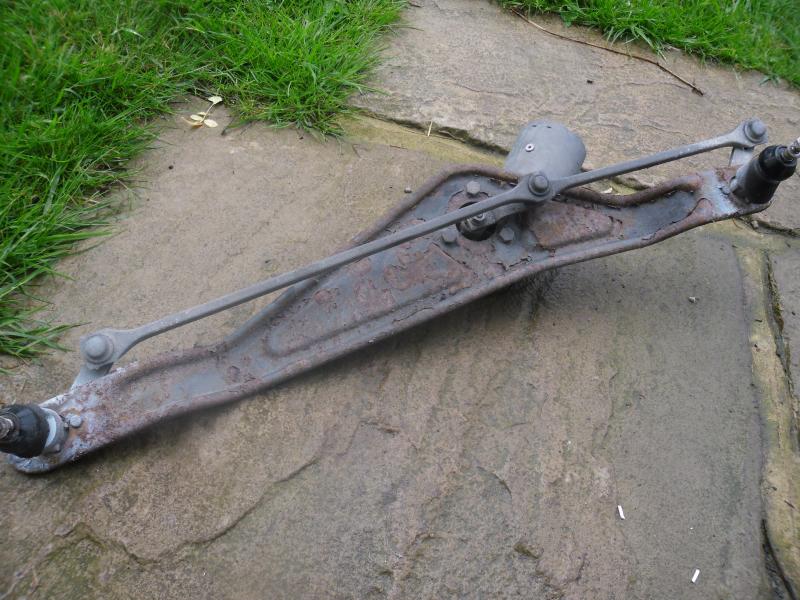
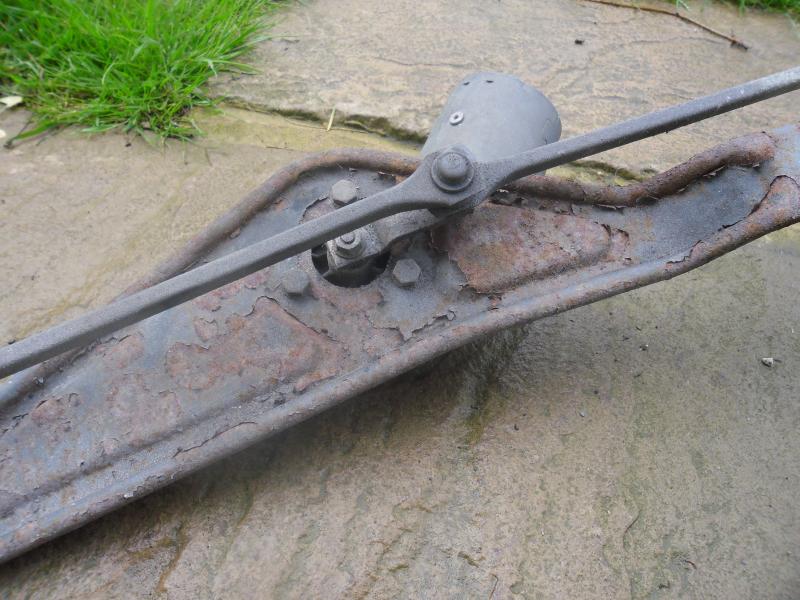
Bits removed from engine
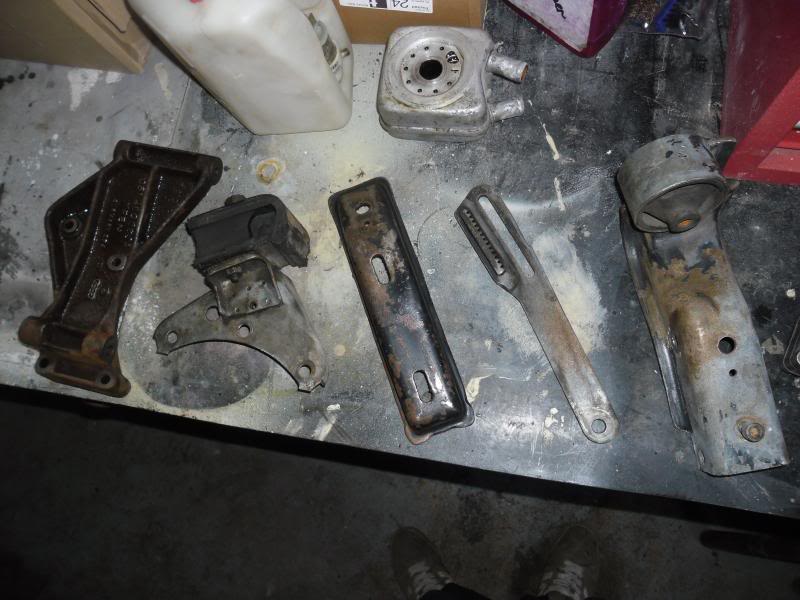

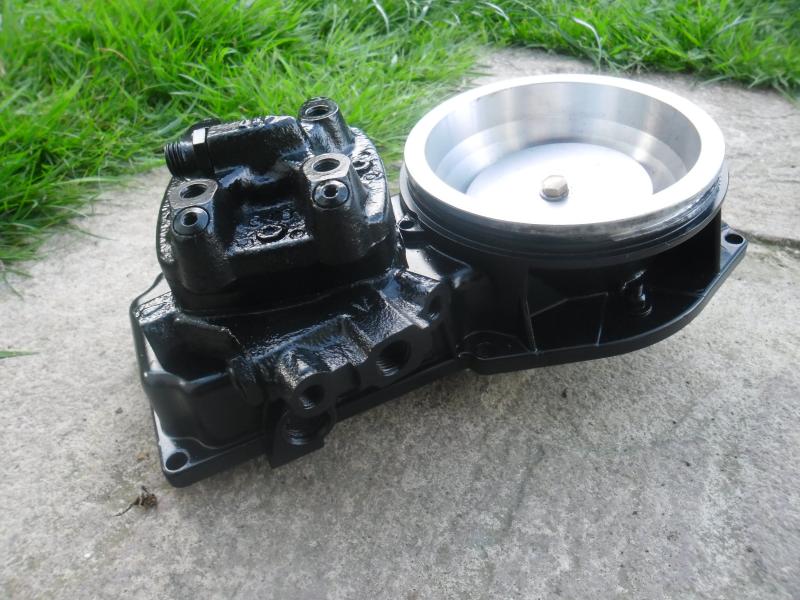
Painted bits
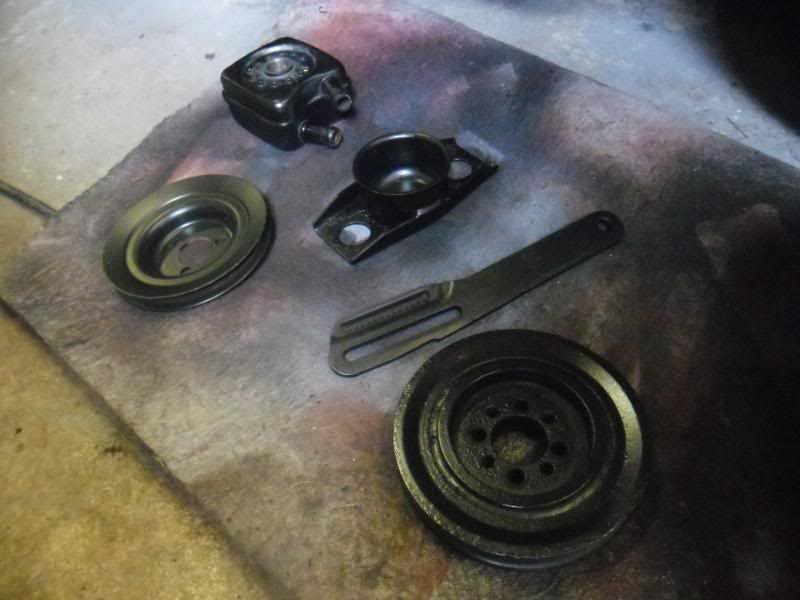


Some bits arrived

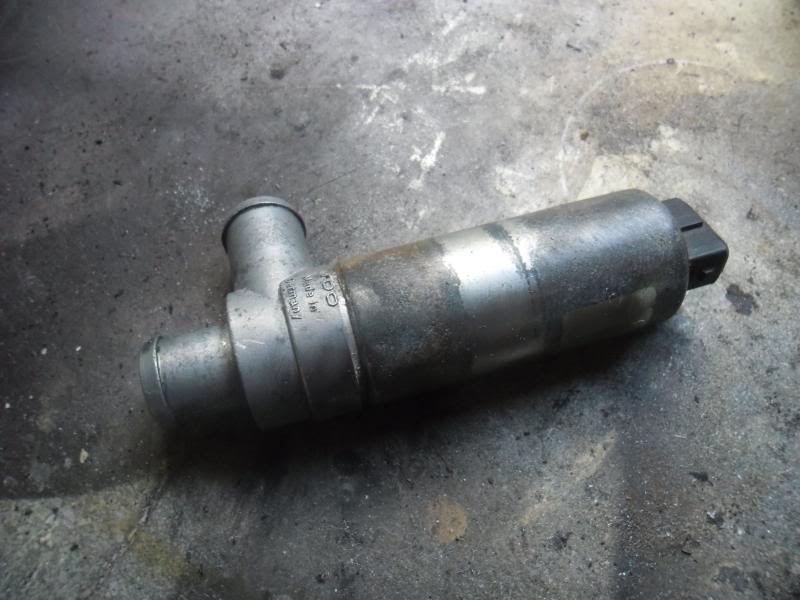
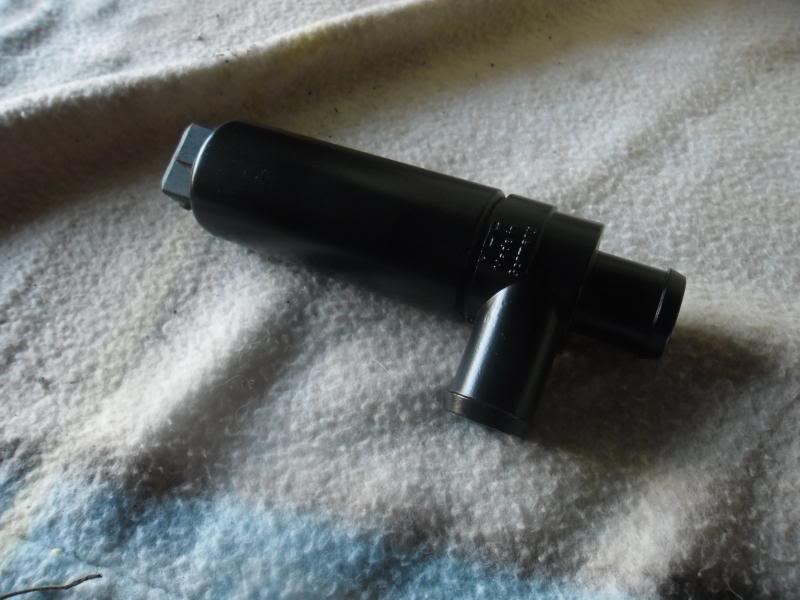
New coolant pipe to replace bodged one

Engine painted with por 15 engine enamel
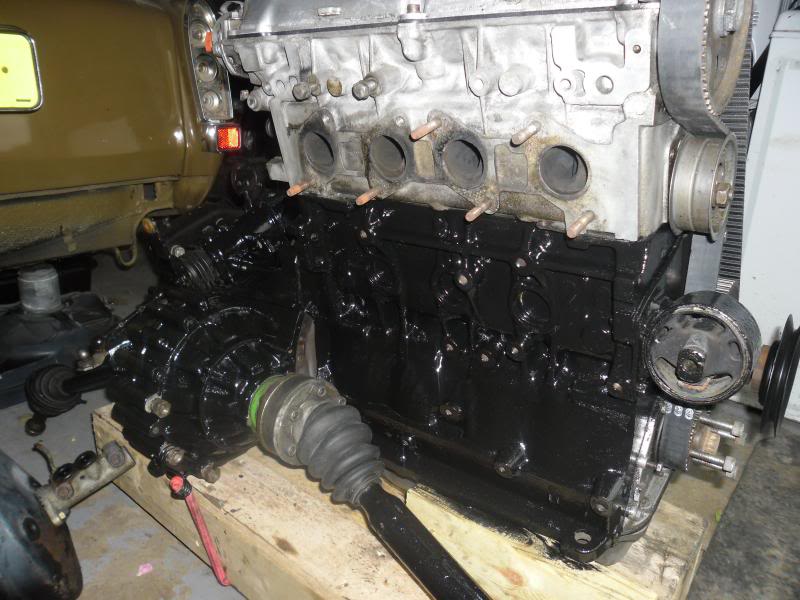
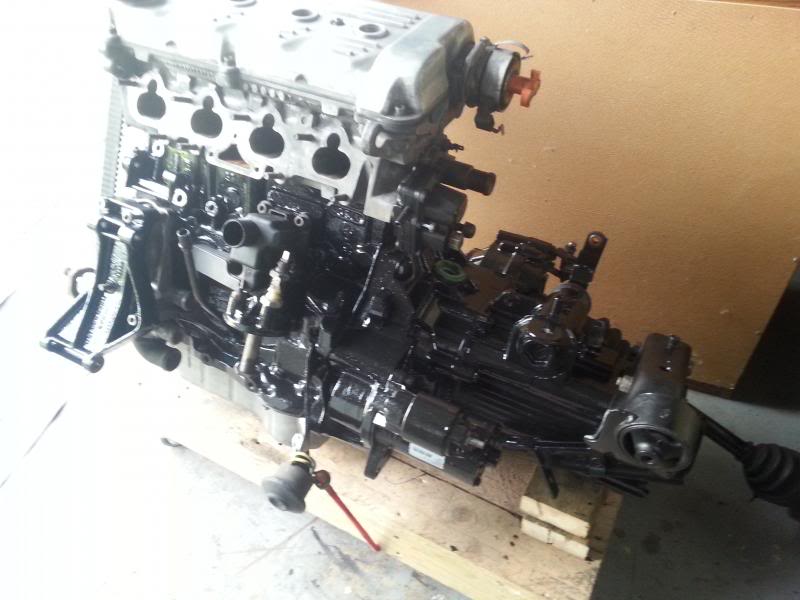
Painted bits bolted back on starting to look nice
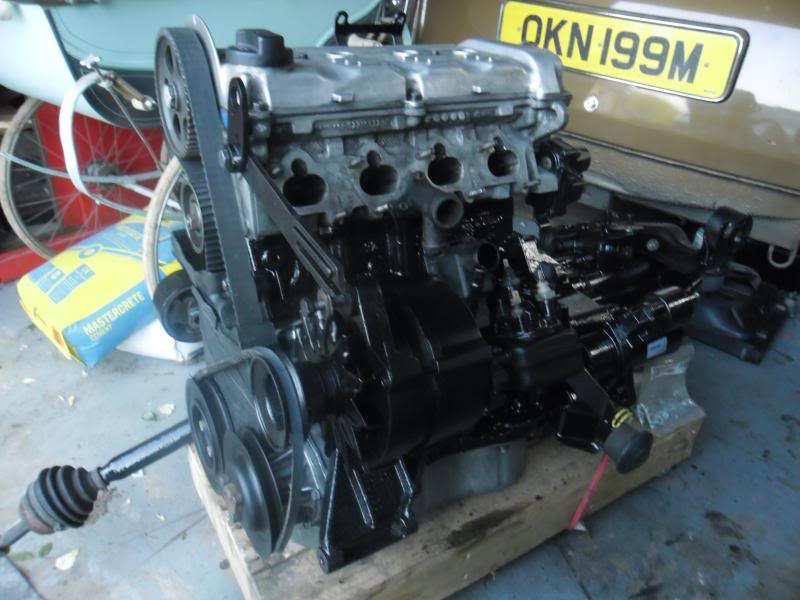
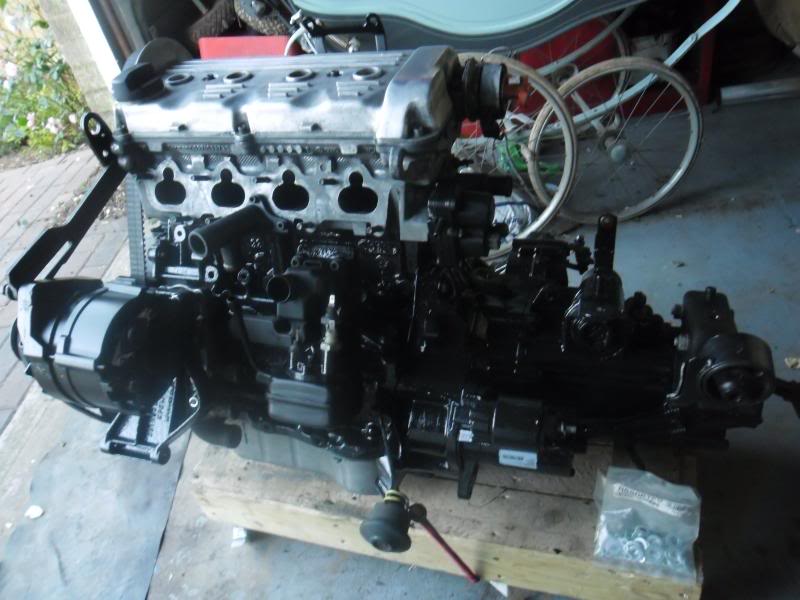
Onto the brake servo was quite corroded from brake fluid leak
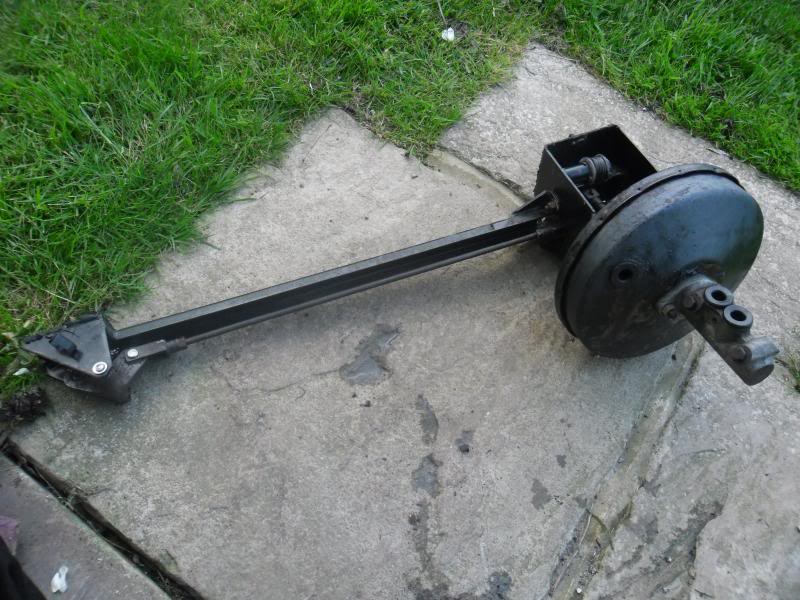
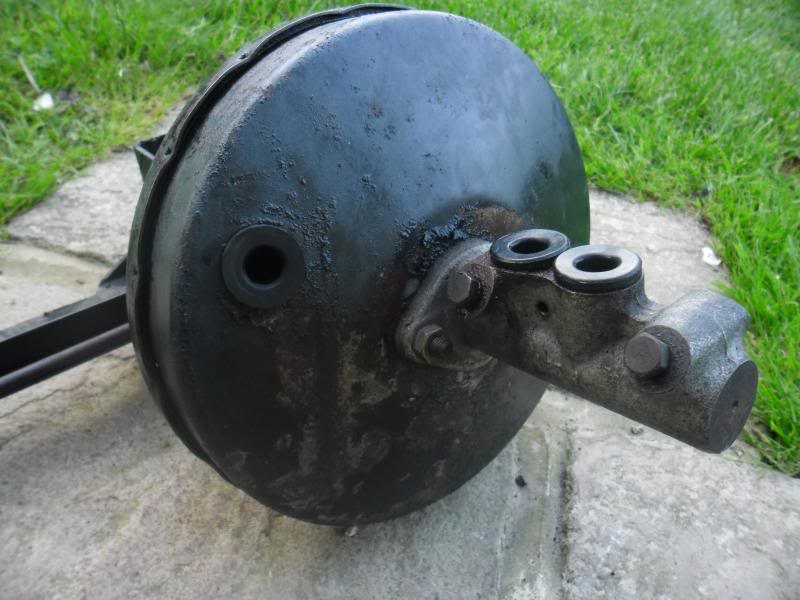
Painted bits
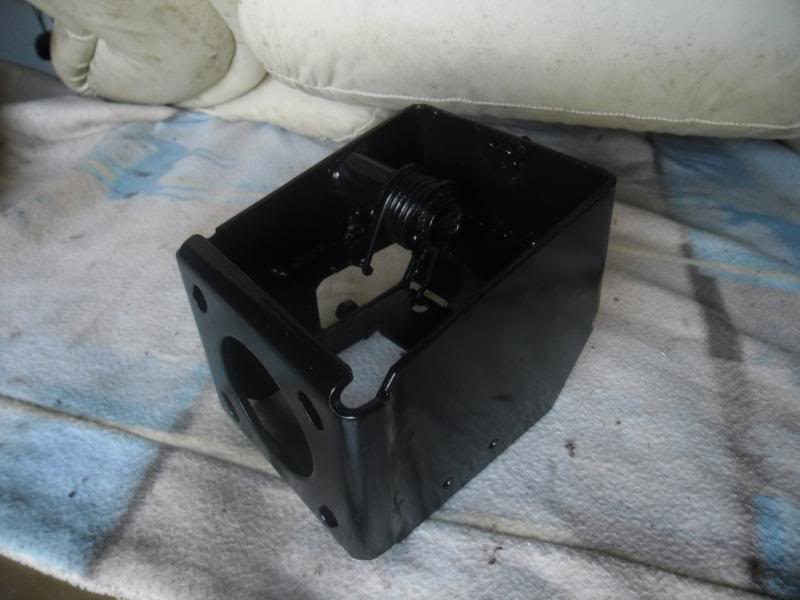
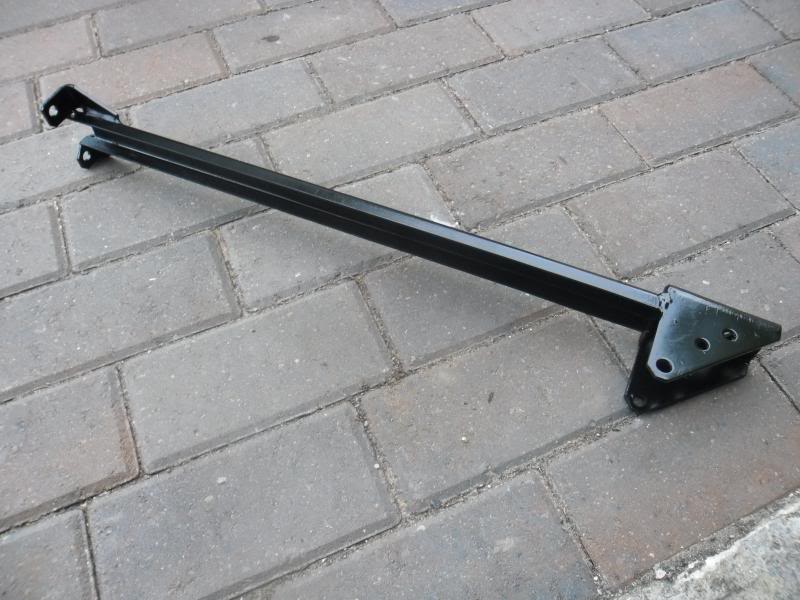
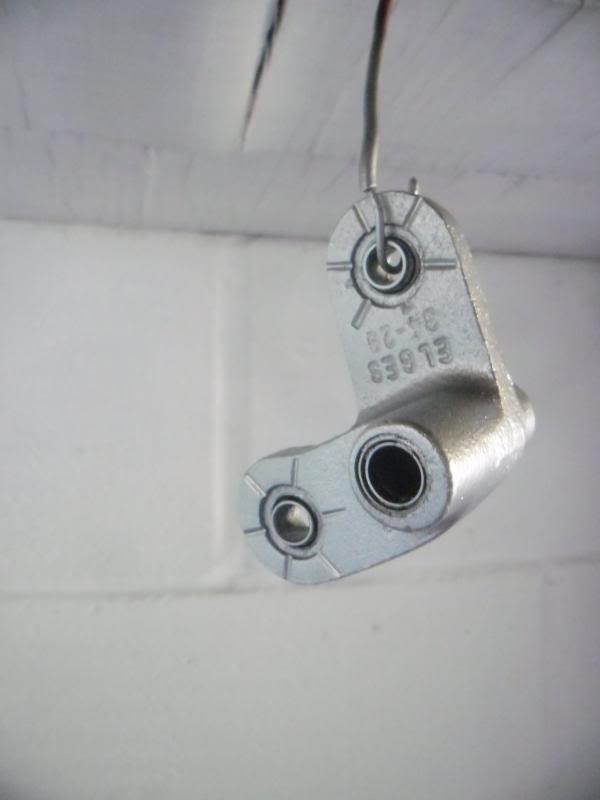
All back together done
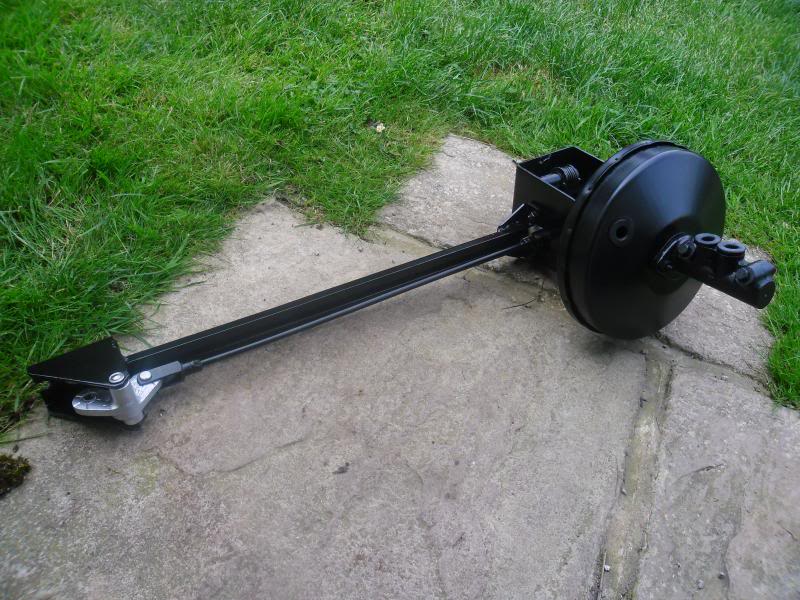
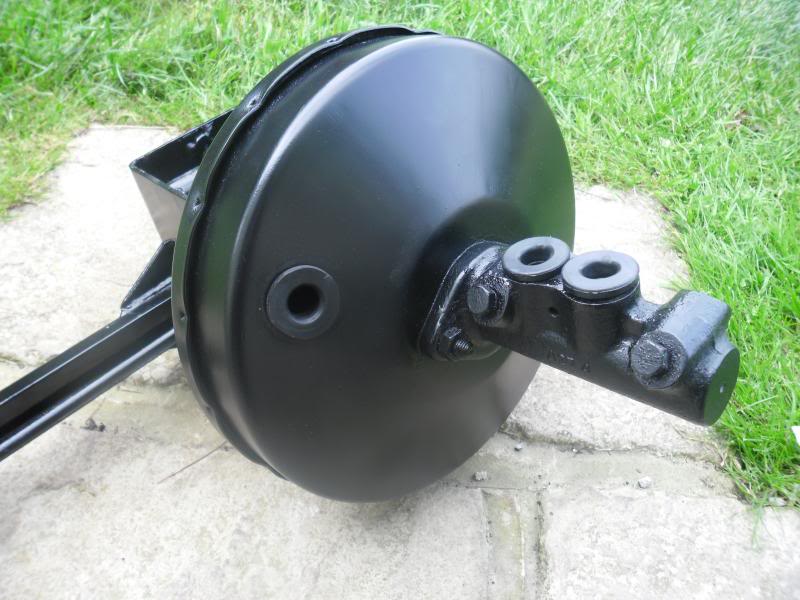
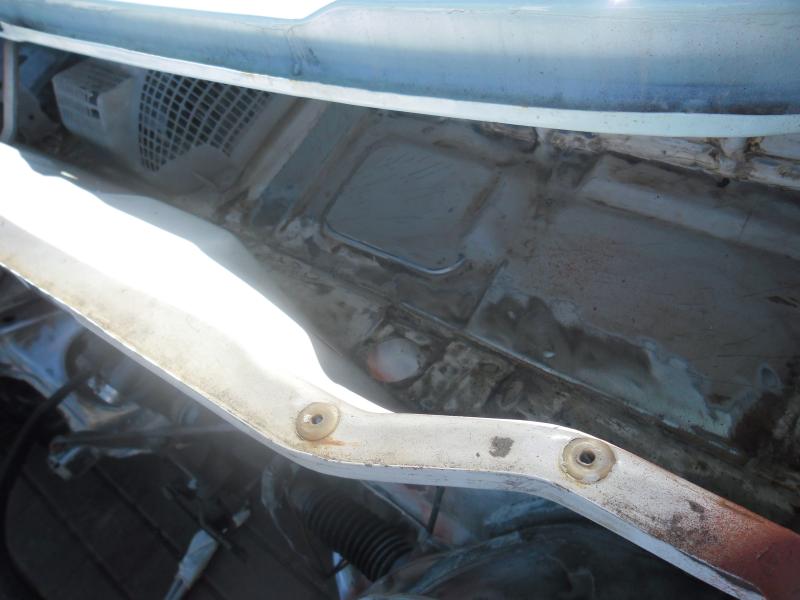
On to the engine bay
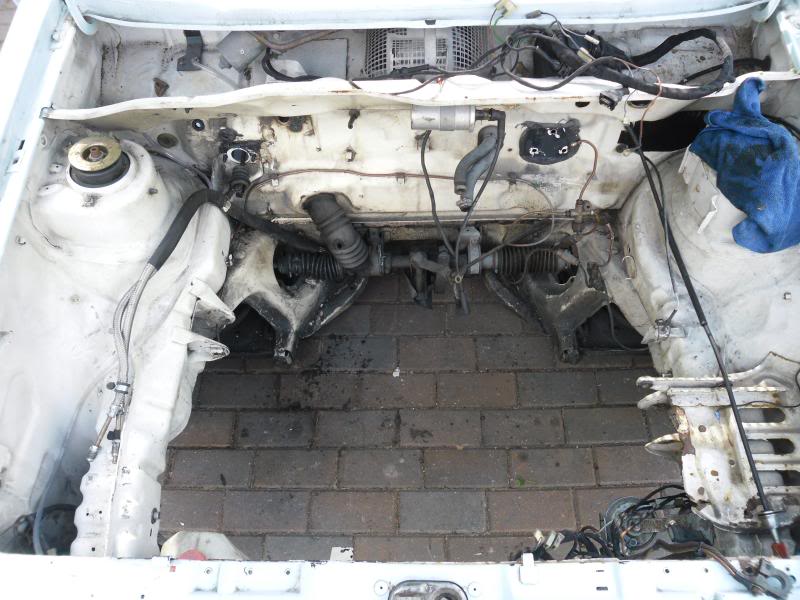
Quite abit of surface rust
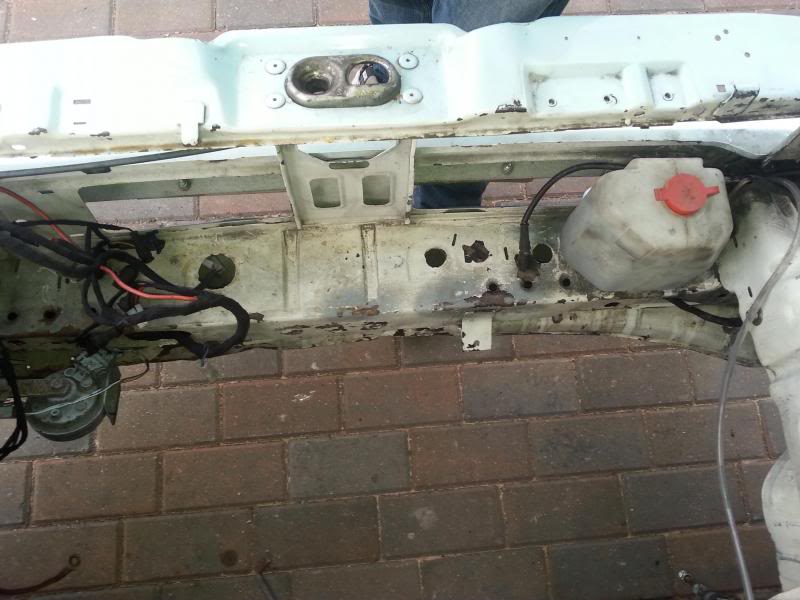
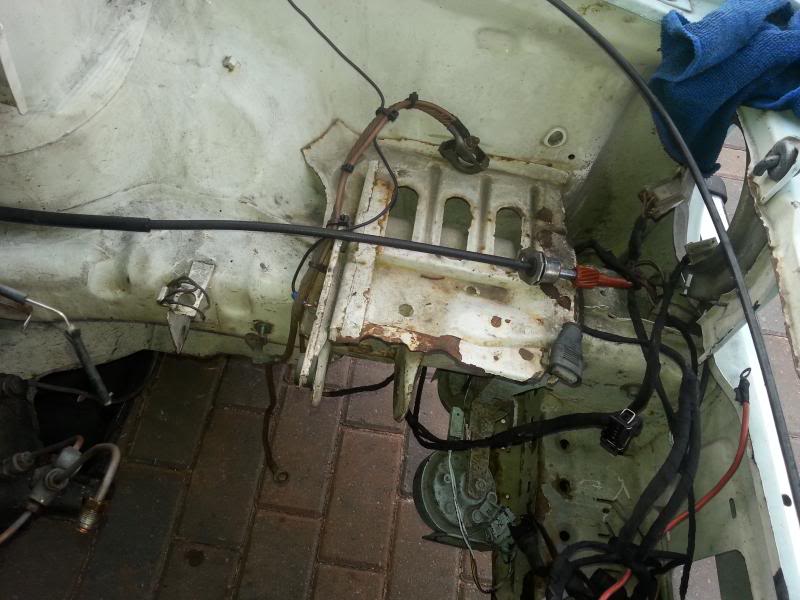
Battery tray cut out batterys going in the boot along with the washer bottle
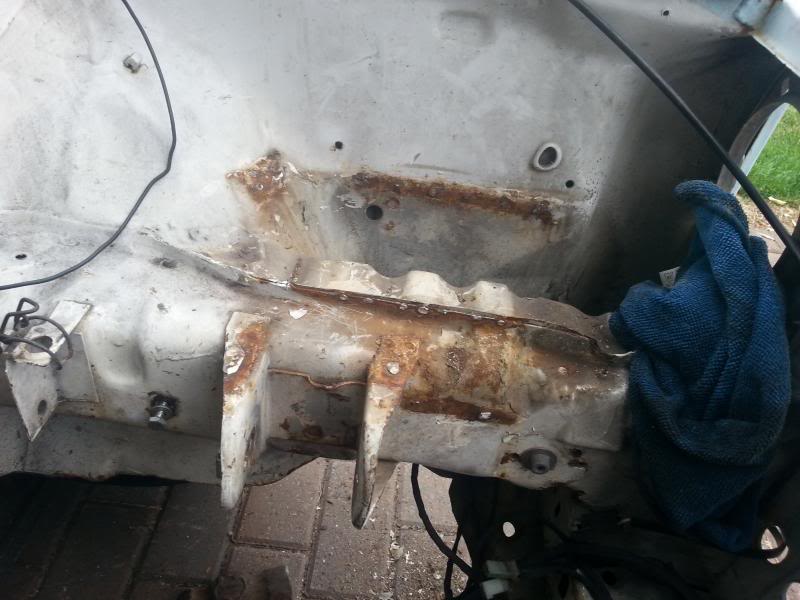
Brackets and clips removerd…expansion tank bracket removed either going for a alloy tank or a top fill rad
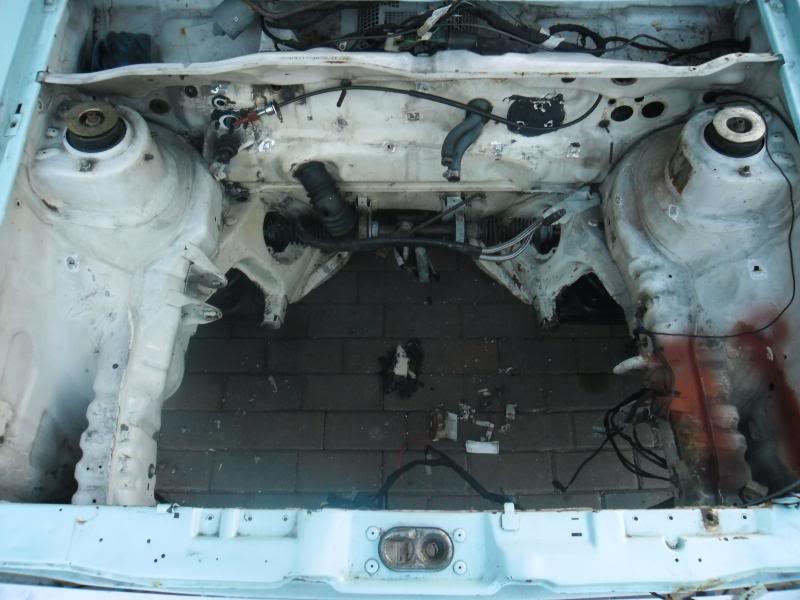
Started stripping the paint, rust and very thick seam sealer off
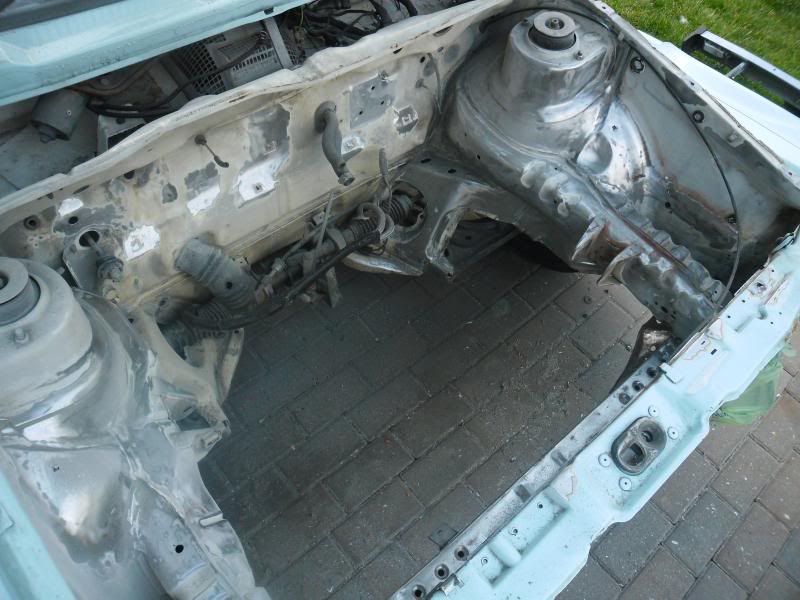

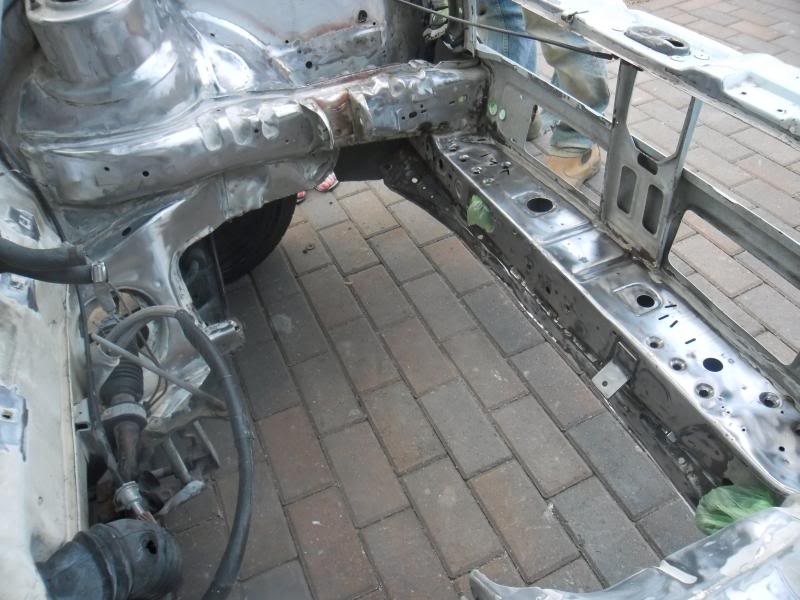
More updates soon
Jamie
Posted
Settled In

Posted
Settled In


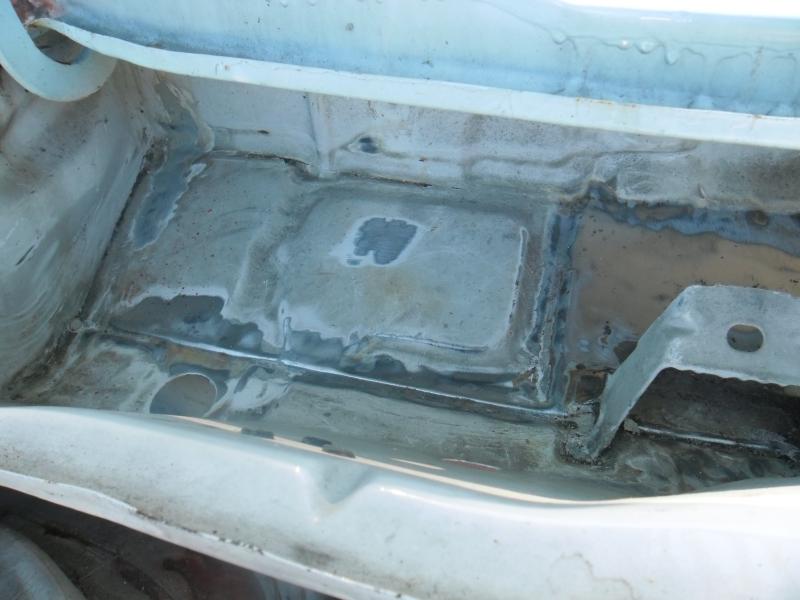
first welds


ground back
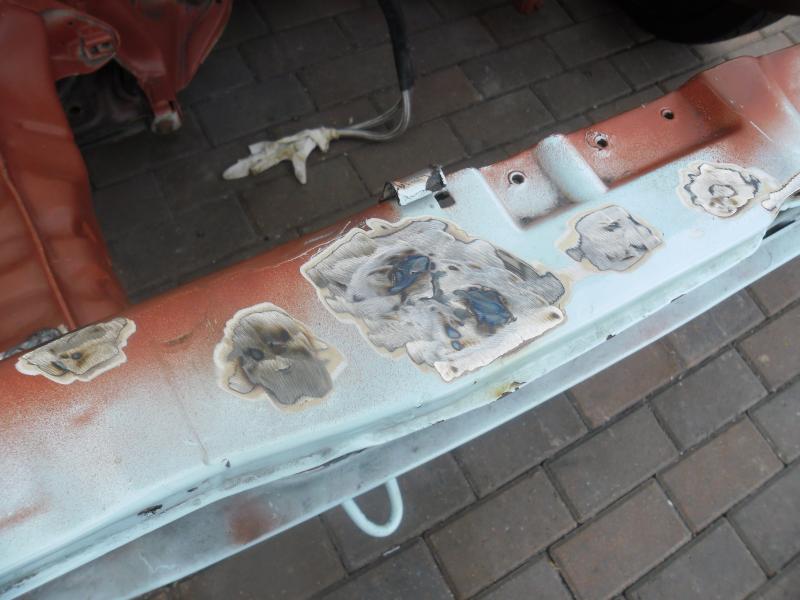
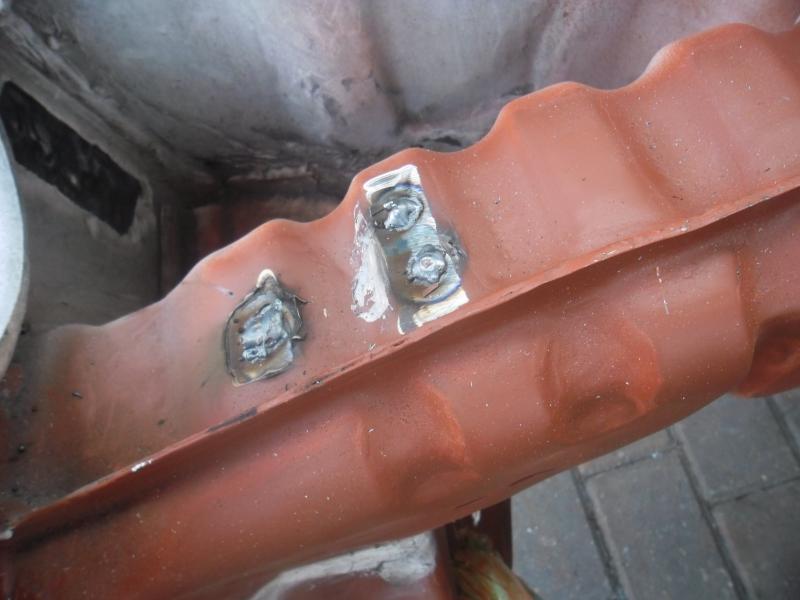

took the rubber bungs out aswell to be welded

Plates welded on the back also seam sealed these so no water can get into the welds


Decided to weld the ones up in the rain tray aswell as they are not needed
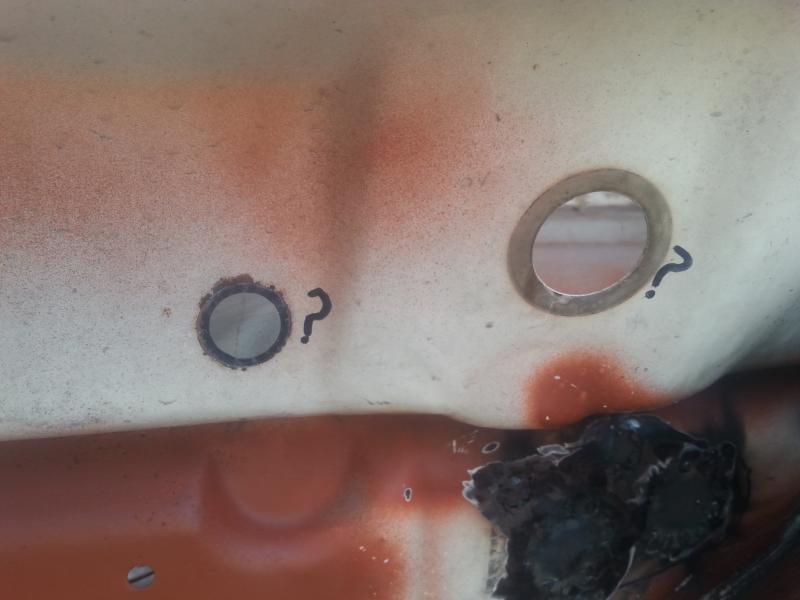
plates made
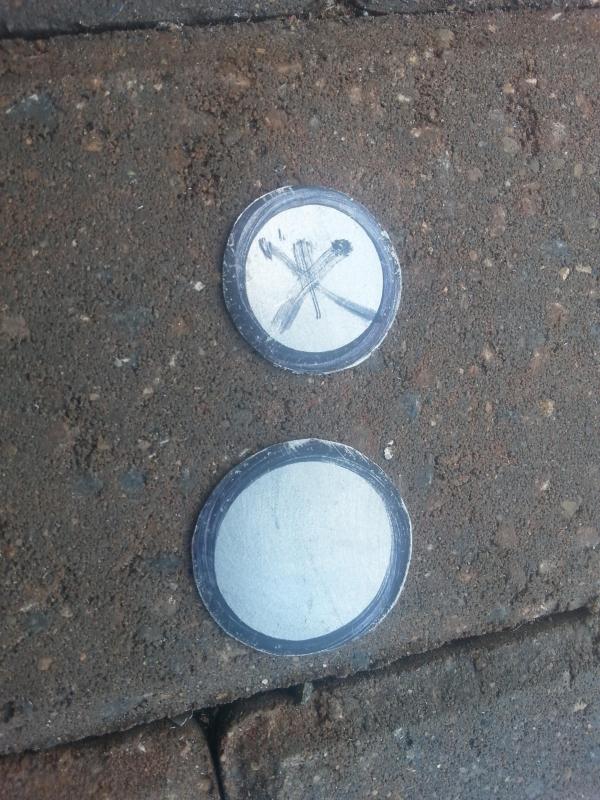
welded and grinded back
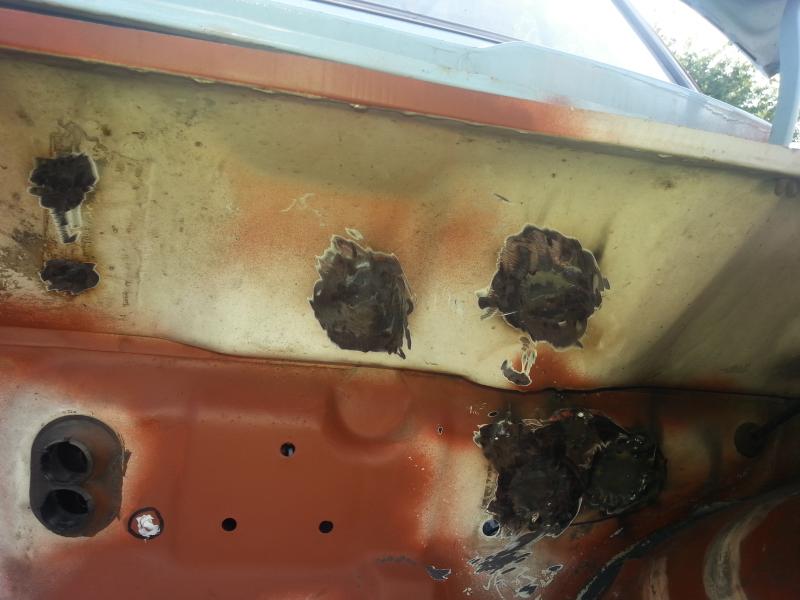

Starting now on the filler this week …let me know what you think guys …
Posted
Old Timer

Looks like its had some sort of work done on th roof too as there is a sun roof shape cutout on the underside which didn't look normal and 2 straight lines of rust under the paintwork on either side of the roof, along with a small dent, maybe looking into it too much so couldn't be sure..

The bumpers, wheels, opening quarters, mirrors etc really apealed to me though lol.. Almost bought the car for the parts alone and then sold the shell on lol..
Looks like you making easy work of it thpugh.. will be nice to see thi take shape!
Few pics I took when I went down
Good luck with the rest of the build.
 Last edit: by alfie

Wanted: Front Bumper, DESPERATELY NEED A DRIVERS WING!
MY Build Thread
My Facebook Build Page #Project83
Posted
Settled In

yeah its got good bits on it so defo worth the buy needs alot of parts though list is getting bigger and bigger lol
Jamie
Posted
Settled In

New alloy coolant tank

Made a bracket and test mounted it …let me know what you think guys ??


Got all the welded areas filled and sanded ready for primer


Started on the other areas of rust …Door and sill


not the neatest welding still learning ground down okay though

How much filler ???


Had to cut out the boot seam and replace

Rear arch rusty


Think my weldings getting better don't think I done too bad considering not done much welding befor

all ground down

That's all for now
let me know what you think
Posted
Local Hero

Posted
Settled In

Posted
Old Timer

I suspected there was a bit of filler in sills as the swage line for the trim was filled it, didn't expect that much though lol.
Looks really good though and fast prpgress!

Wanted: Front Bumper, DESPERATELY NEED A DRIVERS WING!
MY Build Thread
My Facebook Build Page #Project83
Posted
Settled In

Massbad69 said
Great work mate :-)
Neil20vt said
good work mate
Alfie said
Nice wok mate, where are you based? Should have got you to do my welding! Better than what the previous welder did to mine lol!
I suspected there was a bit of filler in sills as the swage line for the trim was filled it, didn't expect that much though lol.
Looks really good though and fast prpgress!
Thanks mate…. Im in chatham Kent
thanks hope to keep this speed up lol
Posted
Settled In

Apillar rust
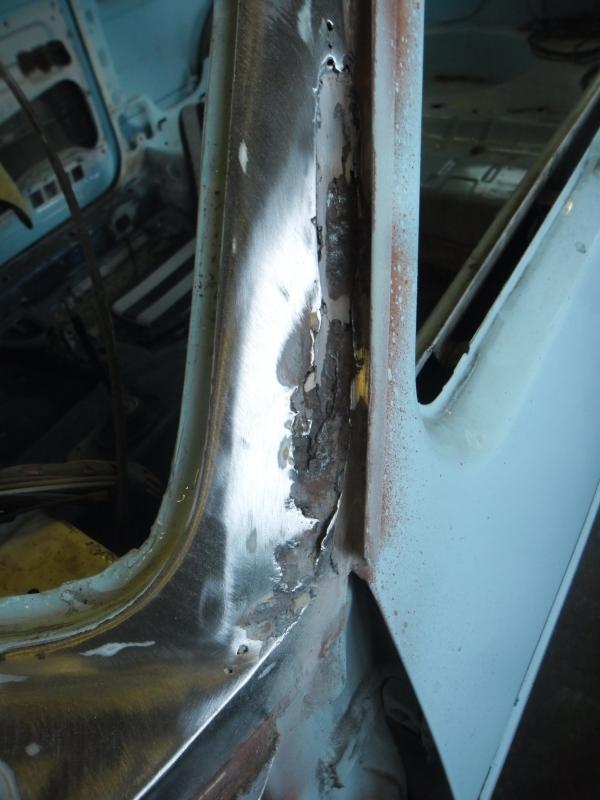
Cut out
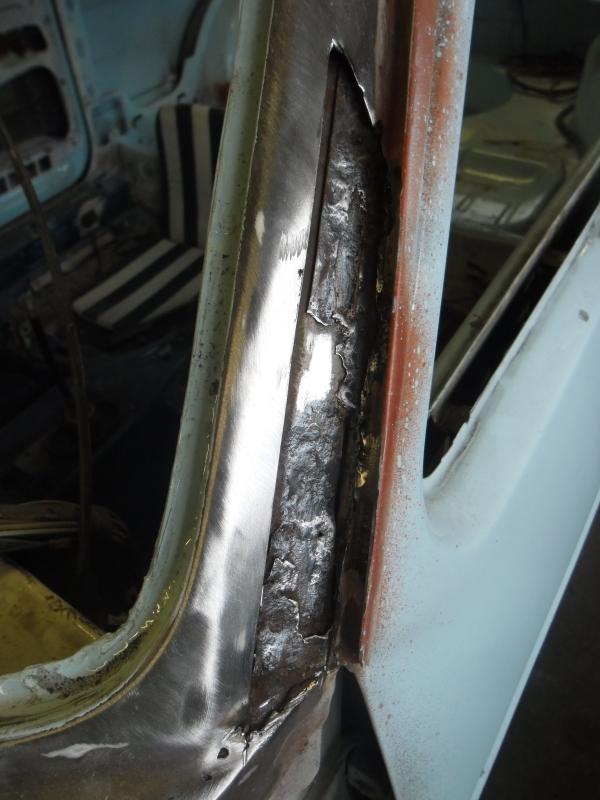
Welded new piece in an ground down
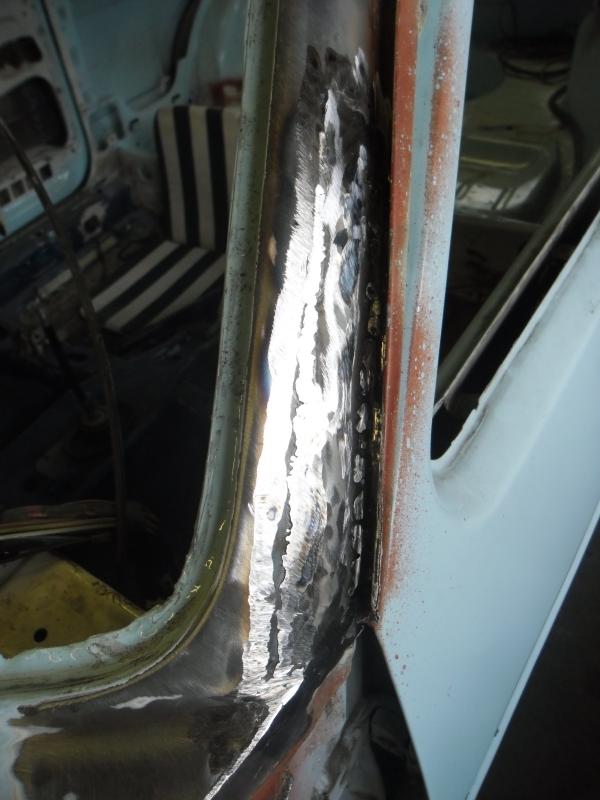
Then found this that I wasn't expecting under loads of filler

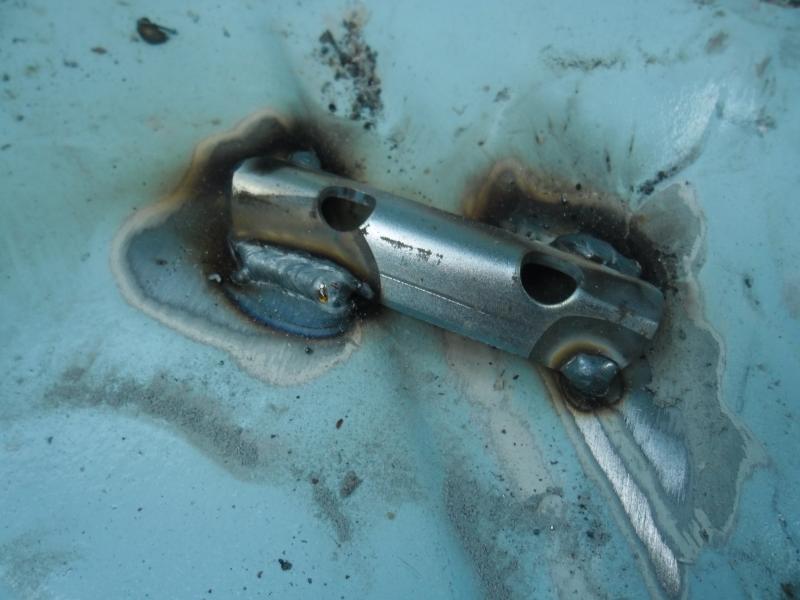
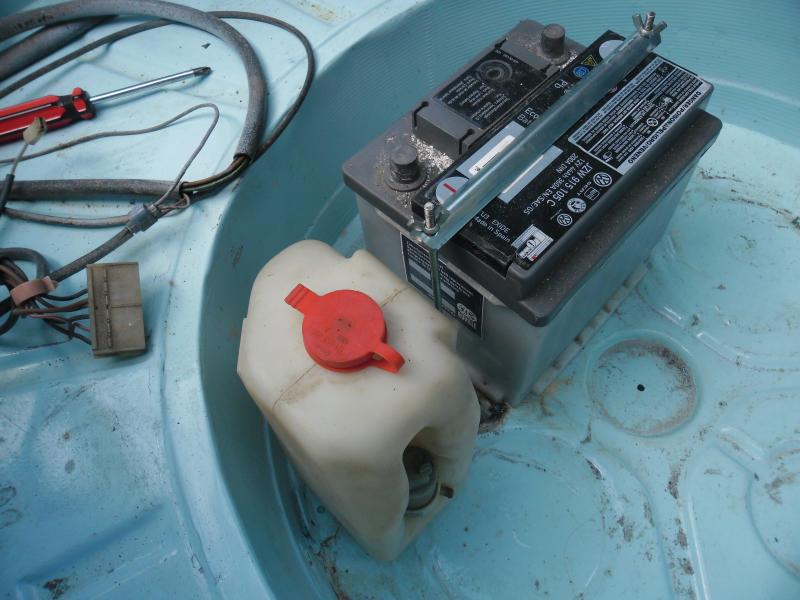
Started on the bracket to hold the battery in the boot
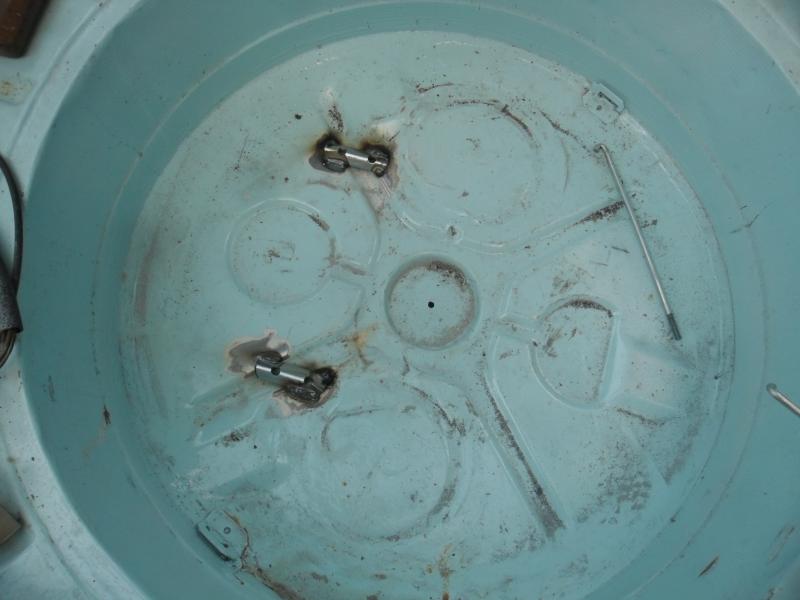
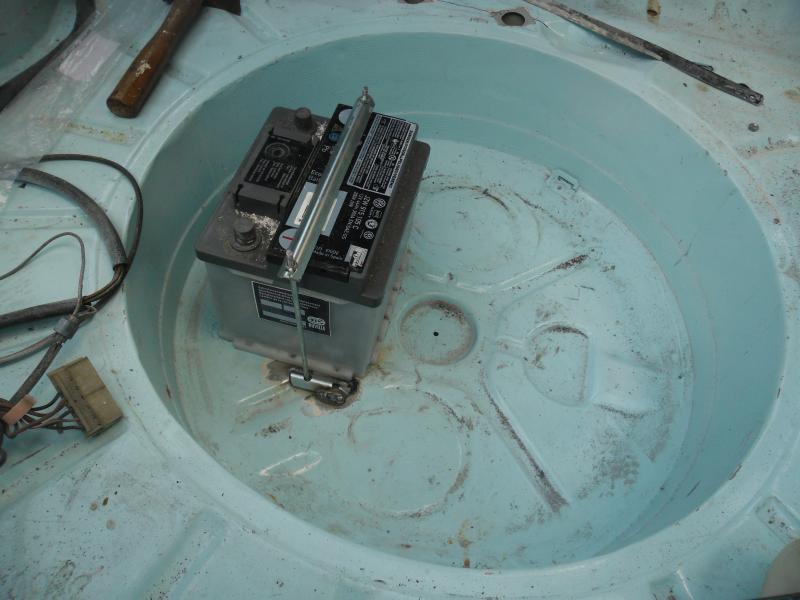
Mounted the screen wash bottle in their too
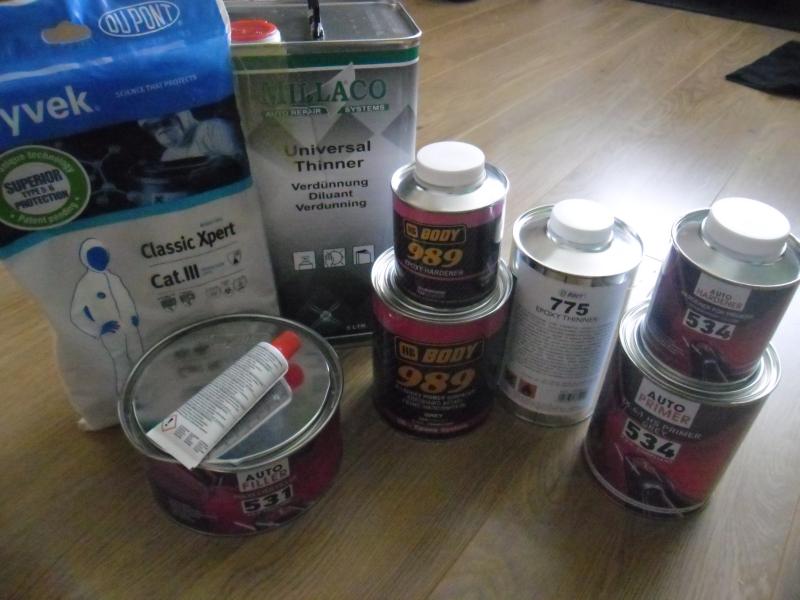
Had a delivery of the first lot of painting supplies ,epoxy primer ,2k primer ,thinners, hardener and filler
Thanks
Jamie
Posted
Local Hero


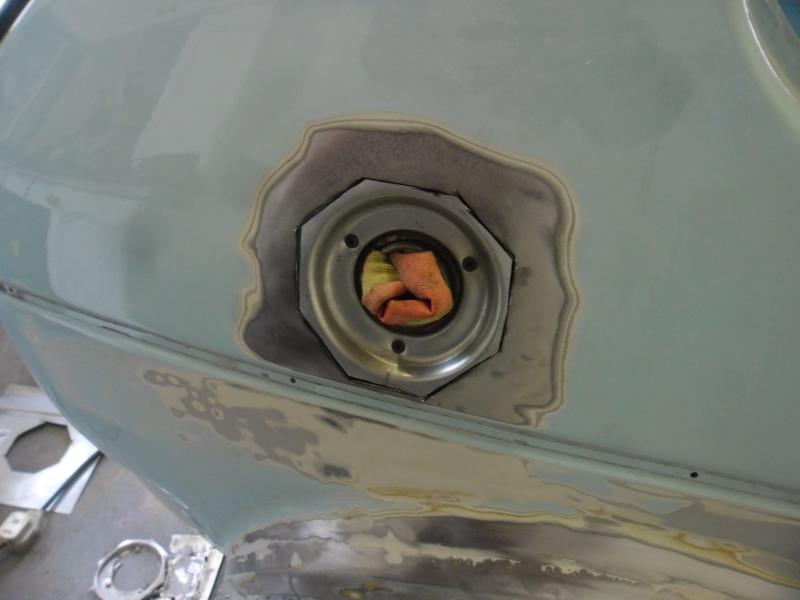
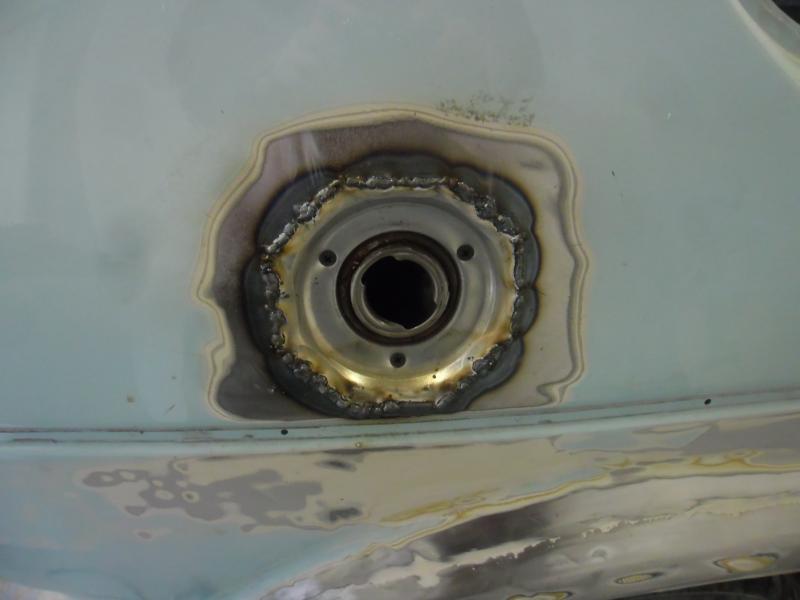
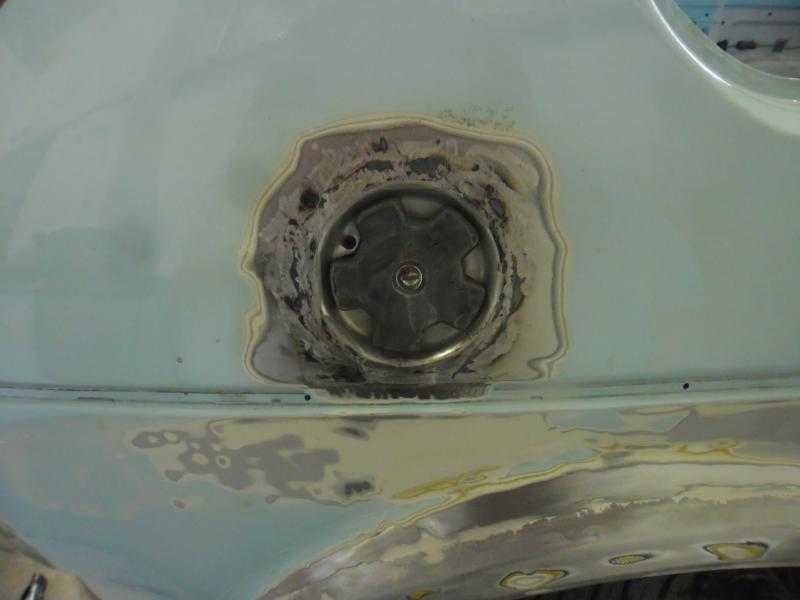
Did you manage to avoid any warpage around the filler neck?
Andy
LINCOLNSHIRE REGION - https://www.facebook.com/groups/467122313360002/
1983 MK1 Golf GTI Campaign Model - Under (looooong) resto!
1962 Rover P4 80
2002 BMW 745i
2008 BMW Z4 2.5Si
LINCOLNSHIRE REGION - https://www.facebook.com/groups/467122313360002/
1983 MK1 Golf GTI Campaign Model - Under (looooong) resto!
1962 Rover P4 80
2002 BMW 745i
2008 BMW Z4 2.5Si
Posted
Settled In

Hairyarse said
Nice work Jamie
Did you manage to avoid any warpage around the filler neck?
thanks
Think so welded it in small sections ..nothing to major anyway
Jamie
Posted
Old Timer

Great looking project, love the blue
Looks like your making great progress.
Matt
Posted
Settled In

Posted
Settled In

pazwaa said
Hi Jamie
Great looking project, love the bluelike the original brass coolant pipe,even more

Looks like your making great progress.
Matt
Cheers buddy
shepp said
Great threadf….highlight the brass piping, guessing it was previously owned by a plumber!!
Thanks ..Haha don't know about plumber cheap skate defo though amount of bodges been done.
Will get some more pics up soon iv epoxy primed all the bare metal and started filler work now
Thanks
Jamie
Posted
Old Timer

0 guests and 0 members have just viewed this: None.


