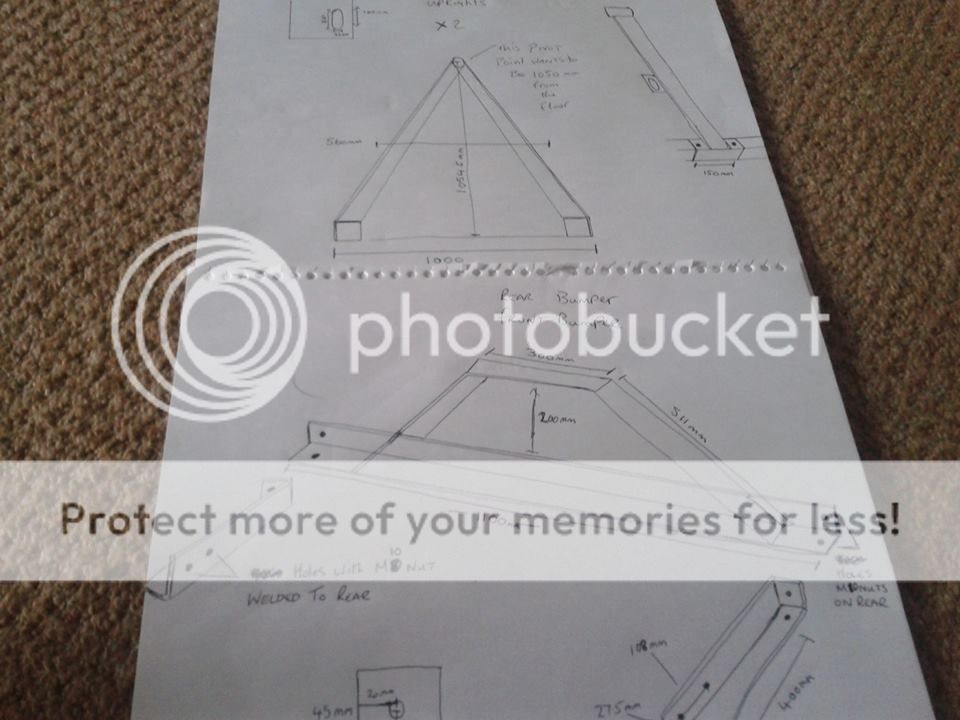
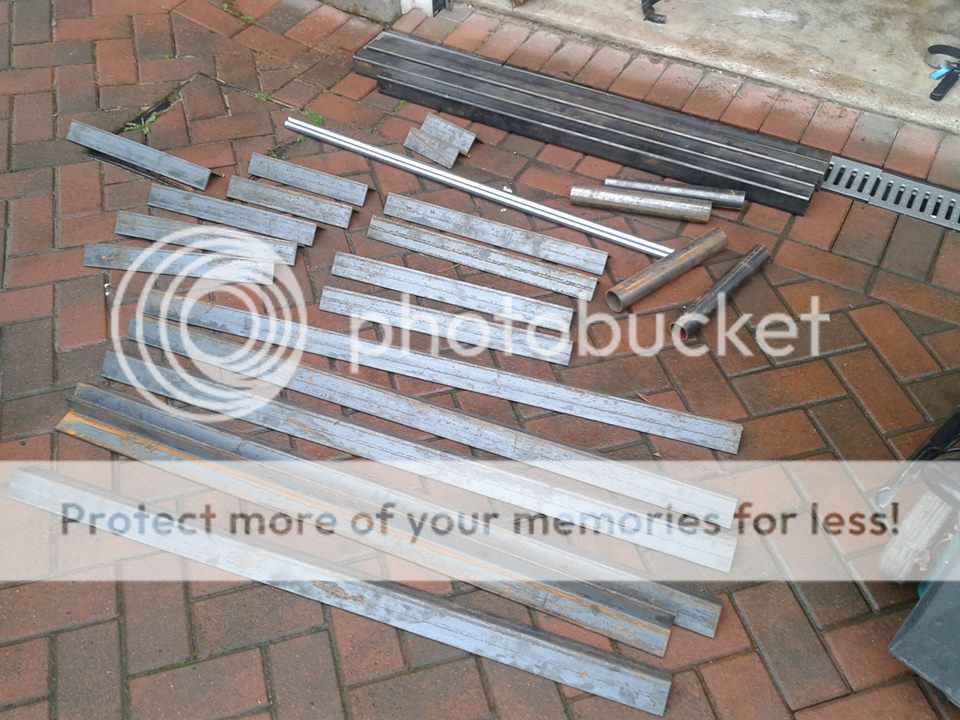
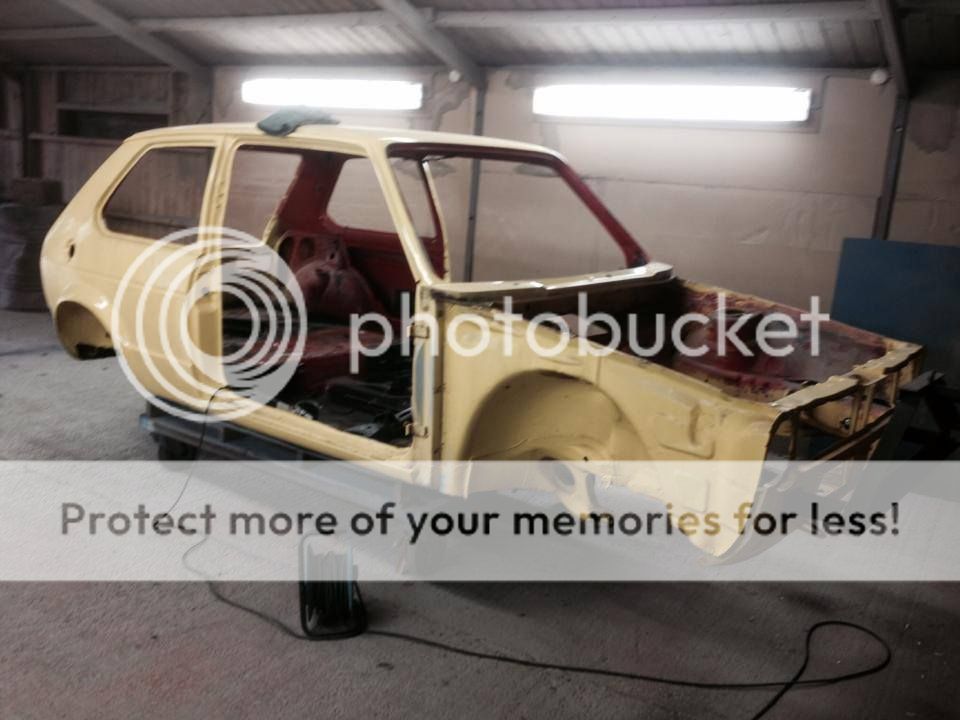
1980 series 1 20vt build
Posted
Settled In

Posted
Old Timer

Posted
Settled In

cheers olly, ya not the only one, im bored outta my mind,olethalb said
Looking forward to seeing it on the jig Neil
if the bike wasnt in the garage i could centre the car, get it on axle stands and start stripping it ready but then i cant get the bike back in untill its on the jig and on its side
so its a waiting game
Posted
Old Timer

Posted
Settled In

cheers mate, was missing the rallye this week with the rallye show been on easter monday,
Posted
Settled In

and decided to get it on after work yesterday,
not as easy as it sounds with no large jack and only 2 axle stands lol, so got the bumper bar section fitted and used the engine crane to lift the front up and get the axle stands under the car just near the rear axle so i had a pivot point to get the rear legs on
, didnt really work that well , so fitted the front complete, then, carried the crane round thru the kitchen and into utility room and managed to hook it upto the rear
and get it up in the air and fit the rear legs,
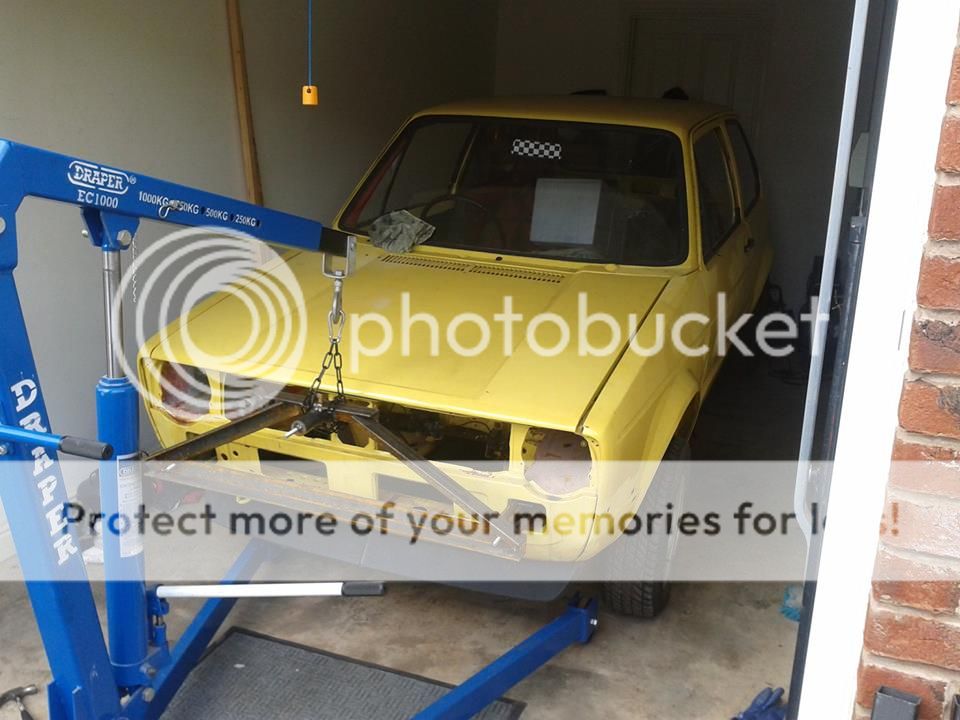
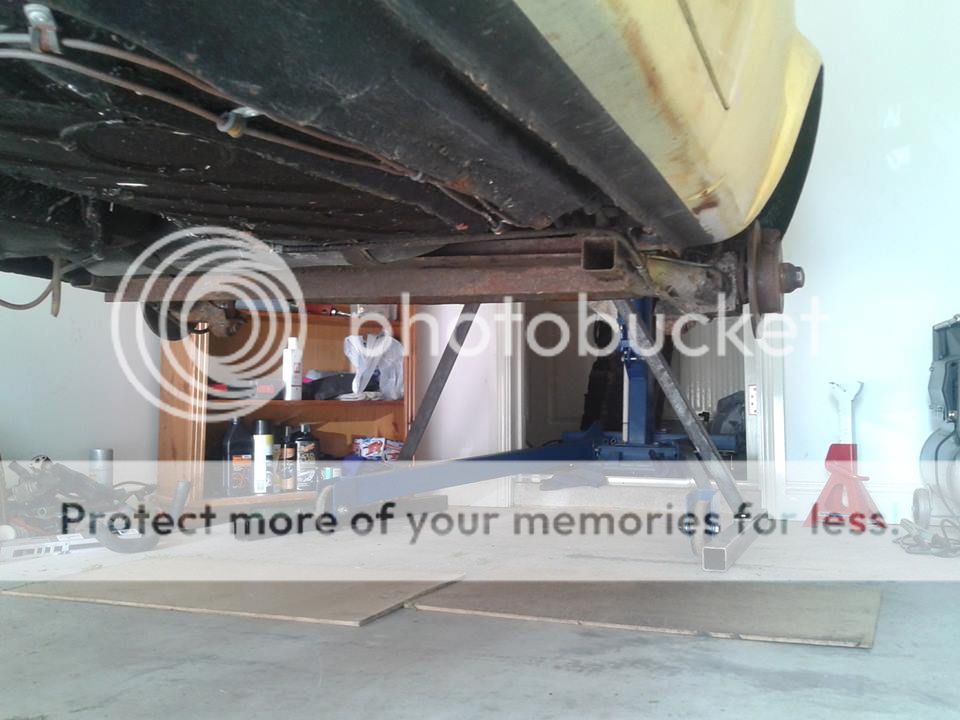
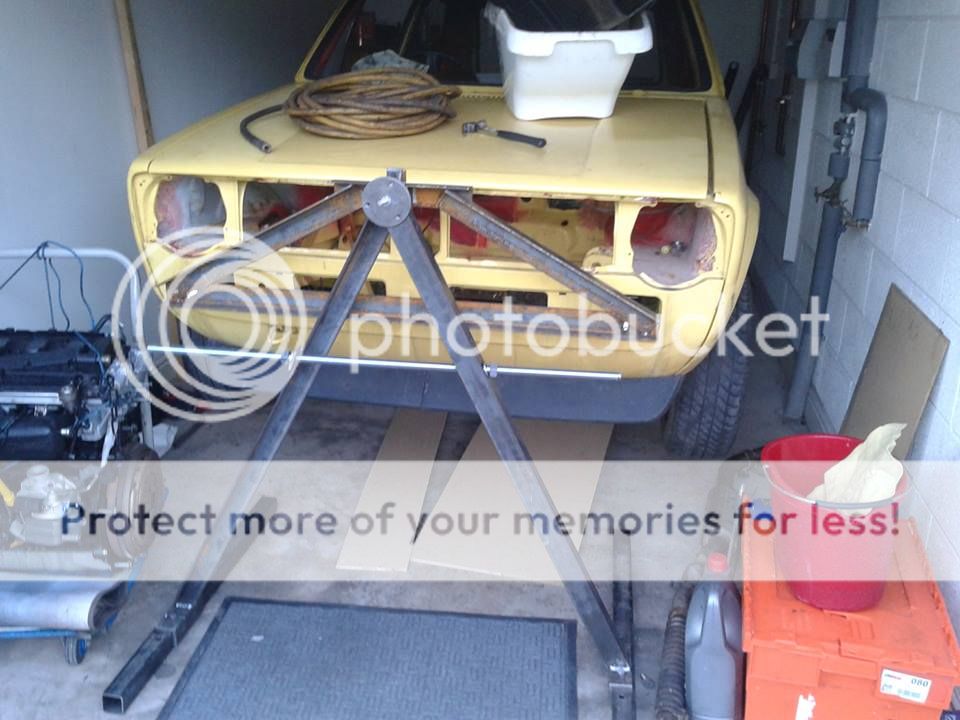
so now its in the air i managed to to have a good look around at the floor, and its been bodged up by the last owner the ballbag !
looking at the floor as a whole there was parts of the sealer and stone chip that looked too new , so started digging around these area,s first
and soon found he'd covered parts up with mastic and painted over it, so ive found a few holds in floorpan , hole in rear inner arch tub , boot, and looks like rear chassis legs,
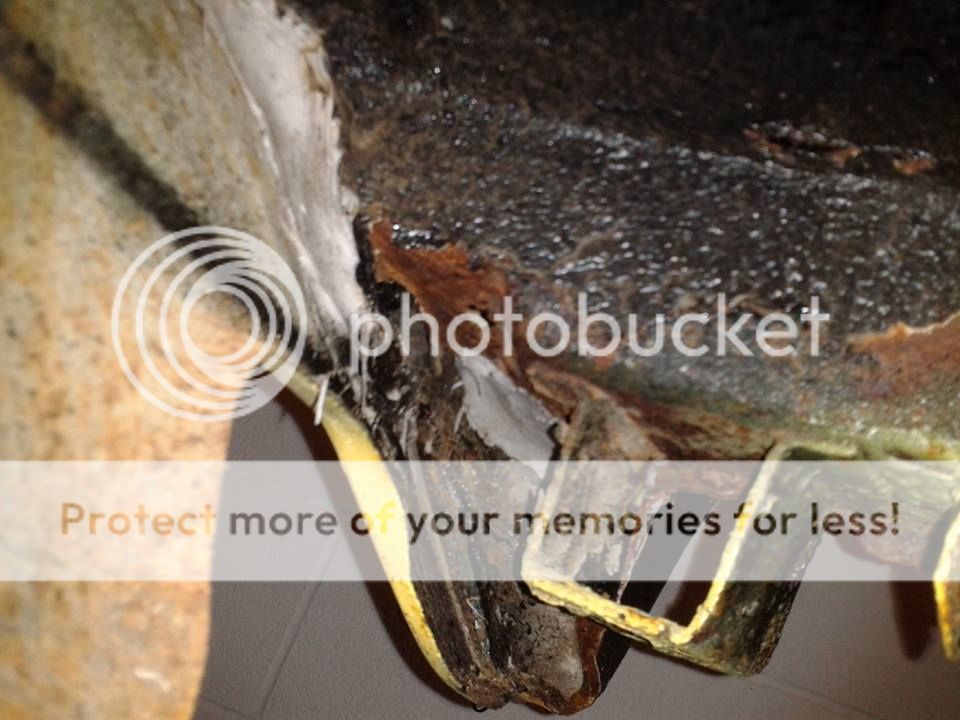
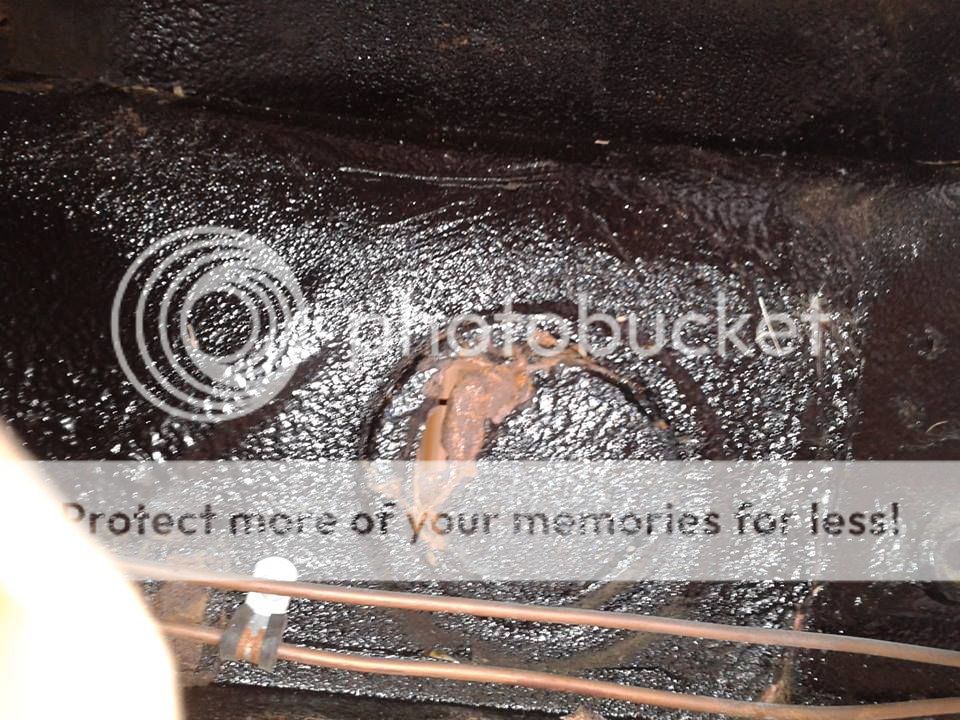
so to that end, it is going for dipping again, i did decide to do it myself , but after finding this im gonna get it done and that way im not doing all the work for nothing
so 3 years down the line something turn up that was missed
so the strip down started today, got all the front done
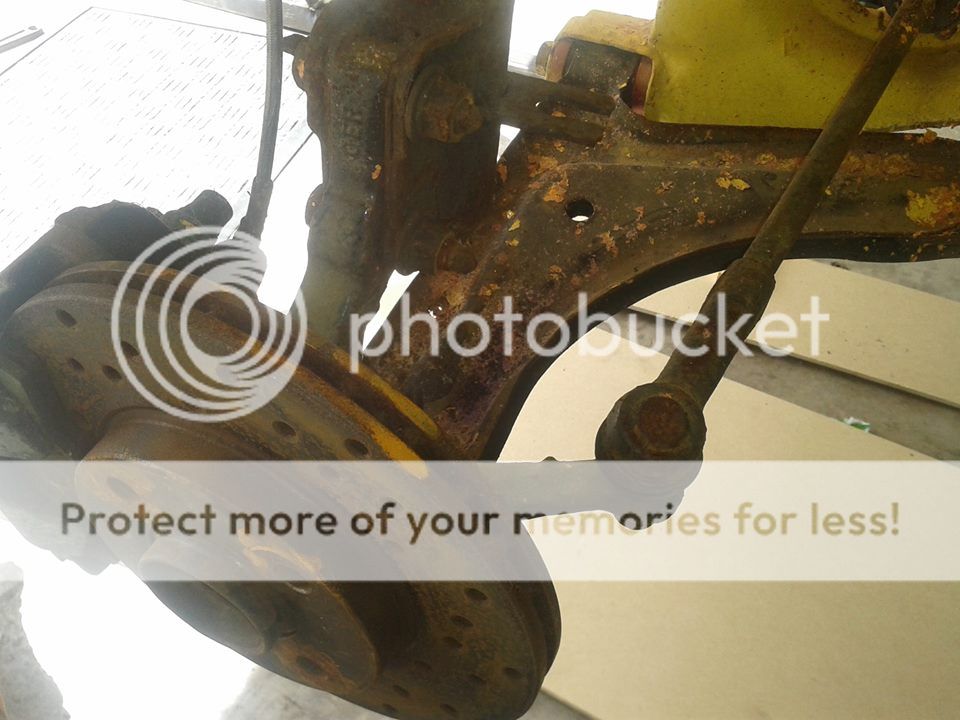
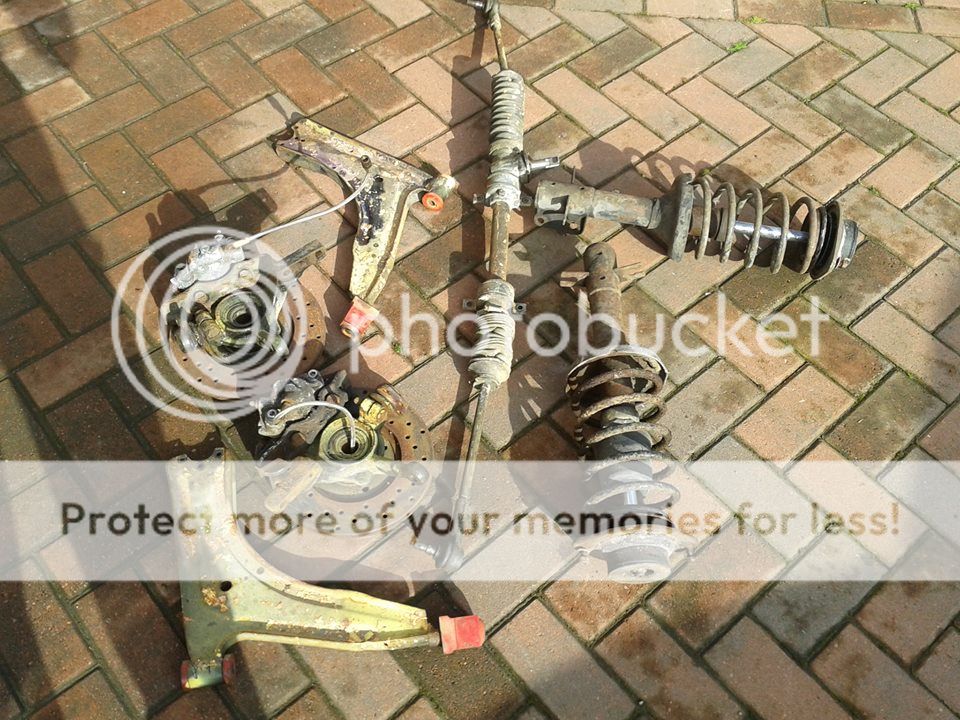


next up will be rear end , then all the glass and any bungs
Posted
Old Timer

Under the arches looks nice and solid.
Matt
Posted
Old Timer

Lemon Yellow Tin Top Restoration
http://vwgolfmk1.org.uk/forum/index.php?page=topicview&id=your-mk1-golfs_2%2Flemon-yellow-tin-top&kfs79=30
http://vwgolfmk1.org.uk/forum/index.php?page=topicview&id=your-mk1-golfs_2%2Flemon-yellow-tin-top&kfs79=30
Posted
Settled In

pazwaa said
Good work with the jig, it'll make your life so much easier
Under the arches looks nice and solid.
Matt
cheers matt, yeah it made it a little easier,, drivers rear arch tub has a small hole in it thatll need sorting
mk1newbie said
This reminds me of mine. Is that the original colour? Are you keeping it?
no mate it was originally red, this yellow job is a terrible blow over,
colour will be all changed
Posted
Settled In

so had to find someone else that was big into restoration, luckily i found another one just over 20 mile away from me in penrith,
he specialises in campers and beetles, so he's no stranger to the dreaded tin worm
went up to have a look at his work , he has alot of campers in at various stages welding is bang on as was everything else i saw
so ive decided to use him , he uses a local blaster who does all his work, so if he.s happy with the blasting, so am i
so the shell is away at the blasters and should be getting done on thursday,
carried it out of the garage and hired a trailer to take it the 20 mile
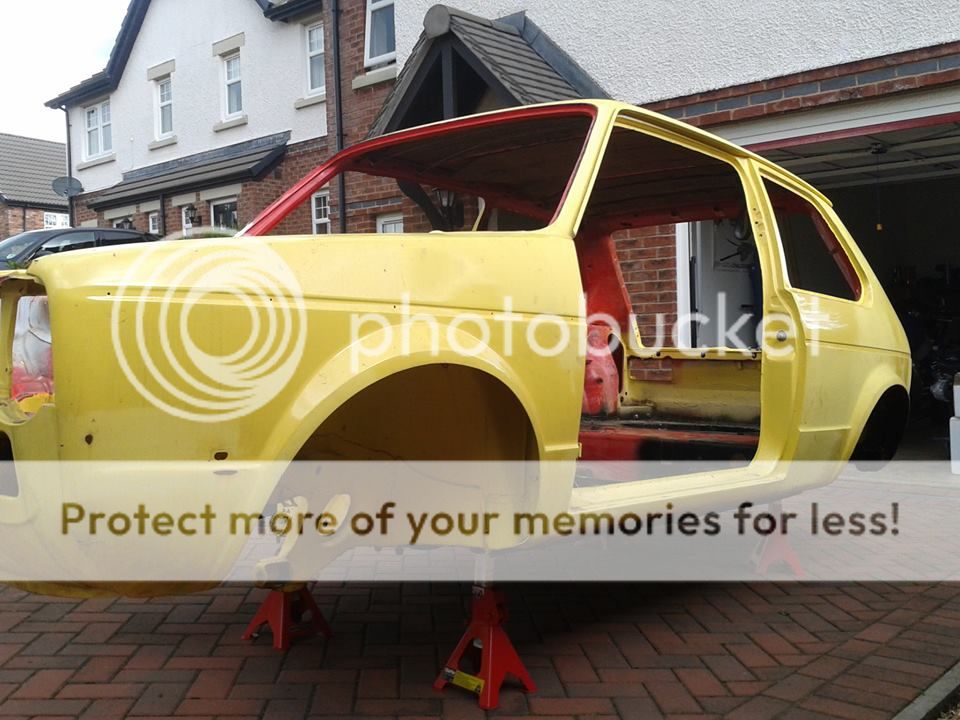
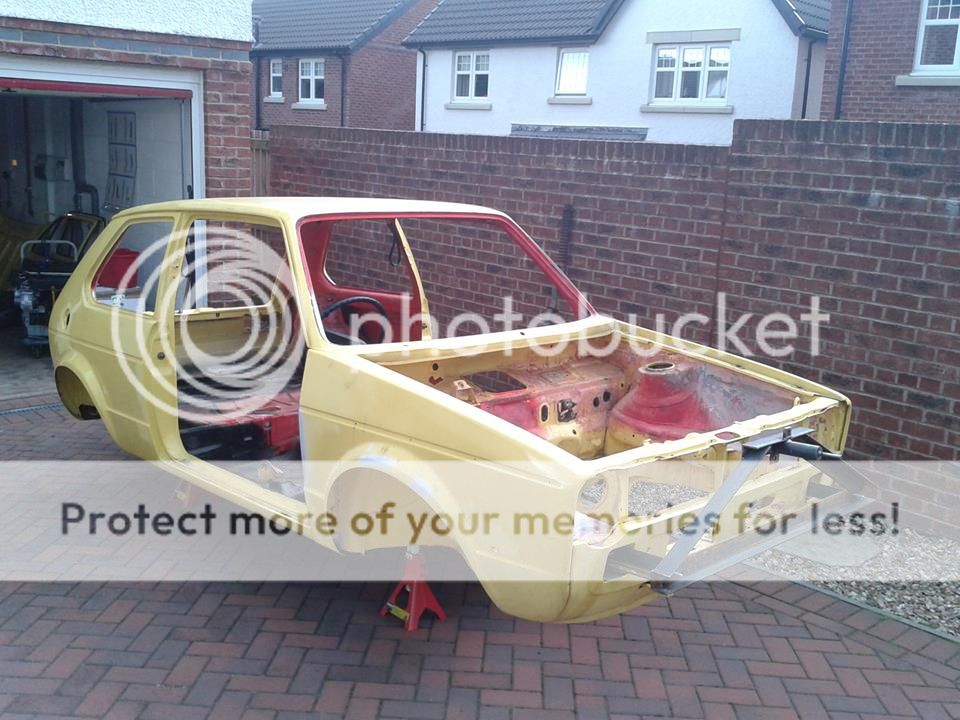
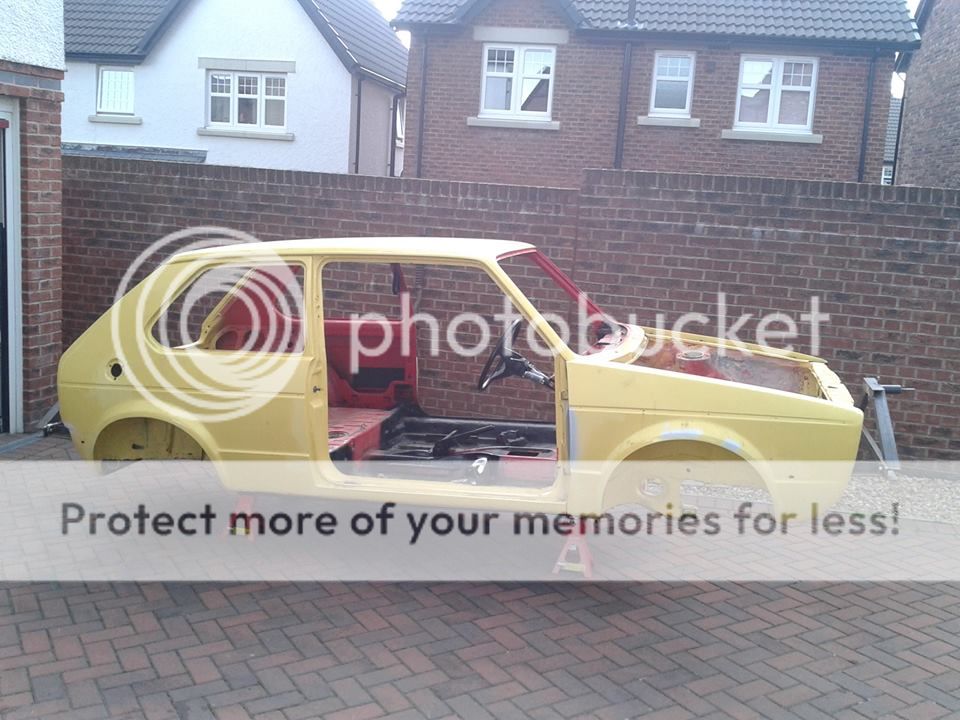
i also order the parts i already know i want changing from mark at classic vw. so thanks for those mate
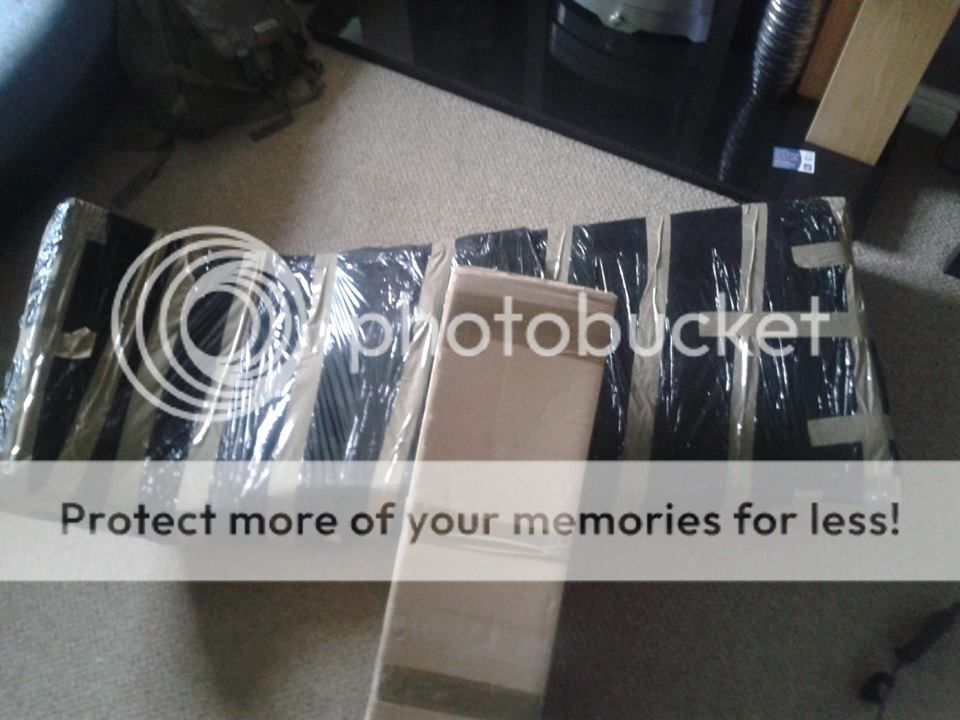
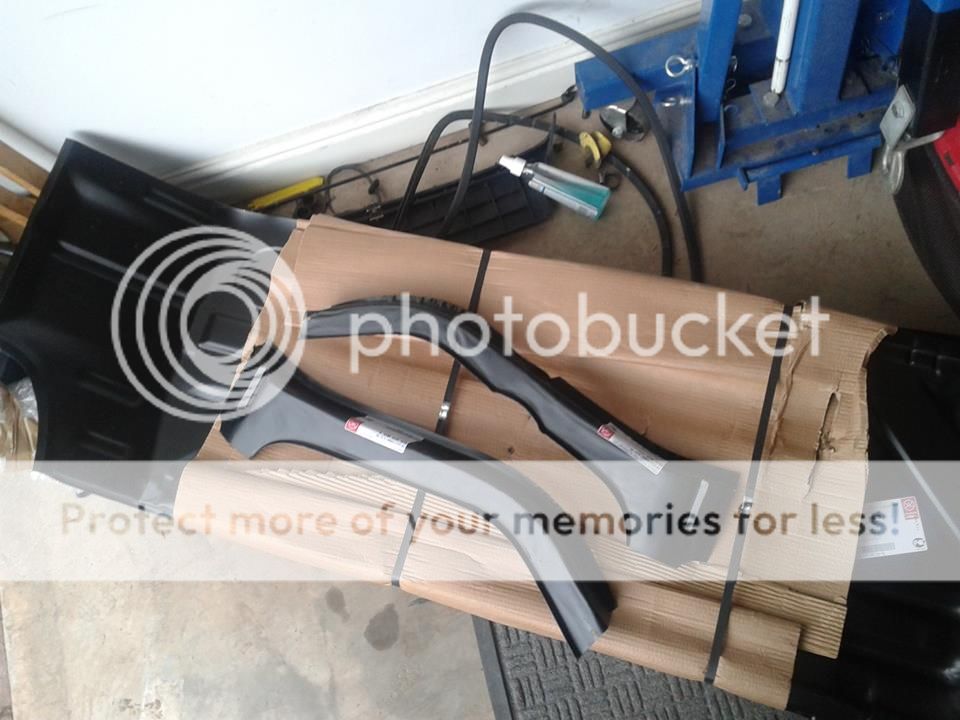
so just got to wait till the shell is done to see what else turns up
Posted
Settled In

Posted
Settled In

Posted
Moderator


Posted
Settled In

i didnt think the arches and sills where like they are tbh, but ive seen a hell of a lot worse
as for the previous repairs, some ill be able to tidy up some will get redone
the floor had holes here and there, and had been jacked up by a blind monkey in the past so i wanted that all sorting so
heres where its at at the mo



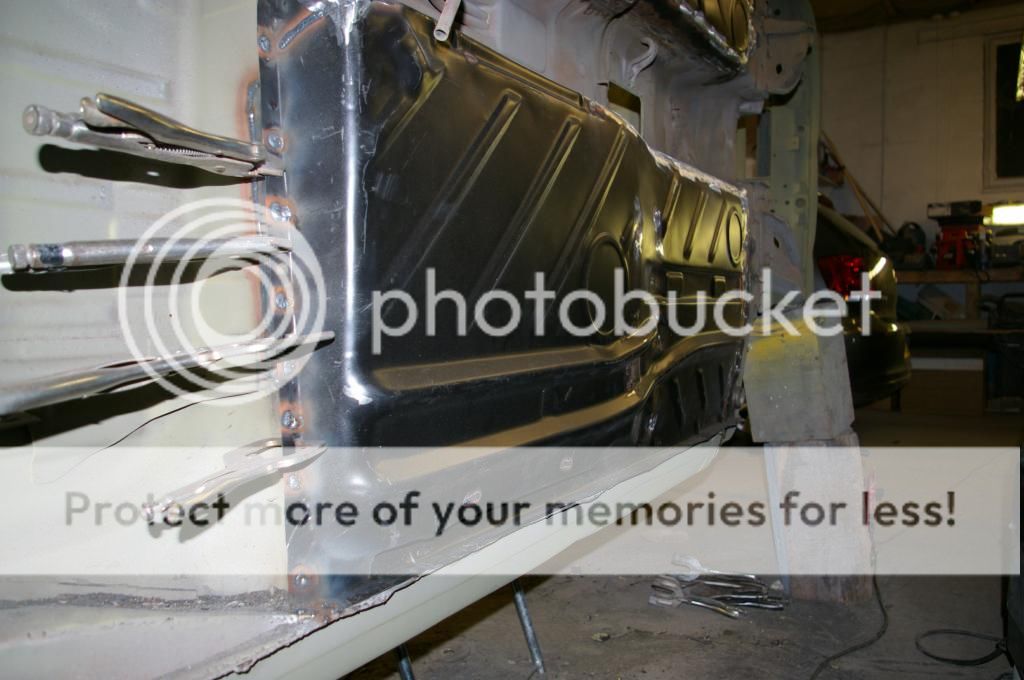
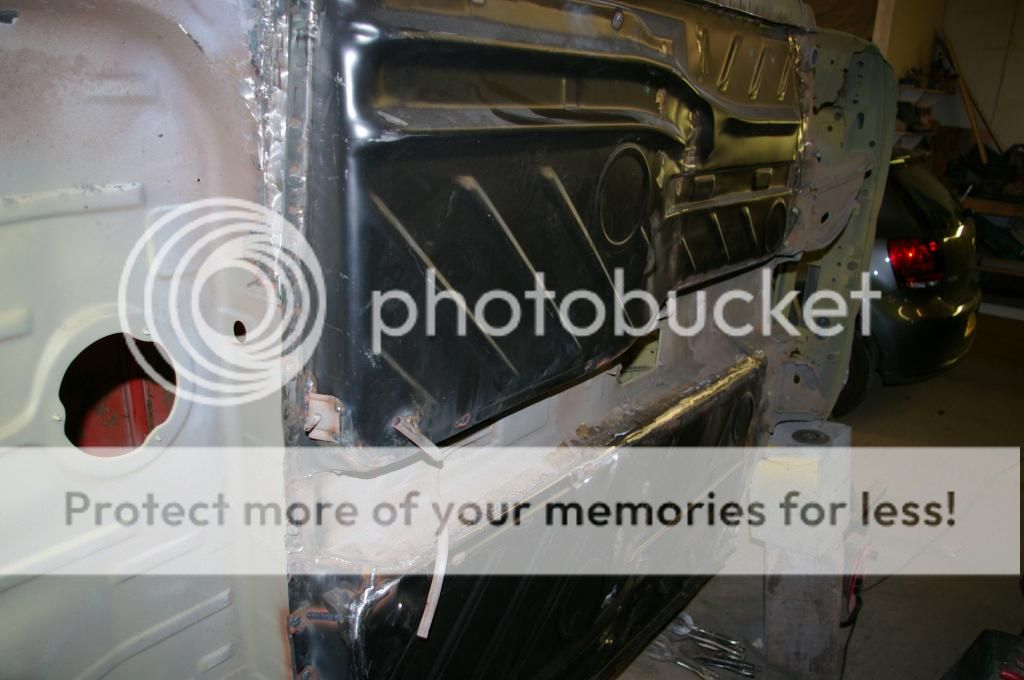

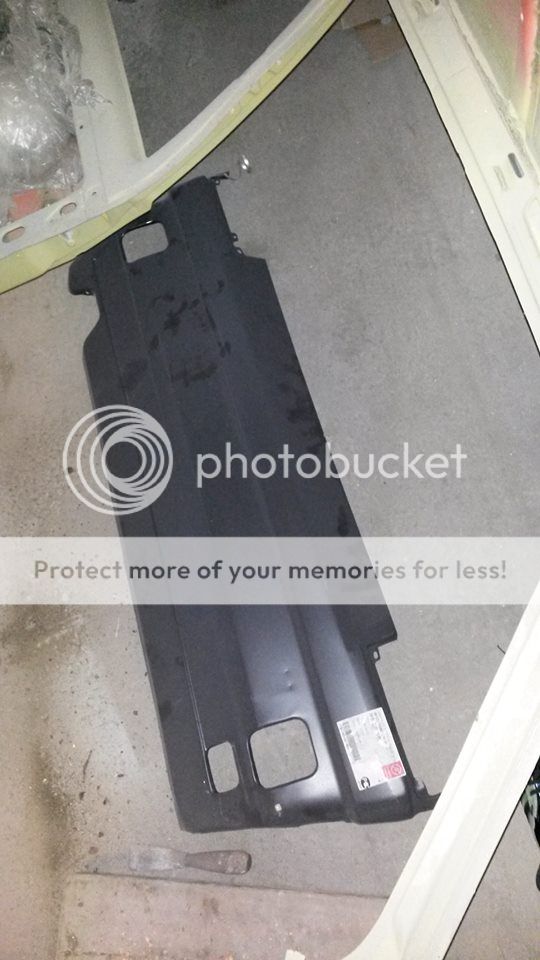
im ordering a rear panel as the rear chassis rails need repair panels putting in which ive got,
so i may aswell sort the rear panel out at same time
Posted
Settled In

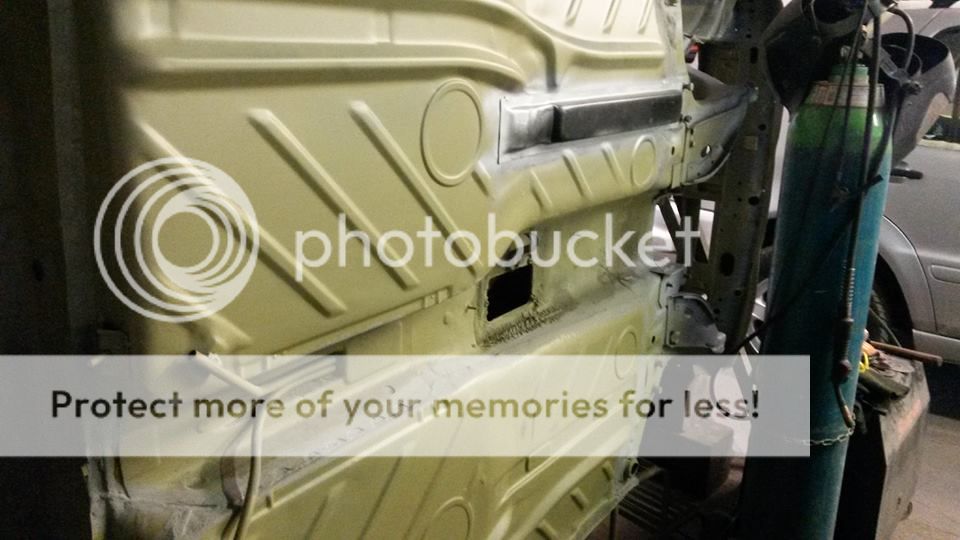
section of the rear panel was cut off to allow full access to the rear chassis rail repairs, floor is complete
inner arch work complete
a section above the petrol tank complete
the bodged up repairs around the spare wheel tub have been banded and sorted
next things on the repair list is one more floor support once funk star gets them in stock again
then its onto the rear arches, there not bad now but im anal
then the rear panel to finish , followed by finishing the seam sealing , stone chipping then 2 coats of colour and i can get it back to mine to build it back into a rolling shell
few pics


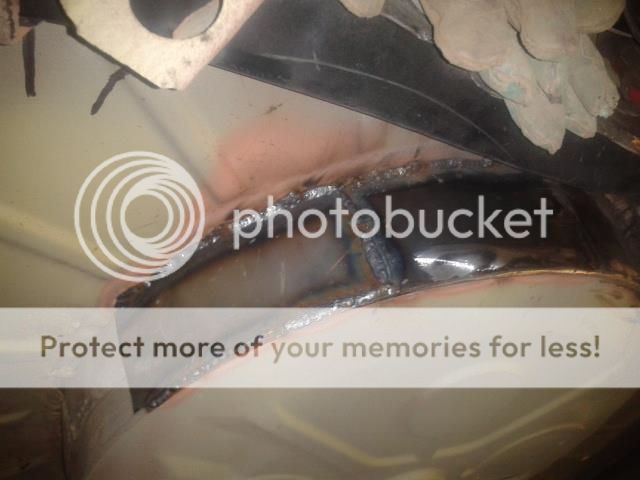
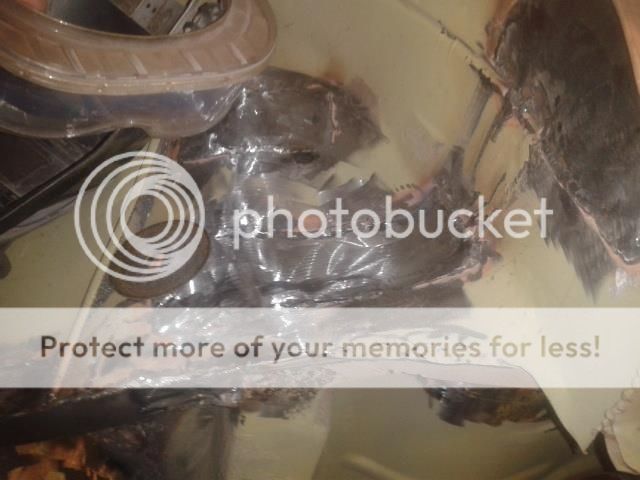
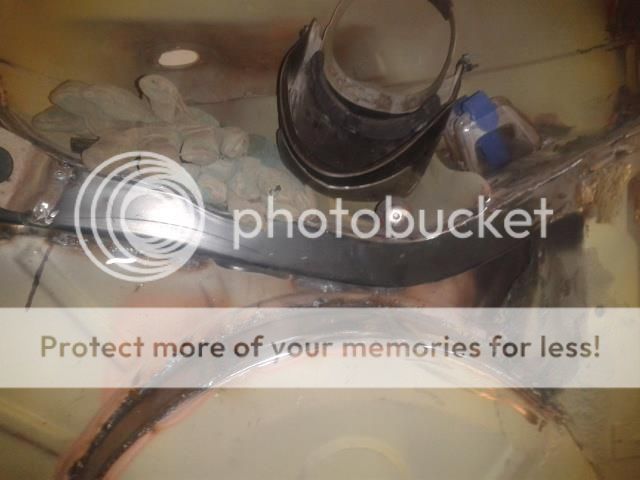
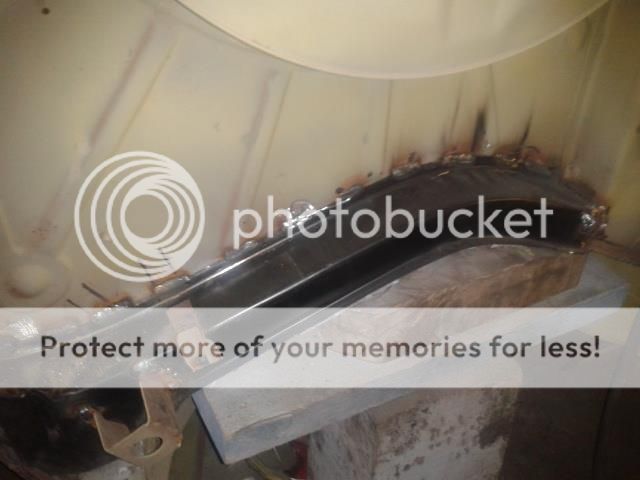

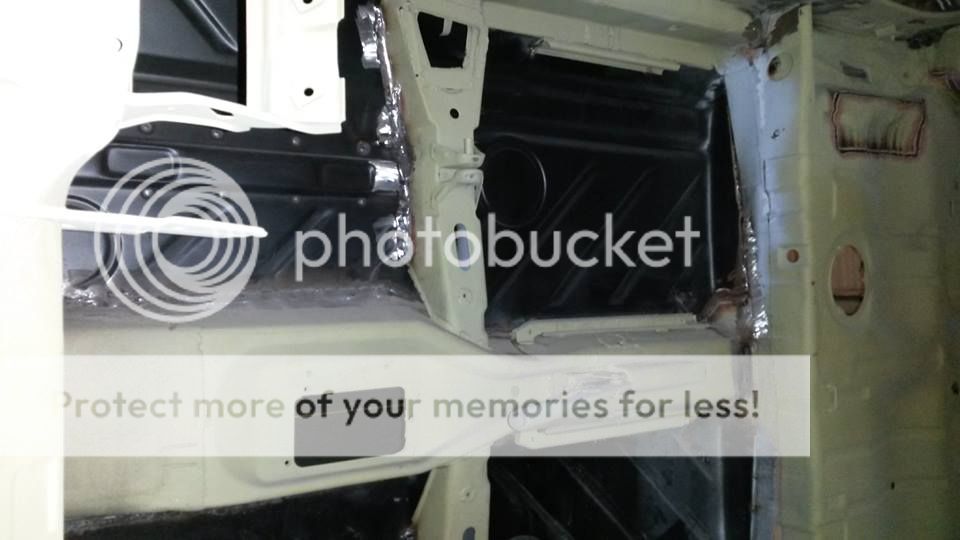
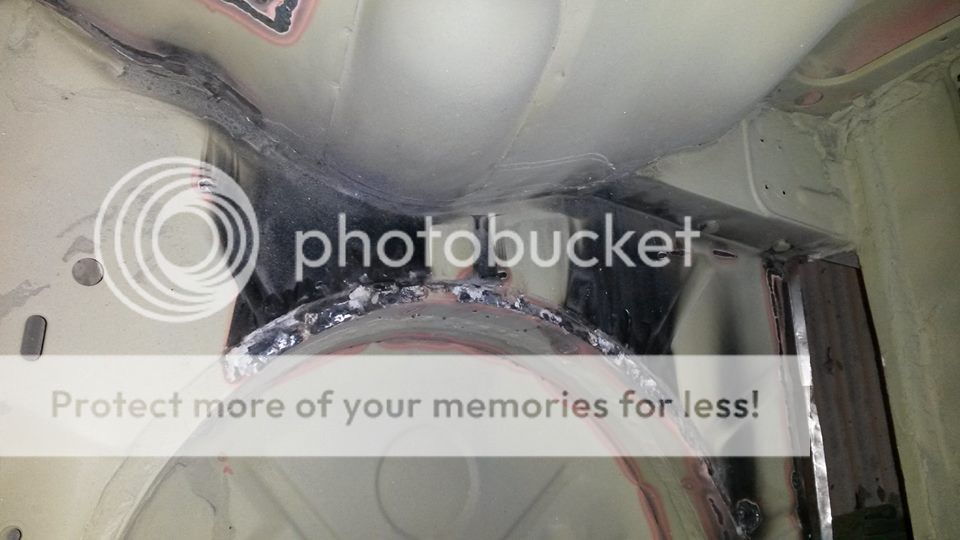
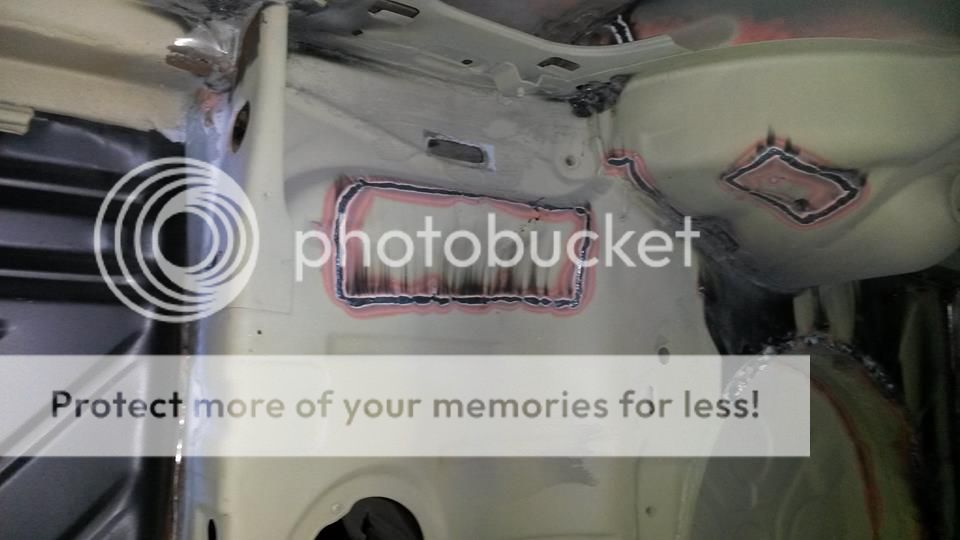

and a few in etch primer and started the seam sealer

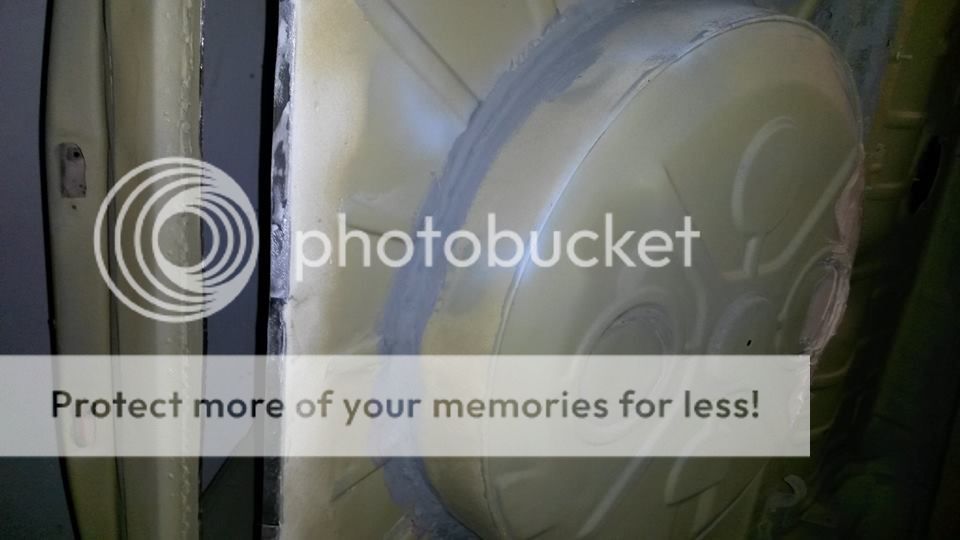

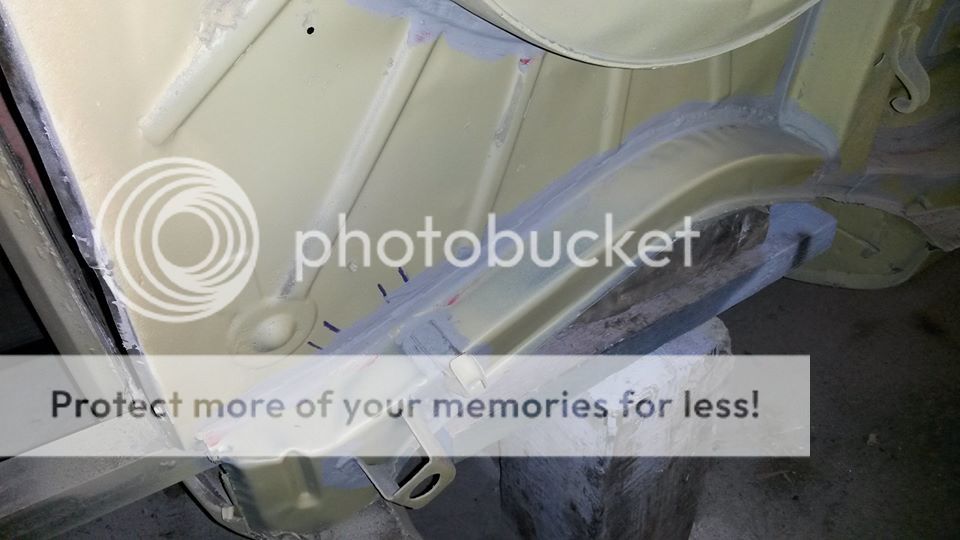
Posted
Settled In

Old dubs never die, they just get lower
Posted
Settled In

no, one more floor support when it arrives as only had one in stock, the back panel, ,
then it can be stonechipped and put into colour, then its back into the garage to get it back to a rolling shell, and other welding like in the bay can be sorted later
Posted
Local Hero


Andy
LINCOLNSHIRE REGION - https://www.facebook.com/groups/467122313360002/
1983 MK1 Golf GTI Campaign Model - Under (looooong) resto!
1962 Rover P4 80
2002 BMW 745i
2008 BMW Z4 2.5Si
LINCOLNSHIRE REGION - https://www.facebook.com/groups/467122313360002/
1983 MK1 Golf GTI Campaign Model - Under (looooong) resto!
1962 Rover P4 80
2002 BMW 745i
2008 BMW Z4 2.5Si
Posted
Moderator


Posted
Chairman


1986 Cabriolet (long resto!)
1983 Cabriolet (daily pain in the bum)
1983 T25 (weekend pain in the bum)
Follow us on:
Facebook: https://www.facebook.com/vwgolfmk1oc/
Twitter: https://www.facebook.com/vwgolfmk1oc/
Instagram: https://www.facebook.com/vwgolfmk1oc/

1983 Cabriolet (daily pain in the bum)
1983 T25 (weekend pain in the bum)
Follow us on:
Facebook: https://www.facebook.com/vwgolfmk1oc/
Twitter: https://www.facebook.com/vwgolfmk1oc/
Instagram: https://www.facebook.com/vwgolfmk1oc/

0 guests and 0 members have just viewed this: None.


