


Buddy MK1

Posted
Design Manager


1983 Pirelli Edition
smudger said
How much for a dipstick and tube.

Its a lot mate, but the orange plastic ones are rubbish, I've broken a couple and they get dirty very quickly because the plastic seems very porous and brittle. Also if you are going for the aesthetics in your bay its a must I think.. Really lets it down having an orange eyesore poking out. I dyed mine black, but under bright light its a very dark brown now. Looks okay though. The only other option is Gruvenparts here:
Billet 1.8T Dipstick and Tube Combo - Gruven Parts
No idea on price though, will be in the $100-150 region I would imagine.

2018 Up! GTi 1.0 TSI
2015 Mk7 Golf R 2.0 TSI 4motion DSG
2011 Caddy Maxi Kombi 1.6 TDi
1982 Mk1 Golf GTi 3 Door 1.8t - Build Thread
Posted
Settled In

AaronGTI said
Awesome project buddy, can you run the 1.8 non turbo cam cover ok with out any issues? Looks super clean and better then the 1.8T!
Thanks guys. Yes you can run the non turbo cover without any issues. It certainly looks a lot cleaner than the standard 1.8T one.
1983 Pirelli Edition -�http://vwgolfmk1.org.uk/forum/index.php?page=topicview&type=view&id=165792
Posted

Moderator

Joe90k said
smudger said
How much for a dipstick and tube.
Its a lot mate, but the orange plastic ones are rubbish, I've broken a couple and they get dirty very quickly because the plastic seems very porous and brittle. Also if you are going for the aesthetics in your bay its a must I think.. Really lets it down having an orange eyesore poking out. I dyed mine black, but under bright light its a very dark brown now. Looks okay though. The only other option is Gruvenparts here:
Billet 1.8T Dipstick and Tube Combo - Gruven Parts
No idea on price though, will be in the $100-150 region I would imagine.
They do look really nice but they're on back order will February :O


Posted

Settling In

Mk1_rich said
AaronGTI said
Awesome project buddy, can you run the 1.8 non turbo cam cover ok with out any issues? Looks super clean and better then the 1.8T!
Thanks guys. Yes you can run the non turbo cover without any issues. It certainly looks a lot cleaner than the standard 1.8T one.
What coilpack are you using then? How do you work around the 1.8t one which bolt down to the cam cover?
Posted
Settled In
AaronGTI said
Mk1_rich said
AaronGTI said
Awesome project buddy, can you run the 1.8 non turbo cam cover ok with out any issues? Looks super clean and better then the 1.8T!
Thanks guys. Yes you can run the non turbo cover without any issues. It certainly looks a lot cleaner than the standard 1.8T one.
What coilpack are you using then? How do you work around the 1.8t one which bolt down to the cam cover?
I'm using the stock coil packs. You need to cut a groove in each hole so that the coil pack doesn't rotate. I believe it's only the AGU engine that used bolt down coil packs. AUM and AUQ use push in, and quite possibly the BAM, APY etc
1983 Pirelli Edition -�http://vwgolfmk1.org.uk/forum/index.php?page=topicview&type=view&id=165792
Posted
Settled In
 Iv also got the mk1 booked in for paint so set about getting all the windows out and taking the remaining trim off. Will hopefully be dropping it off at the end of this week.
 getting the rears out was quite fun. A mate and I found this was the best method:

1983 Pirelli Edition -�http://vwgolfmk1.org.uk/forum/index.php?page=topicview&type=view&id=165792
Posted
Settled In

 I also started to mock up pip routes. I ordered in some ally bends and hoses and set about getting thinks mocked up in place.
 After a bit of trimming. Im going to get the four sections welded up so there will only be the 90* reducer onto the turbo, and a connector onto the intercooler.

 I also managed to flip one end of the radiator so the filler neck sits on the gearbox side. This looks much neater and will make the hose routed much easier today.
The engine should be back out tonight then its off for paint.
I also managed to flip one end of the radiator so the filler neck sits on the gearbox side. This looks much neater and will make the hose routed much easier today.
The engine should be back out tonight then its off for paint.
1983 Pirelli Edition -�http://vwgolfmk1.org.uk/forum/index.php?page=topicview&type=view&id=165792
Posted

Settled In

'82 c formel e - 1.8t 20v�
Posted
Old Timer
Matt
Posted
Settled In

 Its was only when I pulled it out the way that I realized just how many parts I have to put back on

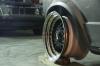
 After dropping the car off I split the RSs back down so I can get them machined to fine tune the fitment. Feels like im back tracking a lot here.


1983 Pirelli Edition -�http://vwgolfmk1.org.uk/forum/index.php?page=topicview&type=view&id=165792
Posted
Old Timer
Amazing how many parts you need to build a little golf

Matt
Posted
Settled In


 While the car is away im getting a couple of other parts ready and painting those myself:

1983 Pirelli Edition -�http://vwgolfmk1.org.uk/forum/index.php?page=topicview&type=view&id=165792
Posted

Old Timer
what paint did you use on the engine??

Posted

Old Timer

Posted
Settled In

1983 Pirelli Edition -�http://vwgolfmk1.org.uk/forum/index.php?page=topicview&type=view&id=165792
Posted
Old Timer

Posted
Moderator

Posted
Old Timer
Posted
Old Timer
Posted
Settled In


He has also managed to straighten out the bonnet and tidy up the bay a little.

As you can see in the background I have also made a false floor to cover the rear. I made it in two sections so I can still carry a spare wheels and get it in and out without too much trouble. The floor will be covered in the same material used on the backs of the seats.


I also managed to pick up a few more parts ready for the rebuild
Dash inserts

A nice AN fitting to go on the inlet mani


And a nice big box of service parts

with not much in it lol

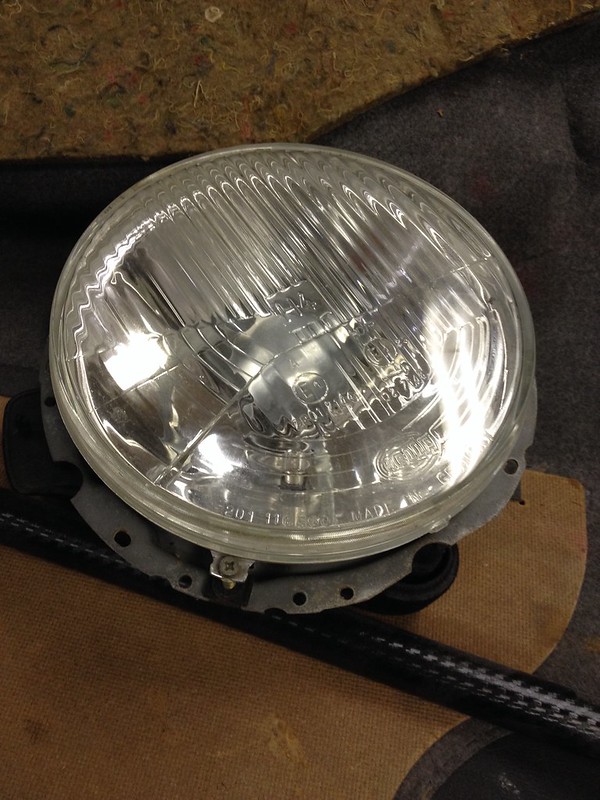
And finally some nice clean Hella lights
 Last edit: by Mk1_rich
1983 Pirelli Edition -�http://vwgolfmk1.org.uk/forum/index.php?page=topicview&type=view&id=165792
0 guests and 0 members have just viewed this: None.