


Mk1 GTI Blue G60 Conversion

Posted

Moderator


http://www.typ-17.de/product_info.php/info/p13327_Reserveradmulde--passend-fuer-Golf-I-und-Golf-I-Cabrio.html
I just thought you could pass on the one I sold you, to help fund it

Andy.

Posted
Settled In

Melteddrummer said
Hey jimi, I know it might be a bit late or if your bothered or not but I got a link off someone for a Rear Arch Tub and whilst looking I found the full Spare Wheel Well, here's the link
http://www.typ-17.de/product_info.php/info/p13327_Reserveradmulde--passend-fuer-Golf-I-und-Golf-I-Cabrio.html
I just thought you could pass on the one I sold you, to help fund it
Andy.
Thanks for the link mate, also an interesting website. I think my tub is in fairly good condition with just the one area that needs repairing, so your piece should do it. If it is any worse on closer inspection I may replace the complete tub

Posted
Settled In
smudger1980 said
Very nice Jimi. Great work dude.
Thanks Smudger
 �
�
Posted
Settled In
So upside down on the roll over jig for futher inspection!
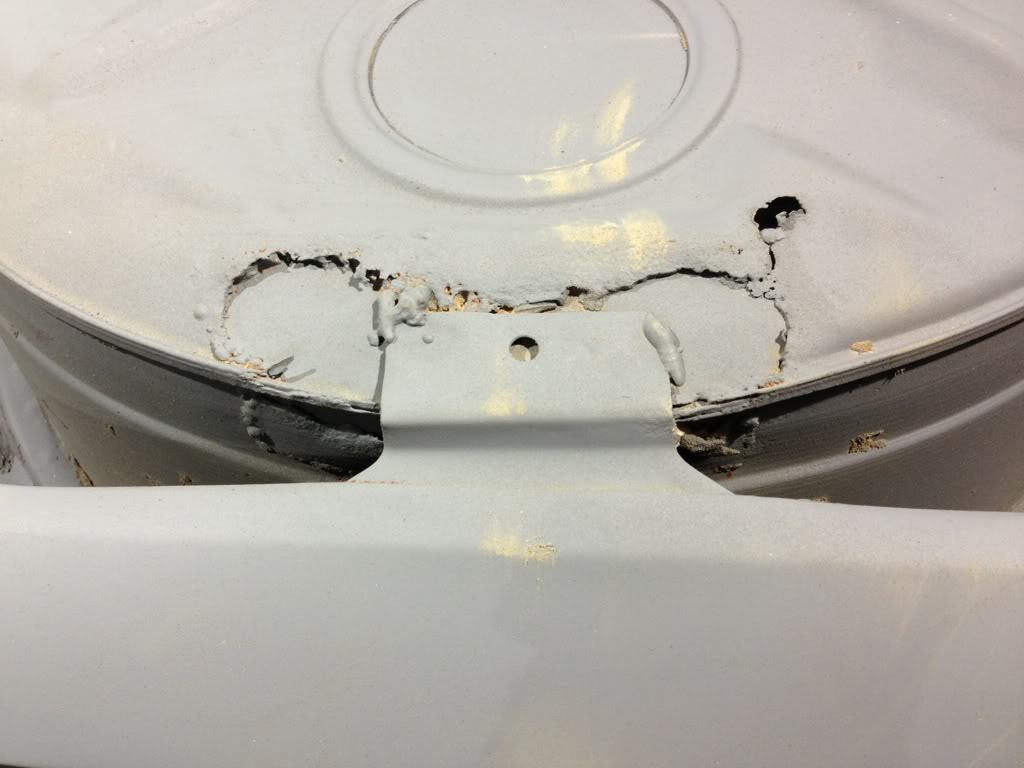
Next I cut some of the rear valance away to gain enough access. Im gonna be putting a new rear end on anyhow.
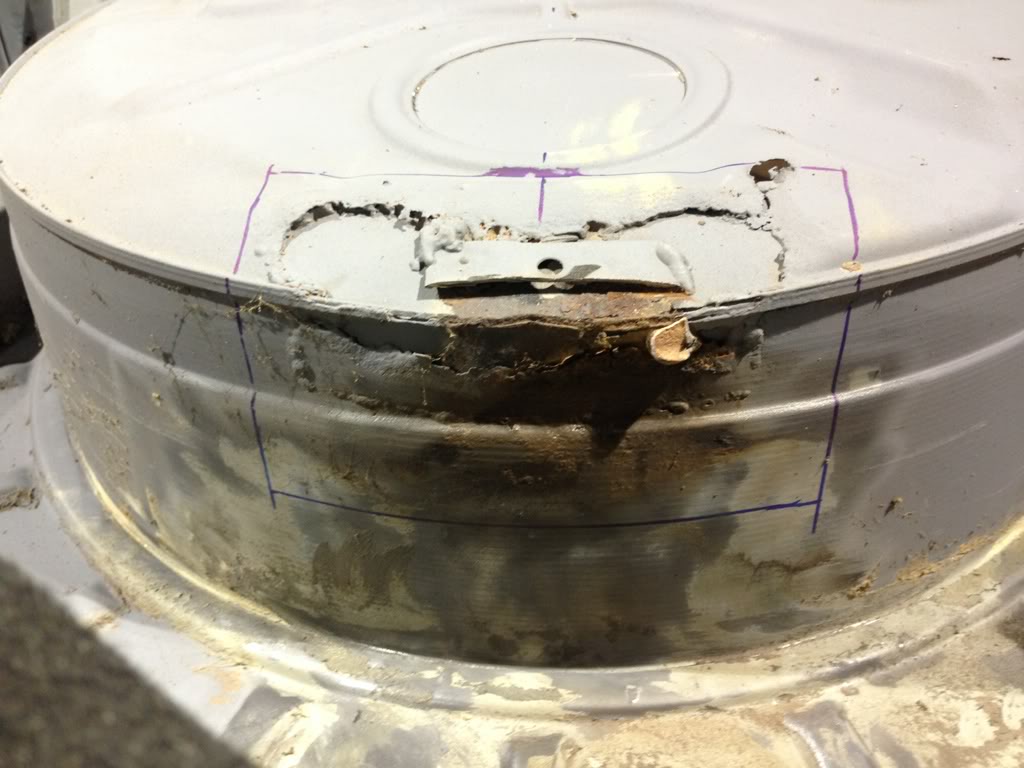
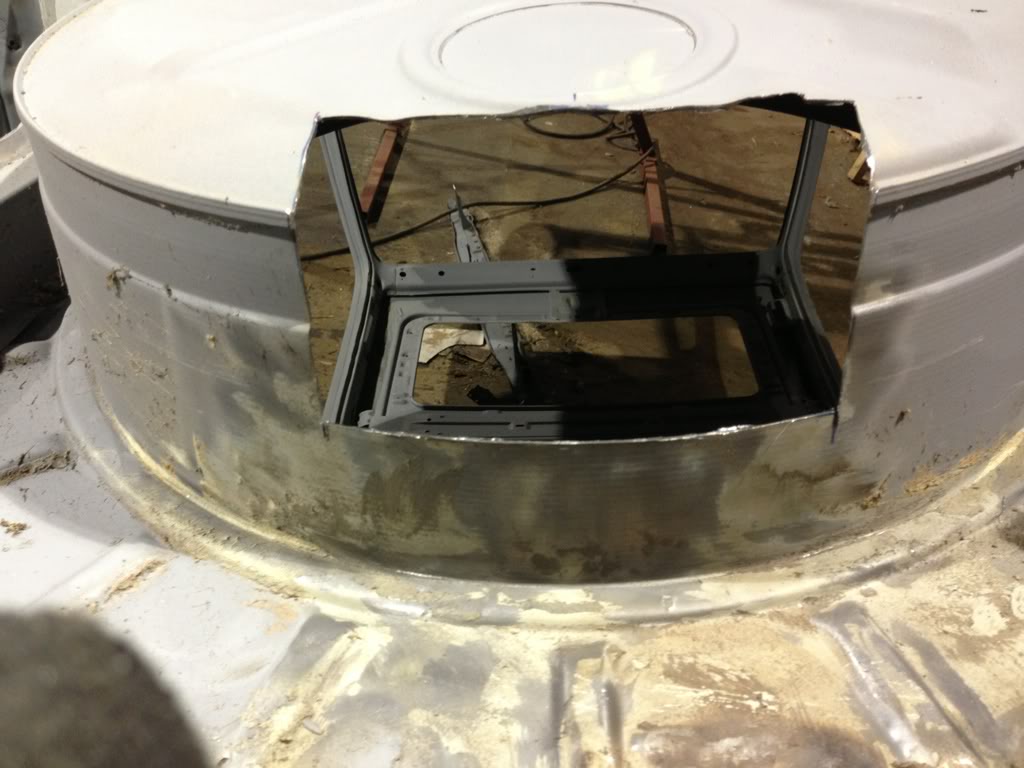
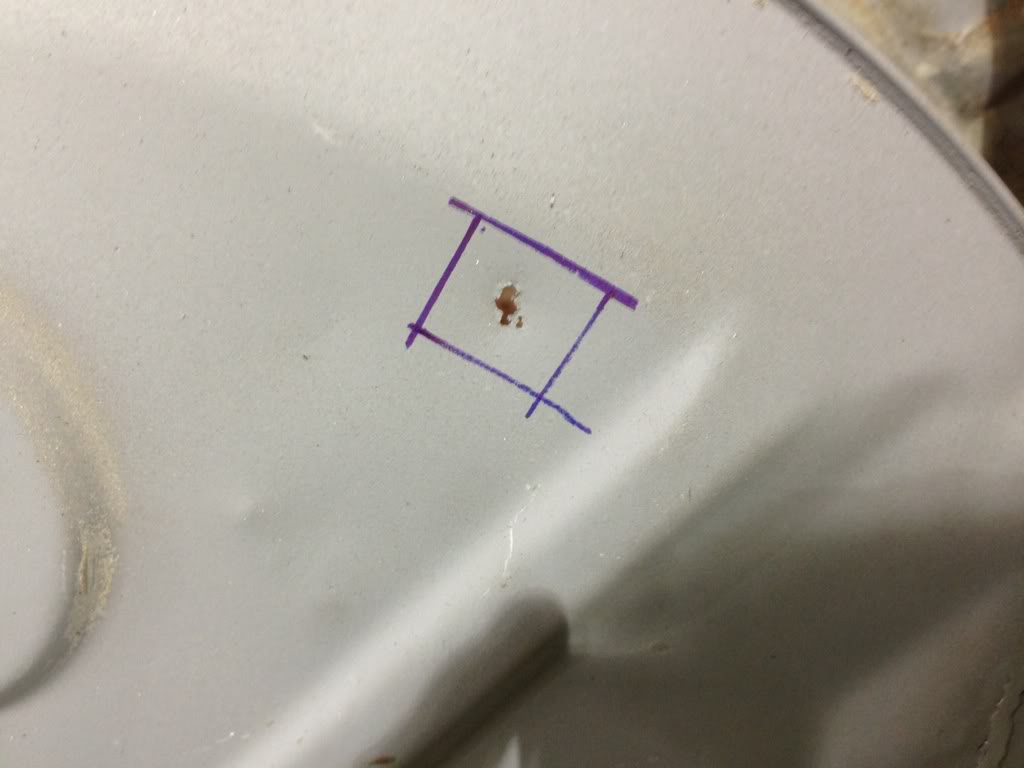
Area cut out!
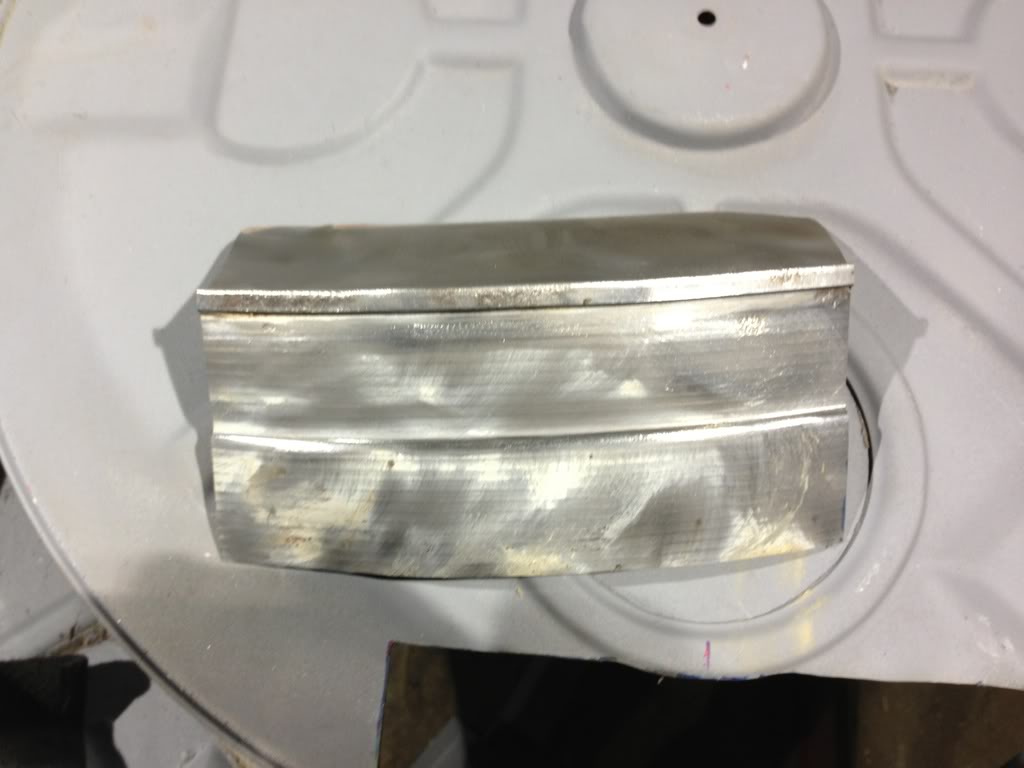
Cleaned the under seal from the spare piece of wheel well which I got from Melteddrummer, cheers Andy�
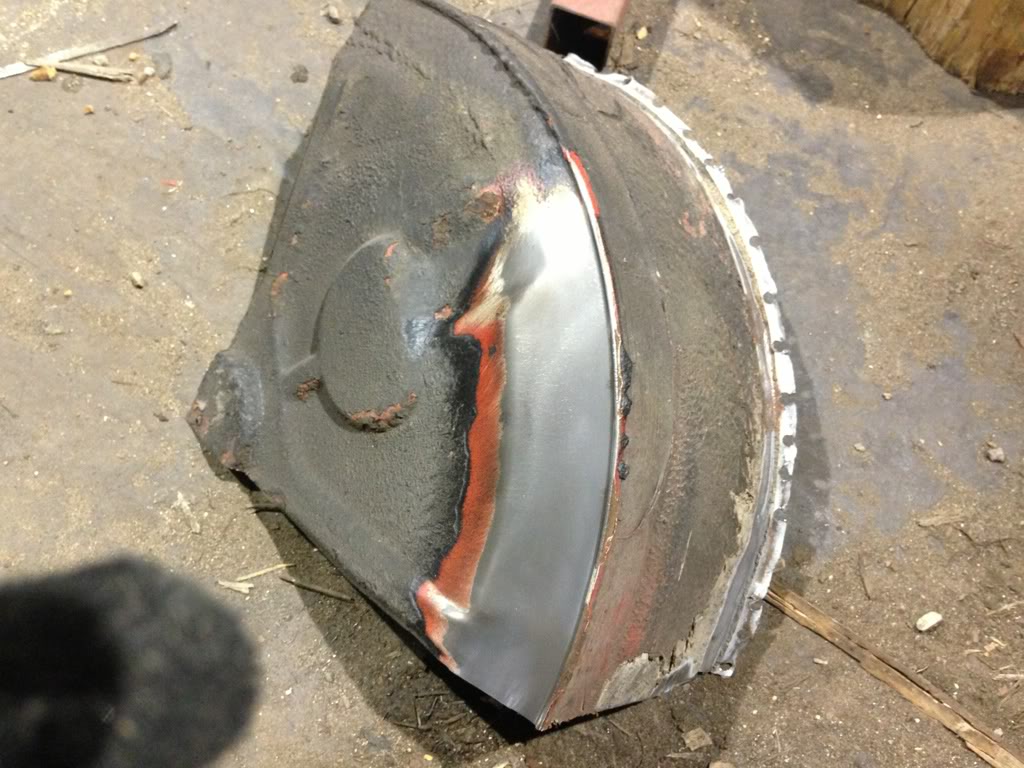
Then cut repair piece to suit.
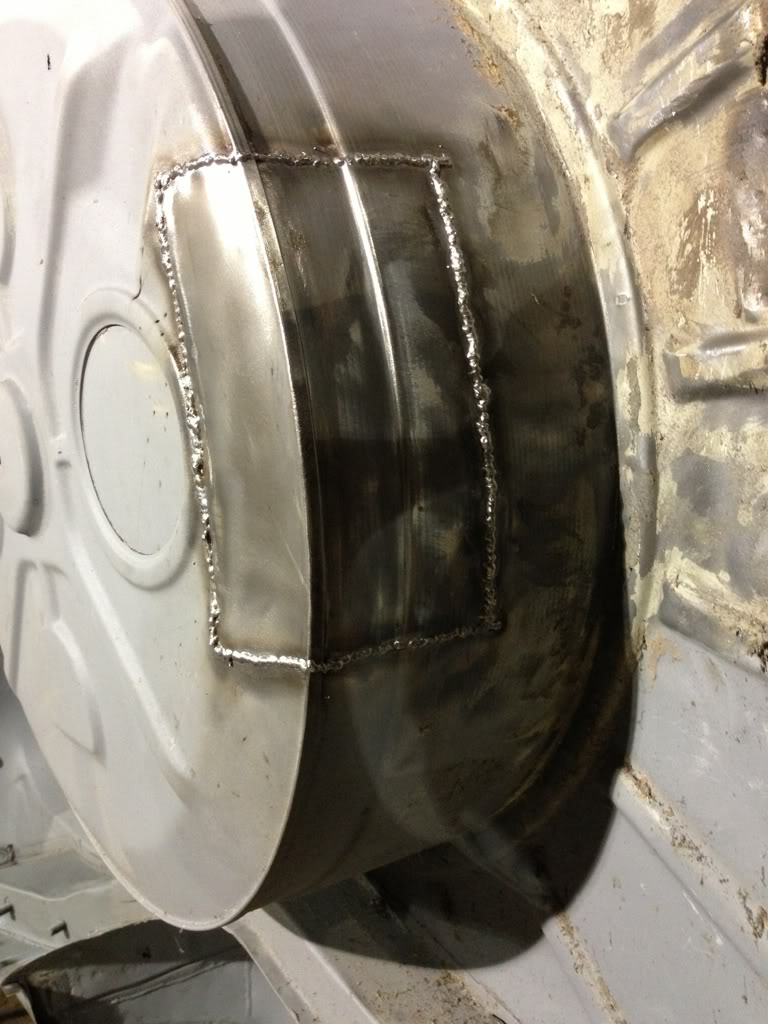
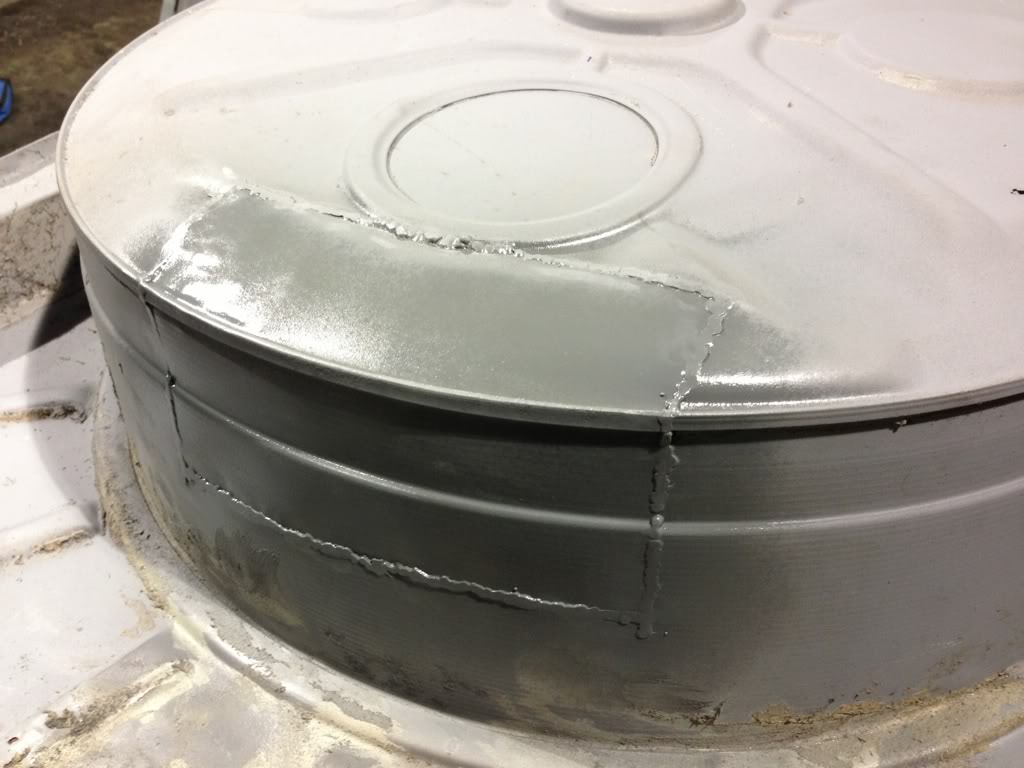
Welded into place and primered�
Posted

Local Hero

Andy
LINCOLNSHIRE REGION -�https://www.facebook.com/groups/467122313360002/
1983 MK1 Golf GTI Campaign Model - Under (looooong) resto!
1962 Rover P4 80
2002 BMW 745i
2008 BMW Z4 2.5Si
LINCOLNSHIRE REGION -�https://www.facebook.com/groups/467122313360002/
1983 MK1 Golf GTI Campaign Model - Under (looooong) resto!
1962 Rover P4 80
2002 BMW 745i
2008 BMW Z4 2.5Si
Posted
Moderator
 �I was thinking of coming up with a different design for where the rear valance meets the well, as it's a magnet for rot. Still undecided which way to go with it though
Posted
Settled In
Hairyarse said
Nice repair Jim, looks tidy
Cheers, once all the welding is done I will going over all my welds with a small grinder to smooth them off better�
Posted
Settled In
Melteddrummer said
That's a good fit Jimi, nice work as usual
Cheers Andy, true what you say, they all go in this area!
Posted
Moderator
Posted

Old Timer

Posted
Settled In
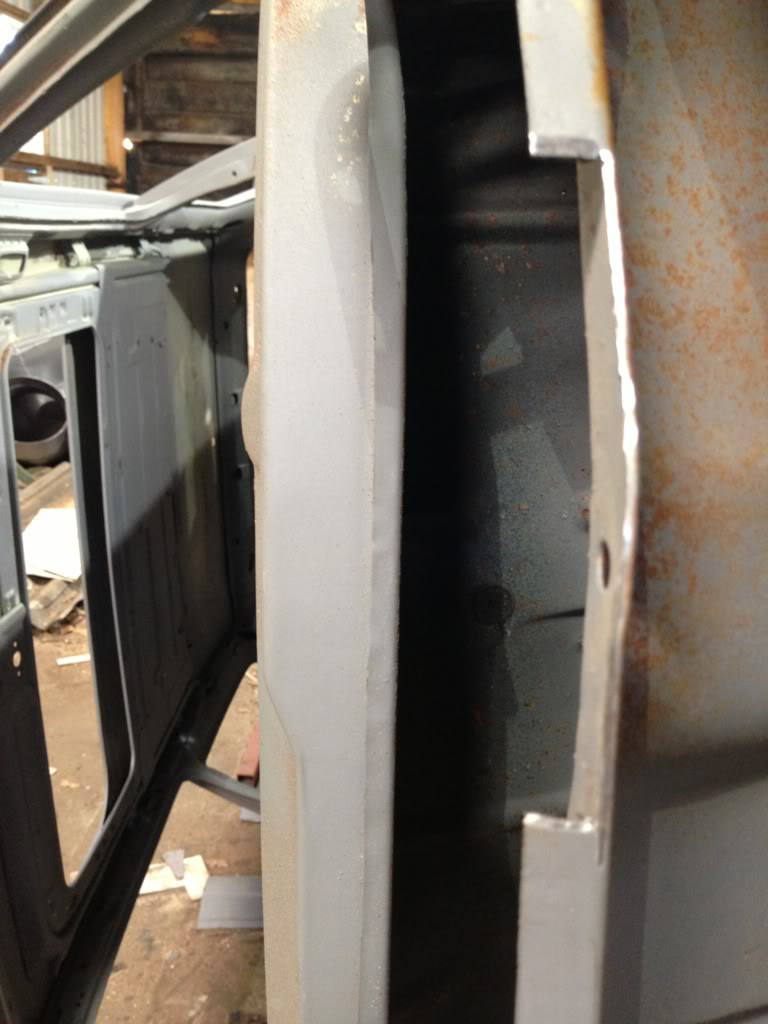
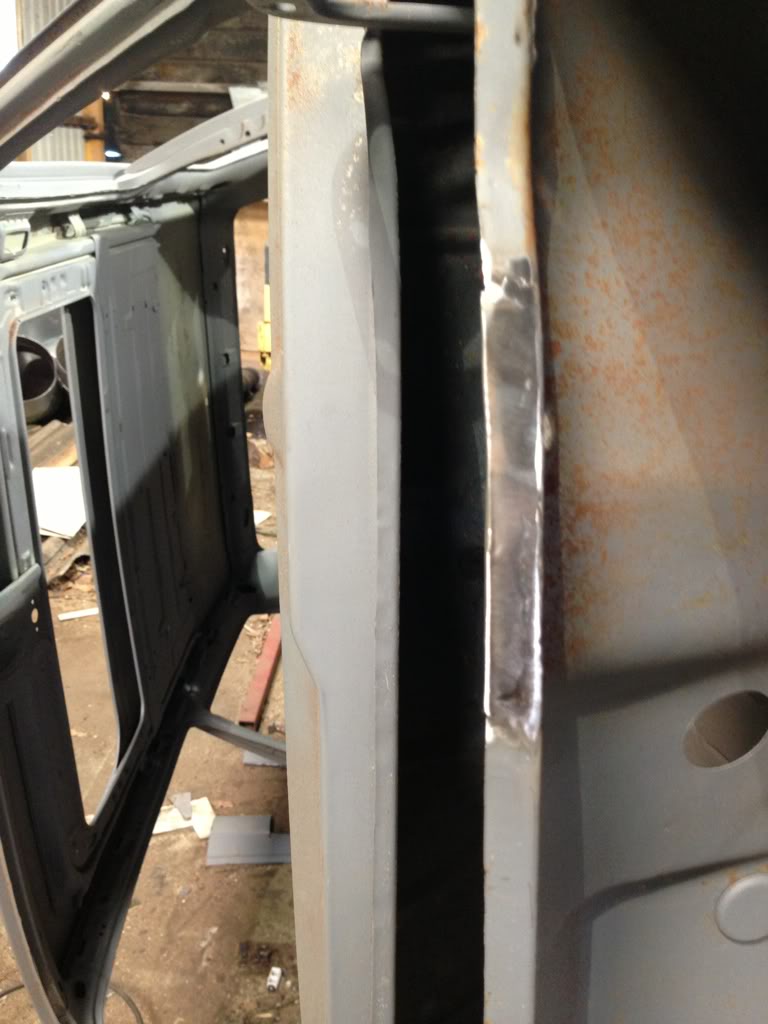
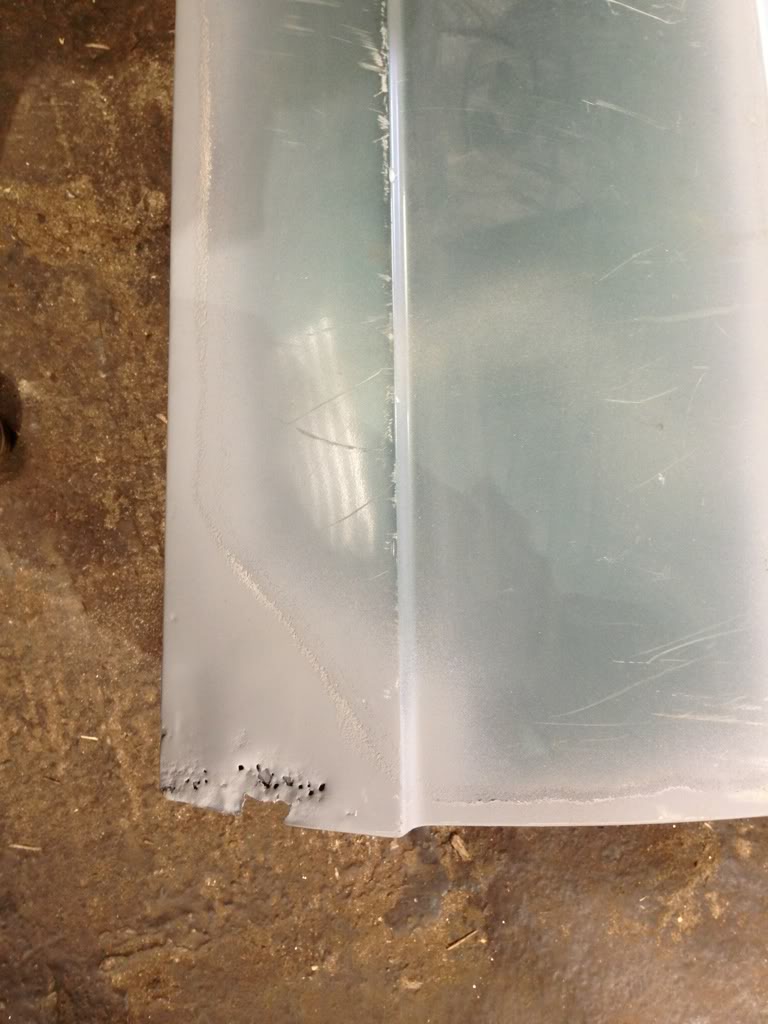
The decided to make sum repairs along the edge of the scuttle panel, this is the only place where it has gone.
Some pics of the areas to be repaired.

One of the problem areas cut out!
New pieces welded in a sanded!
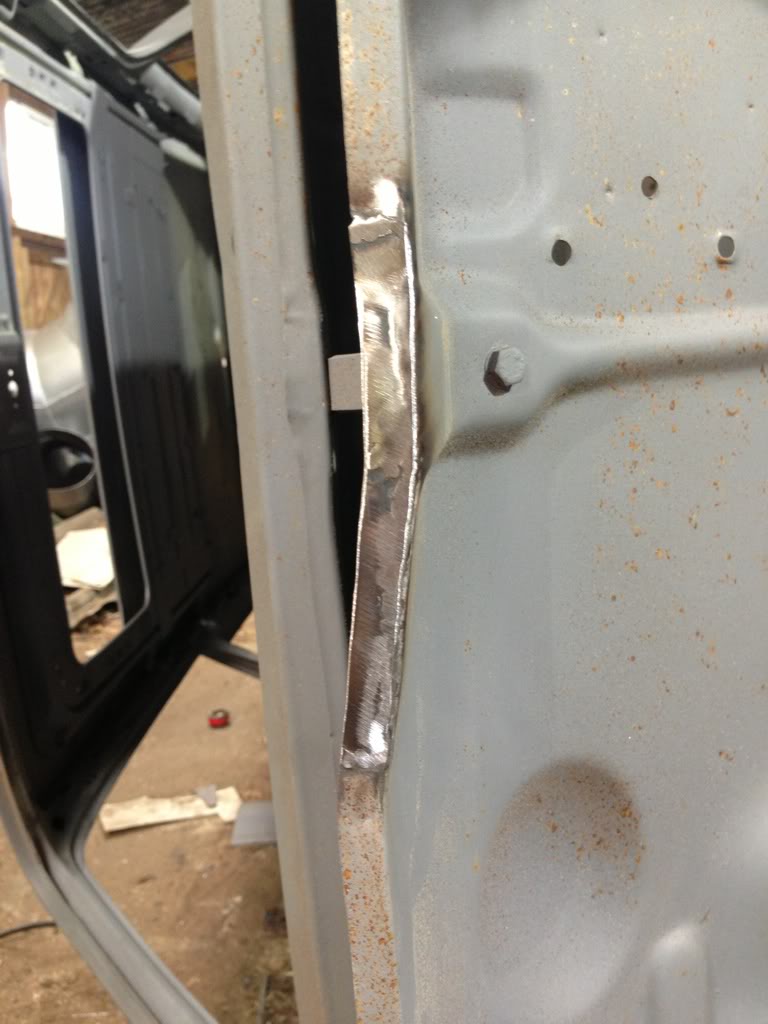
Finished and primered.
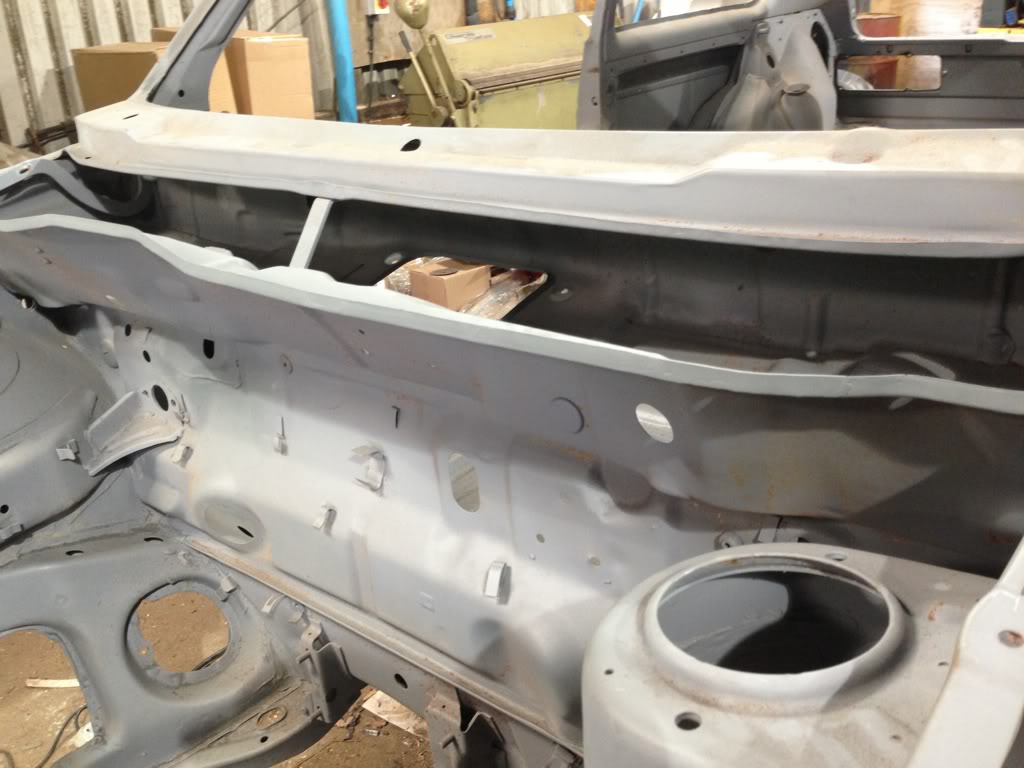
I then started to remove the rear panel and have a fair bit on there with rot etc�

Posted
Moderator
Jimi, is that surface rust starting to form on the scuttle panel? or is it dust from the saw mill or something?
Posted
Settled In
Melteddrummer said
Good job again mate, looking good!
Jimi, is that surface rust starting to form on the scuttle panel? or is it dust from the saw mill or something?
Cheers Andy, yes its light surface rust, only on the front end. Its from when I picked the car up from the blasters in january on an open trailer and it got sprayed with salty water from the roads. I will need to go over the areas with a fine wire brush wheel before it goes for paint, but it does come off easily.
Posted
Moderator
Posted
Settled In
Melteddrummer said
Cool man. What's next on the list?
Rear end now, need to get a new rear panel and new lower corners ordered and get cracking on with that.�
Posted

Moderator


Posted
Settled In
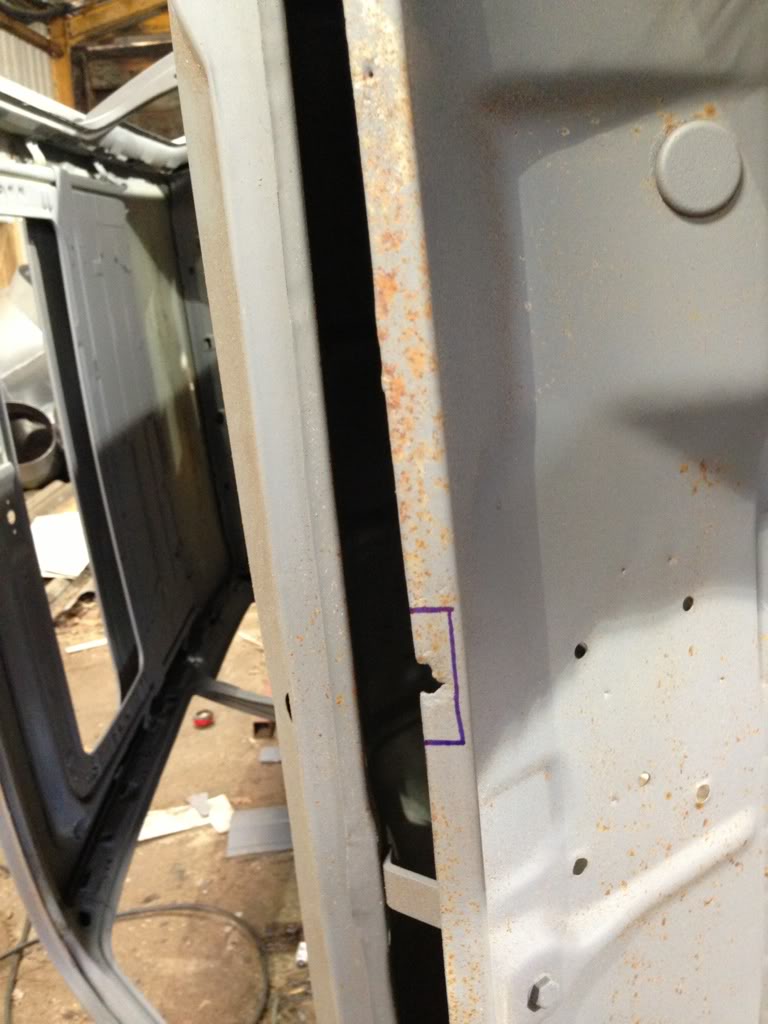
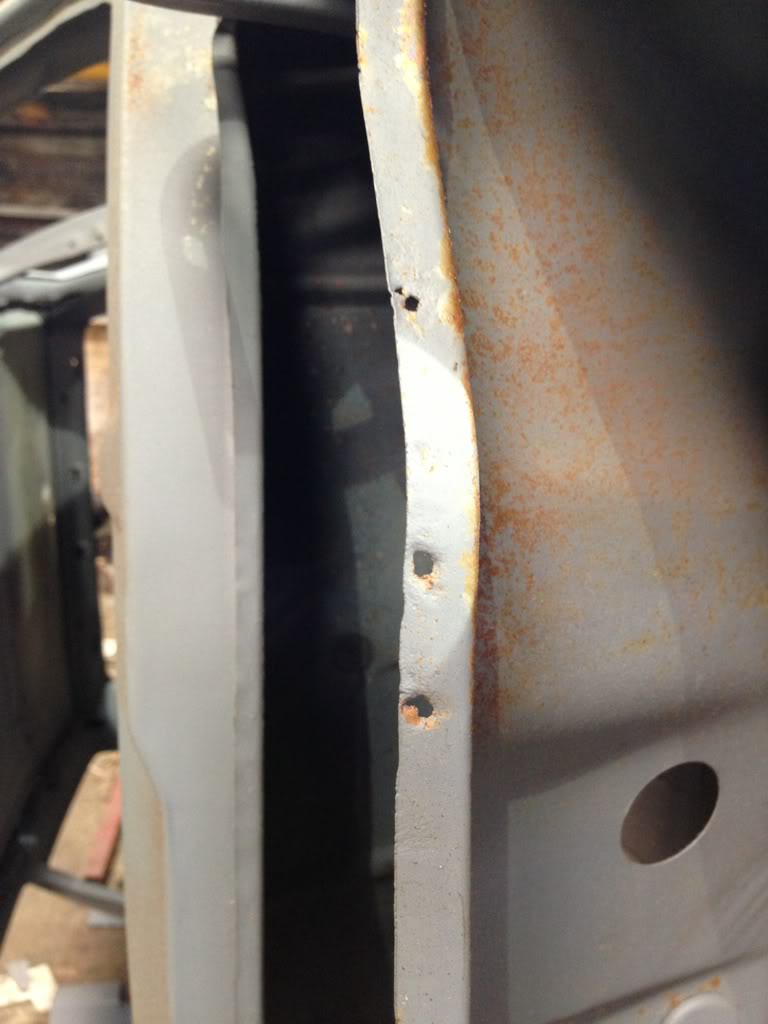
Pic showing the damage
Area cut out
Repair piece made
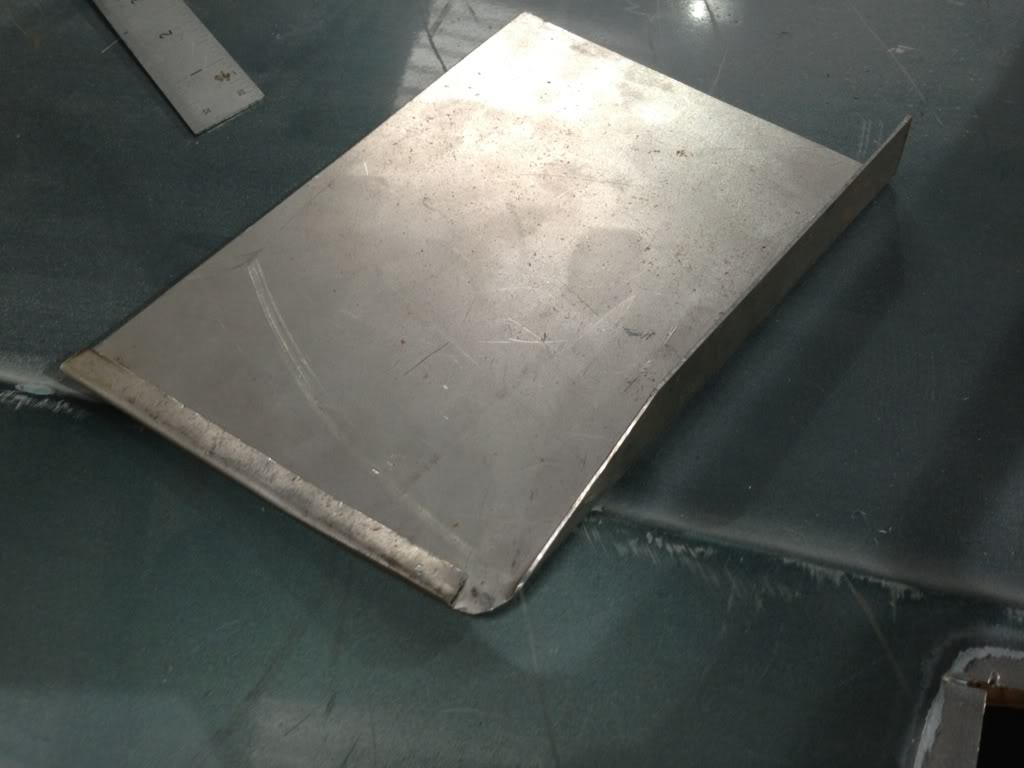
Tacked into place
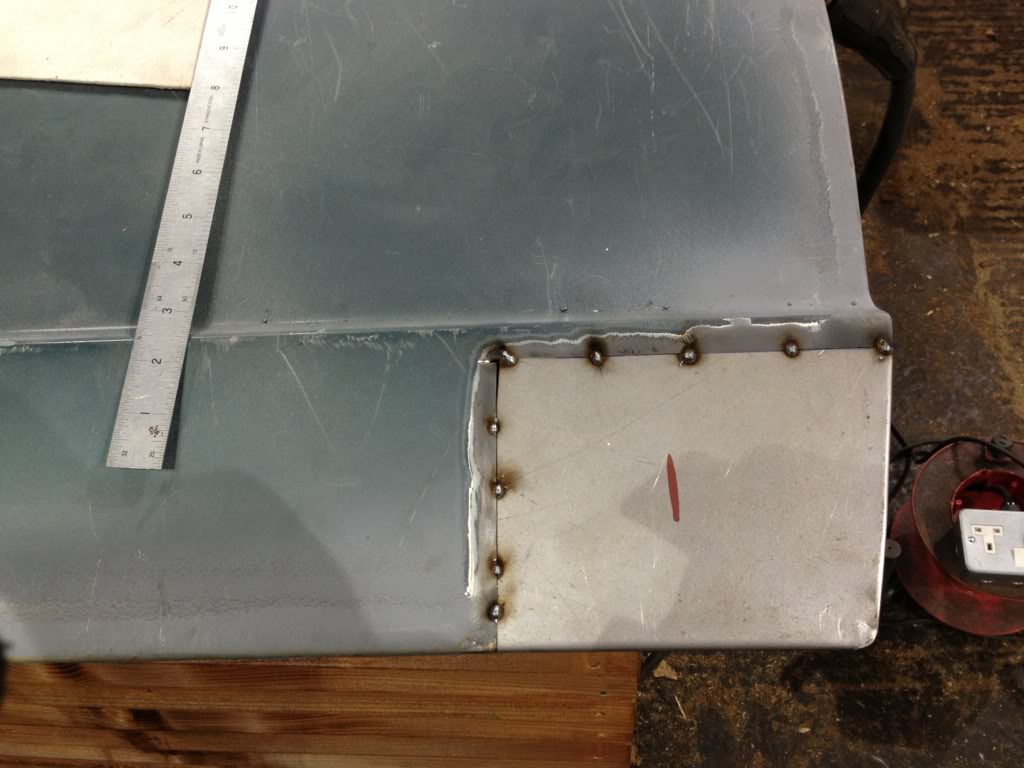
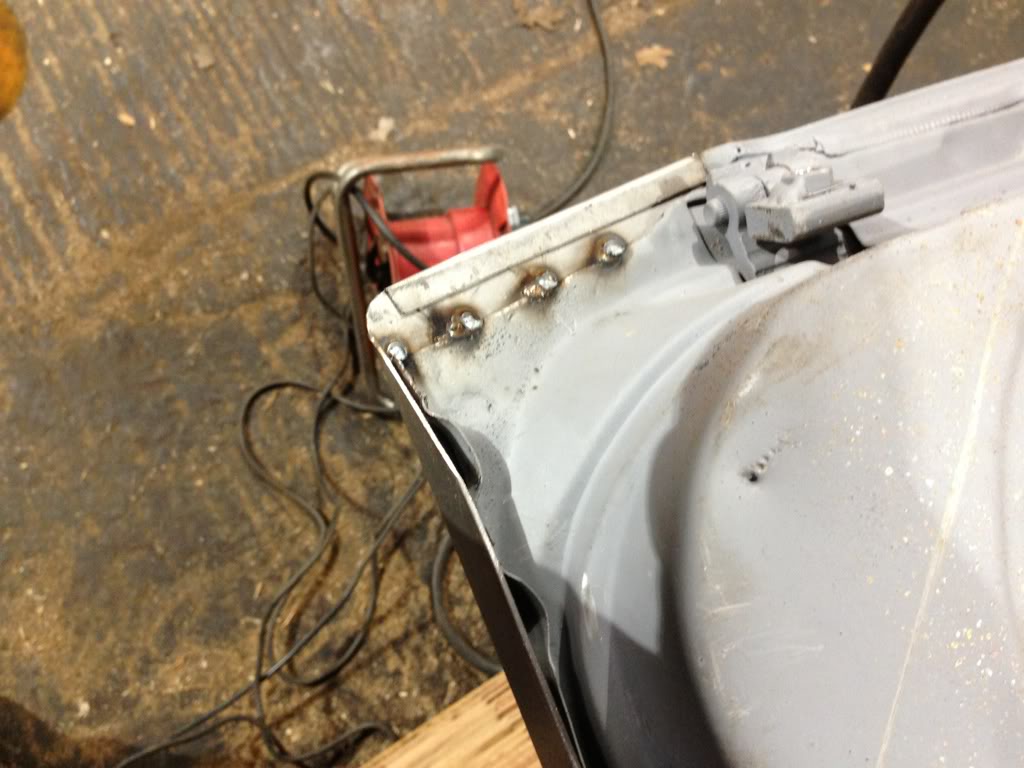
Fully welded then primered
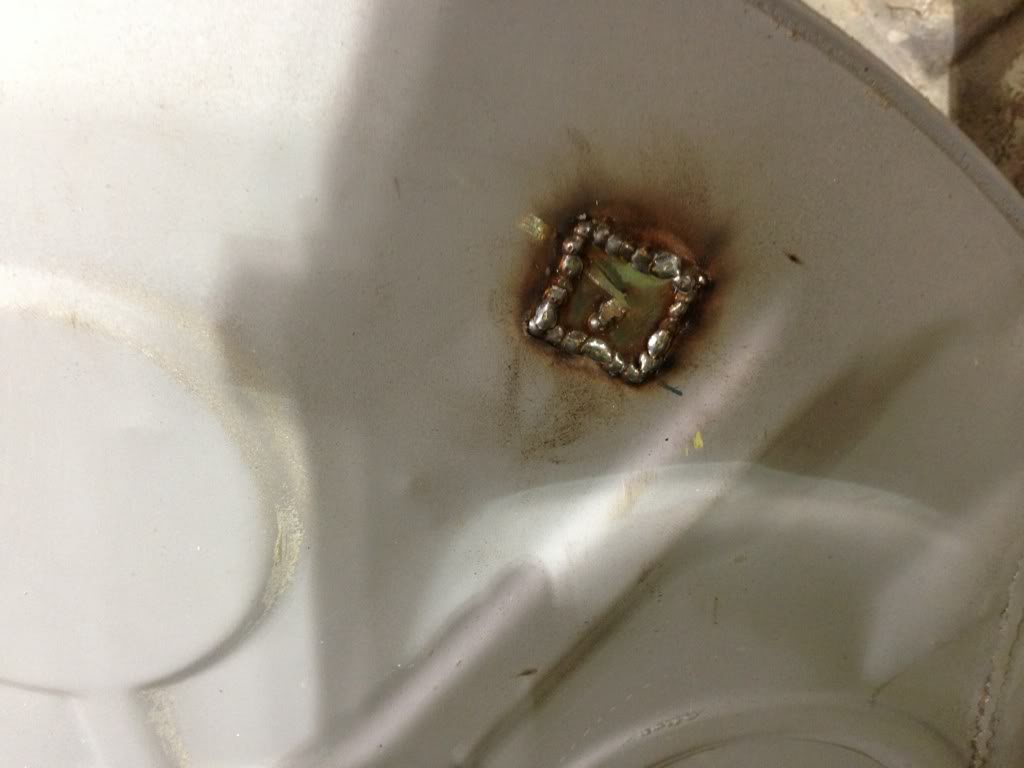
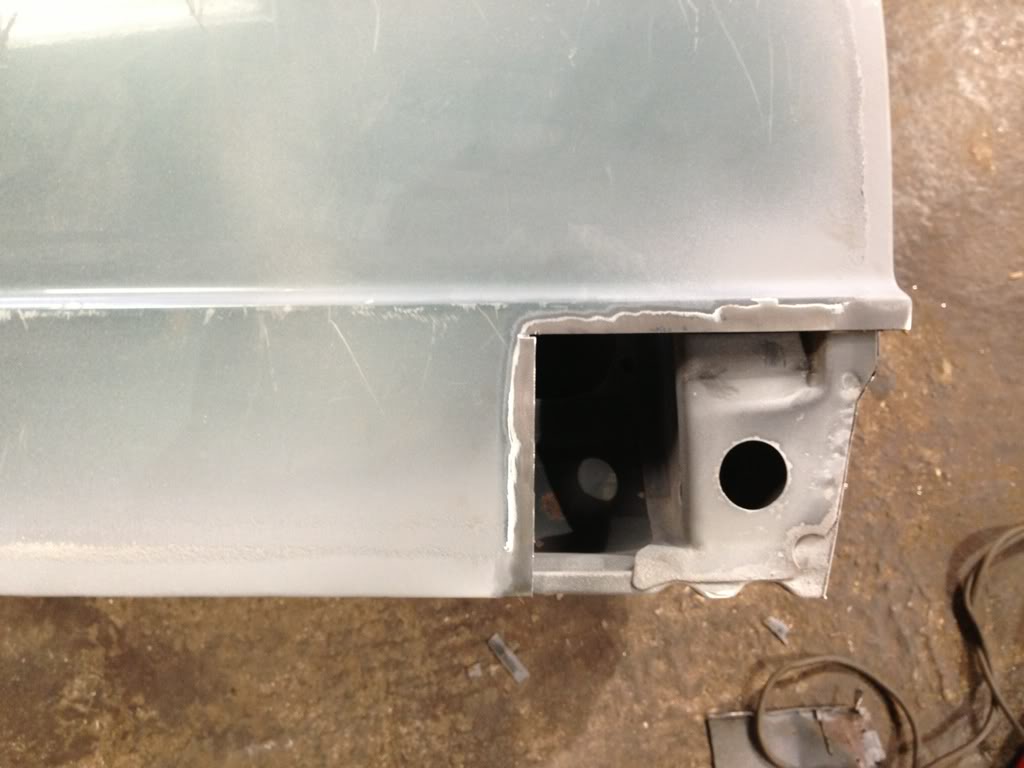
I have now removed the rear panel so was able to get at the lower rear corners these had been previously repaired by welding new ones over old so I cut off the overlay to find this.
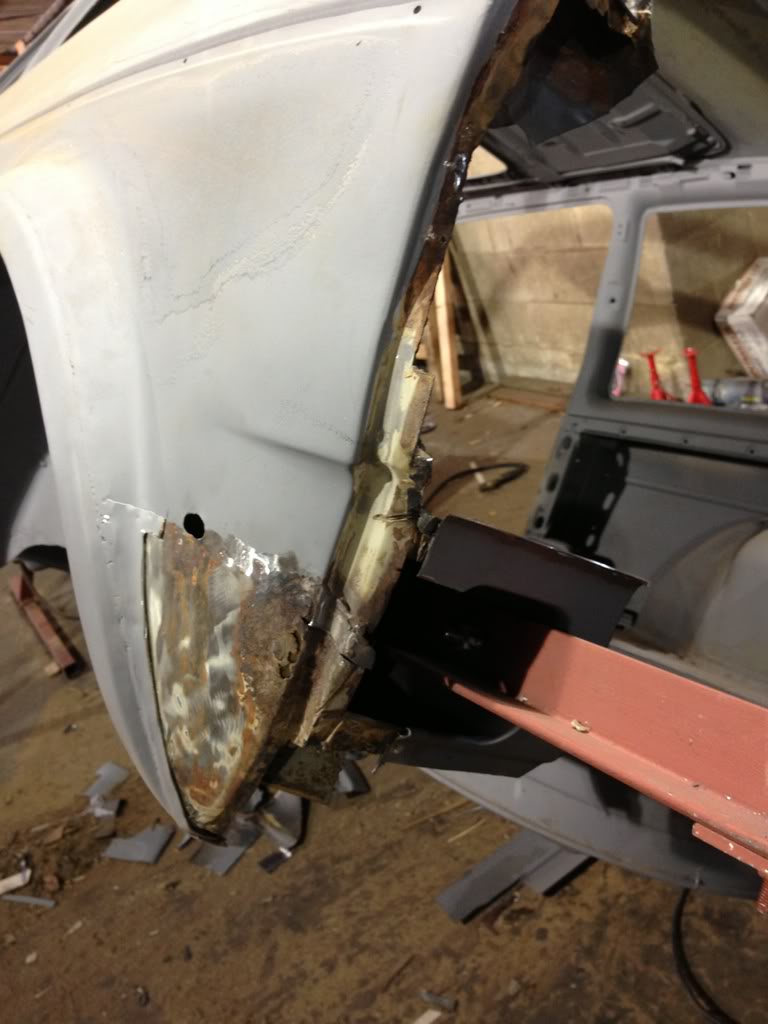
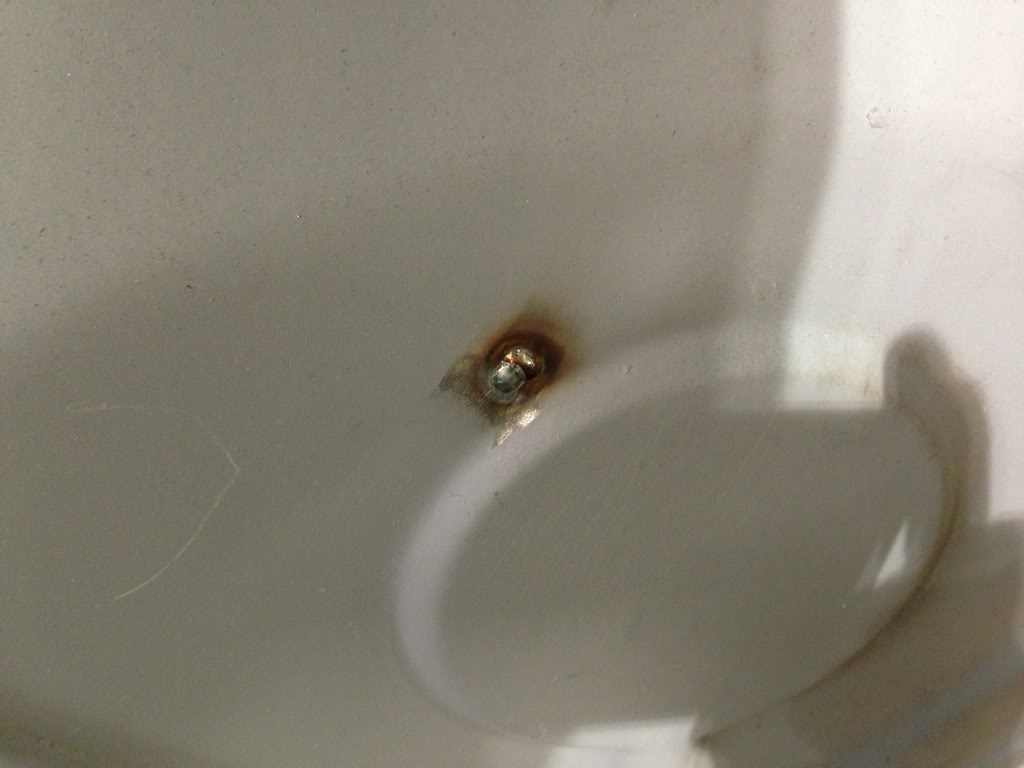
Then the original part was cut out and also a small hole in inner arch to be repaired
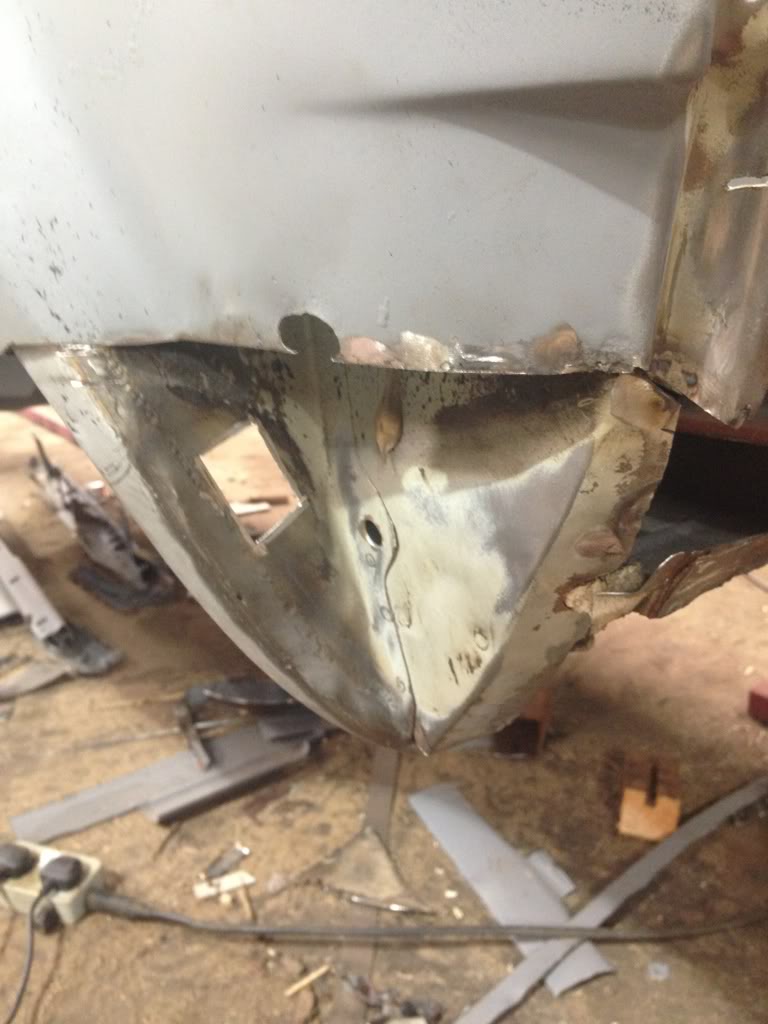
Small patch welded in
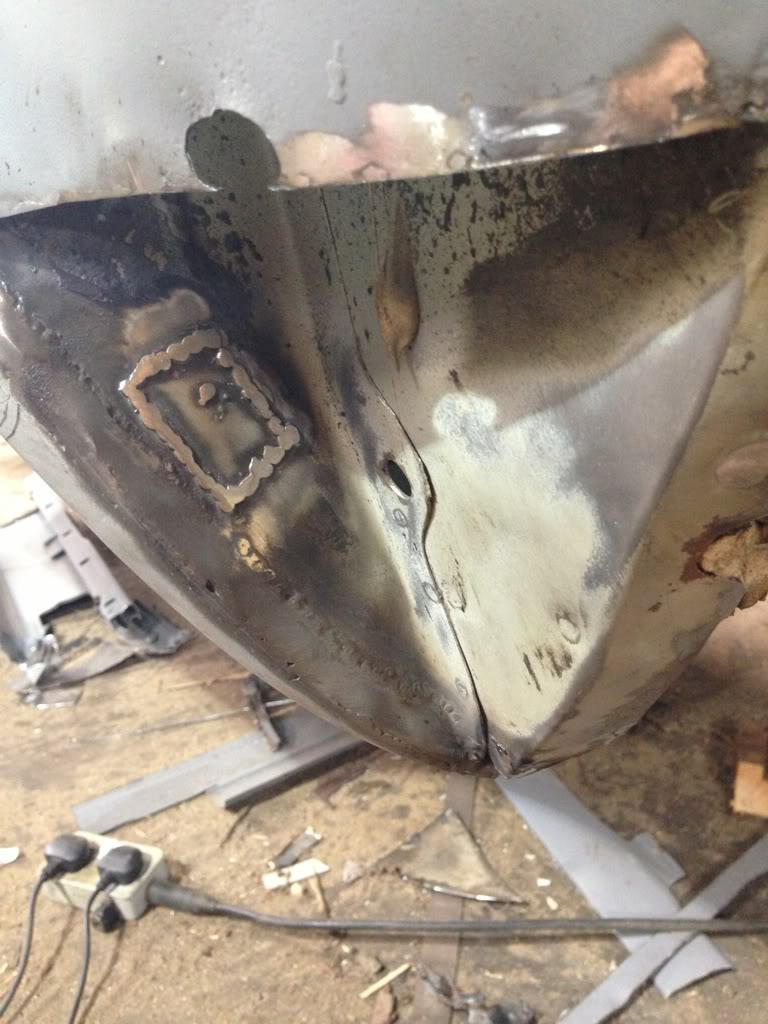
Then lower corner was tacked into position but I wont be welding it fully until the other side is done and I have offered up the rear panel to check fitment. I also welded up the bumper mount hole
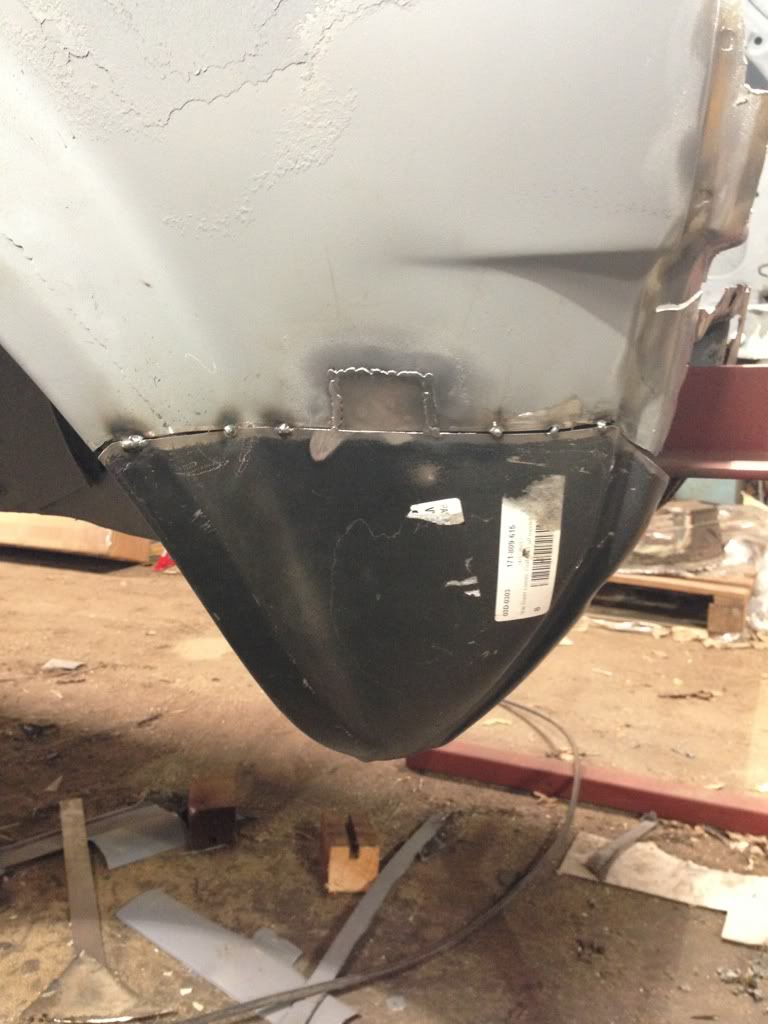
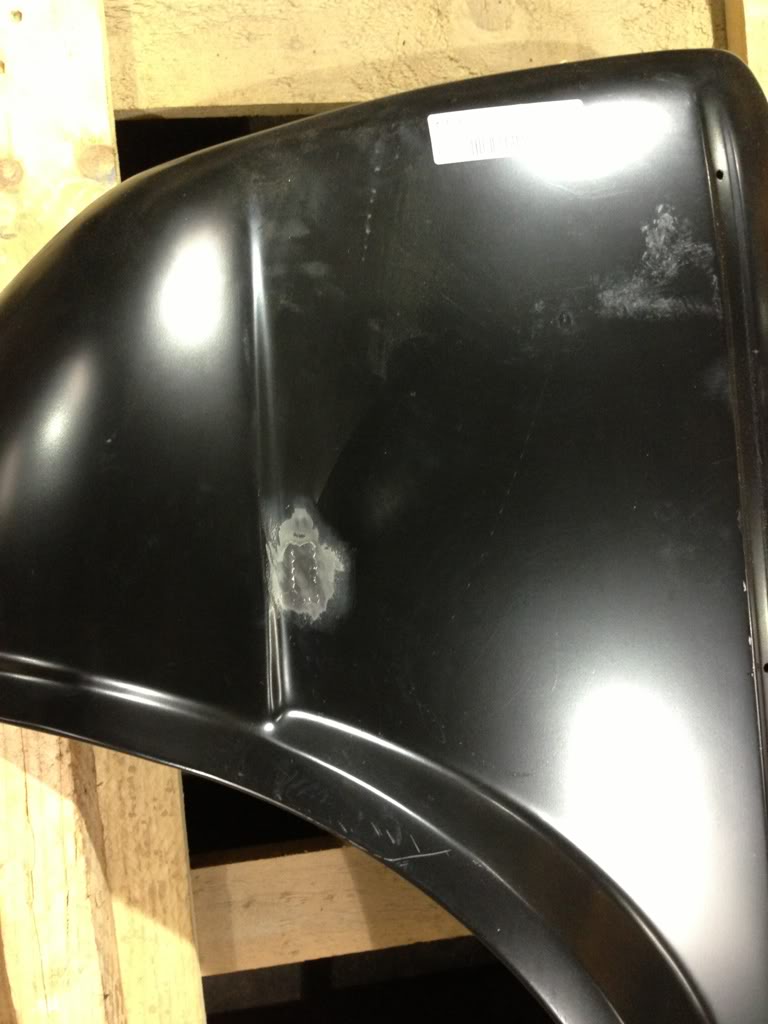
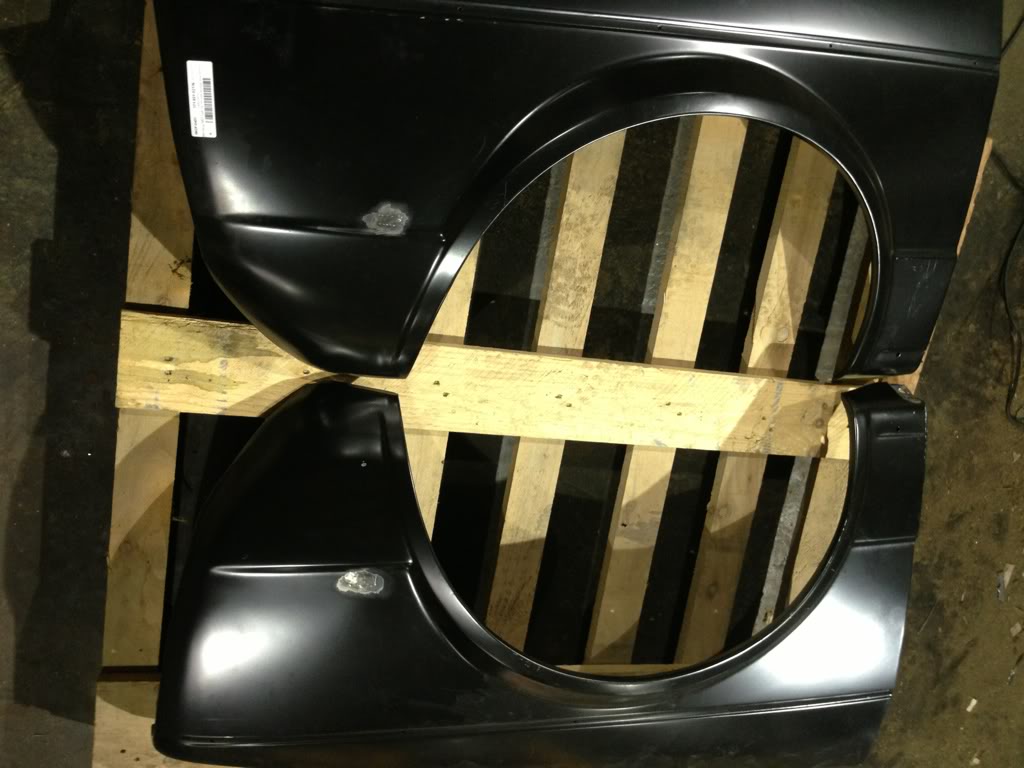
Seeing as I had welded up 1 bumper mount hole thought I would do my new wings aswell�
Posted
Moderator
Posted
Settled In
Melteddrummer said
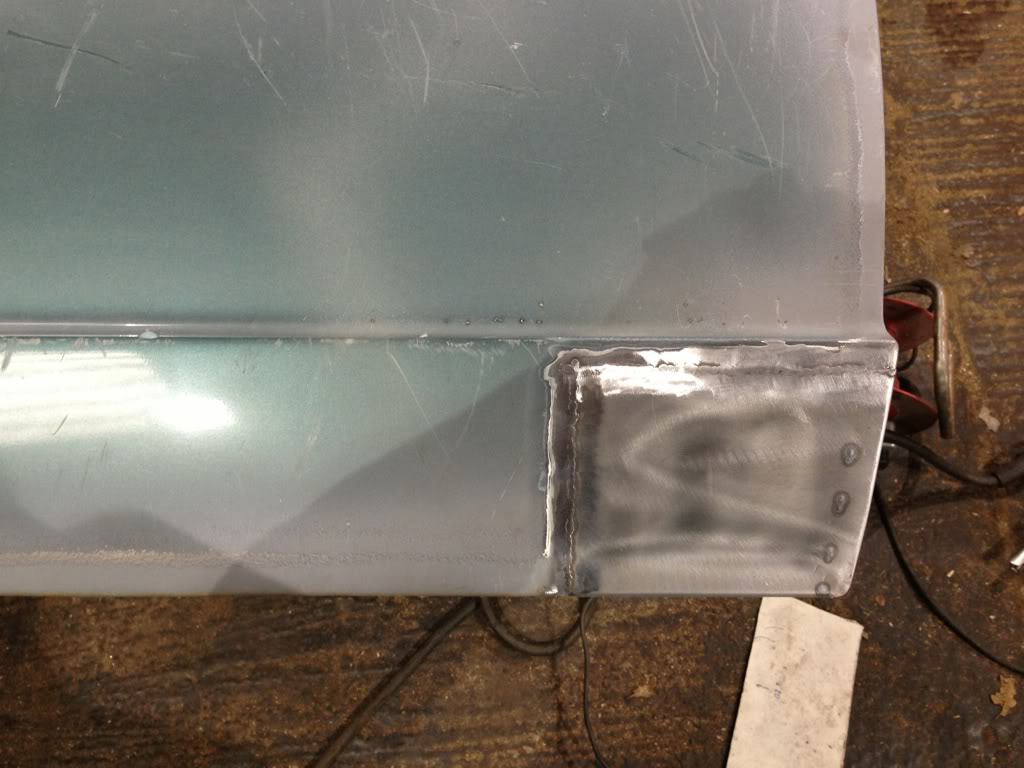
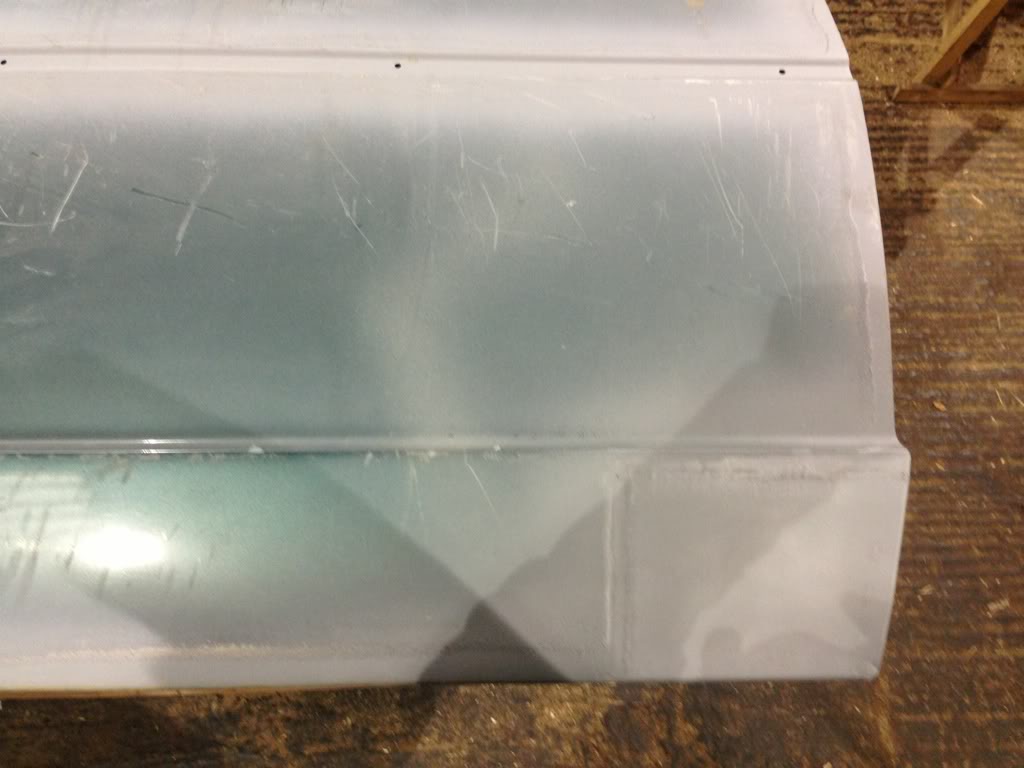
Excellent work Jimi, that door repair is spot on mate!!
Cheers Andy, if I could have sourced a door locally I probably would have done as postage is an issue if its from away. At least it keeps costs down by repairing it.�
 How is yours coming along?
Posted
Moderator
0 guests and 0 members have just viewed this: None.