


Mk1 project finally (pictures added)

Posted
#1204438
(In Topic #143951)
Settling In

Mk1 project finally (pictures added)
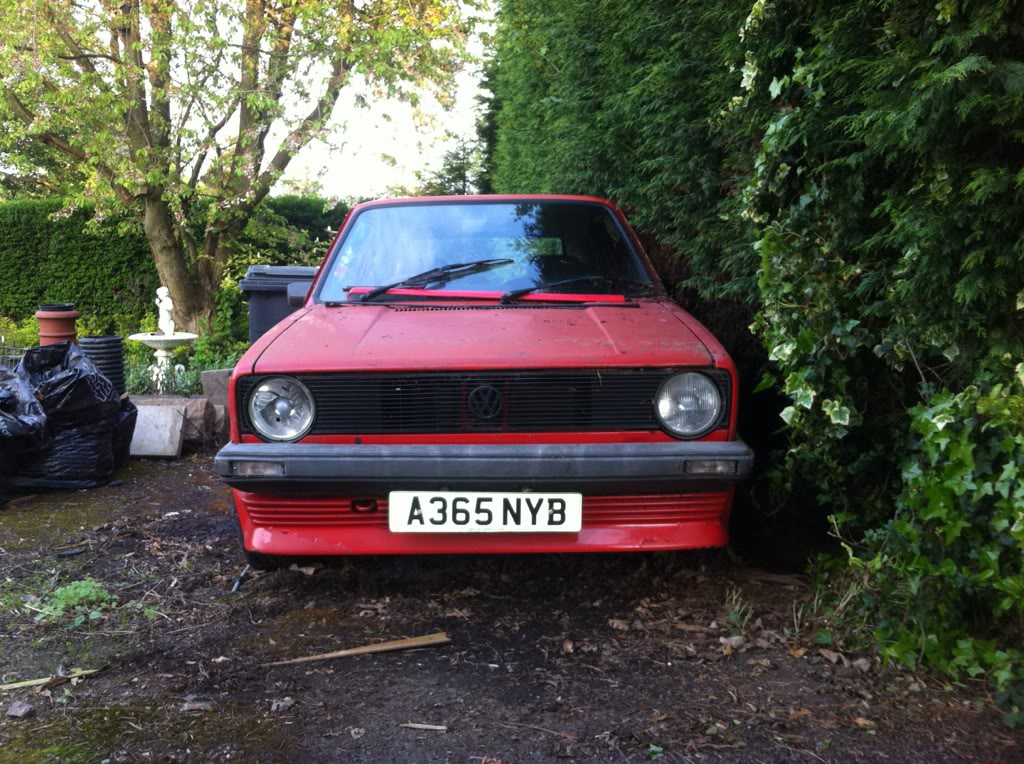
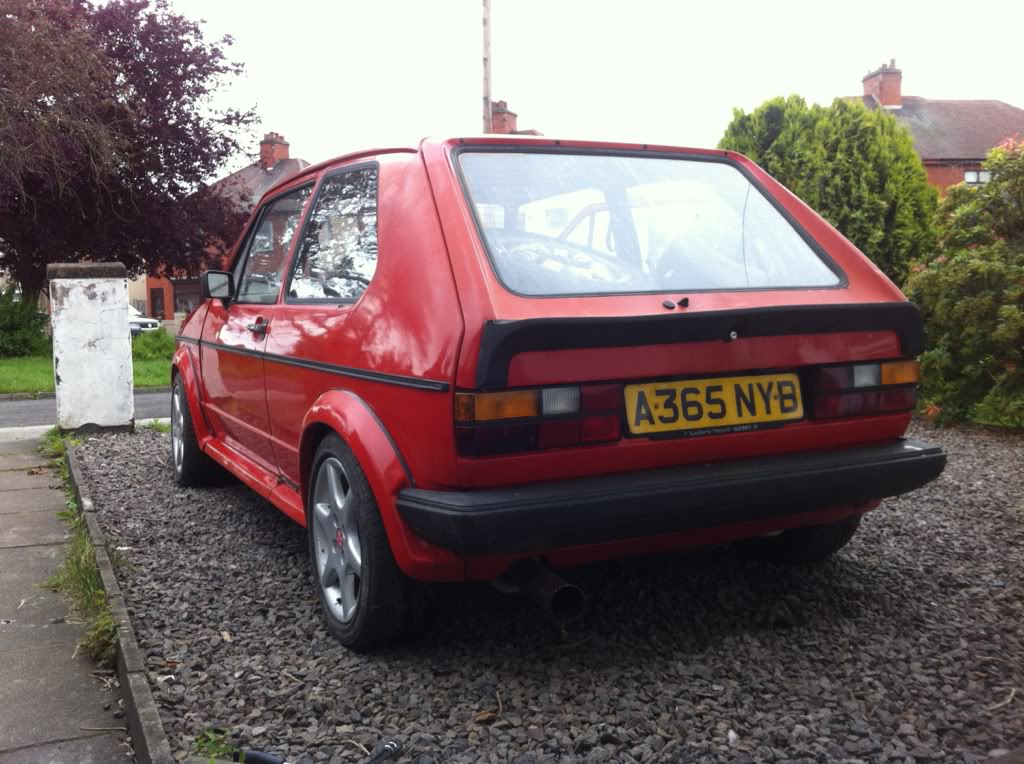
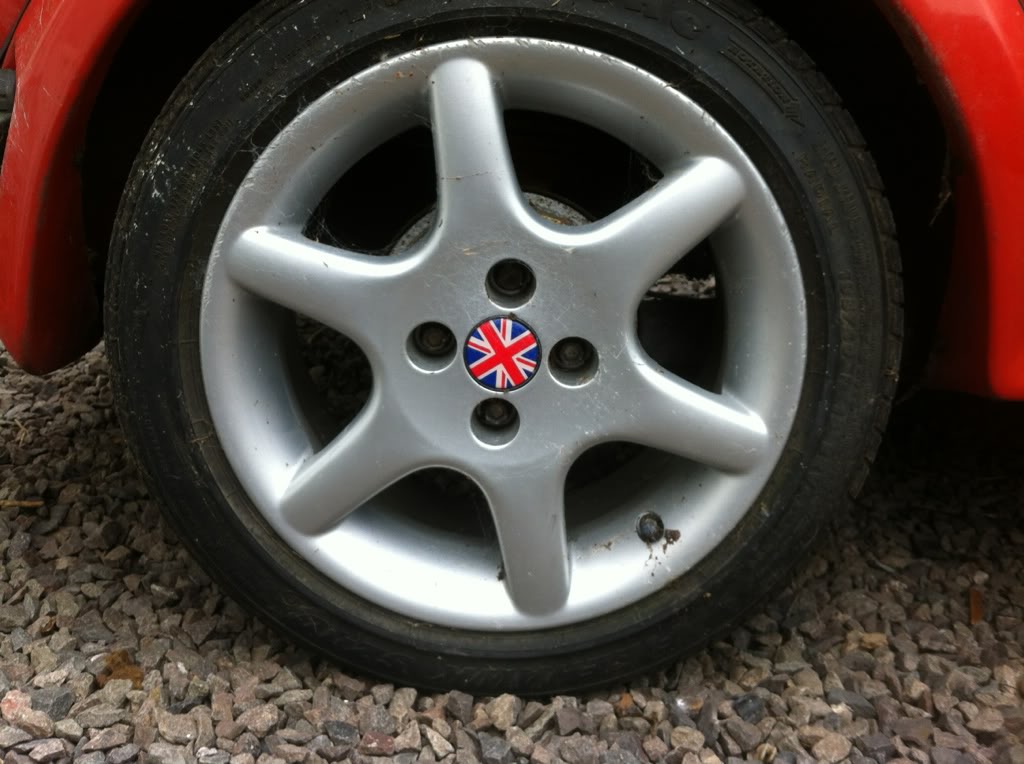
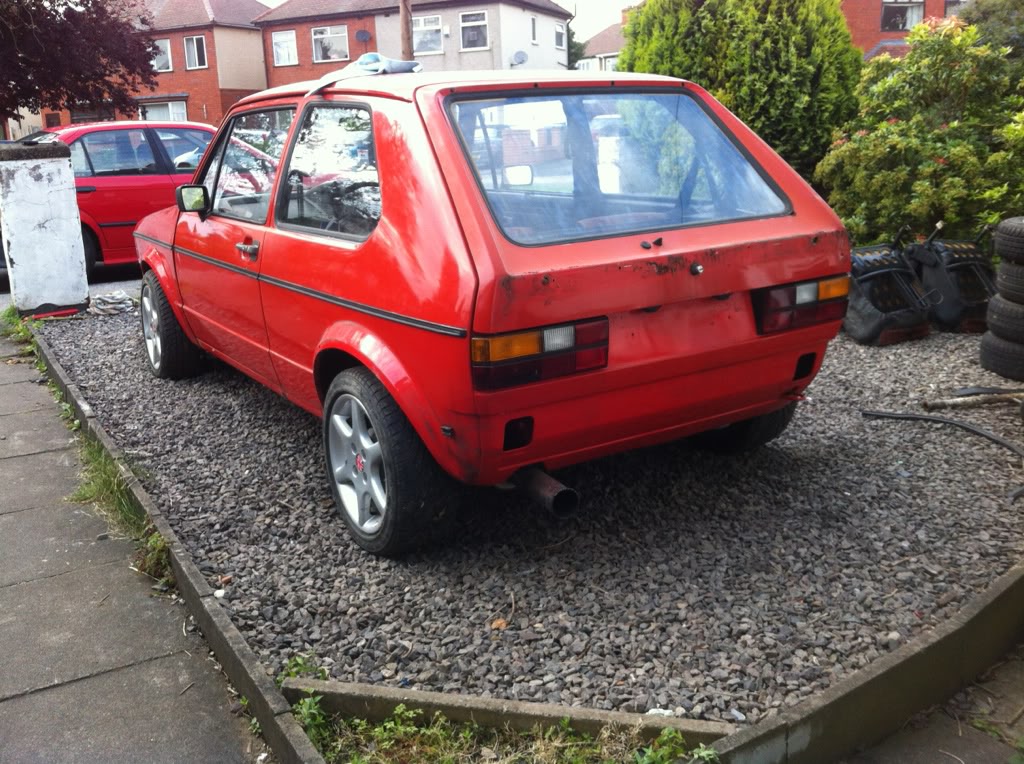
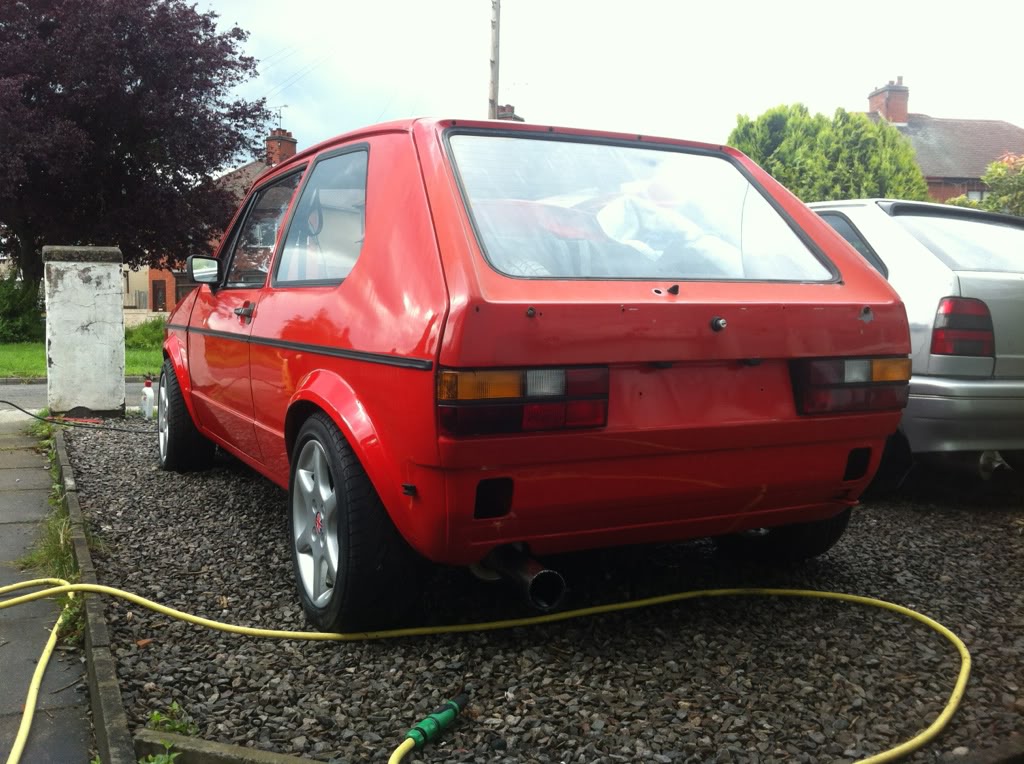
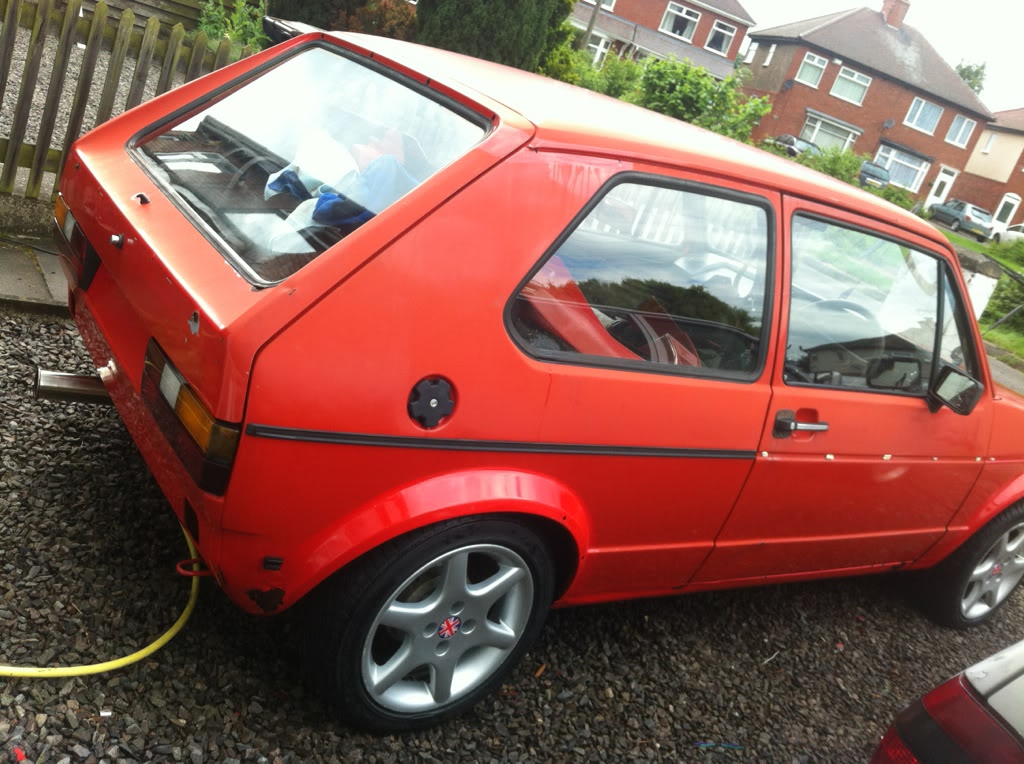
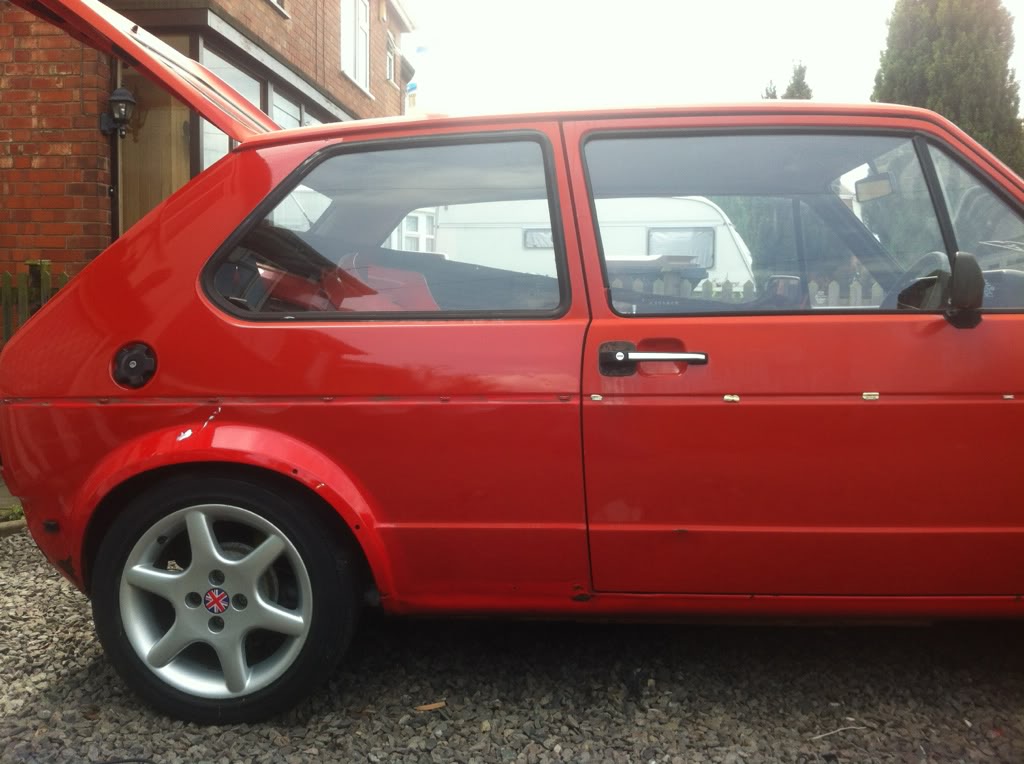
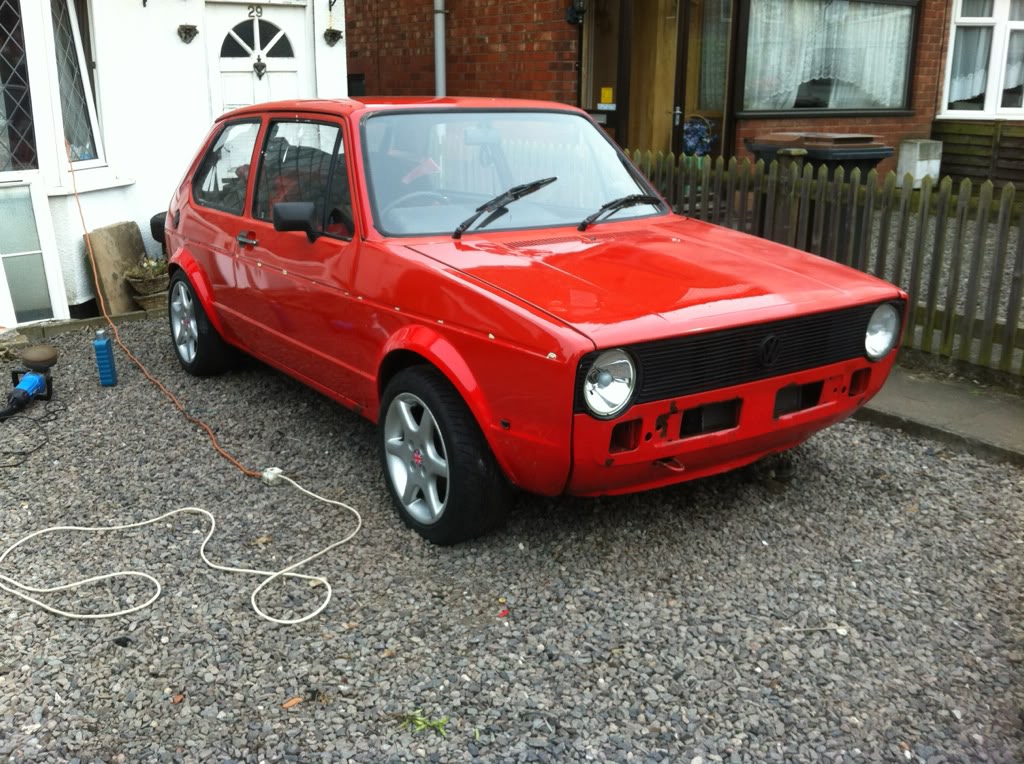
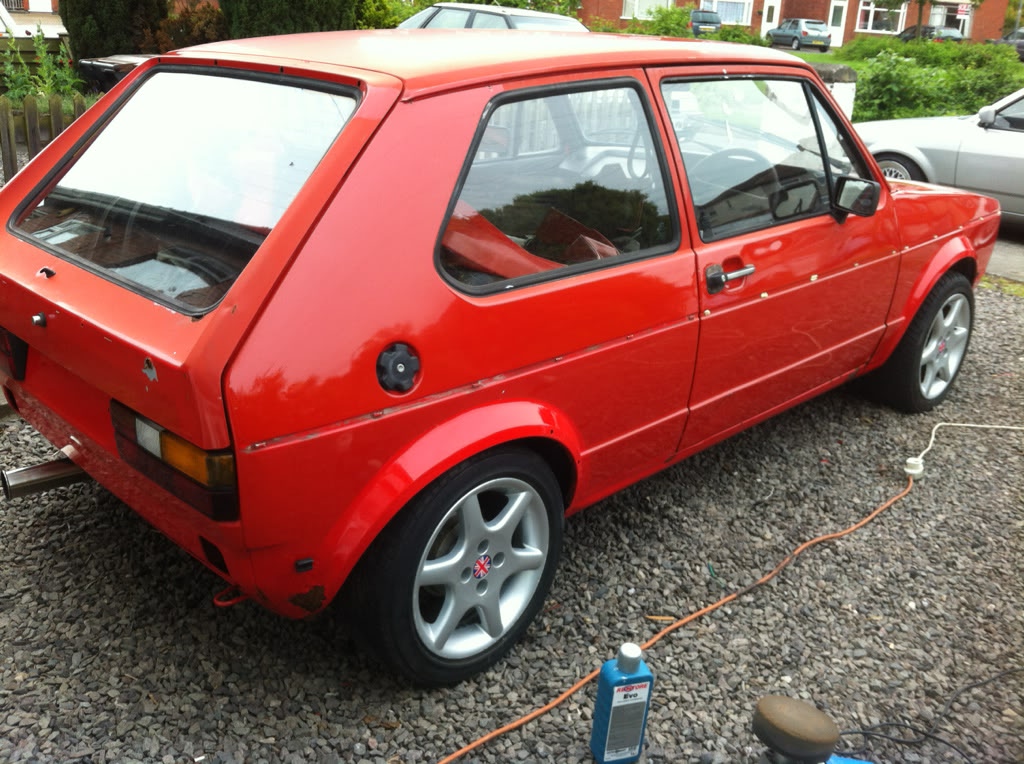
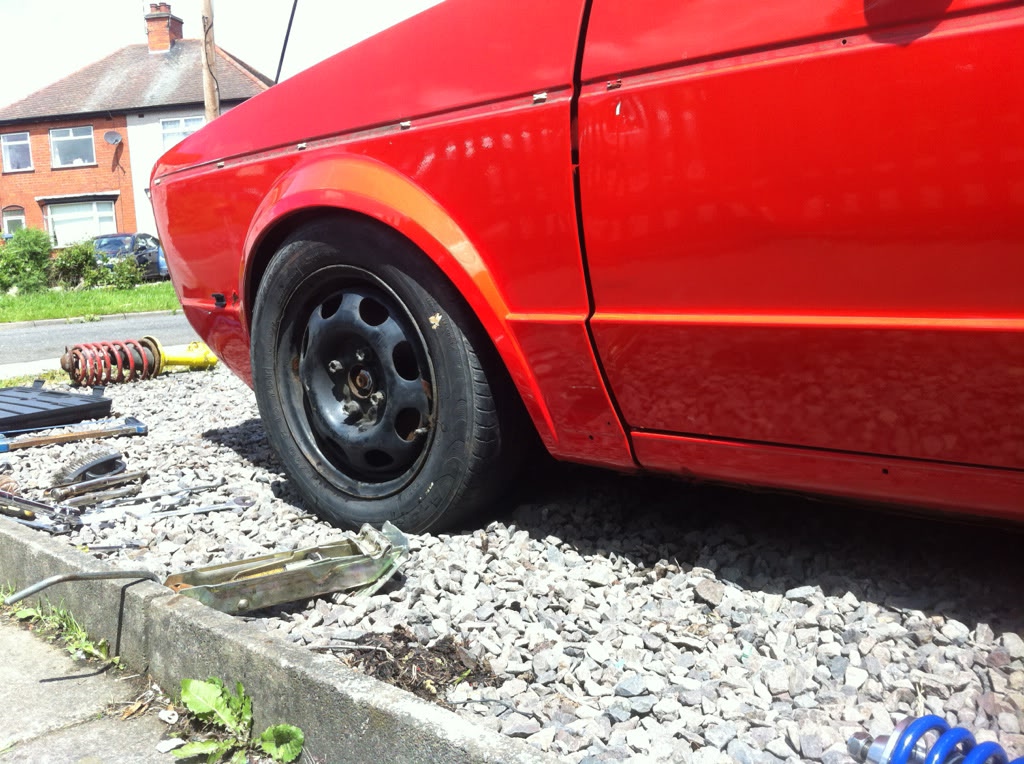
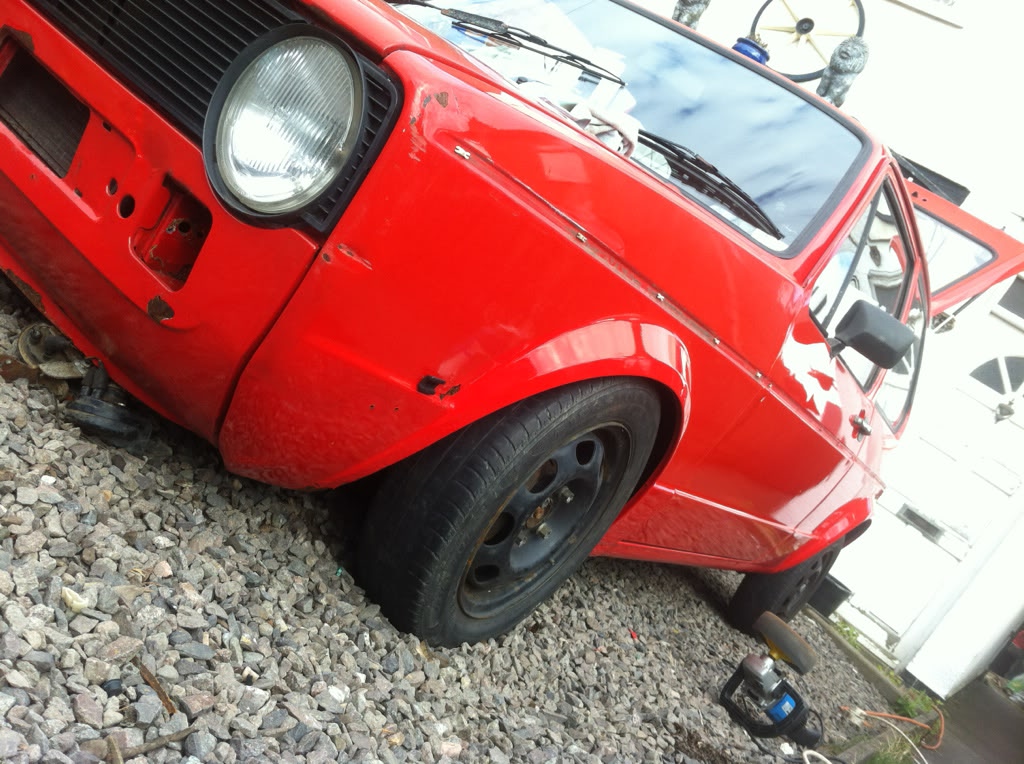
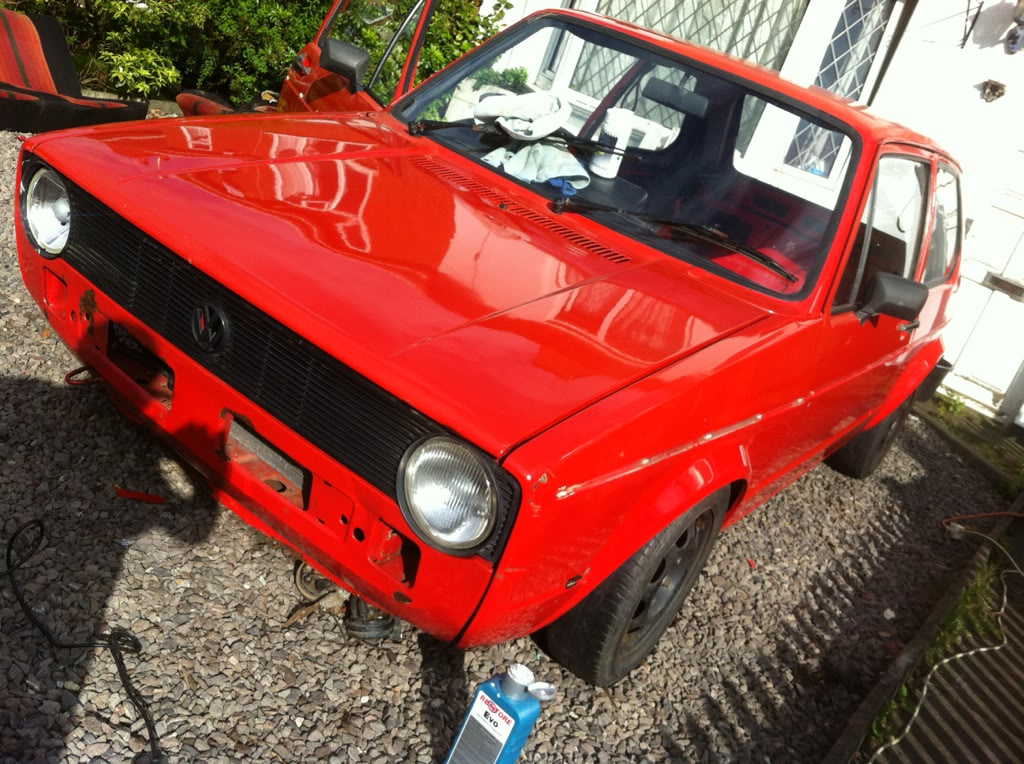
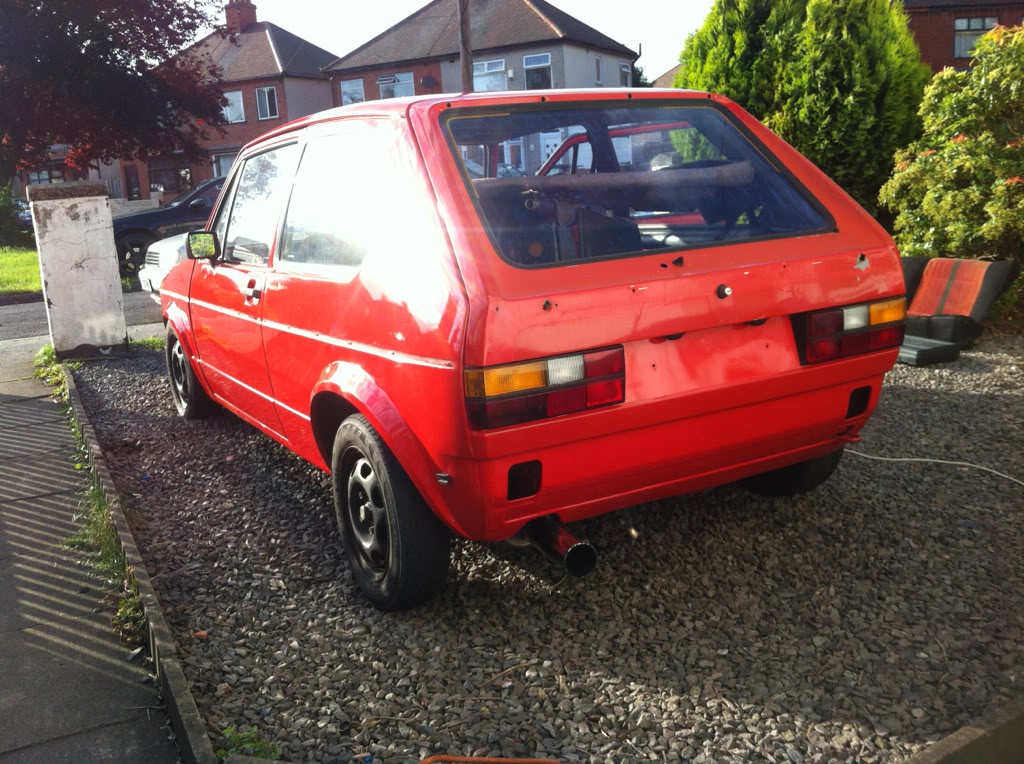
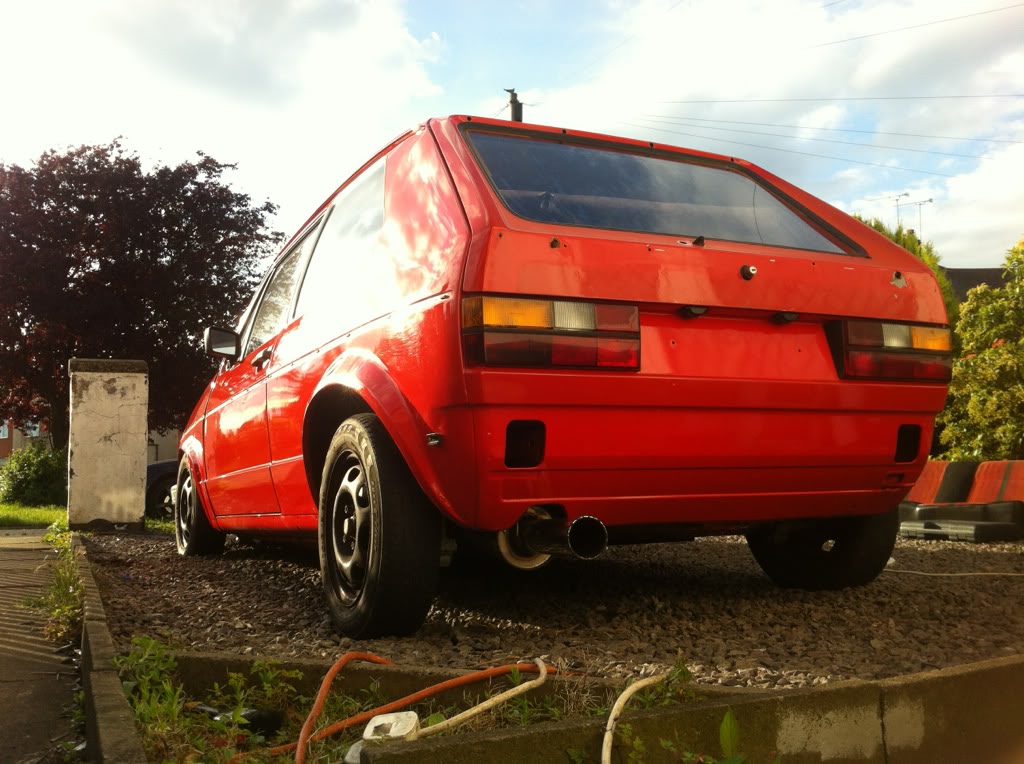
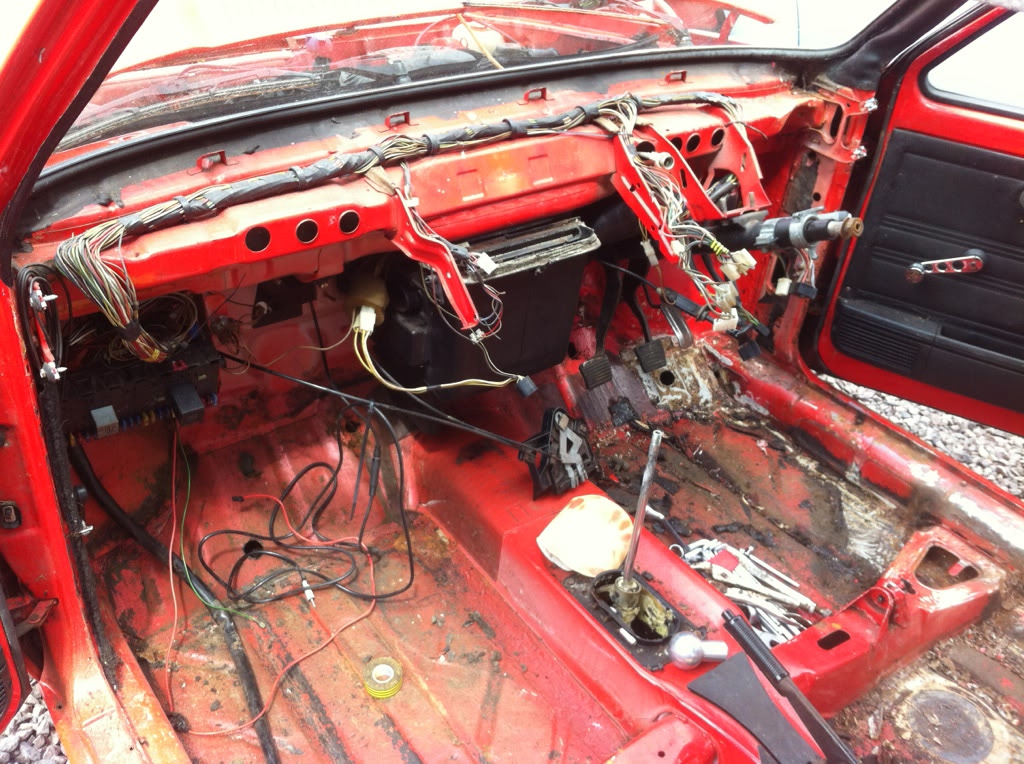
It came with the bbs kit with both boot spoilers not sure if there bbs or not but I dont like any of it so I've removed it all I didn't like doing it because I was scared what to find but I'm very happy with the condition for the price
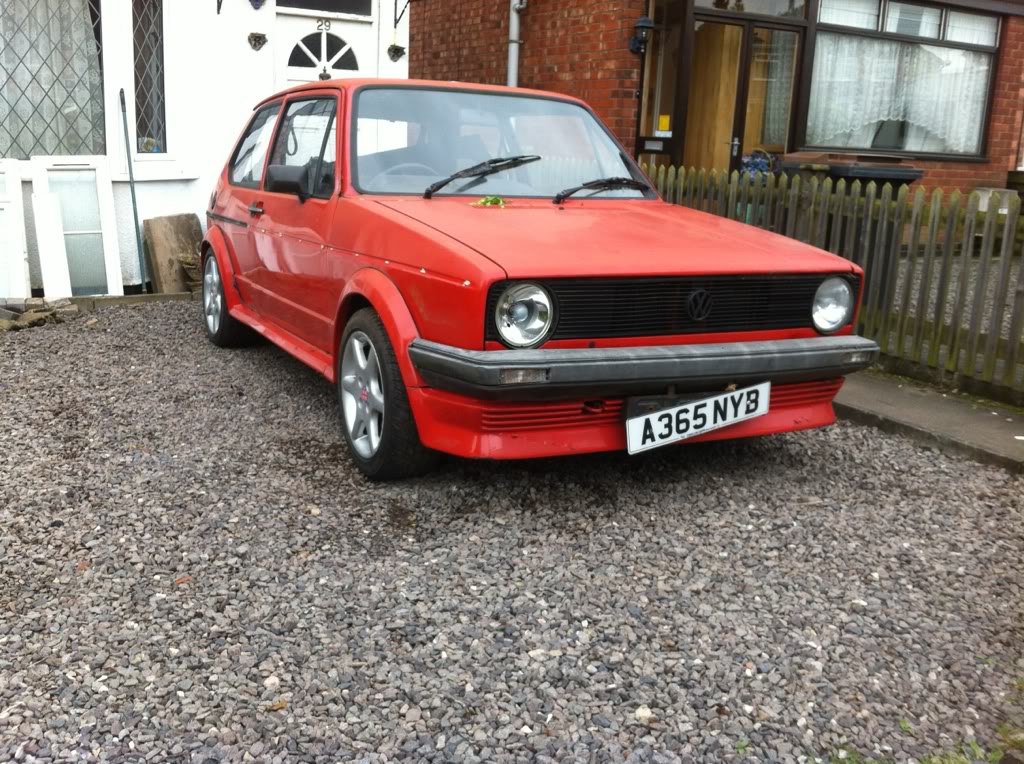
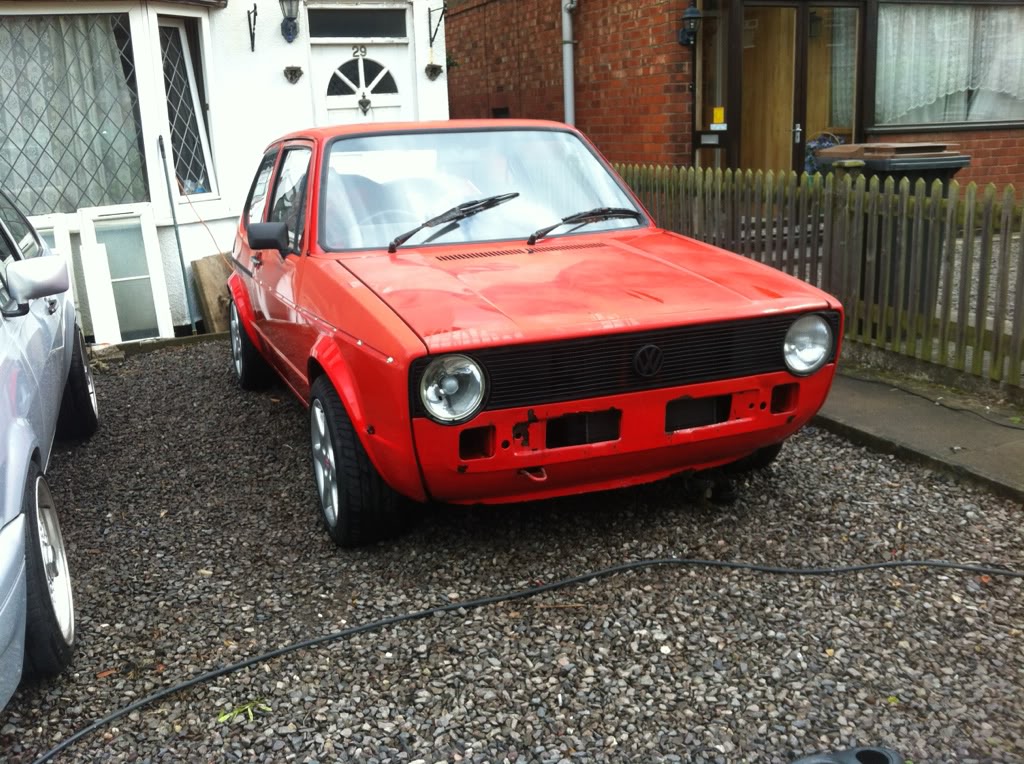
My plans are to weld by chopping and replacing with fresh sheets or replacment panels, filling as many dents, painting it myself mars red this might change, coilovers, and bbs Rs 15x7 wheels
I will be doing the work myself
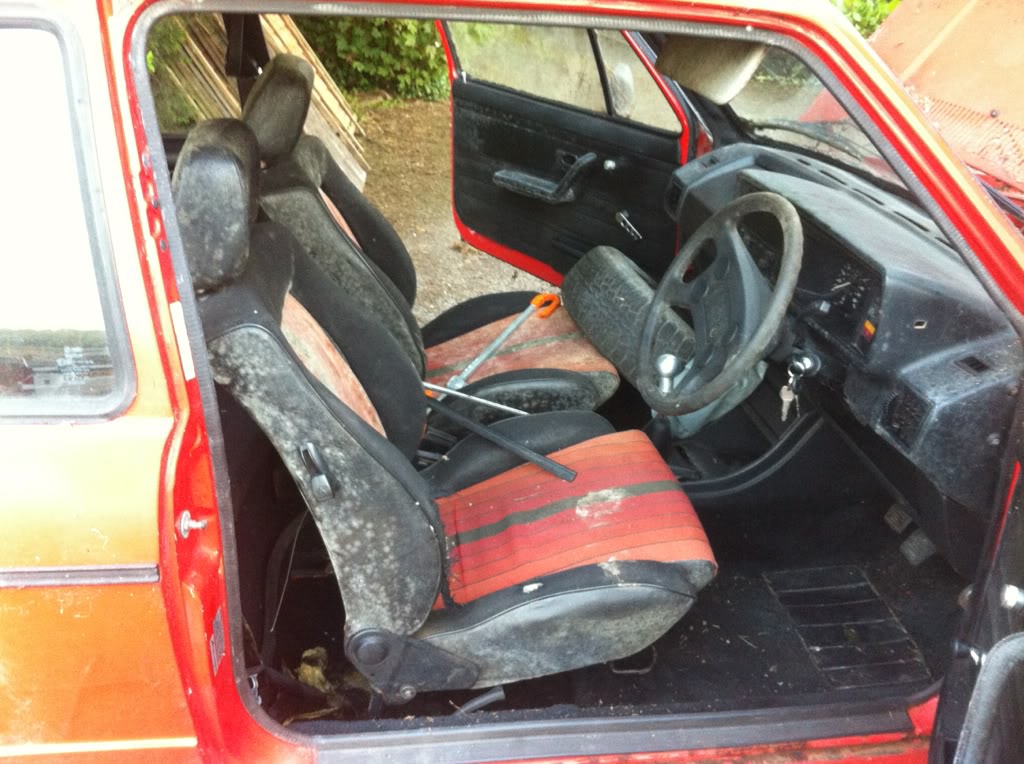
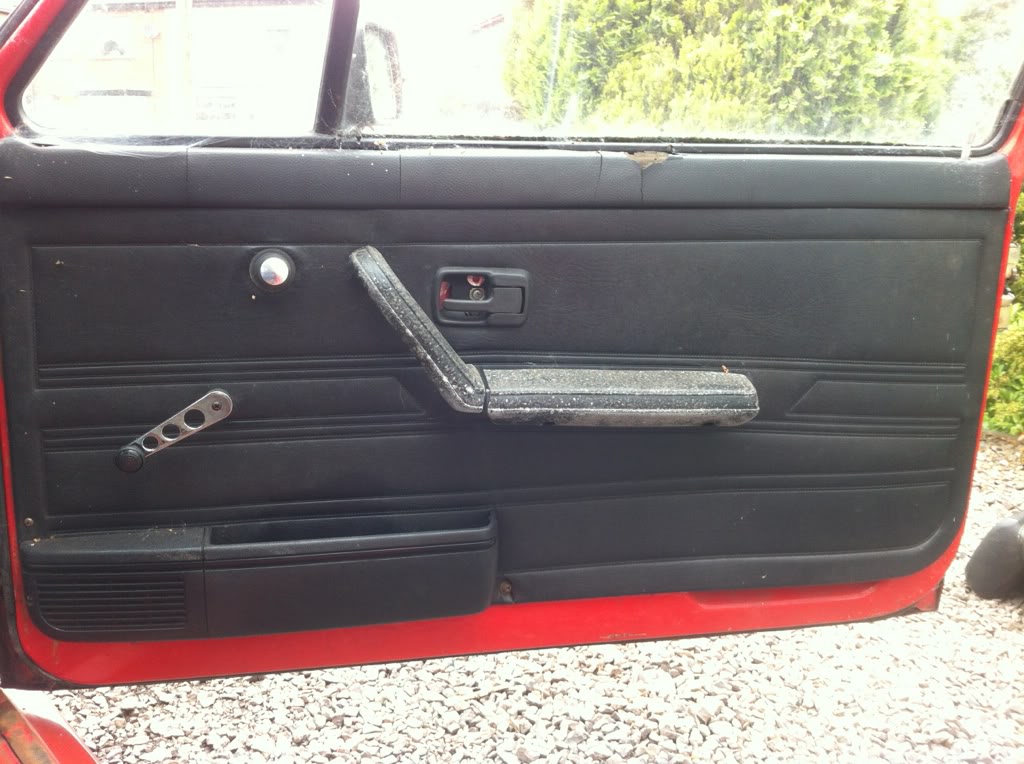
The interior is all mouldy and it smells alot inside but all there apart from parcel shelf and fog light switch
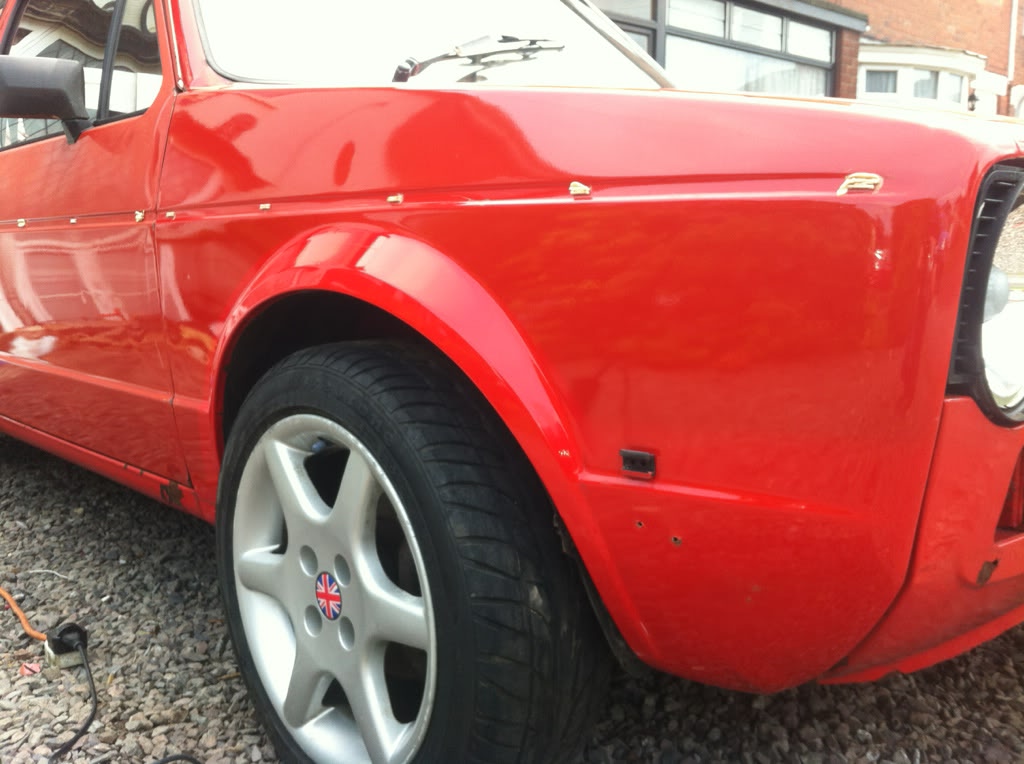
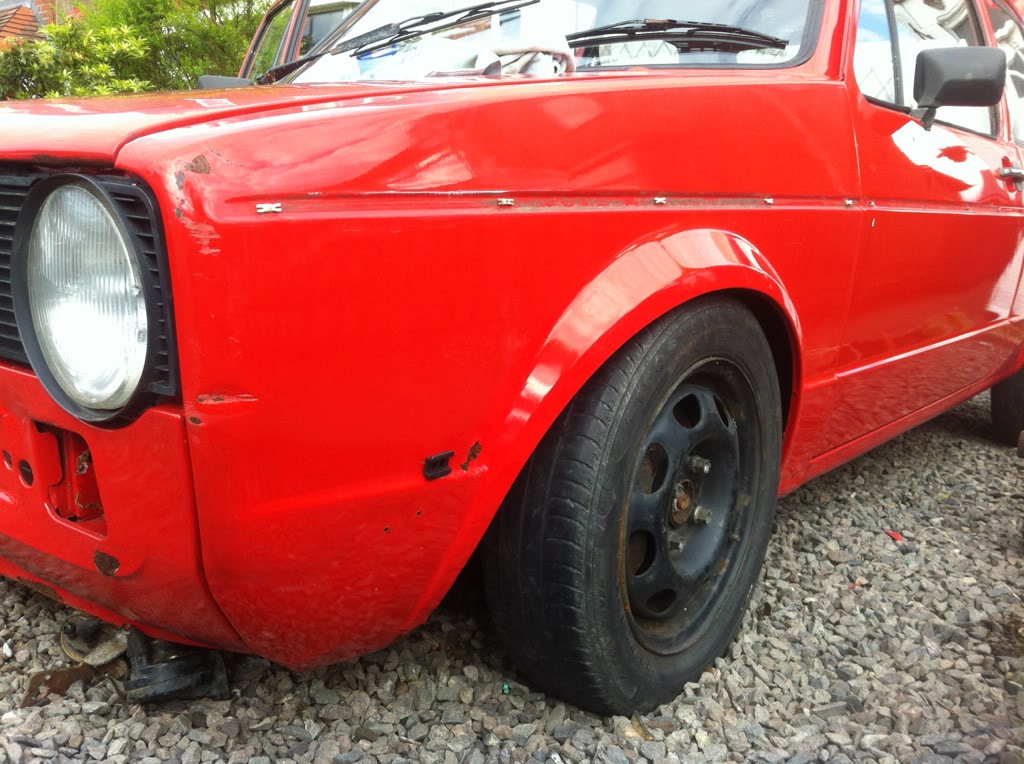
When I had a look at it from what I seen its pretty solid the o/s inner sill has some corrosion and outer sill same side has been replaced but seems to be over the old one gutted about that but can't see any other bodges, after removing the kit I inspected the rear arches and the n/s arch the seam has rust inbitween both skins the o/s arch is abit worse only seems to outer arch it's gone through in a couple of places till I start cutting the bad parts in not going to know
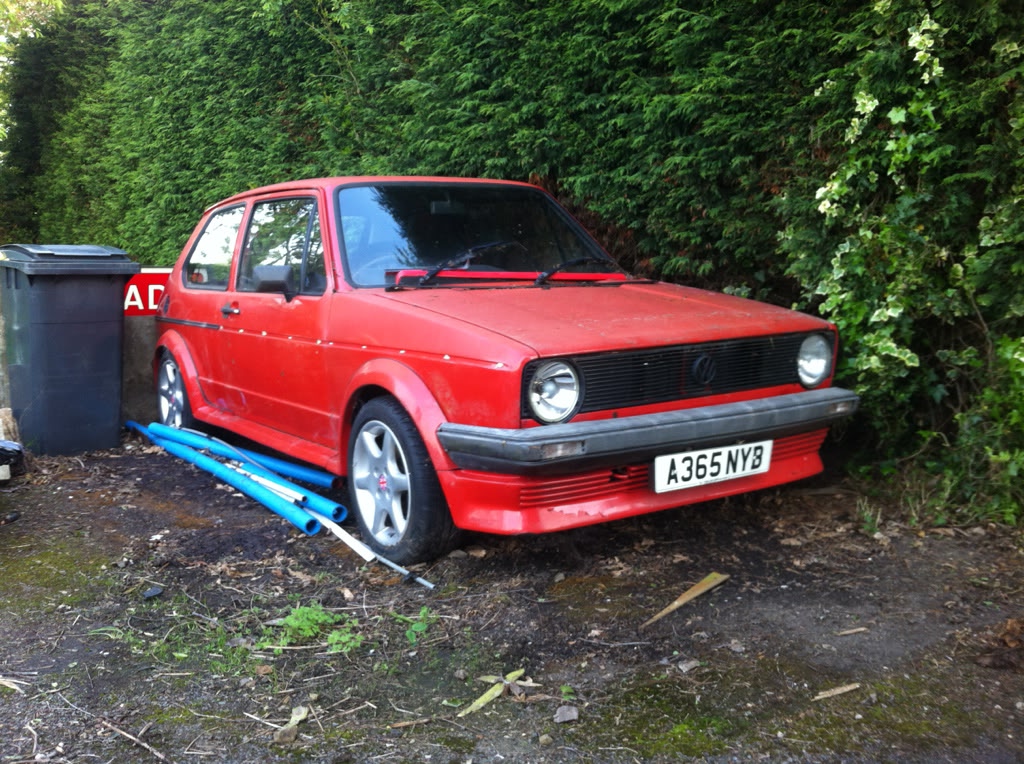
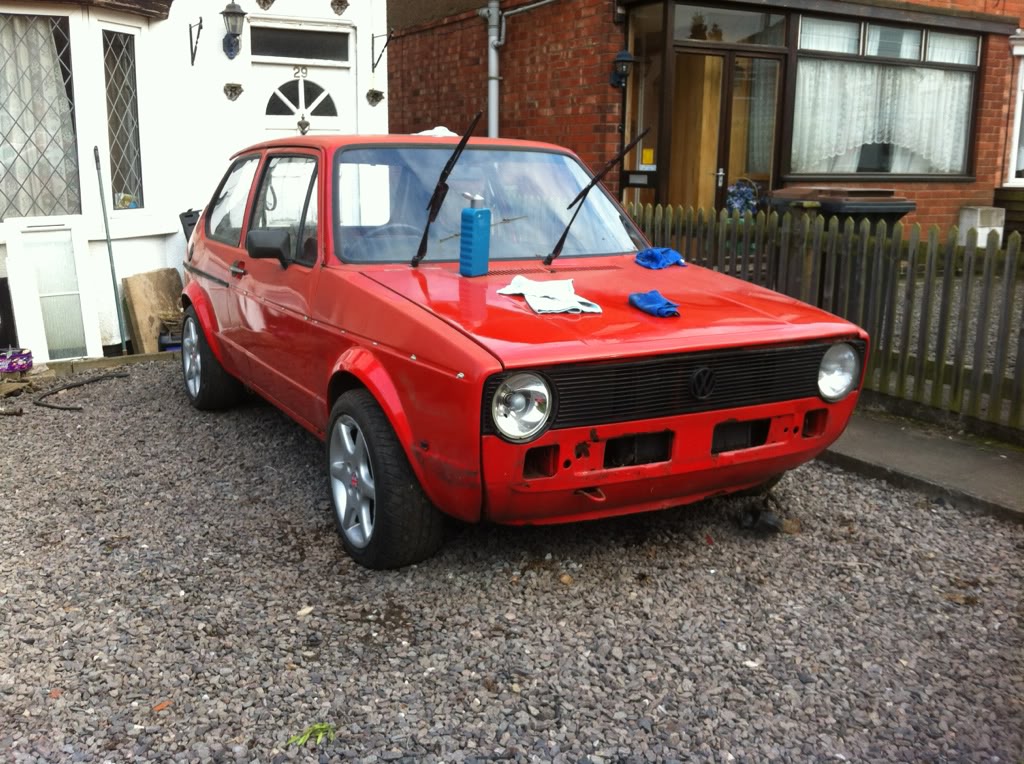
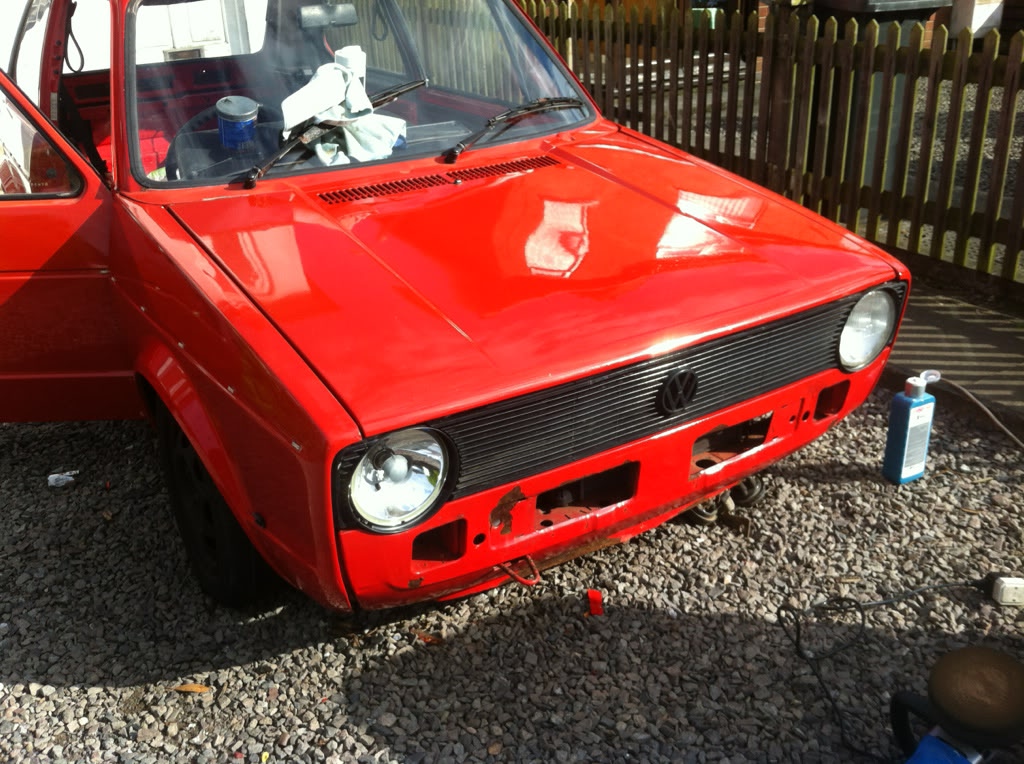
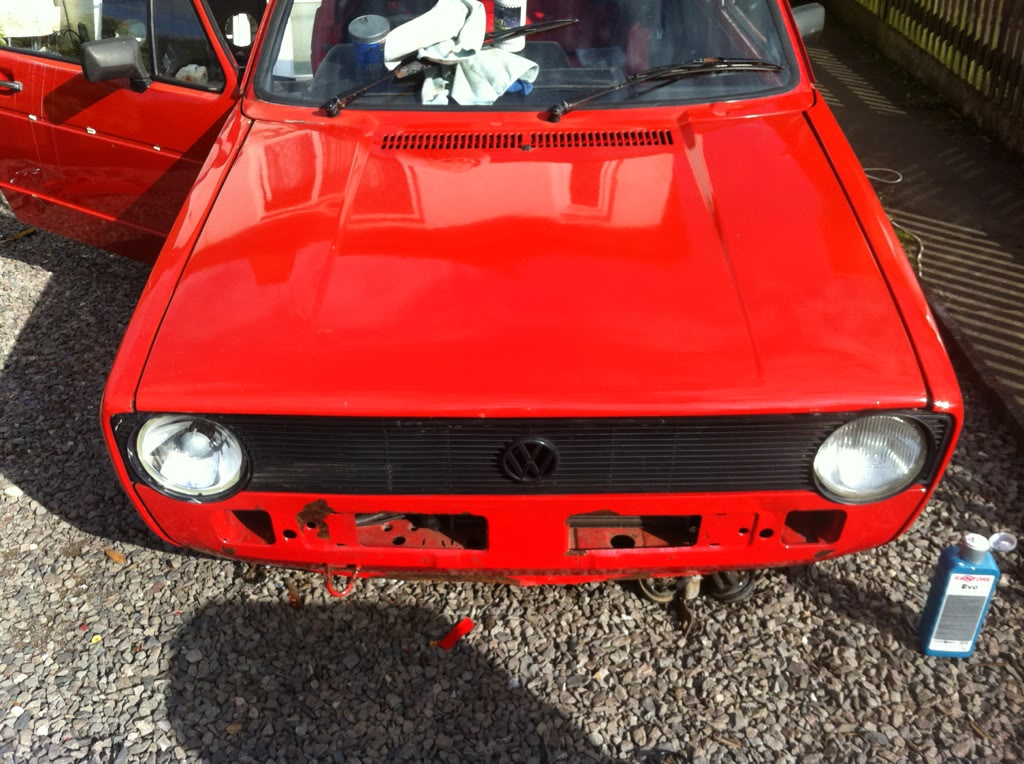
After that I removed the front plastic inner trims and lets just say I'm very happy with the inner arches will remove the wings soon to check better, the front valance is very good with only surface rust and the rear valance is even better
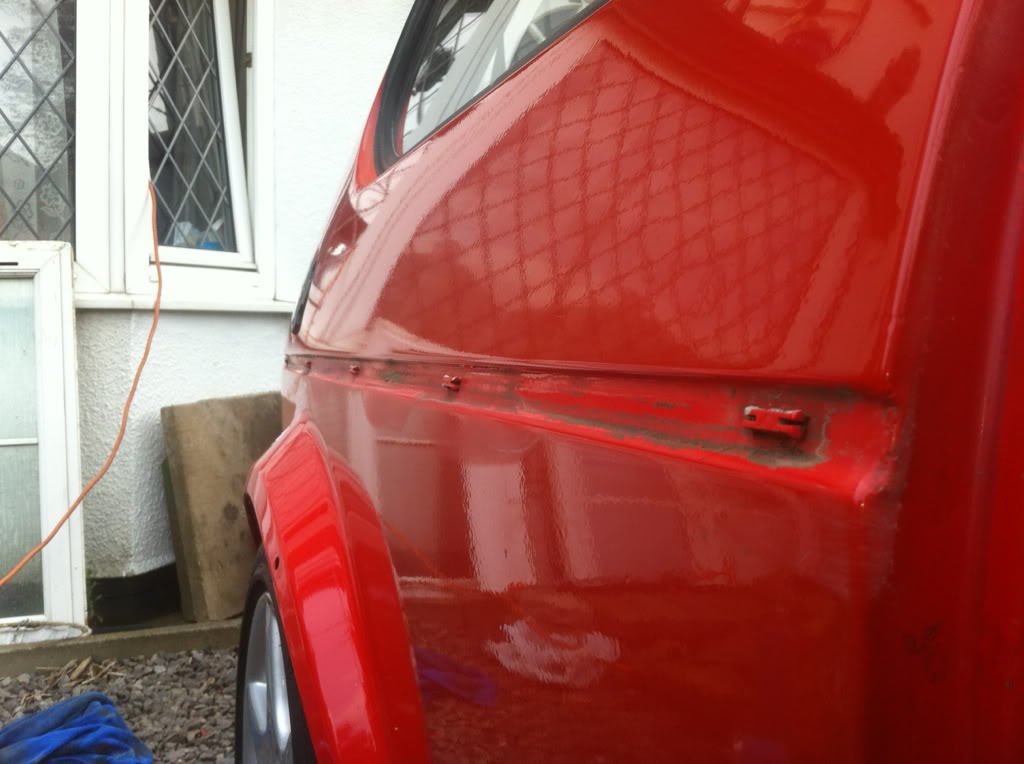
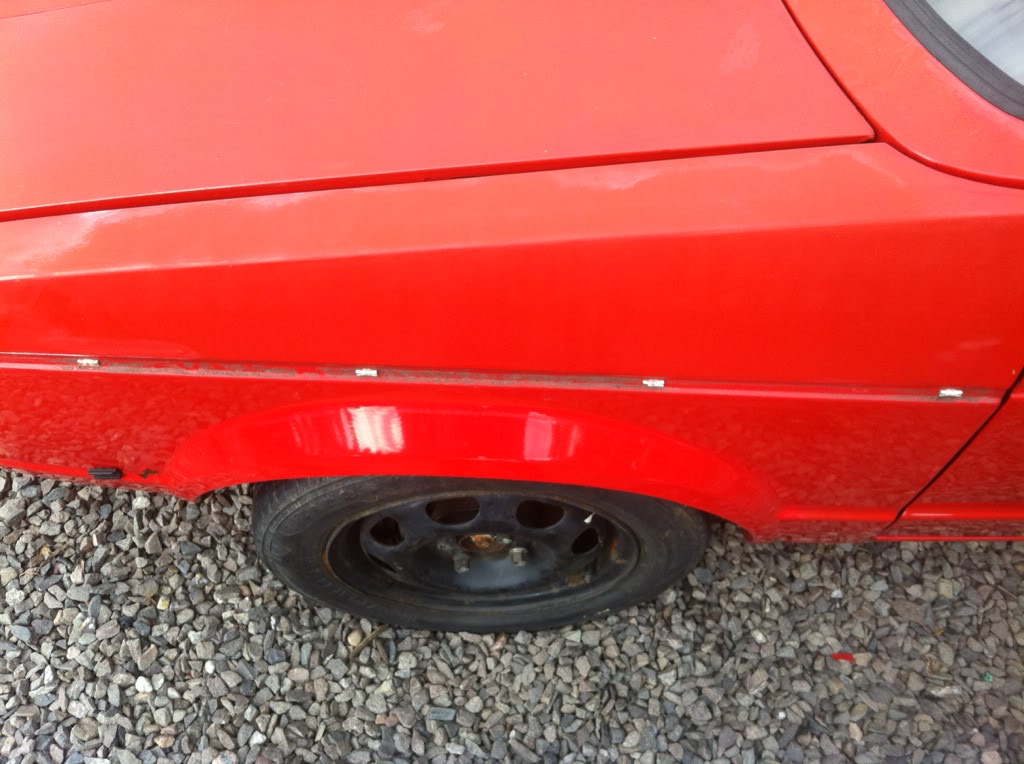
The boot needs a few holes welding and the windscreen theres two rust patches but not too bad
I will post pictures of when I got it to its current state when I know how to upload them
I'll also be happy with comment giving me help, tips and guidance to complete it to a decent quality and where to check
Hopefully I'll enjoy it
 and also everyone on here
Cheers mike
Posted
Settling In


Posted

COTM Team

chris

Chris

Posted
Settling In
I don't know why people had them there ugly and the boot didn't stay up with them on
Posted
Local Hero


Rich
SOUTHWEST Regional Host. Bristol Meet - 1st Friday of the month - Toby Carvery Bradely Stoke Bristol Bristol Region Facebook Group
1.8T CABBY
TINTOP THREAD (SOLD 2016) SPORTLINE THREAD (SOLD 2015) CLIPPER THREAD (SOLD 2012)
1.8T CABBY
TINTOP THREAD (SOLD 2016) SPORTLINE THREAD (SOLD 2015) CLIPPER THREAD (SOLD 2012)
Posted
Settling In
Posted
Settling In
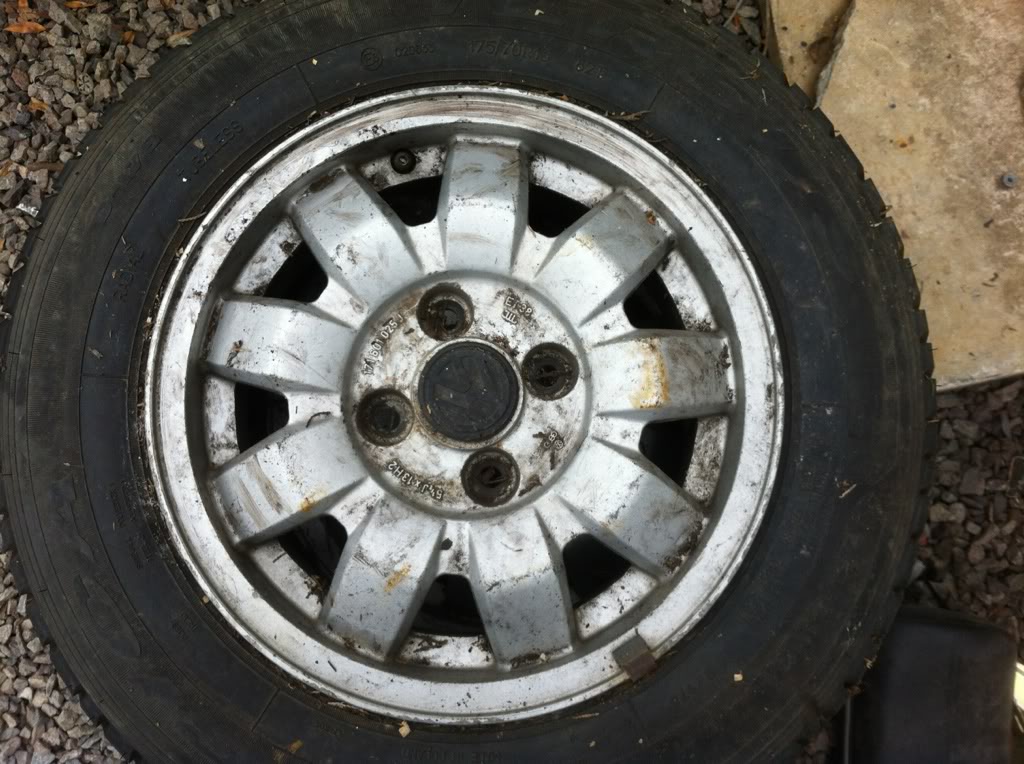
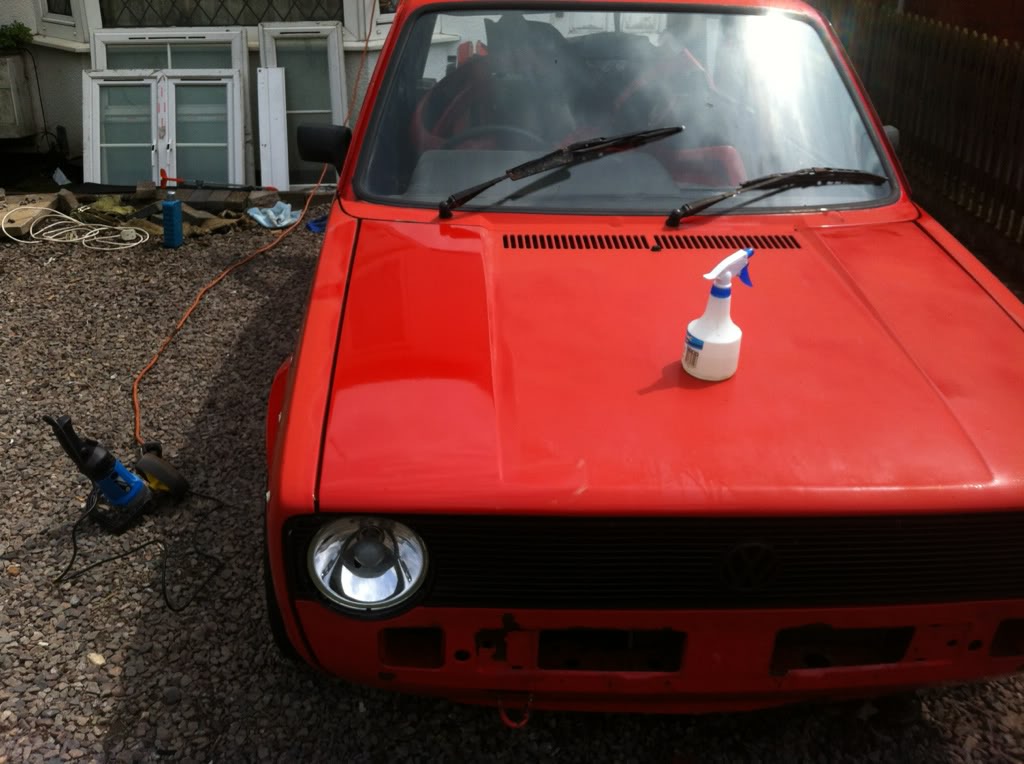
Also managed to fit the other front coilover there on there bumpstops thought they would go lower and I don't think my alloys will fit because of there offset will try tomorrow
Heres the pictures from today

Posted
Local Hero
You need to clear the scuttle drain holes at either end and get a scuttle cover tray, it covers the plastic motor blower cage in the scuttle tray, the water will be getting in there for sure.
Check the door drain holes at the bottom and also the windscreen seal at the corners etc all common leak points.
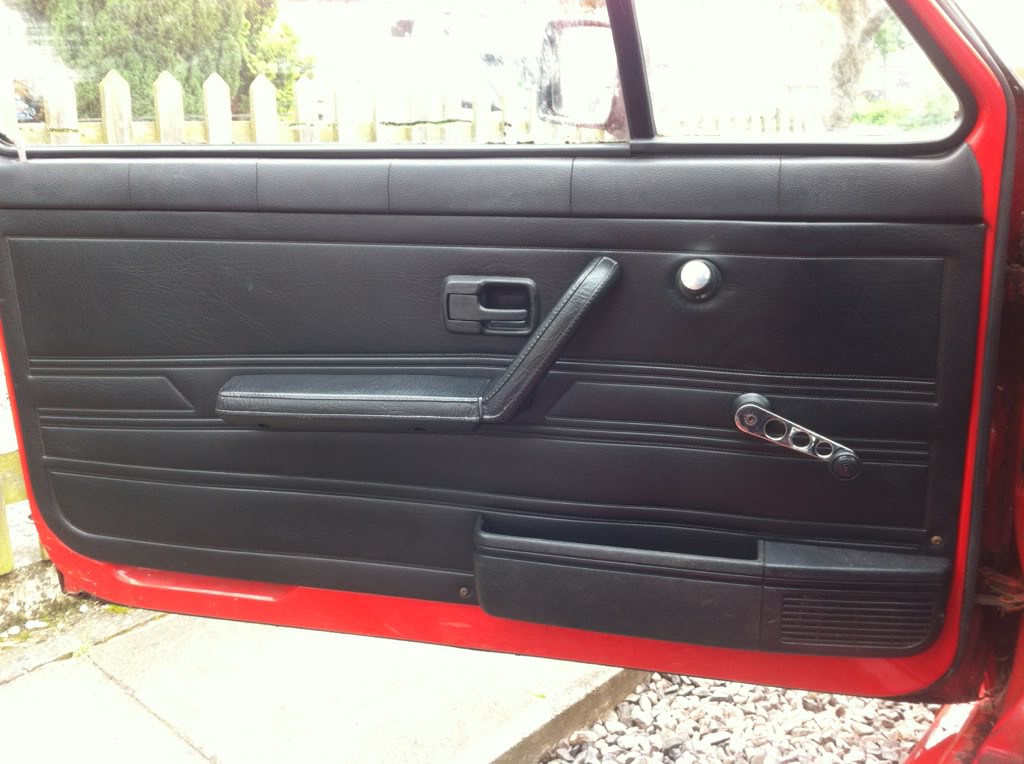
An aqua Vac to shampoo the seats, door cards and vynil a wipe down with dilute bleach to kill the mould spores too. Don't get it on the fabric as it will ruin it lol.
Paint work came up lovely really, good luck with the project.
cheers
chortle
"Making Cabbies More Beautiful One Roof at a Time"�
Posted
Settling In
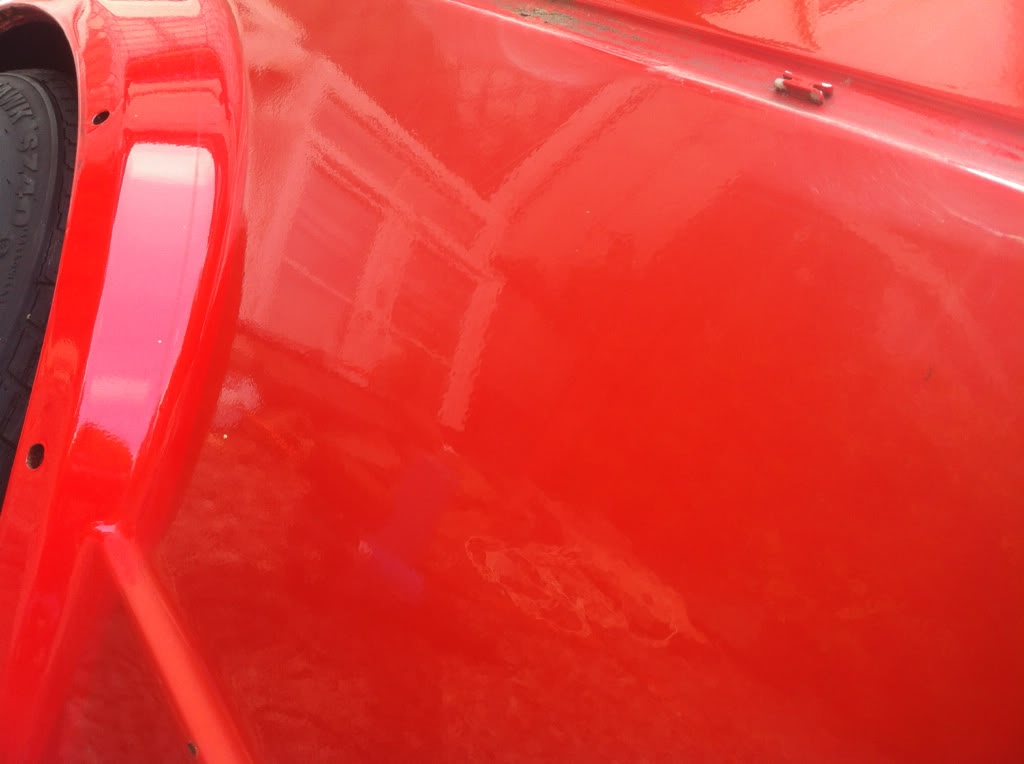
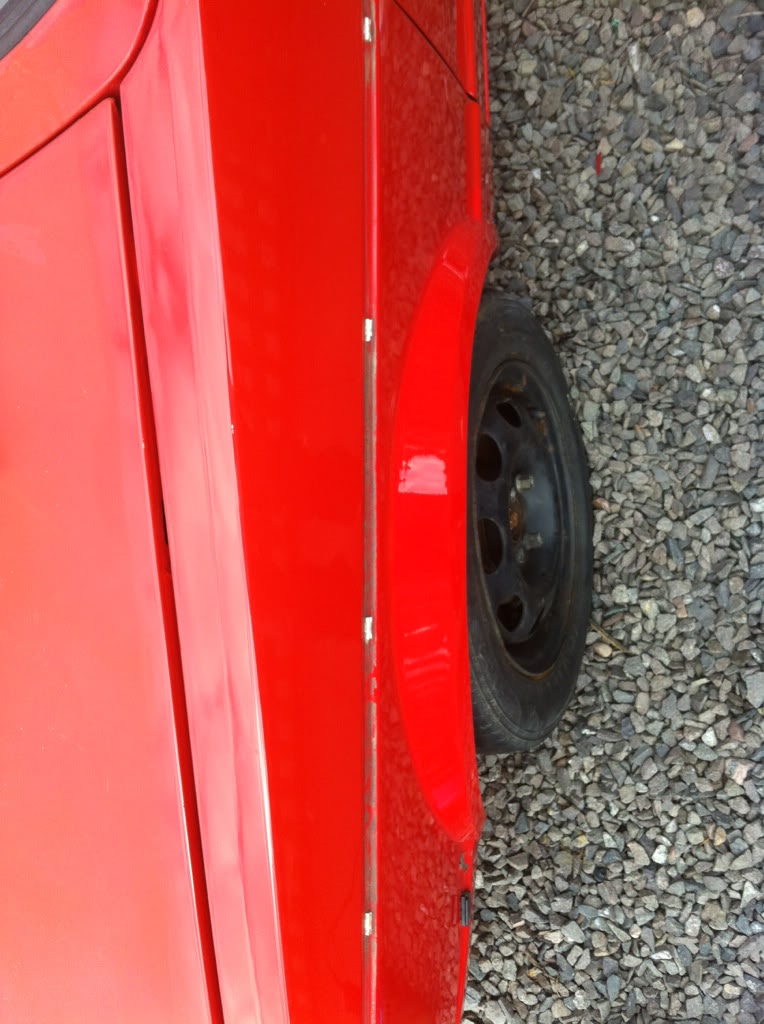
The paint looks good on the pictures but I'm not happy with it I was hoping to polish and blend the repaired areas into the old but where the old bbs kit was its alot lighter
Cheers for the help
Posted
Settling In
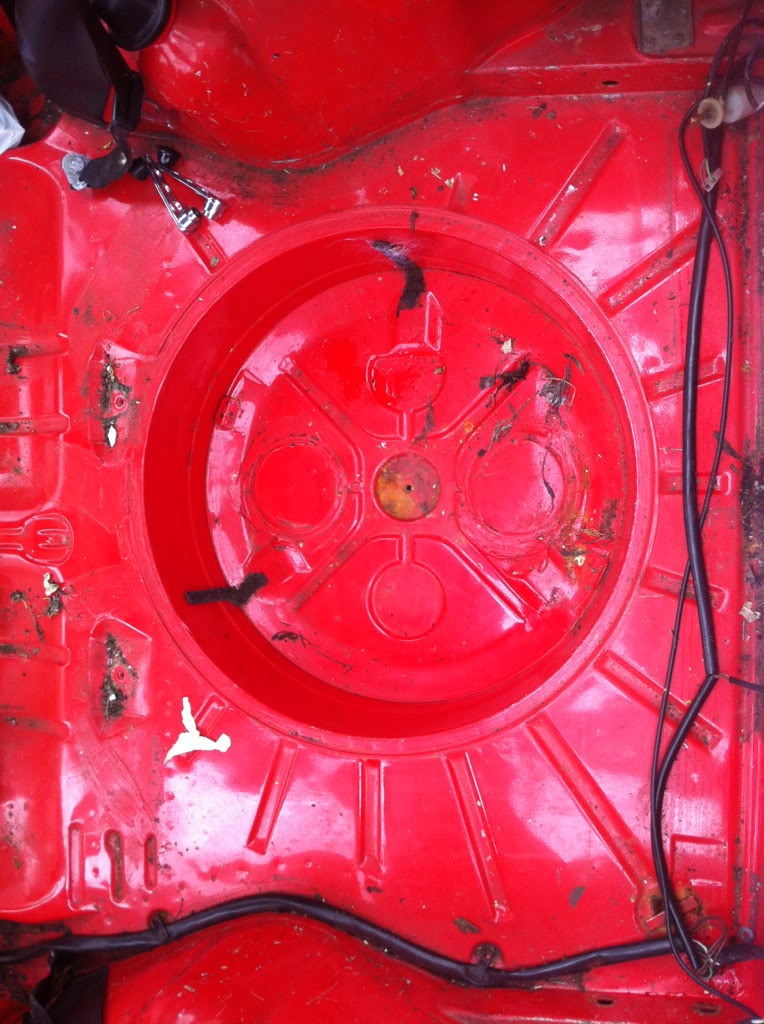
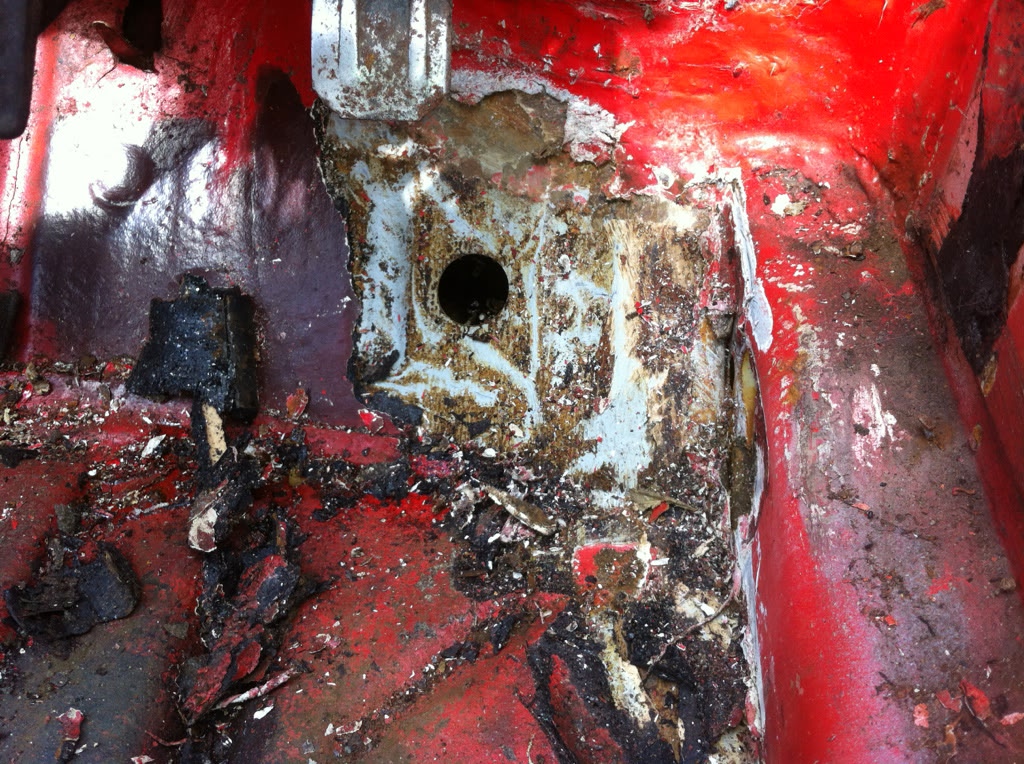
I've took a picture of where the water is its behind this plate though the hole on both sides hopefully I can drain it using a washer bottle pump
 I'll get a picture of what I mean about the pillar
Posted

Settled In

<a><img></a>
Posted

Settled In
Must admit I quite liked that BBS kit although I'm sure you'll be able to make some money selling it and the rear spoilers on here or evil-bay!
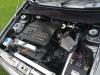
So what's your intentions with the engine? Are you going to get it running and restore it back to factory or looking to do an engine conversion?
'84 MK1 Golf - View topic: Humble Beginnings........... - VW Golf Mk1 Owners Club '99 MK4 Golf
Posted
Settling In
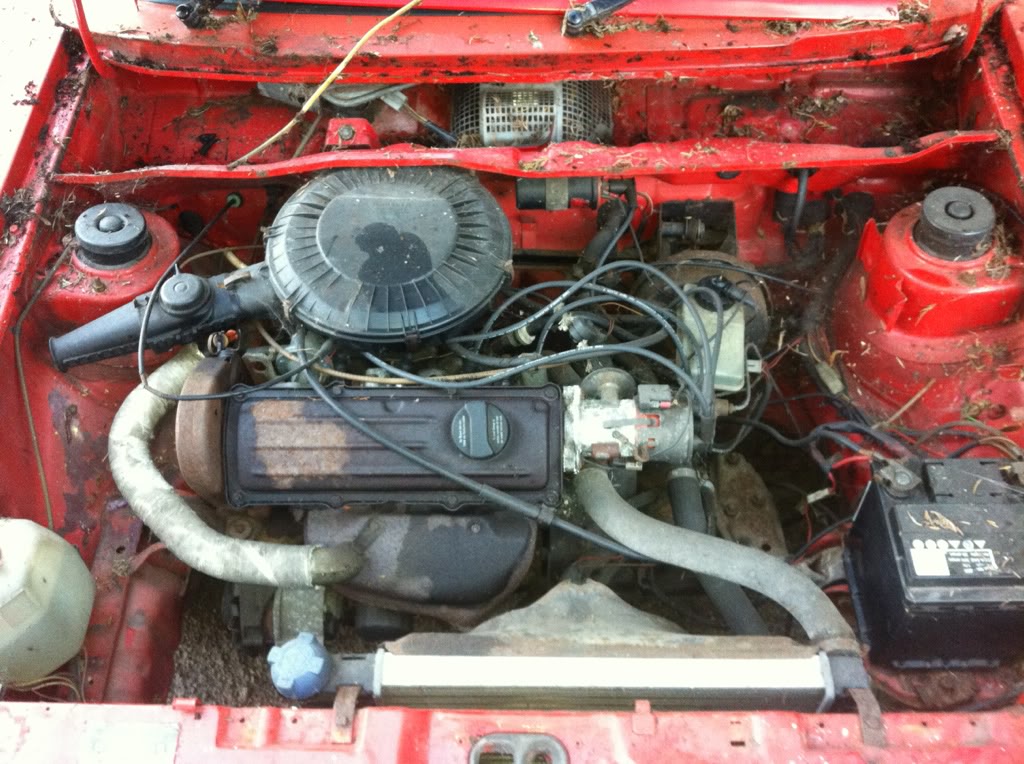
My plans are to make the shell as best looking as I can might smooth the scuttle tray and heaters and no engine coversion just rebuild and clean with bike carbs or a polo gt lump on carbs unsure what is a direct fit
Posted

Old Timer

If you look down the back of the engine, just above the steering rack is a little gutter spanning the width of the car. At either end where it meets the wheelarches/chassis legs there are holes usually sealed with fabric tape and covered in seam sealer. If the tape has split or come unstuck then water will pour through these holes as its right in the middle of a drainage channel.
You an drain it partially by removing the rubber grommet just behind the steering rack above where the gear linkage runs, the rest you'll have to get out another way

Good luck with the project!

Posted
Old Timer
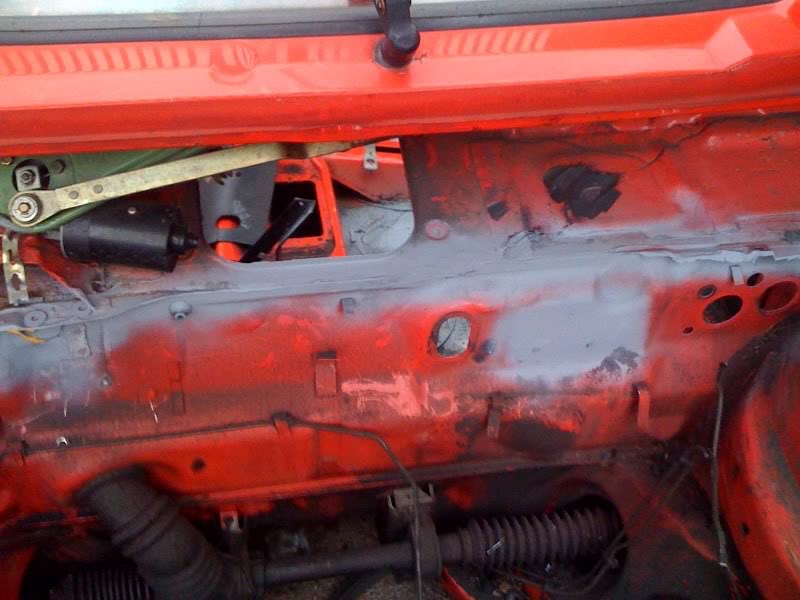
You can see the channel running along the back of the bay above the rack, and in the corners at either end are the holes covered in seam sealer and tape. This will most definitely be where the water is coming in :wink:
Posted
Settling In
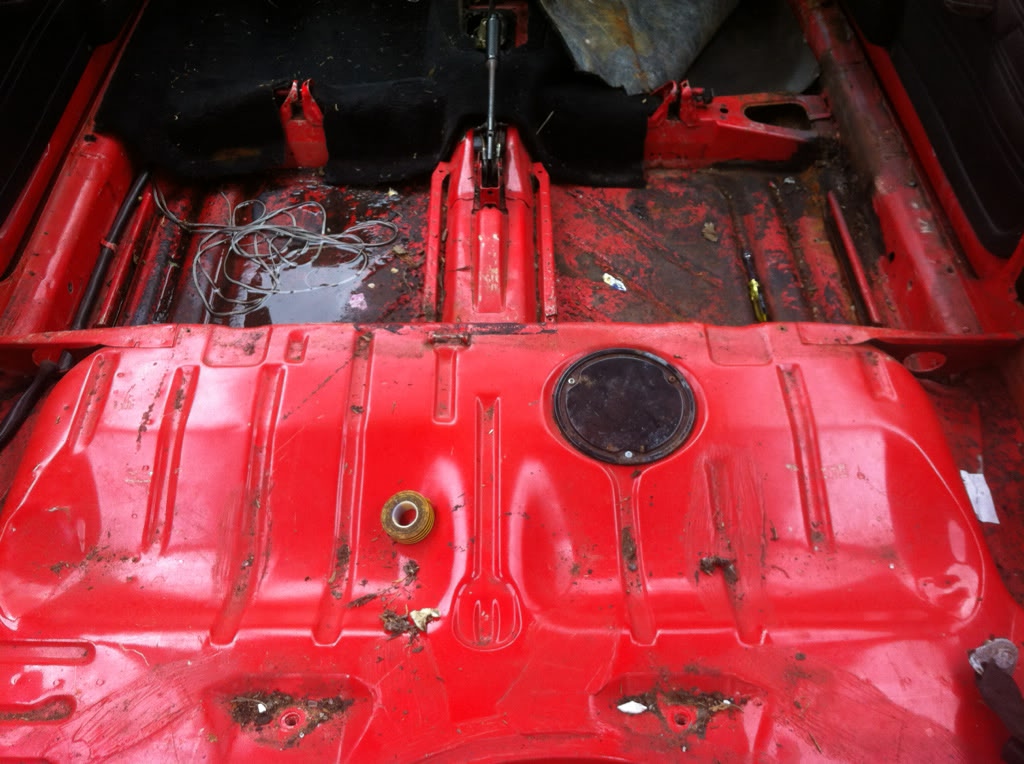
Got the pictures of the drivers side bulkhead theres something under there I don't want to uncover but it's got to be done someone loved seam sealer :s on the pillar I noticed its out of shape plus the door is dented around the area tomorrow we will find out aswel as the inner arches I will remove the wings and start grinding them back after I've swapped the shocks over from the polo and test the wheels I think the front will hit the coilover


Posted
Newbie

Posted
Settling In
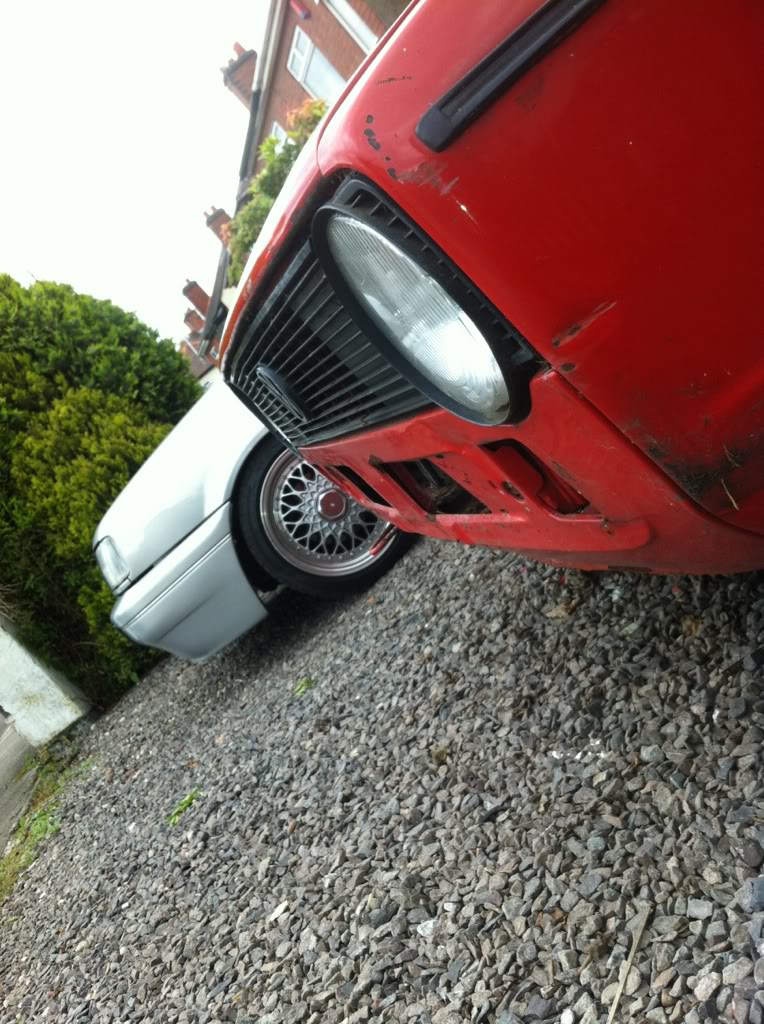
Also in the engine bay under the mars red the original paint is a completely different red is the normal or has the hole front end been changed?
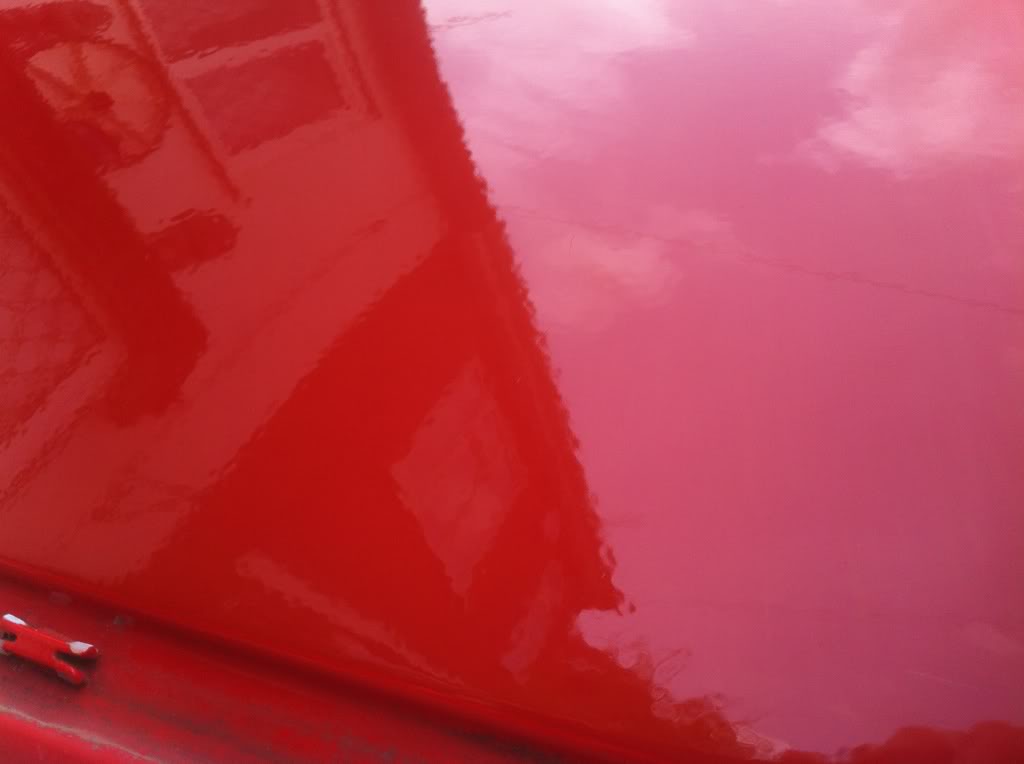
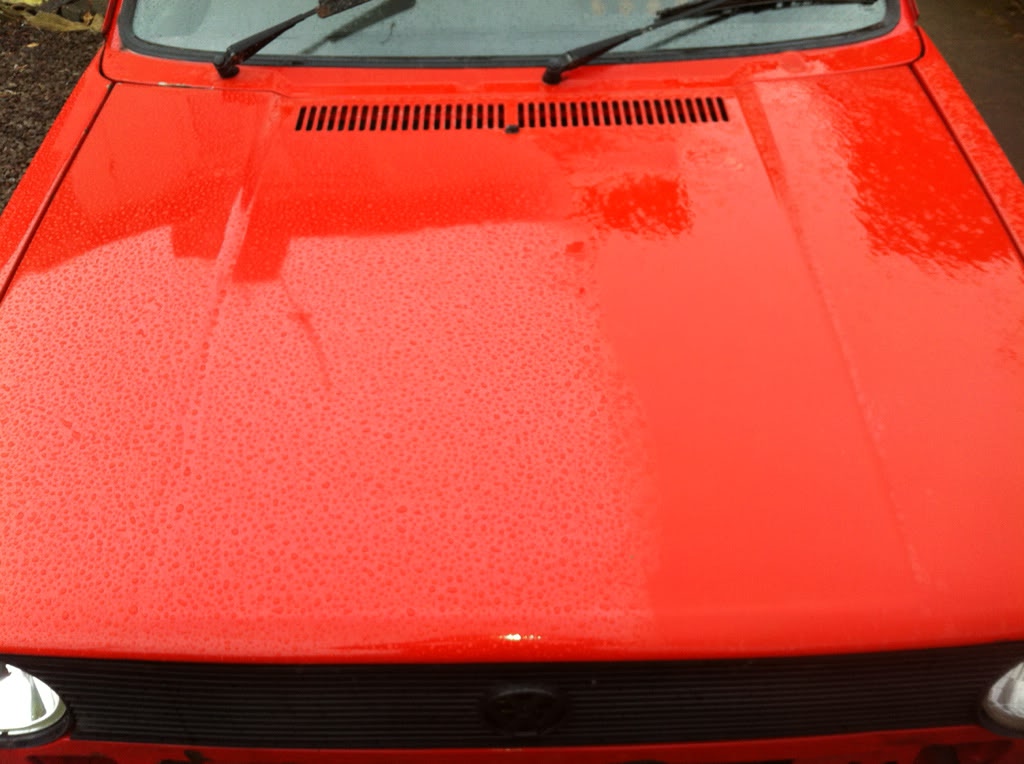
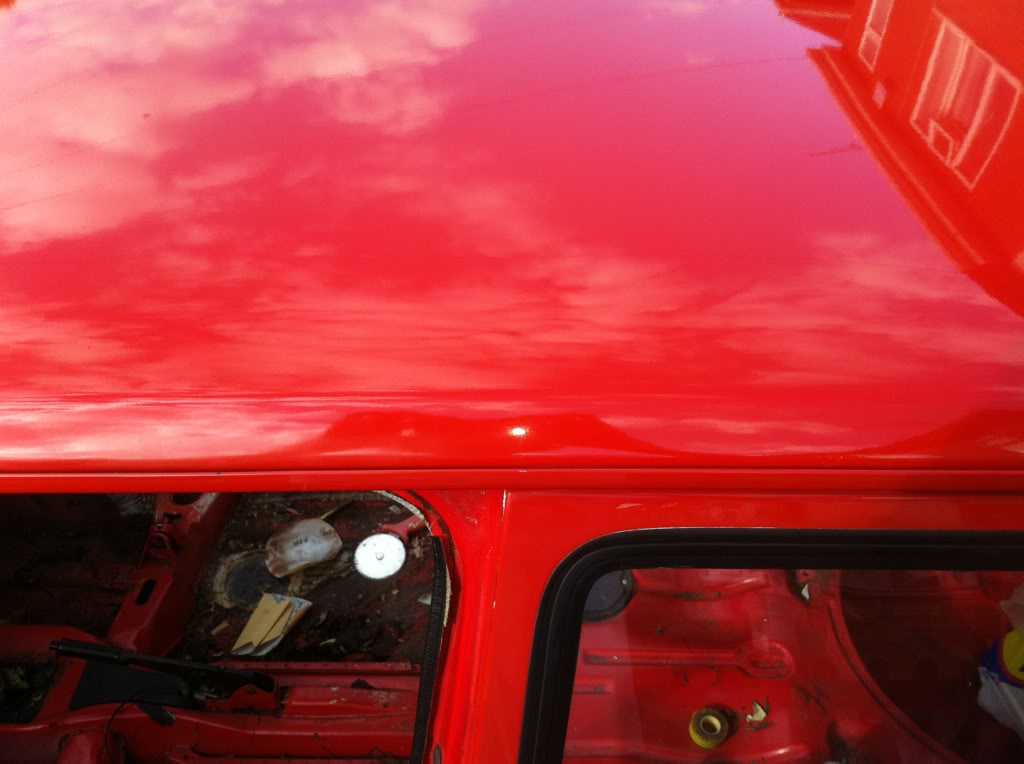
Today's other work is learning how to colour sand to remove orange peel to get ready for when it's painted, I used 2000g with soapy water and there's only slightly wavey but I'm happy with the finish
I'll get pictures as soon as I can
Hopefully when I remove the sealant from the inner arches it's not a bodge under there
Posted
Newbie
Posted
Settled In
Good luck with it all!!!
'84 MK1 Golf - View topic: Humble Beginnings........... - VW Golf Mk1 Owners Club '99 MK4 Golf
There are too many online users to list.