


Chortles Project Green Rivage. New roof time....

Posted
Local Hero

Chortles Project Green Rivage. New roof time.....
I know there is on the speedo one.
I did think that, but couldn't see one on the clocks nor whete the remains if one was even and they were okay till I pulled the needle off lol.
"Making Cabbies More Beautiful One Roof at a Time"�
Posted
Moderator
Ever growing range of new mk1 golf parts www.classic-vw.co.uk
Posted
Local Hero
I think you may have to wind the centre spindle in and then put the needle on?
"Making Cabbies More Beautiful One Roof at a Time"�
Posted
Local Hero
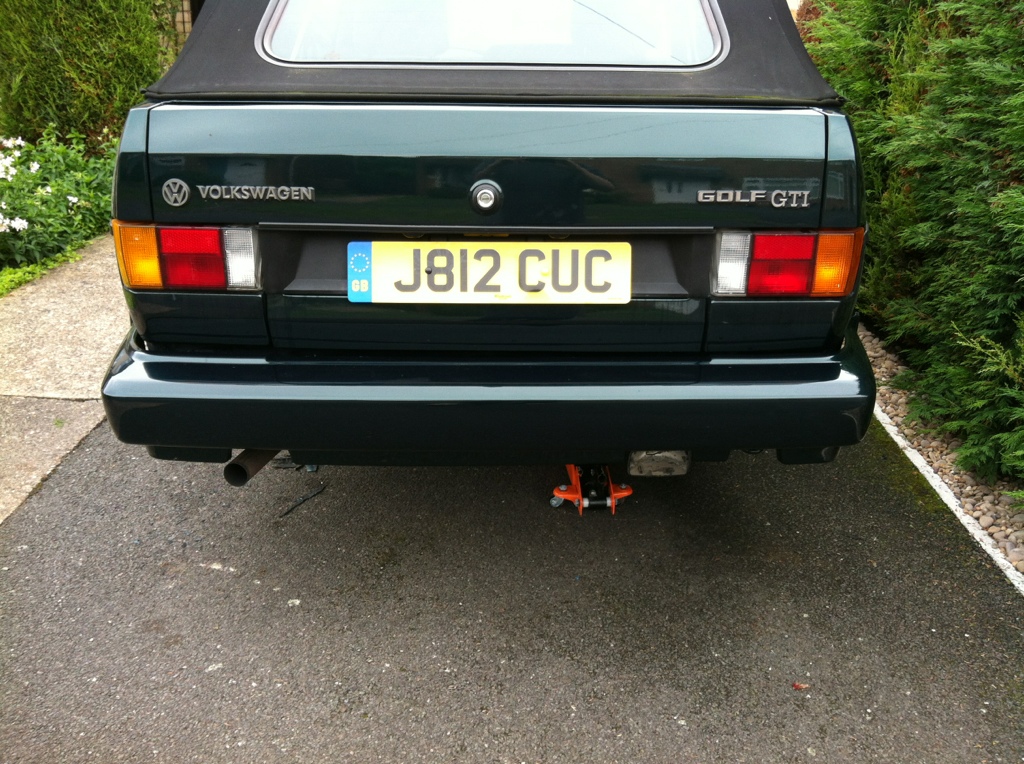
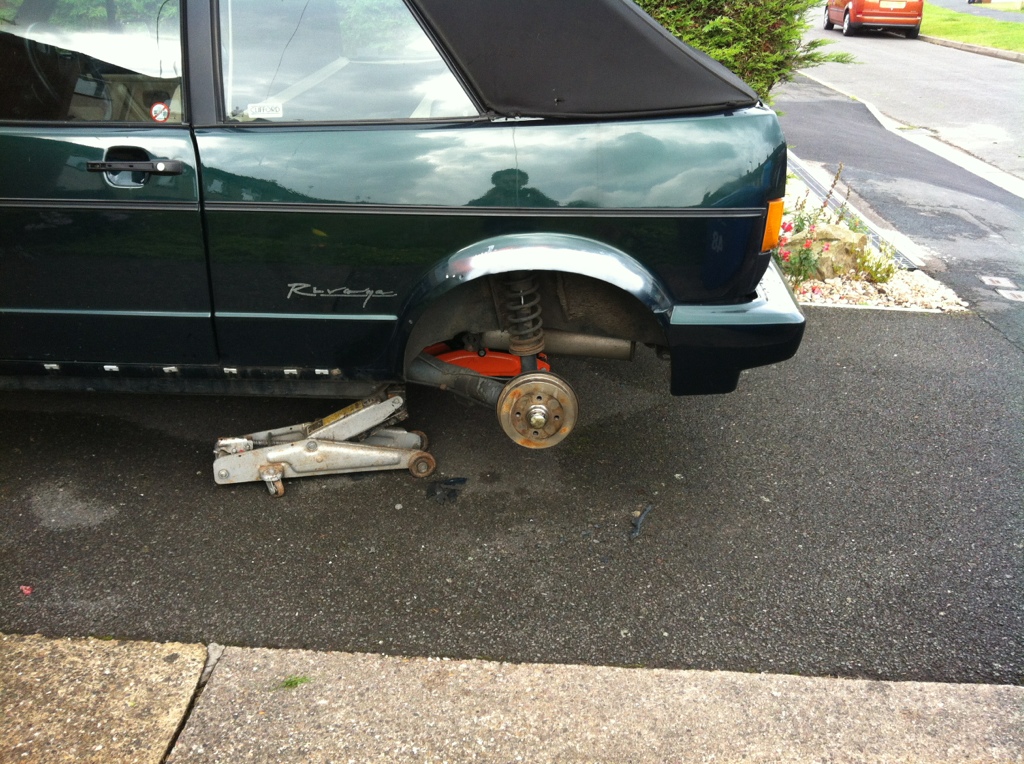
Swapped over the rear bumper now, not fully tightened or in place proper yet as I got the arch covers to go back on, took the rear arches off, one was missing bits and was snapped and had been glued back together, what a mess.
Luckily I had a spare, so rubbed it down, primered it, flatted, more primer 3 coats base 4 laquer with flatting in between, just needs a final flatting then good to go.
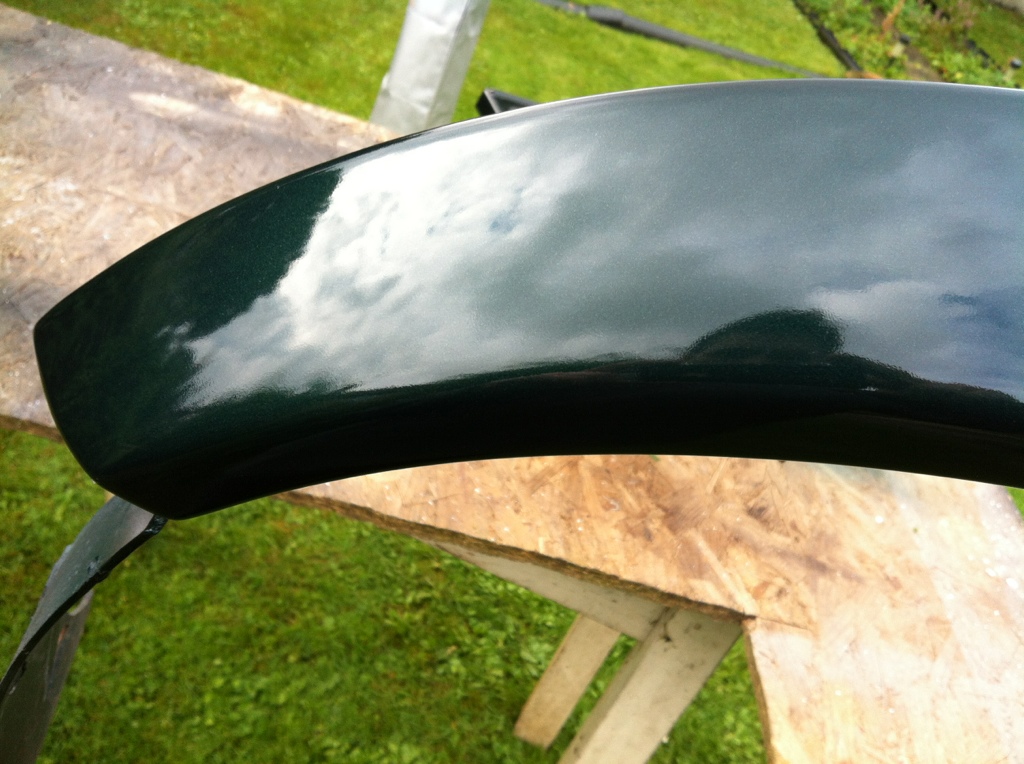
Heres one done and ready to go back on.

Fun and games with the alarm, after making up the battery pack and soldering it into the alarm, I tried to put the PCB back in the housing and snapped one of the crystal oscillators off GRRRRR.
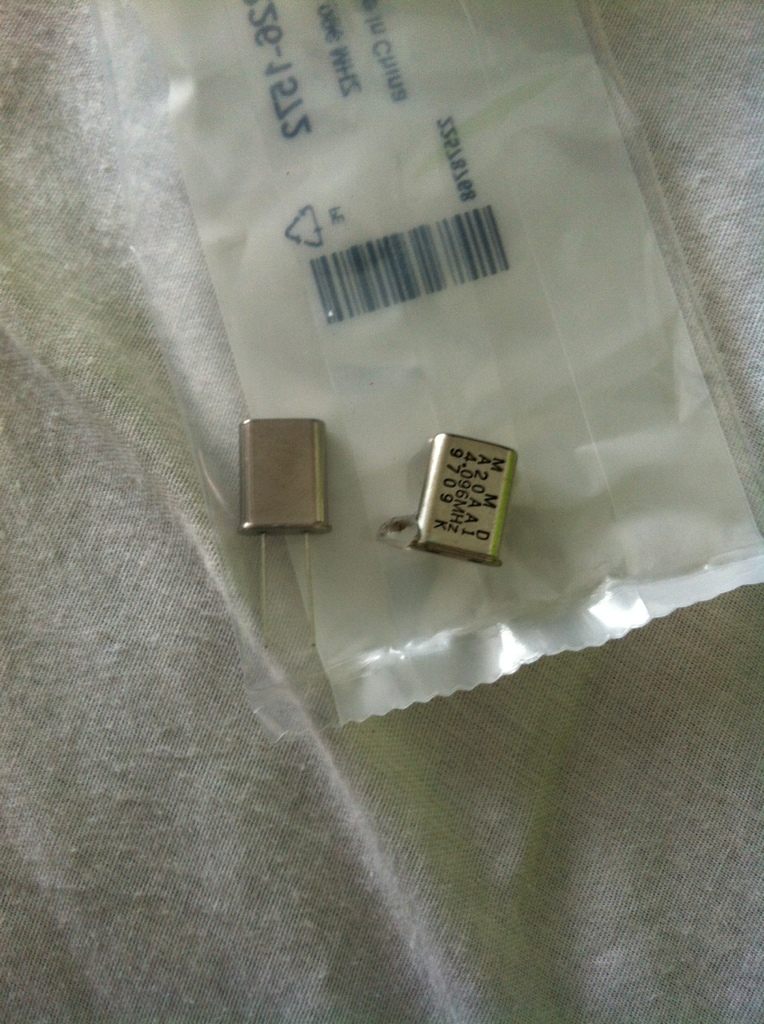
Orderd a spare last night and it came this morning, so that's next on my list…

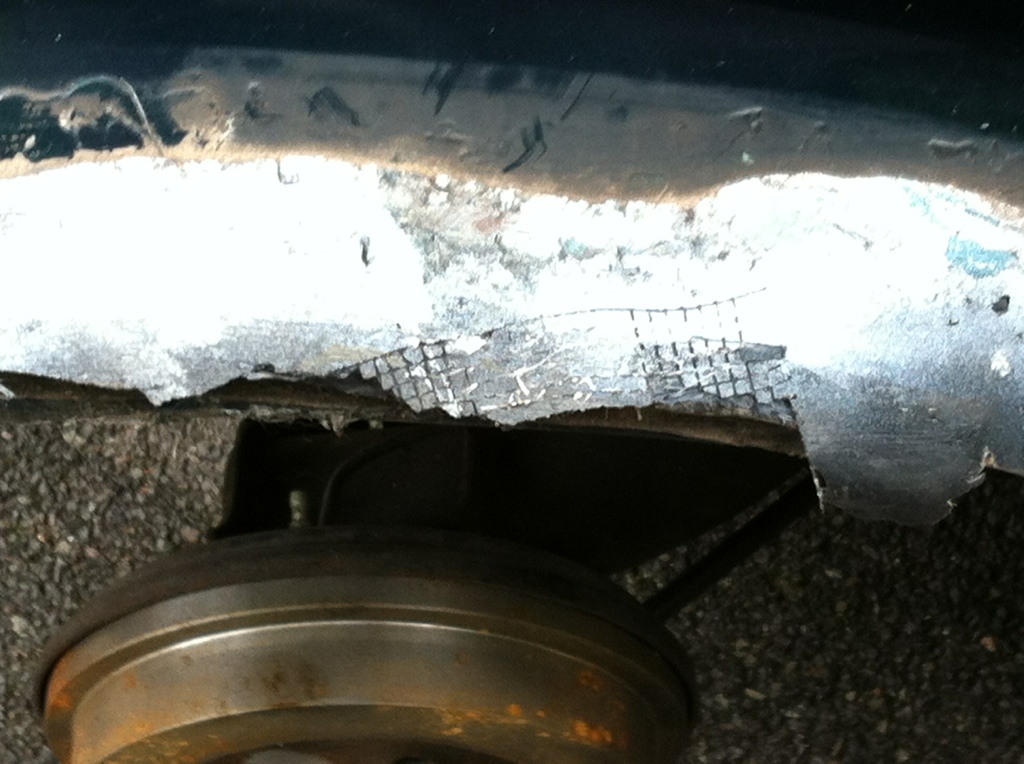
Finally got the black gunk adhesive off, had to soften it with thinners and then pick at it with a blade.
It's made a mess, so I have just given the arches a coat of primer, till I get to them, good news it's all nice and solid underneath. So happy days.
some serious glue here, …..
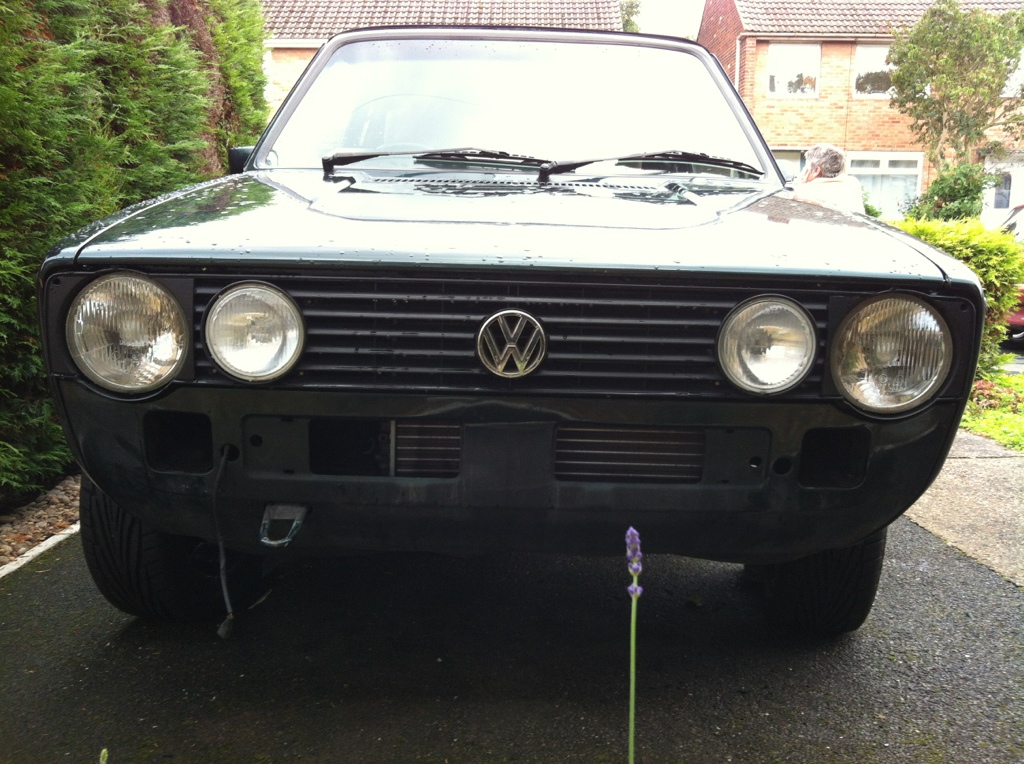
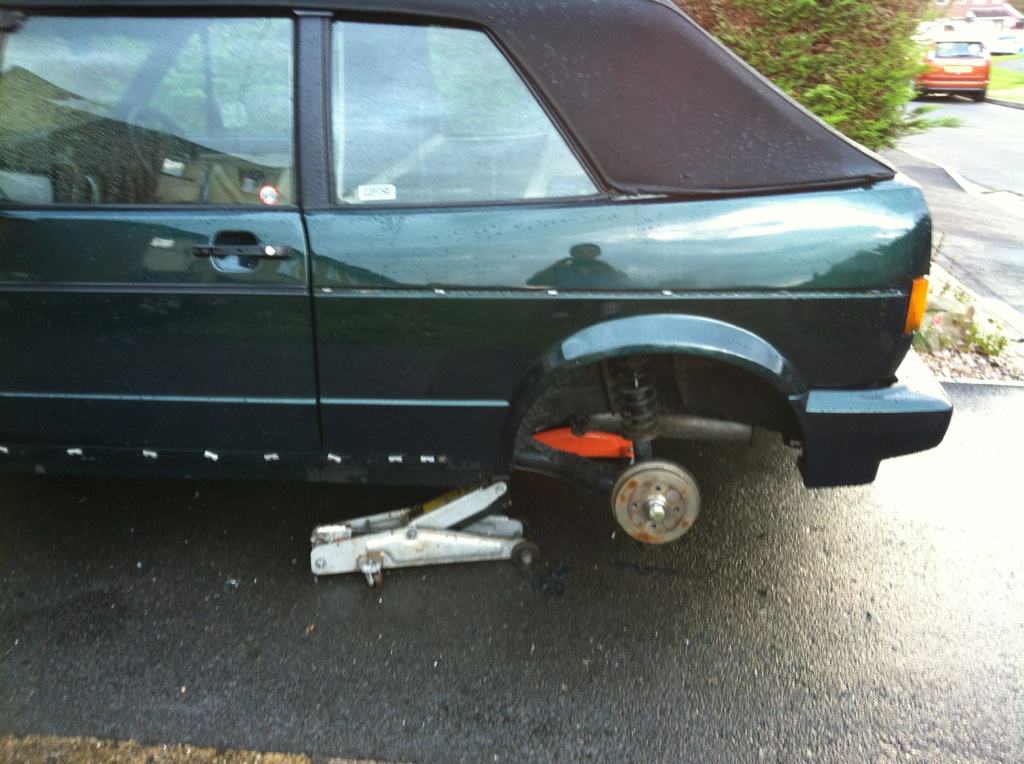
Front end looking a bit sad at the moment, just got to paint front bumper and it will look like a car again.
"Making Cabbies More Beautiful One Roof at a Time"�
Posted

Old Timer


Posted
Local Hero


SOUTHWEST Regional Host. Bristol Meet - 1st Friday of the month - Toby Carvery Bradely Stoke Bristol Bristol Region Facebook Group
1.8T CABBY
TINTOP THREAD (SOLD 2016) SPORTLINE THREAD (SOLD 2015) CLIPPER THREAD (SOLD 2012)
1.8T CABBY
TINTOP THREAD (SOLD 2016) SPORTLINE THREAD (SOLD 2015) CLIPPER THREAD (SOLD 2012)
Posted
Local Hero
They are pretty good to be fair.
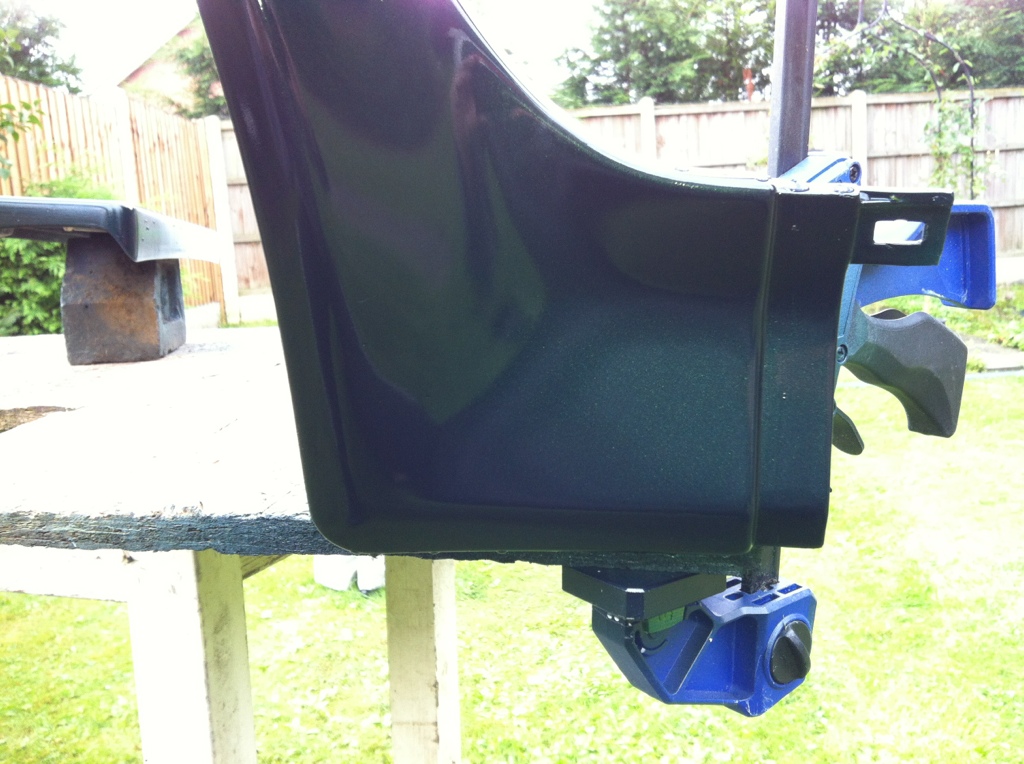
Painting in the garden on my make shift table.
Arches clamped down into correct position, apparently all panels should be painted in the position they fit on the car.
It's to do with how gravity pulls the metal flake in metallics.
It's just time consuming to get a good finish, no point rushing lol.
cheers
chortle
"Making Cabbies More Beautiful One Roof at a Time"�
Posted
Local Hero

Fitted new battery pack…

So alarm back in place, tested and working properly..yay.
Shortend the auto Ariel cables, soldered them up also and nicely taped up too.
Cant do anything else as its started to rain, only need a good week or warm sunshine and I should be done.
"Making Cabbies More Beautiful One Roof at a Time"�
Posted
Moderator
Ever growing range of new mk1 golf parts www.classic-vw.co.uk
Posted
Local Hero
Yep knew that one fella. These have been off before.
The car at some point had the arches painted.
I reckon that's how the rear one was broken in the first place.
It's tough stuff, thing is I will need to glue em back on.
I am cracking on with it, but can't use the buffer in the rain.
I have 2 gazebos but there at my sisters.
Need a late speaker cover also mr funk and what size are the speakers in the late fro t pods. My tweeters work, but the main speakers are silent and are odd makes.
Wonder if the speakers are blown?
"Making Cabbies More Beautiful One Roof at a Time"�
Posted

COTM Team
chris

Chris

Posted
Local Hero
should look smart when it's all done.
"Making Cabbies More Beautiful One Roof at a Time"�
Posted
Local Hero
You shouldn't have needed to remove the rev counter needle to access the board, it all disassembles from the back of the clocks leaving the clack faces untouched. I'm not sure how to fix it but I have a Motometer rev counter here if you need one. It has a white needle but a dab a fish float paint should match it up to the orange ones!
Looks like your doing a great job on it and the paint work on the arch trims looks fantastic! Fingers crossed for some sunny days so you can crack on with it. 8)
Mk1 Golf floor mats - for tin top and cabriolet - Zero7796 17298Five
Posted
Local Hero
Toffee wheel sounds like the way forward as I still got the drivers side to do, didn't want to start too much, as the car is outside, do any exposed metal equals rust. So by doing one at a time on the pass side means if the weather turns I am ok.
Reckon I might need that rev counter off you then.
I think I may of damaged it when removing.
Good idea about the paint for the needle too.
Pm me regards the rev counter then please Gav.
She's getting there now, just put some green on the arches and laquered up, so that needs to go off.
Then some 100, 1200 and then some 1500 gauge wet and dry to blend in with the other finish. Cut polish, glaze, then 3 stage meguiers.
Cheers
Chortle
"Making Cabbies More Beautiful One Roof at a Time"�
Posted
Local Hero
spent the day trying to avoid the thunder and rain showers, however still got soaked. lol.
Managed to get the front wheel Arch painted and laquered and mopped, polished up. Need to put some meguires on but decided once all the paint is done I am gonna mop and polish the whole car before putting the arches etc back on.

Spot the difference? No more rubbish Rivage decal.
Looking forward to getting my superb ones on later.
"Making Cabbies More Beautiful One Roof at a Time"�
Posted

Local Hero
When your finished with it, there's a Sportline that needs a nice mohair hood sometime and a nice spare room with food and beer up in sunny Scotland waiting ;-)
Keep the updates coming
Chris
Posted

Old Timer
If you can read this, thank a teacher,
If its in English, thank a soldier.
A soldier fights not because he hates whats in front of him, but because he loves whats behind him.
If its in English, thank a soldier.
A soldier fights not because he hates whats in front of him, but because he loves whats behind him.
Posted
Local Hero
Chris I need to put a new hood on mine too.
Last job though, hopefully this year..
Cheers Steve, no doubt I will think of something when he gets home lol.
replied to your pm.
"Making Cabbies More Beautiful One Roof at a Time"�
Posted
Local Hero

"Making Cabbies More Beautiful One Roof at a Time"�
Posted
Old Timer
There are too many online users to list.