


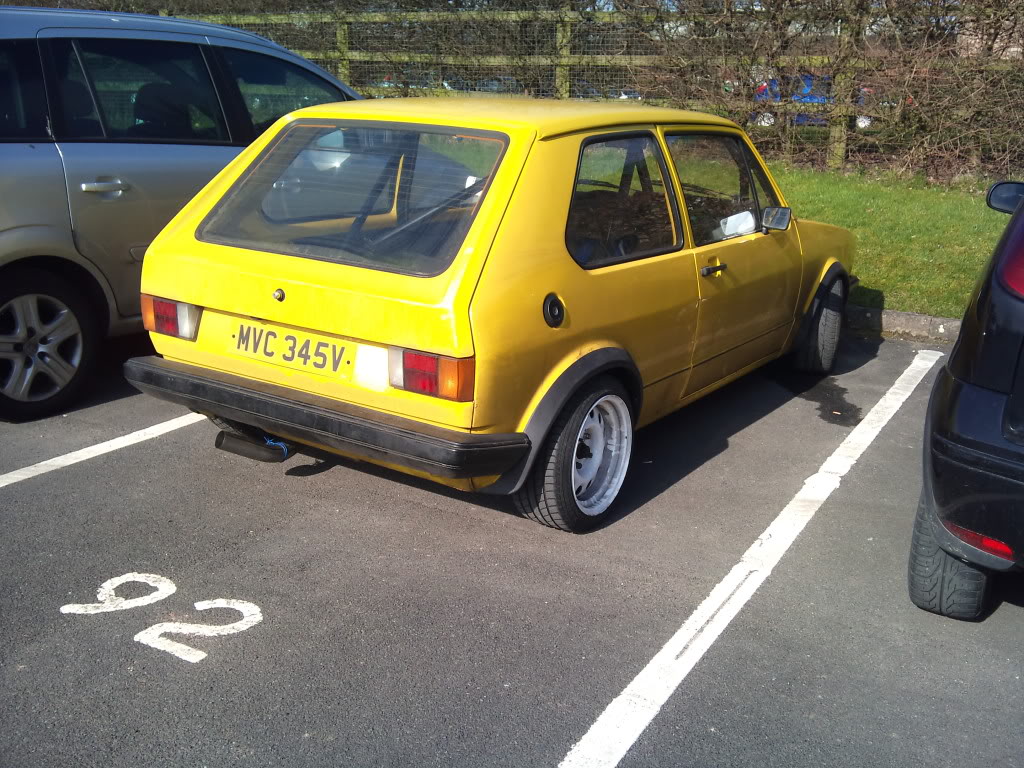
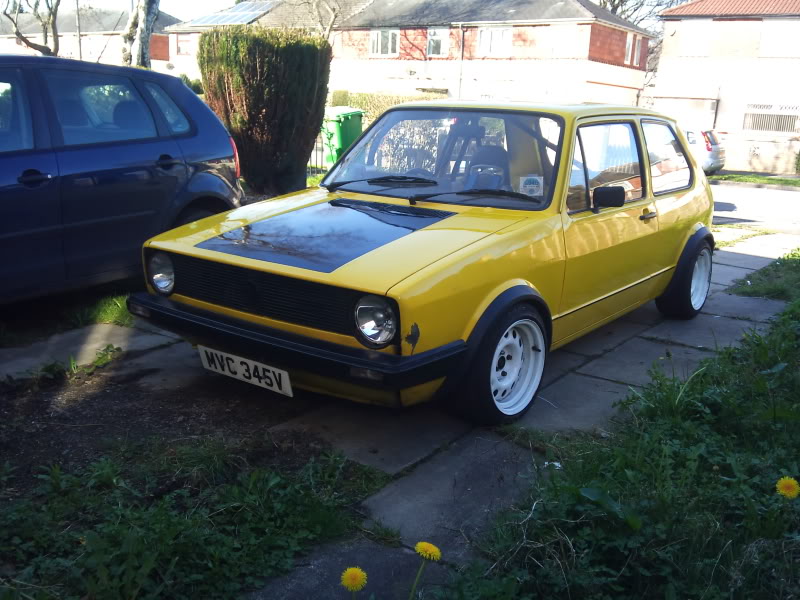
1980 Yellow Golf LS Turbo

Posted
Old Timer

1980 Yellow Golf LS Turbo
- Fuel pumps wired up
- ECU Mounting
- Engine bay wiring
- Dump valve vac feed fitting
Wiring all takes longer than expected, but I'd rather do it (semi) right the first time round!
ECU mounted in the scuttle tray
Trusty holesaw saw a hole made in the raintray-> engine compartment for the G40 loom to pass through
Wired up all the G40 sensors
Welded studs to the turrets to mount the coil
Coil mounted, wires extended as passed into the inside of the car
Fuel pump wiring routed and soldered
Fuel pump and coil relays fitted and soldered
Battery earth terminal removed, and earths moved
Tomorrow I'm off to pick up the earth and power lead from a e46 330i and a momo team off a friend (already got one for this, buts its to replace the one I robbed out of the peril!)
Few jobs remaining that I can think of before it can fire up
Vac pipe for dump valve
Weld studs to underside of car to mount fuel pump cradle
Mount fuel pump assembly and route fuel lines up to in-tank pump
Trusty holesaw again to make hole in boot-floor for rear fuel pump loom
Mount battery in boot
Route battery power cable to starter
Move all positive battery connections currently fitted to starter motor
Wire up alternator
weld bracket for header tank and fit
route turbo water lines
fit midbox
rejoice, fire up and drive =D
get tyres fitted on borbets and get the tracking done
Jobs for next week will be getting the comet blue coupe back up on the road, mot'ing the Grey Mk3 G40 and removing the golfs dash to sort out the abomination that is the dash loom, check out the shocking state of affairs in the fusebox!

I'm finding conflicting threads for the fuses for series 1 fuseboxes, and no idea on the relays, can anyone help?!
(source owners manual 8/79):
1. Dipped beam left (8 amp)
2 Dipped beam right (8 amp)
3. High beam left, high beam warning lamp (8 amp)
4. High beam right (8 amp)
5. Heated rear window (16 amp)
6. Emergency lights, brake lights (8 amp)
7. Interior light, cigarette lighter, radio, clock (8 amp)
8. Turn signals (8 amp)
9. Reversing lights, horn, selector level console (automatic gearbox) automatic choke and pilot cut-off valve (carburetor engines) (8 amp)
10 Fresh air blower (16 amp)
11. Windscreen wipers and washer pump, rear window washer pump intermittent relay (8 amp)
12. Number plate lights (8 amp)
13. Side light right, tail light right (8 amp)
from this thread
The Mk1 Golf Owners Club
1 left headlamp Low beam
2 Right headlamp Low beam
3 Left headlamp High beam
4 Right headlamp High beam
5 Heated rear window
6 Interior light
7 Brake lights Ciggy lighter
8 Indicators
9 Horn
10 Headlamp washers Rear window warning lamp
11 heater Fan
12 Number plate lamps
13 Tail light right front side light right
14 tail light left front side light left
15 Foglamp
14. Side light left, tail light left (8 amp)
15. Radiator fan (25 amp)
One of the unit lads is going to get me a load of wire from his work and I'm probably going to redo the entire dash loom by hand, that way I know it'll be right, as currently its slightly unnerving, but to all who know my previous endeavours, I now keep a fire extinguisher in all cars
Posted
Settling In


Posted
Settling In
Posted
Old Timer

Posted
Old Timer
been a right saga, involve far too many 3am missions and sleeping in till half 11 on a workday =/in the work car pork


Posted
Settling In
Posted
Old Timer

Posted
Old Timer
It was nice to have a dry workshop but that was very quickly ruined by the fact that the car had collected half of Iceland on the trip there and I was soon rolling around in puddles! But the car is now fitted with 256mm ebc cross drilled and grooved discs, ferodo pads, Lucas 54 callipers. Noticed one of the rear cylinders was leaking so I robbed the 200mm passat drum setup off the mk1 polo, brand new drums, VW shoes, cylinders and bearings. It was all a bit of a mare to be honest had to file out part of the caliper to accept the vented discs which meant the pads had too much meat on them, which wasn't too much of a concern as the extra would get burnt off with a drive home! Some fresh 5.1 fluid replaced the jank old stuff and the car stops on a half penny. Very happy! Left the handbrake cables disconnected as I couldnt fit them ( the Bain of my existence ) and it was getting late (half 1)
Drove out the unit and bam stuck in the snow! After digging for an eternity putting car mats down, launching a load of hot water down and scraping excess snow from around the tyres with a crowbar I finally managed to emerge free! Fully west as its now half 3! Think I'll be spending tomorrow indoors in the warmth playing computer games! Yuck fou snow!
forgot to add I also welded up the exhaust on friday after work, so the bend now clears the rear of the floor pan, still gotta do the over the axle bend, but its knock free now so im happy
Posted
Old Timer

Posted
Old Timer
I do need the following bits if anyone can help
Passenger window mech
Passenger door pull surround and screw cover
Single plastic threaded plug in the door that the door pull handle screws into
Got rid of the chrome golfball gearknob and fitted a new empi leather one I had kicking around. Feels loads comfier. The chromey one is up for grabs if anyone's keen.
Got a new multimeter the other day as my old one had bit the dust, so whipped the throttle body off and rigged up a test system with a foot pump and a boost gauge so I could tweak the pressure switch (which replaces the digifants full throttle switch) to activate at 6 psi.
Also been looking at gauge mounts as I don't want to drill any holes in the dash and don't want a din plate as I will be fitting a stereo soon. Spotted stack rollcage mounts but they were pricey at 25 pound a piece! Far more than I want to spend and I hate the look of the pillar mounts as they look cheap and tacky! Had a brainwave last night for a quick solution involving a jubilee clamp around the cage and some cable ties to hold the gauge in place! Works a treat
With the ability to actually see what boost I'm putting out, I've noticed that I'm only getting 0.5 bar max so I'm guessing I either need to tweak the actuator rod length.
Got a few lengths of stainless piping and an over the axle mandrel bend and a flexi pipe so next weeks job will be finishing off the exhaust system, fitting the harnesses and new seats and adjusting the gear linkage slightly. Once that's all out the way I'll be able to concentrate on finishing 2 of the olops at the unit woop woop
Posted

Old Timer
grungeisdead said
I've noticed that I'm only getting 0.5 bar max
Are you serious?!
 How is so fast with only that much boost?! I can't wait to see how fast it is when you wind it up! :twisted:
Posted
Old Timer
Posted

Old Timer
Will have a good read through later when i'm not at work…. supposed to be working lol
Steff
I saw a crinkly peanut tomorrow
Posted
Old Timer
Couple of pictures from the Manc:Union meet on Sunday


Got a few odd jobs done
Fitted Harnesses
Fitted Mk3 G40 Rocker Cover
Fitted a new t-piece for an oil pressure and oil temp sender
Fitted a new grill with non-broken tabs
Got a few jobs to do tonight
Fit Oil Pressure & Temp Guage and wire up.
Troubleshoot brake lights as they decided to no longer work =/
Complete the rear section of the exhaust system
weld subframes for new seats
Also got some banded steels on the way, 14x8
Posted
Old Timer
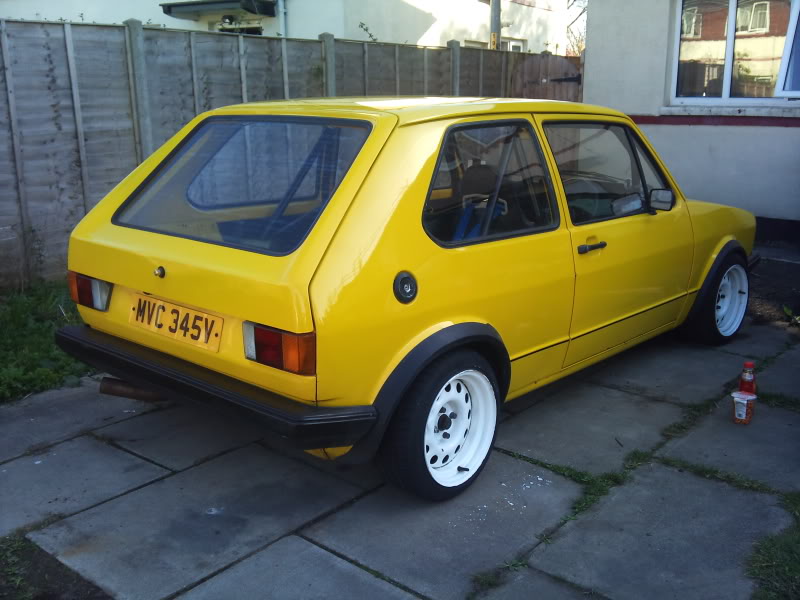
Picked up some banded steelies (14x8 driver steels) all with 195 45 14s on, although one had suffered a blow out so has been refitted with a new 195 45 14 yoko I had lying spare.

Tooke the fuse box apart and it was a grot fest inside. Cleaned up all the contacts as best as I could and managed to get the headlights working again via the fusebox, omitting another section of sketchy wiring added by the previous owner.
However the brakes still didn't work boo! I'd already tested the switch which was working fine, and if I fed power to the black/red wire of the rear loom the brakes light came on, so it must be a dodgy internal connection of the fuse box. Just rigged up a circuit from terminal 30 on the fusebox to a fuse to the pressure switch, which then feeds into the rear loom for the brake lights.
Rich kindly donated me a later blade type fusebox and hopefully a loom and I can replace the woeful s1 boxs at the fraction of price of replacing the early fusebox.
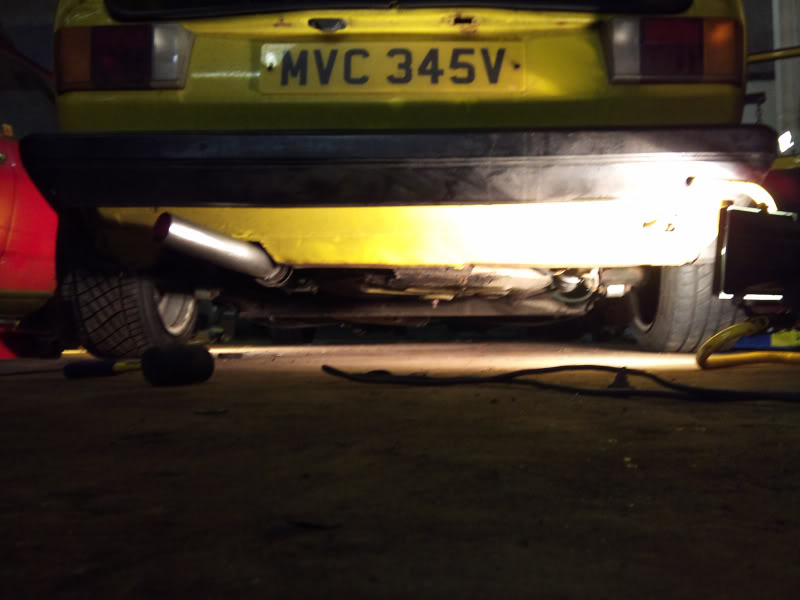
Made up an over axle bend for the exhaust as its been half finished since I put engine in and welded a flexi into the system where then downpipe meets the centre box.
The rear system is just a straight through pipe with a bastuck style upswept tip.
Wanted to weld on hangers but ran out of gas
 however the mid box is still sitting to low despite moving it further towards the front of the car to clear the handbrake cables, so think I'm just got to fit a straight through pipe in place of the midbox and use the midbox as the rear silencer.
Finished up this evening by sticking the wheels on, will get some more gas tomorrow and crack on with the rest of the exhaust , hangers and if I get some time, some seat frame adjustments to the new seats.
I'll grab some pics tomo of the new wheels in the day
Posted
Old Timer
Ignore the wetness, thats from my Mk3 G40, the thermostat housing is leaking so is being replaced this week.


Posted
Old Timer

Loads more ground clearance
Need to buy some 8mm rod to weld some hangers to the exhaust but its not going anywhere in a hurry
So just driving and enjoying while I give the grey g a service this week and crack on with the comet blue next week
Posted
Old Timer

So parked it up for a few days while I modified and welded up the existing subframes to mount my Koenig seats.
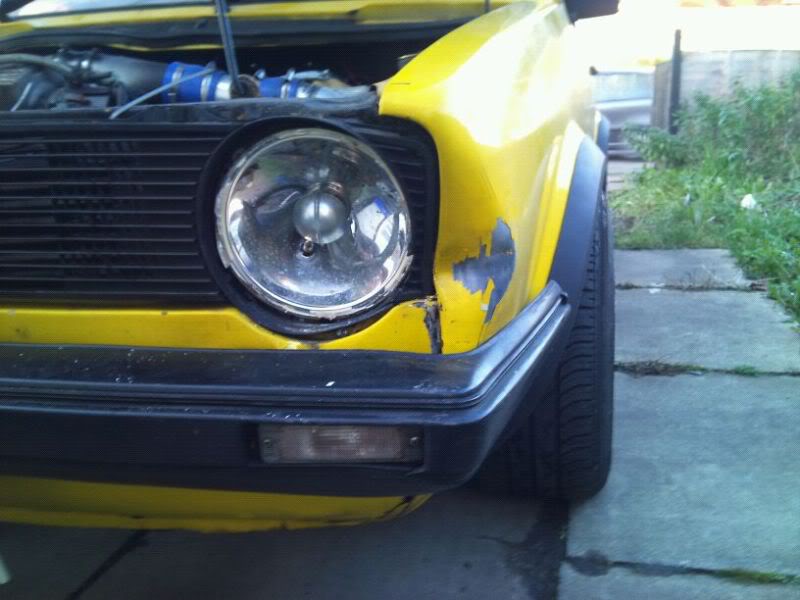
Took the wing out and bashed out the dent out as well as semi straightening the headlight surround, but noticed a few rusty patches at the bottom of the outer sill and some on the floor panel. Welded in some new panels in place which don't look differerent from factory despite bending thick metal ( all I had at the time ) in a vice with a hammer! Now that I'm a bit more confident with welding, I got hold a front floor panel and outer sill and will fabricate my own inner sill. Also going to remove the cage and mount it a bit more sensibly than the previous owners.
So anyway got the car back on the road, running well until my biting point of the clutch was on the floor and eventually non existent! After messing about with the cable I manned up on Saturday and whipped the clutch out, pleasantly surprised to find out there was a helix organically lined clutch on there! However that made way for a helix 4 paddle clutch and new pressure plate. Stupidly I forgot to fit my new vag clutch release bearing but its cool it. Can stay on the shelf for now!
Clutch biting point restored, which means I don't have to weld a proper repair plate in the bulkhead just yet ( bolted a repair in place for the time being )
Woke up this morning to see Yousaf wash me written in the dirt in the side of the car as I haven't washed it since I first got it, so here are the pics.


If anyone has a spare passenger headlight and a front panel the hit me up
Posted
Moderator

What's it go like with the g40?
Ever growing range of new mk1 golf parts www.classic-vw.co.uk
Posted
Old Timer
funk-star said
Was tempted to buy this car on edition, couldn't live with out the side trims tho.
What's it go like with the g40?
Its a bloody animal
Perfect engine for a mk1 8)
0 guests and 0 members have just viewed this: None.