


Now rebuild 2. going ABF, wheels and interior changes+++++more pics inside

Posted

MOTY 2013

Now rebuild 2. going ABF, wheels and interior changes+++++more pics inside

bulbous could be another word for 'more air flow'

Hello my name is John and I'm a dub addict.
My wiring diagrams and other documents have moved here:
VAG Documents & Downloads
You'll need to sign into google/gmail for the link to work! (its free!)
My wiring diagrams and other documents have moved here:
VAG Documents & Downloads
You'll need to sign into google/gmail for the link to work! (its free!)
Posted
Settled In

more pics added.....slow progress due to work and funds!
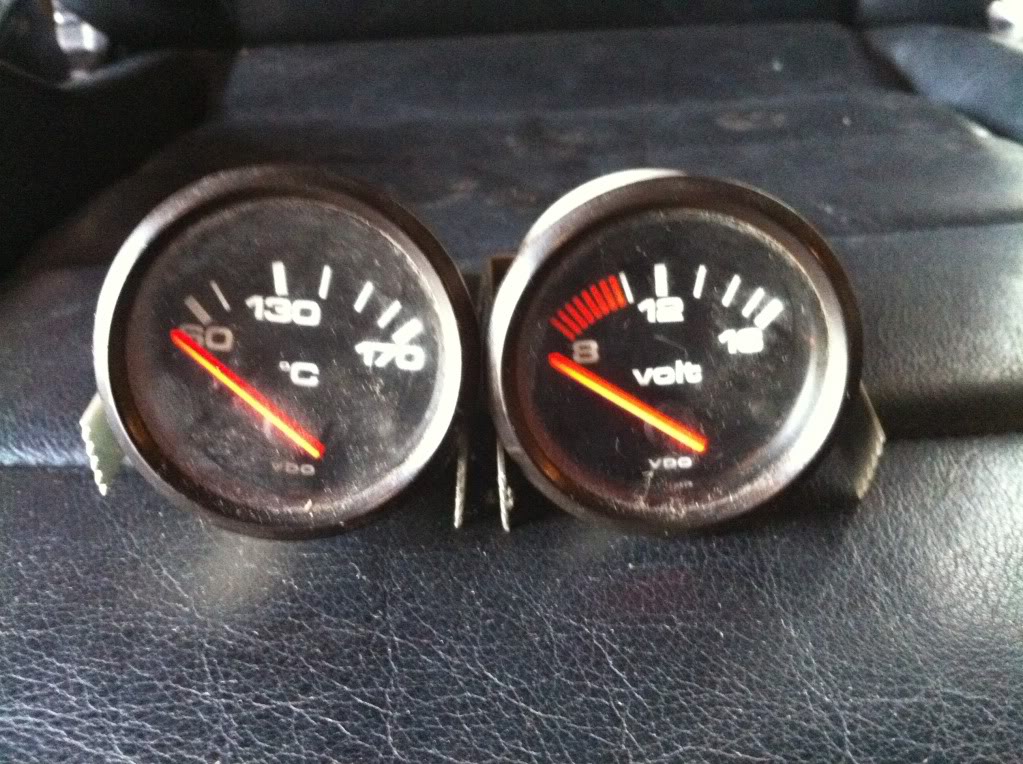
Still not managed to MFA working and to be honest i cannot be ar**ed now. removed the badly wired in vdo guages as ive no interest in them. Got the tints removed, got front suspension out ready for the coilovers…..painting the calipers & carrier back to black again!
Its slowly getting there. got a few bits n bobs on the way and once paid again gett some more bits, mainly interior items.
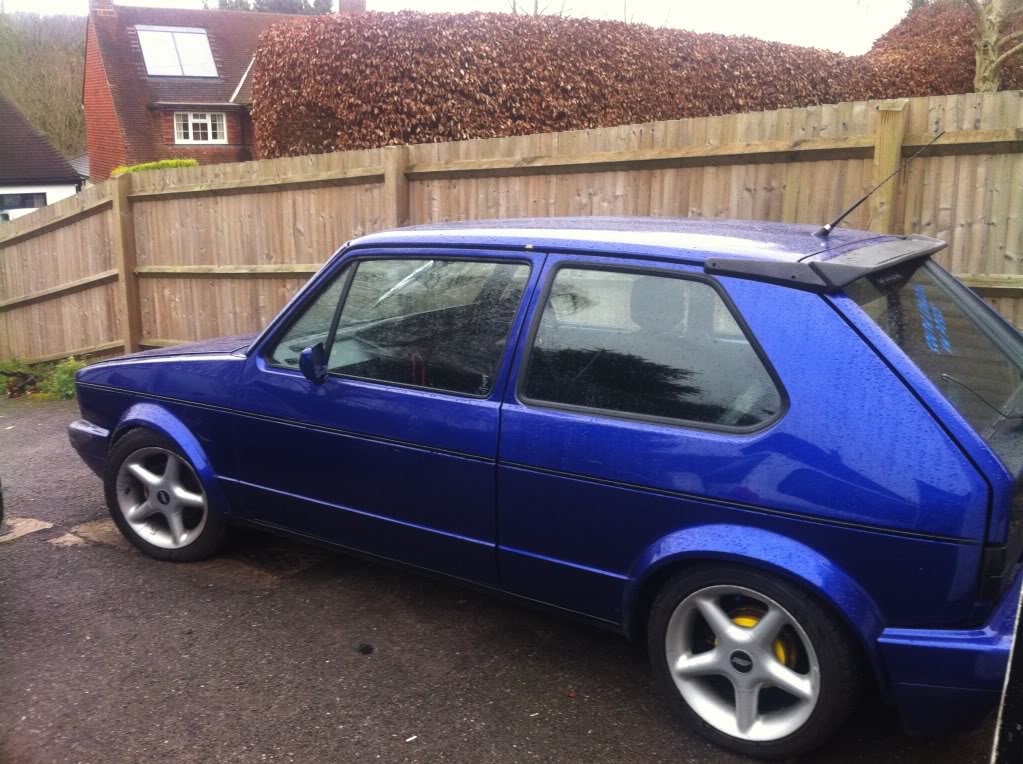
no tints……better already!
yellow brakes??? really? lol
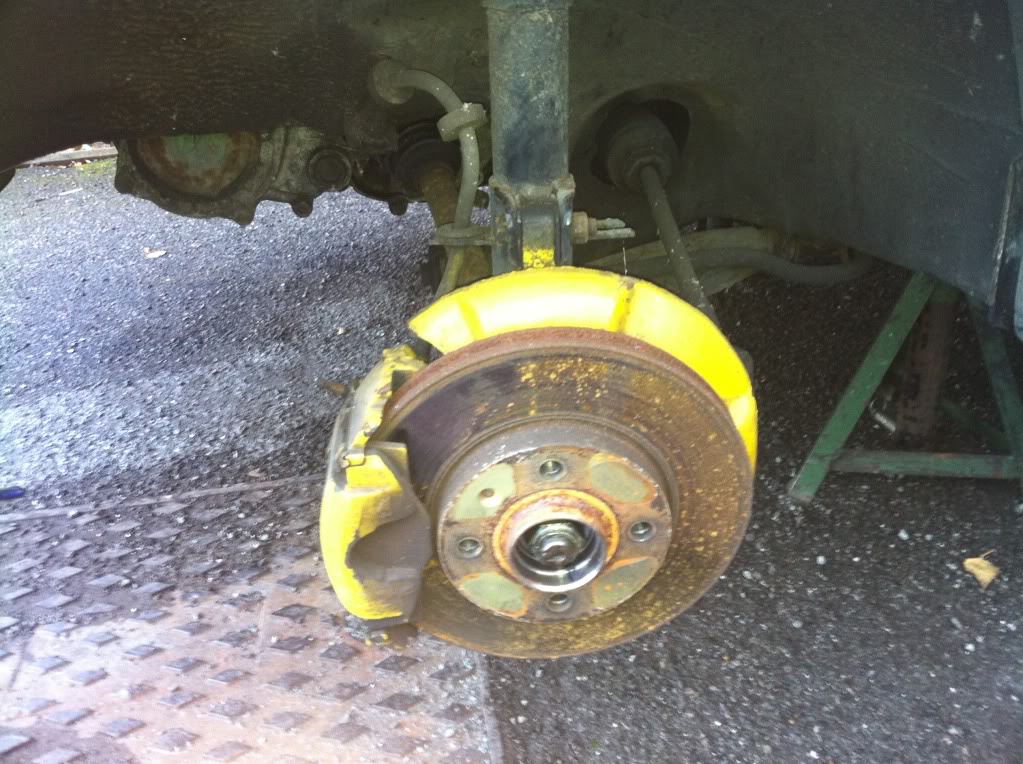
no black again…..good old hammerite


not gonna bother with these
more soon….ish lol
Posted
Settled In
quick update
Managed to get everything electrical working!!!! Head lights, rears, fog, reverse, number plate lights, indicators….you name it got fixed
Biggest pain was the horn…..broken wire tucked in tight behind fuse box. 
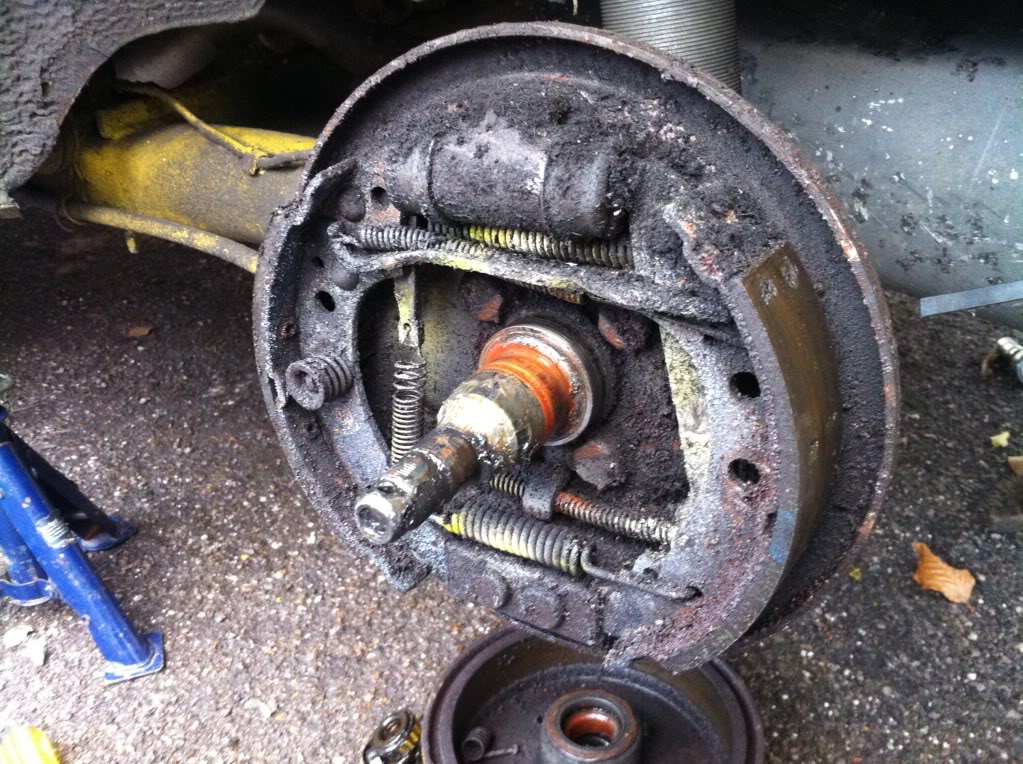
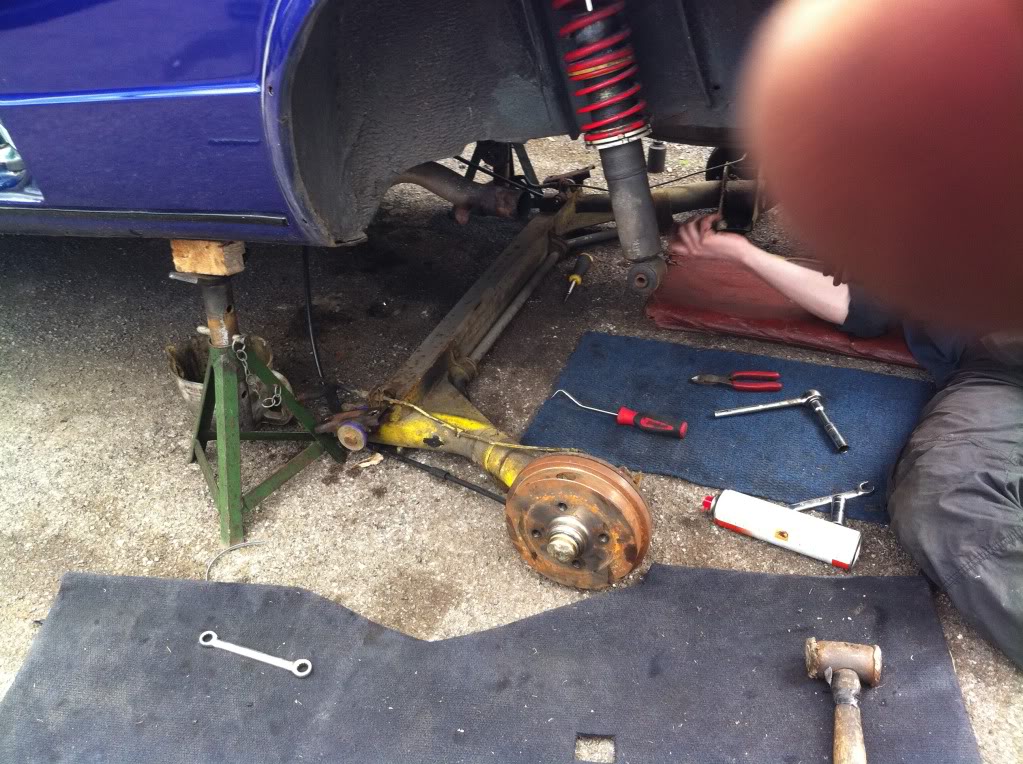
got the coilies on today, not height adjuted but on. Changed the stealths for my bbs ra's and got rear brakes all stripped down ready for new evreything. drums, shoes, cylinders, handbrake cables. Old ones were proper fubbed!
Getting a full interior tomorrow and intend on swapping round all the seat foams and covers onto proper mk1 bases. Therefore I get tilting and freely moving leather recaro's.
anyways see pics and plenty more to follow.
the new but used coilies:

front stripped ready for coilover. chuffed at the solid inner arches and wings

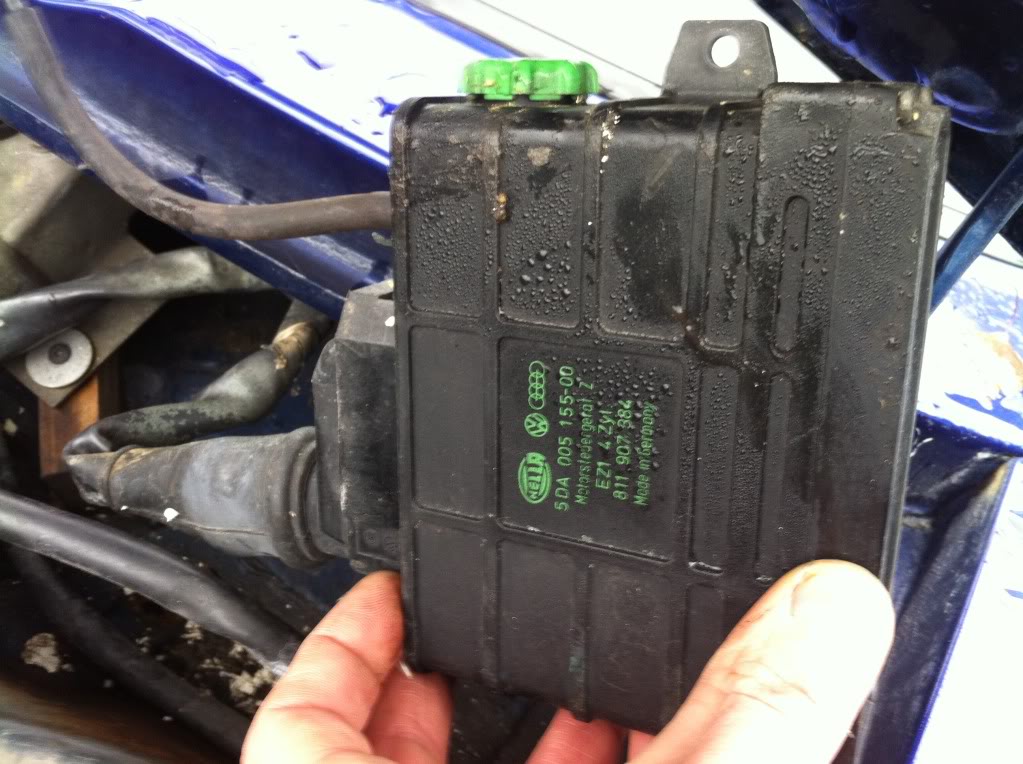
anyone know what the green bits for? it has a hose connected that runs to the dizzy/pipe from dizzy
cpmpletely ruined rear brakes.
thats all for a week or.
Posted
Old Timer


Mk1 Golf Gti Abf conversion Project
Mk2 Golf Gti 16v
Mini Cooper S R53 (Daily)
Posted
MOTY 2013
Hello my name is John and I'm a dub addict.
My wiring diagrams and other documents have moved here:
VAG Documents & Downloads
You'll need to sign into google/gmail for the link to work! (its free!)
My wiring diagrams and other documents have moved here:
VAG Documents & Downloads
You'll need to sign into google/gmail for the link to work! (its free!)
Posted
Settled In
Will take lots of pics of engine set-up today also. As ive bought it with the conversion done I dont know how well its been done. If i was starting from scratch then I would pay someone in the know to do it. But if the engine conversion is anything like the rest of the mods thats been over the years……it wont be that good! lol. Still it gives me more experience rectifying other peoples shoddy work and doing it properly myself. :-)
Posted
MOTY 2013
Hello my name is John and I'm a dub addict.
My wiring diagrams and other documents have moved here:
VAG Documents & Downloads
You'll need to sign into google/gmail for the link to work! (its free!)
My wiring diagrams and other documents have moved here:
VAG Documents & Downloads
You'll need to sign into google/gmail for the link to work! (its free!)
Posted
Old Timer
Mk1 Golf Gti Abf conversion Project
Mk2 Golf Gti 16v
Mini Cooper S R53 (Daily)
Posted
MOTY 2013

Hello my name is John and I'm a dub addict.
My wiring diagrams and other documents have moved here:
VAG Documents & Downloads
You'll need to sign into google/gmail for the link to work! (its free!)
My wiring diagrams and other documents have moved here:
VAG Documents & Downloads
You'll need to sign into google/gmail for the link to work! (its free!)
Posted
Settled In
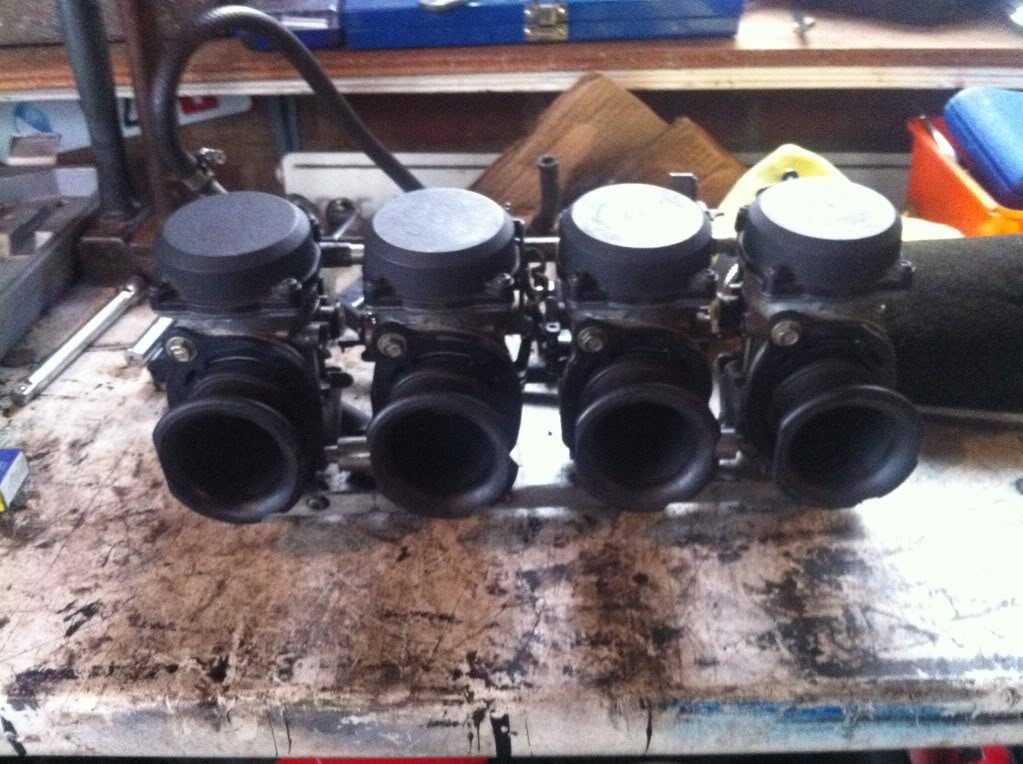
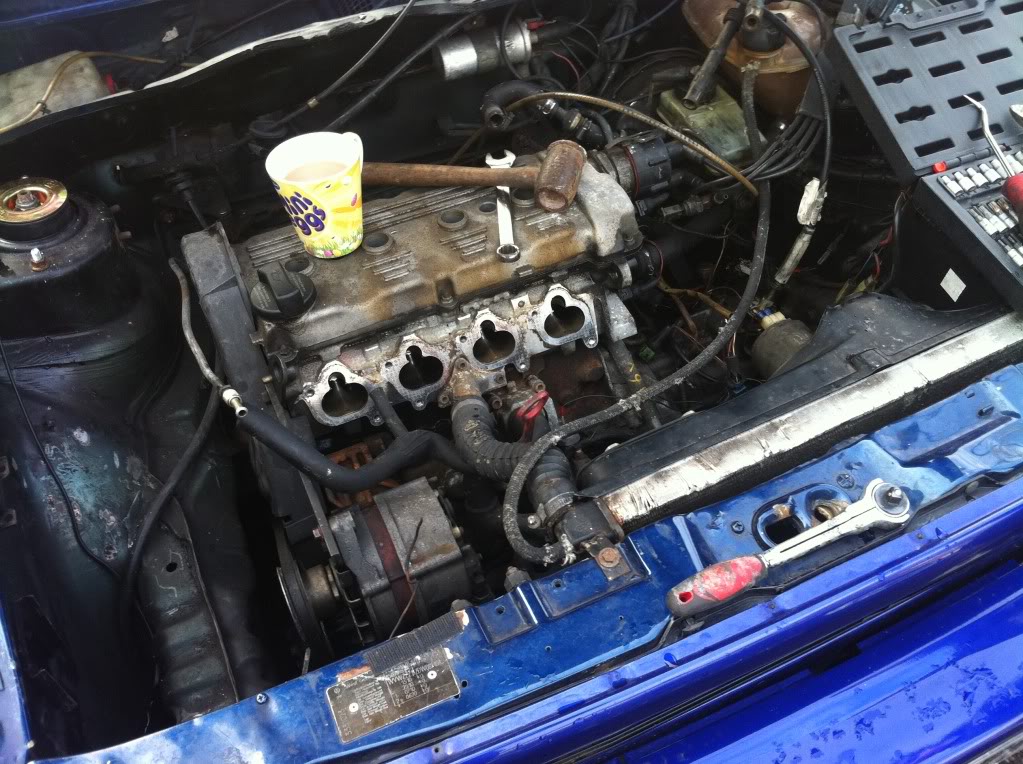
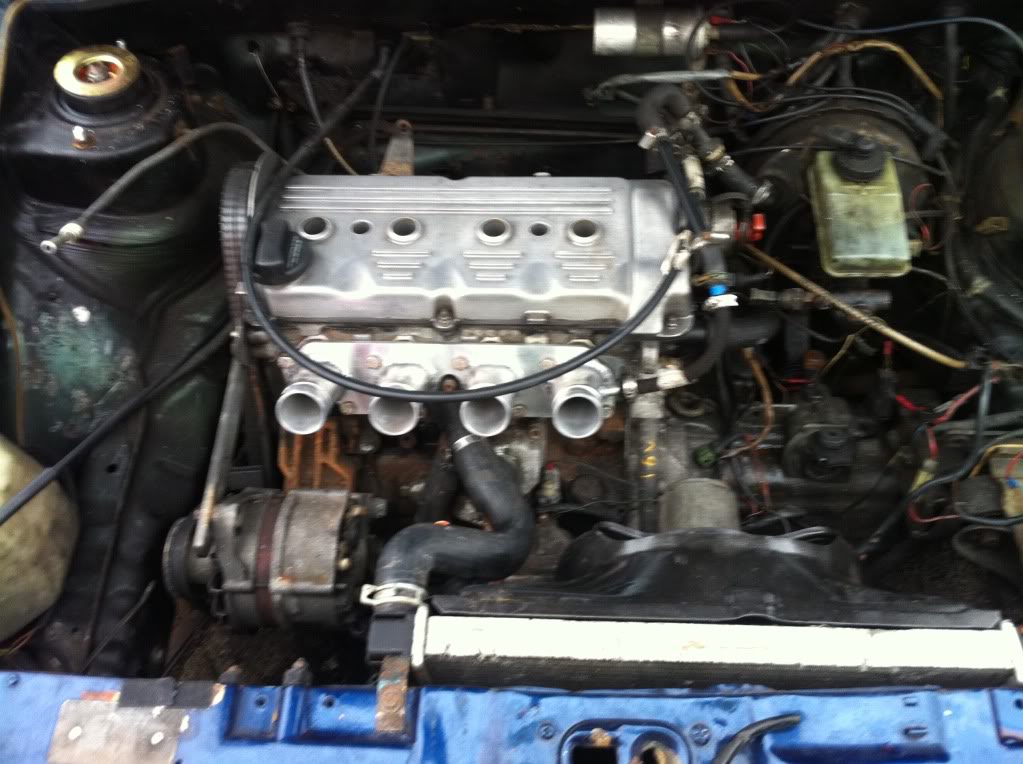
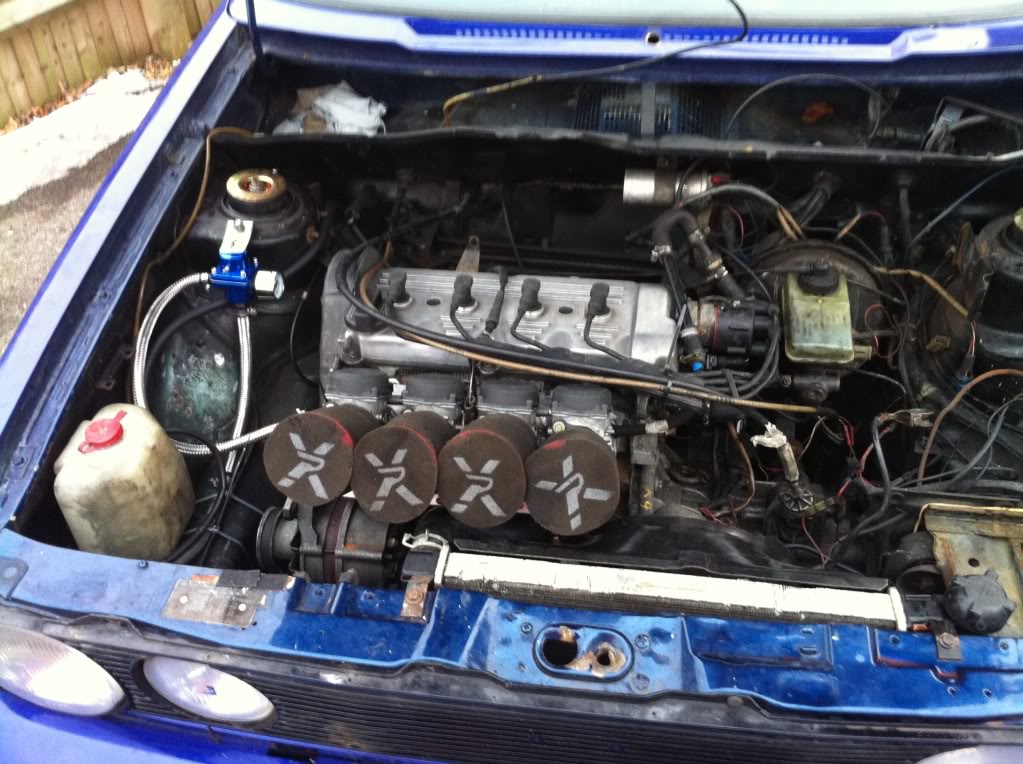
So me and my mate had 3 days in a row to work on car. I had decided to fit my bike carbs to it as I love the sound. This is going to be my daily so I wasnt too worried about what it all looks like under the hood. Just that it works. I will eventualy have a mint interior and exterior though. Had to midufy the top rad mounts a little and some clever braketry and pipework for the fuel pump. Once all was in I filled it with petrol……and there a damn hole in the tank!!
However poured a little petrol straight to the carbs and it fired straight up! Good sign Heres the pics:
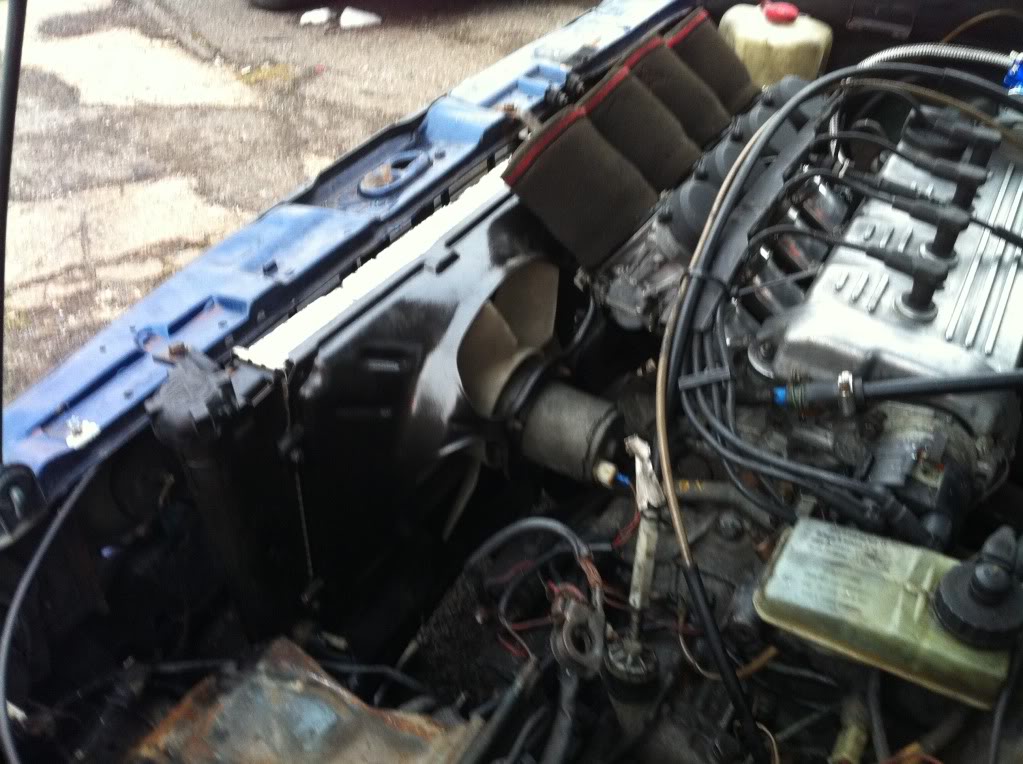
The carbs;


The top fill rad all cleaned, sprayed and ready to rock:


Before during and after

Thats all for now. Will have questions no doubt with wiring……soon! lol
Posted
Settled In
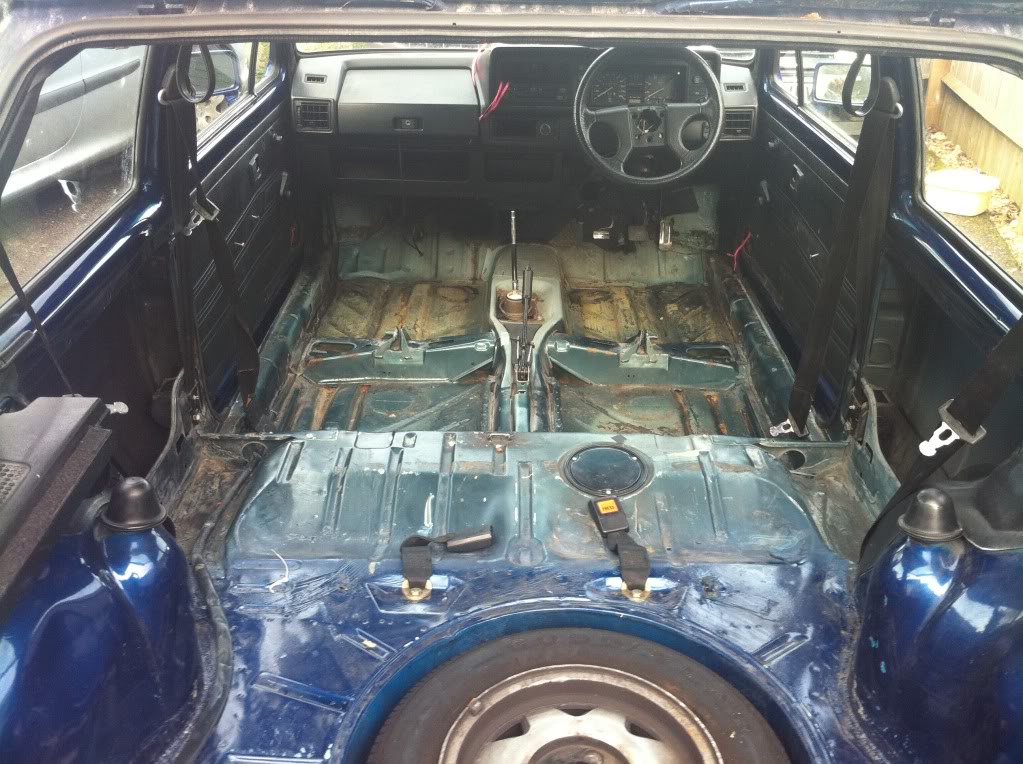
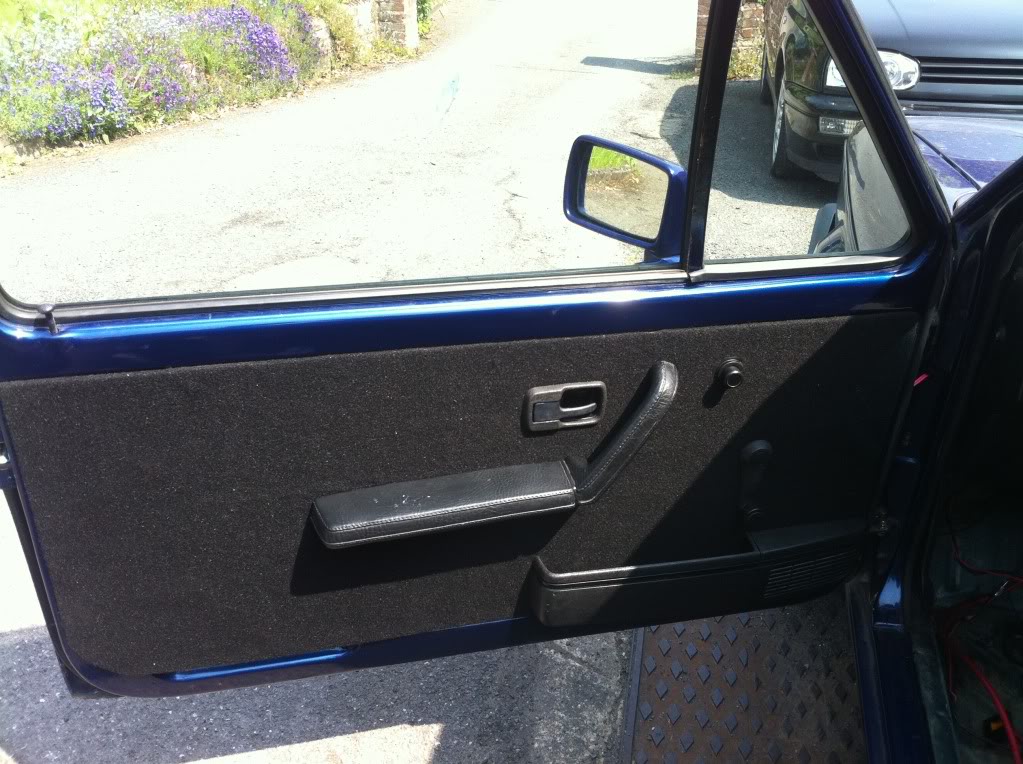
Made up my rear door cards. Will do fronts when I get chance. Just plain old black carpet. Smart and easy IMO.
As you can see the car is 3 different colours!! Boot and insides of doors are a blue colour….anyone know what it is??
Front floor and some of engine bay is green……but which green?? Lhasa?? No paint code sticker anywhere and v5 says blue. Maybe it was re-sprayed blue and changed on the v5 but surely that front floor is the original colour??
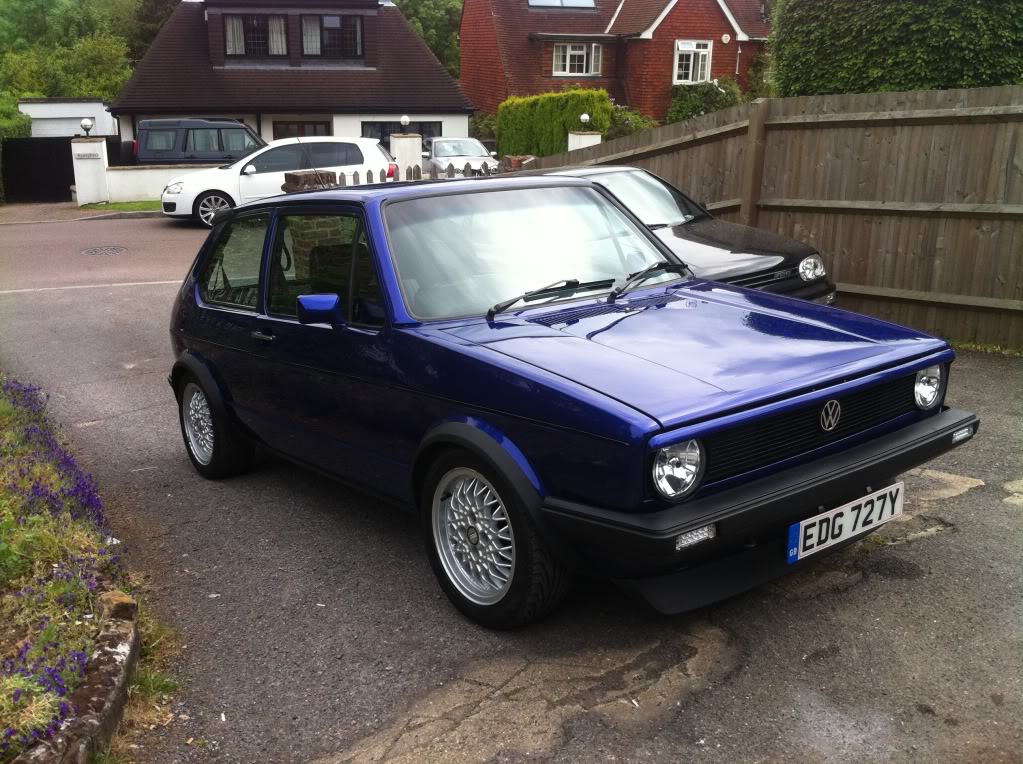
Outside is the hideous purple


Going back to original black bumpers and single light grill. Already got the clear headlights and a HID kit to fit….so will be able to see at night
Posted
MOTY 2013
Hello my name is John and I'm a dub addict.
My wiring diagrams and other documents have moved here:
VAG Documents & Downloads
You'll need to sign into google/gmail for the link to work! (its free!)
My wiring diagrams and other documents have moved here:
VAG Documents & Downloads
You'll need to sign into google/gmail for the link to work! (its free!)
Posted
Settled In
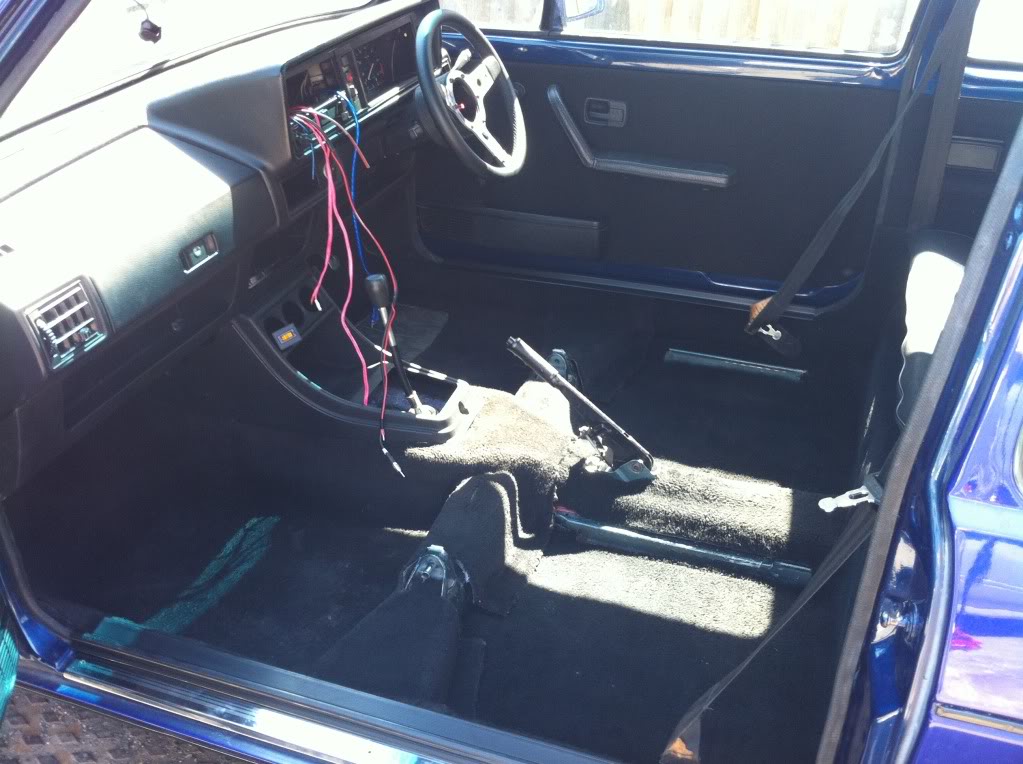
The outside colour is imperial blue with a lilac tint and large metal flake (thats whats on the tin anyway) However the blue inside the car is a different blue and actually really nice. Do you or anyone else reading know what blue this could be? I know its not Helios as its to light/bright. Were there any other mid tone metalic blues?
Posted
MOTY 2013
hard to say really from the pics, could be bright blue metallic. i know cabs had a similar colour to this if not the same one?
my cab was a similar colour by the looks of it and i was a fan, i never did find out the exact shade but mk2 golf bright blue metalic is a close match if not the same:
http://www.vwgolfmk1.org.uk/modules.php?name=Forums&file=viewtopic&t=61862
Hello my name is John and I'm a dub addict.
My wiring diagrams and other documents have moved here:
VAG Documents & Downloads
You'll need to sign into google/gmail for the link to work! (its free!)
My wiring diagrams and other documents have moved here:
VAG Documents & Downloads
You'll need to sign into google/gmail for the link to work! (its free!)
Posted
Settled In
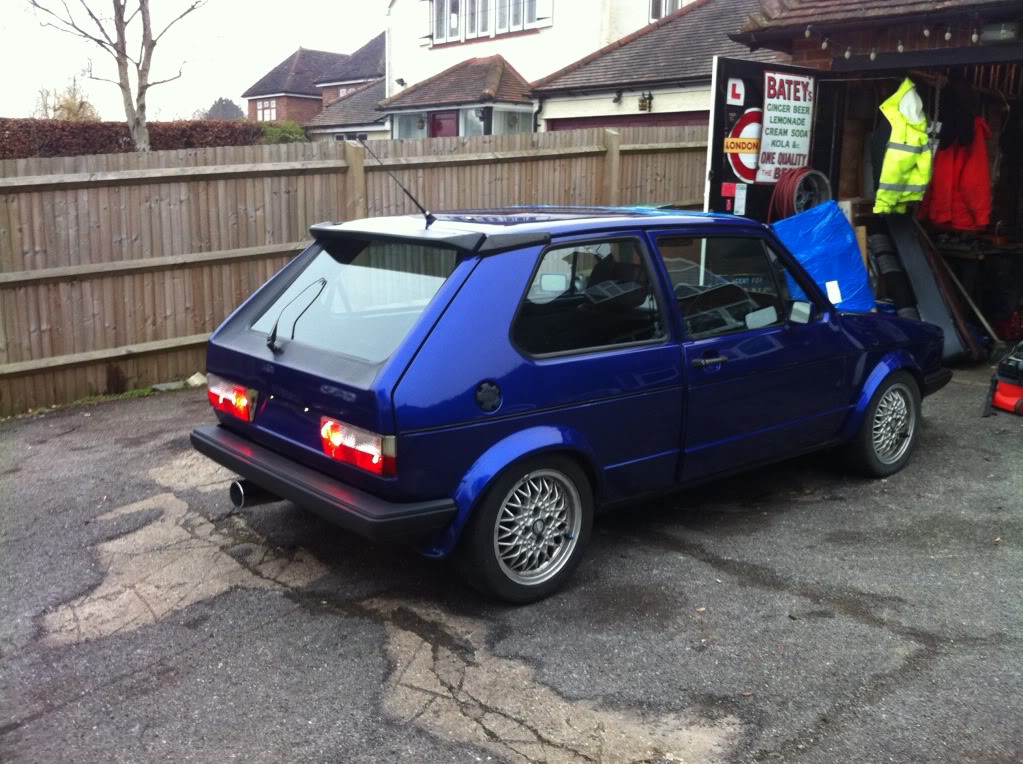
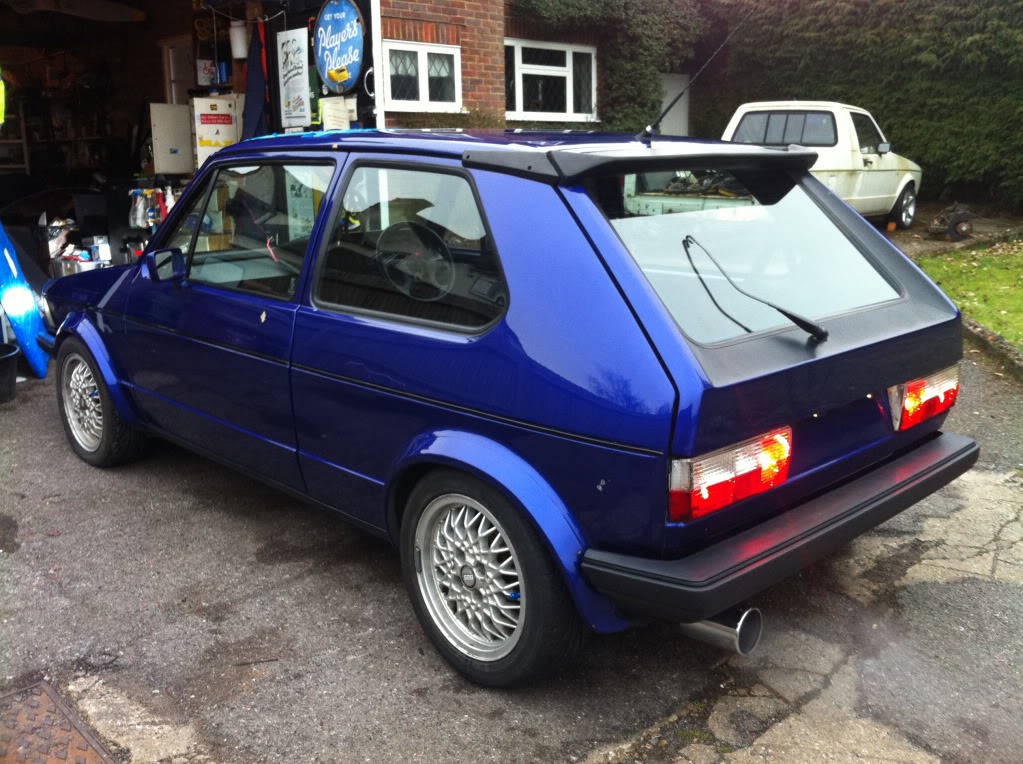
Some rear lights. Not mint but will do til I buy a brand new set. Clear fronts, new grill, led indicators, 8kHid and led sides.
Brakes all done, rear beam bushes, arb bushes, wishbone bushes etc etc…..just need to get stance right now. Gonna run this year with the wheels in current state. Full repaint and wheel refurb early next year as just wont have the ��� this year.
Few bits to do around the body, full interior to go in once ive completely sound deadened it floor, doors, rear quarts and roof!
Pics of how shes coming along

Normal side light compared to LED side light…..massive difference
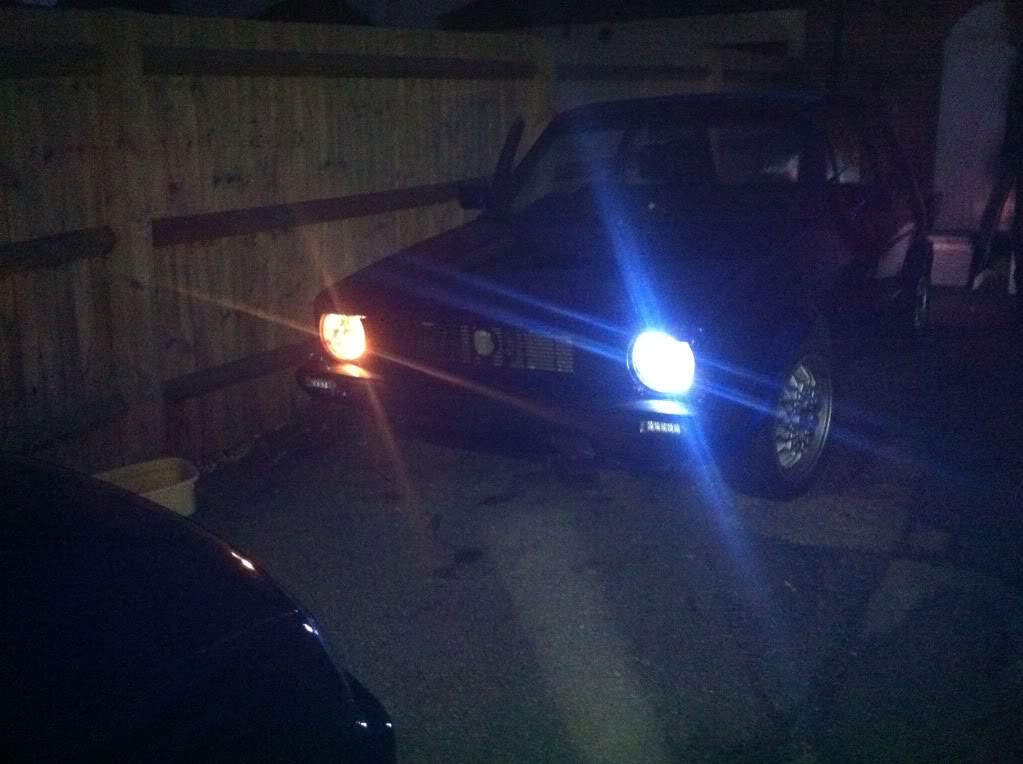
HID on with Led sides

Even in the daytime pics above they are bright!
Posted
Settled In
luckily its a private road and very quiet. re-bled the brakes and all good now.

Posted
Settled In
j
1991 1.8 clipper 
Posted
Settled In
Posted
Settled In
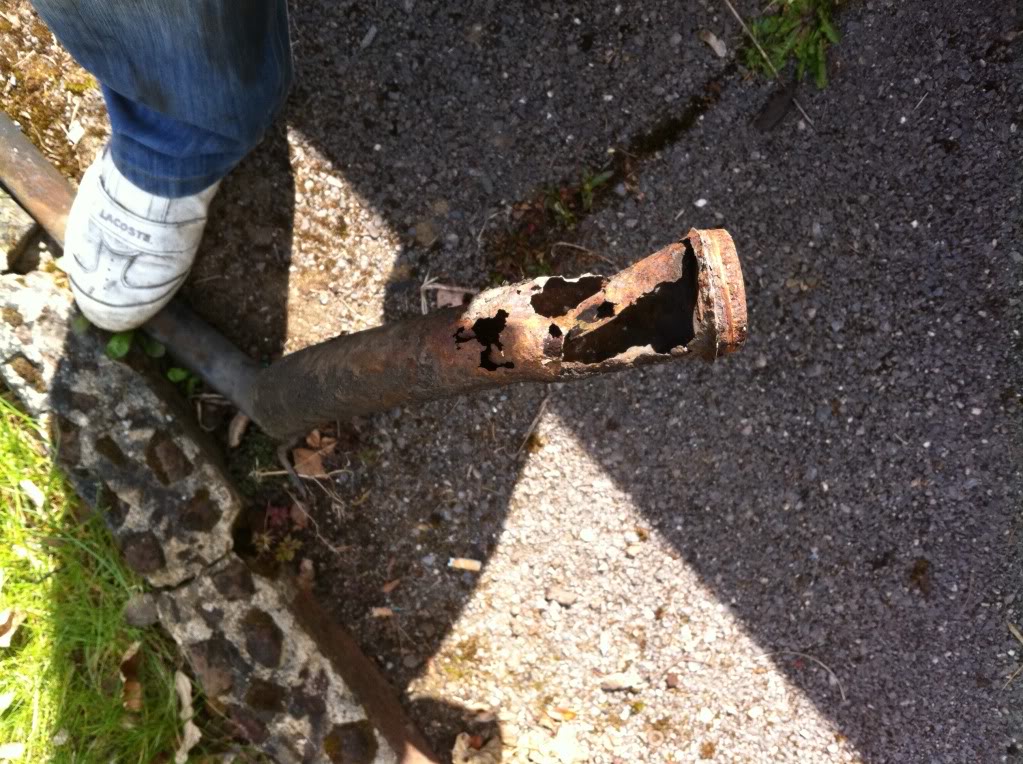
new ptrol tank and filler neck. Easier job than I thought.
The petrol tank was shagged so I finally got my butt into gear and changed it. Really wasnt as big as job as I thought. Filler neck was a piece of cake. Instead of screwing the new one in I used pop rivets and its so much better fit now.
Apart from that just little jobs here and there, fed an ariel cable from the beesting as it didnt have one, fitted some resistors to get the indicators flashing right, greased up all window regs so they now open and close with ease……..little but important bits.
Pics of tank change:
Get car nice and High!


Then just do it!

Old and new:
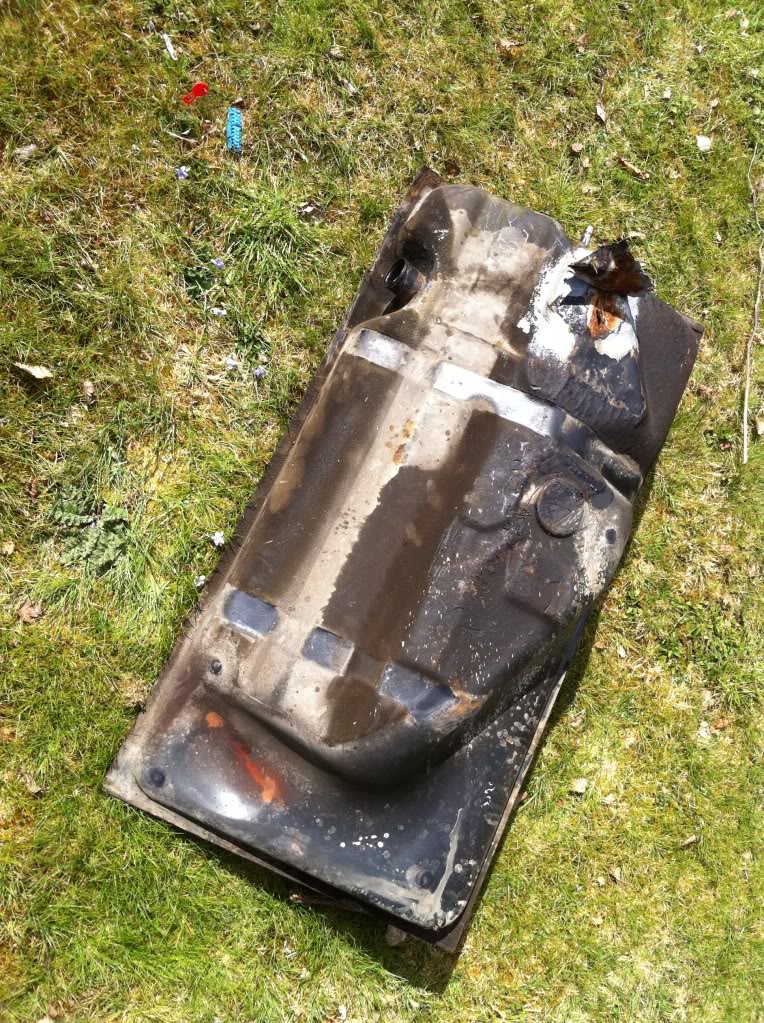

Old tank is still here so if someone wants it for free to repair let me know.
This weekend in new front discs and pads. Need to source some nice floor sound deadening that is cheap. Was going to 3-m the whole thing but the stuffs heavy and expensive so thats just gonna be for the door panels and bulk head. Think I'll find a fibre/foam type for the floor.
It will be road worthy by summer…..i hope. lol
Posted
Settled In
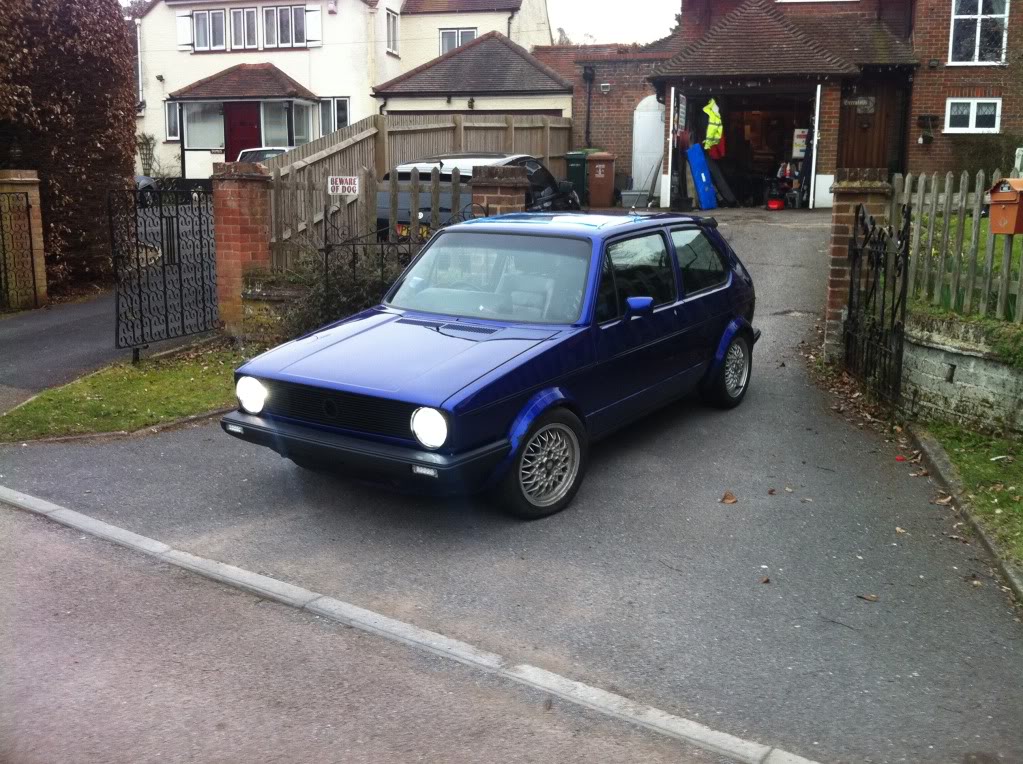
Big Update and now just 2 jobs for MOT !
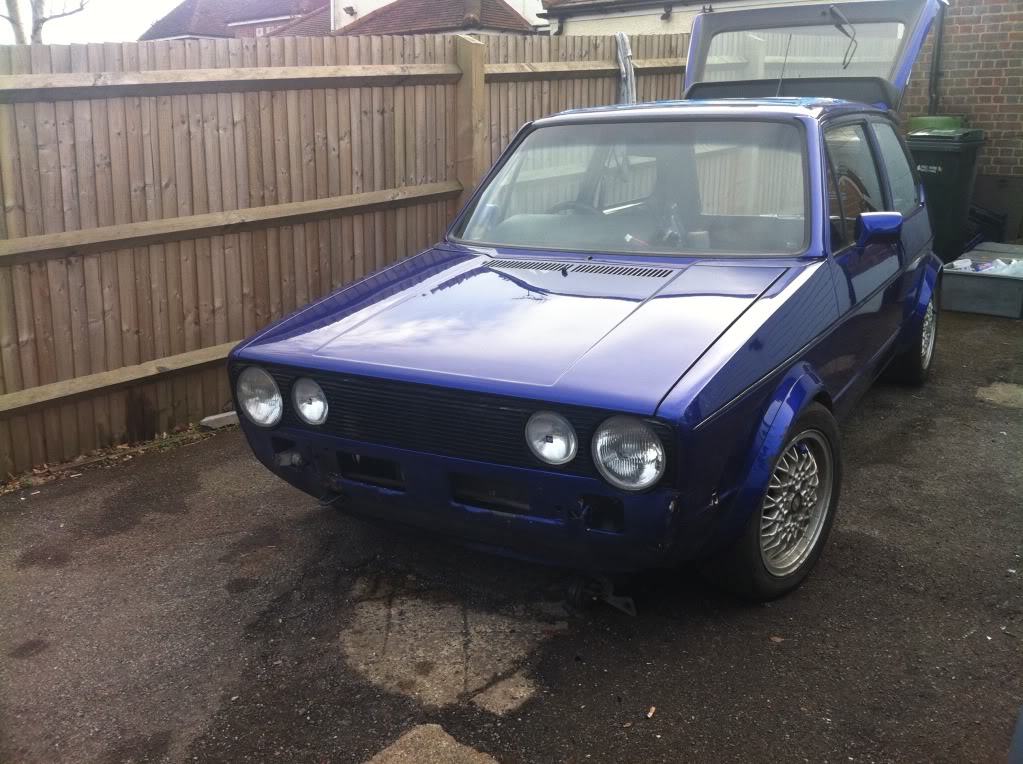
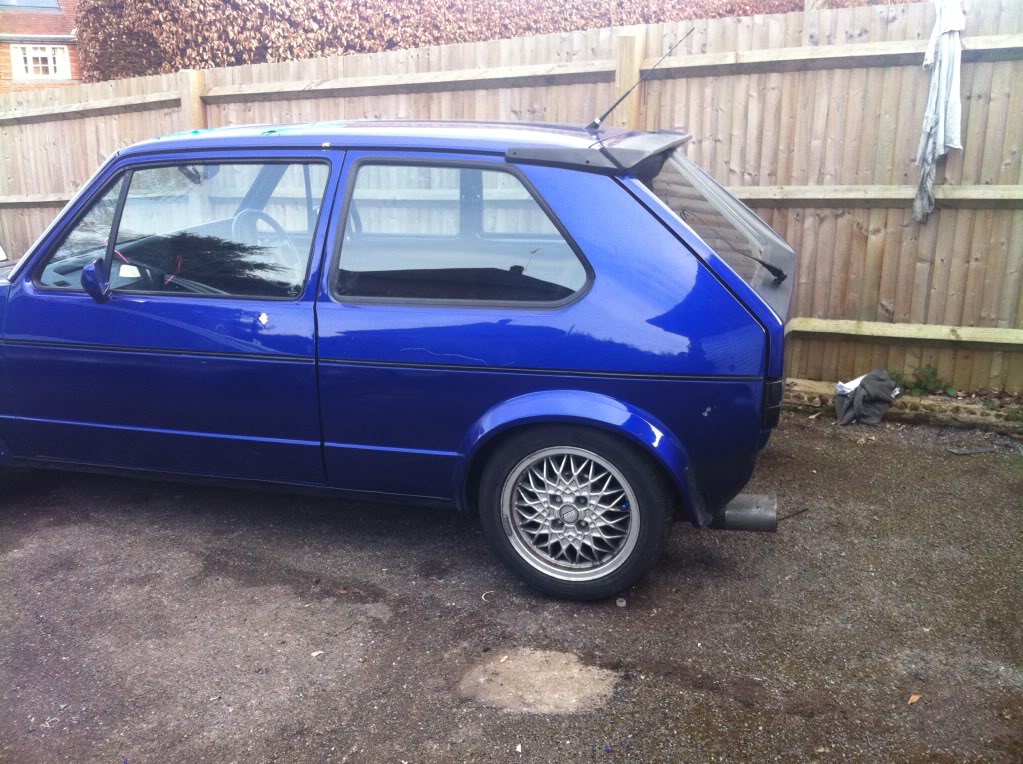
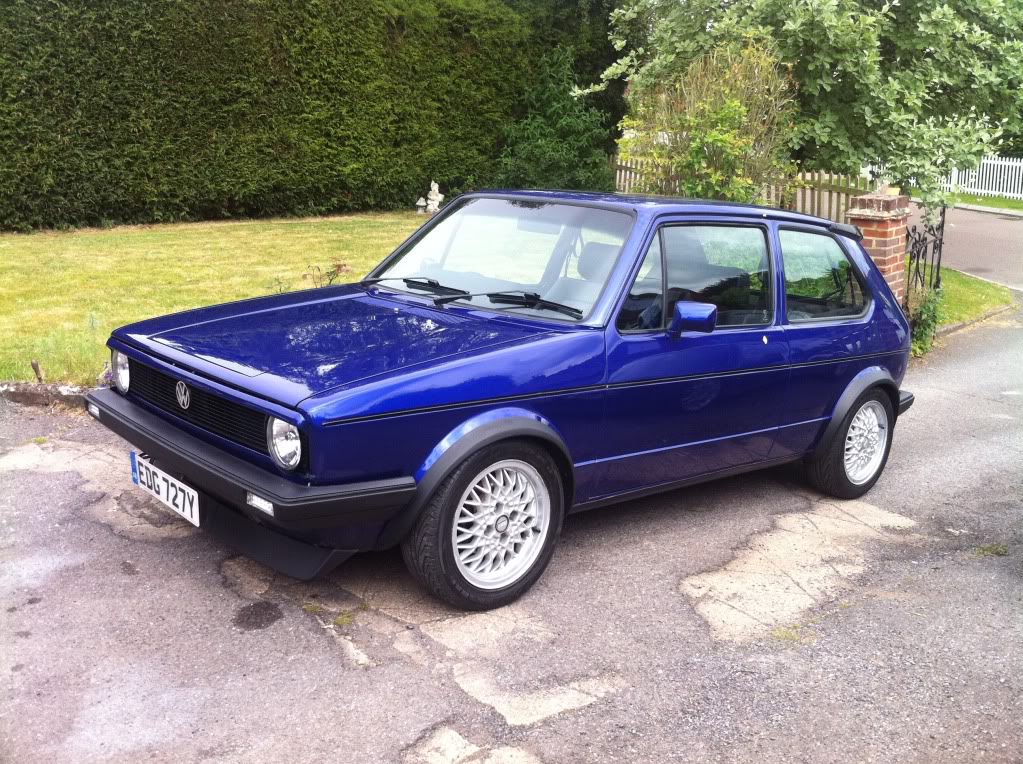
I am terrible at taking pics all the time and keeping this thread up to date. So this is a fairly big update. The list of new parts has gone through the roof! To much to remember. But shes back together, looks great (imo lol) and now just needs a passenger door handle and boot lock fitting to pass the MOT. These rules changed in Jan 2012 and I dont mind to be fair as the "de-handled" look isnt really me.
The rest of it is 100% so the MOT tester reckoned. Brakes are great, emmissions, etc etc. he even said what a good beam pattern I got with the HID's?? which I was sure it would fail on and have to revert to standard bulbs. Any ways here she is:


Used 50mm celotex to make boot floor level. worked a treat.


New sound deadening throughout. Has worked really well and given nice undercarpet feel.


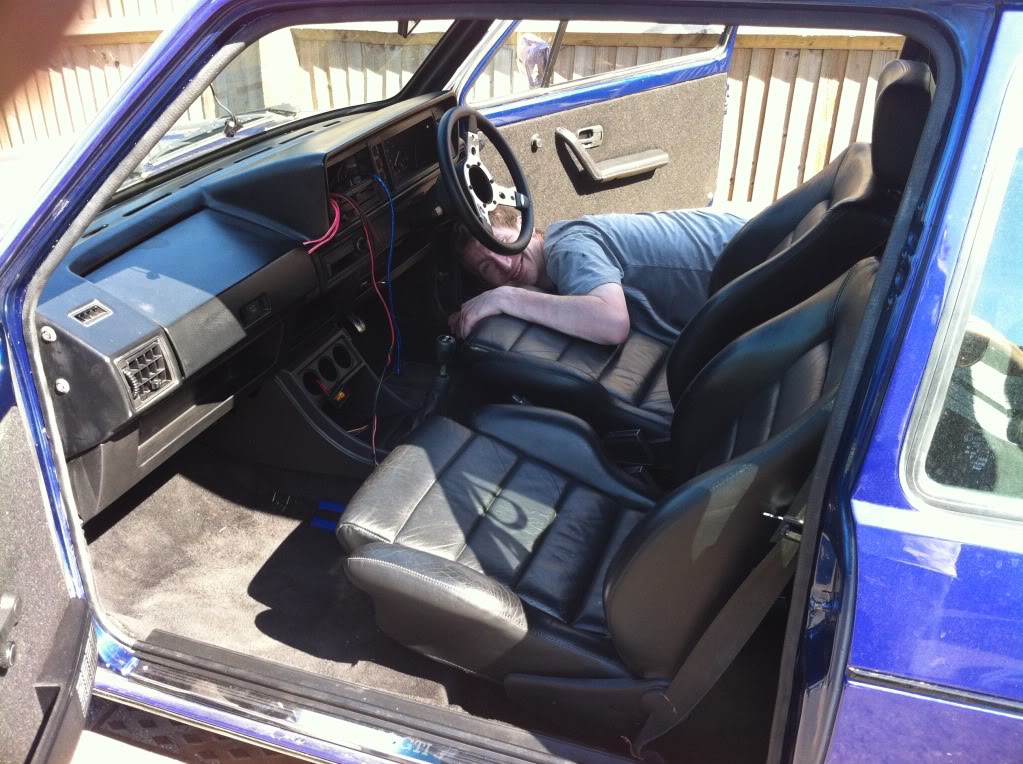
My mate tinkering with the front drivers seat.
Cleaned up and looking good. Mot was booked and car insured so took it the long way to MOT station. Drove great, carbs made all the right noises and it turned heads like nobodies business. Finally a very happy man. lol

Once its Mot'ed and I have blown in the passenger side paint and stereo fitted I will get some more pics up. Amazing difference from what i started with though.
0 guests and 0 members have just viewed this: None.