


Mk1 GTI Cabby.The Project So Far... NOW SOLD :( !

Posted
#1129827
(In Topic #135089)

Settled In

Mk1 GTI Cabby.The Project So Far... NOW SOLD :( !
Had a MK1 driver over 10 years ago and fancied another MK1 to get stuck in to.
Originally I planned to get a solid car with the potential to tweek and make 'nice' but I've remembered how addictive these cars can be!
Anyway….this is what I ended up with:
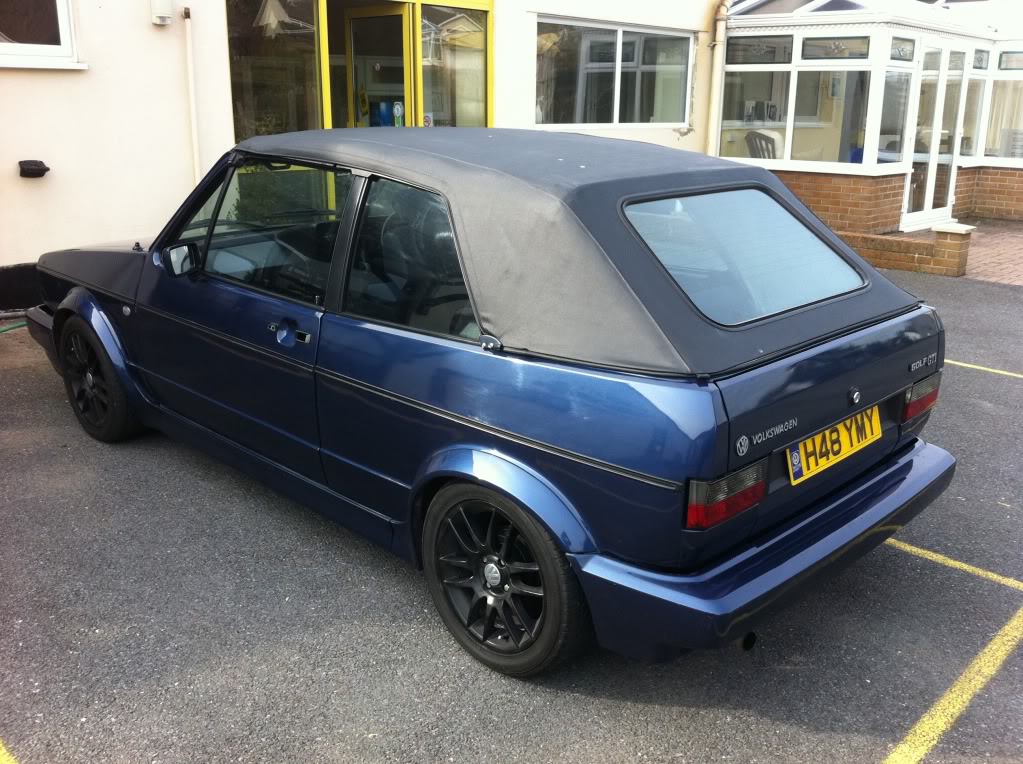
Mk 1 Golf Gti Cabby - clutch on it's way out - running like a bag of nails - but potential I thought!

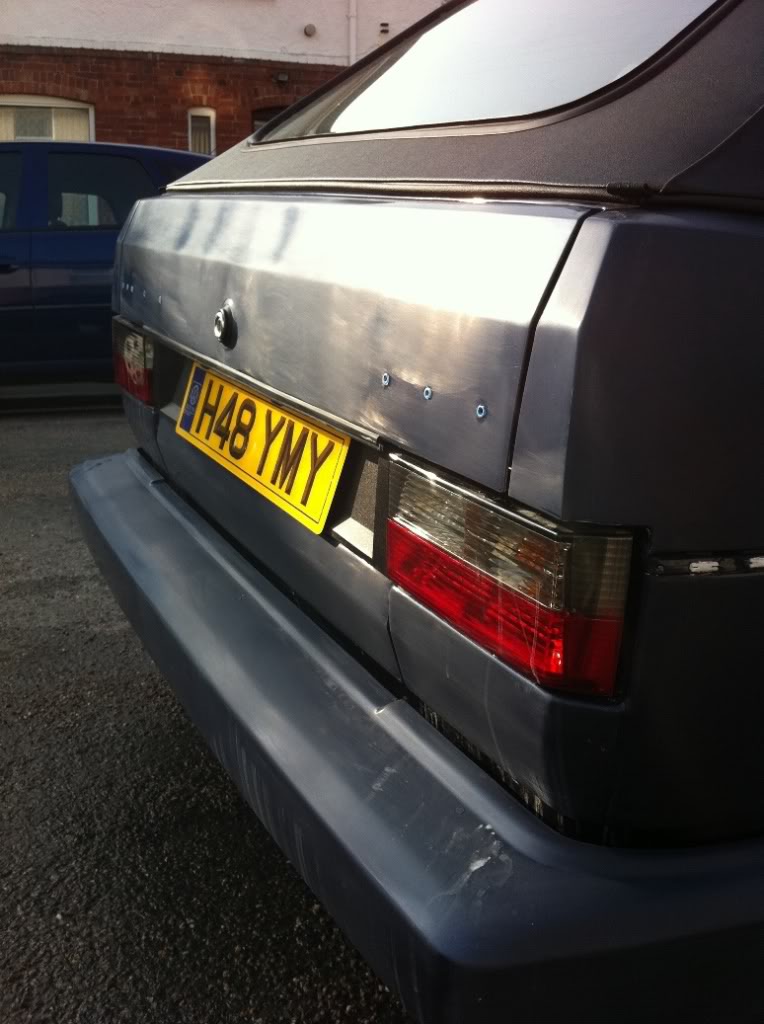
The golf had had a spray job done quite recently and wasn't the best. It was quite flat and orange peely so decided to flat it back followed by a machine polish.
P1200 & P2000, lots of soap and water. What had I started! Wouldn't recommend this if you haven't got patience.
The flatting begins…
Took me a week solid to do the whole car but looked good in the end.
HOWEVER…I got a bit over ambitious with the machine polisher and ended up with very thin paint on some of the sharp edges…bugger!
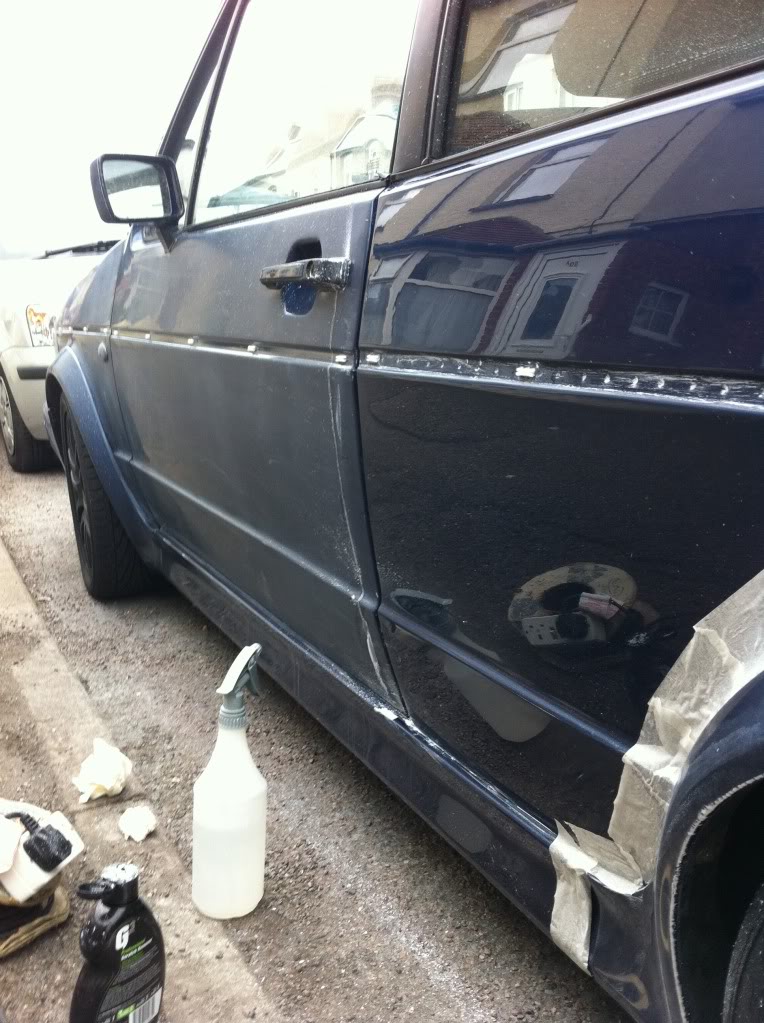
Still, the car was lookling much better than it did!
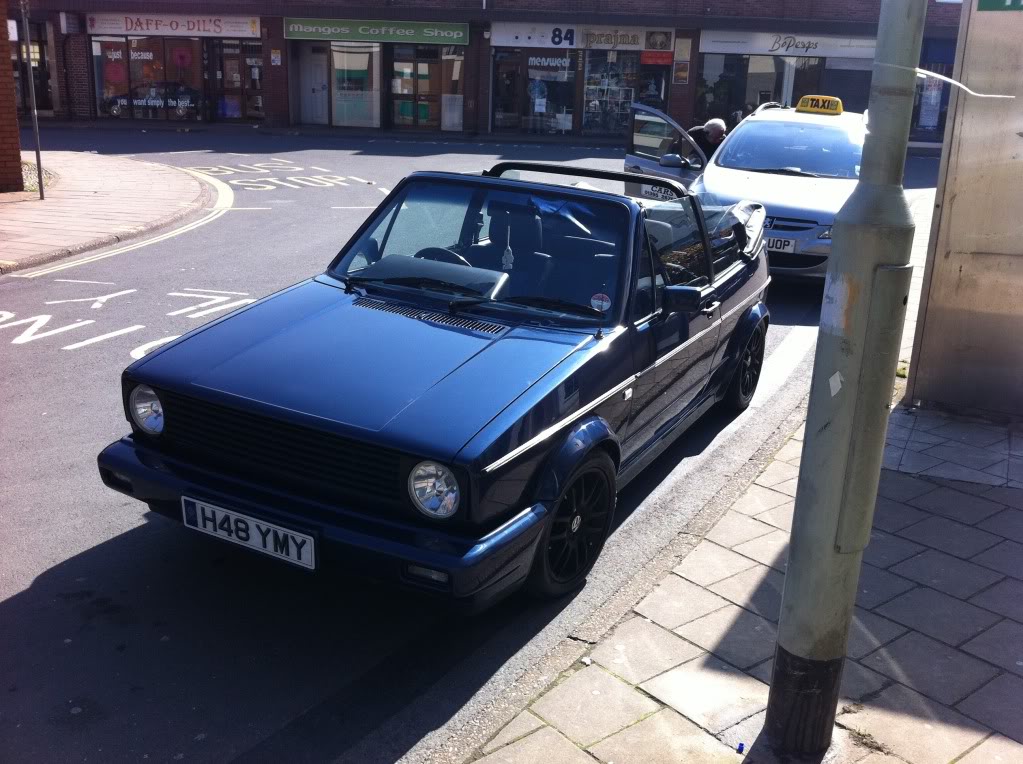
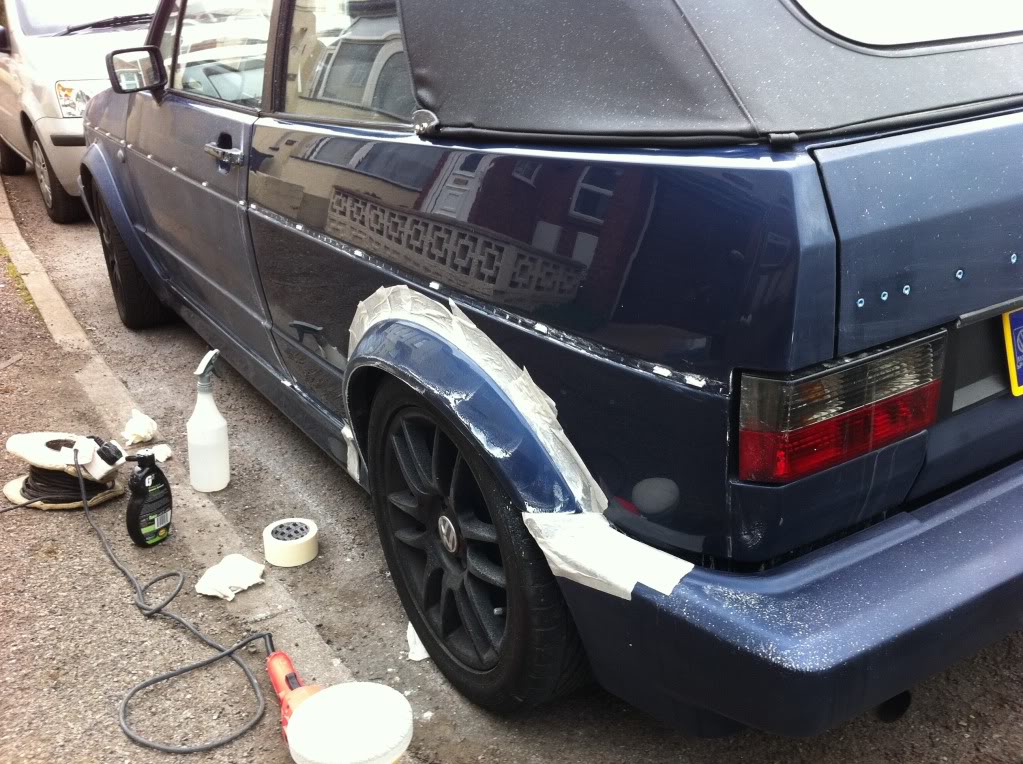
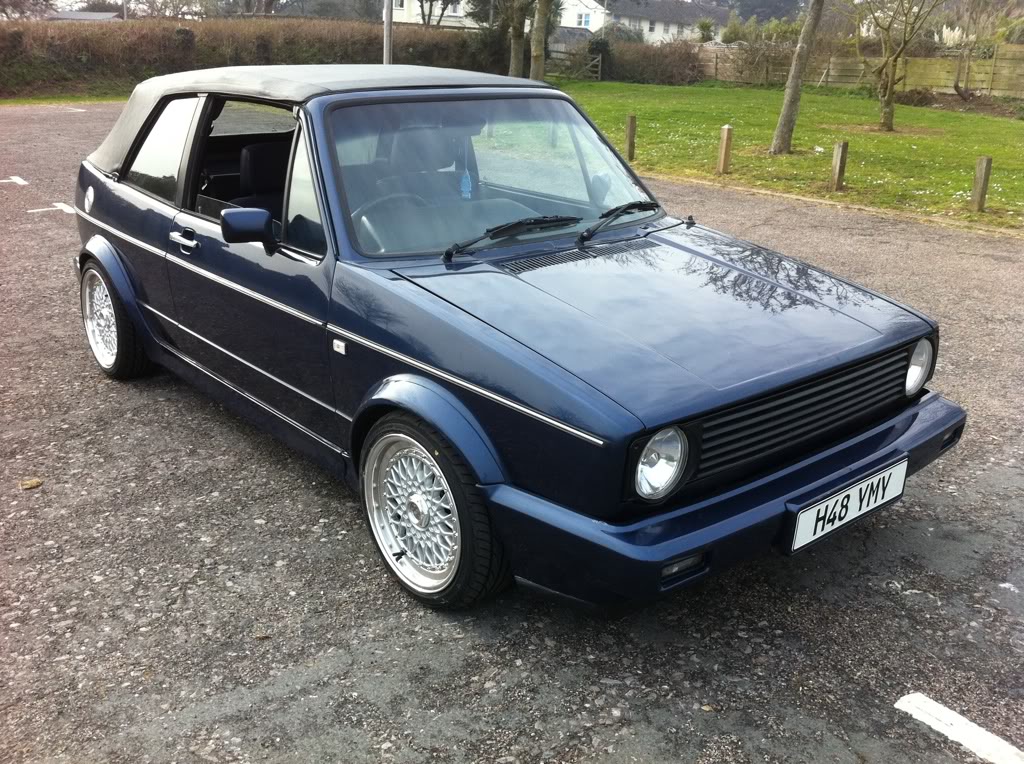
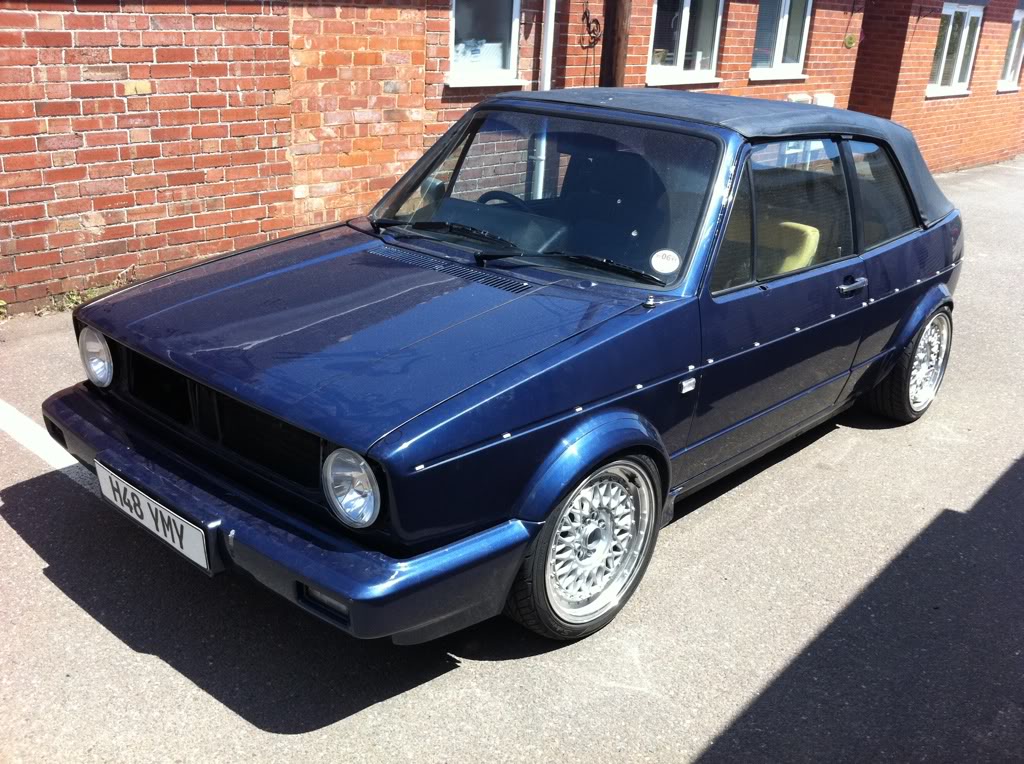
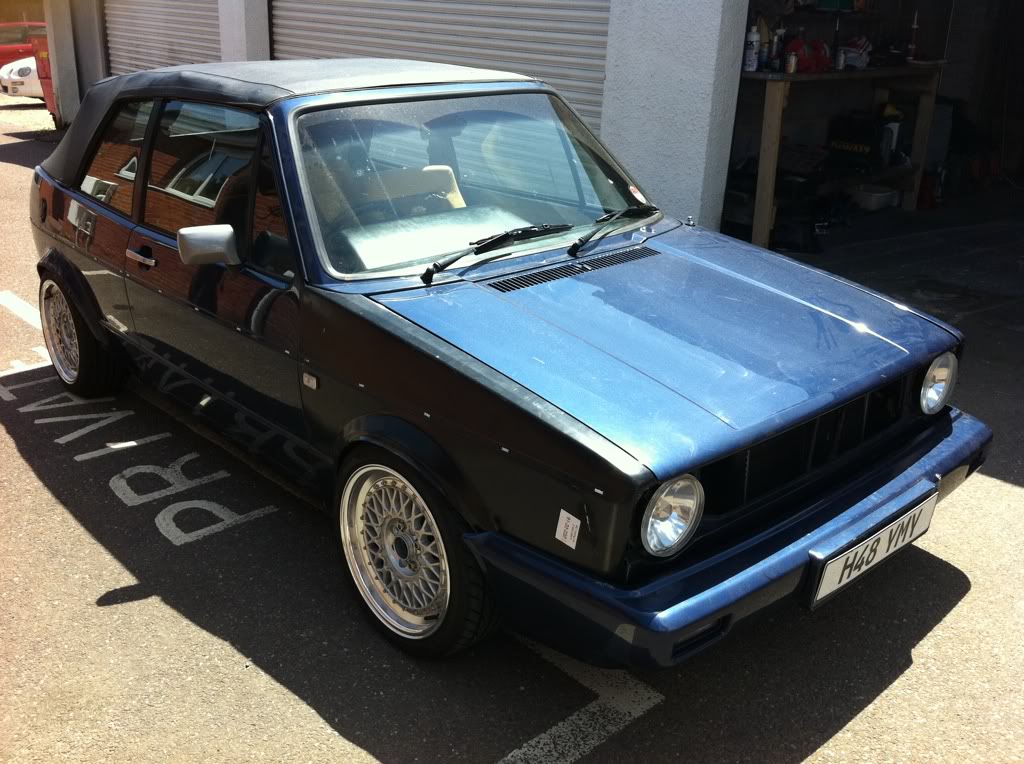
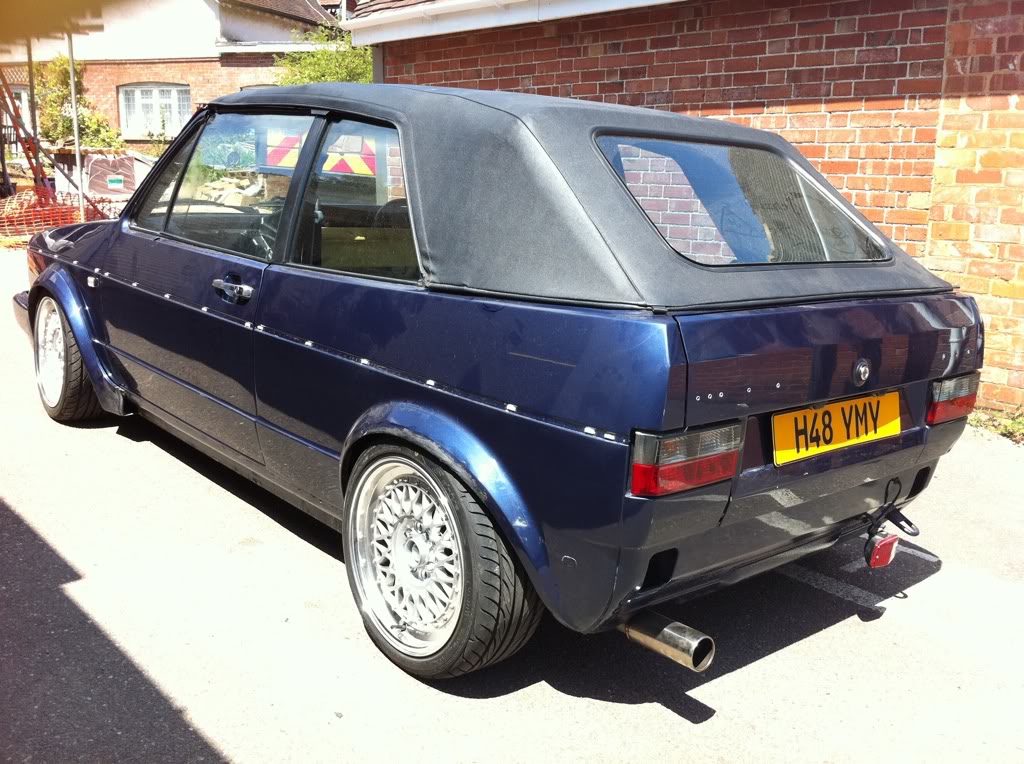
With the car looking better, it was time for the wheels as I wasn't keen on the black rims.
Really wanted to put 16's on it and after much input from fellow members on this great forum I chose some Lenso BSX (195/40/16) ET34.
Went to Top Gear in Bridport who were amazing! Great service and they did everything they could to get the wheels on and looking right.
In the end we put 10mm spacers on the front (to clear the calipers) and 20mm spacers on the rear to beef the stance out.
The car already had coilovers which was a bonus, so I adjusted the ride height and rolled the wheel arches to stop any rubbing.
What a difference it made.
At the same time I added some chrome trim inserts to the plain black side trims to try to lift the cars 'dark' appearance. Rather than spend �60 + on VW chrome trims I bought some 8mm chrome trim insert from EBAY (�20) which fitted perfectly into the groove of my existing trim. Looks factory and made a big difference I think.
Added a chrome filler cap and new German number plates.
The result so far:
Had the car booked in for a service next. Speedo had stopped working. Clutch was on it's last legs and was really difficult to get into gear.
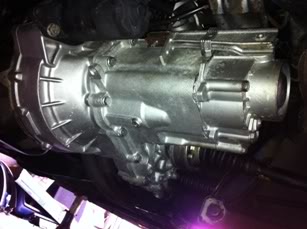
On the way to the garage the gearbox went completely leaving my transmission fluid on the drive! That explained the speedo stopping working too.
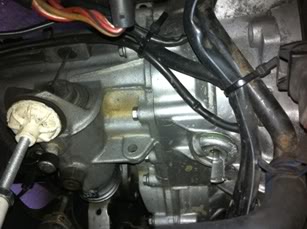
New gearbox it was…�700 later and a nice reconditioned unit was fitted.
Nice shiny new gearbox!
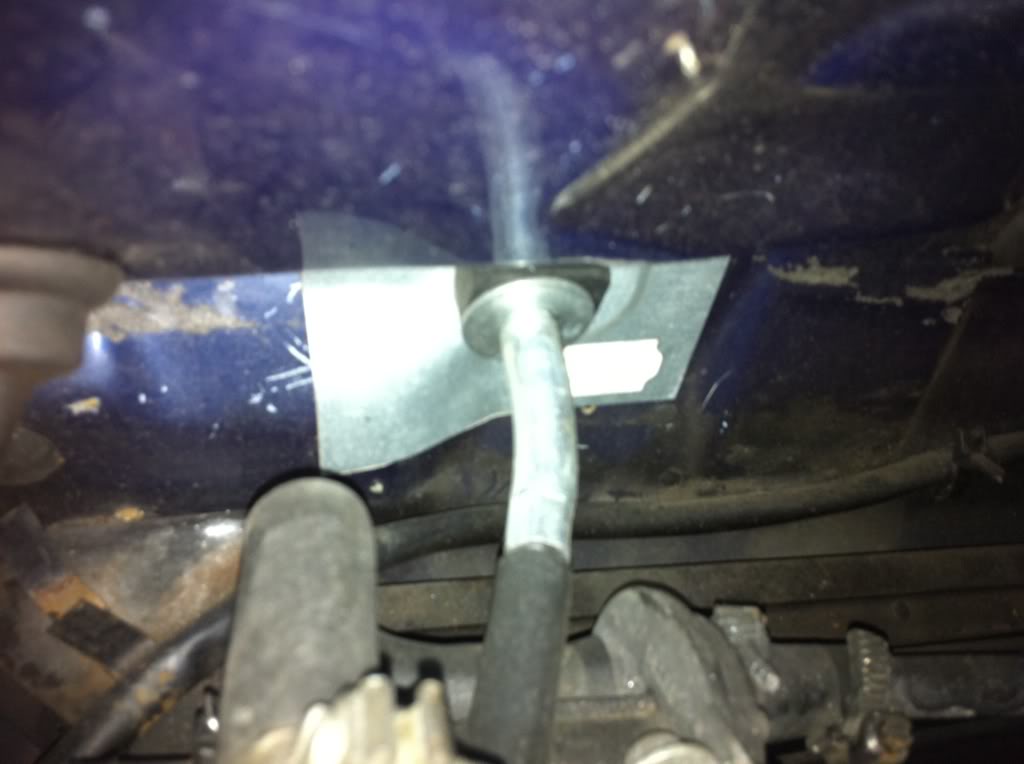
The clutch was ok but the usual story of it pulling through the bulhead was making it tough to use. Fitted a bulhead repair patch (�15 EBay) for the time being, although I'll get it welded in and painted when I tackle the engine bay.
Bulkhead repair plate in place:
I had the garage do the cambelt and give the car a service while it was in. Leads, plugs, oil, new distributor etc (the old distributor was almost melted inside) Could have explained the poor running.
At last… the car was running sweet, sounded nice and solid and went like a rocket (fast enough for me anyway!)
I had plans for the interior and a decent sound system next but was fed up with doing all the work outside my Mum's house on the main road. Took me about an hour to unpack my tools, then pack them up again everytime I wanted to do anything…what a ball ache!
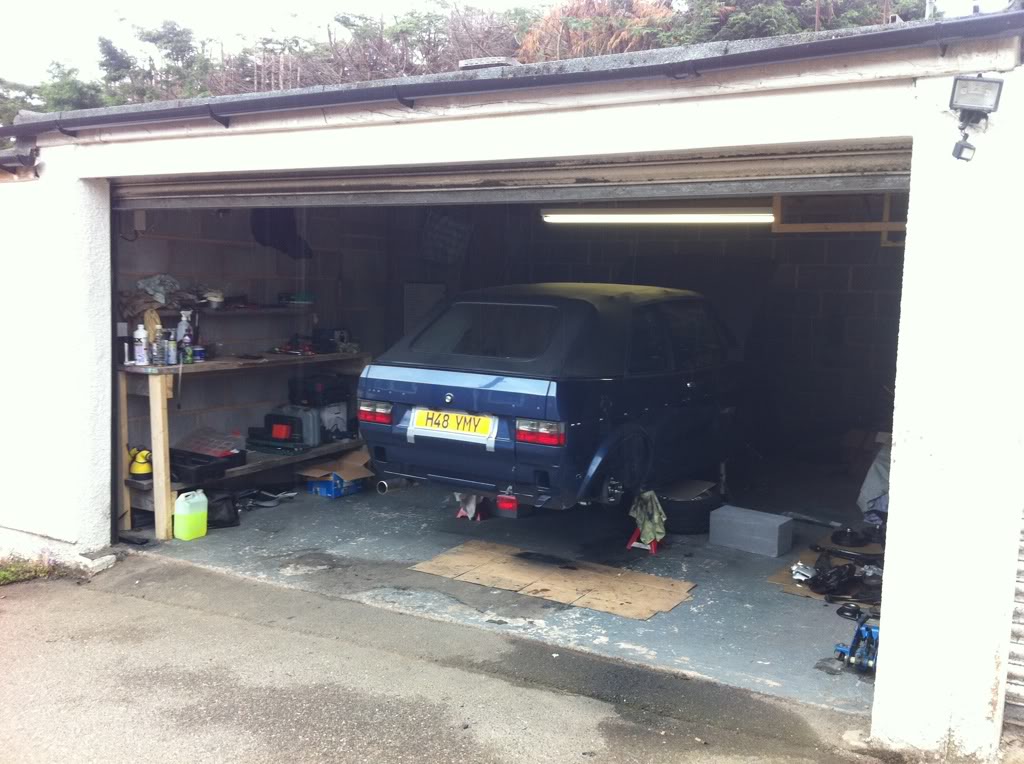
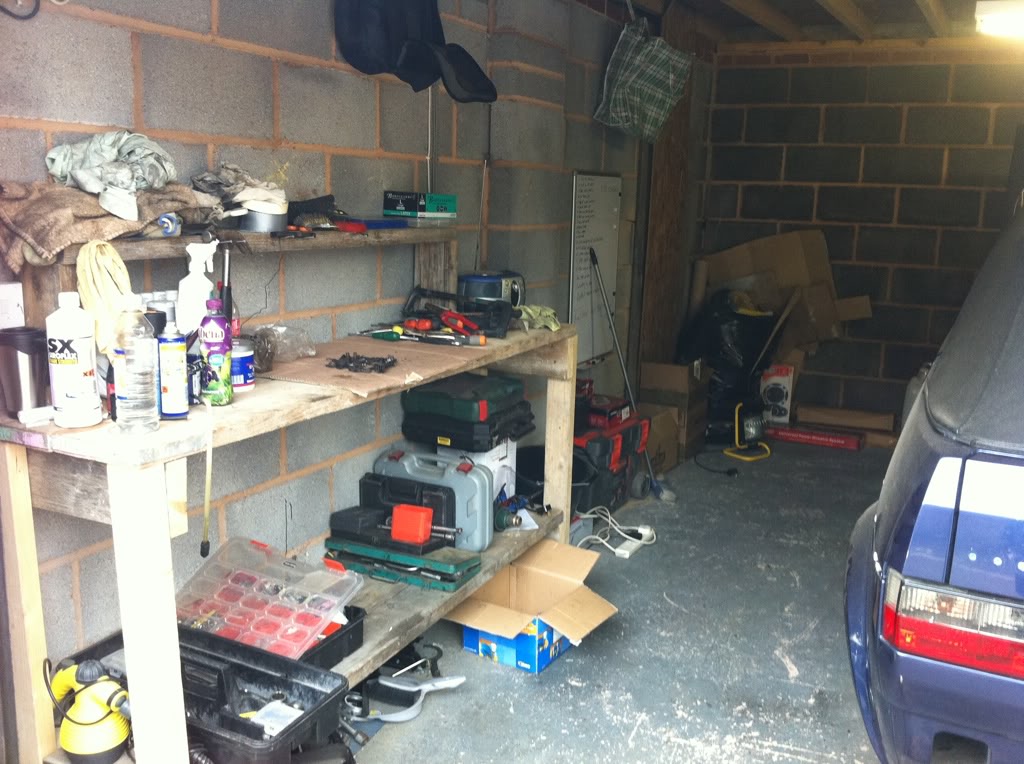
Time for a garage. Found a double garage with electric, Perfect… now I could get stuck in!
This is my garage. Originally looking for a single but glad I ended up with a double, would have been a squeeze to work in.
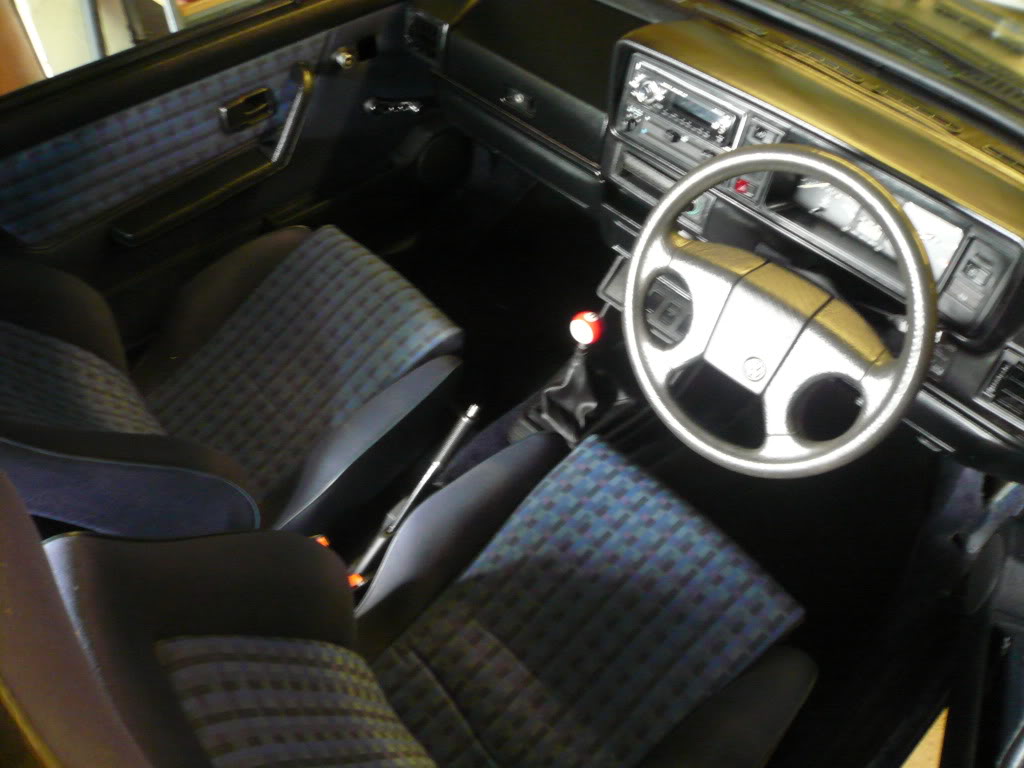
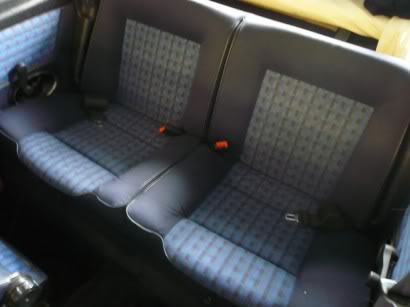
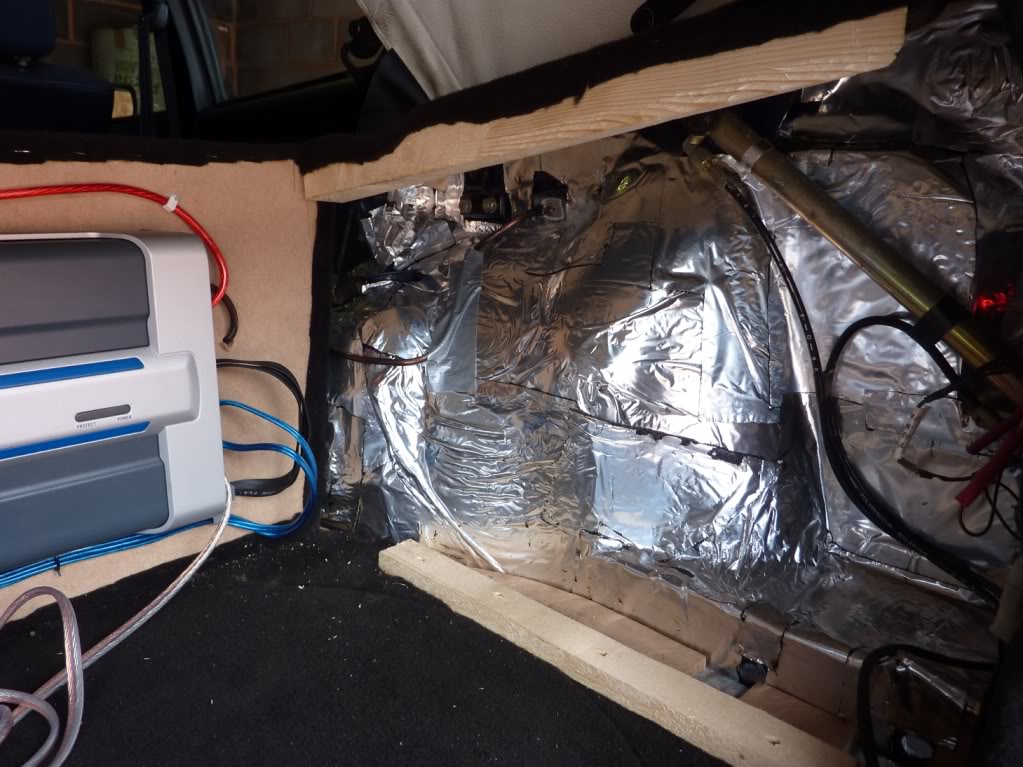
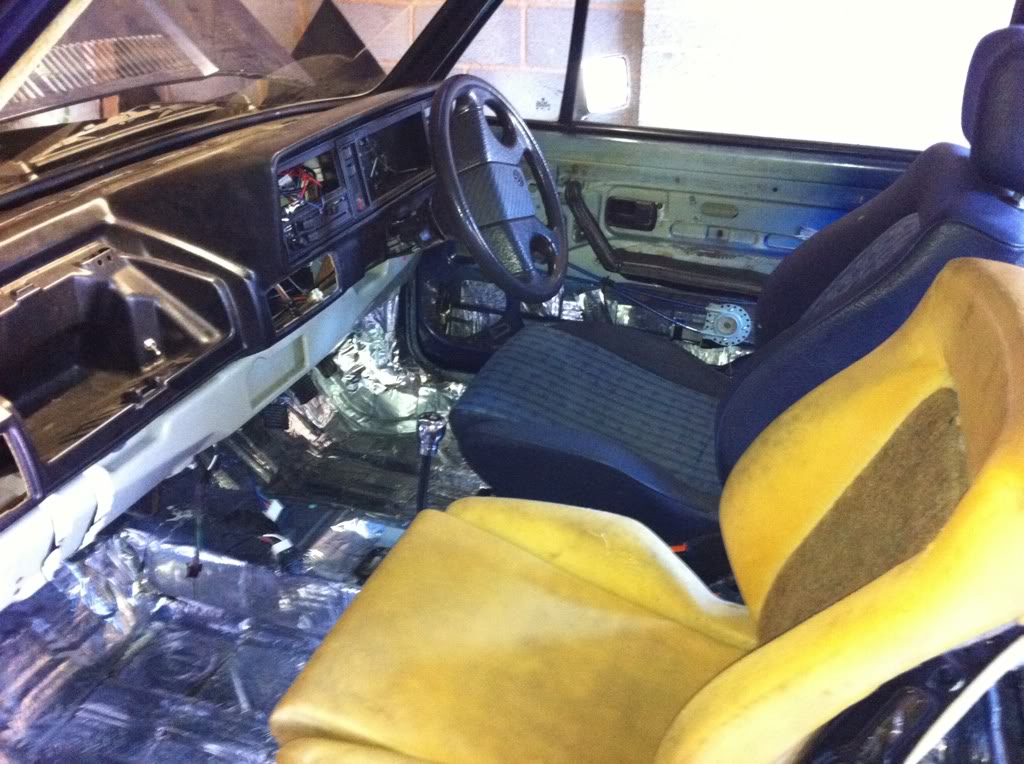
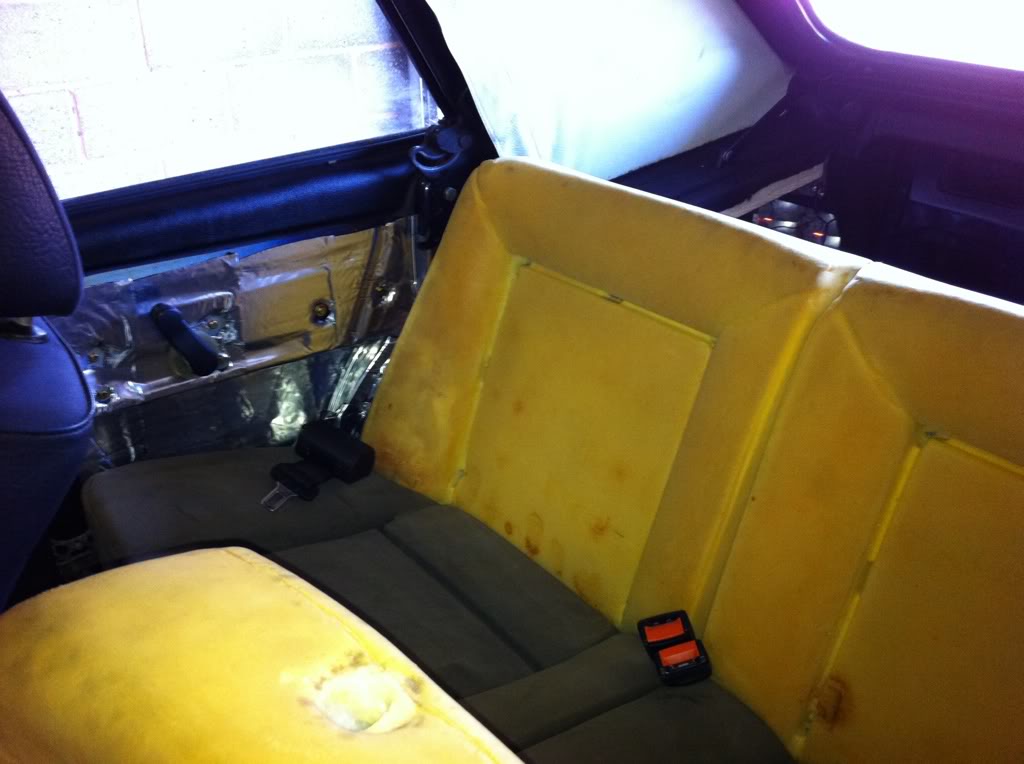
1st plan was to change the interior. Although good condition I fancied putting in leather which should be here tomorrow. I started by stripping out the interior and putting the sound deadening in.
Original interior…
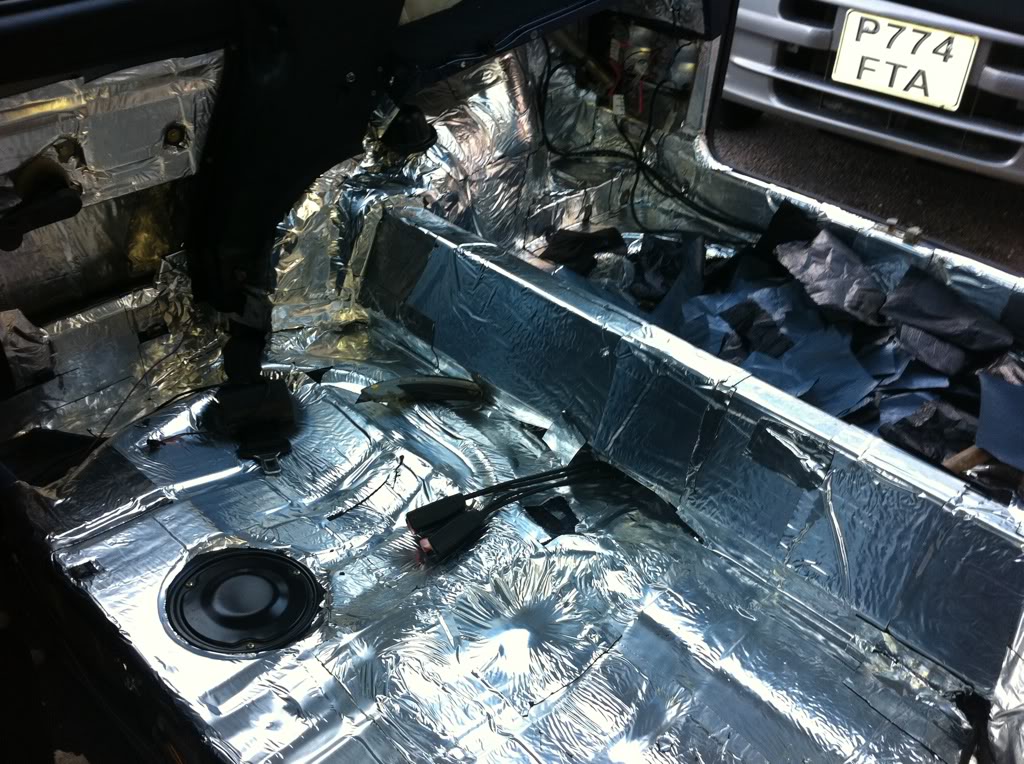
Stripped…and sound proofing begins…
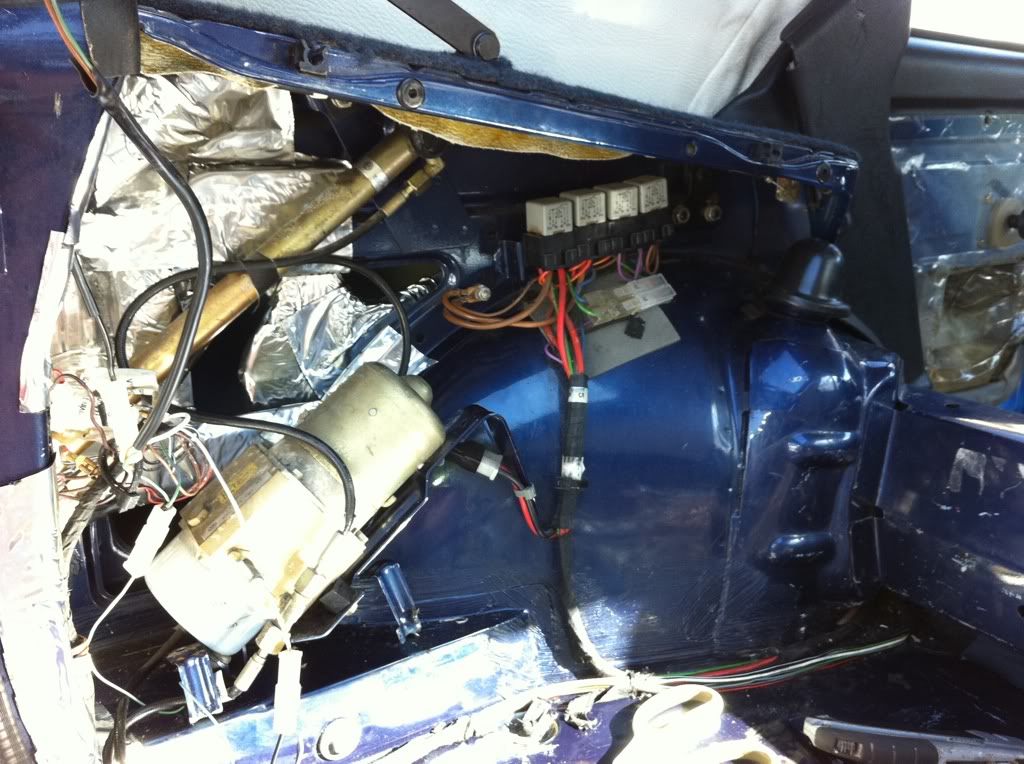
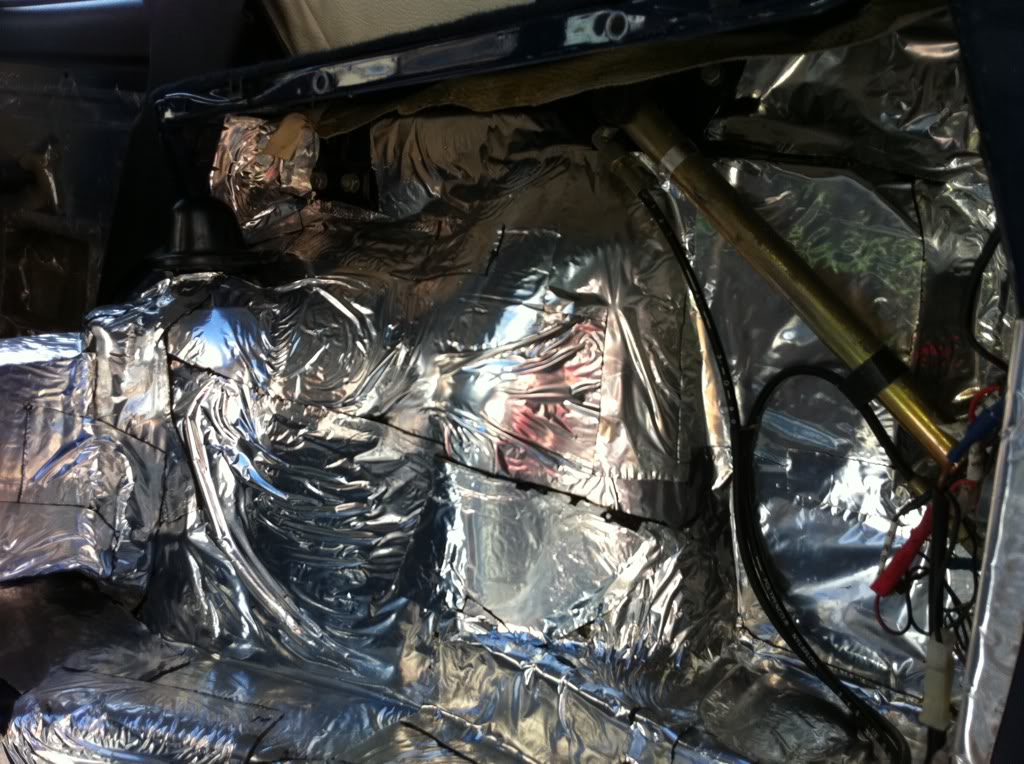

With the soundproofing nearly finished I decided to take the dash out so I could get up behind with the soundproofing. I also wanted to fit an alarm, electric windows, central locking and a mk2 dash (my Mfa didn't want to work even though I'd tried everything to get it going!)
Dash in…
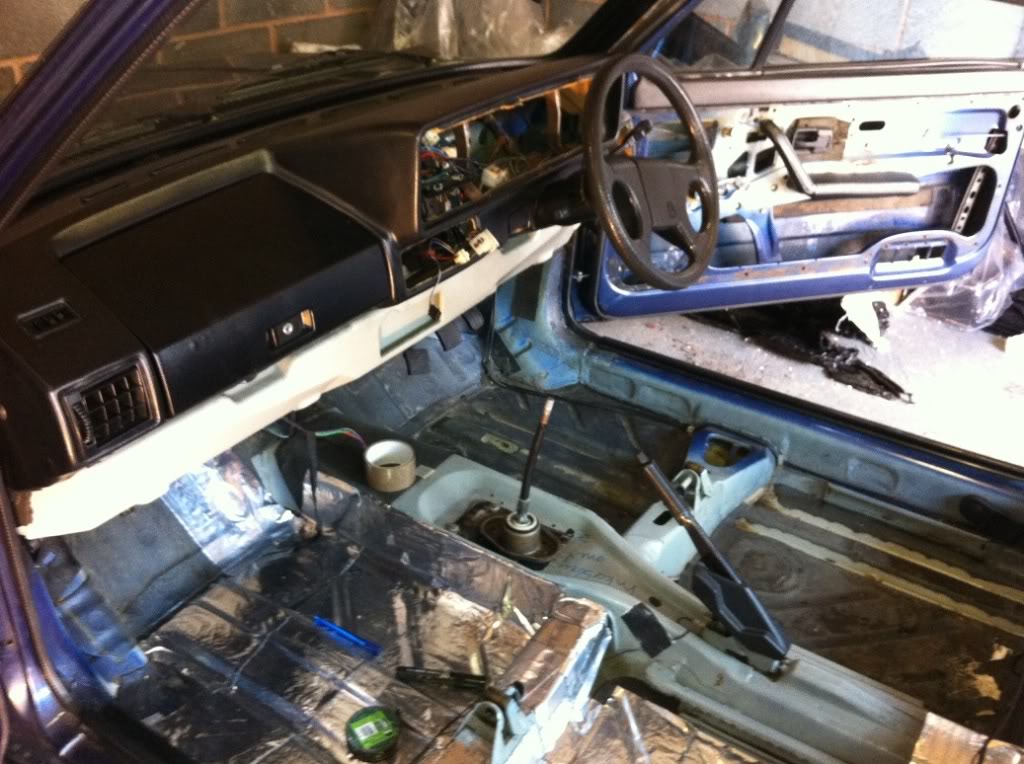
Dash out…

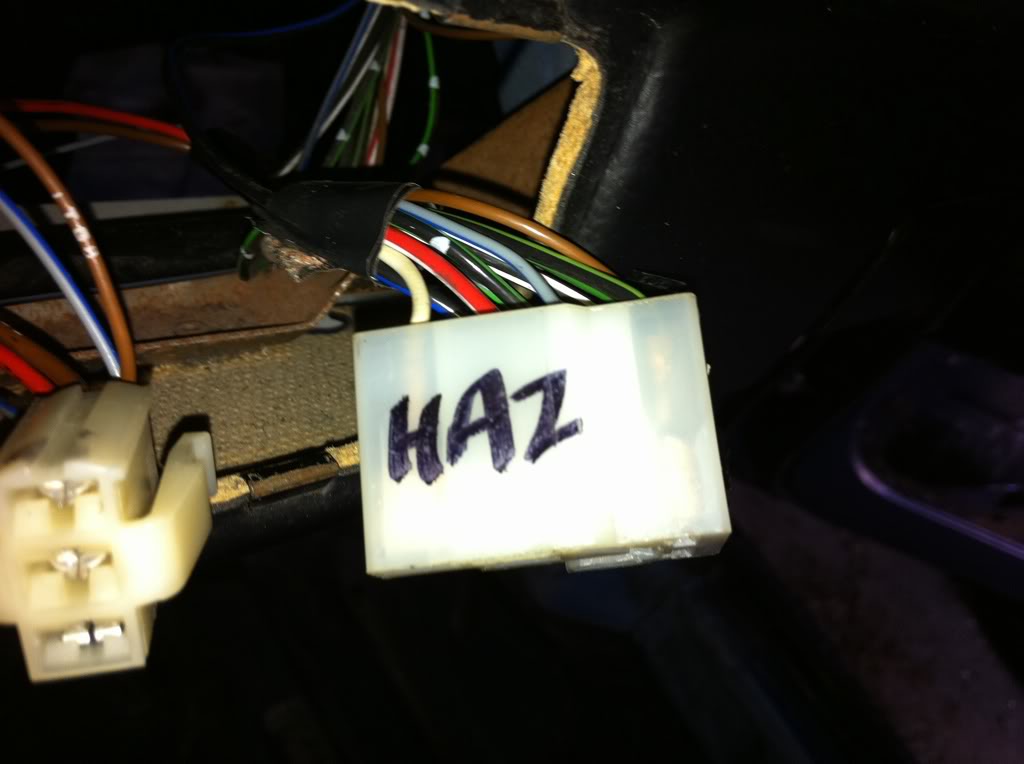
Labelled the plugs when I took the dash out to help when it goes back together.
Next for the boot build. Not going for anything massive in terms of stereo system. Just Want good sound and the install to look as factory as possible.
Decided on jbl comopnents up front, jbl 6x9's in the rear quarters and jbl 10" gti sub in the boot. All powered by an infinity reference 5 channel amp.
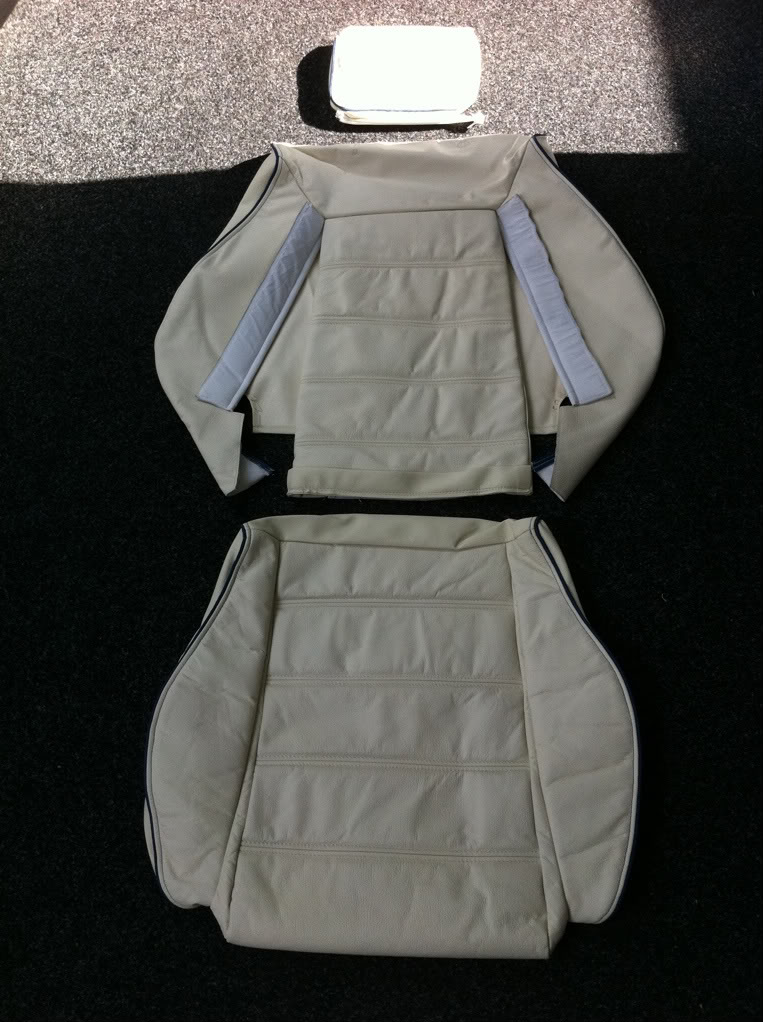
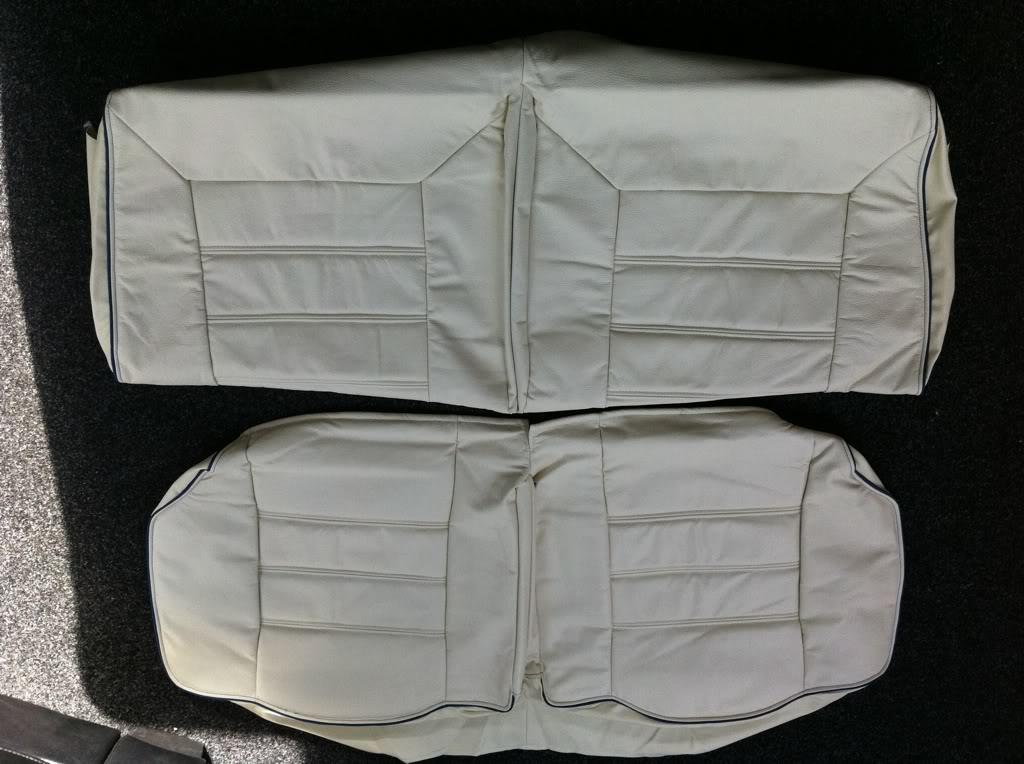
New leather arrived today!! Looks great but that'll be the last thing I tackle….
On with the boot install.
Mk1 Gti Cabby project on the go! Detailed engine, roof off, leather interior, 16's, painted, now getting put back together!
http://www.vwgolfmk1.org.uk/modules.php?name=Forums&file=viewtopic&t=103263&start=0&postdays=0&postorder=asc
http://www.vwgolfmk1.org.uk/modules.php?name=Forums&file=viewtopic&t=103263&start=0&postdays=0&postorder=asc
Posted
Settled In
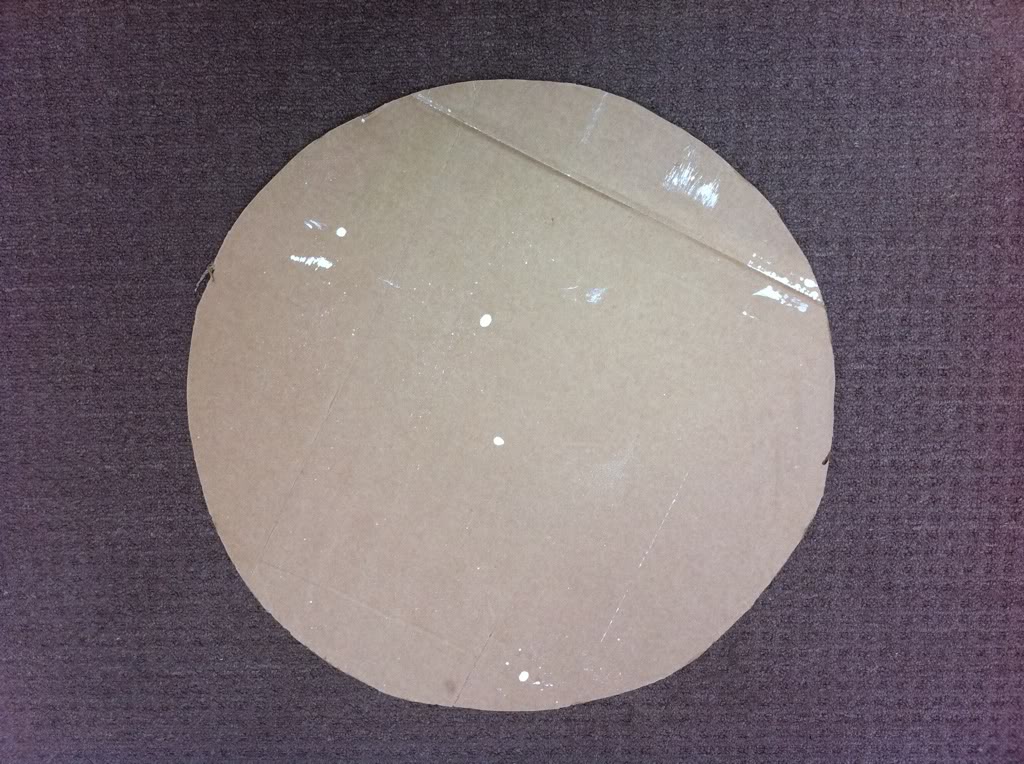
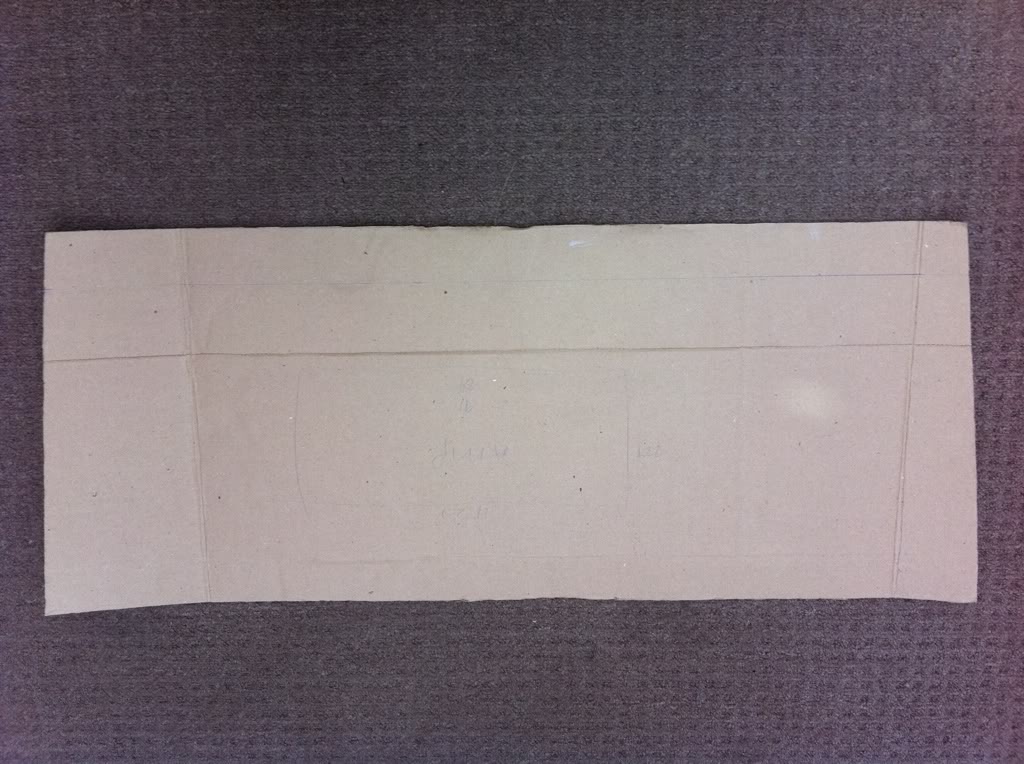
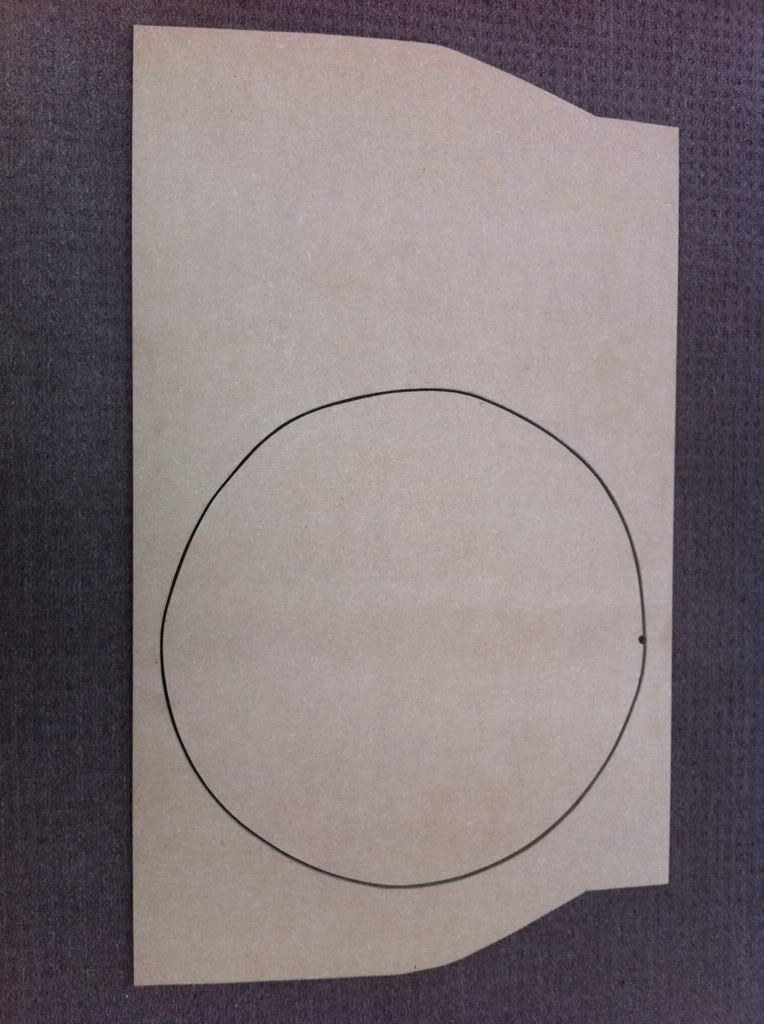
Used some cardboard to start as they could easily be trimmed down.
The idea
- False floor with access to my spare wheel if required
Amp rack on rear of seats with amp flush mounted (hidden wires)
False boot sides (easily removeable if I needed to get to the lights or roof mechansim)[/list:u]
Cardboard mock up
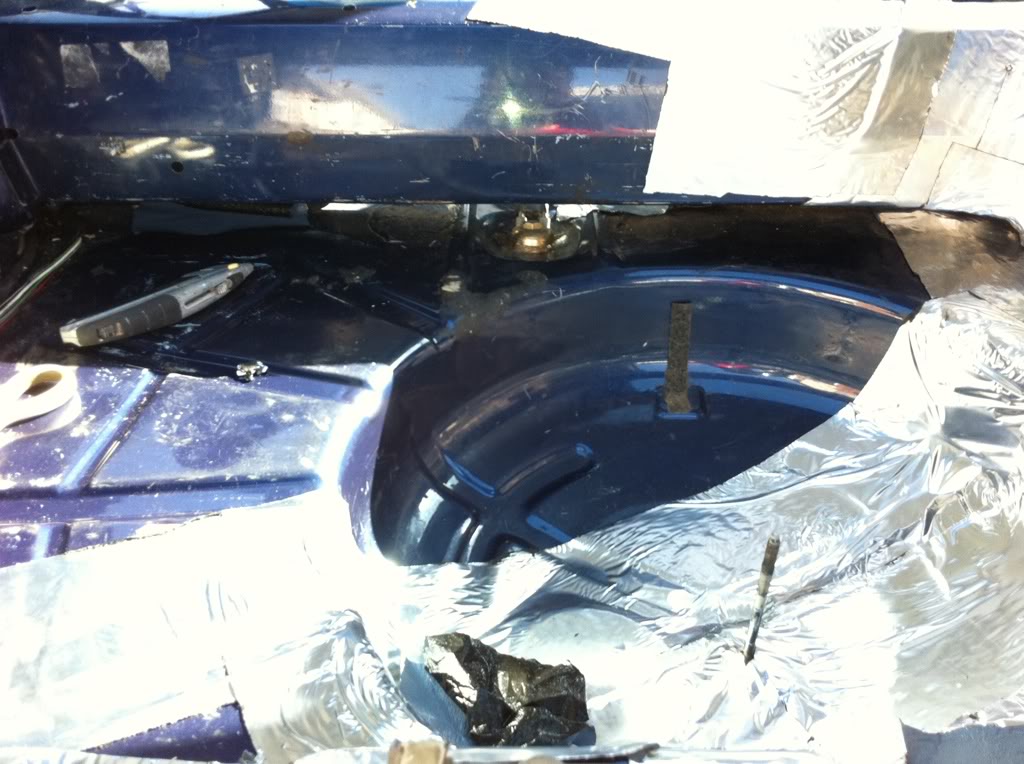
Boot floor with wheel well

Wheel well lid
Seat back for amp rack
Once I'd checked to see if the fit was ok I transferred these to MDF..they'd still need some trimming down.
Next I got the boot floor into position. Sat the floor on some carpet underlay to stop any rattling, bolted the floor down fitted the acoustic carpet. Next I started to mould the acoustic carpet into the wheel well. This took a while, but the acoustic carpet stretched niceley and bit by bit it moulded to the shape of the well. Sitting the wheel i and gently pushing down helped.
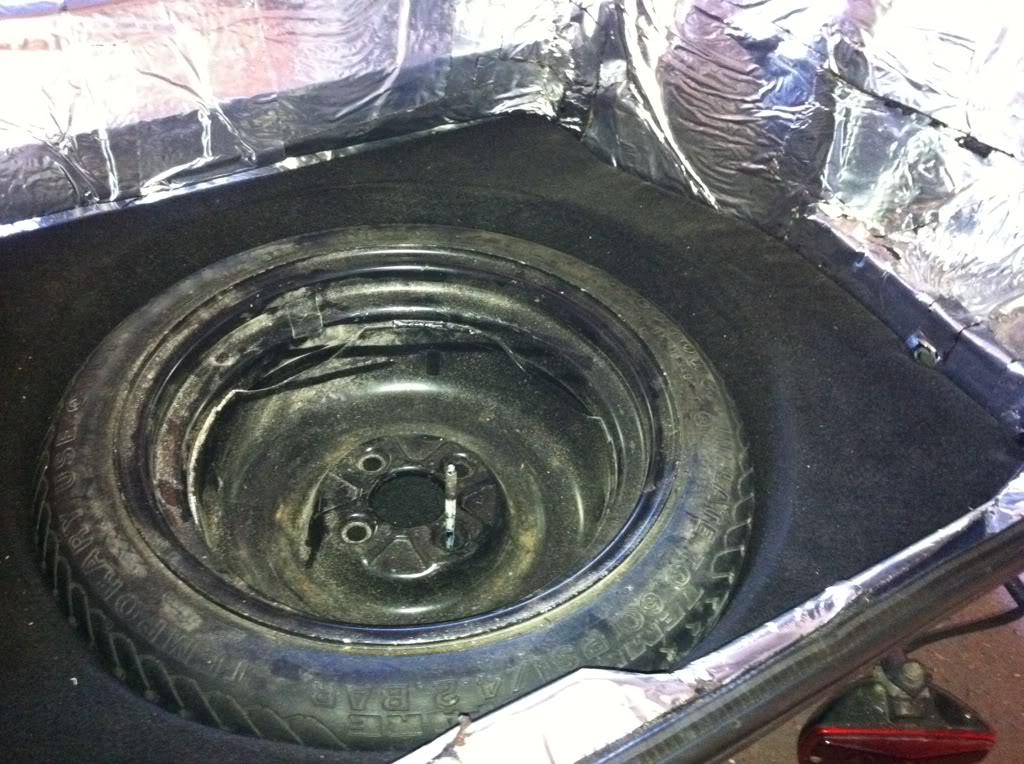
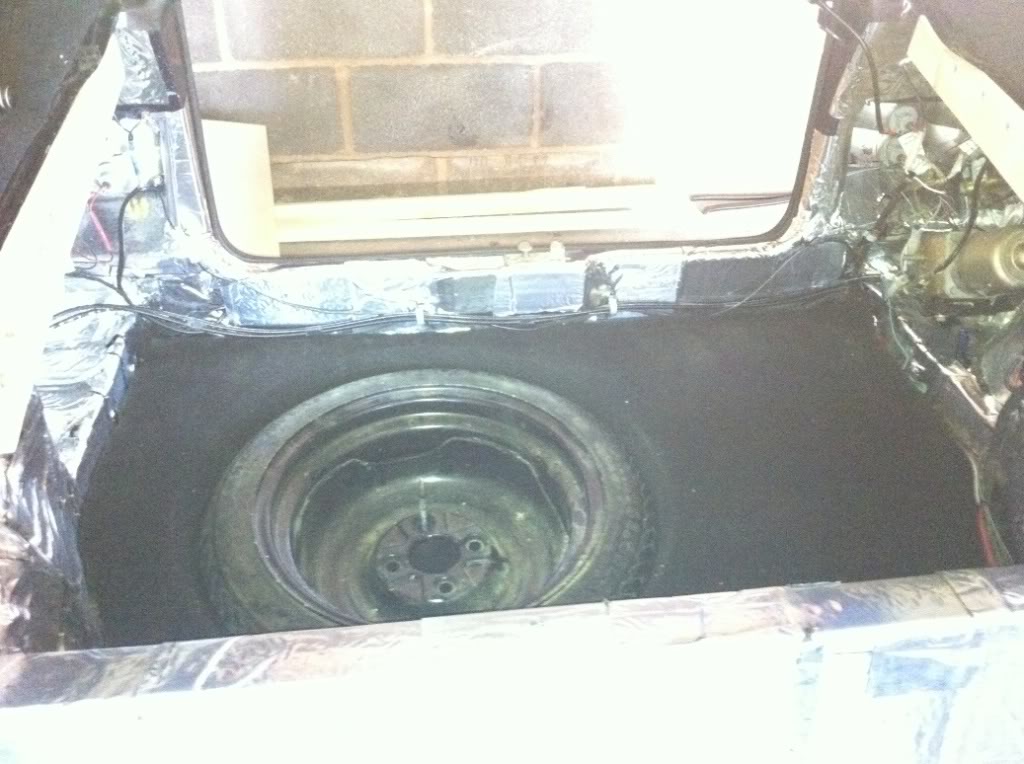
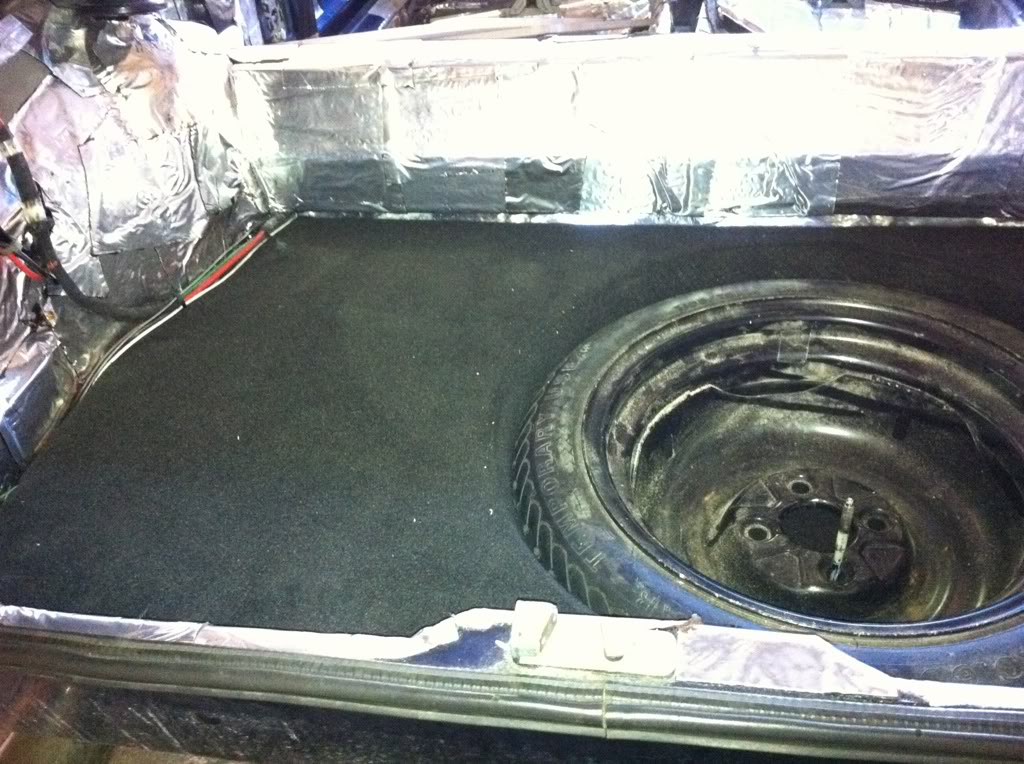
Wheel fitted nice so test fit the lid…
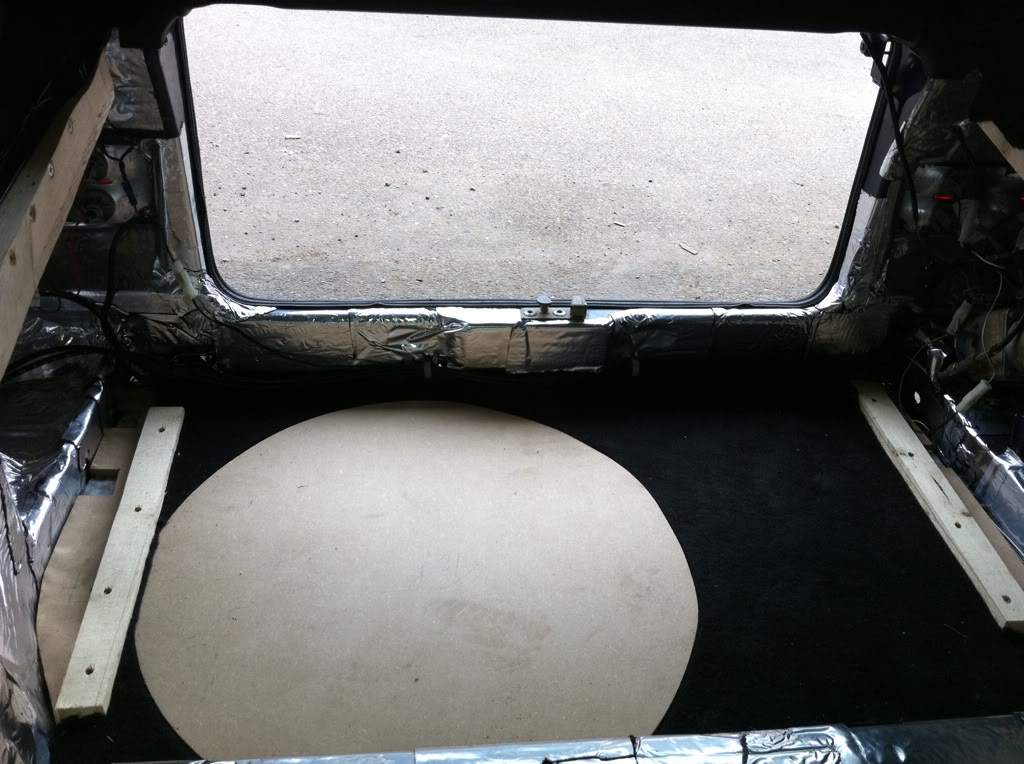
Little bit more trimming to allow for the thickness of the carpet and got a nice snug fit!
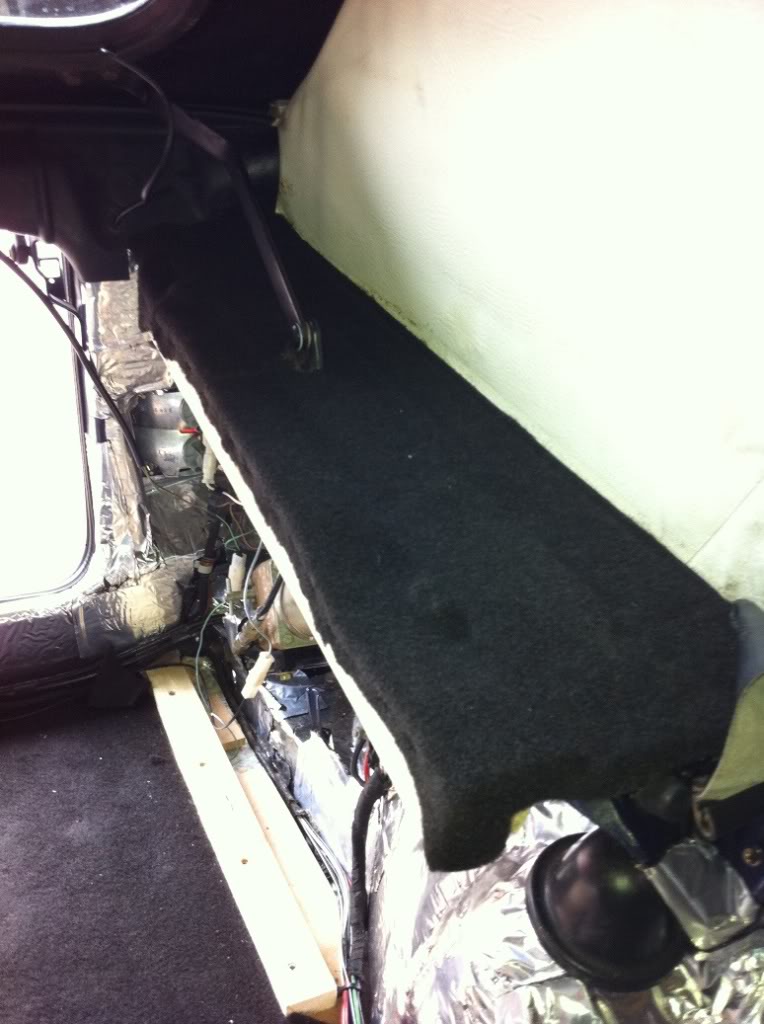
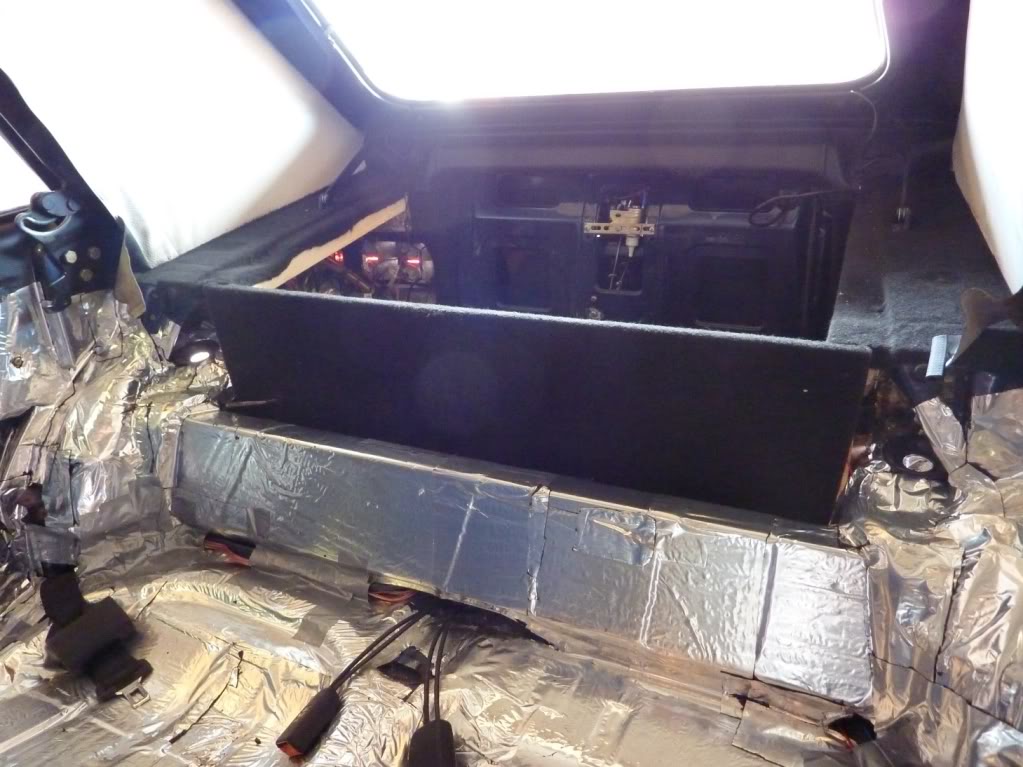
Test fitted the amp rack to the back of the seat (this I bolted through the rear cross member and carpeted it to match)
The boot side were a little fiddly and I spent a good few hours working out how to get a good fixing at the top. The angle of the parcel shelf fixings either side were all cock eyed so I had to make up some timber wedges to square it all up.
2 x 2 timbers, shaped down to a wegde shape and moulded to the shape of the parcel shelf fixings…looked a bit crude to start, but they'll be ok when covered.
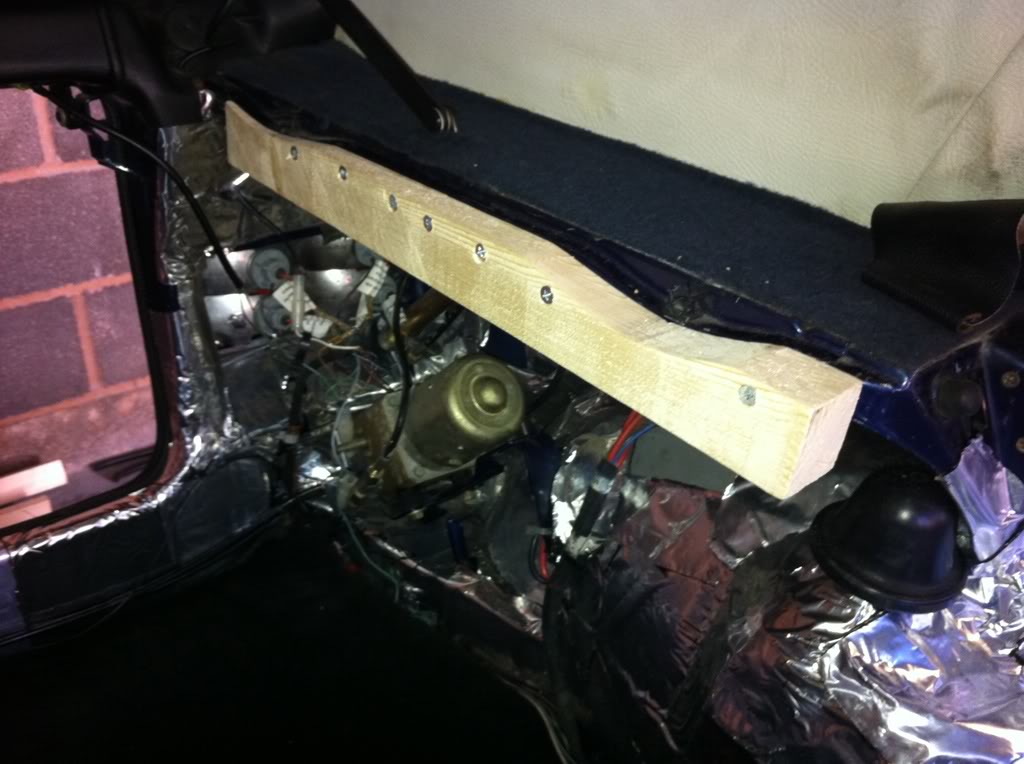

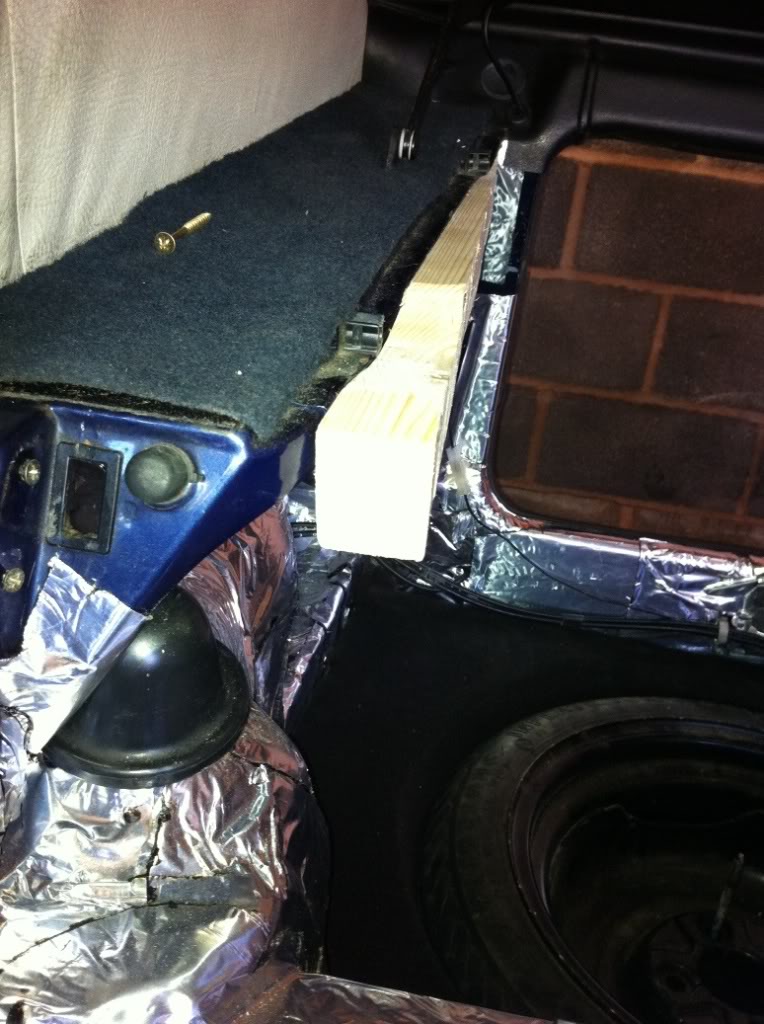
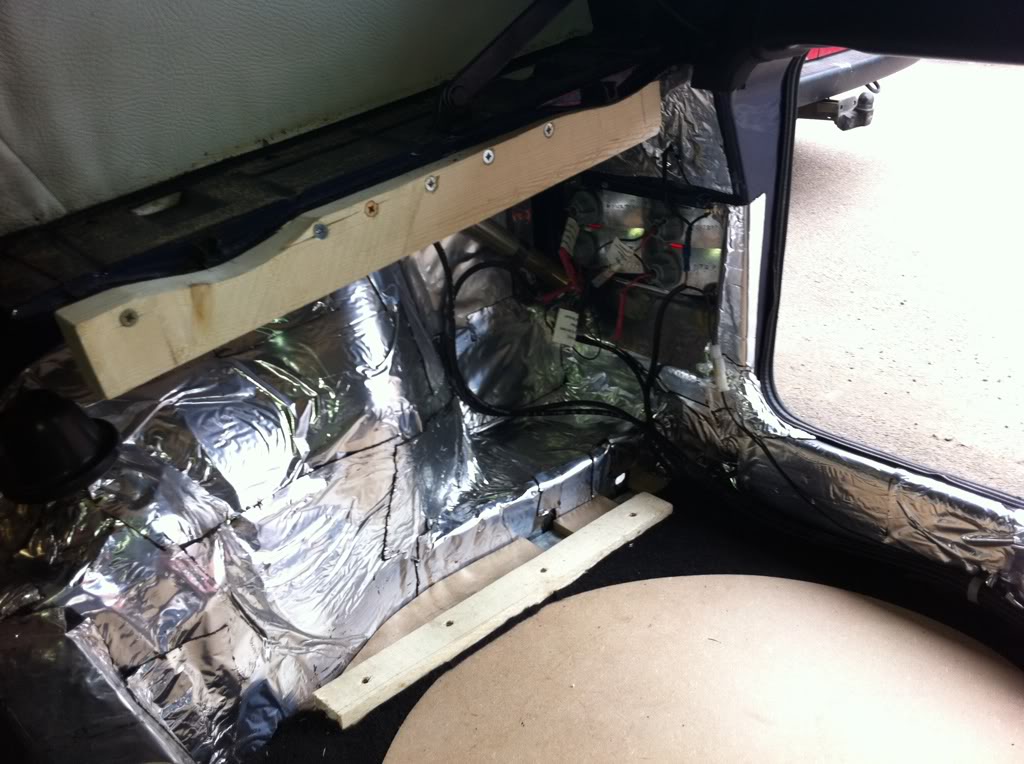
Fitted some timbers to the floor to allow a nice fix for the sides
Removed the old carpeted parcel shelf fixings and moulded matching acoustic carpet to them and over my wedge shaped brackes
Looking good!
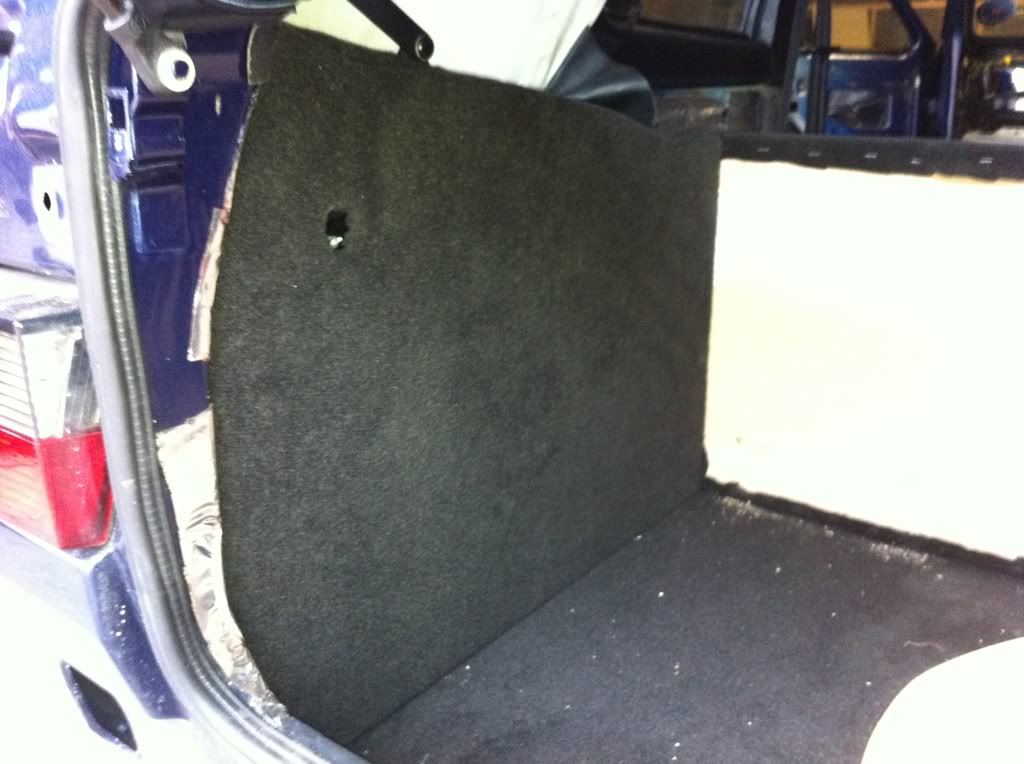
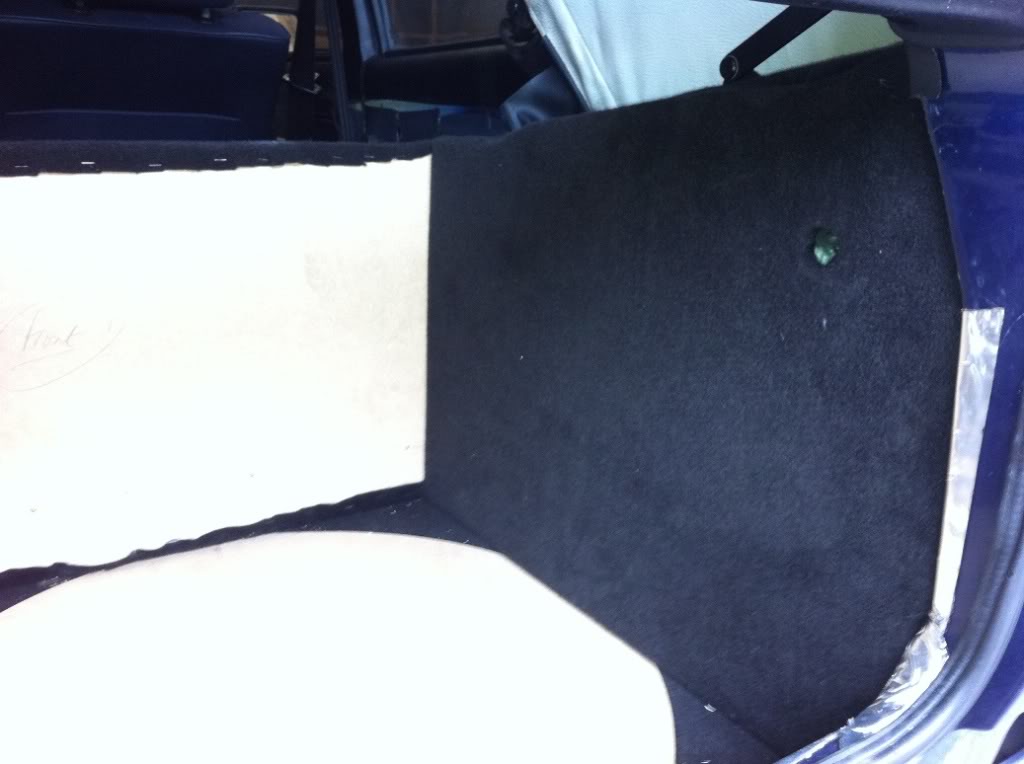
Carpeted my new side panels and had a quick test fit. Test fitted them without the carpet 1st as they needed extra trimming due to the thickness of the carpet. Got a nice tight fit.
Test fitted my amp…
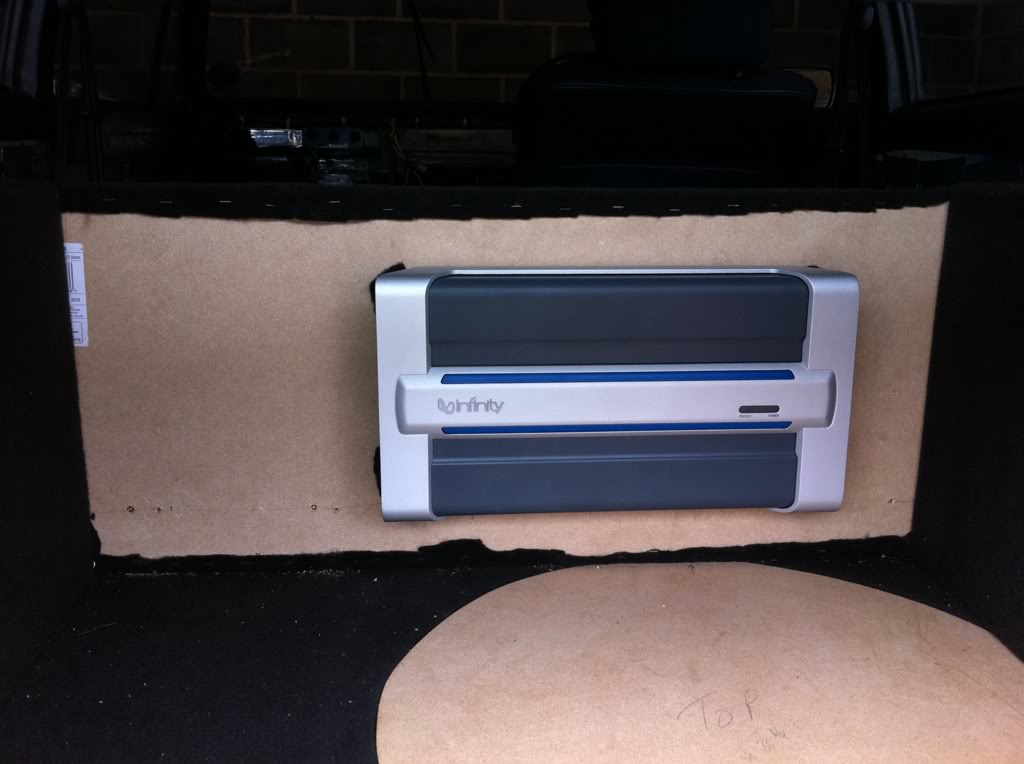
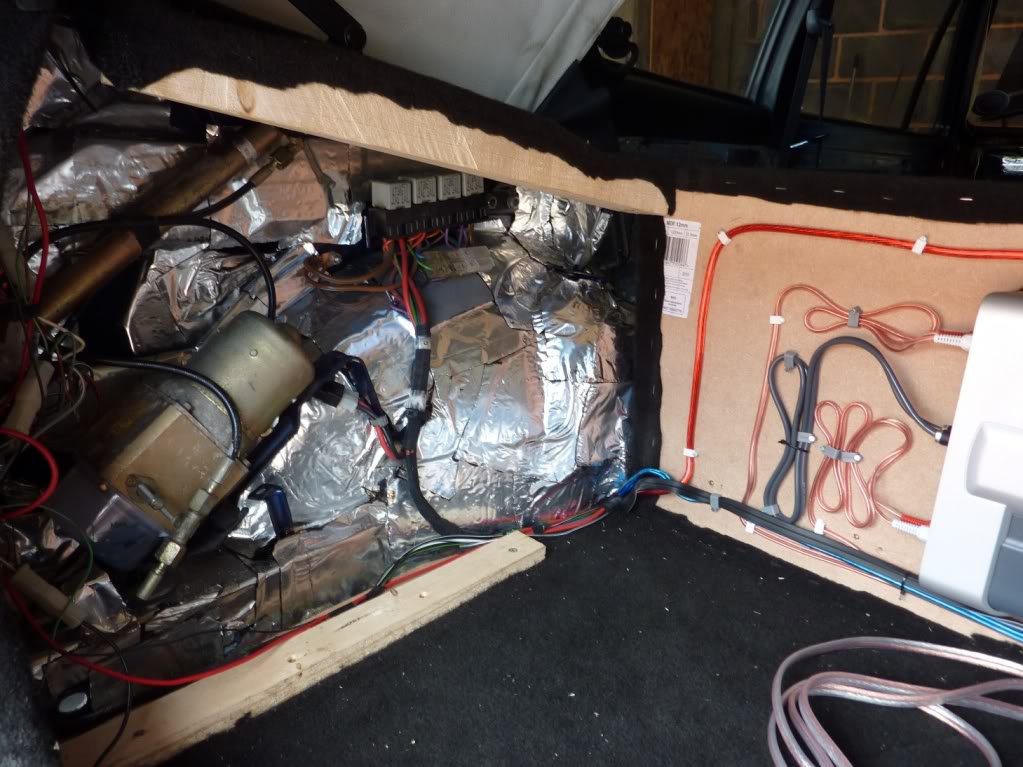
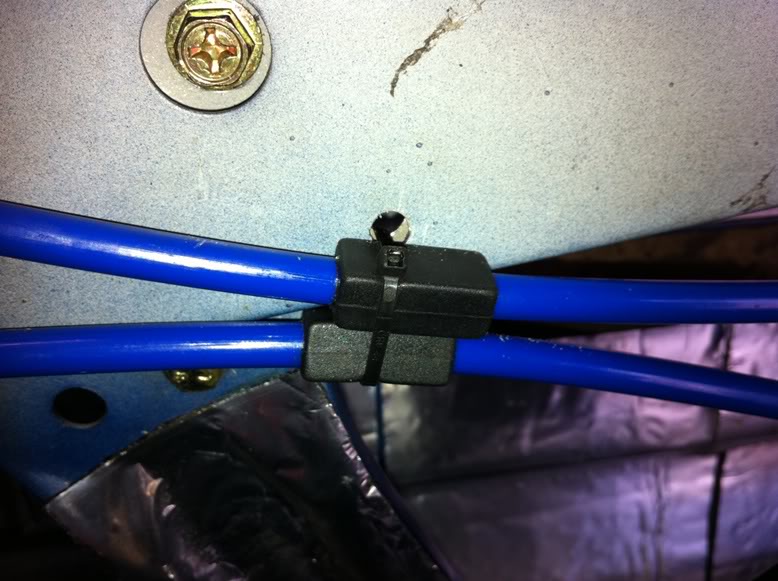
Time for the wiring. Whilst all the interior was out it was easy to run it all neatly through the car keeping power cables one side and phono cables the other (didn't want any interferance coming through when the engine was running)
Fix all the wires to the amp rack and wire up…
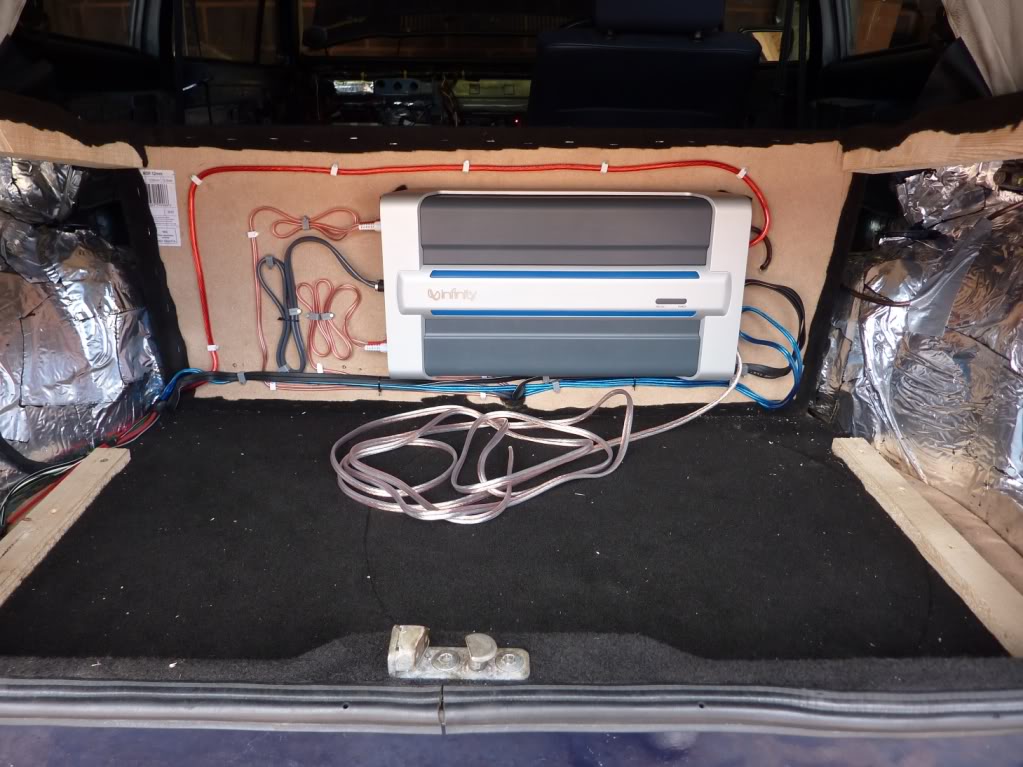
With all the wiring in I started to make a cover for the amp. 2 x 1 timbers, MDF cover and a nice little peep hole to see the amp. Covered it in matching carpet and fitted.
Really starting to take shape now!
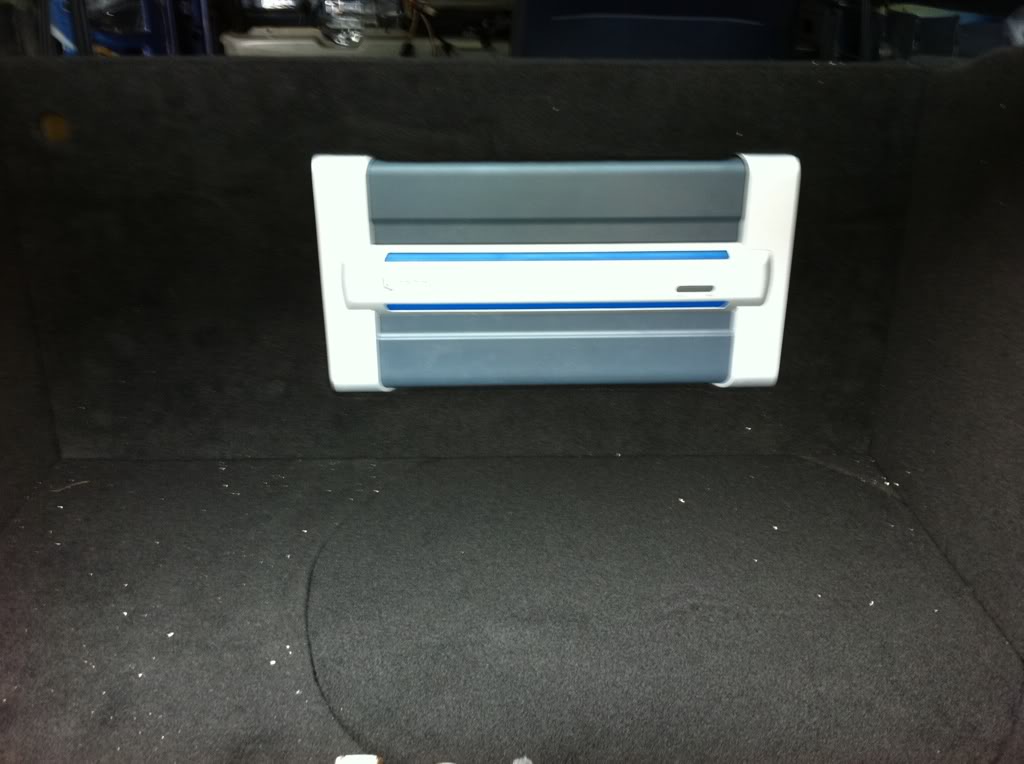
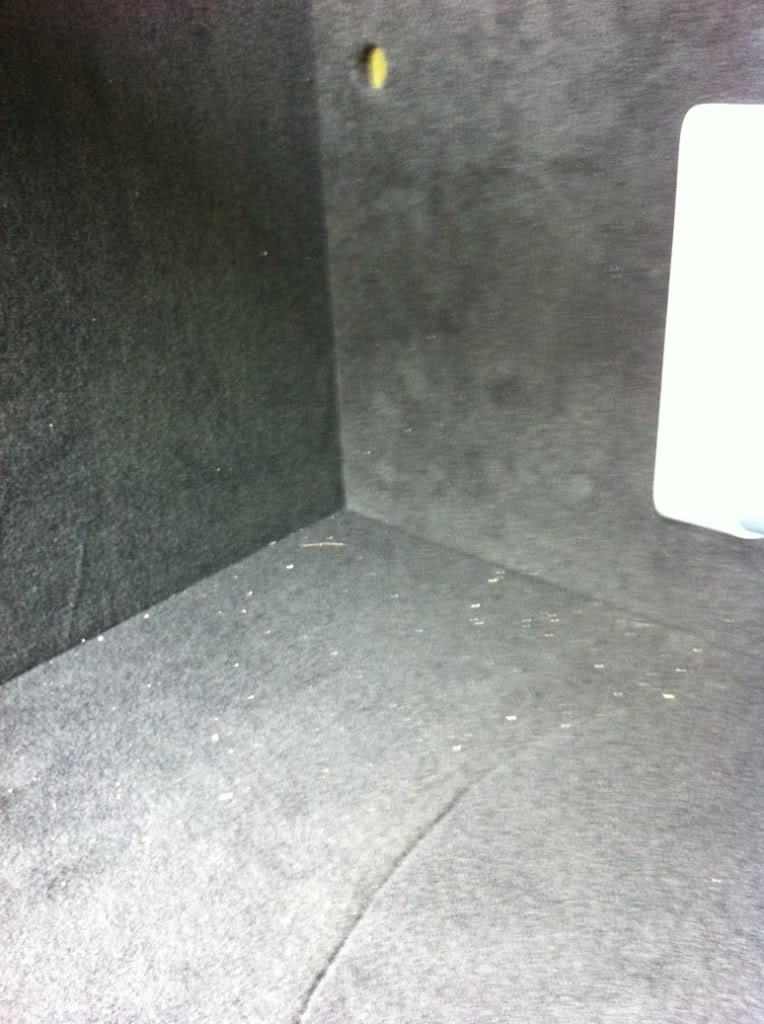
Finally I carpeted the rear boot lock area where the catch is so that the whole boot area matched. Some various photo's of the finished article:
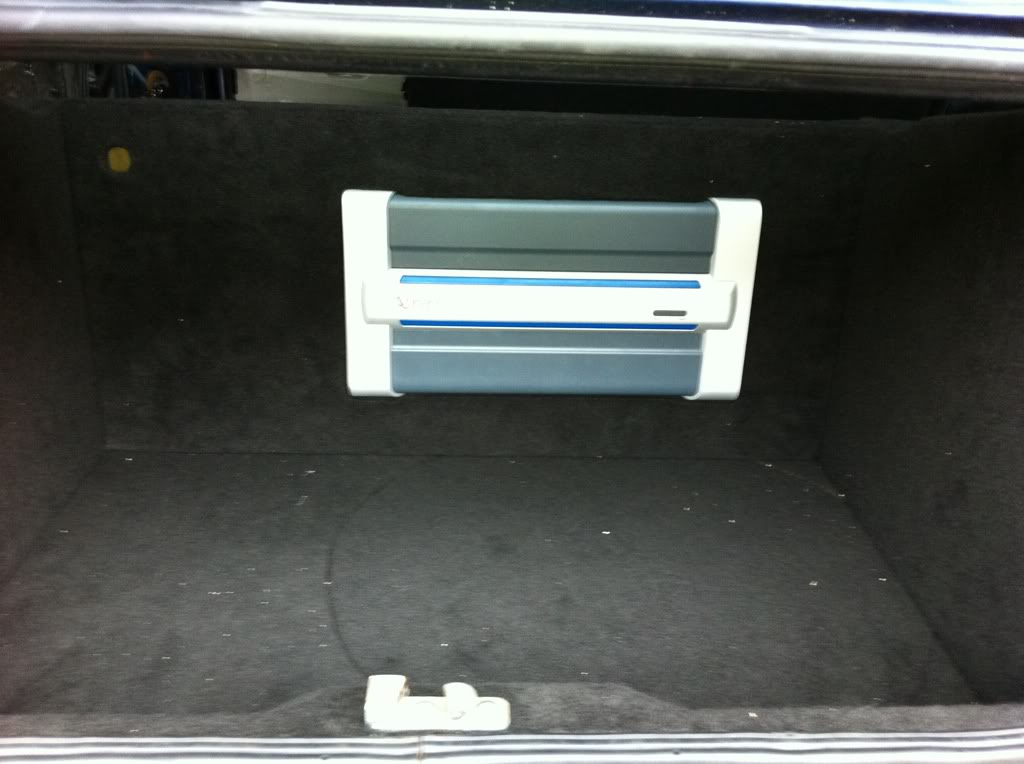
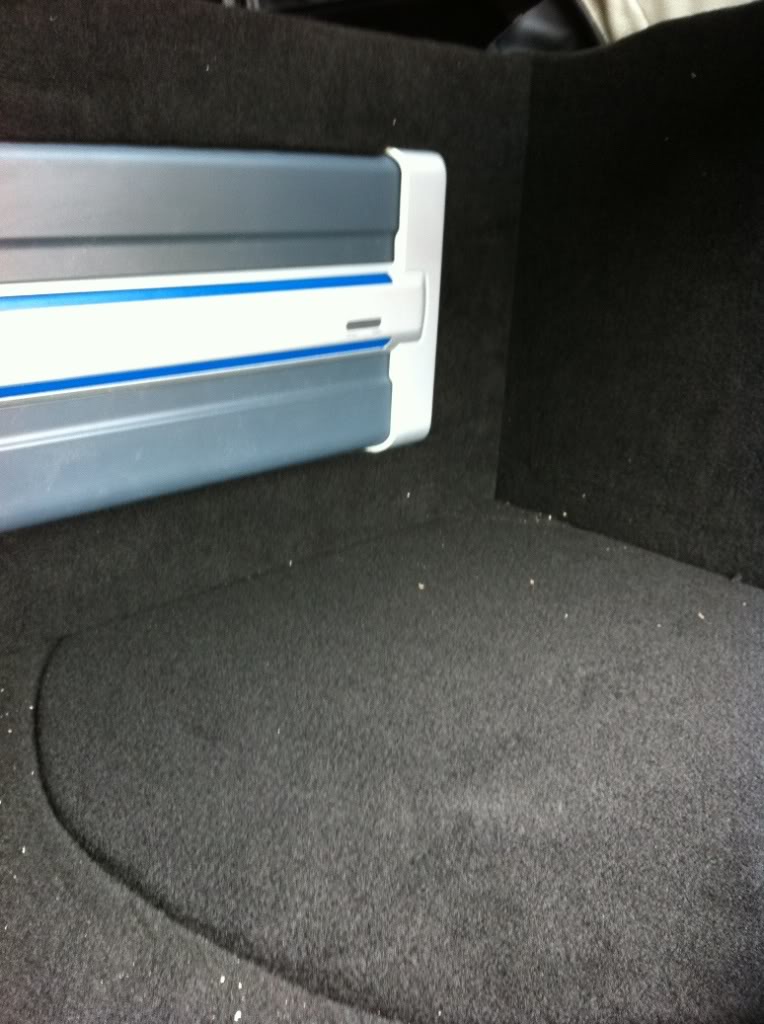
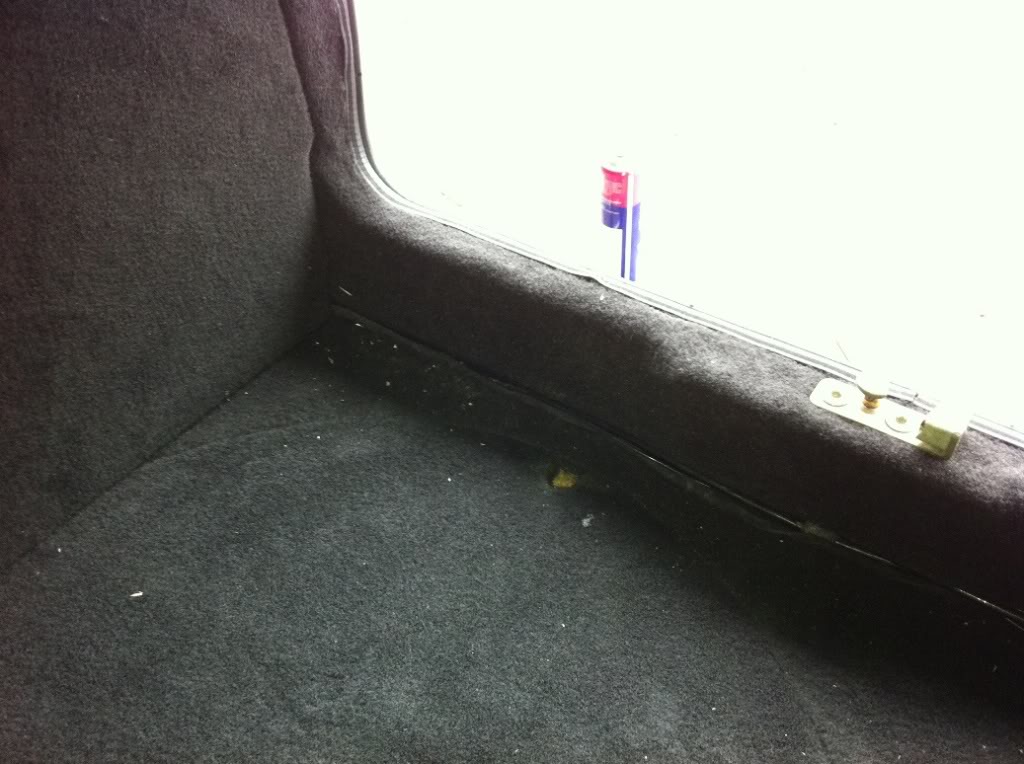
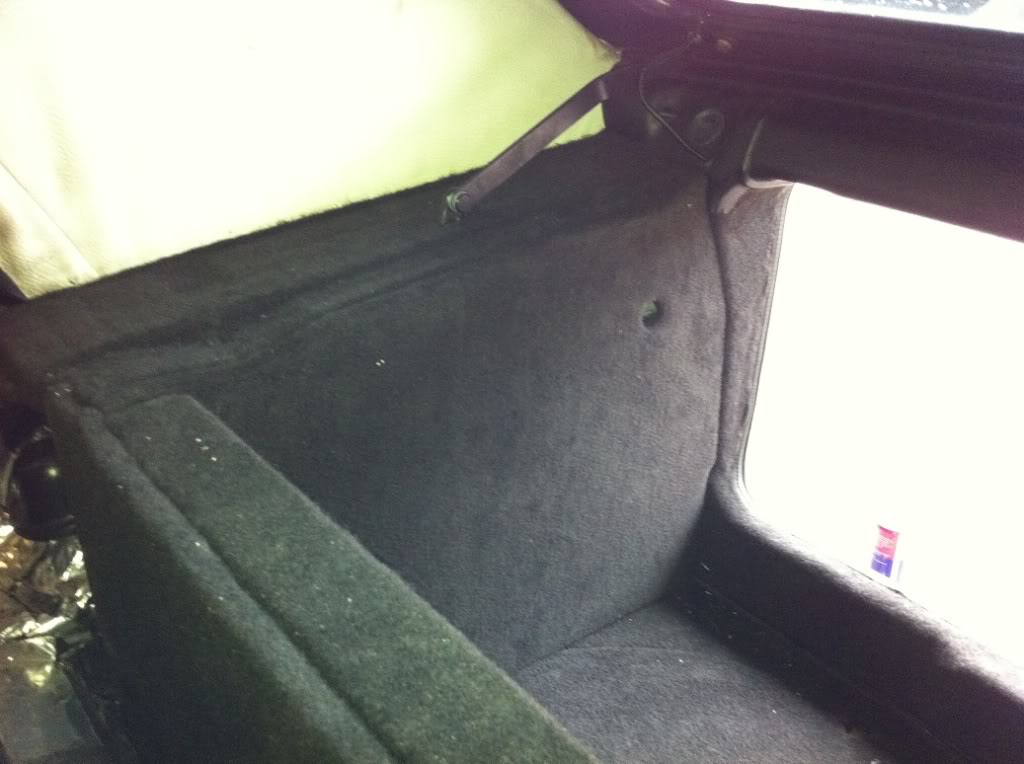
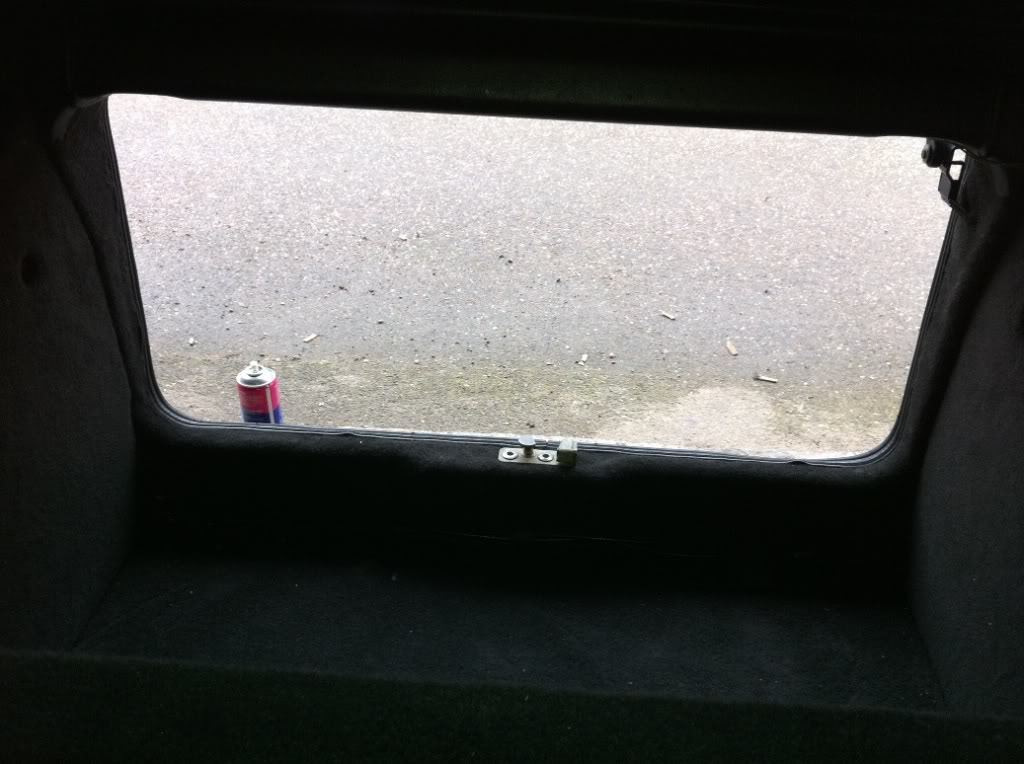

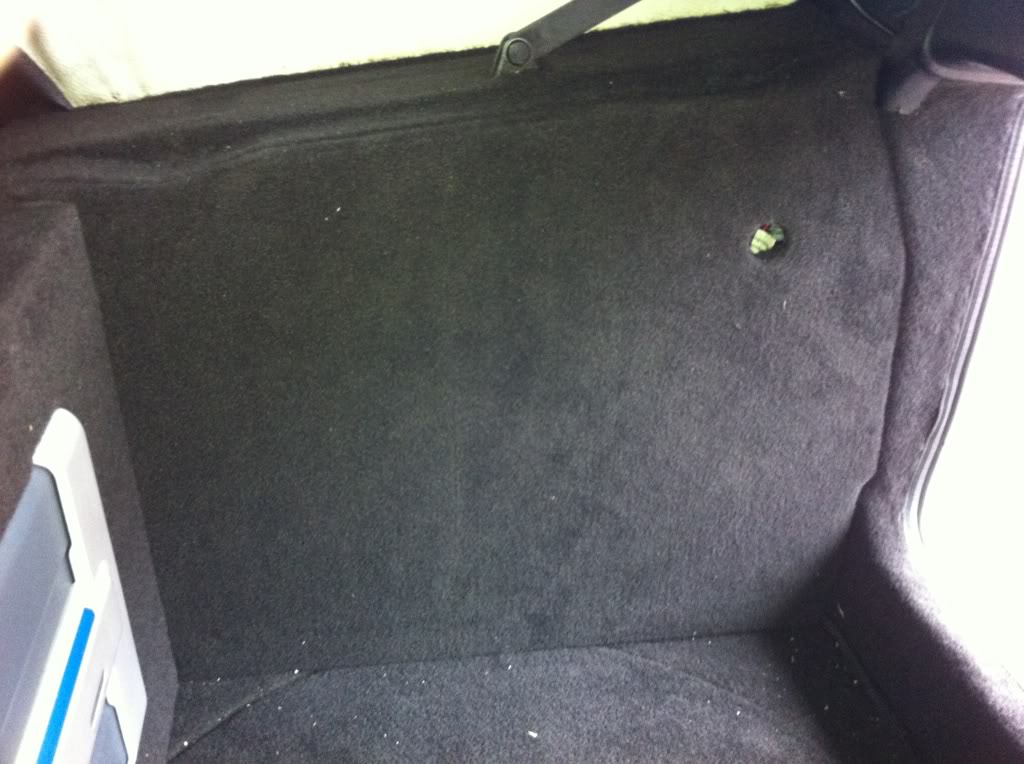
The holes in the boot sides and wheel well lid are to get help remove the panels if required, but I'll be putting trick little catches over them to finish it off niceley (maybe VW badges or catches?…we'll see)
Will post some new pics when the car is all complete with a decent camera, some of these pictures are terrible! (that's iphone's for you!)
All still needs a good hoover out and clean.
You're probably thinking "where is the sub"? I wanted a removeable sub box as the boot it tiny so going to build my own. That way, I can take it out if I need to put something in the boot.
Mk1 Gti Cabby project on the go! Detailed engine, roof off, leather interior, 16's, painted, now getting put back together!
http://www.vwgolfmk1.org.uk/modules.php?name=Forums&file=viewtopic&t=103263&start=0&postdays=0&postorder=asc
http://www.vwgolfmk1.org.uk/modules.php?name=Forums&file=viewtopic&t=103263&start=0&postdays=0&postorder=asc
Posted
Old Timer


Posted
Settled In
Yes, real leather covers with blue piping. Wanted them to last well.
Got them from Autoleathers.
Going to be using it as a weekend car and for shows, so the leather should last a while.
Loving your motor! Just ordered a old school chrome grille like yours as I think it looks better than the modern ones.
I'll be using my cab for my wedding soon! Can't wait…
Mk1 Gti Cabby project on the go! Detailed engine, roof off, leather interior, 16's, painted, now getting put back together!
http://www.vwgolfmk1.org.uk/modules.php?name=Forums&file=viewtopic&t=103263&start=0&postdays=0&postorder=asc
http://www.vwgolfmk1.org.uk/modules.php?name=Forums&file=viewtopic&t=103263&start=0&postdays=0&postorder=asc
Posted
Settled In
central locking
Alarm
Electric windows
Boot pop solenoid (so I could open the boot with the alarm)
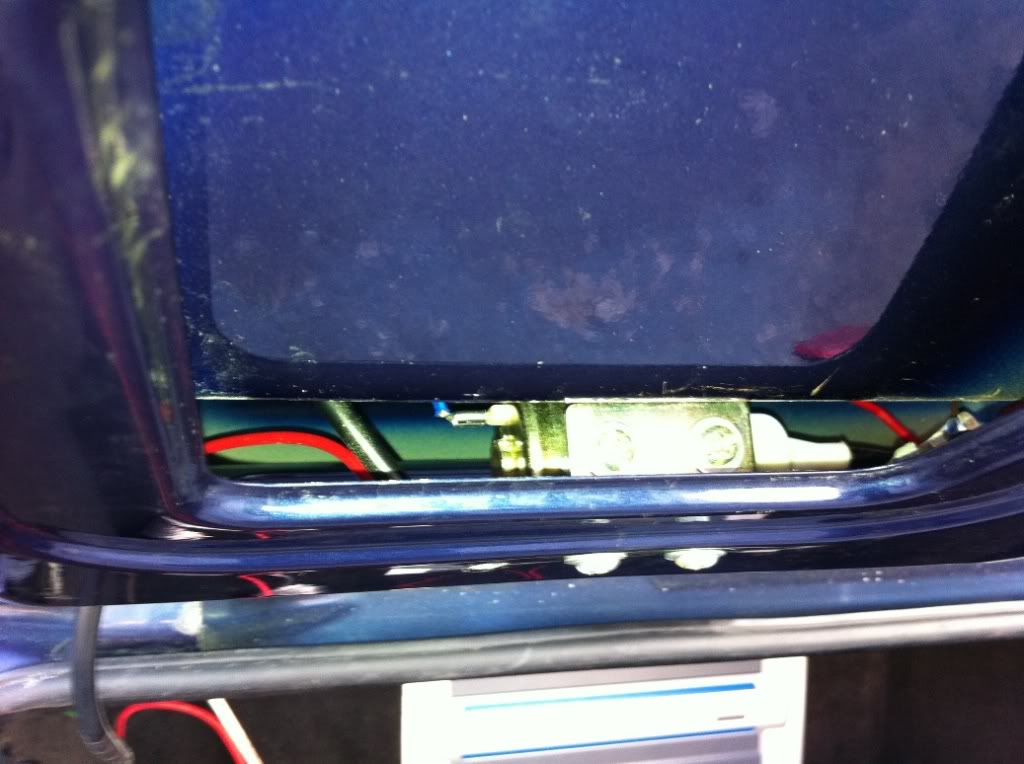
The central locking was pretty easy. The car already had solenoids in the doors but someone had cut the wires off! Ditched the old solenoids and got some new ones to work with my new alarm.
The alarm was a Toad AI606. For thew alarm to work the central locking I needed a 5 wire drivers doors solenoid and a 2 wire passenger one.
Central locking solenoids in place…
Didn't wire them up straight away, I'd do this once everything else was in and the alarm was being wired.
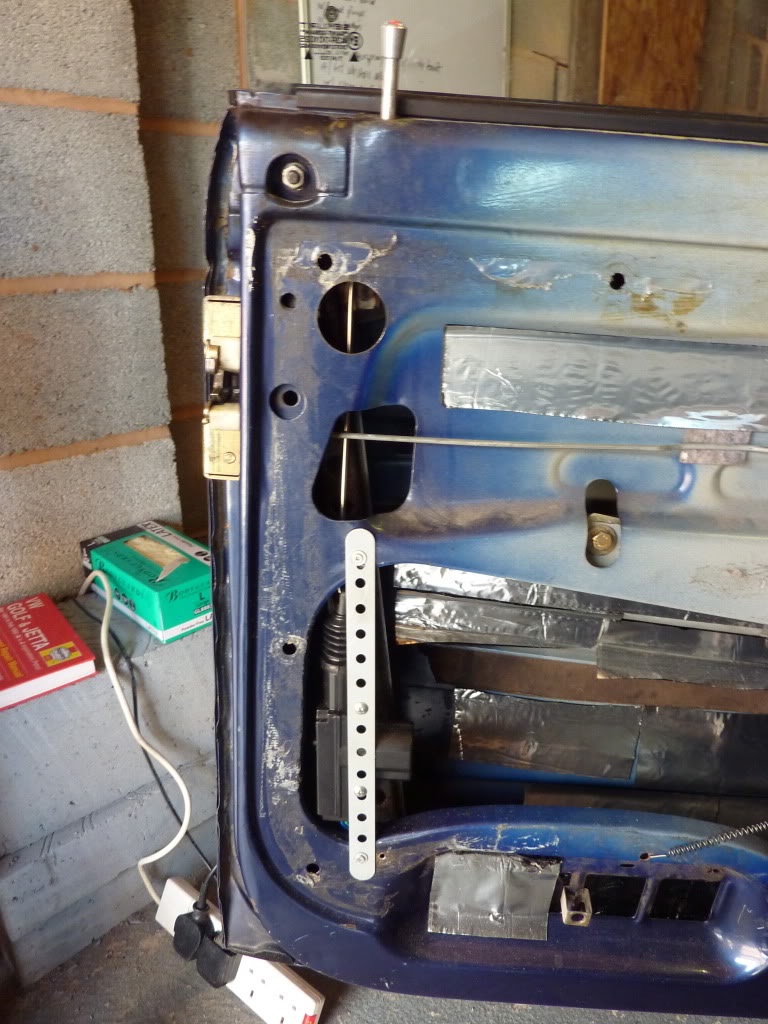
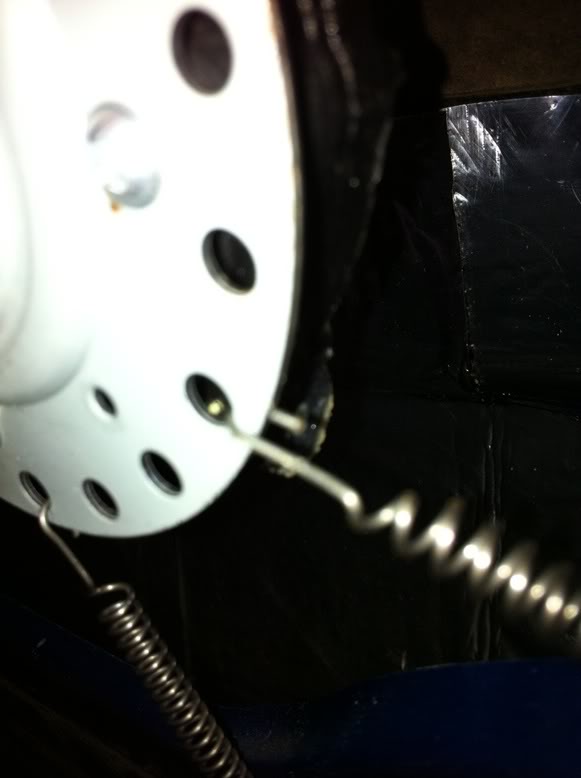
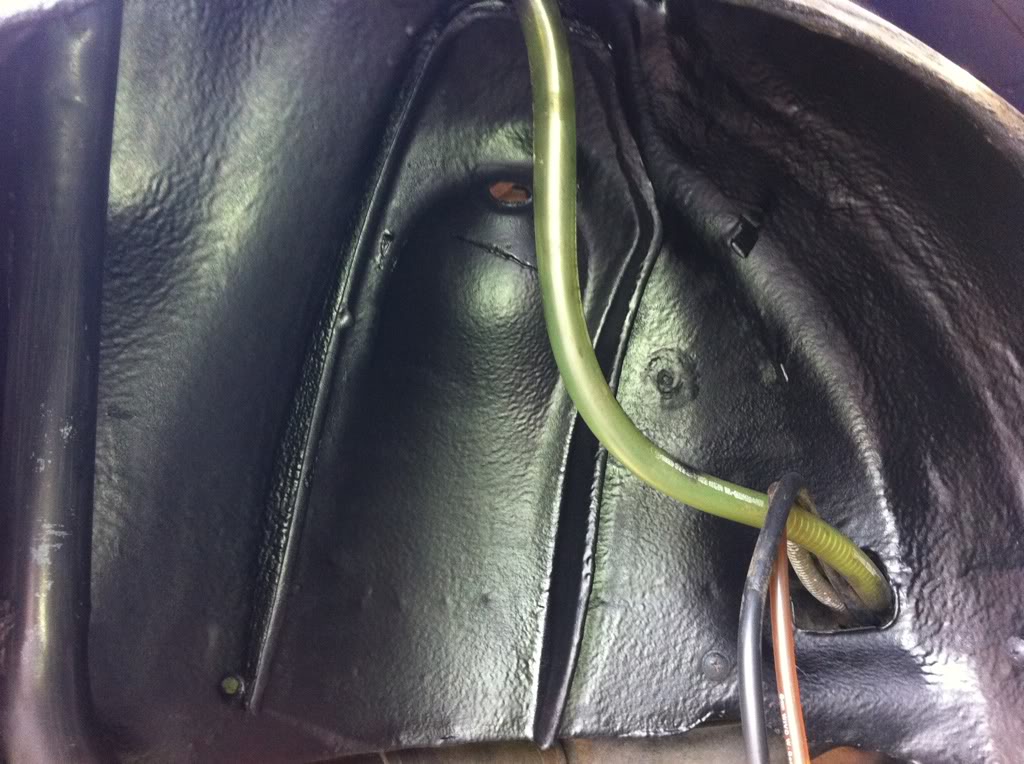
Next I fitted the boot pop solenoid. This was a mission and surprisingly the biggest ballache of jobs so far!
I 1st mounted the solenoid inside the boot lid using the cable sleeve to direct the cable around 90 degrees up to the boot lid catch.
Original mounting position:
Cable routed through 90 degrees and up to the boot lid catch
This did not work! Time and time again I tweeked the length of cable, adjusted the lid catch etc etc etc.
In the end (2 days of mulling it over!!) and trying thicker power cable, better earthing points etc etc, I decided to move the solenoid so it was in a direct line with the boot lid catch (so the solenoid cable pulled in a straight line rather than around a corner)
It worked! Obviously it didn't have enough power to pull around a corner or just not meant to work like that.
The only problem is that due to the lack of space, I'm going to have to make a special boot lid cover to hide the solenoid and mechanism (it sticks out too far to get the original boot trim on. I'll post some pics of the new position and cover when it's finished….
Also fitted a push button located in the glovebox so I can pop the boot lid from inside the car (handy for when the Mrs goes shopping…I can wait in the car…when she gets back, I don't even have to get out! I hate TESCO!)
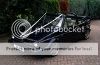
Next was the electric windows. Thought I'd do a simple how to incase anyone else wants to use this system. I couldn't find anywhere that explained how to do it (without costing a fortune for complete electric window mechanisms)
Bought a kit off of Ebay for �65!. Appartently a 'universal' fit. The only problem was that once installed, it had a blanking cover cap that mounted over the existing door handle spindle on the door card.
I didn't really want that.. I wanted it to look factory with no blanking caps on the door cards when finished so worked out how to get rid of it.
The universal electric window kit:
The fitting instructions were pretty poor, but took my time.
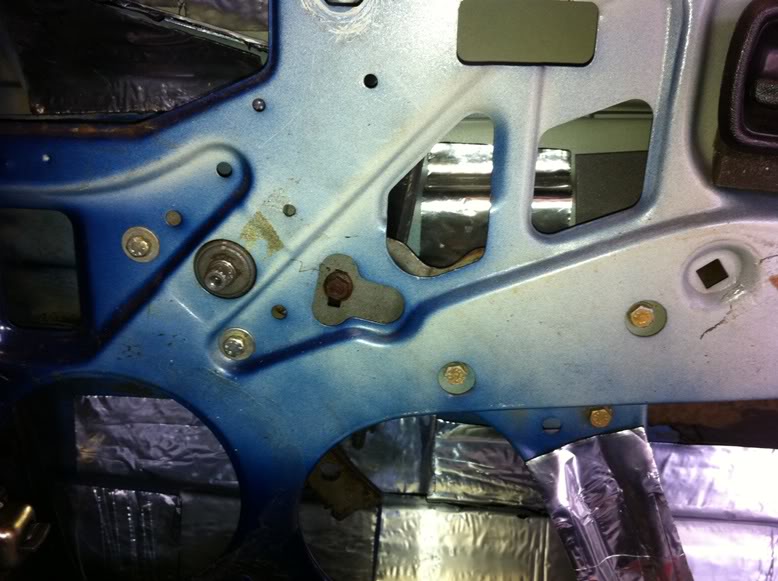
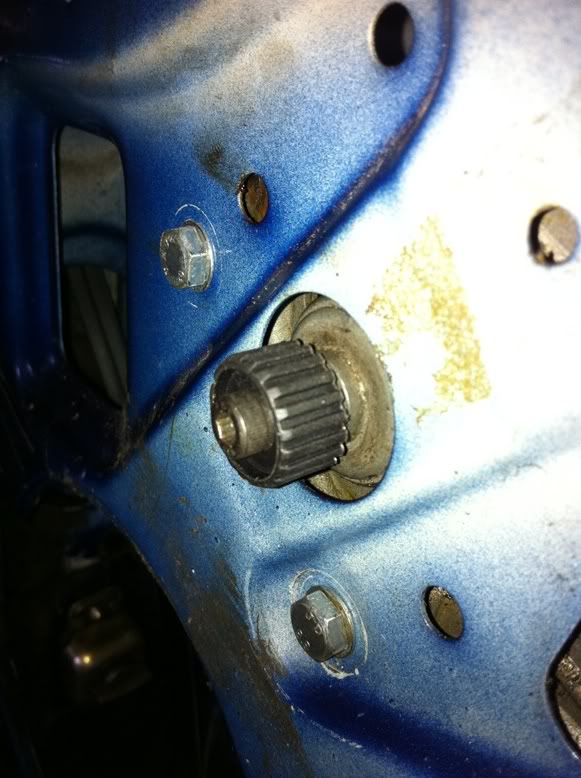
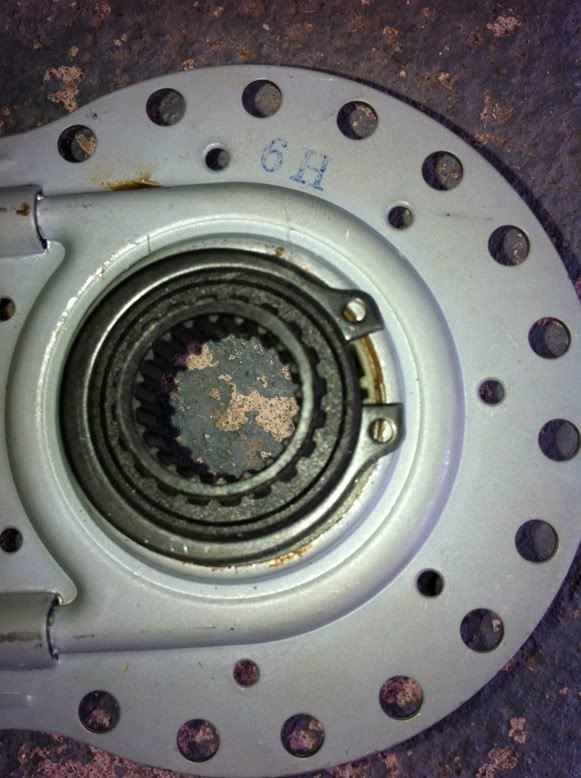
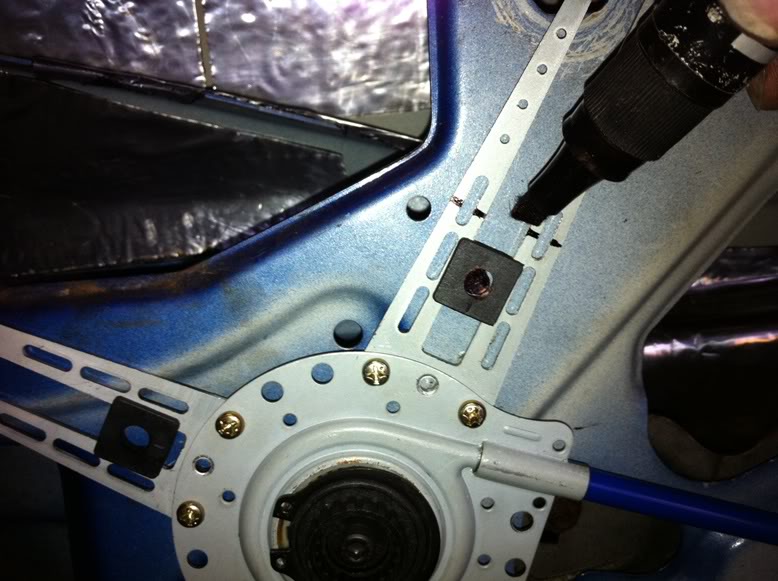
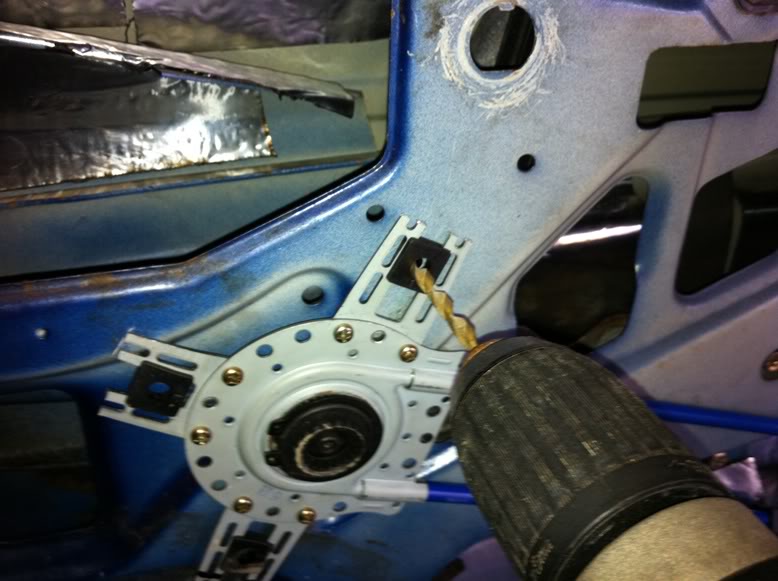
My existing window winder spindles poked through the door and door card quite far. This was going to stop me from hiding the spindles. I had to undo all the window winder mechanism bolts from the door skin and put a spacer in behind to push the spindle further back into the door.
Window mechanism bolts (I think about 7 or 8 to undo:
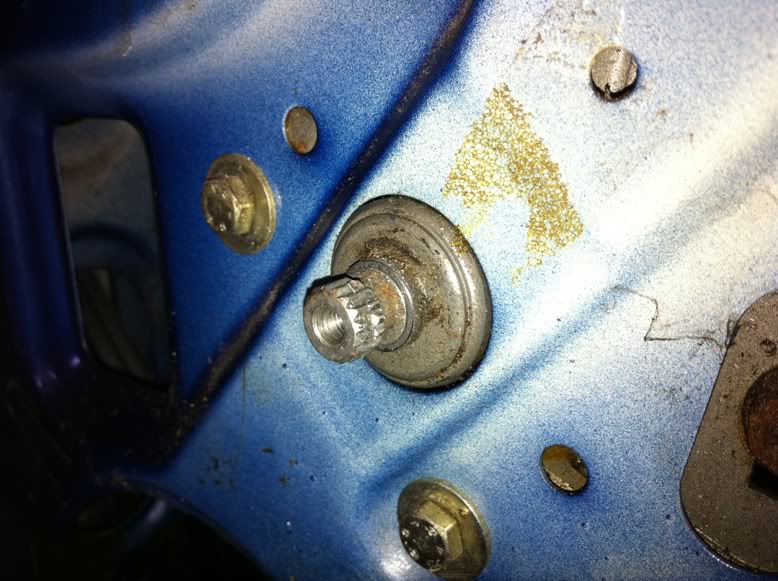
Original spindle position:
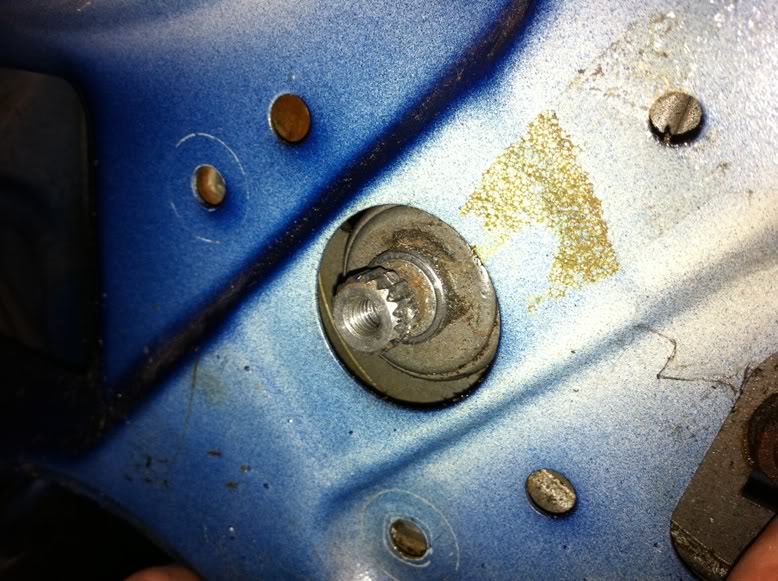
Required spindle position:
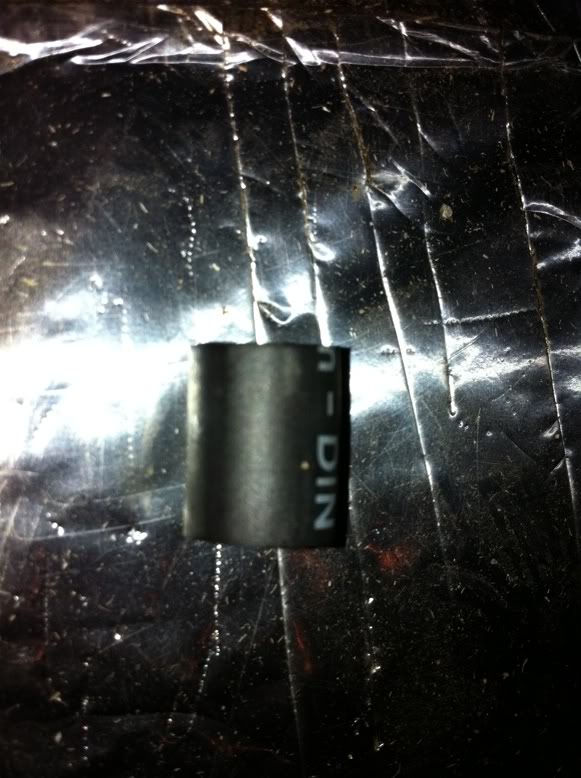
I need to throw the spindle back about 20mm in total which I did using some rubber reinforced fuel pipe cut down to size:
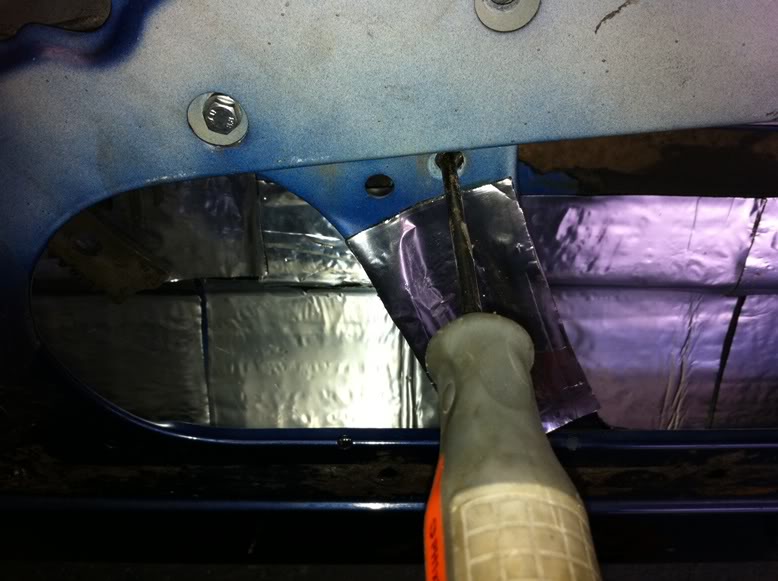
I undid the bolts 1 by one and inserted the rubber spacers in behind the door panel:

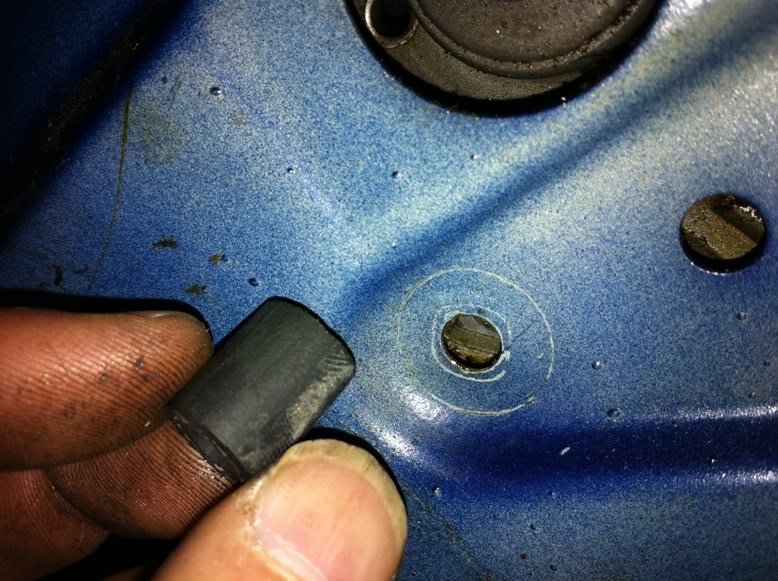
This was a bit fiddly to say the least but my trusty screwdriver made it easier to line the holes and spacers up:
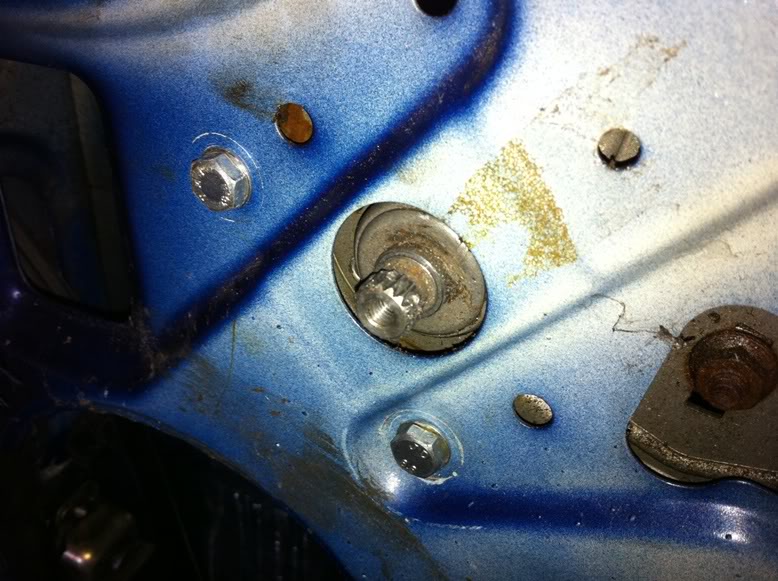
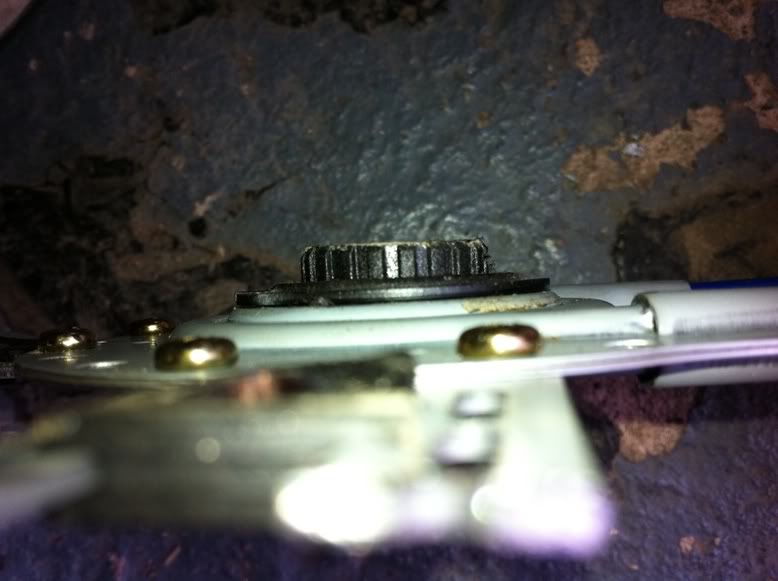
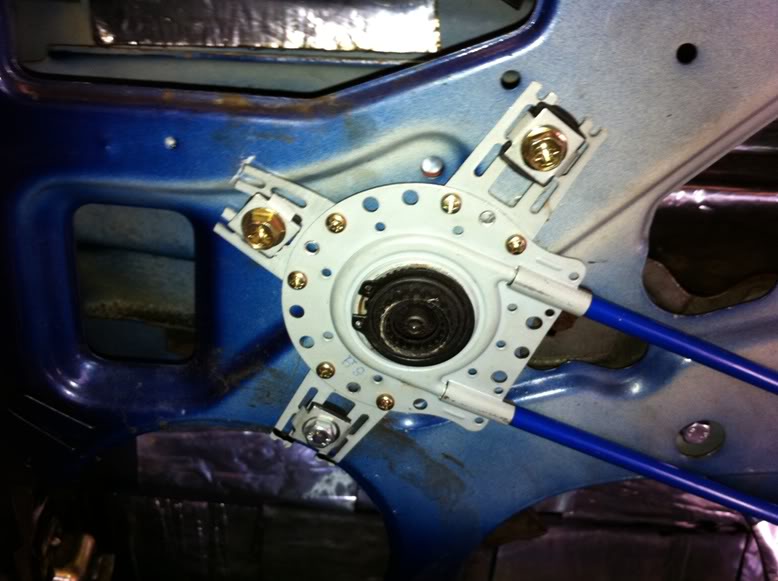
Once I'd spaced all the fixings, everything got tightened back up and the spindle sat nicely recessed:
I had to use some longer bots for the new fixings as the old ones weren't long enough. I made the mistake of not checking the window would wind up and down before tightening them all up only to find out some of the bolts needed trimming down to stop them fouling on the window winder mech. Bugger!
Spindle position originally:
New spindle position all fixed in place:
Next was to slide the spindle adaptor on, I chose the slimmest one so that it didn't stick out any further than the spindle itself:
Now i fitted the larger adaptor into the new electric window motor again choosing the slimmest:
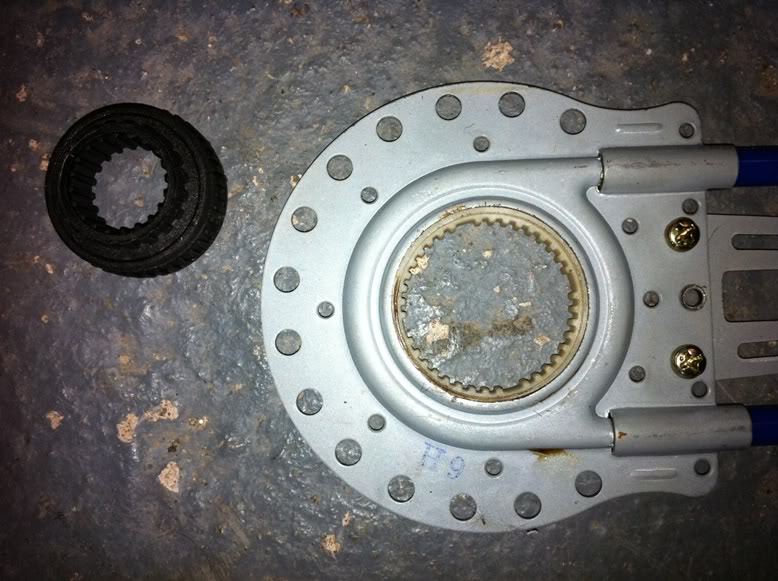
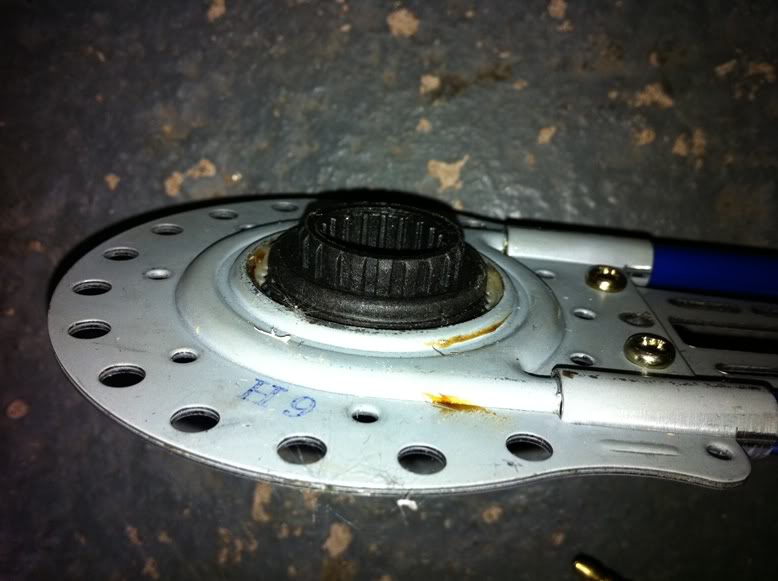
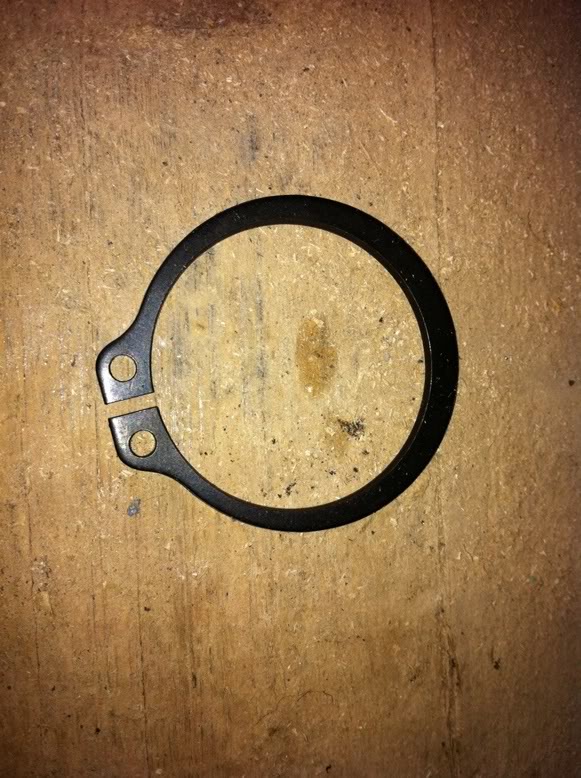
A small spring clip was supplied with the kit to keep it nicely in place, but wasn't really man enough for the job so I fitted a large circlip instead:
Once in place this adaptor got trimmed down with a hacksaw making it as unobtrusive as possible and flush with the door when fitted:
Before:
After:

With all the hardwork done I slid the adaptor onto the winder spindle and started fitting the adaptor fixing legs:

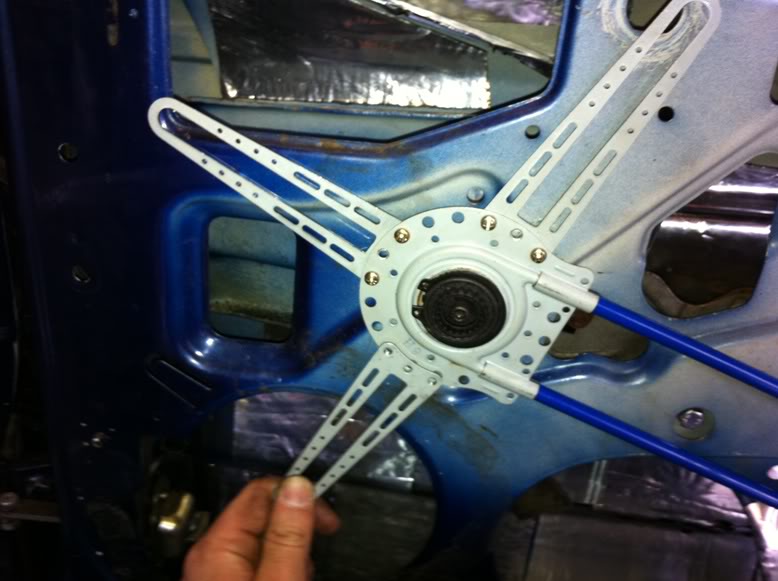
Once in position, screw fixings and washers were fitted before marking, drilling and then securing using supplied nuts and bolts:
Black washers in place:

All fixed!
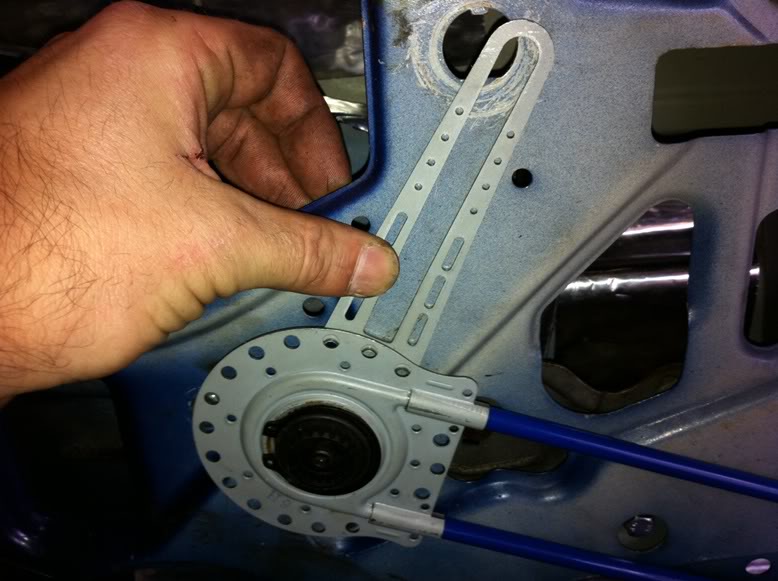
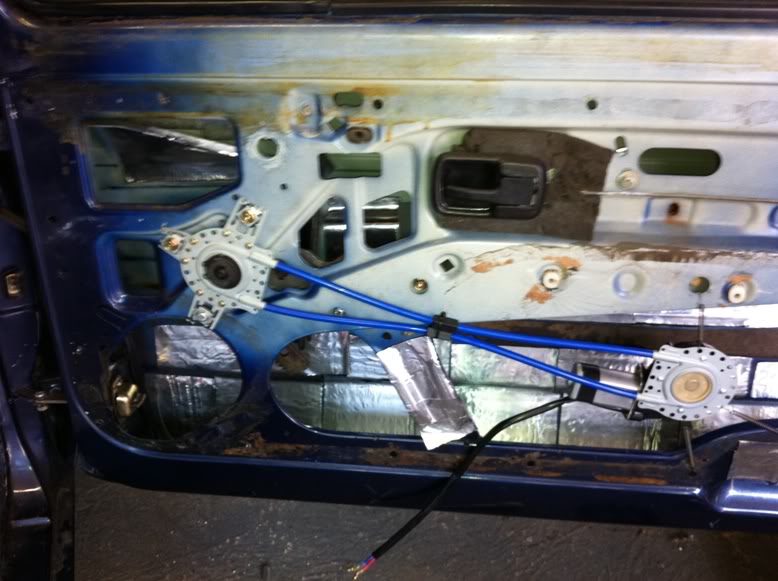
Next the motor end was located. It tucked in quite nicely into the door recess. Using the spings supplied with the kit I fixed them to the motor and through some pre-drilled fixing in the door. Once stretched really tight the motor was solid:
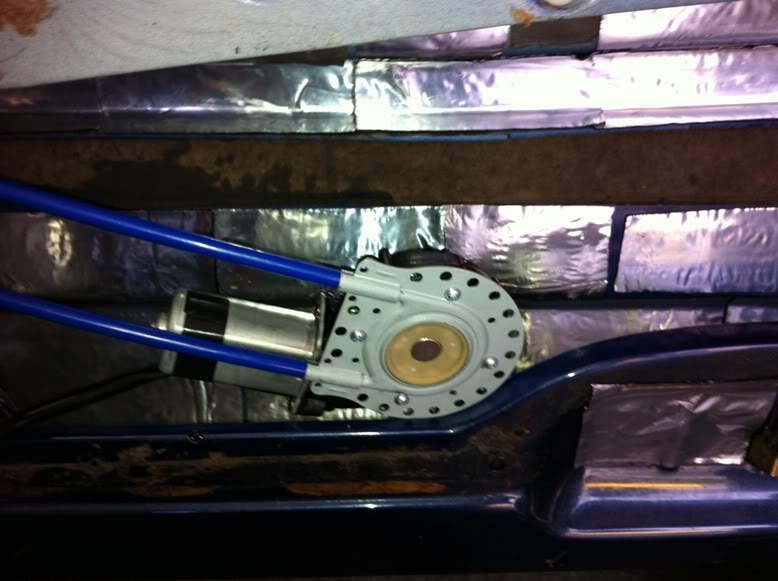

With everything in position I cable tied the motor winder pods together and through the door to keep them secure and stop them from rattling:
The finished article:
With everything in place I test fitted my door card. Ideal!
Fitted on fine and my new doors cards won't need the hole where the spindle used to poke through, so no ugly blanking caps either.
The electrics were pretty self explanatory. I routed the wires through to my centre console and used the existing switch blanks next to the electric roof button. The switches with the kit are illuminted also.
Tested windows and they work ideal. The motors are actually quite powerful and pretty quick.
Will post more pics when I fit my new door cards etc.
Hope this helps anyone who wants electric windows!
Mk1 Gti Cabby project on the go! Detailed engine, roof off, leather interior, 16's, painted, now getting put back together!
http://www.vwgolfmk1.org.uk/modules.php?name=Forums&file=viewtopic&t=103263&start=0&postdays=0&postorder=asc
http://www.vwgolfmk1.org.uk/modules.php?name=Forums&file=viewtopic&t=103263&start=0&postdays=0&postorder=asc
Posted
Settled In
 they look good!
�700 for a gearbox sounds a bit steep, i got a waranteed recon with quaiffe LSD for �550
Mk1 '92 cab ABF Jenveys & Emerald
2004 Mk1 Fabia VRS
2002 Audi A4 Avant 1.9tdi
2004 Mk1 Fabia VRS
2002 Audi A4 Avant 1.9tdi
Posted
Settled In
I think they look good too.
Paid �700 including fitting, that was the cheapest I could find near me…..and it was a cash deal!
Bugger…looks like I was done.
Could've got a recon for �450
Mk1 Gti Cabby project on the go! Detailed engine, roof off, leather interior, 16's, painted, now getting put back together!
http://www.vwgolfmk1.org.uk/modules.php?name=Forums&file=viewtopic&t=103263&start=0&postdays=0&postorder=asc
http://www.vwgolfmk1.org.uk/modules.php?name=Forums&file=viewtopic&t=103263&start=0&postdays=0&postorder=asc
Posted
Settled In
Not too bad, failed on:
Fog light not working - fixed dodgy connection
No dash - put it back in for re-test
No seats - " " " "
Wiper sticking - going to fit a mk 2 motor
Headlight loose - fitted spring that was missing
Low brake reading on rears (handbrake) - FULL REAR & FRONT END REBUILD!
After seeing the guide on here I thought I'd give it a go whilst putting new brakes front & rear.
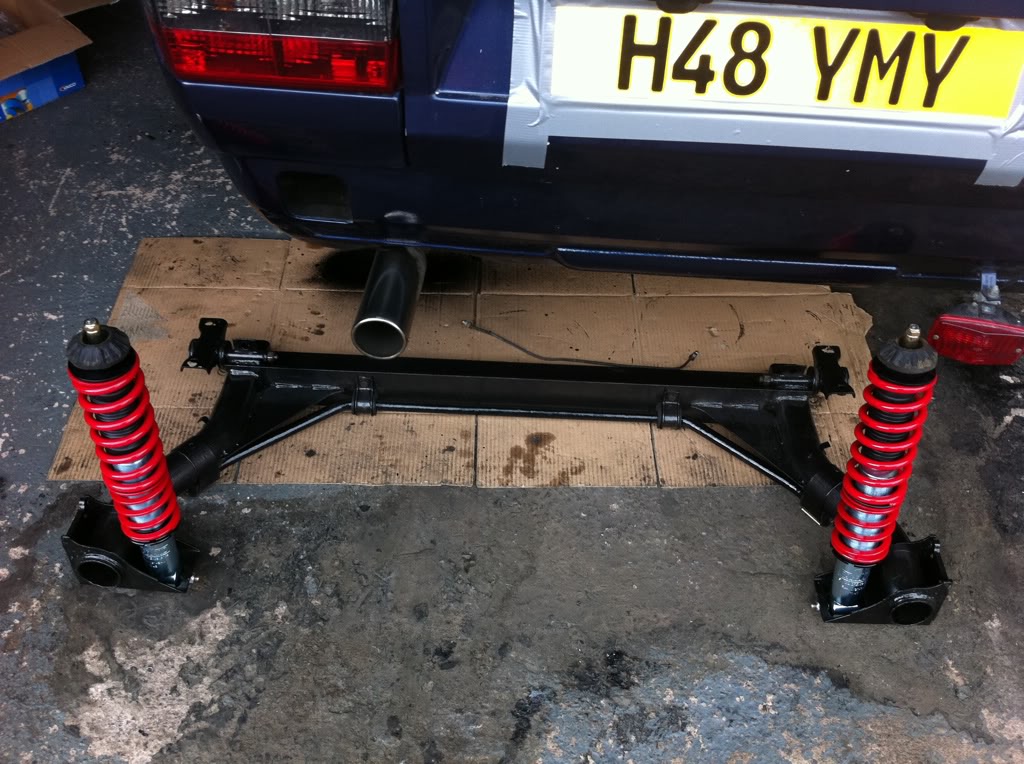
Rear End:
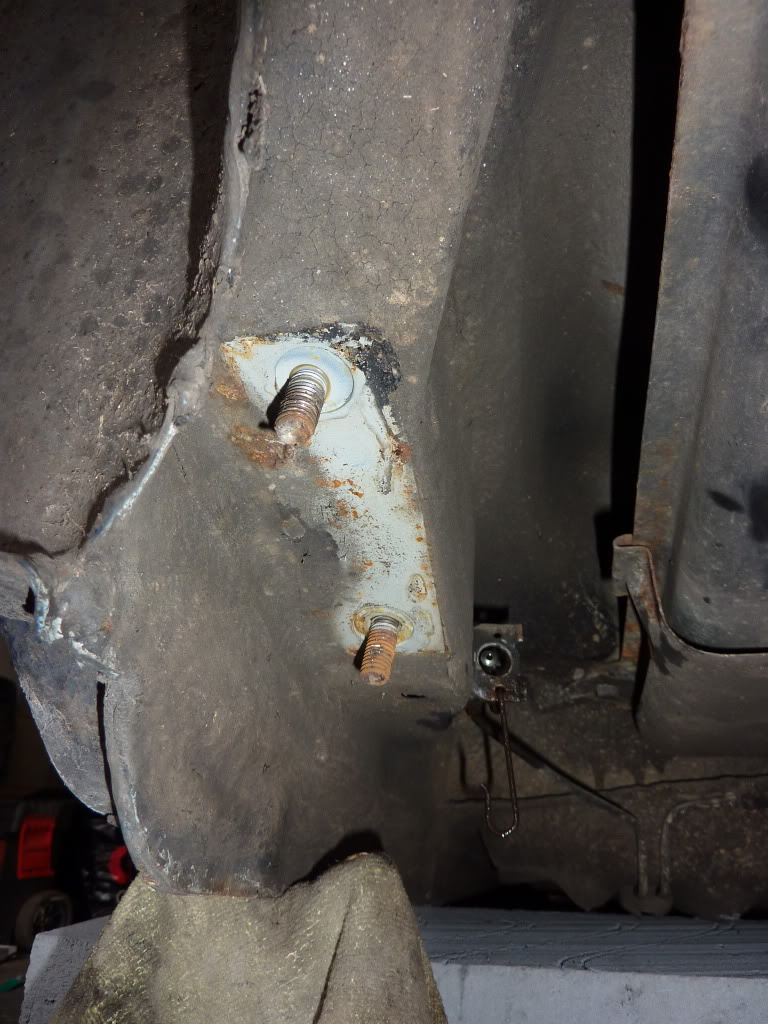
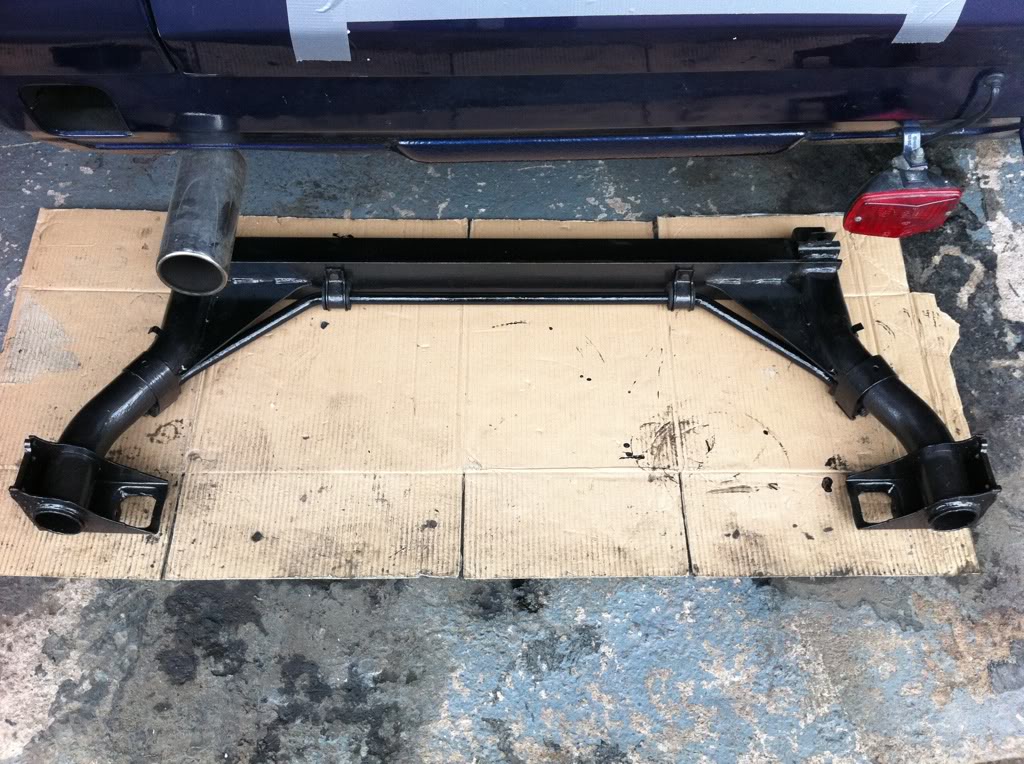
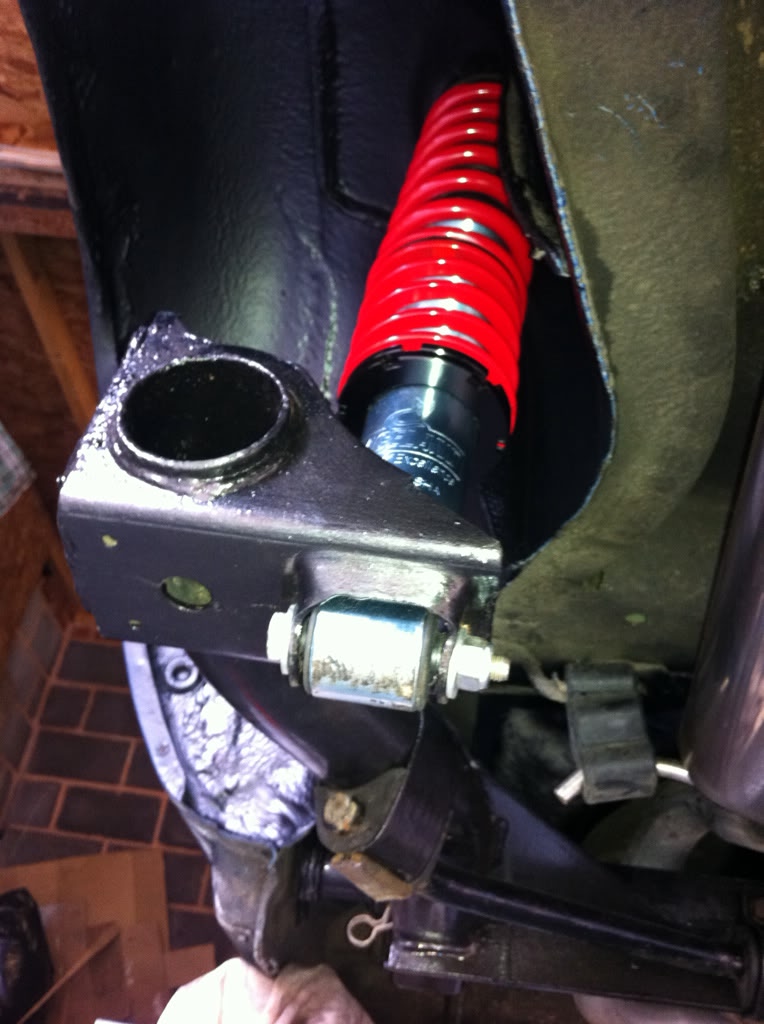
1st thing was to drop the rear subframe out from under the car. Suprisingly it wasn't too bad. Subframe mounting points were excellent too…Bonus!
Subframe:

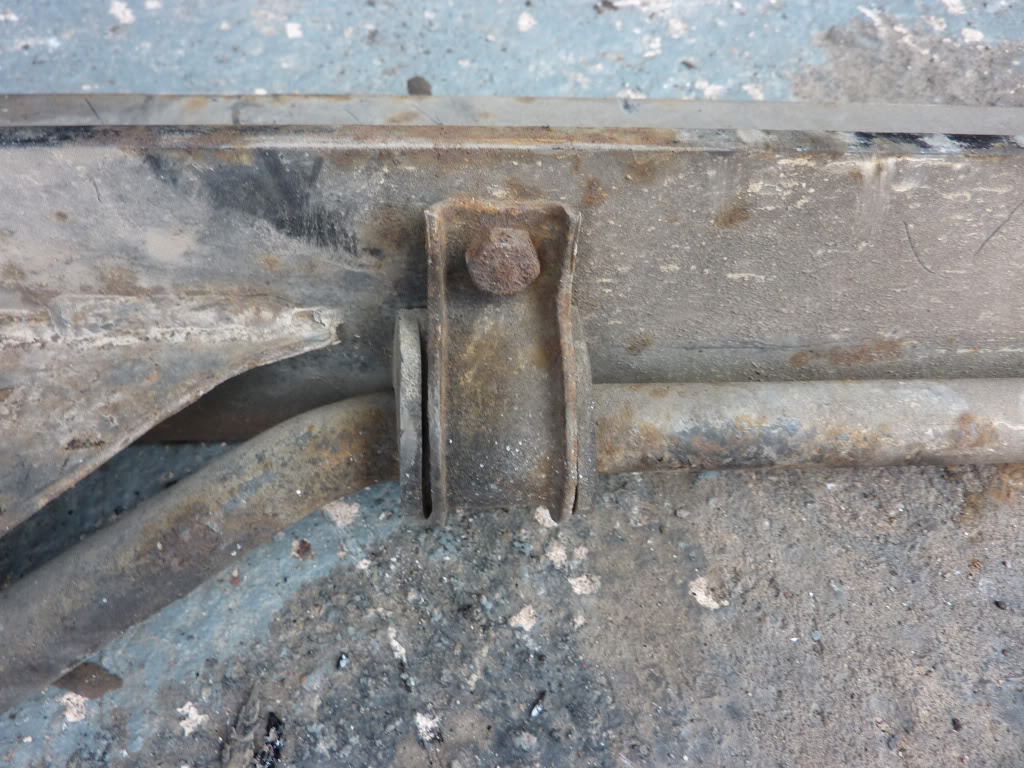
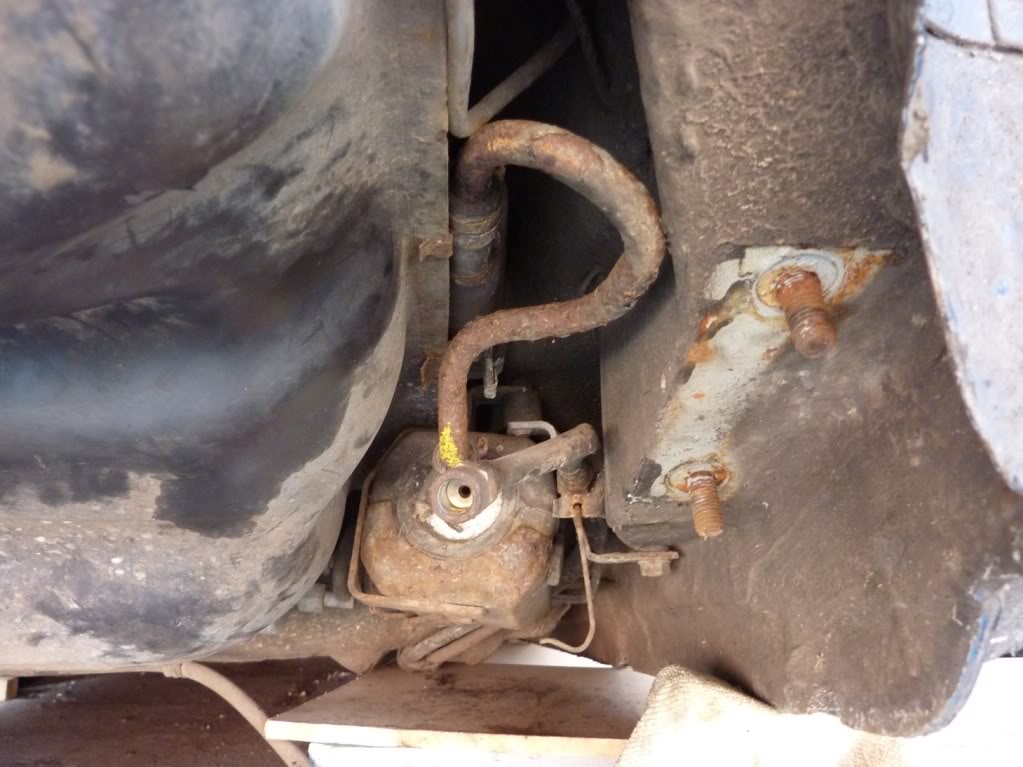
Mounts:
Fuel pump, accumilator etc needed a refurb too!!
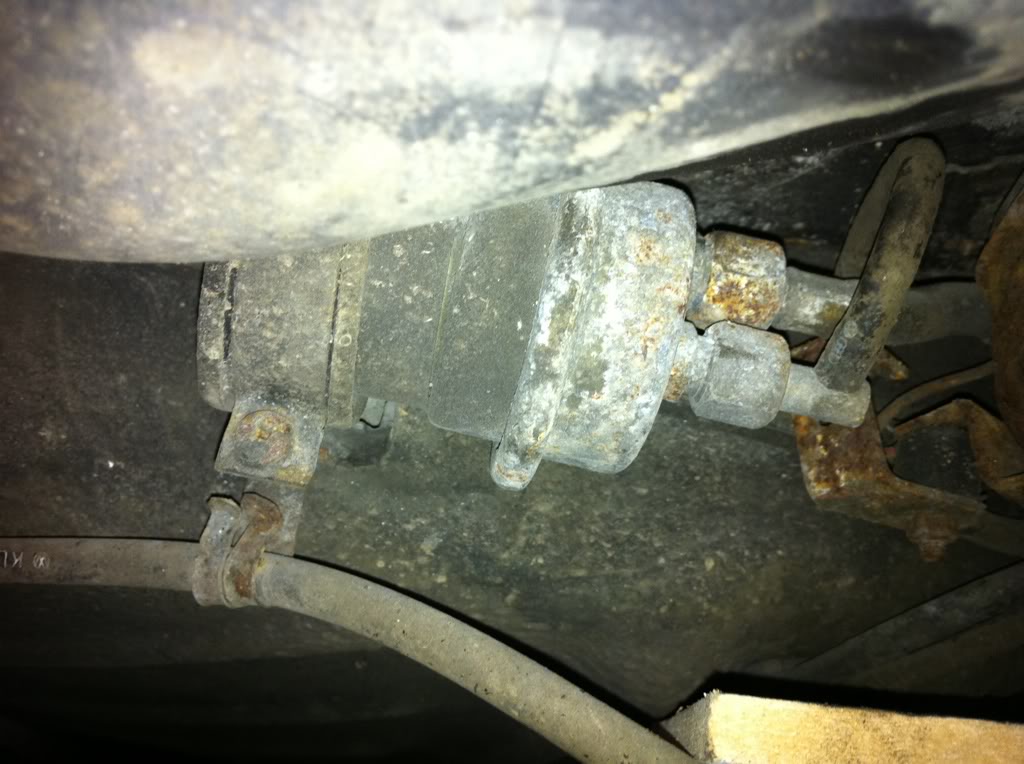
Underneath turned out to be pretty immaculate with no rust at all. Wheel arches were spotless too, just needed a clean up.
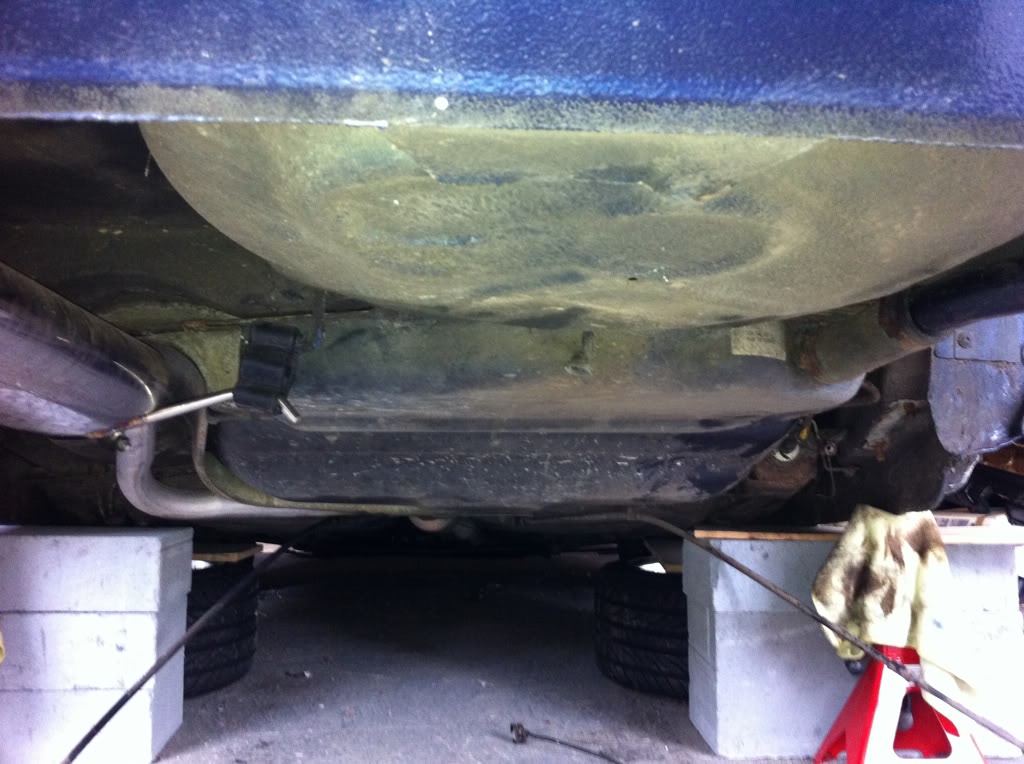
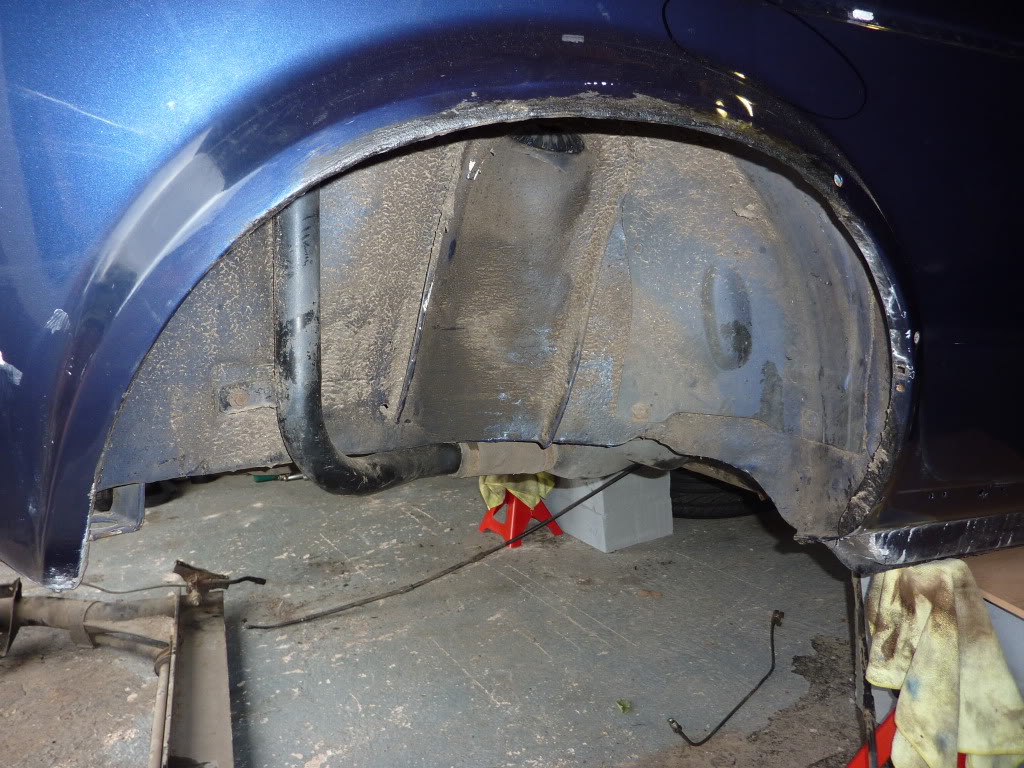


Wheel arches after a good scrubb:
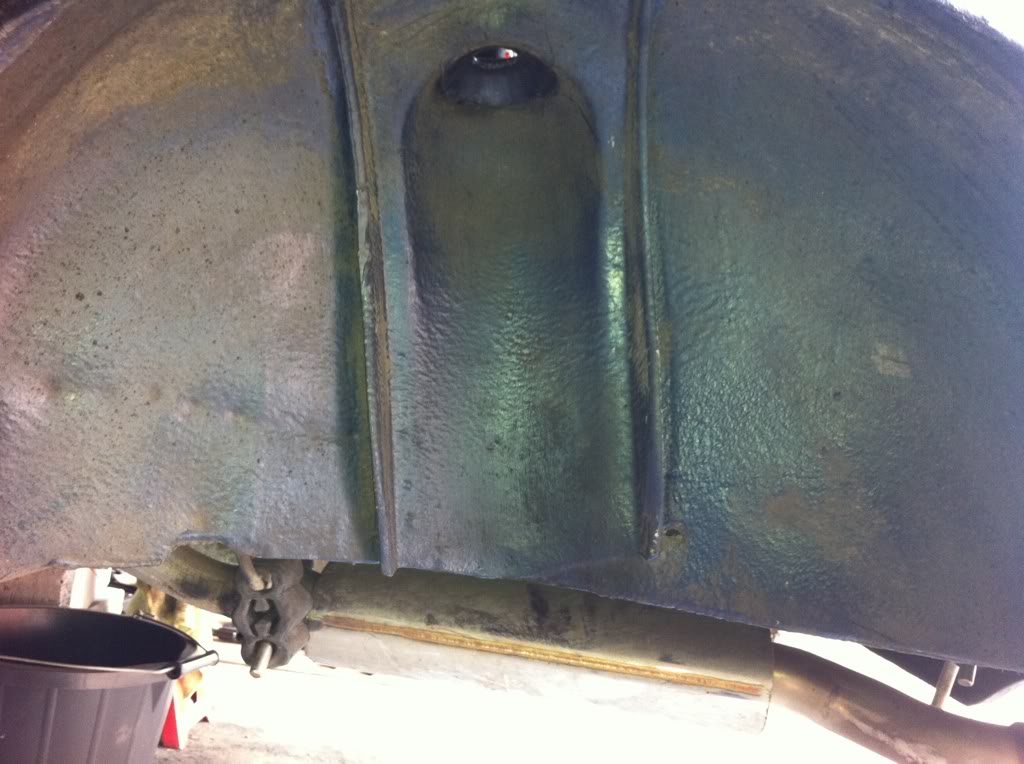
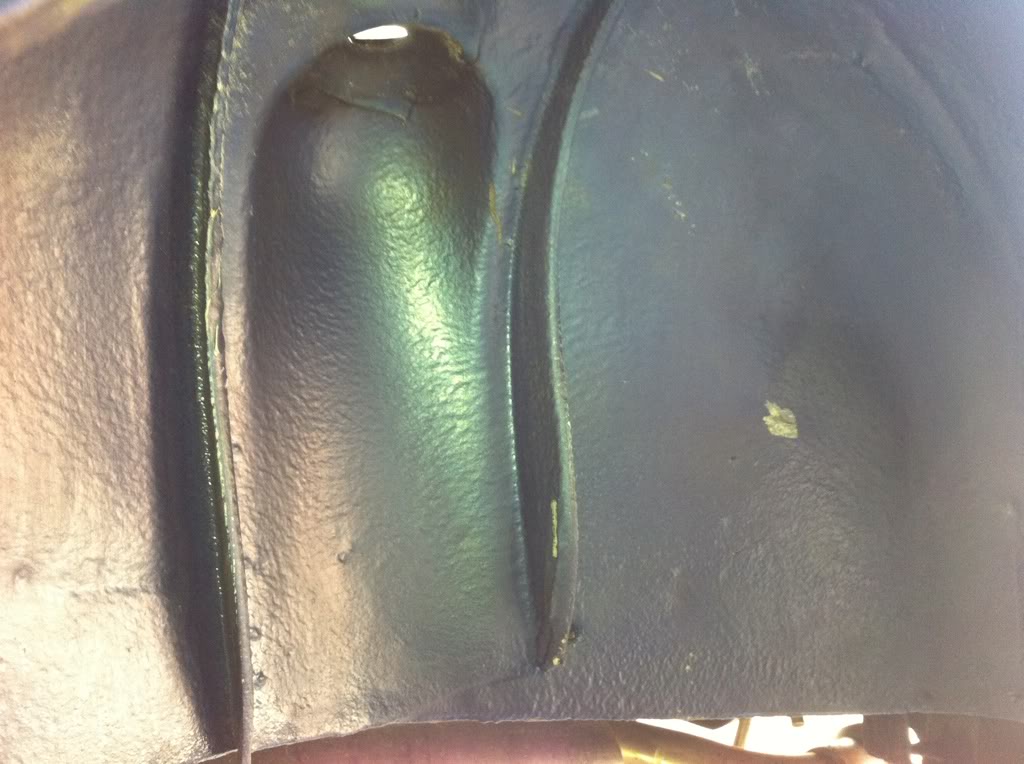
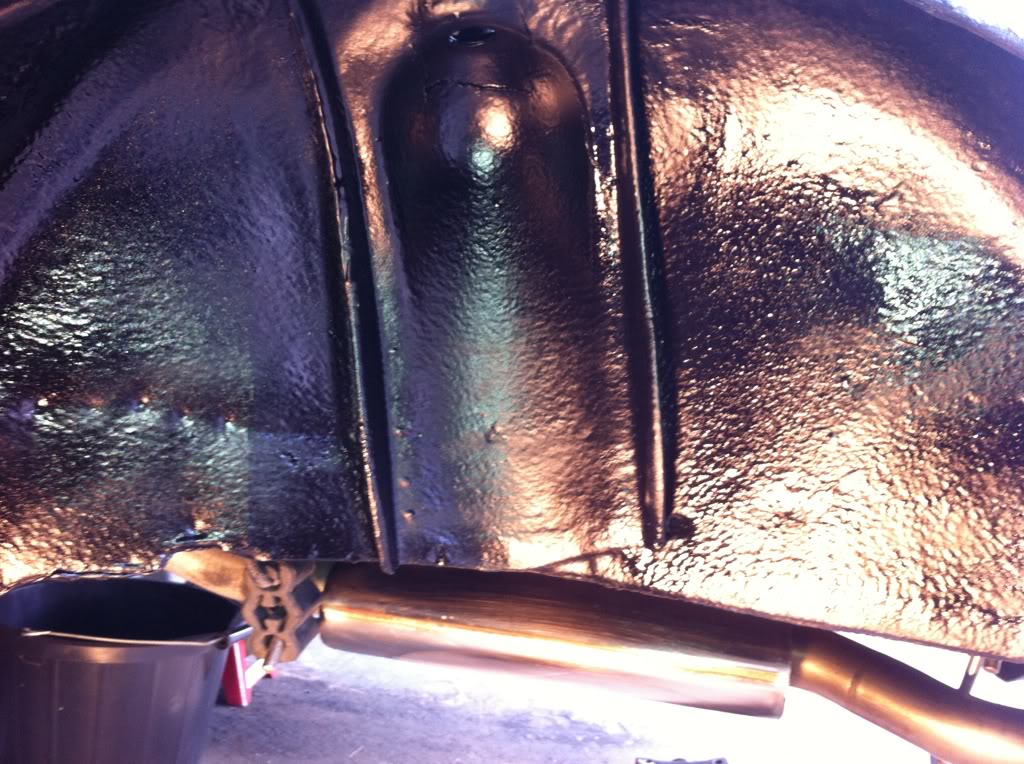
Then a nice fresh coat of underseal:
Old bits off the subframe:
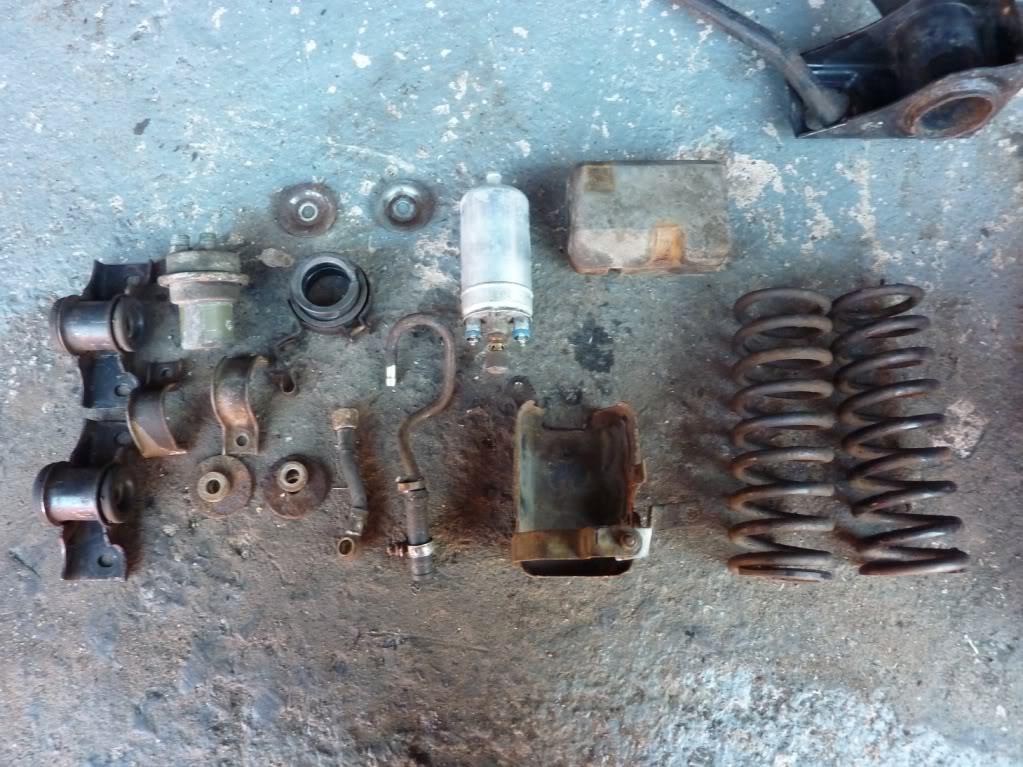
Stripped them down and gave them a good coat of hammerite:
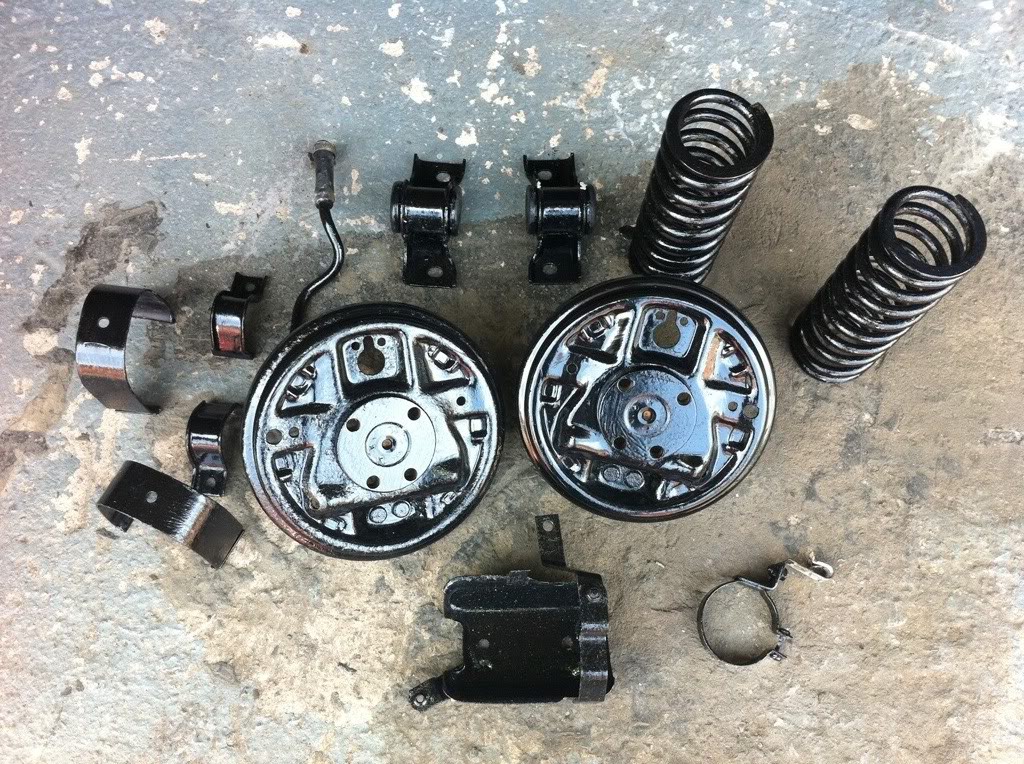
Same for the subframe:
With all the bits cleaned up, it was time to reassemble (hopefully I could remember where it all went!)
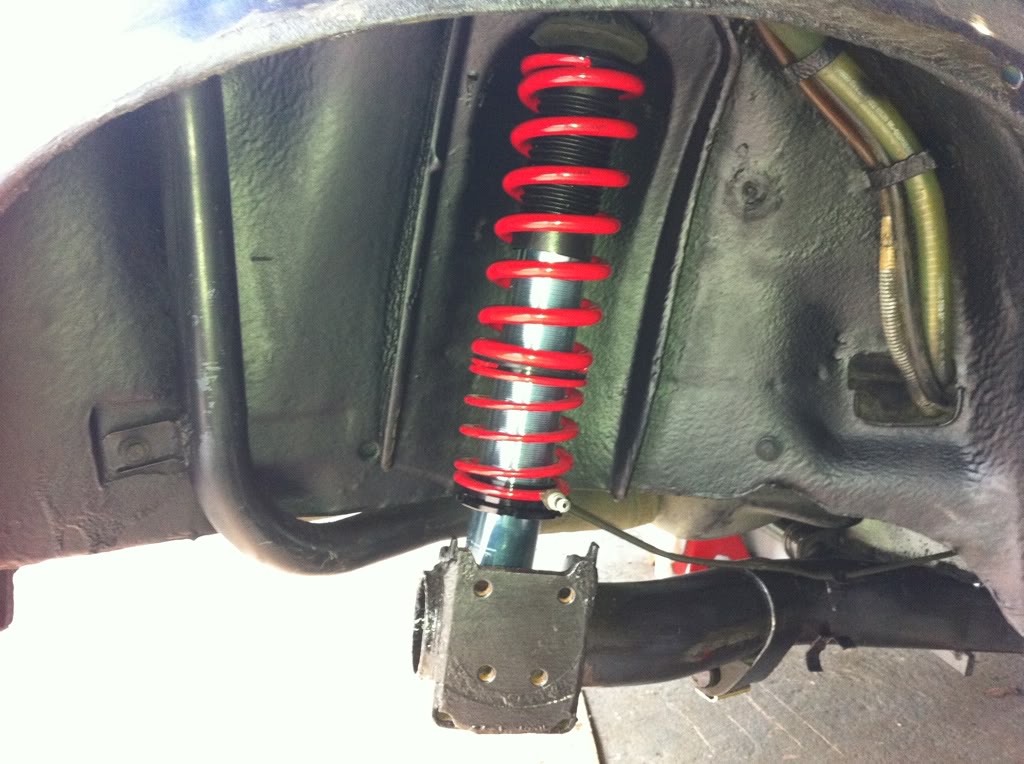
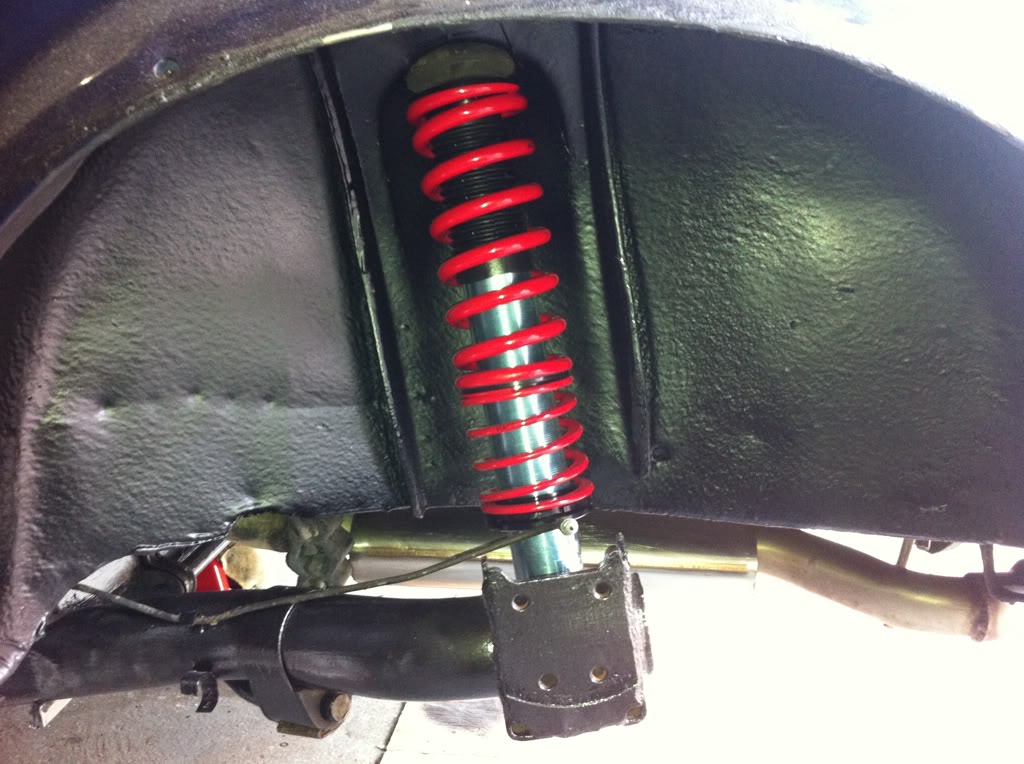
Subframe assembled:
and fitted:
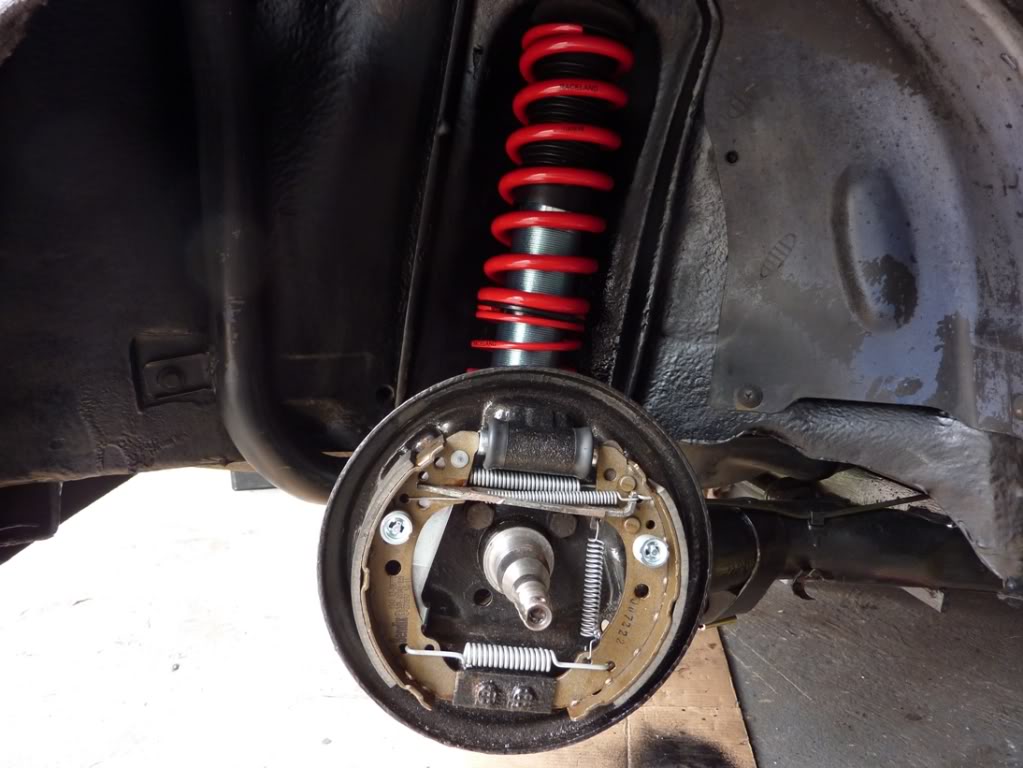
Started rebuilding the rear brakes now with new shoes, cylinder and spring kit as the old springs etc was rough to say the least!

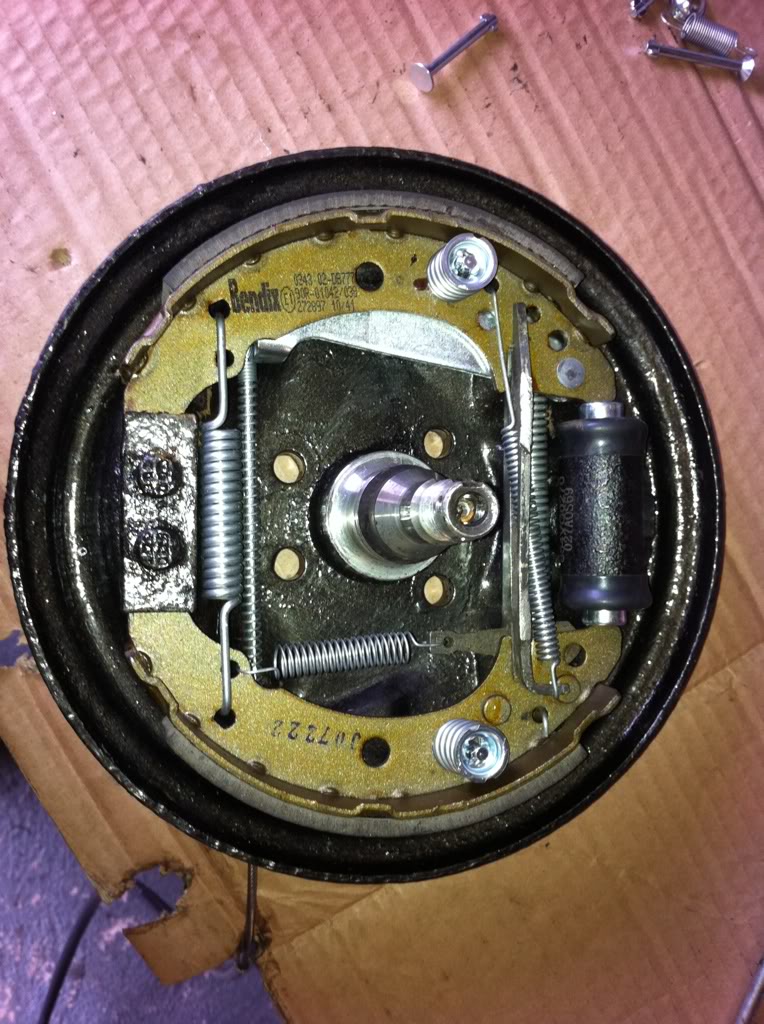
That was all for today. Will put the rear drums on and get some more pics.
I was thinking about stripping all the underside of the car and re-doing the underseal but the car doesn't have a single rust patch. Should I leave it alone…if it's not broke don't fix it??
Mk1 Gti Cabby project on the go! Detailed engine, roof off, leather interior, 16's, painted, now getting put back together!
http://www.vwgolfmk1.org.uk/modules.php?name=Forums&file=viewtopic&t=103263&start=0&postdays=0&postorder=asc
http://www.vwgolfmk1.org.uk/modules.php?name=Forums&file=viewtopic&t=103263&start=0&postdays=0&postorder=asc
Posted

COTM Team

chris
p.s. i got my leatherette retrims from autoleathers they seem pretty good so far and just wipe clean

Chris

Posted
Settled In

Made a start on the front too:
Old set up:
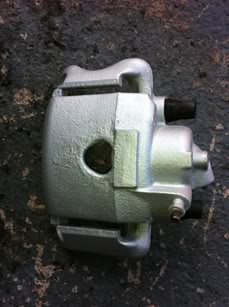
Stripped wishbones, calipers, anti-roll bar, hubs etc:

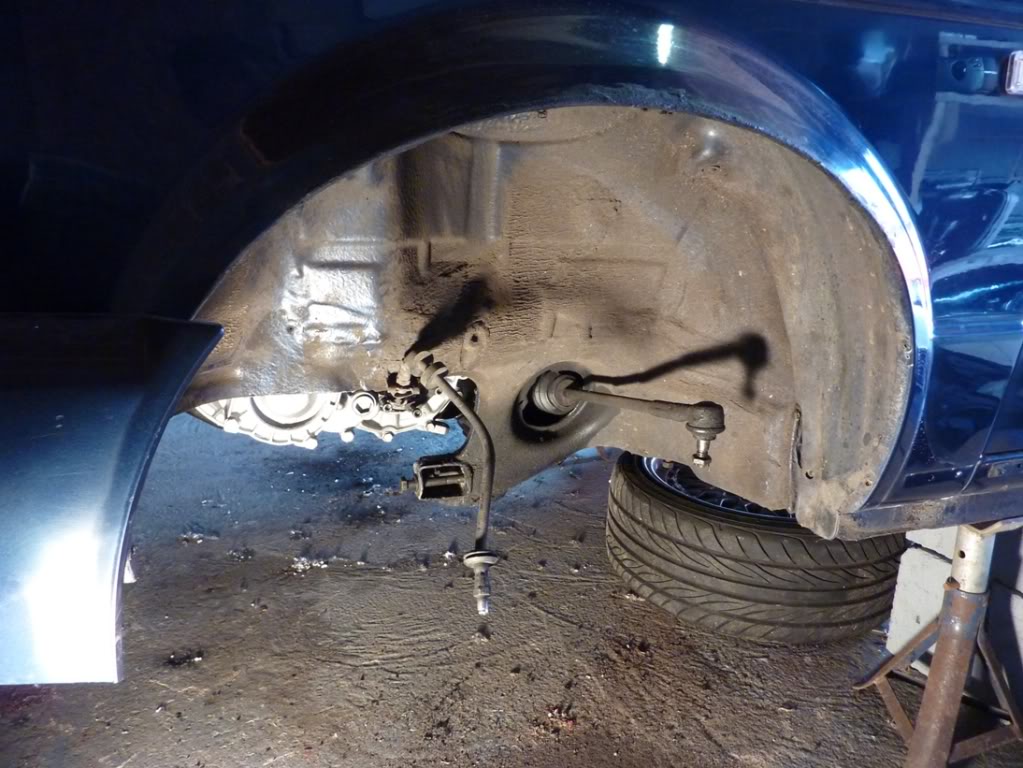
Again both inner wings were good, no rust!! Gave them a good clean out and a fresh coat of underseal:

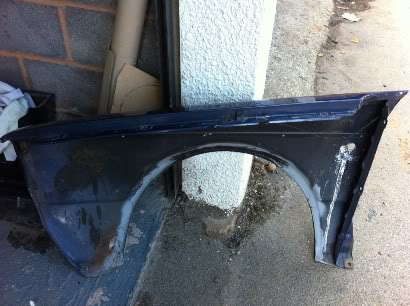
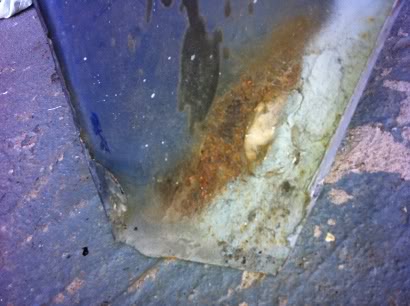
Found some rust in the drivers wing, damn! Spoke too soon. Decided to replace with a pattern wing which isn't the best fit but with a bit of fettling by my bodyshop it'll be fine.
Car goes in for a full respray in a couple of weeks anyway.
Wing off - clean under here…
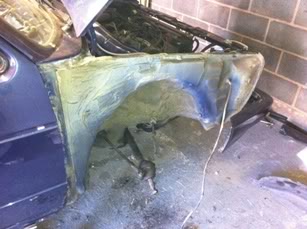
Rusty wing…
Time to clean and paint all the bits…
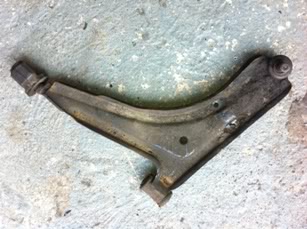
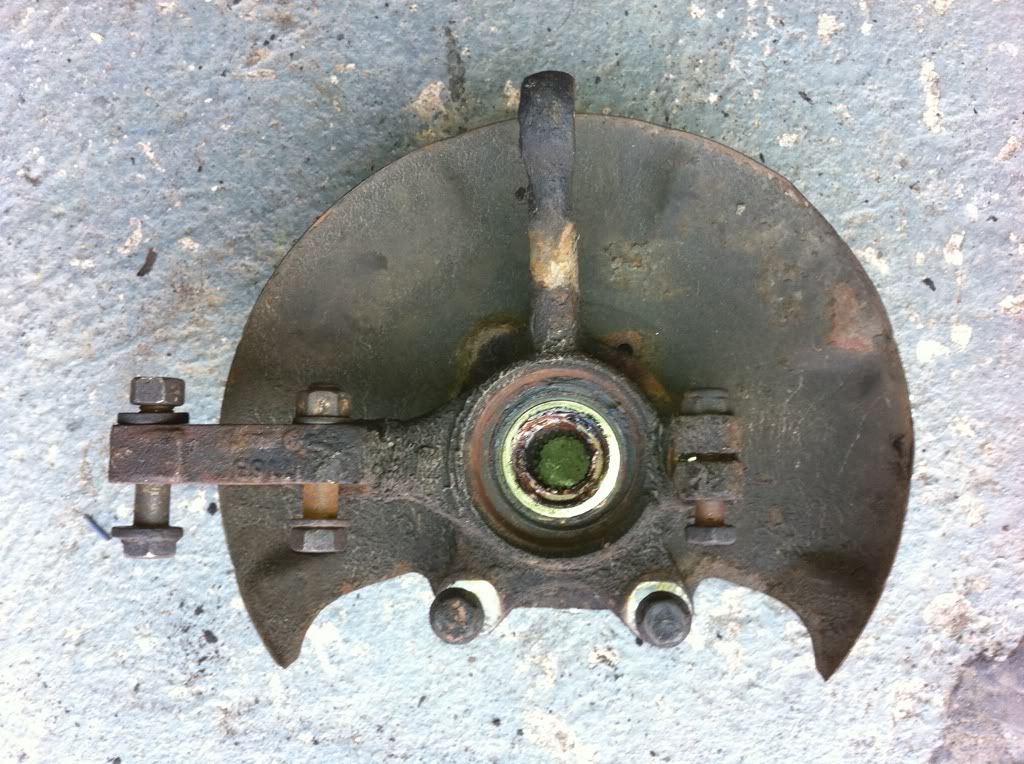

After a coat of paint…
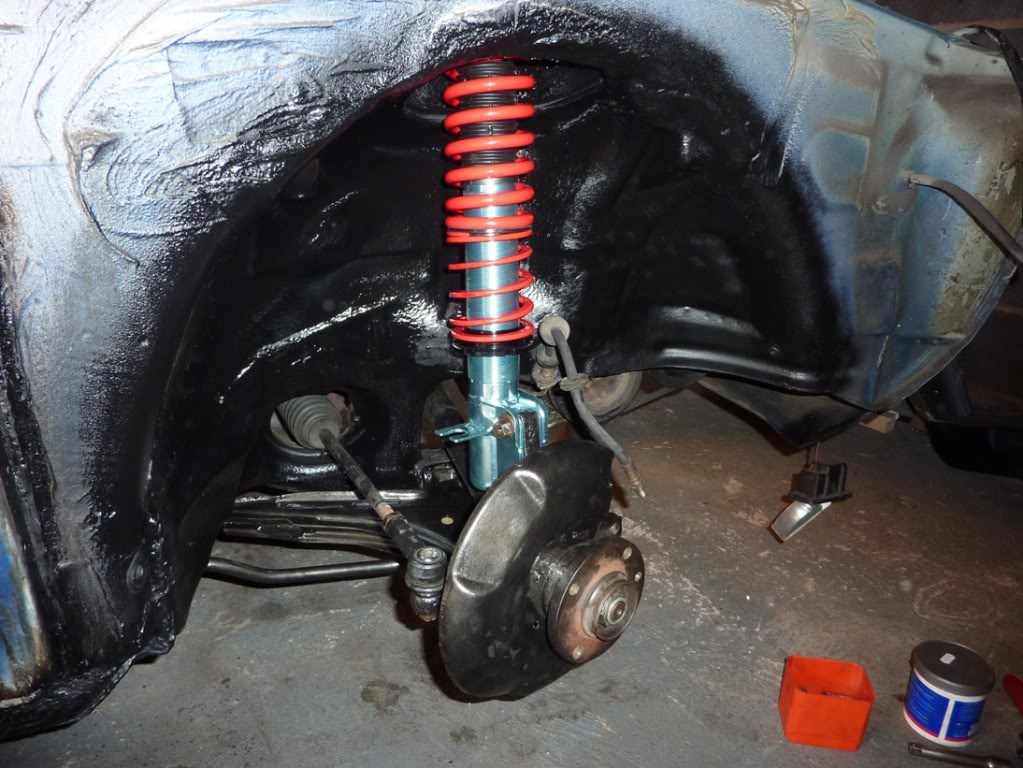
And time to put it all back together…
Fitted a new electric aerial in the wing while I had room under the arch as the old one didn't work.
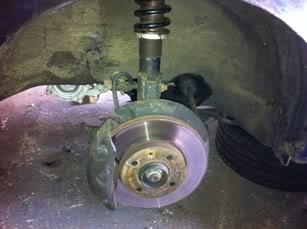
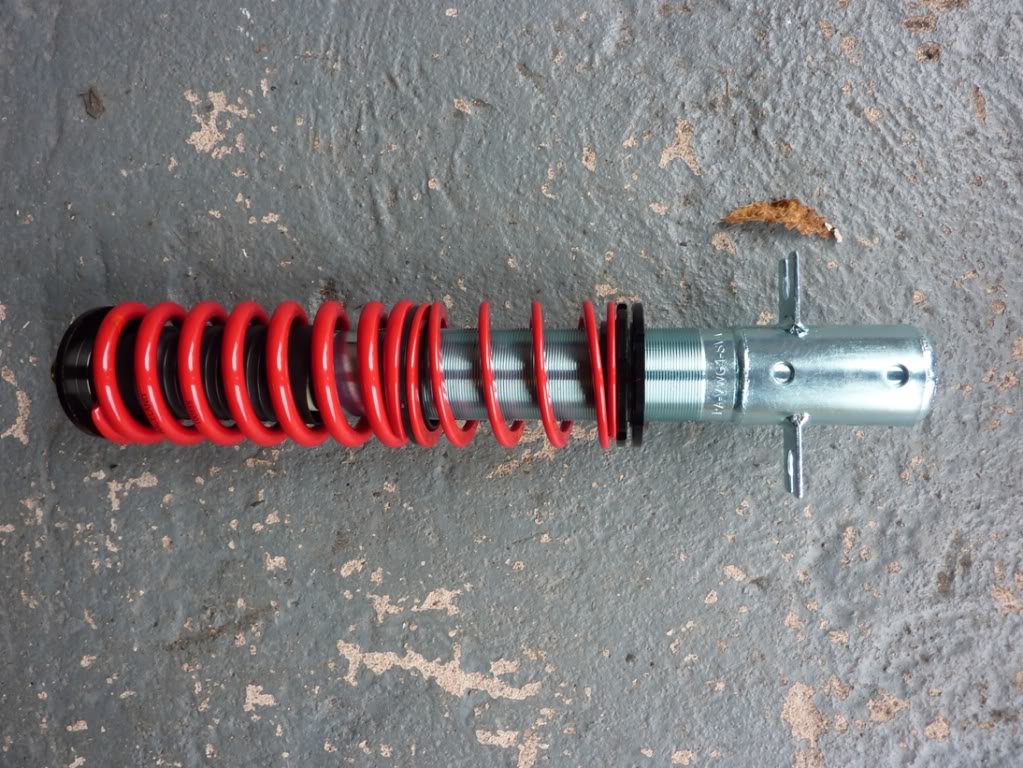
New coilovers ready to go on:
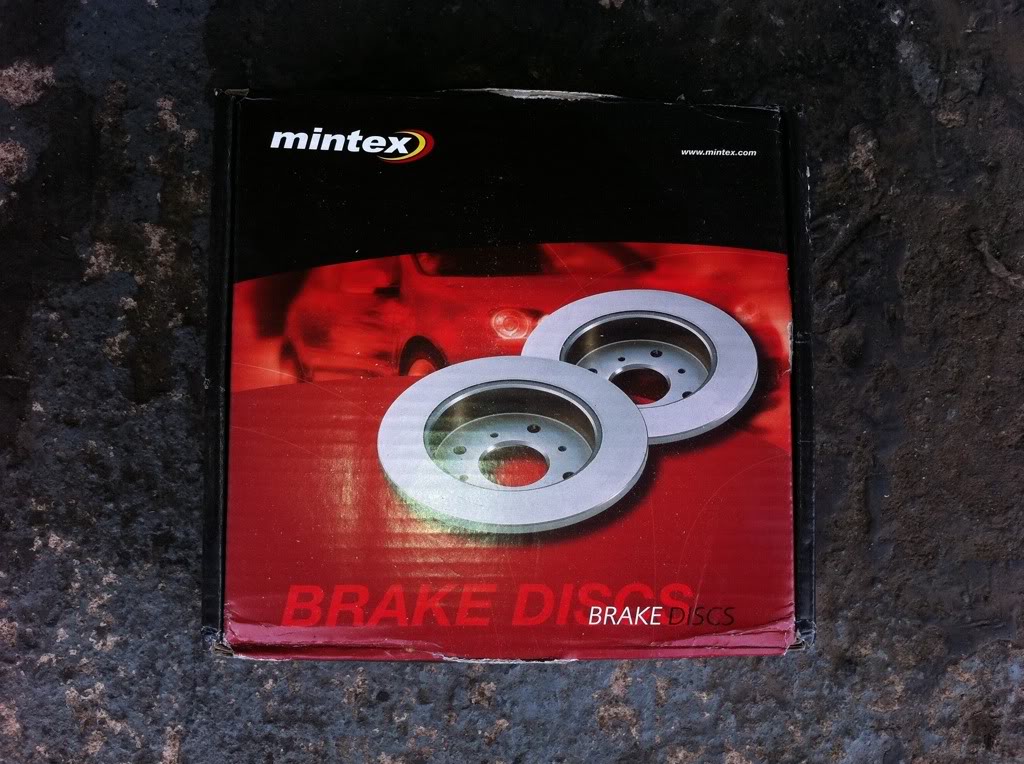
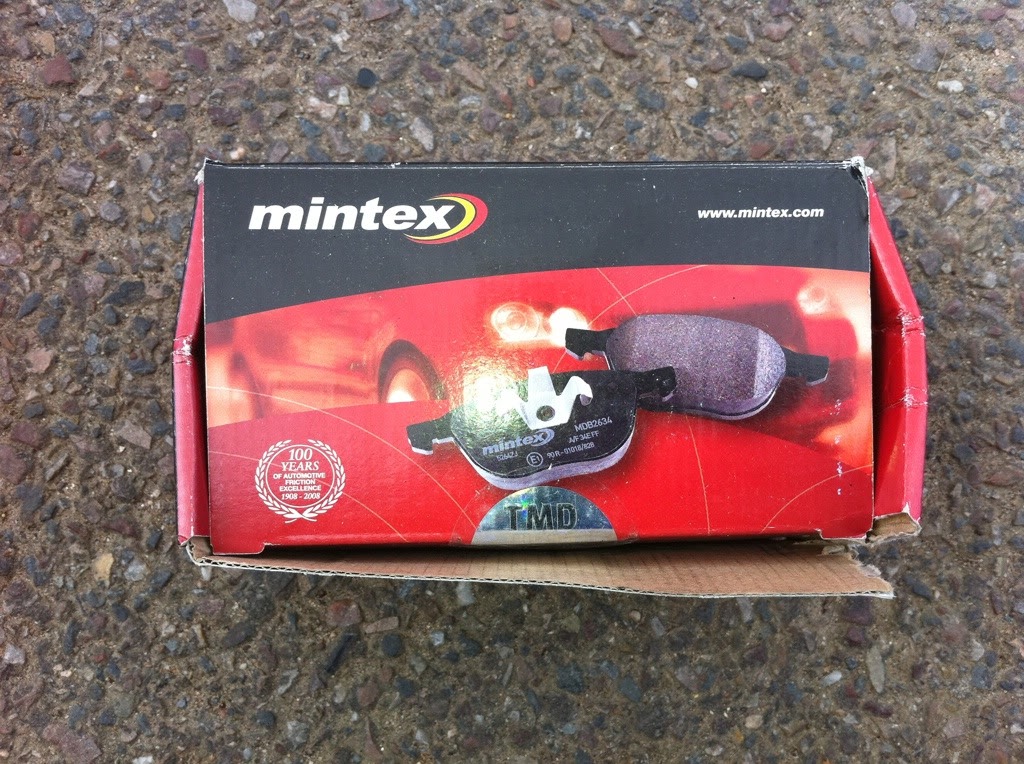
New discs and pads ready to go on:
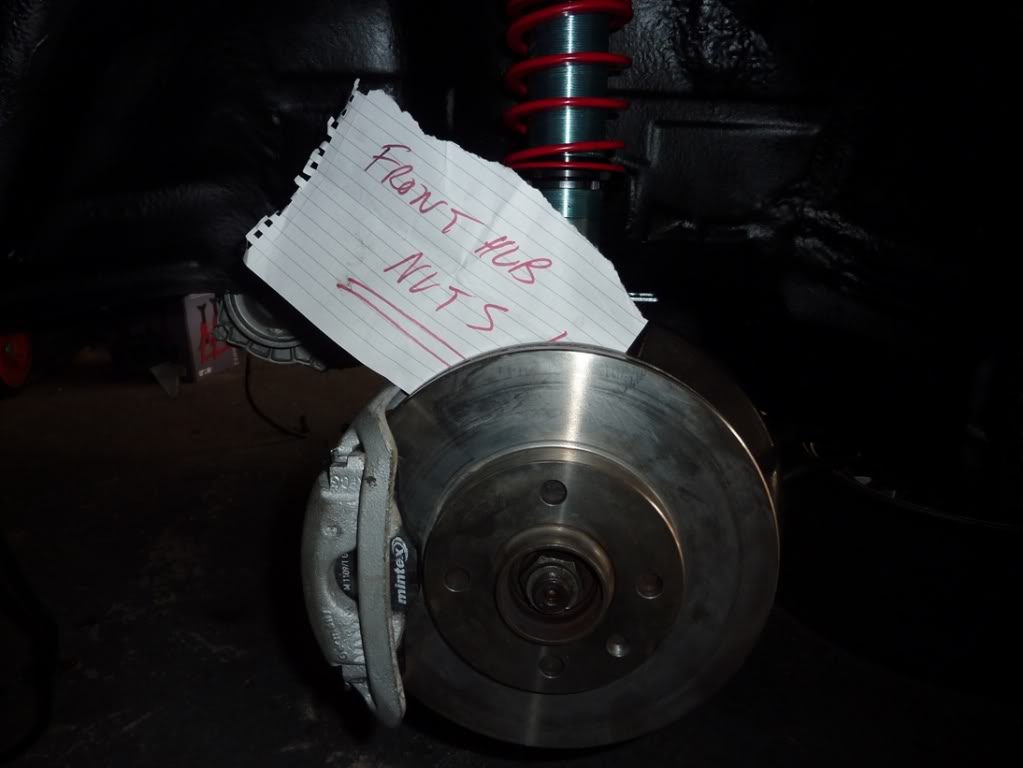
With it all back together I left myself a little note to remind me to do the hub nuts back up once I'd got the wheels on. Didn't fancy my wheels falling off going up the road! My memory is terrible!!
Fitted the replacement wing (ready to be fettled by the bodyshop)
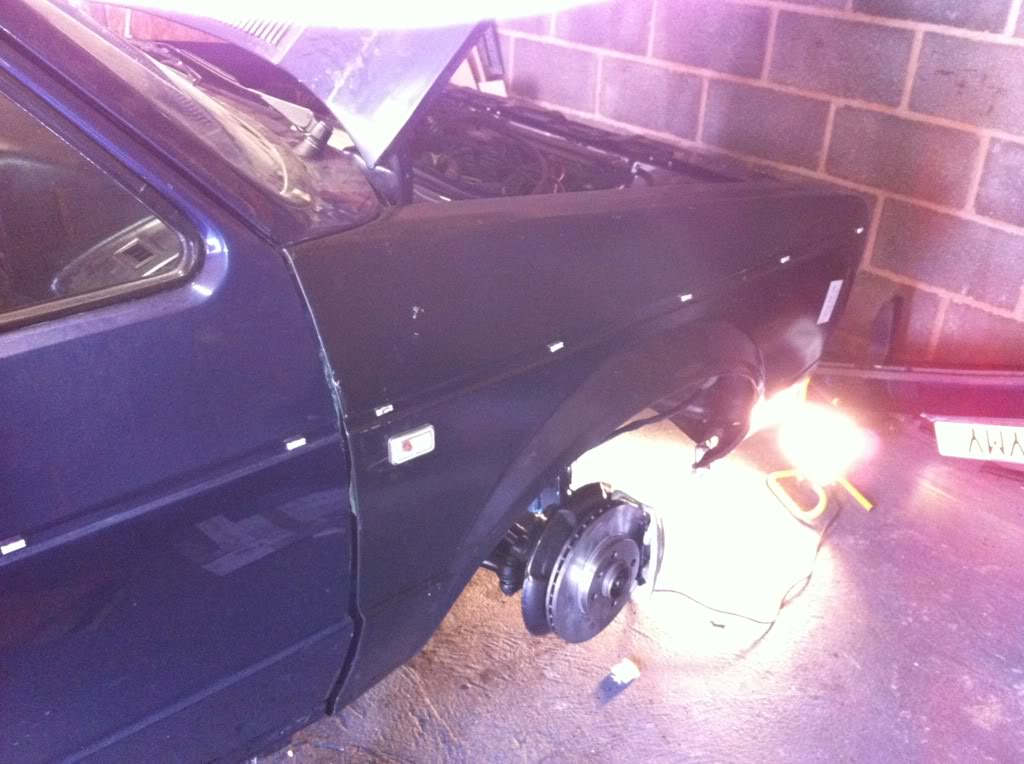
Interior and dash back in so that I can get my MOT next week. It'll all be coming out again once I've got the MOT because I have a mint dash and leather seats to go in after the respray.
My garage is starting to look like Steptoe's Yard. Surprising how many bits I've got to sell.
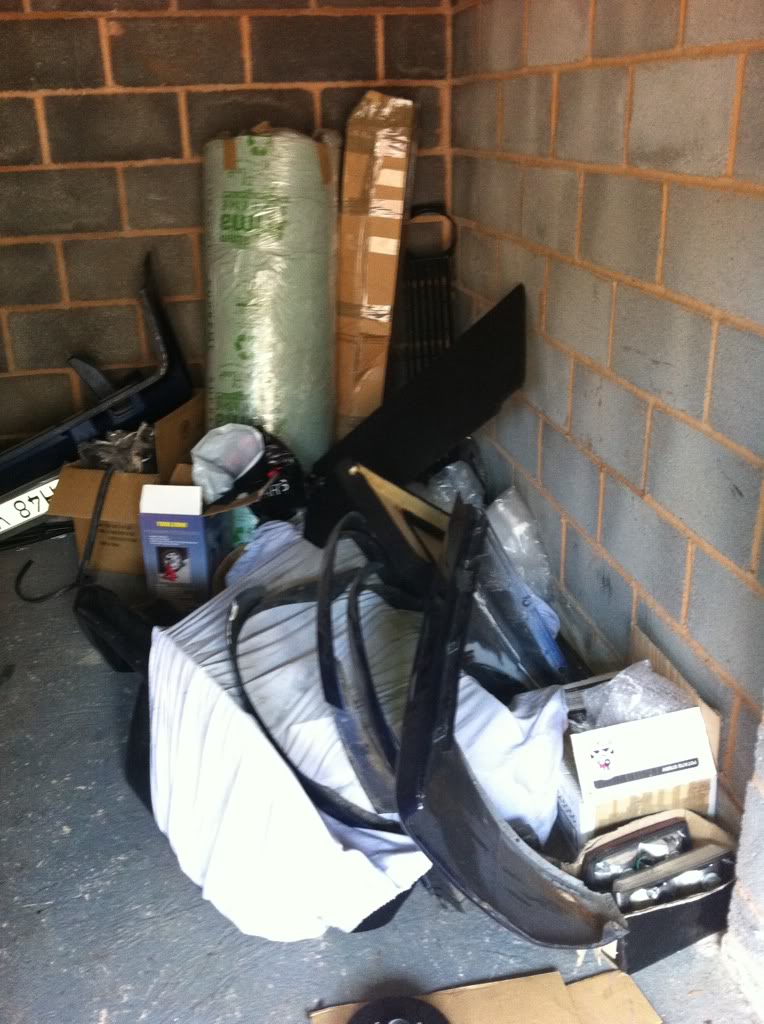
Spare dash, 2 x MFA clocks, rear lights, 2 x grilles, carpet, MFA wiper stalk, wheel arch roller, Wolfsburg window handles…it'll all be on here soon if anyone needs anything.
Ordered my roof bits from Chortle also. What a helpful guy! Navy blue Mohair, white headliner and new interliner with padding on it's way. If you need any roof bits…give Chortle a PM, he's a top guy with great prices.
Now I need to get the wheels back on, number plates attached and off for a re-test…FINGERS CROSSED!
Mk1 Gti Cabby project on the go! Detailed engine, roof off, leather interior, 16's, painted, now getting put back together!
http://www.vwgolfmk1.org.uk/modules.php?name=Forums&file=viewtopic&t=103263&start=0&postdays=0&postorder=asc
http://www.vwgolfmk1.org.uk/modules.php?name=Forums&file=viewtopic&t=103263&start=0&postdays=0&postorder=asc
Posted

Settled In
loving this thread some proper hard work going into this.
So glad you got those black wheels off looked a mess.
im loving how brave you were with the wet and dry and the rotary but did look good after.
By anychance did you get this from the midlands. I swear i seen this for sale and was going to go and have a look then i spotted mine. If it is im so glad i left it alone needed some work doing.
Looking forward to seeing the results. what colour are you having. the car looks more like a mk 2 colour

Posted
Settled In
Black wheels didn't do it for me either. Yuk!
The wet & dry was a mission. Never again. Turned out to be a waste of time as I'm having a full respray now. Maybe I just like hard work??
Got the car from Winchester. I could have tarted this one up and had a 'nice cab' but I like things to be 'right'….and it gives me a reason to get out of the Mrs hair now and again.
I'm keeping the car this colour which is how it came out of the factory according to VW head office. Inca blue metallic - don't see many in this colour but looks awesome in the sunlight.
What you driving?
Mk1 Gti Cabby project on the go! Detailed engine, roof off, leather interior, 16's, painted, now getting put back together!
http://www.vwgolfmk1.org.uk/modules.php?name=Forums&file=viewtopic&t=103263&start=0&postdays=0&postorder=asc
http://www.vwgolfmk1.org.uk/modules.php?name=Forums&file=viewtopic&t=103263&start=0&postdays=0&postorder=asc
Posted
Settled In
djrussf1 said
Thanks!
Black wheels didn't do it for me either. Yuk!
The wet & dry was a mission. Never again. Turned out to be a waste of time as I'm having a full respray now. Maybe I just like hard work??
Got the car from Winchester. I could have tarted this one up and had a 'nice cab' but I like things to be 'right'….and it gives me a reason to get out of the Mrs hair now and again.
I'm keeping the car this colour which is how it came out of the factory according to VW head office. Inca blue metallic - don't see many in this colour but looks awesome in the sunlight.
What you driving?
im far from a mk1 expert but that must be quite a rare colour ive not seen one yet. I thought it was that dark blue that you got on the mk2's but yours might be a little darker.
Ive got a gti cabby.
heres my thread: http://www.vwgolfmk1.org.uk/modules.php?name=Forums&file=viewtopic&t=97122
Posted
Settled In
I was reading your thread this morning
When valeting, what does they clay do? Heard a lot of people talking about it.
Mk1 Gti Cabby project on the go! Detailed engine, roof off, leather interior, 16's, painted, now getting put back together!
http://www.vwgolfmk1.org.uk/modules.php?name=Forums&file=viewtopic&t=103263&start=0&postdays=0&postorder=asc
http://www.vwgolfmk1.org.uk/modules.php?name=Forums&file=viewtopic&t=103263&start=0&postdays=0&postorder=asc
Posted
Settled In
A clay bar pulls dirt off the car that you would have never thought was ever there.
All you do is clean the car first then warm the bar up in your hand. stretching and moving the bar. when it becomes softer then you can start claying. spray the car with water or detailer spray and also the bar and then just rob the bar on the paint. you will instantly notice that your paint is rough but after rubbing a few times it will become smooth. Then just move over the car untill its lovely and smooth. you will need to turn the clay bar round as you will notice it will get dirty also just fold the bar to reveal a clean side. 1 bar will do a whole car no probs.
Once done clean the car again and then polish if you want. i would suggest using your polisher just to get any swirls out and then just wax the car as claying takes off all protection to the car. also if you drop the clay bar ditch it as any dirt picked up will scratch your paint.
the results are amazing. lovely smooth paint and a nice finish. really its just prep before polishing the car to a high gloss and then waxing it.
Wheels might be for sale soon if you like them im considering changing to something a little more retro.
Posted
Settled In
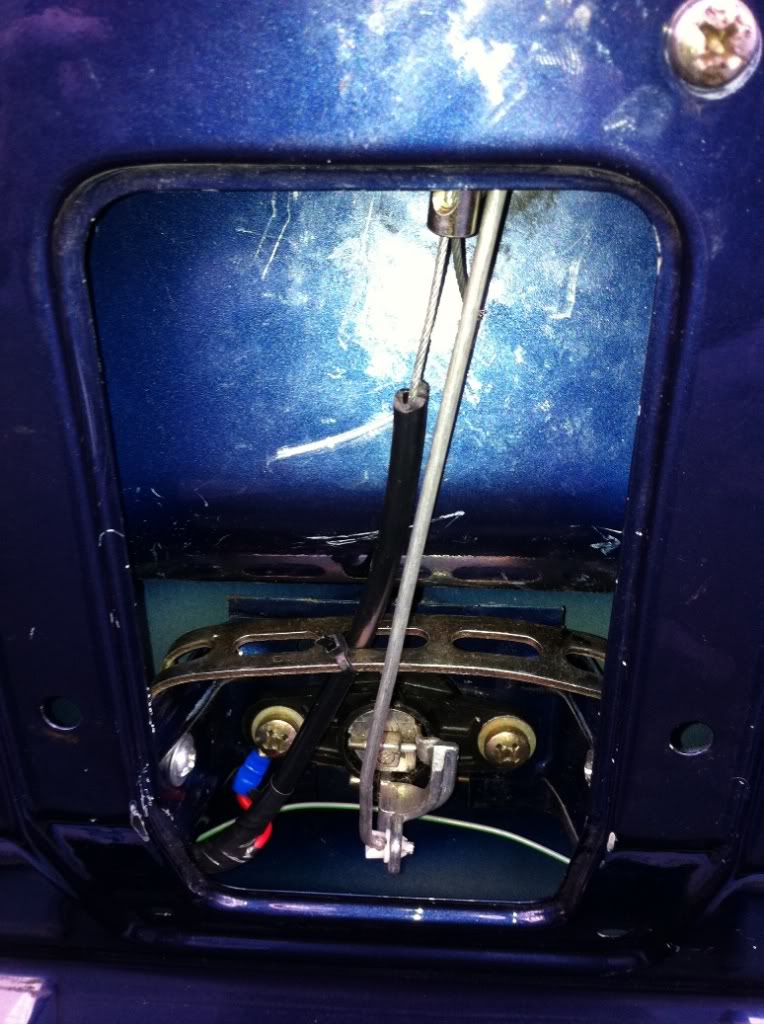
Got a motor from a 89 gti mk2.
Old and new motors and brackets (mk1 on left, mk2 on right)
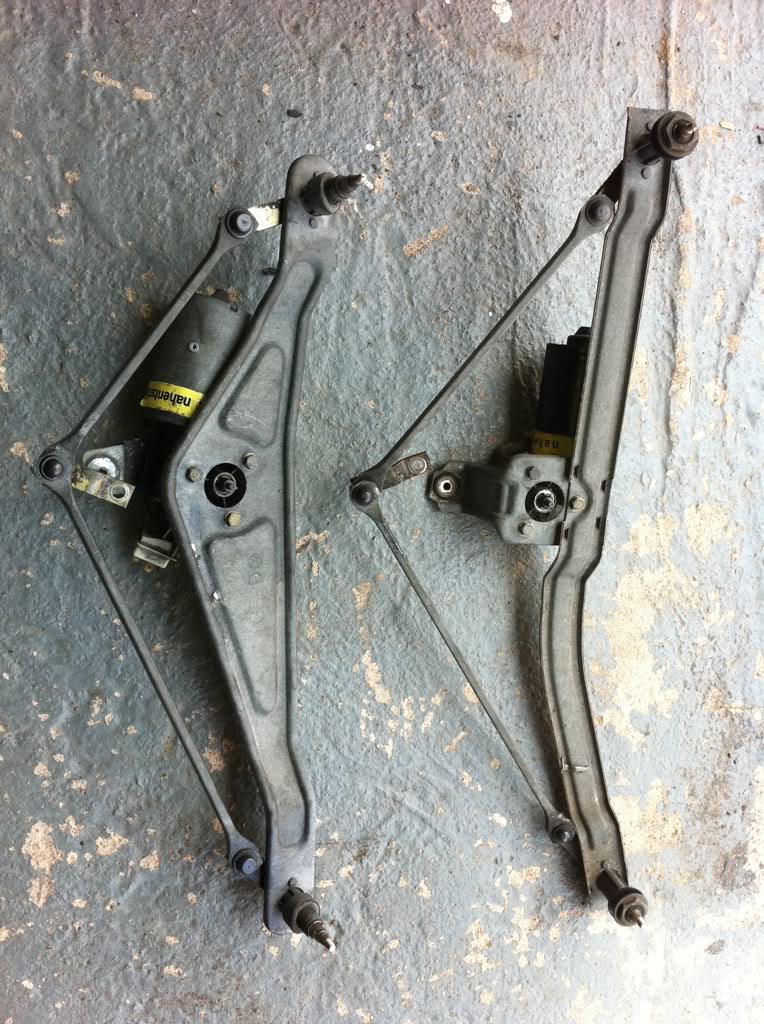
Removed both motors

Fitted mk2 motor to mk1 mech.
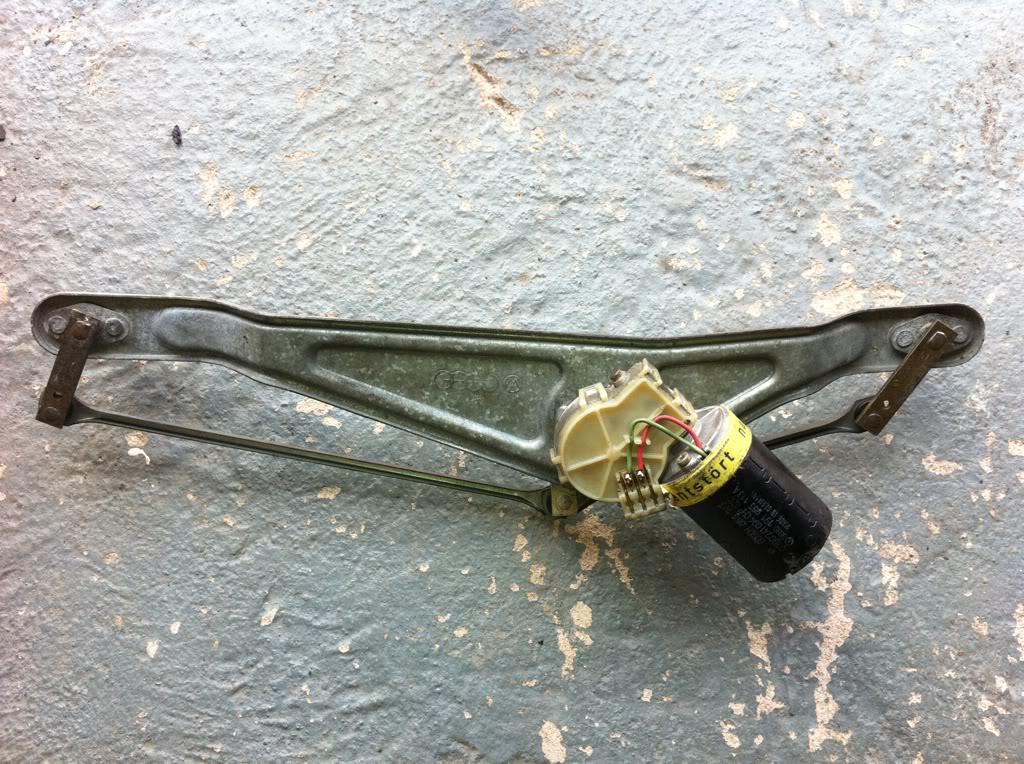
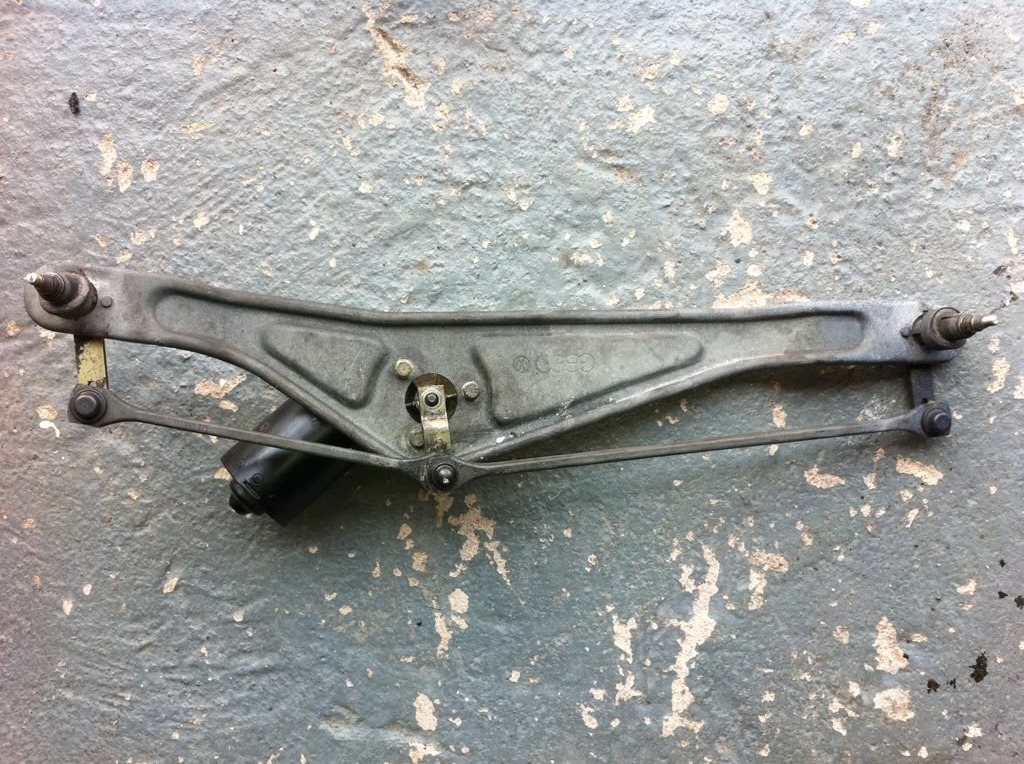
Spliced and soldered the mk2 motor plug into my existing loom. Pre 90 mk2's had the same coloured wiring for the motor so nice and easy!
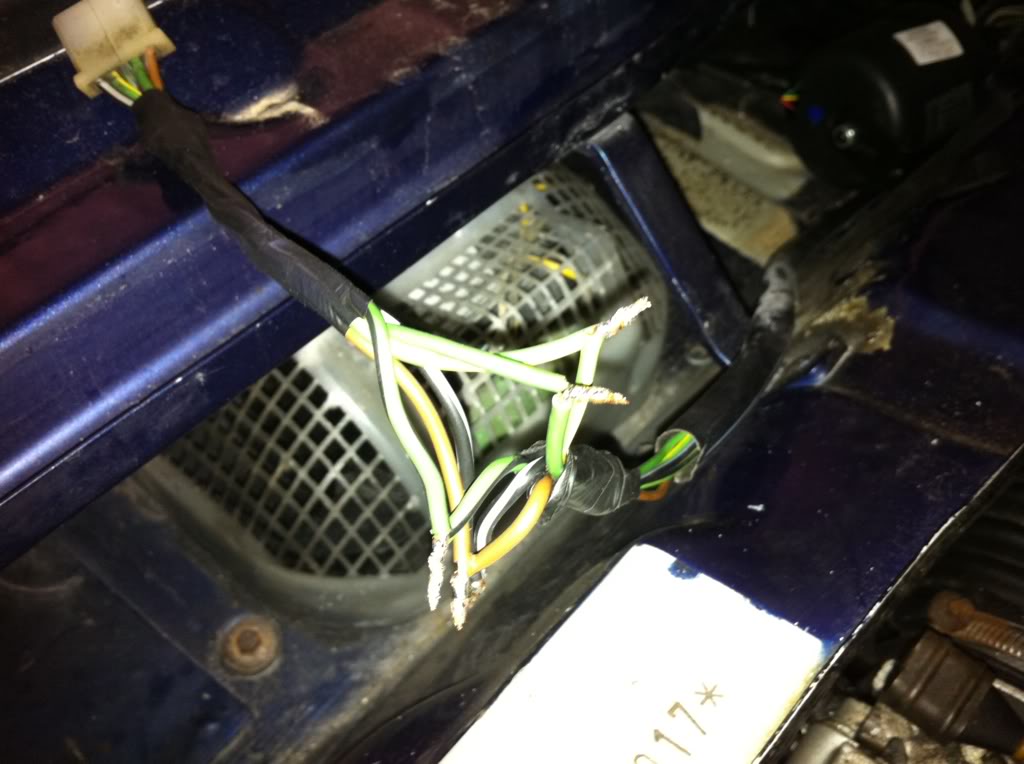
Taped the wires up and fitted the new mech in place. I'll be refurbing this when I strip the engine bay, but for now it works perfect. So much quicker than the mk1.
The only difference is that there is no mounting bracket on the mk2 motor but once fitted, wipers on etc it doesn't go anywhere. May make up a bracket when I do the engine bay later on.

Nice cheap, effective mod!
Mk1 Gti Cabby project on the go! Detailed engine, roof off, leather interior, 16's, painted, now getting put back together!
http://www.vwgolfmk1.org.uk/modules.php?name=Forums&file=viewtopic&t=103263&start=0&postdays=0&postorder=asc
http://www.vwgolfmk1.org.uk/modules.php?name=Forums&file=viewtopic&t=103263&start=0&postdays=0&postorder=asc
Posted
Settled In
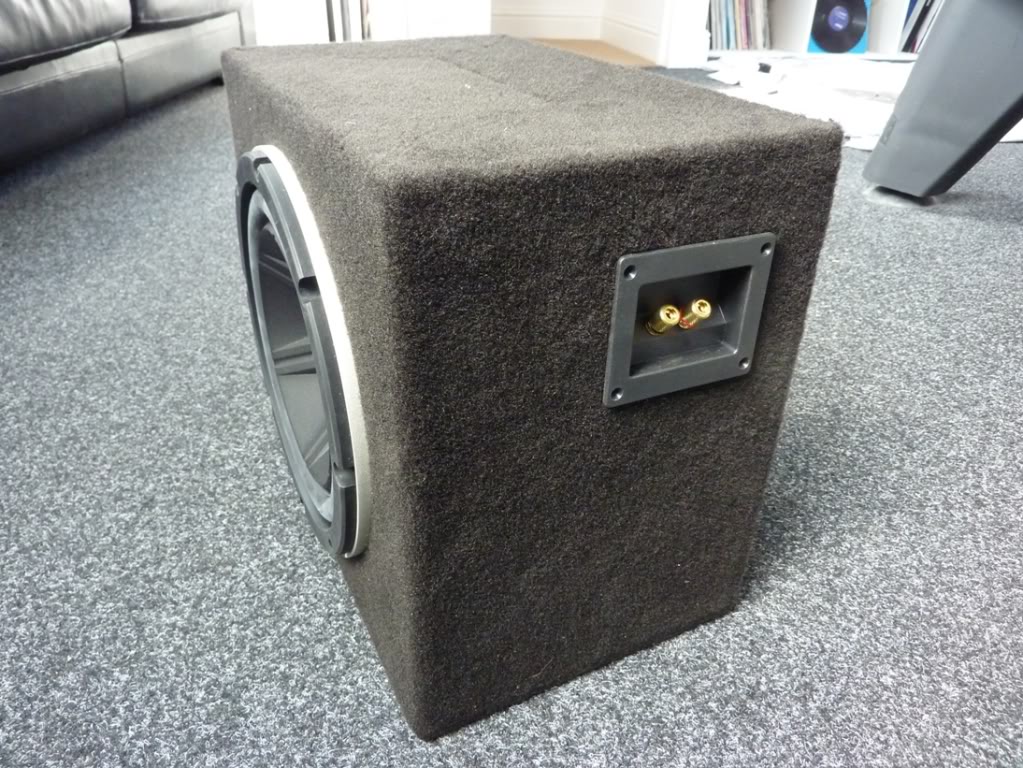
Started making my sub box for the boot install. Managed to get a sub that only needed .75cubic feet capacity so the box is as small as possible and leaves some room in the boot (not a lot!)
Cut my MDF to size:
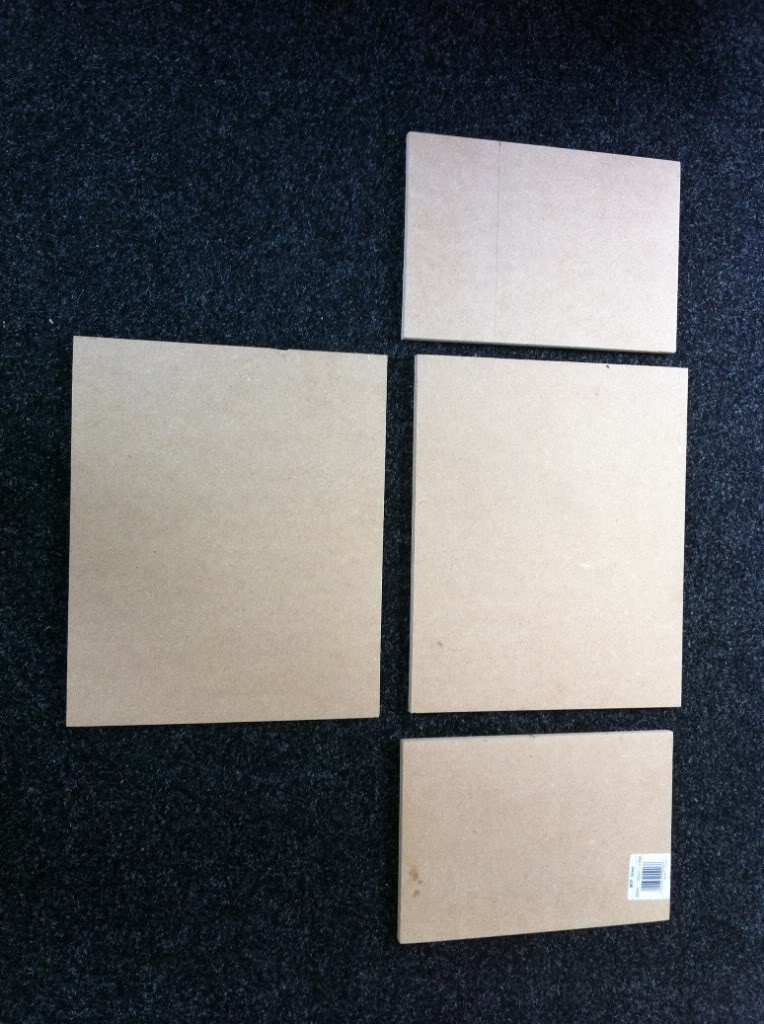
Screwed and glued it all together:
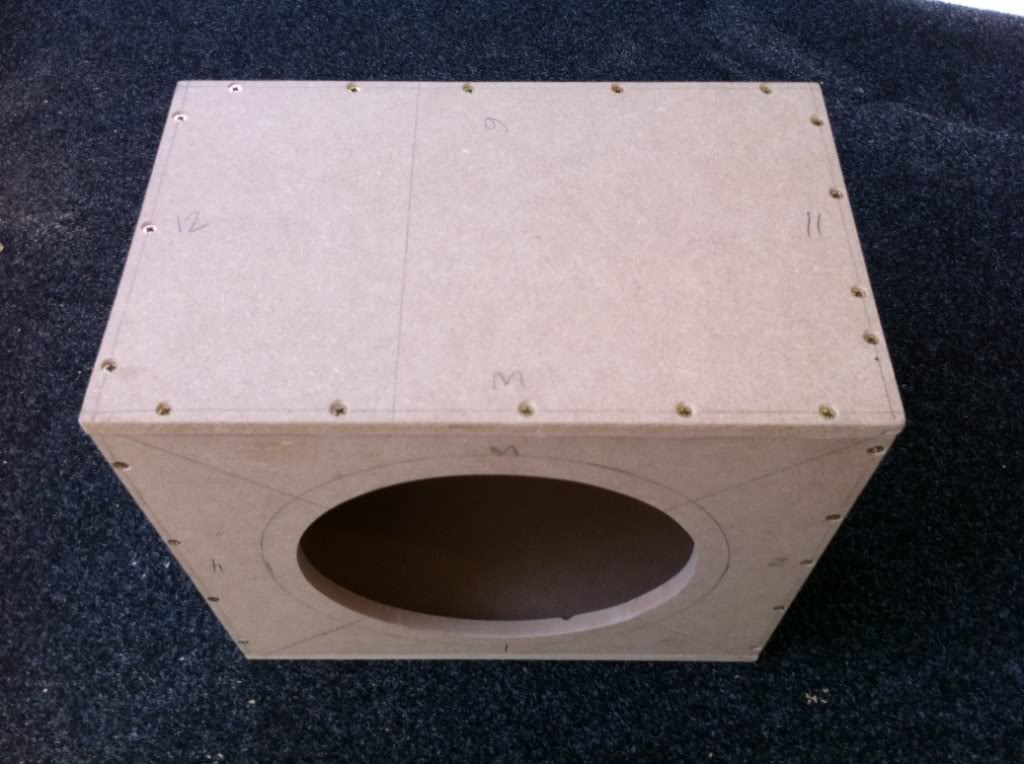
Topped it off with acoustic carpet to match my boot install and fitted the sub and terminals:

Also made a start on the badge refurb (thanks Chortle for the kit…excellent!)
Original badges were a bit tired and had been hand painted at some point:
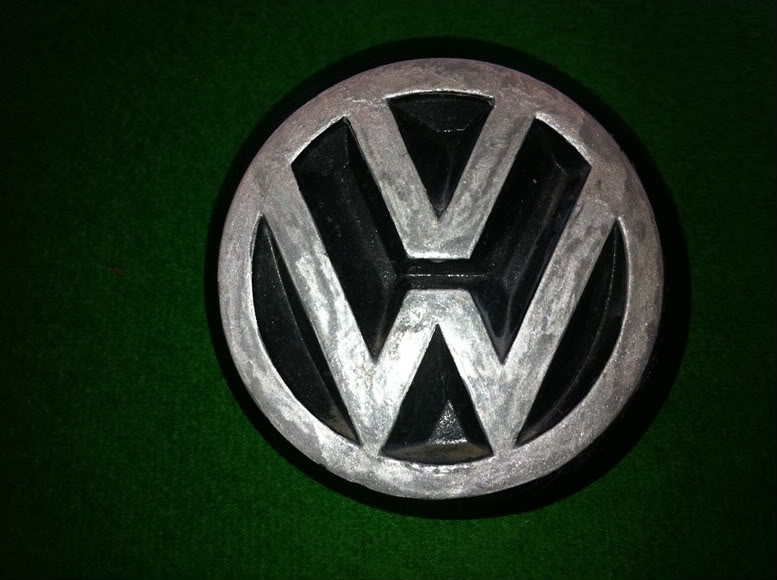

Stripped them back:
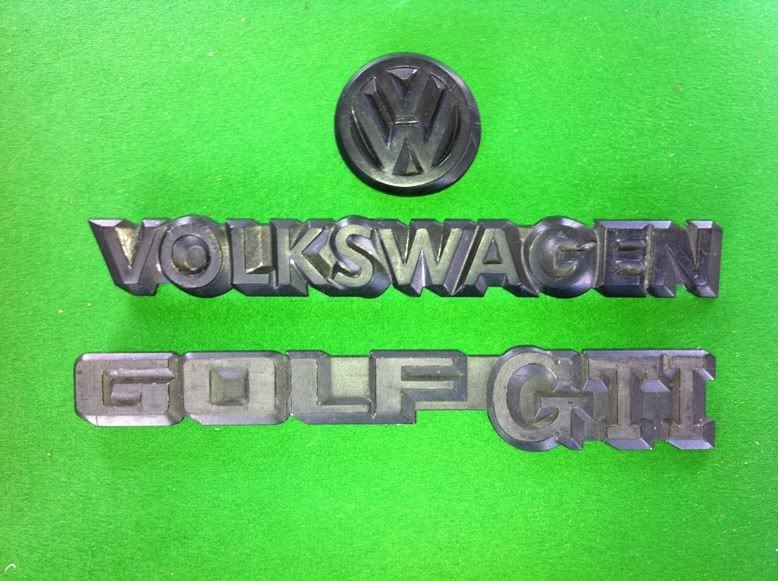

Fresh coat of gloss black:
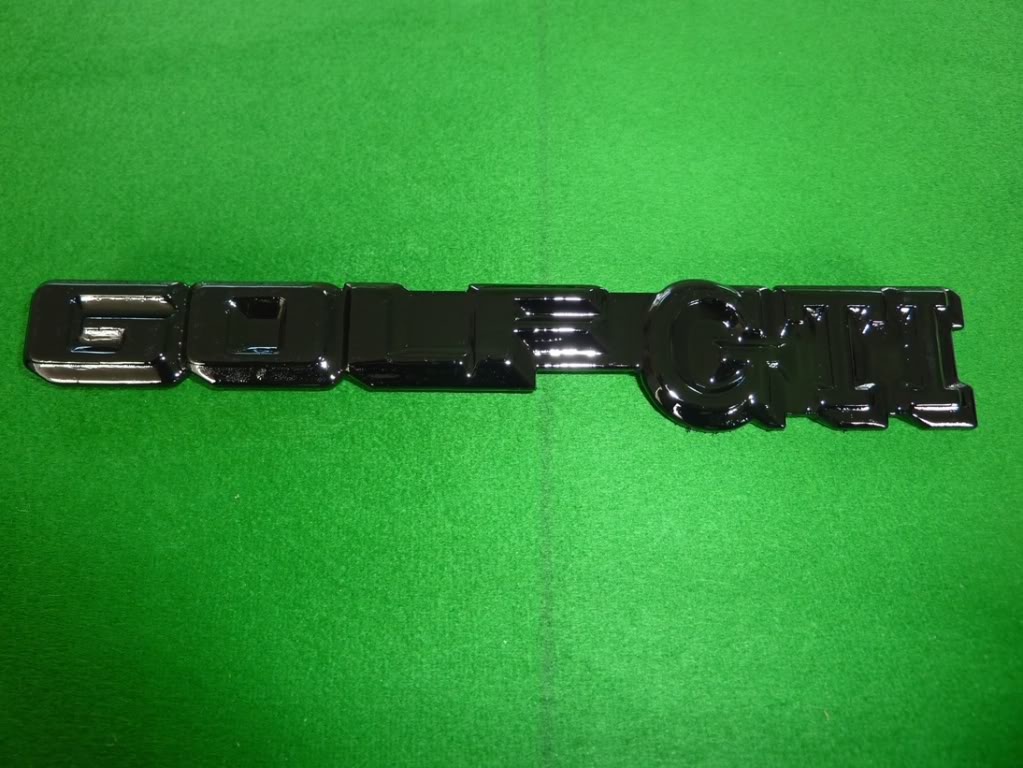
Decals applied:

Final couple coats of clear lacquer and hey presto!

Mk1 Gti Cabby project on the go! Detailed engine, roof off, leather interior, 16's, painted, now getting put back together!
http://www.vwgolfmk1.org.uk/modules.php?name=Forums&file=viewtopic&t=103263&start=0&postdays=0&postorder=asc
http://www.vwgolfmk1.org.uk/modules.php?name=Forums&file=viewtopic&t=103263&start=0&postdays=0&postorder=asc
Posted
Settled In
Mk1 Gti Cabby...The Project So Far With Pics...What a Day!!
Went to put the wheels on but the new coilovers not hit the inside edge of front wheels! Argh!
Luckily I had 20mm spacers on the rears so changed them onto the front (which had 10mm spacers on) and they clear…just! Phew. Was beginning to regret getting rid of my AVO's.
Now I've got to get another set of 20mm spacers for the rears but they're on for now.
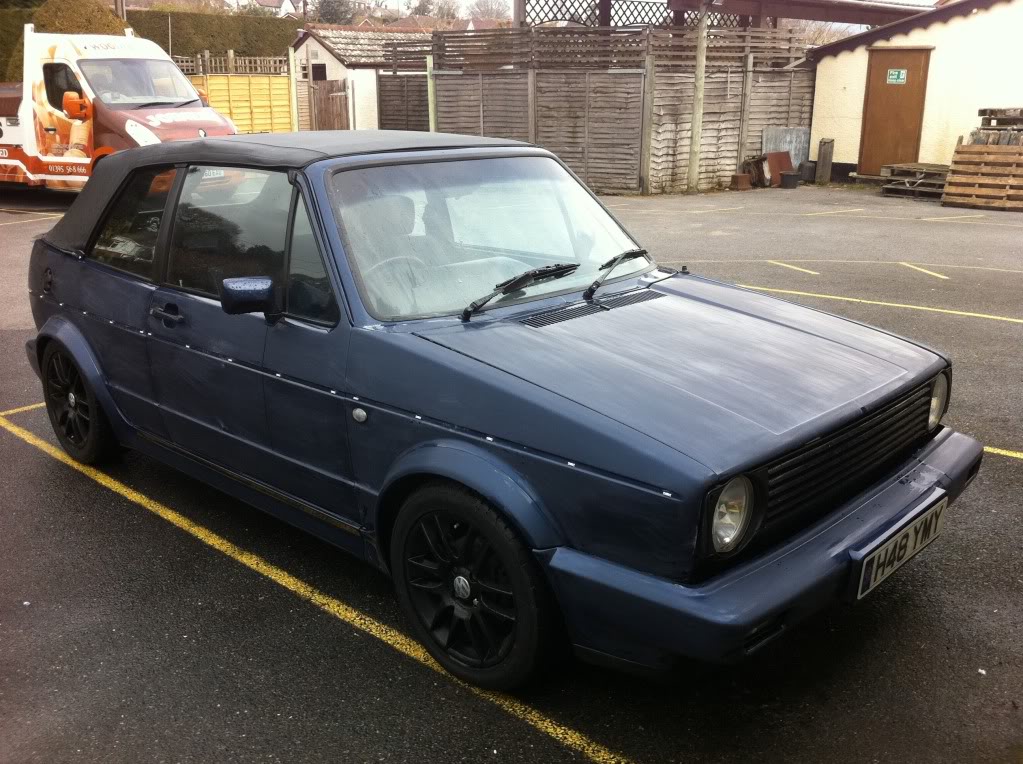
Decided to get the car out of the garage to let her see the daylight. She's looking very soory for herself at the moment!

MOT tomorrow…hopefully she'll pass.
Then it's engine out and a 1.8t 20v to go in.
Was going in for a full respray next week but I'm going to leave it untill the engine is all done. Would be just my luck to drop a spanner on the nice new paintwork.
Goodies arrived today…
New roof interliner, padding and headlining - courtesy of Chortle. Great guy and amazing service. If you need anything to do with roof, give him a shout.
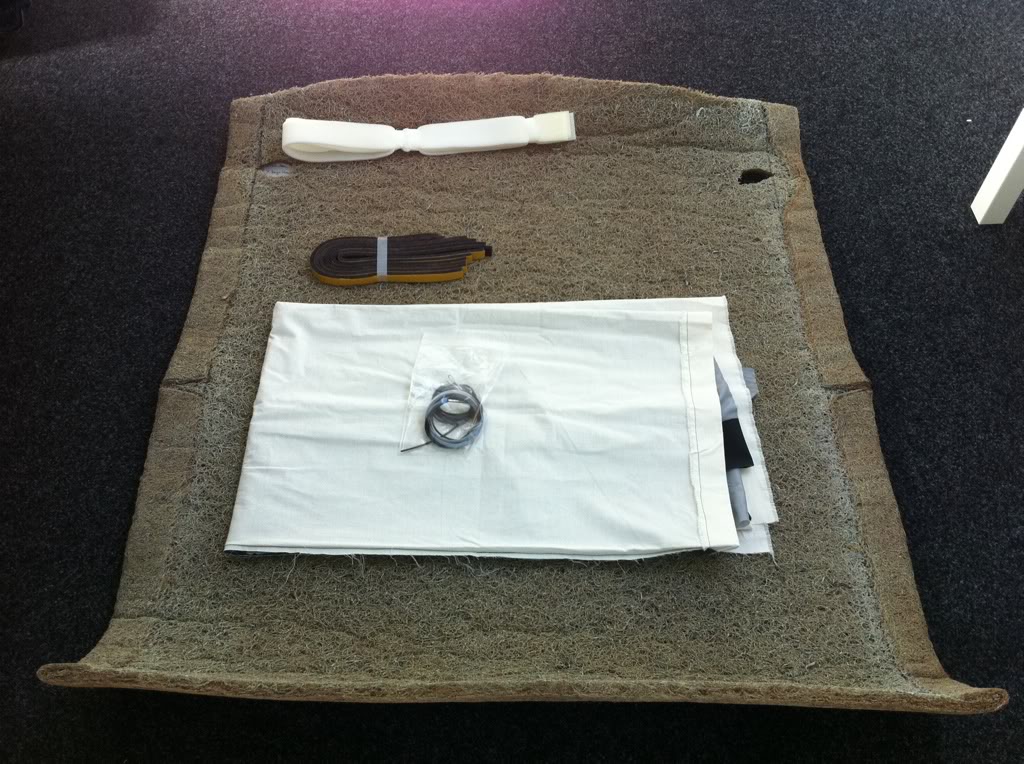
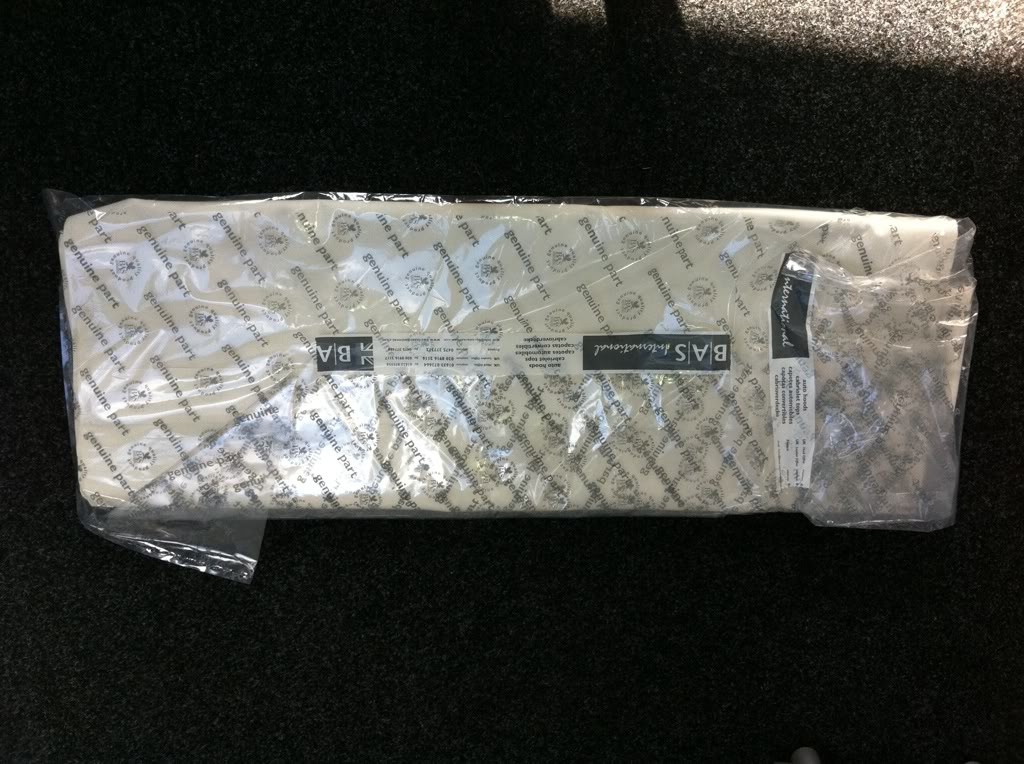
Navy blue Mohair on order.
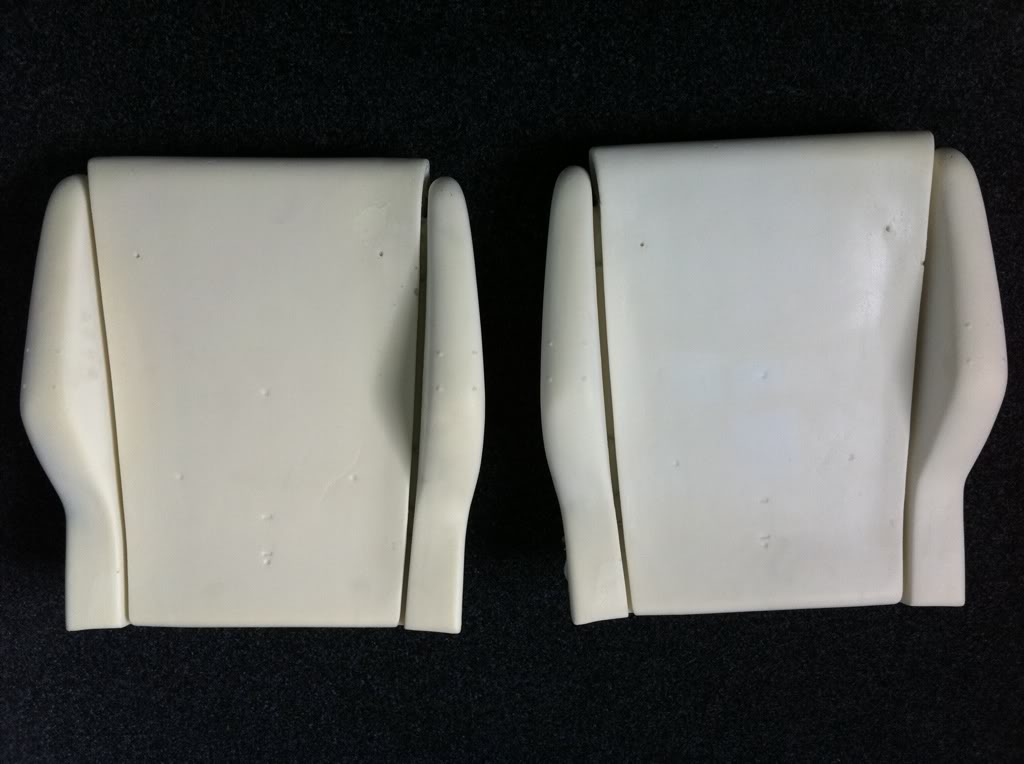
New seat bases ready for the new leather to go on (last job I think)
Mk1 Gti Cabby project on the go! Detailed engine, roof off, leather interior, 16's, painted, now getting put back together!
http://www.vwgolfmk1.org.uk/modules.php?name=Forums&file=viewtopic&t=103263&start=0&postdays=0&postorder=asc
http://www.vwgolfmk1.org.uk/modules.php?name=Forums&file=viewtopic&t=103263&start=0&postdays=0&postorder=asc
Posted
Old Timer
Madone with the two Cabs 82 (UK RHD) and 85 (US LHD) (92 sold)
�
�
Posted

Old Timer
love the soundproofing does it make a big difference.
0 guests and 0 members have just viewed this: None.