


ABF golf 1.1c

Posted
Settled In

ABF golf 1.1c
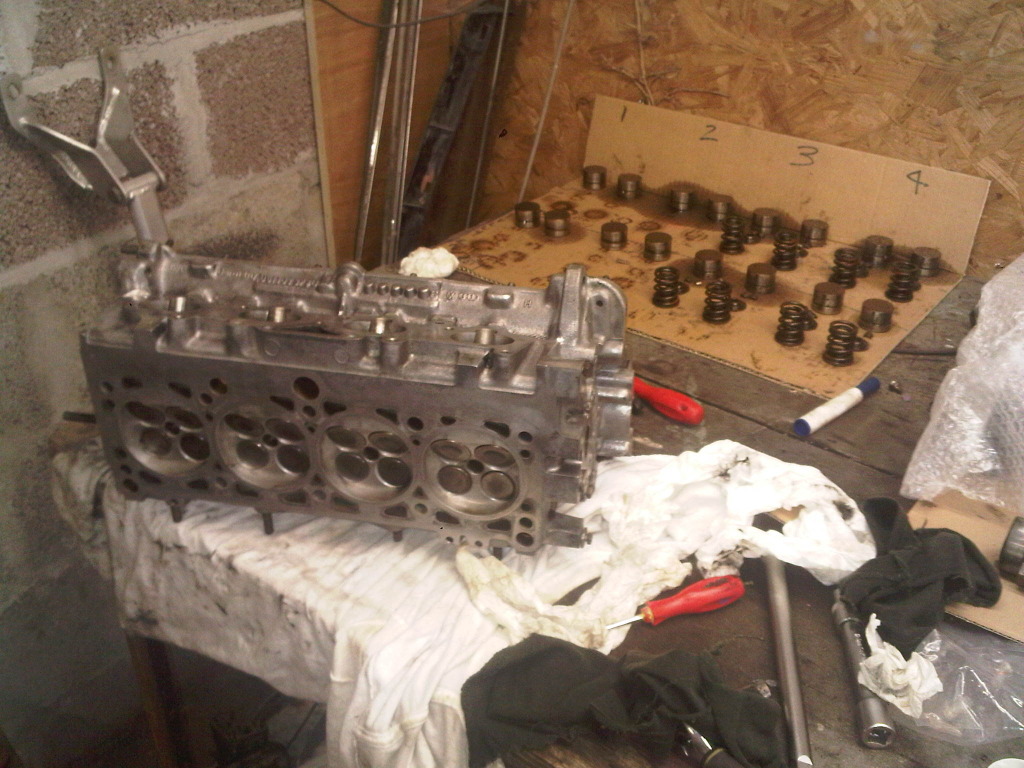
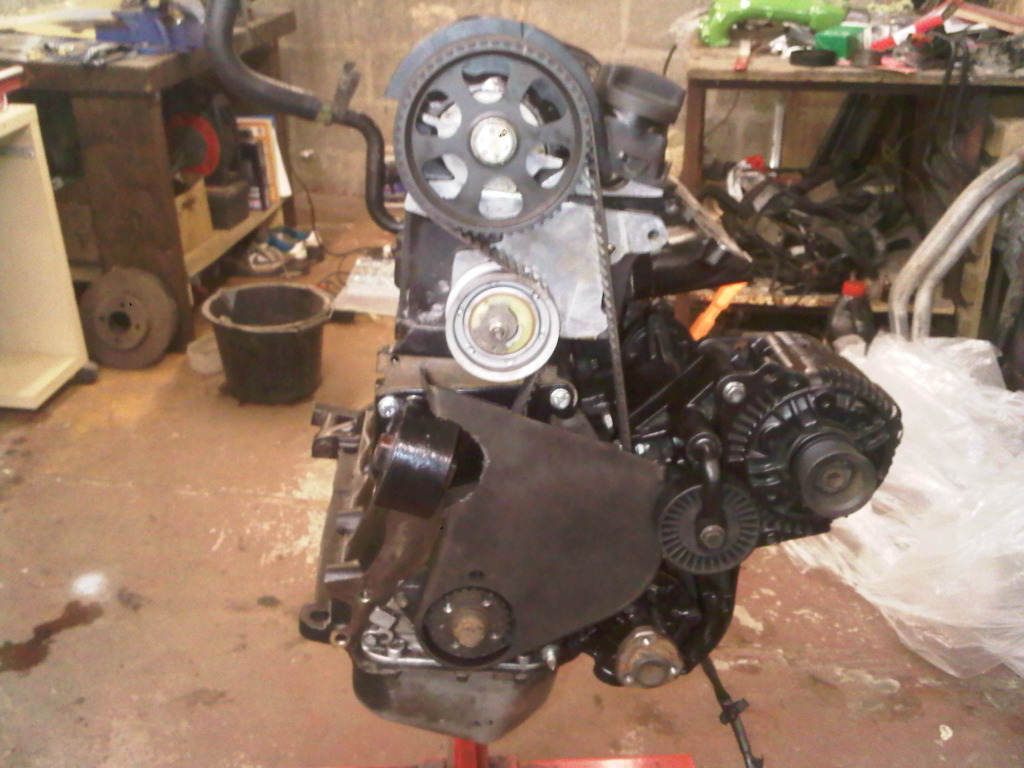
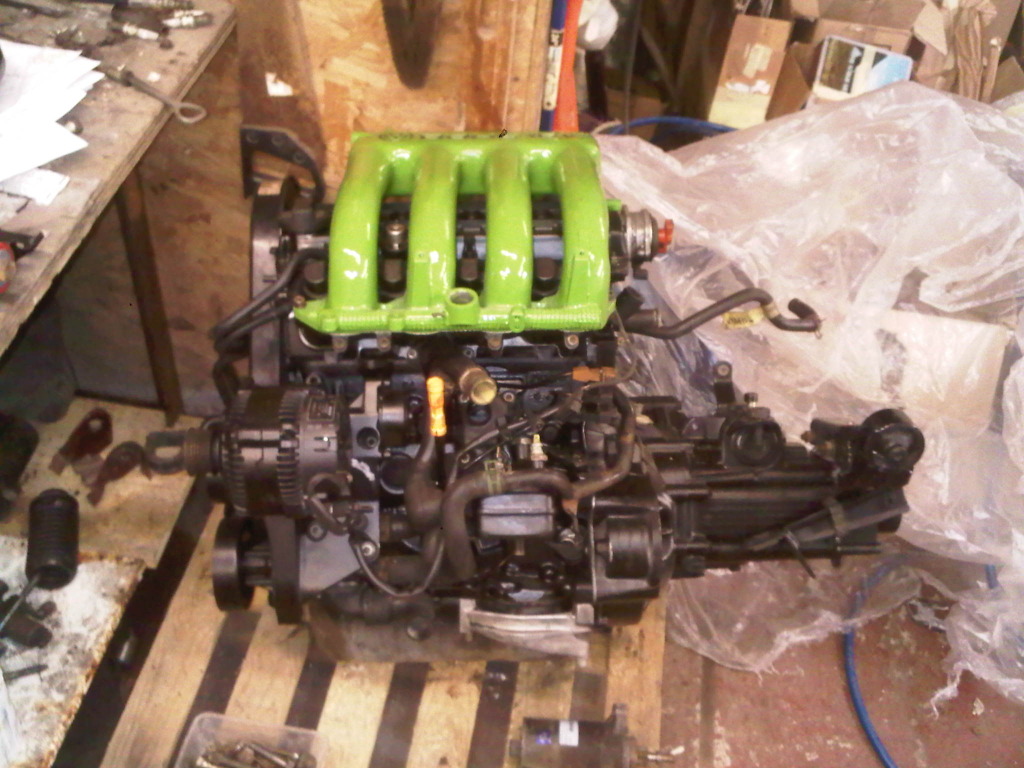
Got stuck in to cleaning up the head ground all the valve seats, de coked the exhaust ports and cleaned inlets. I have never done this before so was quite fun to get evolved and have a go.. I changed all the valve seals at the same time, Bought a head gasket set and new head bolts…
some pics of the progress

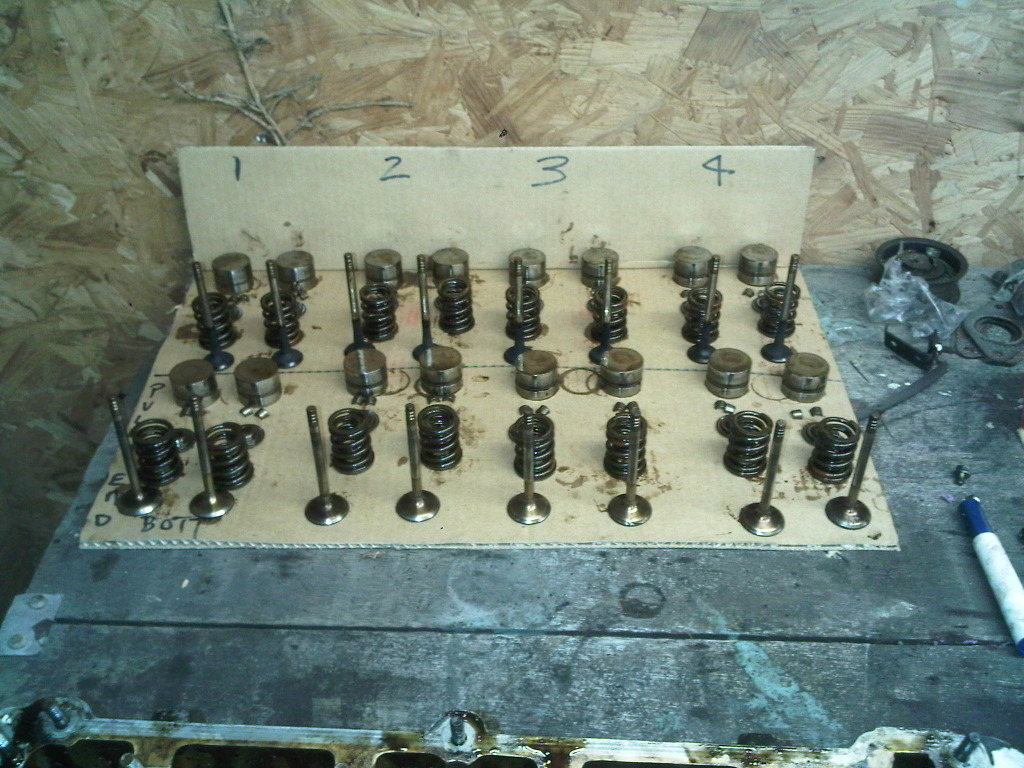

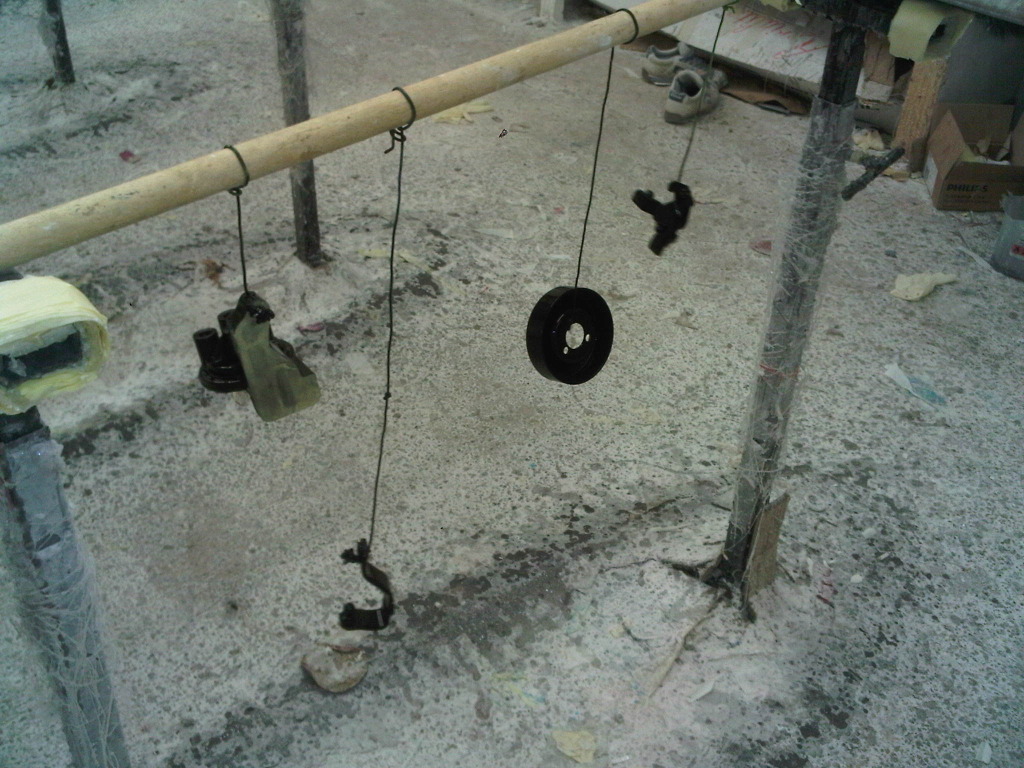
The strip down! Made sure i laid everything ouut in order so it all went back the same.
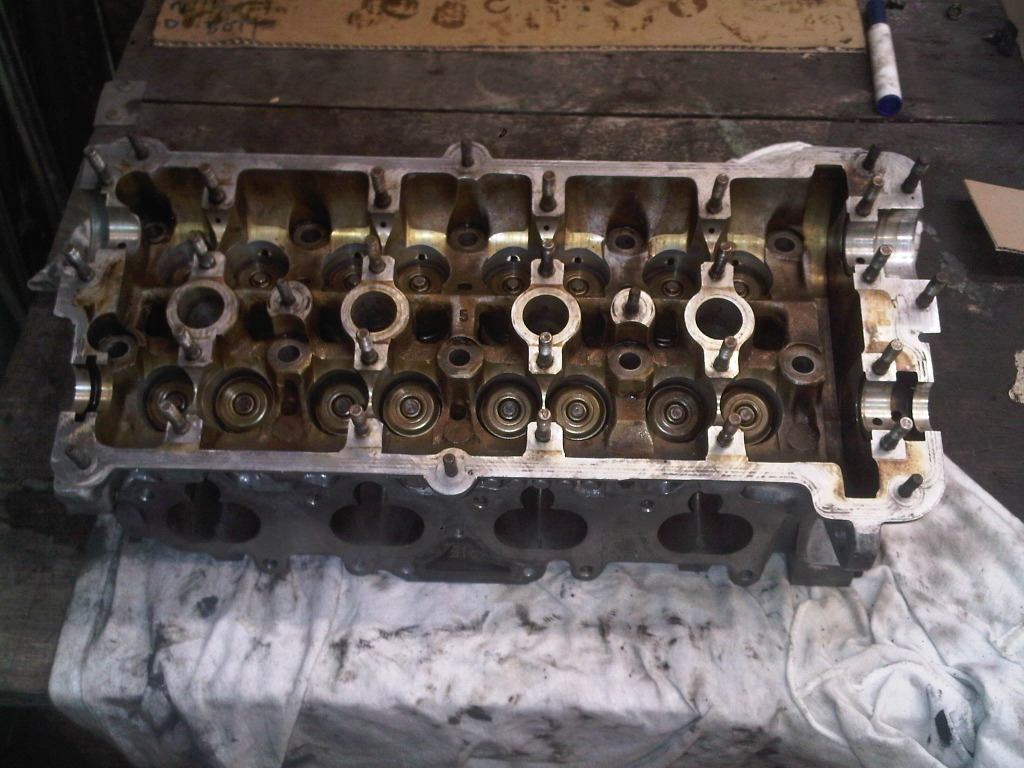
Grinding the valves and replacing them!
all back in

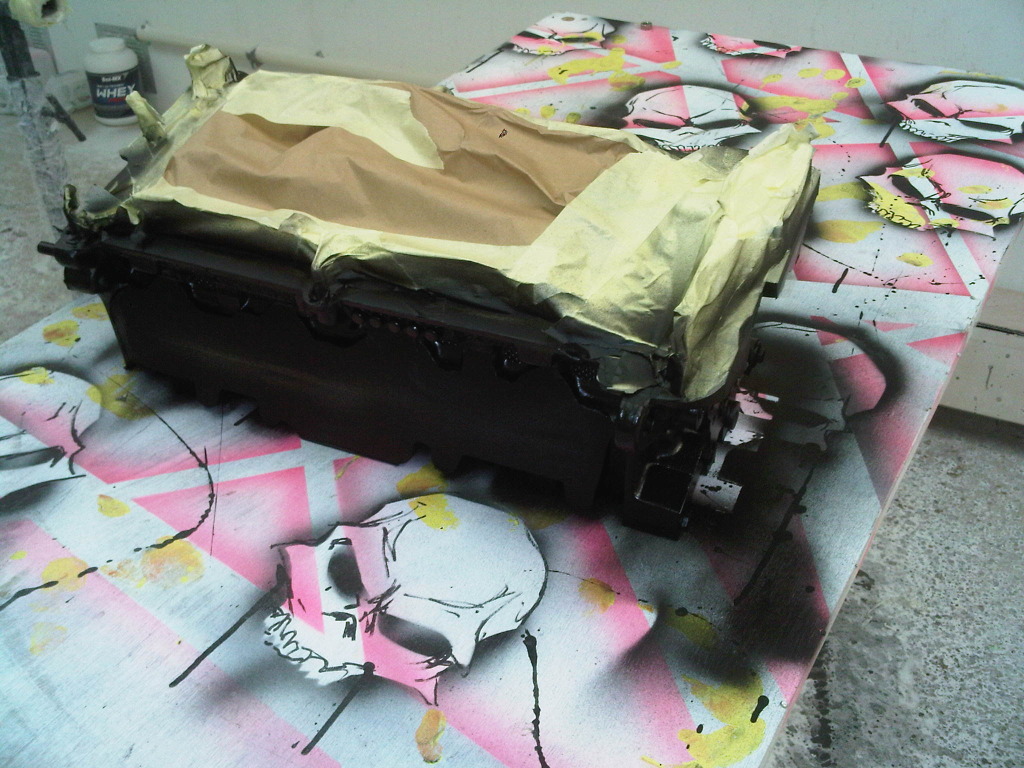
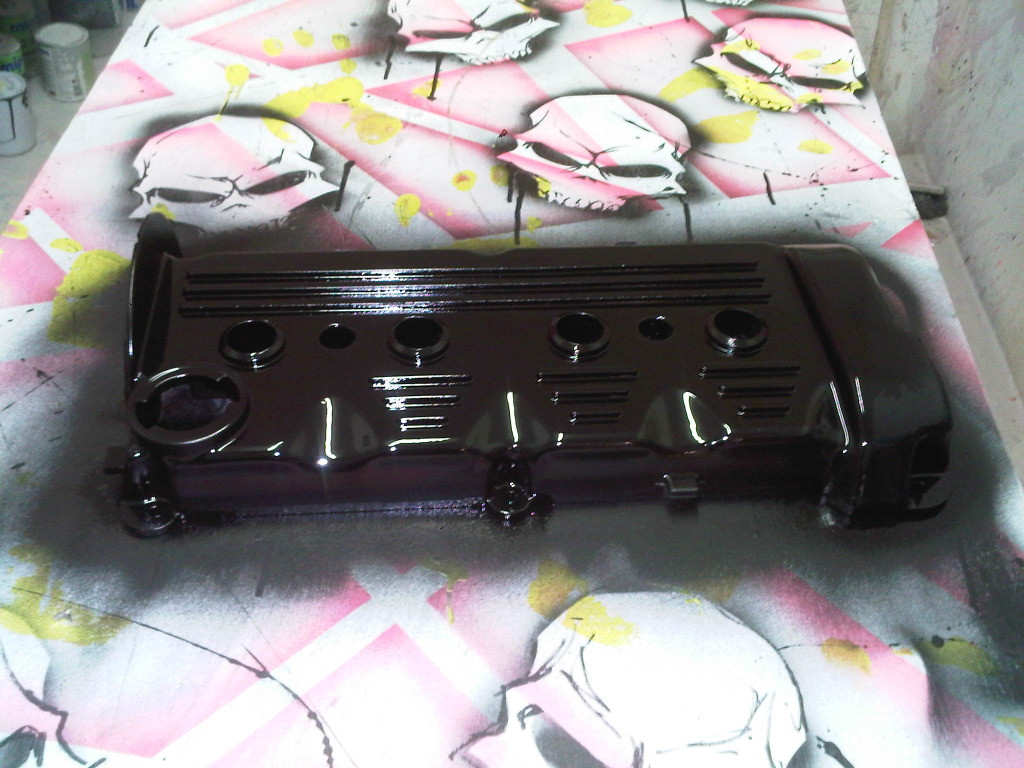
Then painted
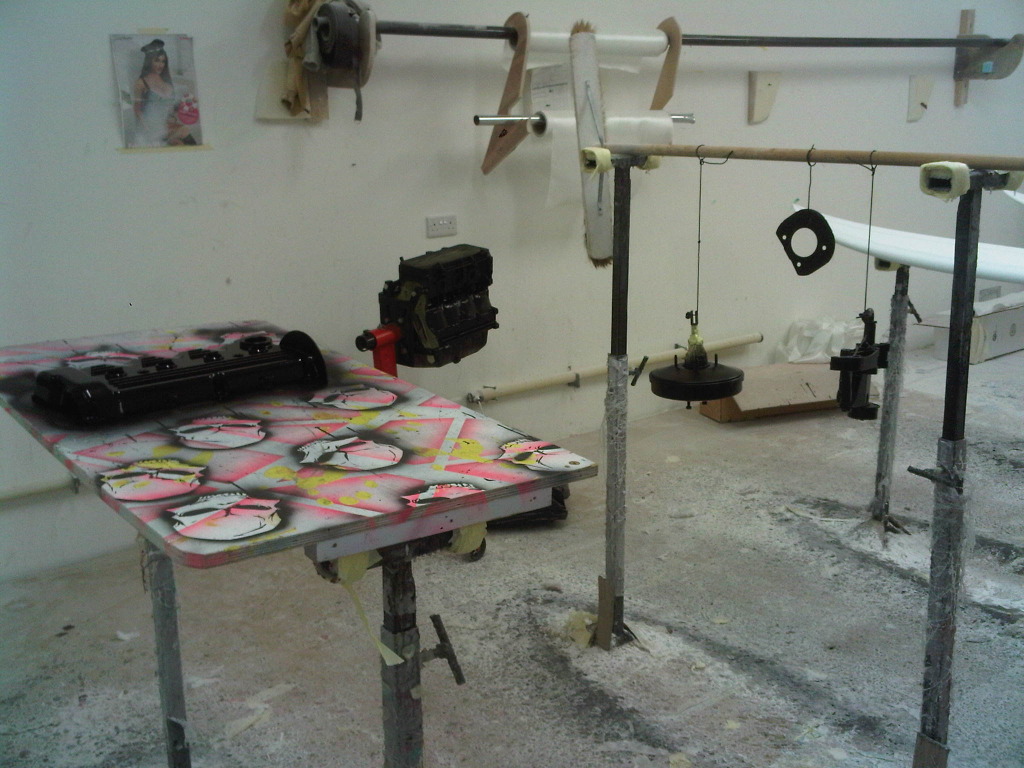
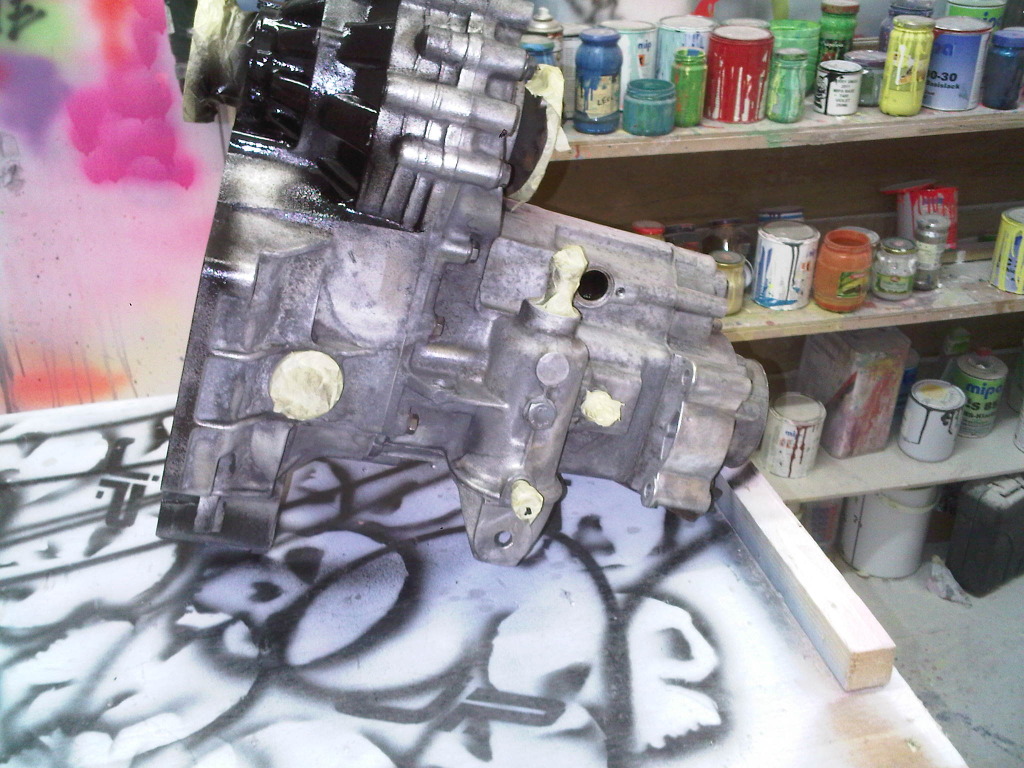
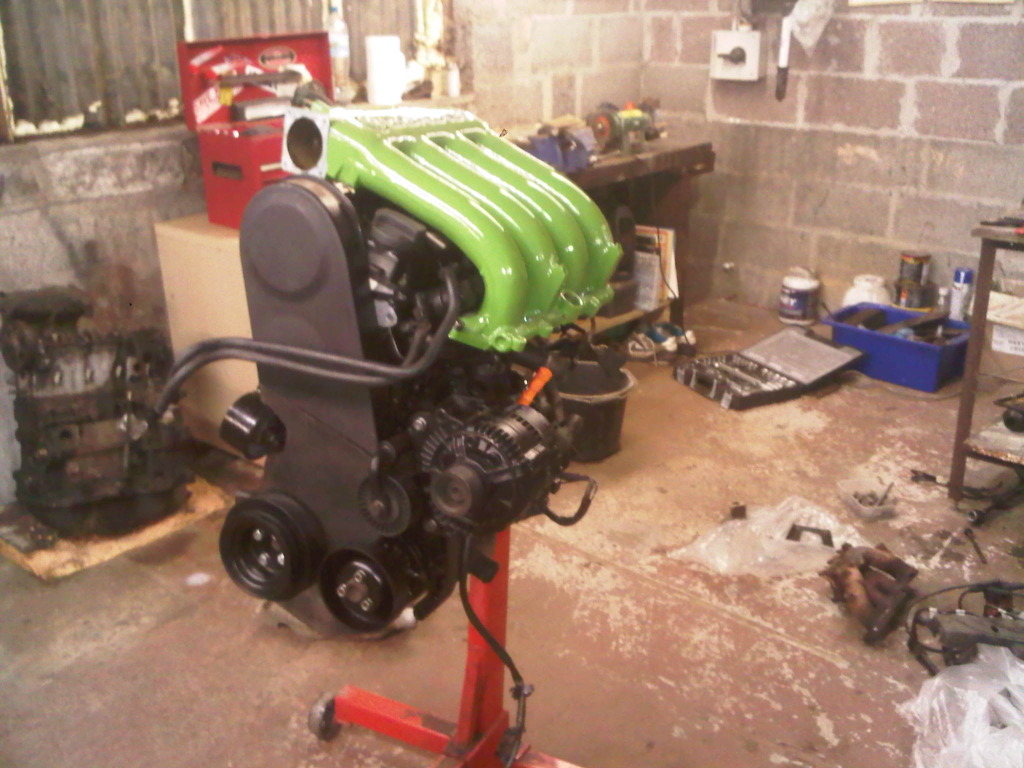
Cleand up the rocker cover,block,servo and gear box few other bits n bobs. Got them painted up black.


In the warm room over night

The unit i am renting with my mate who is restoring a helios campaign Pet73r…

Posted
Settled In
the engine's out of mine for a transplant, will be over mext monday to see if you have any more bits and sort your old man's CNC out
Gary
Posted
Settled In
What bits do you need butt? What you got going in to replace the 1.1 power house?
Posted
Settled In
Gear box painted

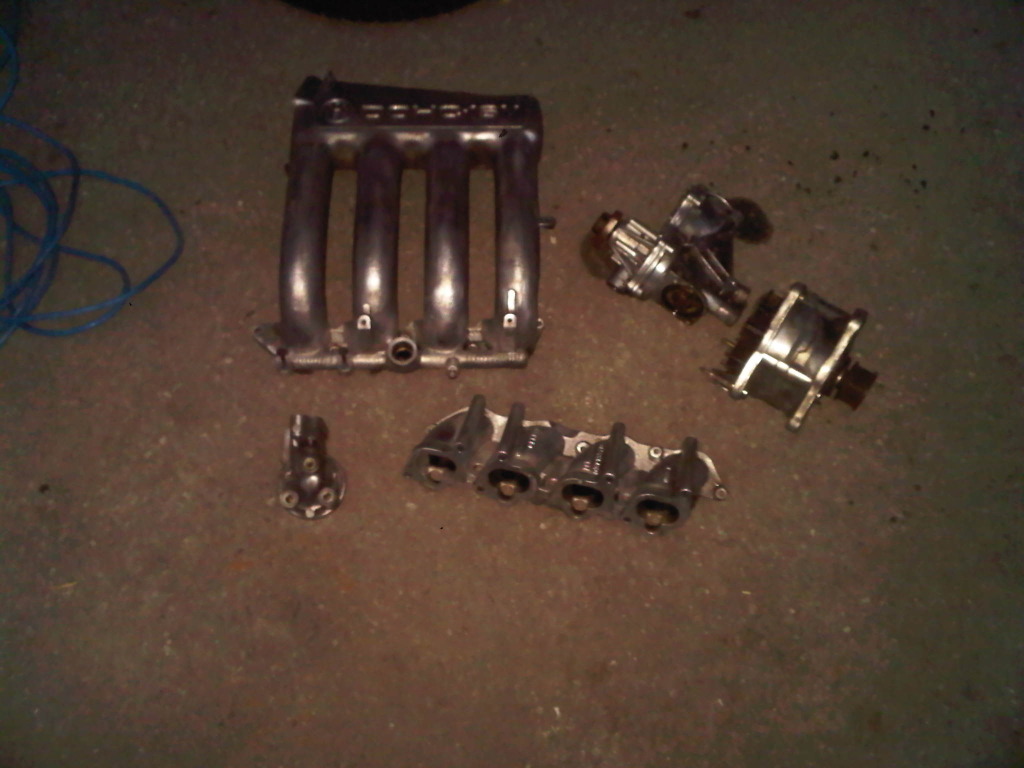
Inlet and a couple bits cleaned and ready
Parts On the move

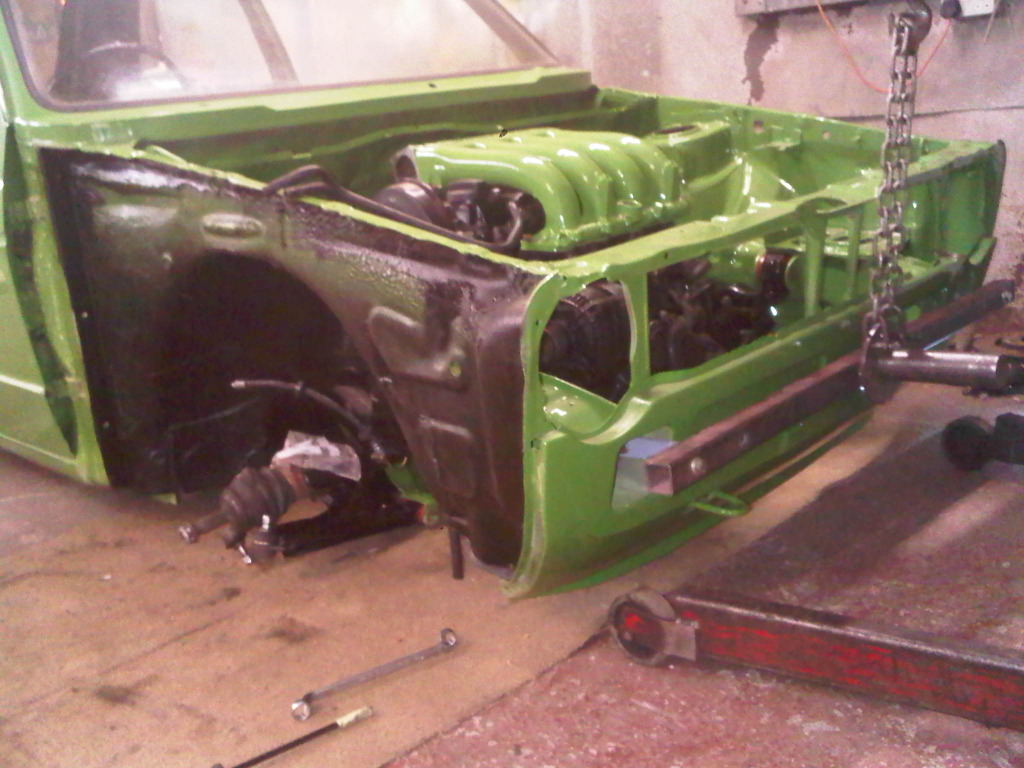
Finally started to put things back in the engine bay, hard to remember where it all goes back too haha..


Also got started on the engine rebuild Head back on

Everything is going black as you can see ha

Posted
Settled In
Posted
Settled In
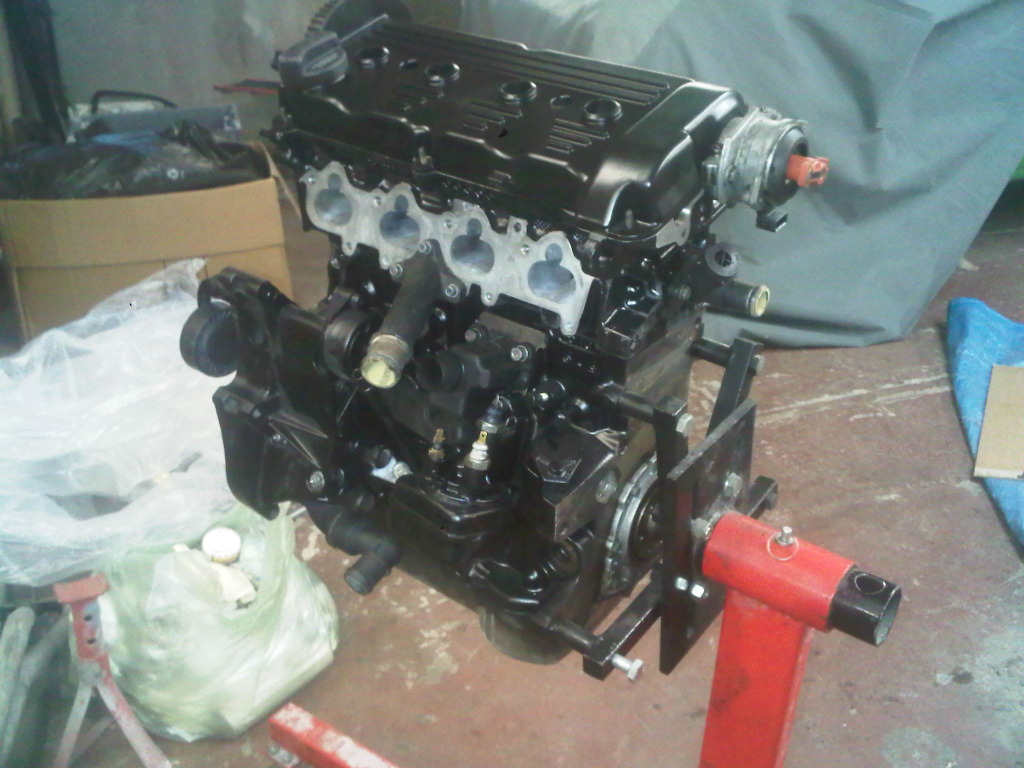
So got all the engine built up did take me a while as this is my first engine build, took my time over everything to make sure.
Think i put the cams in about 3 times haha couldn't quite get the two timing marks on the cams to line up. Managed to get them right in the end, when they were in could time it all up put the belt on and finnish the engine off a bit more. Never timed a car before but some how it all lined up easily thought it would be alot harder but i aint complaining..
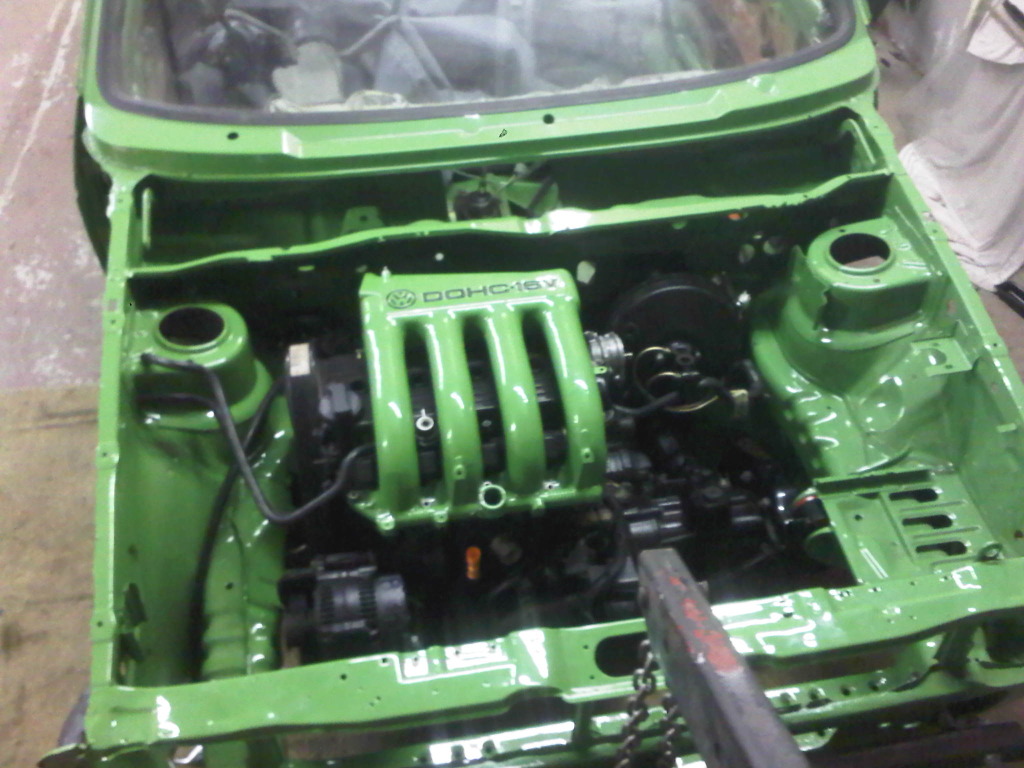
Pics of the engine
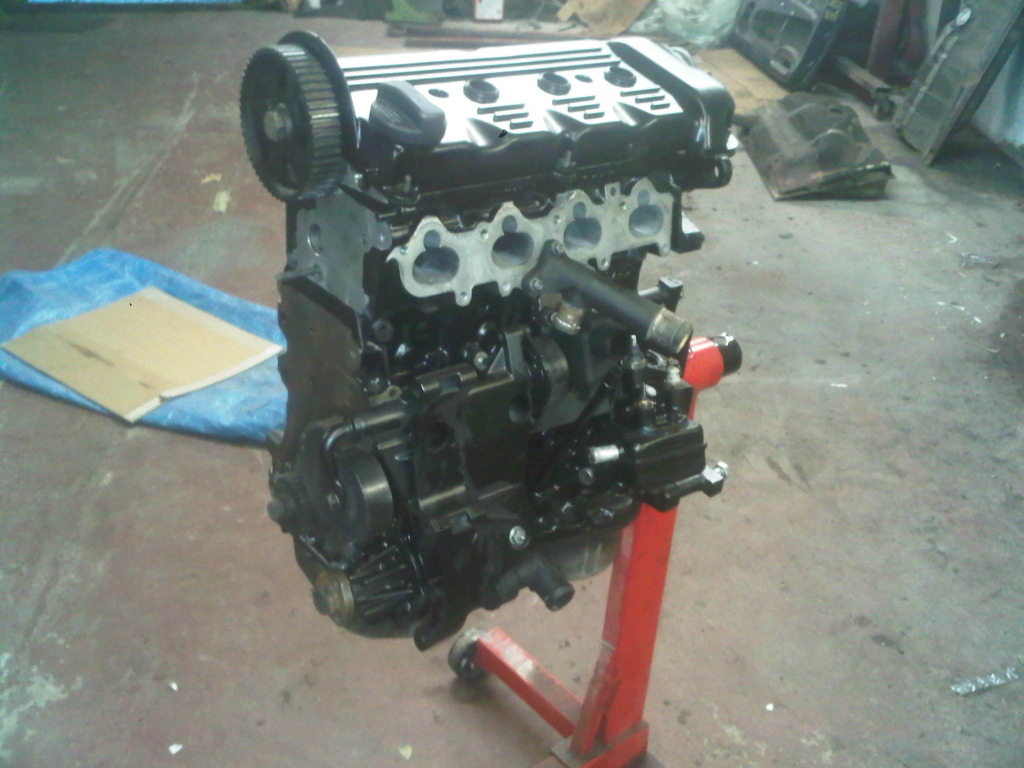
Had to modify the timing belt cover so i could fit the mk1 gti engine mount wasn't to hard couple of cuts.

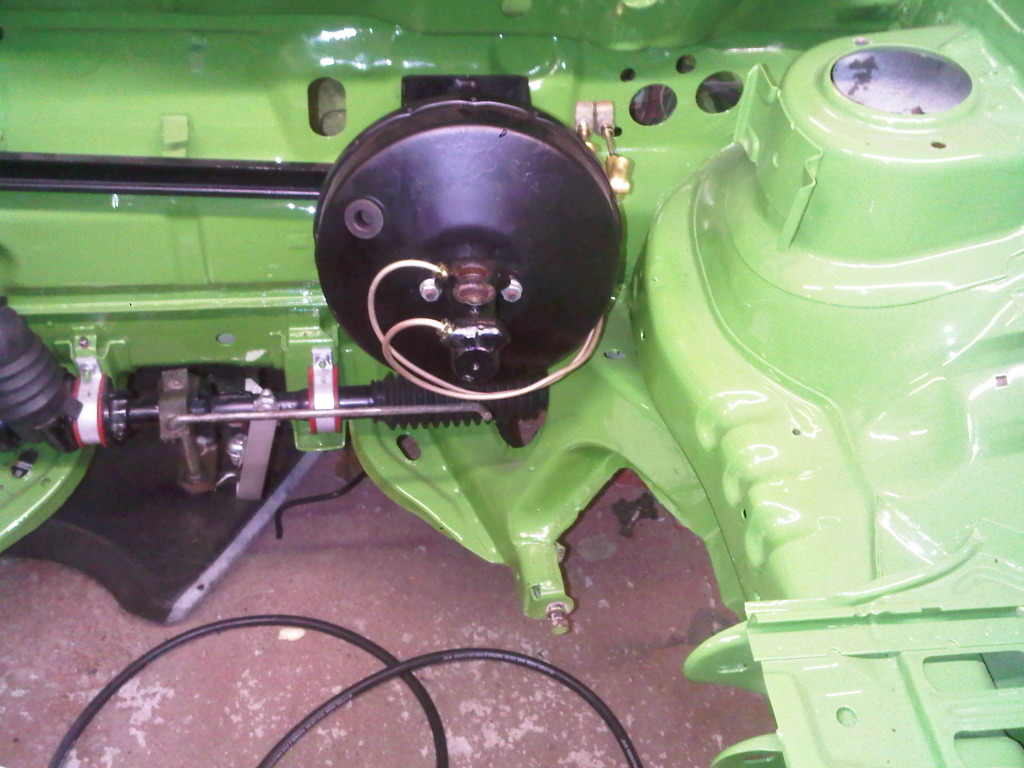
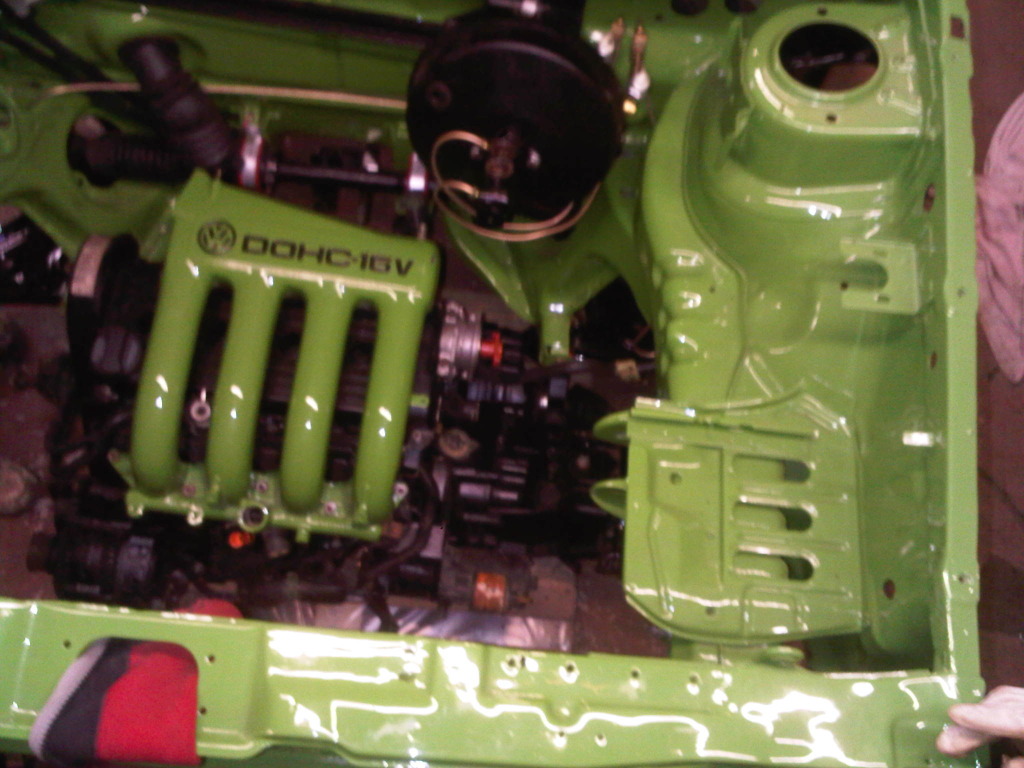
So i thought i needed a little colour on the old engine what else was i going to colour code should look mint when it is in the bay..


Here it is how it sitting while i pull the tank off to put a gti one in, and rebuild the rear beem and brakes
Pulled off the brakes on the mk3 took me an age half the bolts rounded basically welded on haha the joys!! They look a bit rough but there not seized so should clean up ok with a lick of paint.

Wont be using the discs .
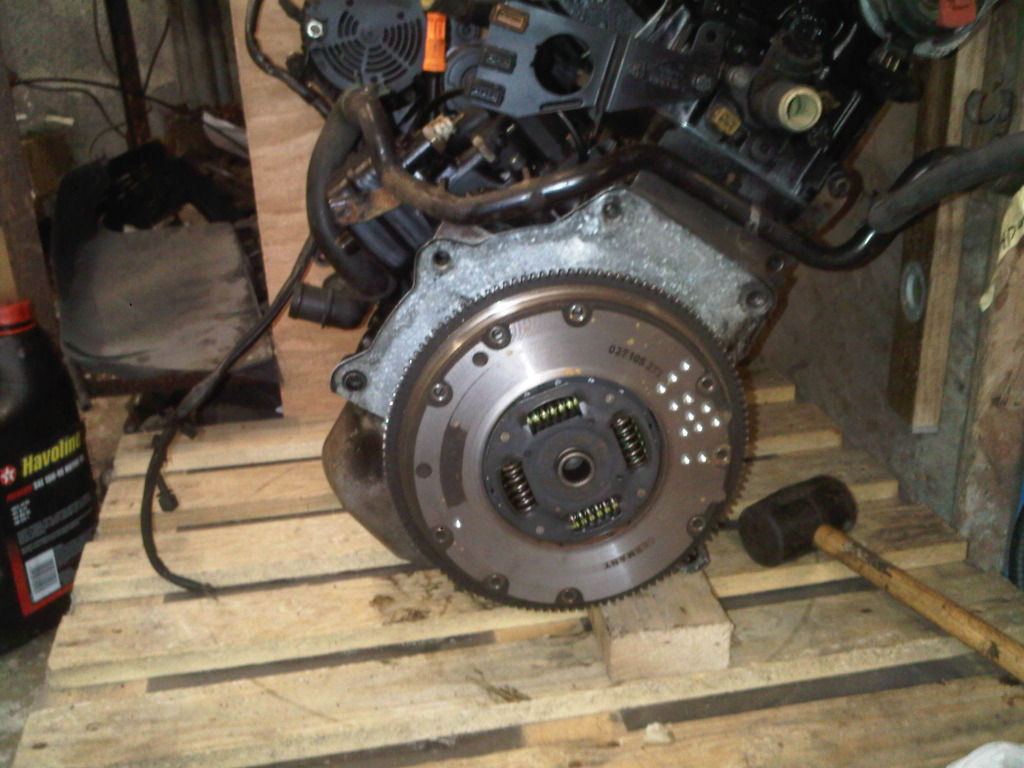
Oh and my mate picked this up for me today lightened and balanced fly wheel. Done by hotgolf on club gti i think. gonna try and mate the box to the engine this weekend


Posted
Settled In
Got some more done though before i put the engine in thought i better run all the brake lines while i have room to move around it.. Try to get it all ready to put back on its wheels as soon as the engine is in so sorted the rear beam out, run the fuel lines put the fuel filler neck back in ( what a pain that was still is not right!!) Put the gear linkage back to gether with new bushes and got it back on the car. Next got to sort out a zorst!!
Some pics
rear beam build


New sachs clutch and lightened fly wheel
gearbox on
Got all the brake lines fitted
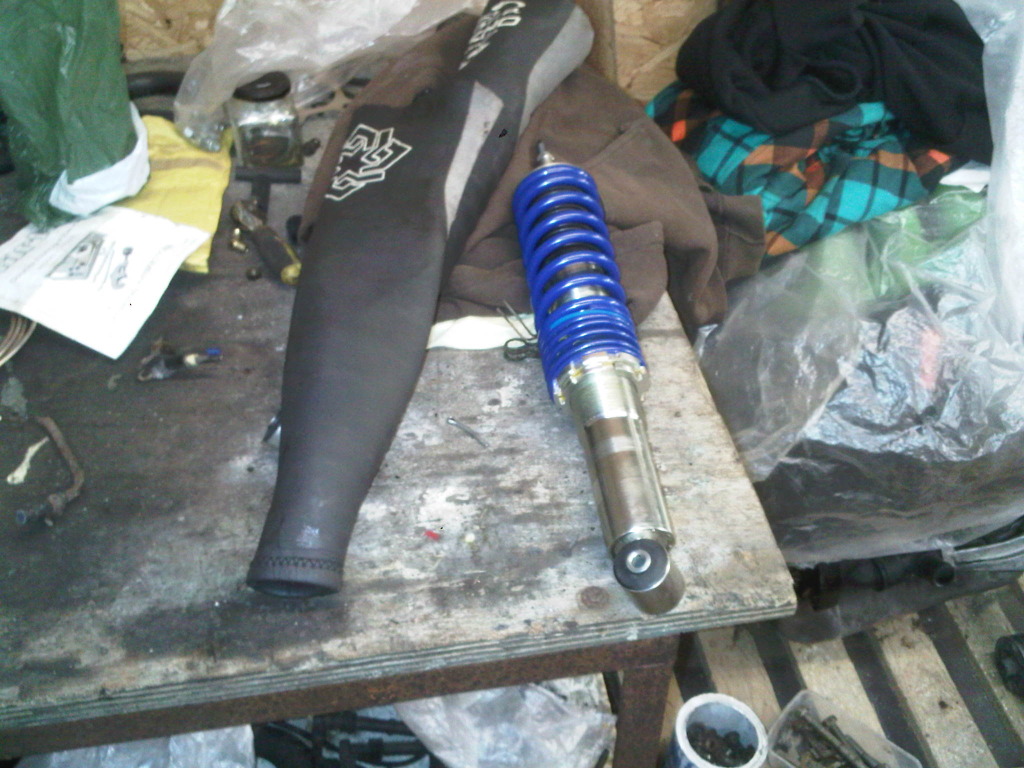
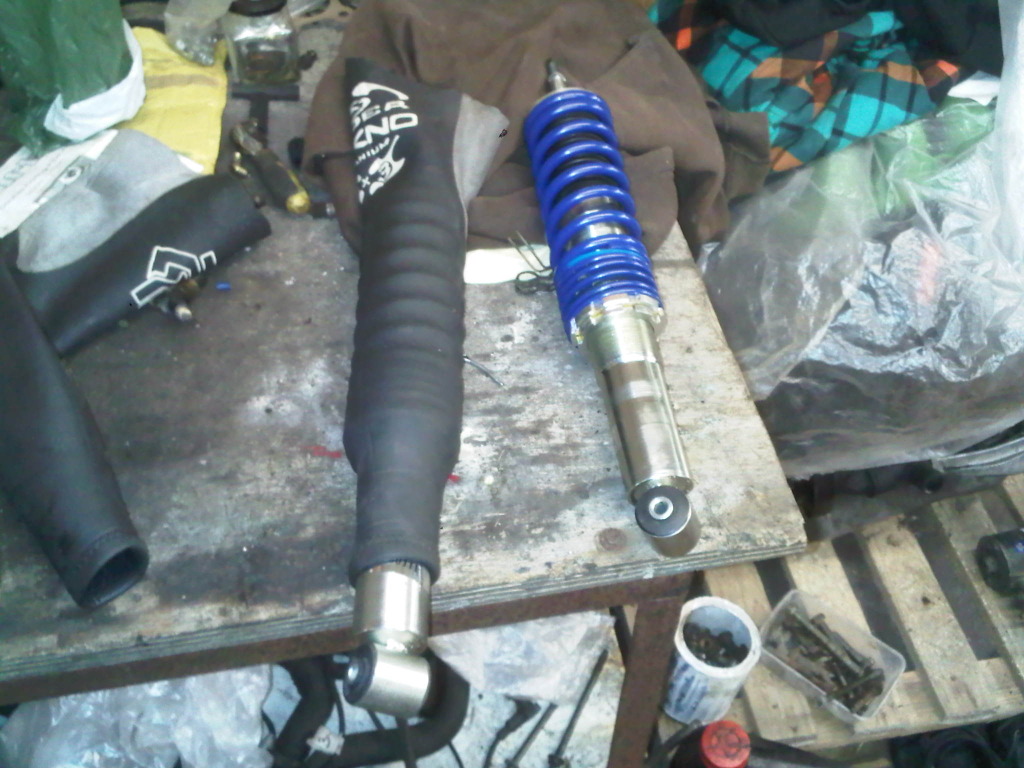
Also came up with a nifty idea well my mate did. ha got one of my old wet suits and chopped the arms off to use as boots for the coilovers. So no more clogged up coils tidy..
Got started on the disc conversion with all new bearings discs and pads


Then on to the front with the bottom arms polly bushed new ball joints


well with all that done the engine should be going in this week!! Still don't know what to do with the exhaust manifold, 4 to 1 or just fab the abf top half to the mk1 gti bottom.. Will it be much more of a power gain? but while it is out and all that do it now i am still in two minds.
Any suggestions would be appreciated?
Posted
Settling In

I'm just about to embark on a similar journey but with a 1.3 Driver.
Good luck with the engine install. Keep up the great write up as its looking like an epic build!
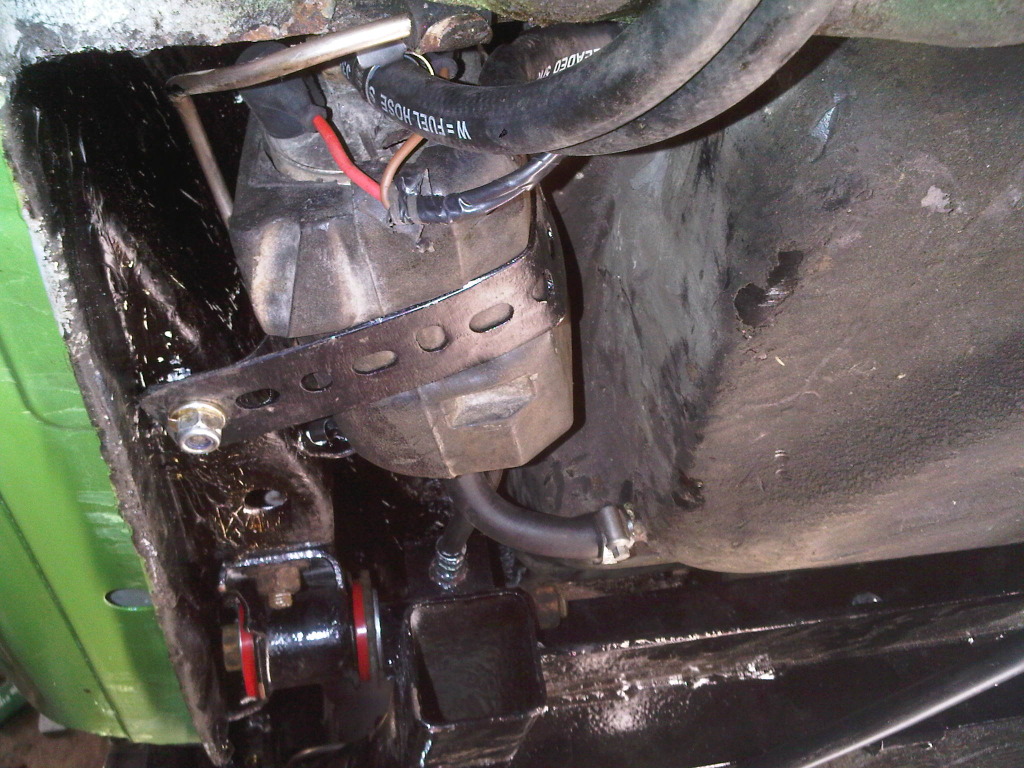
I can see from the image of the OSR inner arch that you have done away with the hole for the overflow from the fuel tank. Have you relocated the pipework or done away with it altogether?
Only asking as my inner panel is badly corroded and i wanted to get rid of the holes to hopefully stop this happening again.
Posted
Settled In
Its for the breather hoses from the gravity valve to the tank. Im not sure if the carb models had the gravity valve, but they def would of had a breather pipe of somesort.
Otherwise, im not sure what you mean, Ive never heard of a overflow from the tank?
Posted
Settled In
mellowyellow said
Loving the build fella, top work.
I'm just about to embark on a similar journey but with a 1.3 Driver.
Good luck with the engine install. Keep up the great write up as its looking like an epic build!
I can see from the image of the OSR inner arch that you have done away with the hole for the overflow from the fuel tank. Have you relocated the pipework or done away with it altogether?
Only asking as my inner panel is badly corroded and i wanted to get rid of the holes to hopefully stop this happening again.
Thanks mellowyellow should hopefully have the engine in by the end of the week.. As pet73r said the breather pipes are behind the plastic cover, Can show you a pic if you need.
Posted
Settling In
I removed my plastic trim and this is what i found !

So the reason for the question was to find out if i could removed/relocate these pipes and make the panel solid with no holes for pipes to locate through?
The filler neck is being relocated too to hopefully stop the 1/4 around the area corroding.
Posted
Settled In
That must of been a nasty surprise!! Nothing that cant be remedied with a bit of fabrication!
Id imagine that you could relocate the breather pipes. Depending on where you were relocating the filler neck would depend on where you relocate the breather pipes I suppose! Im not sure if you can do away with them though, Im sure they must be there for a good reason! But I really have no idea if you can or cant remove them so dont quote me on that!
Relocating the filler neck has been done before though so Im sure if these pipes are required there is a way to relocate them somewhere, or like you say, and if its possible just remove them altogether!
Good luck with it!
Posted
Settling In
Fabricating i can do and its a good job, as i made a list of all the repair panels needed and they come in at a princely sum of �490!
Good job the car was a freebie

The filler neck is getting located on the rear panel behind the number plate.
Keep us posted on the engine transplant as i am looking for all the info i can get before attempting my conversion, as you can see i have a few weekends work on the body before i can even begin to think about the lump.
Posted
Settled In
Will keep up dating gonna try and tackle the loom myself too.
Posted
Settled In
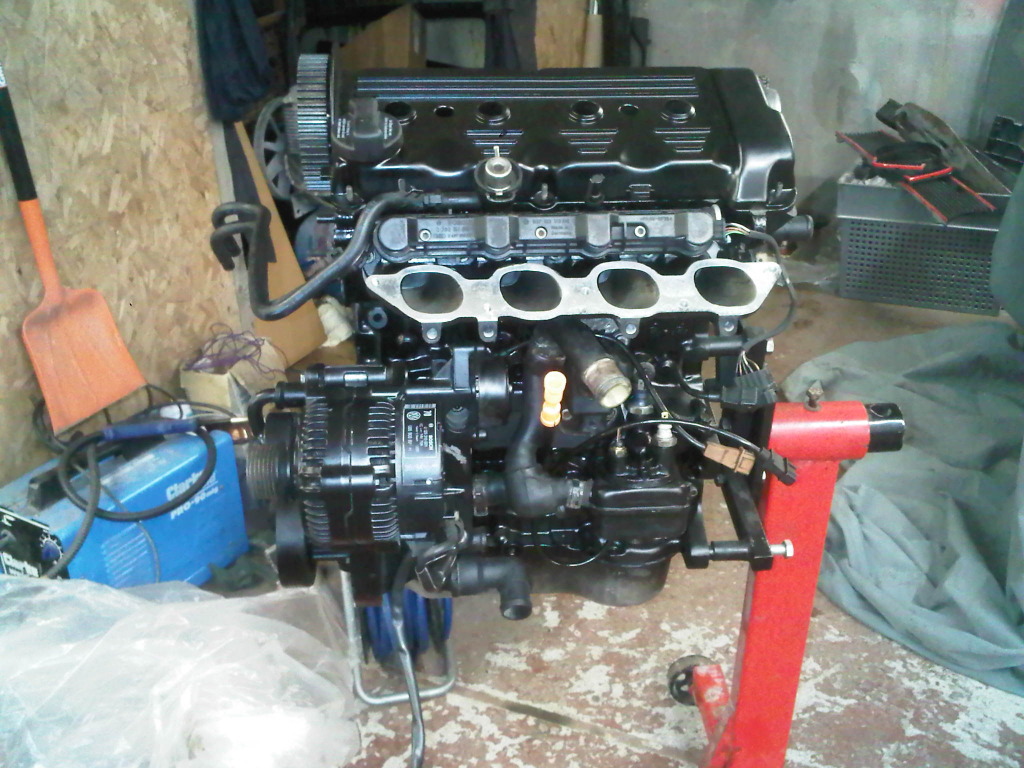
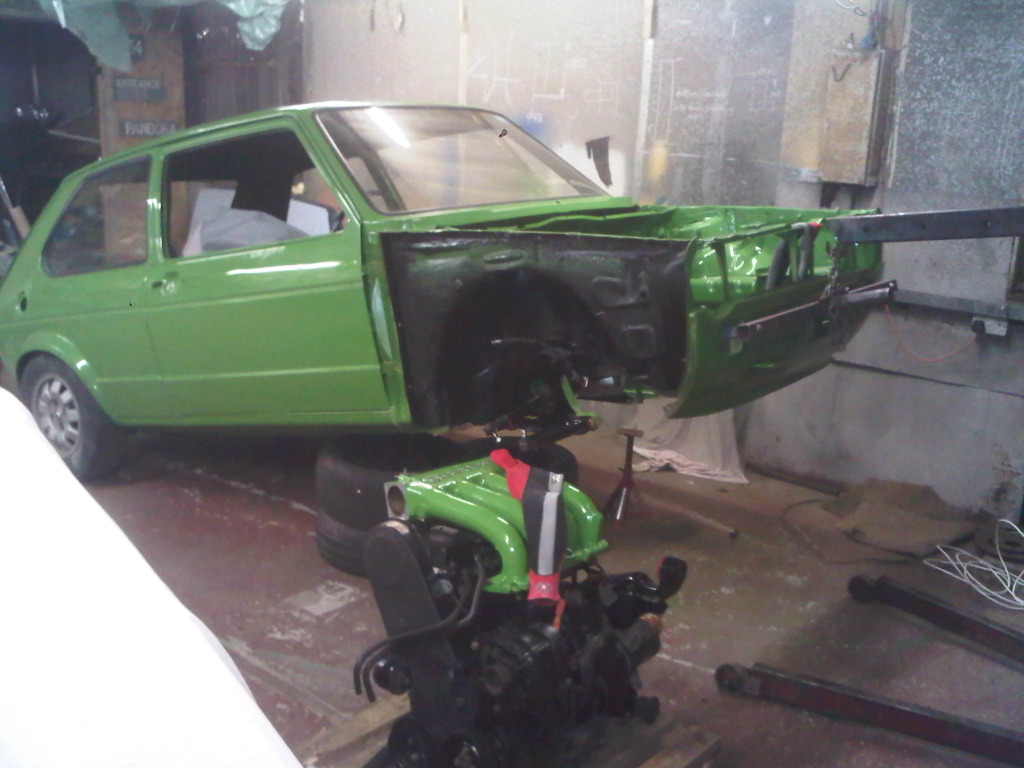
Got the engine in friday night, me and a mate got it in we lifted the car over the engine. It was a bit of a pain but got there in the end. First attempt we had the engine on a pallet and found we could not get the car low enough. So up it went again and we took it off the pallet, we used some carpet to put the engine on.
After a bit of man handling we dragged it under so we could lower the car over. Lucky my mate had a roll over jig, we used the frame to lift the car on the engine crane as it bolts to the bumper mounts. It all went quite smoothly but it is a really tight fit in there haha!!
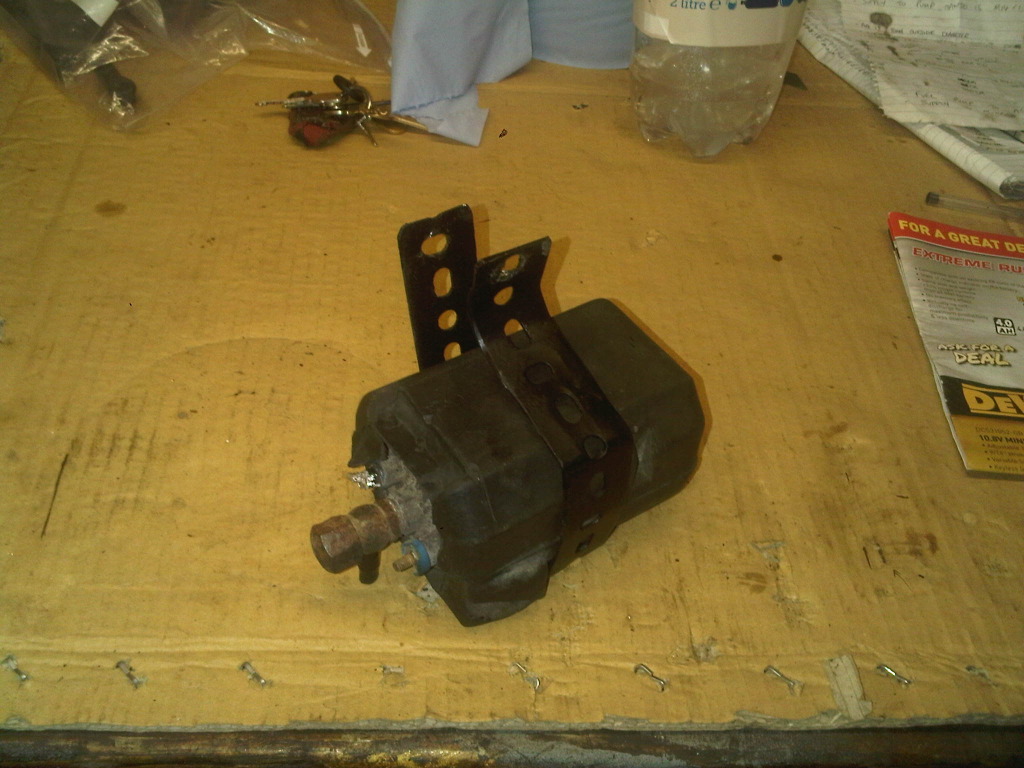
Got the fuel pump mounted, i had to fab up a bracket for it and run some wiring as it was a 1.1
And sorted out handbrake cables, could not find scirroco 16v cables anywhere. So i bought late mk2 golf cables, then cut down the cable locators worked a treat…
Fuel pump bracket


Posted

Old Timer

That rear inner arch thats rusted, you're better off just leaving all the pipes running where they originally do and repairing the panel to original spec, and just use modern paints and waxes to prevent further rust. They run that way to stop any petrol fumes entering the cabin.
I had to repair the same area on one of mine and its not that complicated an area once you've stripped all the crap off

Posted

Moderator

Looks really 8)


Posted

Settling In
Posted
Settled In
�€br>smudger1980 said
Cheers
yes mate well happy with they way it is going. I have been doing more work on it just got to sort the loom.br>
 cf_emoticons__BangHead:
Posted
Settled In
Rossini said
This post is brilliant Im doing the same but from at 1.3. How are you getting on? Im at the stage of deciding if i should go down the whole bike carb conversion as the loom looks scary.
Thanks man. I am moving along slowly it is nearly there now, I am just tackling the loom too striped it all down
 think I have got my head round most of it. Haha. Going standard management just in case I need to drive it daily..
You going to be doing most of the work yourself?
0 guests and 0 members have just viewed this: None.