


project lead foot - resto underway!!

Posted
Settled In

project lead foot - resto underway!!
still need gas tho

the panels i got wer from big boys toys. cheap ino an ucan tell it lol. are crazy quiffs panels better quality??
i got both outer sills, quater front floor pans, bottom corners of windscreen/scuttle and rear arch corners where they meet the rear valance. orderd a rear lower valance but thats on back order which is gash. oh well got plenty to do. gessing im guna av to make new inner sill bits.
mk1 golf - resto
mk3 polo breadie - daily banger
mk3 polo breadie - daily banger
Posted
Settling In


Whats the best way for stripping all the vw sealent off as an angle grinder doesnt seem to touch it??? Just taken my engine out and planning on respraying the bay.
WWW.THEREVERB.CO.UK
Posted
Settling In
Posted
Settled In
mk1 golf - resto
mk3 polo breadie - daily banger
mk3 polo breadie - daily banger
Posted
Settling In

ill give it ago…so thick just doesnt seem to budge.
WWW.THEREVERB.CO.UK
Posted
Settled In
1982mk1 said
haha…naaahhh…dont worry about that sorta stuff
ill give it ago…so thick just doesnt seem to budge.
Heat gun and scapers stripps straight off then go over with the grinder and cup wire wheel workf a treat although a pain in the back side
Posted
Settling In
0b1dhobi said
1982mk1 said
haha…naaahhh…dont worry about that sorta stuff
ill give it ago…so thick just doesnt seem to budge.
Heat gun and scapers stripps straight off then go over with the grinder and cup wire wheel workf a treat although a pain in the back side
yeah this does work quite well actually. cheers for the advice…only about another 6 hours of grinding left to do now 8O
WWW.THEREVERB.CO.UK
Posted
Settled In
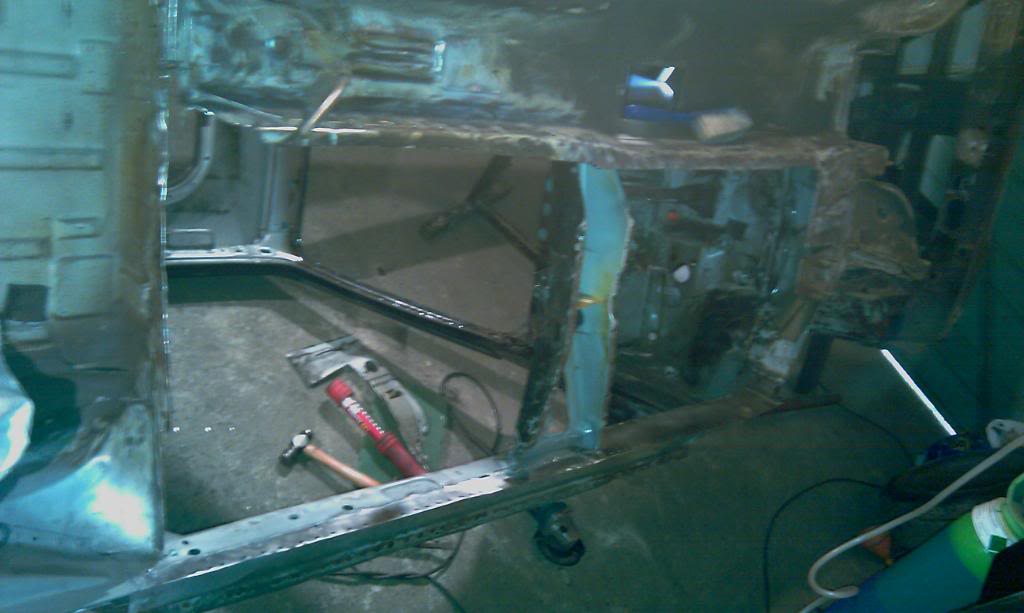
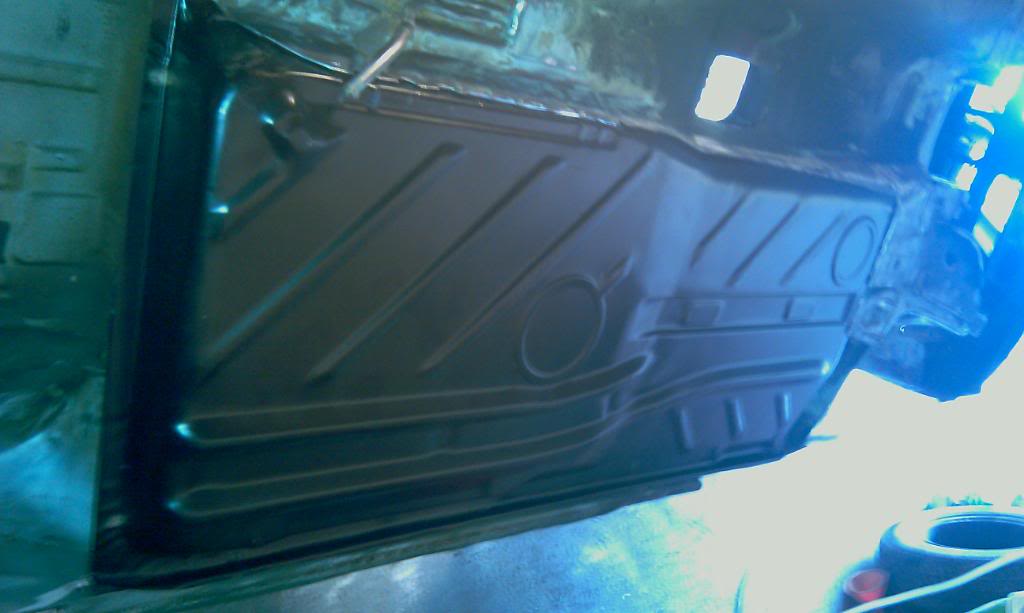
been fairly busy with the golf of late, its now completely stripped to a bare sheel apart from the boot lid.
In the process ive found alot more rust then i wanted too in some bad places, guna take sum seriouse work to put it all right agen.
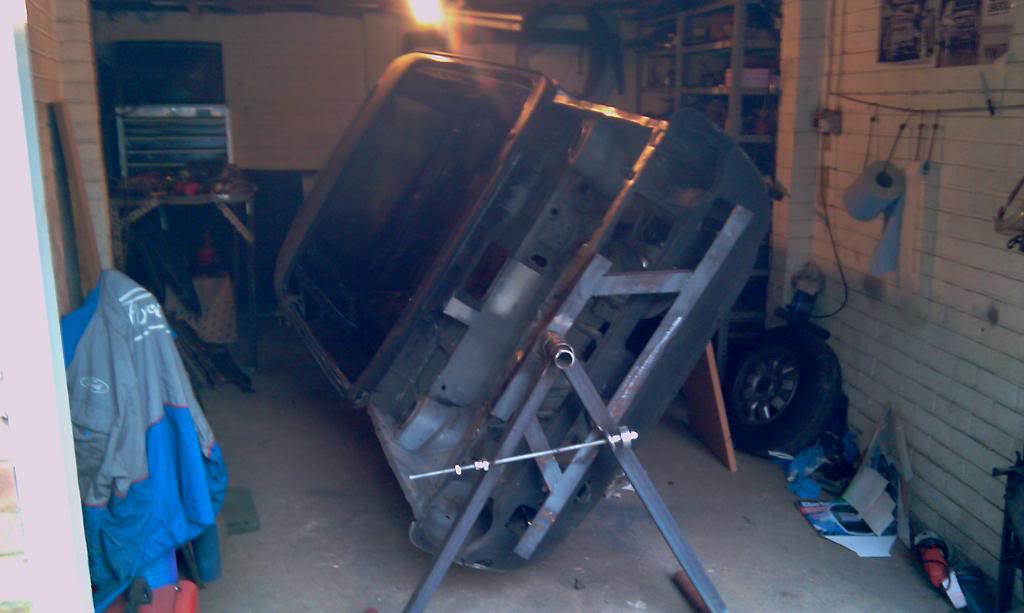
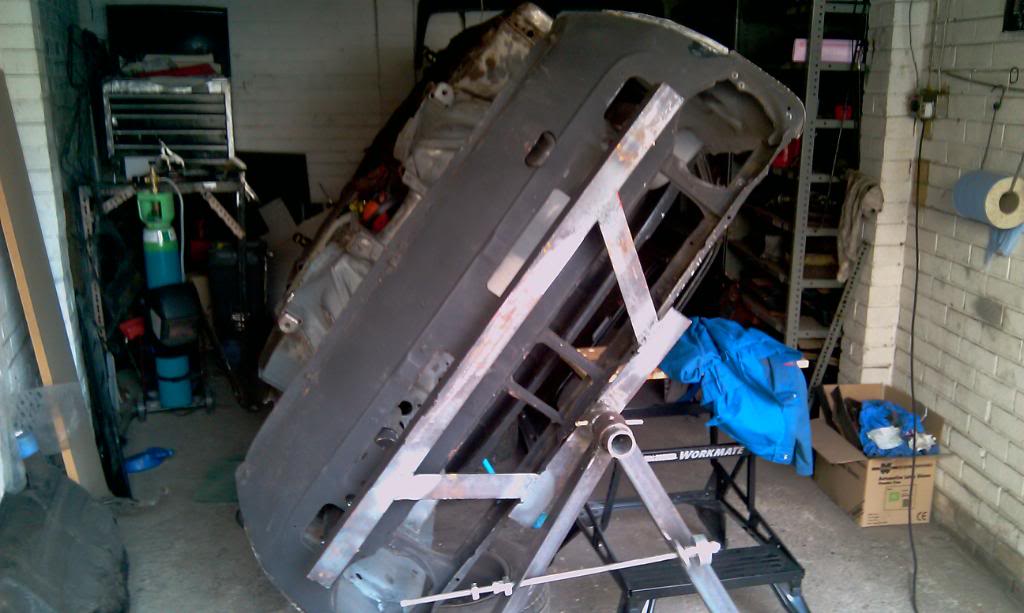
i made a spit for the car out of 5mm angle steel, real heavy duty stuff, very sturdy.
my first attempts to wel it up failed. clarke 90amp mig welders are not up to the job so i used a work mates sealy 180amp cranked right up. that did the job i assure you. never felt so much heat come off metal before.
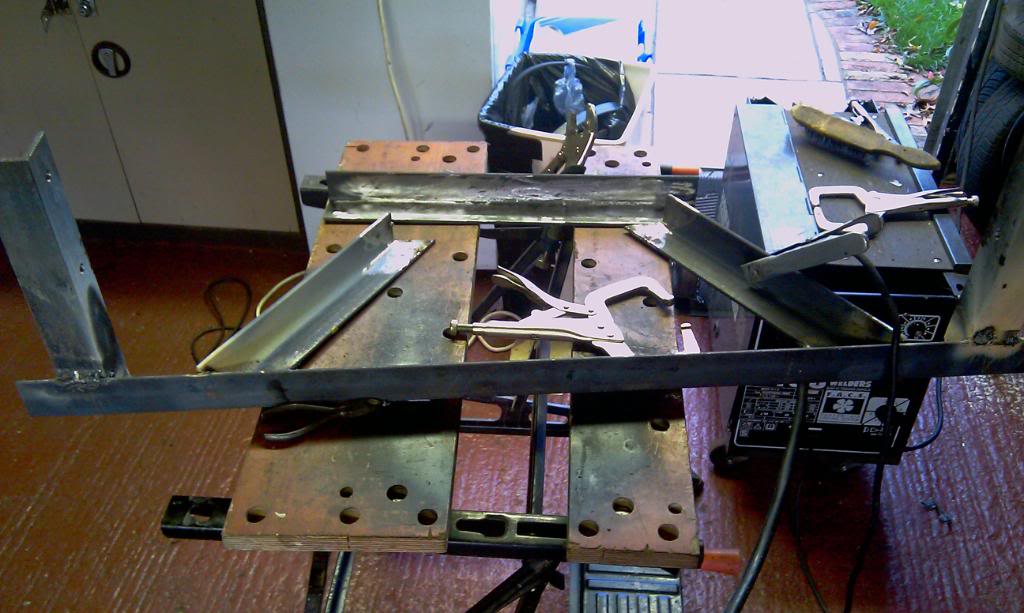
on the car
i made the pivot point out of scaffold pole and the feet out of commercial gas piping. used a high tensile (m12 thread i believe) threaded rod as a height adjuster and to keep the legs together. may have pinched the idea of jellybelly. sorry if there was a copyright onit :?
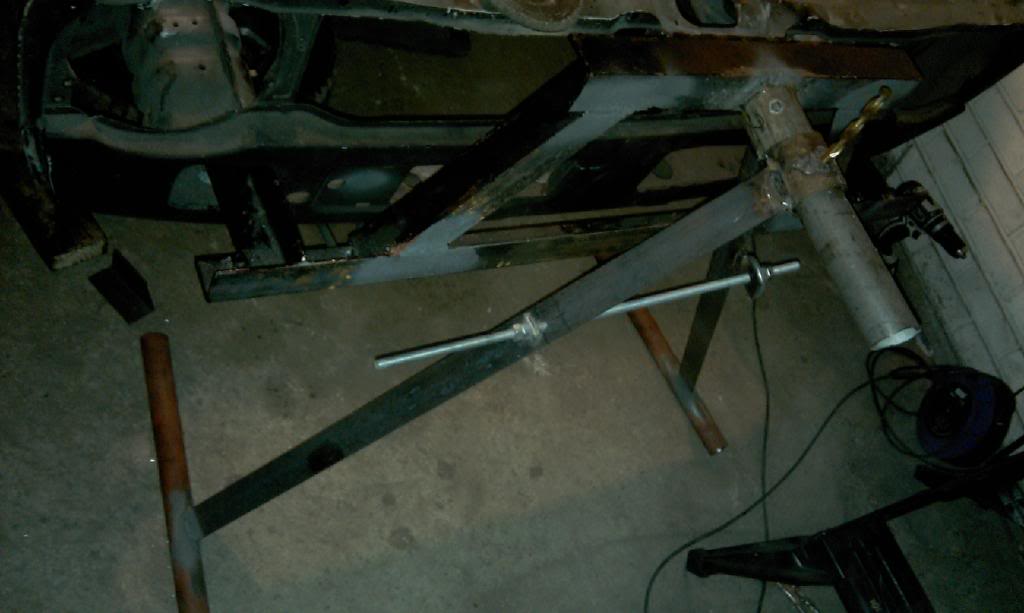
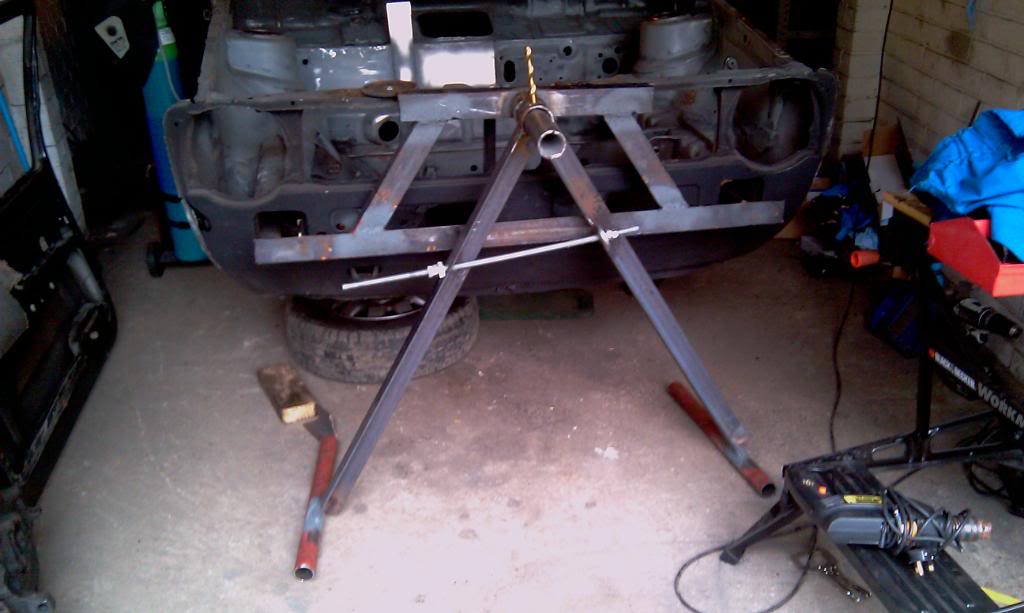
the golf at a jaunty angle
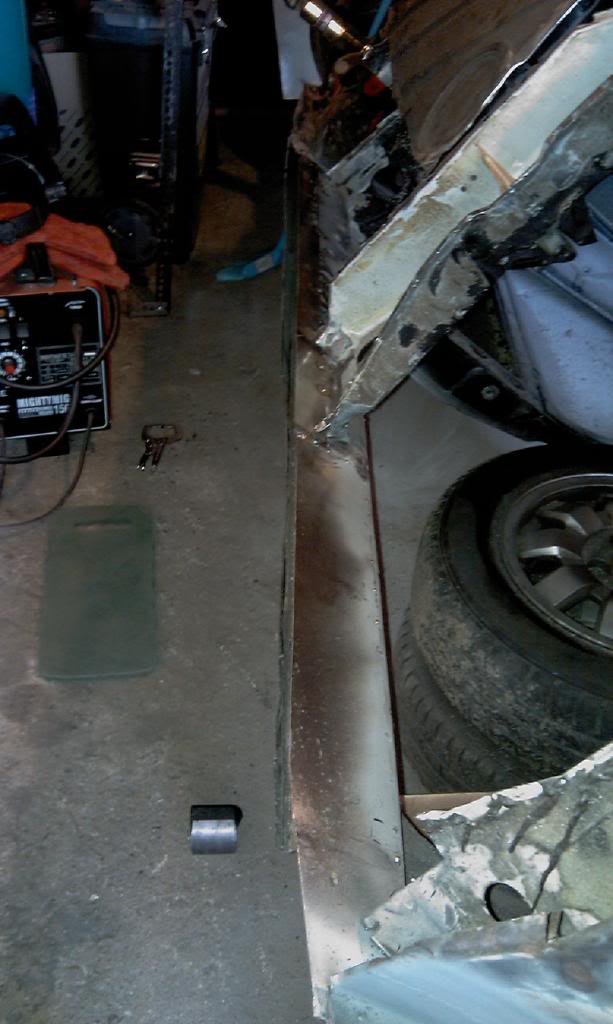
i was so impressed with the sealey welder that i used to weld the jig up i decided to srap the clarke and buy a brand new welder as i had so much to do thort id need a proper bit of kit to doit all with.
i got this bad boy, its a sealy 150amp gas/no gas mighty mig and it work like a dream. if your dreams are about welding of course
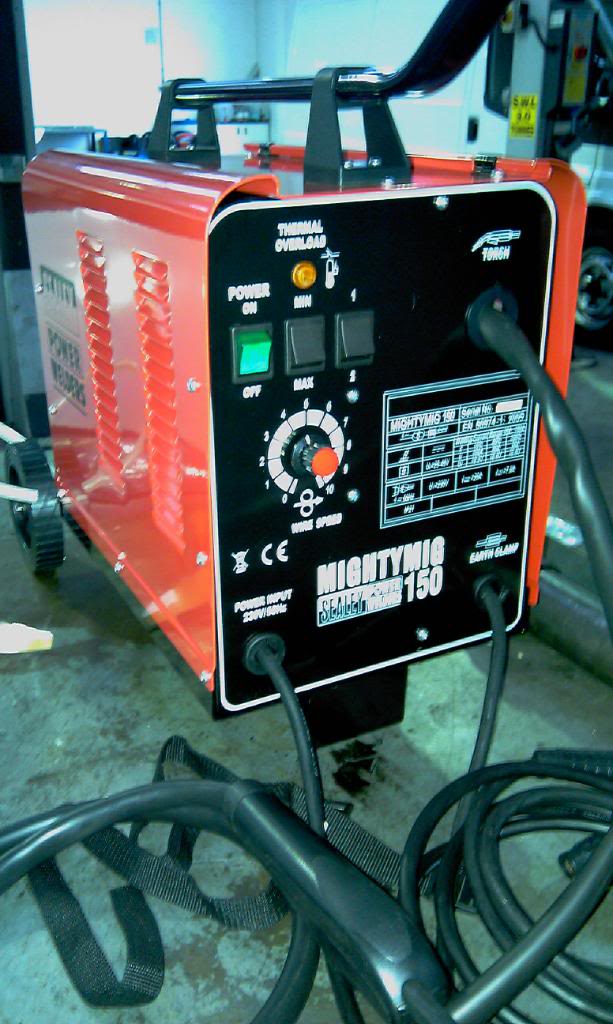
i also got a bottle of argonshield light from boc to use as those disposable ones dont last long enuf!
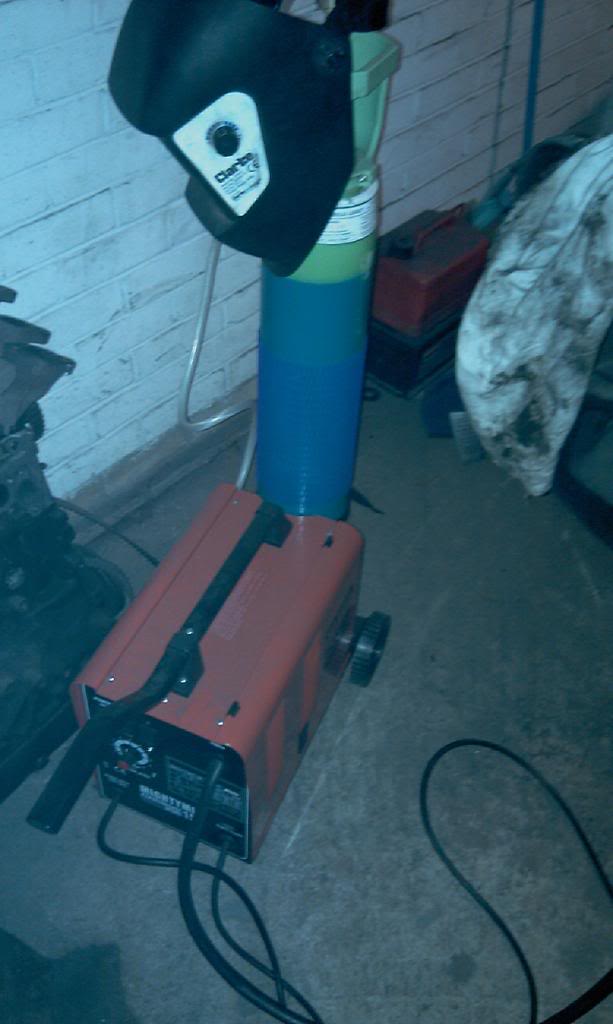
let the welding begin!!!!!id alot of practising onit before i actually welded on the car as i ddnt want to do shody welds.
mk1 golf - resto
mk3 polo breadie - daily banger
mk3 polo breadie - daily banger
Posted
Settled In
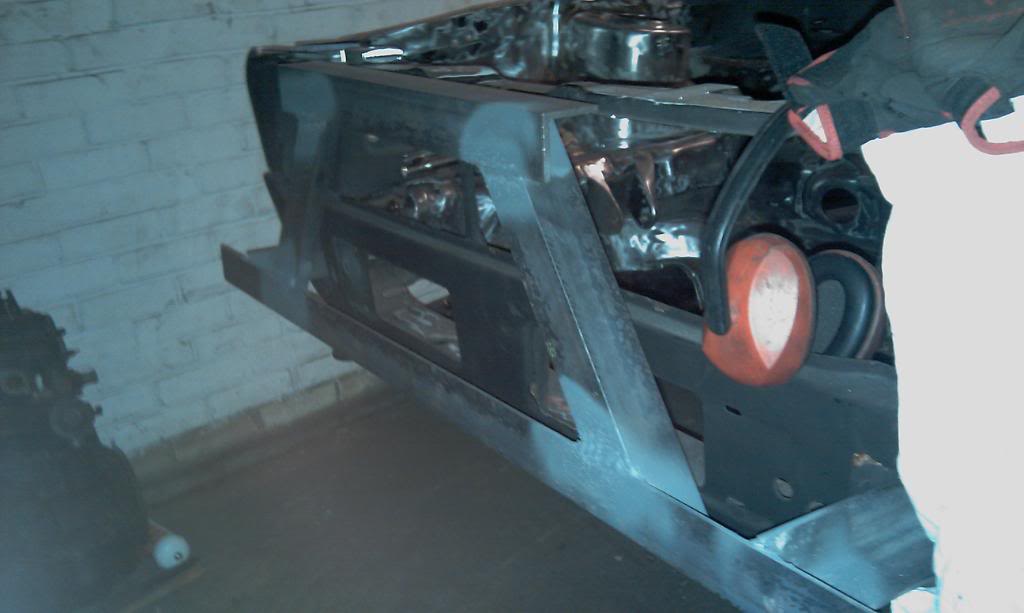
alternator fan

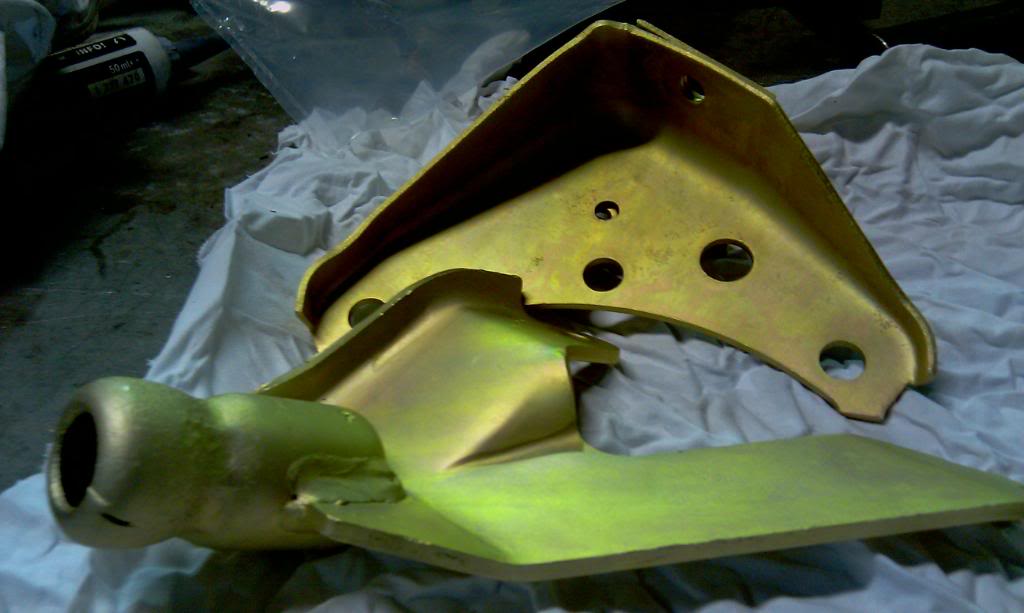
pulley and gear linkage part
gear linkage bits
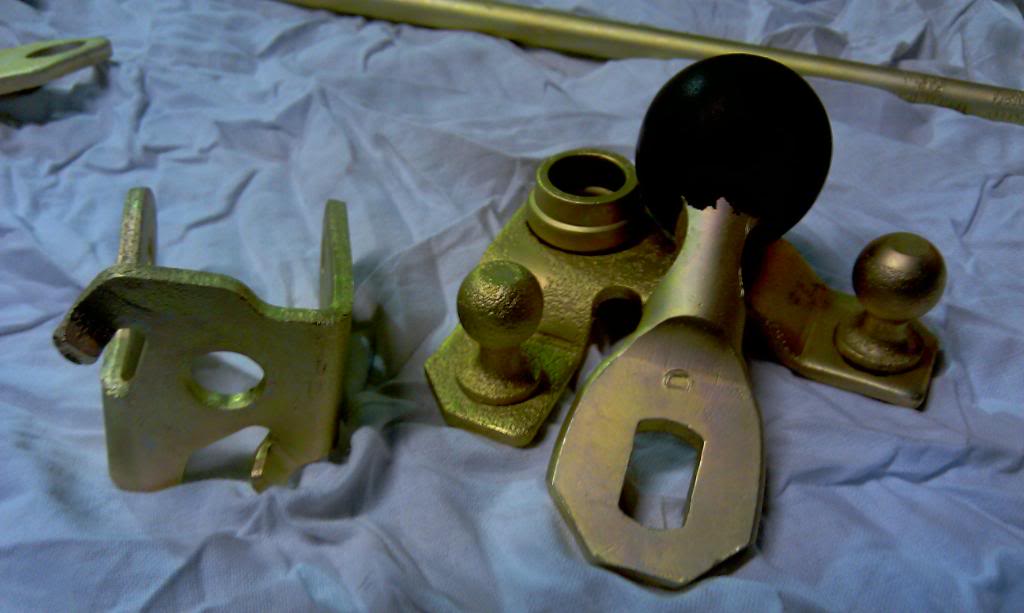
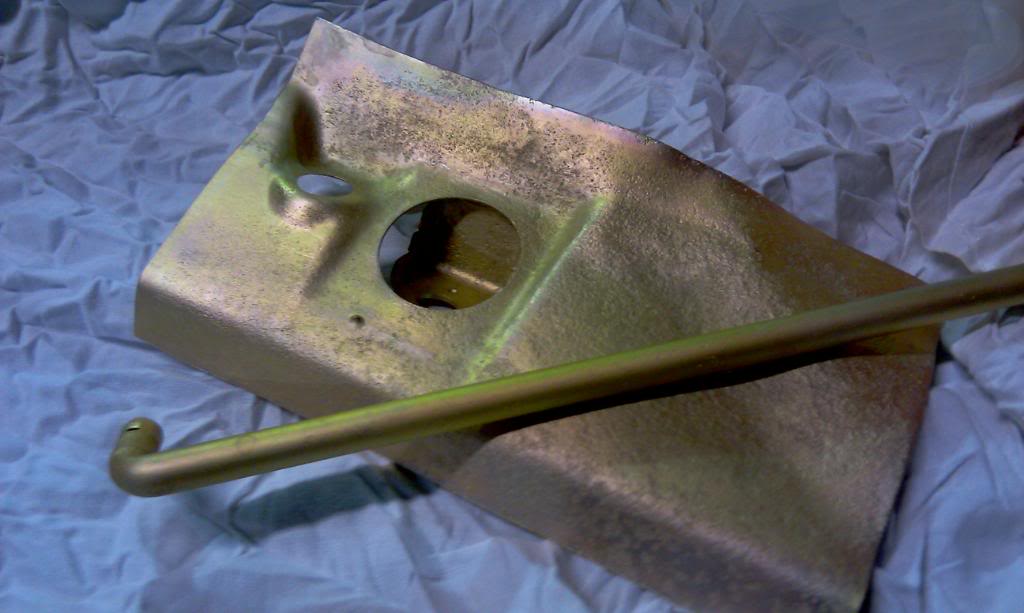
heat shield and selector rod
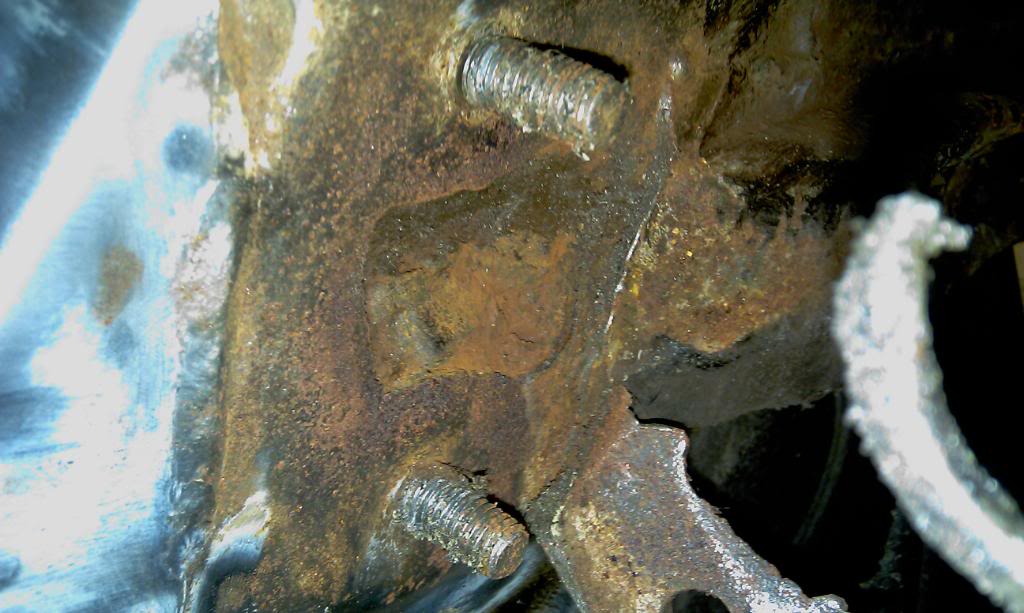
front and rear engine mounts
front knuckles, i ddnt know that the bolts for the back plates wer still there before i had them blasted. i dnt think there guna come out hahah
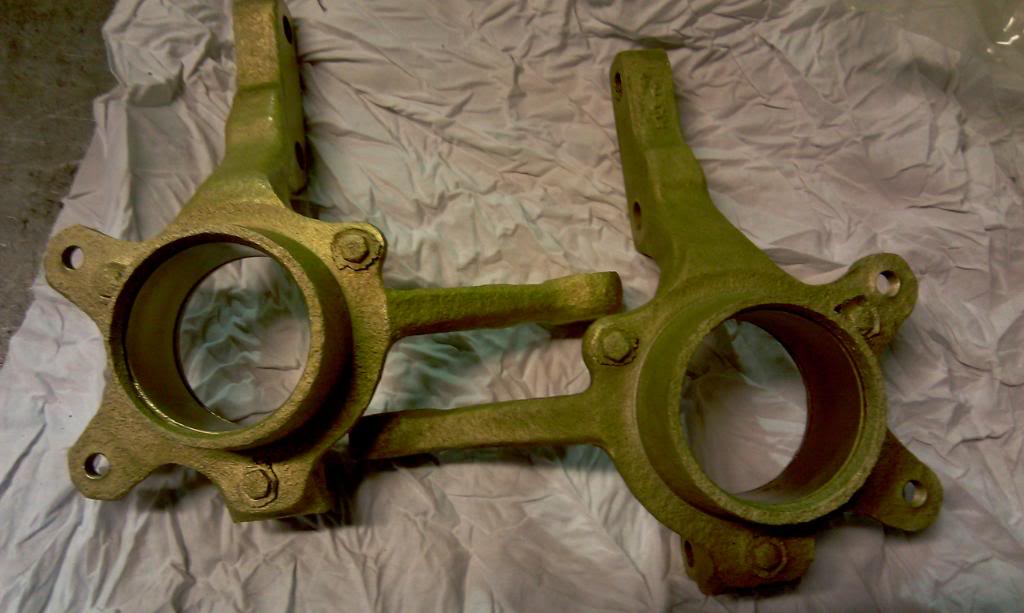
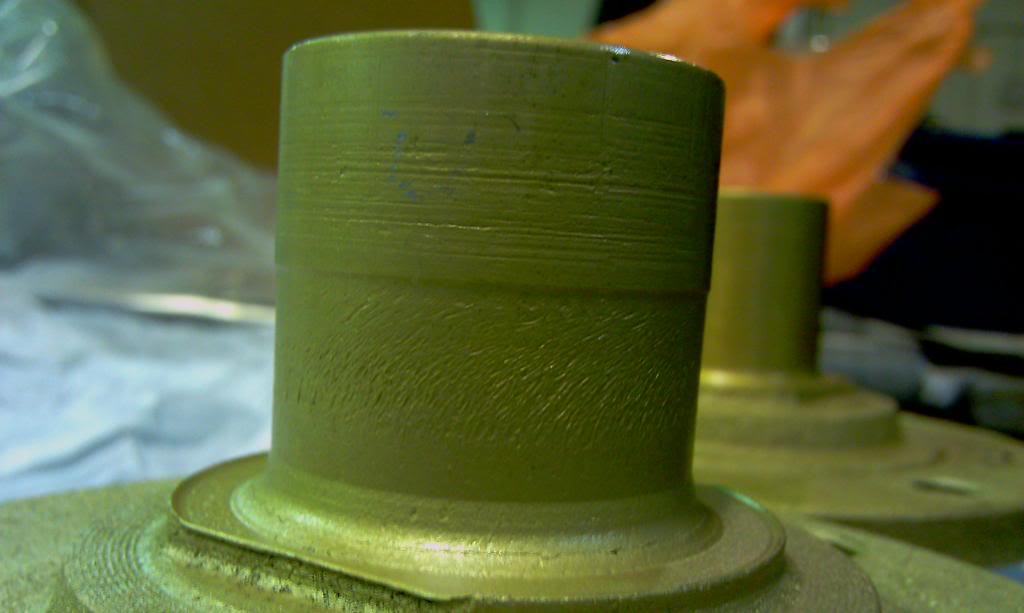
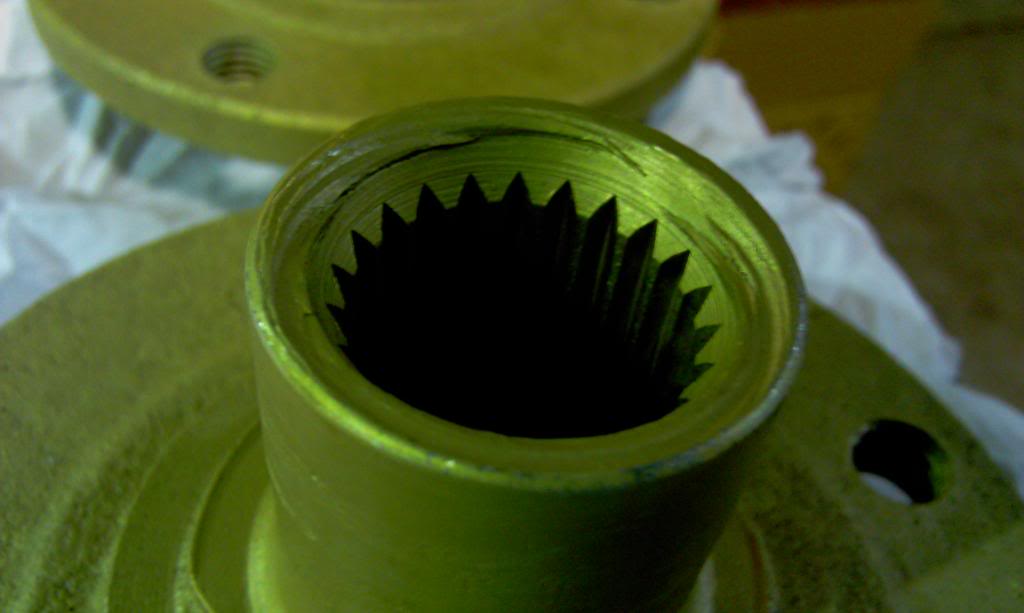
front wheel hubs
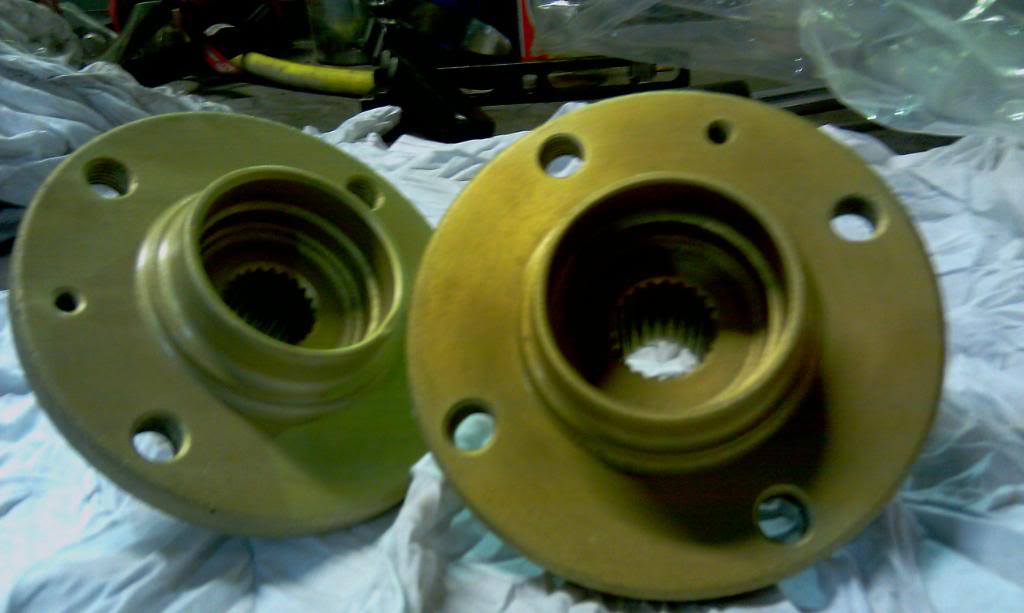
this one hasdamge to the hub from a previousley worn wheel bearing spinning onit. and damge to the top too. will require replacement
one more batch of bits to be blasted left.
mk1 golf - resto
mk3 polo breadie - daily banger
mk3 polo breadie - daily banger
Posted
Settled In
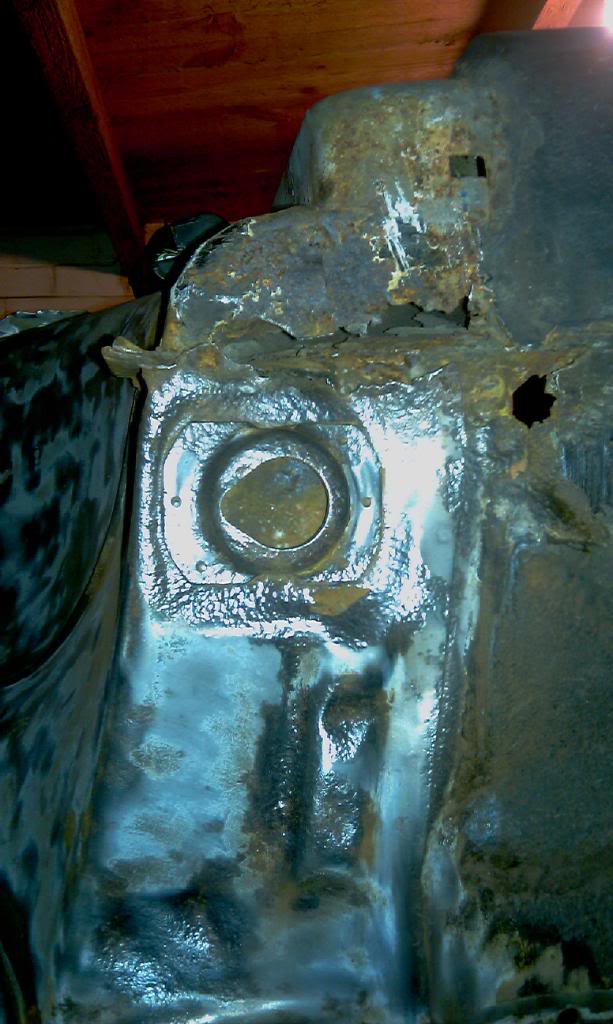
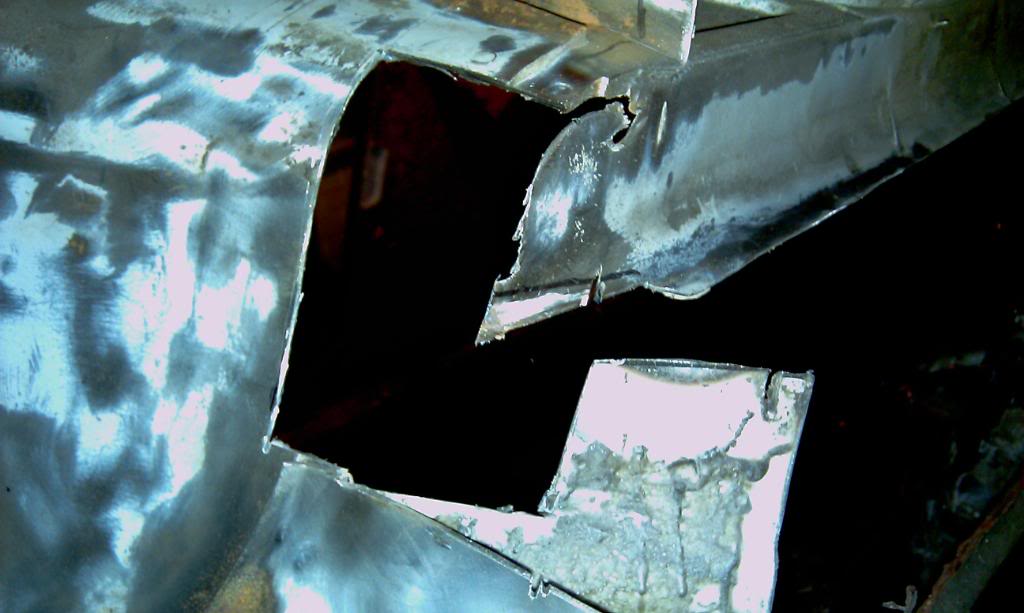
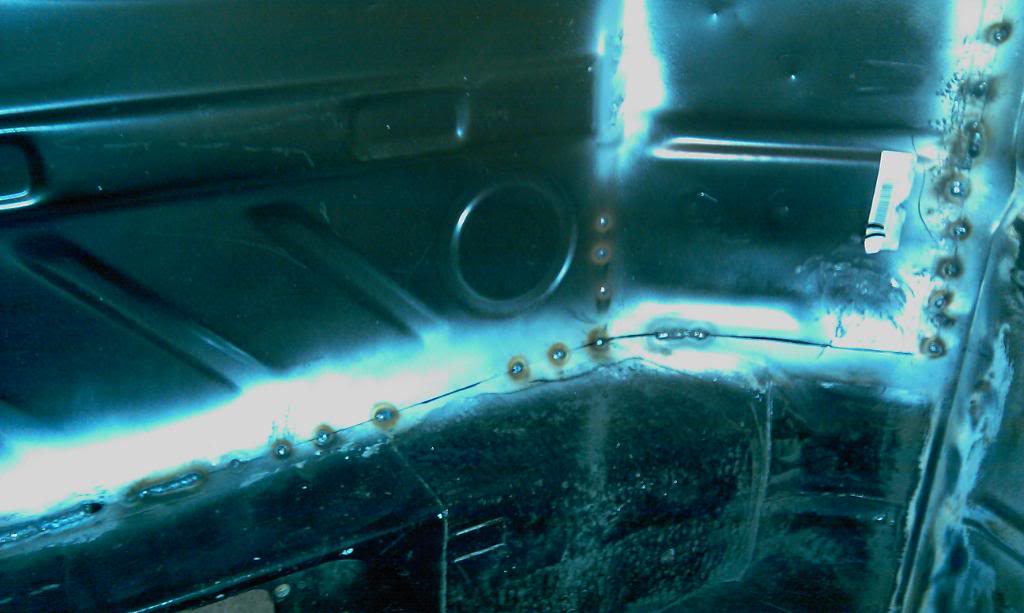
where my bulkhead was previously damaged from the clutch cable pulling through it the whole section needed to be replaced as the scuttle had rusted also so i cut it out.

i left the hole for the throttle cable in the original place but deleted the brake servo linkage holes. got sumin i been knockin up togo behind so holes will be added when thats finished along with the clutch cable hole.
sheet tacked in
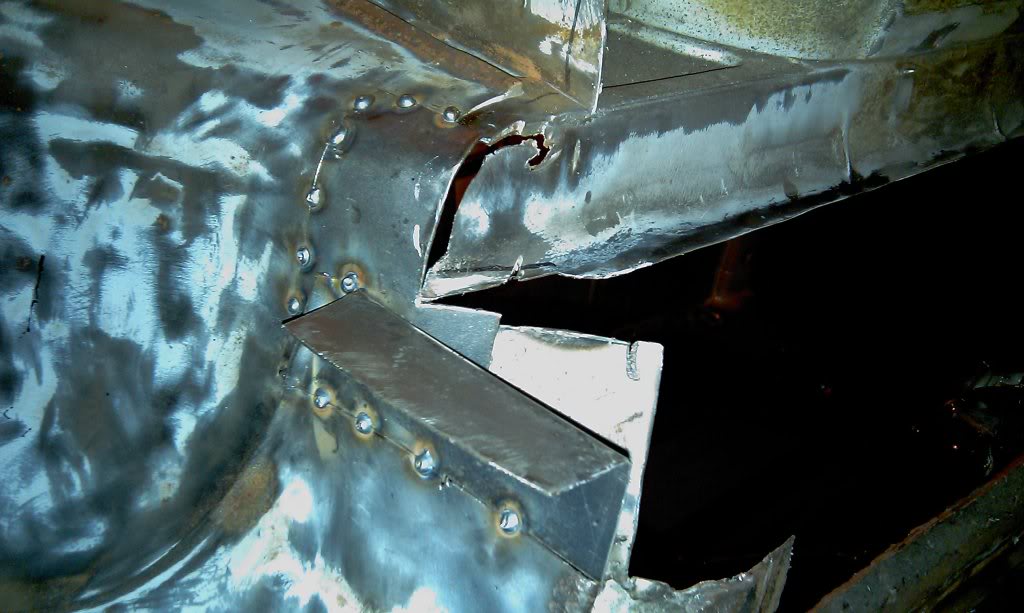
welded up and ground down
then decided i ddnt like the look of the section next to it so i cut that out an put a sheet in there too to smooth it of. then needed a piece in the middle too. if i had known i waas guna doit before i would have done one large sheet but iam knew to this whole metal fab/ welding lark so more experience needed haha
that section is looking nice and smooth now but theres alot more work i want to do the bulk head and dont want it too look like a patch work quilt so will work sumin out for that soon.
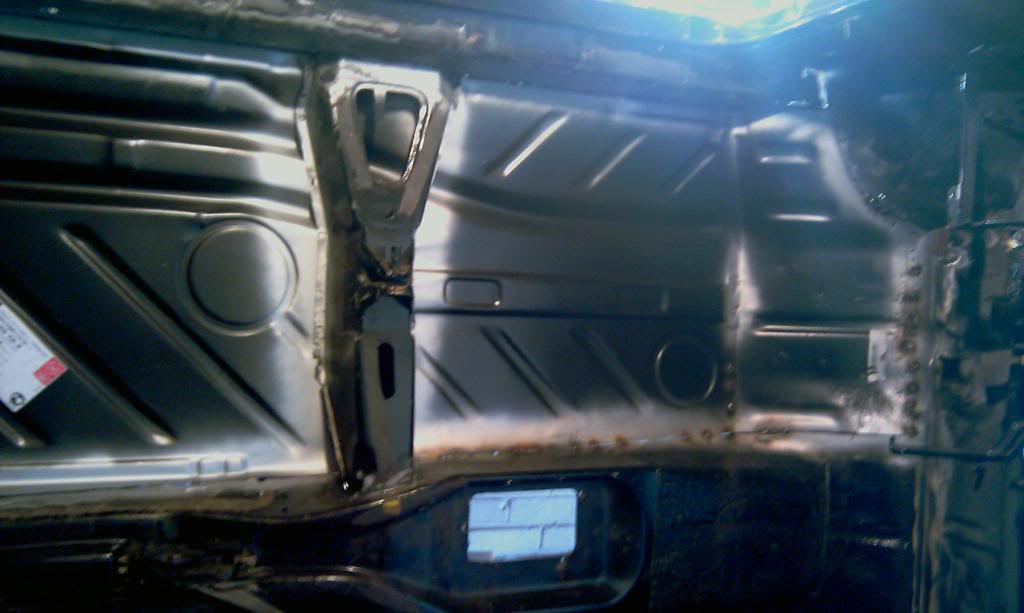
i decided that i would start work on the body that actually really needed to be done before i start making the bay look all pretty. would improve my metal work skills on the bits that wont be seen so that im better doin the parts that need to look perfect!
mk1 golf - resto
mk3 polo breadie - daily banger
mk3 polo breadie - daily banger
Posted
Settled In
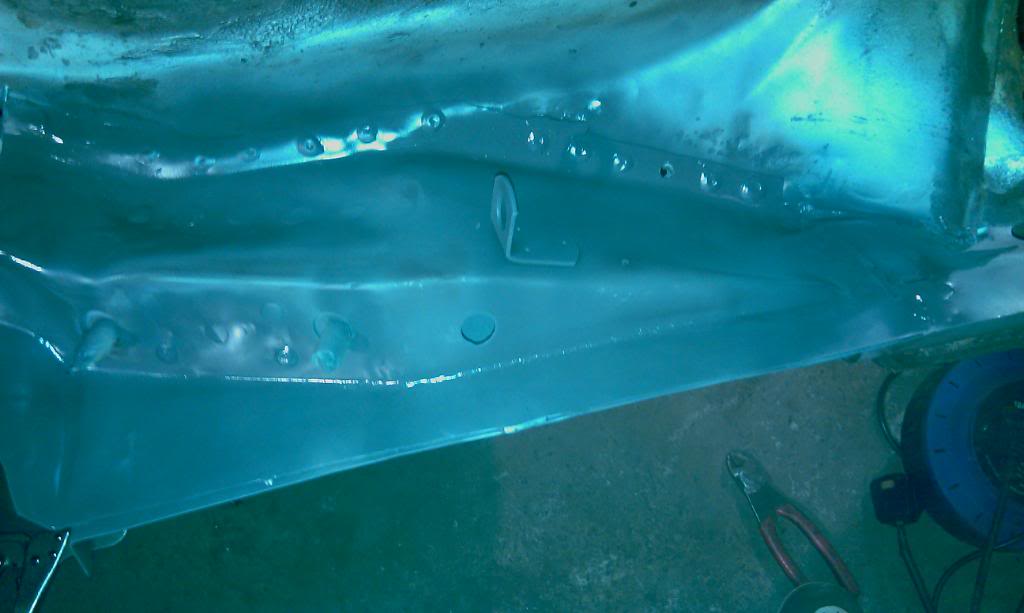
both sills are rotted out, fornt and rear corners or the silla are rotten. rear axle mounts are pretty bad, floors are rotten, the front wishbone floor chassis supprt is rotten. the list goes on.
n/s/f jacking point….rotten
cleaned up
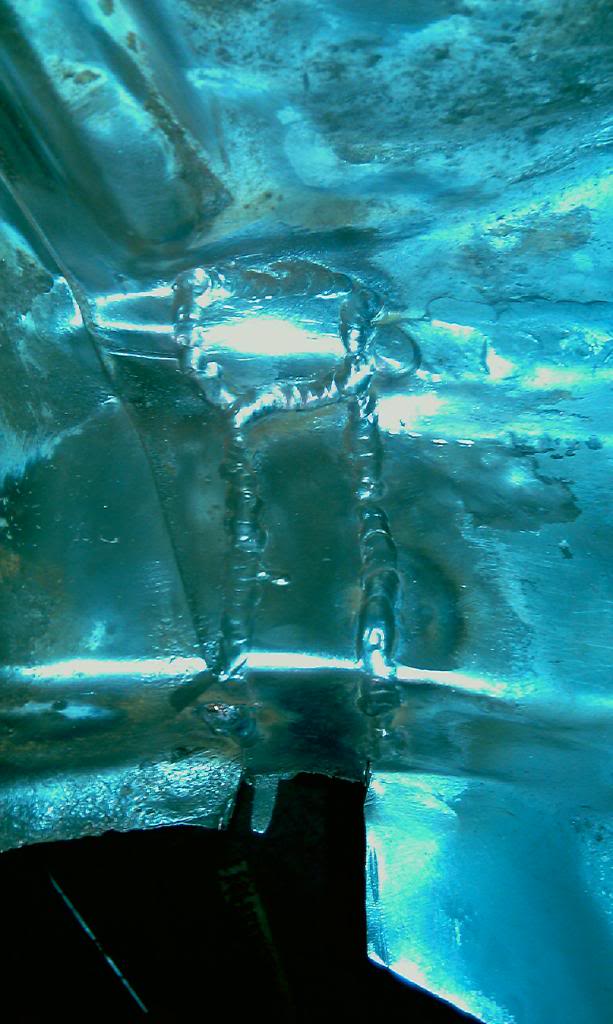
n/s/f wishbone rear mount point.
chop chop cut cut
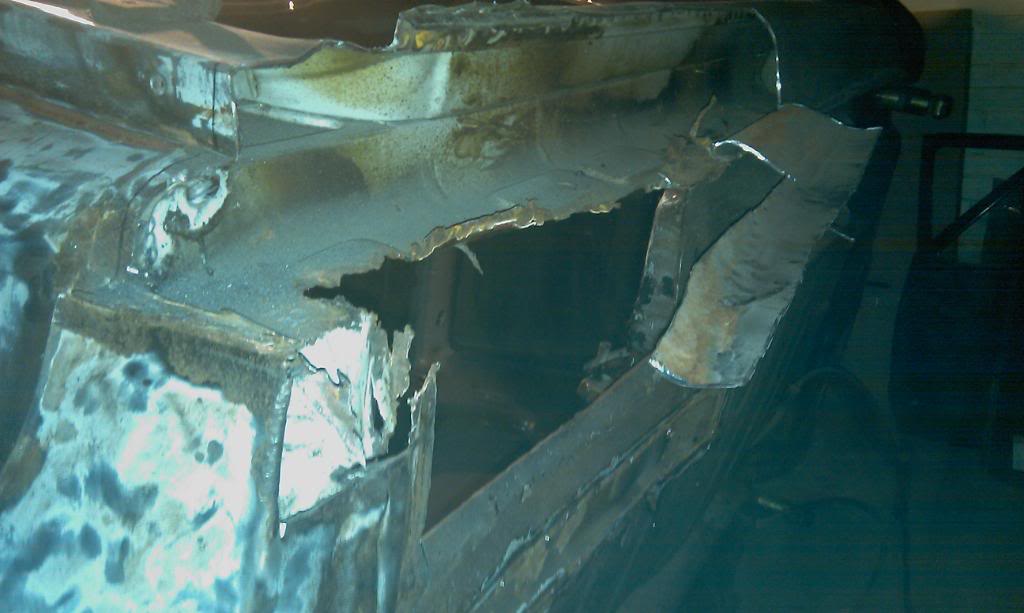
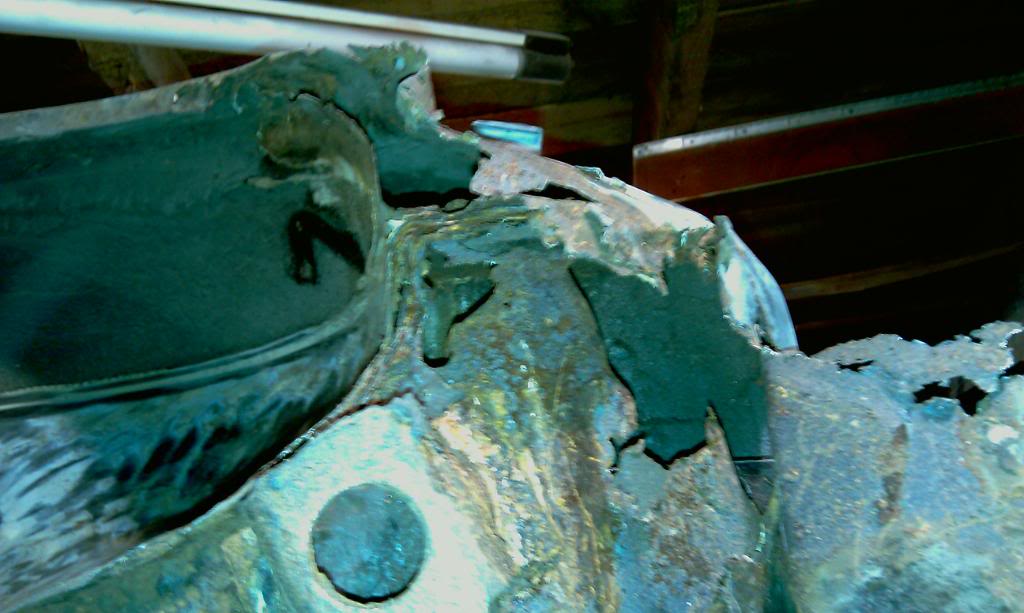
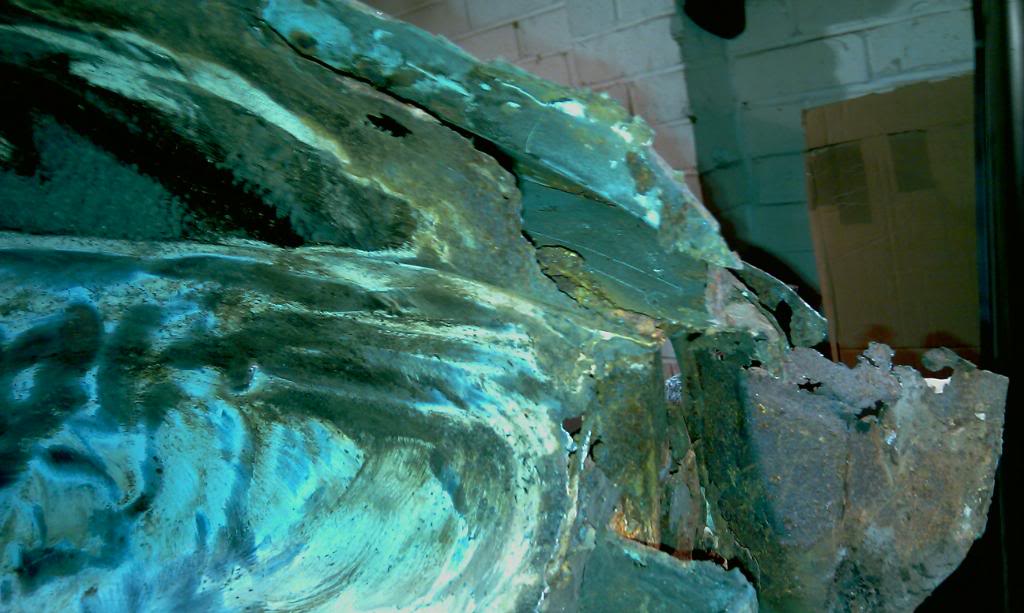
so someone had been there before me and verykindley welded new sills on. OVER THE ORIGINAL RUSTY SILL!!!!! what a douche! didnt even do a proper job jus tack welded it on ontop of the original metal and slapped a load of filler onit. why cant people do things properly first time an then i wouldent be in this position having to fix it. oh well has to be done now hahah,
original sill with the new bit peeled back
here is the under neath where the sill has been tacked on over the original metal

cut out this from the front corner
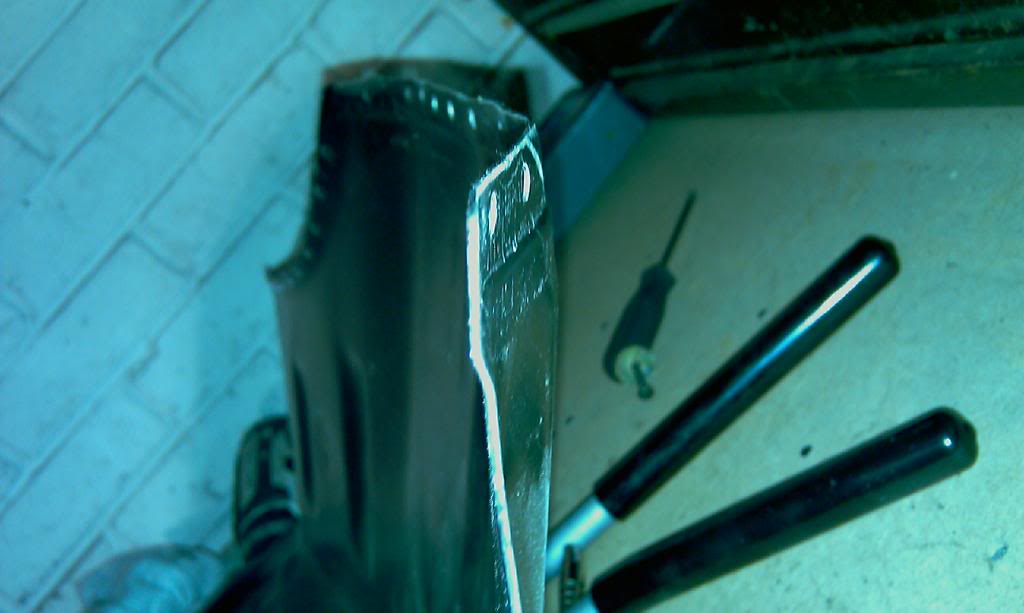
put in this i made

then another piece
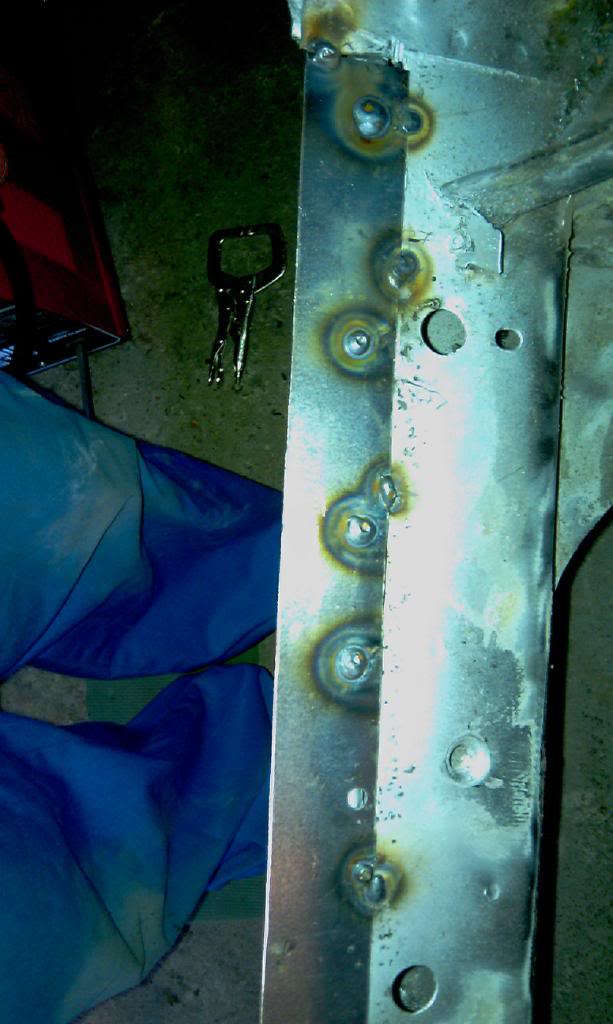
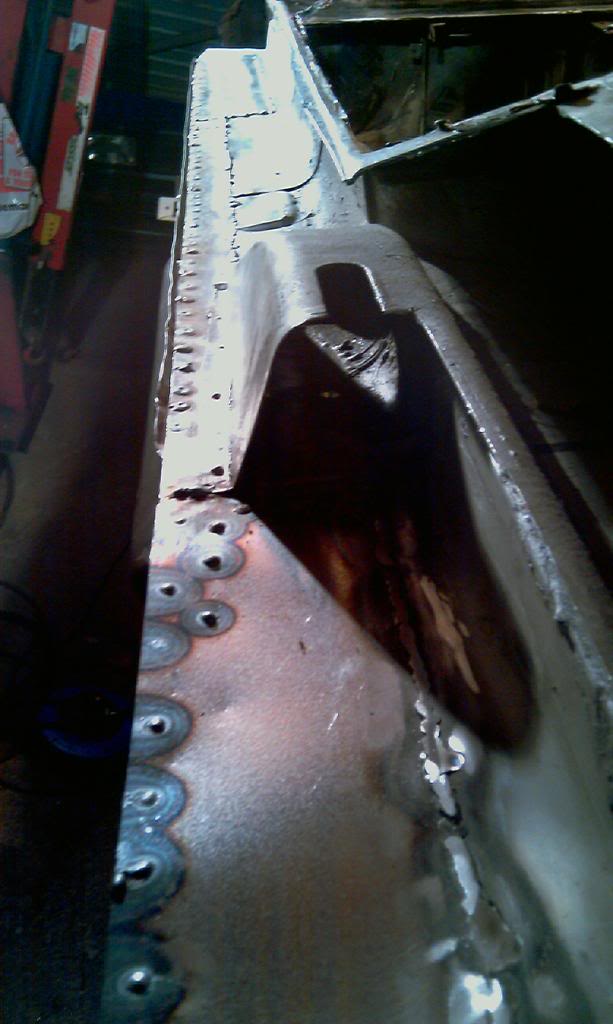
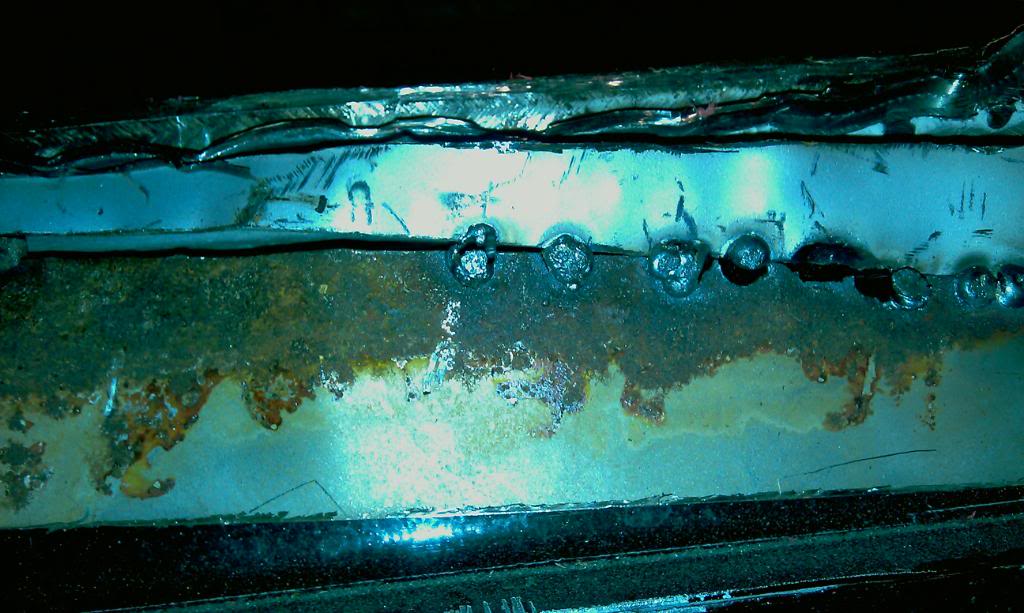
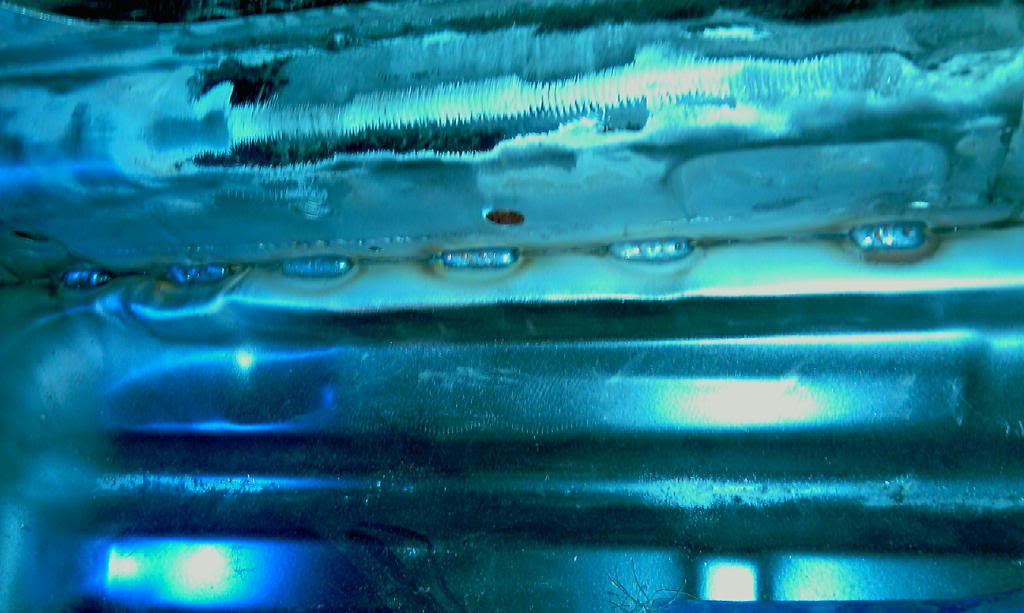
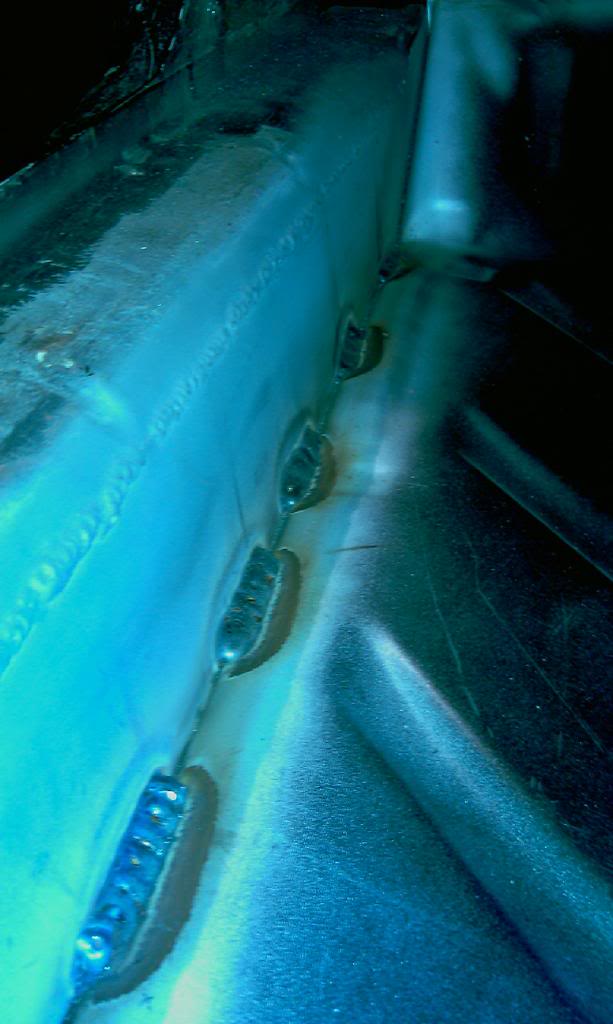
made a piece for the inners sill as that had rotted throught. kinda hard to get the exact shap when both sides are rotten lol. attached it to the other piece with 5 plug welds, only tacked in in this pik tho.

welded this up.put the lip on like original and plug welded where the original spot would have been
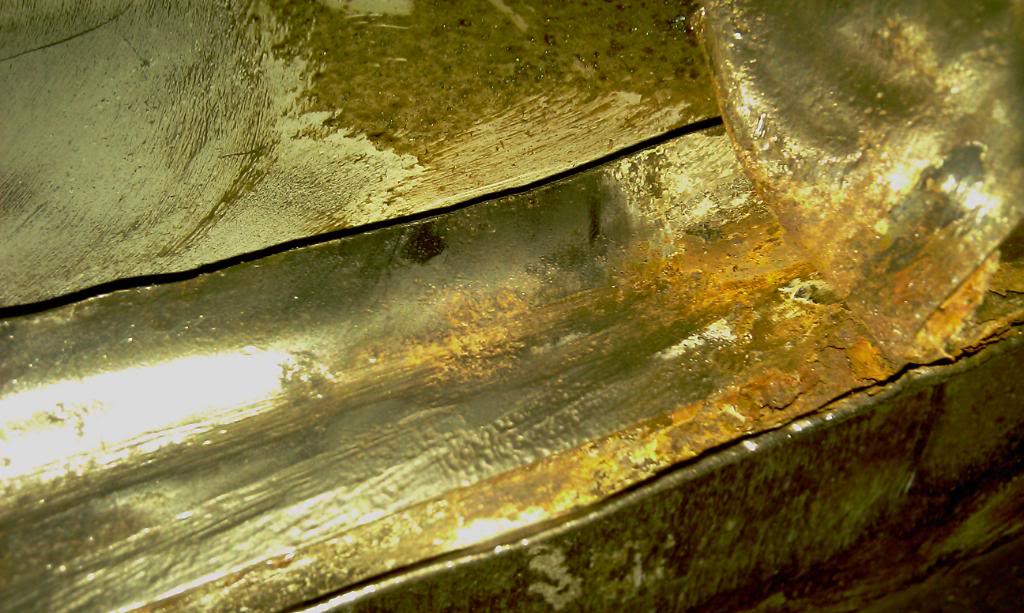
welded this up
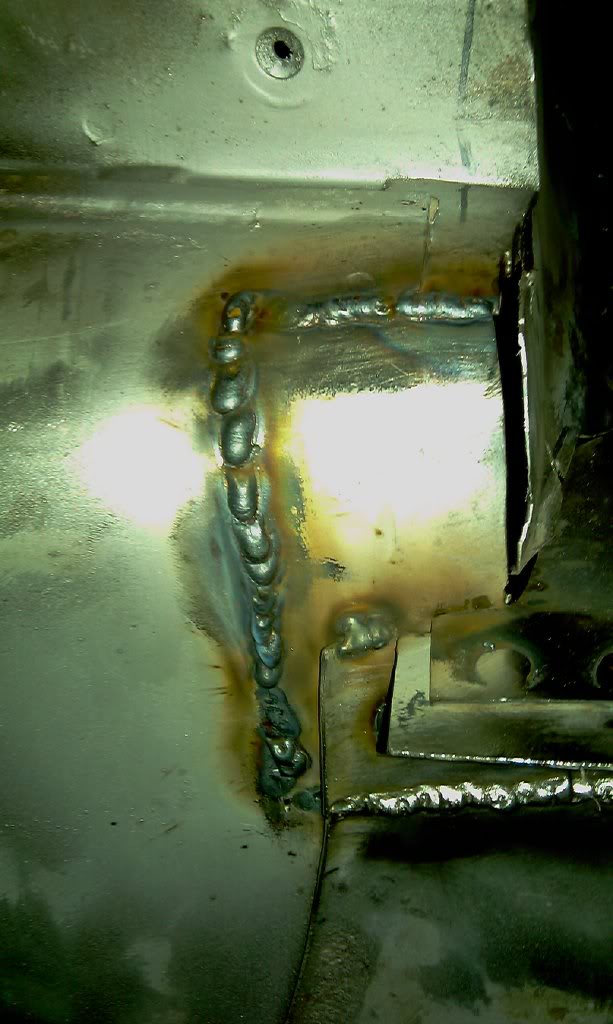
this the other side.got sum good penetration goin through.you can also see the plug weld come throught which is good!
not guna stich the inner sill up till i got the floor pan in to elinminate major heat distortion!
flipped the car the other way round and carried on with the inner sill repair
plugged back to sill rear internal box section.
[
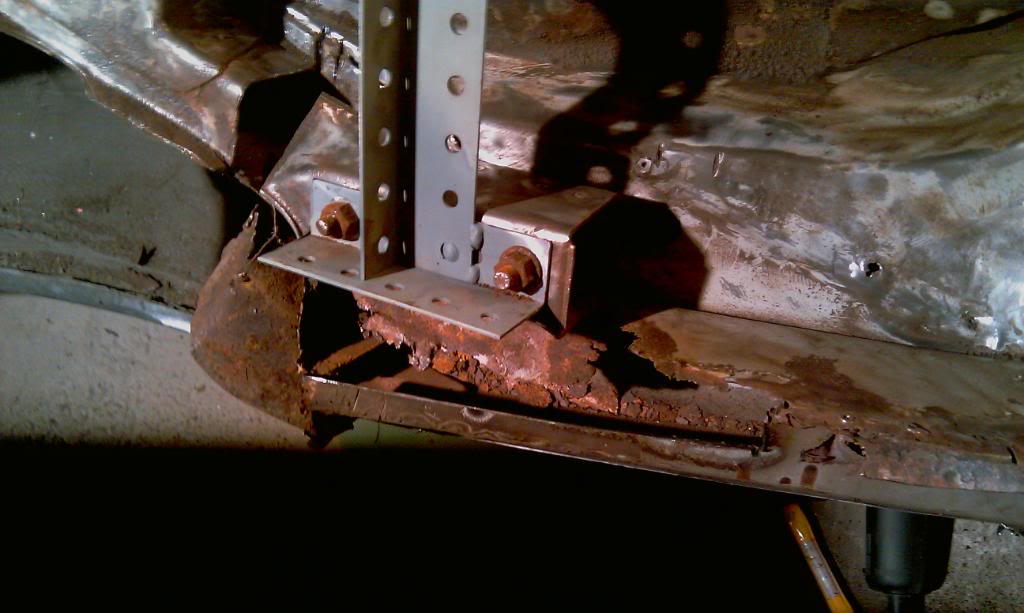
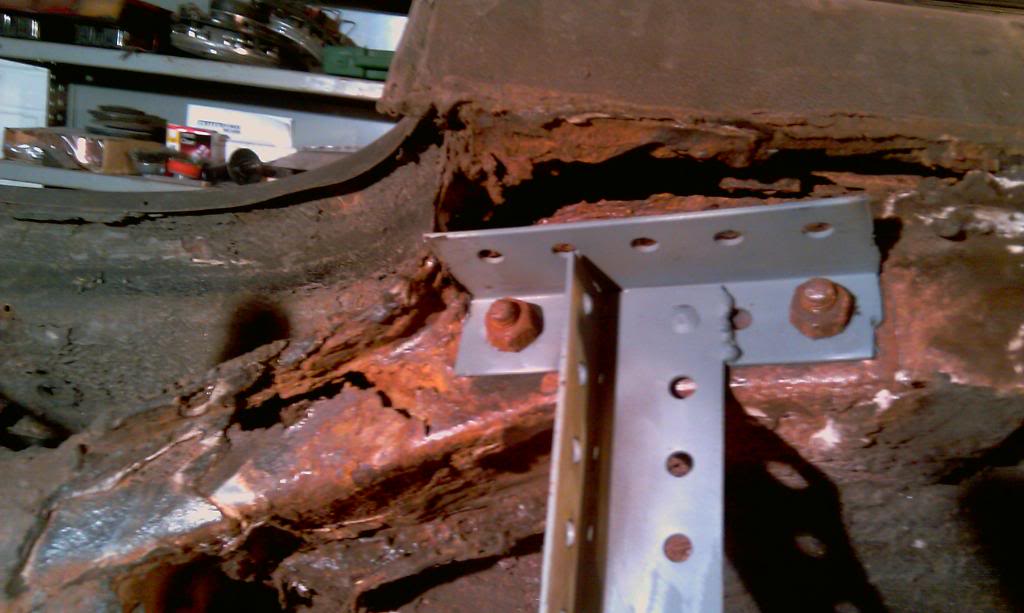
upto the rear axle chassis mount point now which is fairlt rusty.

got this to go in there, guna take abit of work with the hammer to get it to fit good tho.
mk1 golf - resto
mk3 polo breadie - daily banger
mk3 polo breadie - daily banger
Posted
Settled In
n/s beam part removed
the o/s is worse looking than the n/s. darn…
 . got a few days off this week so should be able to get that corner finished off hopefully.
mk1 golf - resto
mk3 polo breadie - daily banger
mk3 polo breadie - daily banger
Posted
Settled In
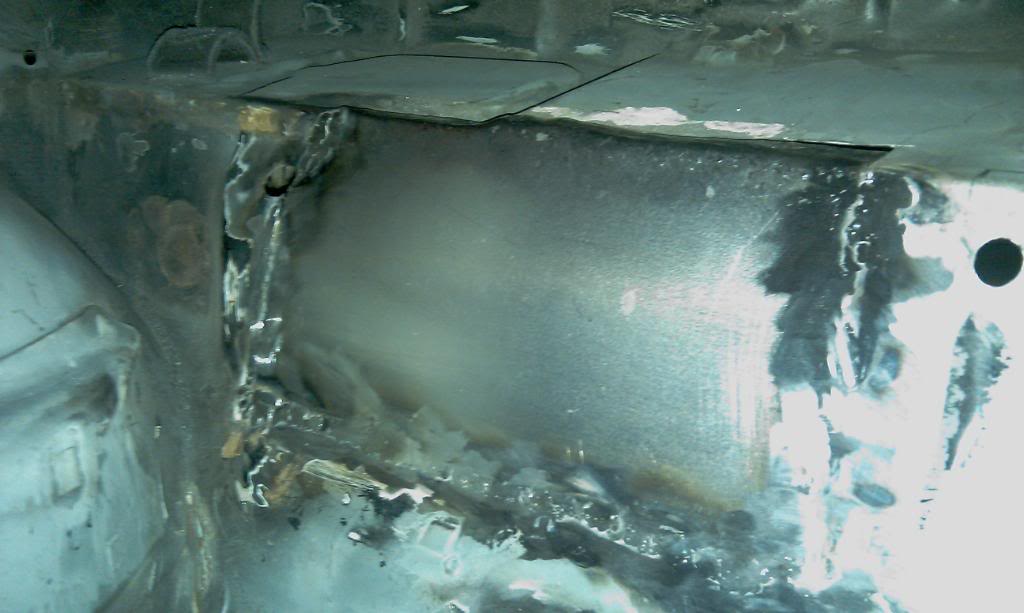
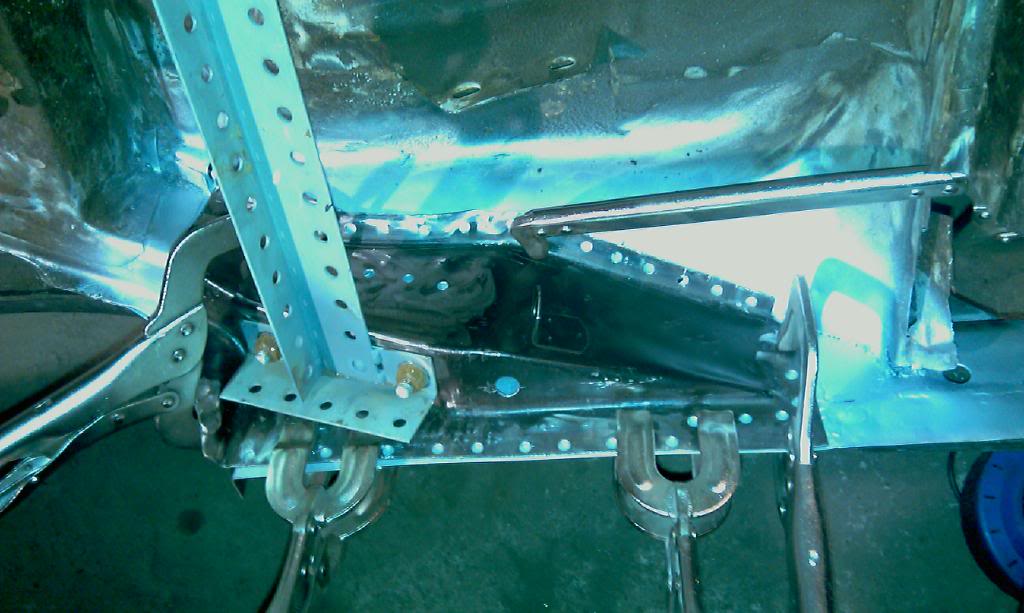
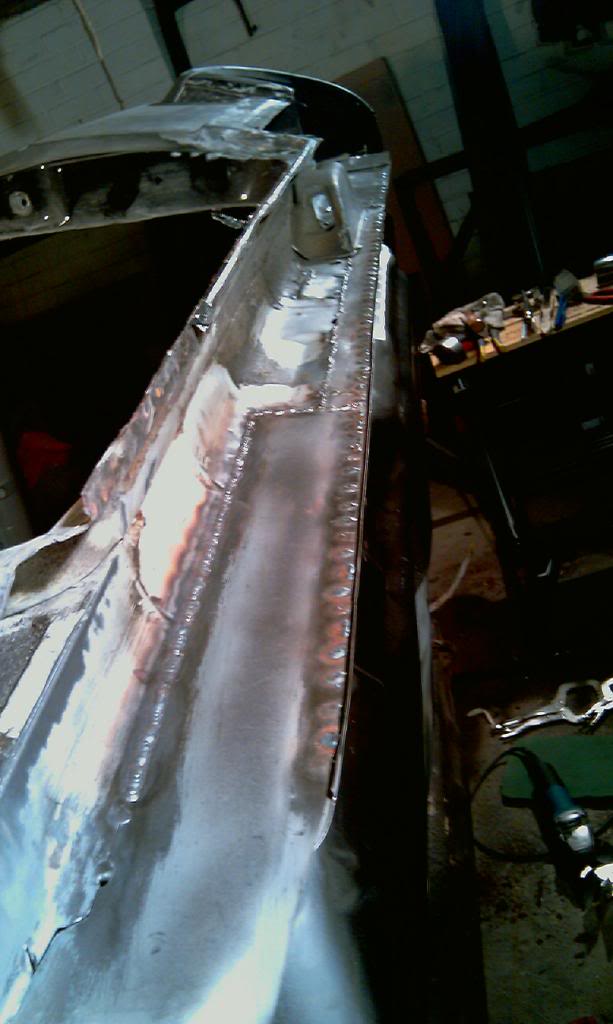
been workin on the golf today. got what i wanted for the day done so im happy. been tackling the n/s/r axle mount/ chassis rail and inner sill section.
started off the day by flipppin the car around and cutting out the rotten part of the inner sill away from the axle mount bracket with out movin it too much.had my brace inplace but thats only bolted to the studs so there is a chance of movement if the bracket was completely removed but the rot hadent gone all the way to the back where the spot welds wer which was lucky.
i had to cut out the box section that coverd that part of the sill too gaint acsess toit. i found that the wonderfull craftman ship of the previouse person who worked onit agen jus plated over the tub that had rusted insted of cuttin it out so it had rusted further up the tub than i had hoped for.thats more work to be done haha.
the box section needs repair done toit also but thats nothing to hard.
heres what i did……………
hole cut out

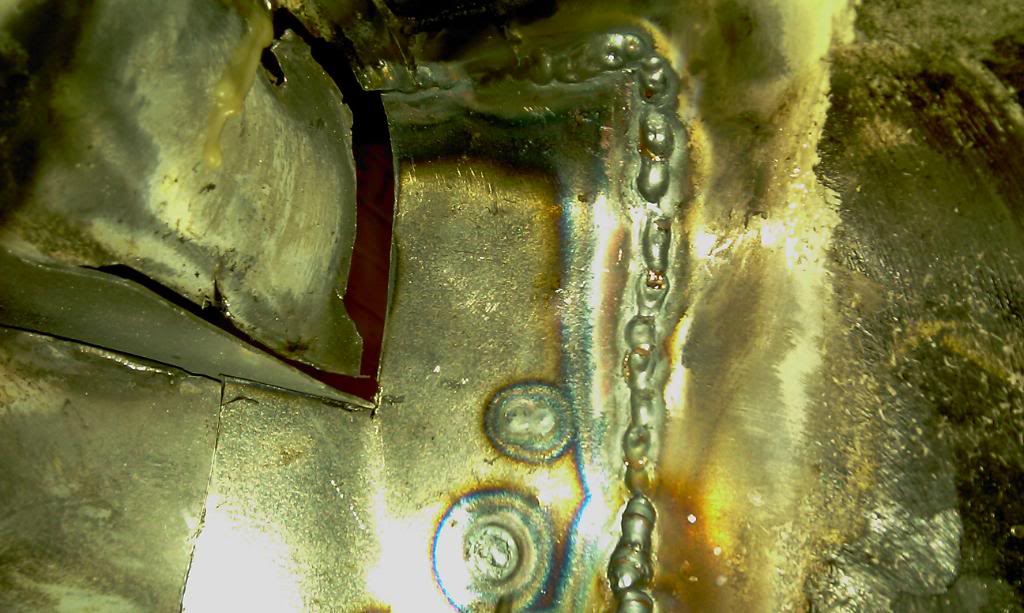
new piece of metal in and welded up. only done the top edge of welding in this pik as the box section gave limited acsess.
flipped the car back over agen and welded the last bit up as it was nice an clear for me to weld onto. this is what it looks like without the chassis rail there.just the braket thats underneath it that iv got my brace on.
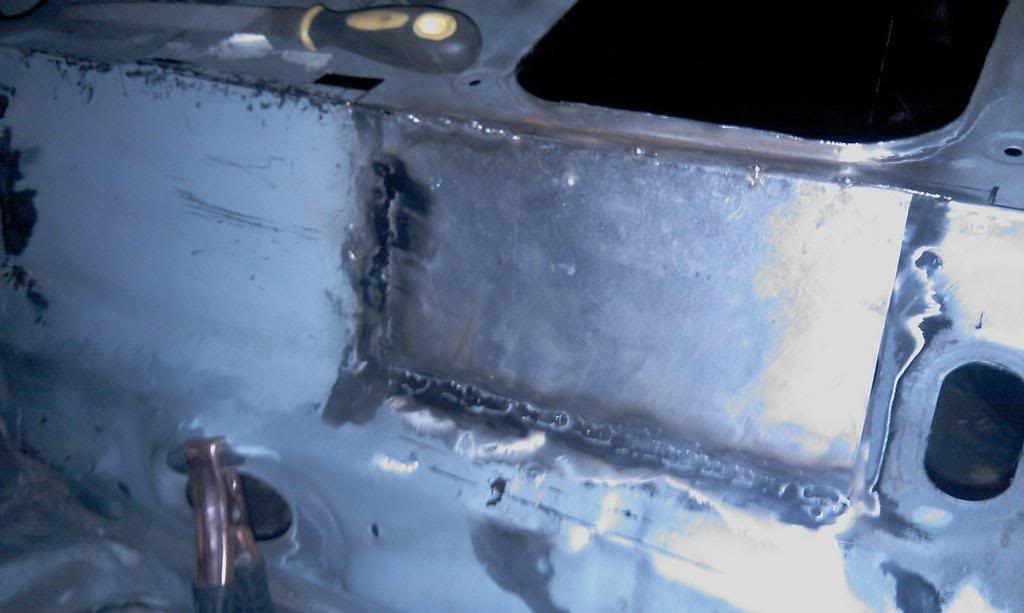
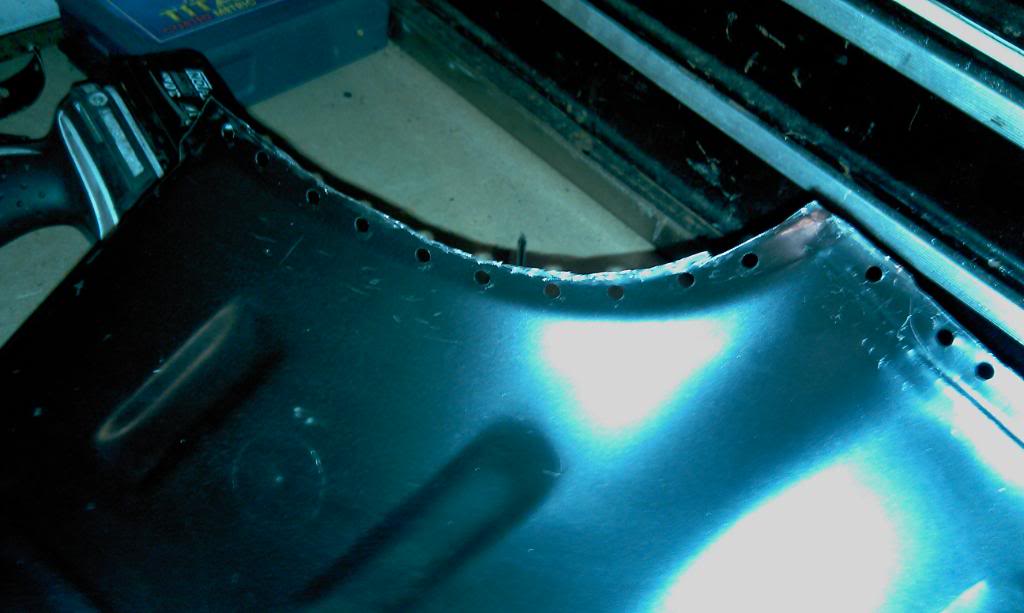
now that i had metal behind the bracket i could put the reapair panel on. i got the panel from big boys toys an it was cheap and i can see why. dnt know if the crazyquiffs ones are any better but this was a very poor fit. i spent far too long cutting and hammering it to try and get it too fit. i mean i spent ages. ended up gettin it to fit ruffley and then getting a few welds onit then hammering the hell out of it to get it too fit. mite try crazyquiff for the other side, this one might have jus been a bad one? who knows….
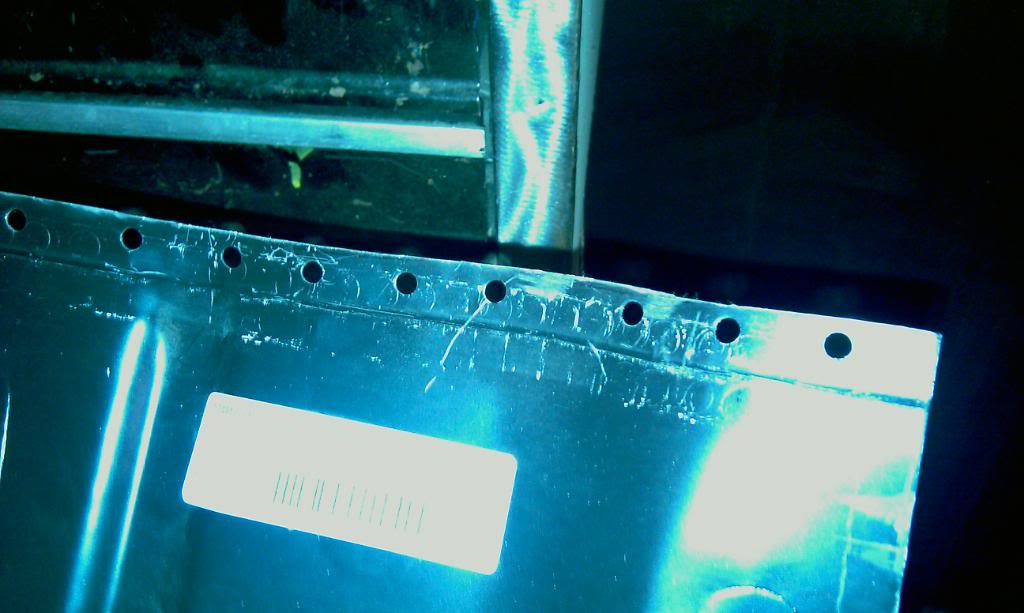
panel drilled, cleaned and panel underneath primerd ready for welding
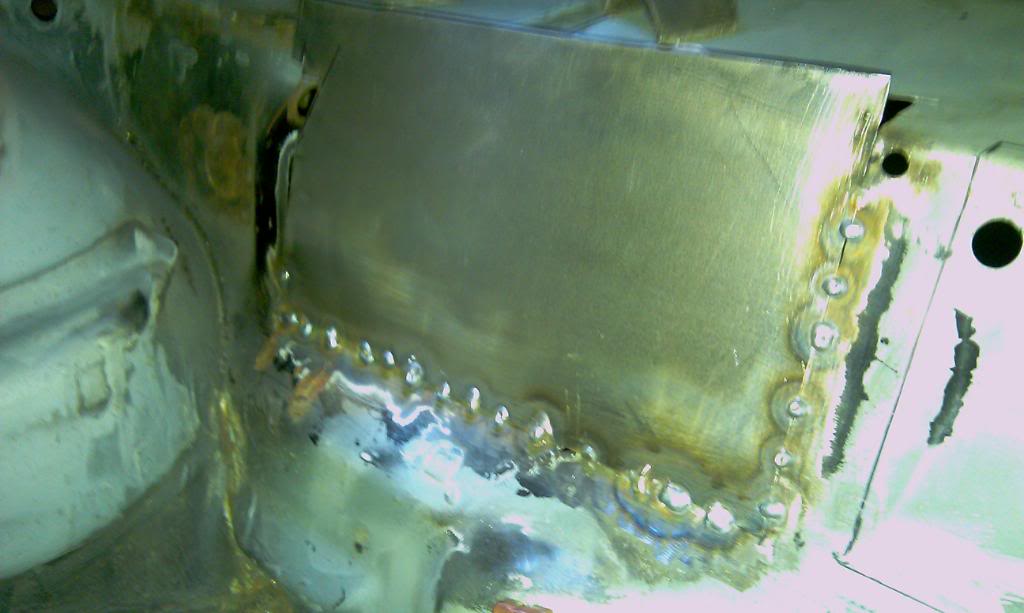
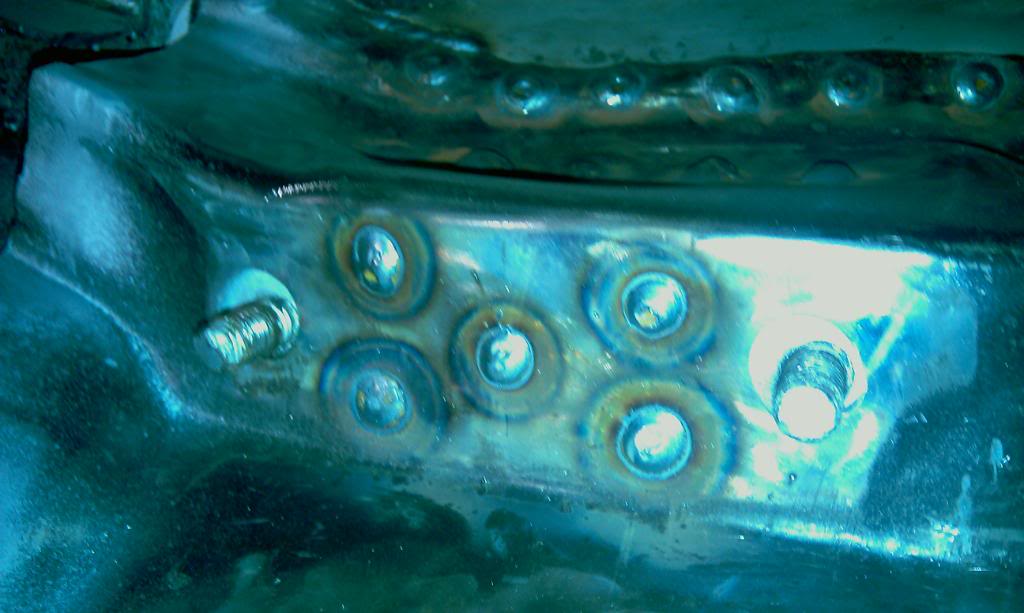
i plug welded the panel too the body. did quite a few more welds then it originally had. 43 in total. that was a pain to drill em all out, need to get a hole punch tool me thinks.
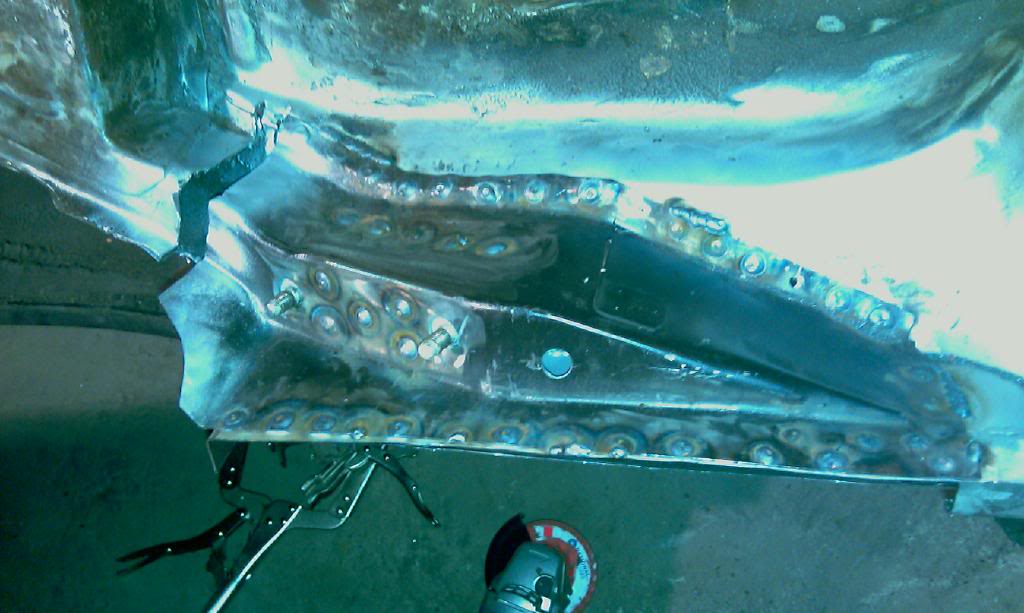
added an extra weld in the middle here than original. why not ay…. glad i made the brace as it was abit tighter to get off after i had welded so there was abit of movement. i also added a couple os seam welds along the edge of the panel just for abit more strenght and to seal it abit.dont think ill go all the way around it though
all welded bar one plug that needs quik weld on other side first and a pice to go inbetween the panel and rear chassis as i cut it stooopidley the first time.
wont be doin that on the other side!!!
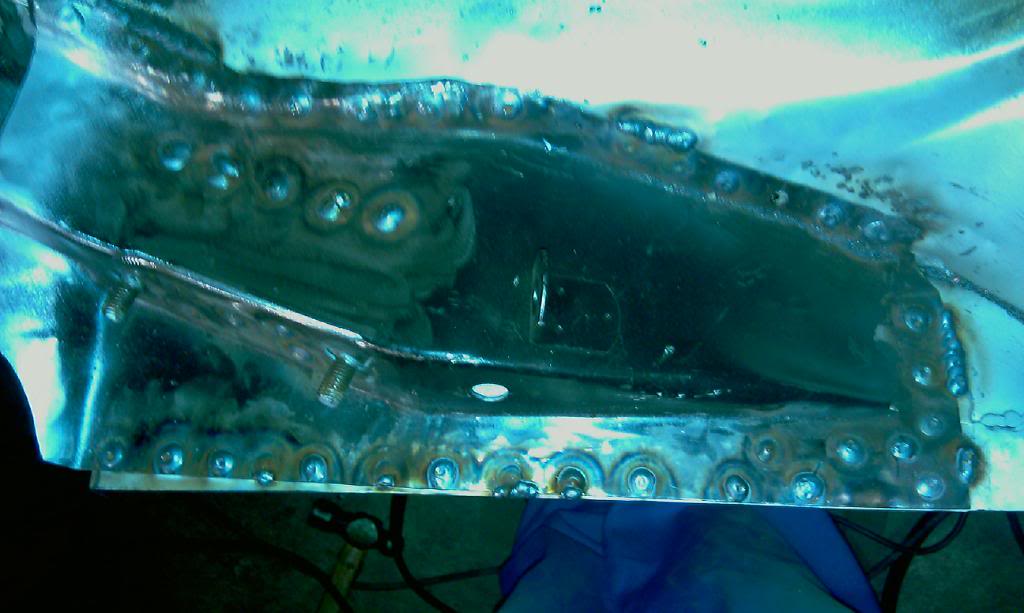
and in primer
tomoro will finish the last little bit on that and then start on the floor pan i think. i know i will prob end up having tho do alot of repair to the inner and outer arch so i think i will finish the bits ive already cut out first before i get carried away with another section.
mk1 golf - resto
mk3 polo breadie - daily banger
mk3 polo breadie - daily banger
Posted
Settled In

Posted
Settled In
haha, how much….sturen said
that looks like good work, do you fancy doing mine, il pay you!
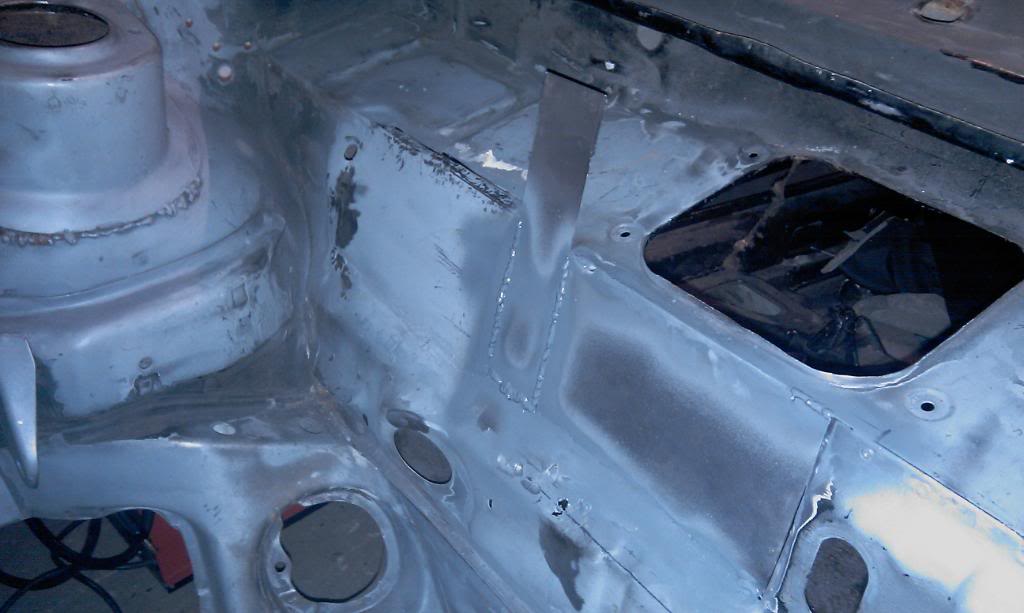
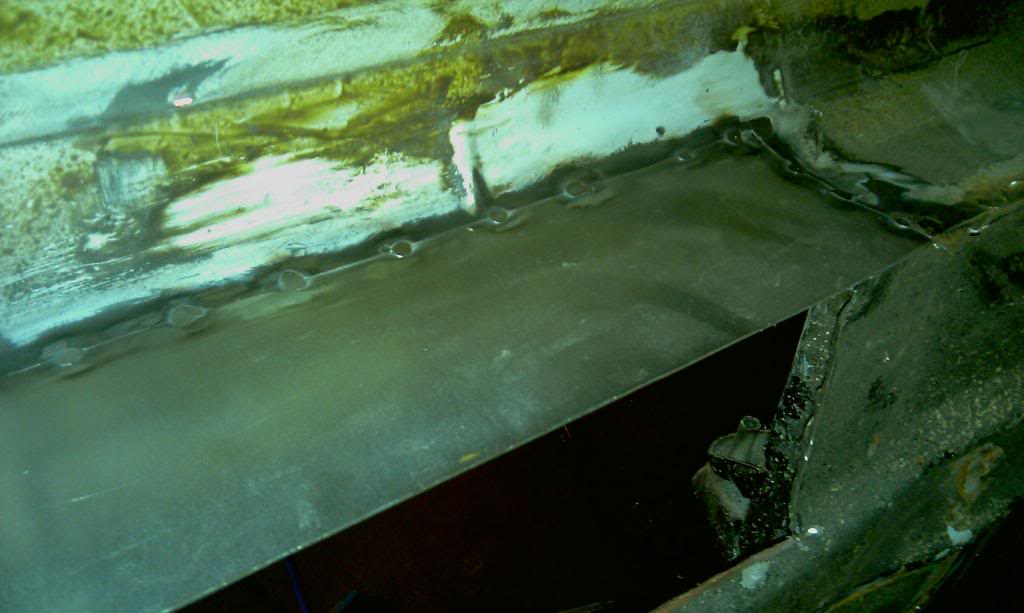
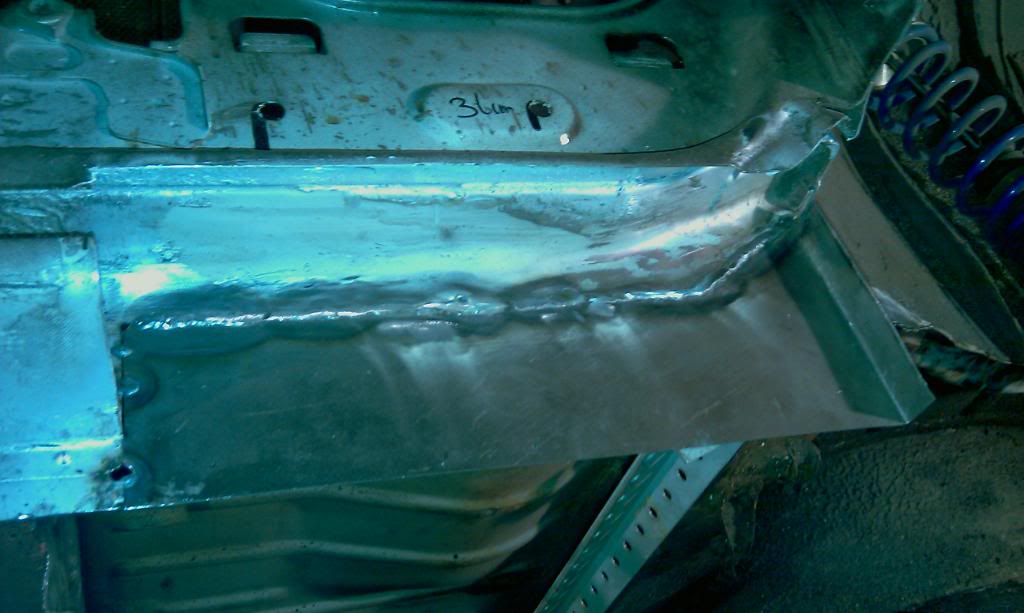
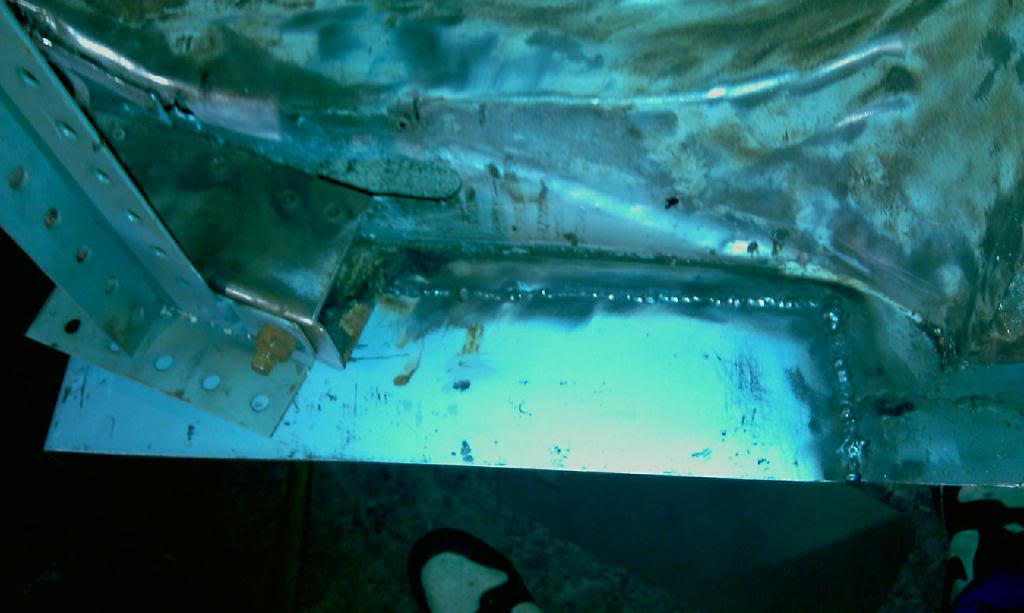
got abit more done today and yester day.started off yesterday by fillin the stoopid gap on the rear chassis rail. ended up cutting metal for it 3 times as i wernt happy with it the first two. (poor fit then too thin metal) but got a nice piece solidley welded in there in the end. got sum seam sealer too now so can slap a load on there.. still need to put a piece in behind it wen i do the tub reapiars but that will come when the cars back on the other side.
cut out the n/s floor half ready for the new floor to go in. i cut out as much as i could so that i could get the floor pan to sit in ther ruffley enuf to draw a template round it then cut out where needed. need to purchase a better spot weld drill bit as the machine mart ones a poo and i find they need a small pilot hole drilled first to stop them wandering all over the shot.
i trimmed up the new floor pan to where i wanted it. i bought a new tool yesterday which puts an edge on sheet metal. great for linin to bits up ontop of each other. also has a hole punch built in so you can spot weld in.
the edge (no U2 pun intended). pik aint great of what it is but the tool does the job nicely!
the new floor pan in place. need sum more prep done to it before welding commences either tomoro or sunday.
now beer time……
mk1 golf - resto
mk3 polo breadie - daily banger
mk3 polo breadie - daily banger
Posted
Settled In
inner sill and sum plugs
front of floor
can anyone recommend a rust paint that i can use on the inside of the sills that wont melt off when i weld the outer sill on or set fire too inside the sill? the old cavity wax just drips off when i weld anywhere near it so im gessing putting new stuff in is pointless till i finish welding? any tried and tested methods floating about?
will get the rest of the floor welded in this week if time permits……
mk1 golf - resto
mk3 polo breadie - daily banger
mk3 polo breadie - daily banger
Posted

Old Timer


some very nice repairs going on , the half floor pan brings back momeries

Posted
Settled In
i think our cars are almost on the same par of rotteness lol. ive been using ur project as a guide for certain things! shame to not see it get finished!
mk1 golf - resto
mk3 polo breadie - daily banger
mk3 polo breadie - daily banger
Posted
Settled In
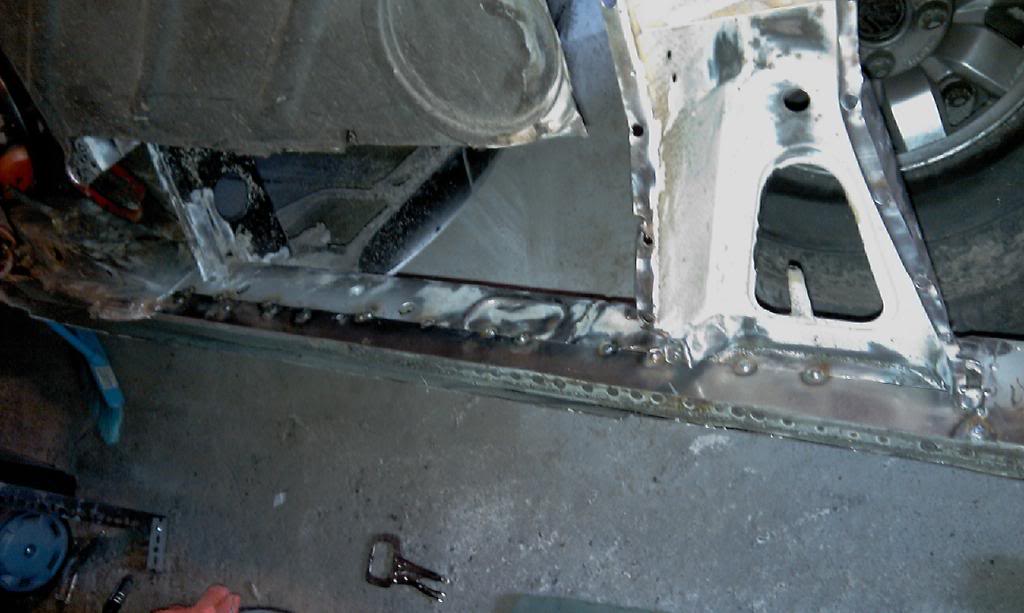
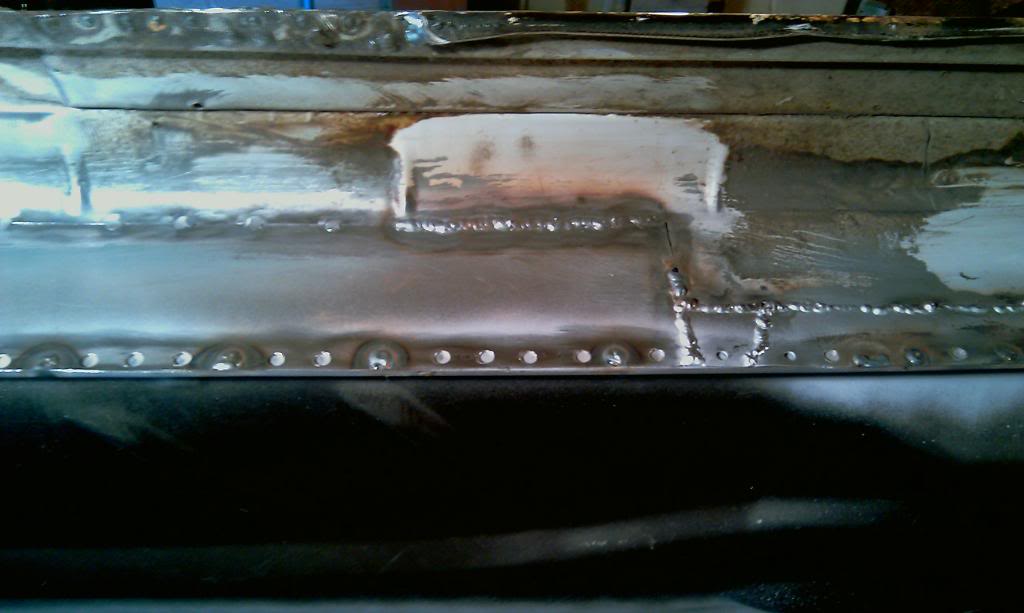
got my weld on again tonight and managed to finish off the ns inner sill welding. got the last section all stiched up and all the plugs……plugged? 52 in total 8O
welding takes aaaaaaaages, havin to wait for it to cool an what not. more tomoro hopefully. need to get the end piece in and the exhaust tunnel side welded up then i can bring the car down level and do the front and center cross member bits.
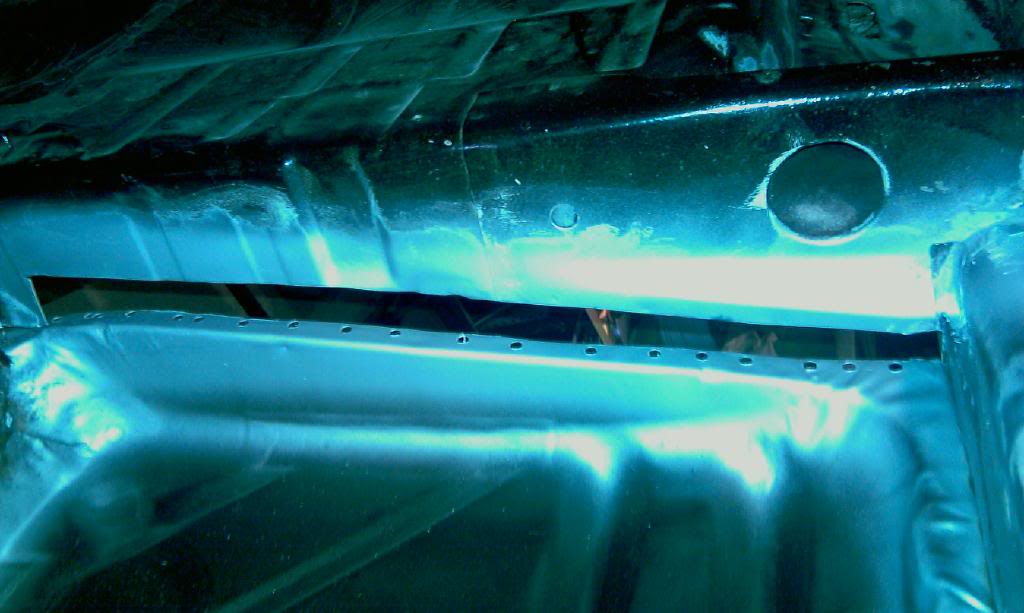
the hole sill welded.almost ready for outer sill hehe
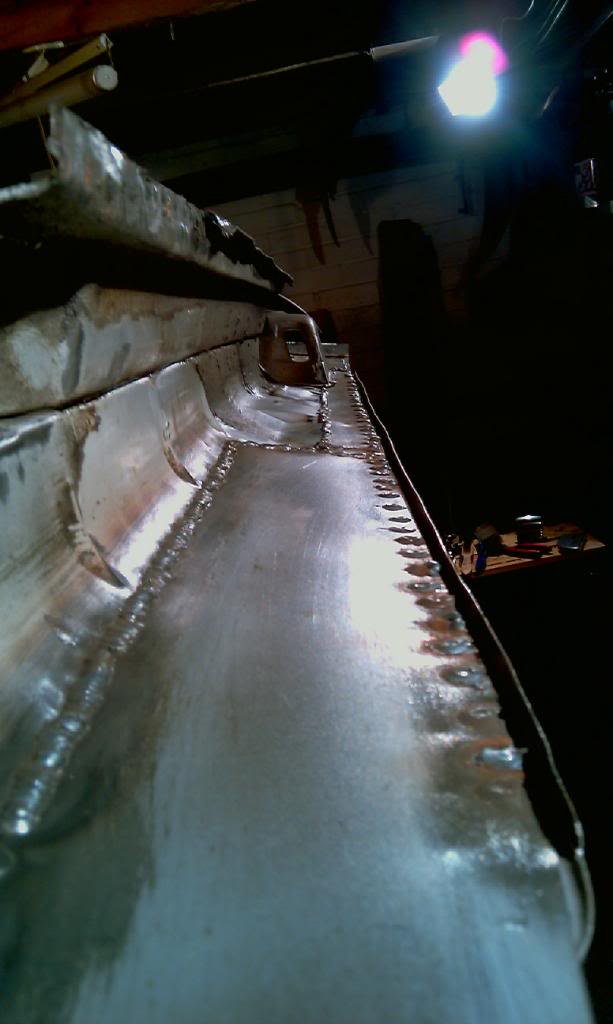
once the floors completely in this section will be sorted out with repairs to the box section and general arch repairs!
enjoy…….
mk1 golf - resto
mk3 polo breadie - daily banger
mk3 polo breadie - daily banger
Posted
Settled In
problem area with bit cut out

the piece i cut out of it which i was attempting to weld to. fail.
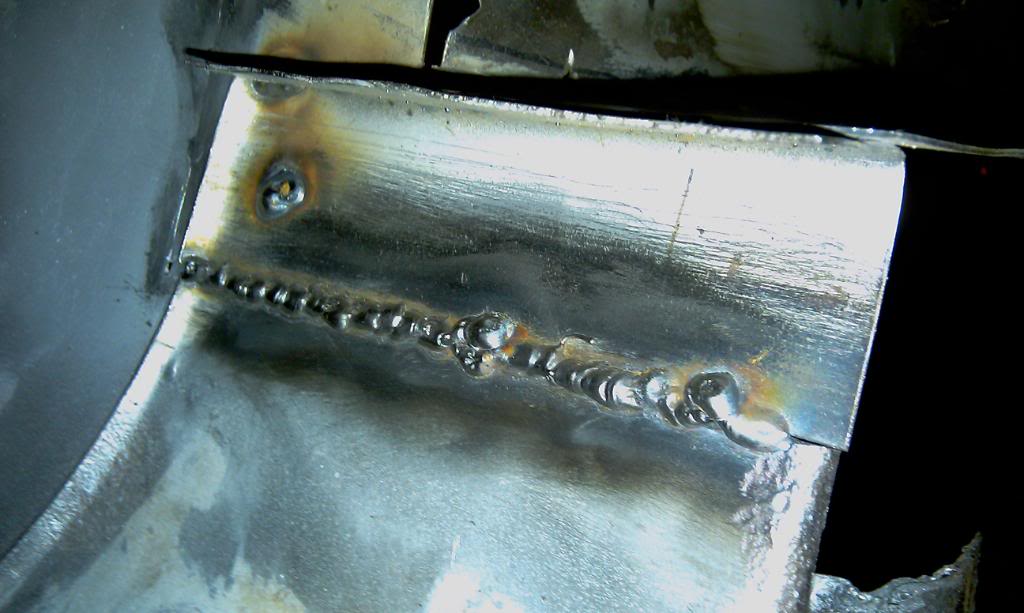
did some big boy welds where the floor meets the inner sill. these wer fun. molten metal is hot….
got this front bit all welded in. not fun bit to do!

where the floor pan meets the boot floor was rusty on the two joining edges so i cut it out
cut and bent a piece an tacked it in

then welded her up

primerd the front and back


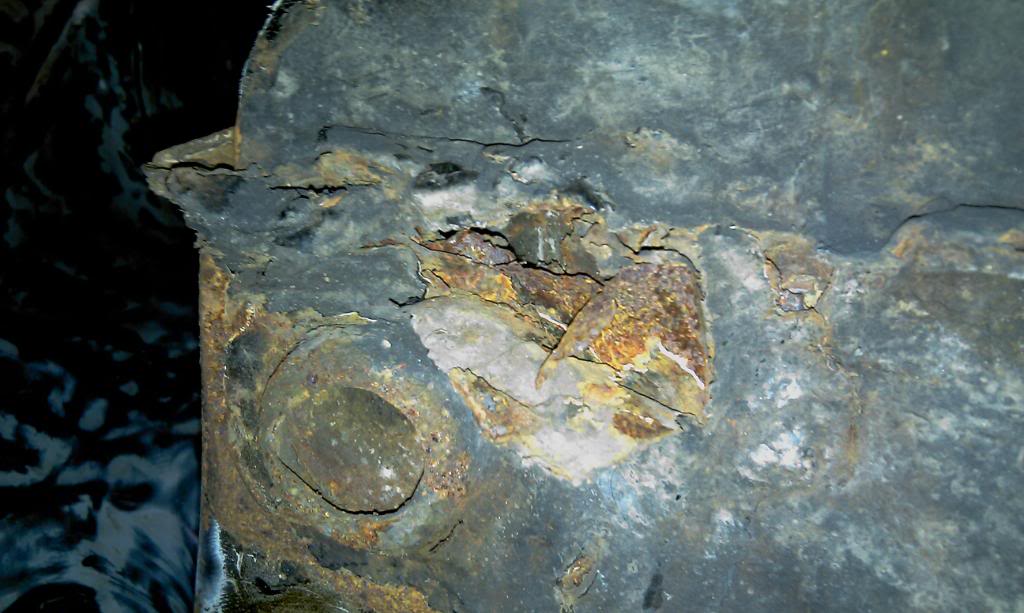
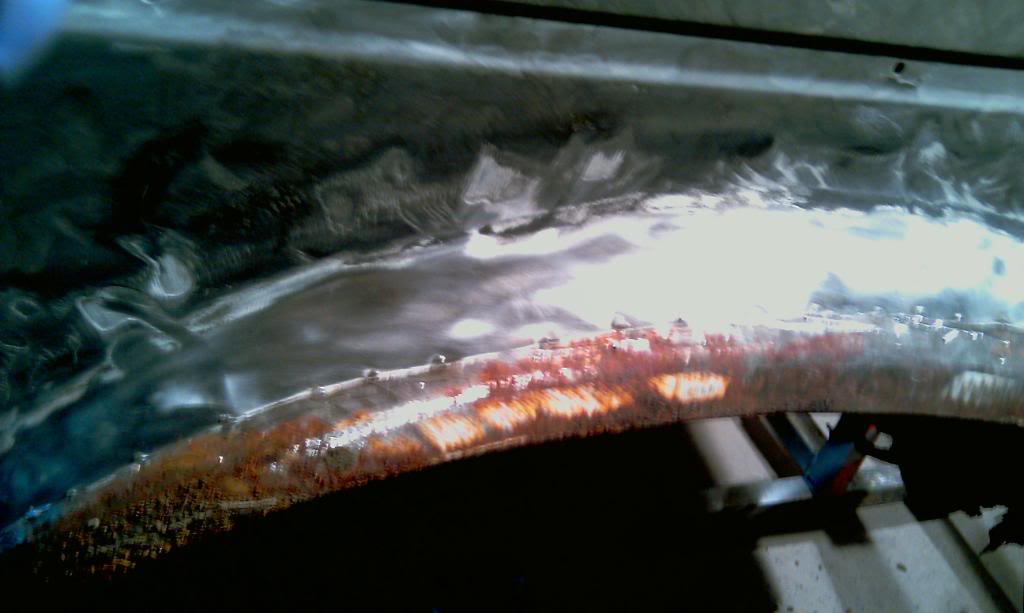
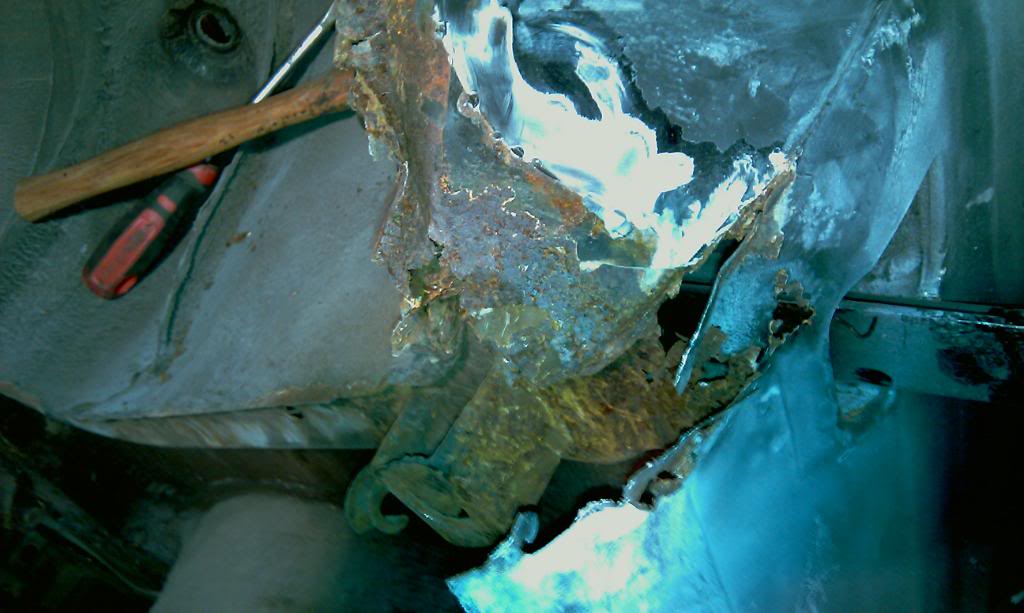
after each weld i let it kool and in the waiting period i removed the arch panel which like the sill had been tacked on and fillerd to the max. i wasnt happy with what i found. more rot…..
ive got to the point where it doesent phase me anymore. im kinda expecting it. it seems that yet another panel has just been welded over with a new one leaving the old rusty one to spread its cancer in places i would never wish it to be!!!!
the whole rear ends seems rotten.great.
this is what the arch looked like with the "repair" panel removed.note the distinct line of rust!
this is what fell out when i took of the panel. the pile got alot bigger once i got a screwdriver in there. the metal pipe was already on the floor………
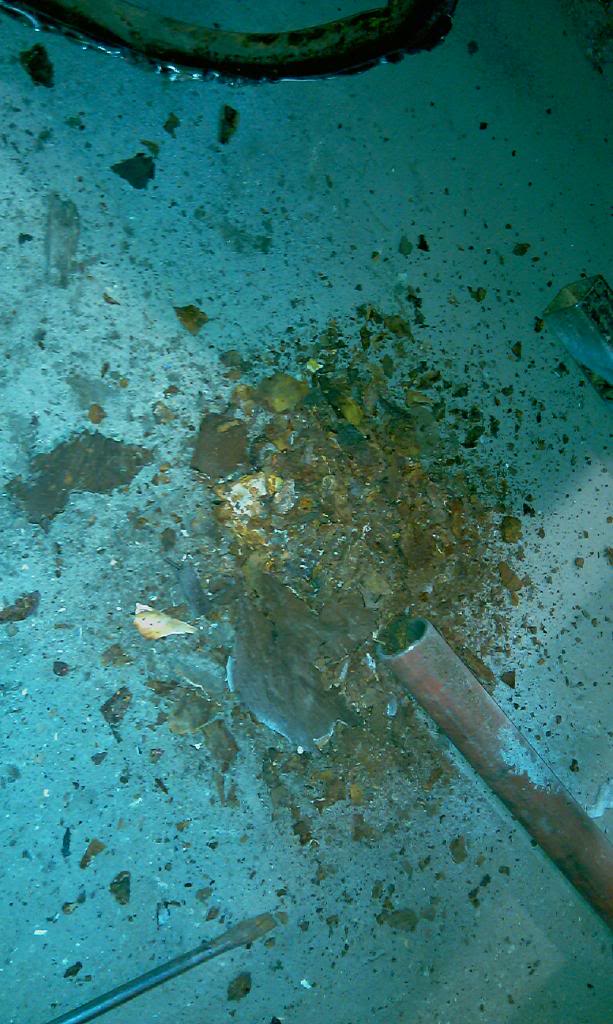
the offendin arch. it had a maroon coloured paint on the inside.did they just cut it off another golf?
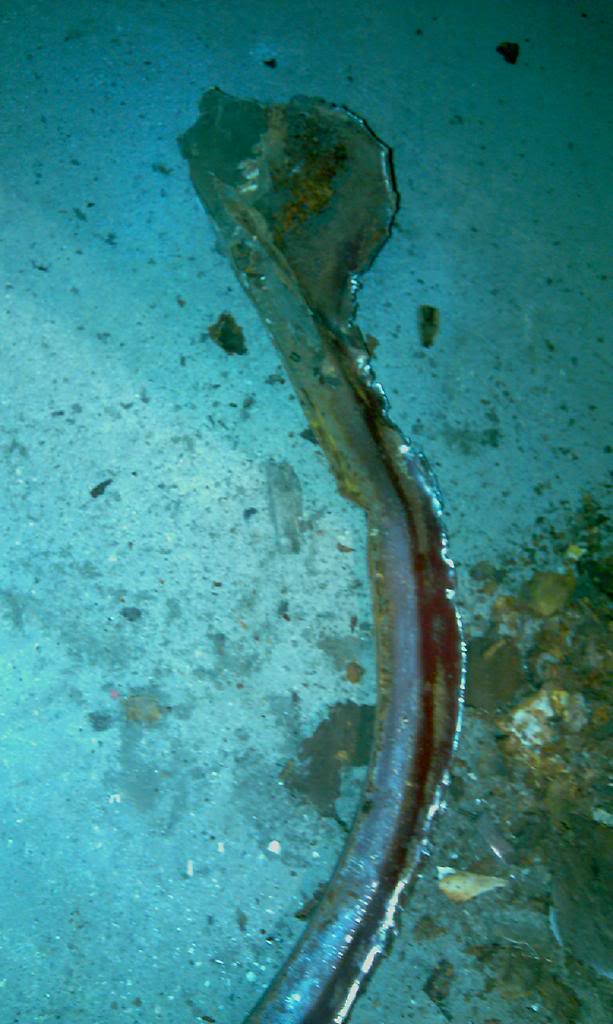
and now the rot
i gess the next thing ill be buying for the car is a n/s/r wheel arch and outer tub panels. got to wait till the end of the month though!! how annoying. plenty more to be doin in the mean time though i supose! :roll:
mk1 golf - resto
mk3 polo breadie - daily banger
mk3 polo breadie - daily banger
0 guests and 0 members have just viewed this: None.