Skip navigation

SLIPPY8VS new toy I must be mad HAHA

Post

Back to the top

SLIPPY8VS new toy I must be mad HAHA

Well it was time I sorted out some bits on the van , rusty panel at the fridge vent (common fault), a dent on the front pillar and rear pillar caused by the previous owner driving into his gate posts, a bit of seam rust beside the mains socket and a bit of rust around the filler cap. Will get the side door panel sorted later if I can get a door skin.  Got the lower side panel from VW Heritage 38.00 delivered.


Post

Back to the top
Got the fog lights fitted just need wired in.

Post

Back to the top
she is lookin well geoff, guy has done a good job.

Post

Back to the top
Look great alright. Super job. Any plans for any camping this year? Maybe Limerick vw show in may?

Cheers Hugh.

www.vwgolf1.com - vw golf parts and genuine accessories!

Banner

Post

Back to the top
Top Job…

"Mint Van"

Mk1 Cab:
Mk6 GT TDi

Post

Back to the top
The campervan only has 2 lap belts in the rear and with our 6 year old getting to big for his seat it was clear something had to be done. I checked out the 80 90 site to get some information on fitting rear 3 point seat belts then got the parts ordered  up ( New Securon 3 point seat belt 30.00 and mounting plate from on EBAY).The rear pillar on the van was already marked out by VW with a small dimple for a seat belt mounting point, so it was just a matter of drilling the correct size hole for the new seat belt mounting plate which would fit behind the rear pillar. The plate came with the mounting nut already welded on and a small holding hole predrilled. Once I had drilled the main hole I drilled out the small holding hole this would allow me to rivet the plate into position. The holes where cleaned up then painted. The mounting plated was riveted in place and got a good coat of waxoil then the seat belt reel was bolted on. The old lap belt was removed and the new belts bolted in place. The seat belt reel has adjusters so it can be set at any angle, very easy to set up. Fitted the booster seat and tried small boy out perfect fit so no more worries about him being strapped in. Total Time 1 hour.


Post

Back to the top
A few new bits for the van before we went on the Wales run.
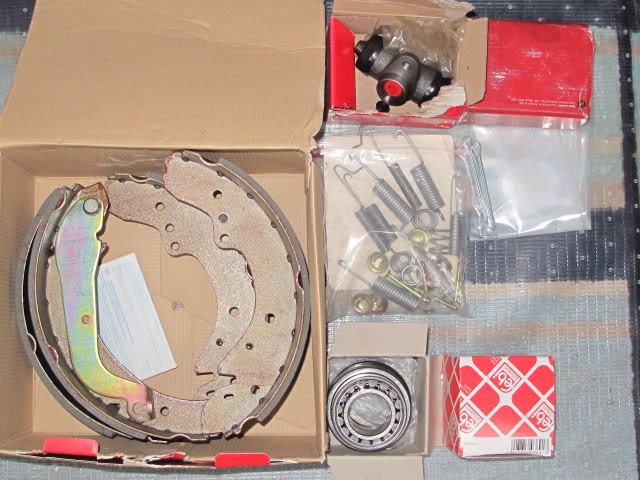
replaced the rear brake drums, brake shoes, new fitting kit,new brake cylinders and fluid.
Got new rear bearings but did not need them so will hold for future use.I only thought i had brakes until i got this lot on now the old girl really stops.

Those with an eye for detail will spot the rear shoes in the pic are the wrong ones, only found this out when the van was in the air and both sides stripped panic to get the right ones, but got sorted.  
 

Post

Back to the top
Sitting bored last week and not having done anything on the van for a while I realized that a small freeview box  with remote which I was not using had a 12v supply  so put 2 and 2 together and hatched a plan to get freeview in to the van for those wet days that some times happen.As we already had the dropdown DVD player I checked out the wiring and it had video and audio input sockets on a fly lead. So wired in the freeview box fixing it inside the cupboard with Velcro strips above the DVD player  and ran a 12v feed from the power going to the DVD player. Picked up a proper caravan aerial on EBAY and a 3 piece 2.6mtr mast. Fitted the mast to the rear ladder using the supplied clamp and a spare aerial bracket I already had, I can leave this one section clamped on and then fit the other 2 sections and aerial once set up at the camp site. Fired it up and got all the freeview channels on the DVD screen perfect.


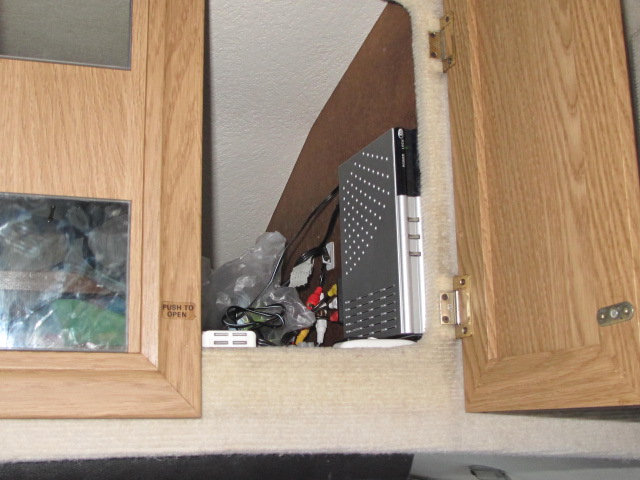
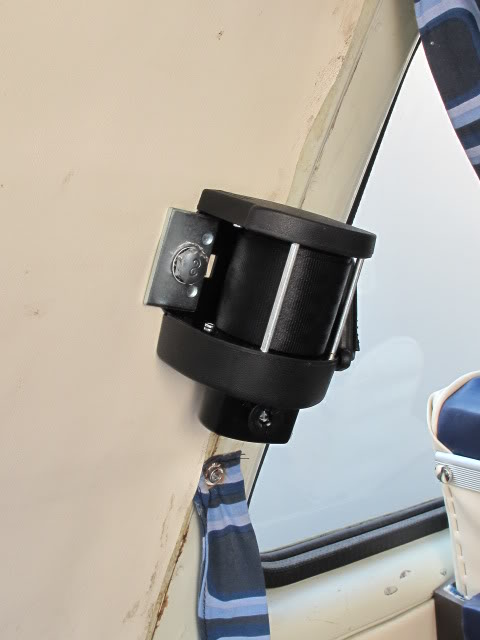
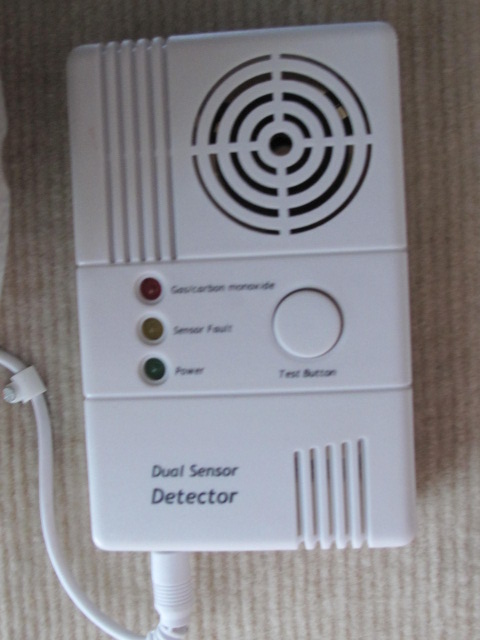
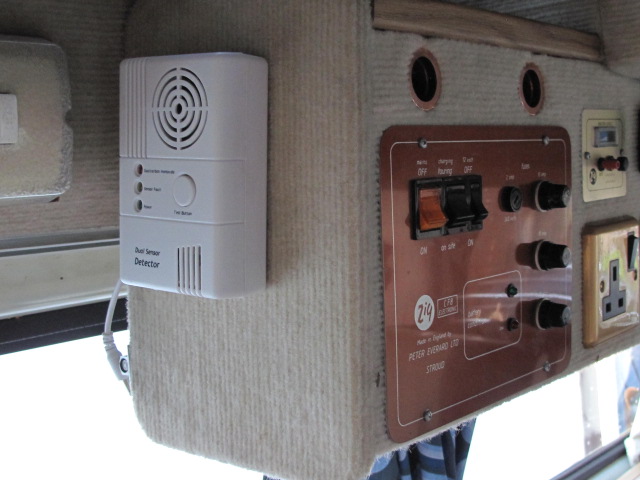
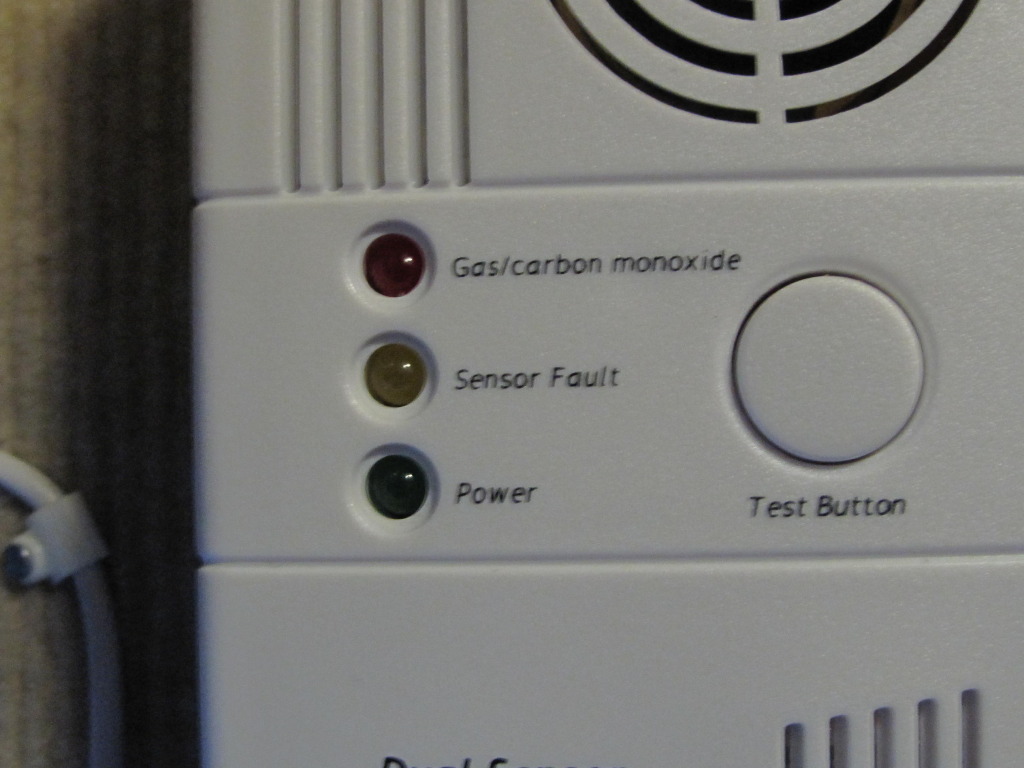
Fitted a 12v / 240v LPG/CARBON MONOXIDE / Sleeping gas alarm before we went on hols in July.


Post

Back to the top
MOT time again for the old girl,into VW for a service,oil change and filter and a reversing bulb and that's all that was done . I had already power washed underneath.    
Nice new MOT for the year yeeha  That's 24 years full VW service history. VW picked up some slight wear on one of the front wishbone bushes, but had no play. Will replace later this year.

Post

Back to the top
Nice work Slippy. My aim is to have a VW camper one day. :)

Post

Back to the top
 :$ this is a great love affair! Amazing :thumbs:  

Post

Back to the top
Just spent the evening giving the Komet’s hi top its annual clean and polish,very sad but well pleased no more dull top,now nice and shiny.left side 1st pic cleaned, right side very dull,2nd pic finished.

Post

Back to the top
Nice new steering rack bush’s from Brickwerks fitted on the Komet today.

Post

Back to the top
Awesome van mate. Patricularly like the work with the freeview box and the seatbelts  :thumbs:  :thumbs:

Post

Back to the top
Thanks smudger  starting to show her age now on some of the seams (normal on t25) so will probably get a body refurb later this year or earl next.but she still cleans up not to bad for and old girl lol.

Post

Back to the top
Just noticed the guys who fitted my steering rack poly bushes also tidied up the tail pipe on the exhaust,it had a chrome tip which i had removed as it had gone rusty only to reveal the end of the pipe was pretty ragged,was going to get a new chrome tip but gave it a coat of Vactan last night then a few coats of hi temp alum paint,should keep it going a while.

Post

Back to the top
Getting ready for the MOT so up early and over to the body shop to get the sliding door side sill looked at as it has a rusty patch/small hole.
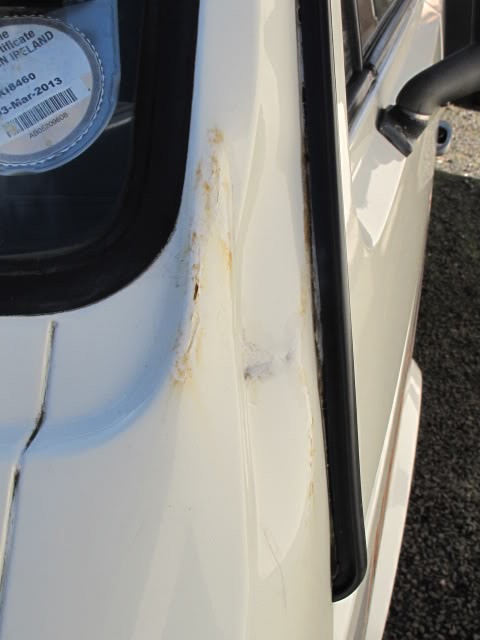
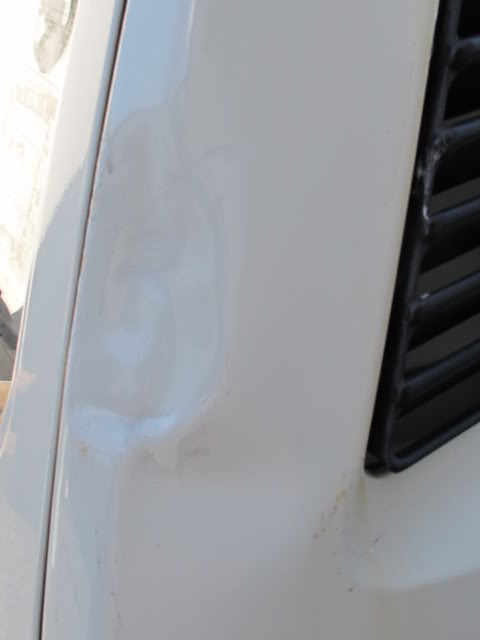
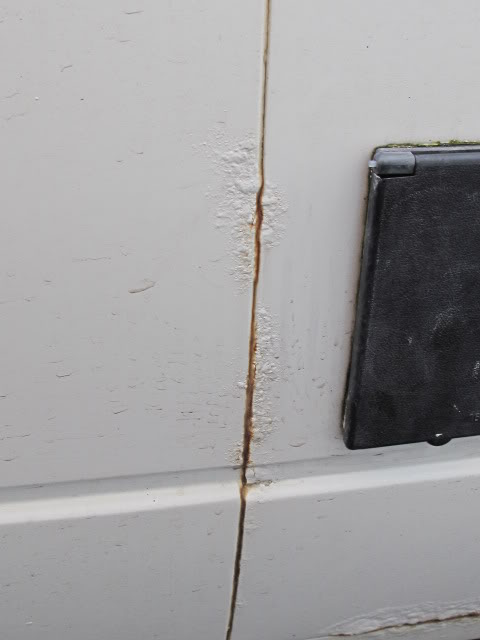
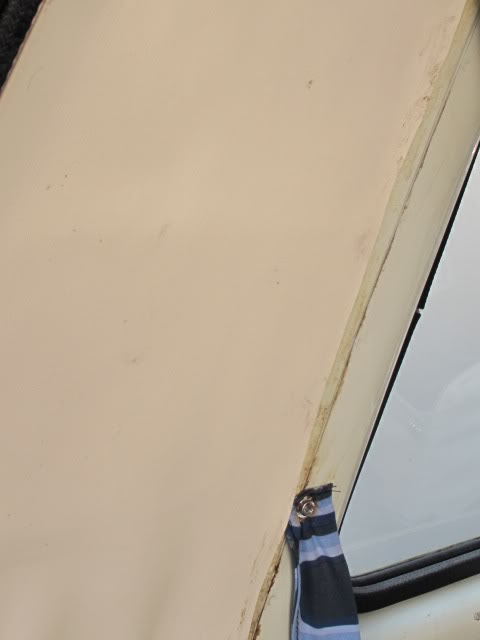
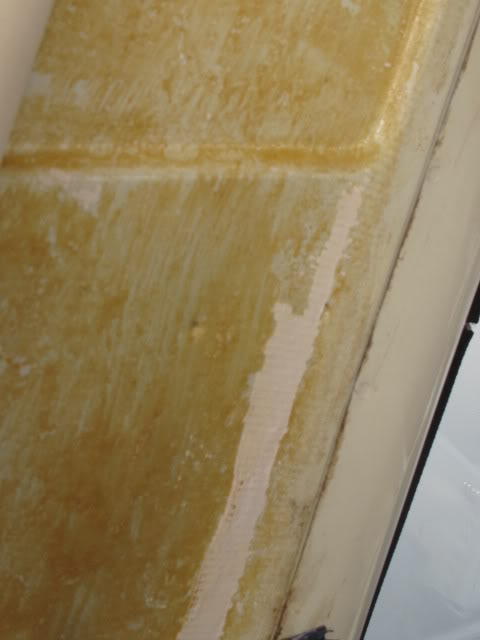
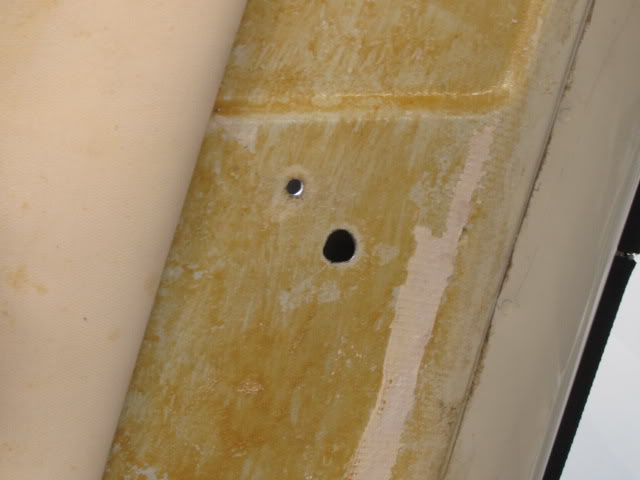
Advised to get replacement sill for best result,so ordered one up.


Post

Back to the top
Through the MOT for another year

After seeing how good Lloyd Tulloch (80 90club )got his lights clean,took mine out and did the same came up very well.Still need to replace some of the adjusters.


Post

Back to the top
What's the secret with the lights Geoff, is it washing them out with something?

Post

Back to the top
Lights out/bulbs out then warm water and fairy liquid,then a bloody good shake rinsed then repeated,then dried on a warm radiator
 taped some strips of kitchen roll on to a skewer feed through the bulb hole then turned around to get the worst of the water out.
Read that some people have added dry rice to act as an astringent 
0 guests and 0 members have just viewed this: None.