


SLIPPY8VS new toy I must be mad HAHA

Posted
Old Timer

SLIPPY8VS new toy I must be mad HAHA
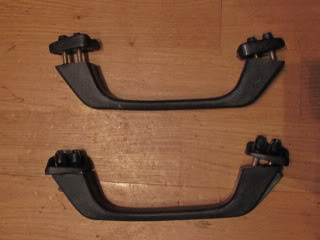
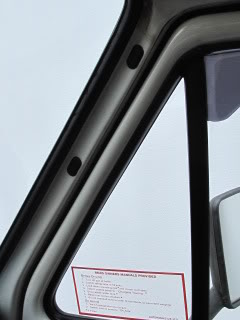
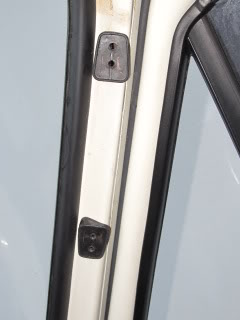
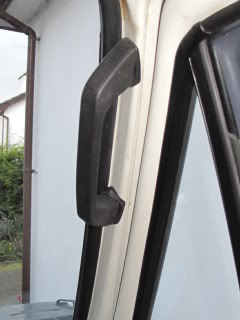
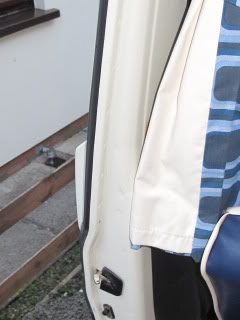
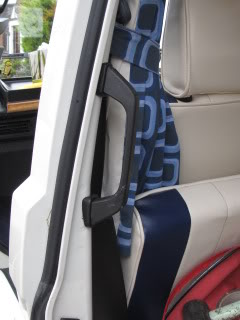
Also got a grab handle for the drivers door easy fit holes already there and the side door, just needed 4 holes drilled.

Posted
Old Timer
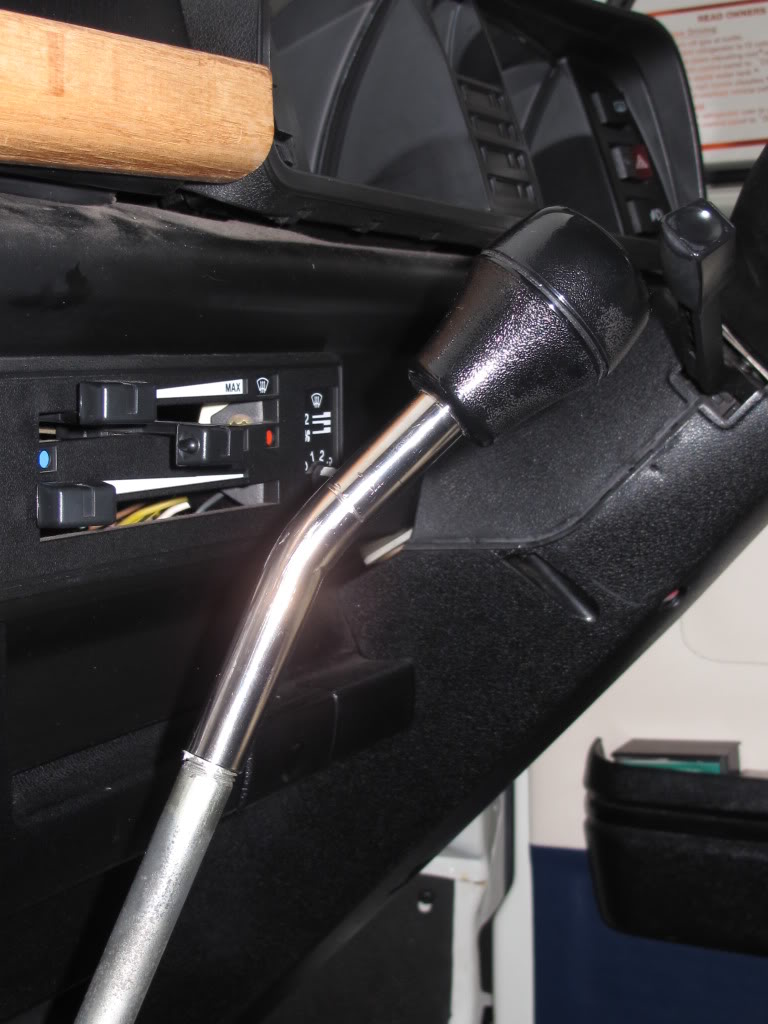
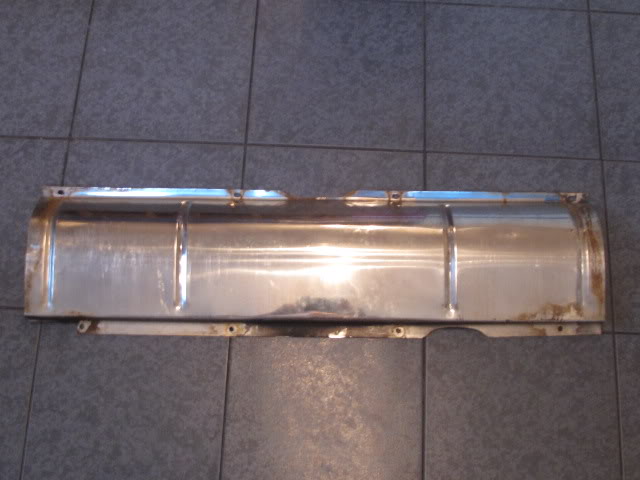
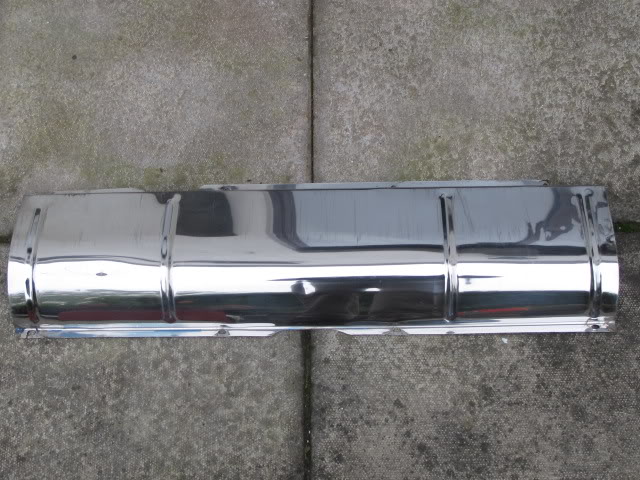
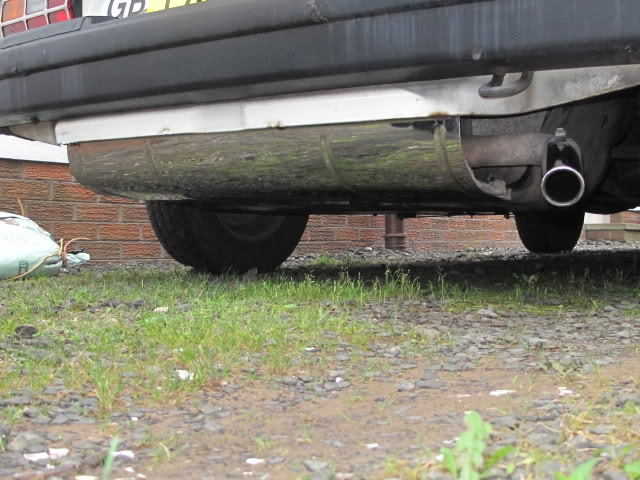
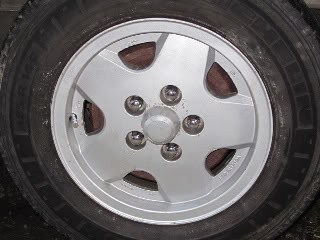
Picked this up on E-Bay last week 2nd hand so gave it a good polish before fitting.


Posted
Settled In


My New Year's resolutions are: 1. Stop making lists. B. Be more consistent. 7. Learn to count.
Posted
Old Timer
Posted

Moderator


Nice one :wink:
Cheers Hugh.
www.vwgolf1.com - vw golf parts and genuine accessories!

www.vwgolf1.com - vw golf parts and genuine accessories!
Posted
Old Timer
Posted
Local Hero
Posted
Old Timer
Posted
Old Timer
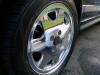
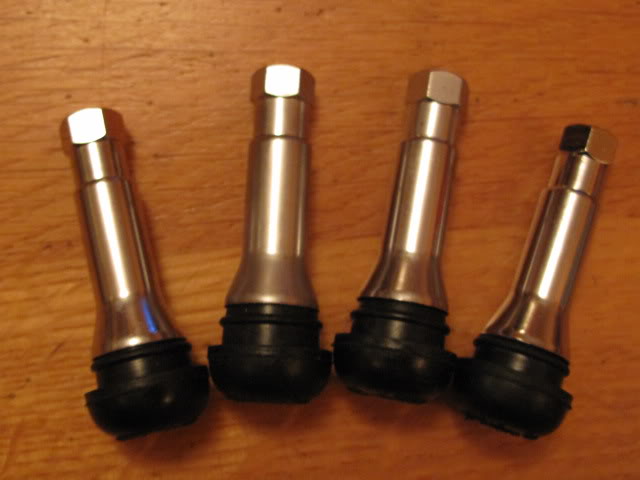
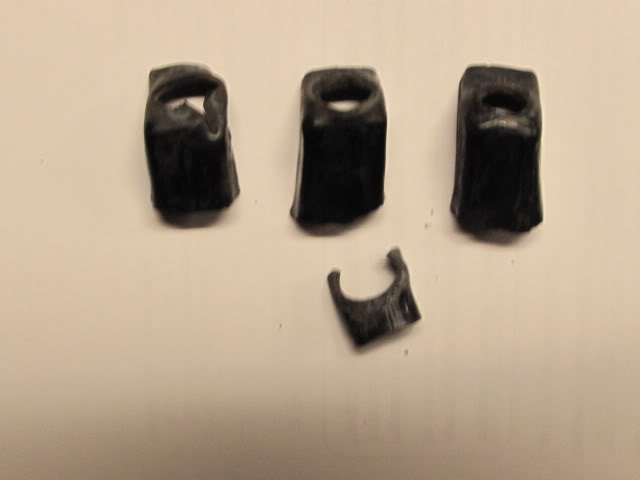
New taper nuts and bolts from Brickwerks and new chrome valves , just need them fitted.


Posted
Settling In

i had t25 for 5 years did never look that good
Posted
Old Timer
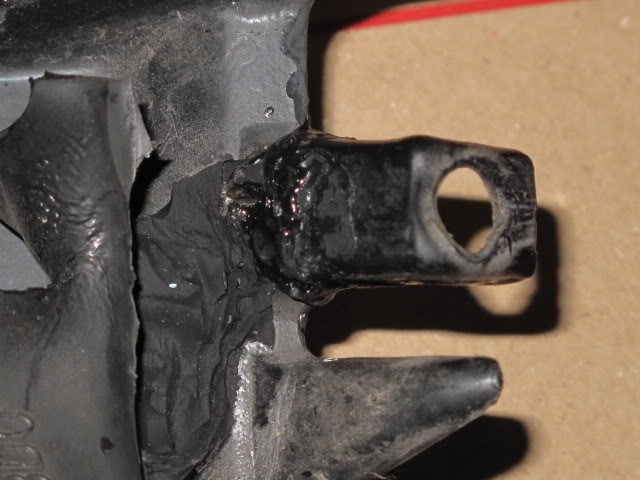
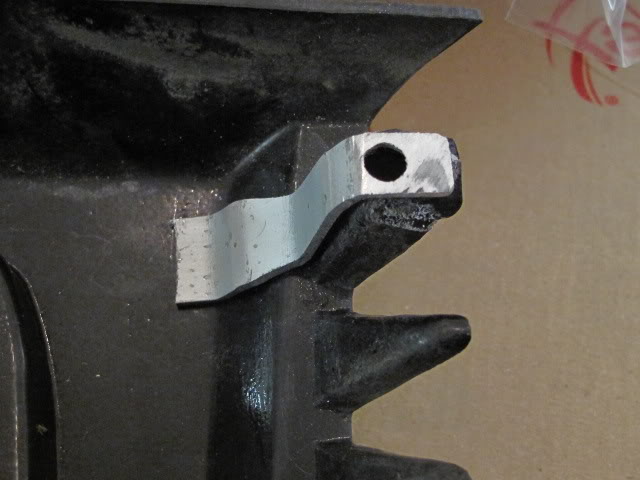
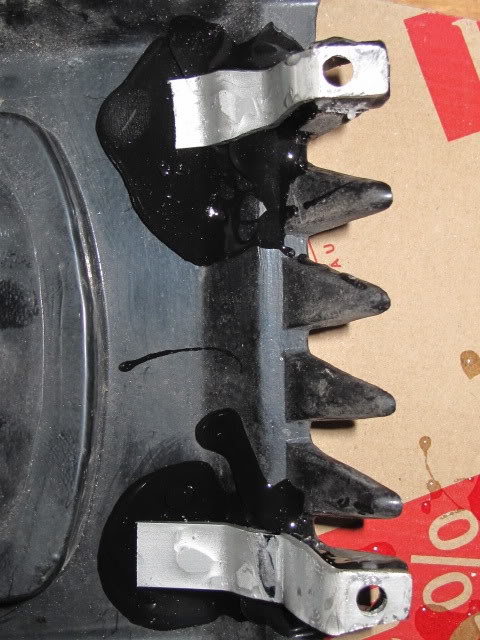
Plan to clean up and paint the rear drums and front caliper's when I get a chance.

Posted
Old Timer
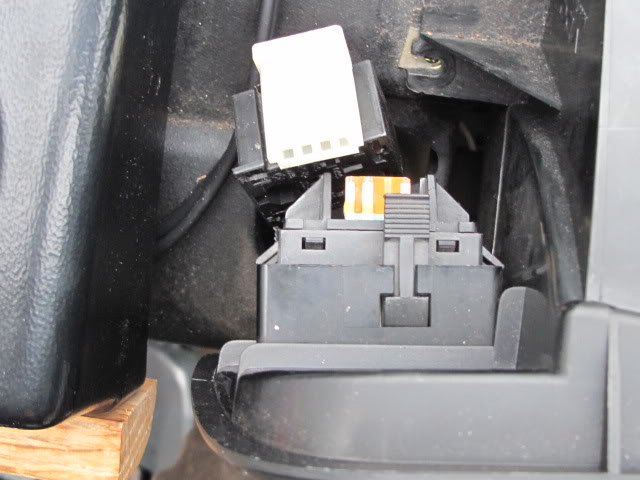
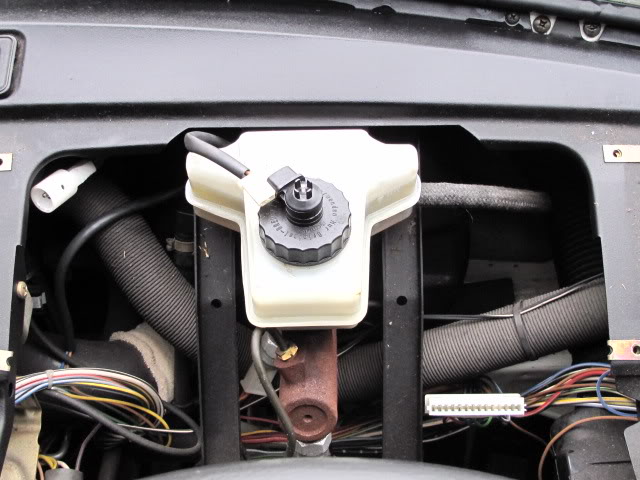
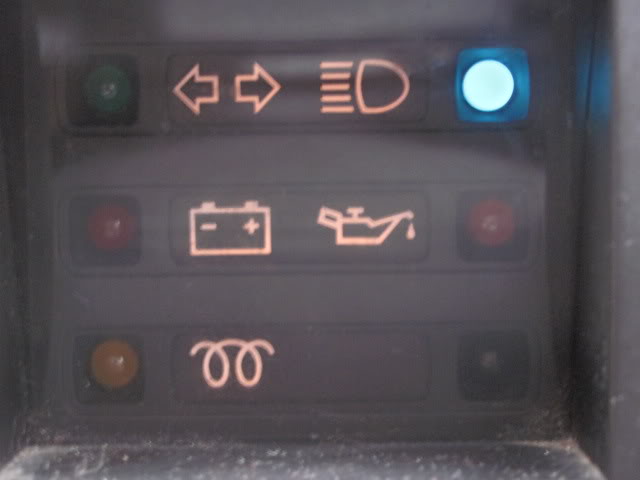
Removed the dash cover, then the plastic dust cover over the brake fluid reservoir, disconnected all the switches then the speedo cable then unplugged the main dash plug, was able to lift the dash pod of nice and easy. The bulbs for the dash warning lights are on a flexible plastic circuit board which can be easily damaged if you are not careful, they sit behind a plastic cover held on with 2 screws, so once removed I was able to very carefully ease the circuit board and bulbs out from the dash.
Took out the main beam warning light bulb and put in the new one which I had picked up from VW, had to trim the wires down to fit the holder. Screwed every thing back together and gave it a try, main beam warning now working nice and bright, that's 2 things less to worry about, took about 30 mins. Had visions of looking for a cut wire or bad earth.
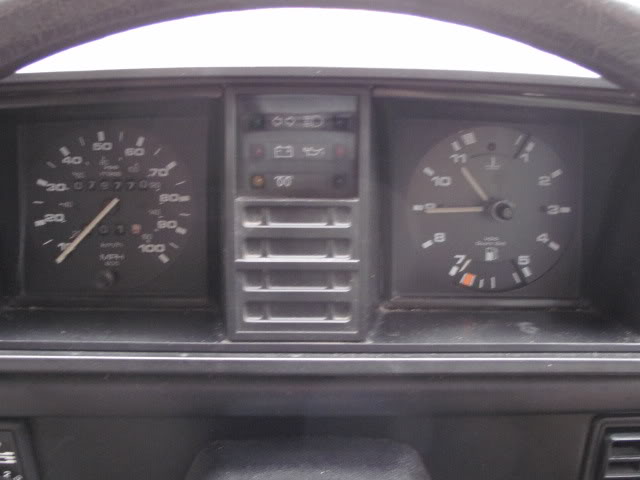
Main beam very faint blue ( mot fail )
Top cover off
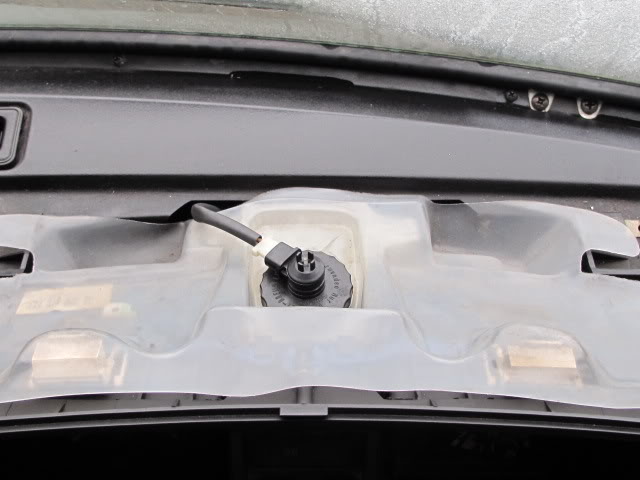
DUST COVER OFF AND BRAKE FLUID WARNING CONNECTOR DICONNECTED

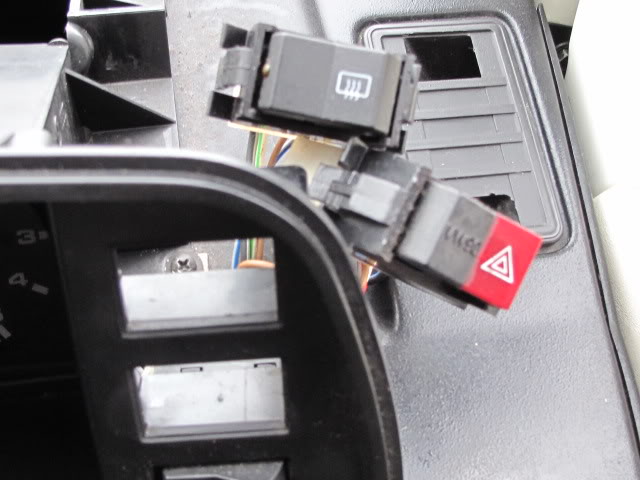
All switches disconnected
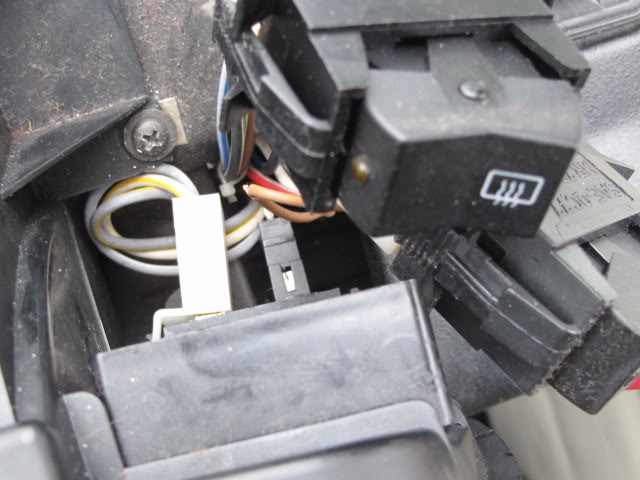
Speedo disconnected

Main dash plug disconnected

Dash pod lifted off
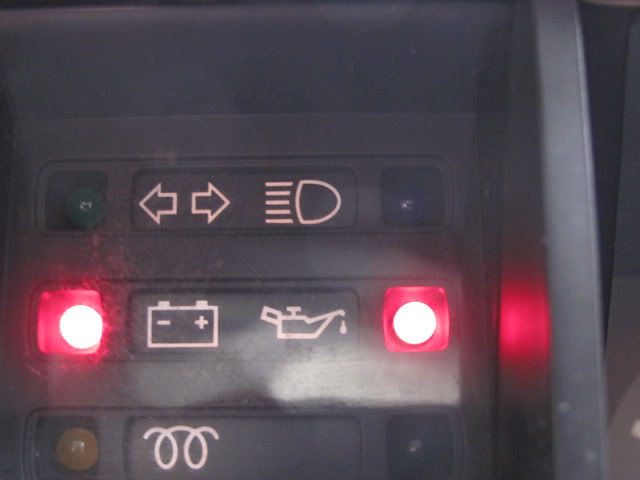
Plastic cover unscrewed and carefully removed
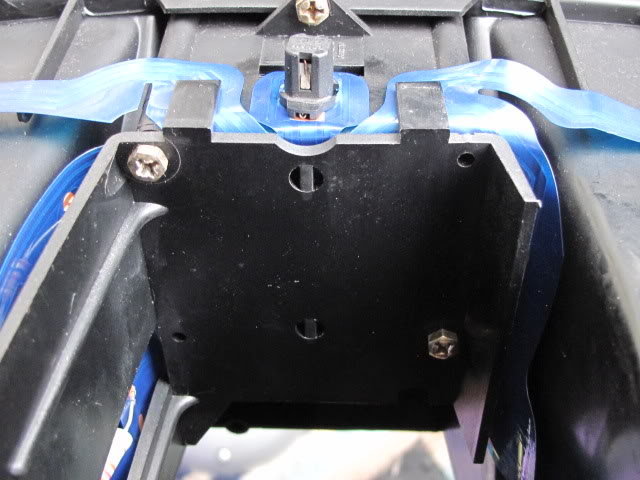

Warning bulbs exposed in holders

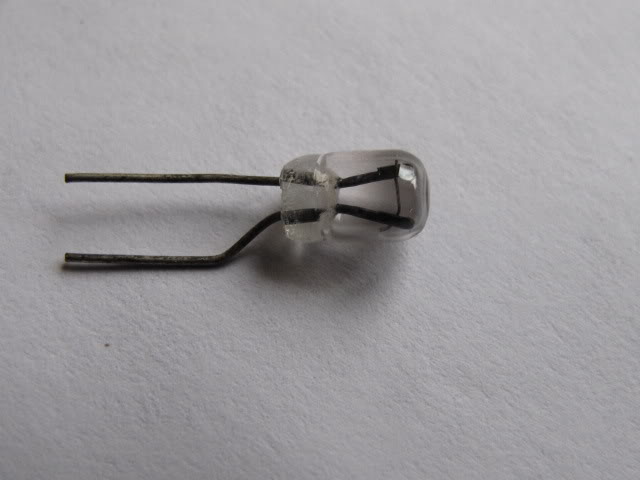
Old bulb removed and new one had wires cut to length before fitting
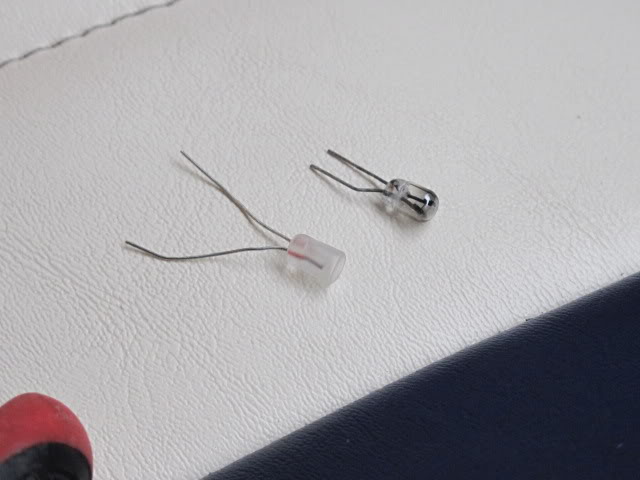
New bulb (led) fitted

before
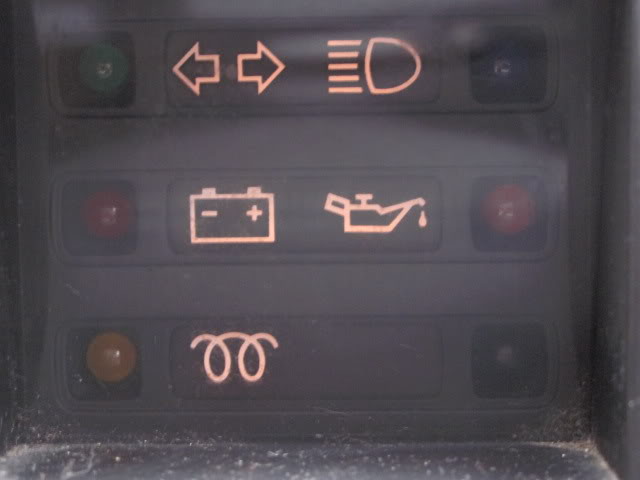
After fitting now we have light
Old bulb very black
Posted

Local Hero
thanks
Bruce

Weber,ATS,Apex,Ripspeed,Supersprint,K&N MOMO..tbc
Posted
Old Timer
or bad body work .
We find the t3 ideal much bigger inside,great storage, lots more to pick from body style wise and parts inc panels easy to come by.
Shes easy to work on and having 4 beds,cooker and fridge is ideal for weekends and hols.
Always plenty for sale and holding their money very well.
lots of info on club 80/90
Would love a syncro crewcab (dont tell the wife )lol
Posted
Settled In
Gonna be getting to work on mine soon and the dash will be partially coming out so I'll get that sorted with other little electrical conundrums!!!!!
Andy
Posted
Old Timer
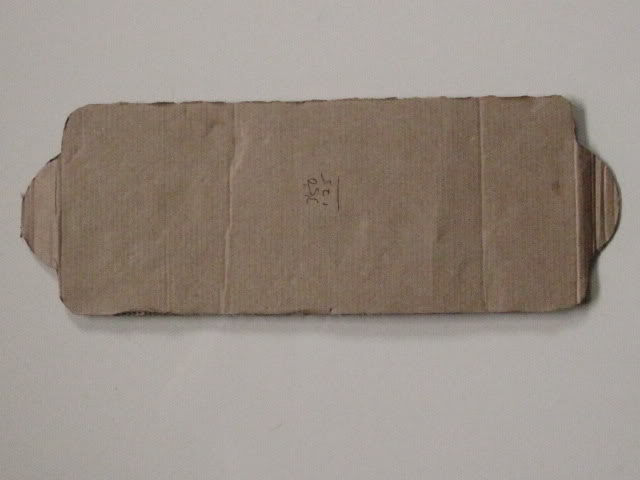
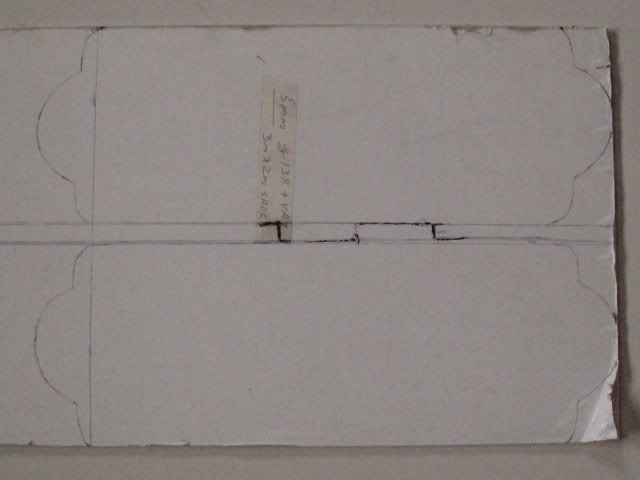
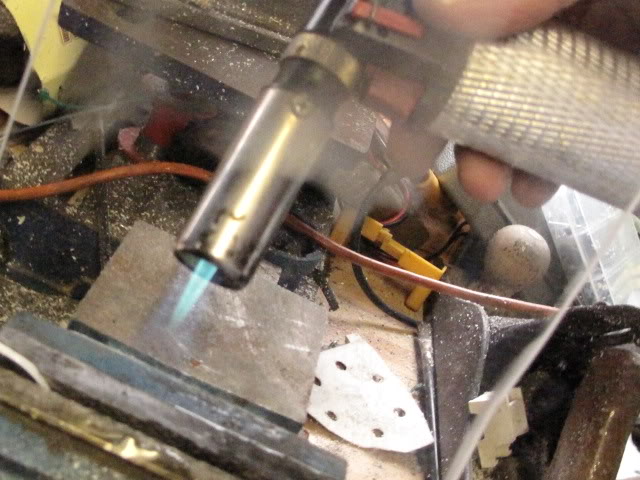
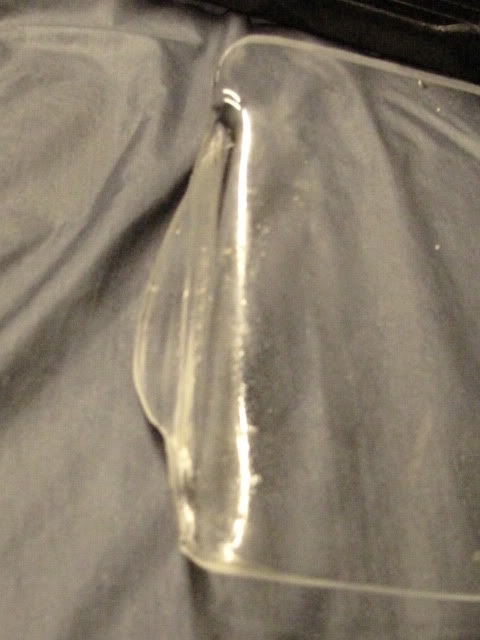
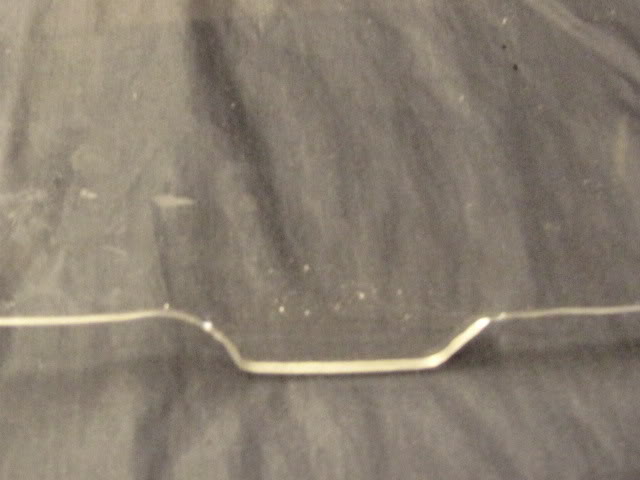
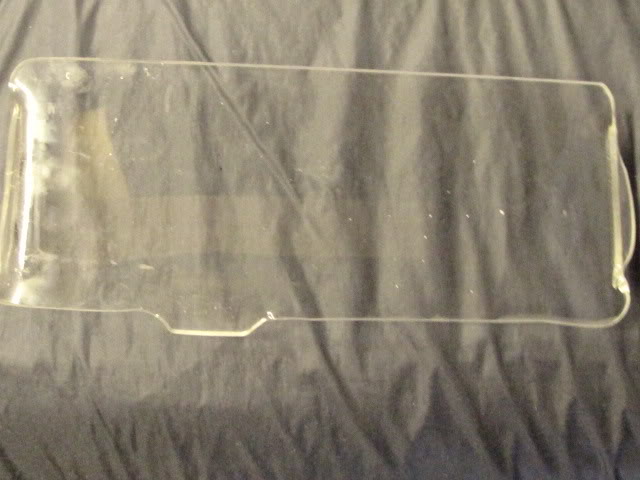
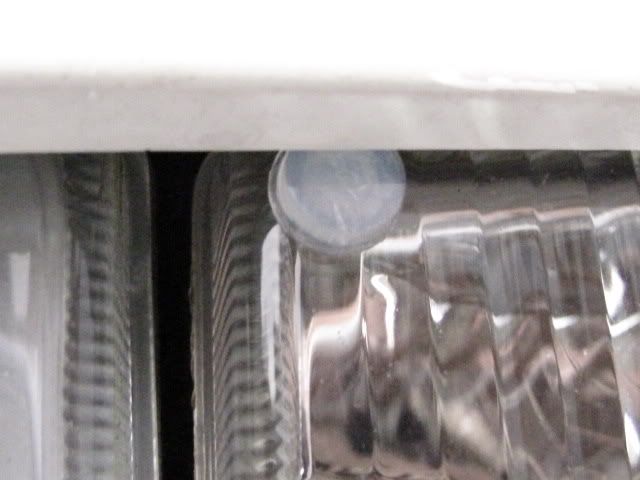
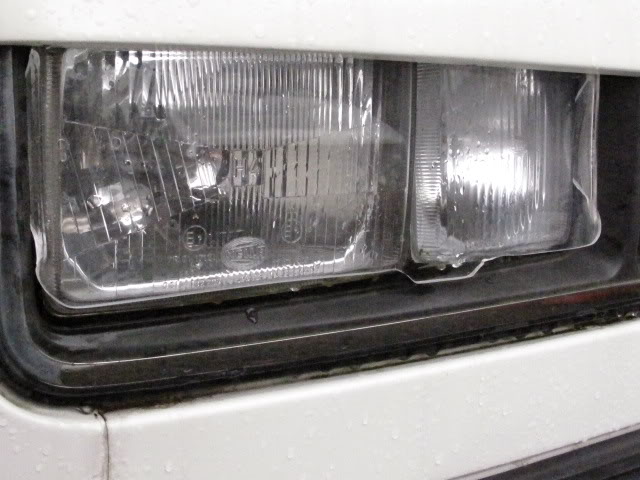
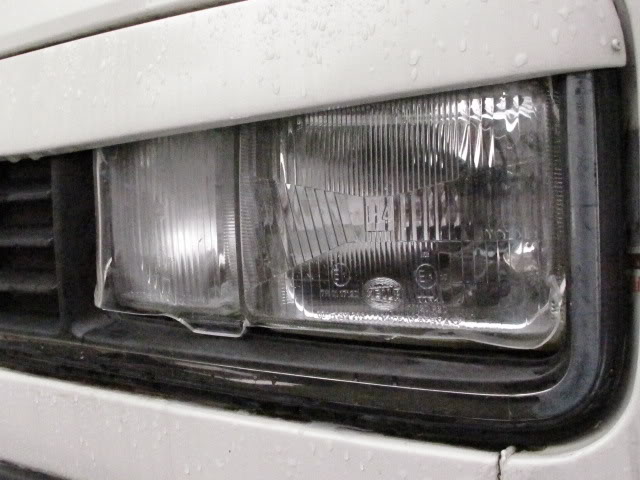
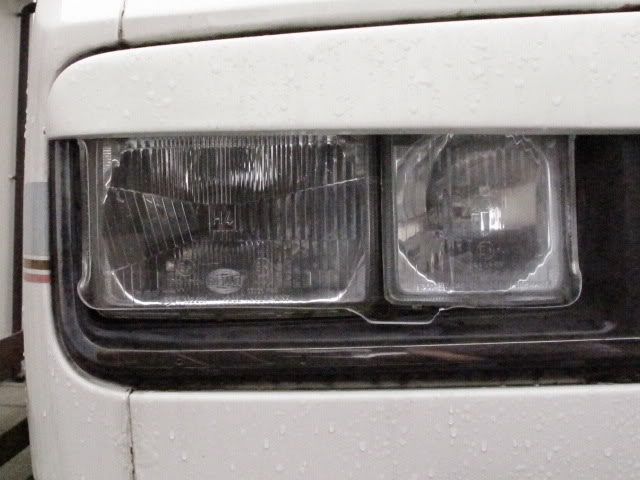
I made a cardboard template of the front of the headlamps and included side mounting tabs and a bottom tab. Marked Out the shape on some Perspex I had ( just the right size)then cut out the shape with a jig saw. Once both covers where cut I held them together in a vice and sanded the edges so they both matched. I then put the fitting tab end in the vice and heated it with a blow torch making sure I kept moving the flame so the Perspex did not burn once the Perspex heated up I bent the cover over to just under 90 degrees, let it cool and did the other side the same way, bent the bottom fitting tab as well.
Once cooled I lined the cover up over the headlights to make sure the tabs would fit behind the grill, then carefully slid each side into place, flexing the tabs just enough to fit in. Fitted perfectly took them off and put a small clear stick on pad on the lens, this would hold the Perspex of the glass and stop them rubbing, refitted both sides. Easy to remove for cleaning and hopefully no more worry's about getting a cracked head lamp.

Posted
Settled In
They look well

My New Year's resolutions are: 1. Stop making lists. B. Be more consistent. 7. Learn to count.
Posted
Old Timer
Posted
Old Timer


Posted
Old Timer
0 guests and 0 members have just viewed this: None.