


shadydaz's First ever project...

Posted

Old Timer

shadydaz's First ever project...

Real golfers don't play with clubs
Posted
Settled In


Posted
Old Timer
cla55ydubs said
if memory serves me well im pretty sure the engine number is below the dizzy above the gearbox,tell me if im wrong and that way ill no if owldtimerz disease has kicked in.
Thats the gearbox number 8)
Real golfers don't play with clubs
Posted
Settled In
Posted
Settled In
Thanks for the help guys.
I have had it running, it just needs a good seeing to. Not sure whether it's going back in for the moment or not yet, depends what it is. I might rebuild it and drop it in till I decide what to go for, that way, if I buy another (bigger) one, I have had a bit of rebuild experience come a new lump.
Posted
Settled In
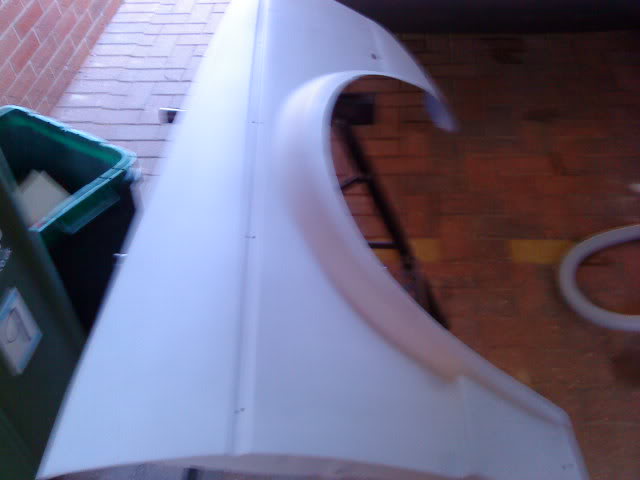
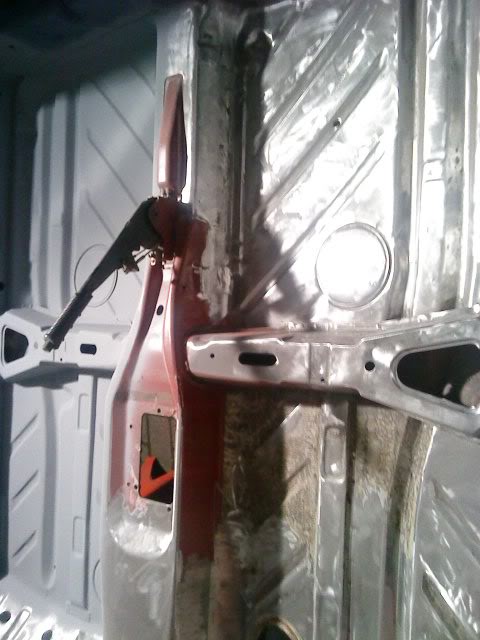
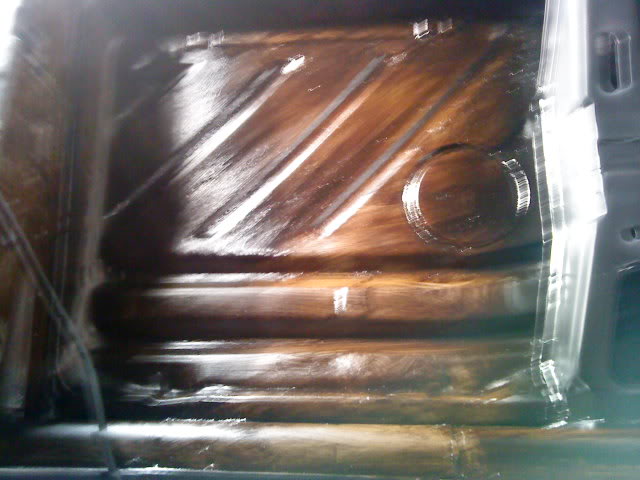
Wing after:
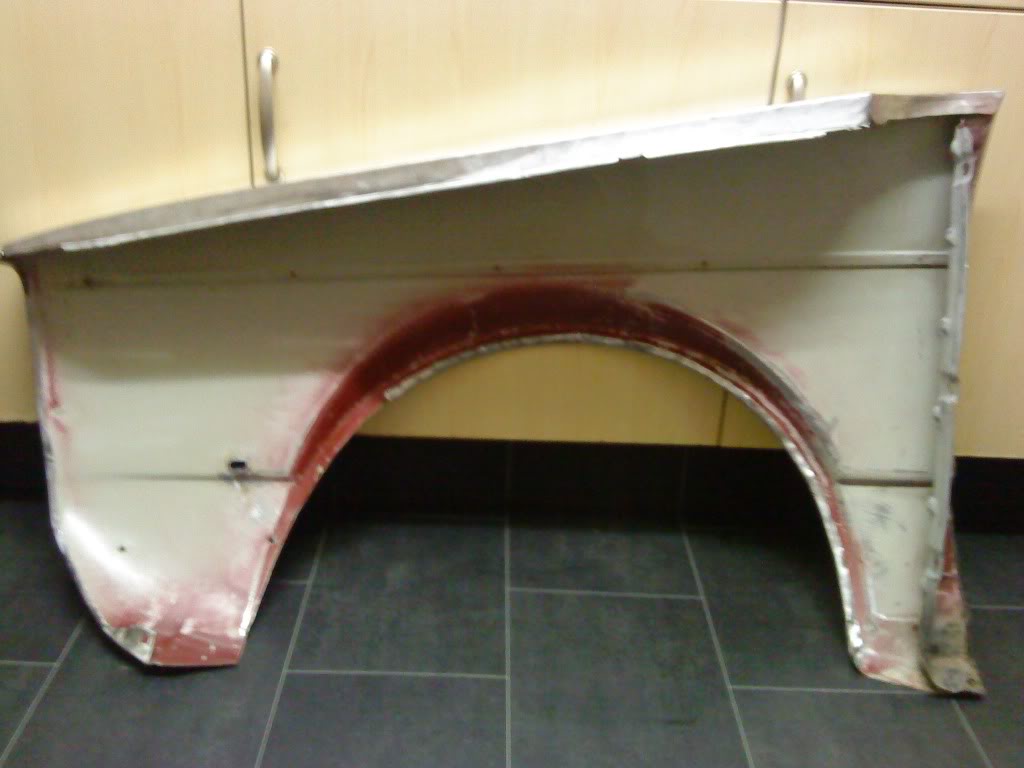
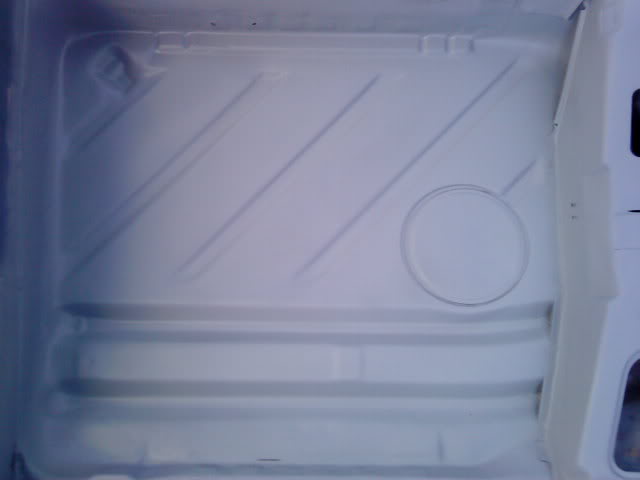
Inner wing

Posted
Settled In
Posted
Old Timer


Posted
Settled In
Also got a heat gun and started stripping out the tar unerseal form the cockpit. 8.3Kg from one inner and two outer wings and three sections of the floor.
Next step is to weld up this rolling jig now I have a welder.
One more question! The drive shafts are being very stubborn and will not come out (of the gearbox), anyone got any tips please?
Photos of progress to follow soon!
Posted
Settled In
Plan is to give these areas a quick lick of Mastic121 or something similar to help protect it. Obviously with trying to keep it as light as possible, if anyone has any other suggestions on wht media to use instead of M121, throw your ideas this way!
Posted
Settled In
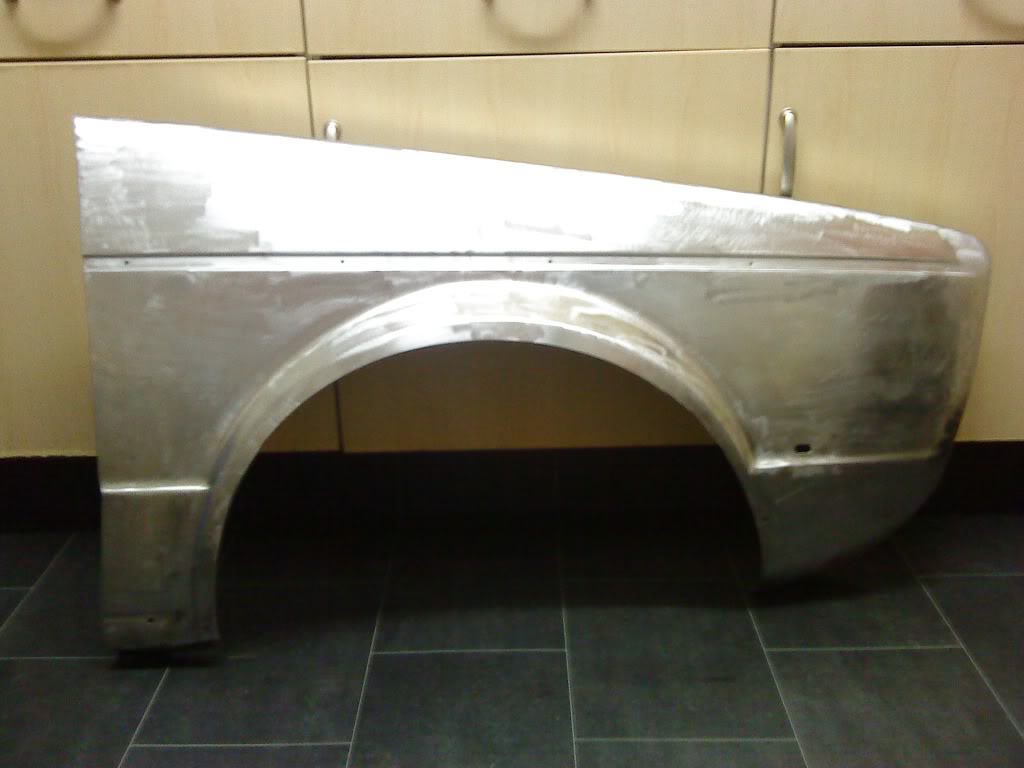
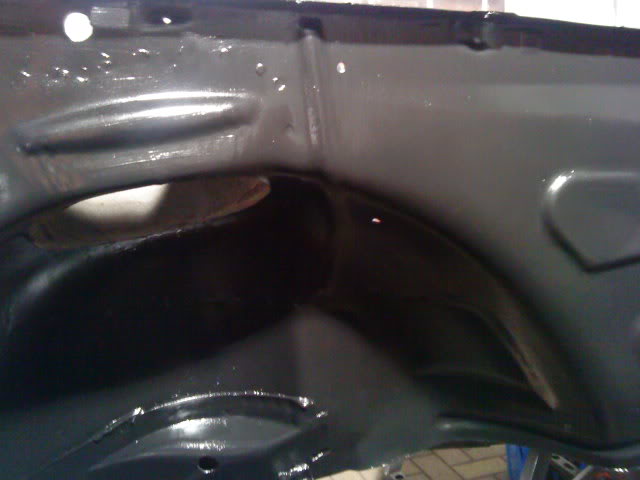
Both front wings have now been sorted and primed.
With this in mind, they are still scruffy around the edges. I am now contimplating buying new F/Glass wings and saving these as spares. (Remember, I am building a racing car so thinking about weight all the time)
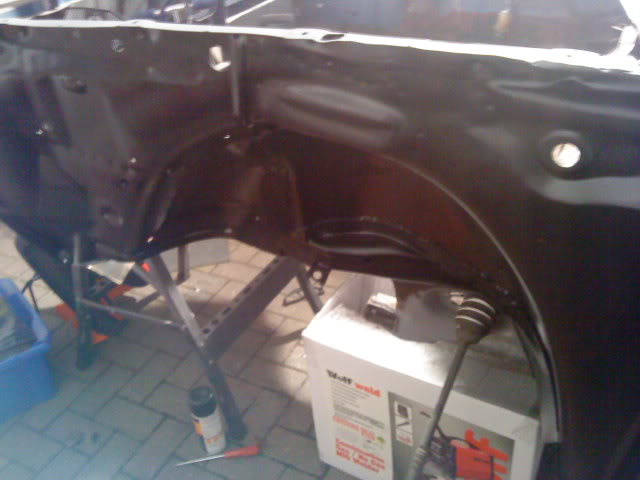
Another problem is the boot lock area on the rear panel, it is completely perished and have been eying up new ones but they are so expensive. I will get a close up pic on here soon and you can advise what is the best course of action please? I was origianlly going to try and repair but I think it may be beyond my skill…
Posted
Settled In
Suggestions please? Fix, or too far gone…
Posted
Settled In
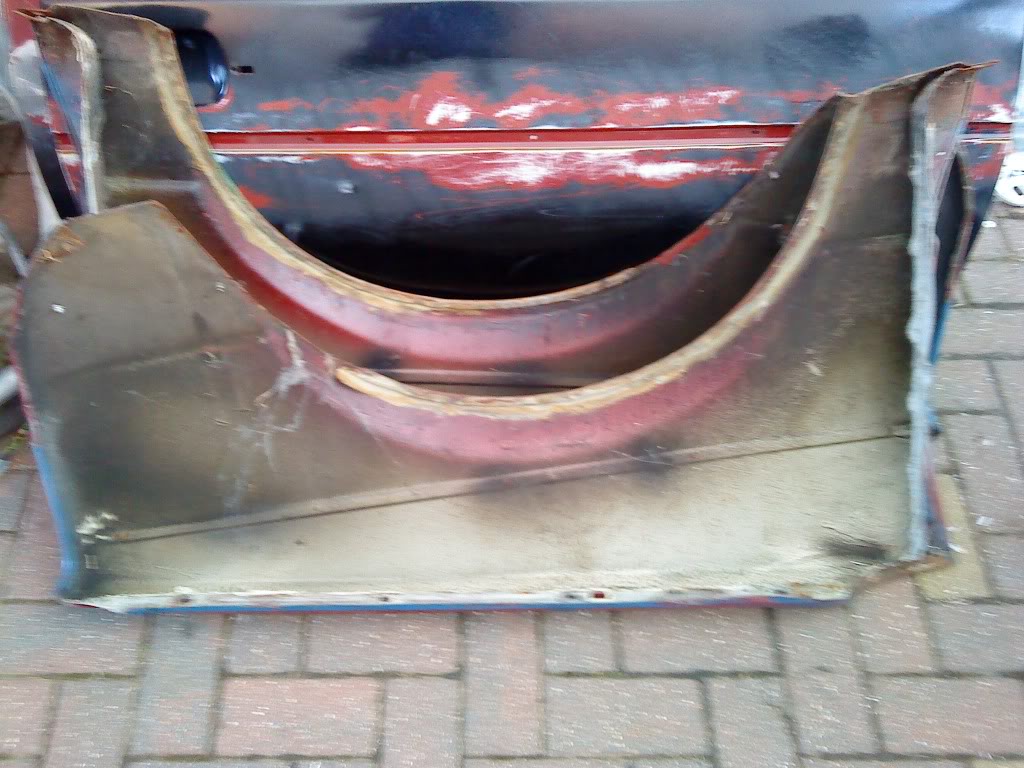
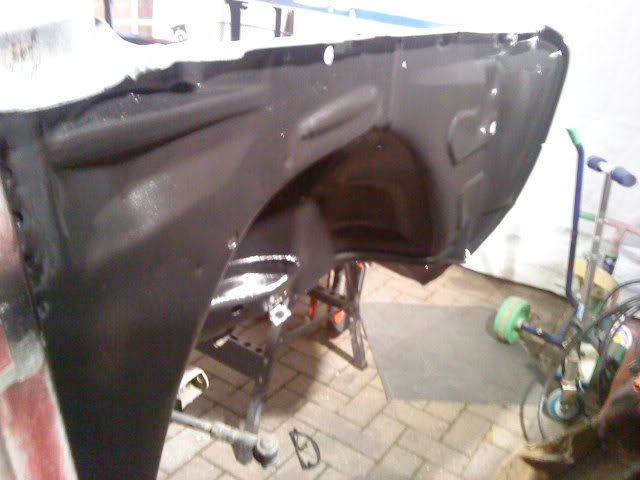
What about this rear arch then? just smidged a bit of gunk off to see what is was like…
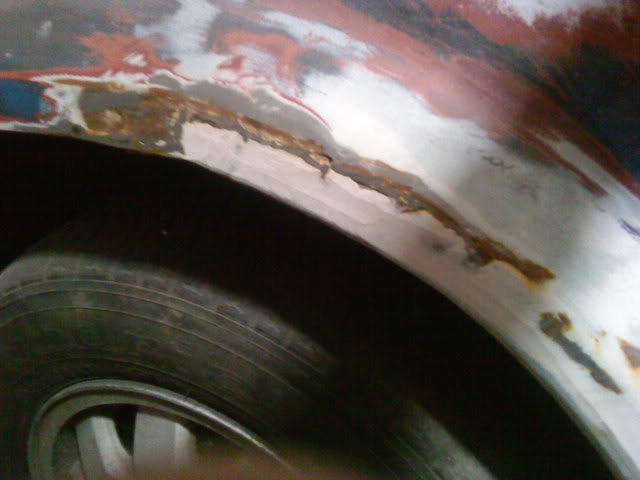
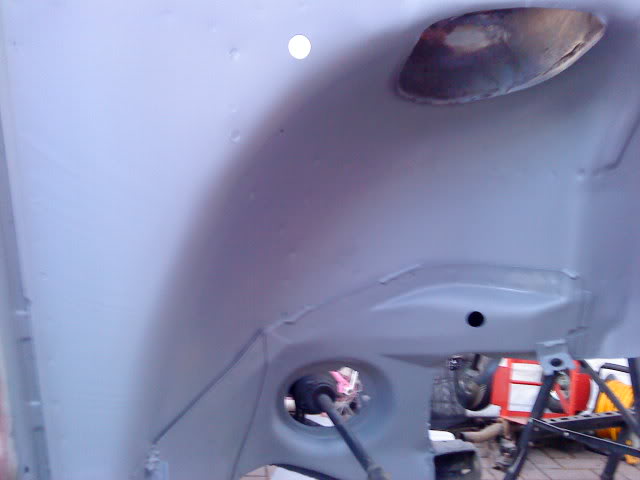
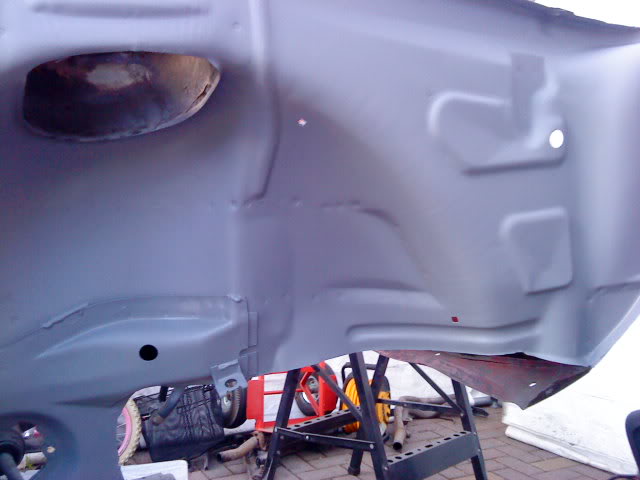
Finally I think I can sort the firewall out, once i get that nasty plate off, lol;
Posted
Settled In

Sorry the pics are rubbish, it was cold, dark and I only had my rubbish mobile phone!
Posted
Settled In
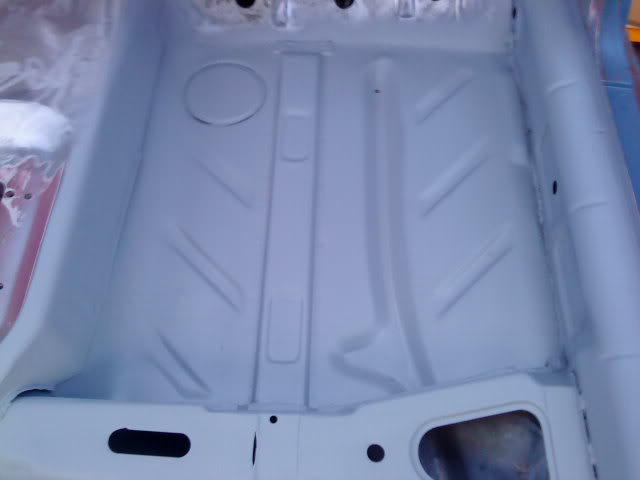
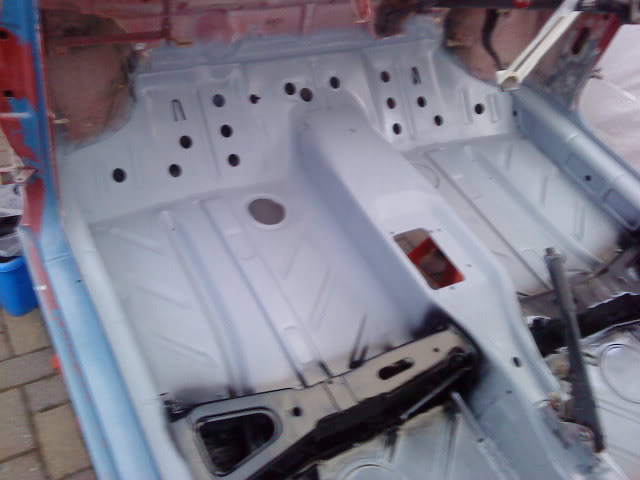
The paint was still a bit wet when I took these but will dry matte and not be so glarish (More :bash: photos like…). It's just really a rattle can guide coat for now. Once the rest of the inside is done I will get my Bro's compressor and do it proper like!

Got some stuff lined up to order:
whole rear panel.
Possible front panel (will try and fettle the existing one straight first).
Looking for fibreglass rear arches other wise steel one at least for drivers side.
Bit of POR15 to give the underneath a sparce lick after stripping when I get a spit unless anyone has a better suggestion?
F/G front arches/Bonnet/Boot Lid.
Still can't decide on kind of power, I think I need some advice as will be starting on Bay soonish.
On having given this quite a lot of thought this week, Once the body is done will need to get it rolling next so can trailer it for cage fitting at a proffesional est.
Now eyeing up supension etc but still have all the old gash stuff which I could use interimly
On a side note my wife is getting a HD Camcorder from Santa so will be able to update (sneakily) with better pics than those you have had to endure thus far!
Thanks for Looking!
Posted
Settled In
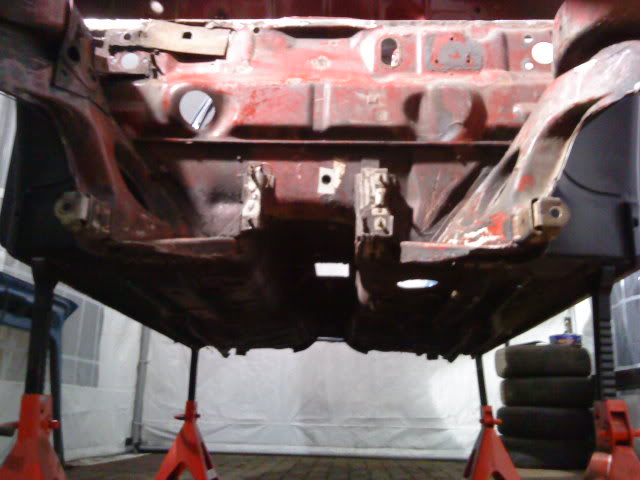
Here is my progress:
Finally got the rear beam off to leave her propped up like this…

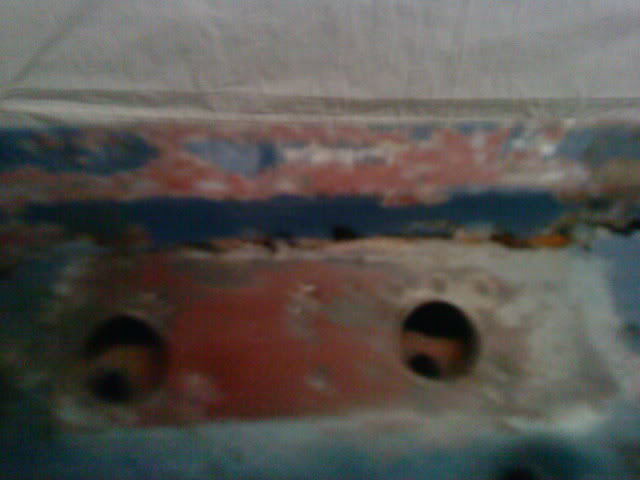
While I was scratching around down there I found this on the rear sill…
and on inspection of the beam there was this…

and upon stripping the beam found that these…
were only fit for one place as BER.
I have wire brushed the beam by hand ready to go at it with the powertools. The handbrake cables were brand new so saved them for later.
Posted
Settled In
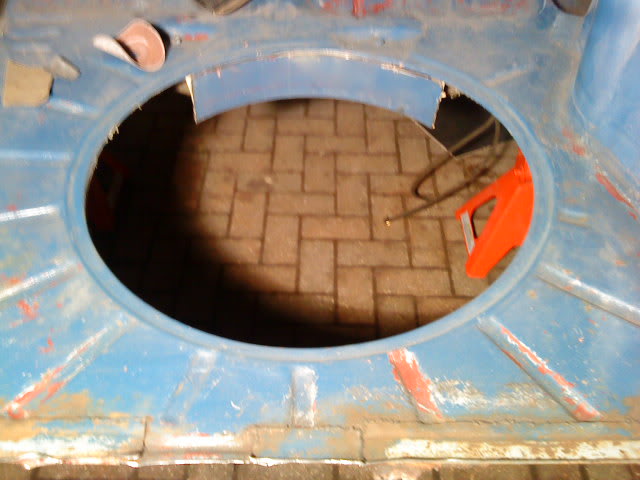
Fuel tank out…
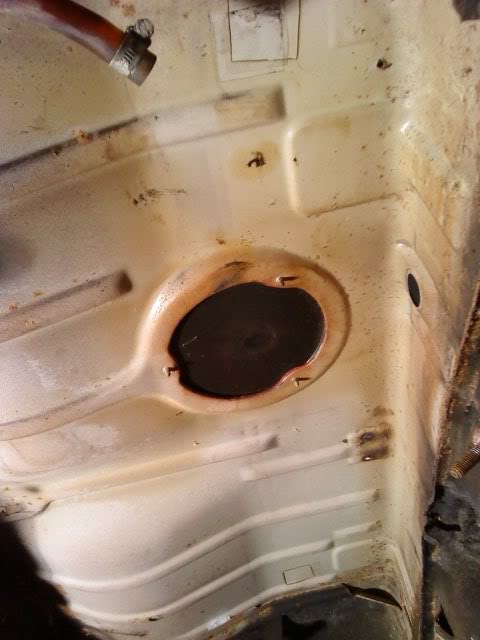
Then the fuel filler pipe which was rotten went, inner arhes good though…
And the filler hole inpected, one of the screws had to be drilled but this is getting chopped and smoothed anyway…
No need for this anymore!
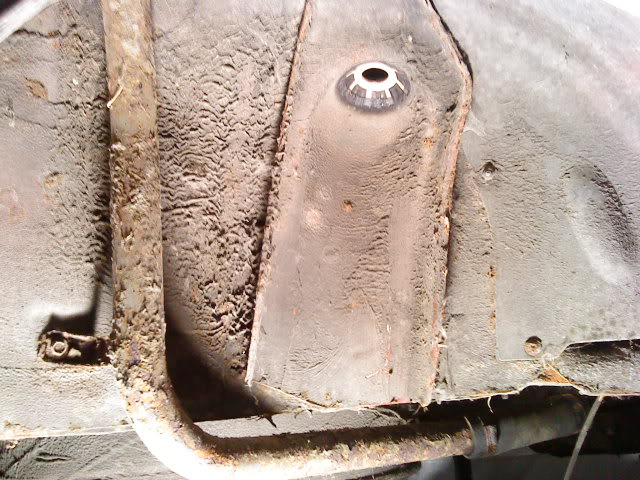
Steering column, rack and pedal box out along with rear mount and fuel lines
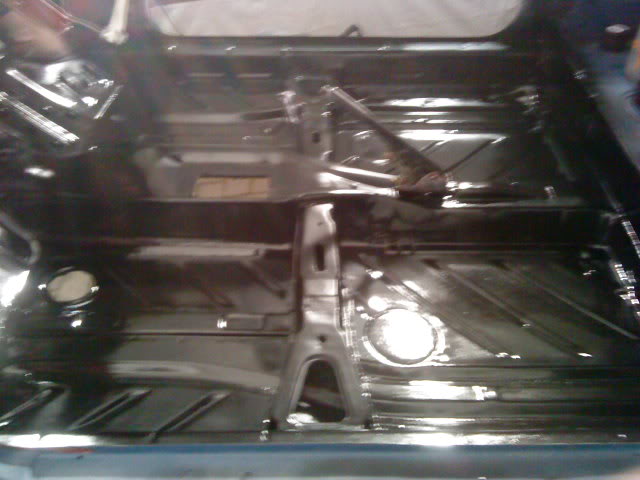
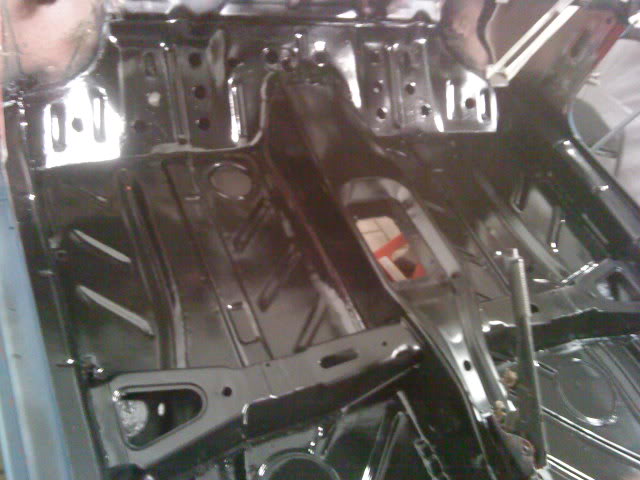
100% stripped. The floorpan is greasy but in pretty good nick.

Posted
Settled In
Posted
Settled In

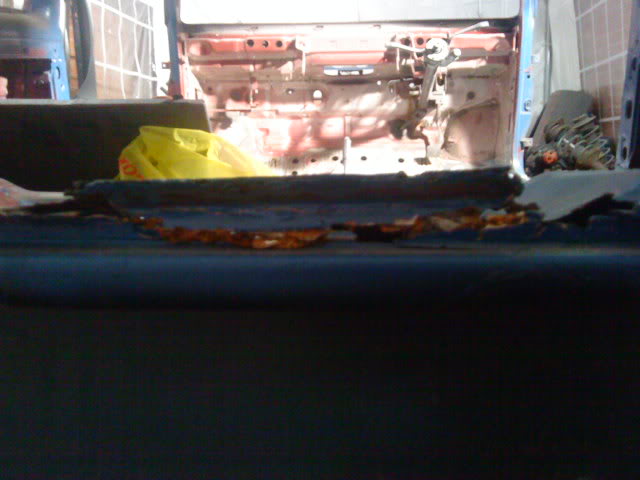
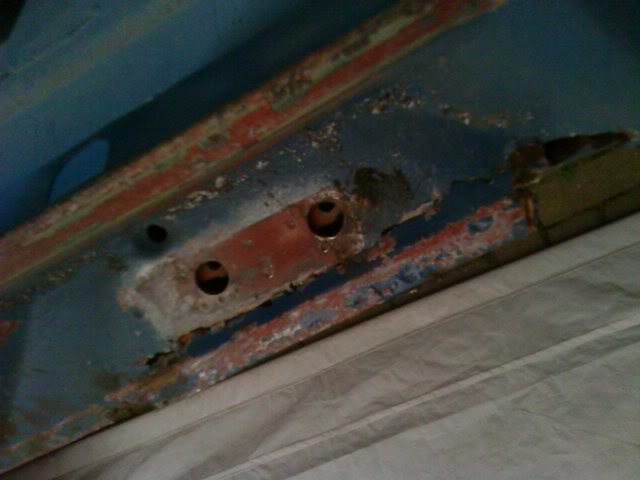
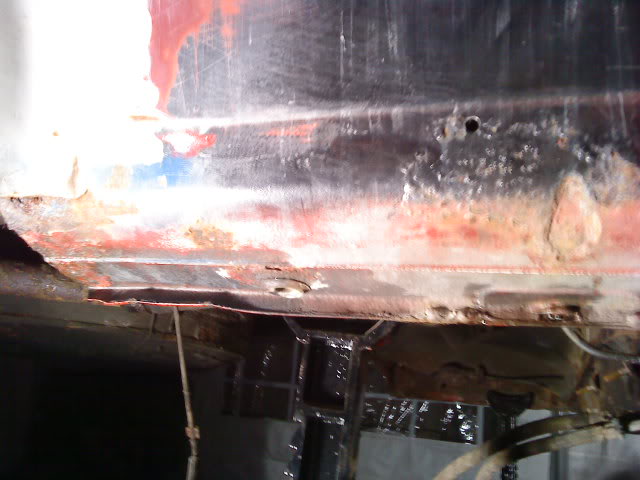
Half way through cutting the old rear panel off discovered that there were actually two valances glued together on there!
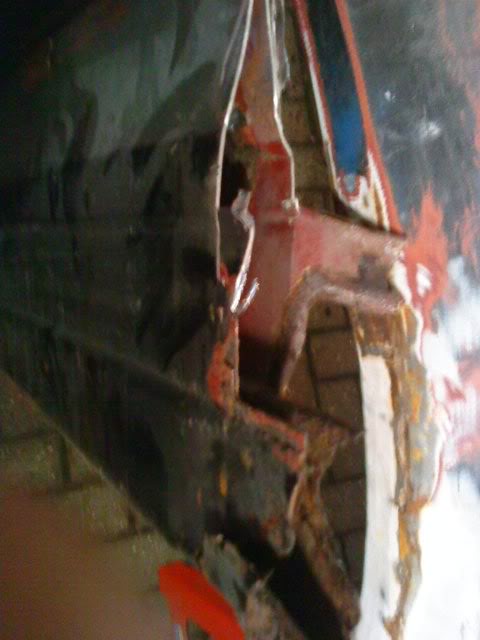
This almighty pikey-likey bodge left the floor in a poor state too.

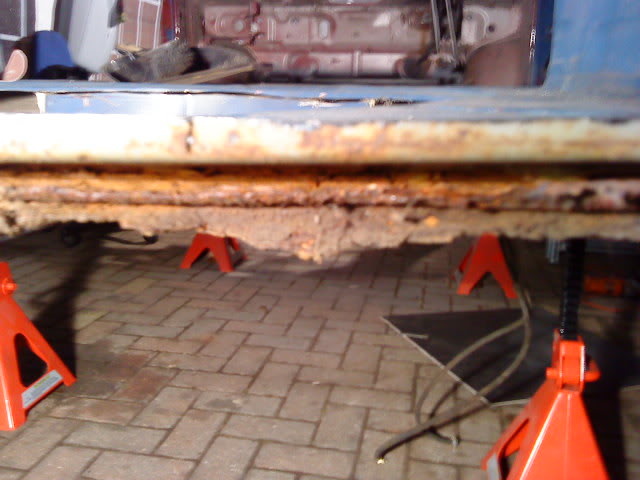
It looks like I am going to have to chop out the lat 2 inches of floor and weld a new patch in.
Also still got some tidying up to do around the chassis members/rear wings before can stick a new one on…
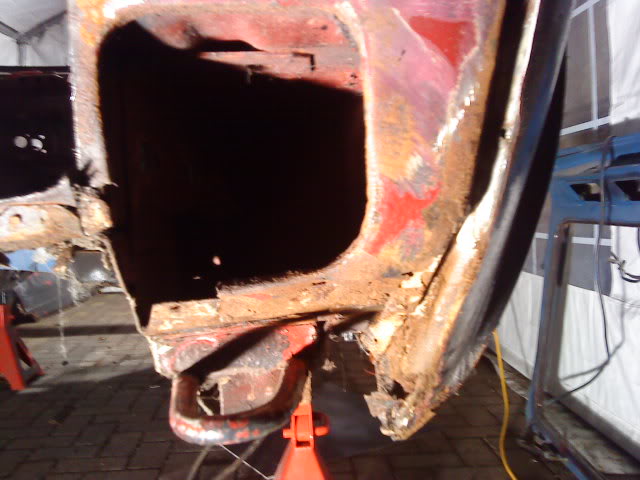
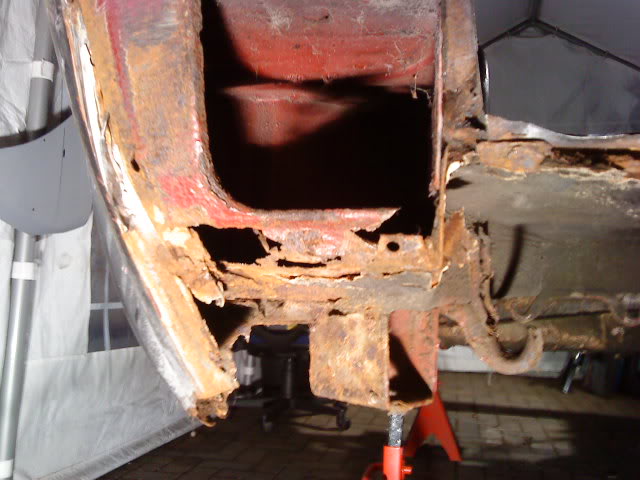
The RHS looks worse than it is and the LHS is worse than it looks!!!!!!!
With this in mind got onto frosts and ordered some gear to assist me with this major bodywork.
Big order going into Quiffs too shortly for the new panels (rear arches too!!)
The front of the car is solid, the back is crust. DOH
Also got a set of Polys on the way to start building up the suspension again as can work on refurbing the small peices around this major stuff. Bit stuck on which set of coilovers to get. Want in car adjustables, any one got any ideas?
Thanks for looking!
Daz.
Posted
Settled In
0 guests and 0 members have just viewed this: None.