


GUIDE : Rebuilding the rear end

Posted
Settled In

GUIDE : Rebuilding the rear end
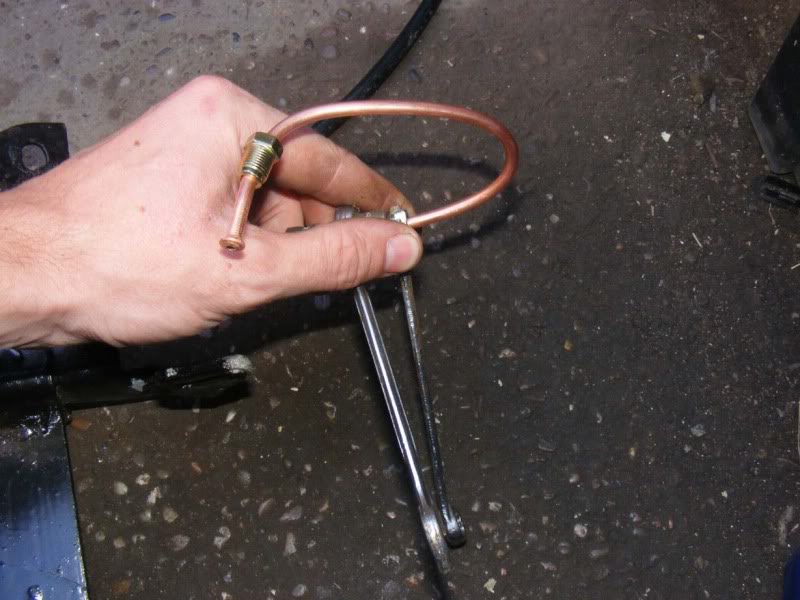
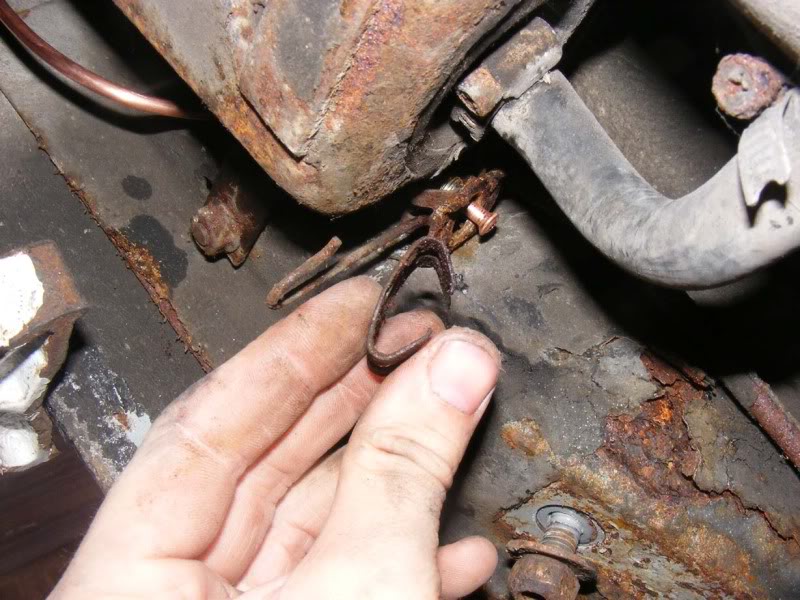
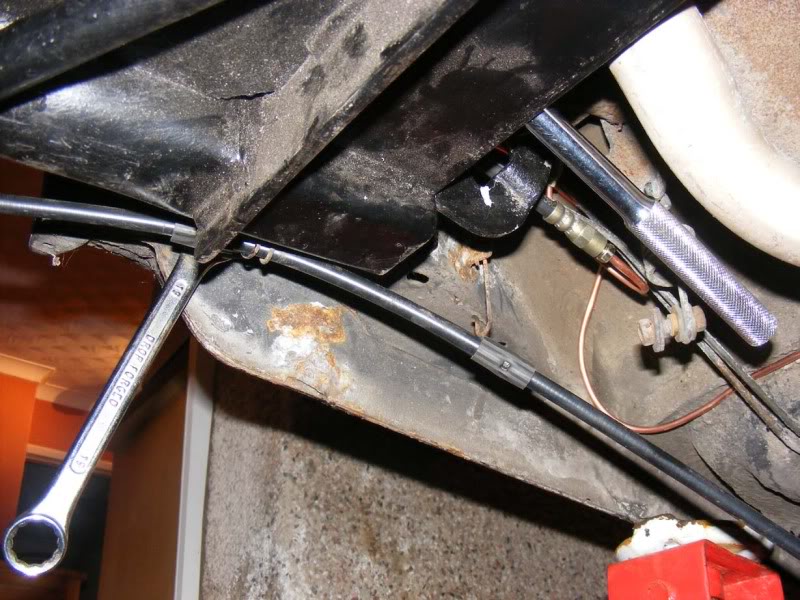
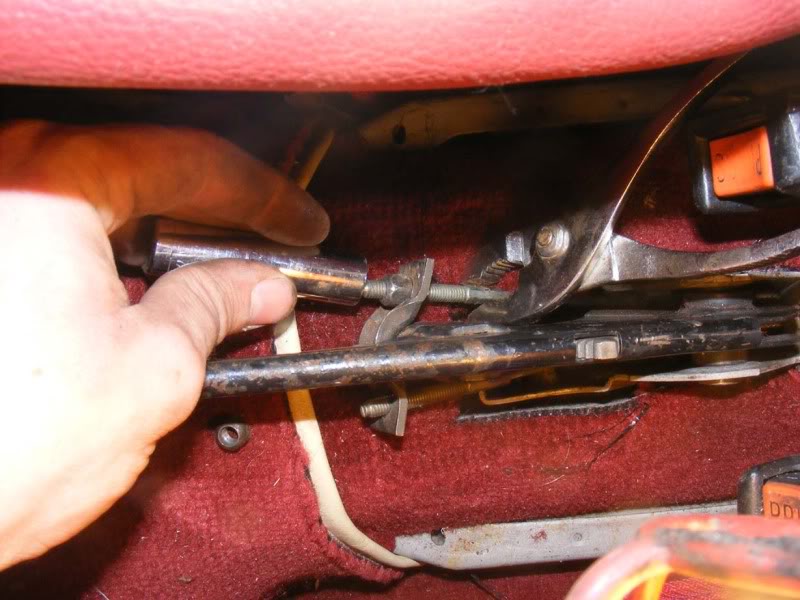
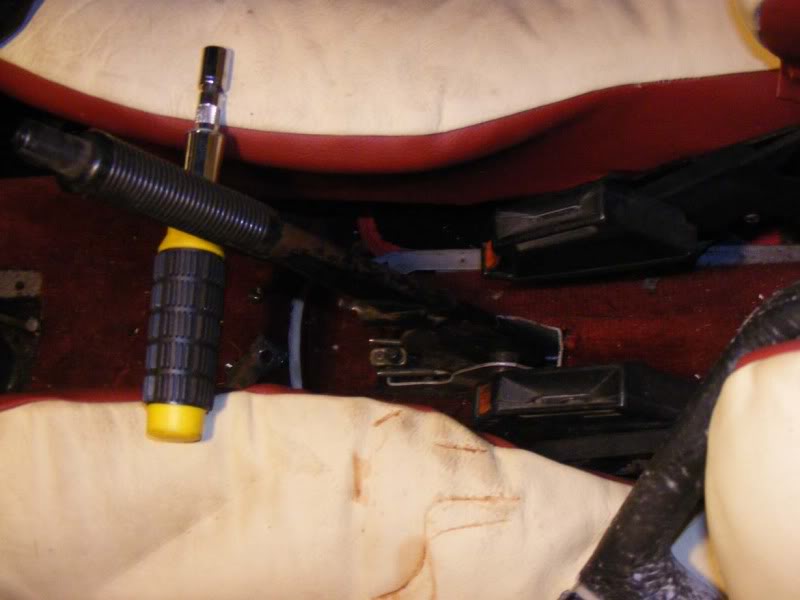
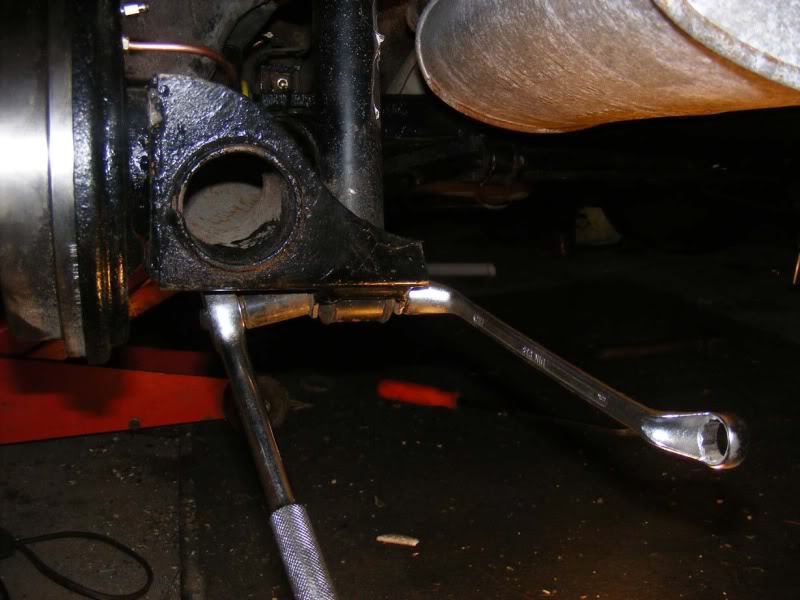
Step 218 - Try and fit as much as you can whilst not working under the car, it's easier that way. I did the pipe to the flexi hose before the adjuster as shown.When tightening these compression fittings, ensure the hose can't spin and then it will quickly grip at the terminator and hold well. It's hard to show what I mean with a picture but the second shot tries to - my hand prevents the fitting from turning and I simply squeezed the two spanners together with the other hand

Posted
Settled In
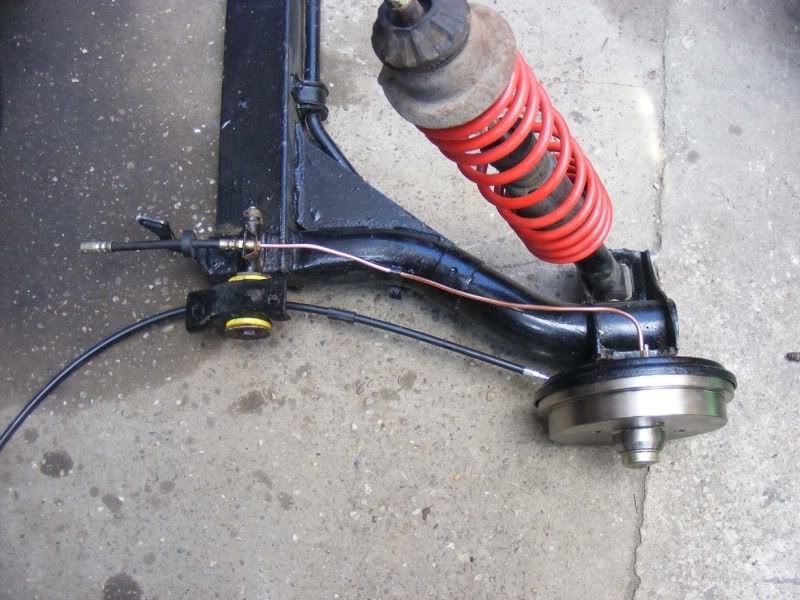
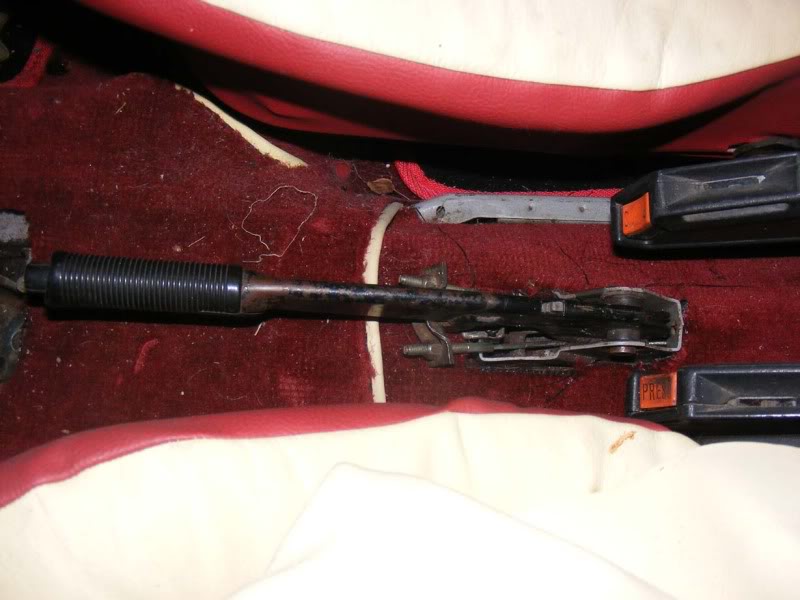
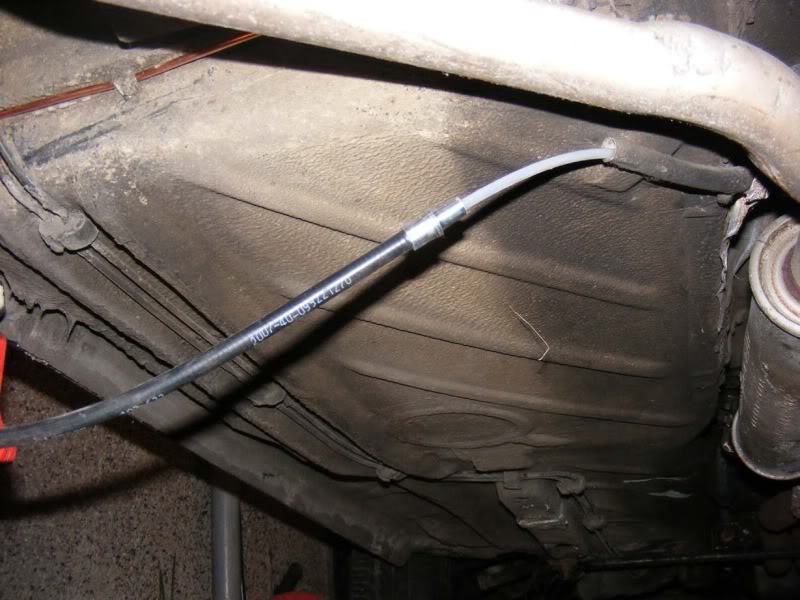
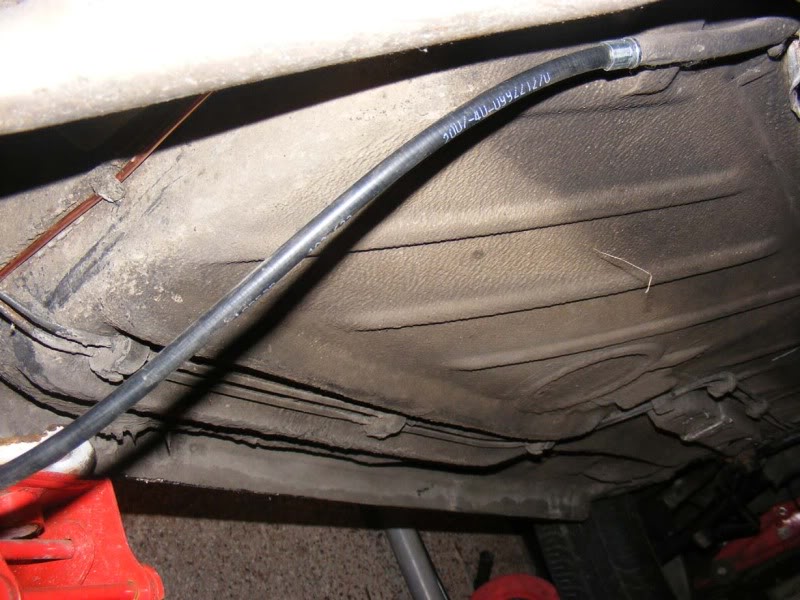
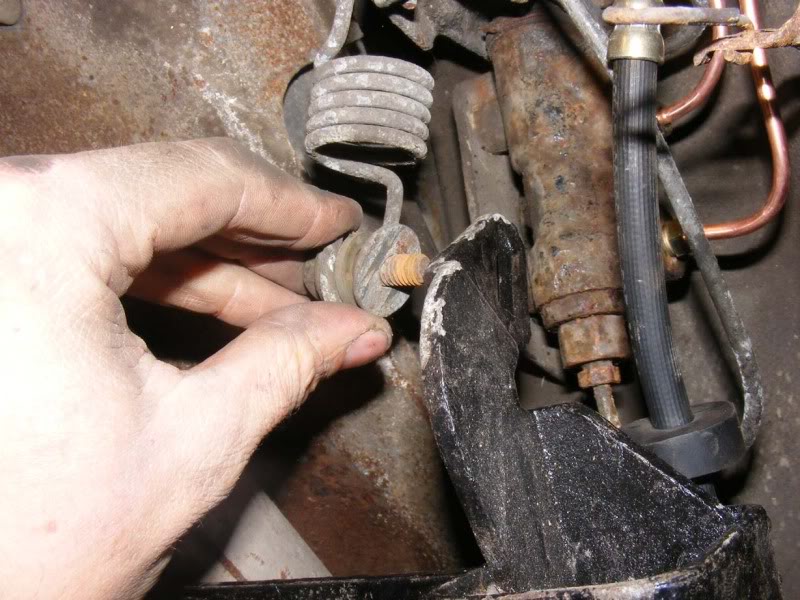
Note the pipe I am dealing with is the equivalent to the smaller piece shown earlier - it connects the flexi hose from the offside to the regulator.


Posted
Settled In

Posted
Settled In
Step 222 - Ensure the handbrake cable is routed through the spring retaining clips and carefully guide it under the car

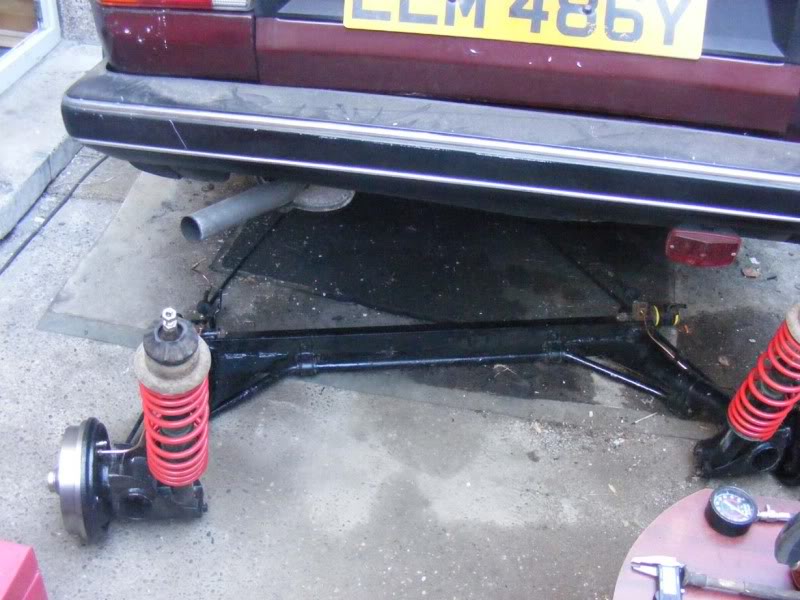
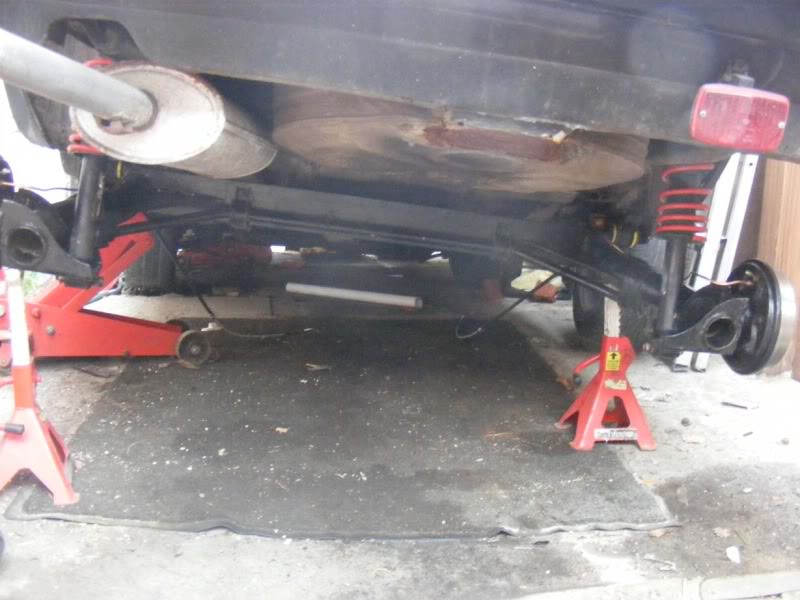
Step 223 - Line the subframe up with the back of the car and jack it up high enough so your struts can fit under
Posted
Settled In
Step 225 - If you jack up under the strut/spring you can easily push them through into the boot and attach the bolt, washer and rubber mount removed earlier on
Posted
Settled In
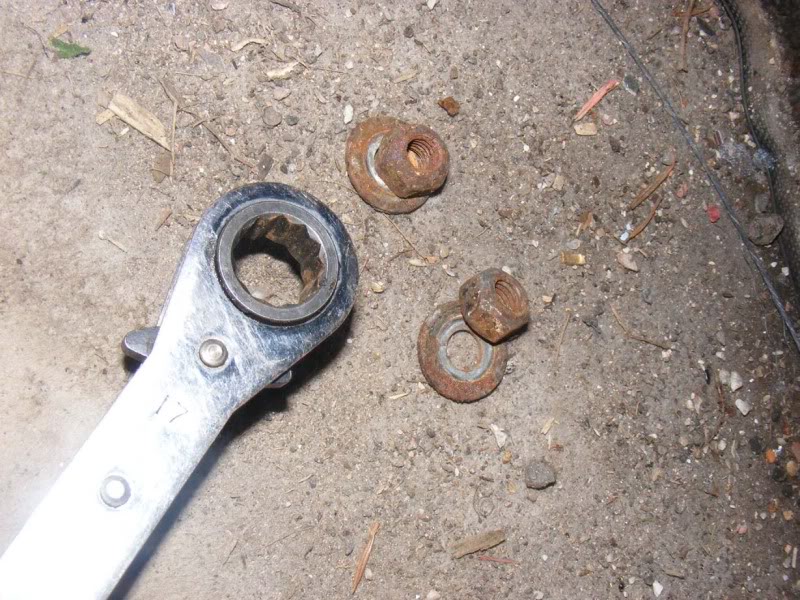
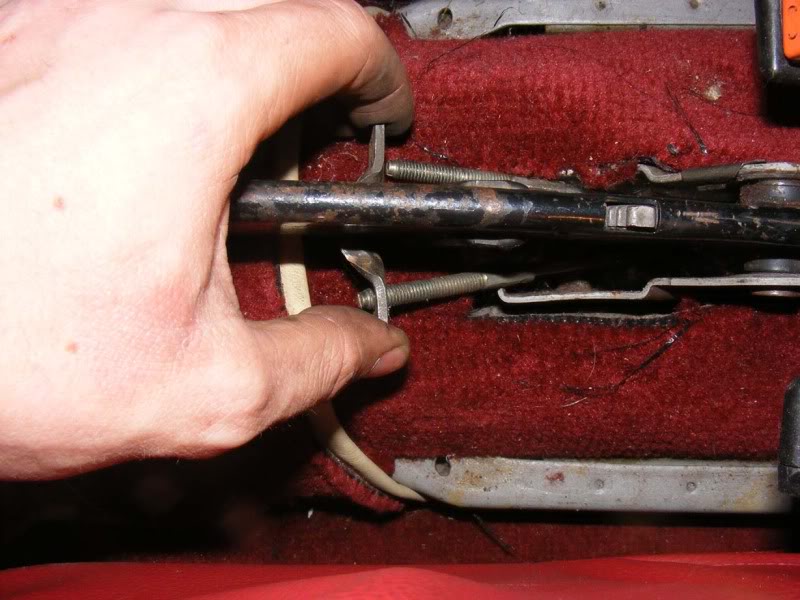
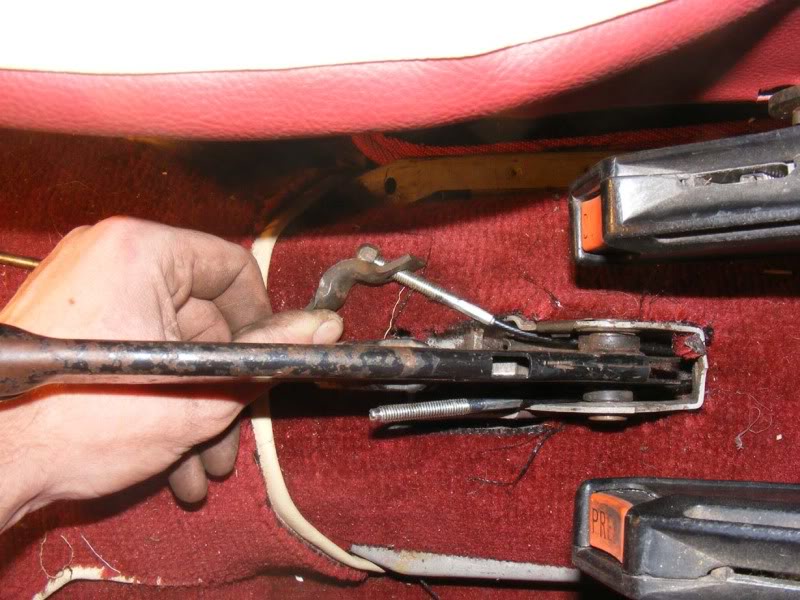
Once you have the subframe in place you need to slide a 19mm spanner up the small gap between the chassis and subframe and get a socket (or spanner) on the other end of the long bolt that holds the bushes on and torque up at this stage. I've tried to show it on the picture where I have the spanner and socket in place
Step 227 - Time to finish up the handbrake cables, jump in the car and remove any trim you have around the gearstick (I didn't have any to remove). You will see the two cables coming through to a single bracket that hooks onto the hand brake. Remove the two 10mm nuts and slide the bracket off the handbrake
Posted
Settled In
Step 229 - Go under the car and locate the two metal guides for the handbrake cable and simply pull the cable out from under the car, there will be little resistance

Step 230 - Now slide your new cable through the tubes (ensuring it is clipped in all the mounting points too) and seat it fully in
Posted
Settled In
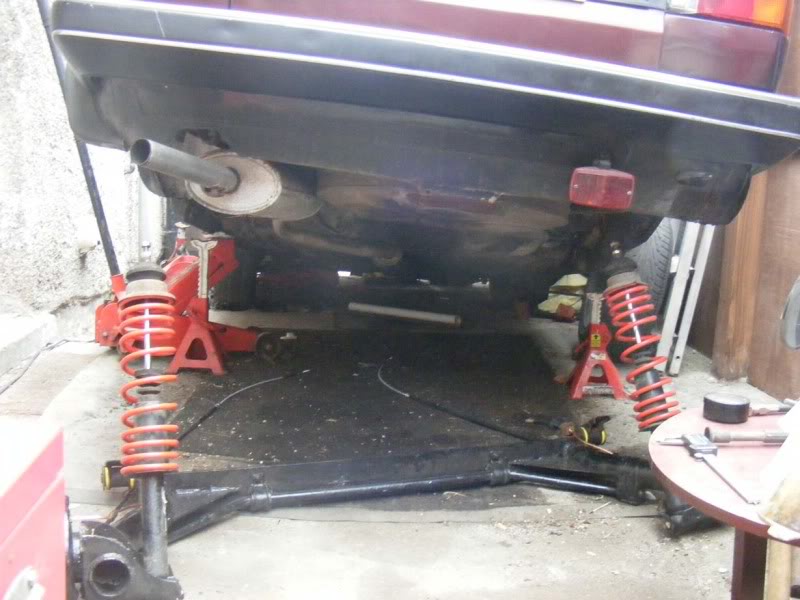
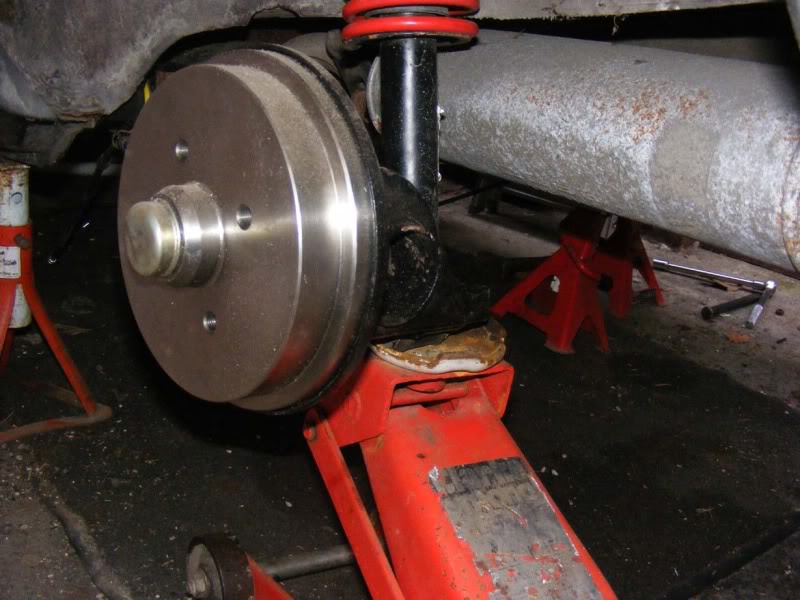
Step 232 - You can tighten everything up now and make sure you do the bottom shock subframe mounting. It's a little awkward but a 17mm socket and spanner as shown does the trick
Step 233 - Refit the 10mm on the brake adjuster and bleed the brakes, job done!
Posted
Settled In
Posted

Old Timer


i've copying all you other guide sinto a new tech section
and this one is the best yet
might take me a while to copy it tho unless you have a master written somewhere???

Posted

Old Timer
Fantastic guide, with great pictures.
One seriously impressive refurbishment. 8)
1988 1.8 carb Golf Clipper
Posted
Settled In
 I hope so! It's always unnerving when you get no feedback at all!!
Posted
Old Timer
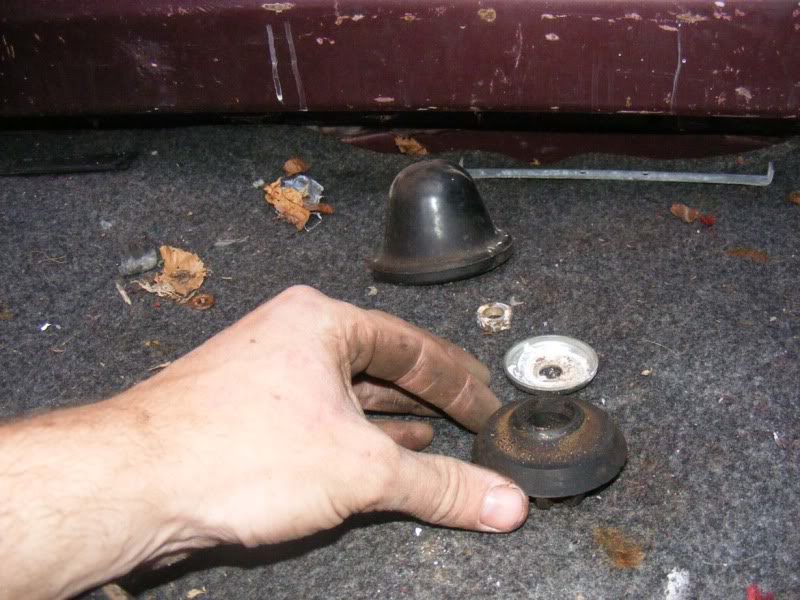
1. I find it's easier to remove/fit brake springs with the right tool!!! By this I mean an old flat blade screwdriver with a notch in the end! This allows you to hook the spring on and get some real force to shove it across. I usually find this achieves it quite quickly.
2. Those handbrake cable nuts are the wrong way round!!! The domed end should seat into the recess on the balance plate!!!
Other than those extremely minor things, Excellent write up mate.
Wish i'd had it the other week when i did my back brakes, bloody adjuster wedge refused to sit where I wanted lmao

Jon.
Posted
Settled In
Posted

Old Timer
Its brillaint posts like these that keep MK1s on the road
, i didnt reply because i didnt want to spoil the Post cheers
baz
Posted
Settled In
Posted
Local Hero

Tres bon!
Rich
Posted
Settled In
Many thanks indeed - comment away, it's great to have feedback
Posted
Settling In

Thanks
Posted
Settled In
0 guests and 0 members have just viewed this: None.