


GUIDE : Rebuilding the rear end

Posted
Settled In

GUIDE : Rebuilding the rear end
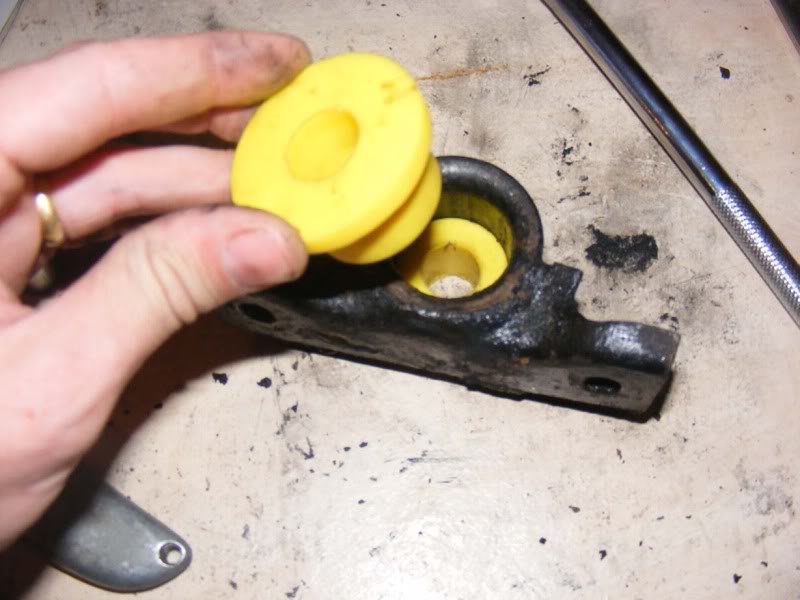
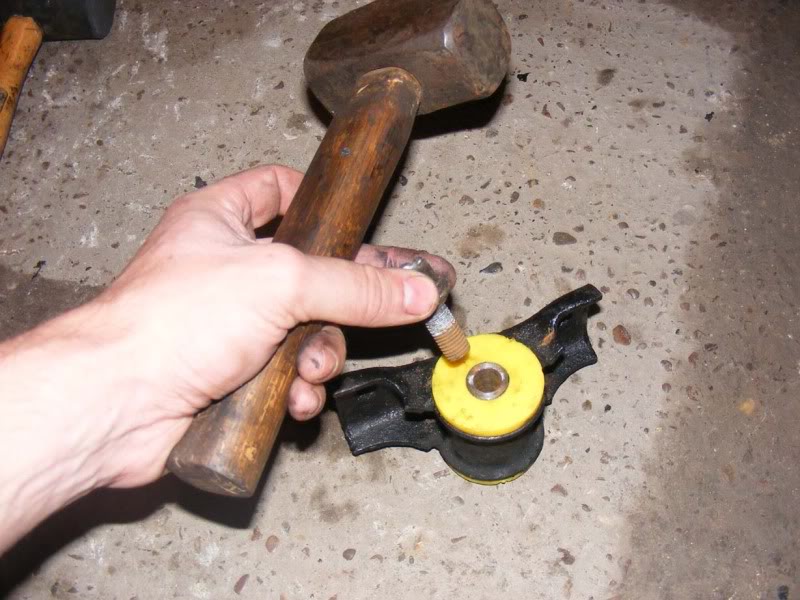
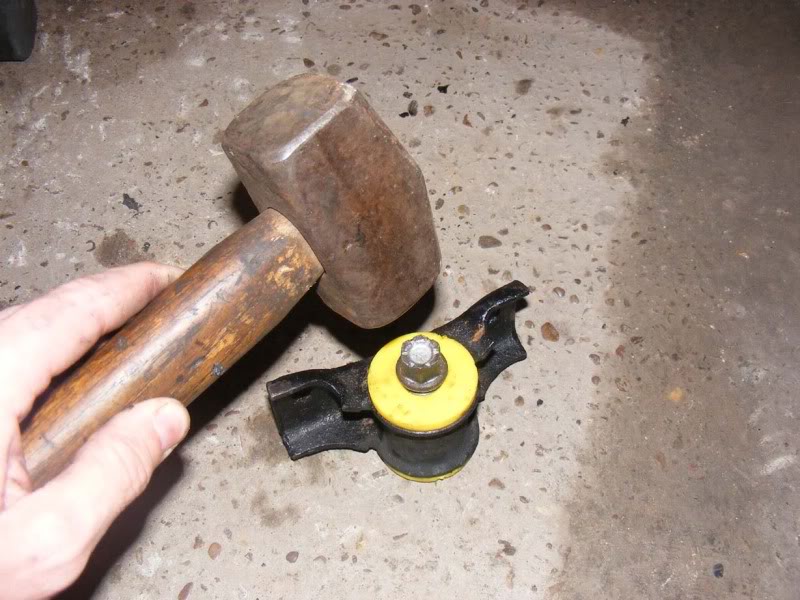
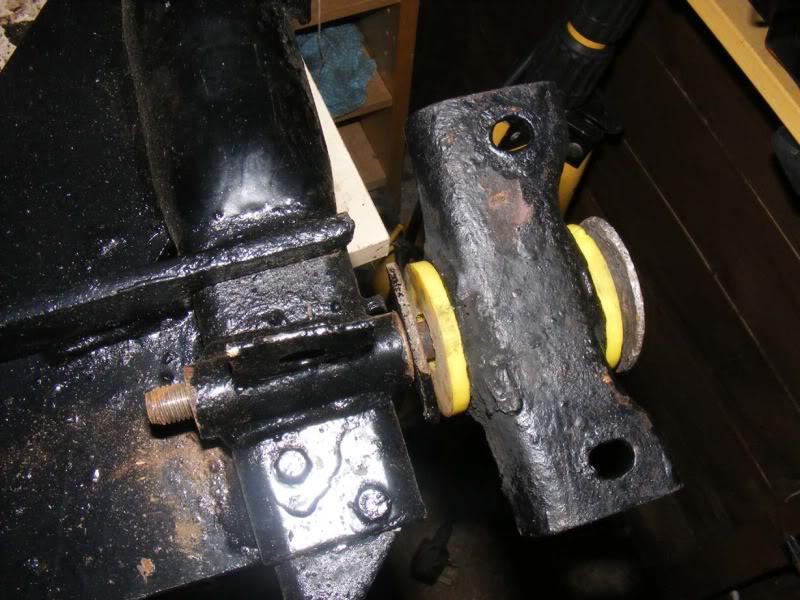
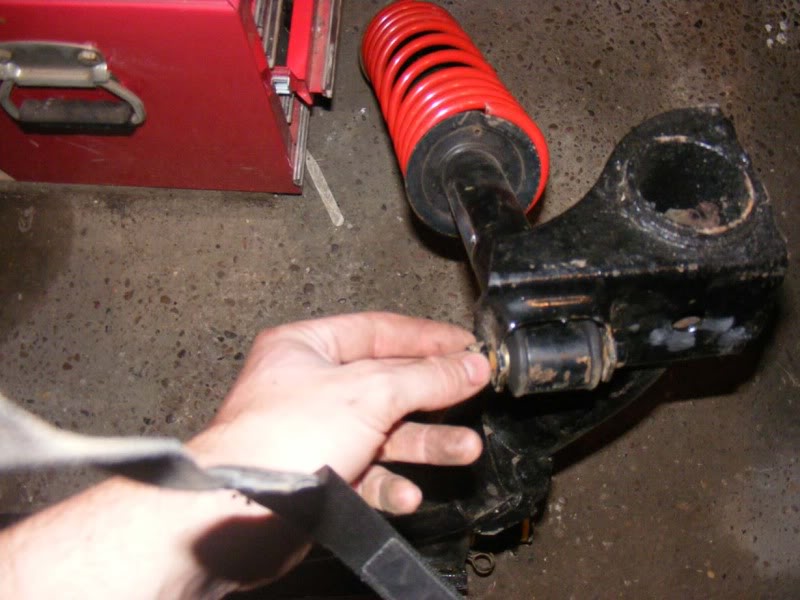
Step 165 - Now to the poly bush, slide one side into the carrier
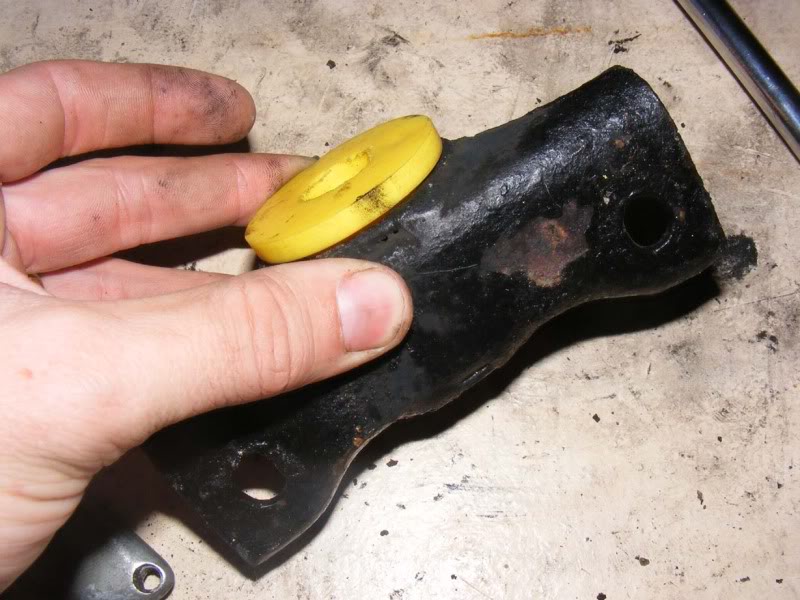
Step 166 - Then flip over and push the other in (push them firmly in, they are tight)
Posted
Settled In
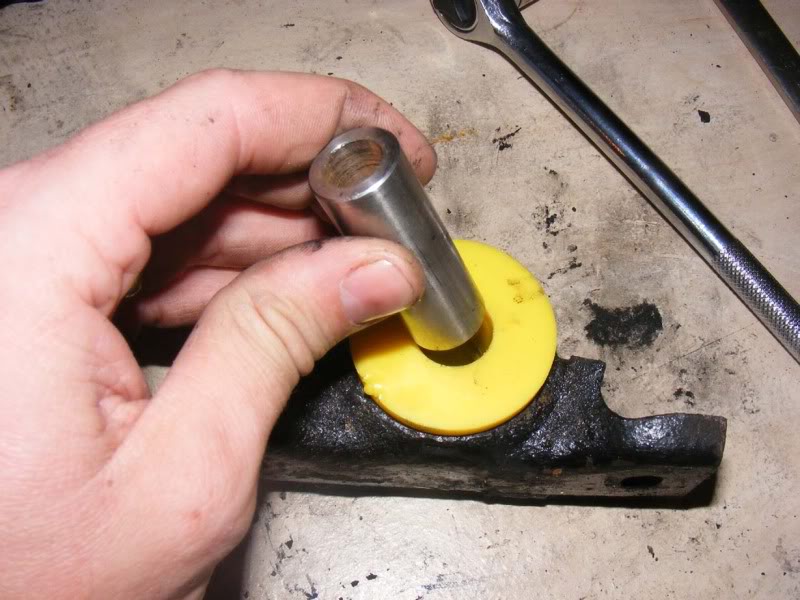
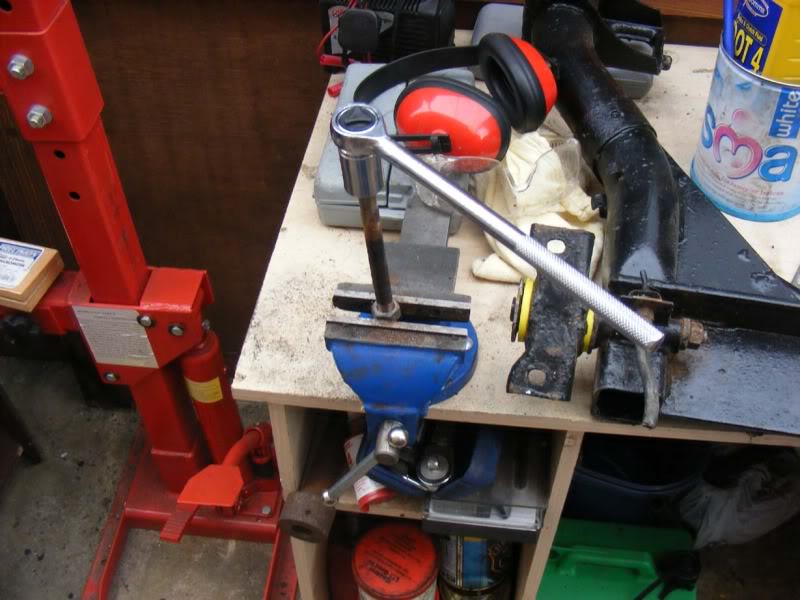
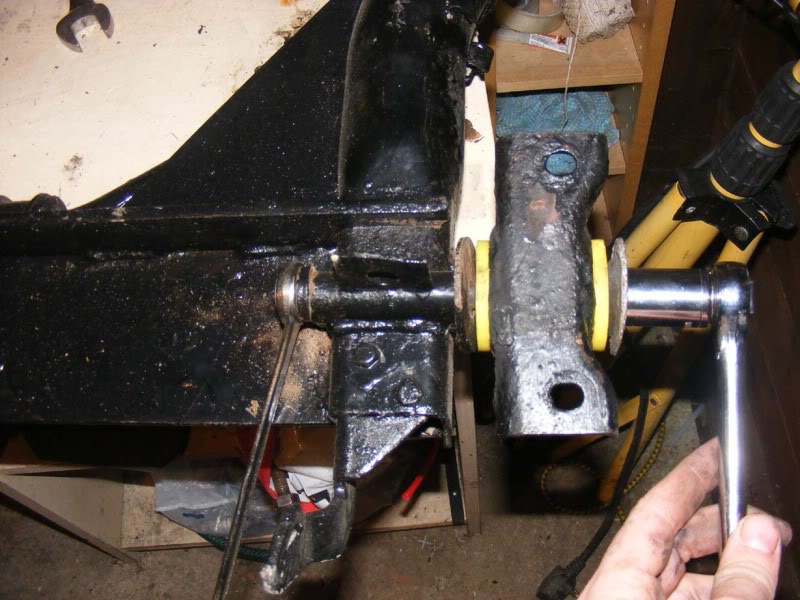
Step 168 - Use a vice to press the bar through the bush because it is tight, you can hammer but it responds much better to a constant pressure
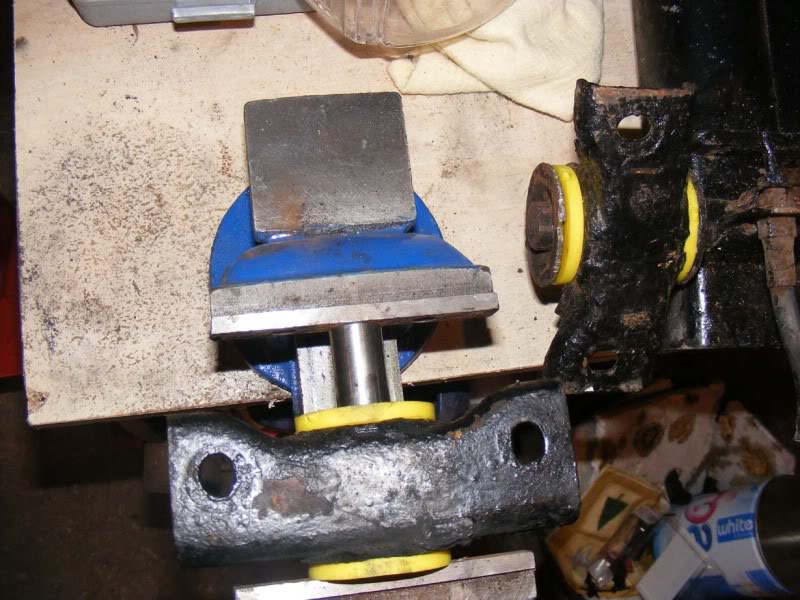
Step 169 - Drop a wheel nut in with the deep chamfer and tap the rod through until it sits squarely in the middle of the bush

Posted
Settled In
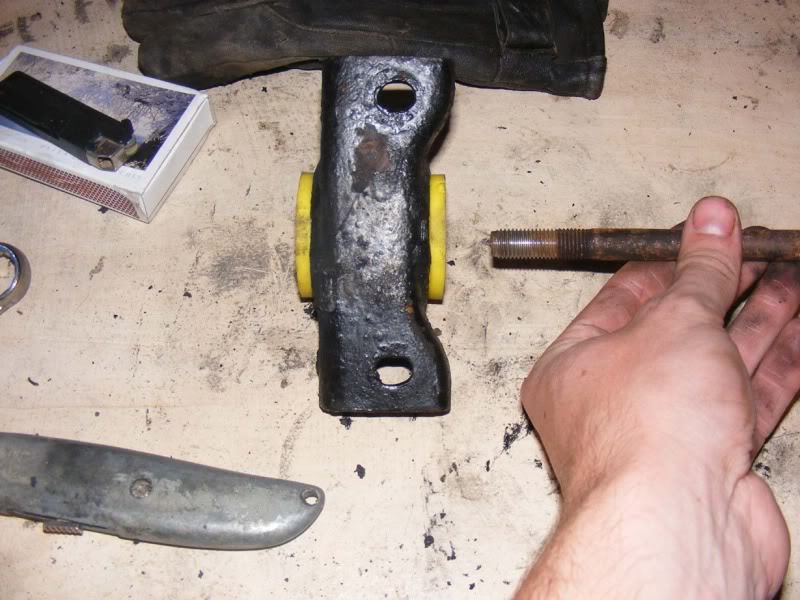
Step 171 - Slide the second large washer over the bolt once in place

Step 172 - Insert the handbrake cable guide into the subframe
Posted
Settled In
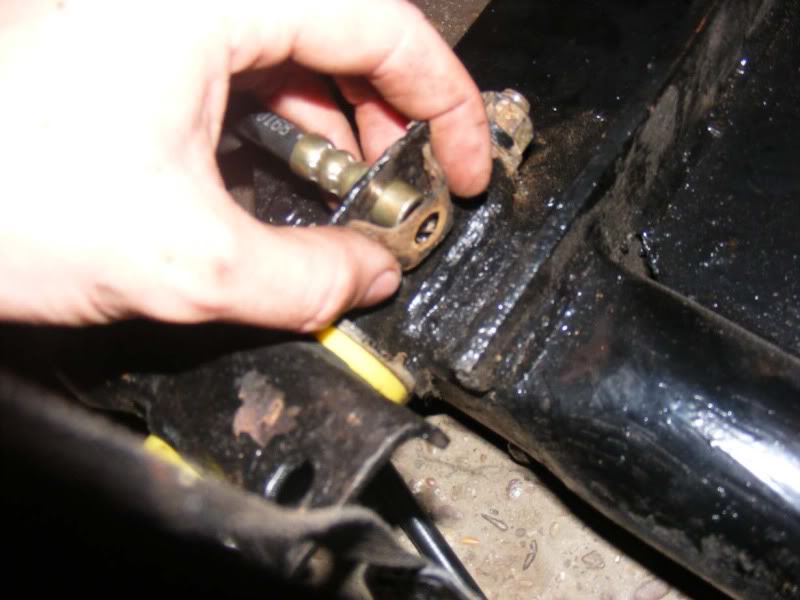
Step 174 - Refit the thick small washer and bolt
Step 175 - Torque up the two 19mm with a spanner and socket (note the angle of the mount on the other side of the subframe and ensure you are at the same angle, don't tighten fully until on the car
Posted
Settled In
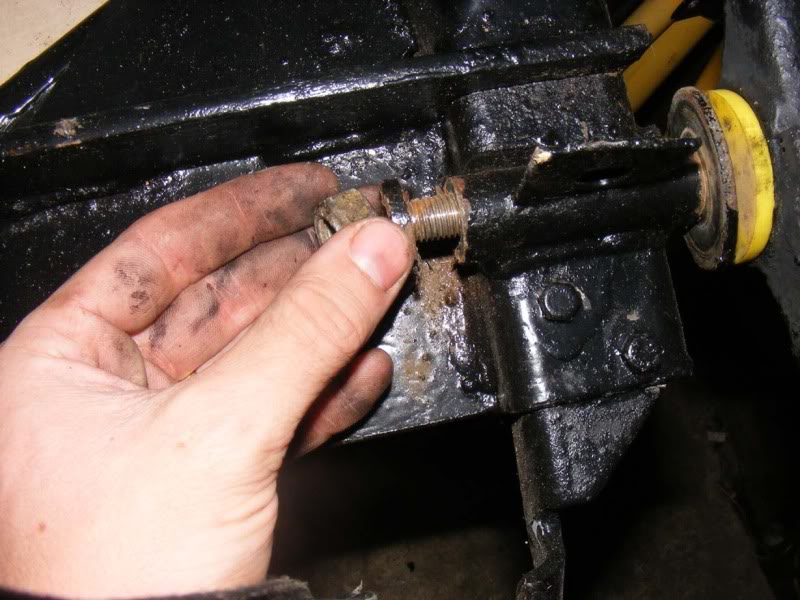
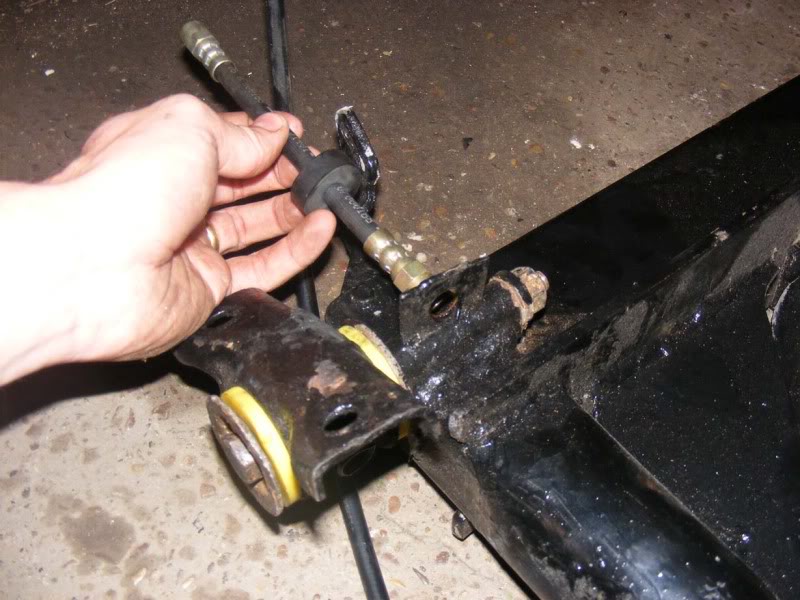
Step 177 - If you did the same as me and cut the rubber brake hose then remove this with a 14mm and 11mm spanner. Look after the metal slip, you will re-use this for the new lines
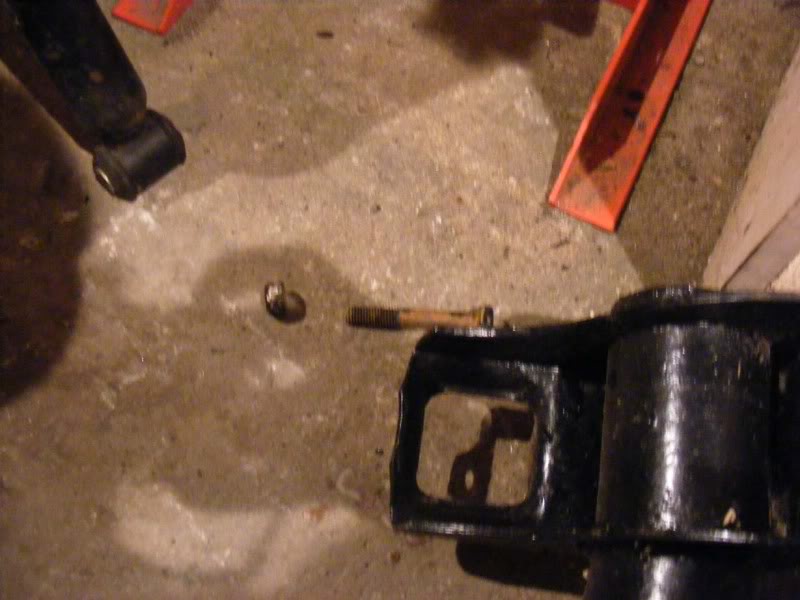
Step 178 - Remove the suspension lower mounting bolt from the subframe
Posted
Settled In
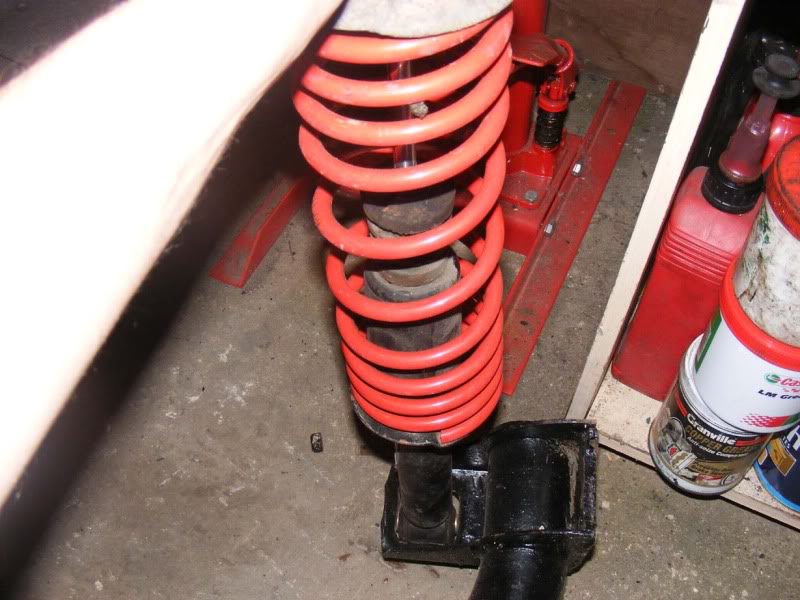
Step 180 - Tighten the nut so it is just finger tight, it wants to hold the shock on but not lock it in place
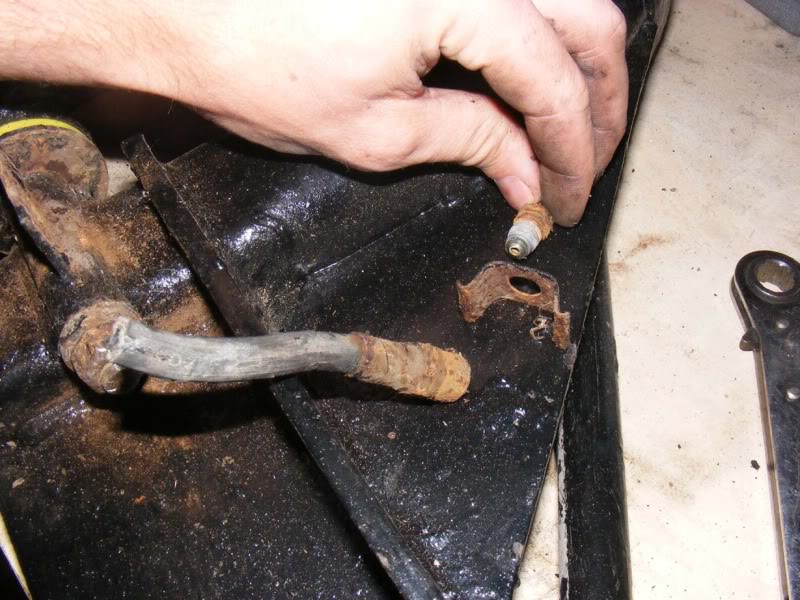
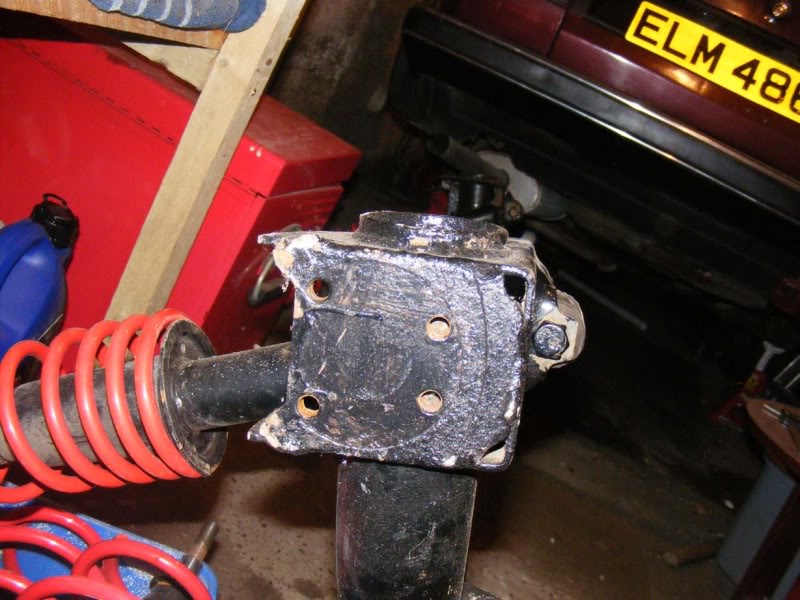
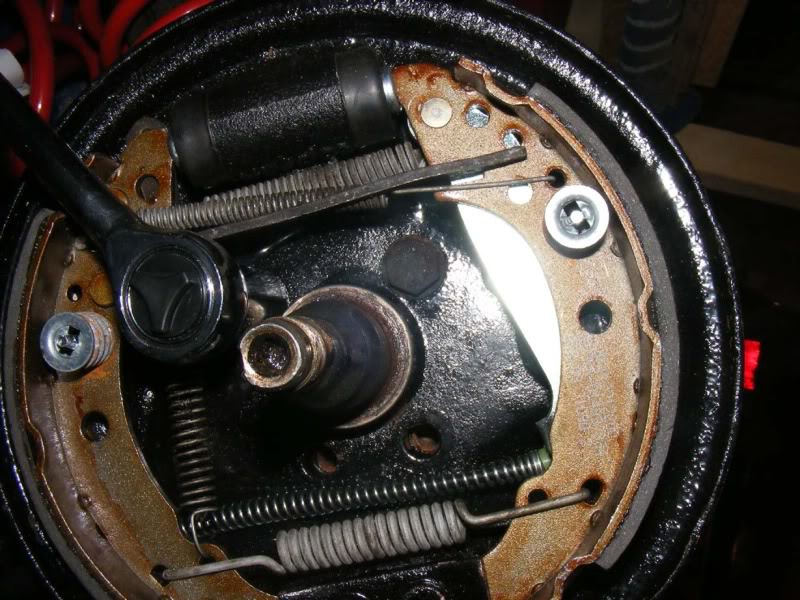
Step 181 - Finally time to get your hub back on, pick the backplate up and align it with the 4 holes on the subframe. Make sure the 2 holes that are close together are at the bottom and that the handbrake cable comes out towards the front (towards the crossmember/anti roll bar end of the frame).
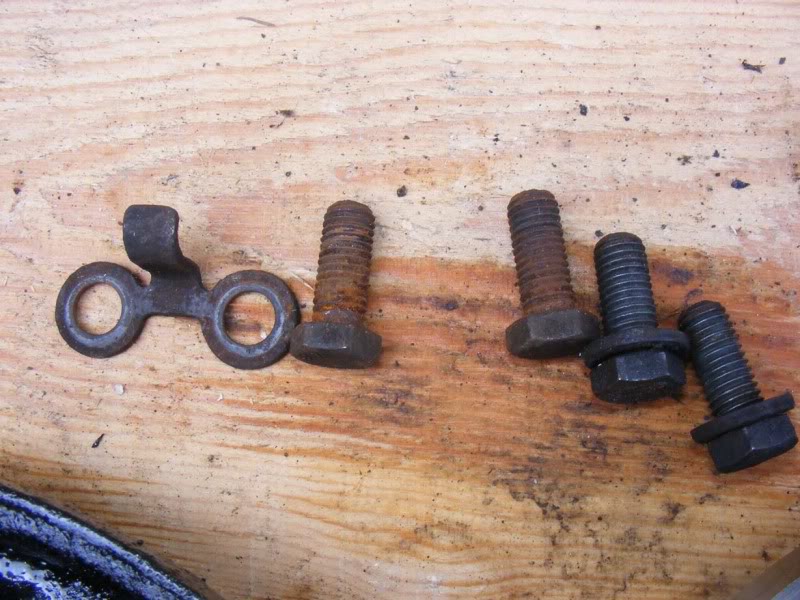
You'll need the two bolts with washers, 2 bolt without washers and handbrake cable guide you removed earlier (shown in the third picture)

Posted
Settled In
Step 183 - Now refit the cable guide for the handbrake and the 2 bolts that go with it (no washer on these 2)
Step 184 - Torque up the 4 bolts so they are all tight (do them diagonally opposite to get the best torque pattern don't go clockwise/anticlockwise)
Posted
Settled In

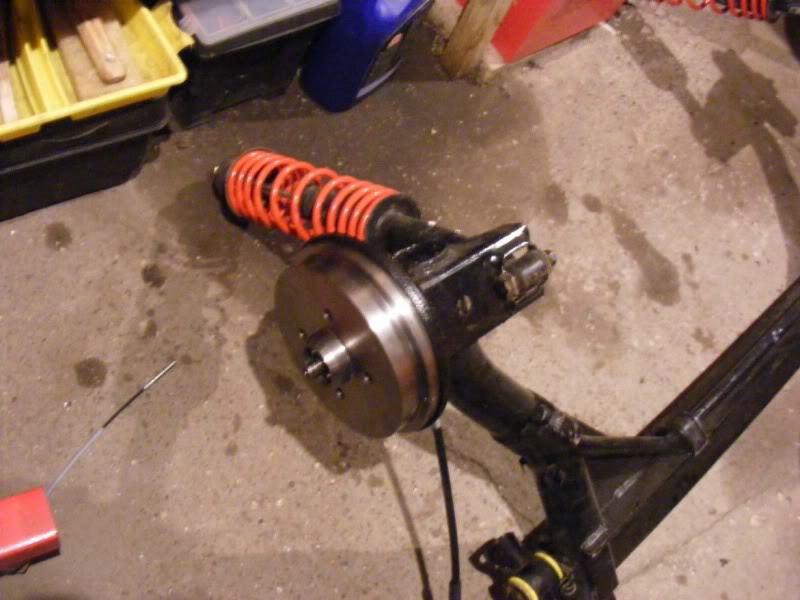
Step 186 - Repeat on the other side
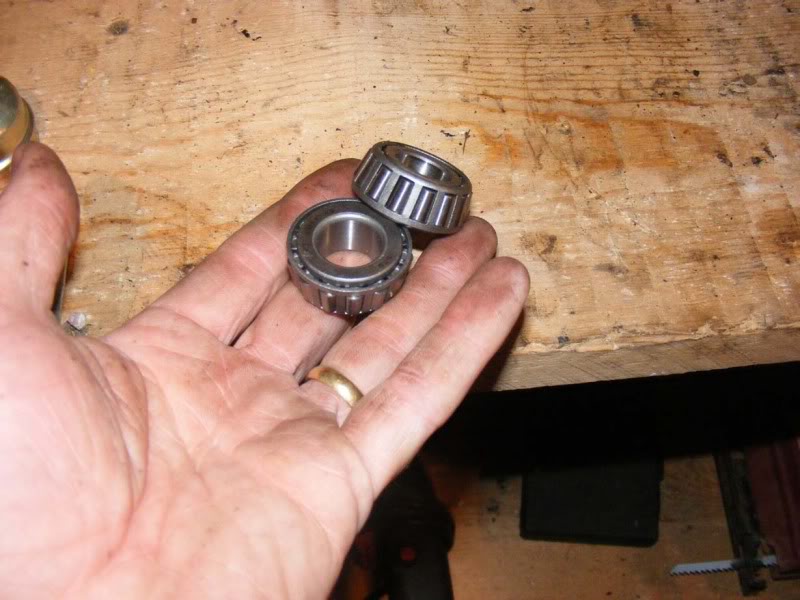
Step 187 - Time to grease up the outer bearings now, just like before pack them well using suitable bearing grease
Posted
Settled In
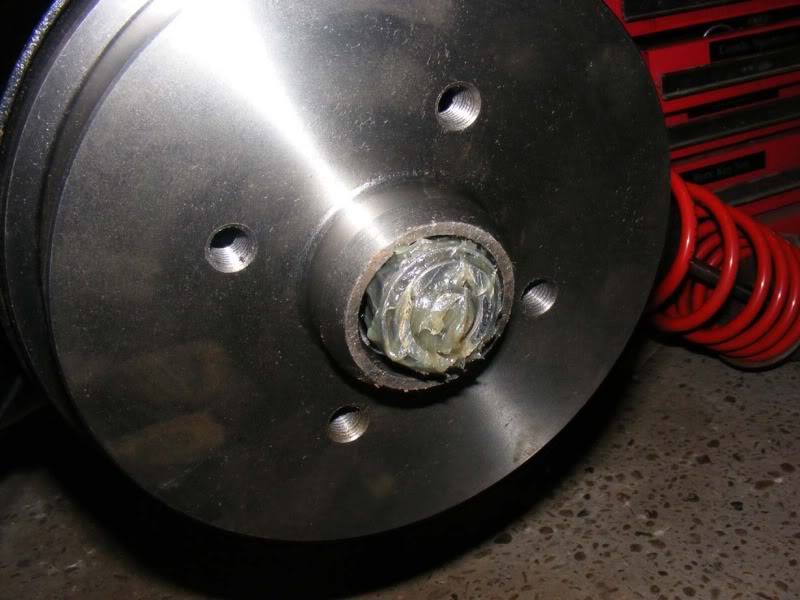
Step 189 - Now your washer which is keyed so will only fit in one way, slide this down the shaft as well
Step 190 - Ensure the bearing and washer are fully seated
Posted
Settled In
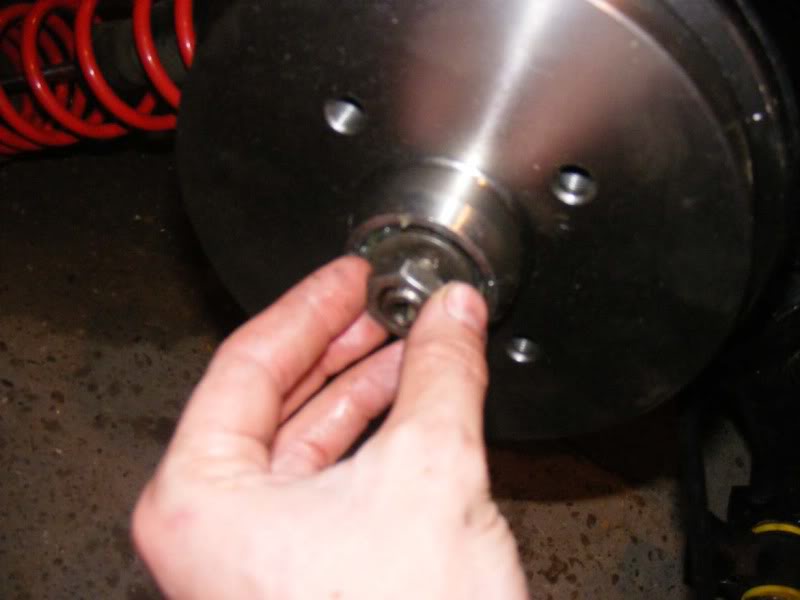
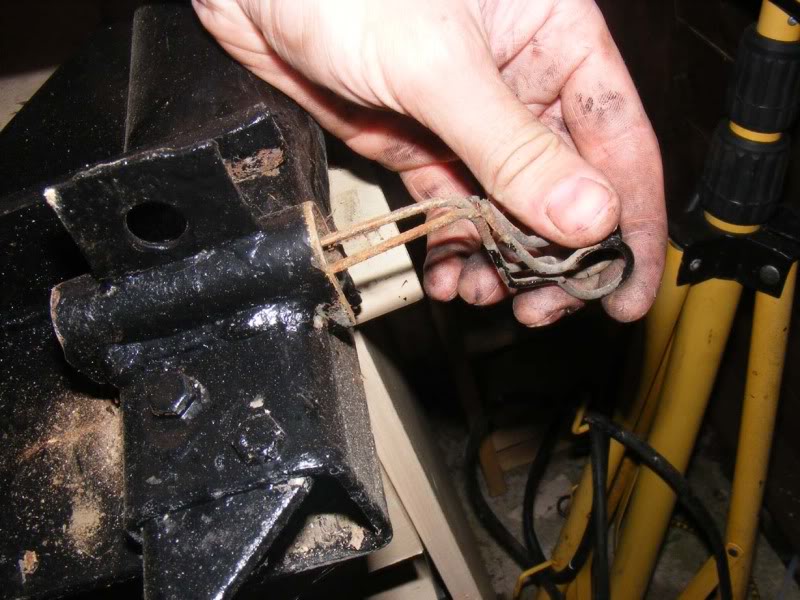
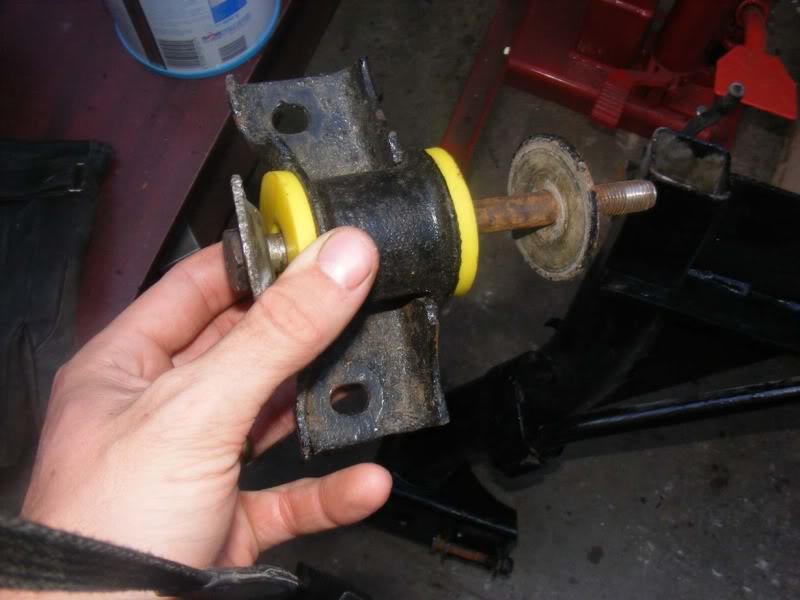
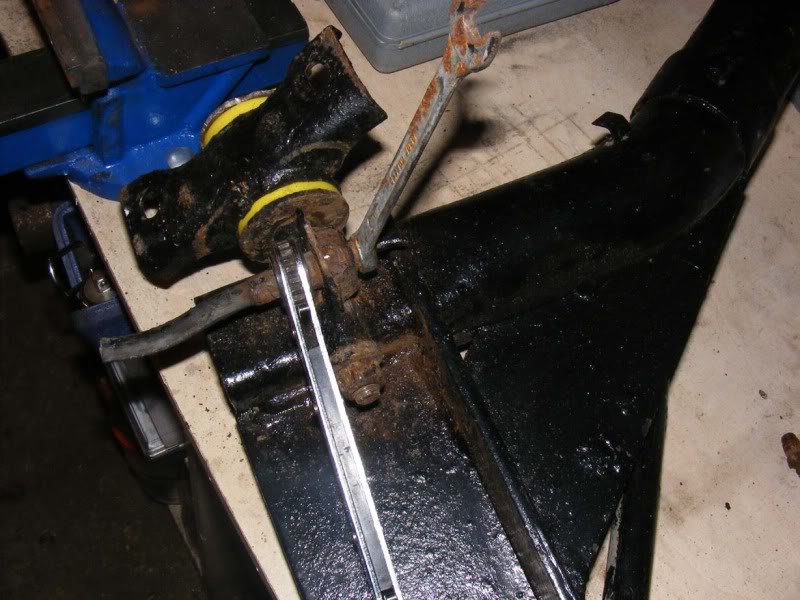
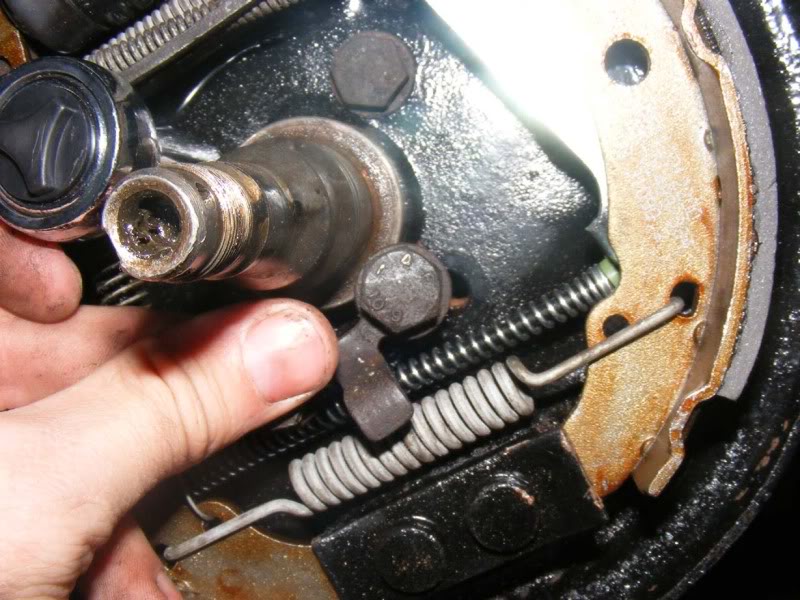
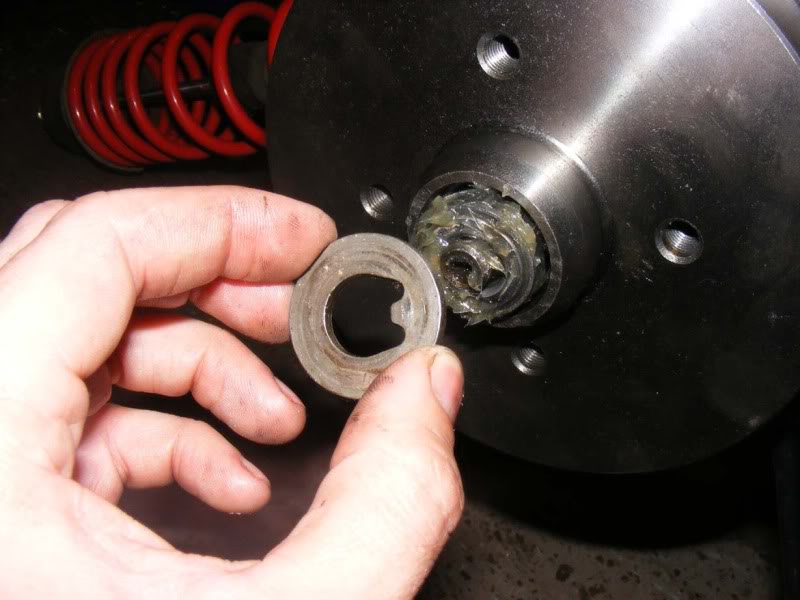
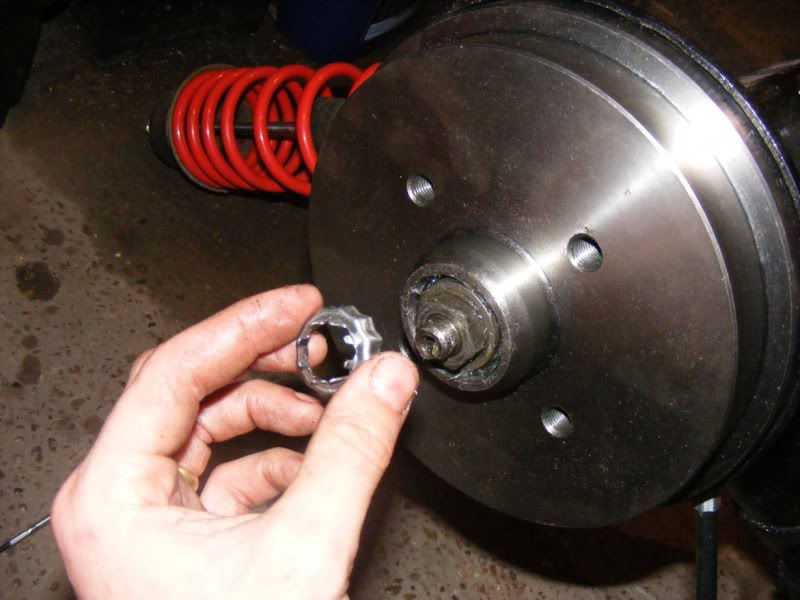
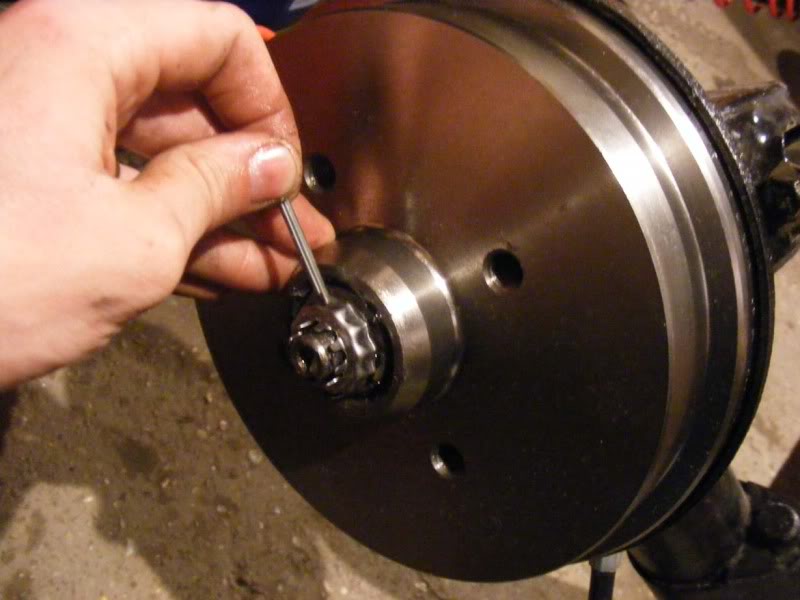
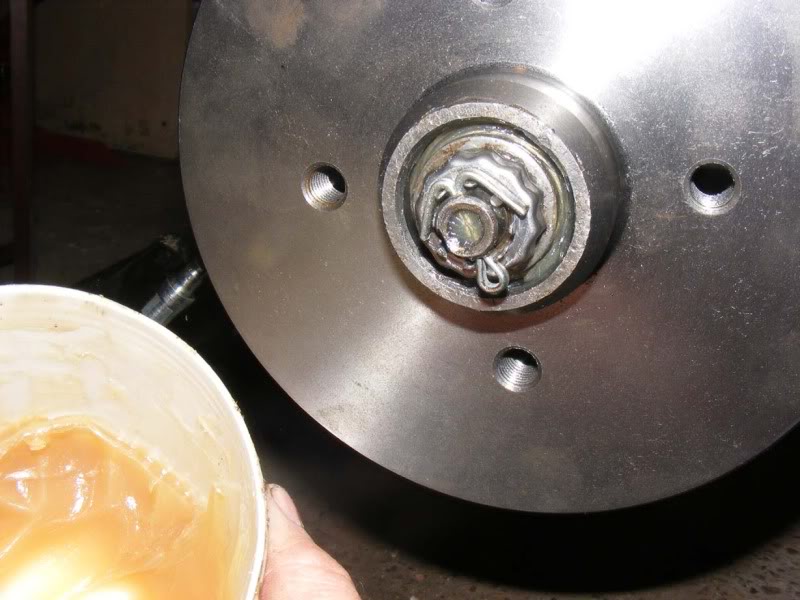
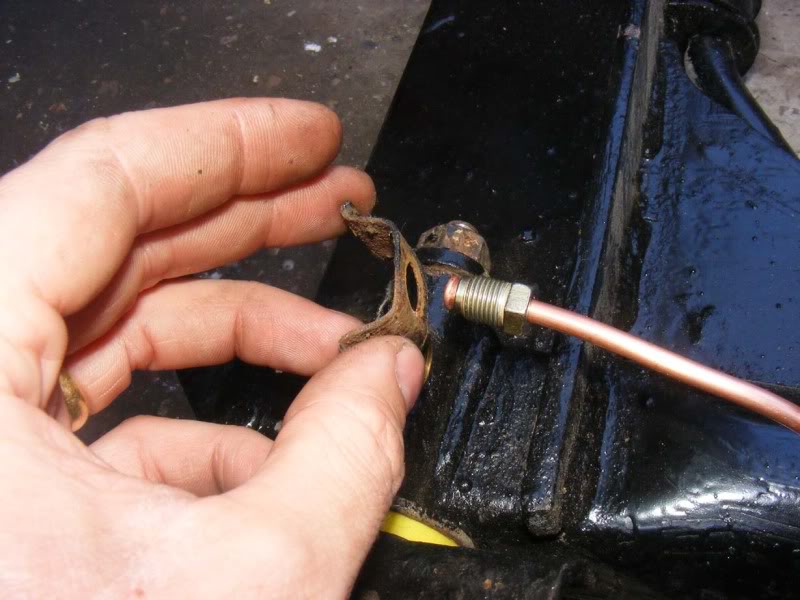
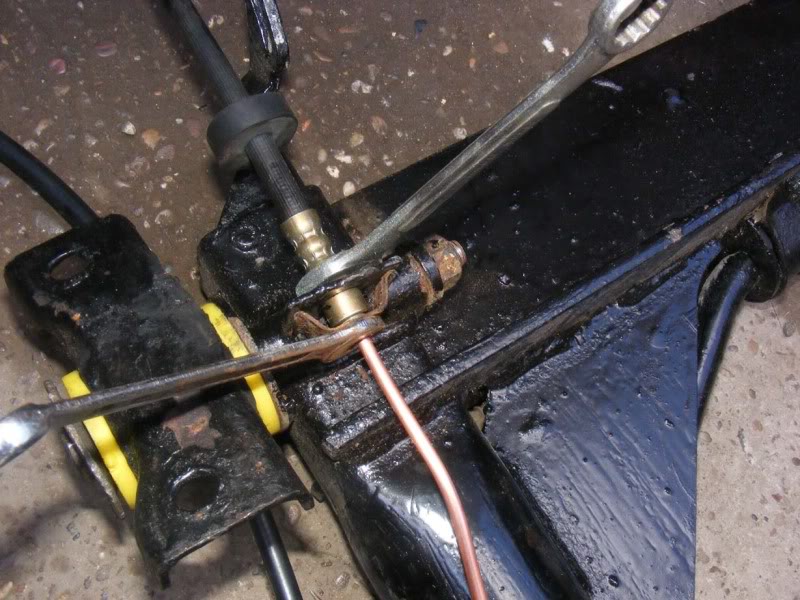
Step 192 - Tighten the nut (by hand) until you can just move the washer with a screwdriver. This is a little subjective but is generally a good way of judging the fit, if you over torque this you will kill the bearing.
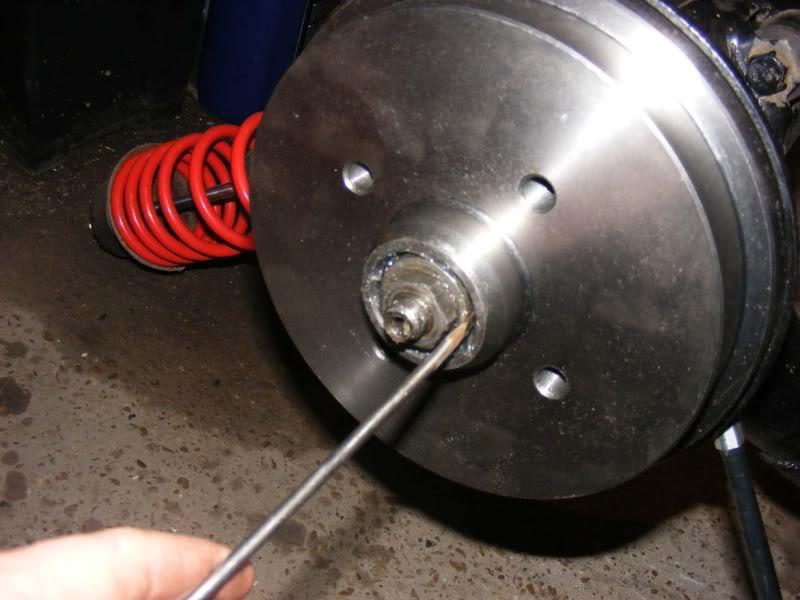
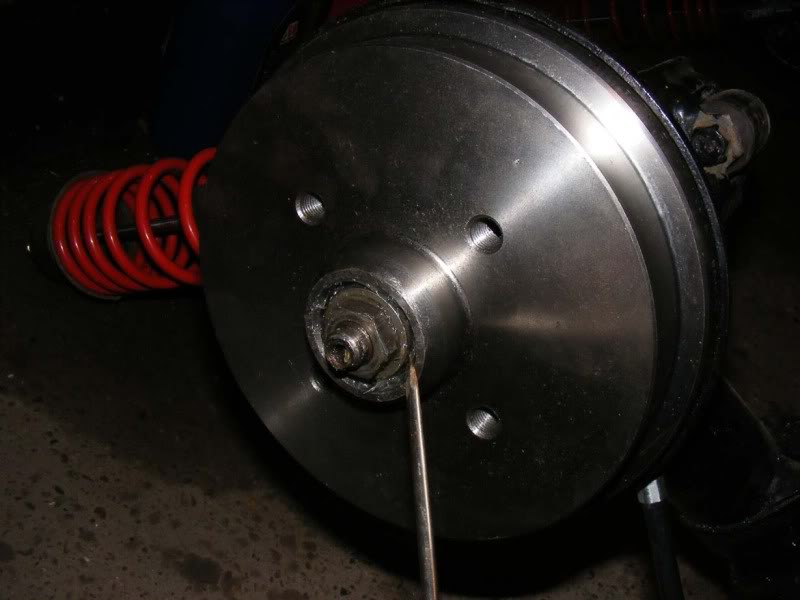
The washer should just move without any leverage as shown in the first picture, NOT by pressing against the hub as demonstrated in the second picture
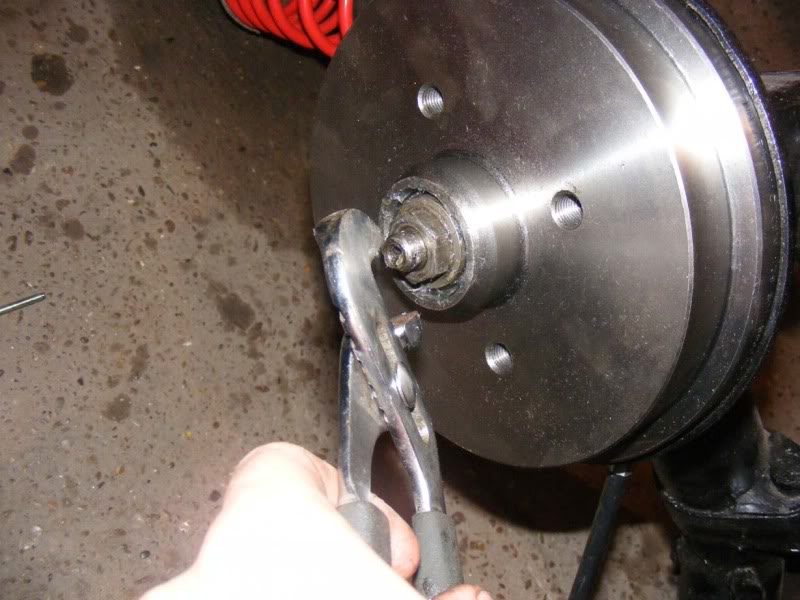
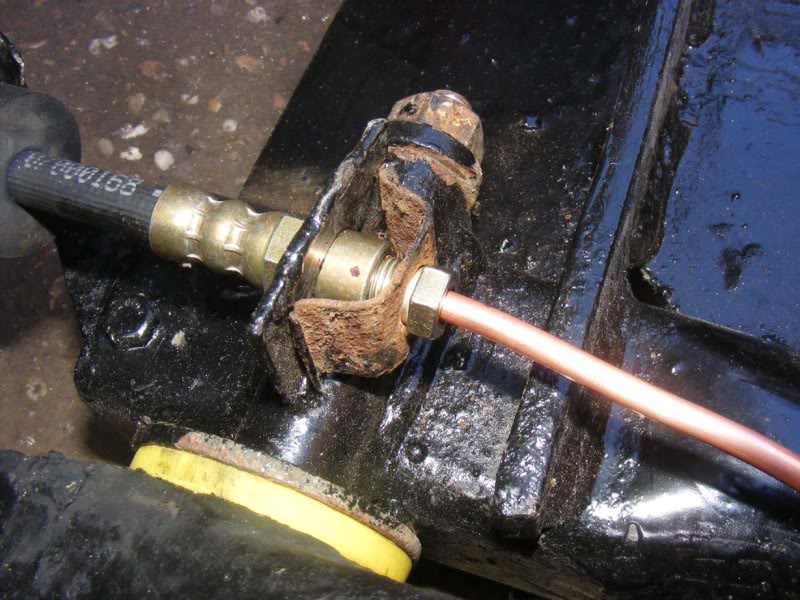
You may have to nip the nut a little with some mole grips if you can't do it by hand (picture 3)
Posted
Settled In
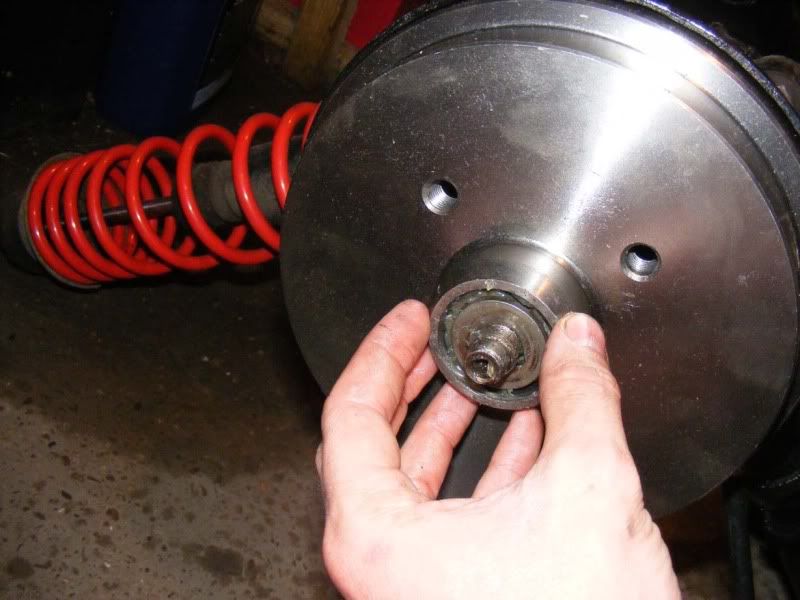
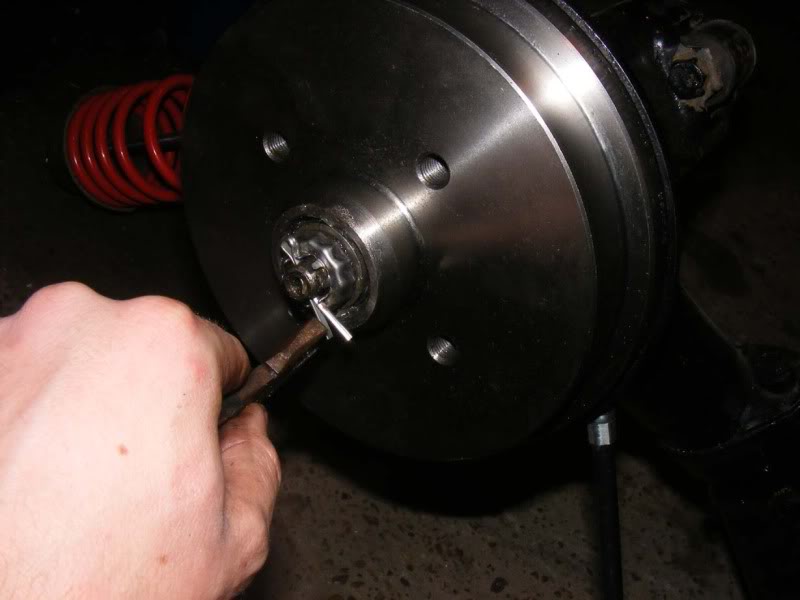
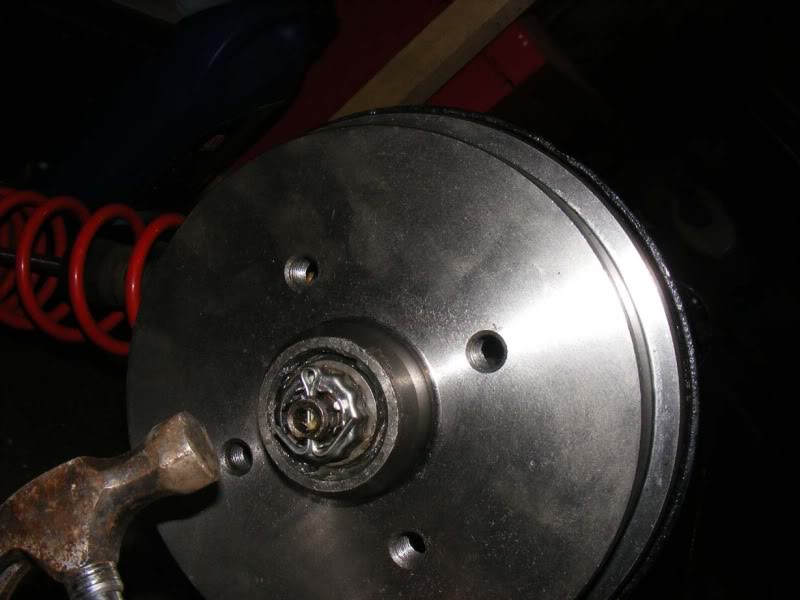
Step 194 - Now slide a new split pin through the shaft (there is a hole cross drilled through it)
Step 195 - Bend the split pin legs out (ensuring it is fully through the hole) with pliers or a hammer
Posted
Settled In
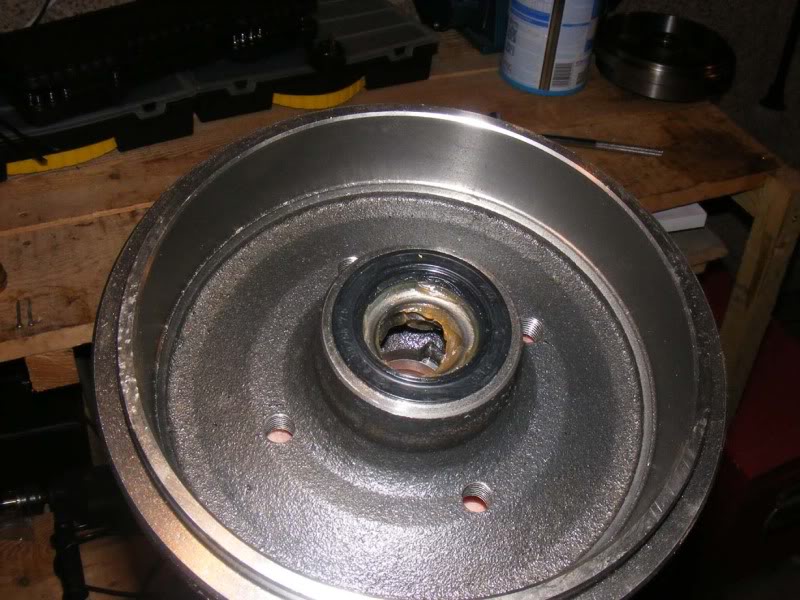
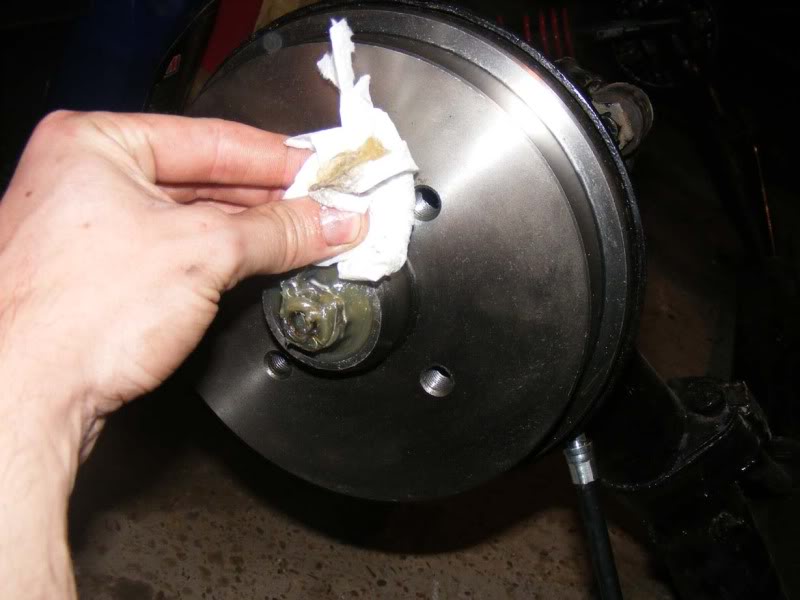
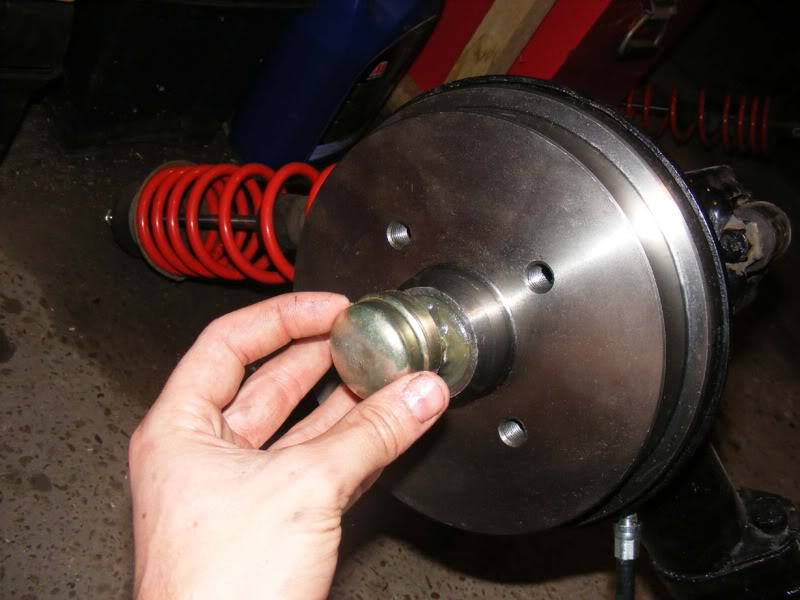
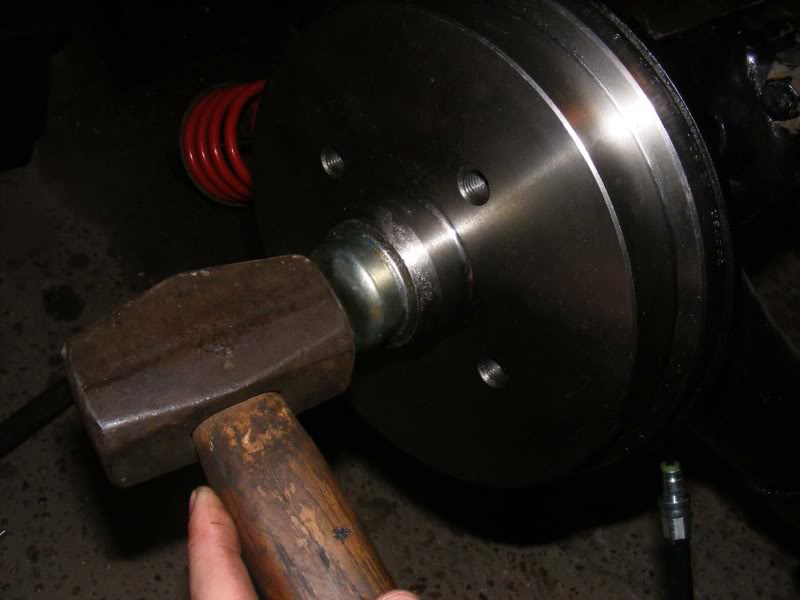
Step 197 - Wipe off any excess grease and fit the dust cap. If it's anything like mine, the dust cap will need to be smacked pretty hard to go in
Posted
Settled In
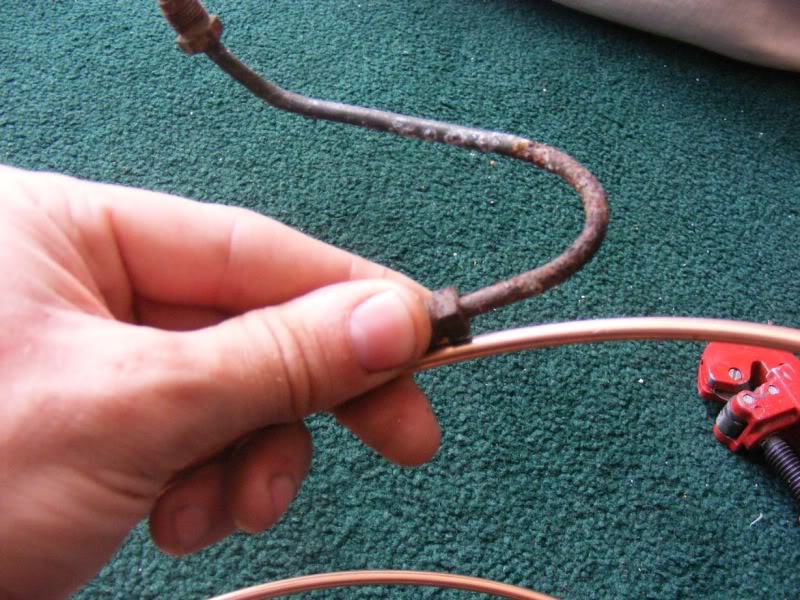
Step 199 - Now for some nice new rubber brake hoses (picture 1), insert them through the subframe hole (picture 2) and place the metal retainer over the face of the hose (picture 3)
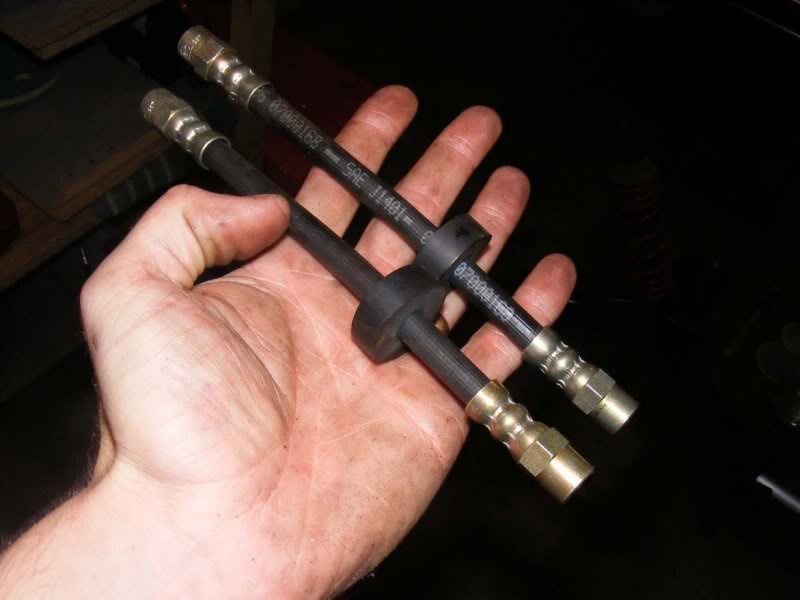
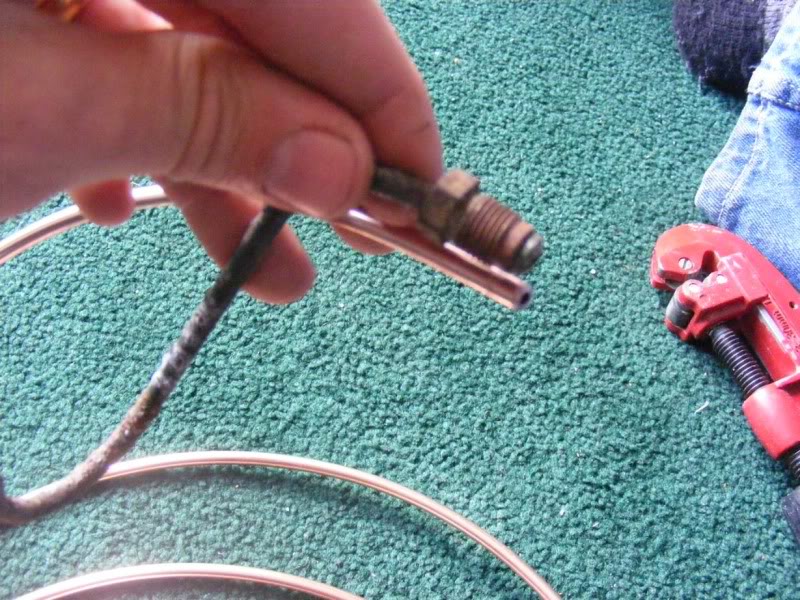
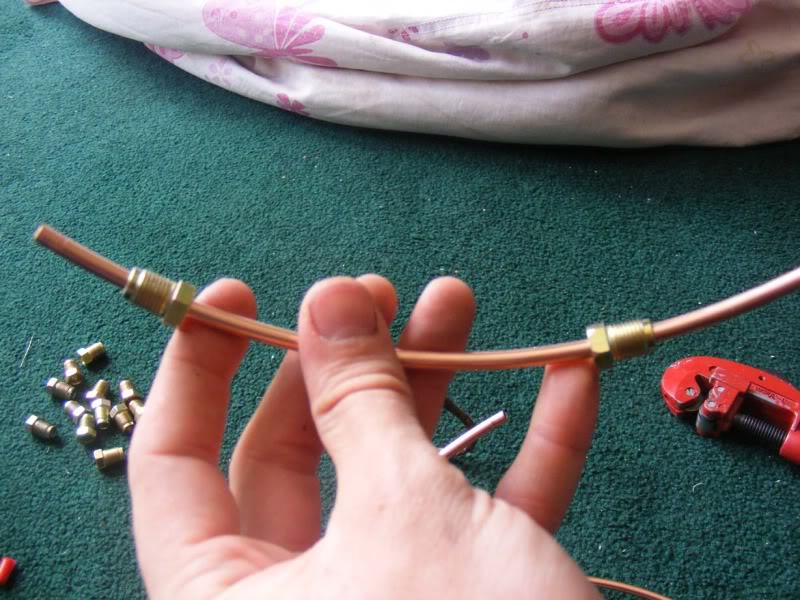
Step 200 - You may well find you have to fabricate some brake lines in which case you will need a few bits of kit. This includes copper tube and terminators (shown in the picture) and a brake pipe flaring kit, you can normally pick these up for about �15 - make sure it comes with a pipe cutter or you'll need a hacksaw and files to make the cuts
Posted
Settled In
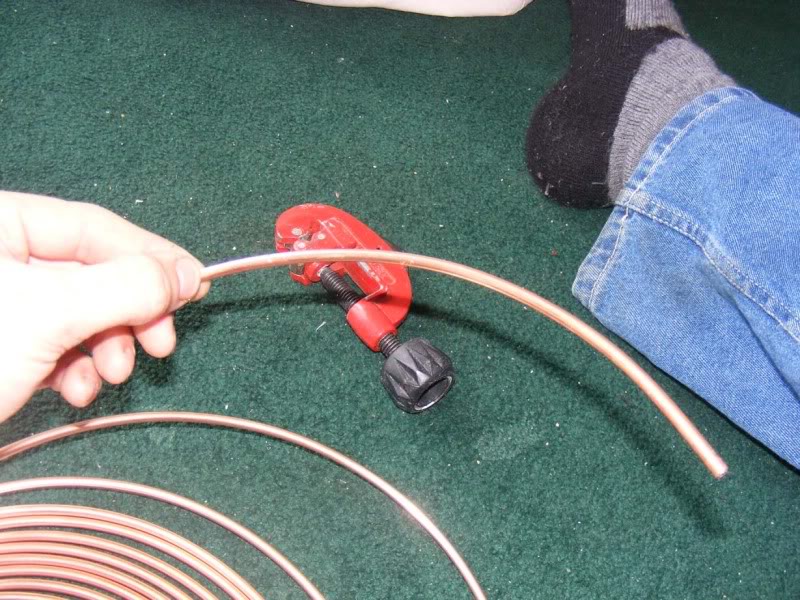
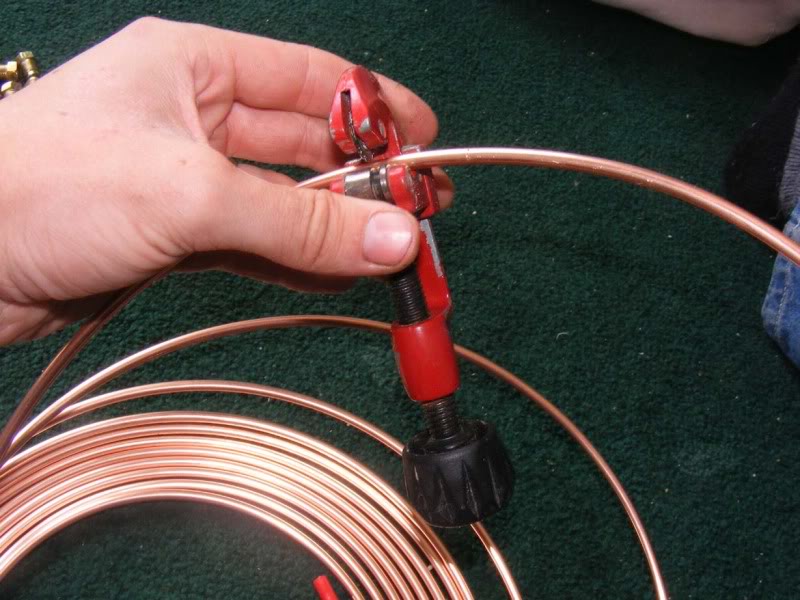
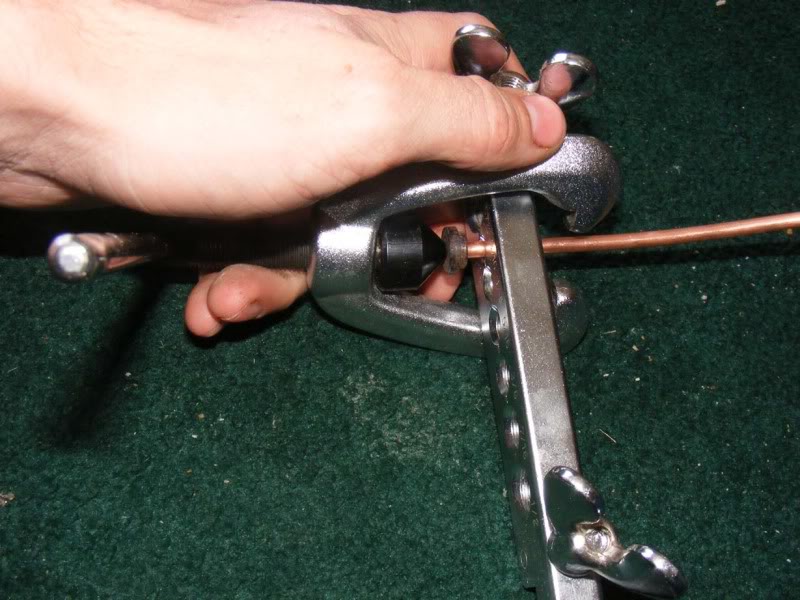
Step 202 - Once you have a size for the pipe, use a cutter (or hacksaw if you can't get one) to trim the pipe to size. The type I used have a wheel (the plastic bit at the bottom) that you turn to clamp the pipe against a cutting disc, the more you twist the wheel, the further it cuts.Basically start so it is just biting the pipe and score a line by spinning the cutter round, then tighten by about 1/8th of a turn and repeat spinning the cutter forwards and backwards until eventually you clamp right through the pipe
Posted
Settled In
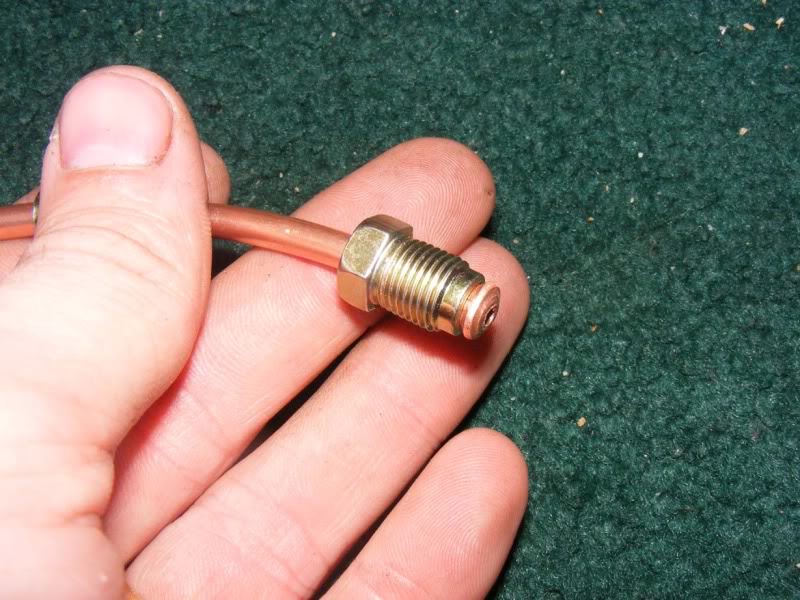
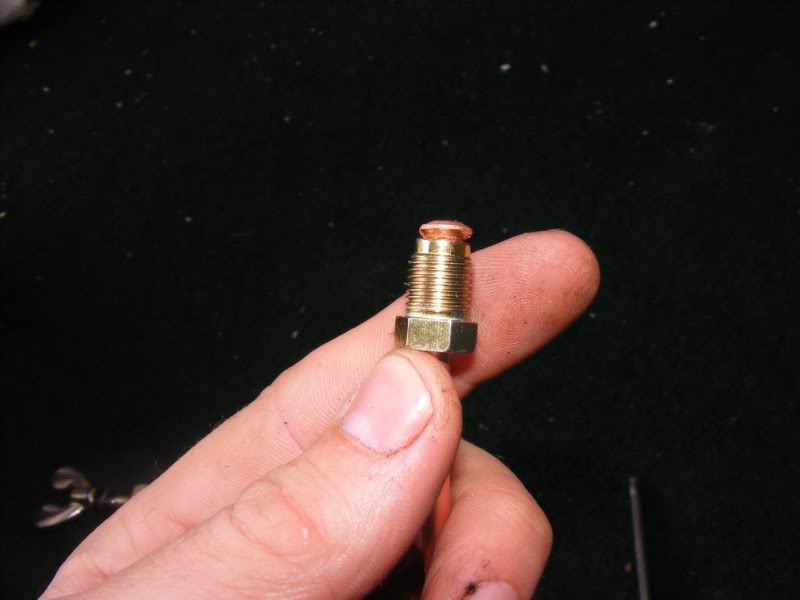
Step 204 - Slide the copper into the clamp of your flaring kit (it will be obvious which hole to use based on the size of pipe you buy, 5/8 in my case) and tighten the wing nuts to lock the pipe in place. The second picture shows how much I leave protruding normally

Step 205 - Now insert the appropriate sized flaring attachment as shown, this should slide in quite well if your cut is clean
Posted
Settled In
Step 207 - Slacken off the clamp and twist the flaring insert out (it will be harder to remove)
Posted
Settled In
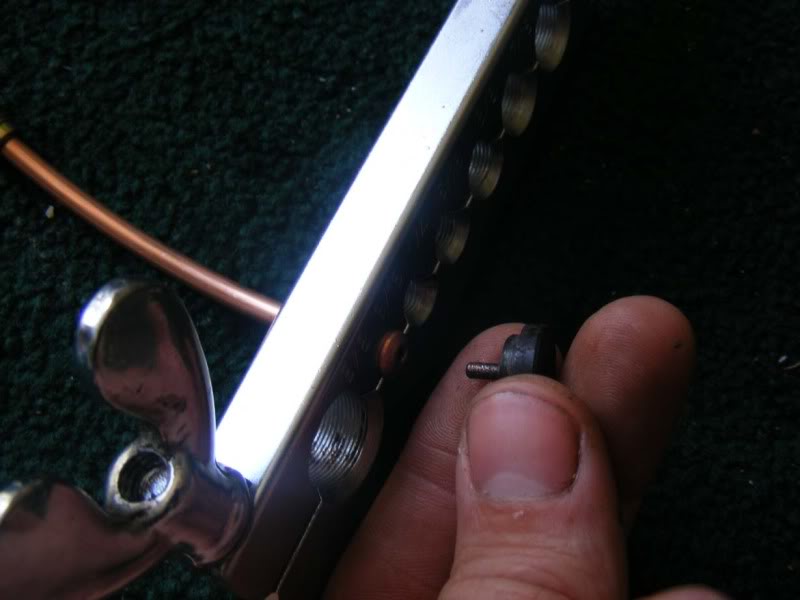
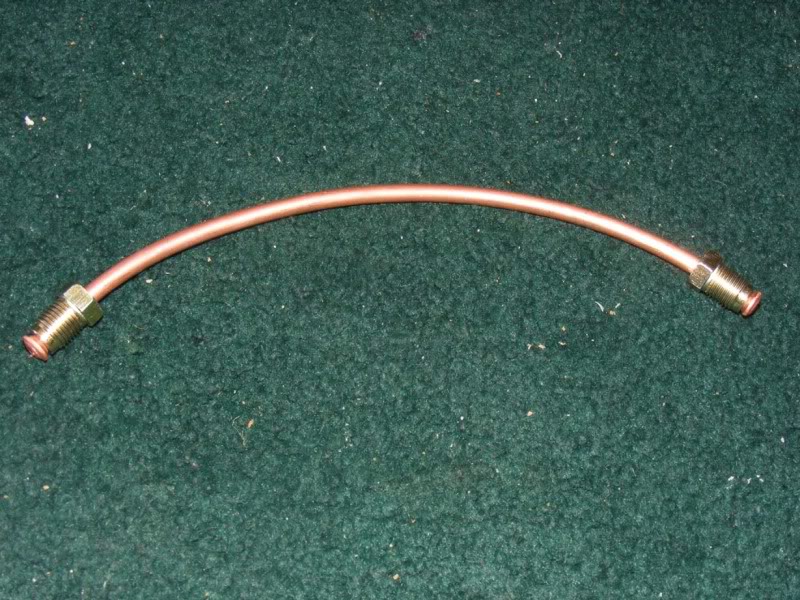
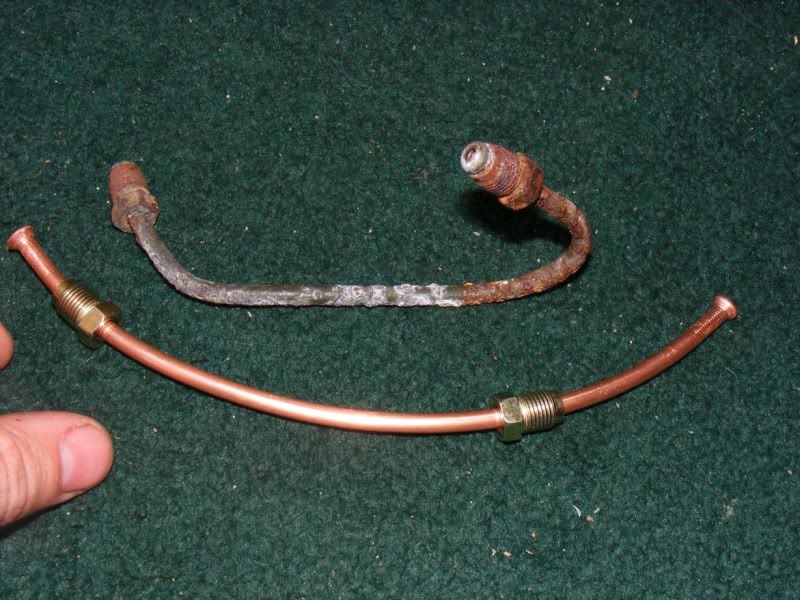
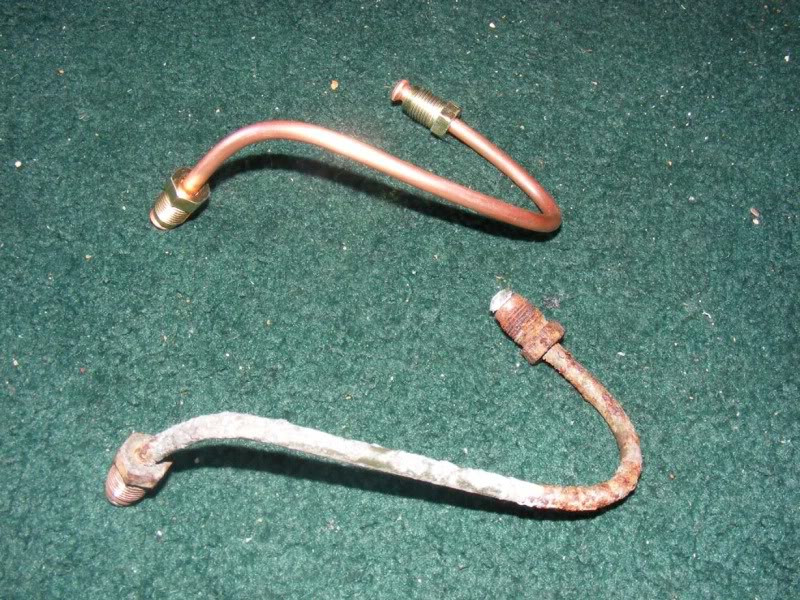
Step 209 - Note you need to slide on the terminations before you flare both ends!! Make sure you get them the right way round too (if not, you'll only make that mistake once as you cut up your new pipe!)
Posted
Settled In
Posted
Settled In

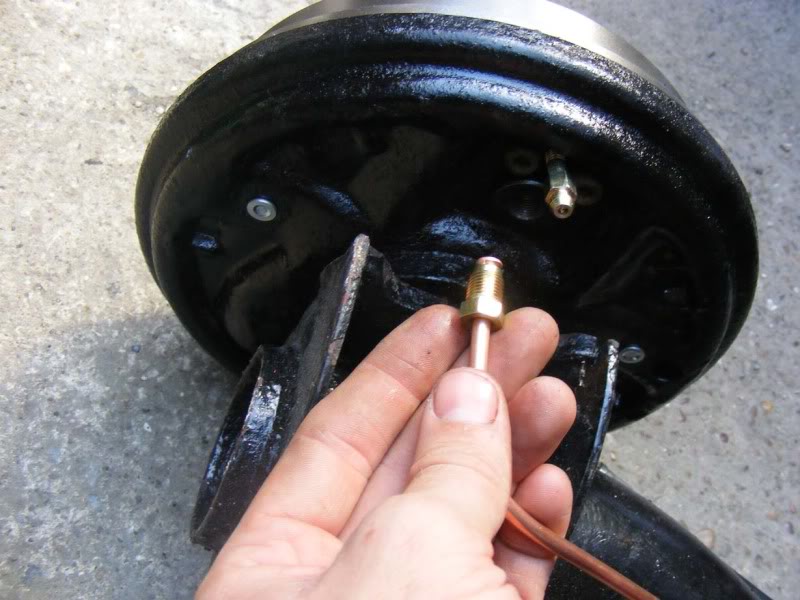
Step 212 - Back to our subframe, remove the dust seal for the fitting on the hub for the brake line

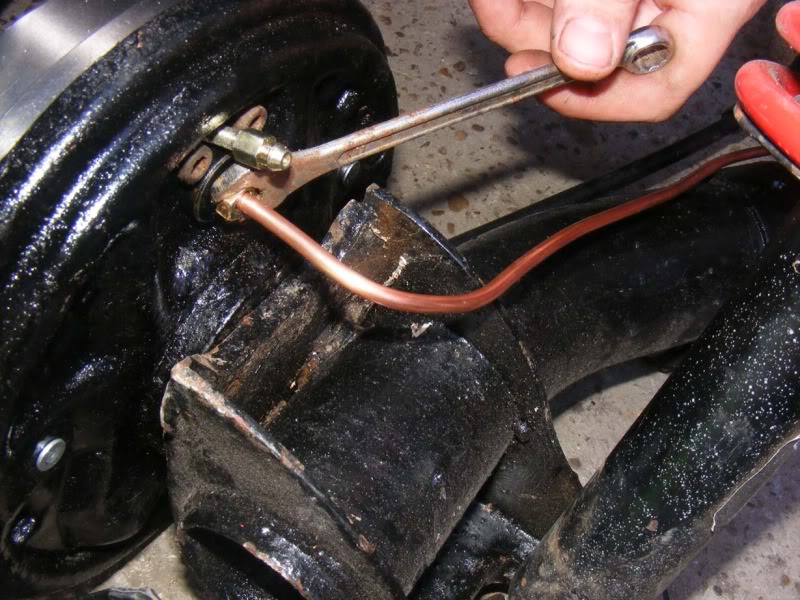
Step 213 - Insert your nice shiney new brake line and tighten with an 11mm spanner
Posted
Settled In
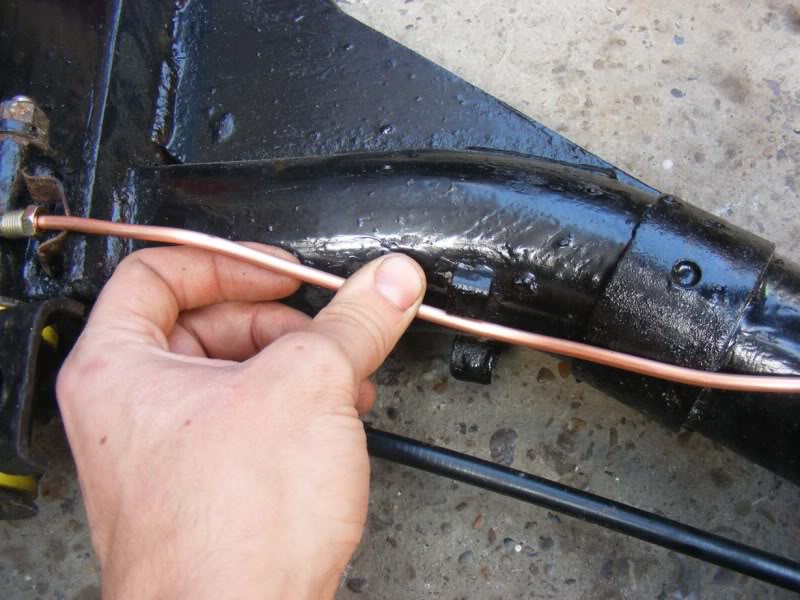
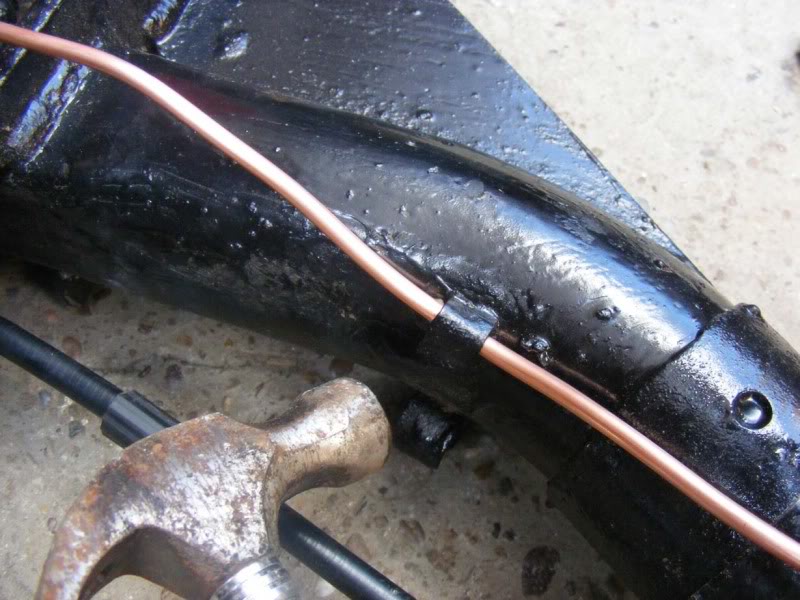
Step 215 - Refit the spacers used to hold the flexi hose on properly
Step 216 - Tighten using a 13mm and 11mm spanner (I should have painted them!)
0 guests and 0 members have just viewed this: None.