


GUIDE : Rebuilding the rear end

Posted
Settled In

GUIDE : Rebuilding the rear end
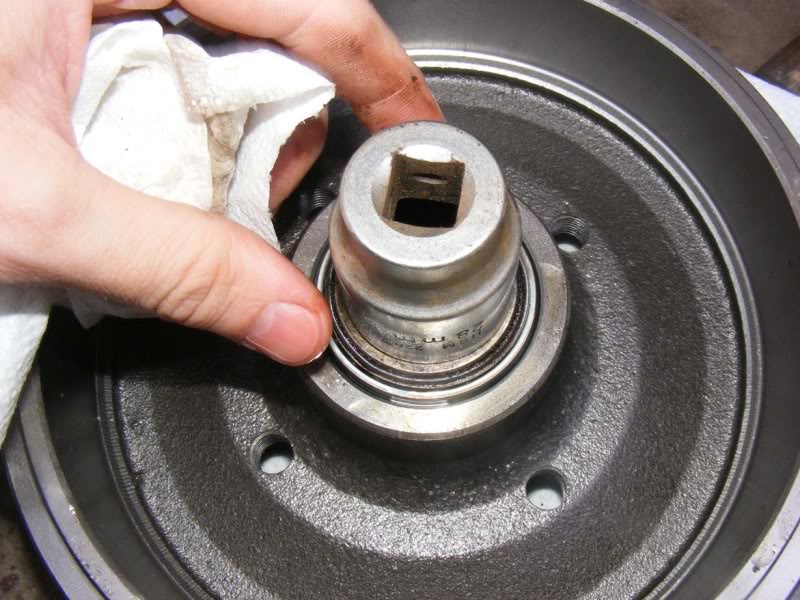
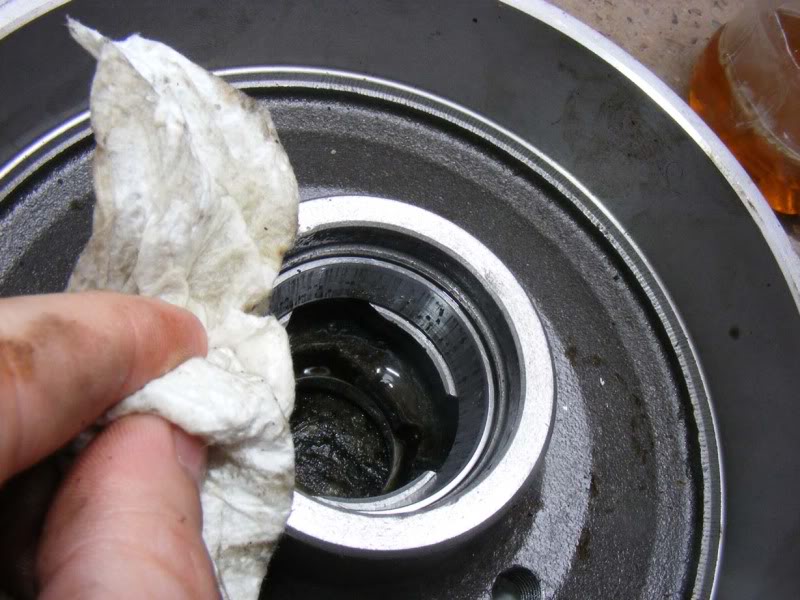
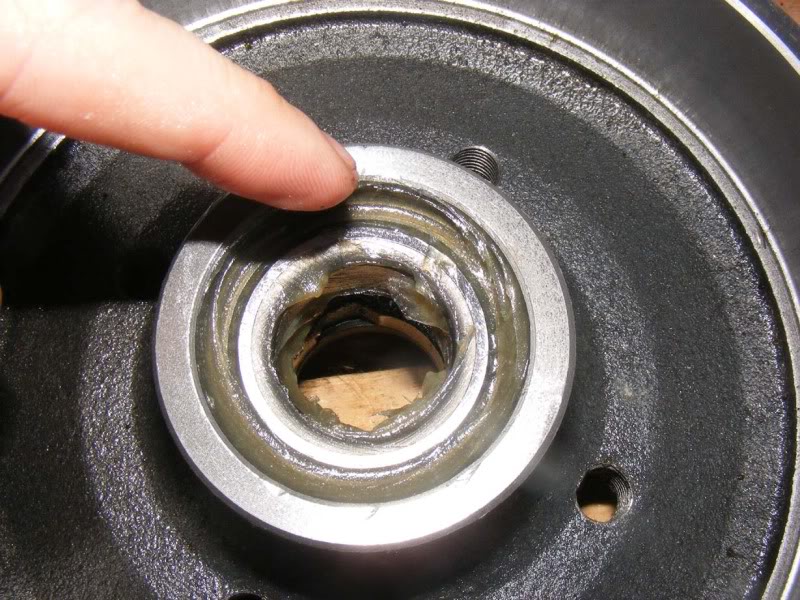
Step 116 - Using the socket you sized up earlier, seat the race and wipe of any oil residue. Note this is the tricky one, take your time and if it's not going well then take a break and try again the next day. If you feel you are going to damage the race or hub then go to a garage who have presses to do this kind of job. Saying that, with a little patience and hammer work an amateur should be able to achieve this no problem
Posted
Settled In
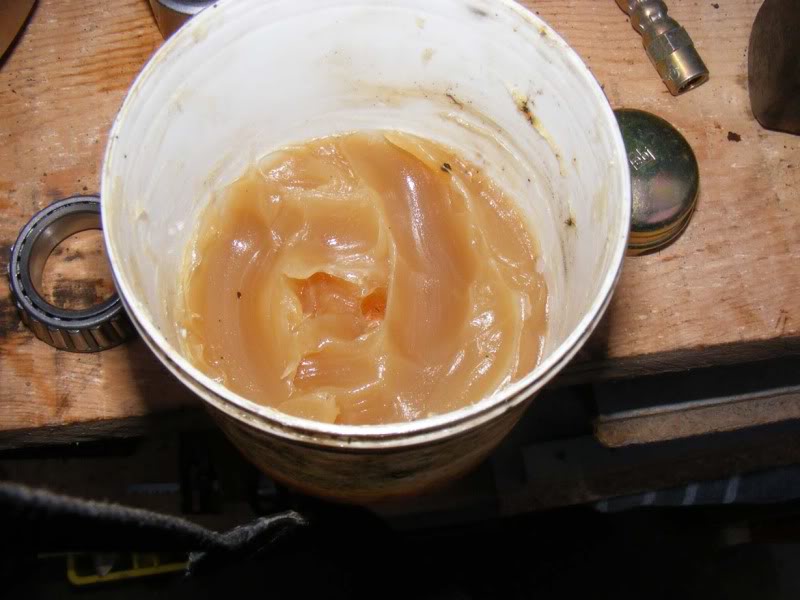
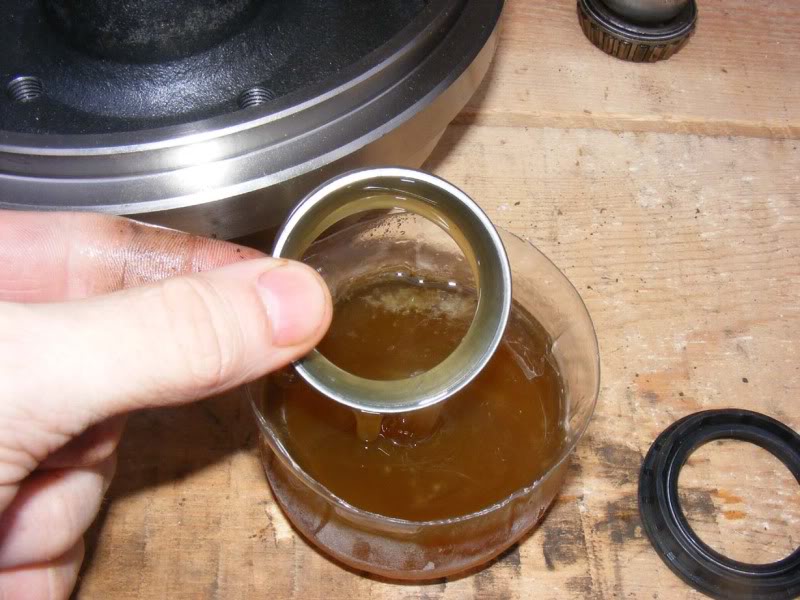
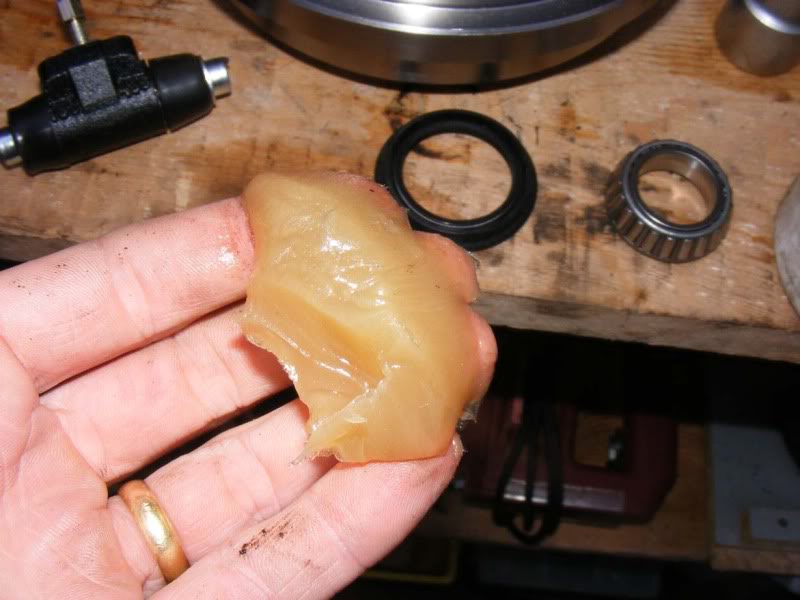
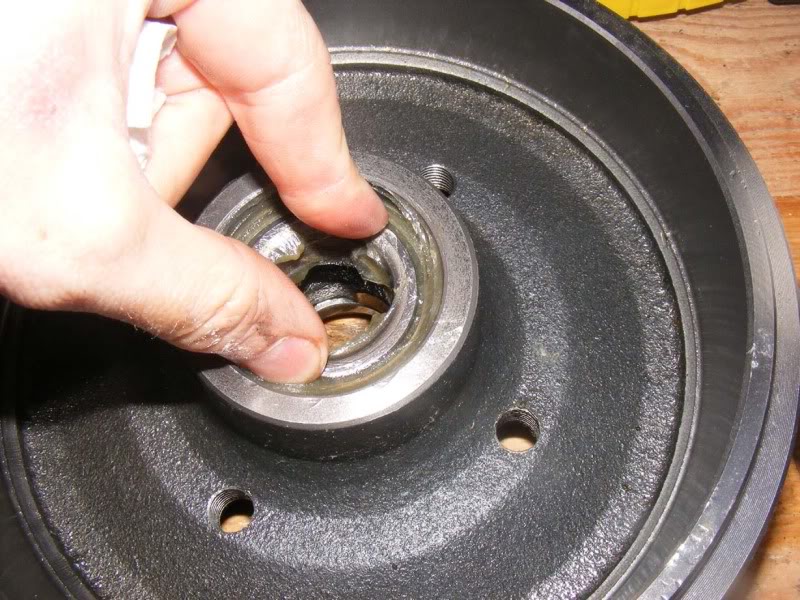
Step 118 - Grab a load of grease in your hand and make sure you don't get grit or dirt in it.
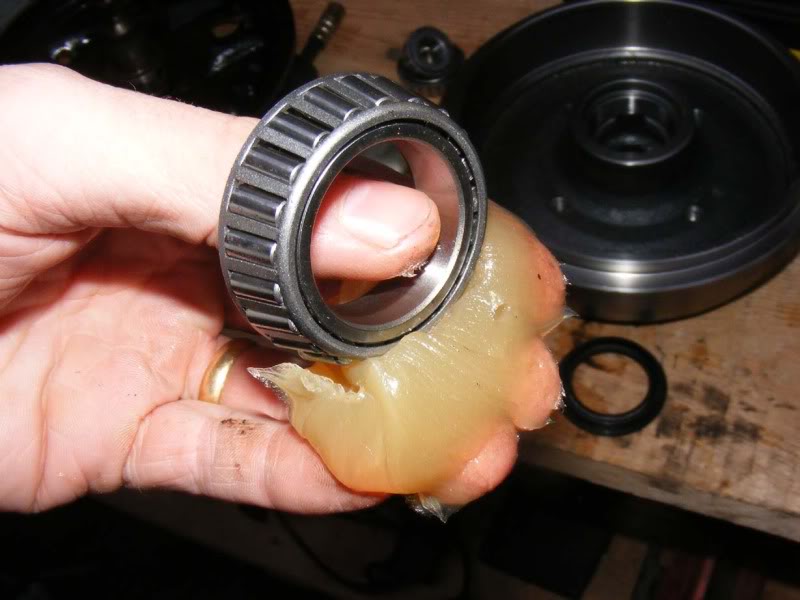
Press the outer face of the bearing into the grease repeatedly and rotate it all the way round including spinning the inner and outer parts so the needles roll.You want to get to the point where the grease is squirting out the inner part of the cage so you know grease is all round the rollers. Once you've done this, pack in from the back as well around the circumference and keep rolling the bearings to spread the grease round, it's a messy job but one you must do right or your bearing's life will be significantly reduced.
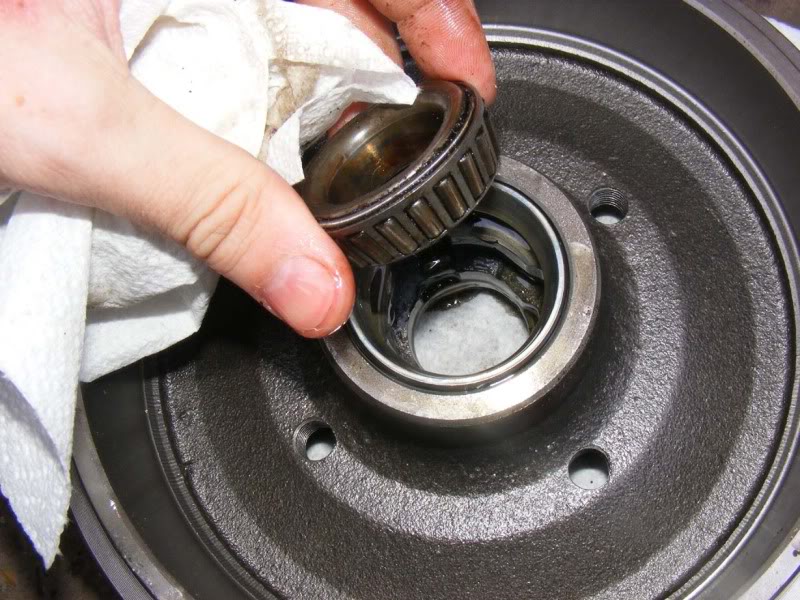
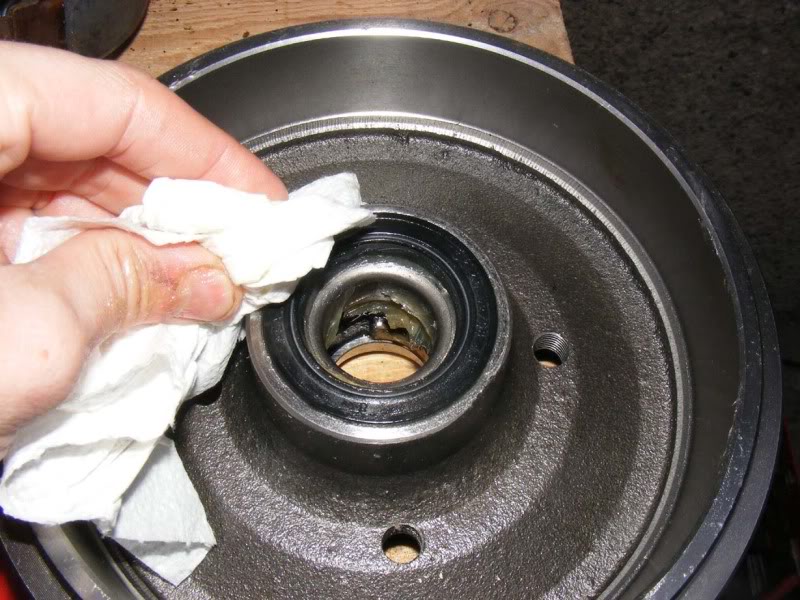
Step 119 - Rub some grease around the race in the hub too

Posted
Settled In
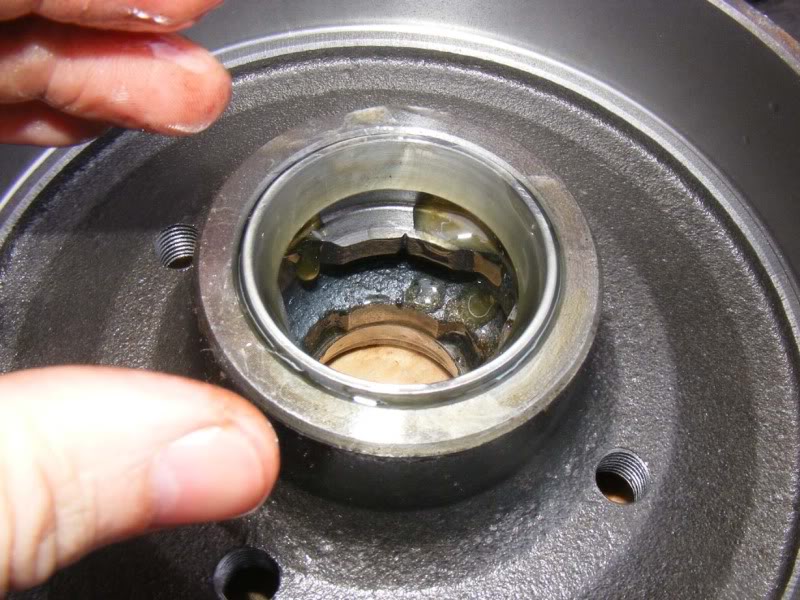
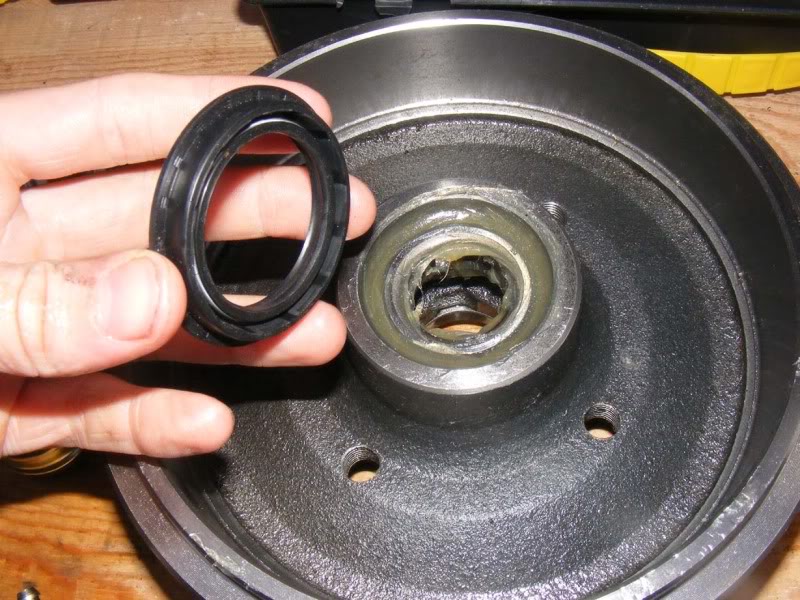
Step 121 - Now grab a new oil seal and press it into the drum
Posted
Settled In
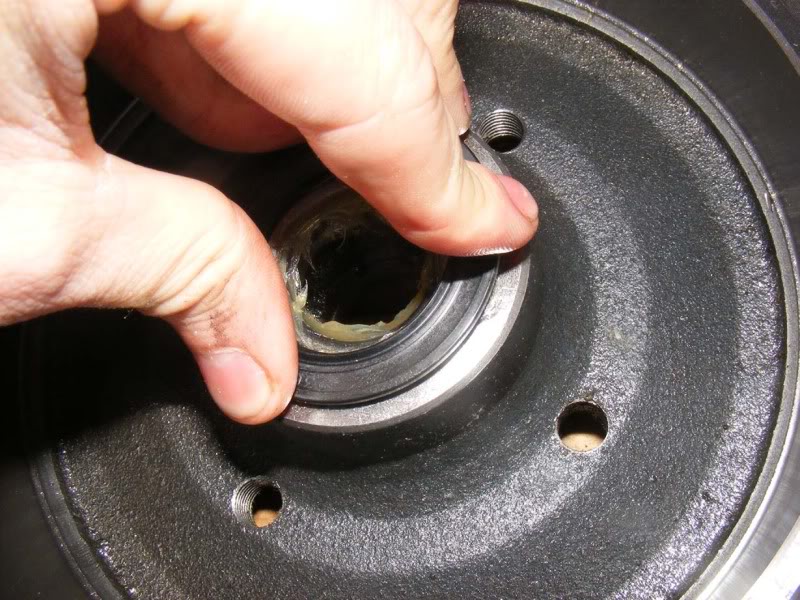
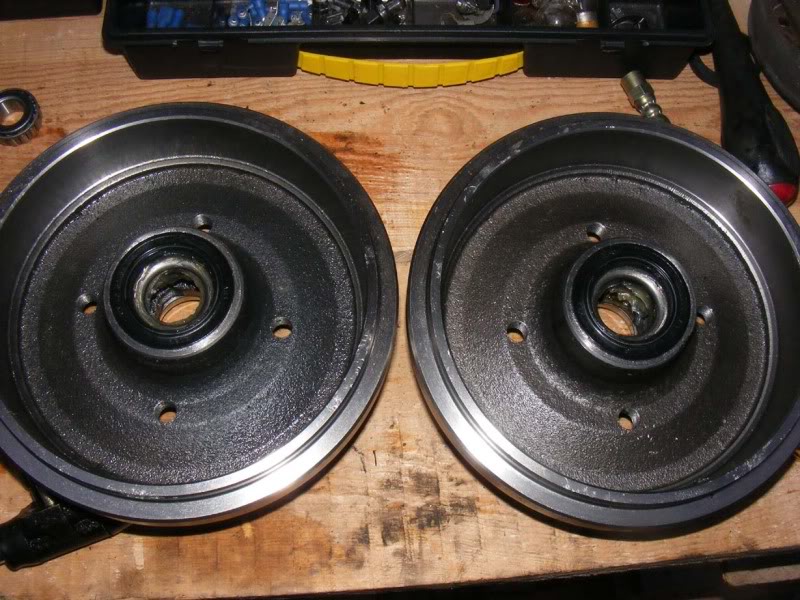
Step 123 - Repeat for the other hub
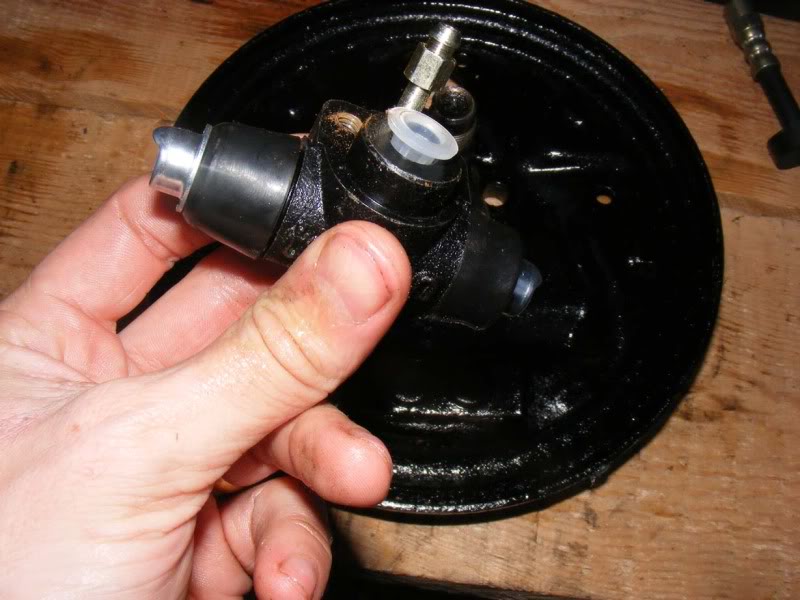
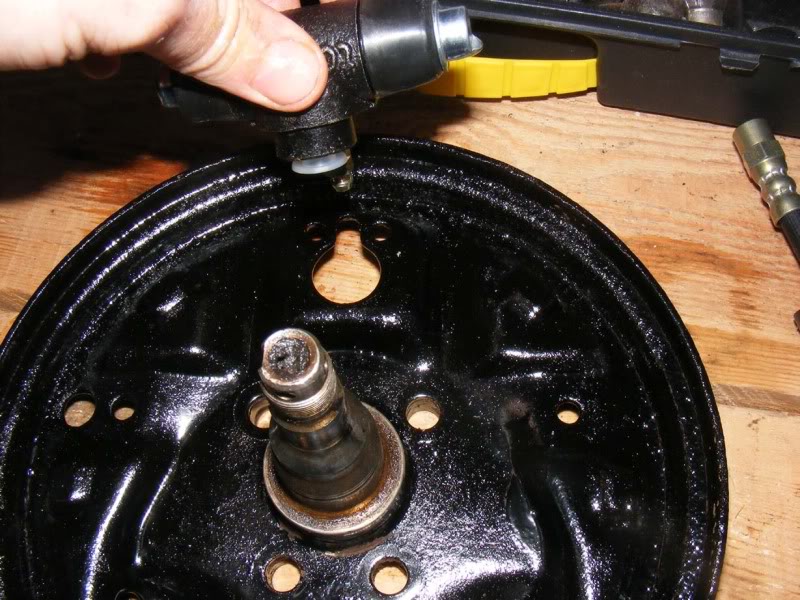
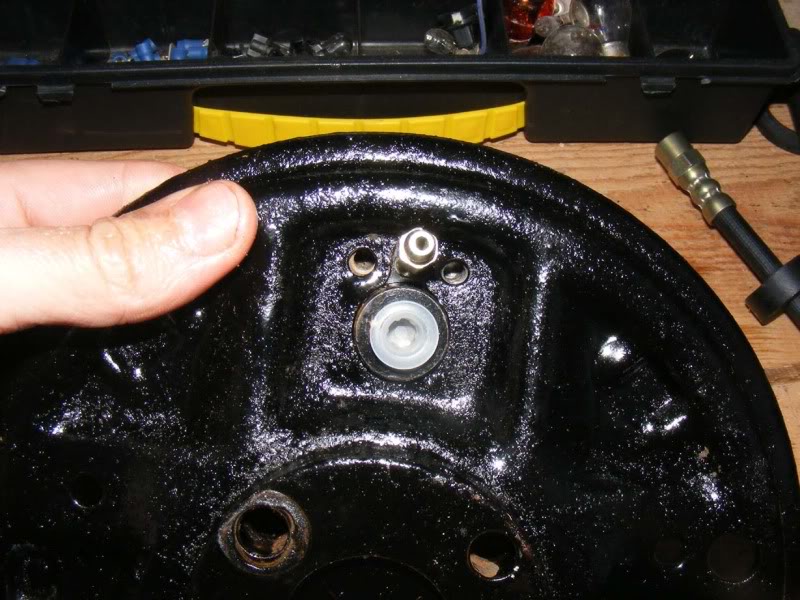
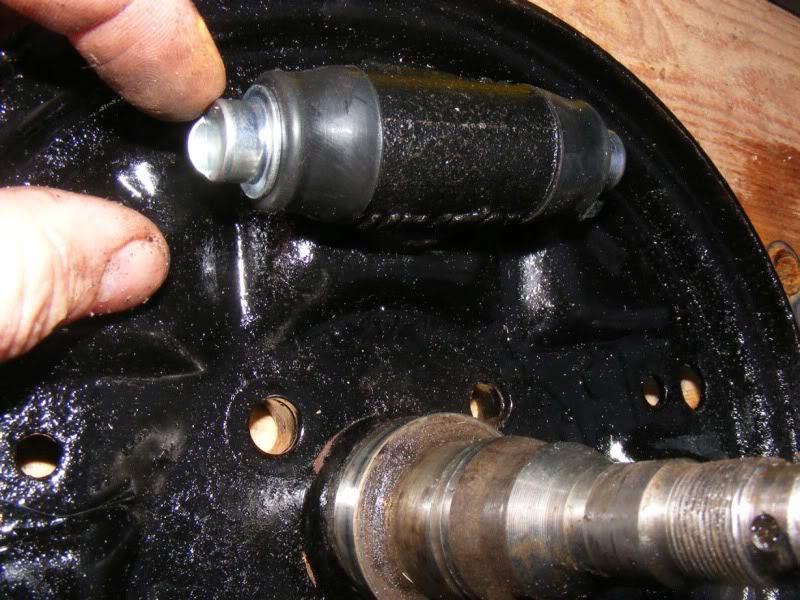
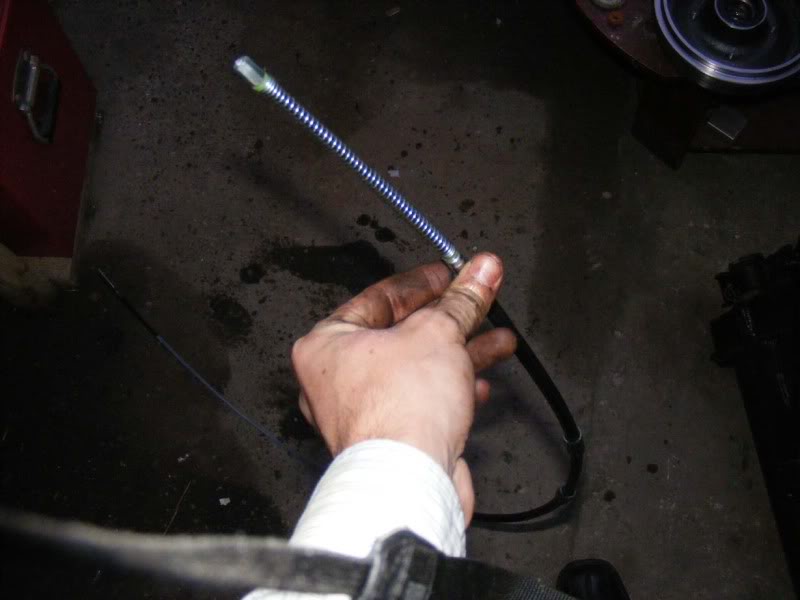
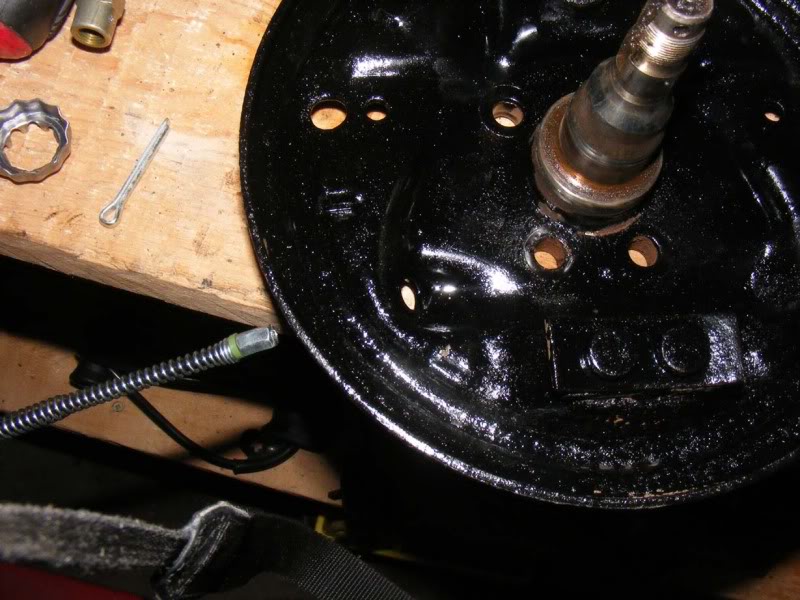
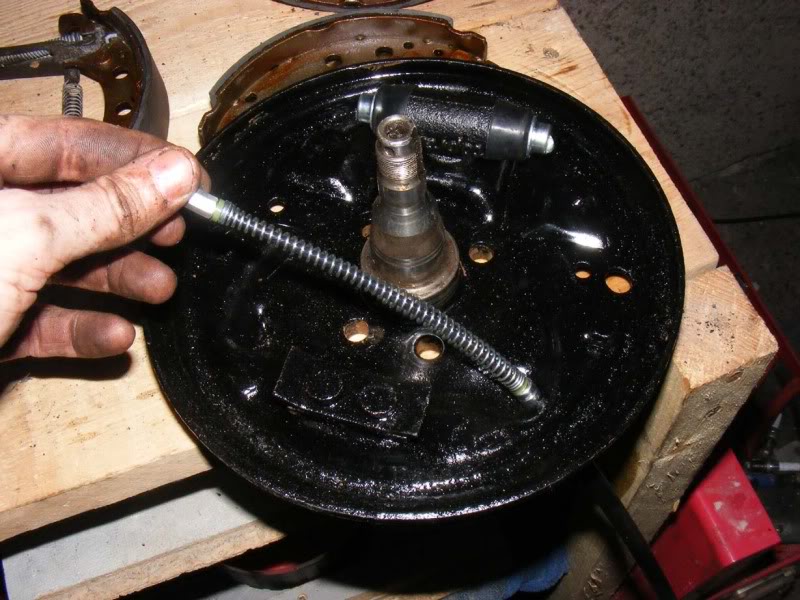
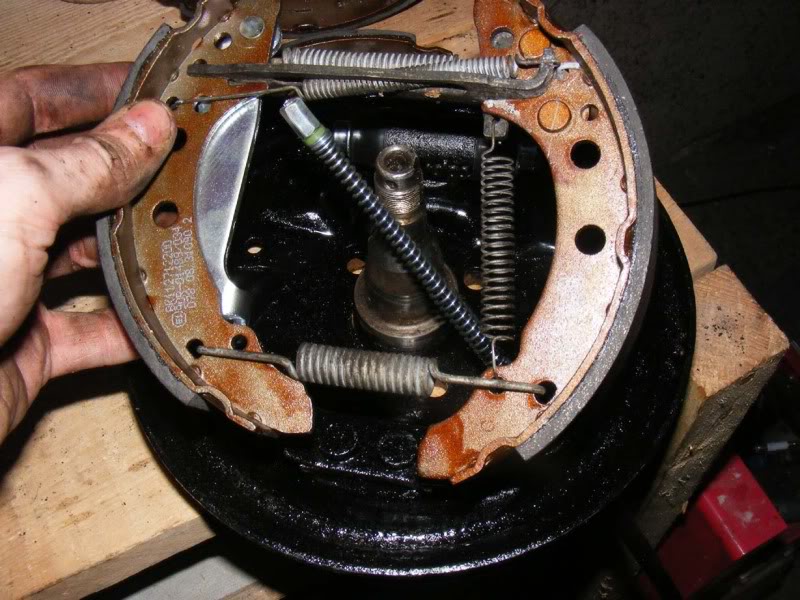
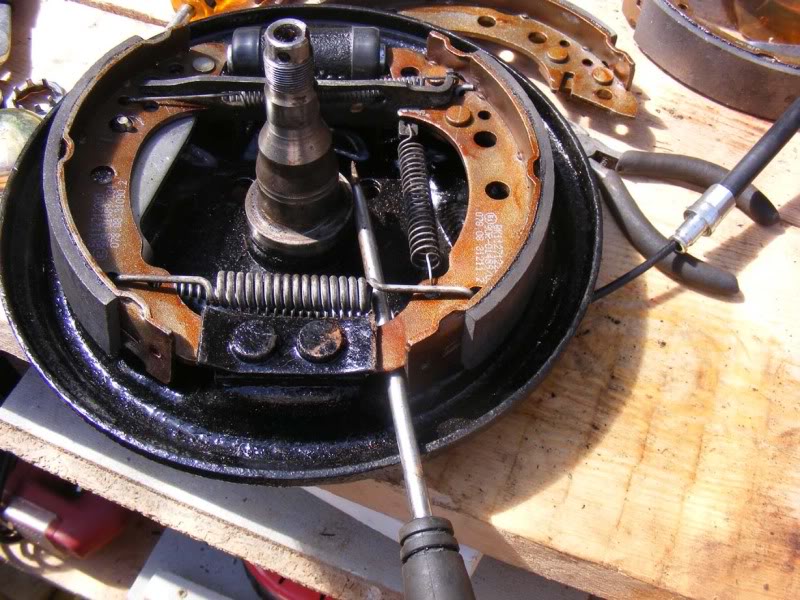
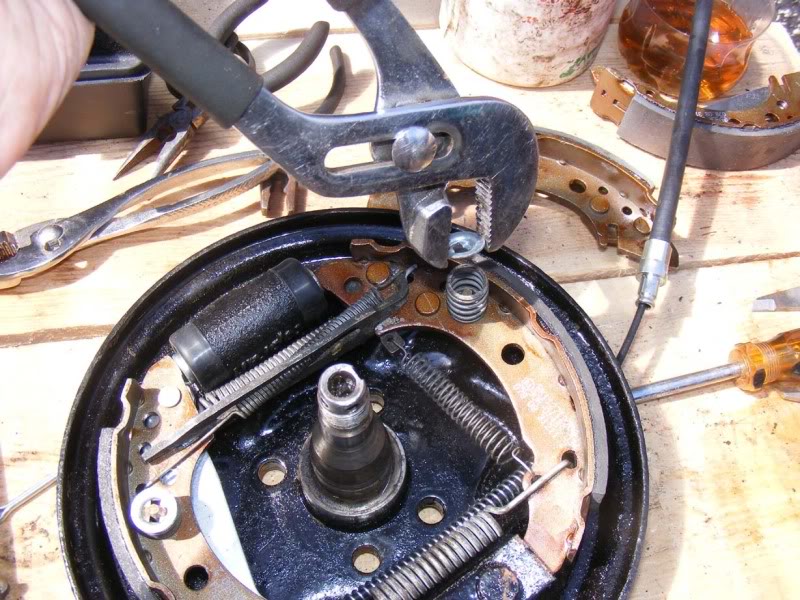
Step 124 - Now onto the hydraulic actuator which pushes the brake pads out onto the drum. Leave the dust protector in place and insert into the key in the backplate as shown
Posted
Settled In
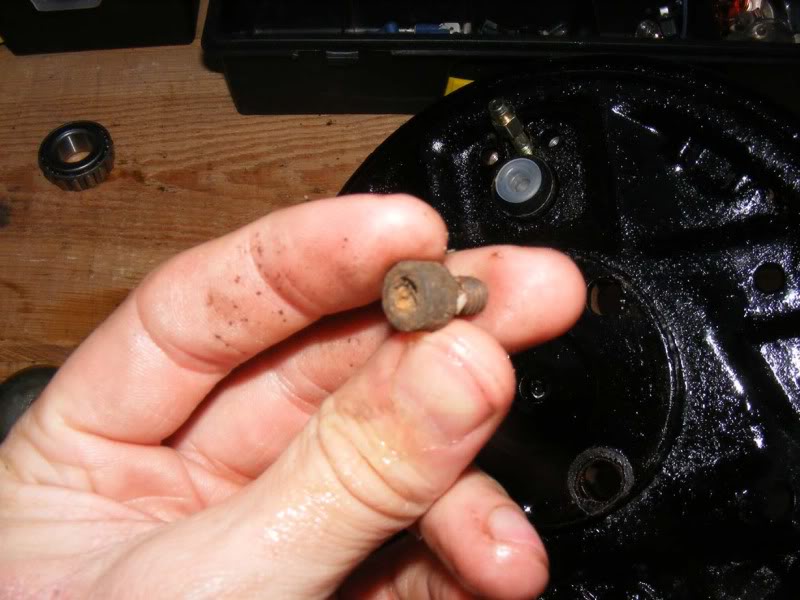
Step 126 - Spin the little lip round so it is at the back (if you have one)
Posted
Settled In
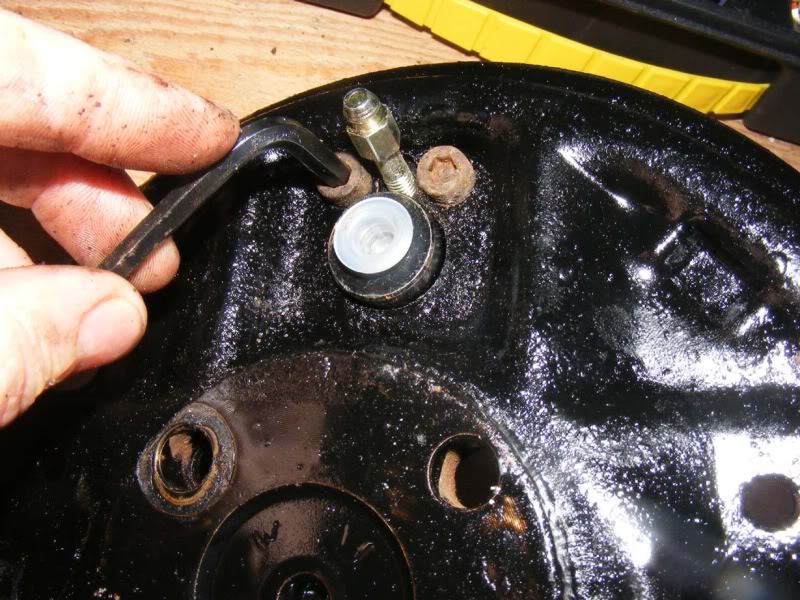
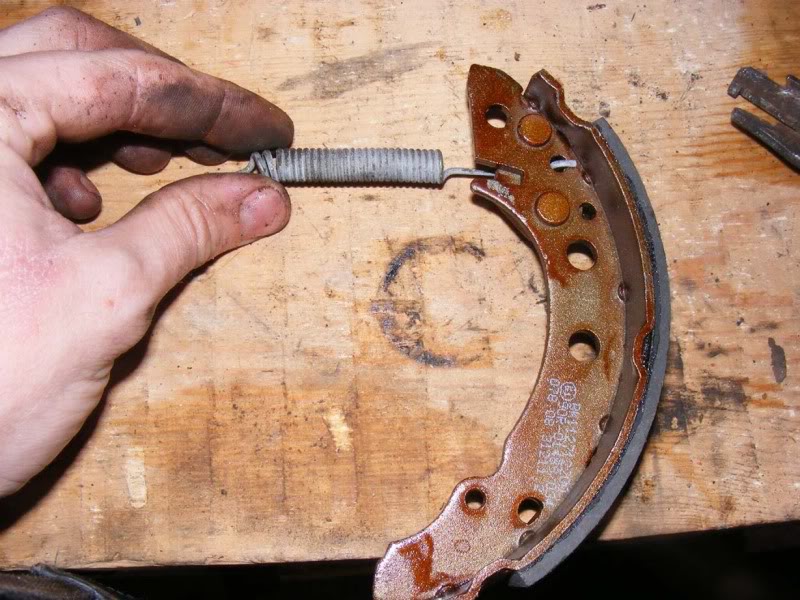
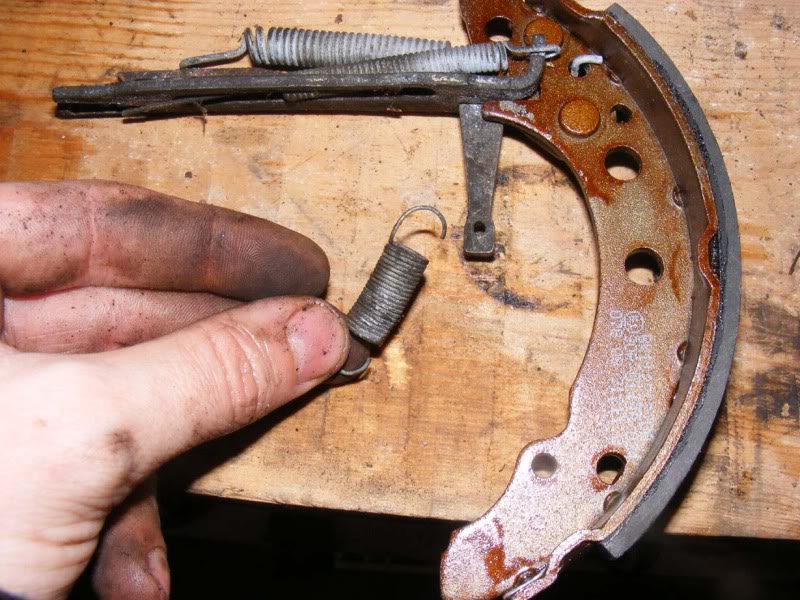
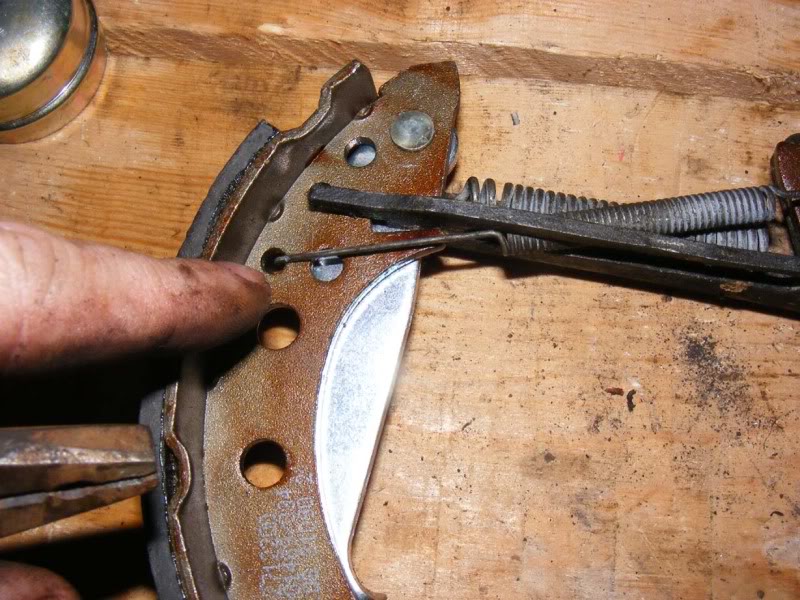
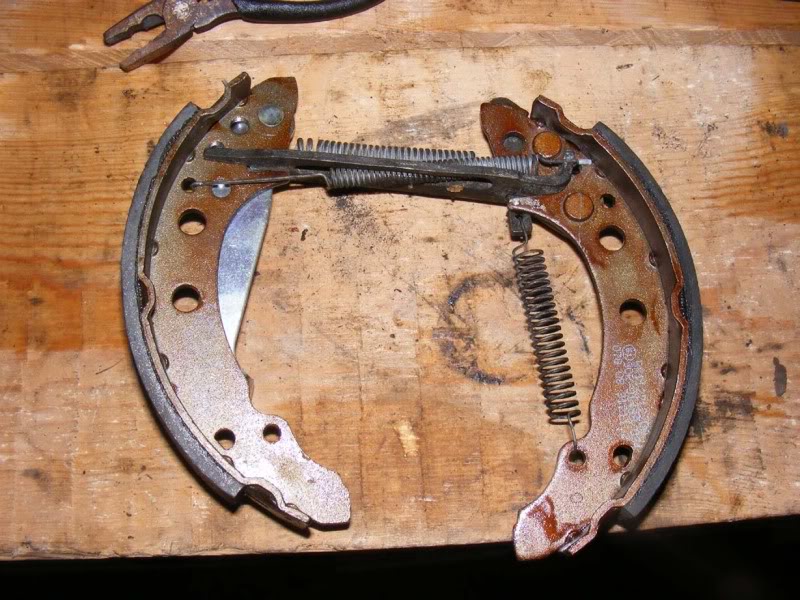
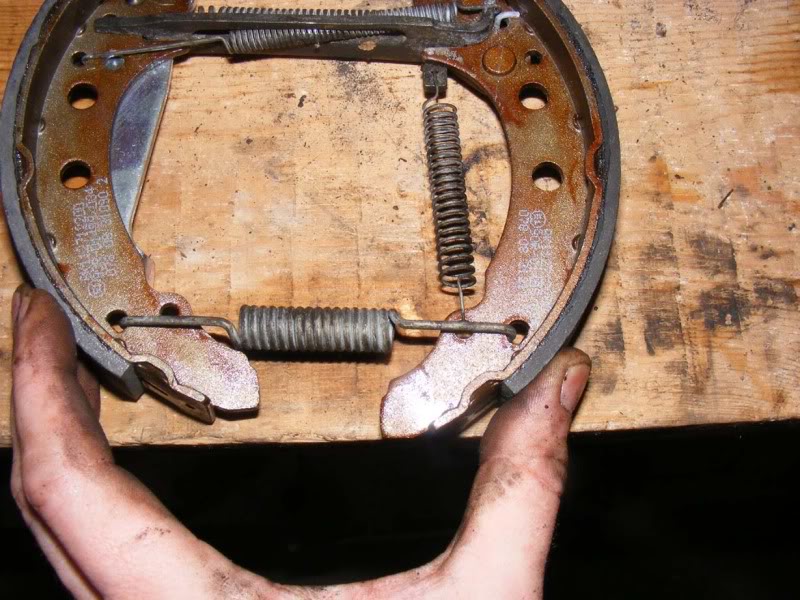
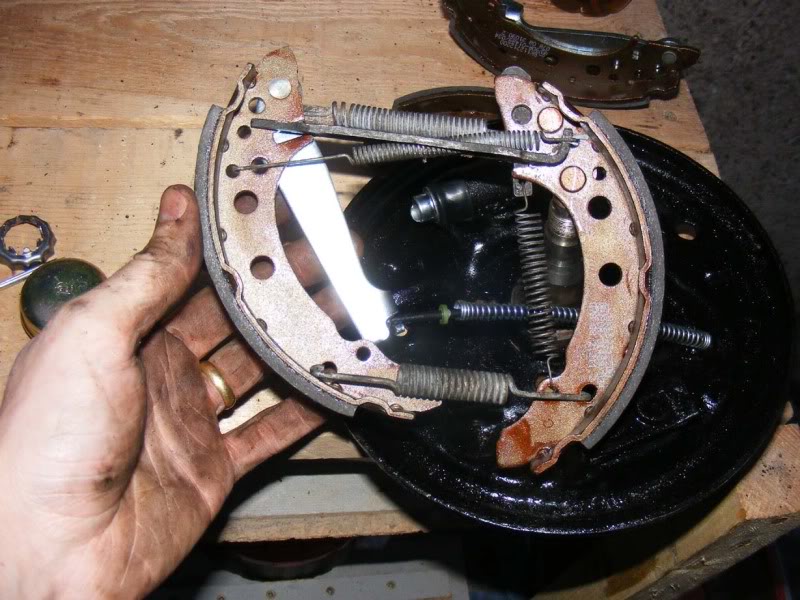
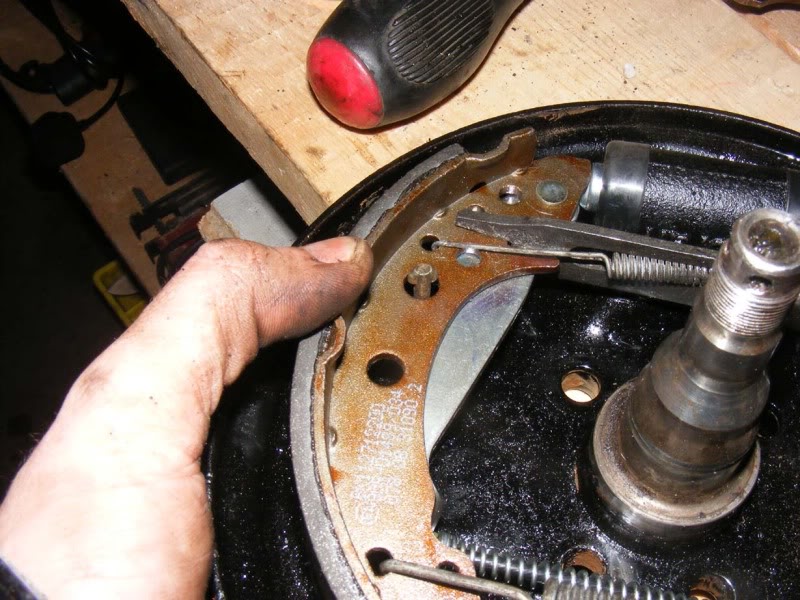
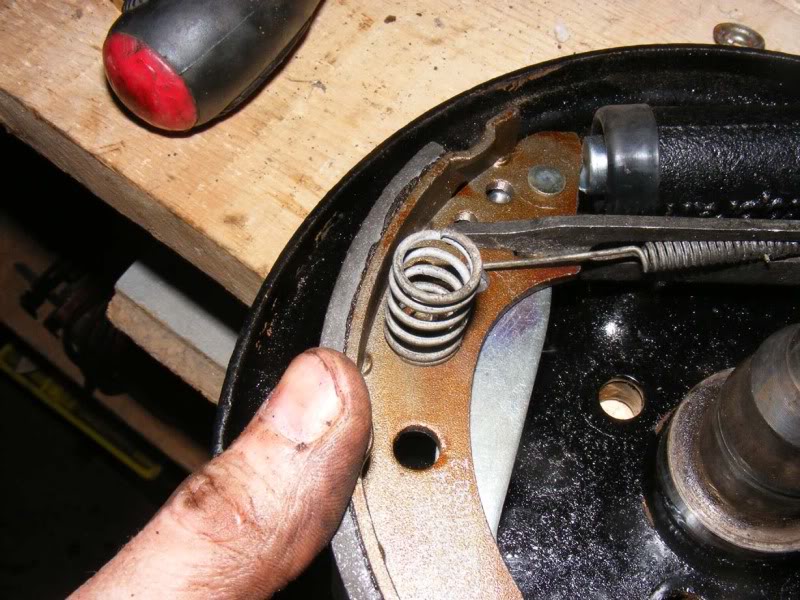
Step 128 - Insert the first spring through the hole shown next to the additional metal plate near the top of the shoe. Ensure it hooks through completely as shown in the second picture from the underside

Step 129 - Now drop the little wedge in place as shown

Posted
Settled In
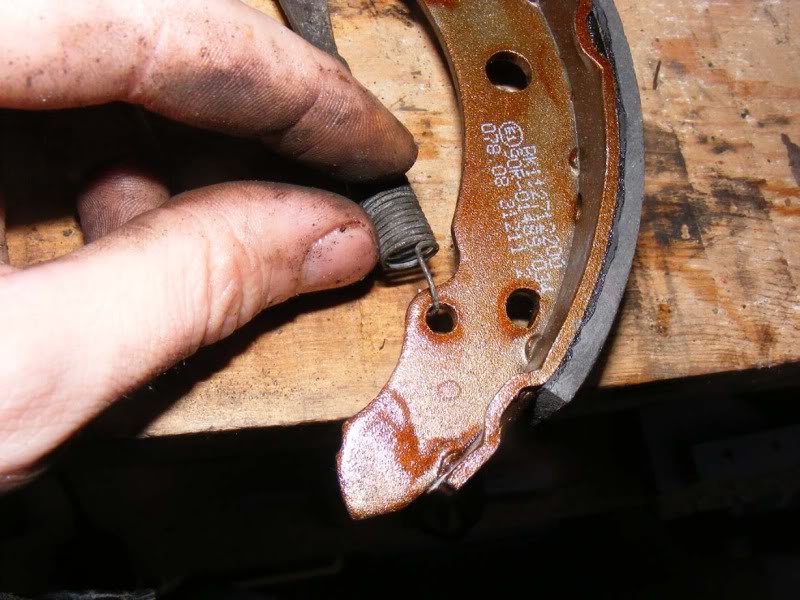
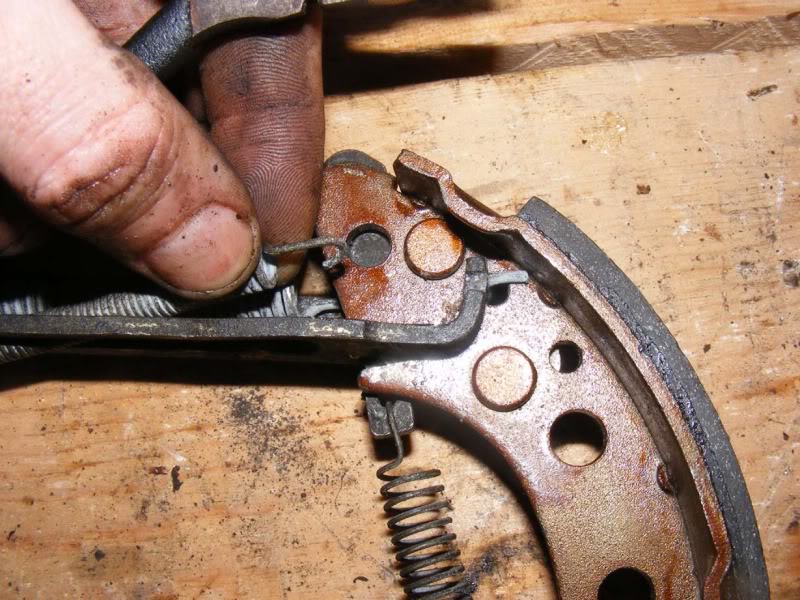
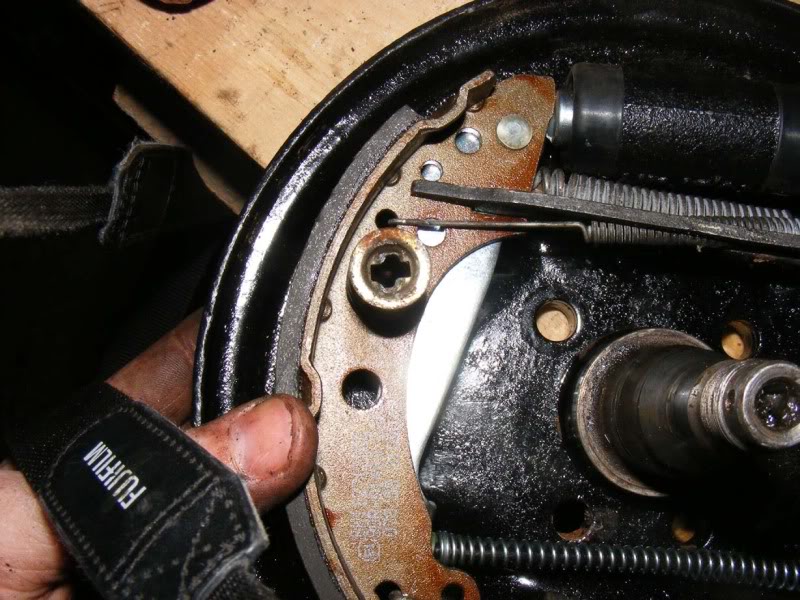
Step 131 - Fit the short weaker spring between your 'wedge' and the inner most hole at the bottom
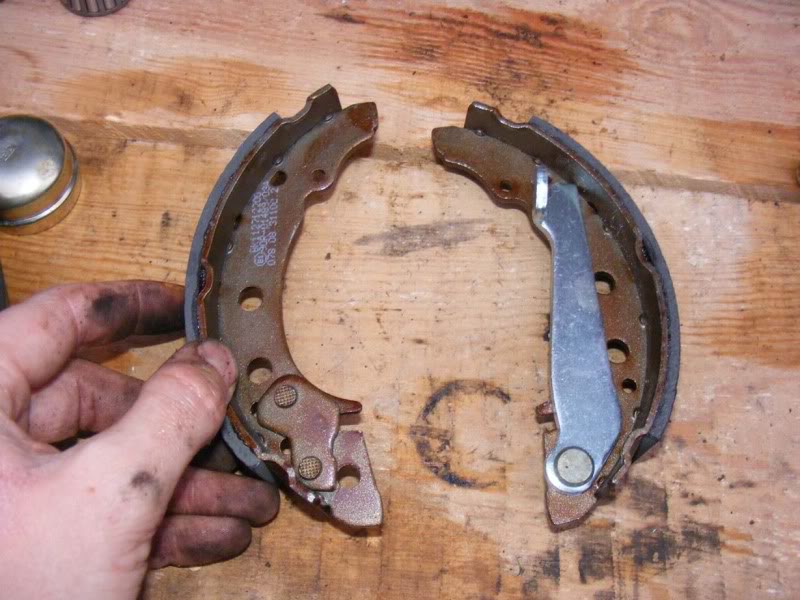
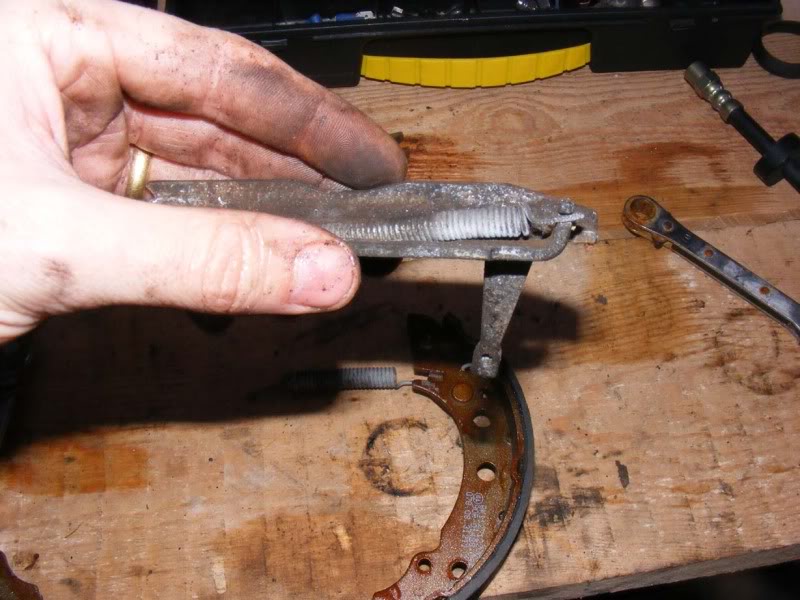
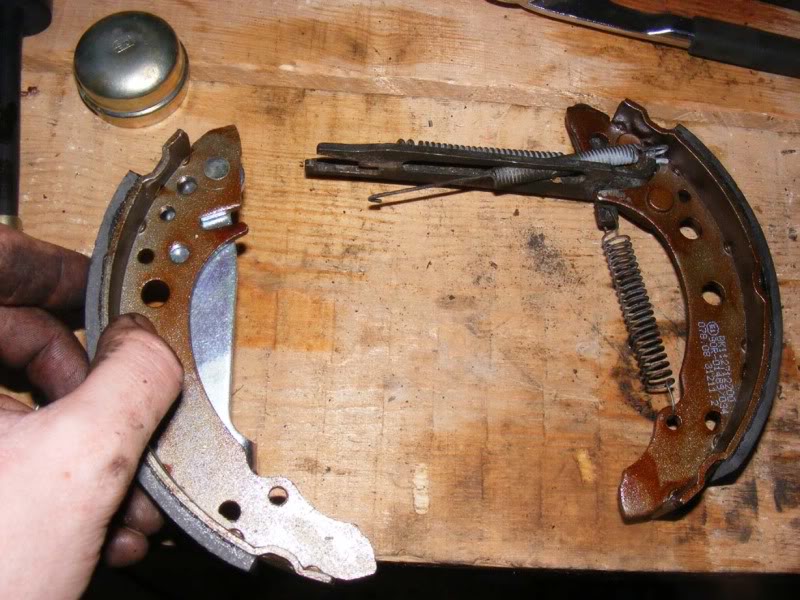
Step 132 - Now grab your second shoe which has the handbrake pivot arm attached (the silver bit which is at the back) and slide it into the metal arm at the top
Posted
Settled In
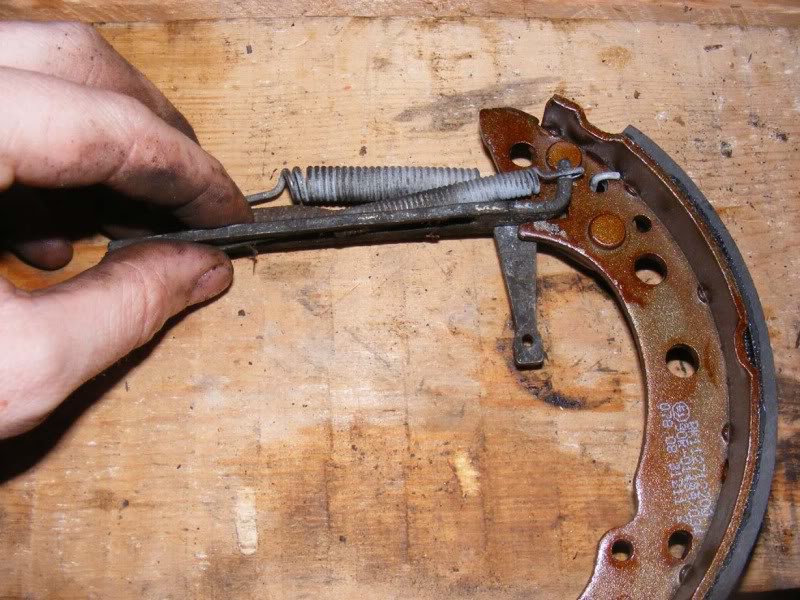
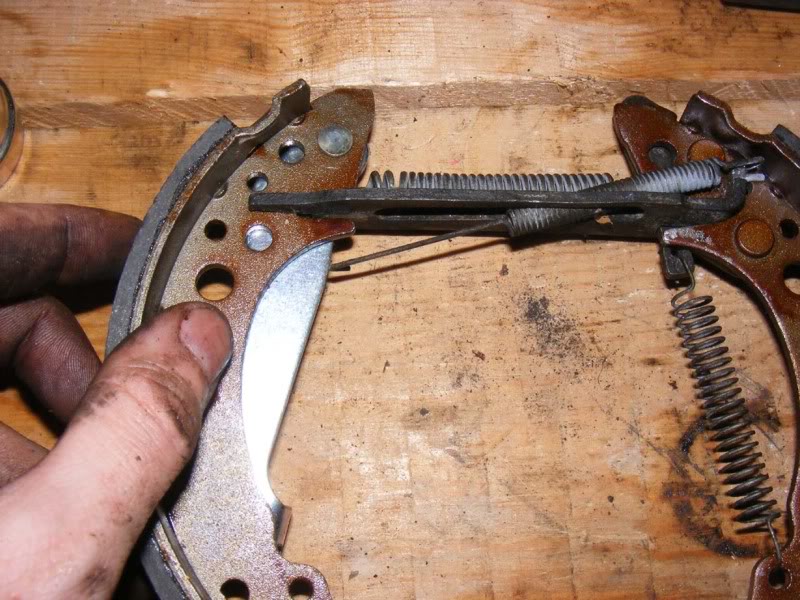
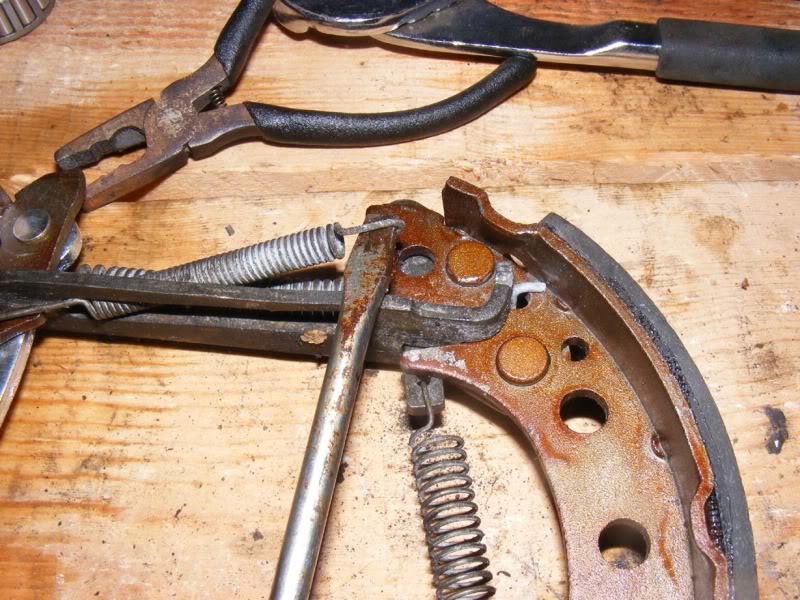
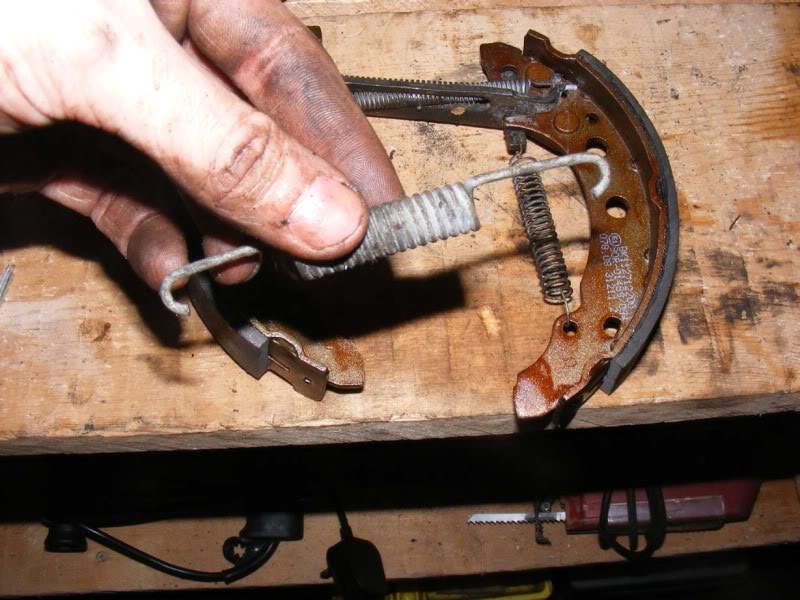
Step 134 - Route this through the gap in the bar and it needs to hook over the little cut out shown. This looks very simple in the pictures and once you have done a few it's OK but have patience because it can be tricky if you haven't done it before. Alternatively use pliers/mole grips to stretch the spring in place but leverage is always easier
Posted
Settled In
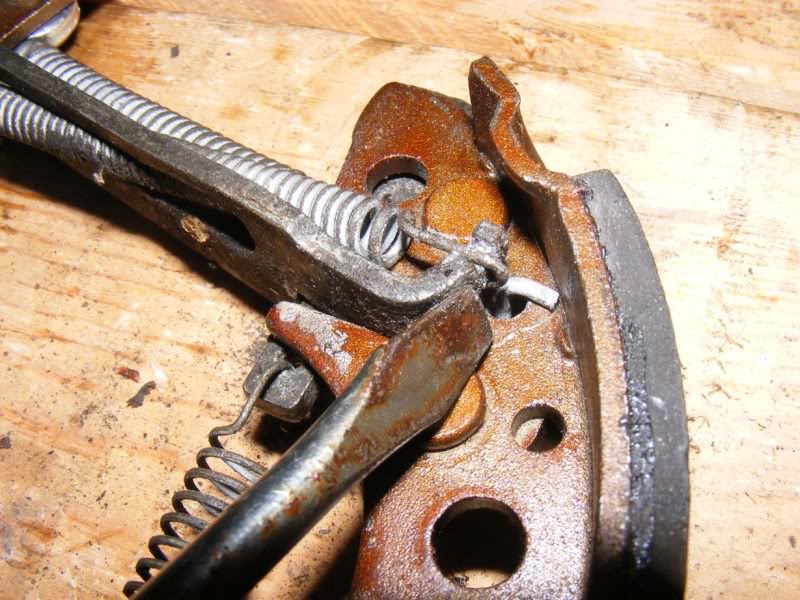
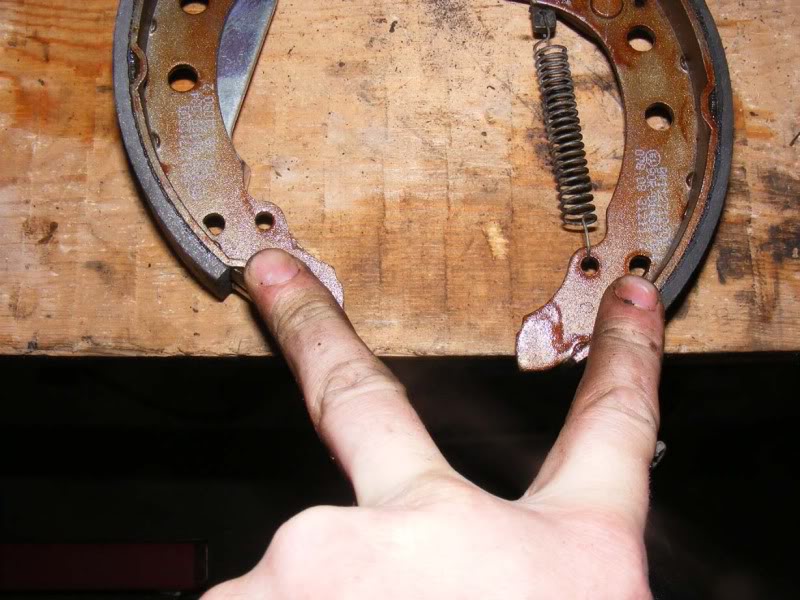
Step 136 - Hook the spring into the 2 outer most holes as shown. The joy of doing this off the car is that you can squeeze the shoes together and simply hook the springs on (I tried to show this in picture 3).
Posted
Settled In
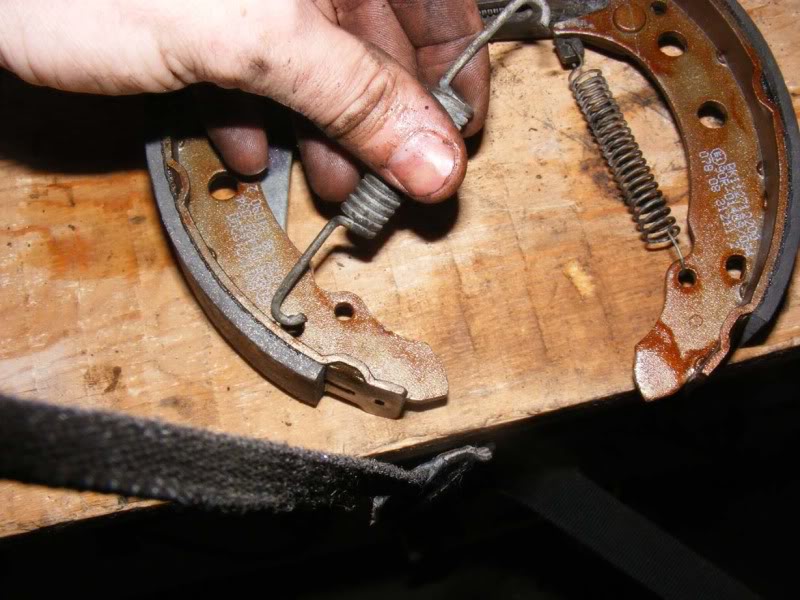
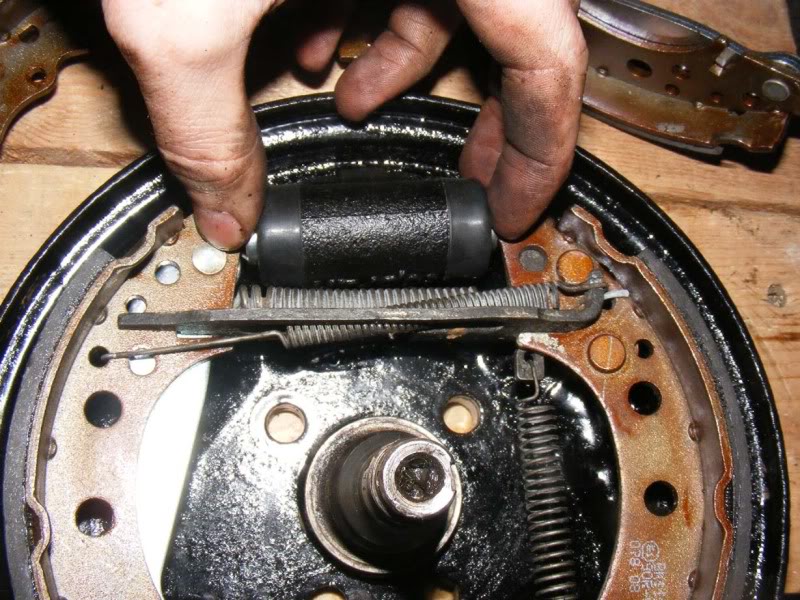
Step 138 - Slide out the handbrake arm and hook the cable in place
Posted
Settled In
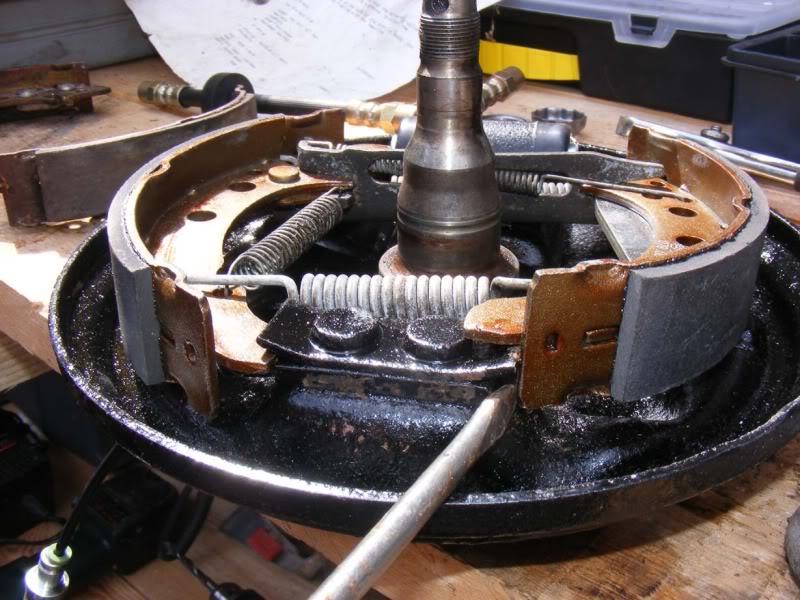
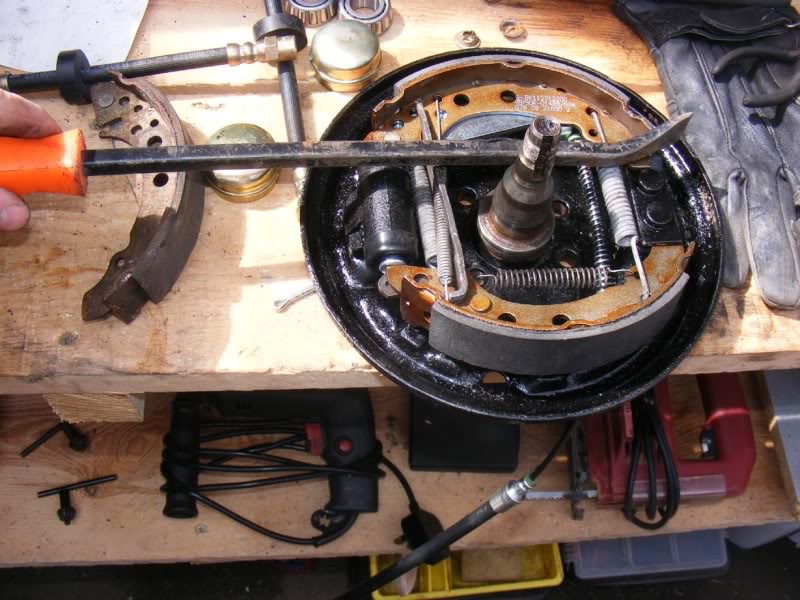
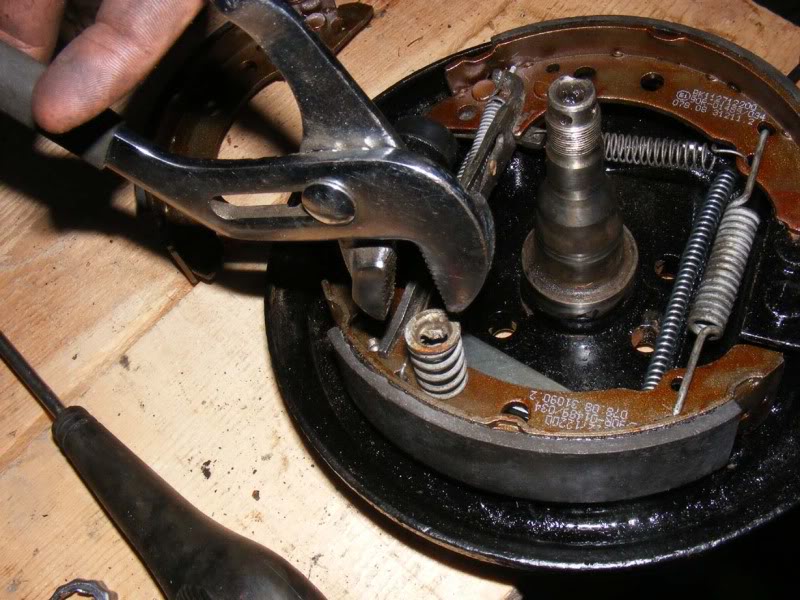
Step 140 - You will be able to wriggle everything in with little effort except for the bottom of the final shoe which will then be under the tension of the springs. Ensure you hold the shoes against the backplate while you work on the springs (a second person to do this would be useful) and use your fingers or a screwdriver (preferable, again leverage helps) to slide the shoe into place. Better still use a pry bar as shown in the final picture.
Posted
Settled In
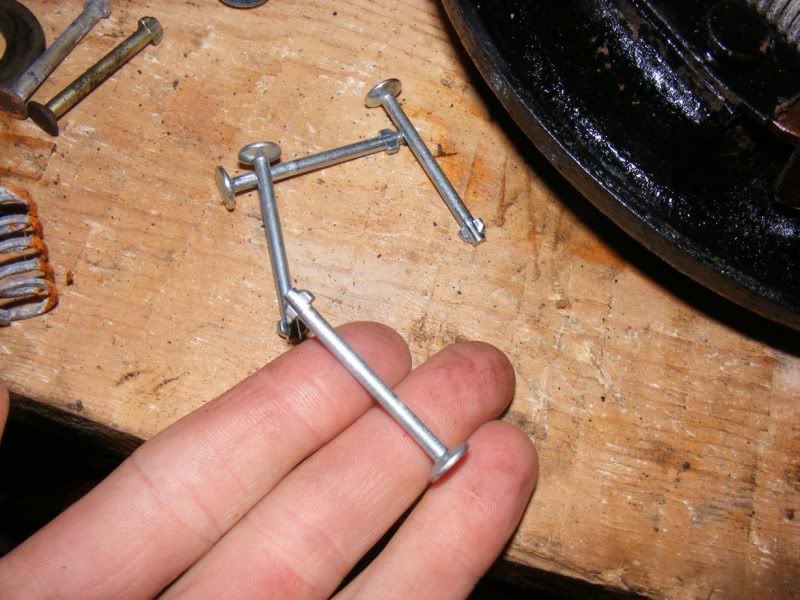
Step 142 - Place the spring on top of the pin
Step 143 - Drop the collet or cup on the spring. Rest the back of the pin on something so it doesn't fall out and doesn't use up one of your hands (you'll want them to push down on the collet and compress the spring)
Posted
Settled In
Step 145 - Repeat on the other shoe (then the other hub)
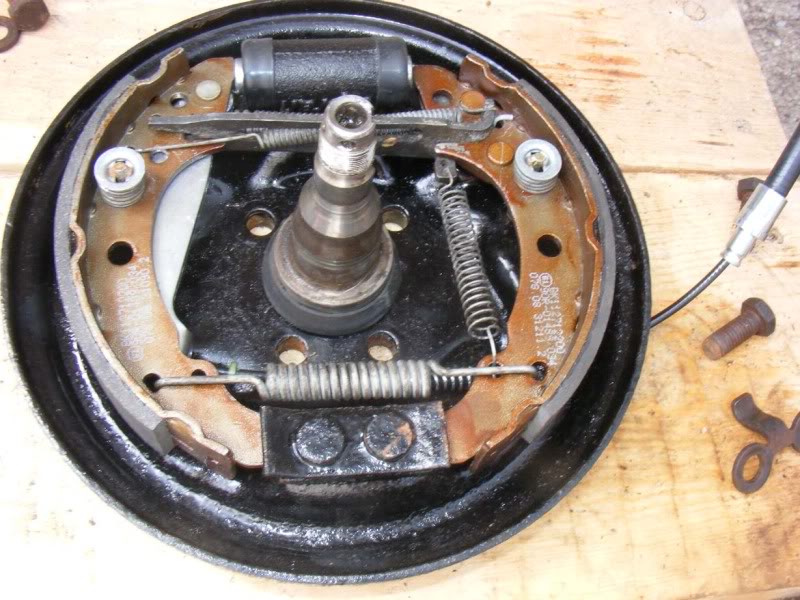
Step 146 - Admire the finished article ready to bolt to the subframe
Posted
Settled In
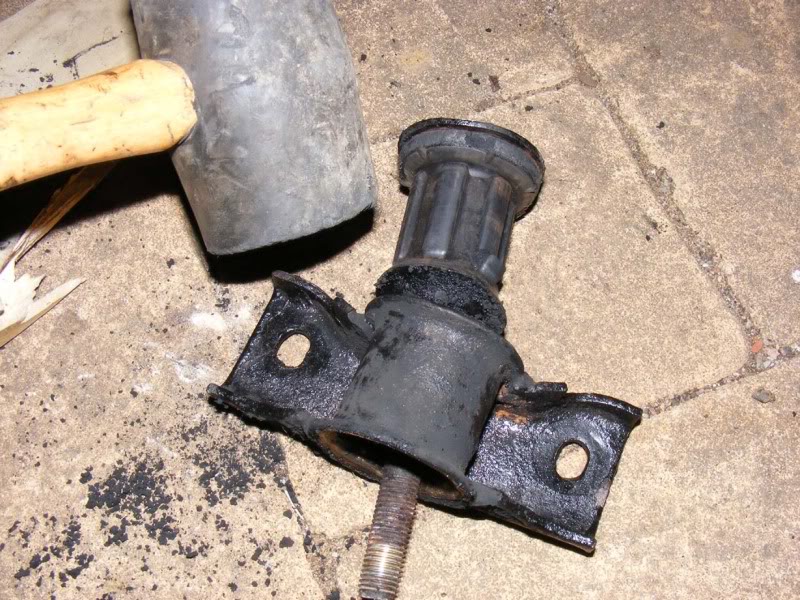
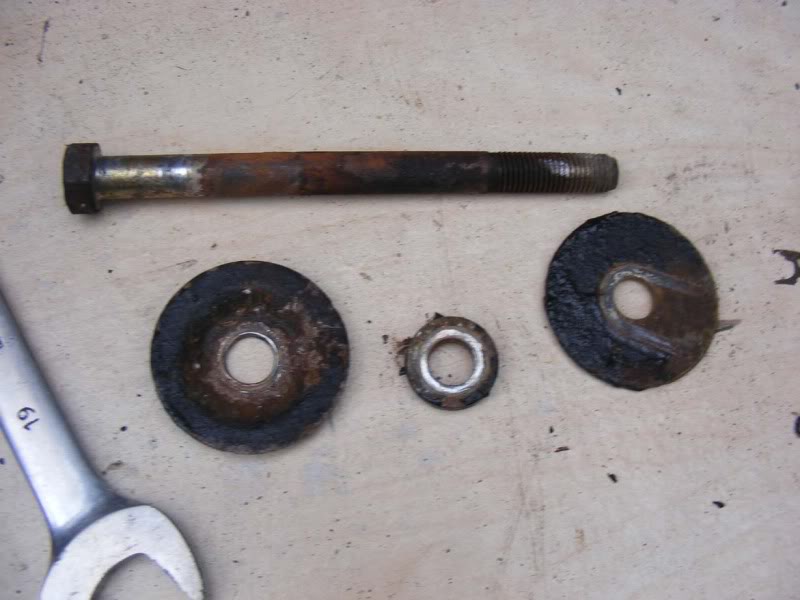
Step 148 - Time for some polyurethane bushes on the subframe, these are easier to fit than rubber ones and are longer lasting but make a slightly rougher ride because they are harder. First you need to remove the old bushes which are held on the subframe by a 19mm nut and a 19mm bolt, some force is required to free them as they are exposed to all sorts of wear
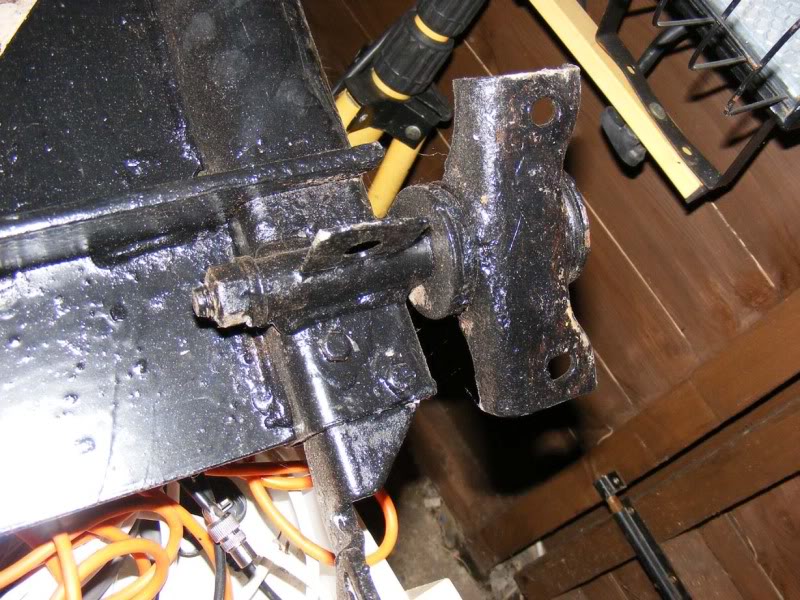
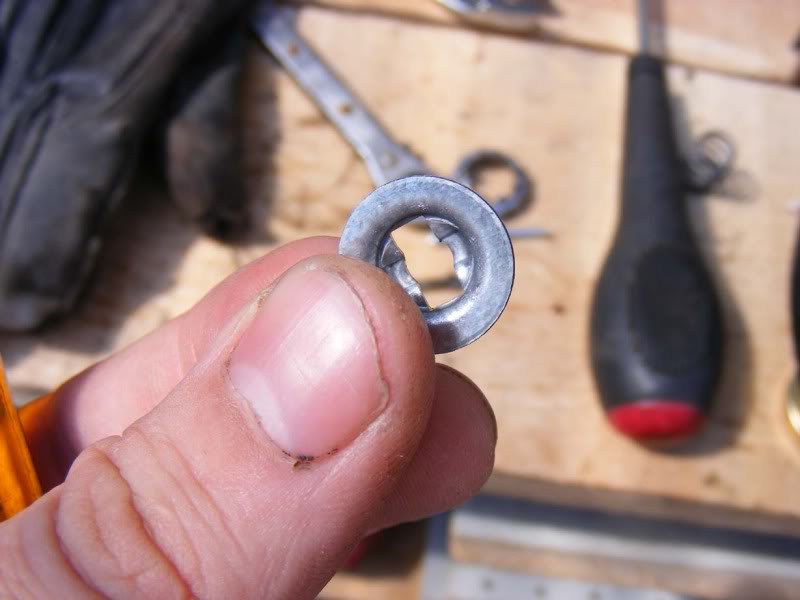
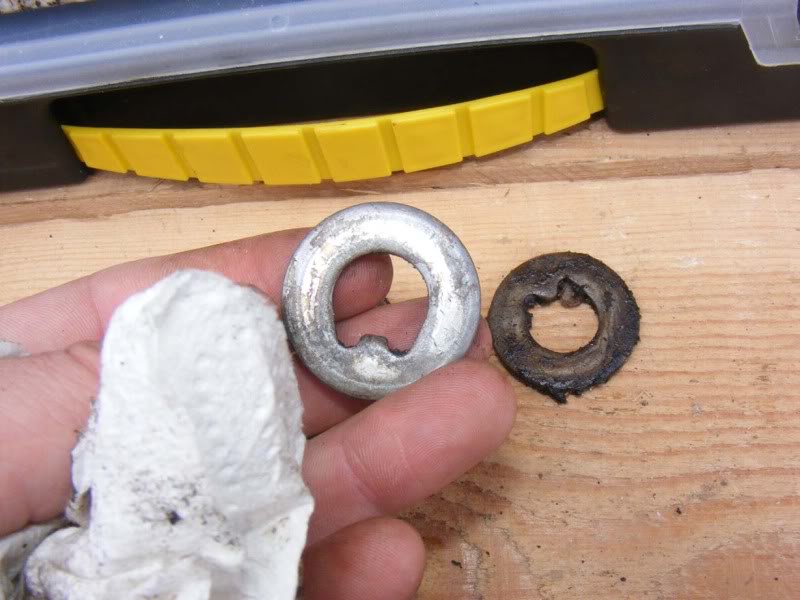
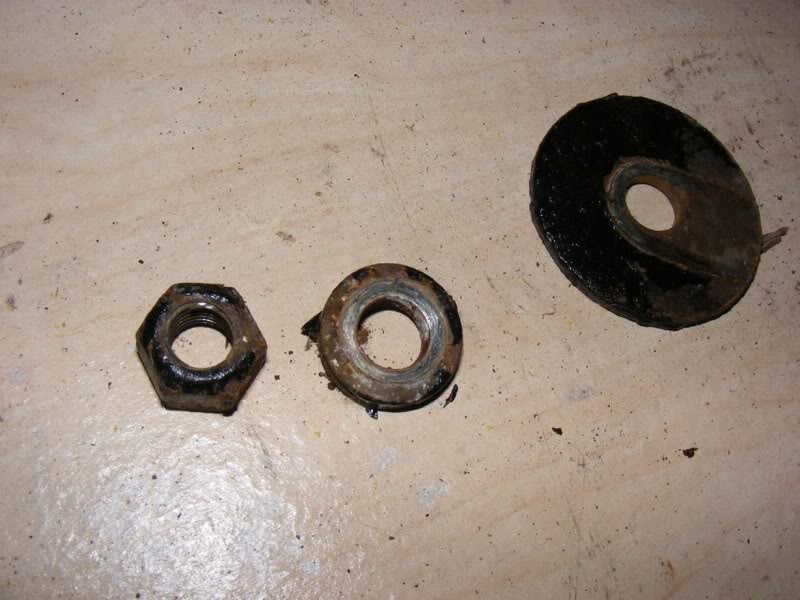
Step 149 - Remove the nut, small washer and large washer that sits against the bush
Posted
Settled In
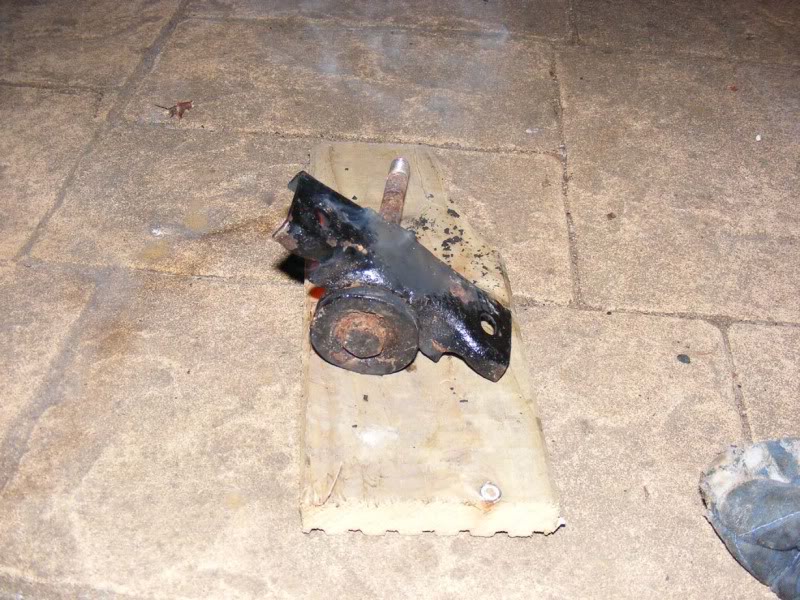
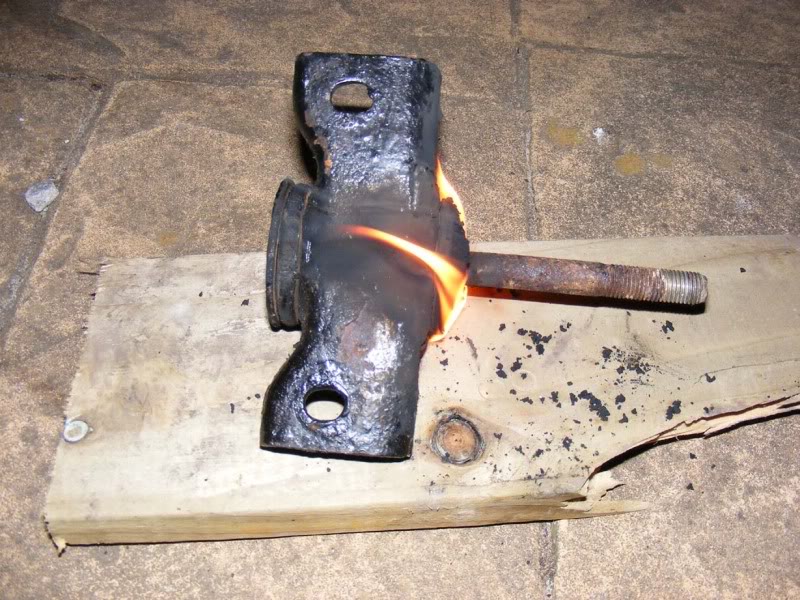
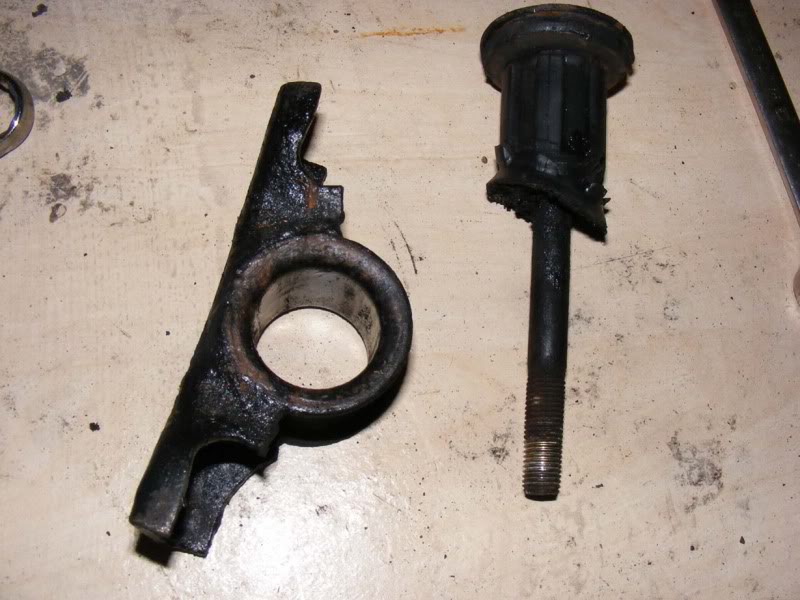
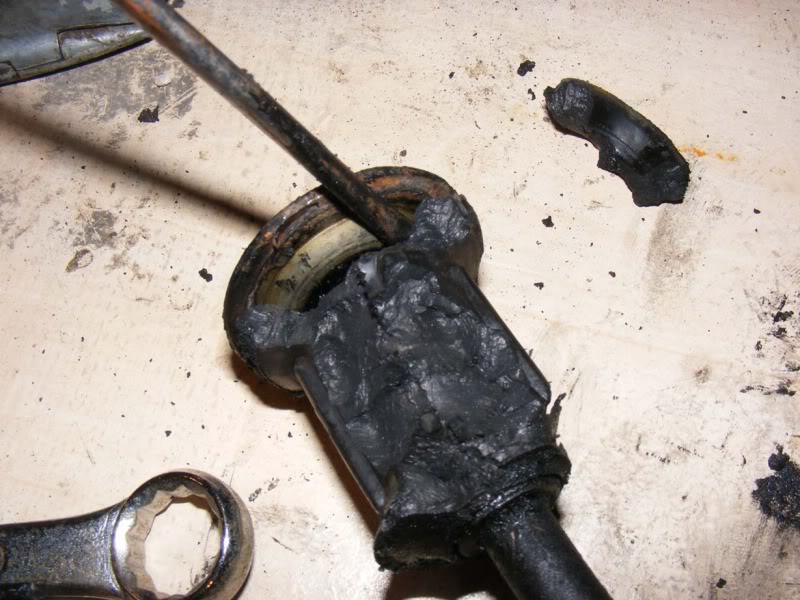
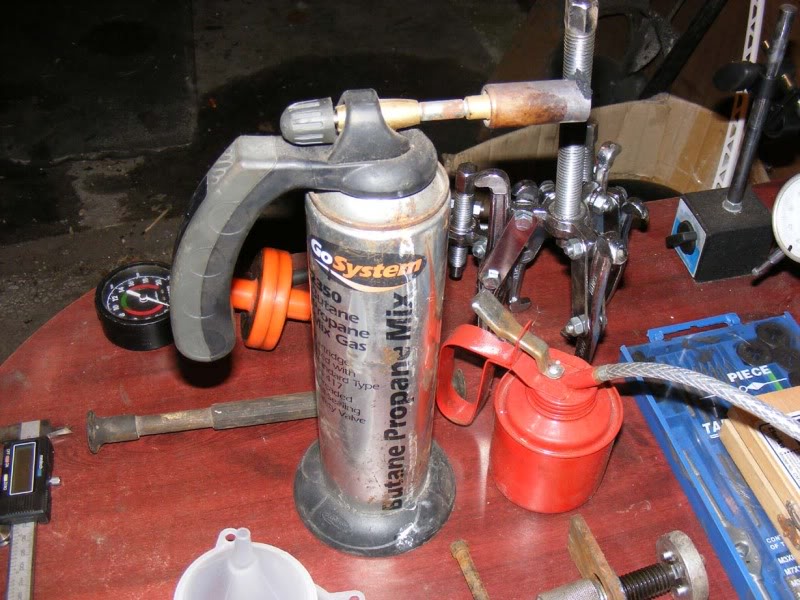
Step 151 - If you have the tools to press the bush out then press away, if not then you will need to improvise. I decided to go for the eco unfriendly manner of 'softening' the rubber with some fire! Rubber burns well and for a long time and kills polar bears so you should probably use a press
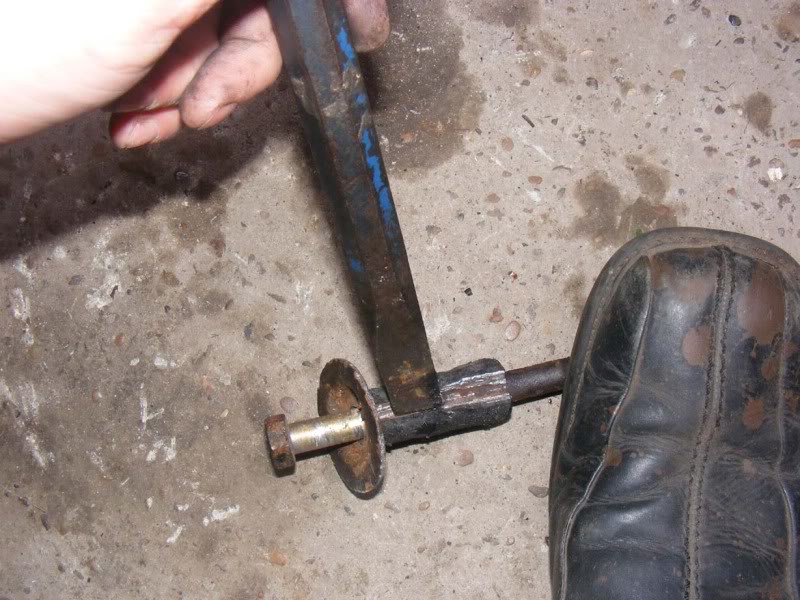
Step 152 - Finish the bush off by standing the long bolt on some wood and hit the metal bracket on either side with a rubber mallet until it pops out
Posted
Settled In
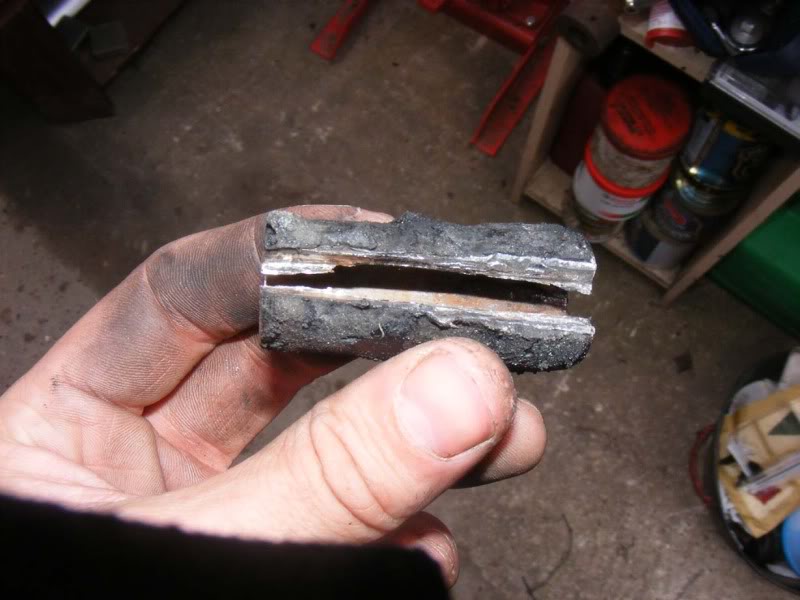
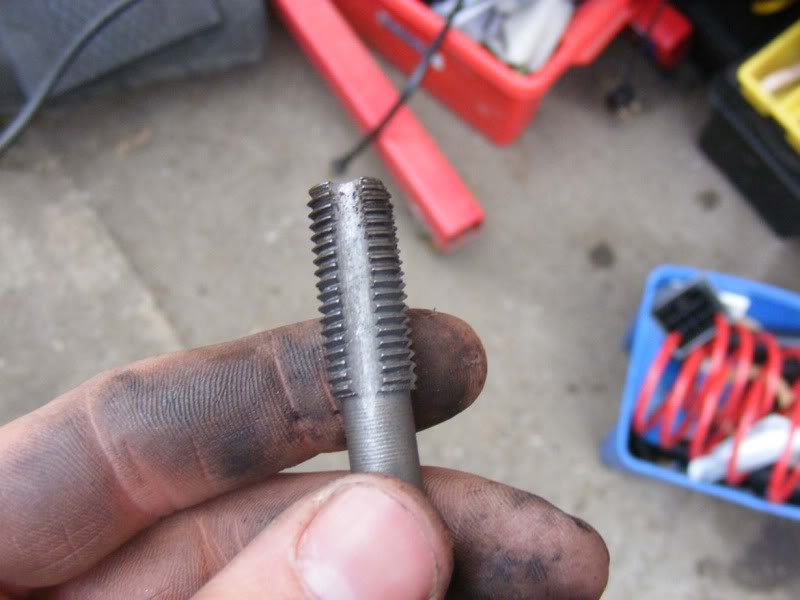
Step 154 - You can renew the long bolts but apparently they are a dealer only part so I decided to salvage mine. Use a Stanley knife to cut a line down the rubber bush
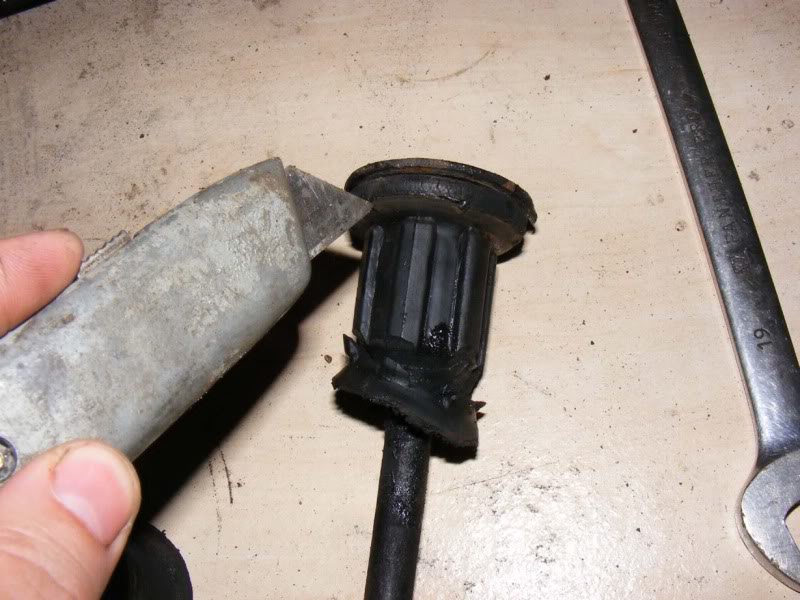
Step 155 - Use a flatblade screwdriver to pry away as much of the rubber as you can

Posted
Settled In

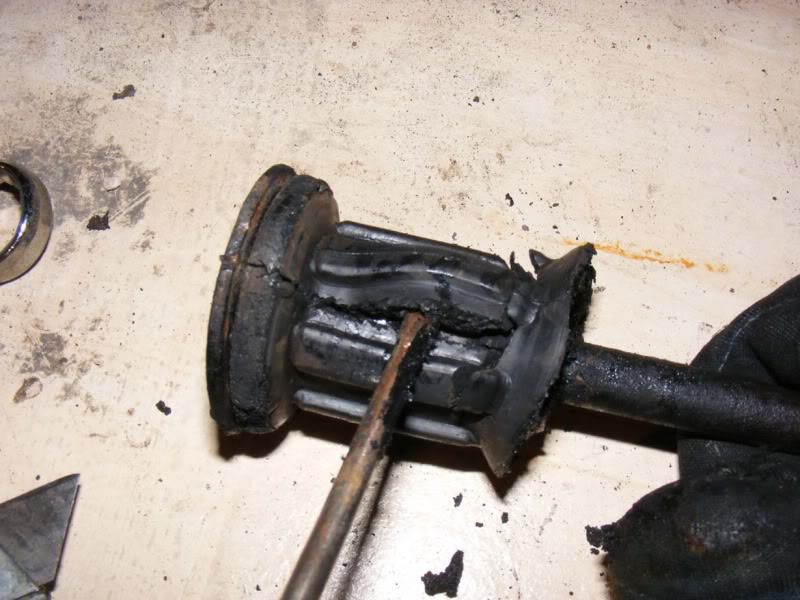
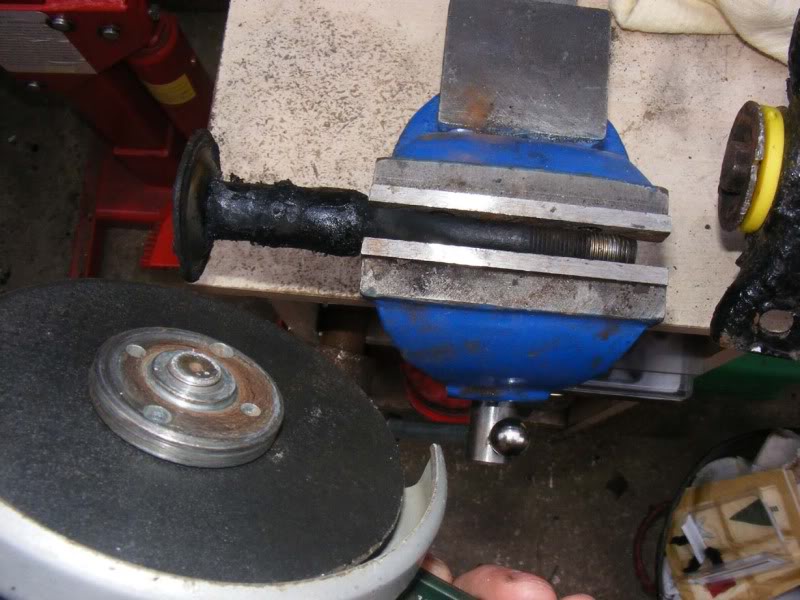
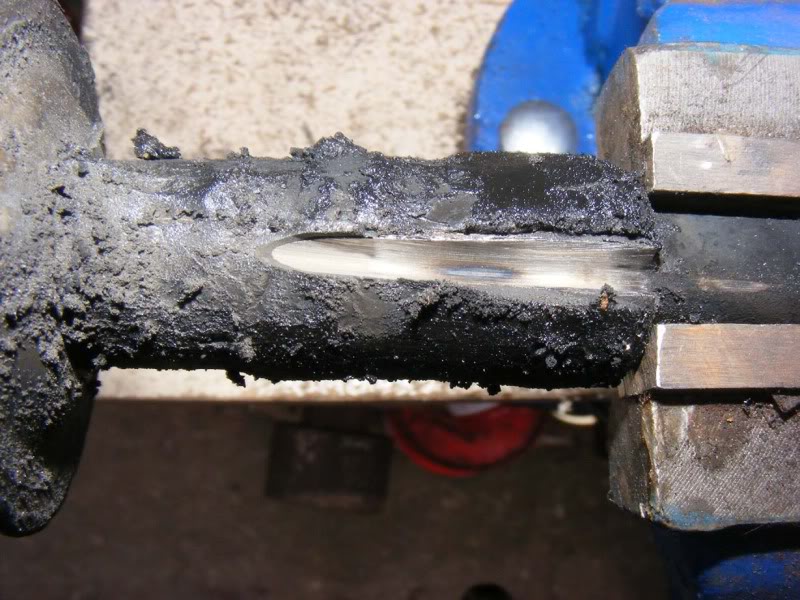
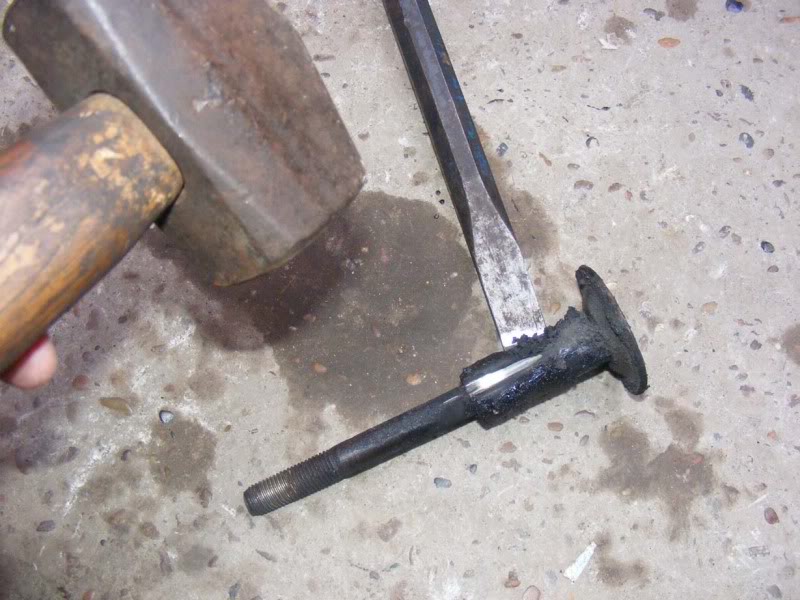
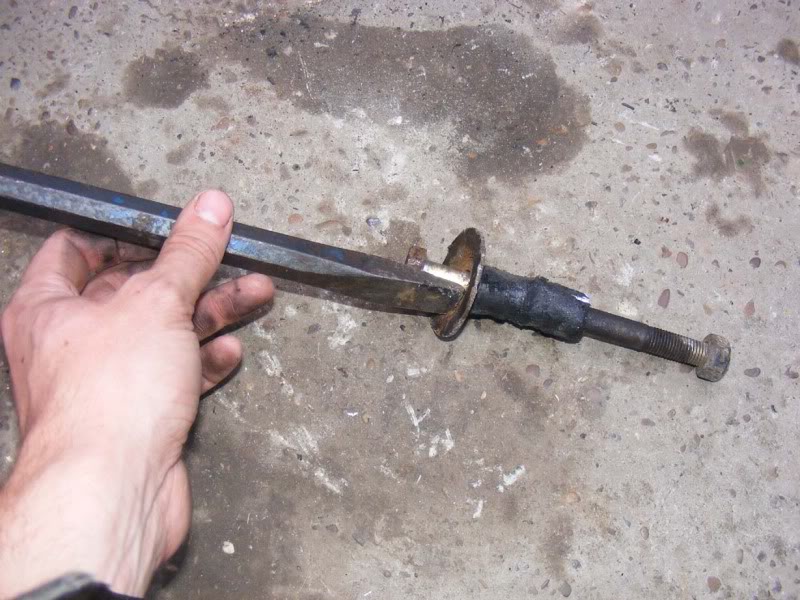
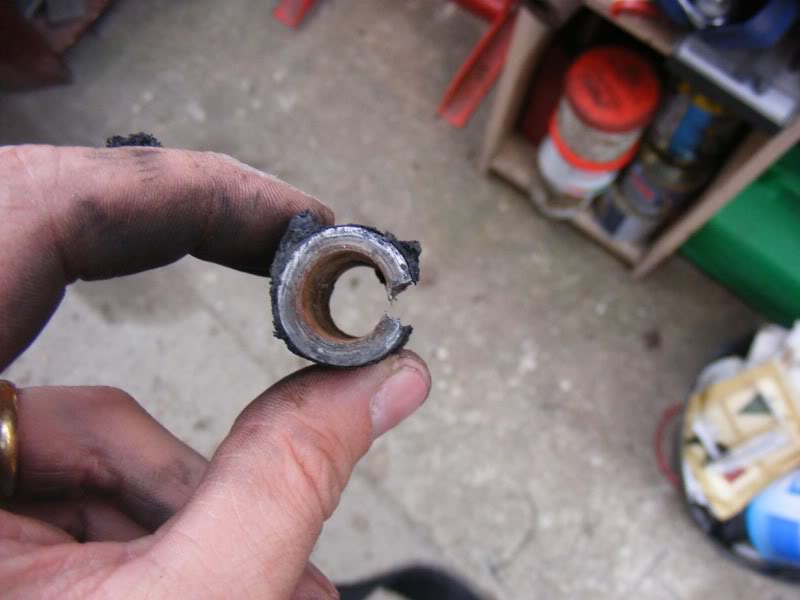
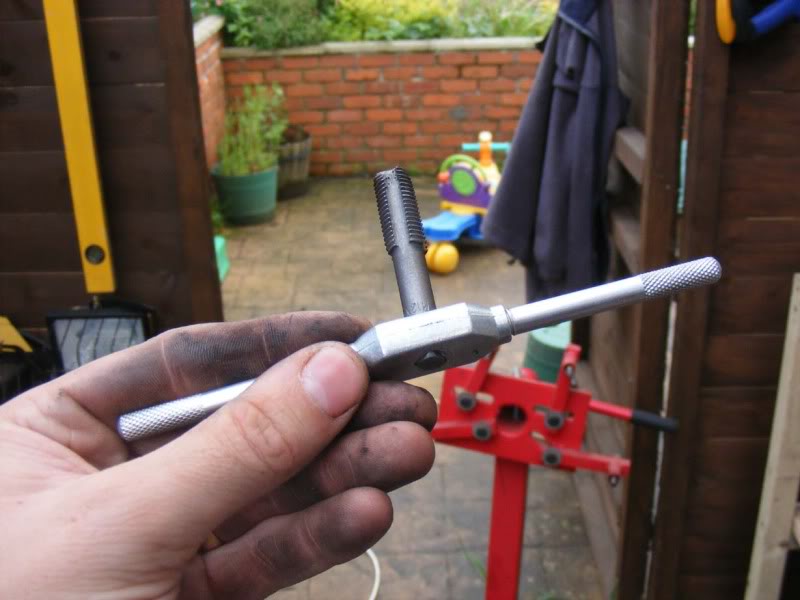
Step 157 - Now, onto the tough bit - getting the old sleeve off the bolt, my advice is to carefully grind down both sides of the metal sleeve (note you can only go about half way up without grinding the top big washer so be careful!). Note the tell tale sign that you've reached the end of the sleeve as shown in the second picture where there is blackening
Step 158 - Use a hammer and chisel to open up (flare) the bottom of the sleeve
Posted
Settled In
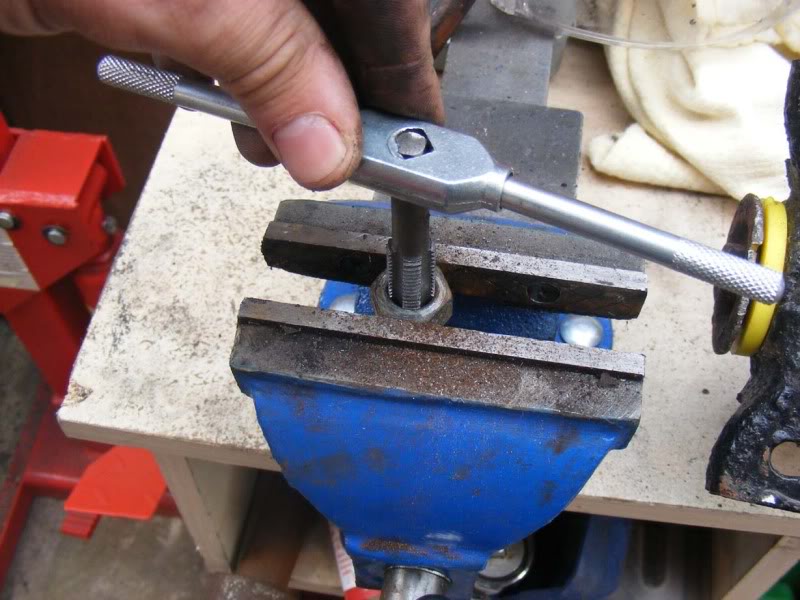
Step 160 - Grind the rest of the sleeve through
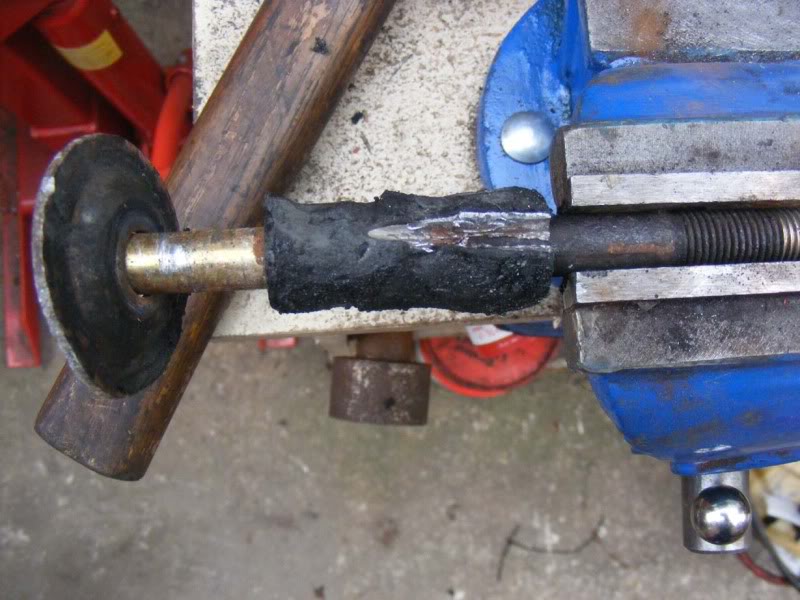
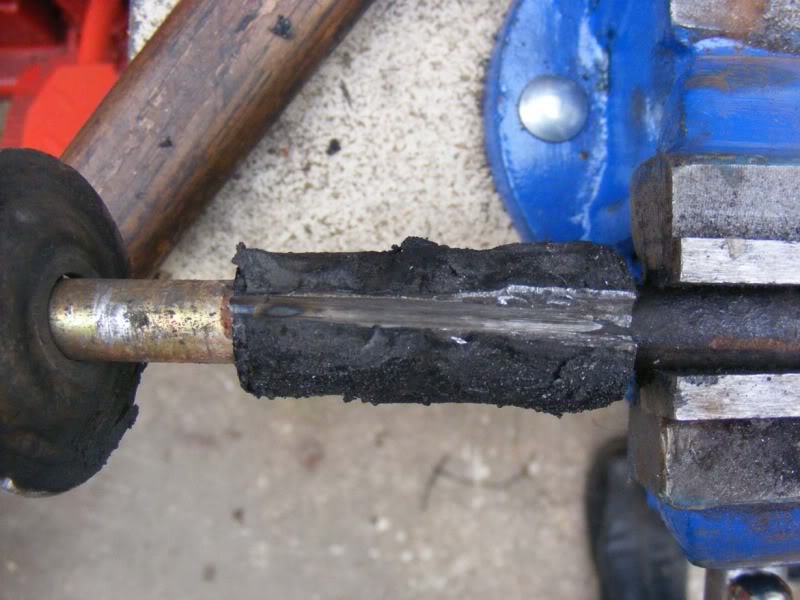
Step 161 - Open up the metal with your (sharp) chisel
Posted
Settled In
Posted
Settled In
0 guests and 0 members have just viewed this: None.