


Lhasa Restro Project

Posted
#968662
(In Topic #114497)
Settling In

Lhasa Restro Project
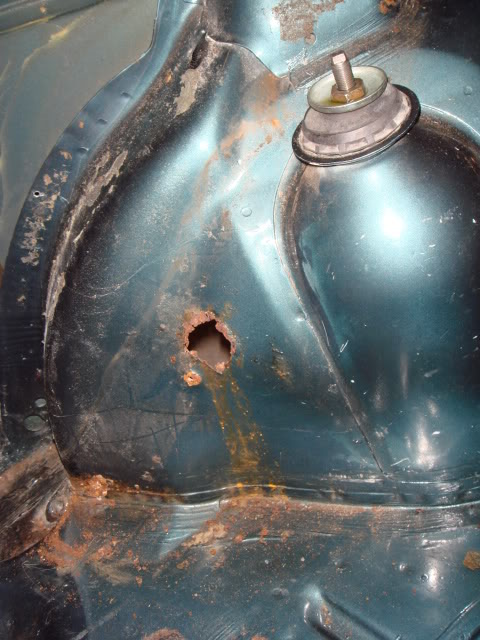
So here are some photos
When I got her


Some of the issues to deal with

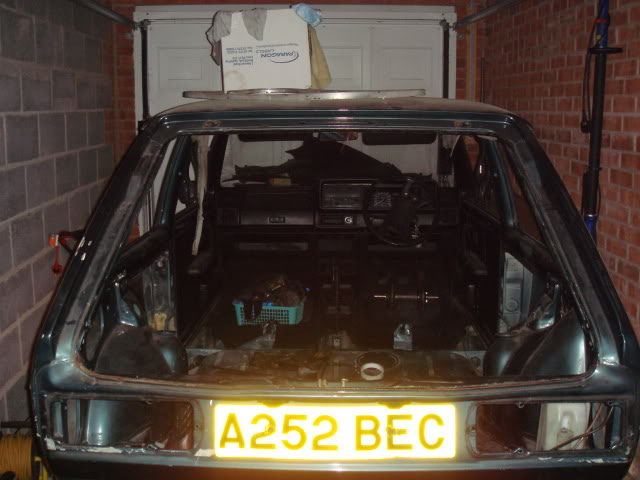
Now up on axle stands and most of the interior gone.
Rear axle came off rather easy, properly because it was soaked in WD40 for a couple of days before hand. Exhaust off, fuel tank and filler pipe off.

Thats as far as I got today, tomorrow is time for a proper inspection and maybe even apply the angle grinder to it. My skills aren't the best so this is going to be a huge learning curve, so any help/suggestions the people have will be greatly appreciated
Posted

Old Timer


i've had to deal with alot of your problems as well but nice one for taking on the job

Posted
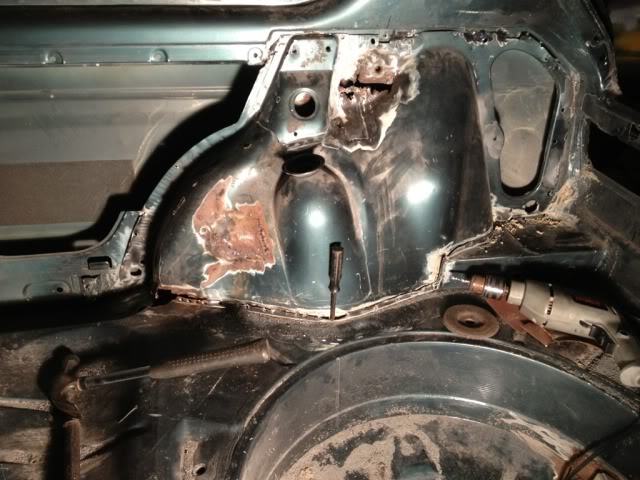
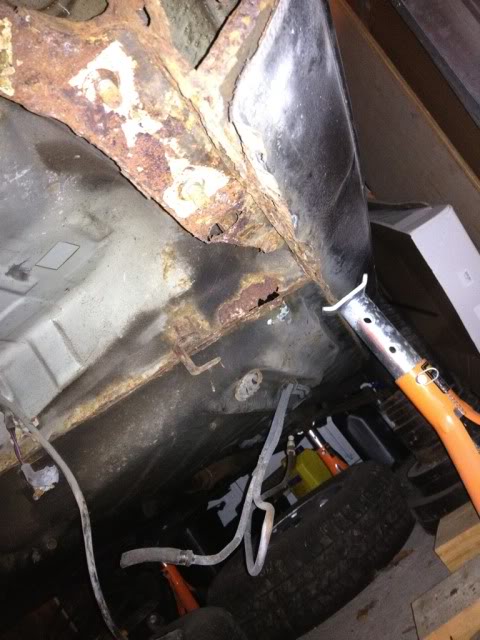
Settling In
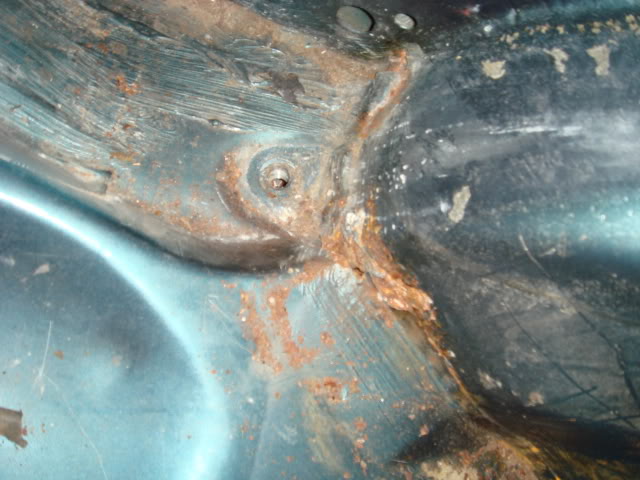
Well only done a couple of hours this morning, some underneath shots
Passenger side mount
Drivers side
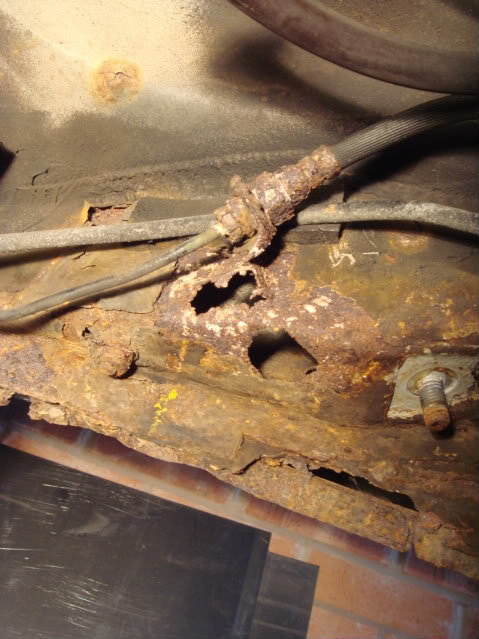
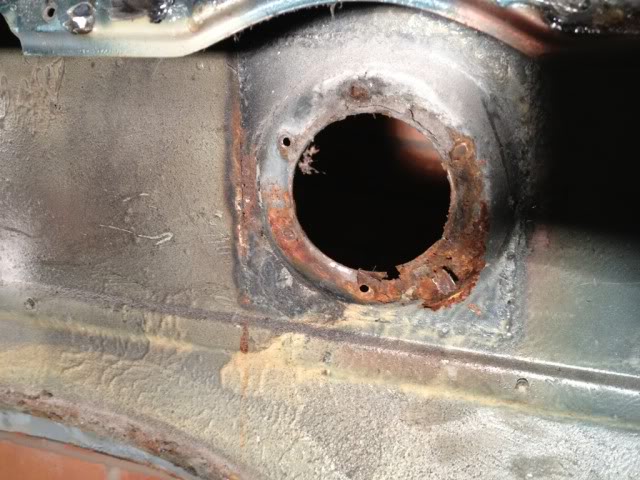
Hole in the drivers side Arch with a little bit of a clean up


Where the fuel breathers come through

Hopefully be finding out what I've done with the gas bottle key and I can start chopping bits out and welding some new in, but not till Friday.
Posted
Old Timer
good work
Posted
Settling In
So any tips on removing and replacing the tub?
here are some pictures
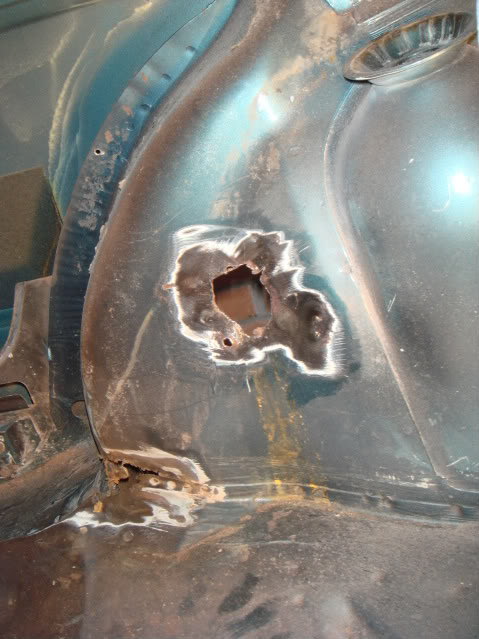

Where the fuel pipes goin in the inner arch

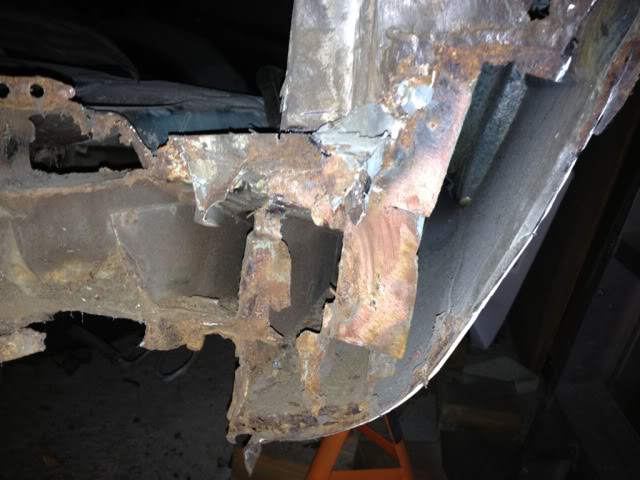
Axle Mount

Posted
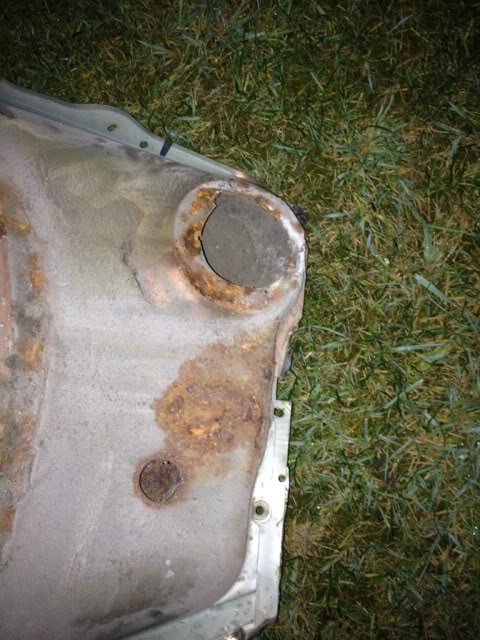
Settling In
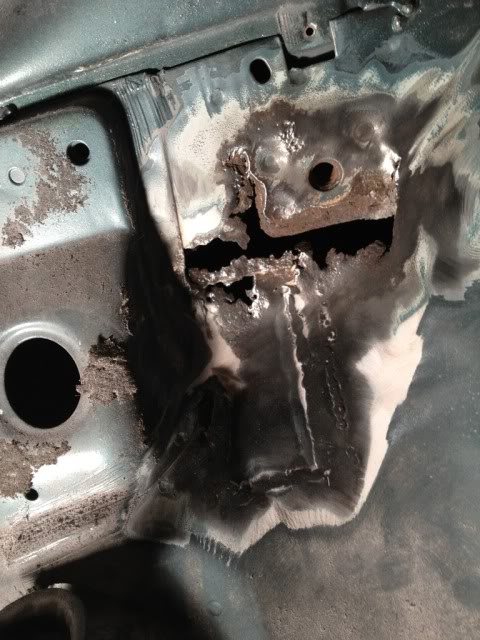
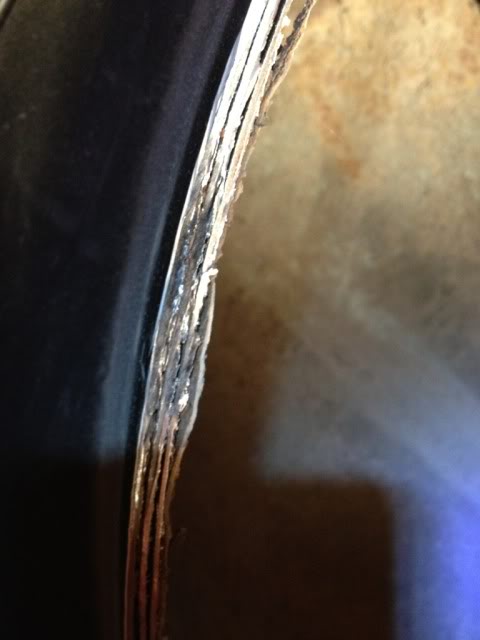
any way here are some photos
Before

Removed the seal sealer


Not too sure how I'm going to get this area sorted

Will get this from the other side

Thats it for now, hopefully I will get it out by the weekend
Posted
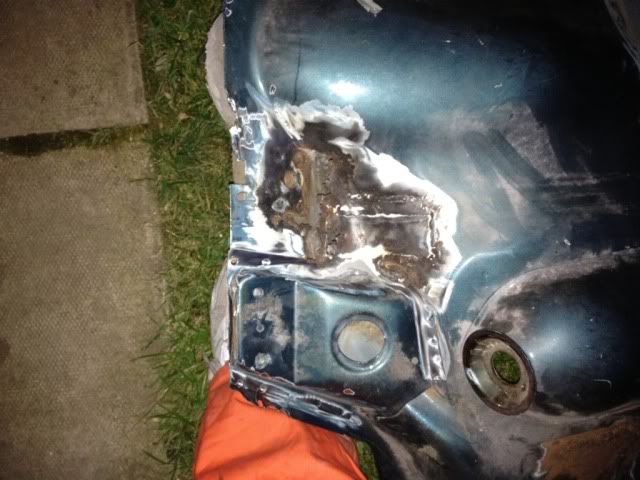
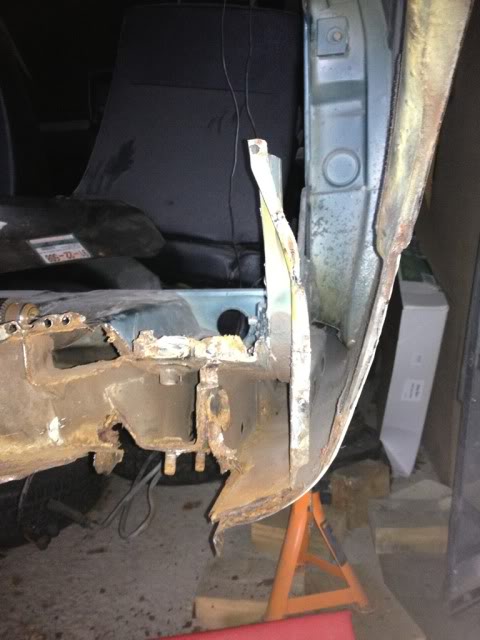
Settling In


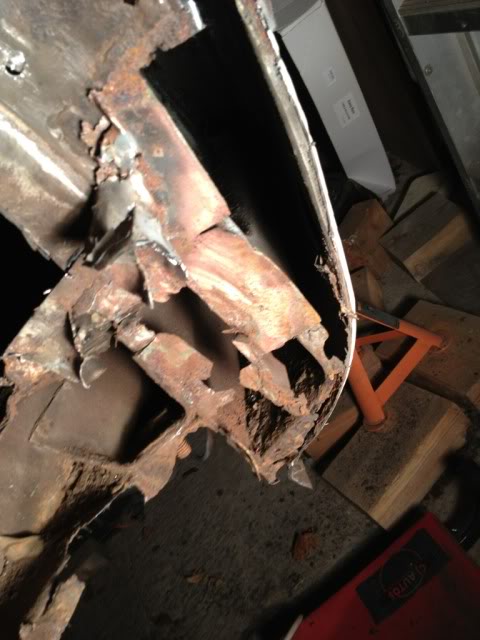
Arches gone

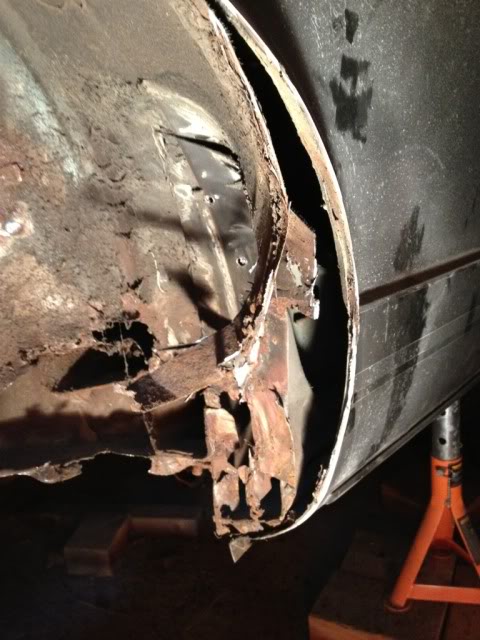
I can see that several repair jobs have gone on, I counted 5 seperate pieces of steel on top of each other in some places!
Its not quite out, but its getting there.

Posted
Settling In

Posted
Settling In


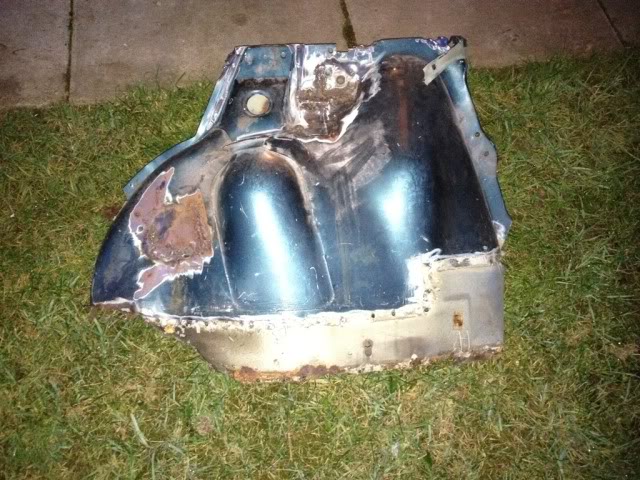
Also if anyone needs any part of the tub that I have taken out let me know, properbly no good to anyone but thought I would ask.
There is now so much better access to the around the axle mount area. Some how I think it is going to be slightly harder to get in back in and all lined up properly. But I have until mid April to get it ready for when the replacement tub comes, so will need to get the axle mount and under side sorted before I put it back. And had to chop out quite a bit of the rear to get it out so need to get that done.
Posted
Settling In


Posted

MOTY 2013

Hello my name is John and I'm a dub addict.
My wiring diagrams and other documents have moved here:
VAG Documents & Downloads
You'll need to sign into google/gmail for the link to work! (its free!)
My wiring diagrams and other documents have moved here:
VAG Documents & Downloads
You'll need to sign into google/gmail for the link to work! (its free!)
Posted
Settling In
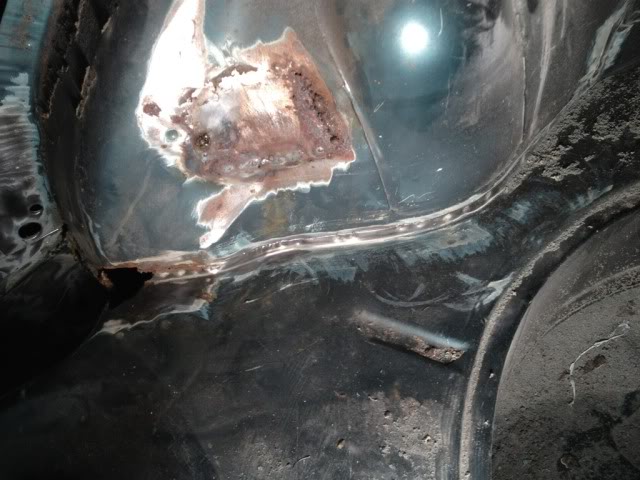
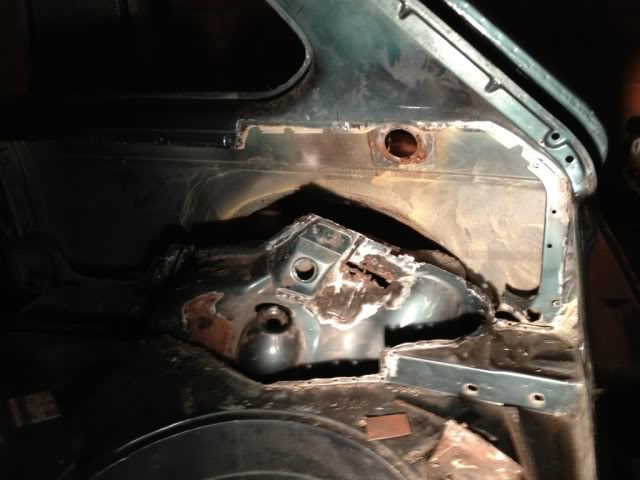
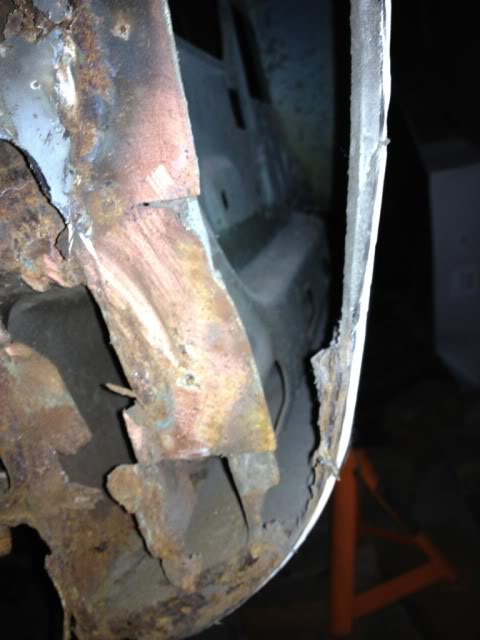
Been cleaning up the areas where the tub meets the rear door (if it had one) card area, and where it meets the rear pannel and 3/4 panel, still need to do more in this last area.

Looking towards the front of the car


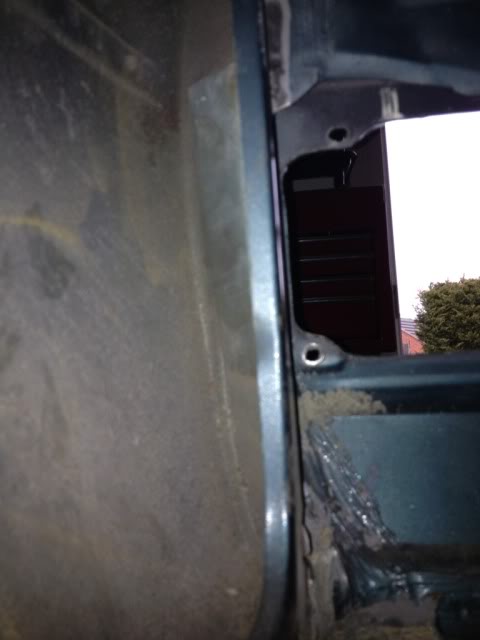
And one of the axle mount

Posted
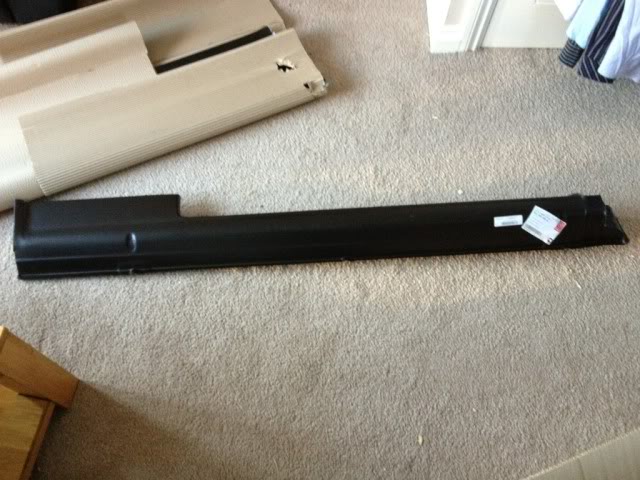
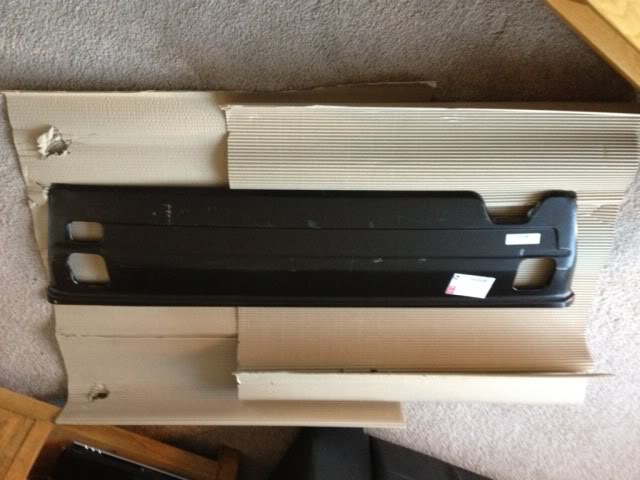
Settling In


Also got these for my birthday from the wifey
Drivers Sill
Rear Valance
Posted
Settling In
First up is a rollover jig�

Second is an engine crane�
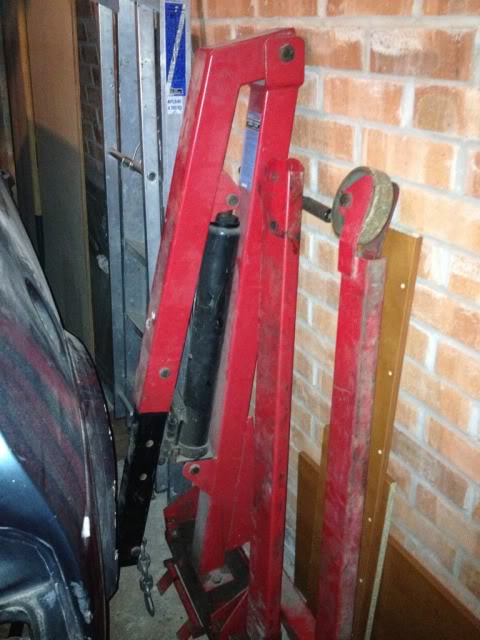
Now time to get to my ar*e in gear
Posted

Moderator
Good luck with it


Posted
Settling In
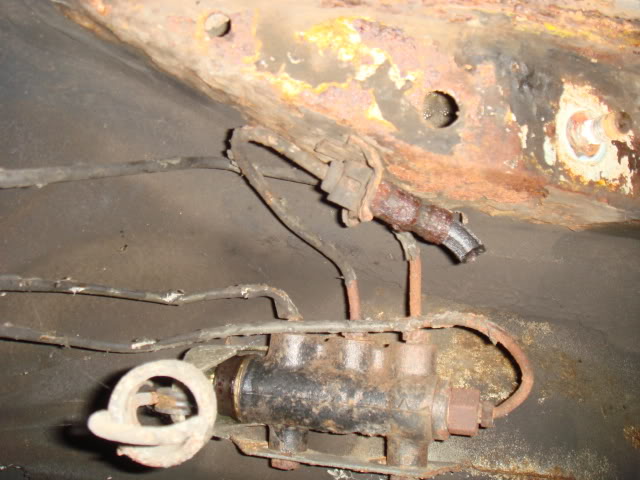
Started looking into removing the alarm system that was installed, found a switch by the gear lever but no idea what it's for. There is another switch under the dash which I was told was a switch to turn on a sort of valet function,
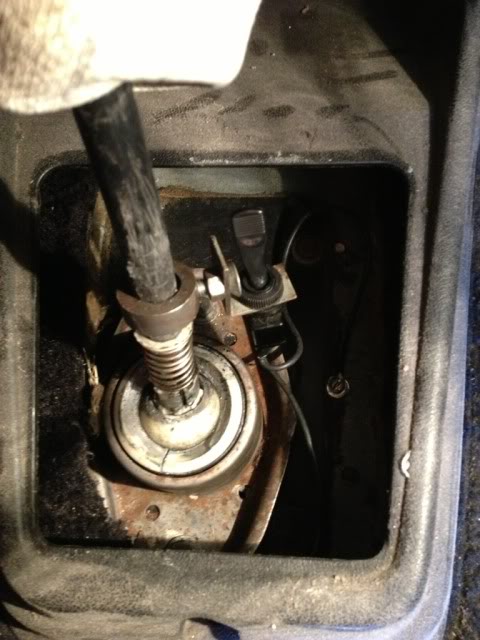
There was also sensors in the dash VDO's, boot and a button on the hand brake lever. Just trying to find it all then it'll be time to remove it.
Posted
Moderator


Posted

Moderator

Andy.

Posted
Settling In
Melteddrummer said
Good work Rubix. I've been looking for a thread where someone has done the tub. I'm about to do the n/s tub on my car too, I've got an Idea what to expect now! Cheers, man.
Andy.
Cheers, the hardest bit apart from finding all the spot welds is where the tub meets at the back as it meets 3/4 different panels at that point, when taking it out I cut the tub panel about 2-3 inches from the rear, will try and get a photo to show what I've done.�
Here is a link to RichG build thread which I found very useful
http://vwgolfmk1.org.uk/forum/index.php?page=topicview&id=your-mk1-golfs_2%2Fmk1-golf-gti-83
If you have any questions give me a shout.
Posted
Old Timer
0 guests and 0 members have just viewed this: None.