


My Rivage interior project

Posted
#964444
(In Topic #113967)
Old Timer


My Rivage interior project

So anyway, after a few failed attempts of buying a genuine Rivage cream leather interior. 1 tuned out to be black & ripped, then next was battered, beyond the good condition it was described as, 1 sold on ebay for silly money and the story goes on….. I thought about having the interior retrimmed, and was looking about ?1200.
So I decided to make my own! 8O
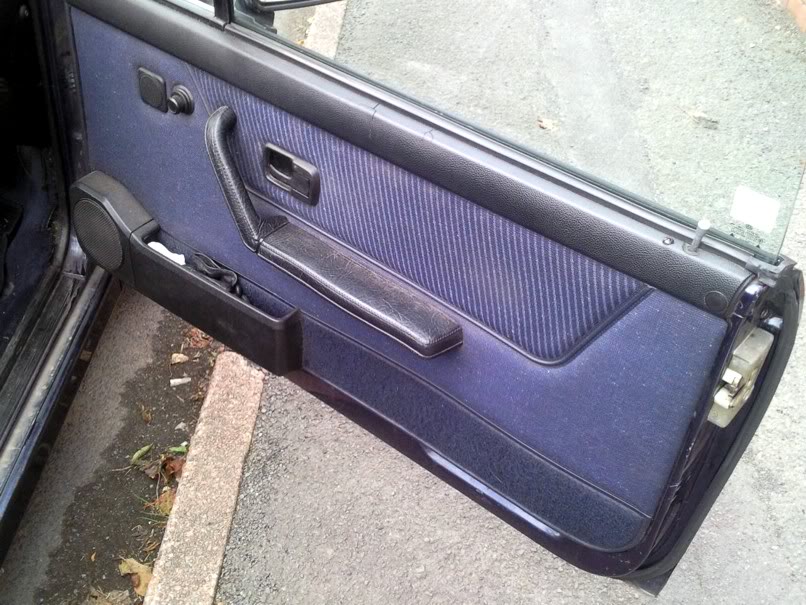
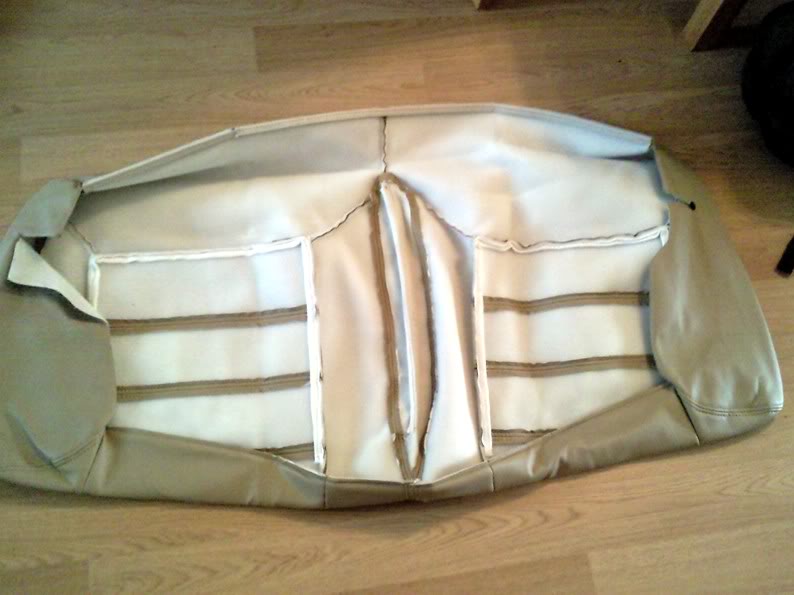
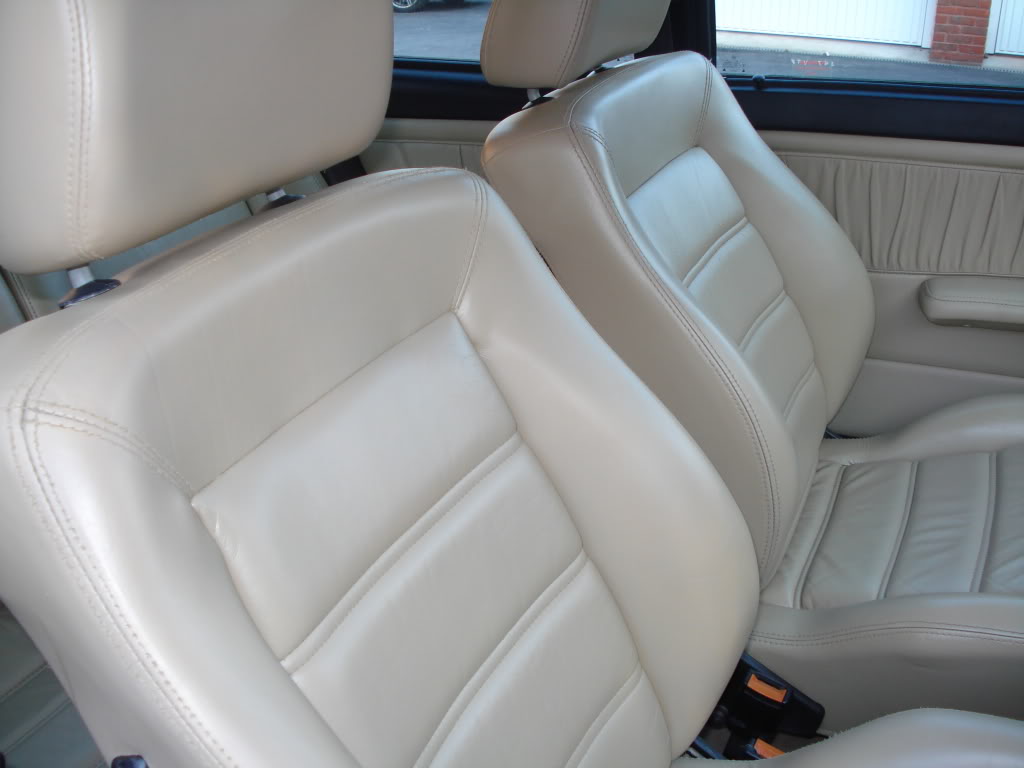
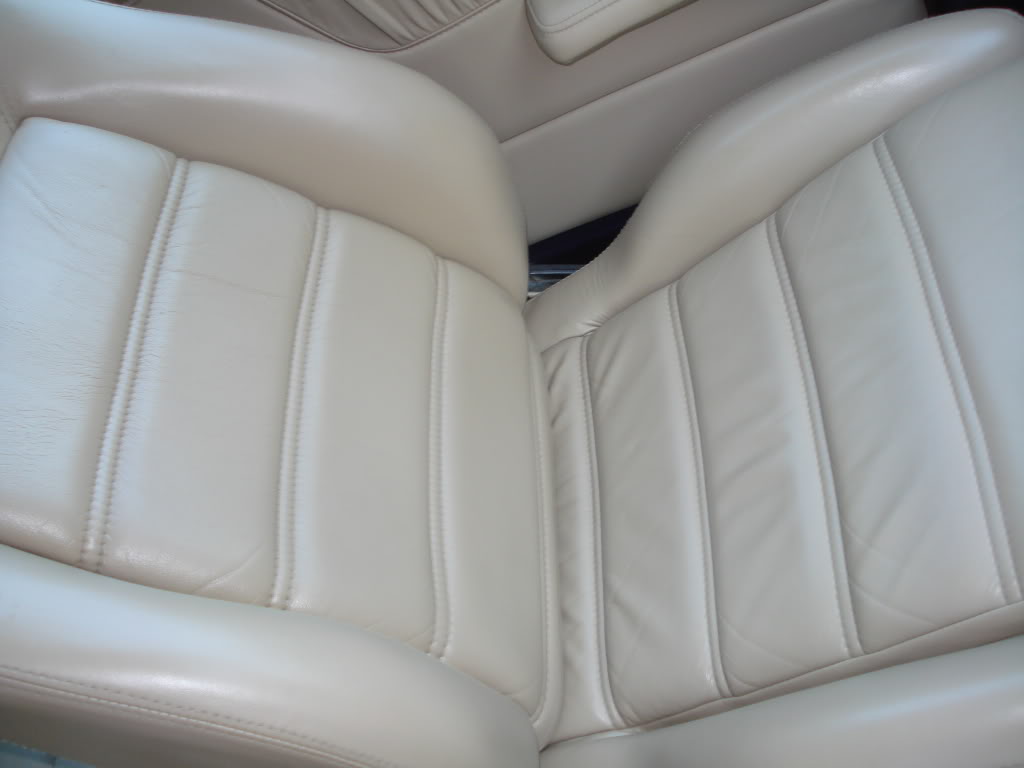
I bought some genuine Rivage cream leather doorcards off eBay (thanks badvwboy) for ?85, a brand new buscuit carpet from Newtown Commercial ?130 with club discount, cream leather gear and handbreak gaitor off eBay for ?20 and some cream leatherette seat covers off eBay for ?125. They custom made them exactly like the Riavge ones for me, they look the absolute business. I've yet to fit them, so I won't hold my breath.
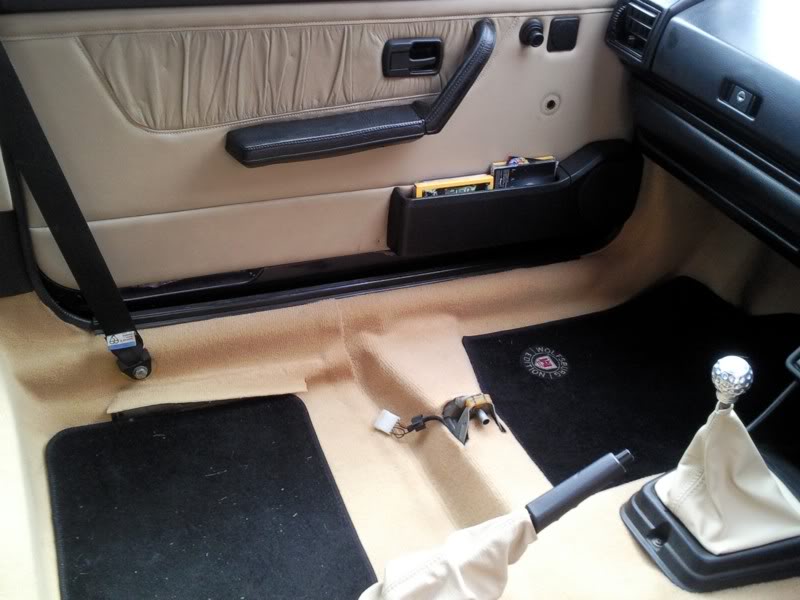
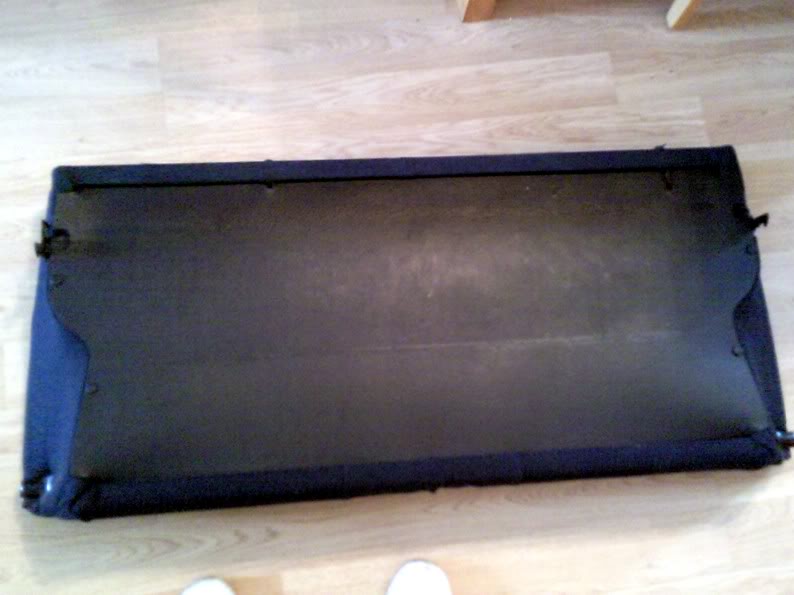
Anyway, Phase 1, carpet & door cards:
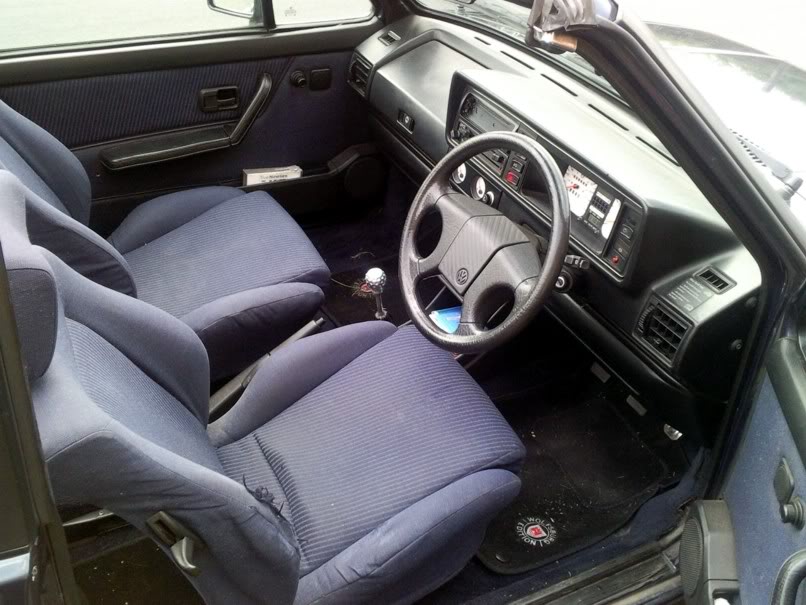
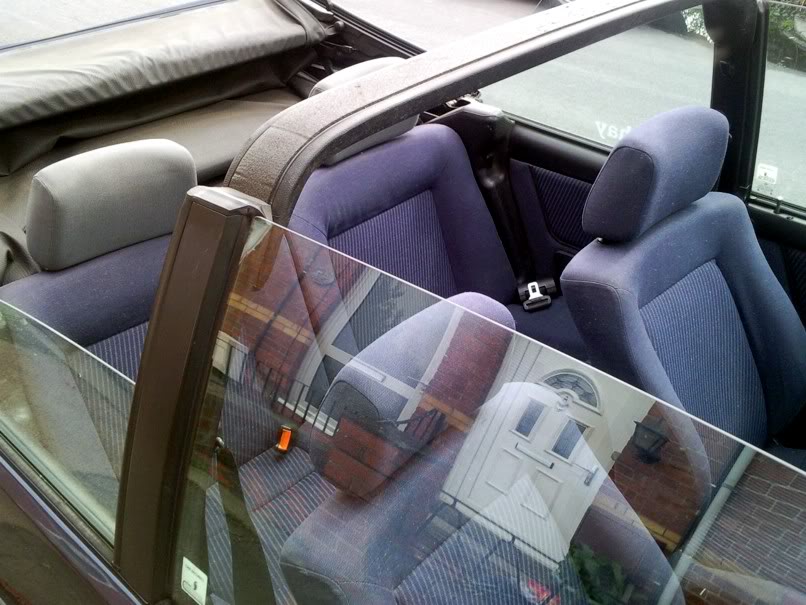
This is what the interior was like when I started
The rear seats had holes in when I bought the car, the previous owner have just drilled the seats for the headrests to fit.
So I started by taking off the seat runner covers
Then out came the fronts seats

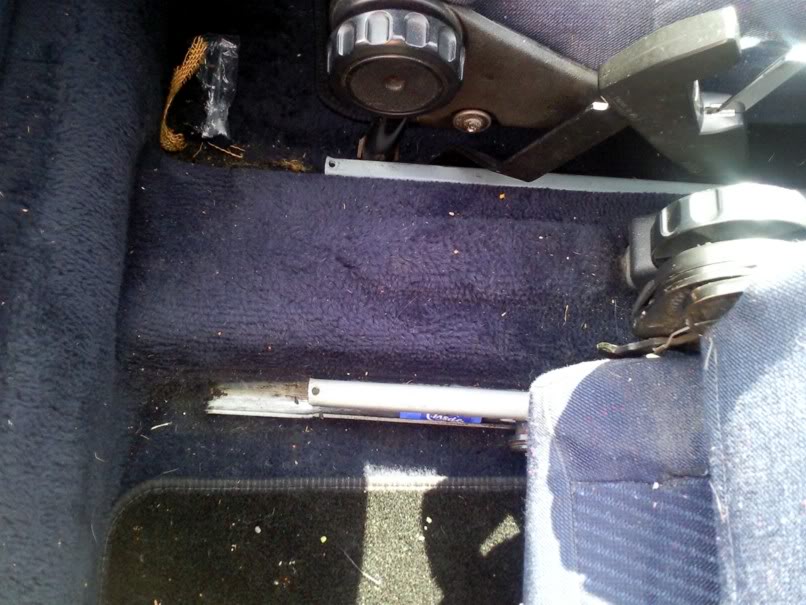
I kept all the little screws in this tray, better be on the safe side.
Then out with the rear bench
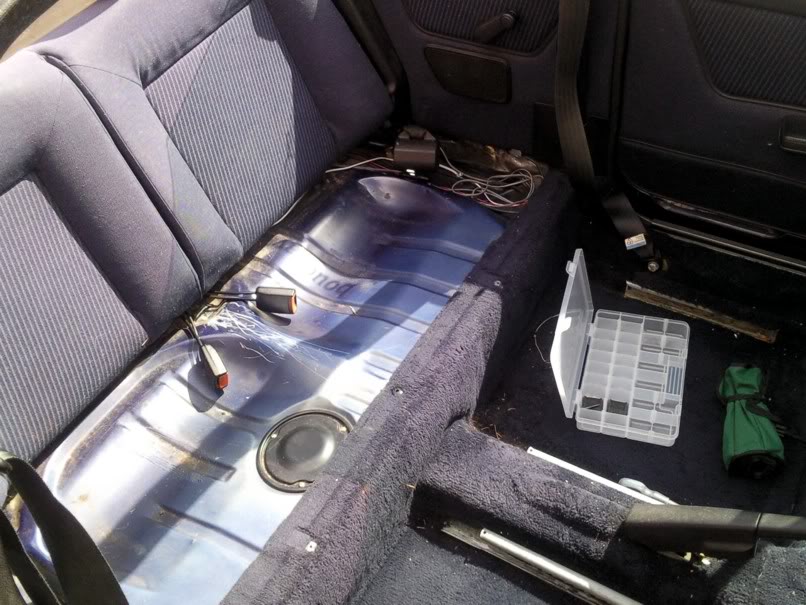
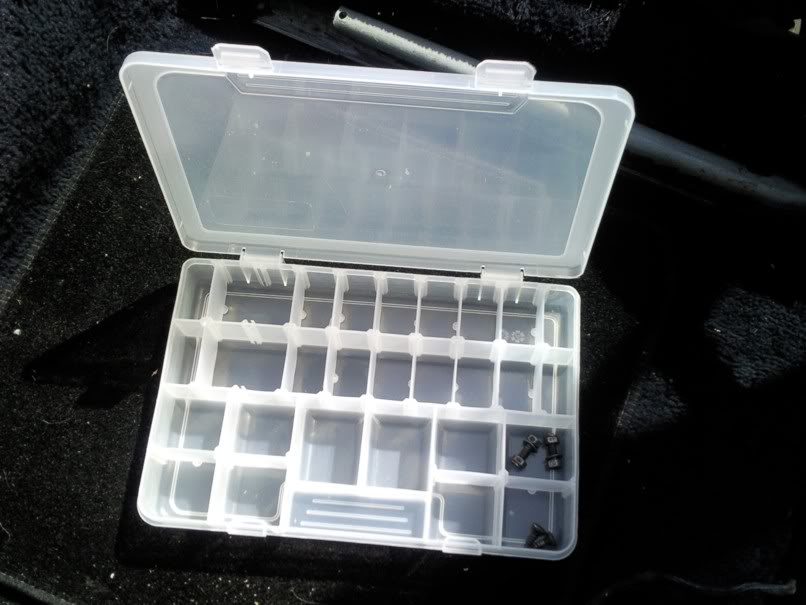
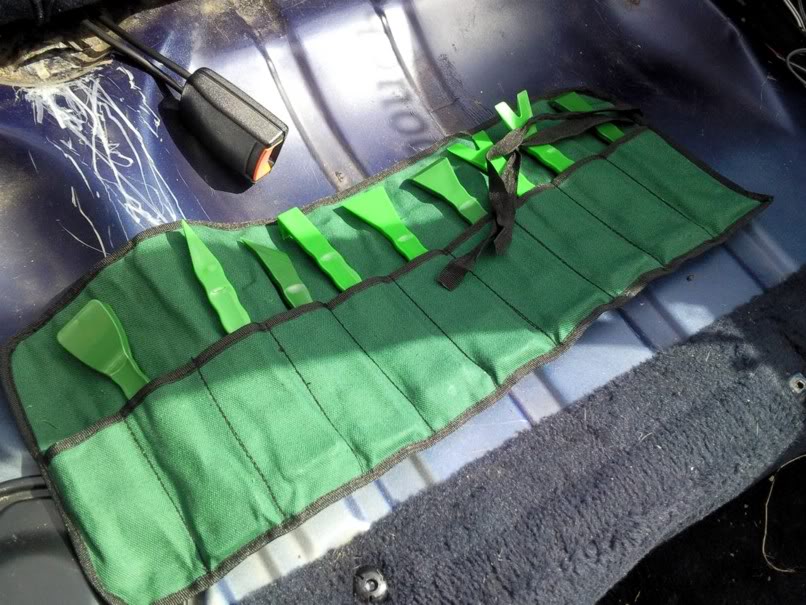
I bought this little interior tool kit off eBay for ?3! great bit of kit
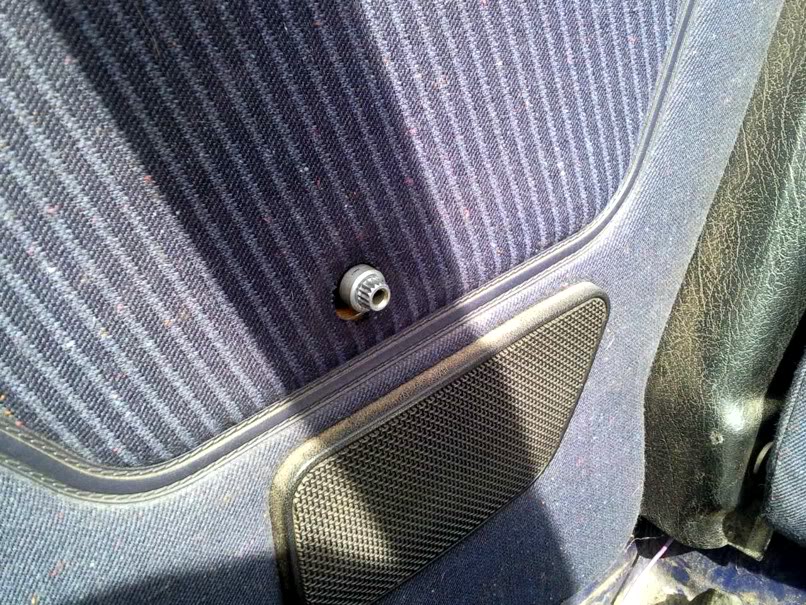
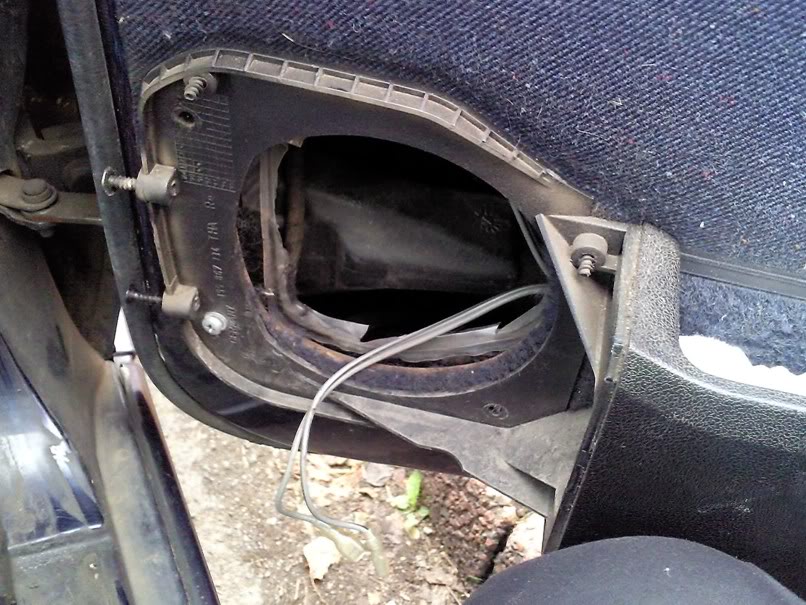
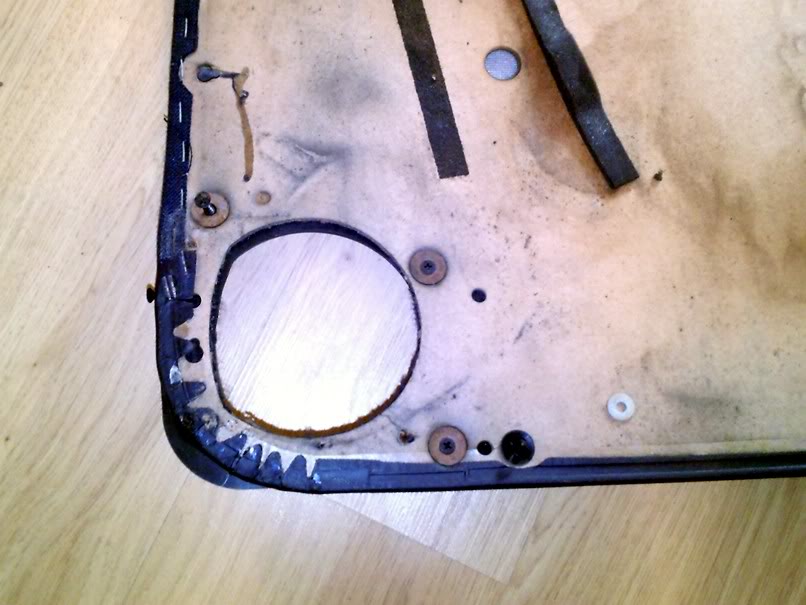
Then out with the rear door cards, just undid the winder screw and popped out the card.
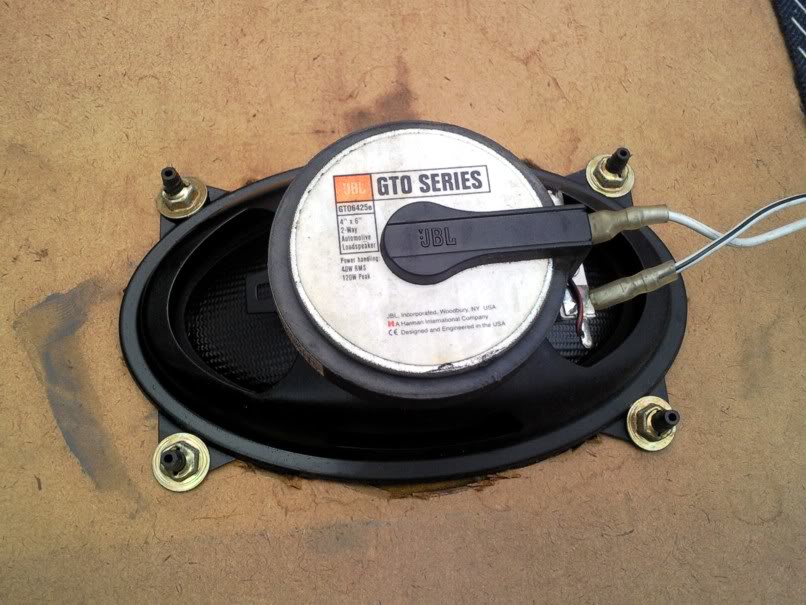
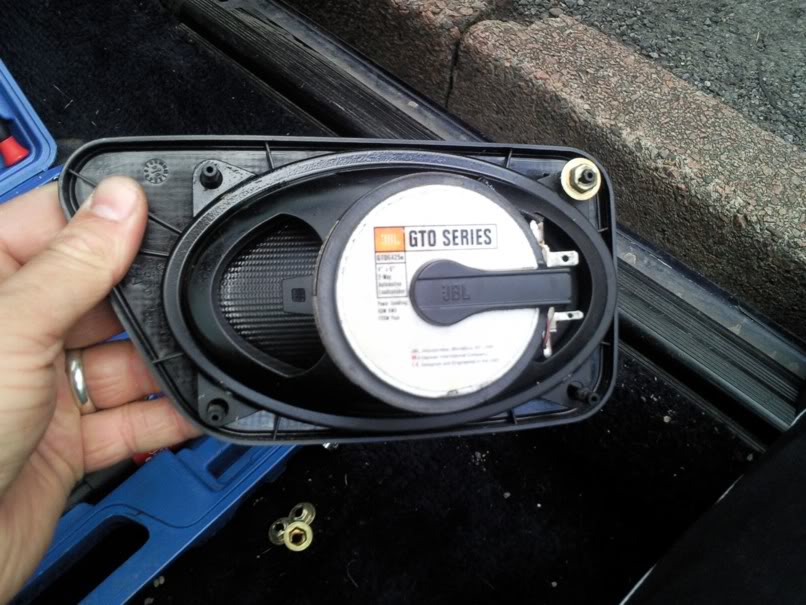
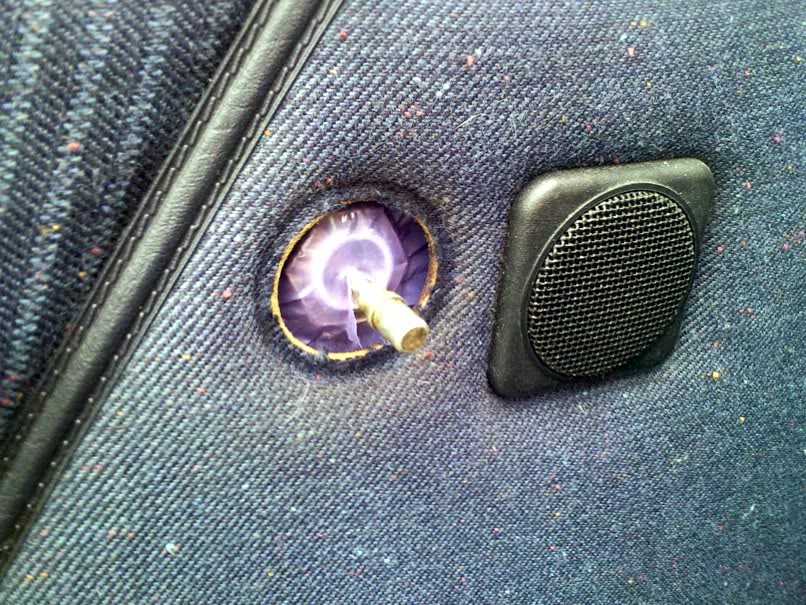
The previou owner had put Sony 6x9's in the parcel shelf, stupid coz when you put the roof down, you can't hear them! So I was going to take them out an upgrade the standard speakers in the rear door cards. You can imagine my amazement when I saw these little beauts!
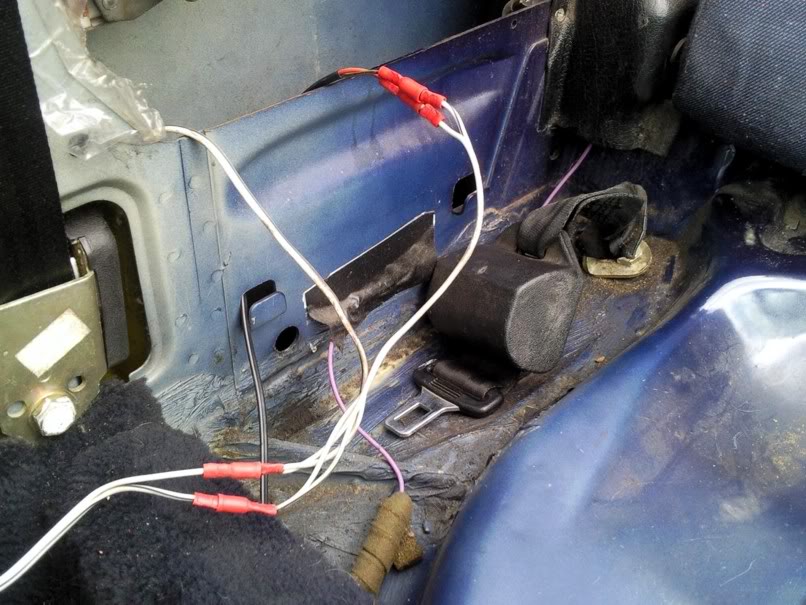
The wiring was all screwed up spliced here and there, it was coming out tho.
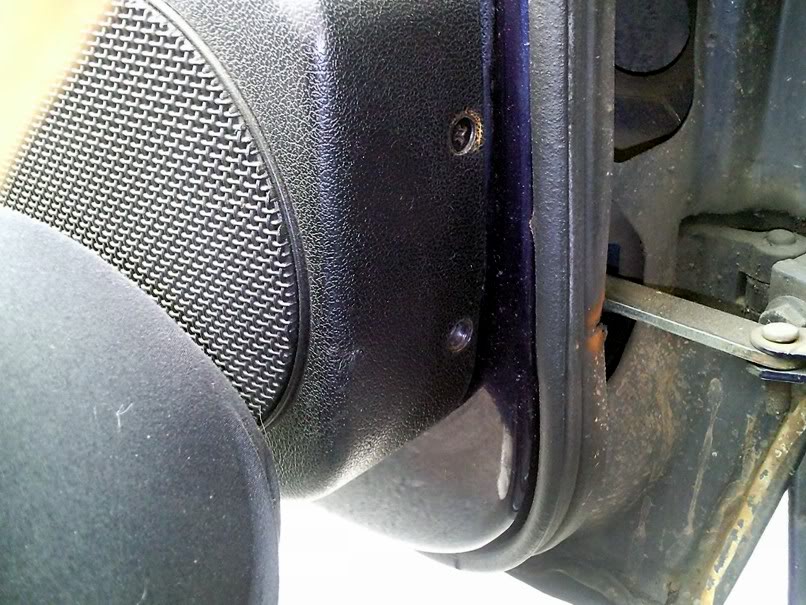
I took the speakers out, coz I needed to swap them over to the leather door cards.
Next the carpet.
I started with the rear section.
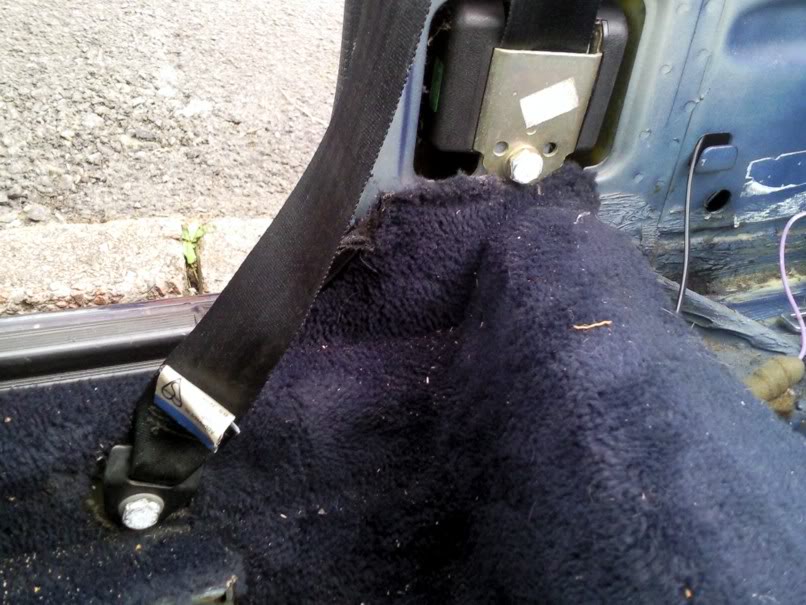
It had a few of these clips holding it in, also had to take the seat belt bolts out.

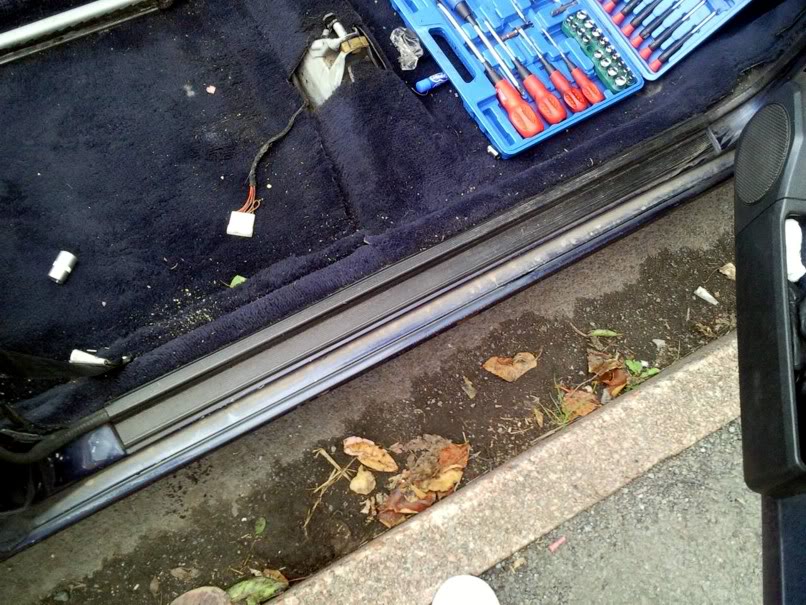
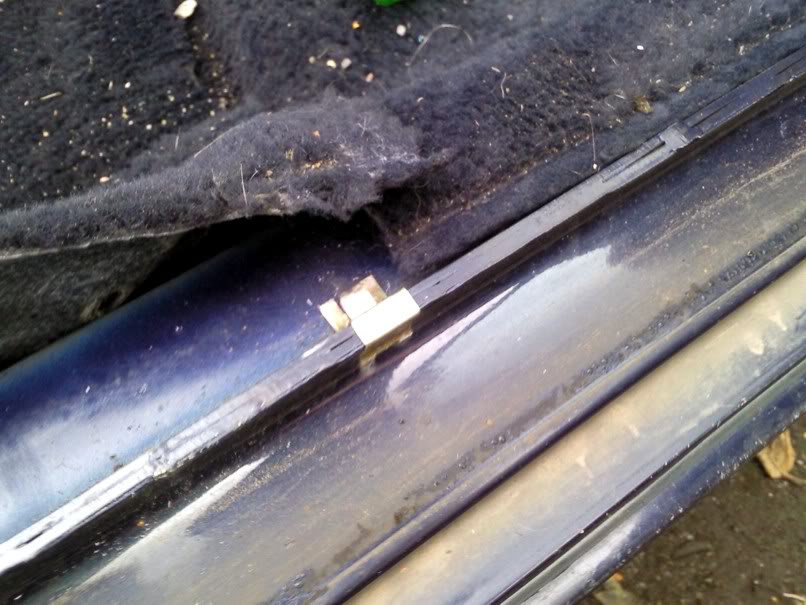
Sill cover had to come off
A few clips holding the carpet in place
Only found 5p in the whole process!

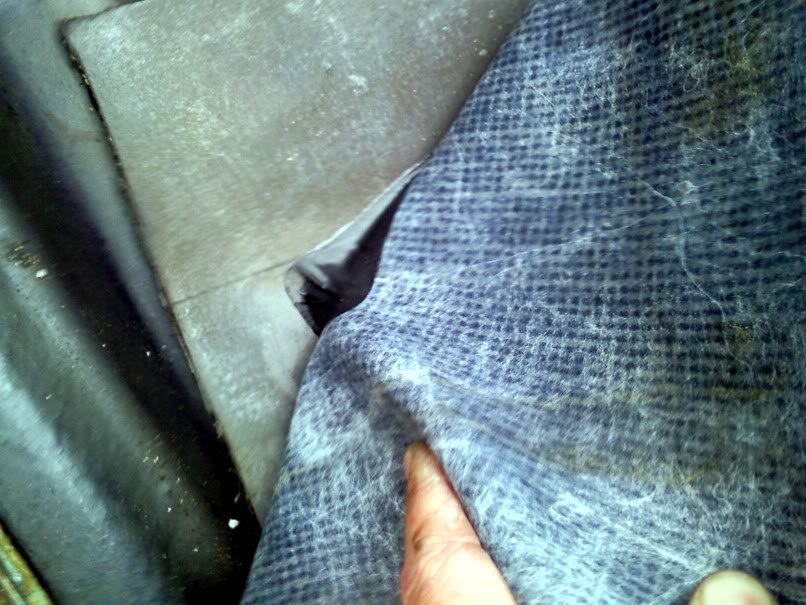
Rear section of carpet had some silcon style glue holding it down
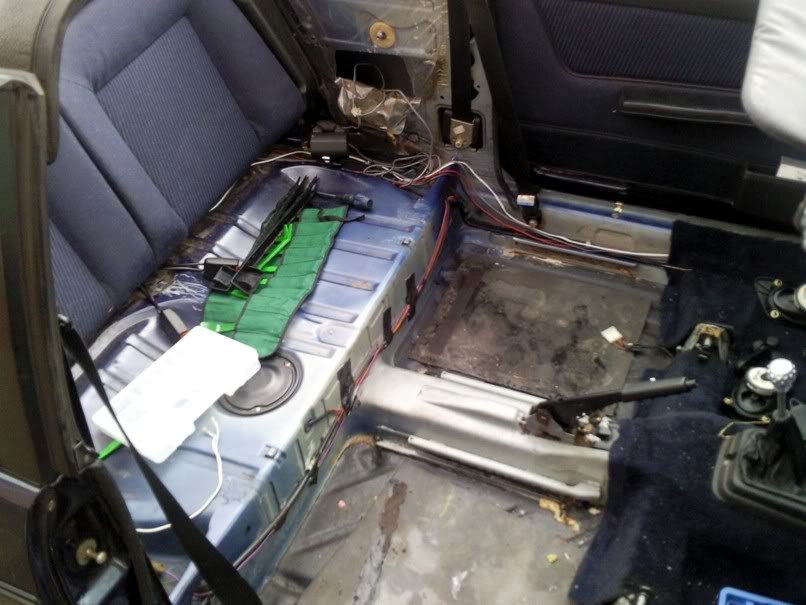
Rear section out
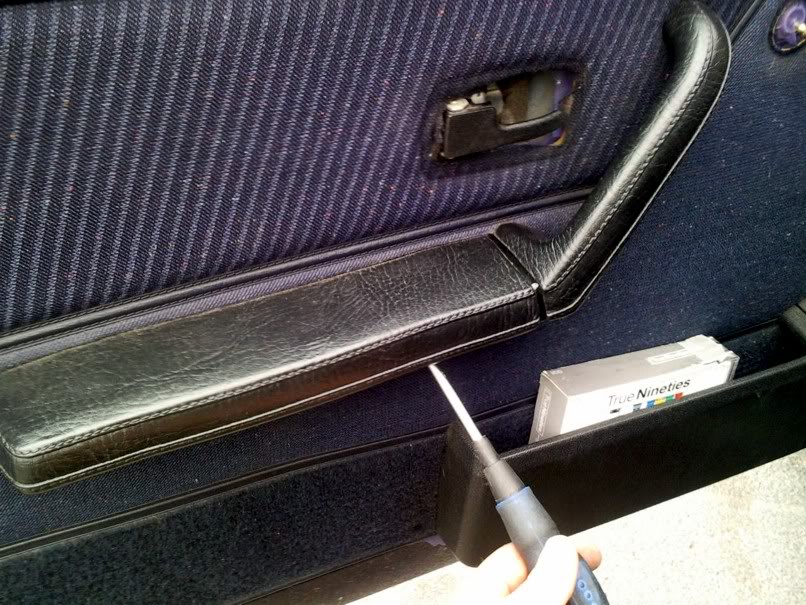
Next started to take the front doorcards apart
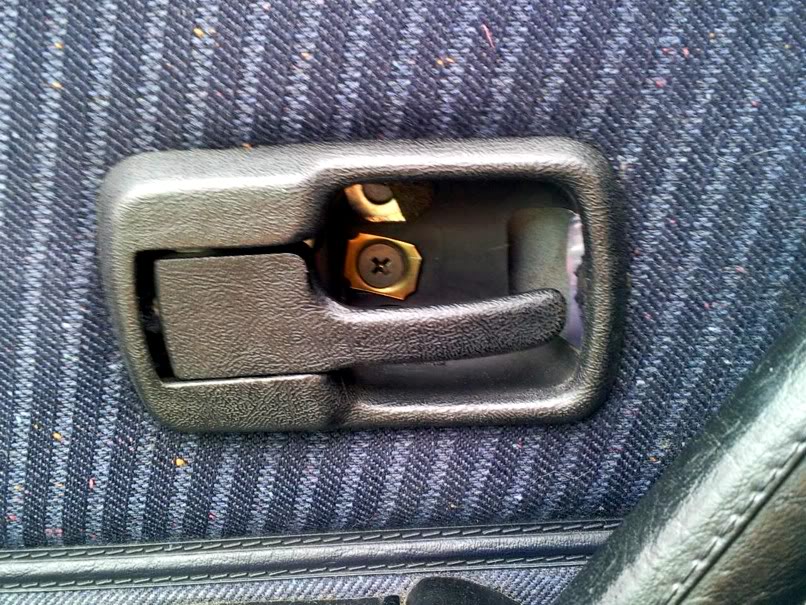
Disconnect tweaters, looks like somebody has fitted capacitor cross overs

Door pockets come off from the back
I called it a day at this point and started dismantling some beers instead! :mrgreen:
So the next day, with a slight hang over, I realised afterwards that I'd forgotten to take many pics whilst I was working, doh
The knee bar was a nightmare to get off, my club style hands were not small enough to squeeze in to some small places.
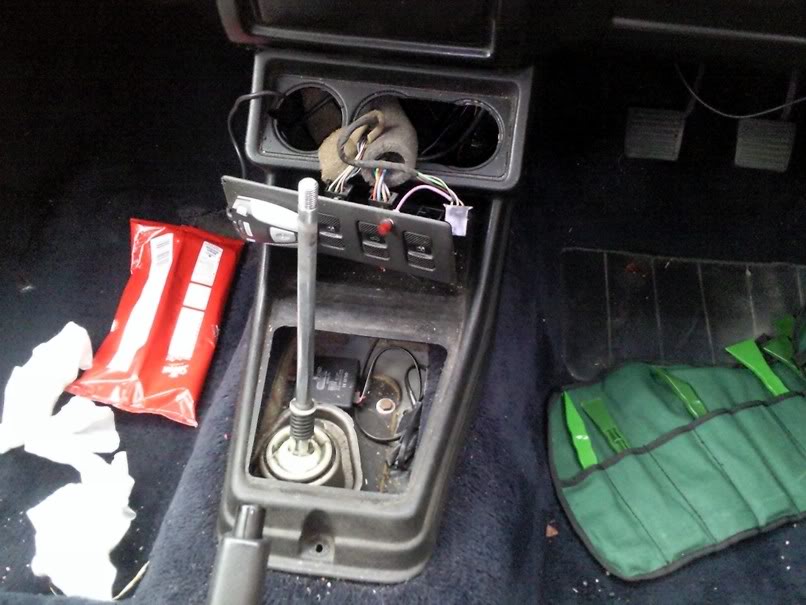
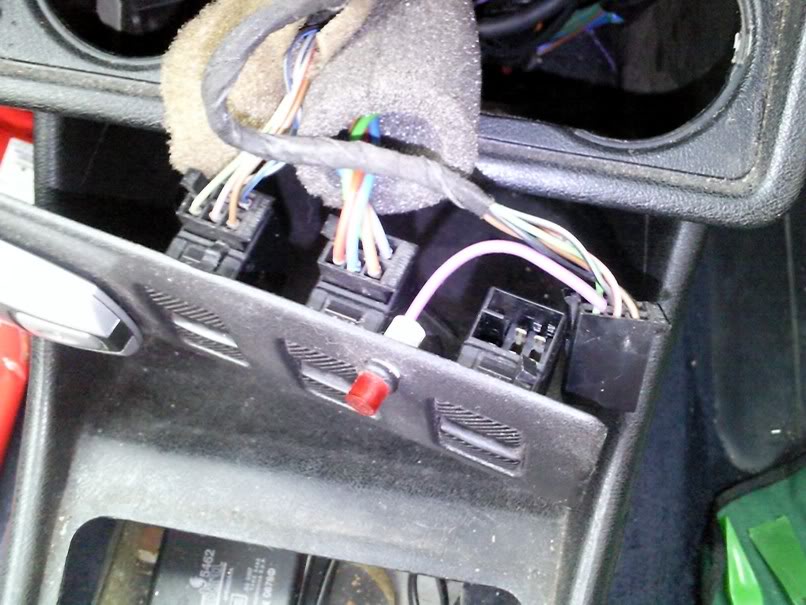
Centre consol had to come out
The front carpet was a little more tricky to come out, theres some round clips that hold it on at the front, but it all came out eventually. Sound deadening was in pretty good condition so I left it all as it was. I'm really gutted that I didn't take any more pics as it was all going back together. I was too excited to care!
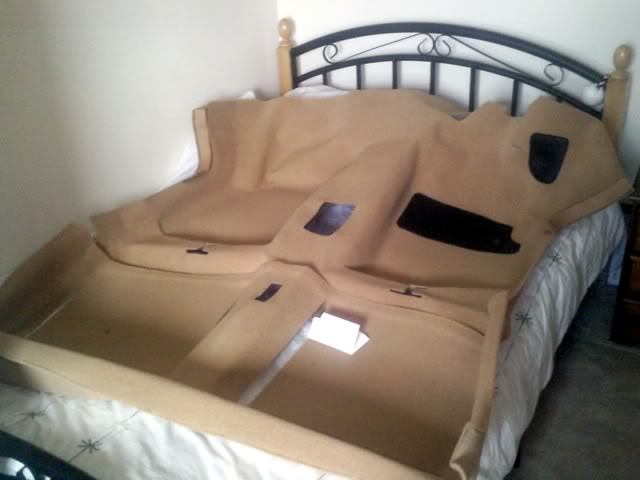
Here's the carpet from Newtown Commercial, buscuit colour
So jump forward a bit and this is how it looked earlier on today.
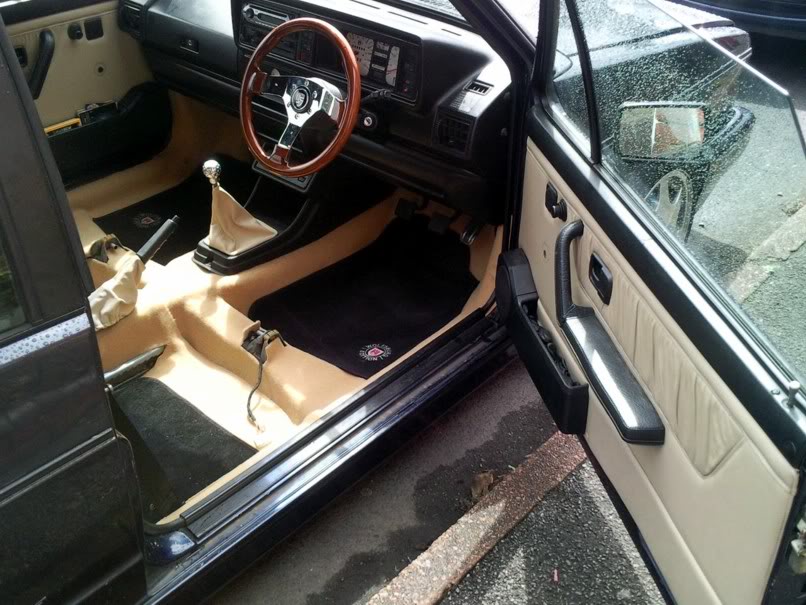
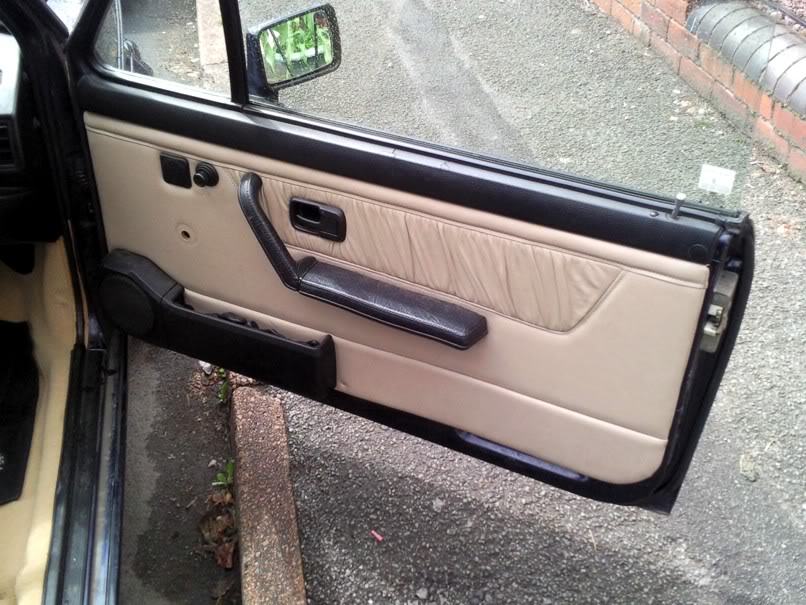
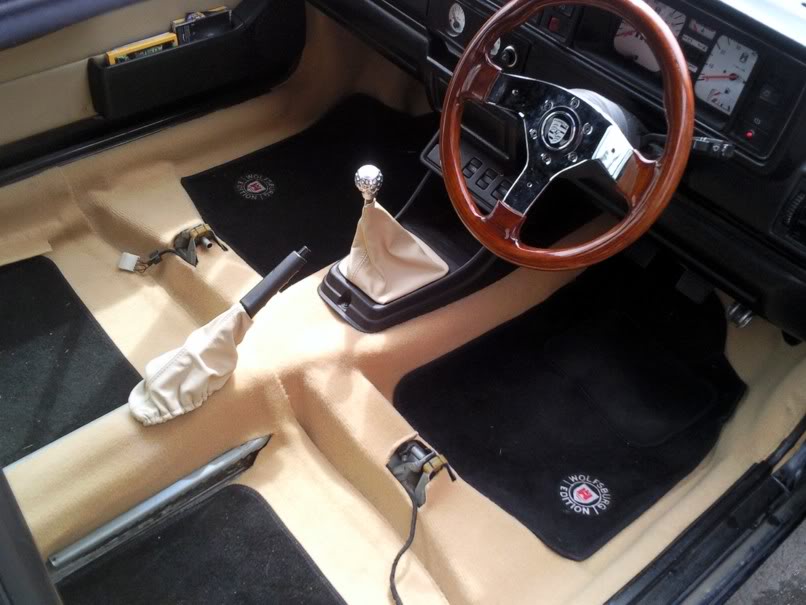
Do you like my wooden steering wheel? ?5 off eBay ages ago! It had a few splits in the wood so I sanded all the paint off and repared the knackered laminations at work. It helps being a wood work teacher! Stained it with some teak wood stain, then used some 2pack clear coat to get the shine back. The door cards had some holes cut in them for window winders, but i've made some blankning plates and am waiting for some cream leather to cover them with.
Next on the list is phase 2, the seats!

Posted
Settled In

If you're binning the blue vinyl, I wouldnt mind some off-cuts so as I can repair my drivers seat bolster - let me know your plans and we could sort something out 8)
Steve
Posted
Old Timer
Posted
Old Timer
Posted
Settled In

1983 mars red 1800GTi on ATS cups

G60'd, schrick cam, chipped, 70mm pulley, pace charge cooler, rolling road 182bhp 250Nm of torque, 14.50 quarter mile.
Posted
Old Timer
What a difference a new carpet makes. Where did you get yourcar mats from? Im looking for plain black ones that actually fit so Im hoping the company you got them from sells plain ones. The ones I have are too wide.Crazy_Ivan said
whats the quality of the carpet like?
My new black carpet from Newton commercial came a few weeks ago but havent fitted it yet. The pile isnt as thick as the original carpets but it looks very well made and everyone says they fit perfeectly

Posted
Old Timer
I got the floor mats from Ultimate Dubs this year, can't remember who from tho. Ans4r was there with me when I bought them, think I paid about ?15 for them.
Here's a quick question: How do you get the rear seat upper section out? I've folded it forward and can see at the bottom where it hinges, but they have rounded heads on the bolts? :dontknow:
I've re-covered the bottm rear seat and it looks fab. Much easier than I expected. I just need to get the upper section out to do that and start on the fronts. I'll post some pics later.
Posted
Settled In
To get the back rest off there are 2 bolts on both bottom corners you just need to bull the corners back to get to it then release the top.
Drew
/Users/cherie/Pictures/iPhoto Library/Originals/2008/16 Sep 2008/DSC01016.JPG
Posted
Old Timer
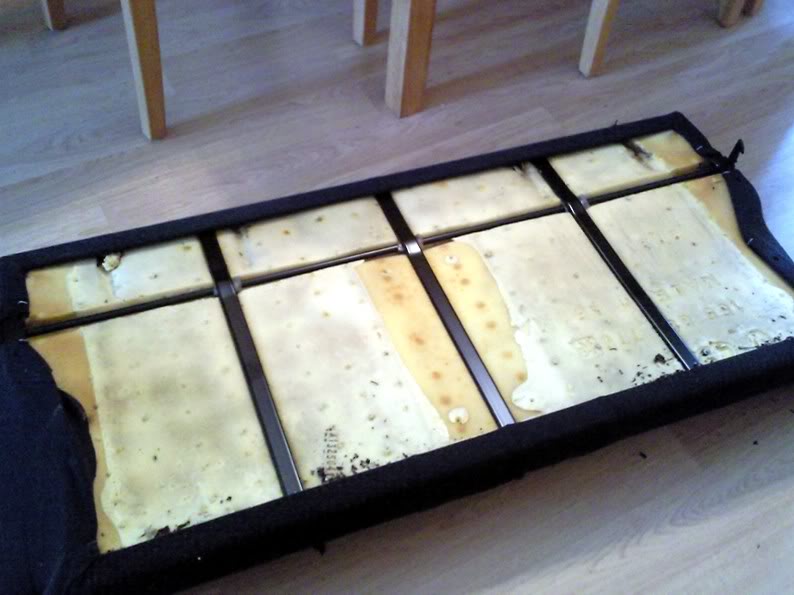
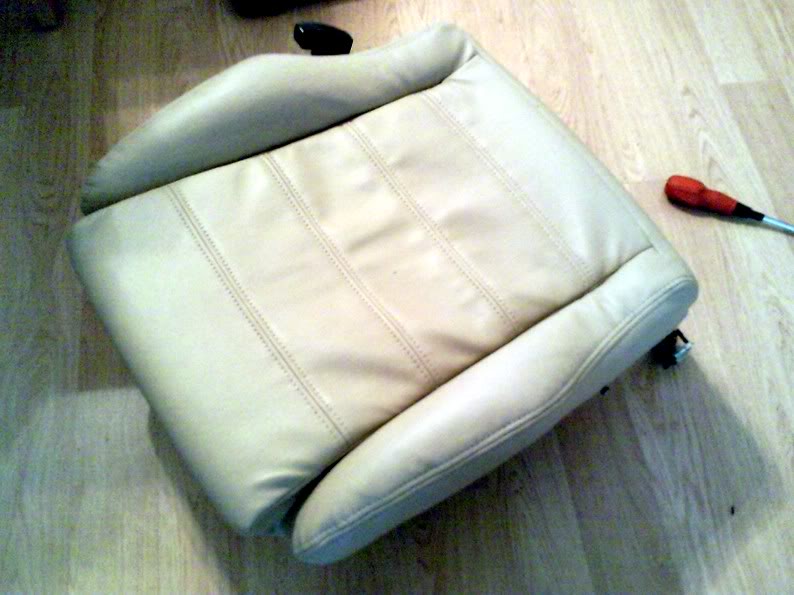
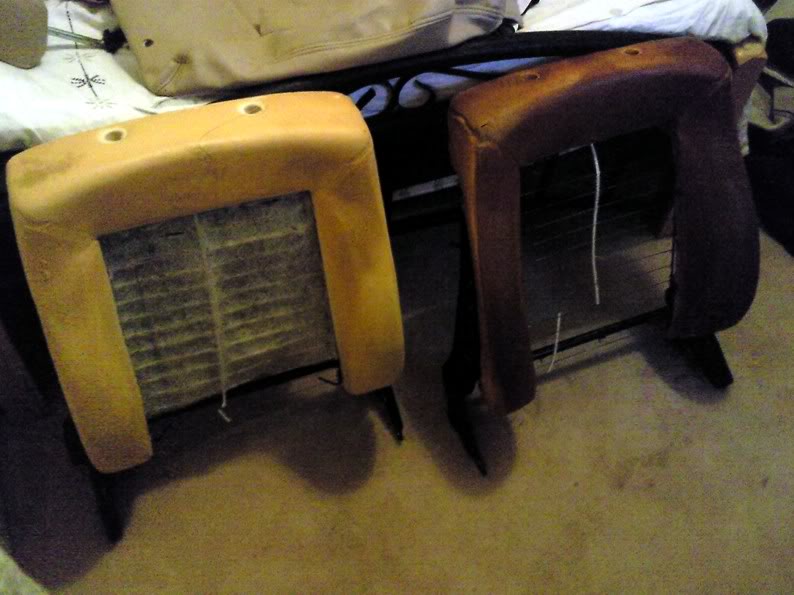
Started with the base.
Unwound the wire keeping the cover taught
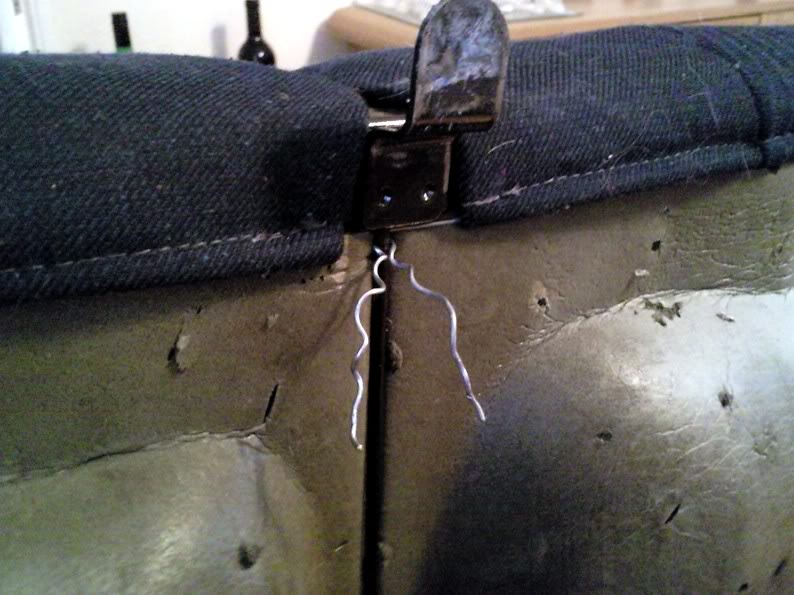
Then you have to unclip these wires that hold the fabric tight to the foam
Heres the 2 covers

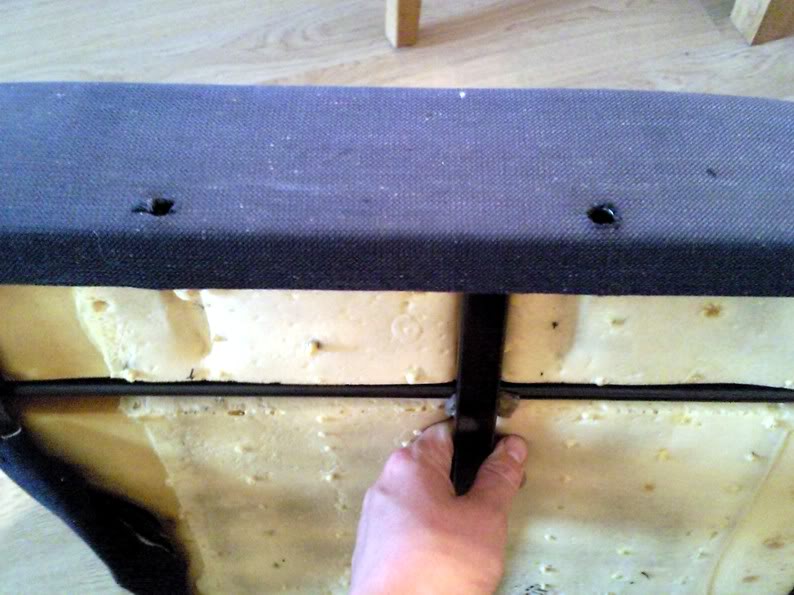
I had to slide all the wires out of the old covers and then slightly bend the ends to make it easier to re tread them in to the new covers. I sued a loop of electrical wire to slide though first then hook the wire over the end and then pull through.
Base retrimmed
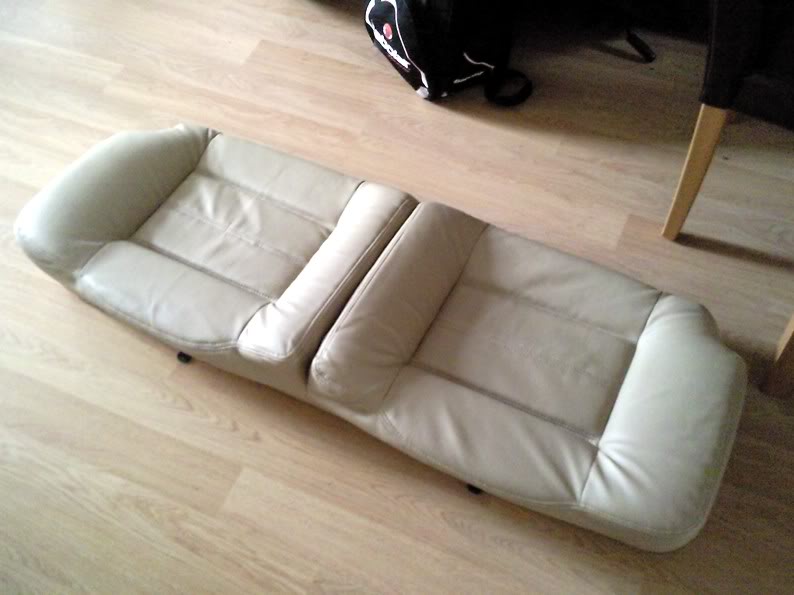
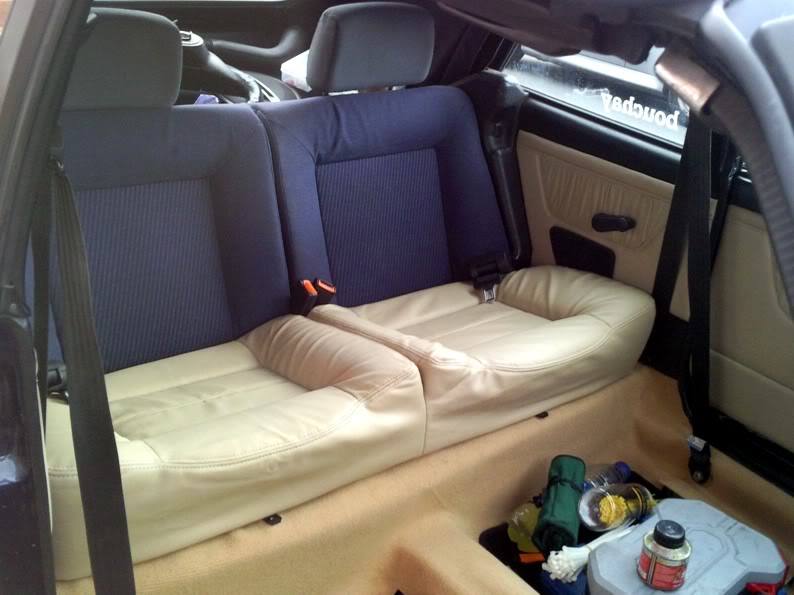
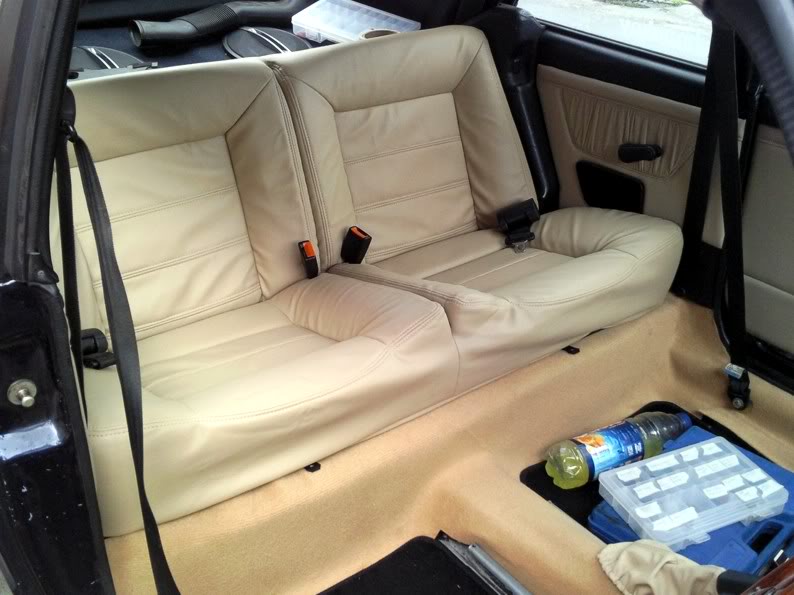
And in the car
Next the back support. I couldn't figure out for ages how to take it off. I knew that if you pull the lever in the boot and then unlock the seats rom the side, this would tilt the seat forward. But could I figure out how to unclip the seats from the hinge at the bottom, no. Then smack, i saw that they unscrew at the hinge part
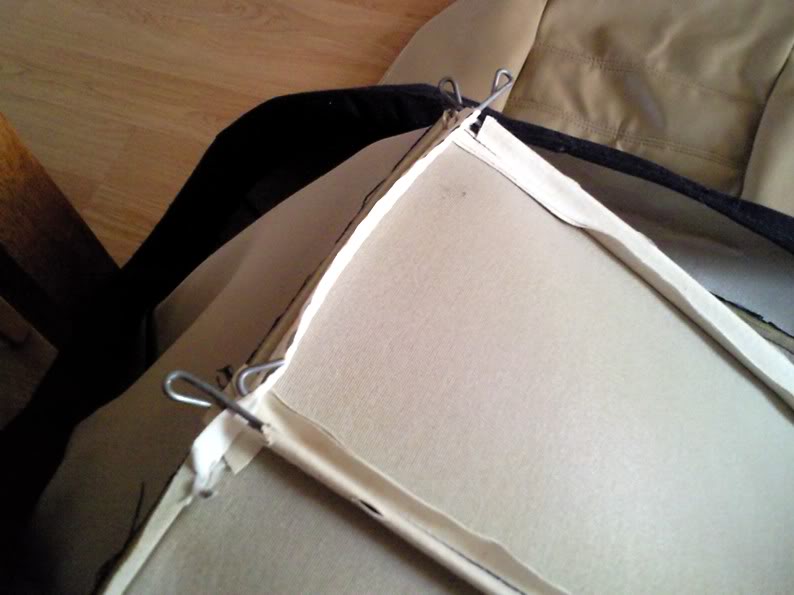
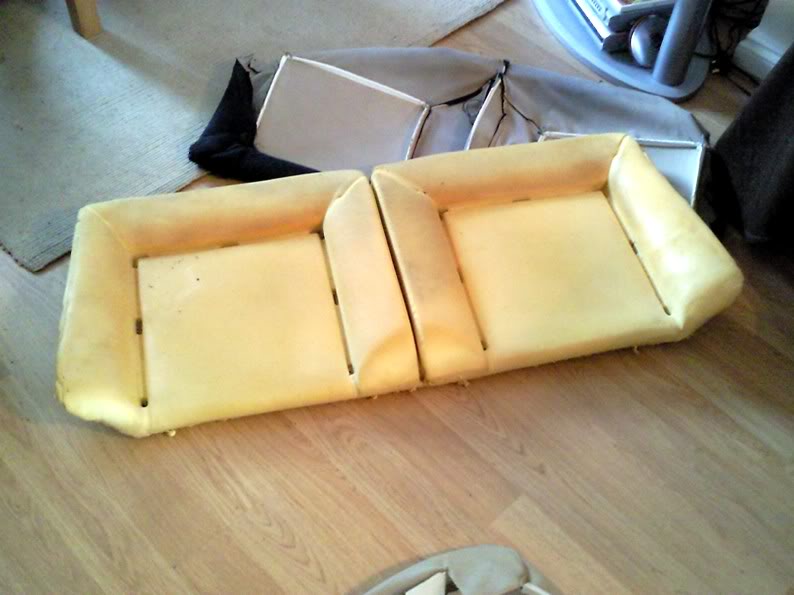
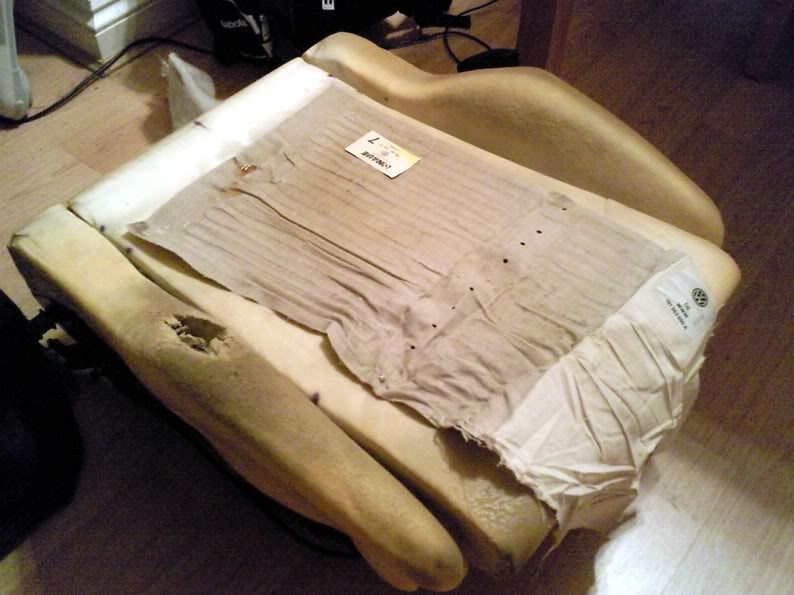
So with the seat out, I lay it on it'ds front and took the rear cover off.
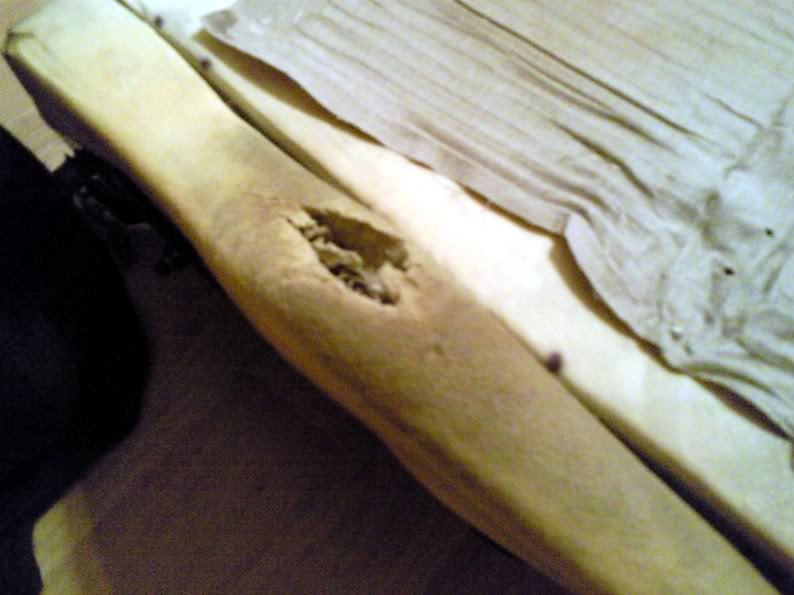
The back just pops off, revealing the inards
You cansee where the holes had been drilled
The sides are hog clipped in, and the top and bottom use a thick cardboard insert to keep them in place.

Then just like the base, unhook all the wires and then transfere them in to the new cover.
The holes in the frame for the headrests are going to be covered over for the time being. I could just make a small hole in the fabric and just place them back in. But, I want to do it properly at a later date.
And here it is all back in
I'll start taking the front seats apart tomorrow, hopefully be done by the weekend, or the sunday evening!
Posted
Old Timer
And the 6x9's in gthe shelf are going aswell,l so at some point i'm goingto need to make a new shelf and re trim that in either cream carpet ot cream leather.
I was in a furniture shop today and was looking at some leather cushions. I think i'll get 2 in cream for the rear seats when i'm all done.
Posted
Settling In

Posted

Settling In
ERROR: A link was posted here (img) but it appears to be a broken link.

Posted
Settling In
ERROR: A link was posted here (img) but it appears to be a broken link.
Posted
Old Timer
By the end of the day, it'll either be looking good or I would have admitted defeat and sent the front to my local trimmers to get finished off! :roll:
 ops:
ops:
Posted
Old Timer
The backs are the same but the base is different. So I need a good cabby font GTI seat base to finish off. Which means I have a good condition GTI base set of foams if anybody needs them, drop me a PM.So I retrimmed the passenger base anyway.
I started off by taking head restd out
Then off with the handles

Then the plastic trims

I then separated the back from the base.
The base is really easy to do. Undo the wire holding the cover on underneath then slide the cover off. It's held in by the same wires as the rears. Here's the passenger base redone.
Again I have to tighten it all up and steam them, but happy with the result.
Heres the knackered drivers base.
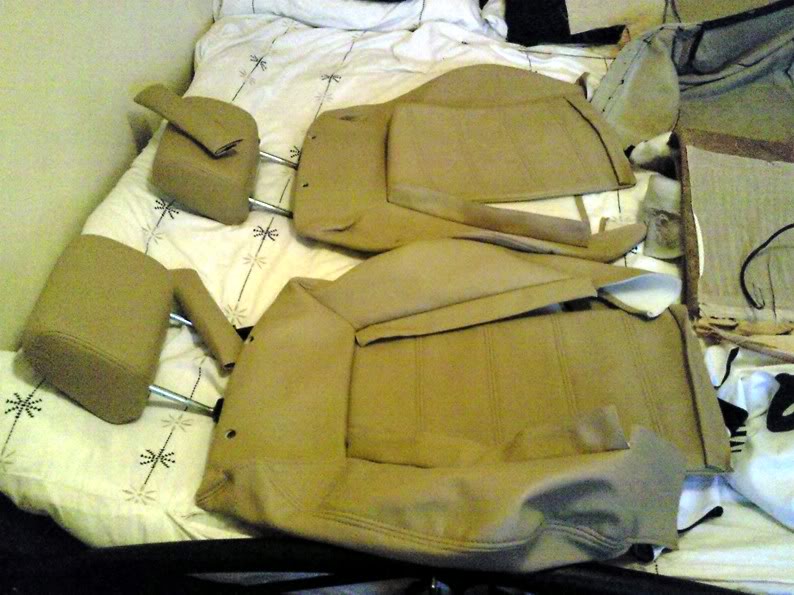
Heres the headrests redone

Front back covers waiting to go on, I had a trial fit and they looked good.
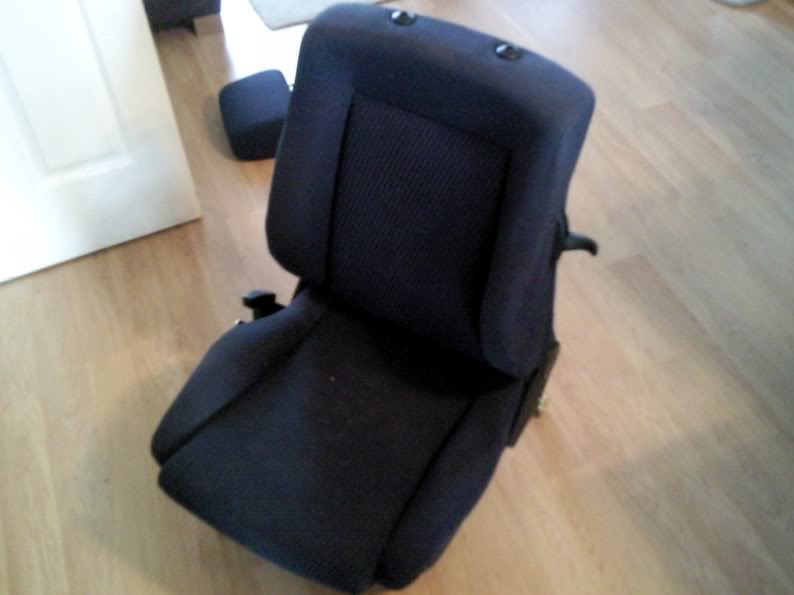
You can see the difference between my 1991 passenger back and the 1983 tin top donor back! Look at the colour difference! 8O
And all my original Blue Rivage cloth finally off

So this is far as I can go for now, untill I get a new drivers or passenger foam cabby base in good condition. I'll try and get the backs to the trimmers to finish off, but I may end up buying some hog clip pliers off ebay. We'll soon see…..
Posted
Old Timer
I bought them from a company on eBay called Eurotrims for ?125. They fit really well, and i'm very happy with the quality, they even include a bag of hog clips & 2 seat belt pads.
Posted
Old Timer
JJ
Posted
Old Timer
http://cgi.ebay.co.uk/ws/eBayISAPI.dll?ViewItem&item=250463919397
Posted
Old Timer

Not bad eh
Posted
Settling In
if first you dont succeed. read the instructions.
There are too many online users to list.