


Busters Caddy - ground up restoration project (Pictur heavy)

Posted
#963334
(In Topic #113821)
Settled In

Busters Caddy - ground up restoration project (Pictur heavy)
Enjoy
Buster
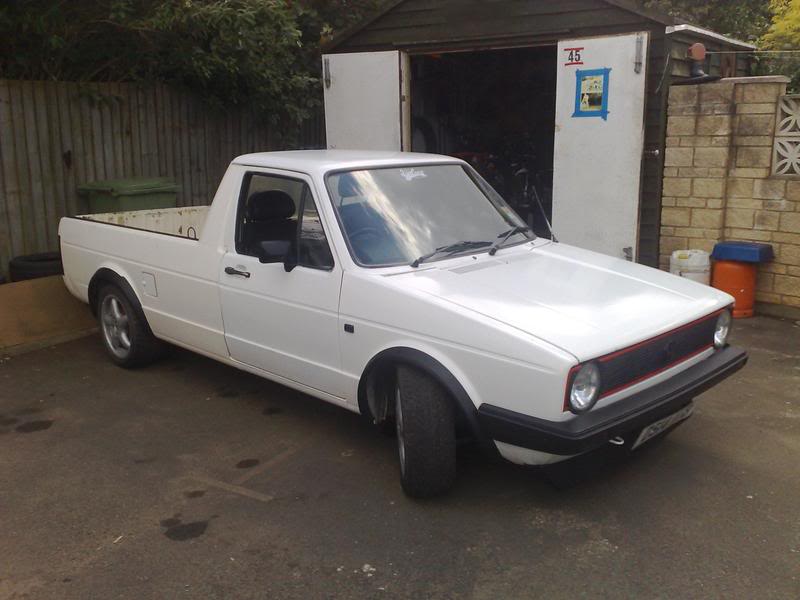
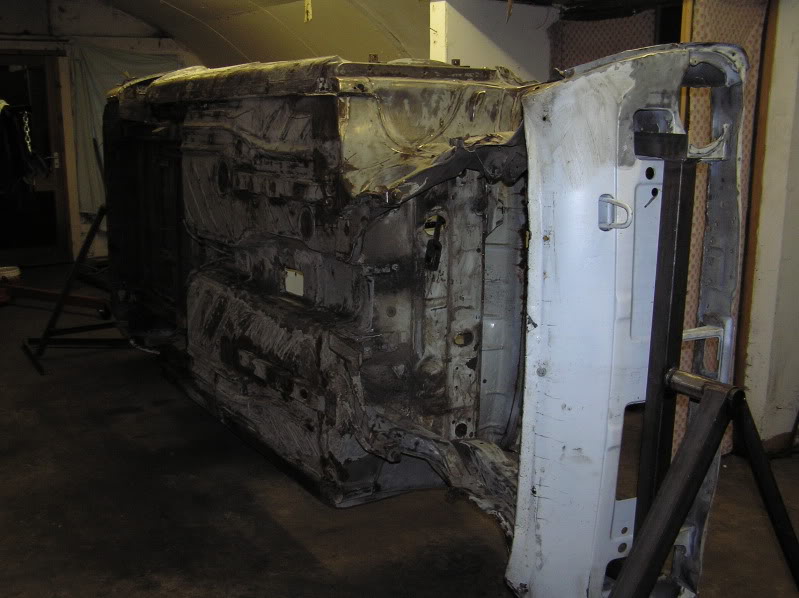
Bought the caddy for ?900. Here a a few pictures of when i first got it.
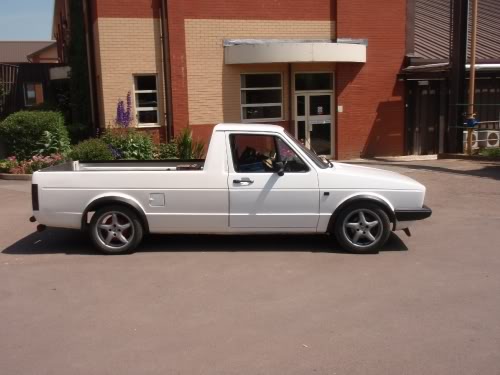
Previous own flipped the rear axle and put lowering springs on up front.
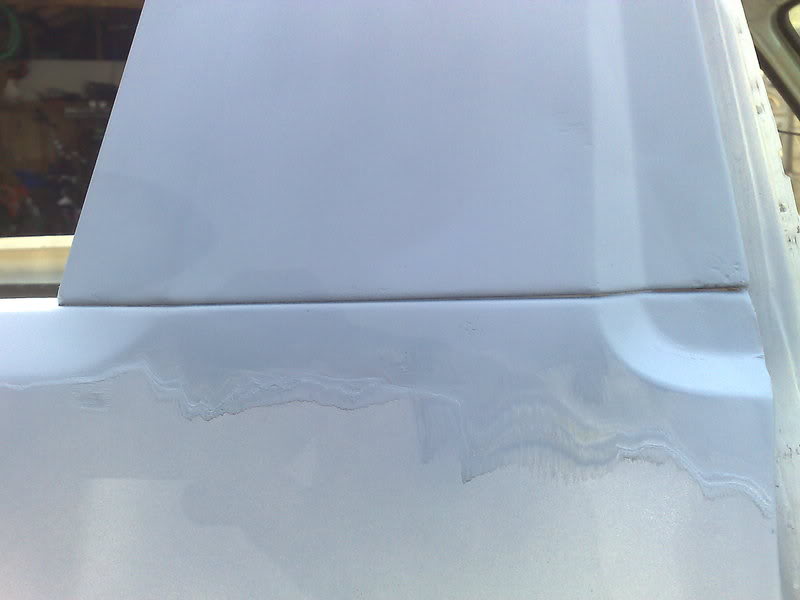
Body work is fairly good apart from being about 5 different shades of white.


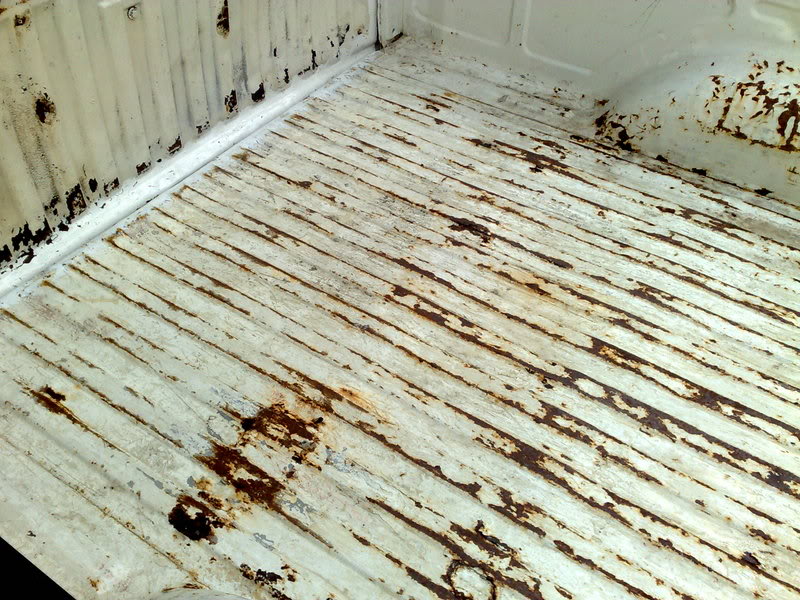
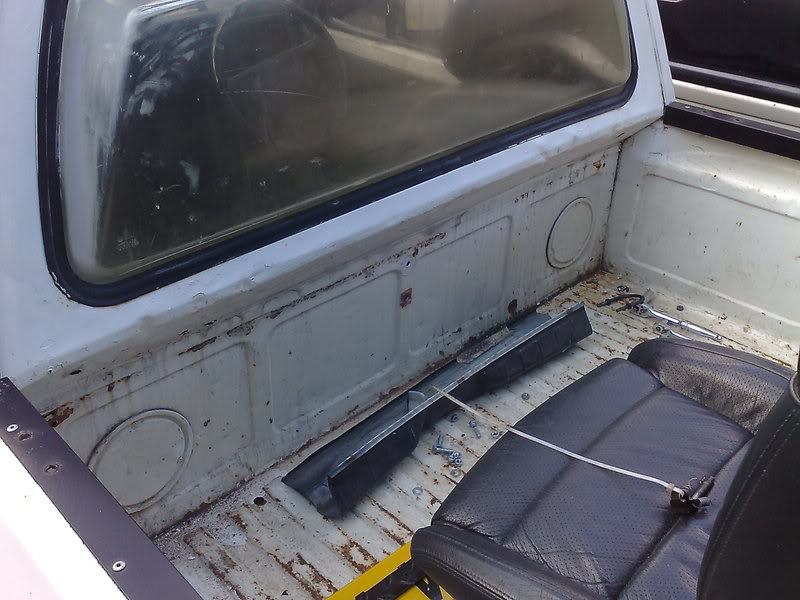
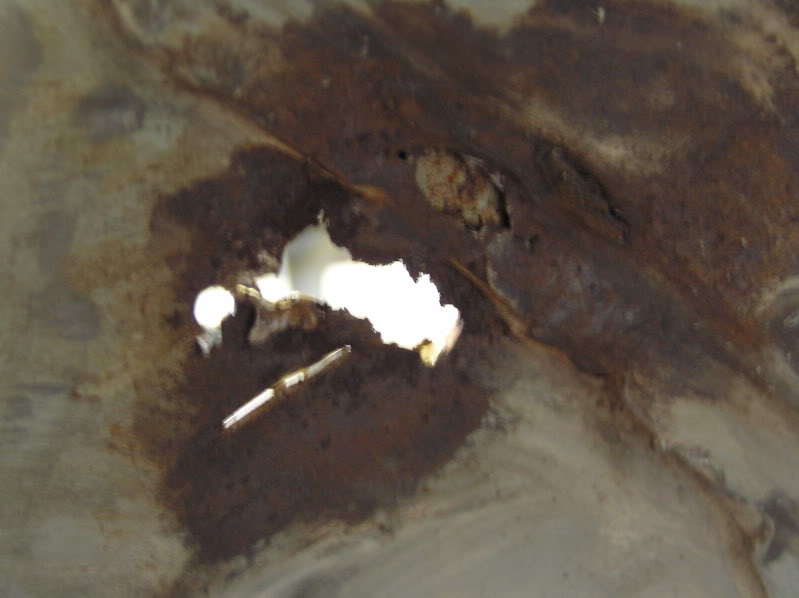
Pressure washed some of the muck out of the bed. Rust looks worse than it is. Most is just surface, however there are a couple of patches that will want sorting out properly.
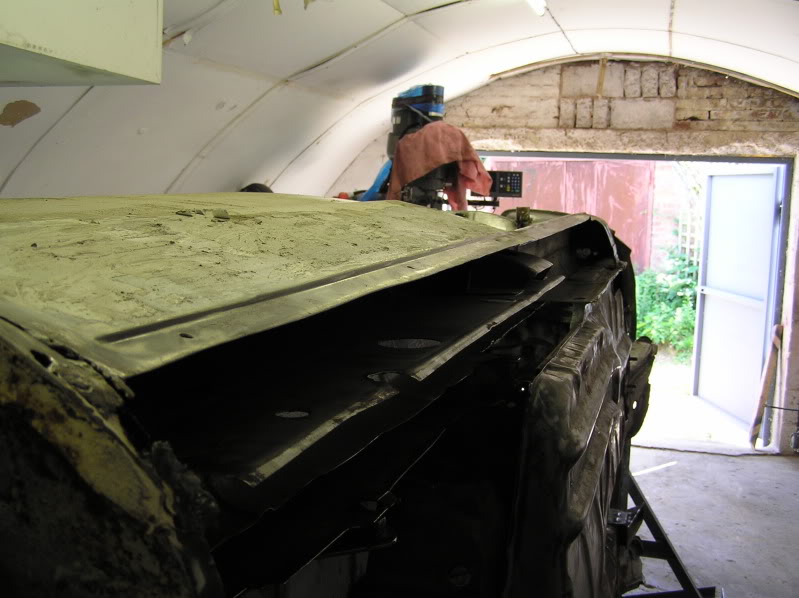
Tailgate is bowed like a banana.
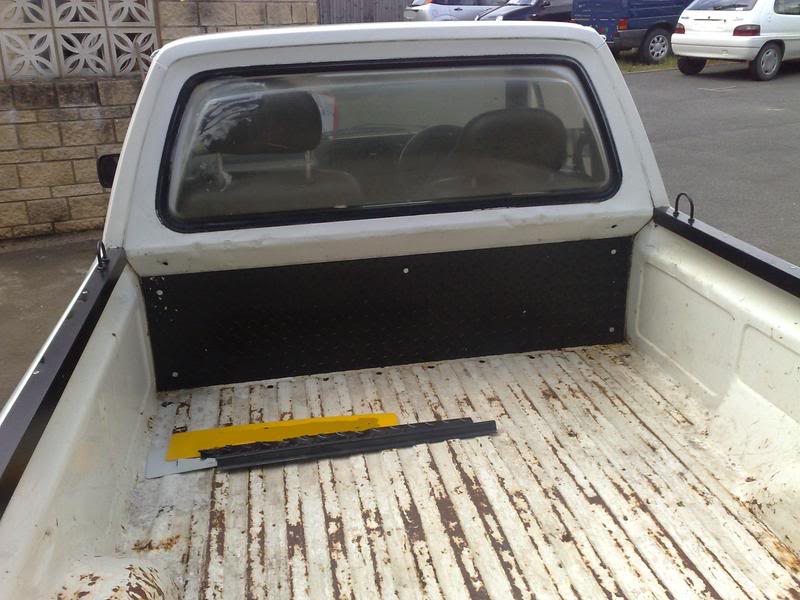
5 bar plate will have to go.
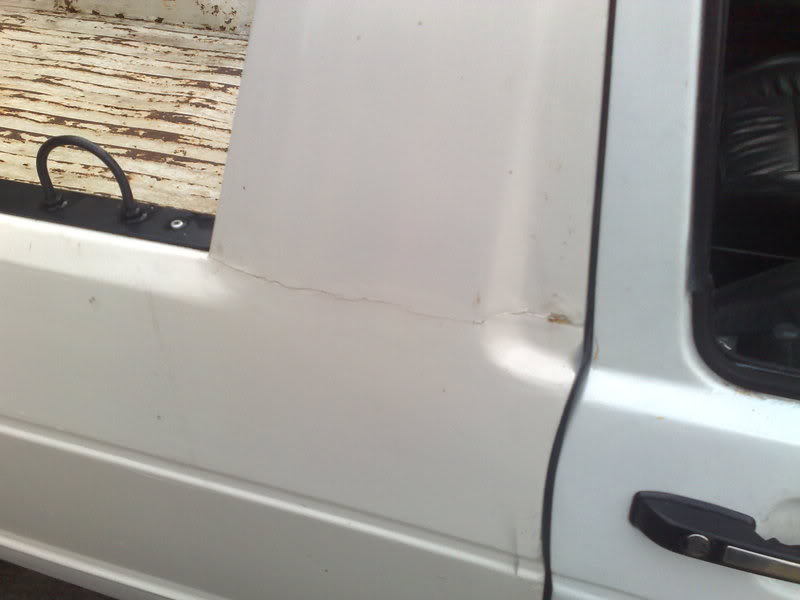
Both doors will need some attention.

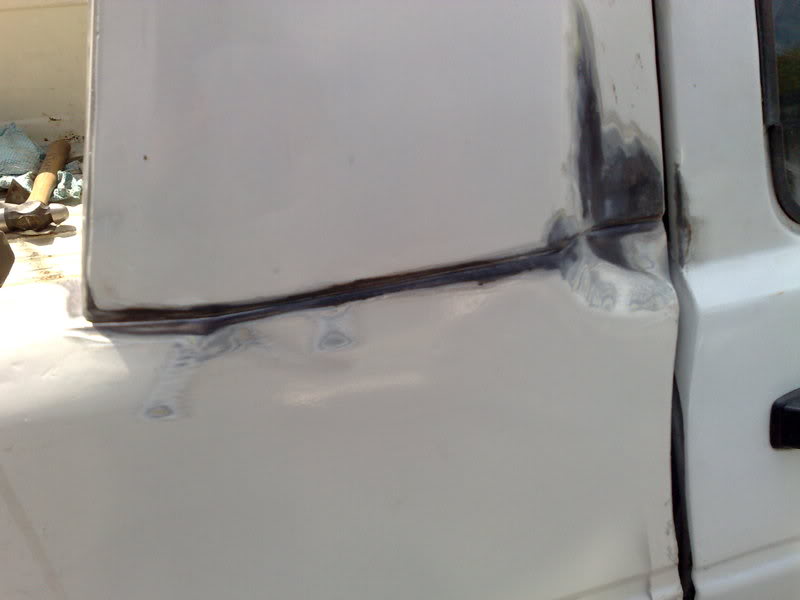
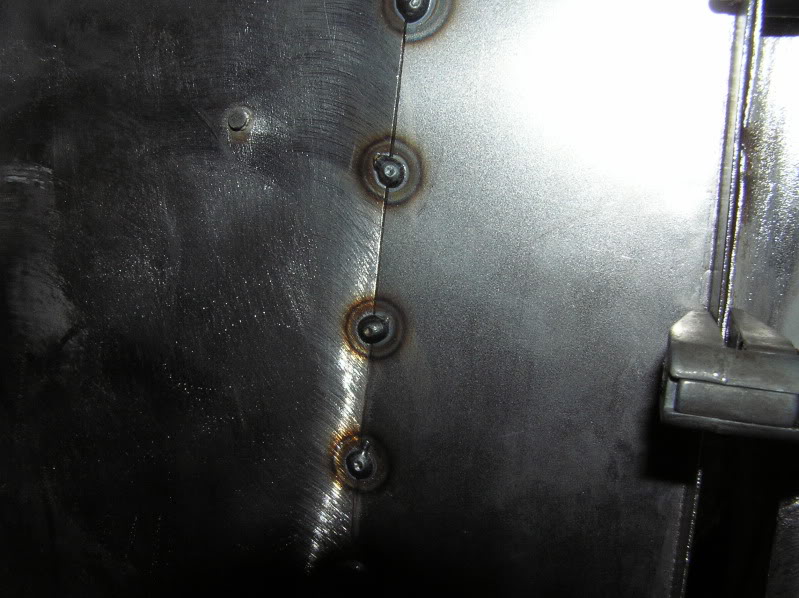
Panel joint line has been attempted to be smoothed. Looks naff! My list of things to do is getting ever longer.
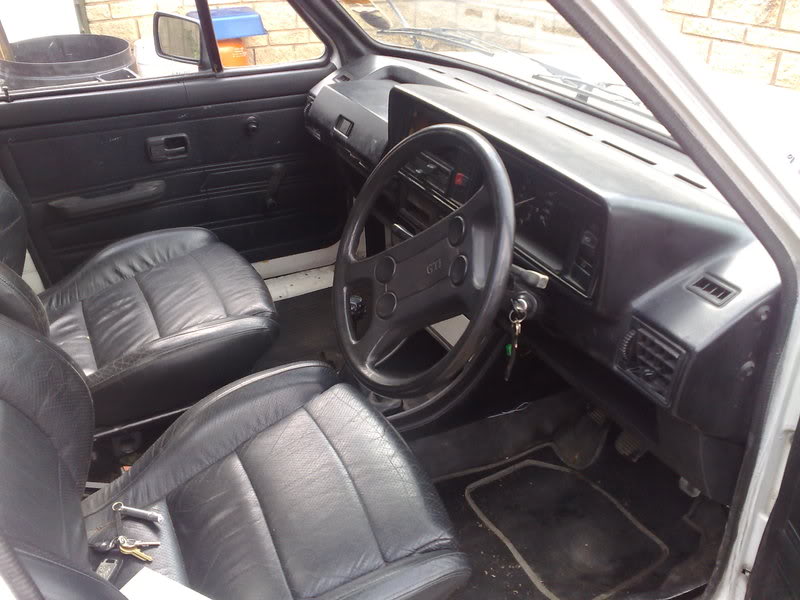
Full leather seat are in good nick.

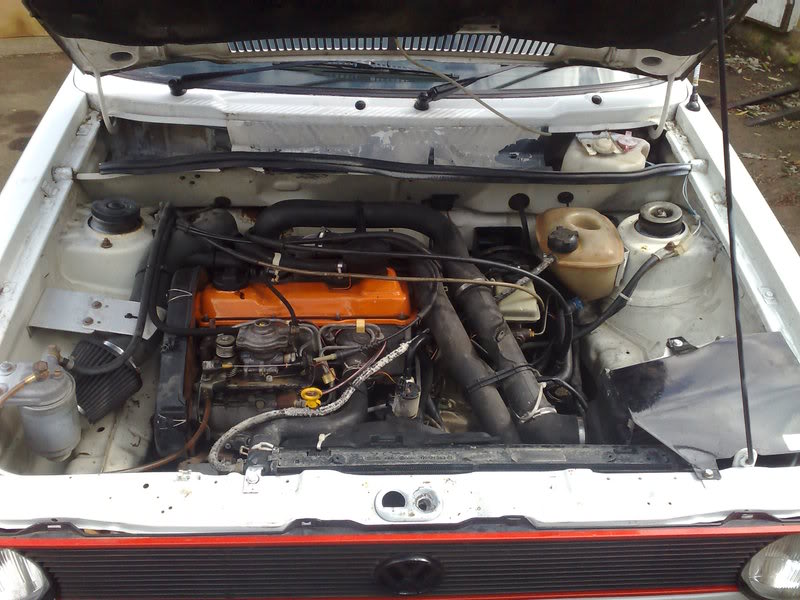
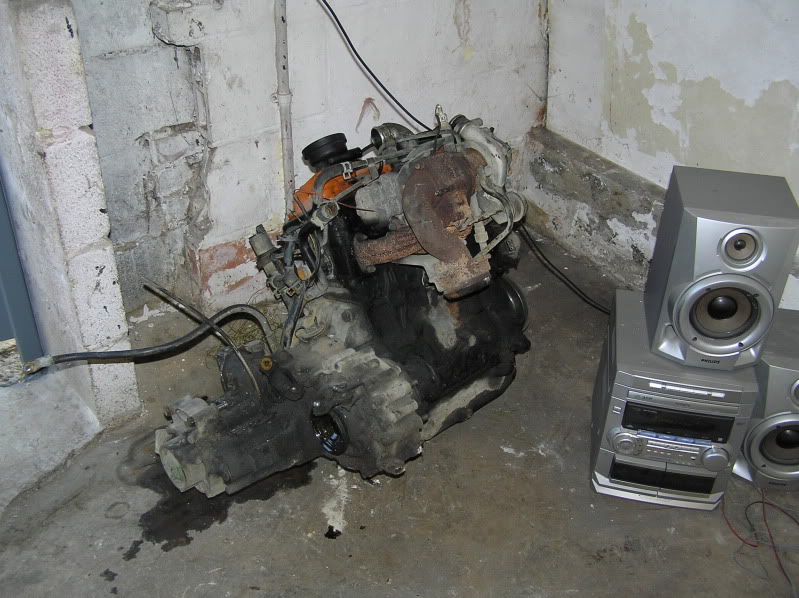
1.6 passat TD engine.
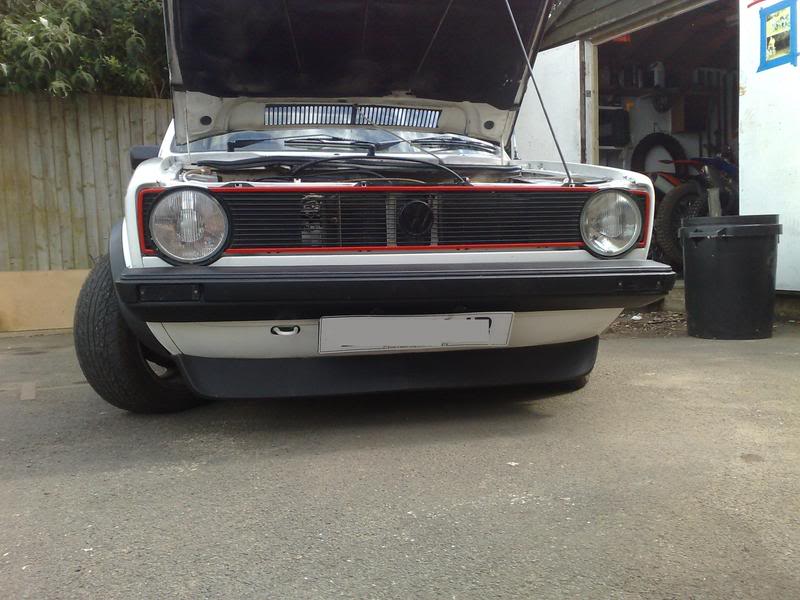
Love the front end!

More to come soon.

Posted
Settled In
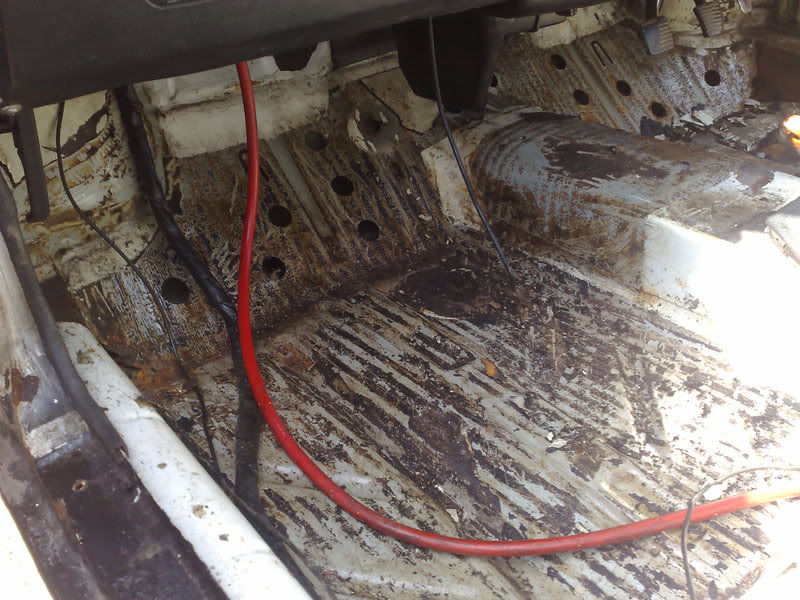

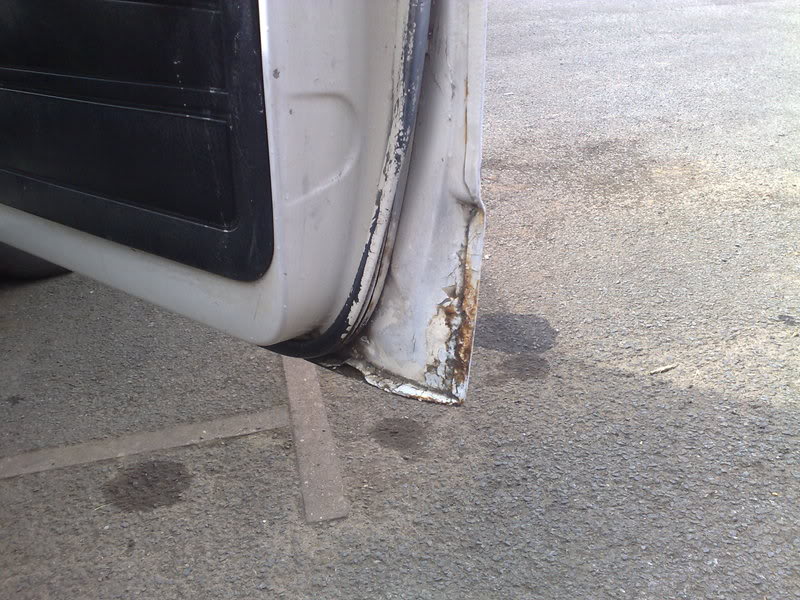
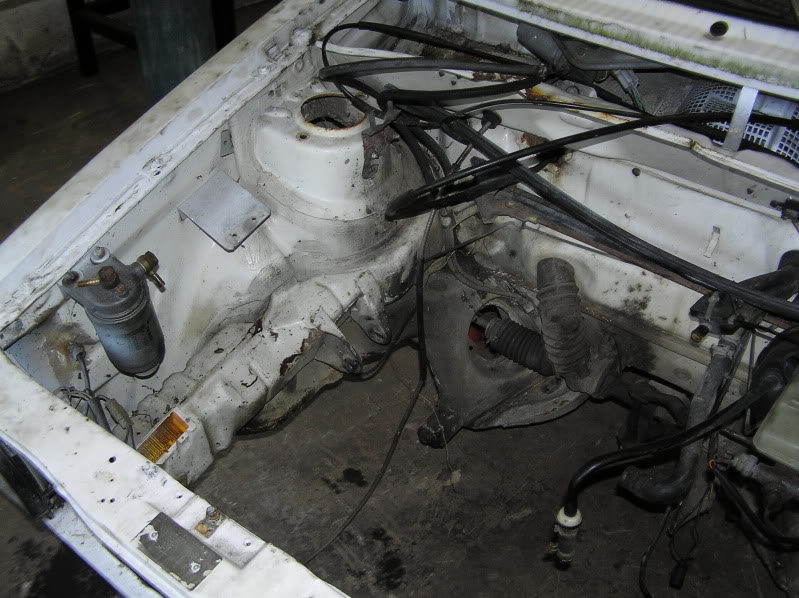
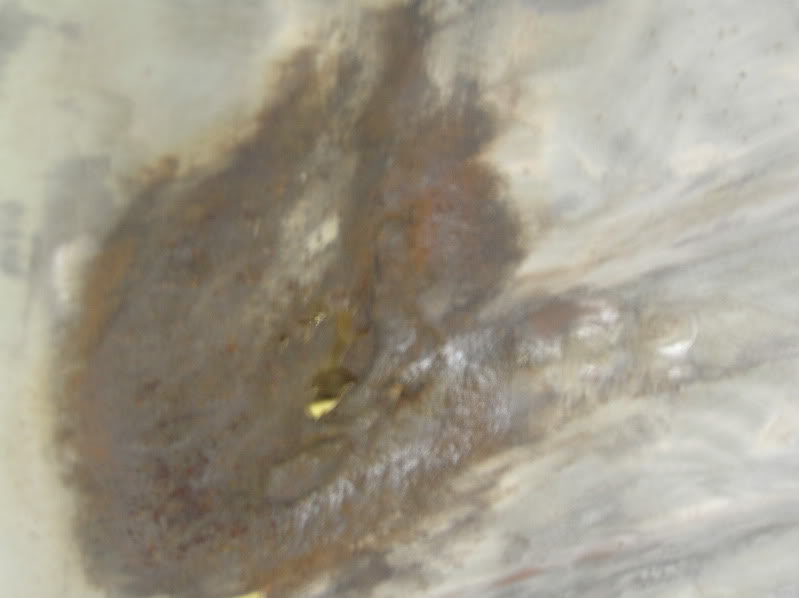
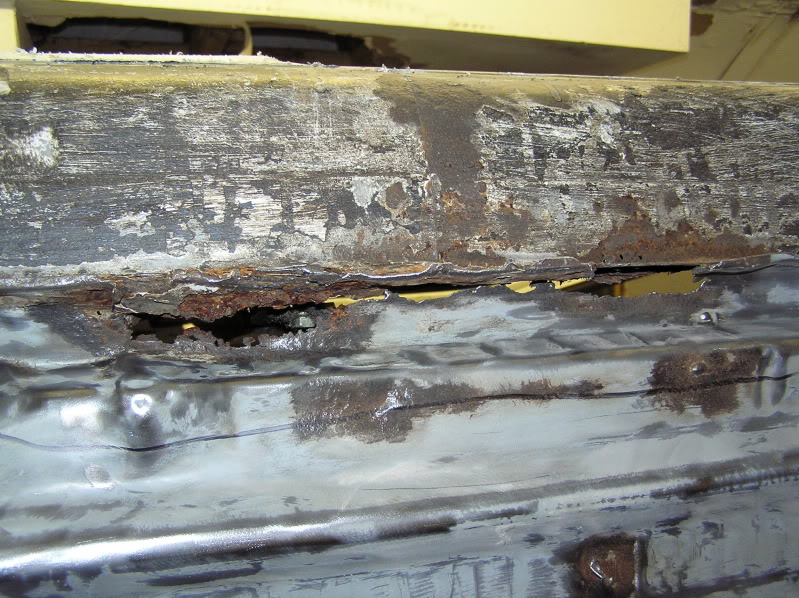
Both the drivers and passengers foot wells have rot in the corners!

Same goes for along the inner sills by the bottom seat belt bolt!

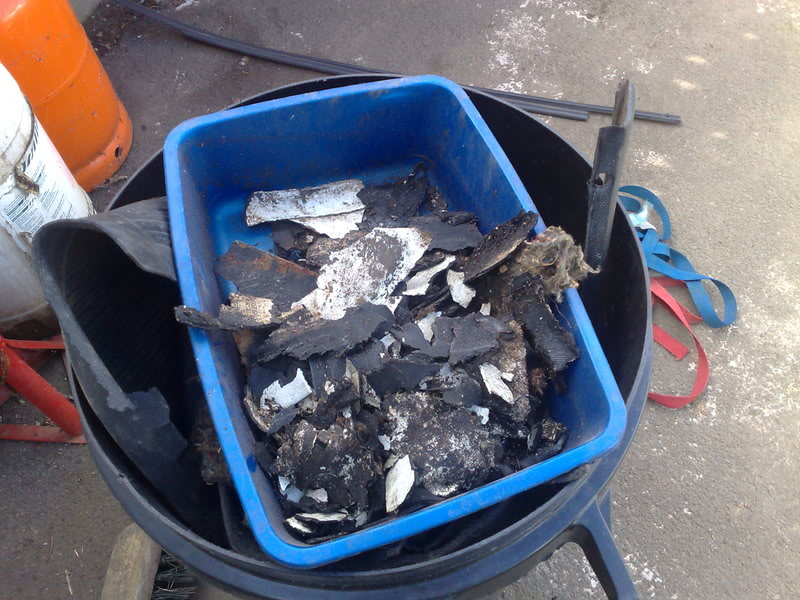
The bin was empty to start with.By the end of the day it was full of all the cra* from out of the interior!
Will sand / angle wire brush all the remaining crud back to sheet metal and then prime everything prior to doing any sheet metal work just in case i uncover any more rust }
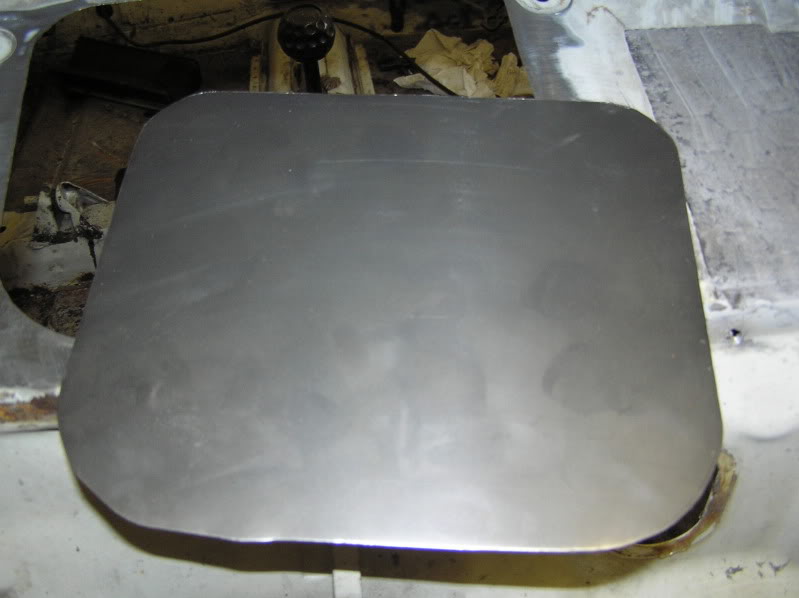
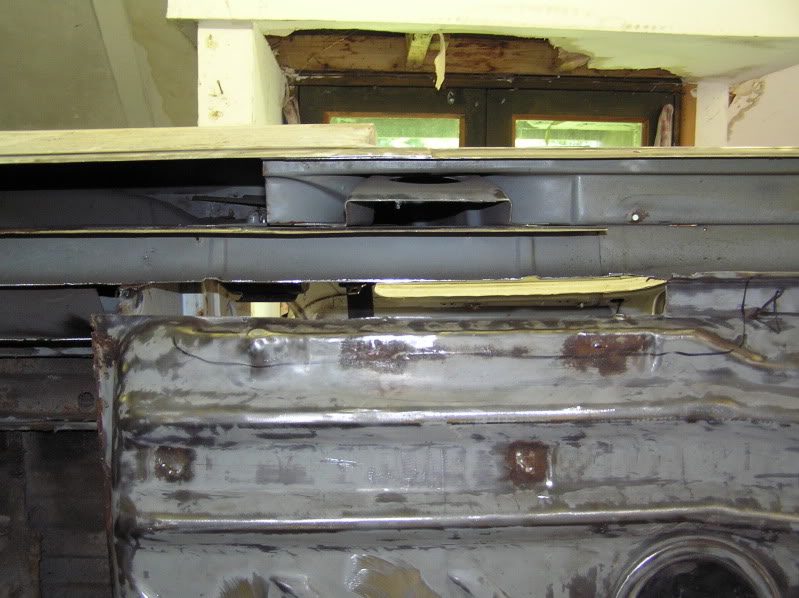
On the up side, here's what was lurking behind that chequer plate. Nothing too bad at all really
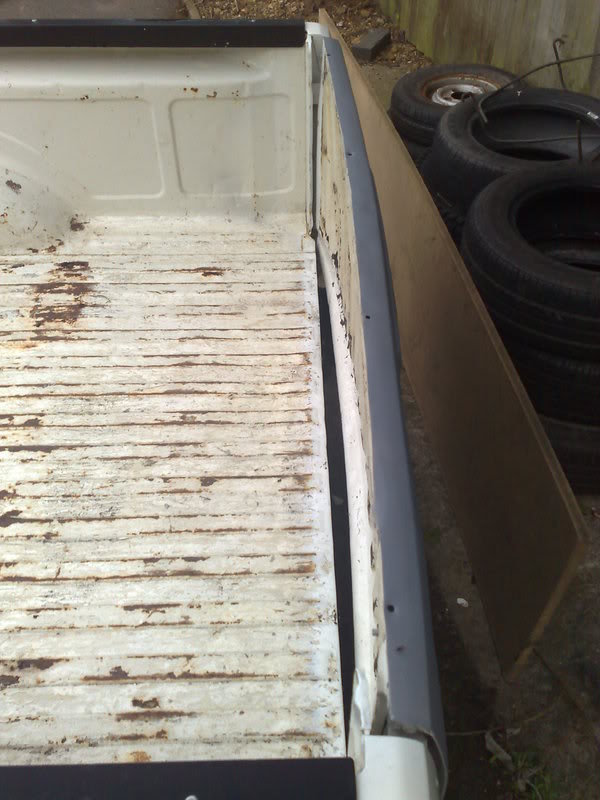
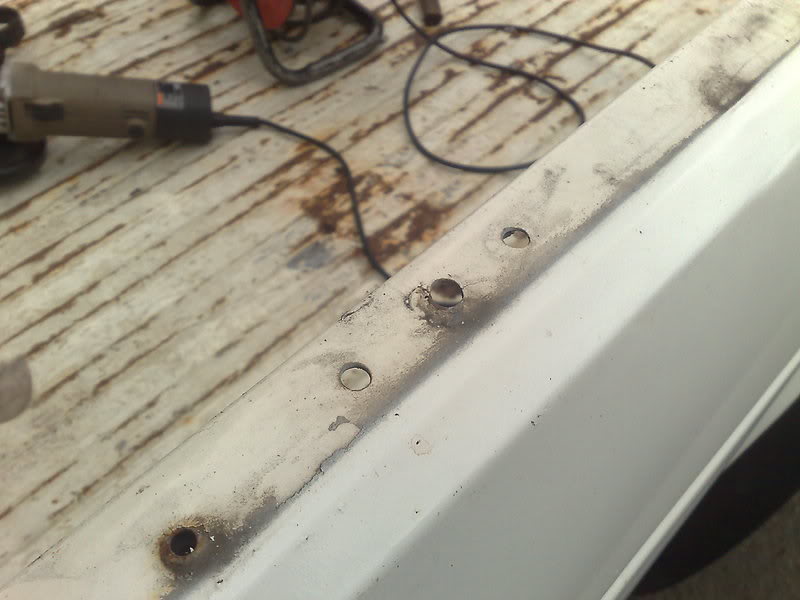
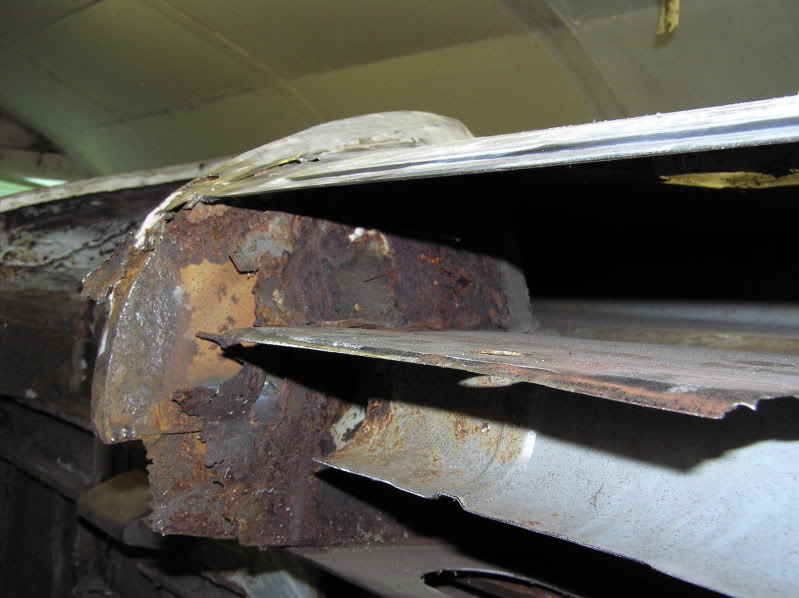
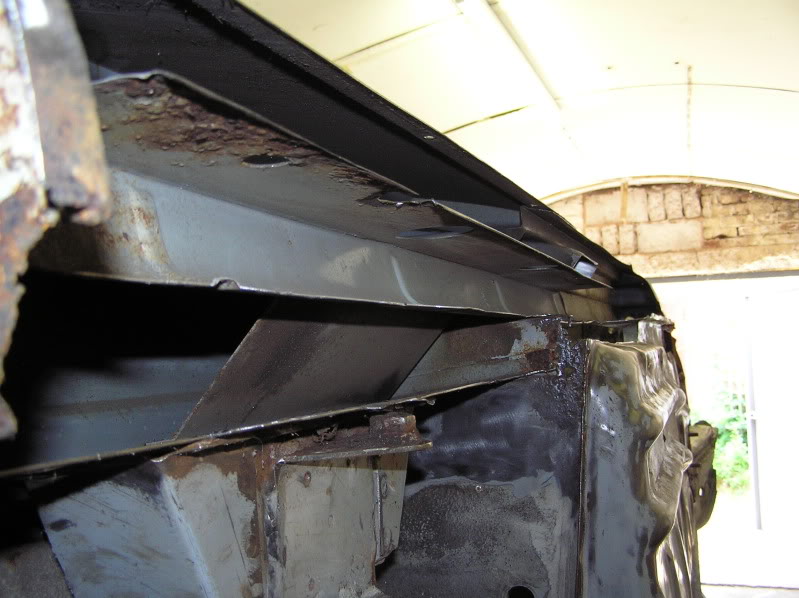
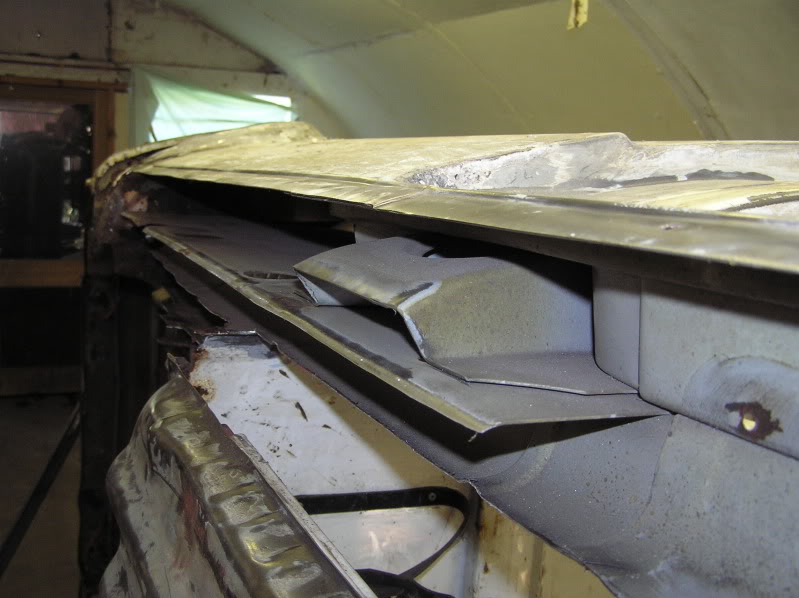
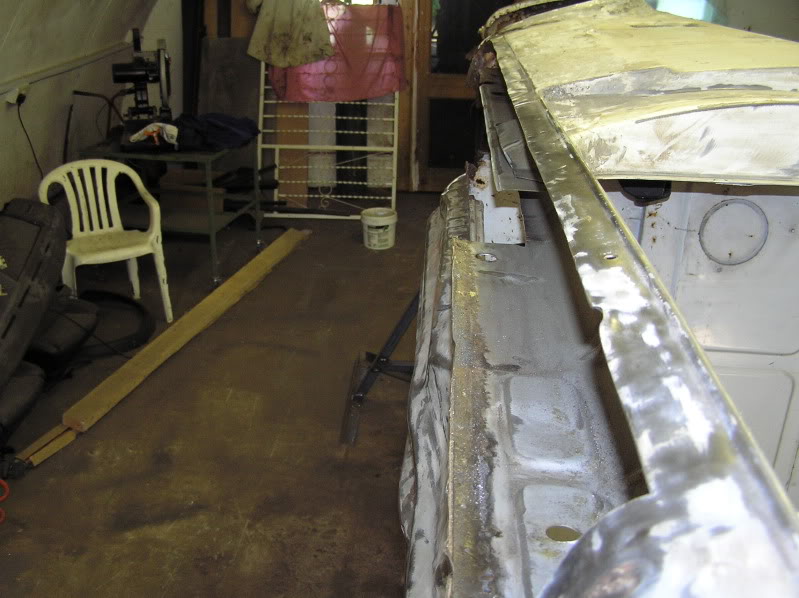
Next job was to remove the bed side rail covers. They looked OK but i prefer it to look standard.
Before
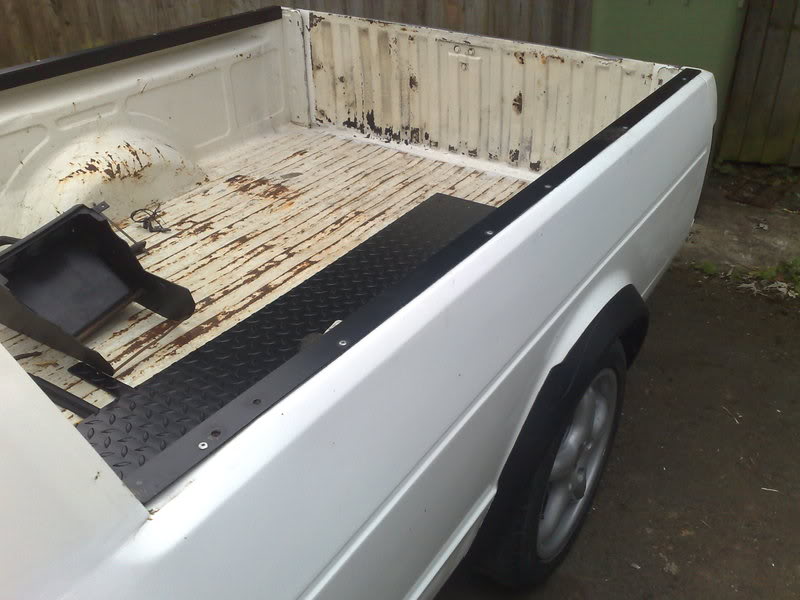
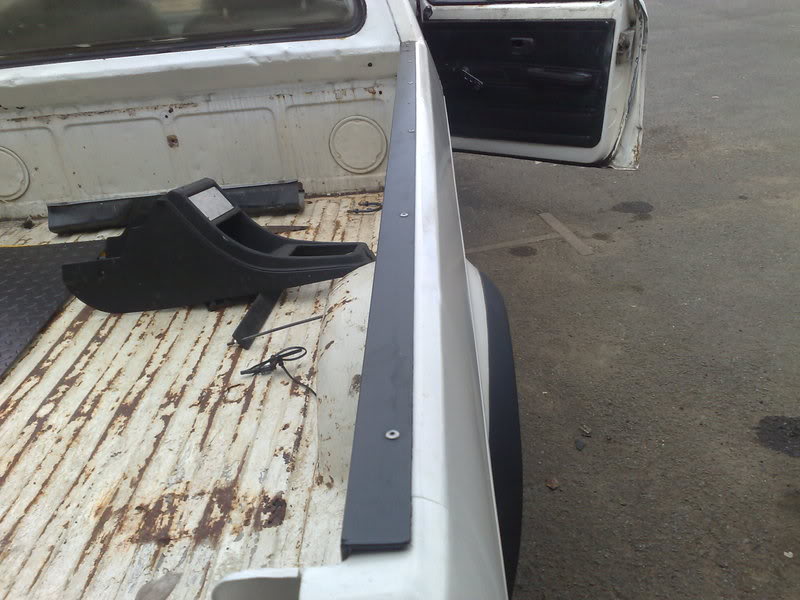
After
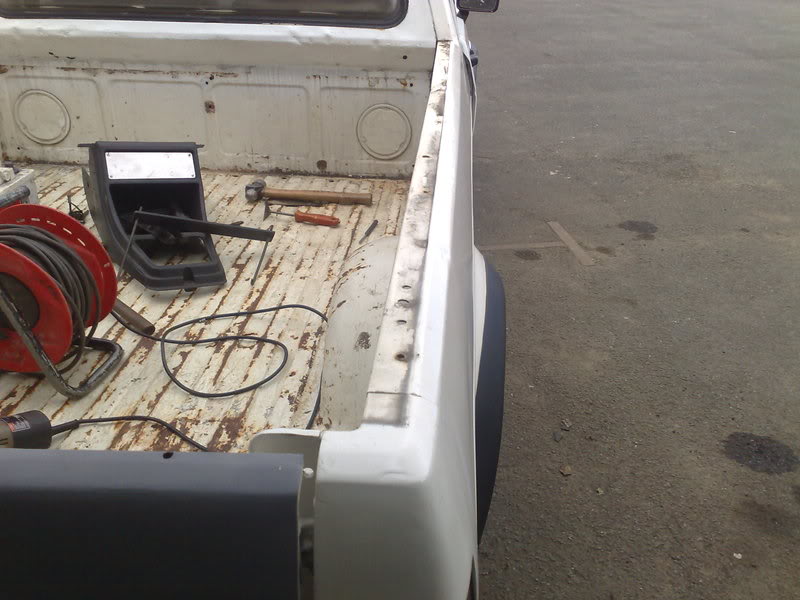
There are several holes to weld up now though but nothing major.
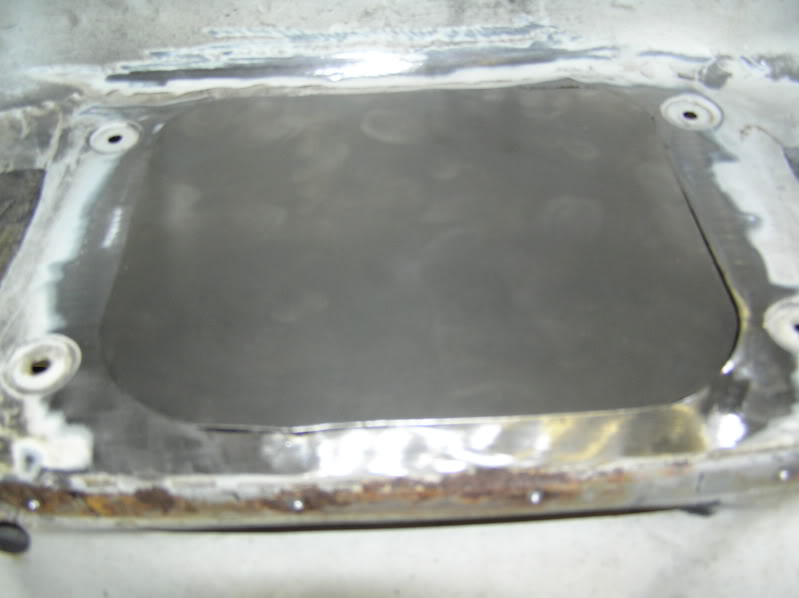
Next i used a twisted wire cup brush on a 4 1/2 angle grinder to remove the remaing crud from inside the cab on the floor pans. Cleaned it up real nice especially the excessive amounts of sealer that was around the large circular blanking plates.
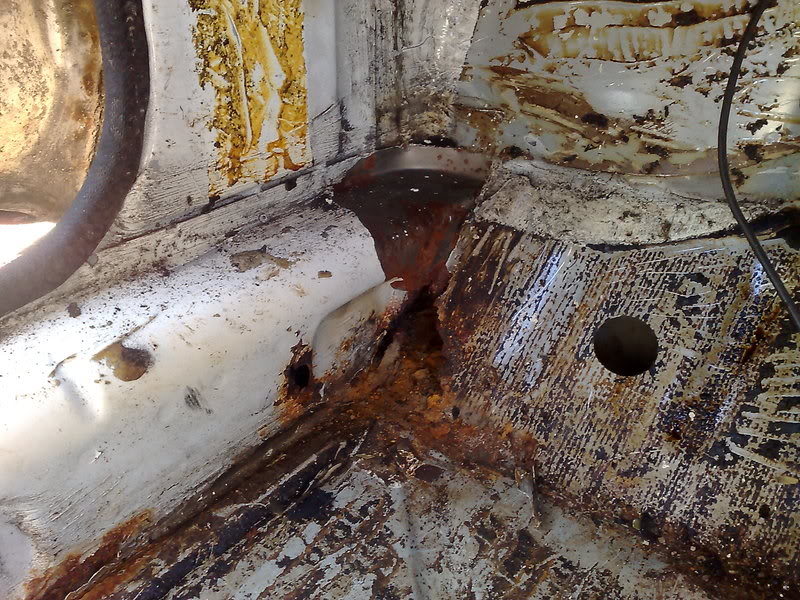
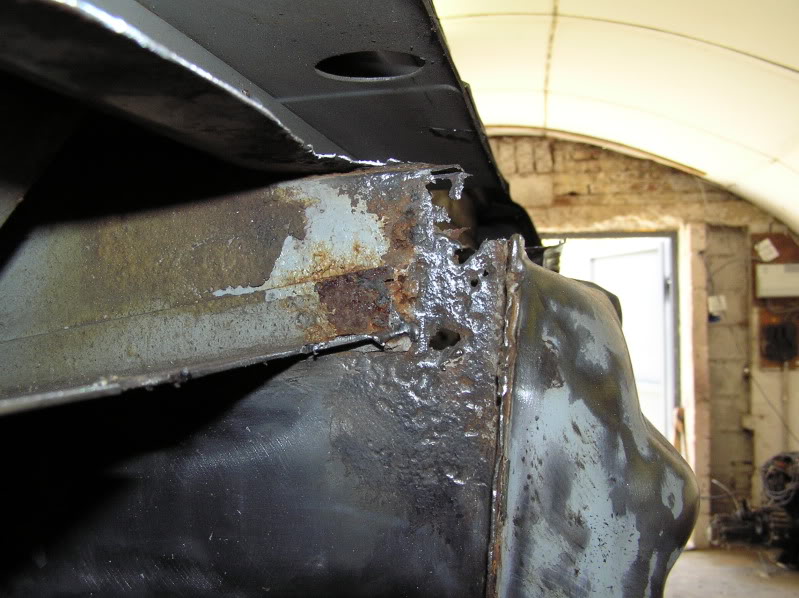
Next i set about the b pillar seam joints. On both sides they had been attempted to be smoothed with just filler. They had both cracked and rust was bleeding out.
Expecting the worst i used the wire cup brush again to remove the filler and paint from the seam and the rest of the panel to see the extent of the damage.
Actually the rust isn't too bad. The drivers side is fine, whilst the passengers side has a few holes which I'll need to sort later.
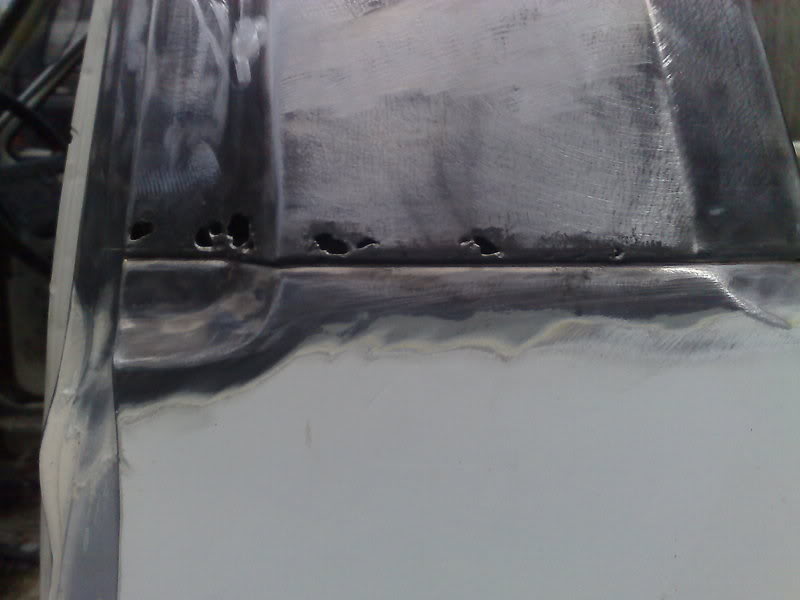
Primed with some acid etch for now.
Drivers side.
Drivers side b panel was sanded back to bare metal same as passengers side just forgot to take a picture.

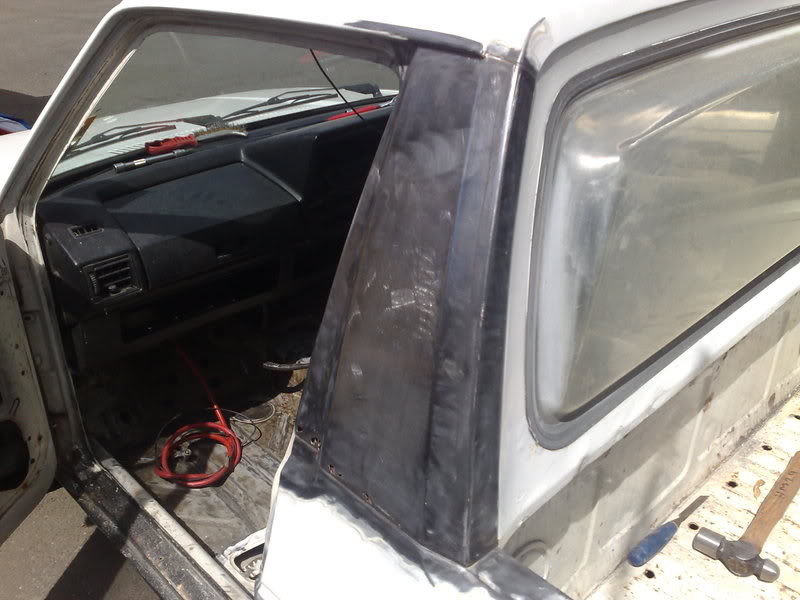
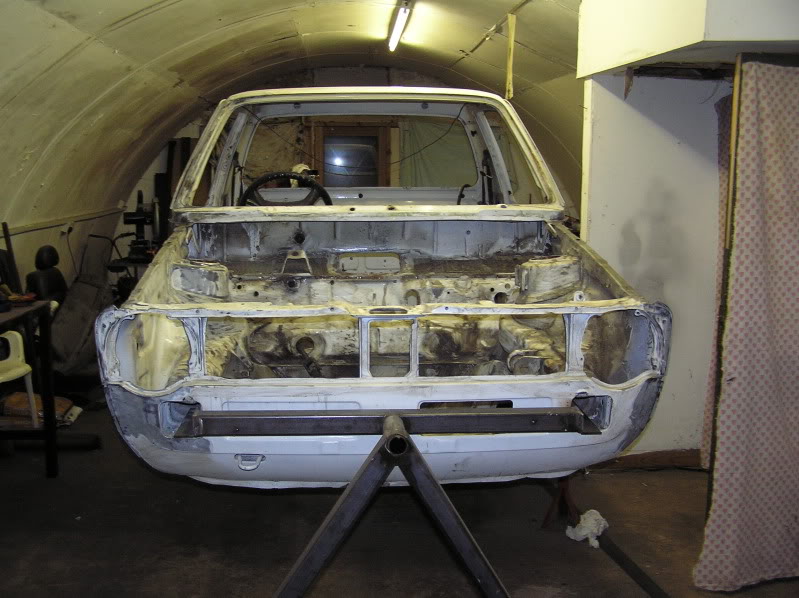
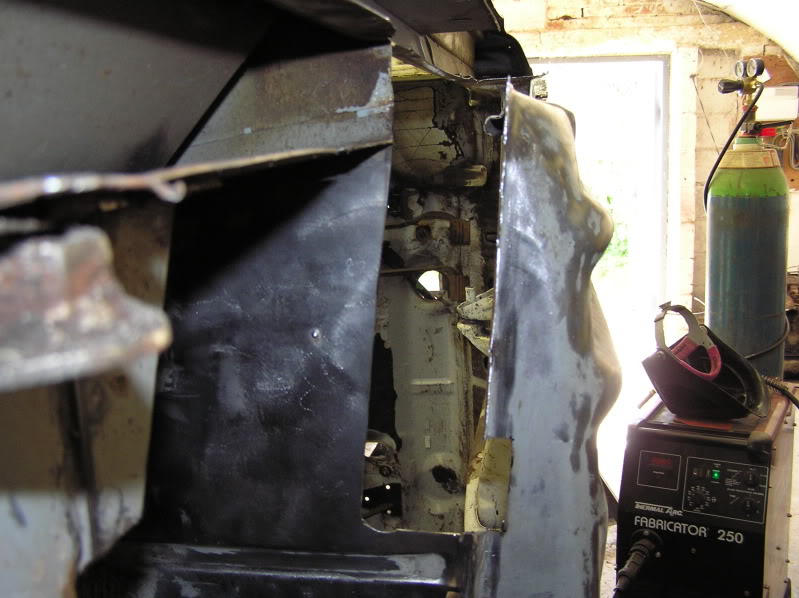
Next up was the strip down.
Engine out.
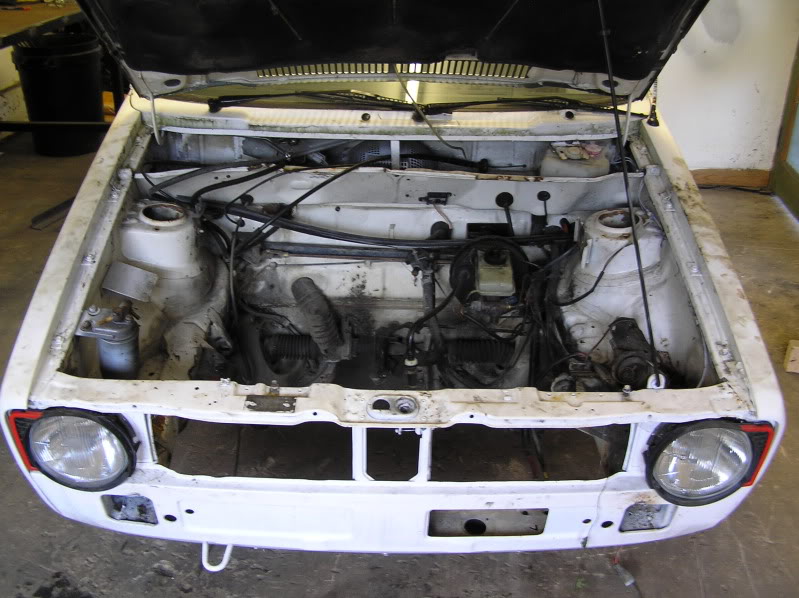
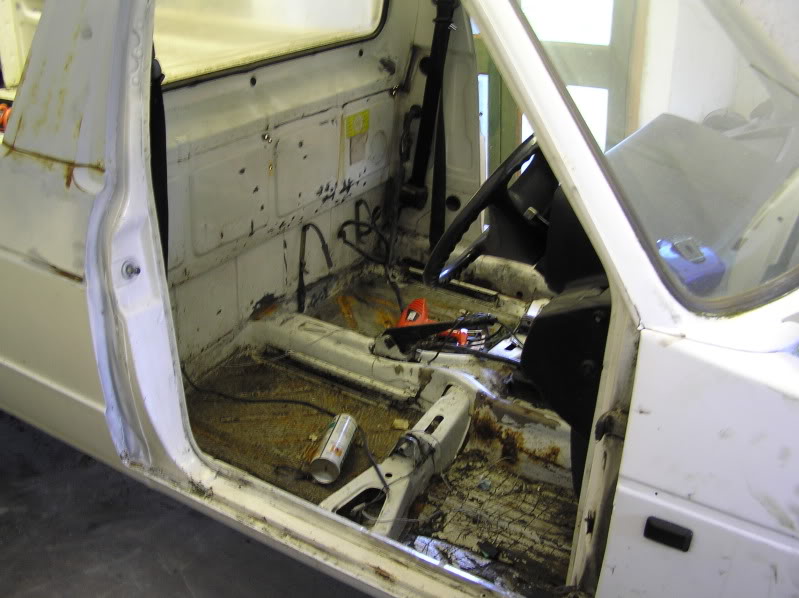
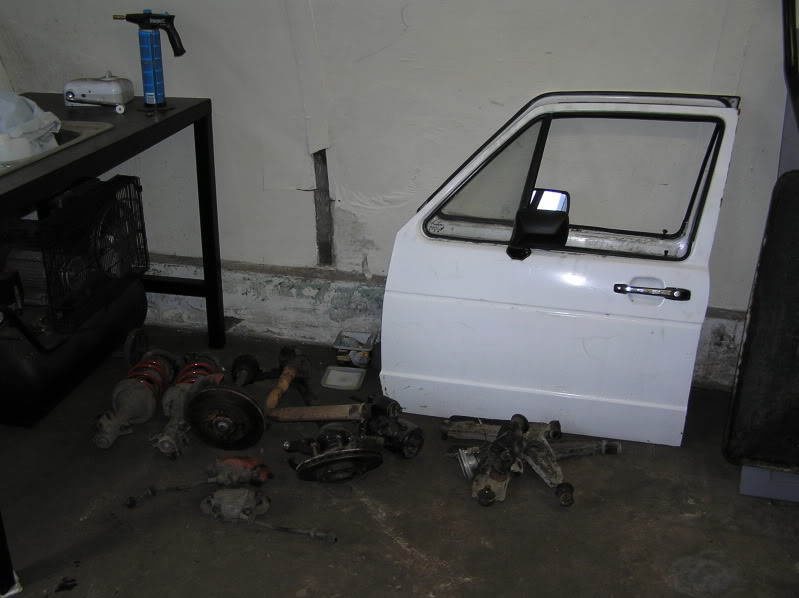
Doors off and interior out. Some suspension parts stripped down as well ready for cleaning.
Well had quite a good weekend so far. Bought some new tools in the week and they got delivered friday at work. Bought a Eastwood sand/soda blaster, sheet metal throatless shear, set of 4 sheet metal punches, and a 1" sheet metal hole swage and a few other bits and bobs. Bought everything from Frost. Really pleased with everything and the top notch service i have from them every time.
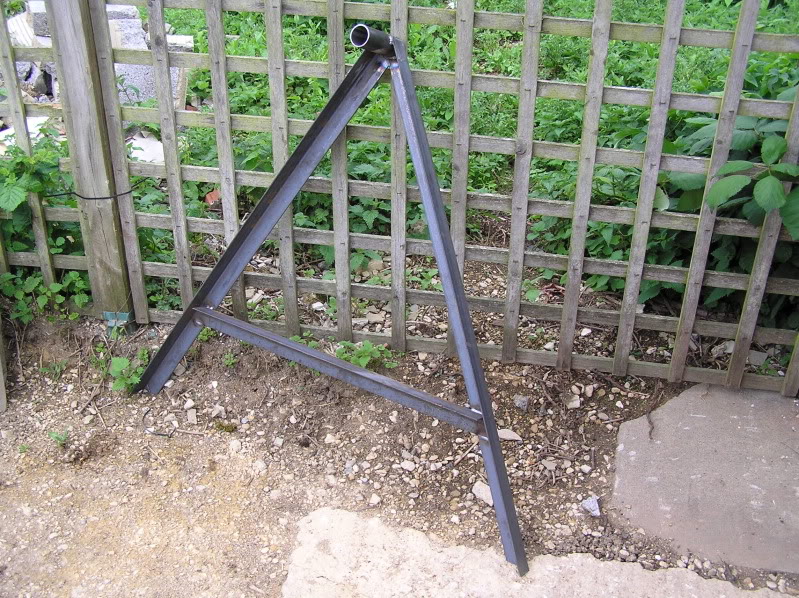
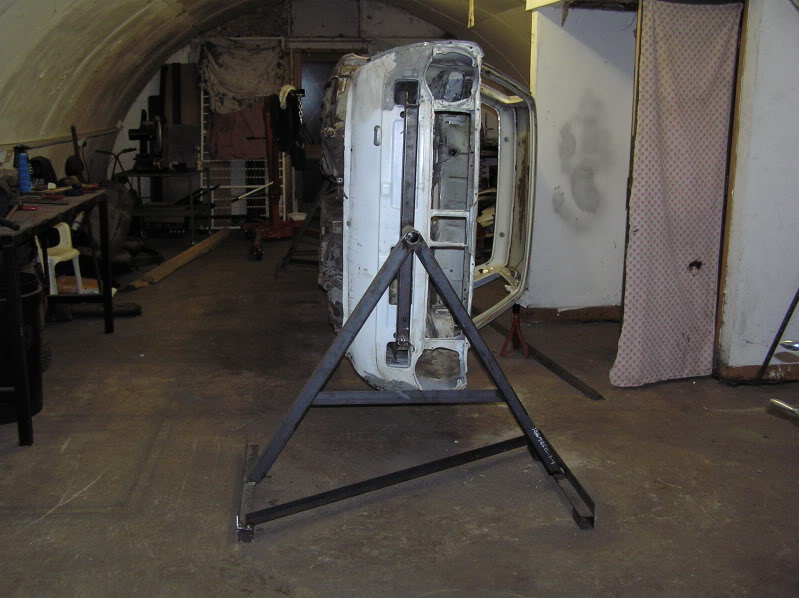
The first job i did today was to make a set of tressels for the rotisserie, so that i can have the caddy up off the floor and can freely rotate to any angle for better access and ease of work.
Finished the one for the back. Just needs a lick of paint.

Just got to weld the two feet and the brace on the front one.
Didn't have any tube to make the the parts that bolt to the front and rear bumpers so moved on to doing some small jobs on the caddy.
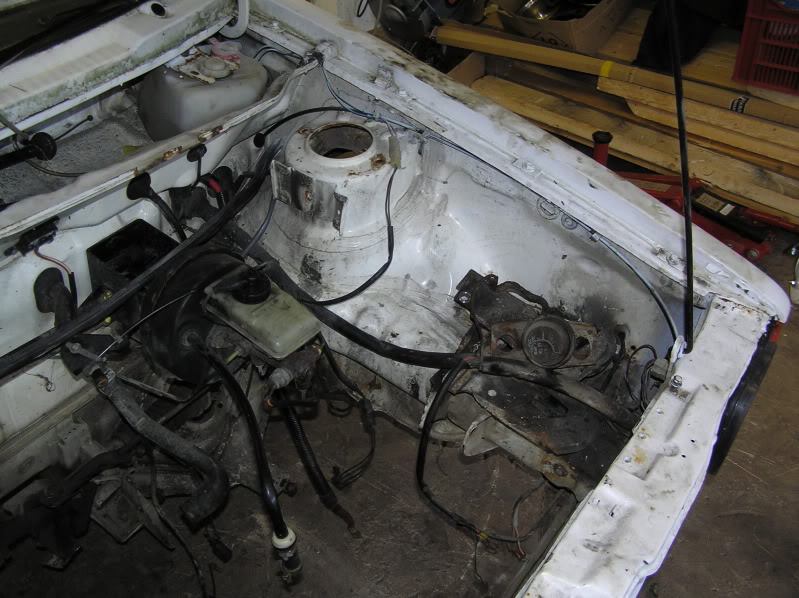
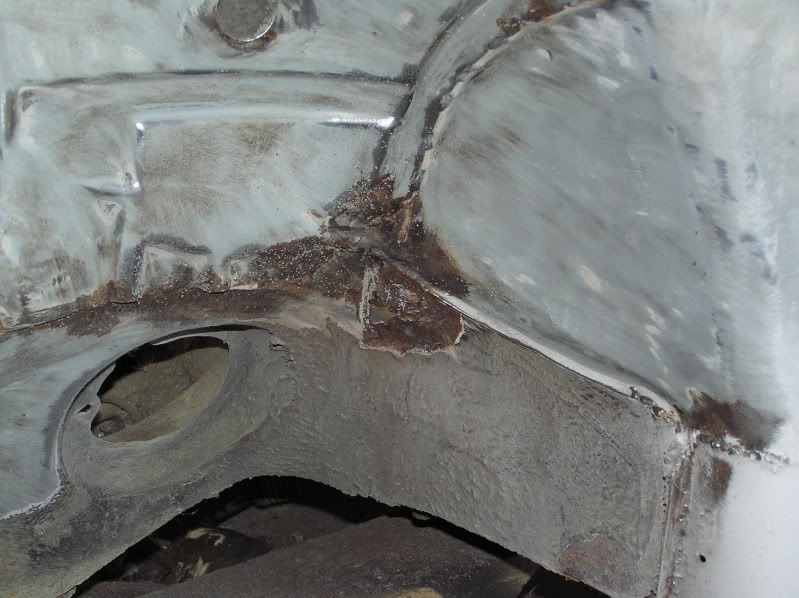
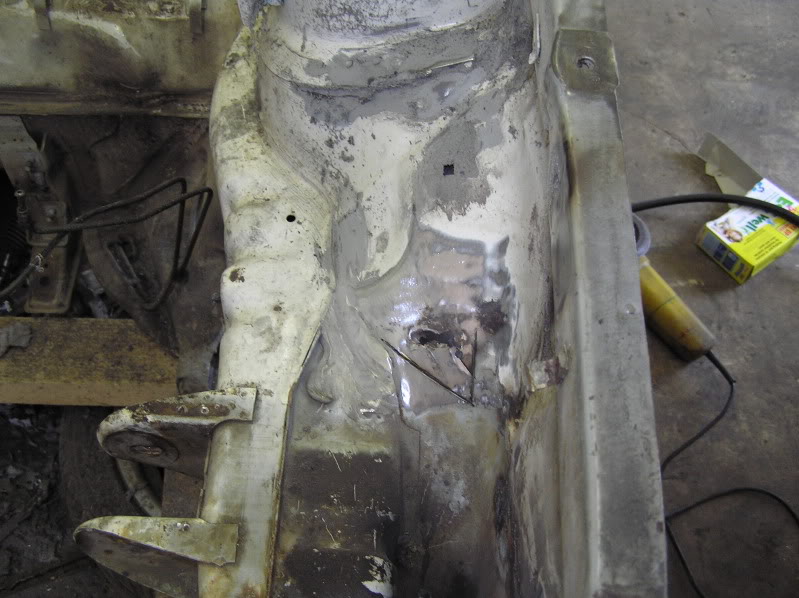
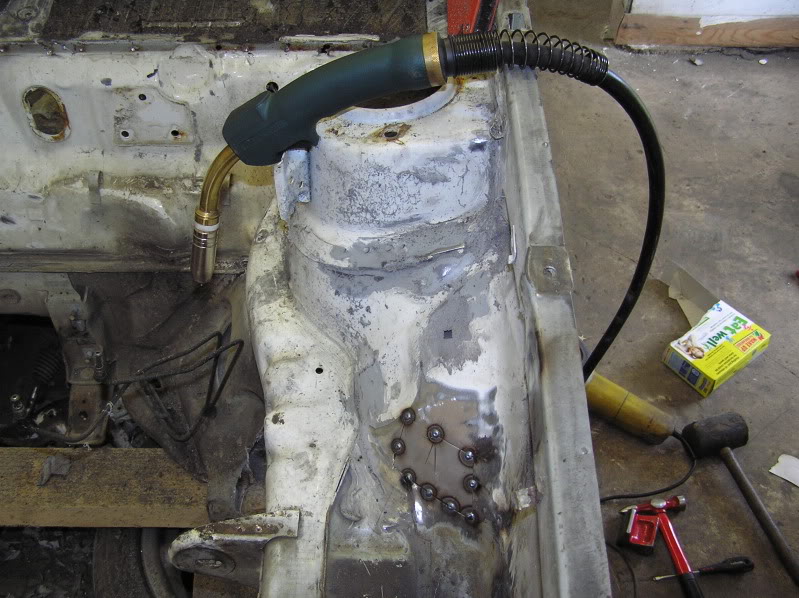
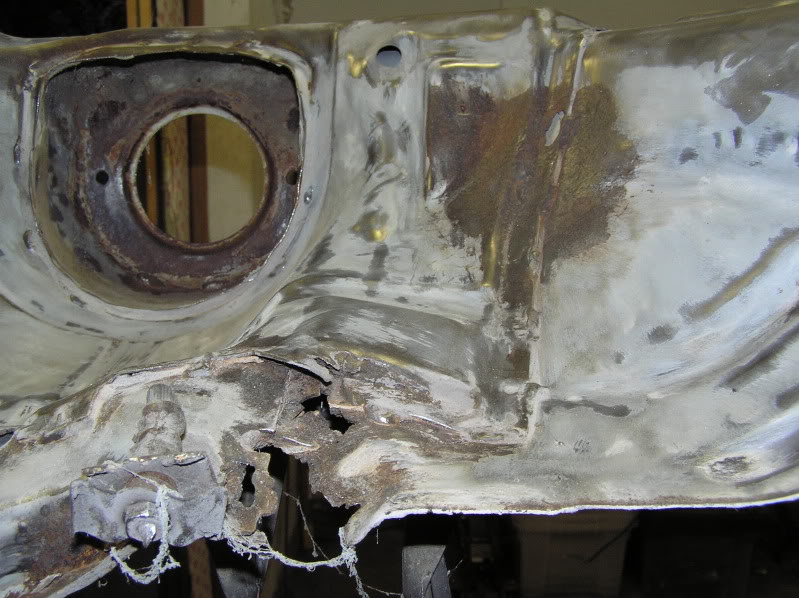
Decided to concentrate on the passenger side inner wing.
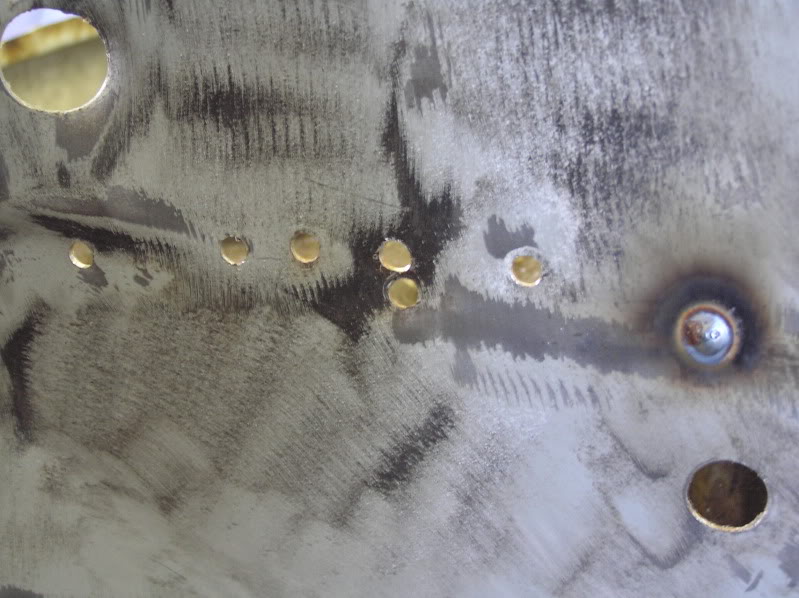
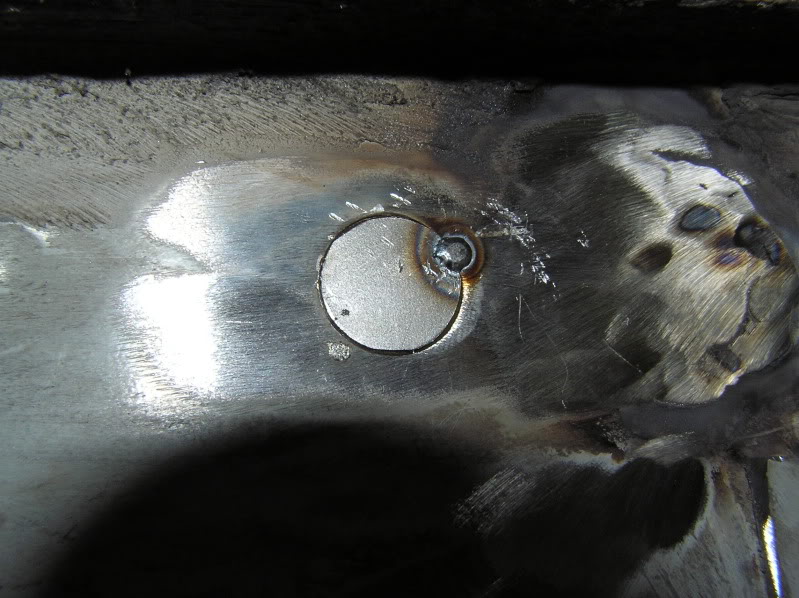
First up was to weld the holes where i drilled the battery tray out.
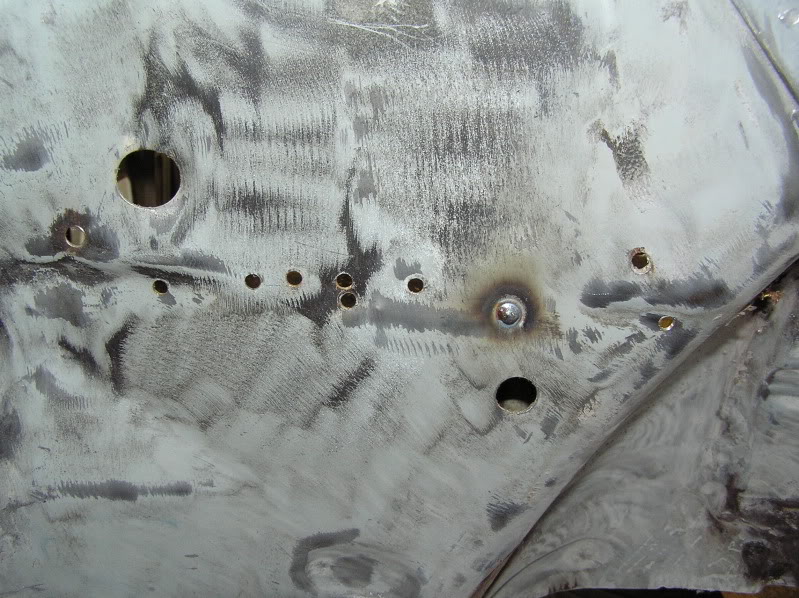
As you can see the first one is done, just filled with weld as the diameter of the holes is about 5mm.
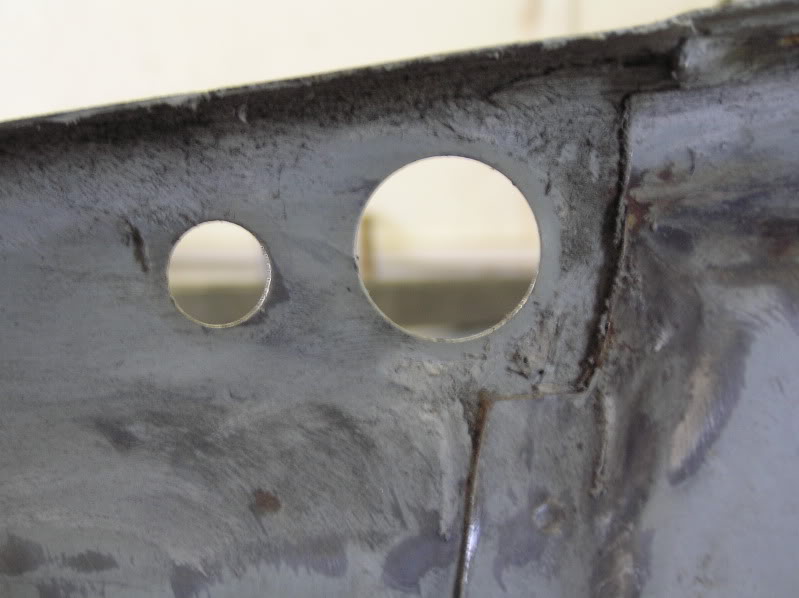
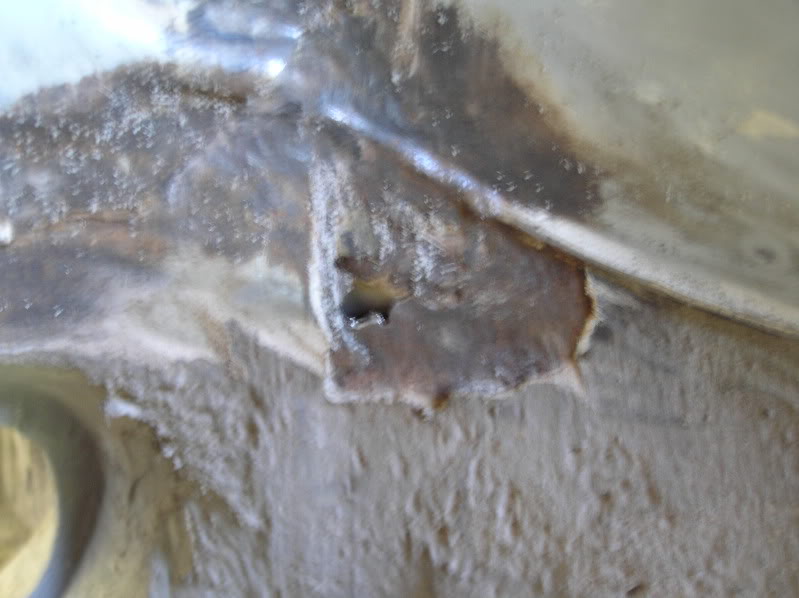
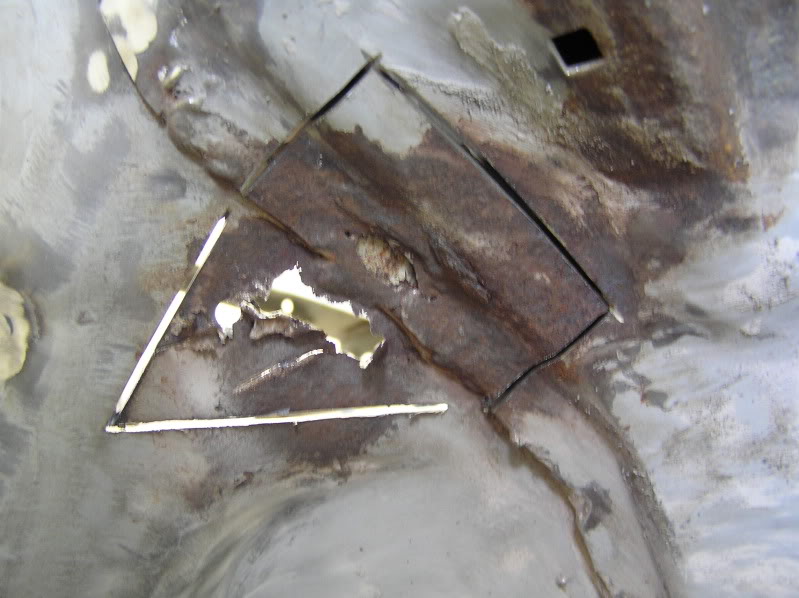
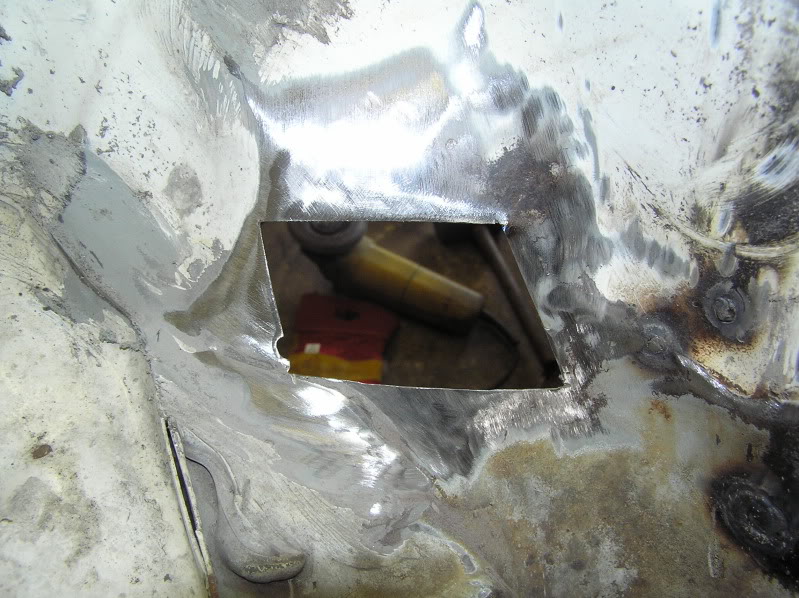
There are a number of obsolete holes that i want to fill as well as some rusty patches that i will cut out and replace with new patches. Such as.

Why is this so rotten? Brake fluid maybe? Its the same on the drivers side.
Used the new shear to cut all the sheet metal. Really pleased with it. I would recommend buying on if you plan on doing alot of sheet metal work. It cuts so easy and makes life so easy compared to using tin snips.
Template made of paper then transferred to metal and cut out.
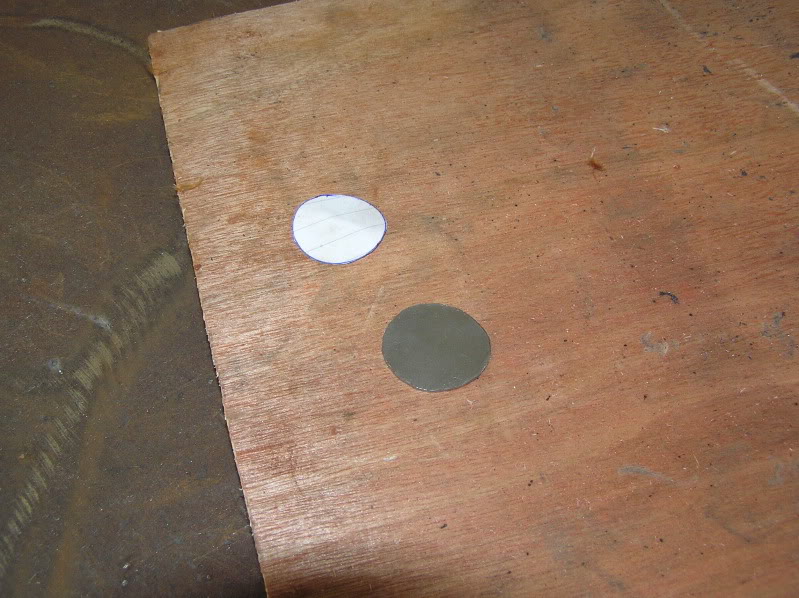
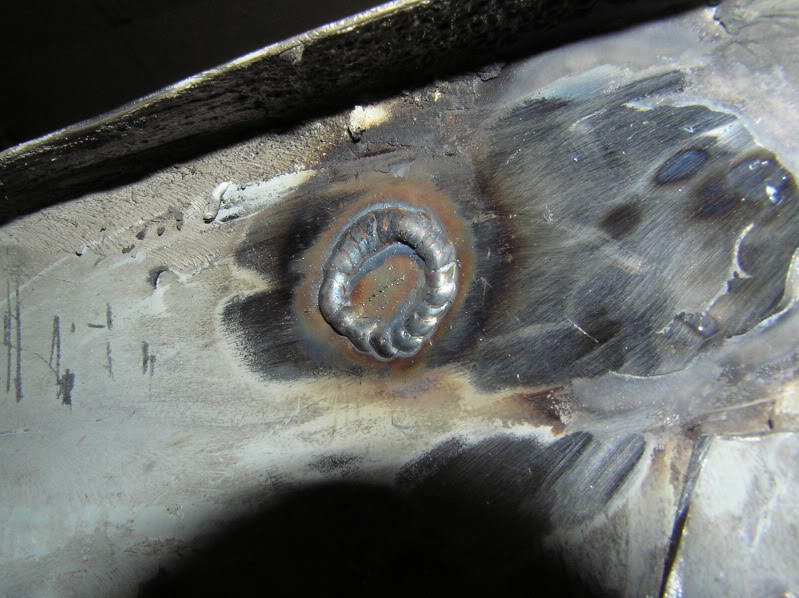
Held in place with a magnet and tacked in place.
Fully welded up. Done in a series of tack welds to keep distortion to a minimum. Did four or five of these sized holes today.
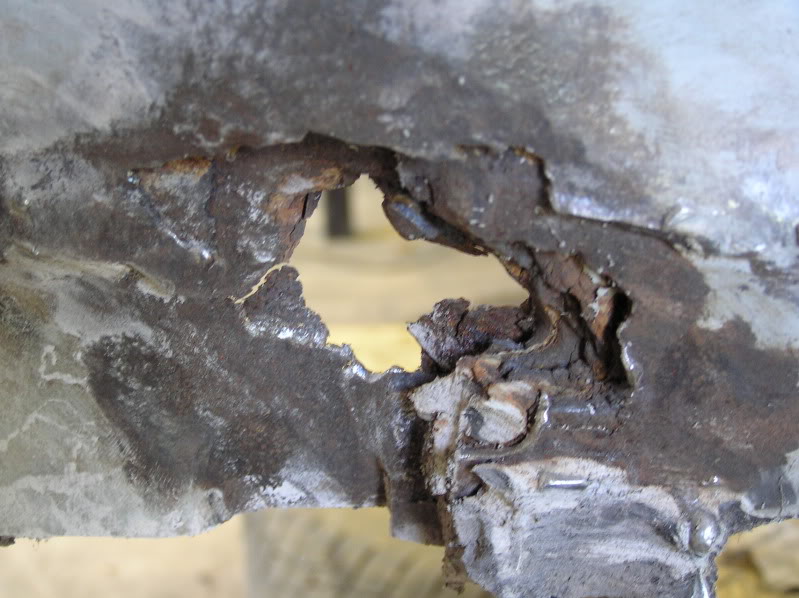
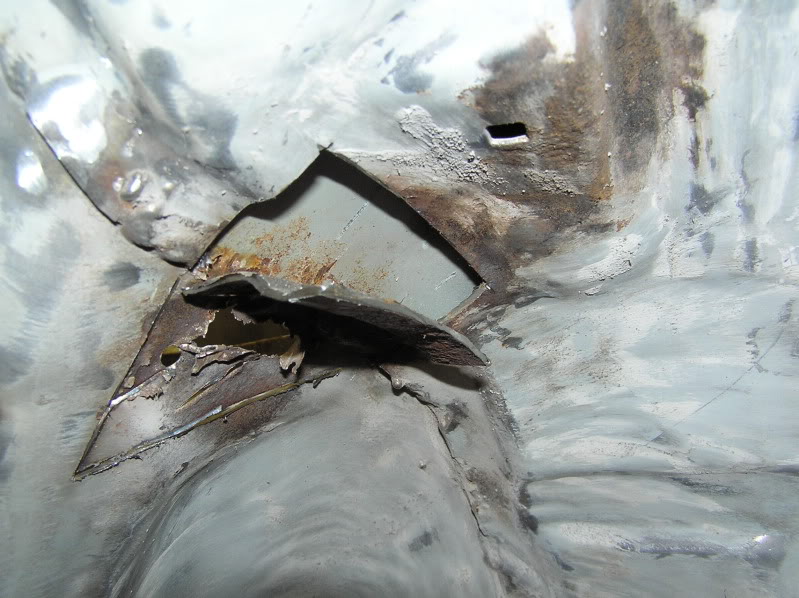
Next up was the rotten patch on the top of the inner arch just in front of the suspension turret. Cut the rotten patch out with a thin cutting disc on an angle grinder.
View from under the arch.
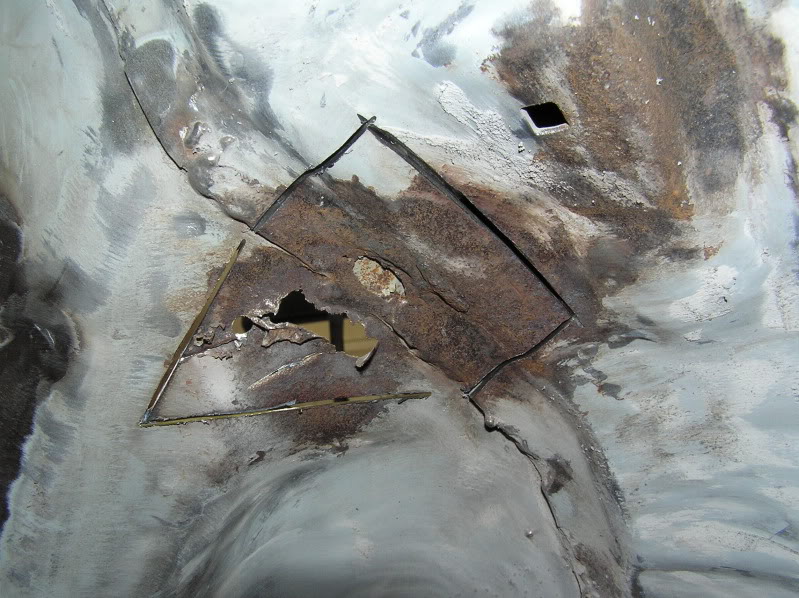
View from above in the the engine bay.
There is two panels in this area where the rot is. Cut through the one from underneath in the arch first, then cut from above in the bay the rot from that side.
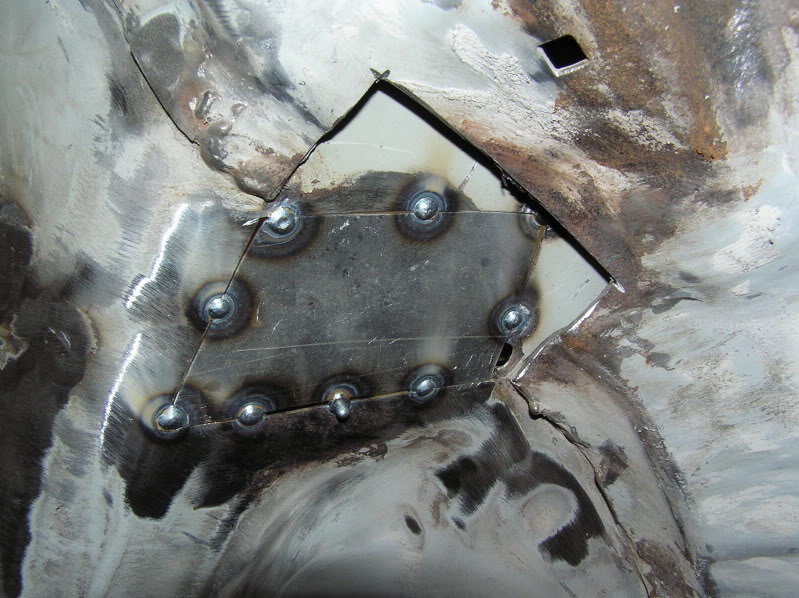
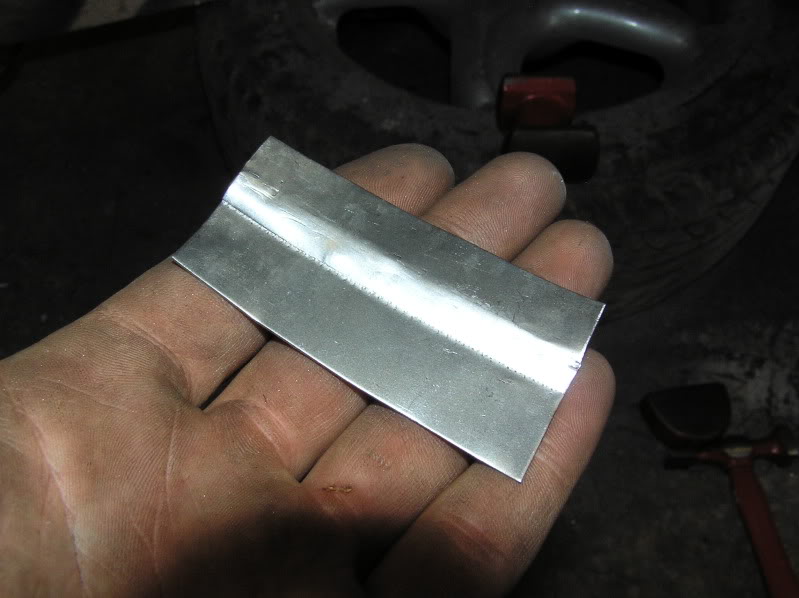
Made another template and patch. Shaped it by hand and with a hammer and dolly. Quite gentle curves so fairly easy to do.
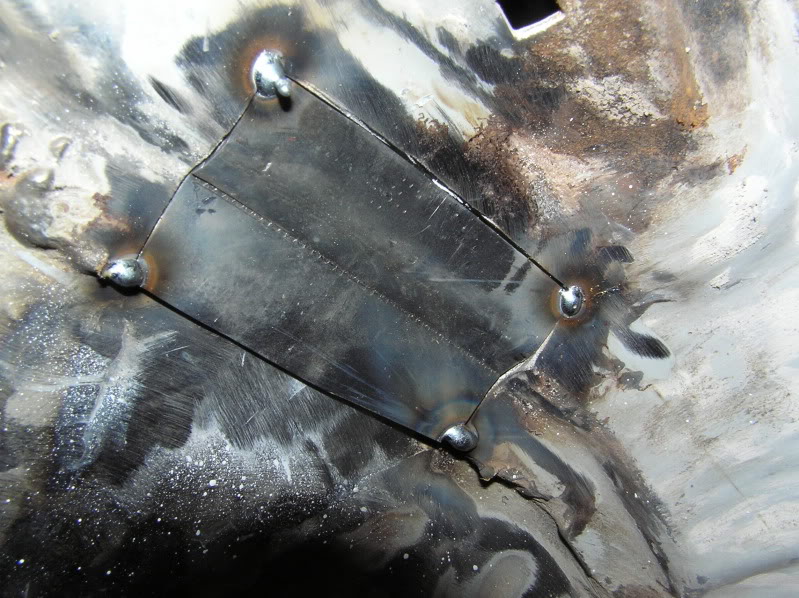
Tacked in place. Note the good penetration on the underside. Then fully welded in spots again.
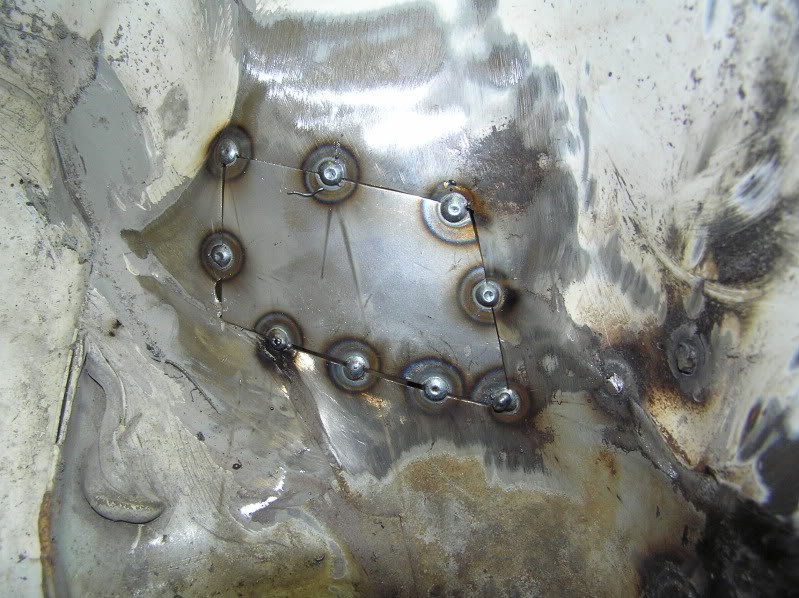
Next i made another patch for the out piece where the seam is. This one was a bit more fiddly as there is concave curve in two directions as well as the step in the panel.
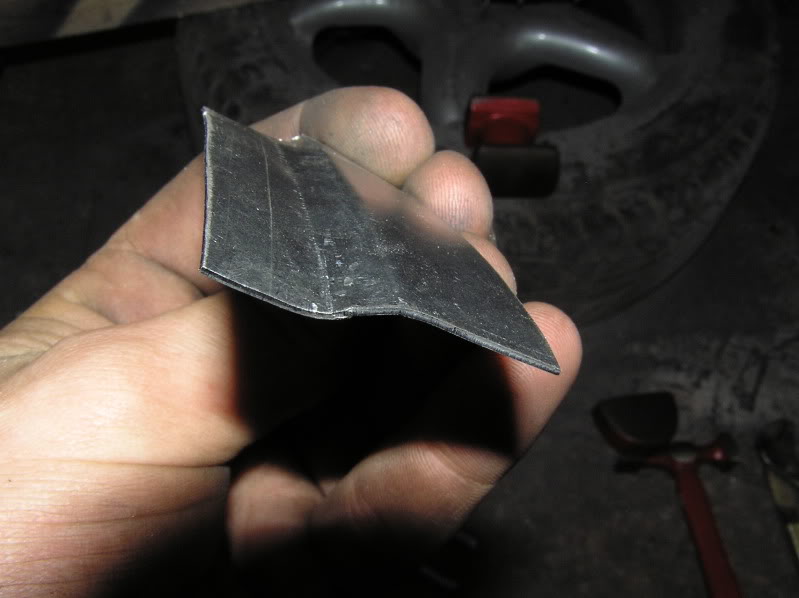
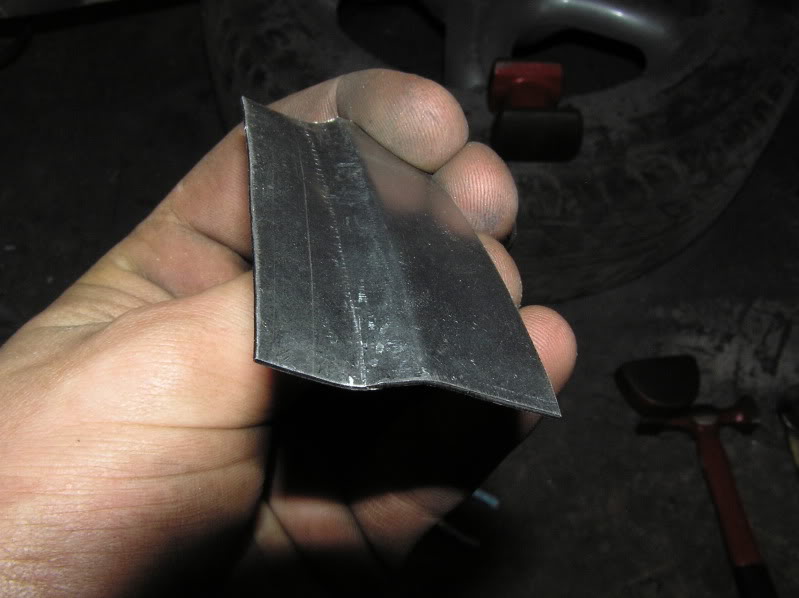
Tacked in place, note how the patch lines up with the lines of the old panel. Its not perfect but is near enough.
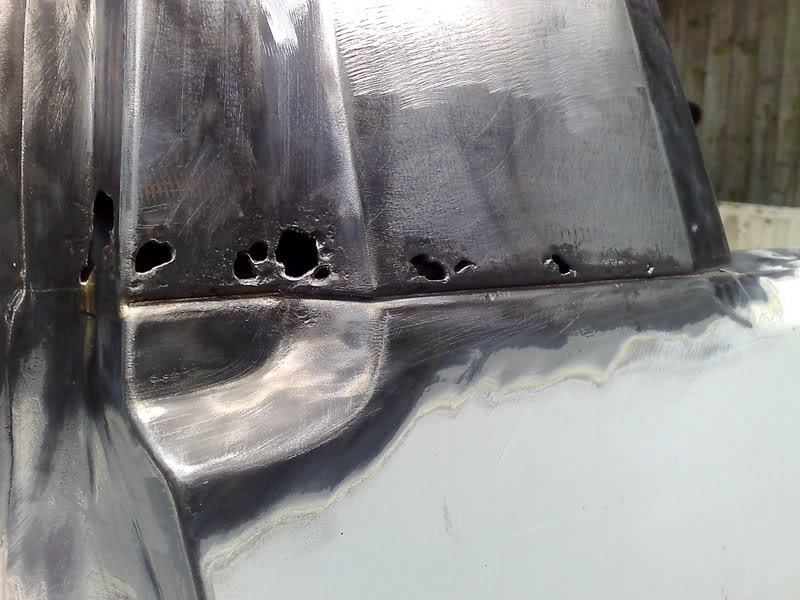
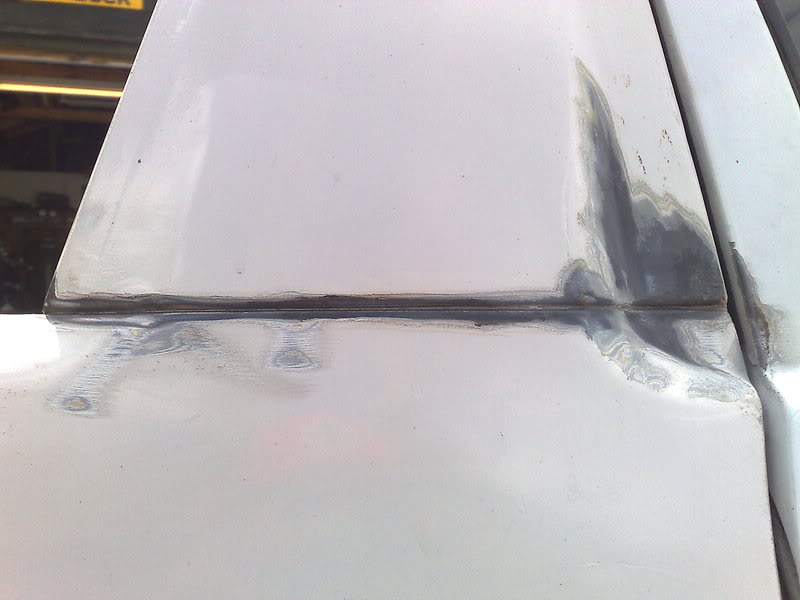
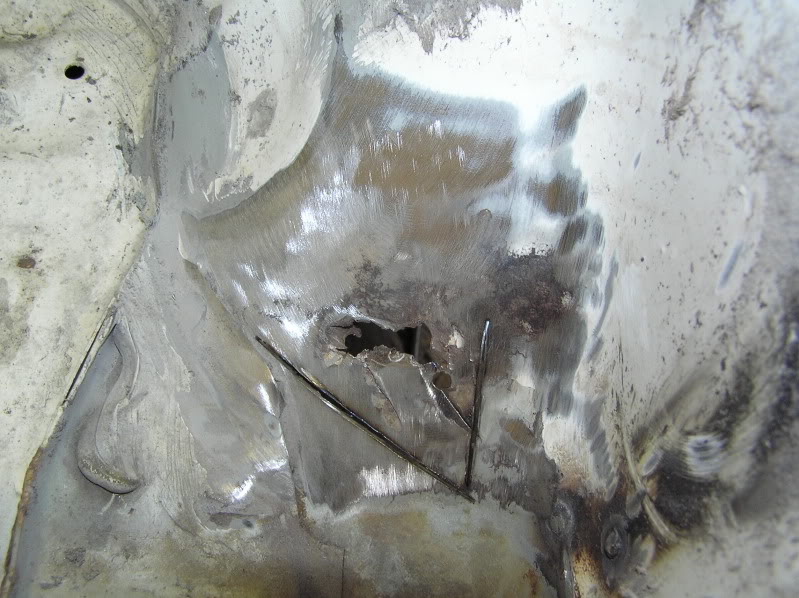
Got fed up of working on small holes, so decided to work on a big one! The heater hole. Yes… It's another scene caddy, but who cares. Yes i have taken influence from others, but the reason i am smoothing it is because I like it and thats that.
Got to do a final fit before welding.
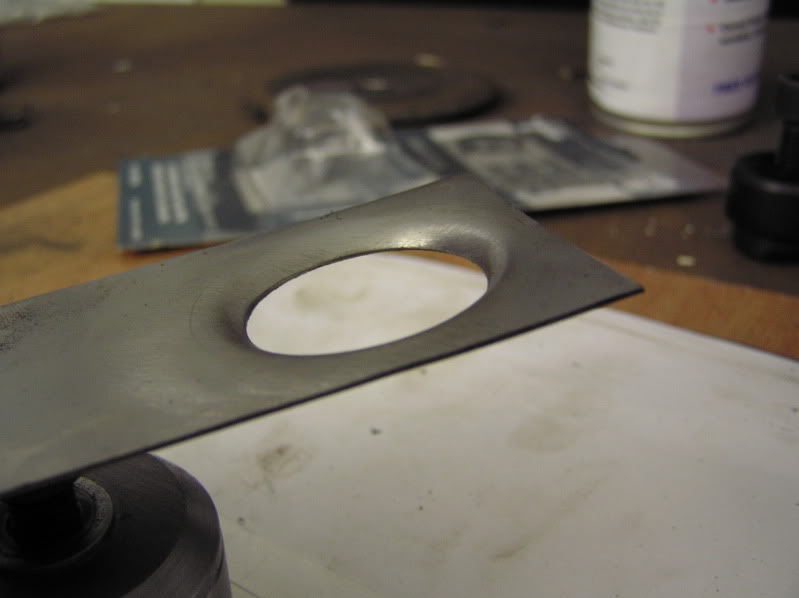
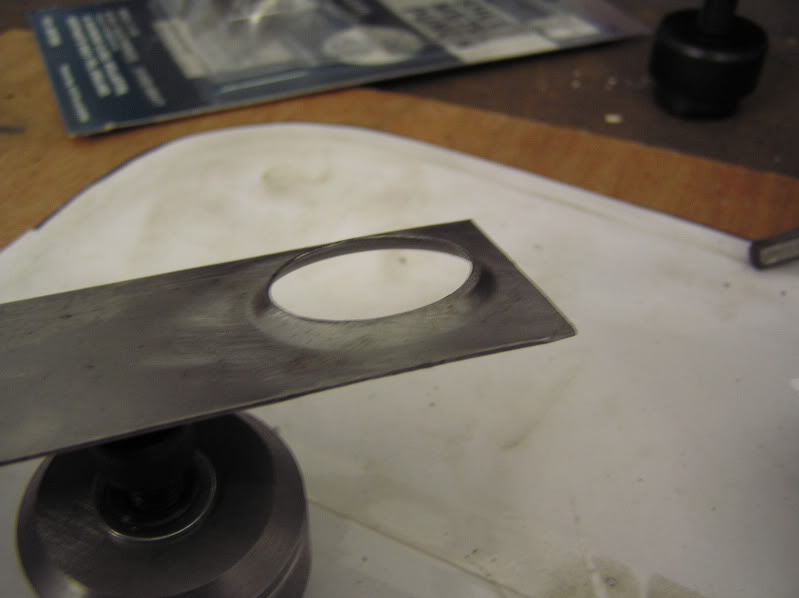
Had a play with the new tools. Drilled a 9 mm hole first, then used the 1" hole punch and finally the 1" hole swage. Got a few ideas of where i can use it in the build.
Posted
Settled In
Posted
Settled In
Posted
Old Timer

Posted
Settled In
regcheeseman said
Looking good and fairly similar to my project - you on the caddy forum? Hope your not going to lose that GT motor - it can beat GTIs with no money spent.
I certainly am Reg. My user name is just Buster. Pretty much the same thread as on vwcaddy. Just want as many people to view the project as possible, so decided to add a thread here too.
Posted
Settled In
jetpacjimmy said
nice work, keep it coming
Thanks Jimmy
Posted
Settled In
Carbs4ever said
liking this - great work - nice welding and panelling skillz 8)
Sure i've been following your project too. At least i think its yours? :dontknow:
Posted
Local Hero

Alex.
Posted
Settled In
welsh-mk1 said
Great work, will be keeping an eye on this.
Alex.
Cheers Alex.
Posted
Settled In
Finished the rotisserie.
Stripped all the under seal of the drivers side inner arch and most of the driver side floor as well. Scraped most of it off, then ran the angle grinder over with a wire twist not brush.
Revealed plenty of rot!!!
Both driver and passenger side sills need attention at the back. Will have to do some fab work on the inner sills/ structural bracing as well, as the rot has spread. The panels inside look really good, its just the parts at the bottom where water has collected.
Will fab two of these as they are bent and buckled.

Also suspension mounts need attention. A previous owner had fiberglassed and fillered it!!!
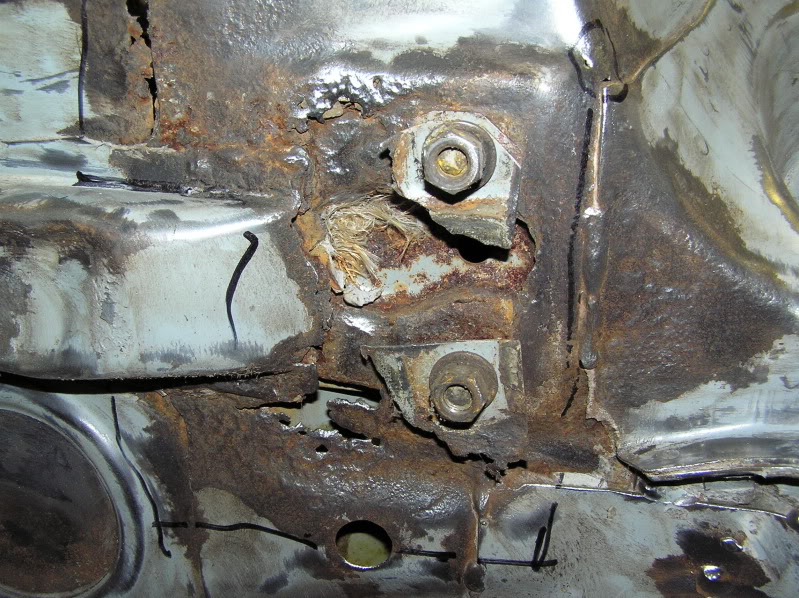
Will redo this also.
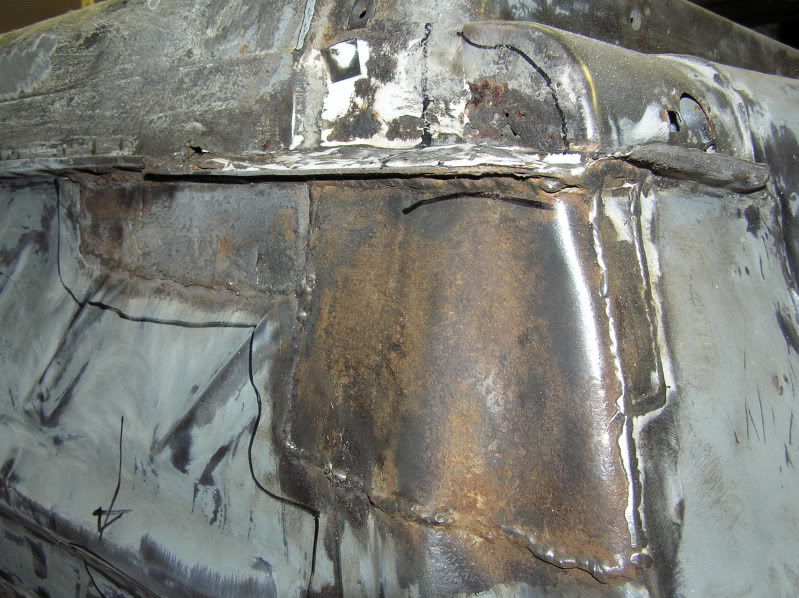
Both rear inner arches have been repaired, will redo this.

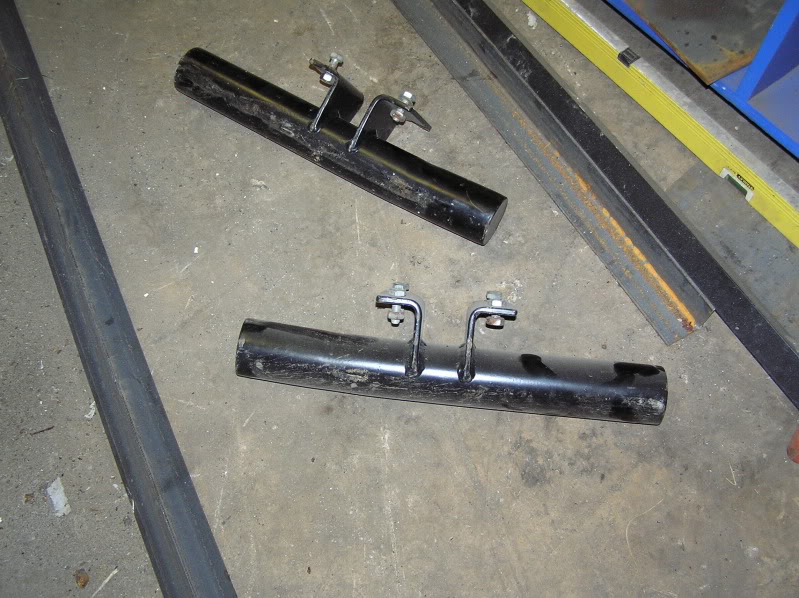
These are for sale if anyones interested.

View into the filler.

Scraping and wire brushing is shi*e, takes ages, is boring, demoralizing and makes you feel like you are getting no where. lol
Ordered new sills from QC hoping to get them for the weekend. Got tomorrow (Friday off), so will have a long weekend work on it.
Until next time.
Posted
Settled In
Enjoy the weekend
Posted
Settled In

just been looking through your build thread and couldnt belive my eyes!!
the caddy you are restoring used to belong to me!! i see you are located in glos somewhere which means you are still very local. i would love to come and see some of the progress you have made on the caddy and am sure i could shed some light on its past history. if your interested pm me i'l tell you every thing i know. think i have even got some pics of it when i first got it some 4 years ago now.
Posted

Old Timer
kemk1 said
hello buster,
just been looking through your build thread and couldnt belive my eyes!!
the caddy you are restoring used to belong to me!! i see you are located in glos somewhere which means you are still very local. i would love to come and see some of the progress you have made on the caddy and am sure i could shed some light on its past history. if your interested pm me i'l tell you every thing i know. think i have even got some pics of it when i first got it some 4 years ago now.
Thats awesome! 8O
Great rebuild by the way. You've certainly got your hands full there! Loving the rotisserie!
Posted
Settled In
8)
Posted
Settled In
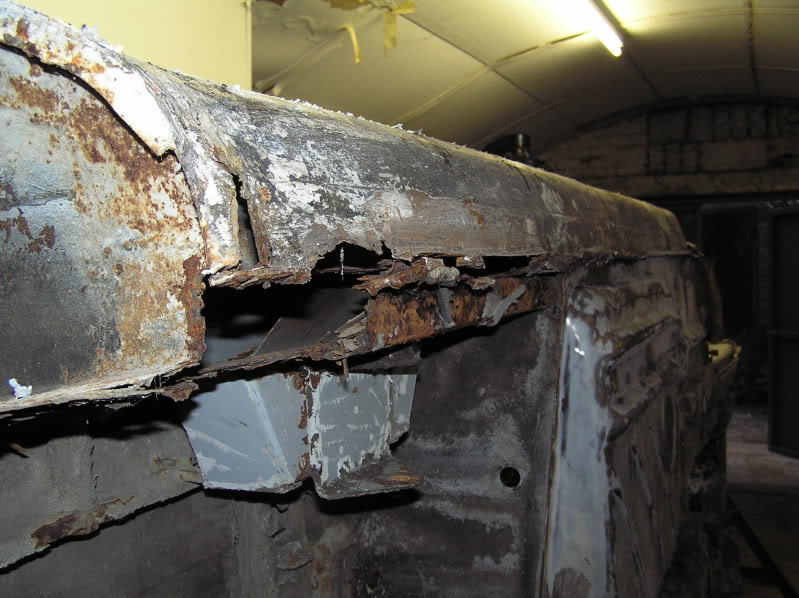
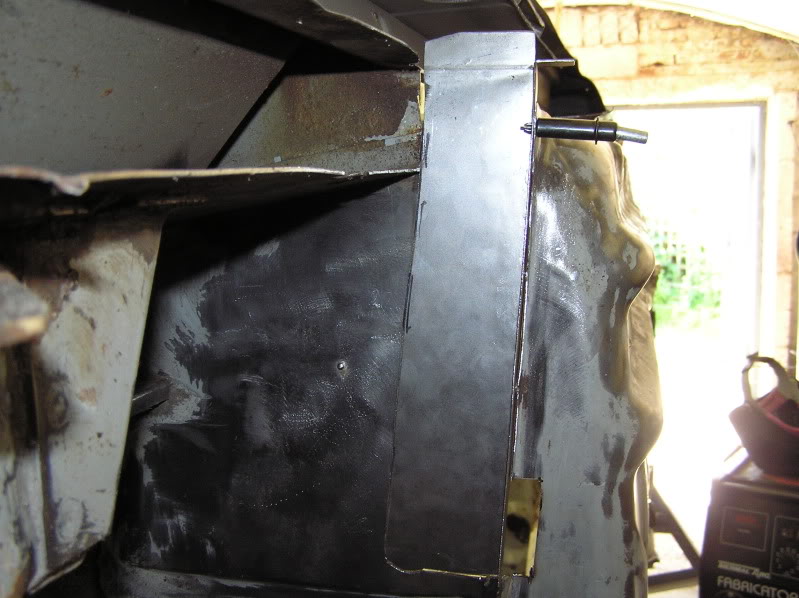
Cut the rot out of the drivers side sill. Most of it was at the very bottom where the water had settled.
Here's several pictures i took.
Still need to sort the inner arch section. Needs a new panel fabricating.
As you can see the metal left is extremely good. Still in the factory primer.
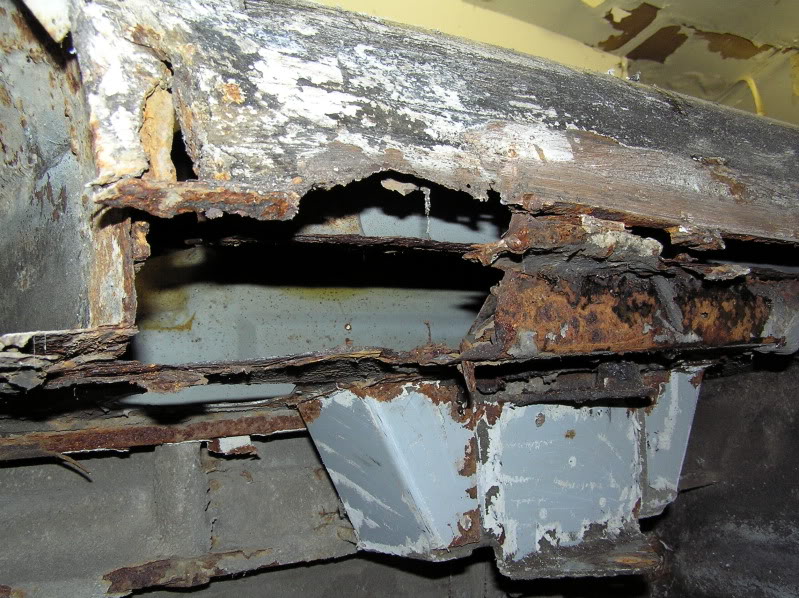
Had to cut the section of the floor out by the seat rail, as it had heavily rotted.
Also had to cut the bottom of the B post due to rot, also to get access to weld in the inner sill panel.
Back of the drivers side floor needs sorting. will cut it out and fab a new panel.
F**cking rust :bh
Posted
Settled In
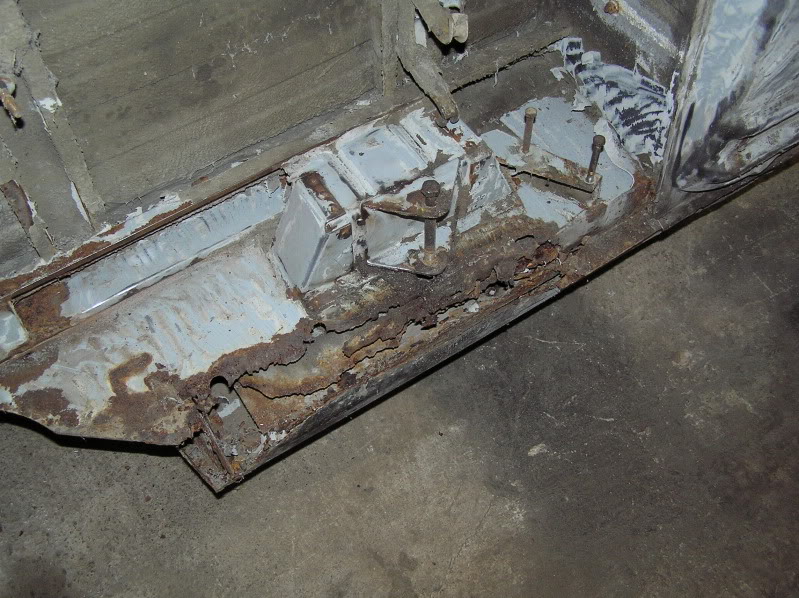
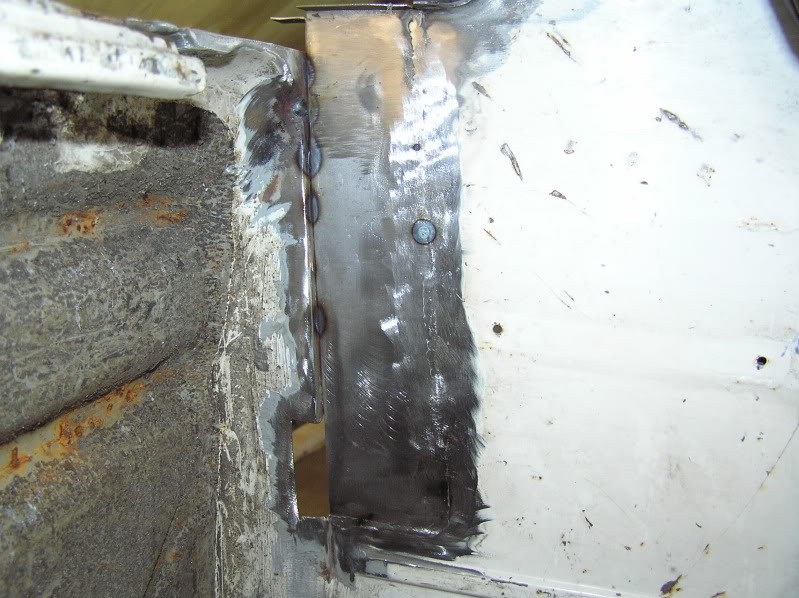
Cut the rot out of the back of the driver side rear floor. Used a cut off wheel and an air saw to get into the tricky bits. Had to cut a notch out of the edge of the floor lip as i had rotted badly.
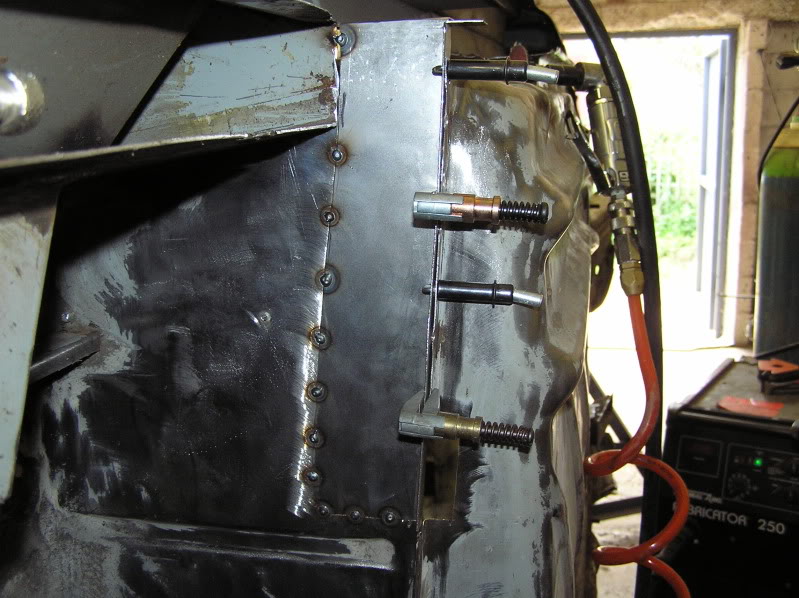
Made a card template and then the new patch panel. Here is one of several trial fits held in place with a cleco.
View from inside the cab.
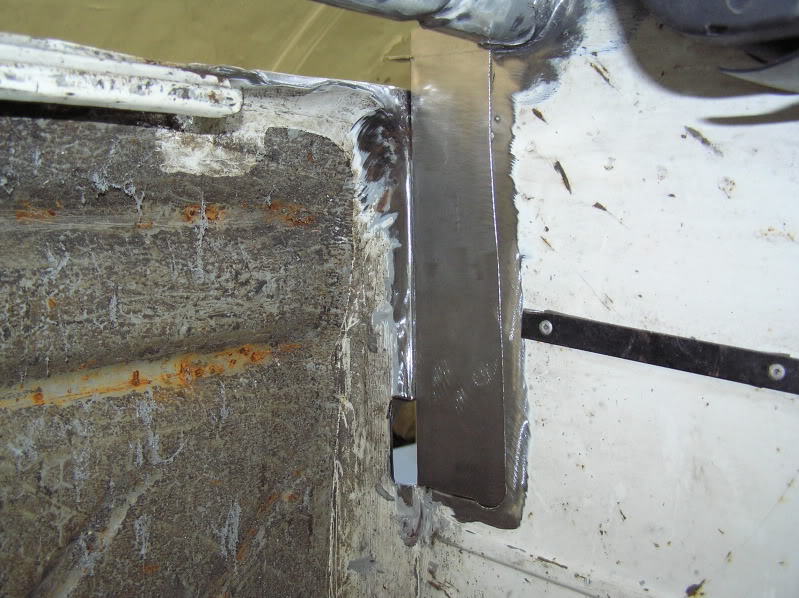
Tacked in place.
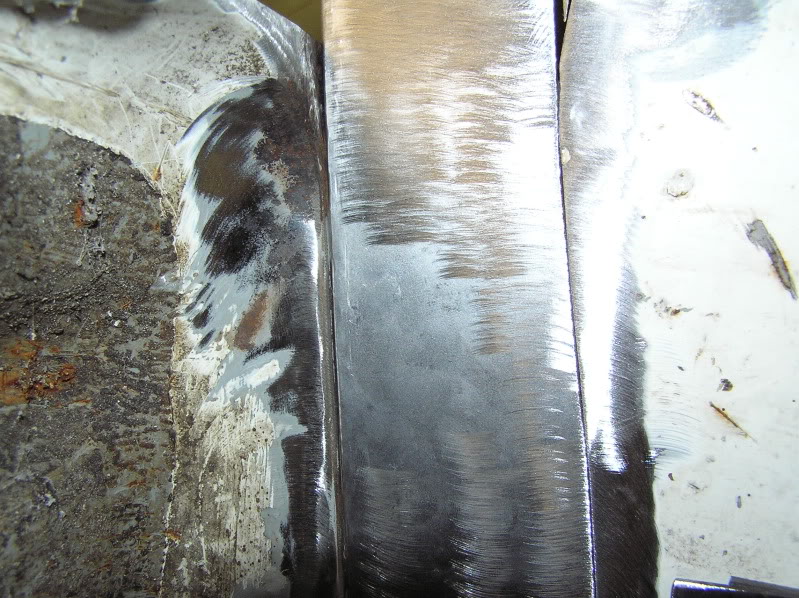
Fully welded from inside as the light conditions were better. Done in tacks to keep distortion to a minimum.
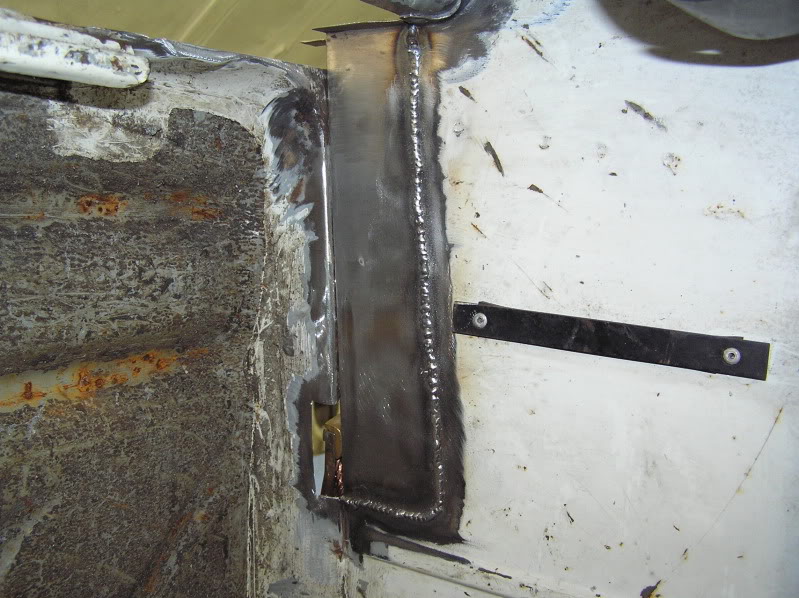
Sanded down flush. Stills needs a final sanding.
Also made a small patch for the small hole and welded that in too, just forgot to take a picky. :bh
Posted
Settled In
jetpacjimmy said
chin up fella, coming on leaps and bounds, thats some sterling work, you'll get there. :y:
Enjoy the weekend
Cheers mate.
Posted
Settled In
kemk1 said
hello buster,
just been looking through your build thread and couldnt belive my eyes!!
the caddy you are restoring used to belong to me!! i see you are located in glos somewhere which means you are still very local. i would love to come and see some of the progress you have made on the caddy and am sure i could shed some light on its past history. if your interested pm me i'l tell you every thing i know. think i have even got some pics of it when i first got it some 4 years ago now.
Do you by any chance work near Blockley?
Posted
Settled In
Jeevs said
Your build is uterly brilliant mate - gob smacked with the amount of work that you have done/going to do. Keep it up, it'l be worth it in the end for sure. Going to keep a close eye on this thread!!
So am i, Didn't realize the extent of the rot till i really started digging. Guess you live and learn. Still, i don't regret buying it. I'll learn more by having to do all the work!
0 guests and 0 members have just viewed this: None.