


New Project - '78 GTi

Posted
#957057
(In Topic #112939)
Life Member


New Project - '78 GTi
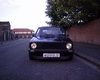
22 LHD GTis were officially imported by Volkswagen UK between 1978 and June 1979 before RHD cars were available to lucky customers who could not wait until then. This car is one of them, the last survivor of the 22 I saw was many years ago - who knows maybe it is the same car I came to buy now! At least it is the same colour…
A few private imports were made, mostly for race track usage as the car was competitive in series such as the BSCC where Richard Lloyd came second in the championship in his first year. Remember the GTi was not Type Approved yet for the UK so were difficult to register for the road.
Anyway, more details of the car later. First job was to fix the front brakes.
'78 GTis are different to '79 and later cars - they use the early ATE Teves floating caliper

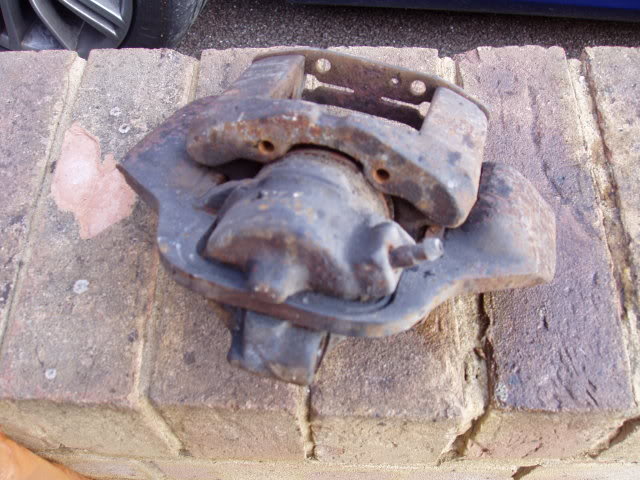
The main housing can be knocked of the frame and the piston housing taken off the main spring, so 3 separate parts

To remove the piston seal, first take off the snap ring holding it in place

The piston was seized in place, a pair of grips and some heat got it out

The internal seal can then be removed from the piston housing.
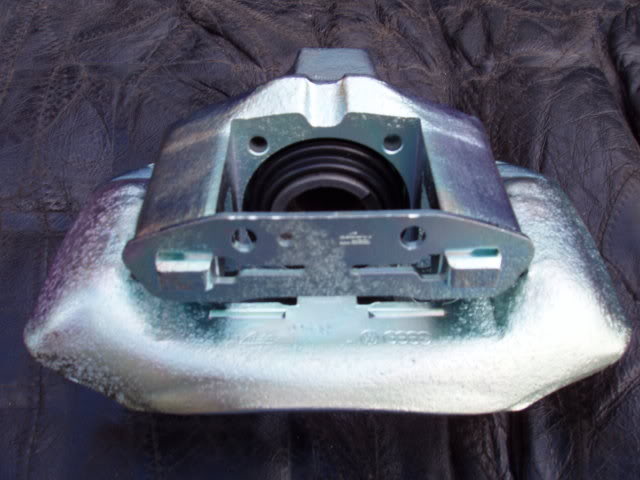
The caliper parts were then sent for blasting and plating. New piston seals obtained from ATE.

Piston housings and pistons were cleaned up using emery paper. Go easy, especially on the pistons. Remember to put the left hand piston in the left hand housing and vice versa as they are a machine fit. Wipe clean all surfaces thoroughly. Install new housing seal using clean brake fluid and insert piston. The piston has to be in the correct orientation to the housing as it has a step in it. This is 20 degrees to the edge of the main housing so check the angle after fitting and adjust as necessary. New main seal then fitted again using brake fluid. Ensure correct seating and fit new snap ring. The piston should slide easy into the housing.


Refit the piston housing onto the main housing noting orientation of hose inlet and bleed nipple if you are doing the left or right caliper. This is the only difference between them, the parts themselves are not handed.
Slide on the frame to keep it all together using a rubber mallet and a little grease. Check again the piston angle.
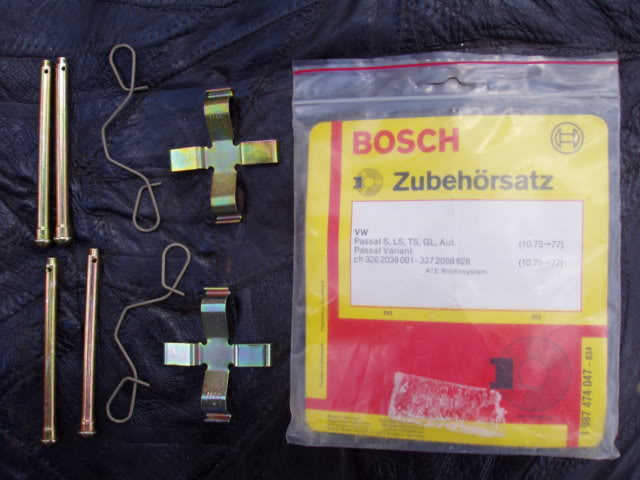
Once OK, ready to fit the pads. I used a new fixing kit, but the original pads as they had plenty of life left in them. I just matched the pads to the discs as they were hardly worn.
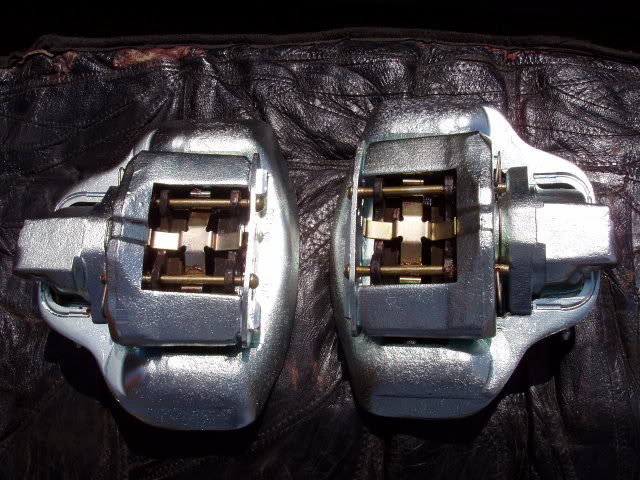
Slide the pads onto the pins, across the main X spring push the pins home ensuring the holes in the end are facing a suitable way to insert the steady spring on the end. These are floating calipers so the end pad does not move - ensure it is correctly seated, there is a detent in the back of it. Copper grease all moving parts as usual.
Both sides done and ready to go on.

Posted
Local Hero
Cheers ……………

Posted

Local Hero
Posted
Local Hero
Alex.
Posted

Local Hero
That style of caliper was used on later 11/1300 Golfs and poss Diesels too?
1983 Mars Red 1.8 Golf GTI
1987 Alpine White 1.8 Clipper Cabriolet
The trouble with doing nothing is that you never know when you are finished.
1987 Alpine White 1.8 Clipper Cabriolet
The trouble with doing nothing is that you never know when you are finished.
Posted
Local Hero
I hope this isn't getting in the way of finishing your green Golf LS though?
Rich
Posted
Settled In

Real attention to detail, no point cutting corners.
Is this the silver car which was displayed at Gti international over the last weekend?
1983 Campaign, BRMotorsport152
Posted
Settled In
Posted
Life Member


Posted
Life Member
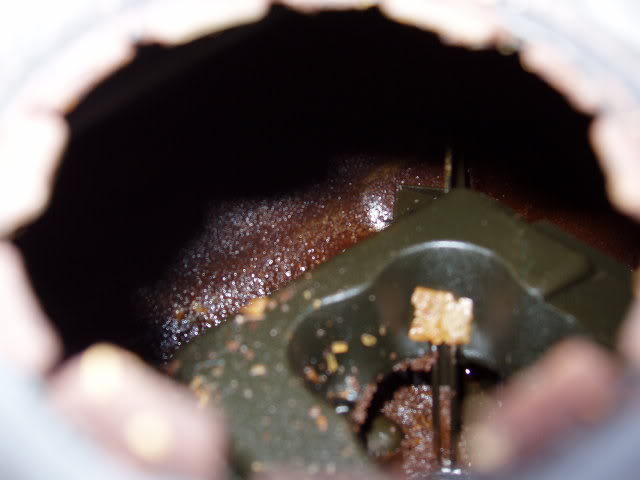
Out it came
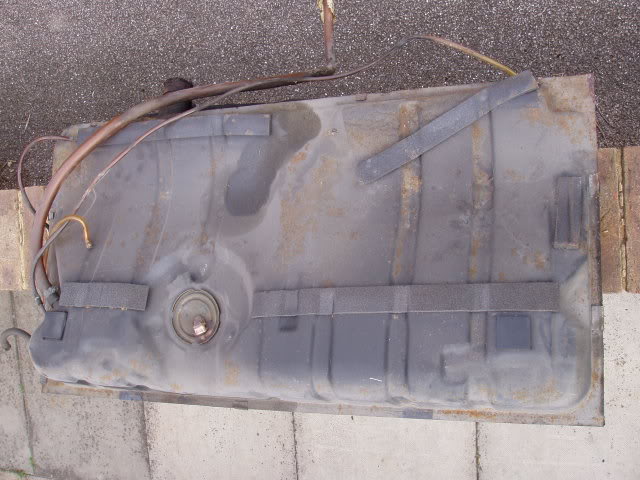
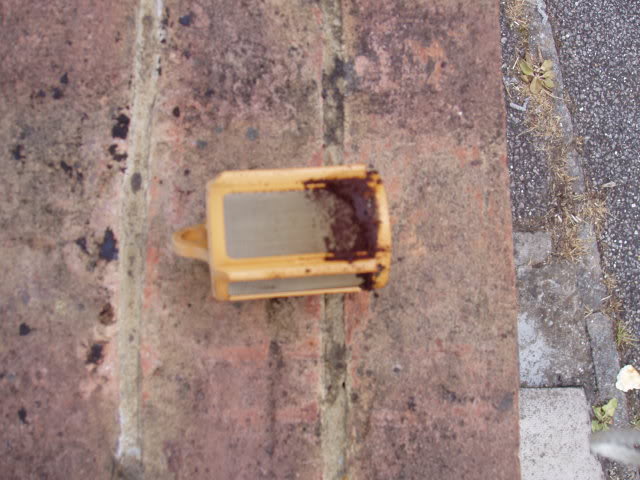
Fish out the tank filter. Not good signs - the car had been sitting for 6 years. As usual a lot of sediment in the filter
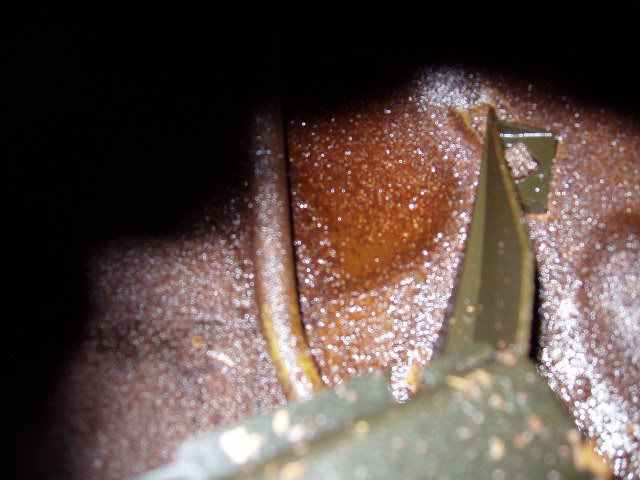
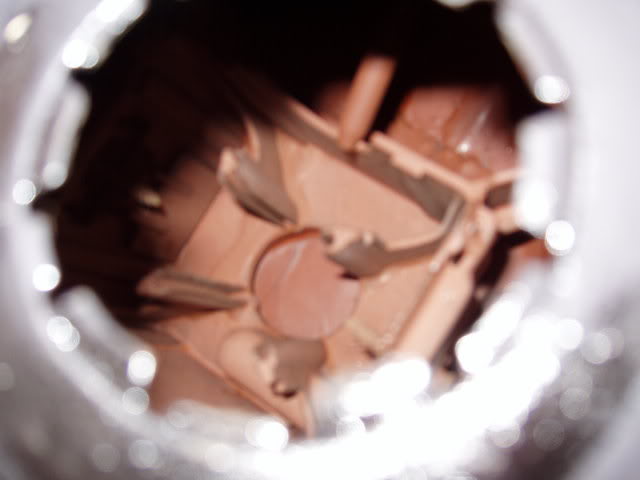
Worse to come :cry: a lot of surface corrosion inside the tank as well as sediment.
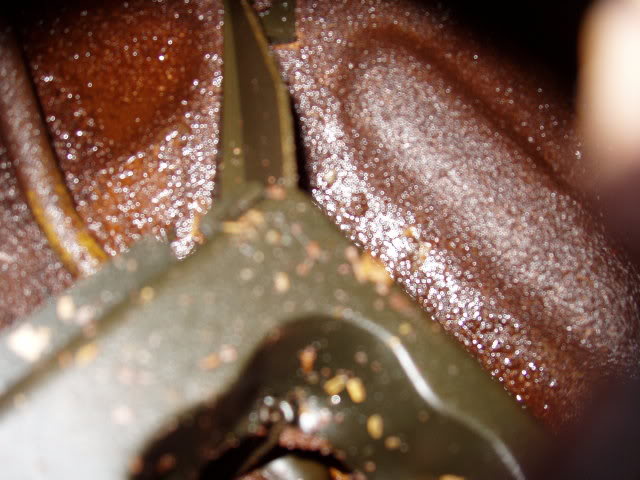

Flushing the tank got rid of some of the sediment but still left with the corrosion. I considered my options:
1. New tank - no longer available from VW. GSF tanks are one size fits all, so incorrect inlets/outlets for my car, steel quality issues, etc. Plus even the VW ones do not have much in the way of anti-corrosion protection so would be back to square one in time.
2. Secondhand tank - probably not much better than mine, hard to get the right one, too risky with the same issues as above. This is the kind of job you only want to do once!
3. Seal the inside - there are various tank sealers on the market. However they do not get rid of the rust, almost impossible to coat the complete inside satisfactorily due to the shape but worst of all the sealer can come off and play even more havoc with the injection system!
4. Re-tin the inside - a few tank restorers will do this but most I spoke to were not willing to do the complete inside due to time/cost
So I took another option. RENU is a tank restoration process from the States that comes with a lifetime warranty. This is how it works:
1. Tank is cut open in 1 or 2 places to gain access.
2. Inside is thoroughly cleaned and blasted to remove all debris and corrosion.
3. Any repairs necessary carried out (new sections welded in, new baffles, pipes, etc)
4. Tank welded up and ground down
5. RENU sealer applied to inside. This is good stuff - nice and thick, good adhesion. A few coats are applied to both inside and out, the inside sealer is slighty different.
6. The tanks is then rotated in all orientations in an oven to ensure coverage to all areas and the sealer sets nice and hard.
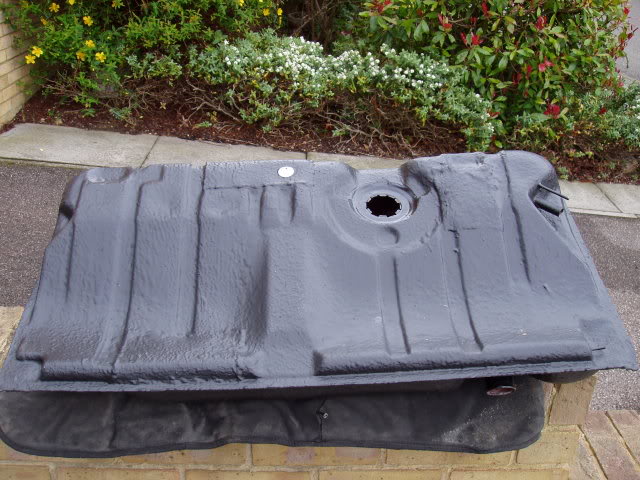
This is the tank all done inside


Outside


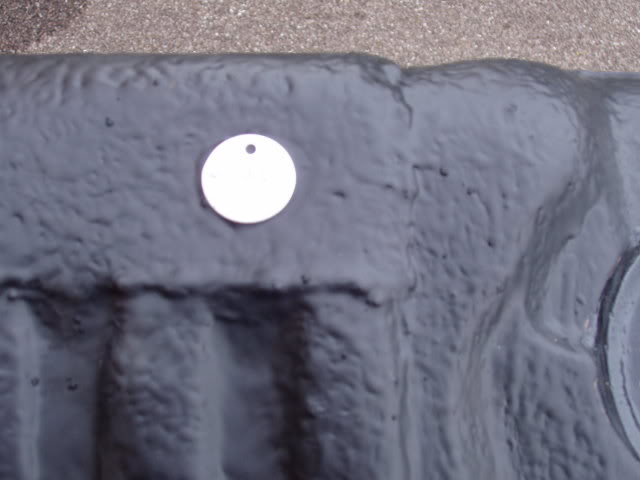
Each tank is tagged with individual number and certificate for the lifetime warranty
I then POR15'd the tank heat shield and tank straps, fitted new foam and filter, cleaned the sender unit up with new seal and assembled the lot ready to go back on. No more tank issues!

Posted

Local Hero
Did you have to send it to the states then? :?
Posted
Life Member
Yomp said
Nice recovery!
Did you have to send it to the states then? :?
Nope but it felt that far away as I dropped it off and had a guided tour of the process!

Nice guys, recommended.
Hartlepool Radiator Company Limited,
Unit 3F,
Parkview Industrial Estate,
Hartlepool,
TS25 1PE
Telephone (01429) 236300
Posted
Twitter Manager

Posted

Old Timer

Life Member
blans said
how much did the tank resto cost rajan?
?253 all in. Expensive but only a little more than quotes I had for a partial re-tin and cheaper than a new tank from VW. Peace of mind with the warranty too.
Posted

Old Timer
Keep up the good work!
Pete.
Posted
Life Member
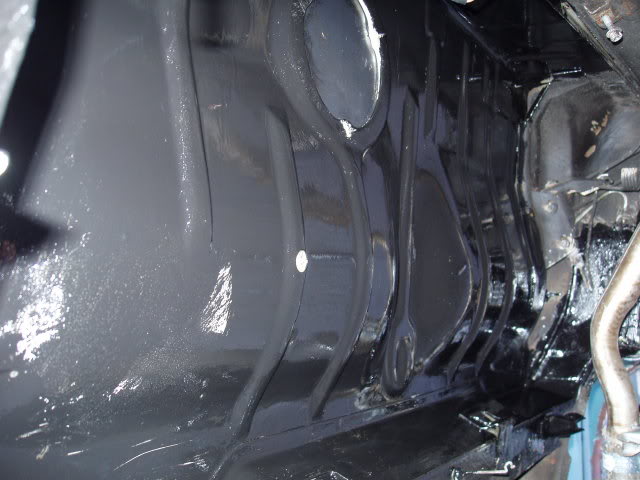
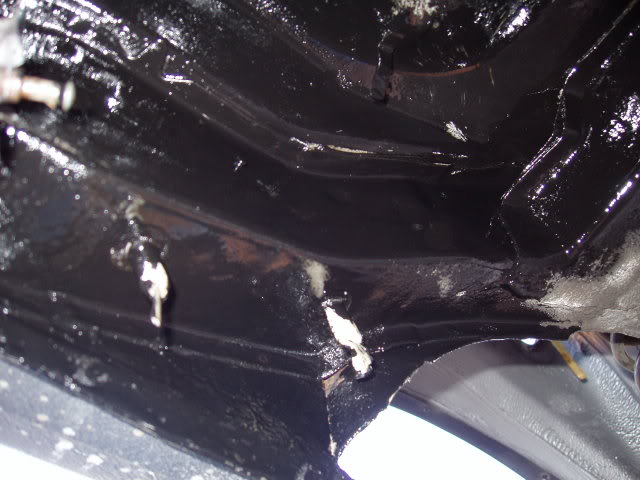
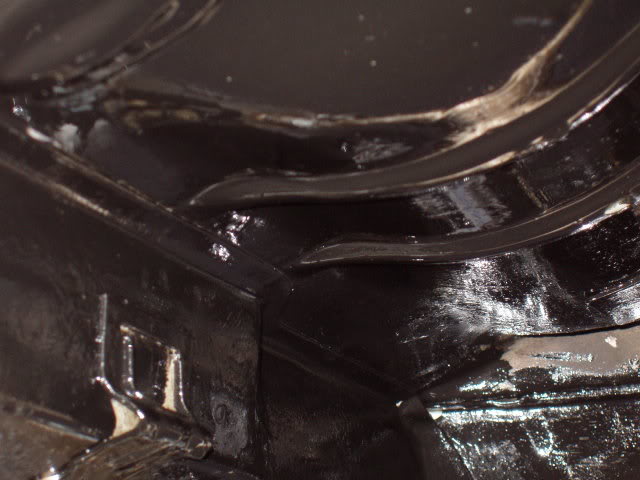
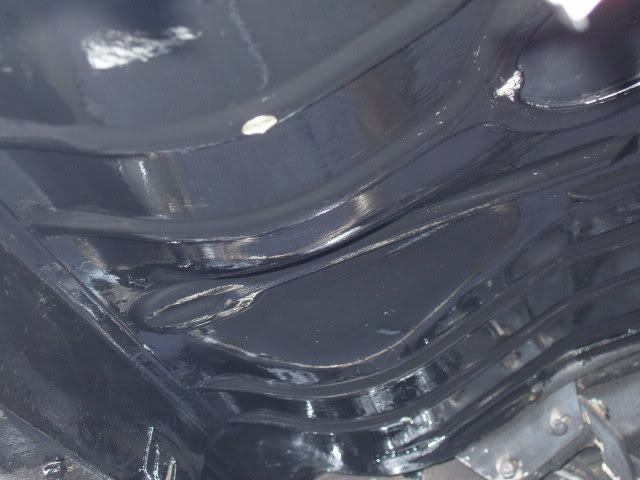
Underside where the fuel tank sits POR15'd

Posted
Local Hero
Another gem to the collection then :mrgreen:
Can you let us know who did you use to sort out the fule tank.
Also post us some more pics
Cheers Buddy :wink:
Diesel Possessed
A97JCE
Feeby
A97JCE
Feeby
Posted
Life Member
allana13 said
Can you let us know who did you use to sort out the fule tank.
See a few posts up ^ :wink:
Posted
Local Hero
Diesel Possessed
A97JCE
Feeby
A97JCE
Feeby
0 guests and 0 members have just viewed this: None.