


Just a quick tidy up..........Oops!! (UPDATE 22/06/10)

Posted
Settled In

Just a quick tidy up..........Oops!! (UPDATE 22/06/10)
cheers,
simone
Posted
Settled In
simone said
mate where have you got hold of all the NOS goodies from?
cheers,
simone
Mostly my local dealer but some of the stuff has been tracked down around the country. Dealers can produce a list of VAG outlets that theoretically hold stock of obsolete items. They are not always that accurate though. I got potentially the last full set of genuine wishbone and anti roll bar rubbers available. I traced the last two rear wishbone rubbers in the country. One at one dealer and one at another. That was out of a list of about 15 potential stock holders. Ive just bought two NOS rear beam pivot bolts from a place that 'strictly' sells to the trade only and only had two left. I had to convince the guy to buy them for himself as an employee perk and then me buy them off him :wink:
You may be surprised at what you can still get from your local dealer. You just have to hope that you get a helpfull parts bod. I have a couple of top lads at Lookers Darlington that are more than happy to trawl ETKA for me.
Posted
Settled In
Got a rebuild kit for the gear lever / linkage.
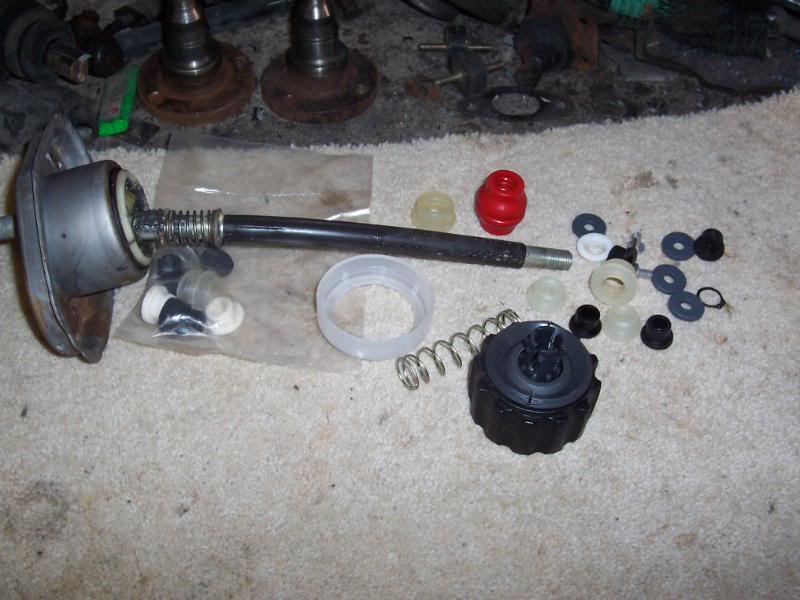
All fitted together and regreased.
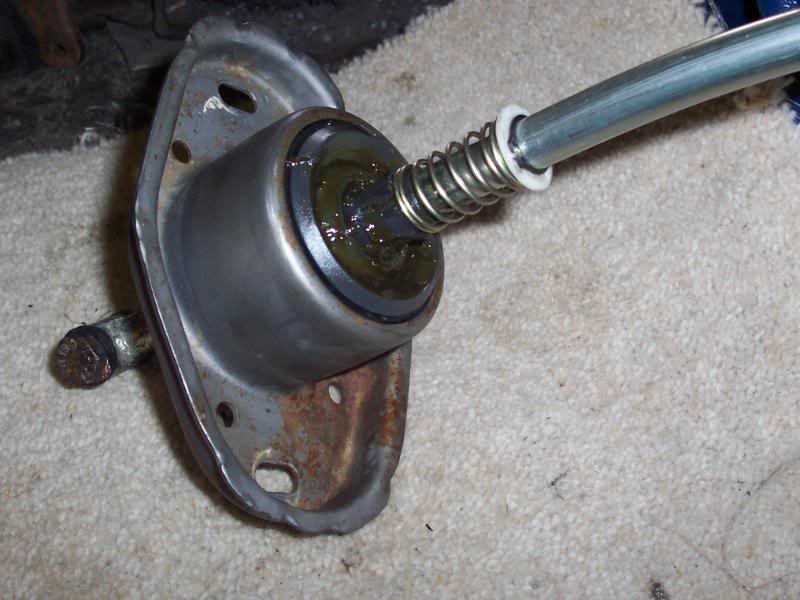
Bolted back into car with a powder coated heat shield, powder coated body and new rubber boot and plastic cap. Plenty of grease applied.

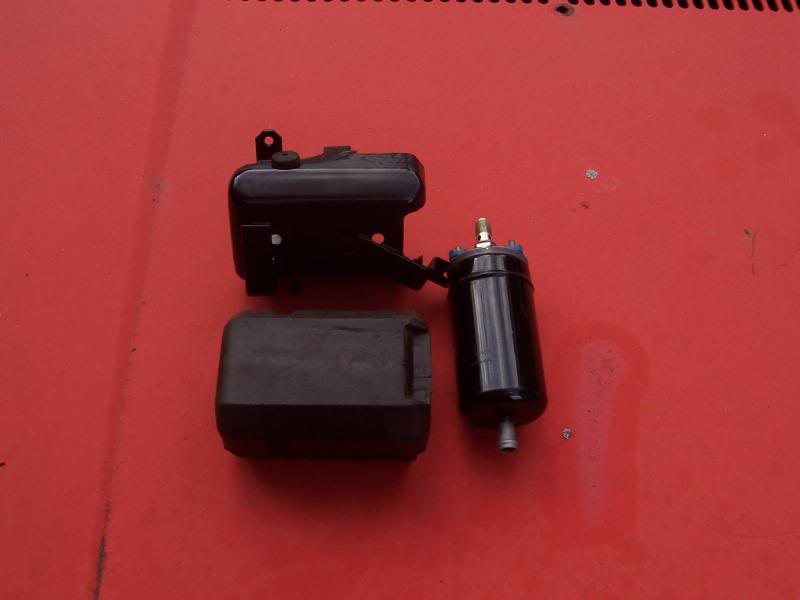
Powder coated fuel pump holder, new Bosch pump.
Fitted up to shell with powdercoated brackets and new genuine mounting rubbers.
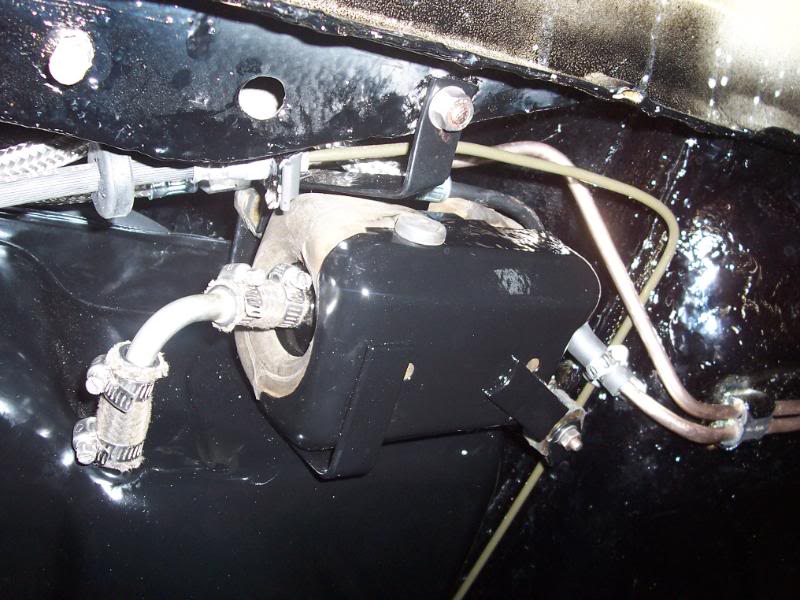

Fuel pipes fitted. Absolute nightmare of a job. Easilly a full days work here. I would deffinately buy braided lines next time.

New, correct colour brake pipes. New brake compensator and stainless fastenings. Another good days work.
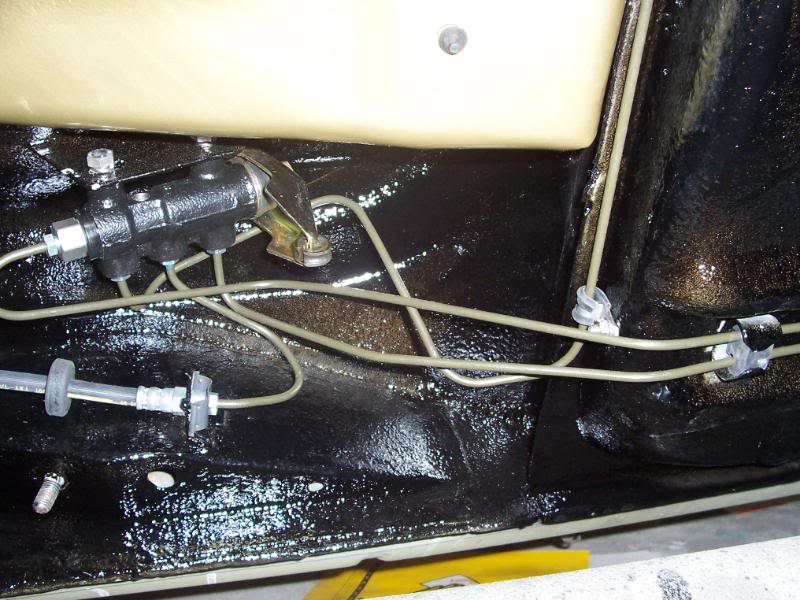
All looking lovely under the back end. Im pretty much finished under here now.
Posted
Settled In
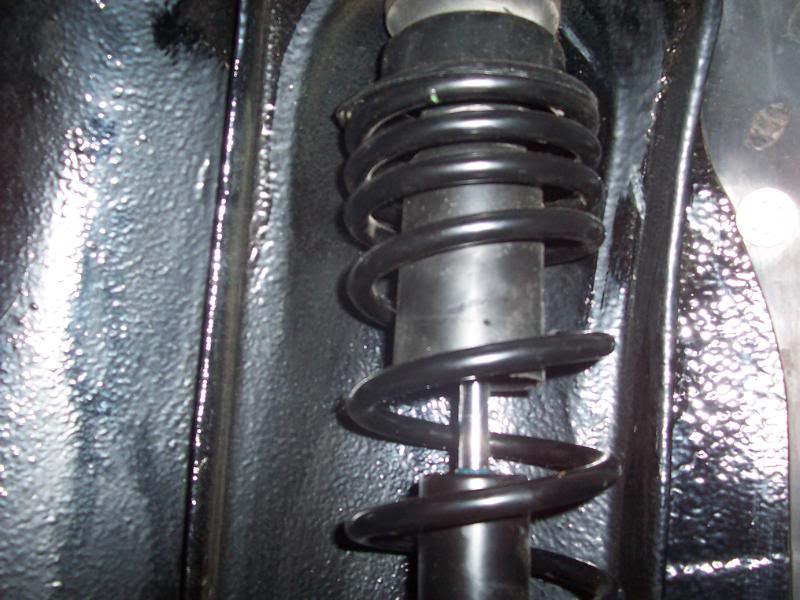
Rear struts in place. Everything is new here, inc genuine rubbers and bolts etc, etc.
Hung the rear beam, which has been fully stripped and powder coated and then fitted up the rear brakes. Powder coated back plates, new genuine wheel cylinders and all new genuine springs and adjusters, new shoes, etc.
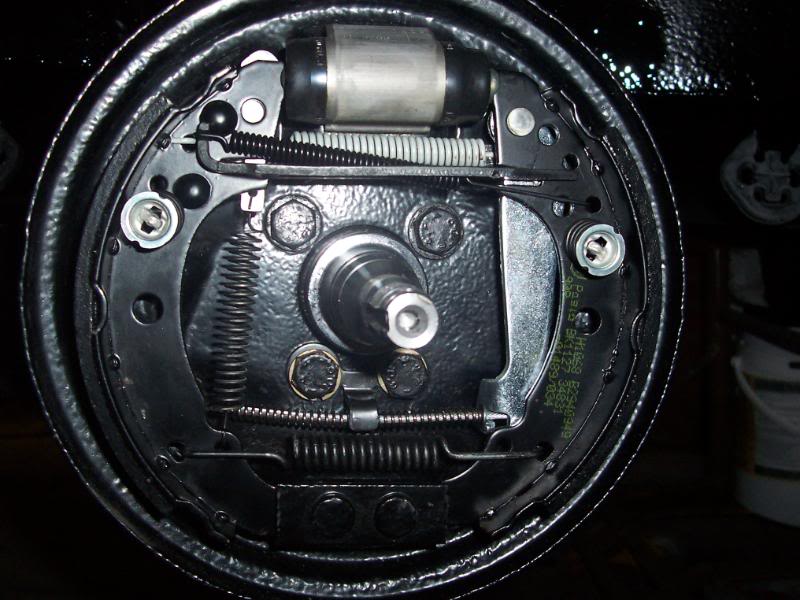
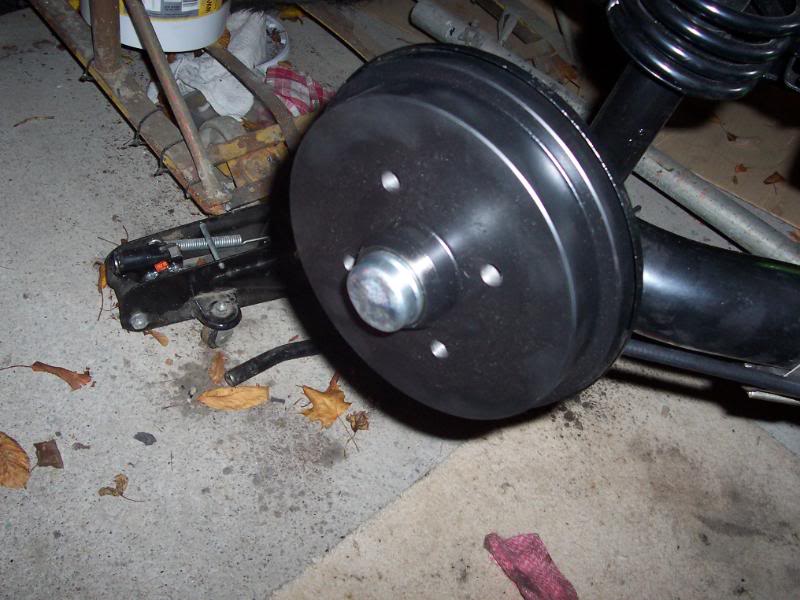
Brand new rear drums, bearings etc.
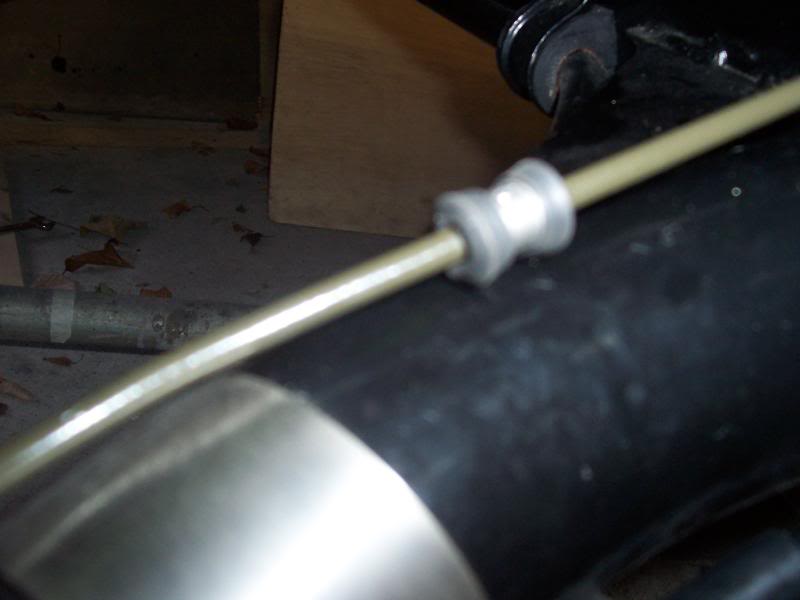
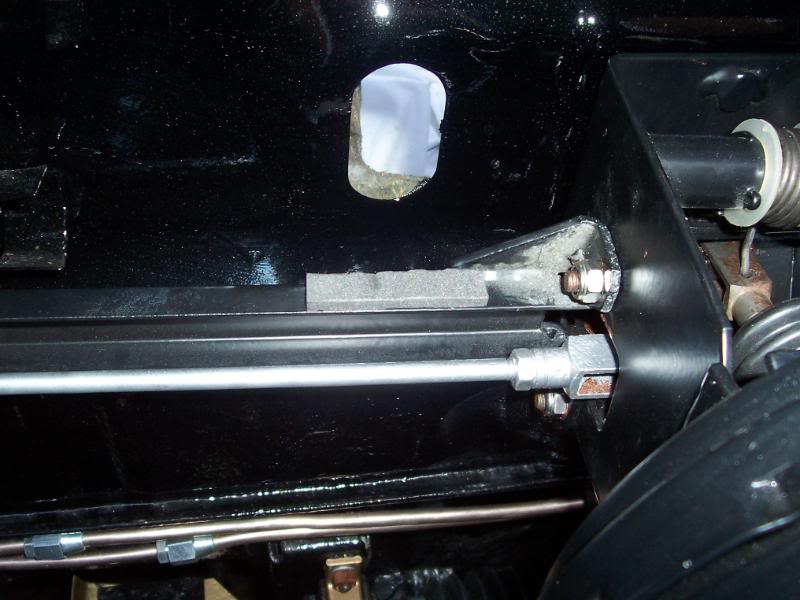
When i cleaned up the rear beam before blasting and coating i cut off the rotten brake pipe and handbrake cable retaining tabs. Rather than replace them i borrowed a nifty bit of kit from my good mate Chris. You drill a hole and then insert a threaded slug that you pinch up with special pliers. Once in place you have a captive nut to which i bolted these stainless steel retainers………oh, new stainless anti roll bar clamps too………
Front end now. Powder coated front hub carriers with new bearings pressed in.
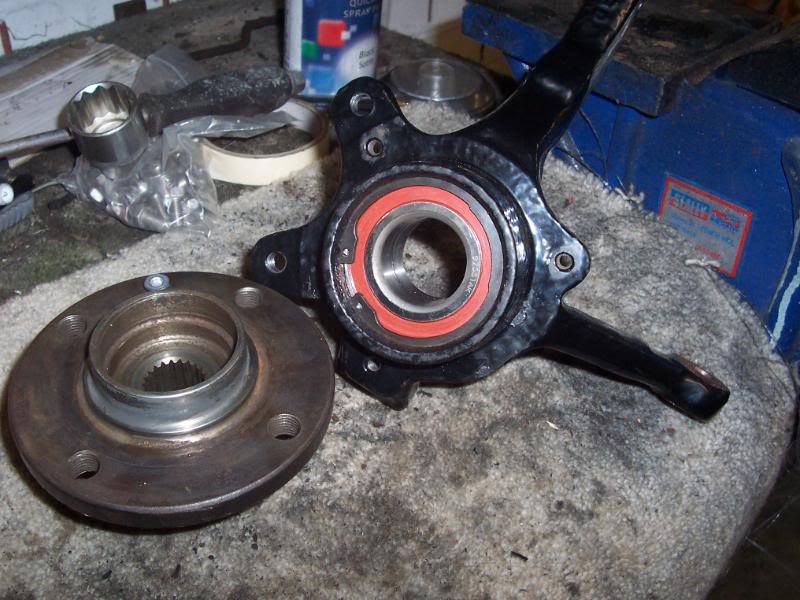
Pushed in the original hubs, after cleaning them up and drilling out the disc retaining bolts that had long since sheared.

Then added the calliper cariers and torqued the bolts up.
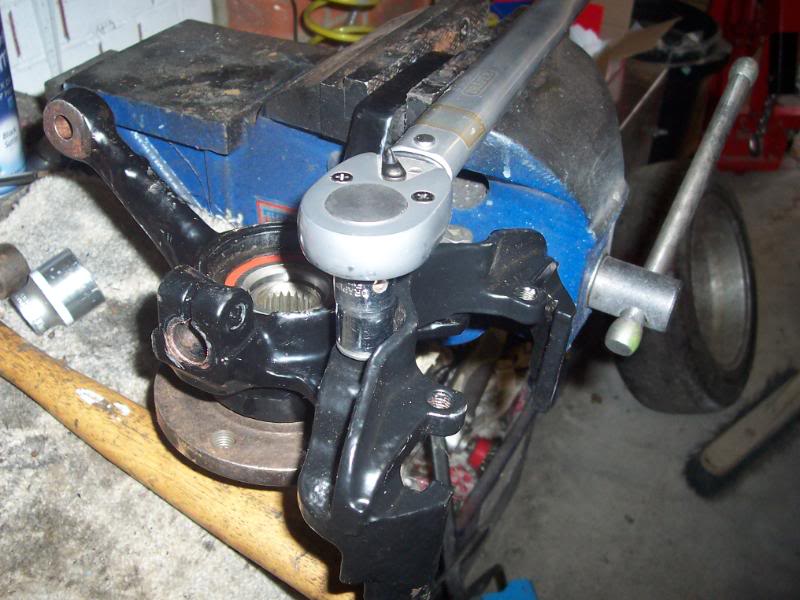
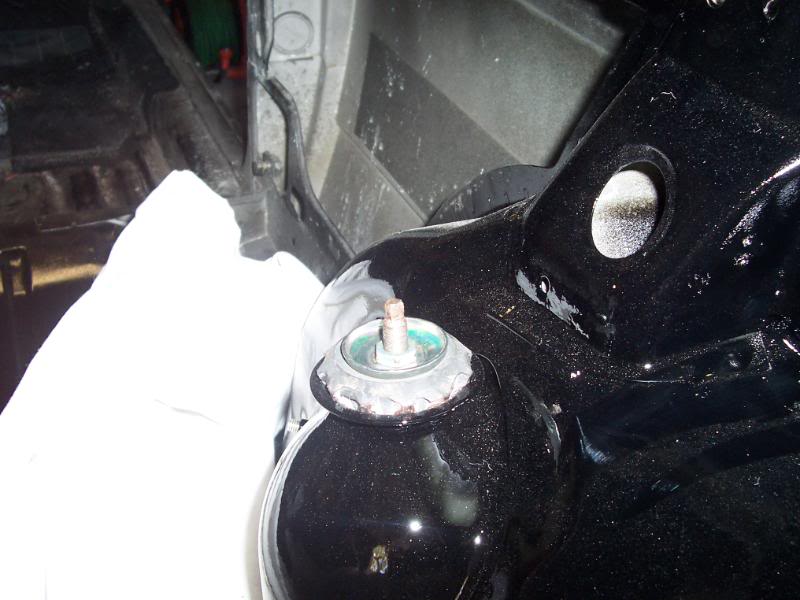
Bolted it all up with my new front struts, again with genuine new bolts etc.
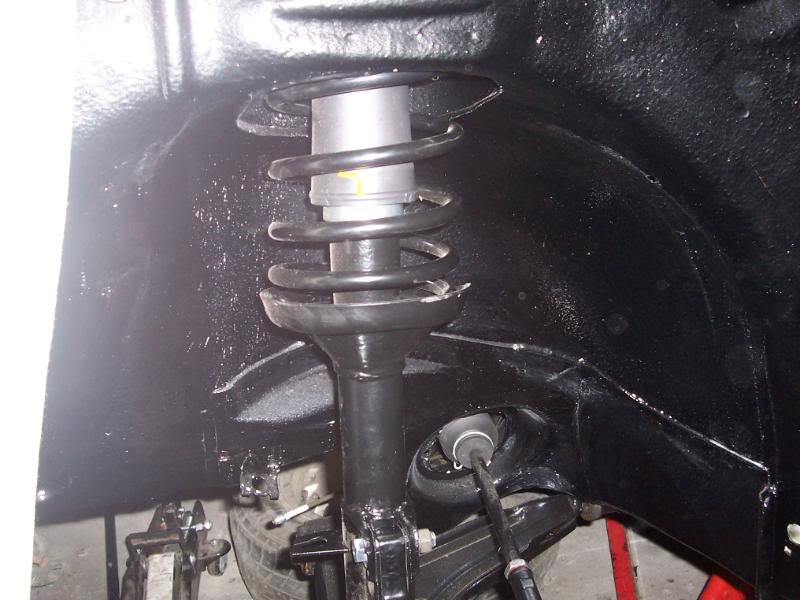
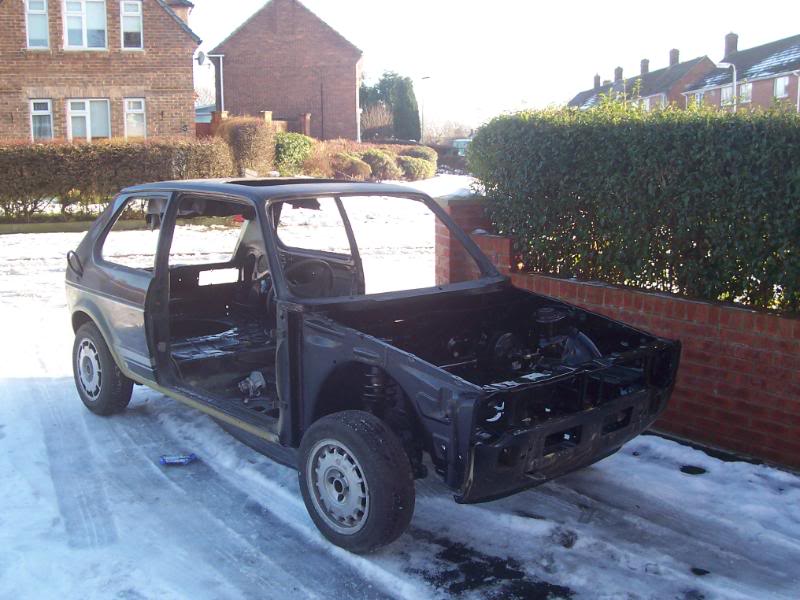
And then the moment ive been waiting for, for a very, very, very long time. Rubber and tarmac kissing once more

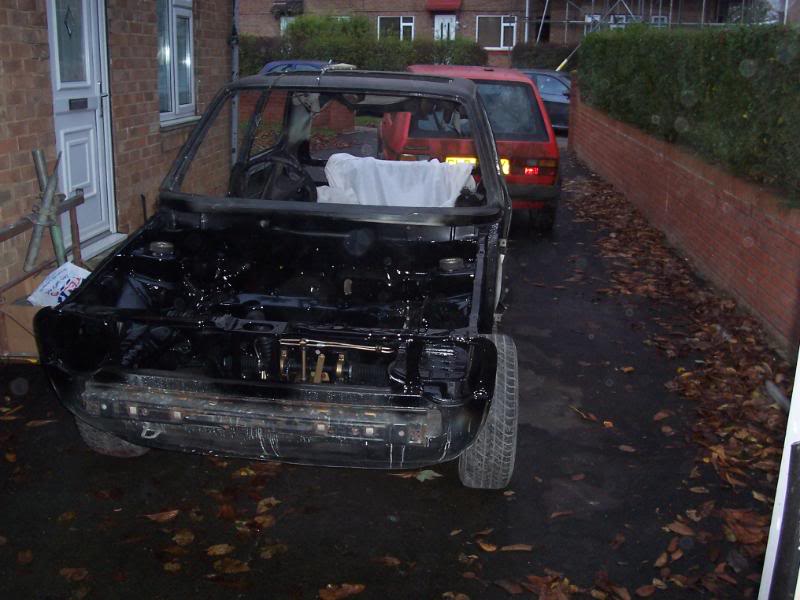

Obviousley 30 seconds after taking these photos it started raining :roll: but its another big milestone passed and the bodyshop is within touching distance. :mrgreen:
Posted

Old Timer

Posted
Settled In
redpetemk1 said
Top job, very impressive
Thanks. Its coming along nicely now :wink:
Posted
Settled In
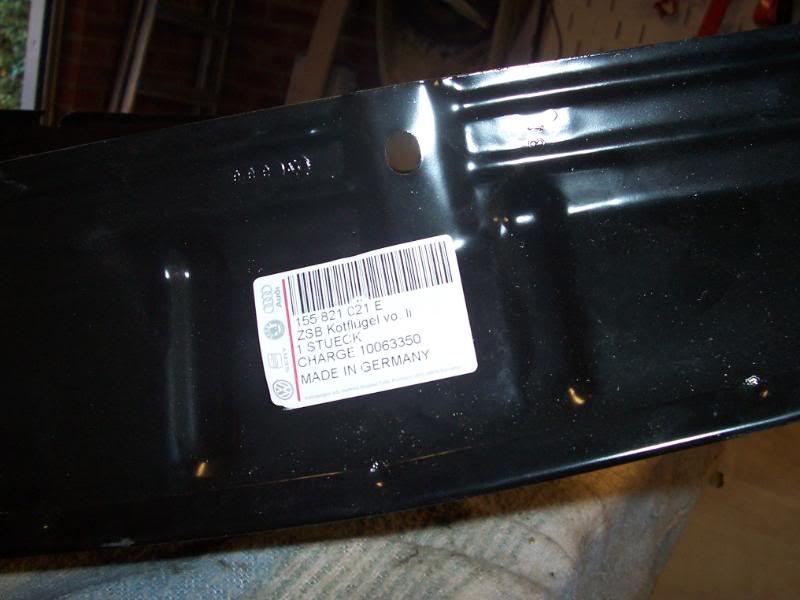
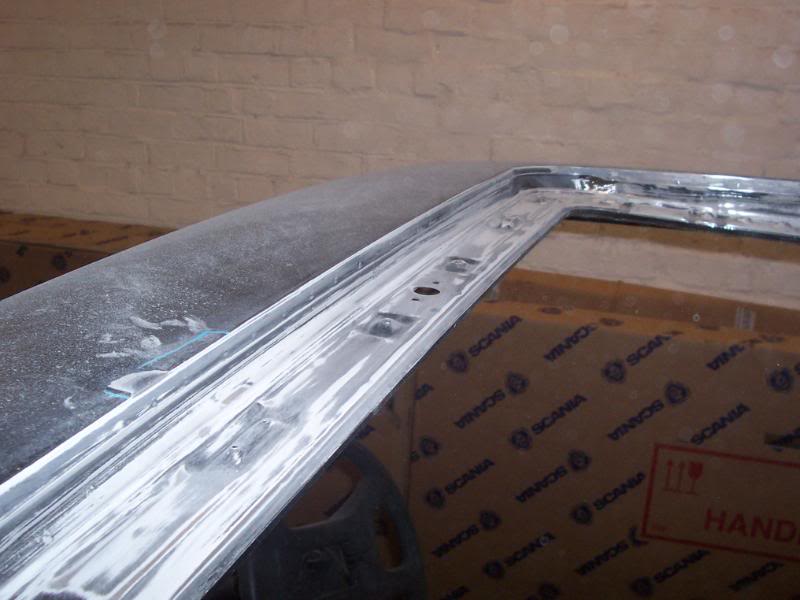
The other is spurious, but it's German. It still needed extensive fettling to get a satisfactory fit though. Firstly it never came with the square washers attached to the rail.
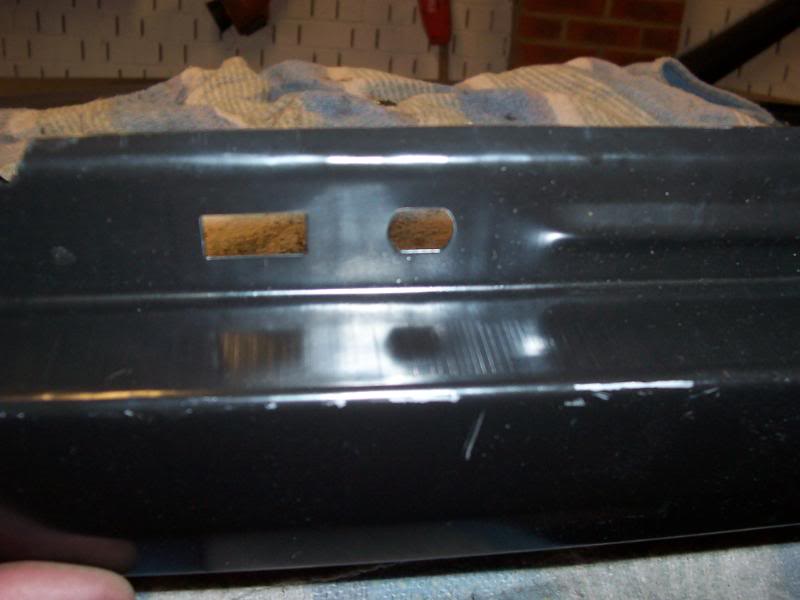
Fortunately i have retained the original wings so i just needed to remove them and refit onto the new wing.

I also needed to elongate the bolt holes as the wing would not sit 'in' enough.
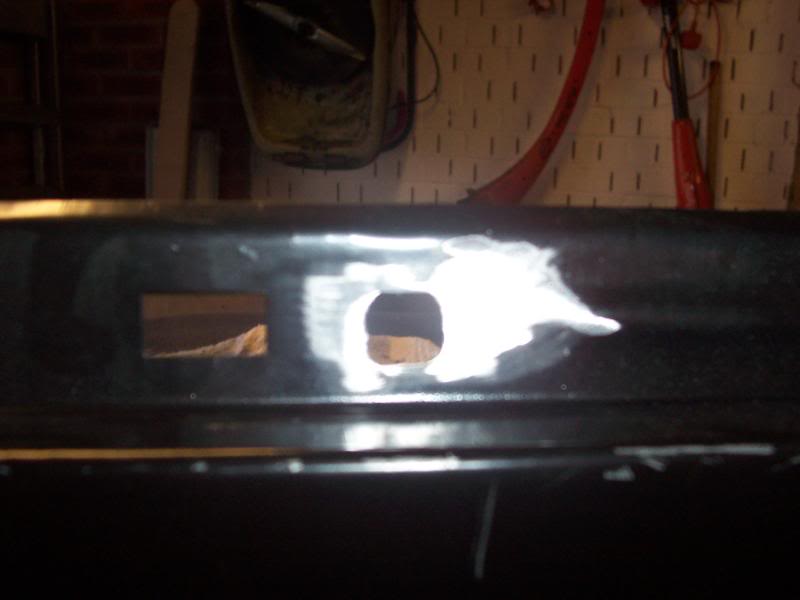
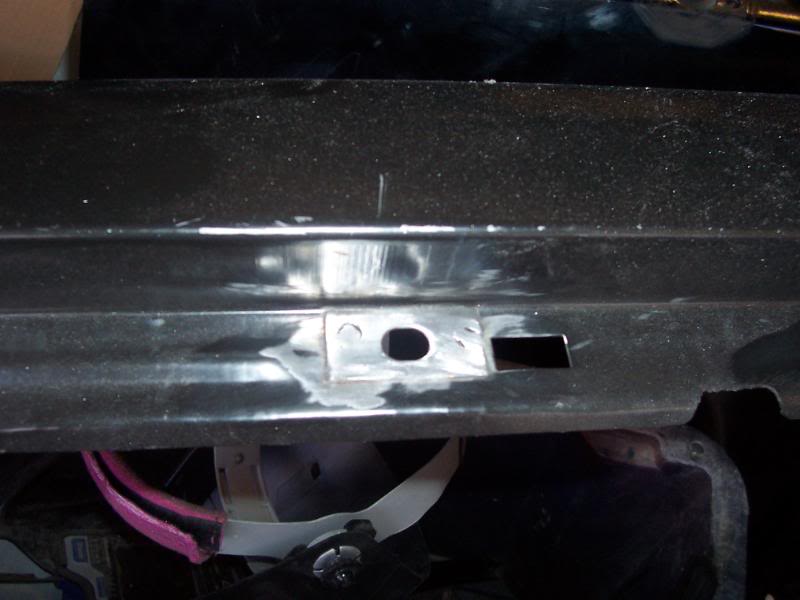
After drilling out the spot welds i re-attached them to the new wing.
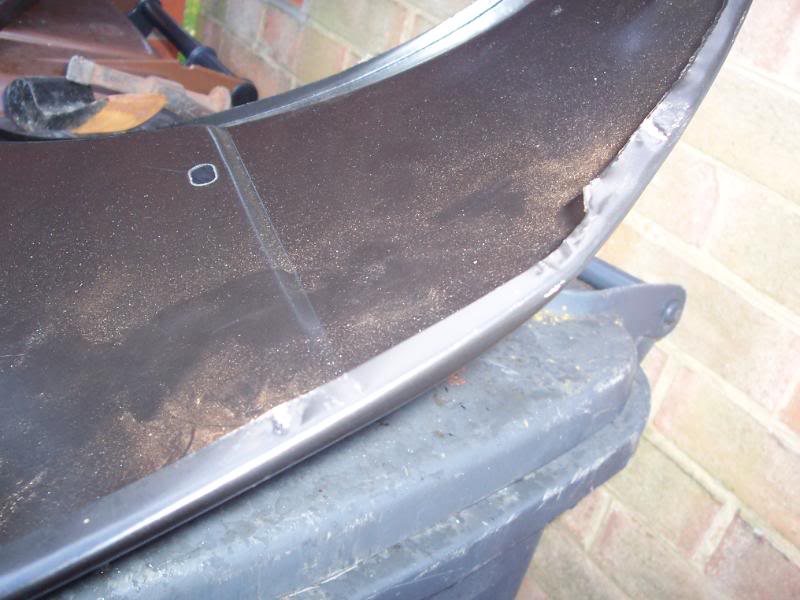
At the front lower edge where the wing meets the front valance i had these two bumps where the metal has deformed.
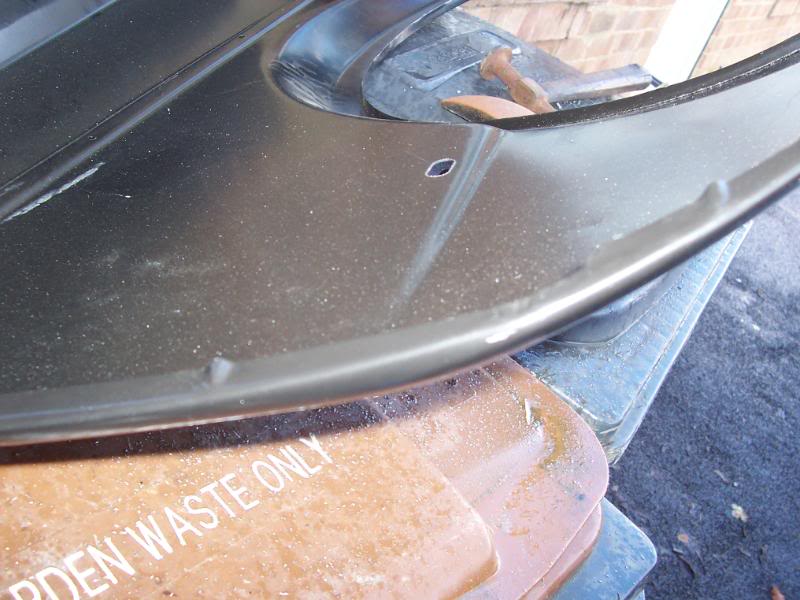
A few deft blows with the dolly and hamer and its a snug fit.
Both wings now fit sweet. I also bought a new bit of kit last week.
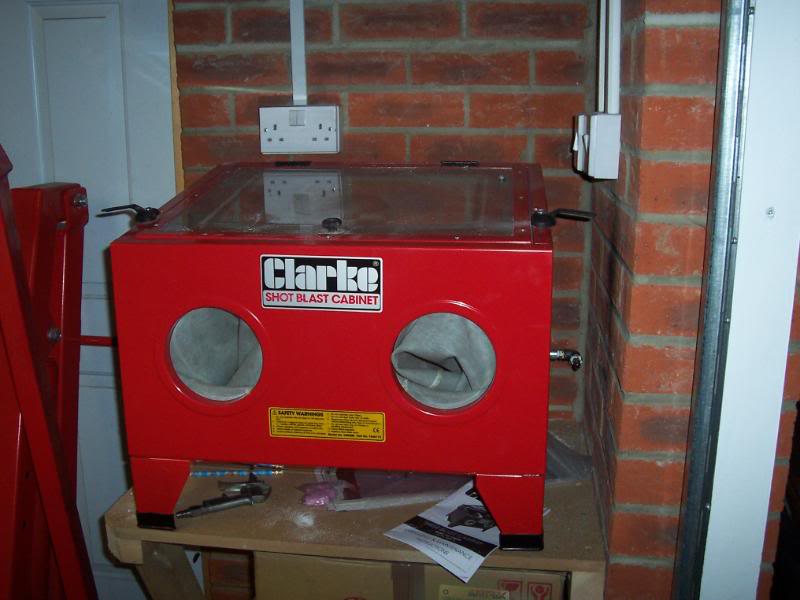
Should come in handy when im detailing bits to go back on the car.
Posted
Settling In

Posted
Old Timer

Posted
Old Timer
Posted

Settled In

Love all of the detail,
Scott
Posted
Settled In
As soon as the painter has a slot its off to the body shop.
Posted
Settling In
Ash :notworthy:
Posted

Local Hero


Andy
LINCOLNSHIRE REGION -�https://www.facebook.com/groups/467122313360002/
1983 MK1 Golf GTI Campaign Model - Under (looooong) resto!
1962 Rover P4 80
2002 BMW 745i
2008 BMW Z4 2.5Si
LINCOLNSHIRE REGION -�https://www.facebook.com/groups/467122313360002/
1983 MK1 Golf GTI Campaign Model - Under (looooong) resto!
1962 Rover P4 80
2002 BMW 745i
2008 BMW Z4 2.5Si
Posted
Settling In
daztheoneclaw said
Both wings now fit sweet. I also bought a new bit of kit last week.

Should come in handy when im detailing bits to go back on the car.
How are you finding this? I am thinking of investing in one once I get my compressor.
David
Poole, Dorset
Mk1 GL Cabriolet, 1457cc Manual, Papyrus Green:��Long term restoration of a car that's been in the family since new: ��Project DEL BOY
Mk1 Golf GLS Cabriolet, 1457cc Auto, Yellow/Light Blue:�Breaking for spares (anyone need a shell?):�Breaking Mk1 Golf Cabriolet 1457cc, GLS (Dorset)
Poole, Dorset
Mk1 GL Cabriolet, 1457cc Manual, Papyrus Green:��Long term restoration of a car that's been in the family since new: ��Project DEL BOY
Mk1 Golf GLS Cabriolet, 1457cc Auto, Yellow/Light Blue:�Breaking for spares (anyone need a shell?):�Breaking Mk1 Golf Cabriolet 1457cc, GLS (Dorset)
Posted
Settled In
Scamparelli said
How are you finding this? I am thinking of investing in one once I get my compressor.
For small items such as throttle bodies, bolts and brackets etc its spot on. Im currently using glass beads so im not sure what heavily crusted items would clean up like with a more abrasive shot. It is fairly slow going though and a wheel, for example, would take ages to clean up. I use it mainly for detail work, larger or heavily corroded items still go to my local blasters.
Posted
Settled In
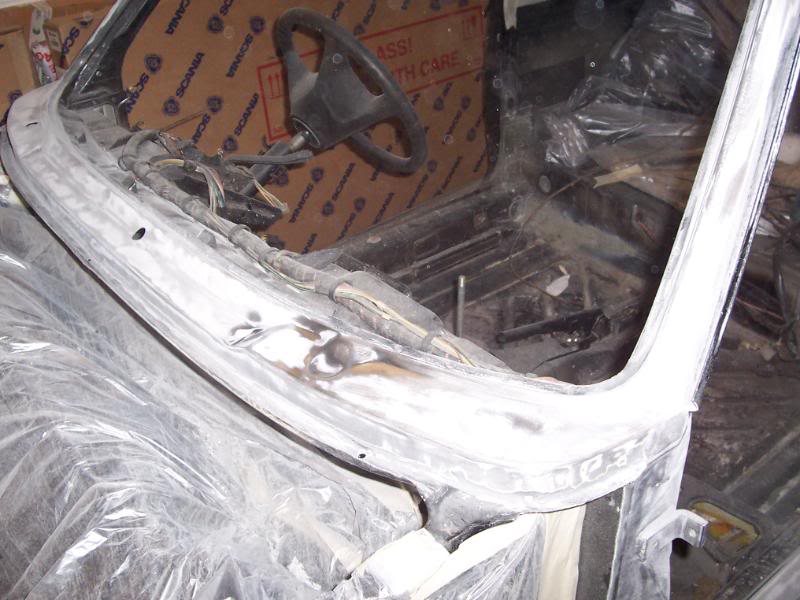
I put the doors back on so that i could check wing allignment.
Genuine VW wing fitted on this side. It gets no easier than this, it virtually fell on.
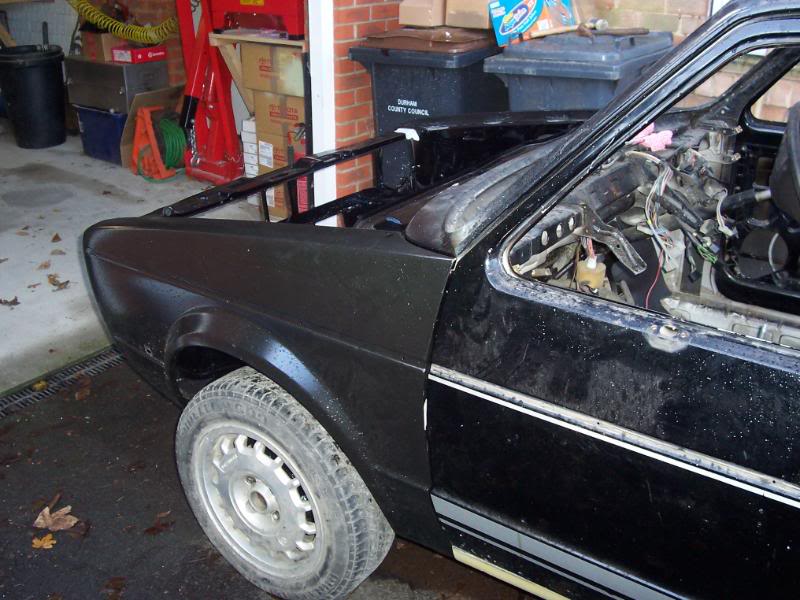
This side took a bit more fiddling but its sweet now.
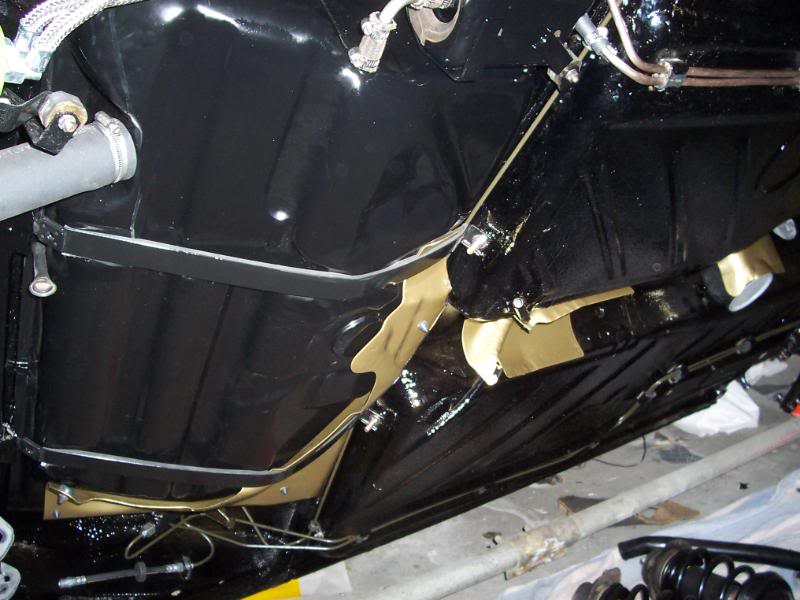
I also fitted the refurbished brake servo assembly. Repainted servo, blasted and powdercoated bracket with all pivots regreased and new felt washers fitted. Stainless nuts etc. Brand new master cylinder.
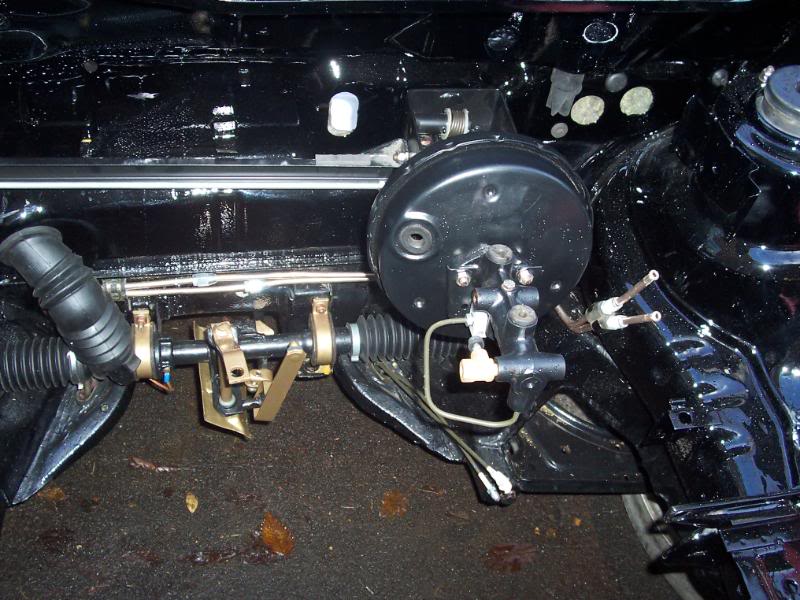
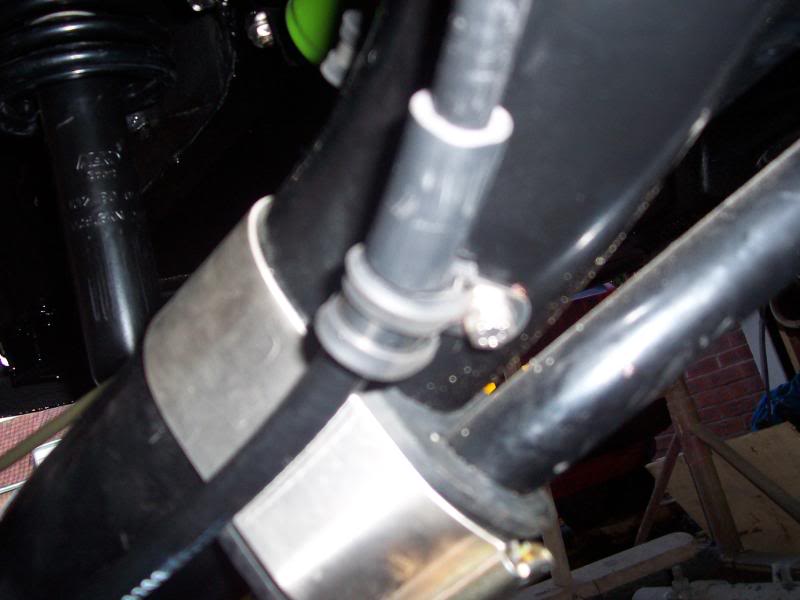
I also re applied the little foam pad that stops the heater pipes rubing on the top of the bracket.
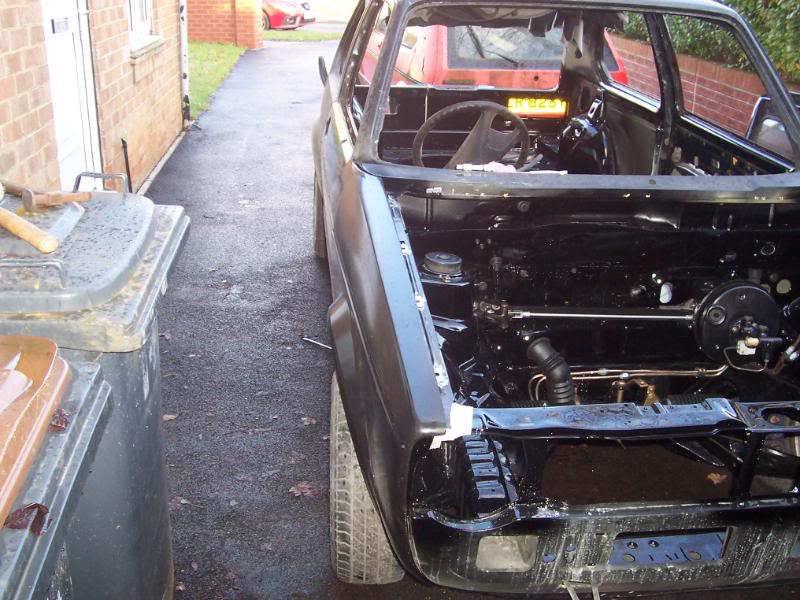
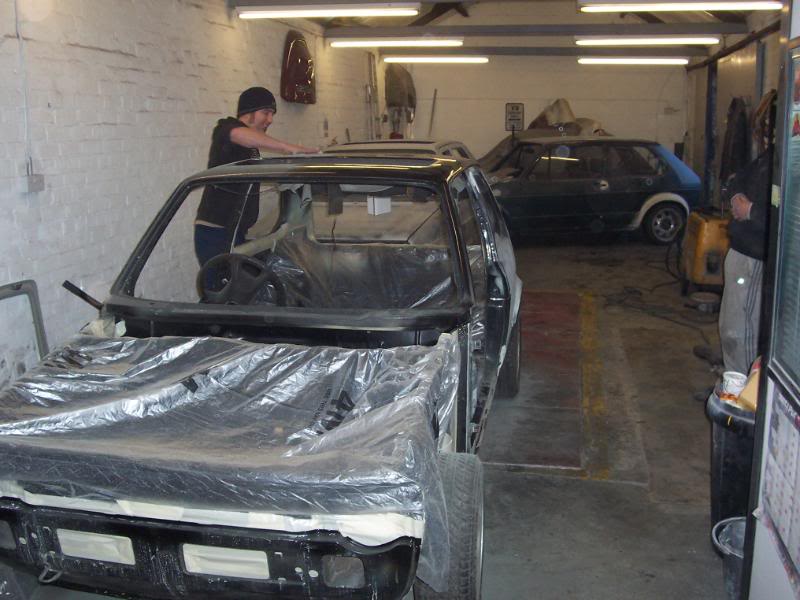
Time to roll it out and send it to the paint shop.
My good mate Cookie has a little car transportation business. Top lad, cheap as chips and reliable.

Next stop, Dirty Nige's Body Shop.
Posted
Settled In
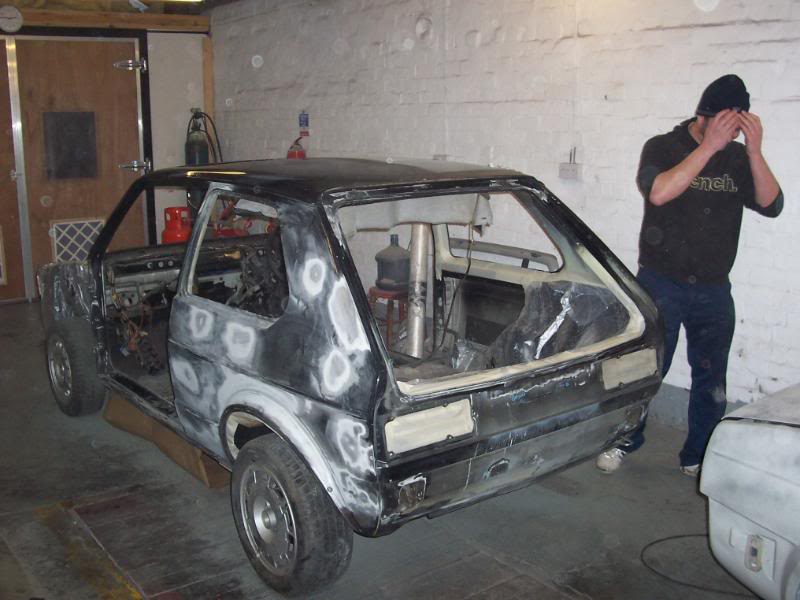
Nige then got the crayons out and marked up all the little dents that need sorting.
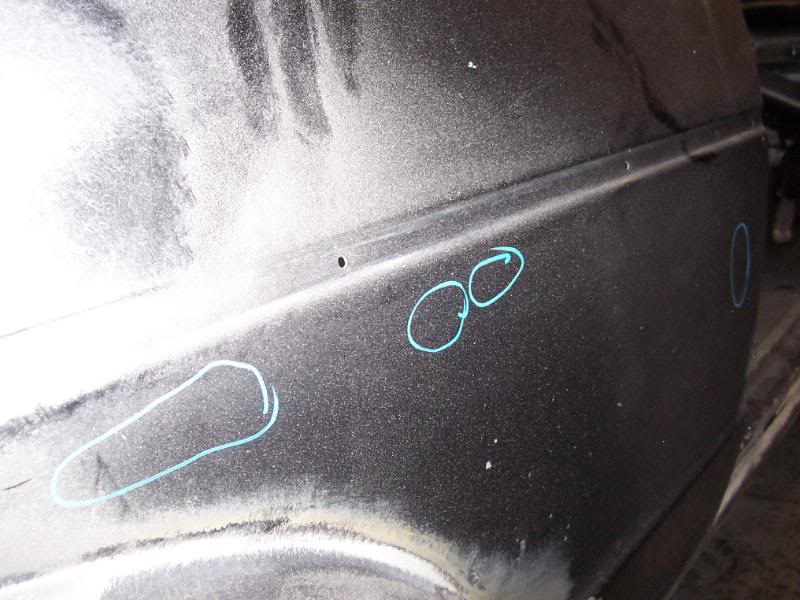
Then it was time to get frisky with the DA.
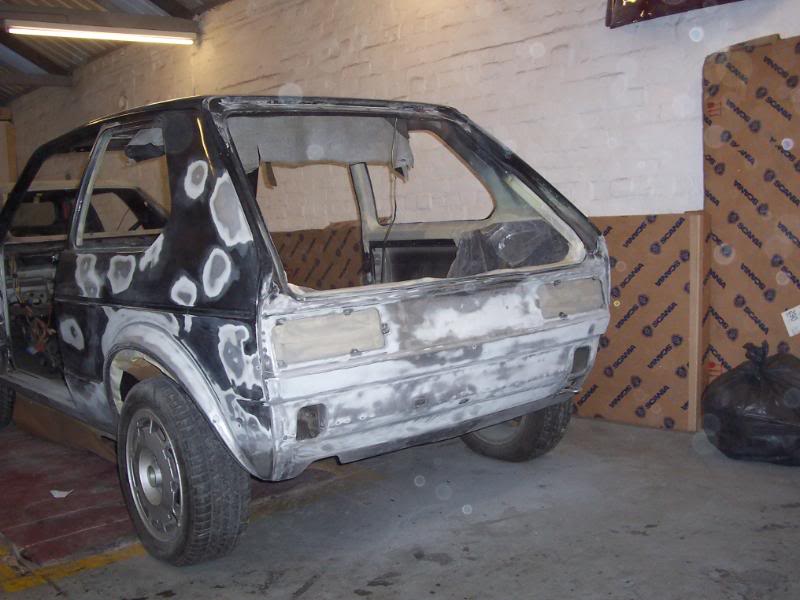
A bit of hand sanding in here. Just the ticket when its below freezing!!
Thats it for now. The pub was calling
Posted
Local Hero
Regards Volkswarren
X2 1983 A REG EW CAMPAIGN In WHITE(Awaiting full rebuild solid body) �& T Reg S1 GTi Project, Still�Looking for Series 1 GTi's or a 16S Oettinger to restore (Complete Cars only) �or an A reg Lhasa Green or White Gti to restore, also consider �Black, Red or Blue, Also Golf Driver Project Wanted anything considered WHY
X2 1983 A REG EW CAMPAIGN In WHITE(Awaiting full rebuild solid body)
�& T Reg S1 GTi Project, Still�Looking for Series 1 GTi's or a 16S Oettinger to restore (Complete Cars only) �or an A reg Lhasa Green or White Gti to restore, also consider �Black, Red or Blue, Also Golf Driver Project Wanted anything considered WHY
Posted
Settled In
volkswarren said
what did u use for the fuel pipes? new old stock?? or did u make them up?
First i bought some from CQ but lost my rag fitting them and snaped them 8O So then I bought a roll of pipe from ebay, borrowed a flaring tool and made my own. Be aware though that its an absolute nightmare to get a snug fit. I had my car on its side and it still took a full day to get both fitting correctly. If i was doing the job again id fit braided. Far far easier to install.
0 guests and 0 members have just viewed this: None.