


Just a quick tidy up..........Oops!! (UPDATE 22/06/10)

Posted
Local Hero


Just a quick tidy up..........Oops!! (UPDATE 22/06/10)
crazyquiff said
Go boy go - some nice detail there
well said,, :y:
Posted
Settled In

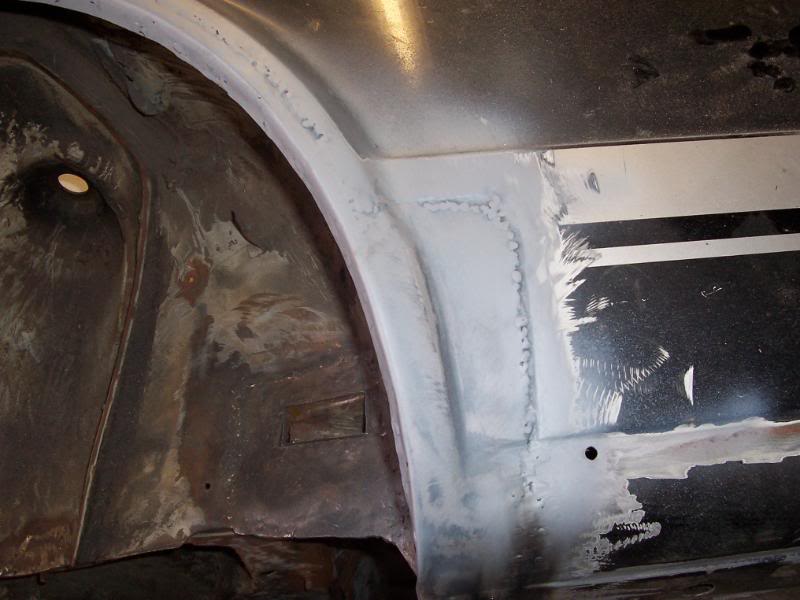
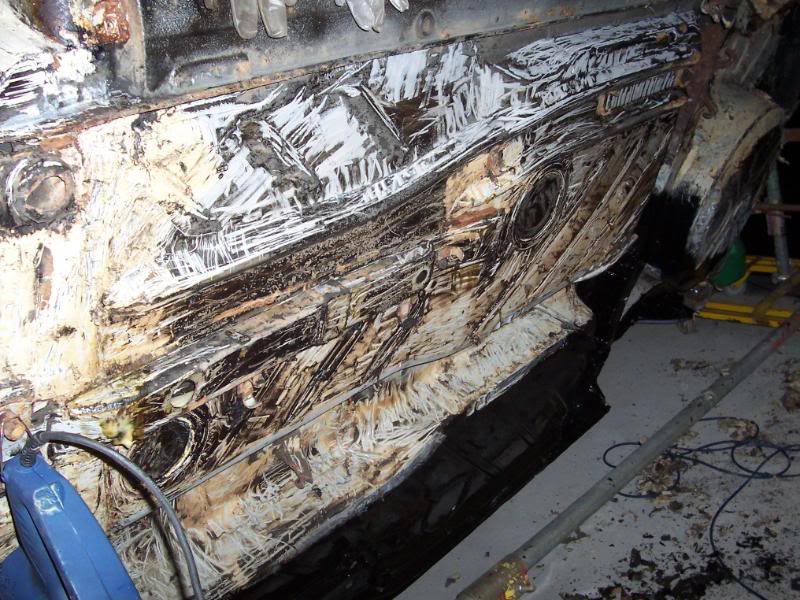
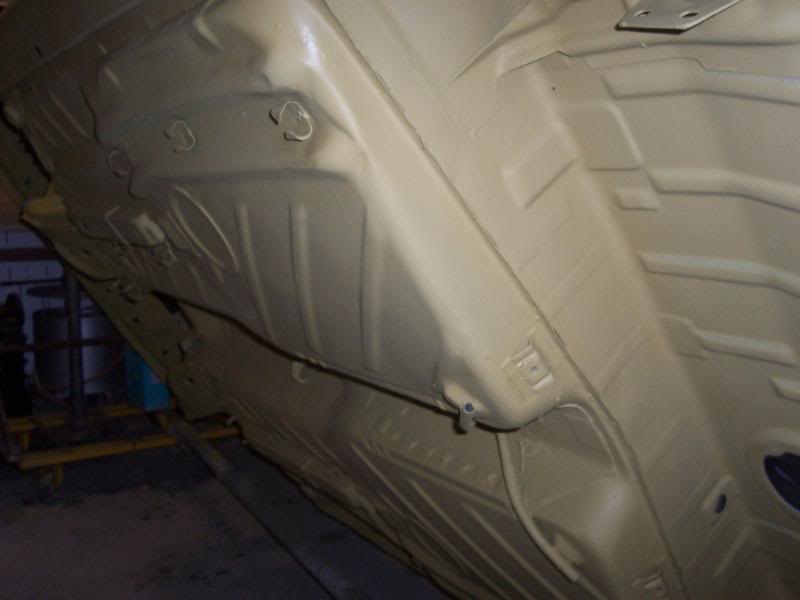
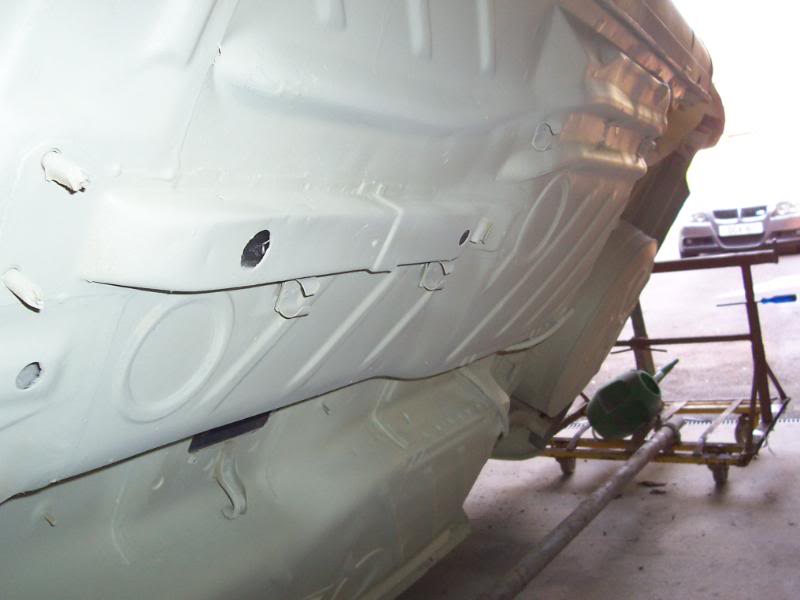
Rear wheel arch prepared for panel.
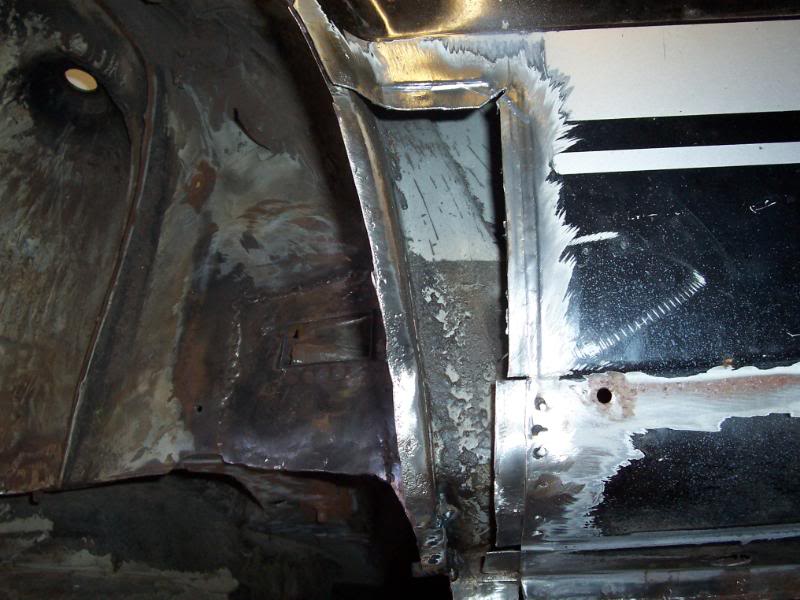
Genuine VW repair panel trimmed and joddled.
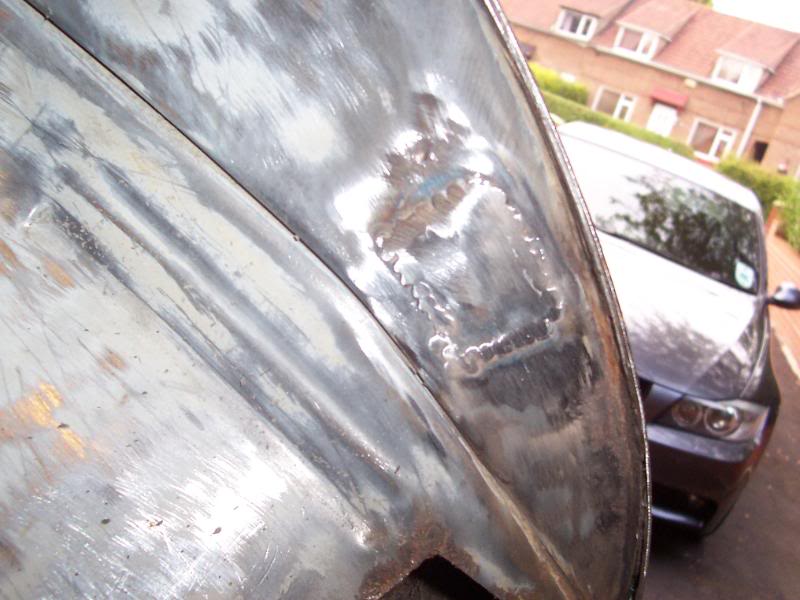
Welded in place and a bit of etch primer added for now.
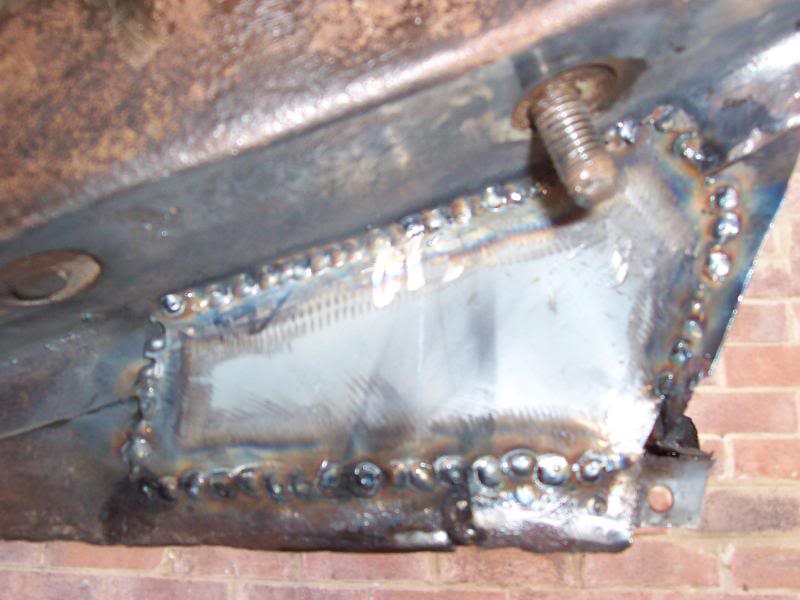
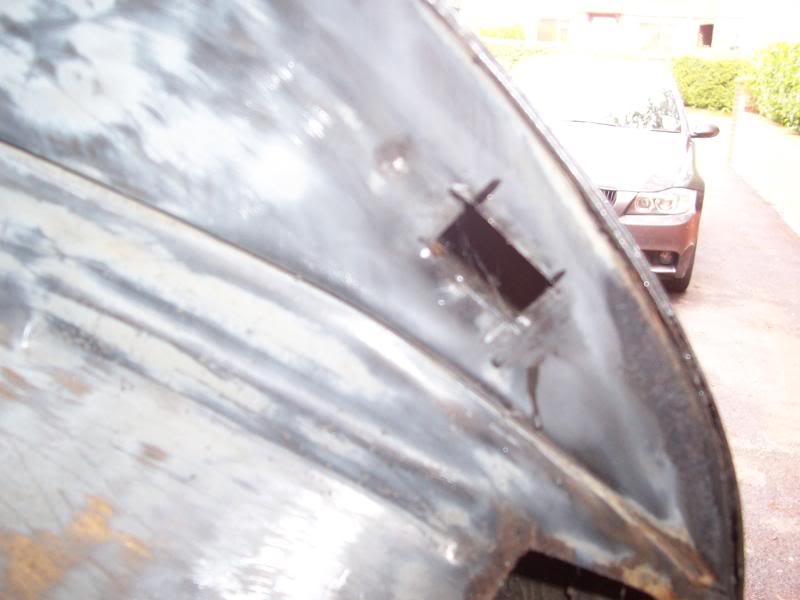
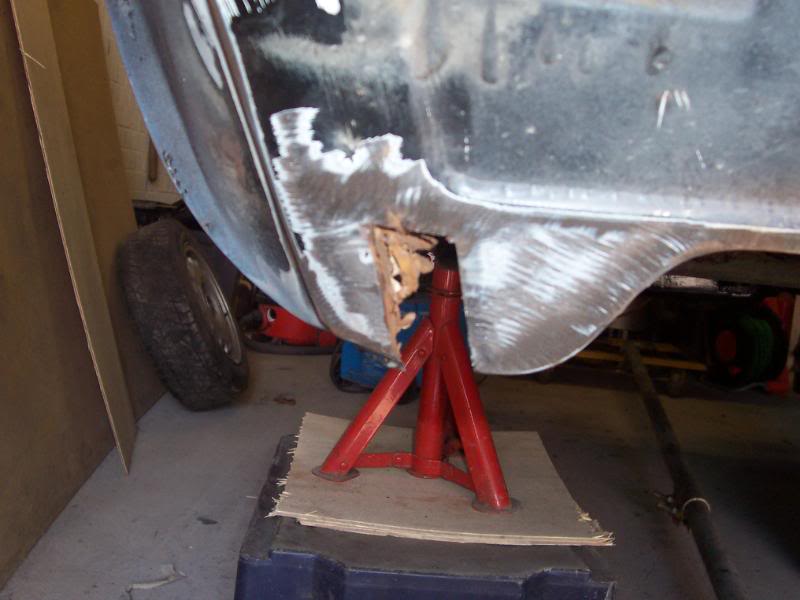
Found another hole near the rear beam mounting.
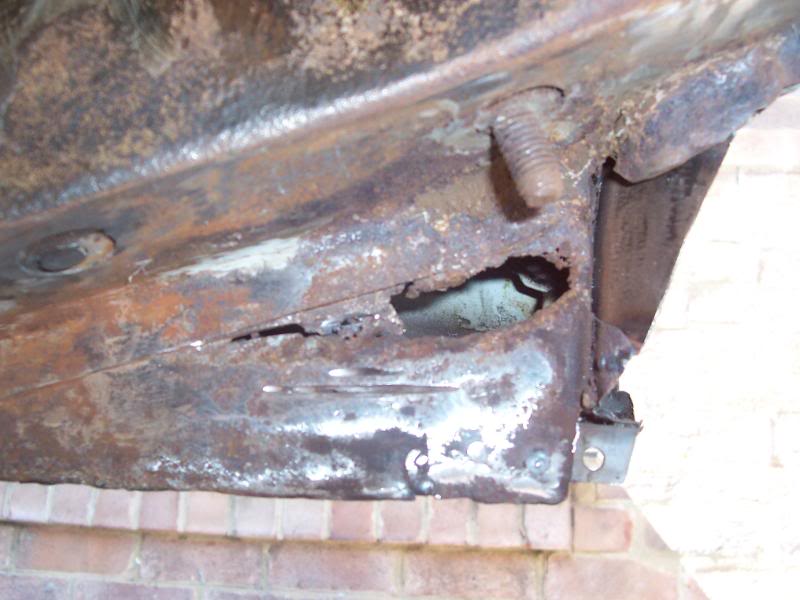
I little bit of 'dressing' reguired.
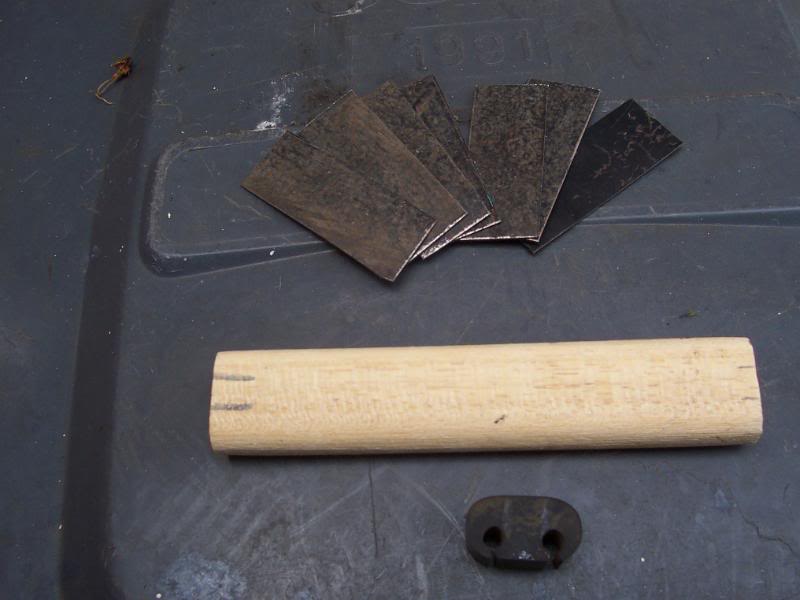
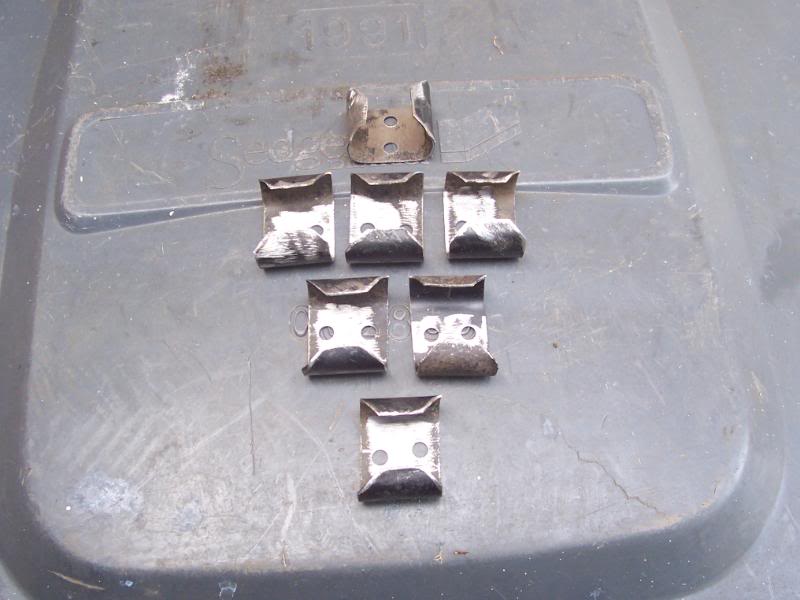
Most of my fuel and brake pipe retainers were twisted and bent so ive made my own.
Well thats it for now. Hopefully going to get some time on it tomorrow and tackle the rest of the underseal 8O
Posted
Settled In
Sorted the last bit of welding on the drivers side, rear upper seatbelt mount.
Got busy with the blow torch and wire wheel and lavished some Por15.
Flipped the old girl over and made a start on the passenger side.

Just countless more hours with the wire wheel and this sides ready for paint. Just looks like the rear inner and outer arch needs replacing so far, but no doubt a vigarous prodding session will uncover more horrors!!
Posted
Old Timer


Posted
Settled In
dubhighland said
i like yer patching 8) tidy job yer making.cheers
Thanks mate. Never welded or fabbed before so its a steep learning curve!!
Posted
Local Hero
Posted
Old Timer
keep at it!

Posted
Settled In
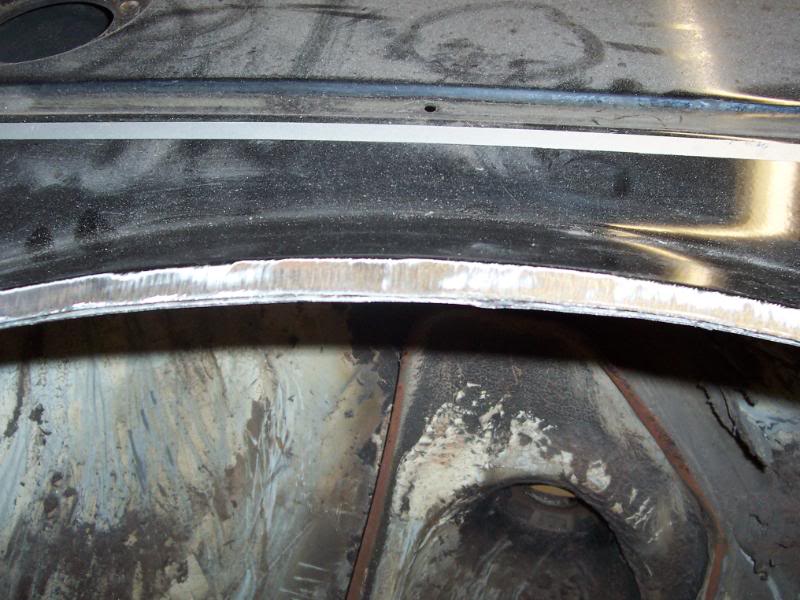
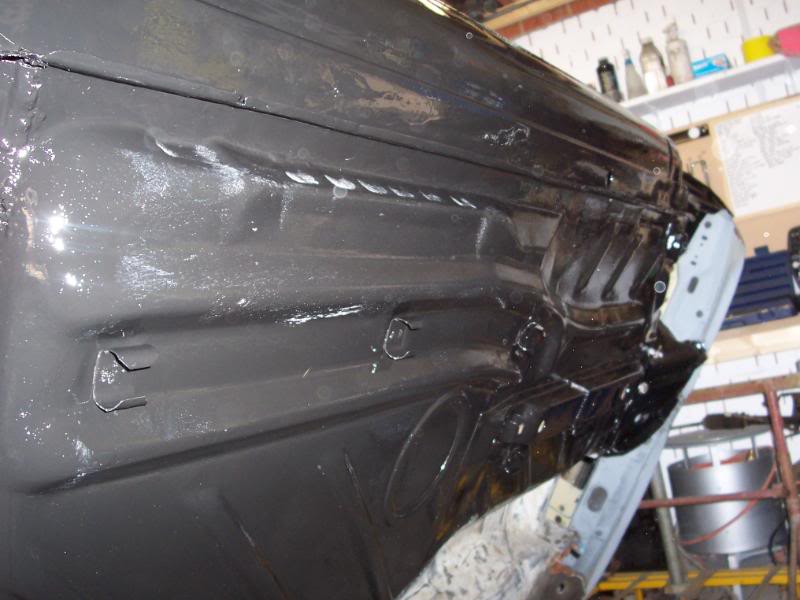
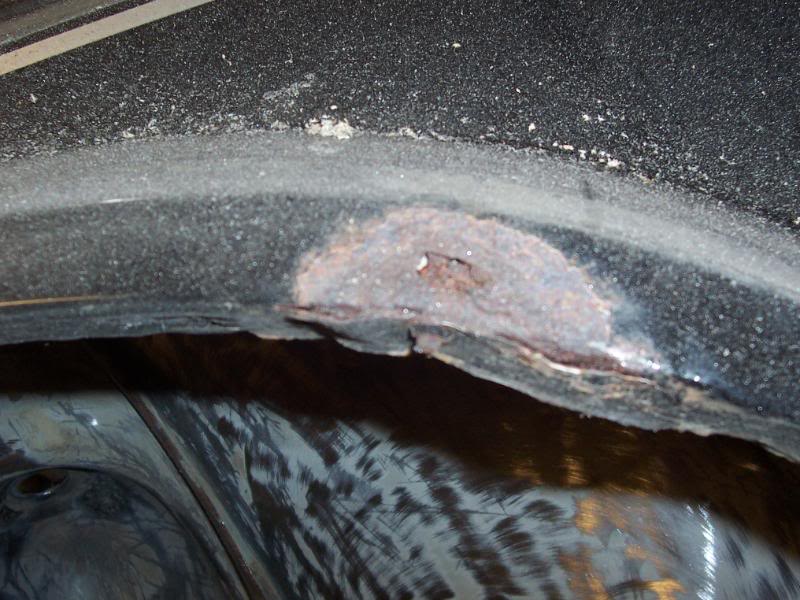
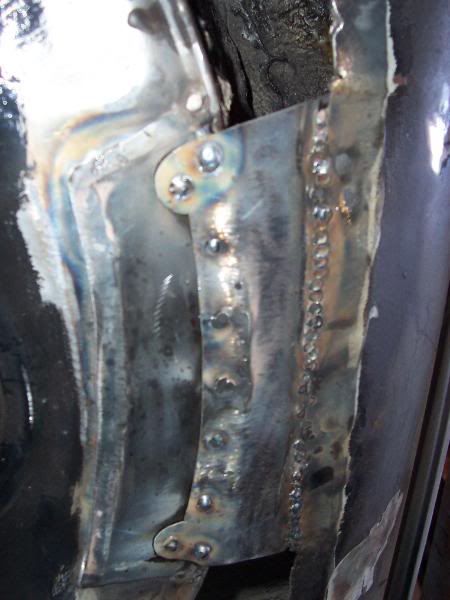
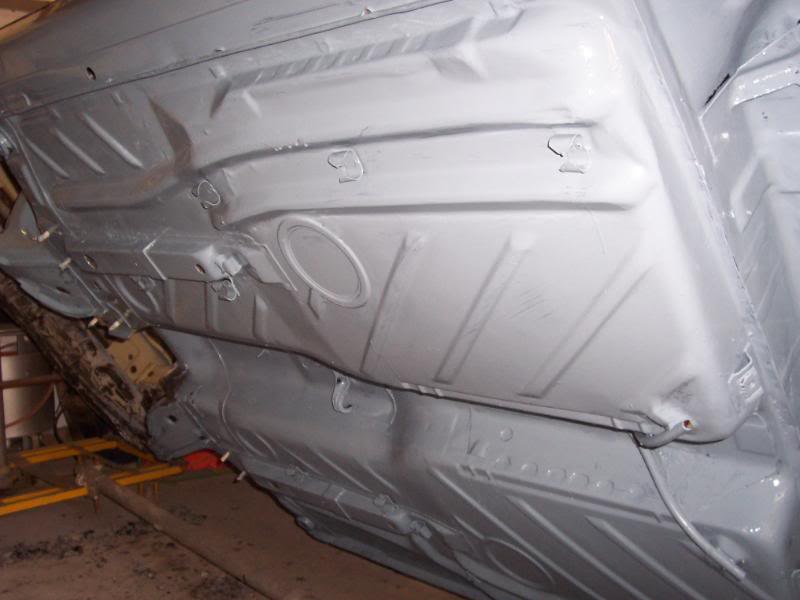
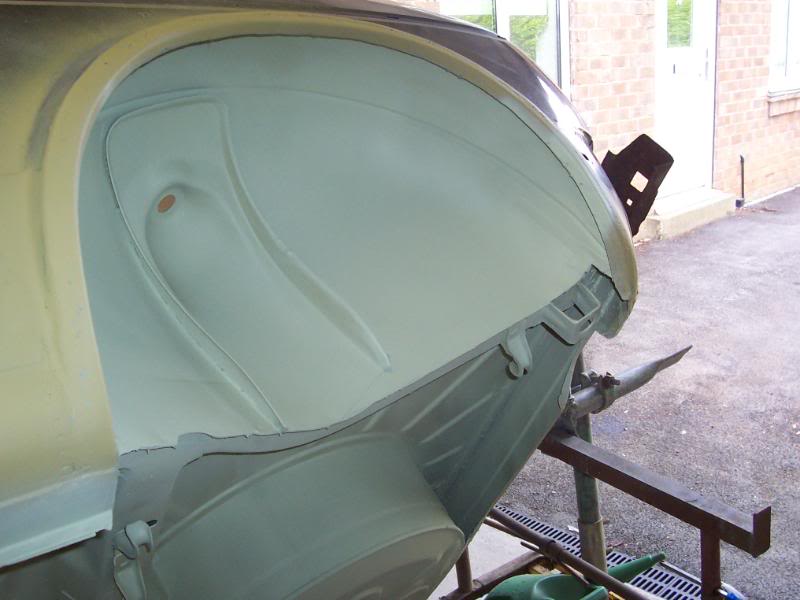
Rear wheel arch rot.
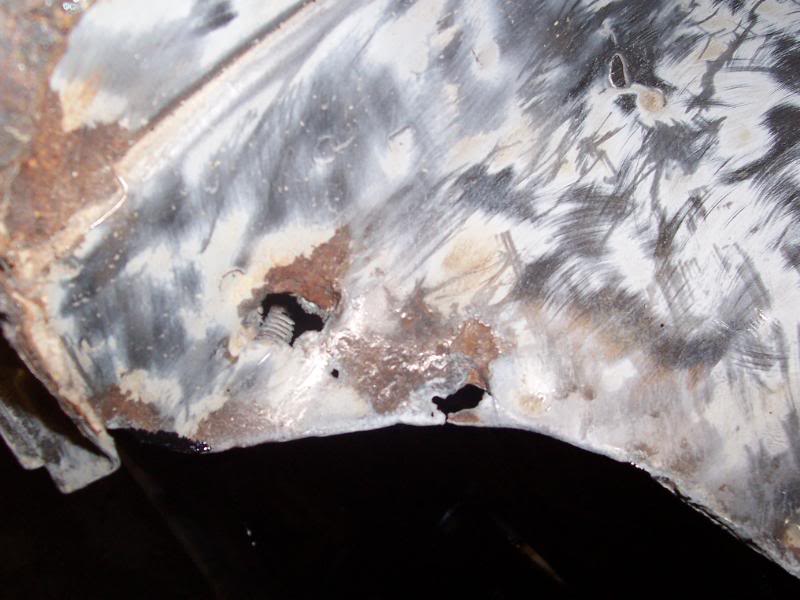
Chopped out.

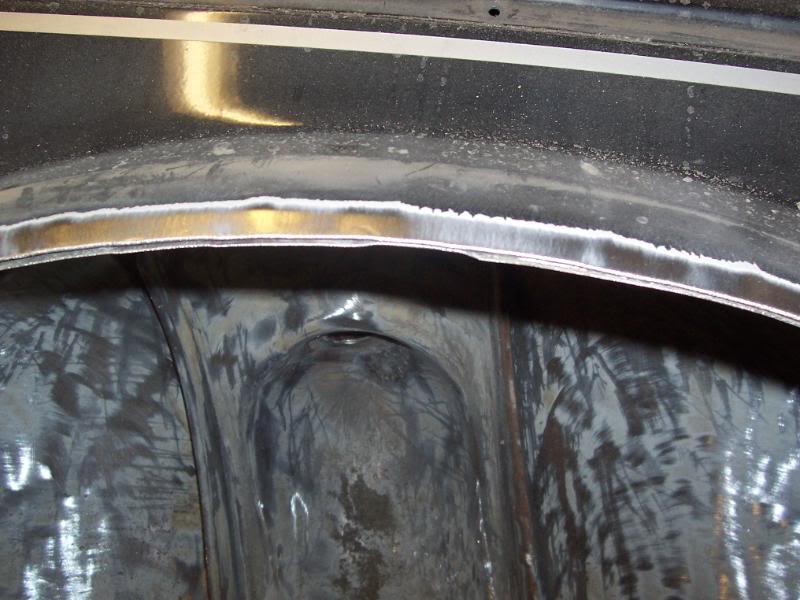
And then welded up.

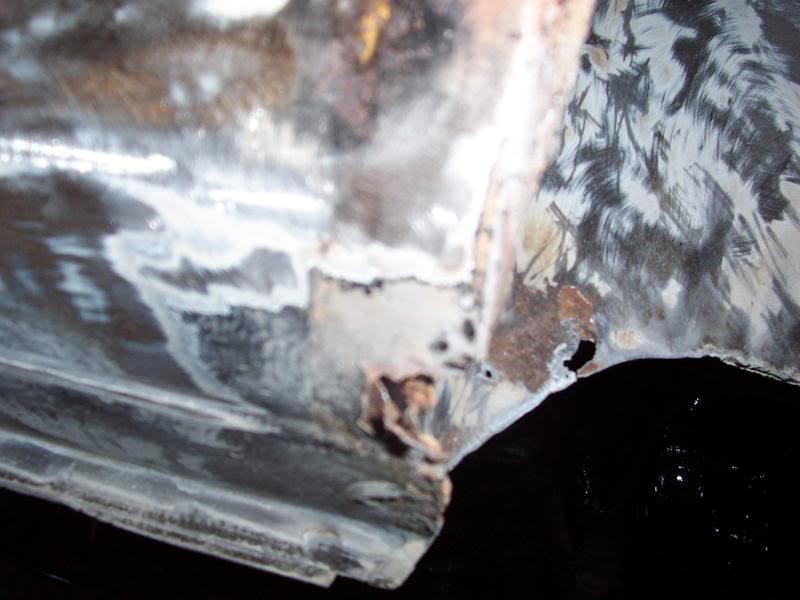
Rot on outer rear wheel arch.
Arch trimmed back for replacement inner and outer.
Front inner wing Por15'nd.
Hopefully ill get the rear arch fitted over the weekend.
Posted
Settling In

Posted
Settled In
scottymk1g said
looking good m8, :y:
Cheers fella!! Making good progress now. Hopefully itll be back on its wheels this year 8)
Posted
Settled In
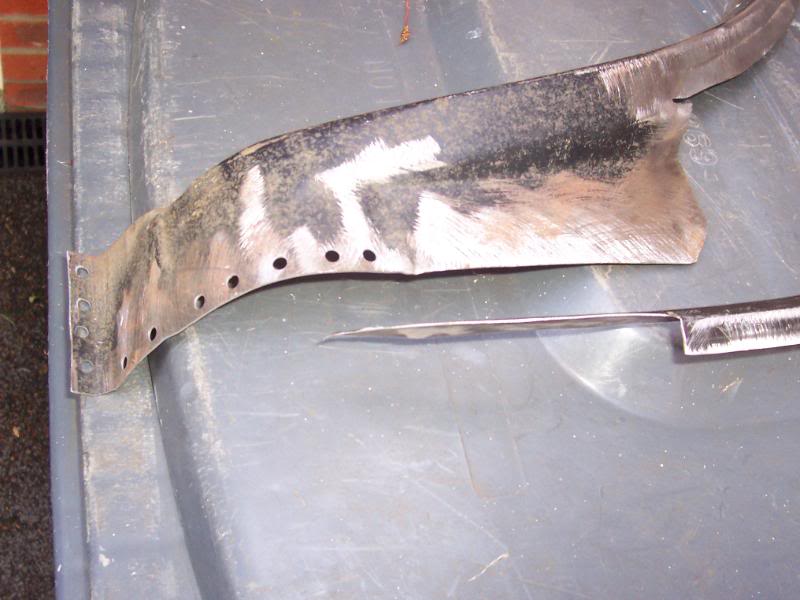
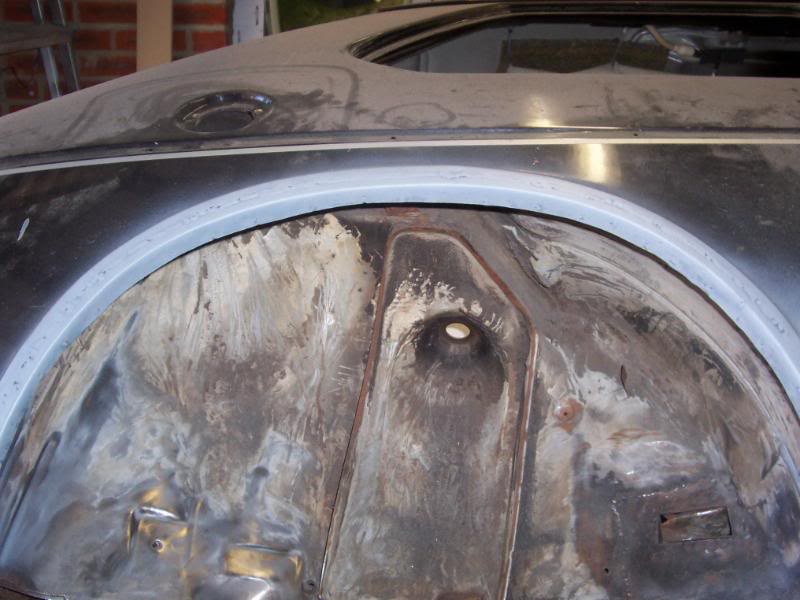
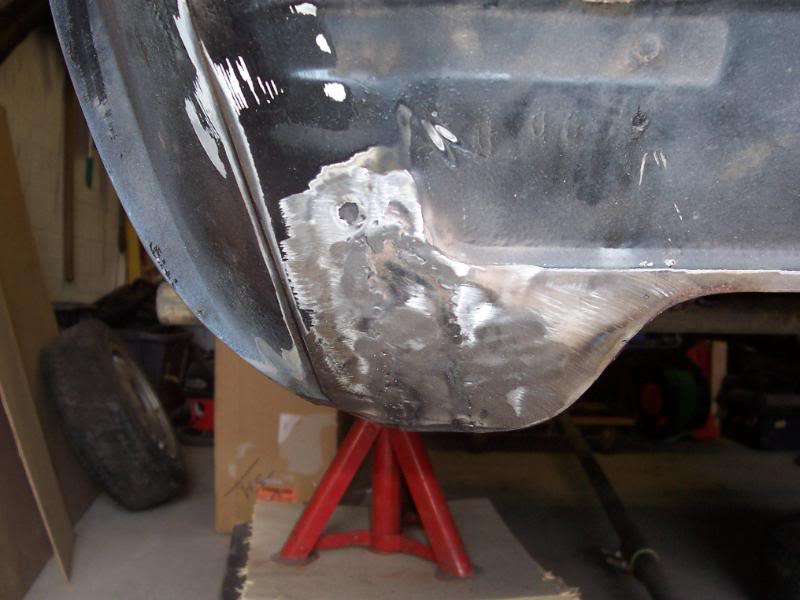
Rear panel was only rotten in these two areas. Im a big believer in retaining as much original steel as possible so i patched these bits in.


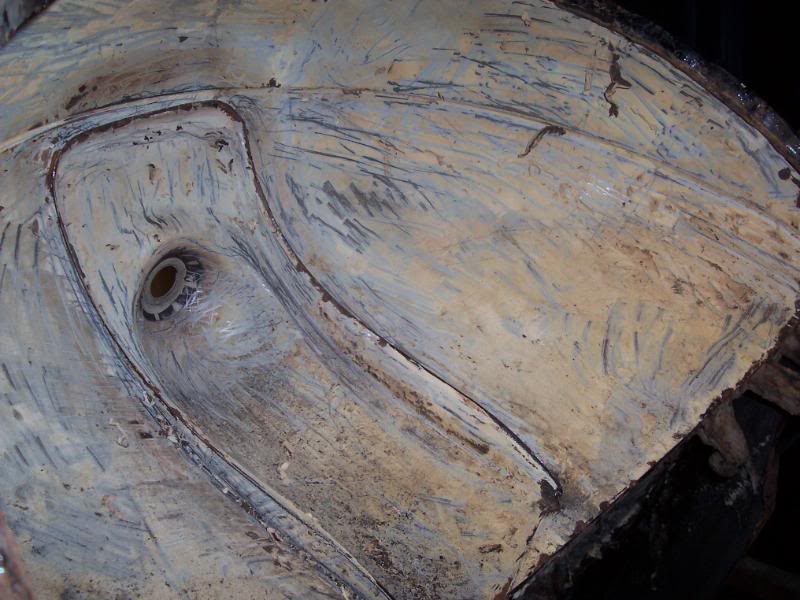
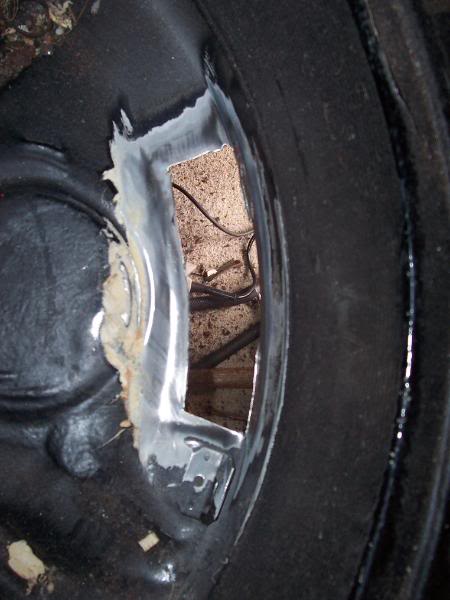
Spare wheel well looking sorry for itself where the tab attaches it to the rear panel.
Chop, chop!!
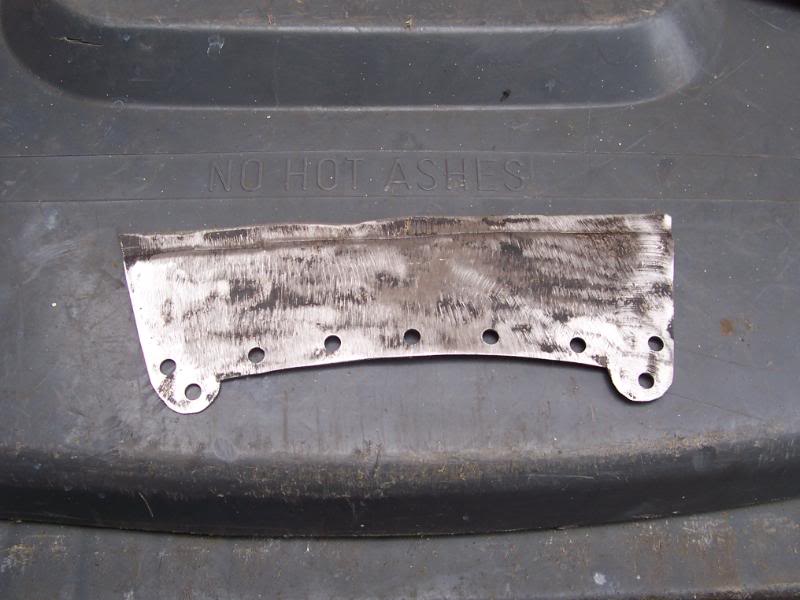
Cheeky bit of fabrication!!

And a squirt with the welder and its all sorted. Needs work with the grinder but ill do that when i put it back on the spit.
As far as the welding is concerned……… im done
Its been a massively steep learning curve and its been hughly rewarding and frustrating in equal measure. But for a first attempt im fairly happy with the results.
Posted

Local Hero


Andy
LINCOLNSHIRE REGION -�https://www.facebook.com/groups/467122313360002/
1983 MK1 Golf GTI Campaign Model - Under (looooong) resto!
1962 Rover P4 80
2002 BMW 745i
2008 BMW Z4 2.5Si
LINCOLNSHIRE REGION -�https://www.facebook.com/groups/467122313360002/
1983 MK1 Golf GTI Campaign Model - Under (looooong) resto!
1962 Rover P4 80
2002 BMW 745i
2008 BMW Z4 2.5Si
Posted
Settled In
Hairyarse said
Good quality work, will be good to see finished. Have you still got the beam mounting stud to replace? Don't envy you with that one!
Thanks, its by no means perfect but im fairly pleased with my efforts. Yeah thats my next job 8O Not looking forward to it but i cant put it off any longer.
Posted
Settled In
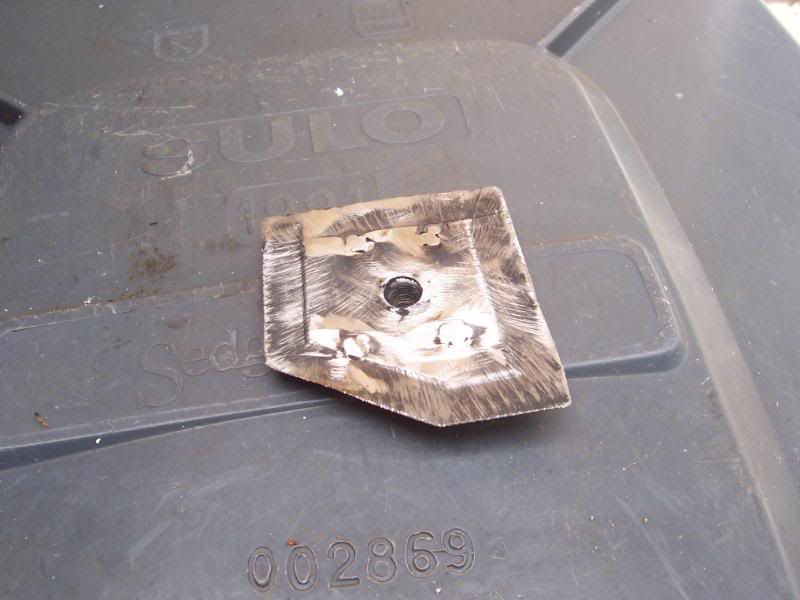
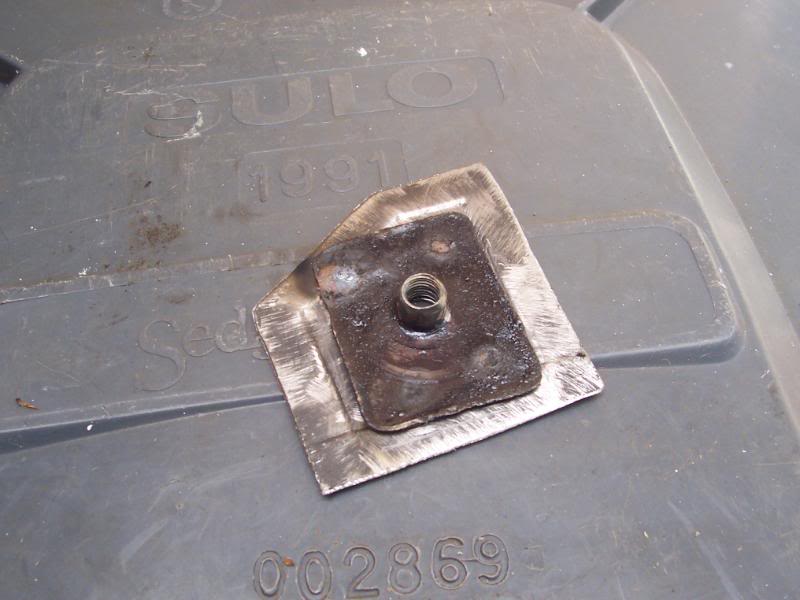
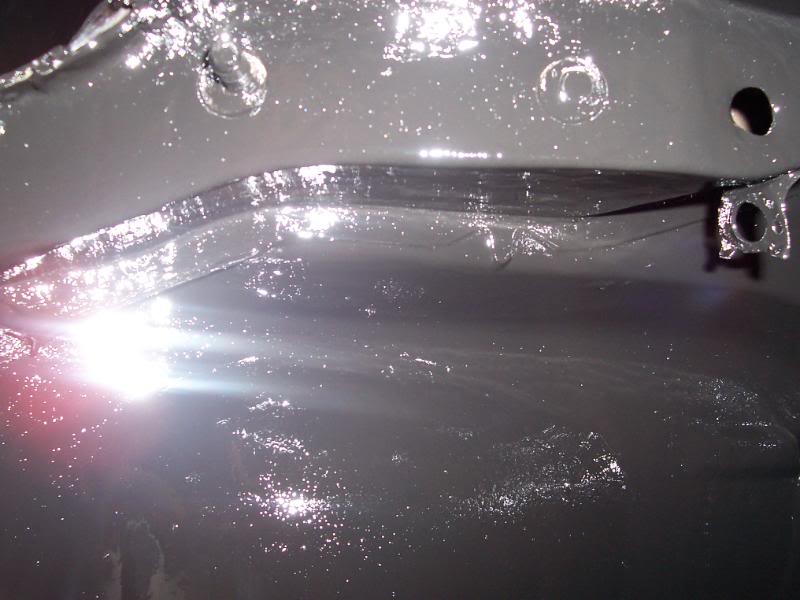
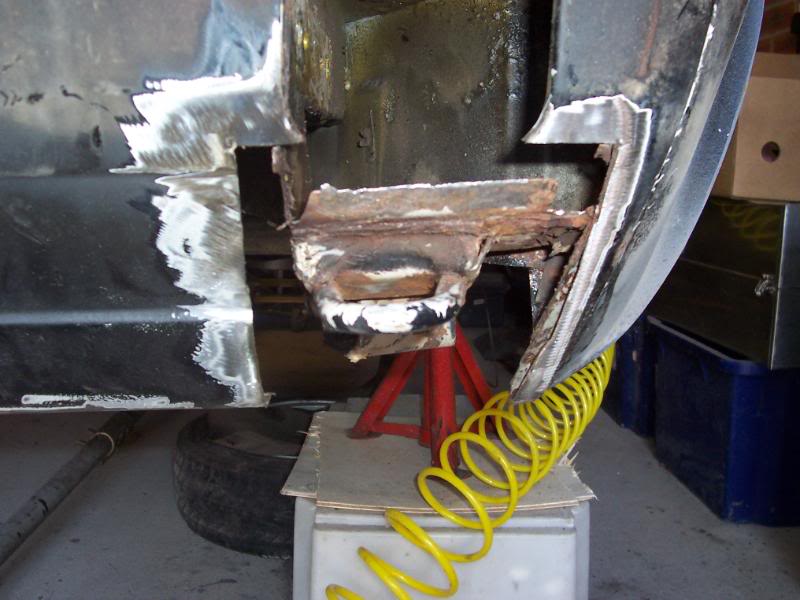
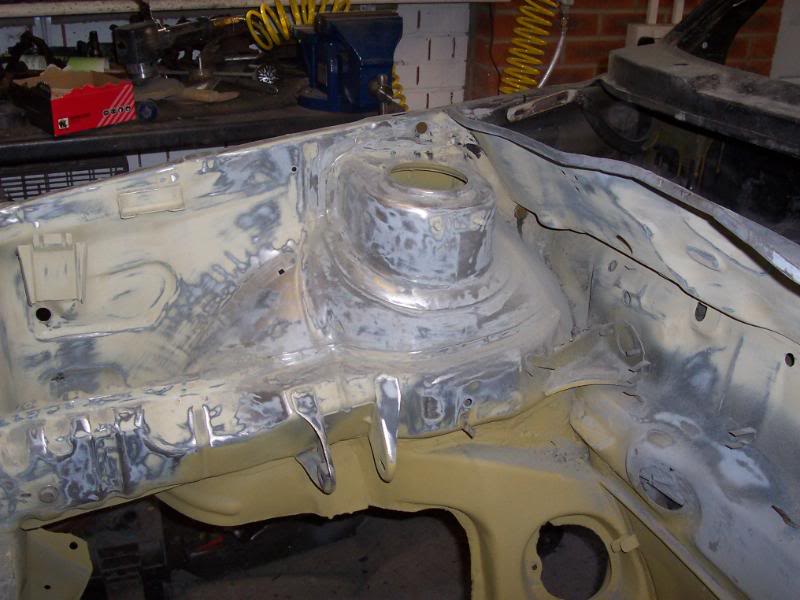
Drilled and tapped out the snapped rear beam mounting stud and inserted a new one.
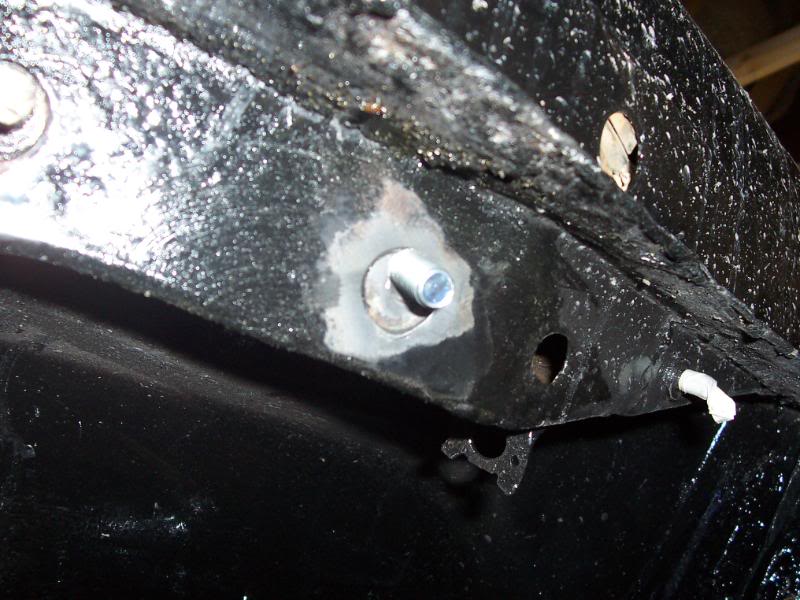
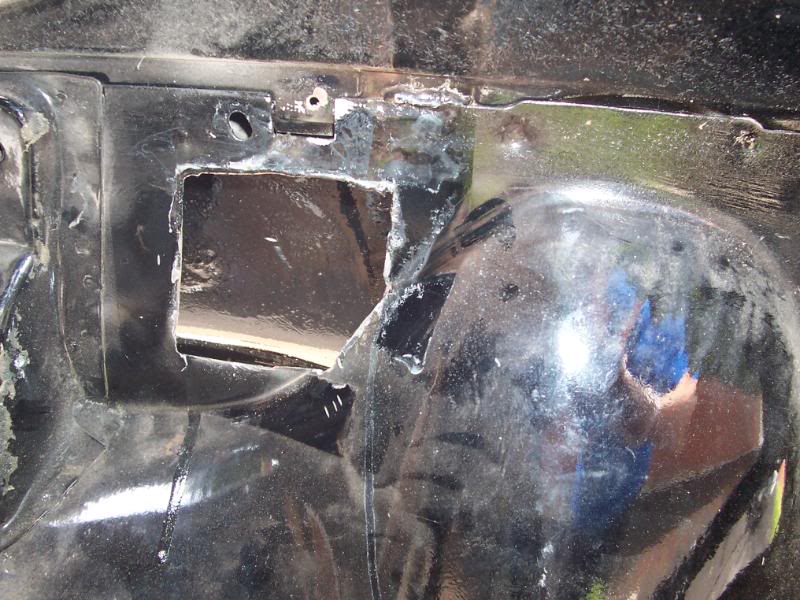
Wasn't happy with the holes that take the rear inner arch splash guard.

They take a speed bolt but they were opened up so i added a few of these.
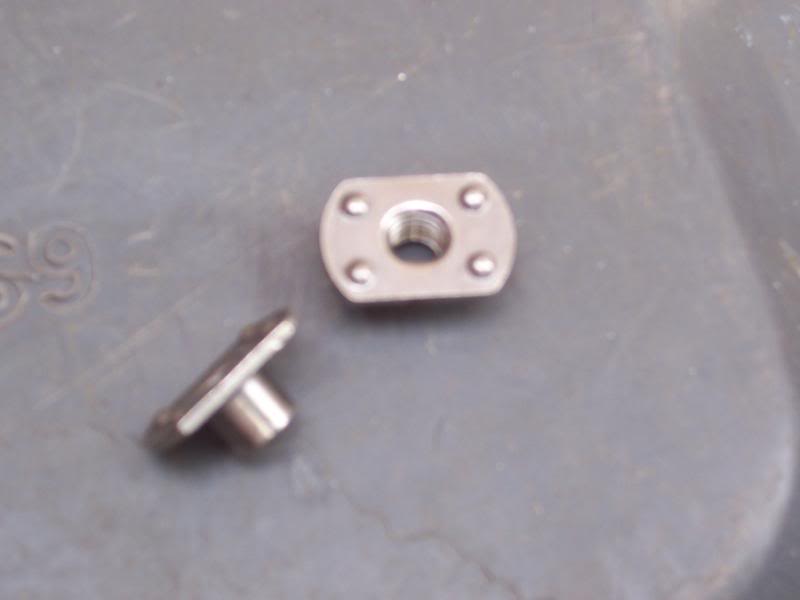
And voila'. These will take a standard bolt and be a far more secure.

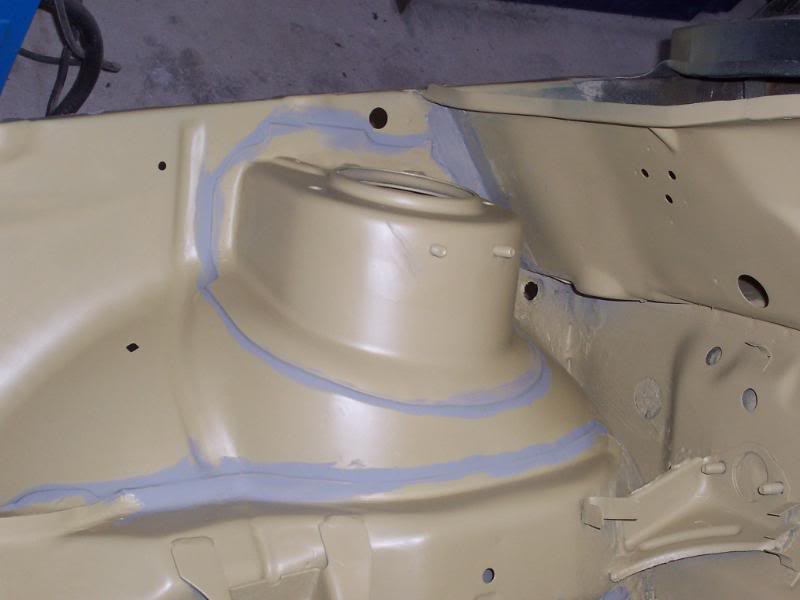
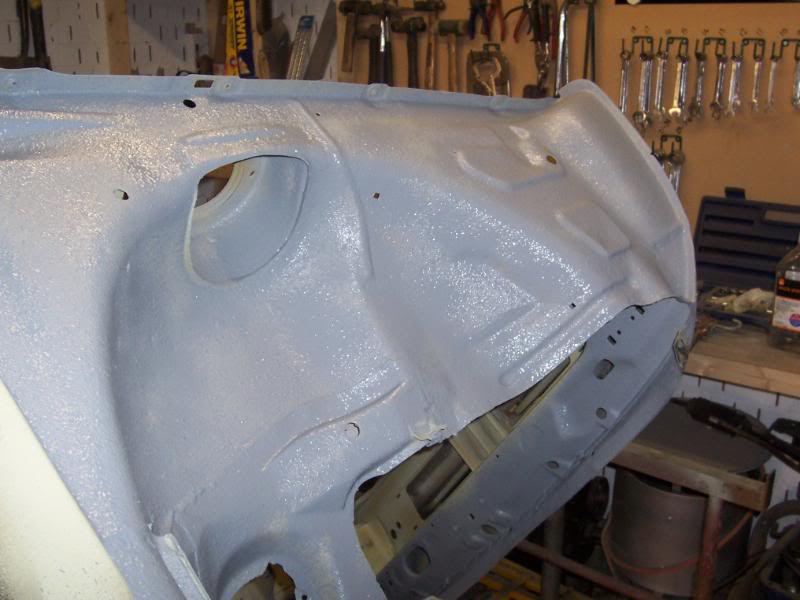
Coverd the Por15 with the recommended Tie Coat which apparently allows most other products to be painted over the top.
But because it had solvents in it I sprayed Bar Coat over the top so that it didn't react with the seam sealer.
Plus its another coat of paint and you cant have too many layers of protection as far as im concerned.
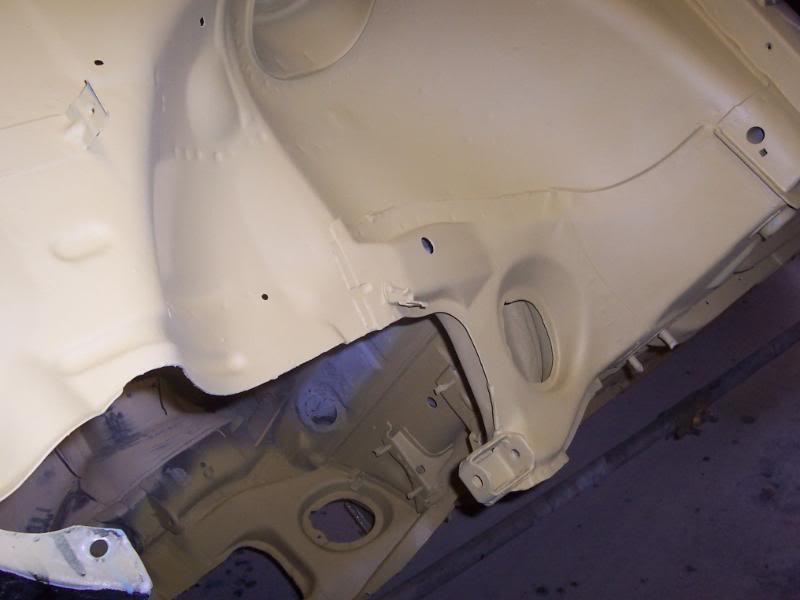
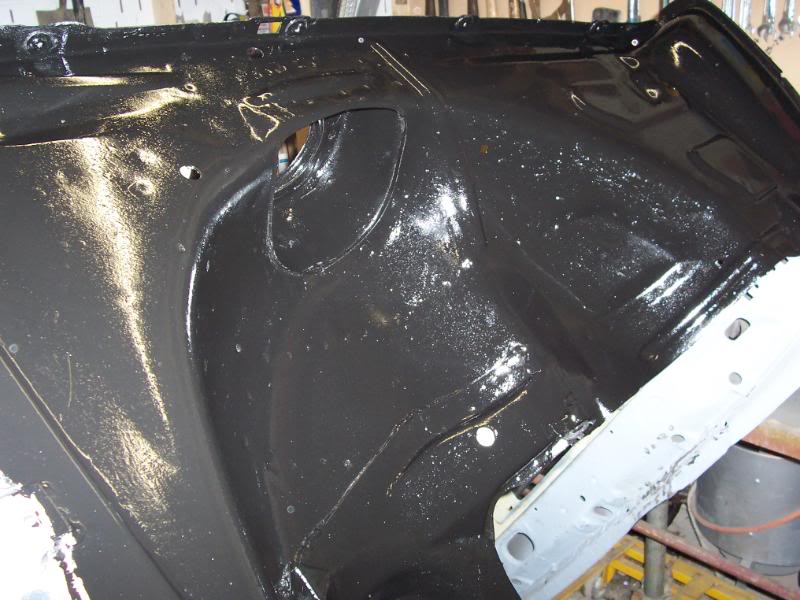
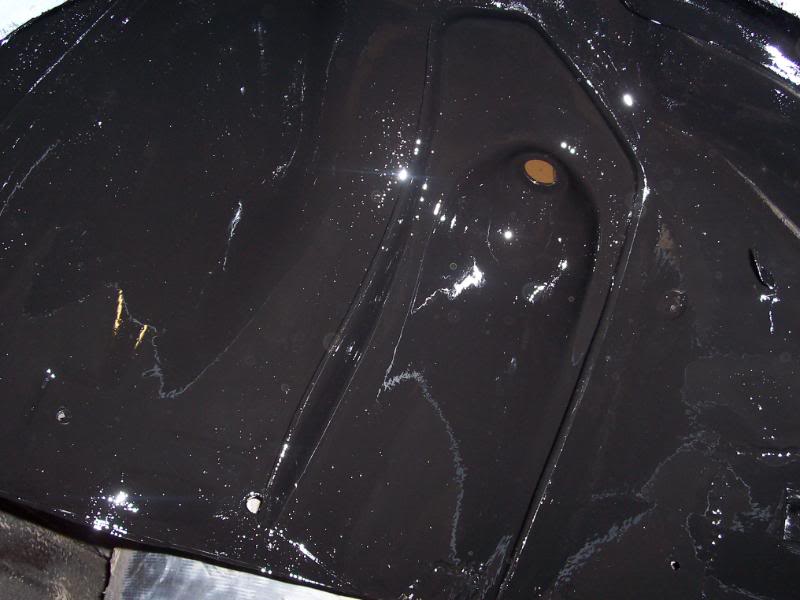
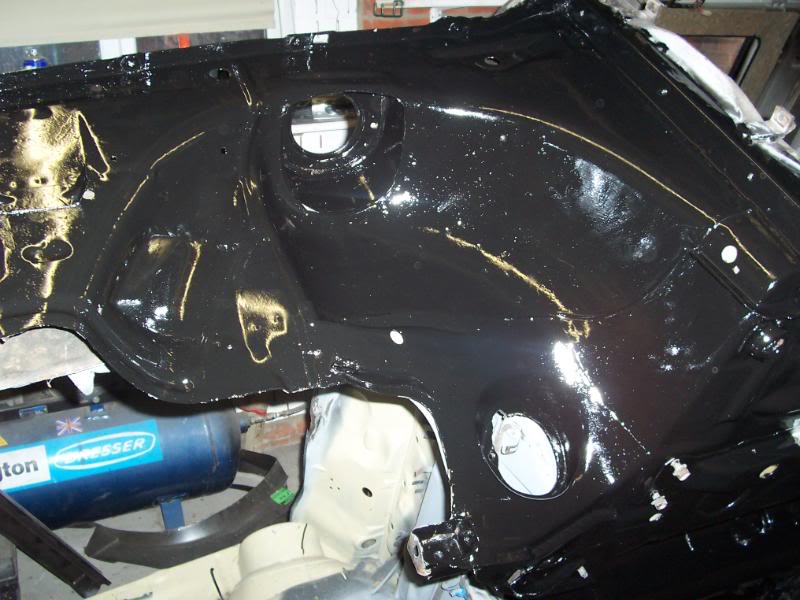
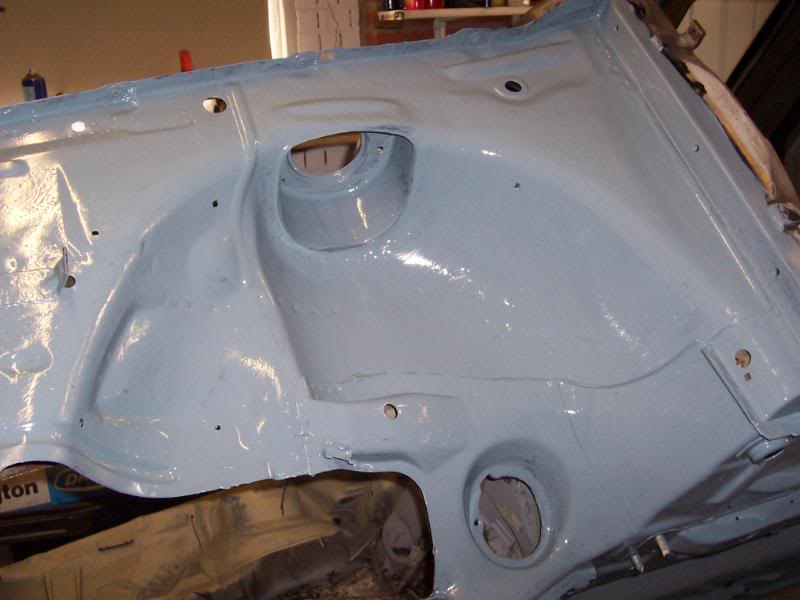
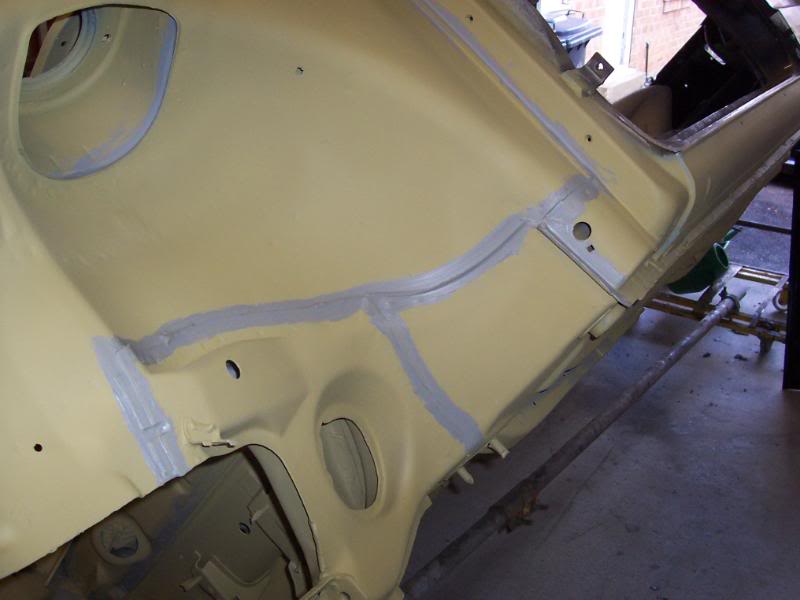
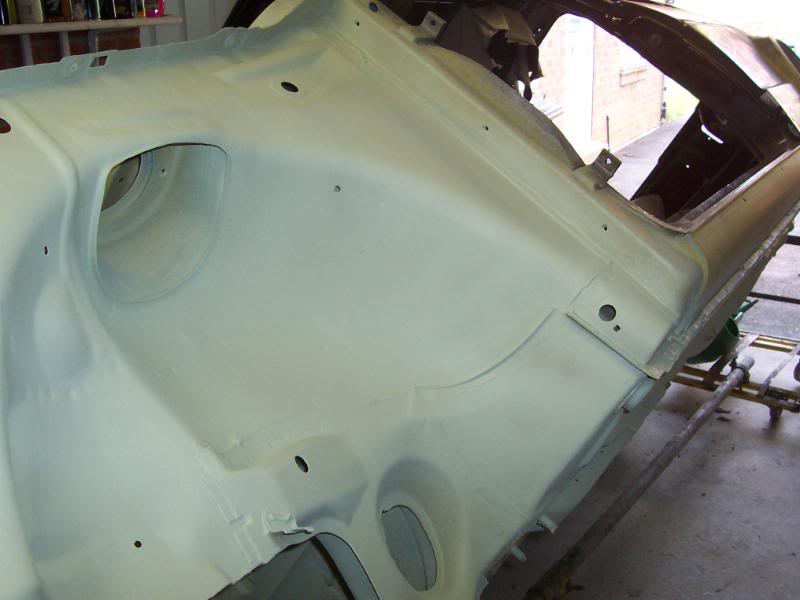
Bare metaled the engine bay. By hand of course. What a tedious job!!
Then broke out the spray gun again and layed on some Etch Primer.

Thats it for now.
Seam sealer, filler primer, stone guard, more filler primer and then body colour next.
Posted
Local Hero
Posted
Local Hero
Hope all is well on the home front :mrgreen:
Diesel Possessed
A97JCE
Feeby
A97JCE
Feeby
Posted
Settled In
Seam sealer applied to all joints.
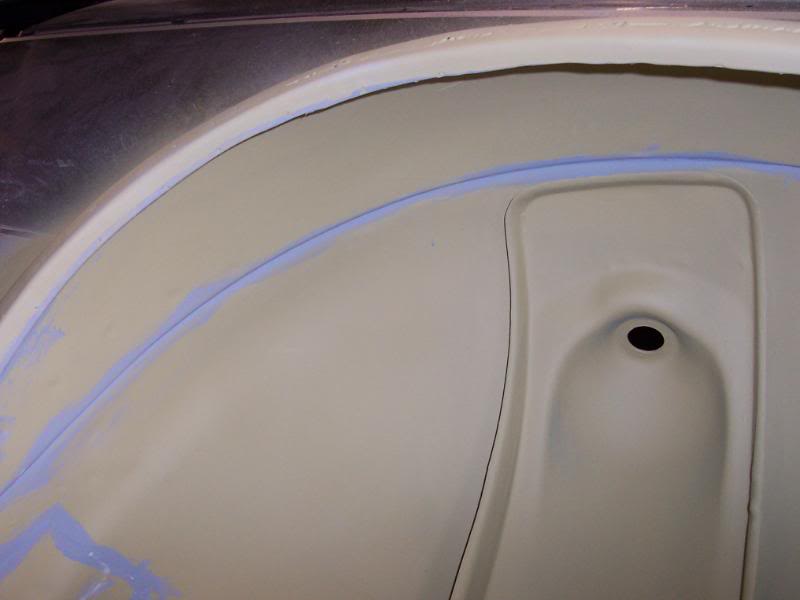
Filled up the spray gun, with high build primer this time.
Then broke out the Gravitex Stone Guard.
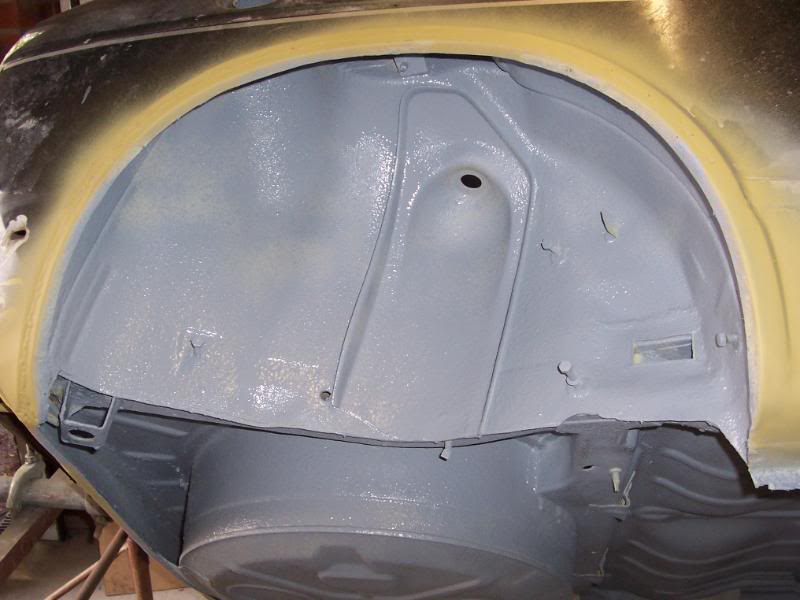

One more coat of high build primer to go and then its time for some sultry black top coat
Posted

Old Timer
what is the stuff you aplied to the tops of tie coat, is it some sort of primer??

Posted
Settled In
jellybelly said
lovely work…..!!!!!! 8O
what is the stuff you aplied to the tops of tie coat, is it some sort of primer??
So far its: Por15 - Por15 Tie Coat - Bar Coat - Etch Primer -Seam Sealer -High Build Primer - Gravitex.
Bar Coat is an isolating primer that stops the solvents in some products reacting. Its sprayed straight from the tin.
Posted
Old Timer
doing mine soon was planning on Por15 x2 then a coat of chassis black
but now i've seen that might change my mind
0 guests and 0 members have just viewed this: None.