


VW GOLF MK1 BLACK SOY CAB (92) GTI

Posted
Old Timer

VW GOLF MK1 BLACK SOY CAB (92) GTI
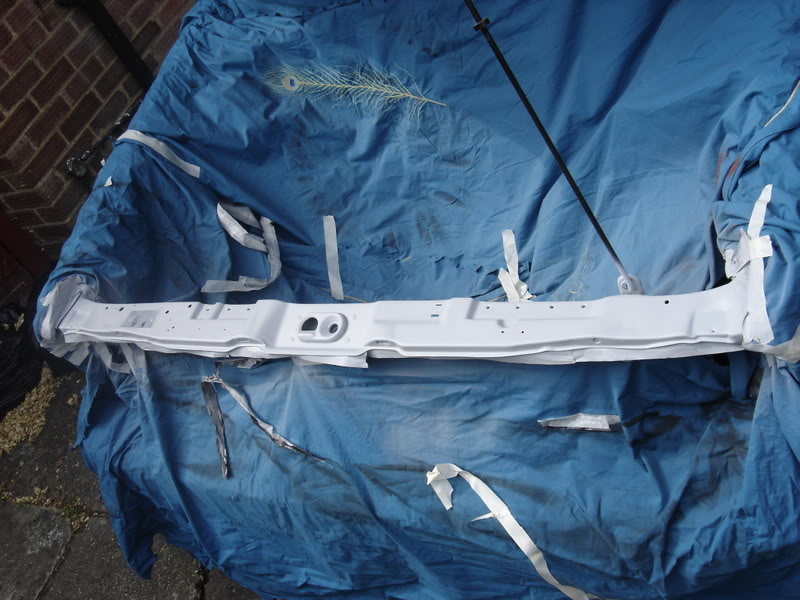
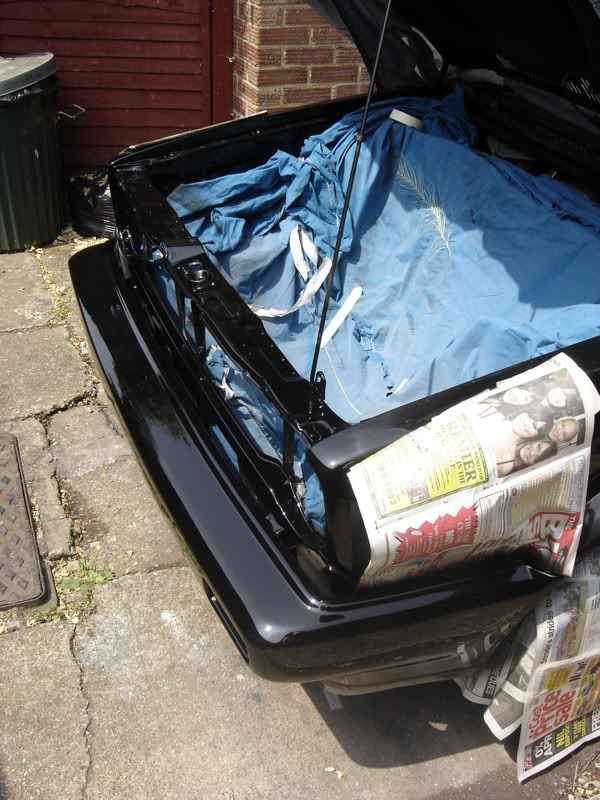
so engine out again and prepare and spray up the front panel and bumper and the outcome is better than before!!


Engine going back in today and tomorrow
 8) (taking break at moment to update all!!)
Madone with the two Cabs 82 (UK RHD) and 85 (US LHD) (92 sold)
�
�
Posted
Old Timer
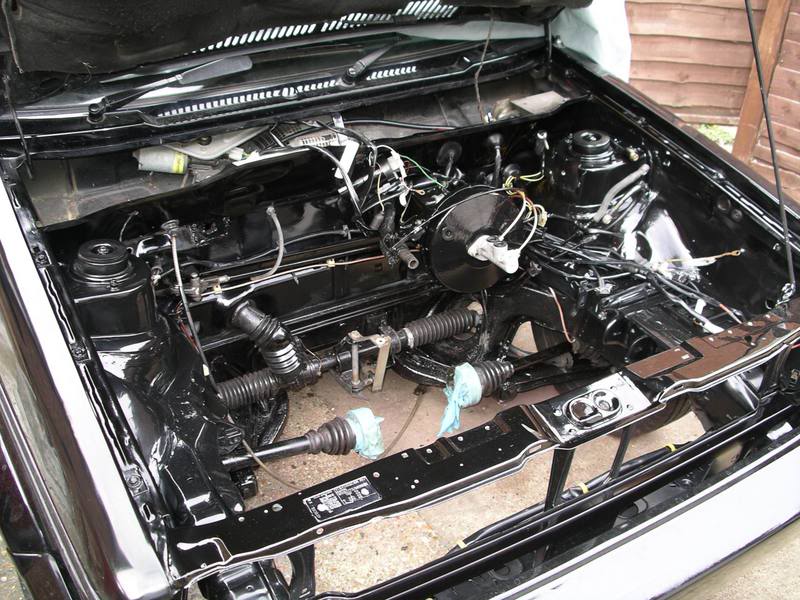
Engine parts back in… run all cables back to locations - giving them all good clean and replacing only 1 broken end with new Vag parts.
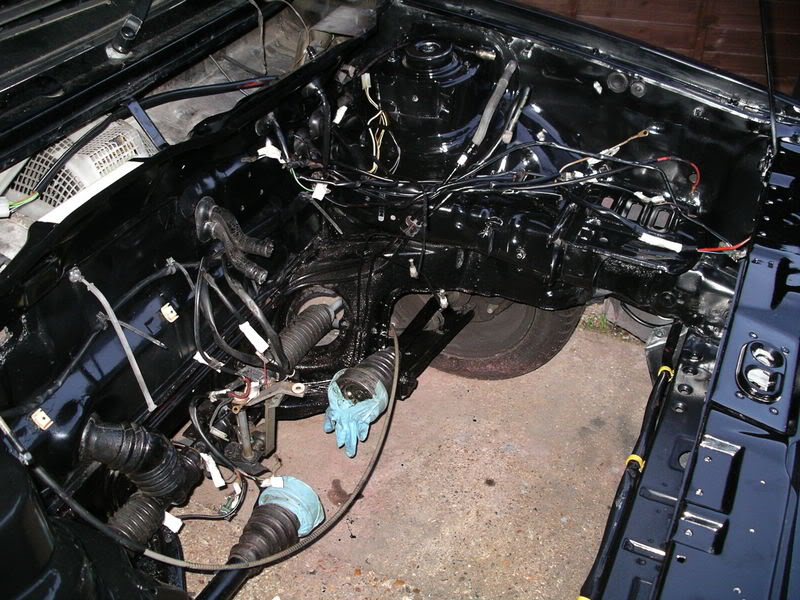
Had to replace alot of rubbers in the engine bay, makes it easier to putting everything back, all nice and clean..
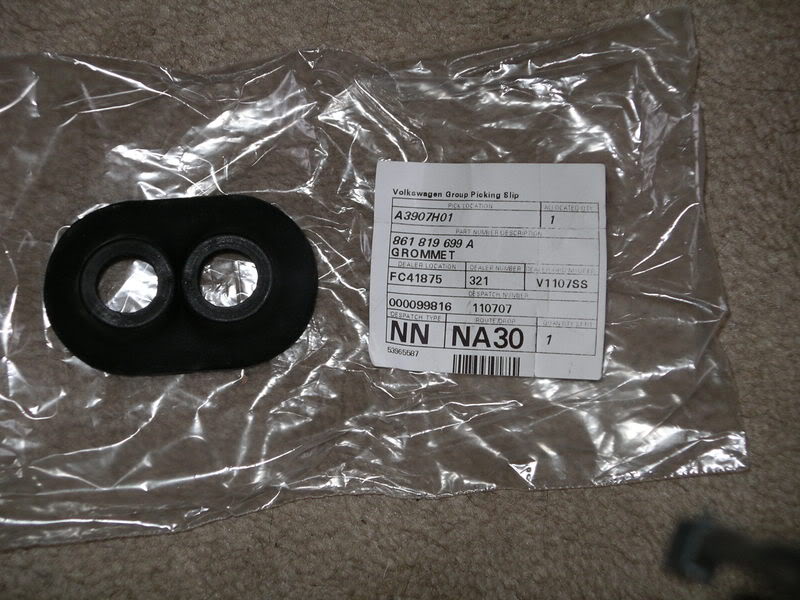
Details on replacement heating pipes rubber grommet in engine bay:
VW No: 861819699A - 4.25.
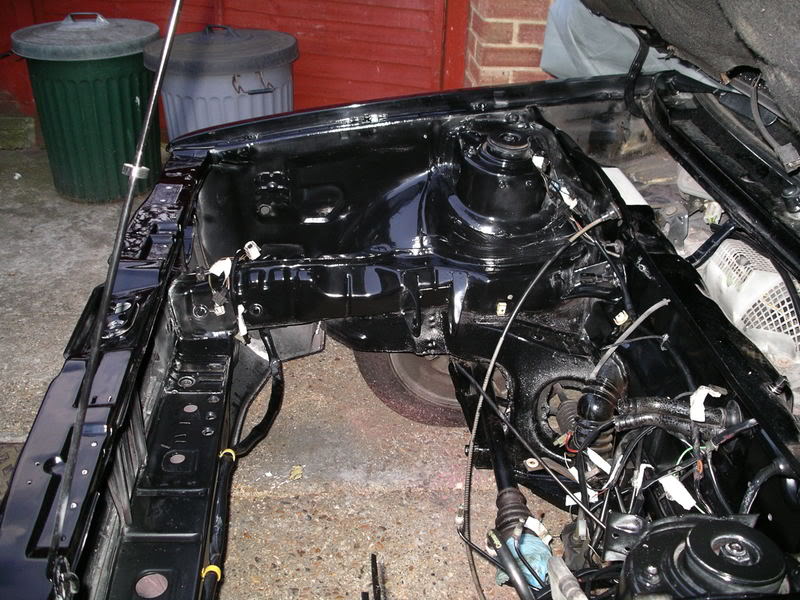
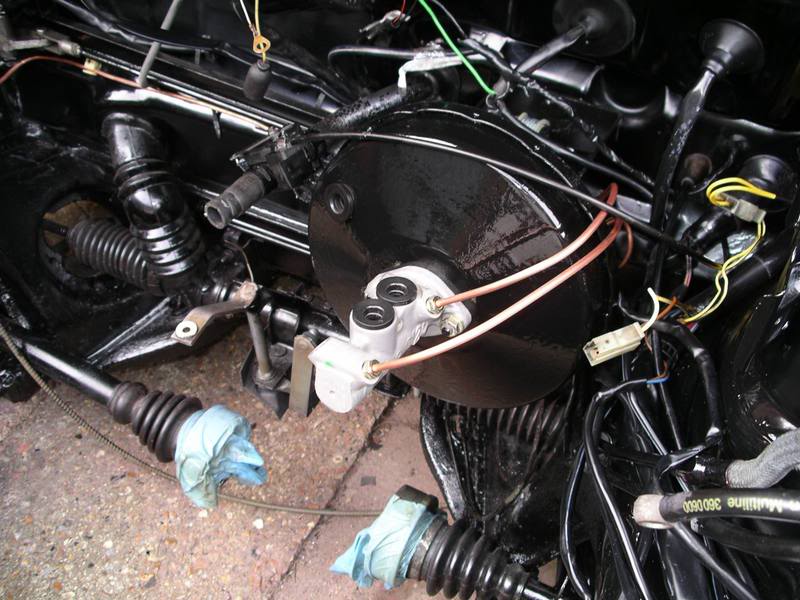
Time to install the refurb Braking system, with upgraded Brake servo and Cylinder, the two front braking lines & from T-junction to Servo are new, with just adjusting the rear lines to fit into the T-junction on the RHD of the braking bracket.
Close up of braking system..
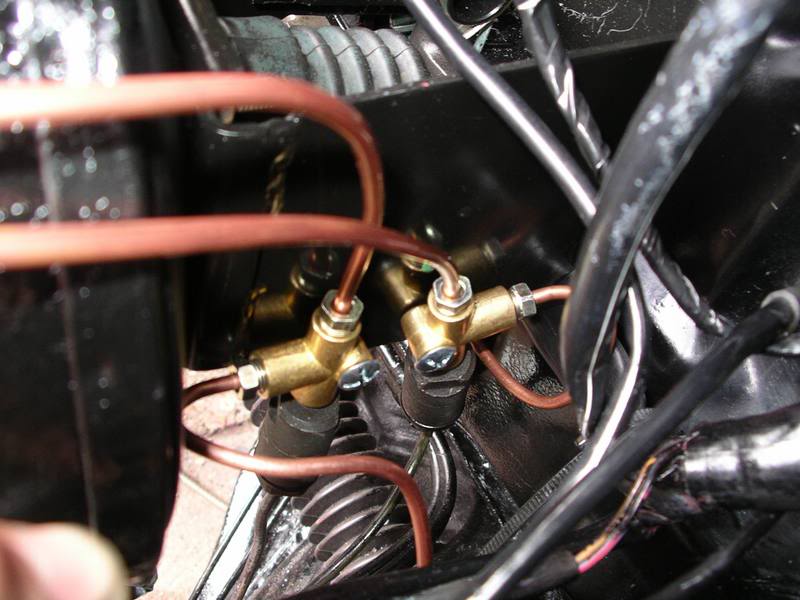
How I set-up the four lines into two, nicely out the way

Also as part of the upgrading of the braking system, replaced brake Hoses front & Rear & also handBrake cables, left and right.
Next update I promise will be the engine going into bay details… just a tad busy these days to update..
Madone with the two Cabs 82 (UK RHD) and 85 (US LHD) (92 sold)
�
�
Posted
Old Timer
Good luck with it.
keep on keeping on
Posted
Old Timer
Timski said
Quality work Si,nuff said really :y:
Good luck with it.
thanks.
Madone with the two Cabs 82 (UK RHD) and 85 (US LHD) (92 sold)
�
�
Posted
Local Hero


Did you use the Mk2 Golf master cylinder & servo btw?
Rich
Posted
Old Timer
Posted
Old Timer
mcscrew said
Nice work
Did you use the Mk2 Golf master cylinder & servo btw?
Rich
Yep.
Madone with the two Cabs 82 (UK RHD) and 85 (US LHD) (92 sold)
�
�
Posted
Old Timer
Carbs4ever said
good work si! looks nice!
Thanks, took the brake set-up idea from your car man… worked nicely… thanks
So when you going to get your car completed?
Madone with the two Cabs 82 (UK RHD) and 85 (US LHD) (92 sold)
�
�
Posted
Old Timer
hopefully be finished soon....
Posted
Old Timer
Carbs4ever said
cheers
Well the engine is complete, I've just got some spraying needing doing and then sadly I will be putting the car up for sale.
Madone with the two Cabs 82 (UK RHD) and 85 (US LHD) (92 sold)
�
�
Posted
Old Timer
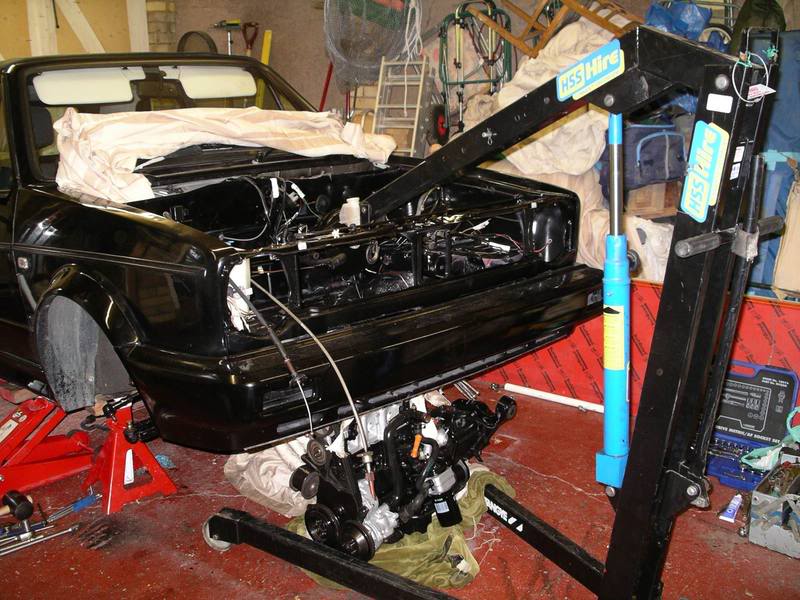
On this engine install, I will be installing from the bottom of the car and then lift the engine into place with a engine crane. I hired a engine crane from HSS for only 32.00 for a complete weekend. So before I started on the engine install I needed to do some prep work.
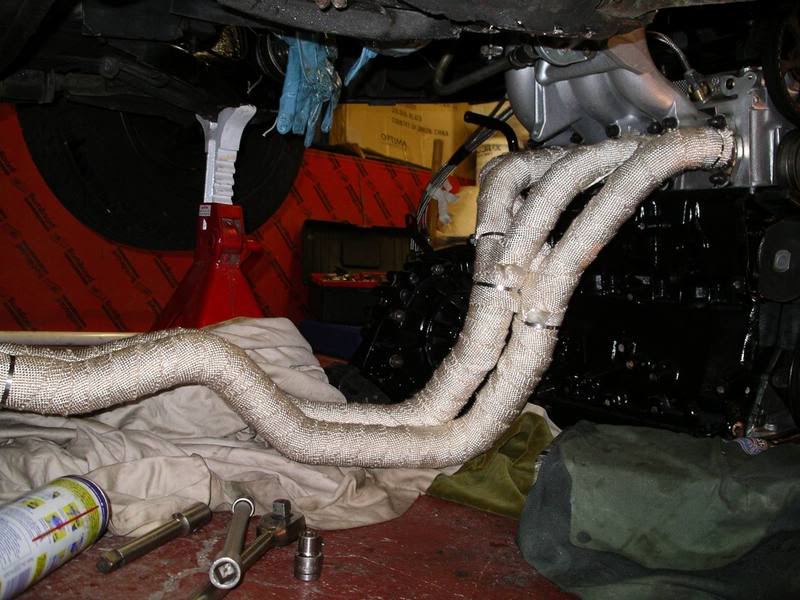
1. Put the exhaust wrap on the exhaust manifold.
Items required - exhaust manifold, High Temperature wrap and Stainless Steel High Temperature Ties.
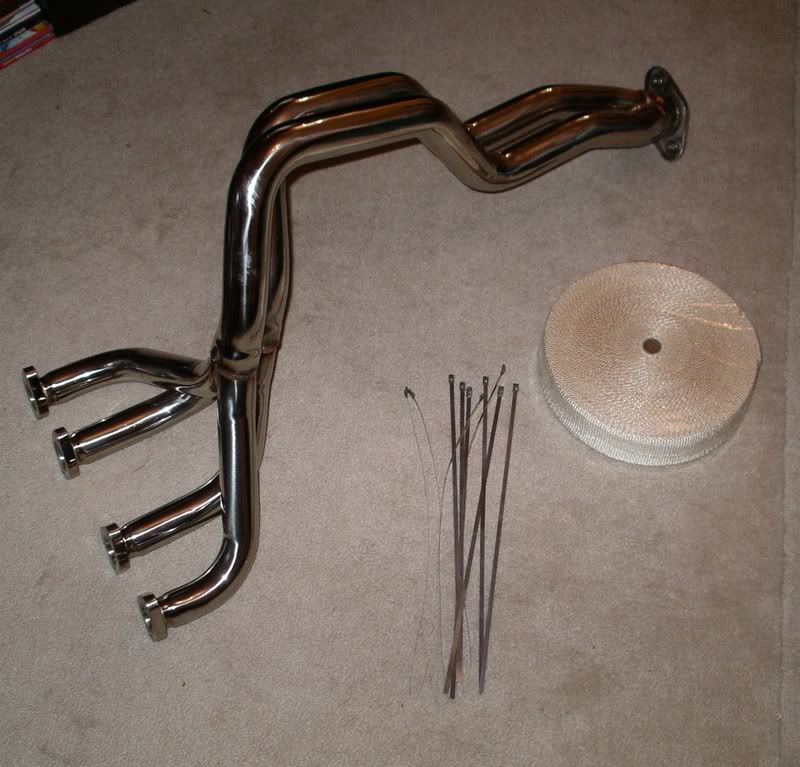
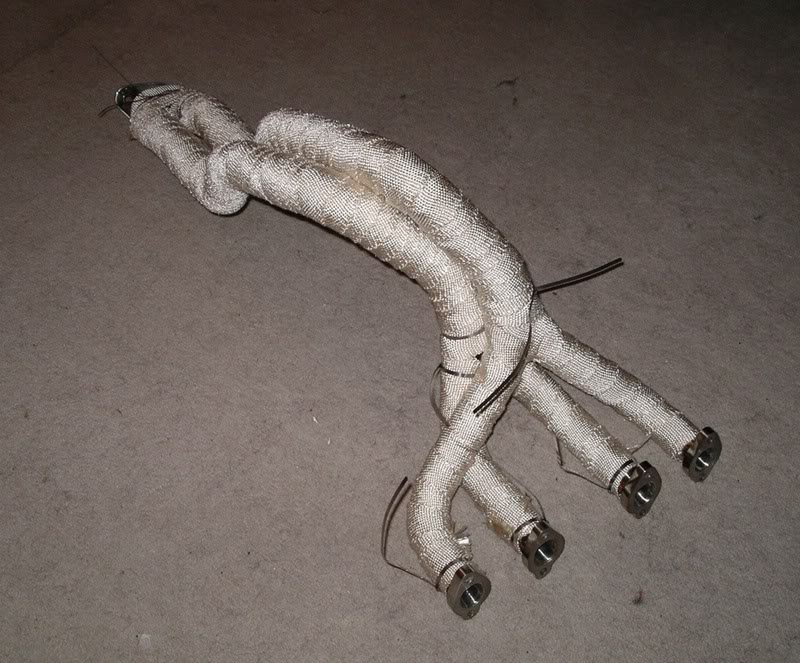
After about 60 minutes of fun putting the wrap on here is the end result.
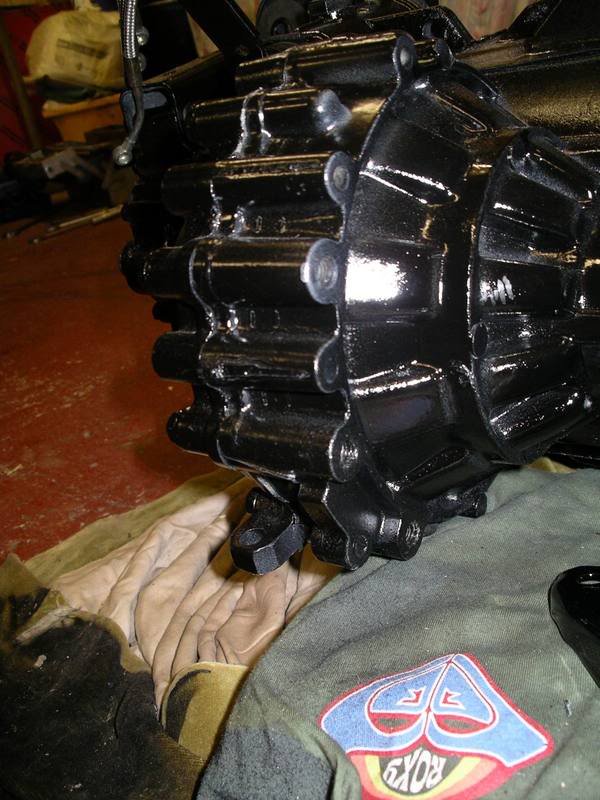
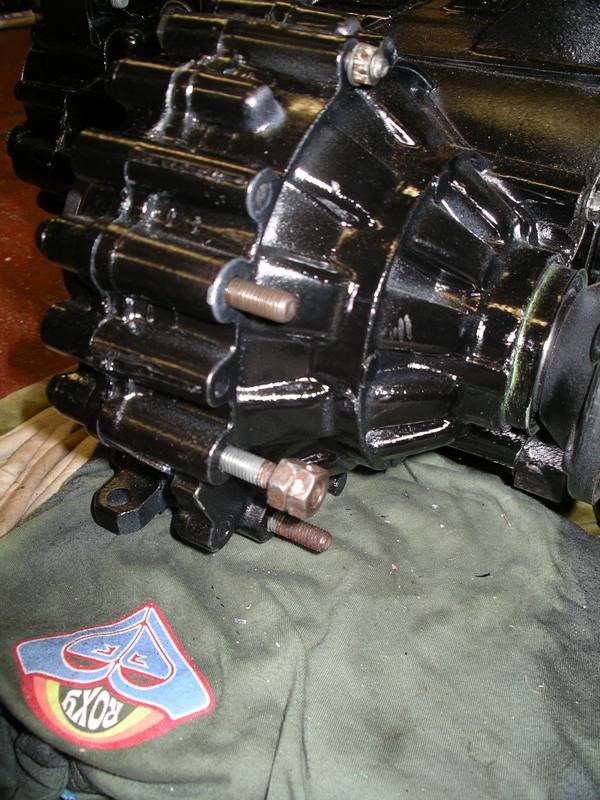
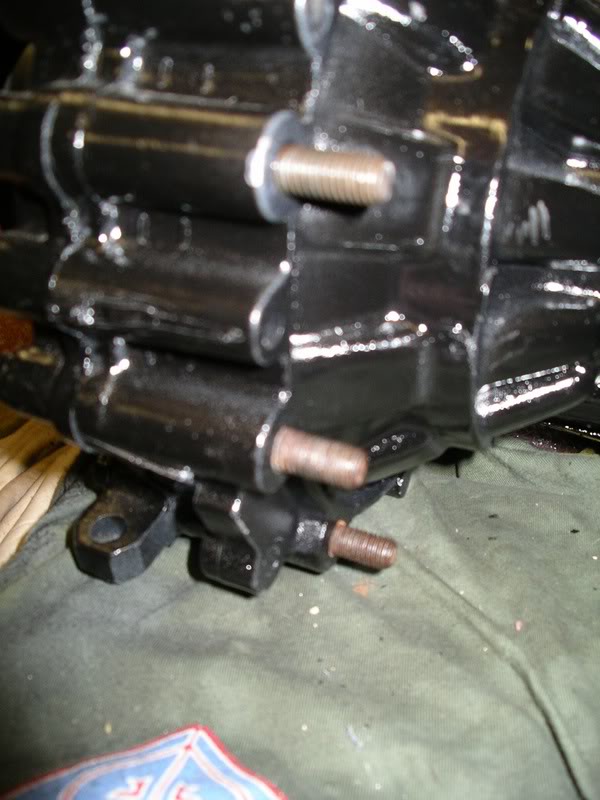
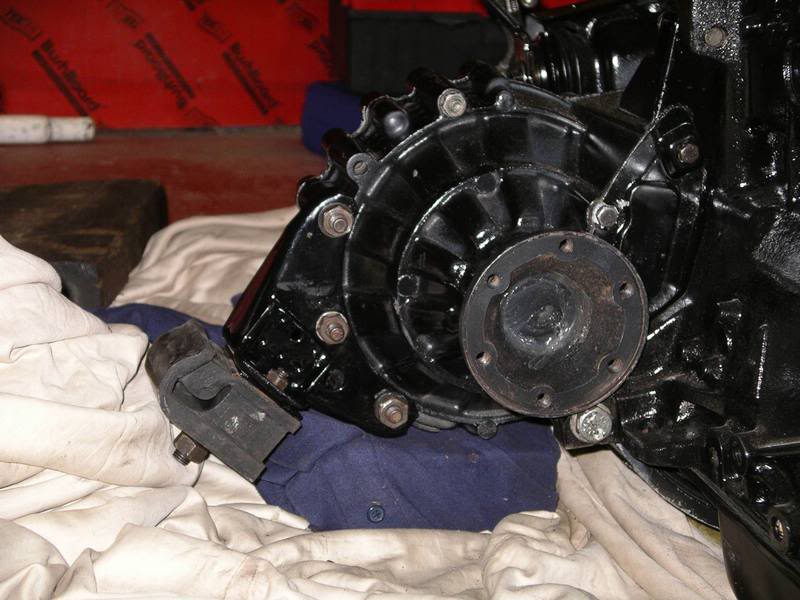
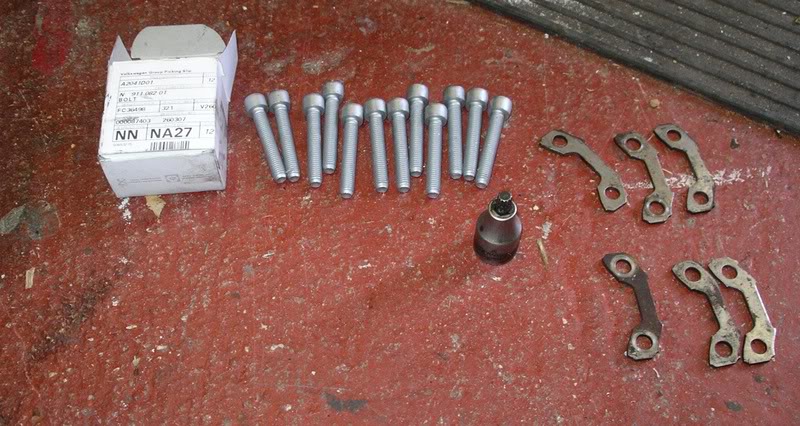
As I bought a new gearbox, some parts needed to be taken off my old gearbox and transfered over. I needed to add the rear engine mount braket studs into the gearbox. I did this by used two nuts tightened together and then put spanner on both and turned to loosen them off of the old gearbox and then add to new gearbox (see pictures below)
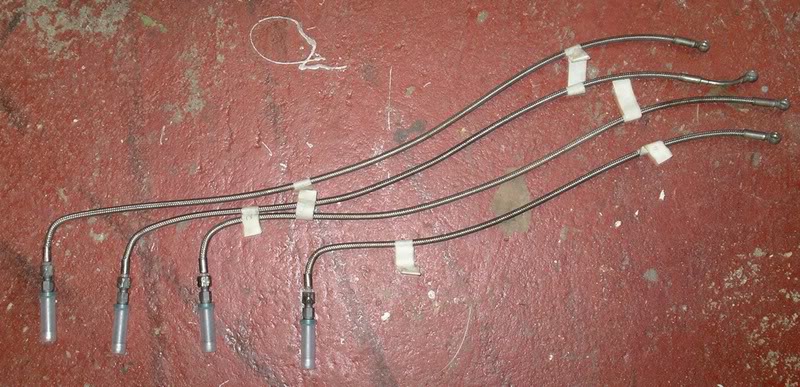
I then added the new fuel injectors onto the fuel pipes and then added these to the engine
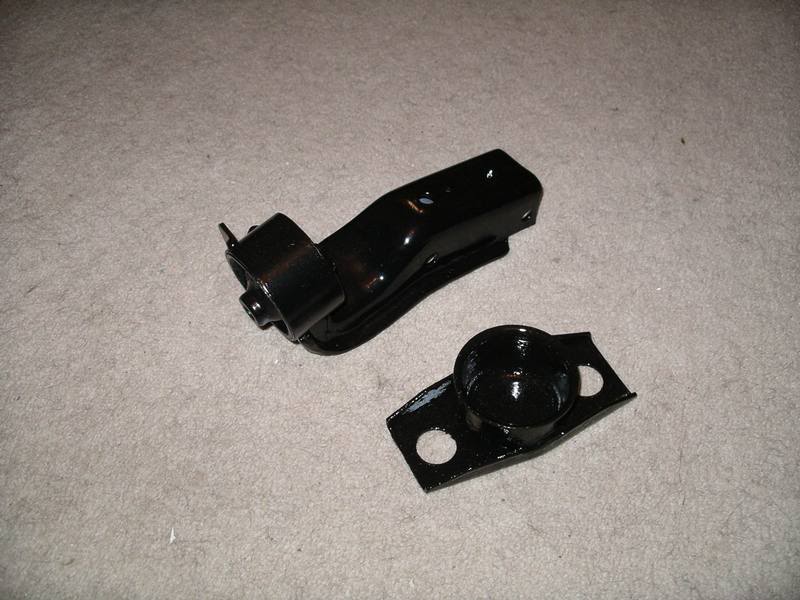
I then repainted the engine mounts for gearbox and front mount - wasn't happy with last spray results
So now I jacked up the front of the car and put two large axle stands on the front, so it was high enough to slide the engine under and then I put two small axle stands on the rear. I then took off all the wheels and filled the brake lines with brake fluid and then bleed the brakes.
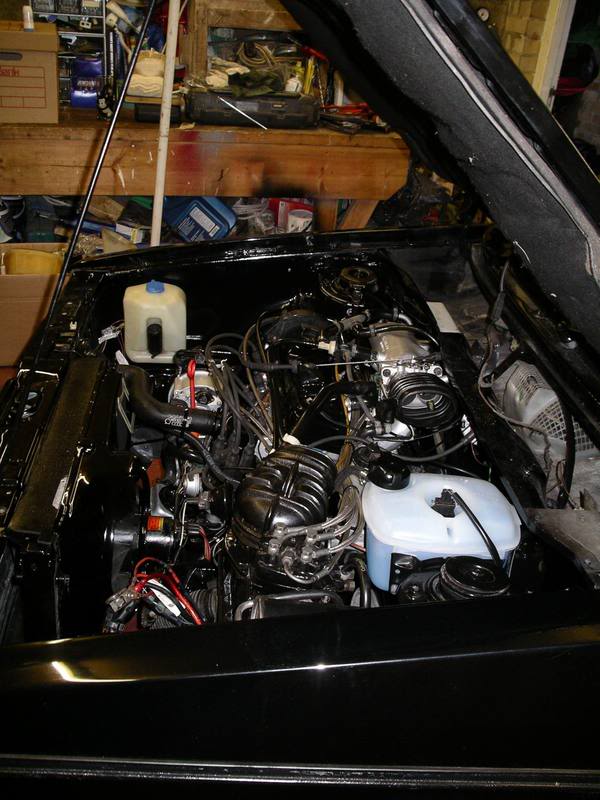
I now moved the engine under the car and into the middle of the engine bay
I now removed the drivers side complete brake set-up with the drive
shaft and also removed the front anti roll bar as these items would
of been in the way of lifting the engine into place.
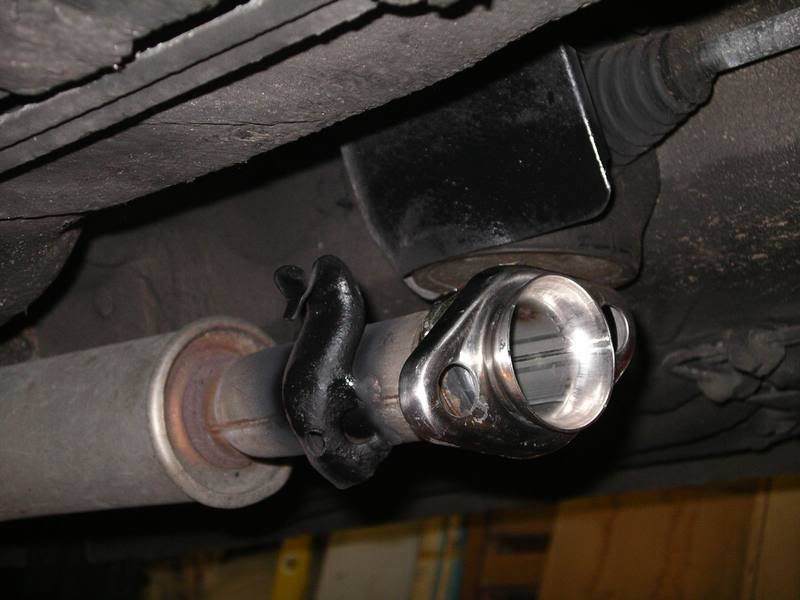
Now the engine is under the engine bay, time to add the rear engine
mount and the raceland manifold, I then added the raceland adapter
to the end of the middle section of the exhaust still on the car.
I then rolled the engine crane over the engine bay and roped the
engine to the crane and lifted up the engine into place. First - driver
side engine mount, then the rear engine mount and then
passengers side.(The front engine mount will be added when the
start motor is added)
This method of installation I find easier, as I can control engine better and I didn't scratch any of the engine bay paintwork of engine
Now I had the engine in place, I then connected up the Raceland
manifold to the rest of the exhaust. Next putting back the drivers side complete brake set-up with the driveshaft and also the front anti roll bar. Then bolting up the drive shafts - adding grease and then adding new bolt.
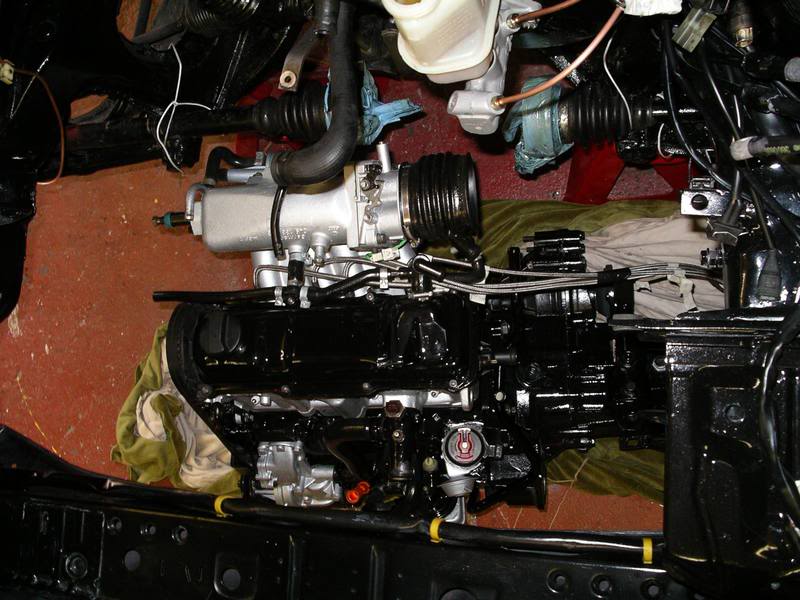
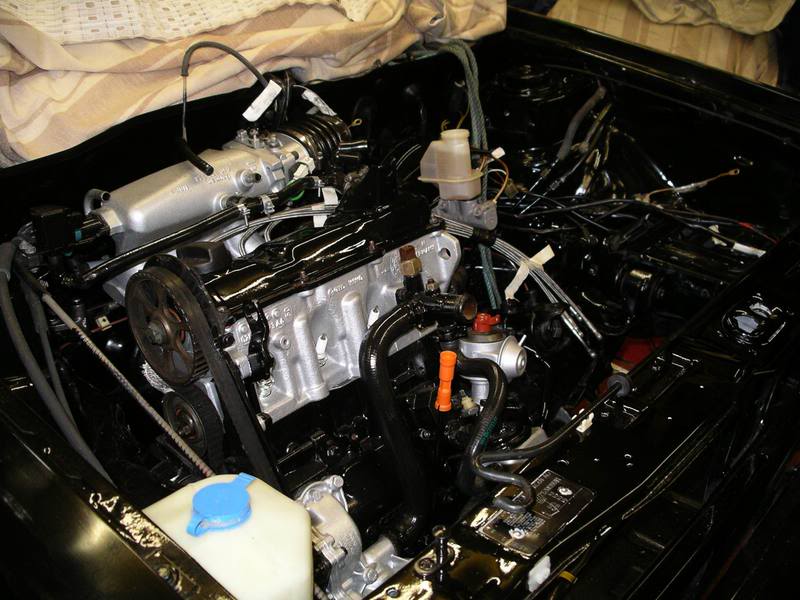
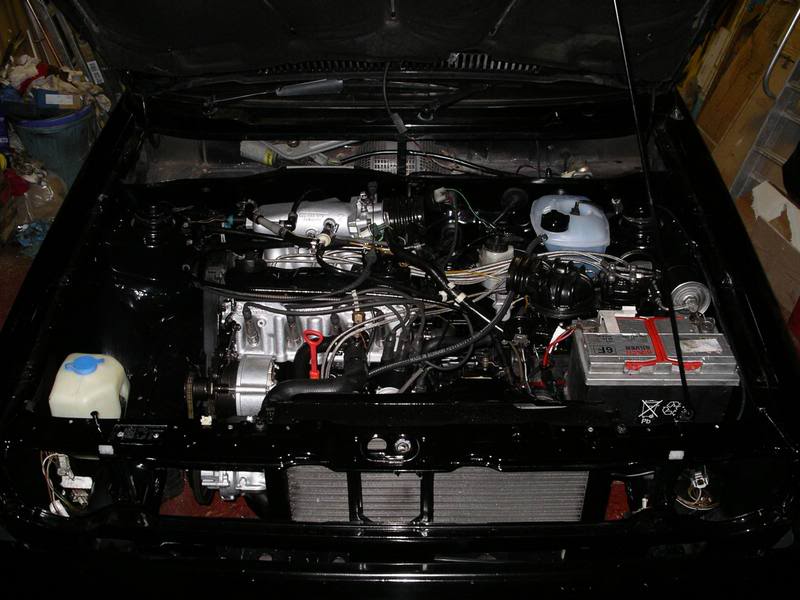
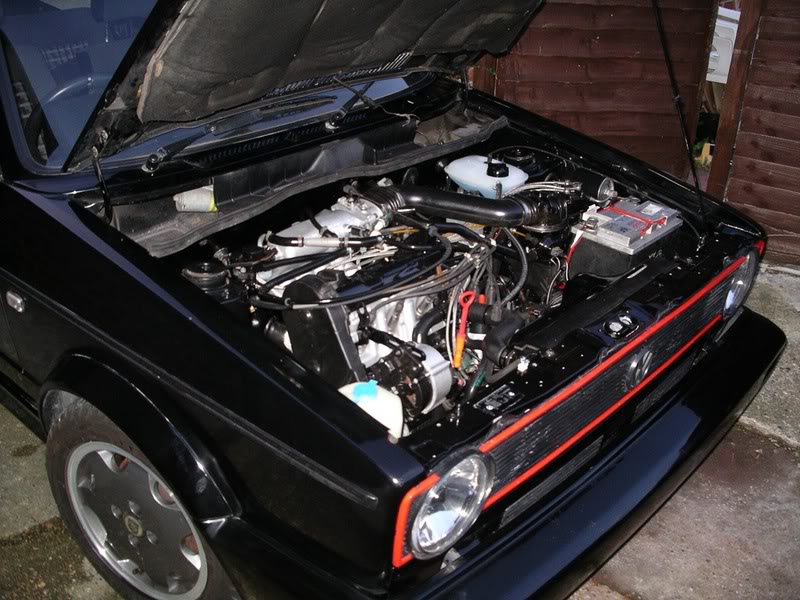
I then spent the next 3 hours, running all the cables to the engine and added all the remaining engine parts, so it looks like this now.
I'm really please with the results.


I also spent a while setting up the engine so it was running nicely
Madone with the two Cabs 82 (UK RHD) and 85 (US LHD) (92 sold)
�
�
Posted
Local Hero

Posted
Old Timer
foxymk1 said
nice work mate. did that drivers side shaft give you any greef when you lifted the engine in from the bottom?
I took the drivers side shaft off as it would of stopped me from getting the engine lifted into place. The Passenger one you just rope up out of the way.
Madone with the two Cabs 82 (UK RHD) and 85 (US LHD) (92 sold)
�
�
Posted
Local Hero
Posted
Old Timer

Posted
Old Timer
Posted
Old Timer
Picture taken outside
Madone with the two Cabs 82 (UK RHD) and 85 (US LHD) (92 sold)
�
�
Posted
Local Hero
Where did you get the heat wrap for the exhaust from btw?
Rich
Posted
Old Timer
keep on keeping on
Posted
Old Timer
<img>
0 guests and 0 members have just viewed this: None.