


Kamei Retro Racer mk1 build

Posted
Settled In

Kamei Retro Racer mk1 build

Posted
Settling In

What other retro racers were there? Have you any links to images or can you post them please?
What is the bodykit on your car, it looks fab! Have to agree about the seats, go black when you can justify it! Great build fella, keep it going.
Cheers,
Kurt
Looking for a series1 passenger side under dash shelf and fittings.
Posted
Settling In
could do a classic bike coloured mk1

i look forward to seeing your project in the flesh one day

mk4 golf gti with bora front end and lots more ,
mk1 gti project
mk1 gti project
Posted
Settled In
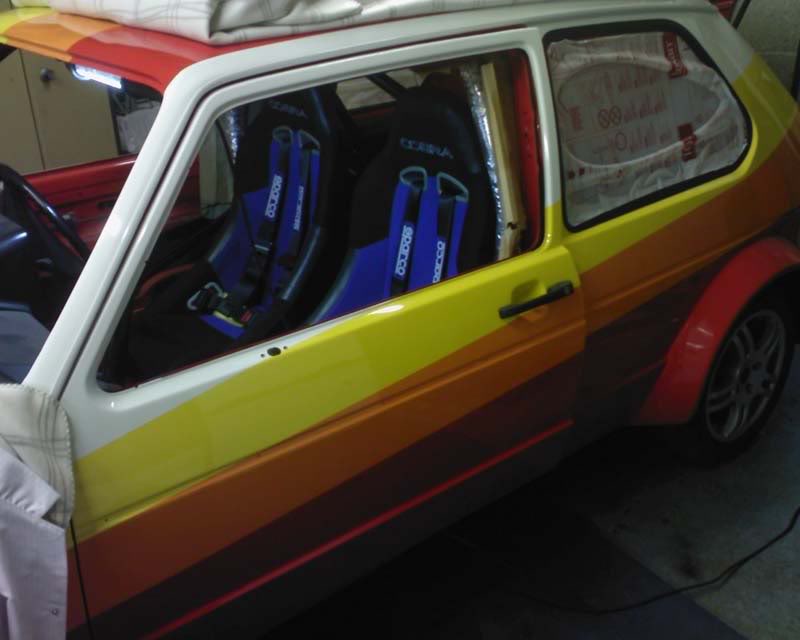
The bodykit is a copy of one of the German BergCup racers made by a fella username "pol" on CGTI.com, it's a couple of hundred pounds iirc though to fit it & blend it in like mine it can be expensive & a lot of man hours.
Cheers all
Posted
Settled In
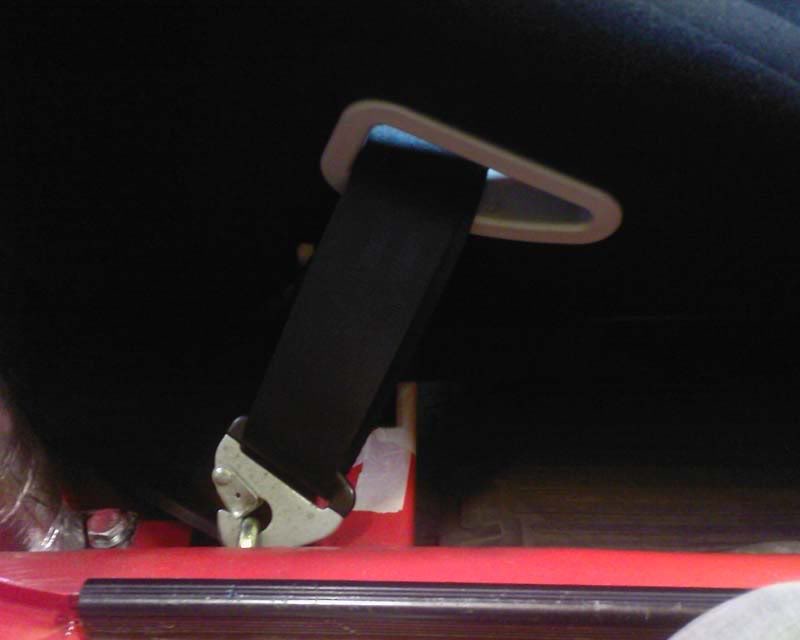
trial fitted the belts:


Ugly mug shot

I will remove the seats when the black dye turns up to have a mess about with them.
Posted
Settled In
Do you know what type i have, or best to fit? (engine is DX 1.8 now 2.1).


I could go to Bosch but i would need specific details of what alternator to order…
Hope someone can help.
Mike
Posted
Settled In
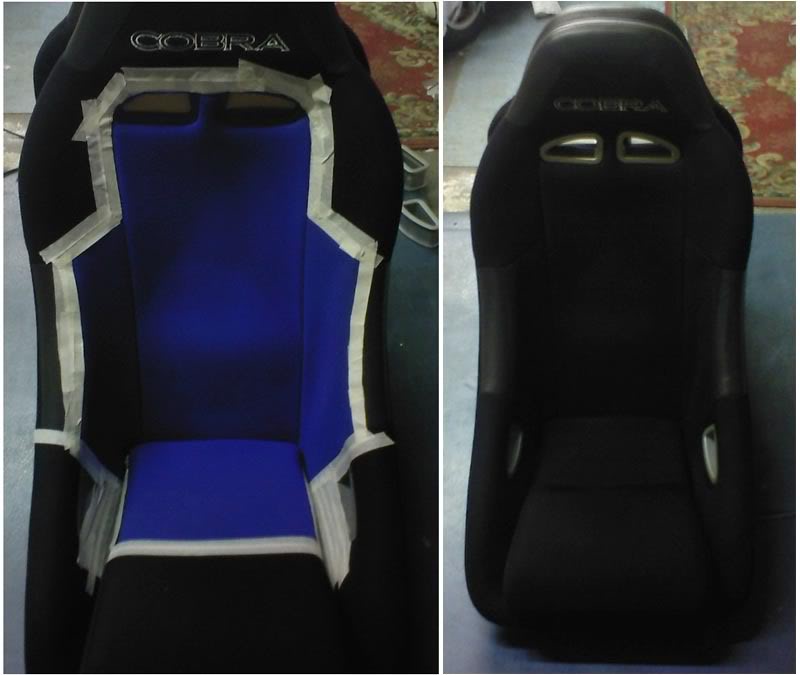
look a bit better now, under natural light they are a dark blue.
Posted
Settling In
a million times better ,
just dont wear anything white for a while
mk4 golf gti with bora front end and lots more ,
mk1 gti project
mk1 gti project
Posted
Settled In
takes three days to dry properly though i did run the heat gun over it to aid it drying:

Posted
Settled In

The main man Paul:

Come on Paul tuck that belly in
 :
: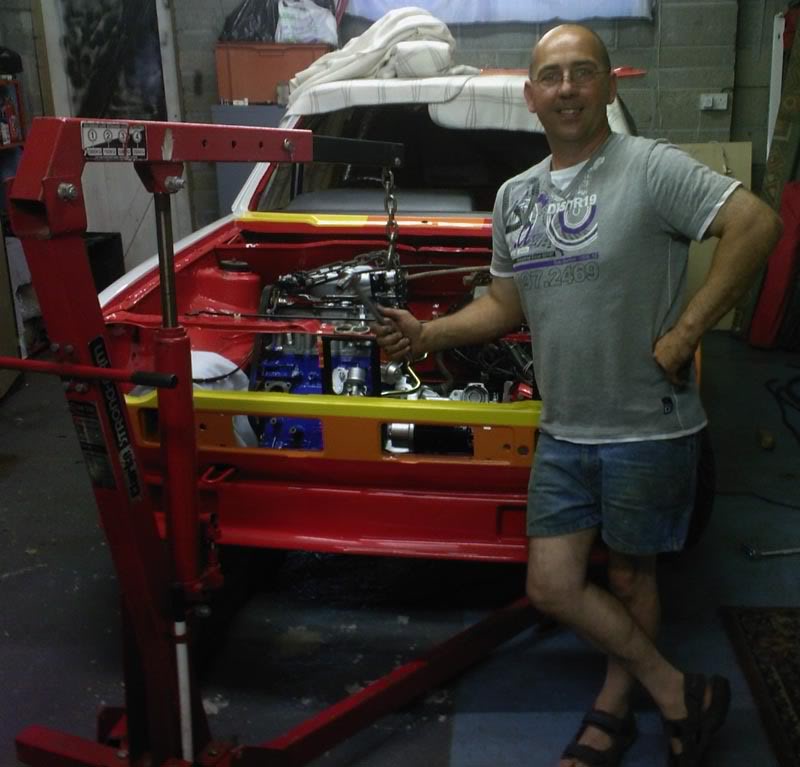
Job done:

Not bad considering there were only two of us to install her without scratching anything:

Posted
Settled In
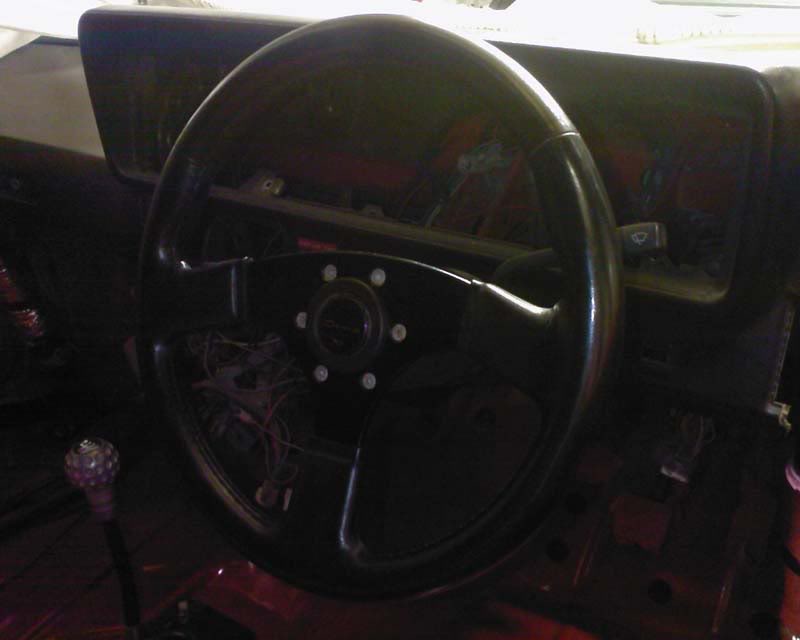
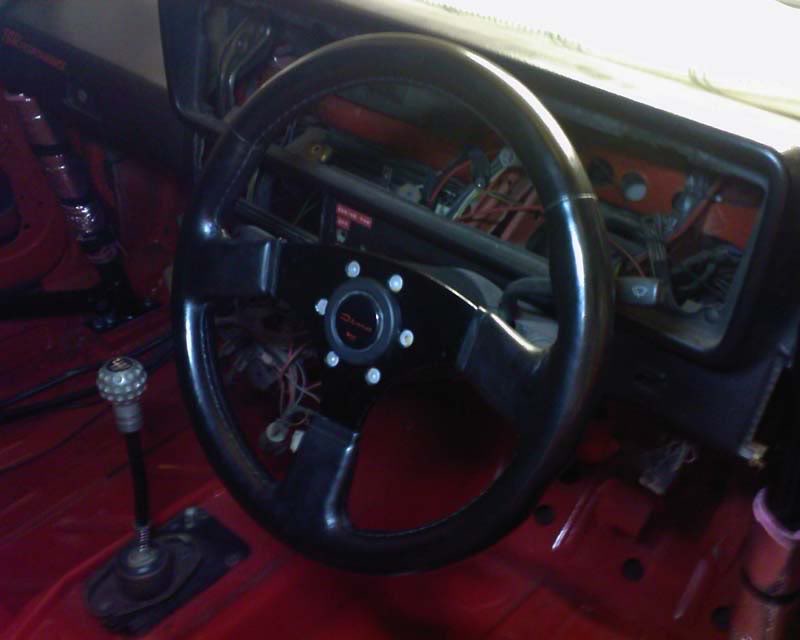

Same fitment as standard mk1 steering wheel:
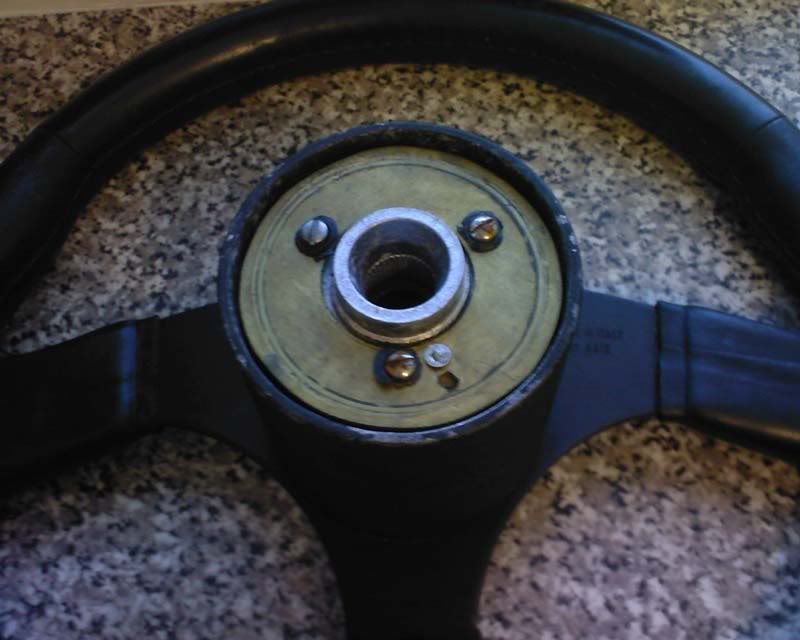
I then give it a clean up and replaced the tired bolts on it with stainless steel ones:

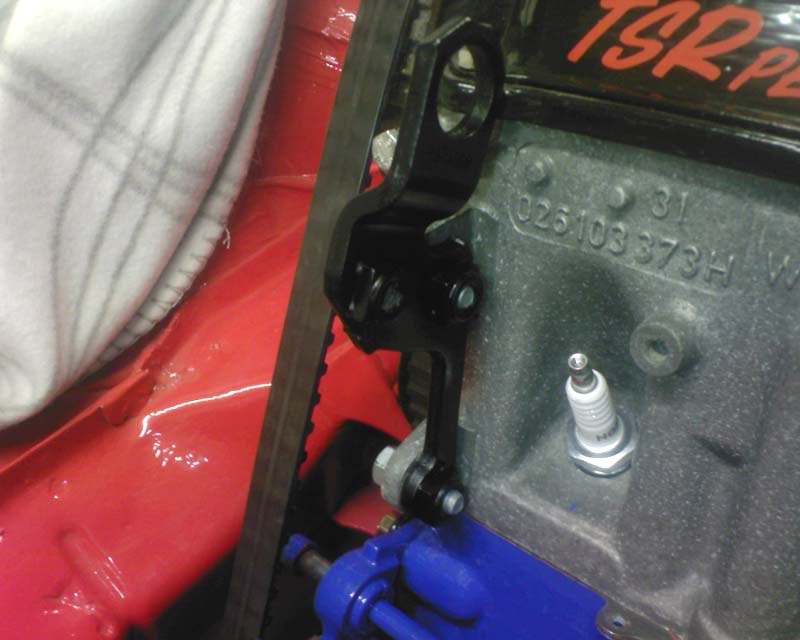
Tiny update:
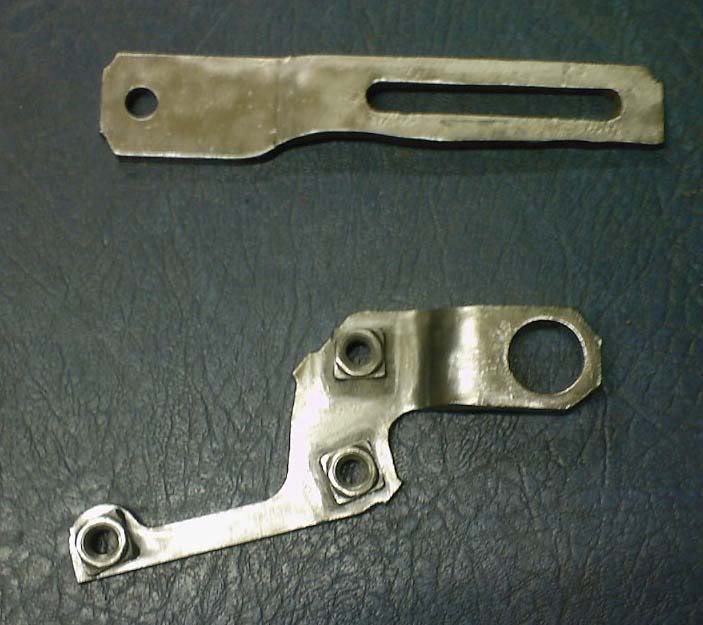
I had a brain wave today & noticed the same bracket i had damaged was on my mk3 not being used so nicked it for the mk1 & put shorter bolts back in it's place:

There she is:

Gave it and the 2nd alternator bracket a good clean with the wire drill bit:
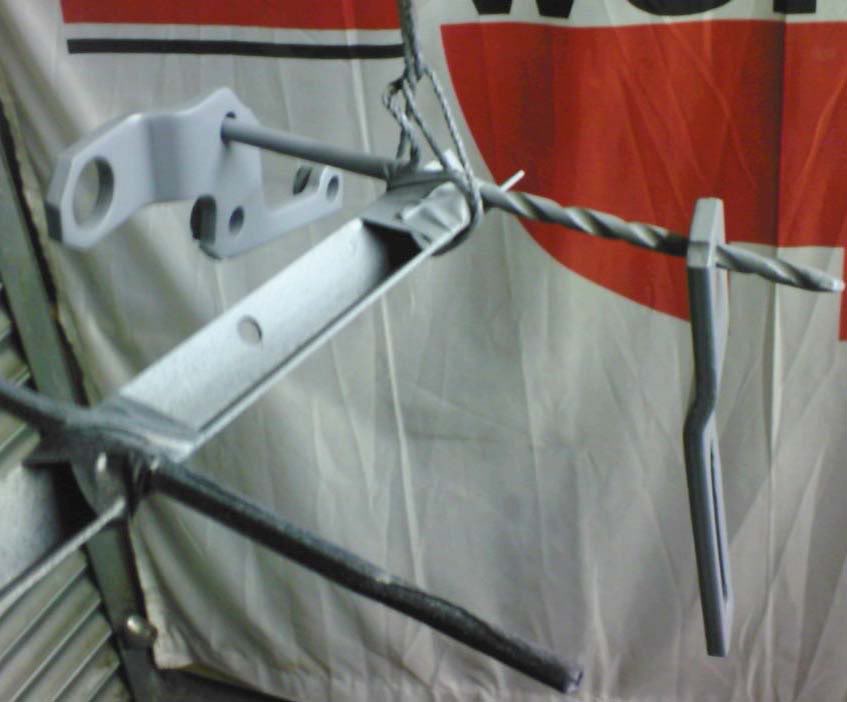
Then some primer:

Posted
Local Hero

fthaimike said
cheers
takes three days to dry properly though i did run the heat gun over it to aid it drying:
Hmmm….
Not seen this stuff before. Where did you pick it up? How much did you use to do the blue on that one seat?
My Build Thread
All My Build Photos - https://www.flickr.com/photos/pix-al/albums/72157622794406840
My other hobby - www.pix-al.co.uk
All My Build Photos - https://www.flickr.com/photos/pix-al/albums/72157622794406840
My other hobby - www.pix-al.co.uk
Posted
Settled In
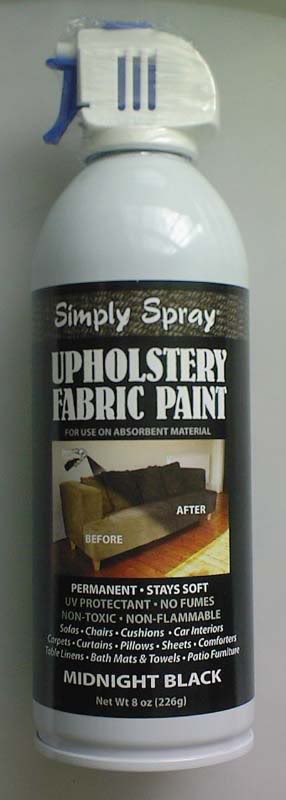
If your staying the same colour i don't think you would need as much but to go from bright blue like i had to black you would need a bottle per seat i would think as i only used one & it is a dark blue now.
They have video demo's:
http://www.fabricspray.co.uk/video-demo
Posted
Settled In
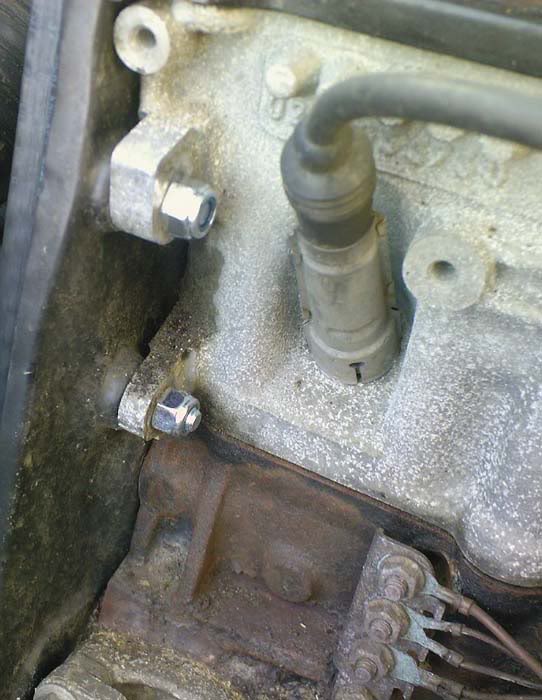
1st half of the alternator brackets fitted:
Alternator fitted on lower bracket (was a very tight fit):
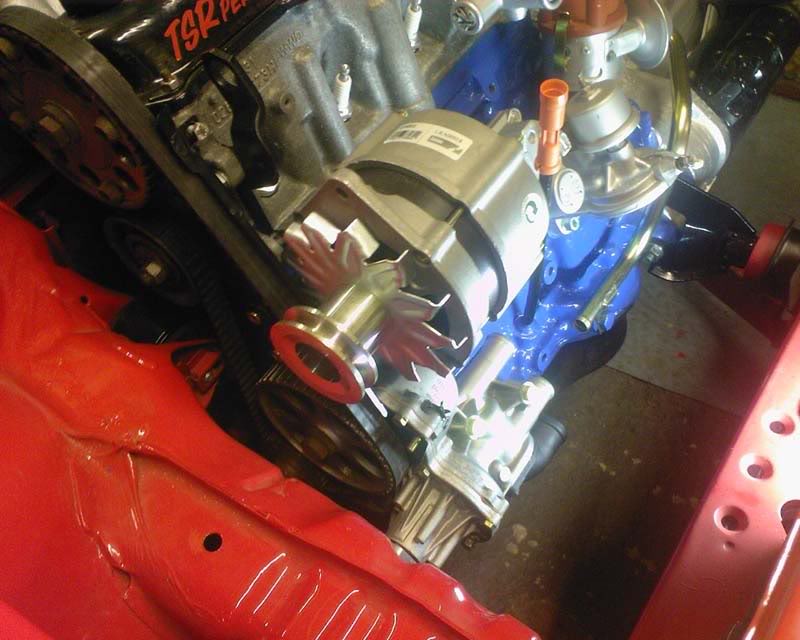
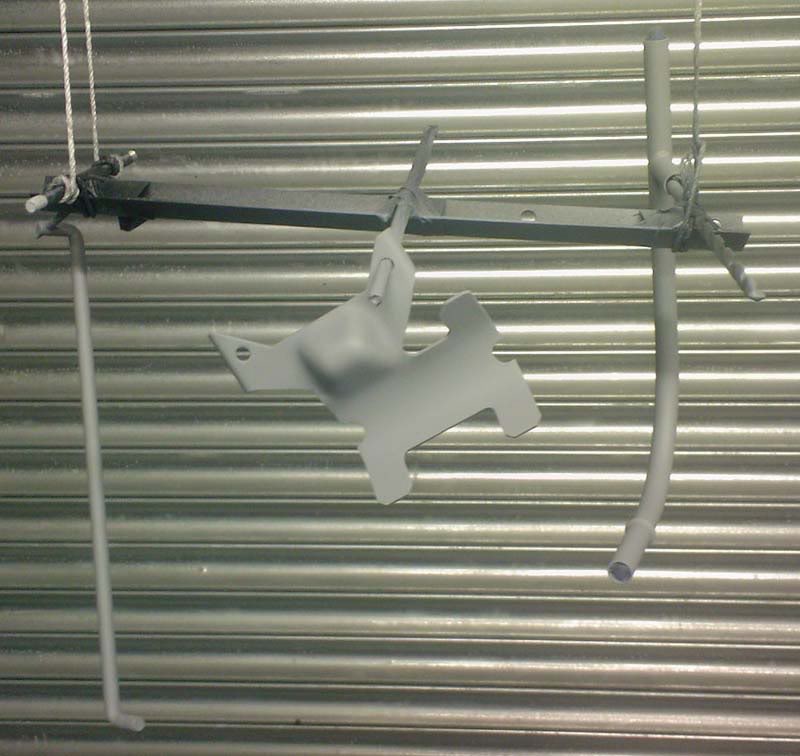
More bits primered up:
Bar from gear selector mechanism, fuel filter bracket (attaches to the end of the fuel metering unit) & one of the air breather pipes:

Also fitted the 4-1 manifold back on though haven't attempted yet to put the two top middle nuts on yet as they look a nightmare to get at.
Posted

Posted
Settled In
would you know how much play is supposed to be in the front engine mount? because at the moment the bush has about another 2cms to be in all the way, i know the rear one has that slide hole that the captive bolt goes through but i wouldn't have the strength myself to hold the engine forward & do the rear one up tight so wondering if there is normaly a little give in the front?
Posted
Settled In
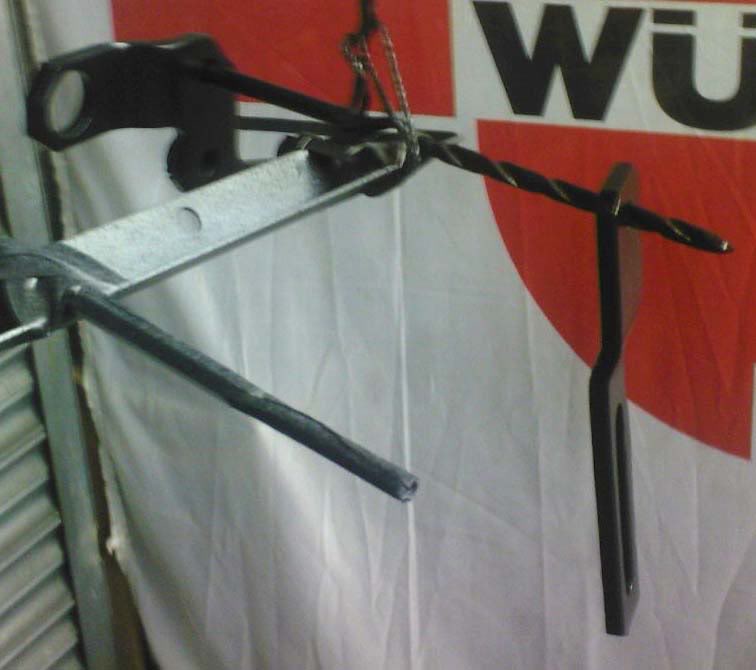
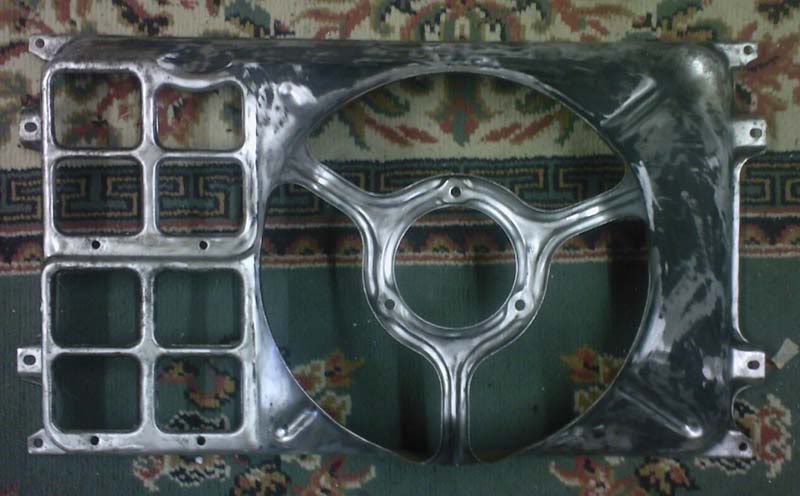
Painted:

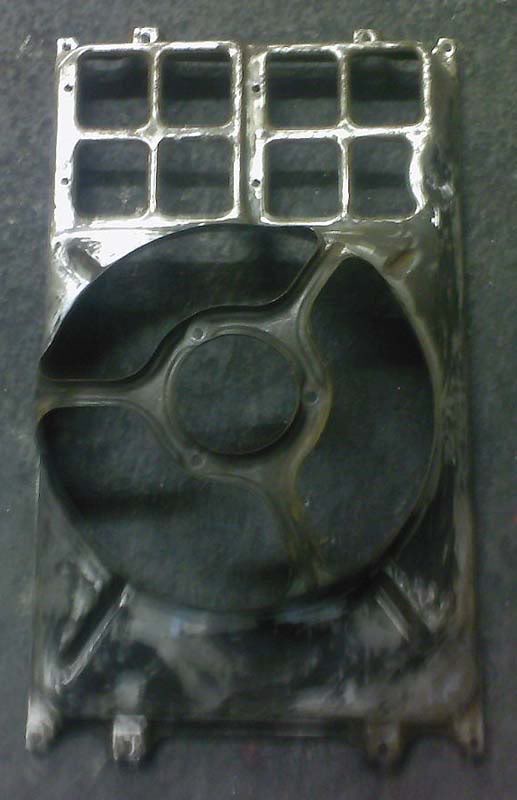
Started to sand down the rad cowling (cack pic) which was a mess but starting to get it back to metal:
Gave some of the old breather pipes a degreasing & wash (will replace the jubilee clips with new):

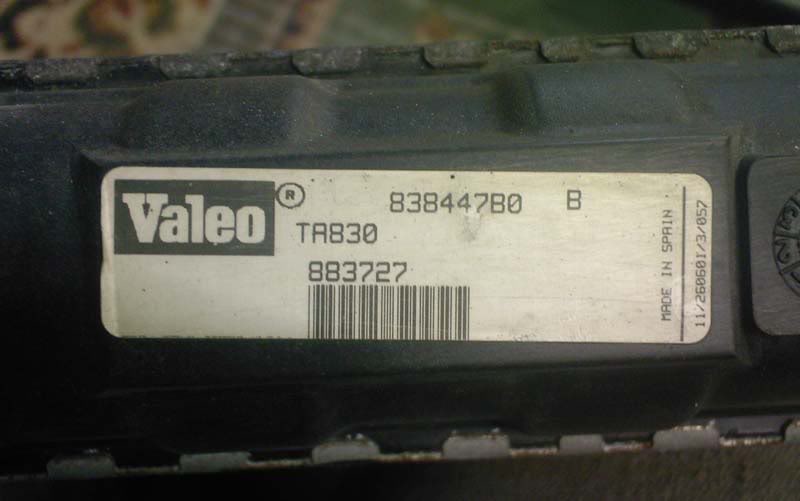
This was the only info i could find on the radiator core?
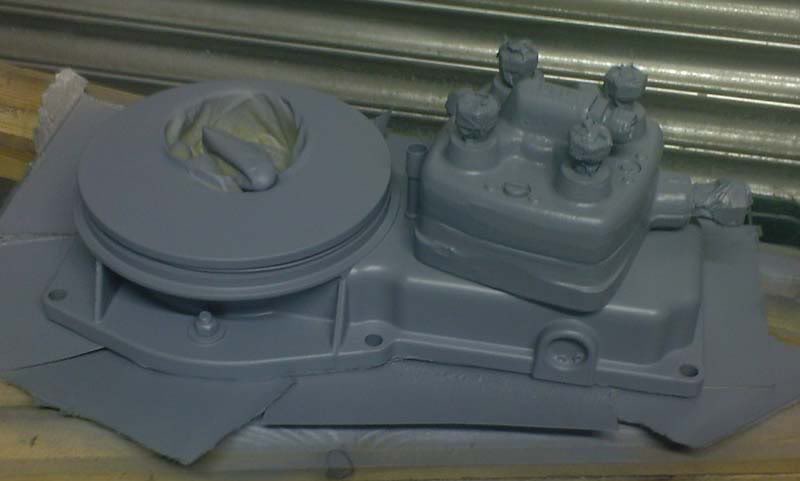
Degreased & cleaned the metering unit (might paint the top half of it…).
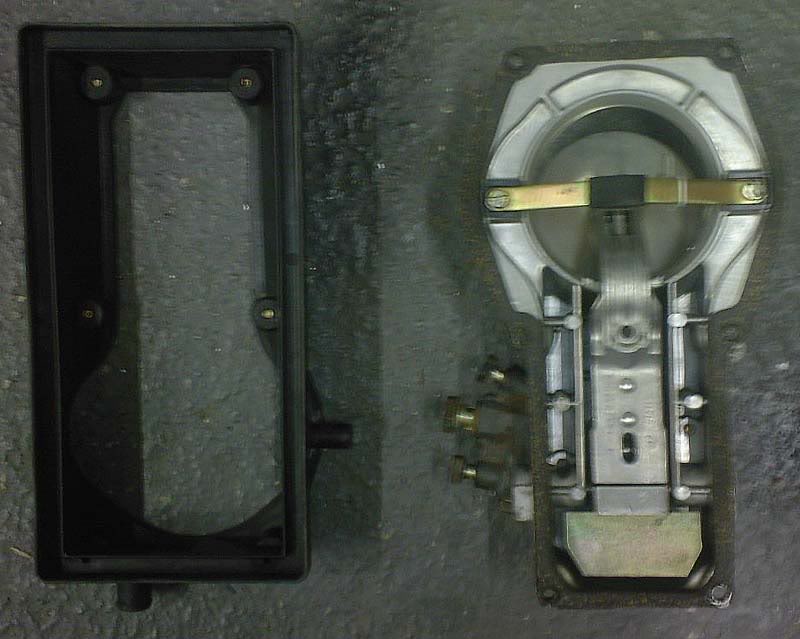
This was on the metering unit:

I was told originally that it was a 1.6 version that supplied more fuel than the 1.8 one.
Posted

Old Timer

I don't know about the 1600 m/head suppling more fuel, are the part number different from later 1800 units?
Pete.
Posted
Settled In
I found out about it myself when my engine was built many years ago & one of the workers was an ex bosch employee who was very clued up on it.
Posted
Settled In
Just have the back to do now though might leave it for today as it's a bloody horrible dusty job & the drill don't half make your fingers go numb after a while.
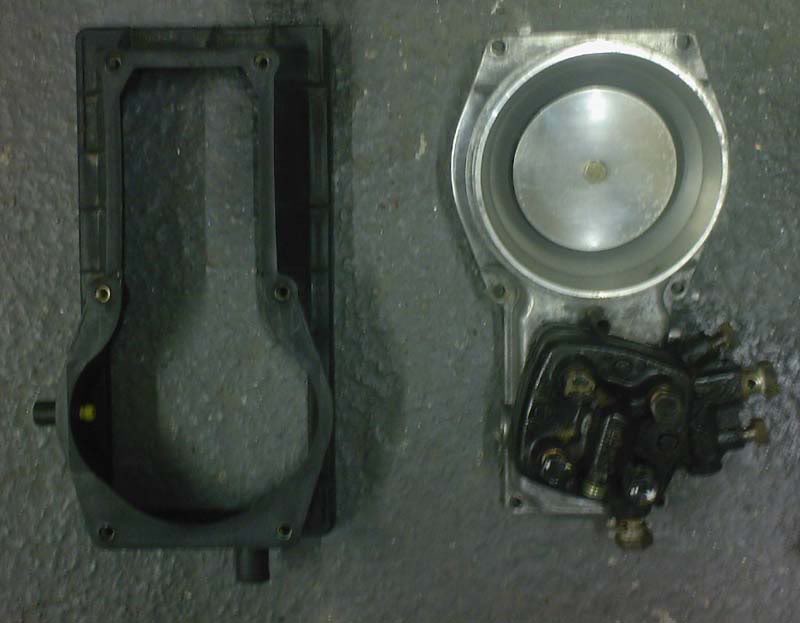
Cleaned up & primered the metering unit:

Checked on a new Radiator:
From VAG �136.63 +vat = �160
GSF (173VG0180 RADIATOR-525mm G1 GTI/GLI 1.6 / 1.8 8v 1/81) �46.30 +vat = �55.27 8-)
0 guests and 0 members have just viewed this: None.