Humble Beginnings...........
Posted
Old Timer

Humble Beginnings...........
Posted
Settled In

Posted
Settled In


'84 MK1 Golf - View topic: Humble Beginnings........... - VW Golf Mk1 Owners Club '99 MK4 Golf
Posted
Settled In


Hopefully this week I will manage to get all the other little bits of welding sorted then all that will be left will be the front panel which the body shop will fit. It’s all coming together slowly but surely.
'84 MK1 Golf - View topic: Humble Beginnings........... - VW Golf Mk1 Owners Club '99 MK4 Golf
Posted

Moderator

Posted
Settled In


I've got three days off work this week in which time the glass will be removed from the car, all the little bits of welding should be finished and I should get well into finishing the n/s rear arch and some of the other little areas of bodywork, time is quickly ticking by until she goes off for paint, 10 years well worth the wait!
'84 MK1 Golf - View topic: Humble Beginnings........... - VW Golf Mk1 Owners Club '99 MK4 Golf
Posted
Settled In


So Friday was a long day; welding, grinding, shaping, measuring, sealing, painting and drinking plenty of cups of coffee……..managed to get 9 patches welded onto the car. Have to say I’m well happy with the results, no more holes and less rust than before, so now all the welding I intended to get done is now done (phew! Lol).
Had to drop the axle to get to a couple of spots underneath but luckily all the time I had spent earlier freeing the bolts off saved a lot of time.
Only drama was when we literally had a couple of spots left to weld and we ran out of gas!! This was at 2 O’clock so had to make a mad dash to get a refill and finish it off, thankfully though all went well after that.
Saturday was spent tidying up all the welding done the day before and cracking on with the body work and under sealing as much as possible. It was a proper dirty, messy job to do on such a hot day but needed doing, also managed to tidy a bit up in the engine bay around the new mounting point and get rid of all the traces of the original mounting point.
So progress has jumped forward quite a bit since my last post and I will be ringing the body shop this Tuesday to arrange which day to have it delivered to him.
And now for a couple of pics………..(apologies for the lack of pics throughout the work but can only take a few pics of the finished days work as I’m up against it at the minute! Lol)…………


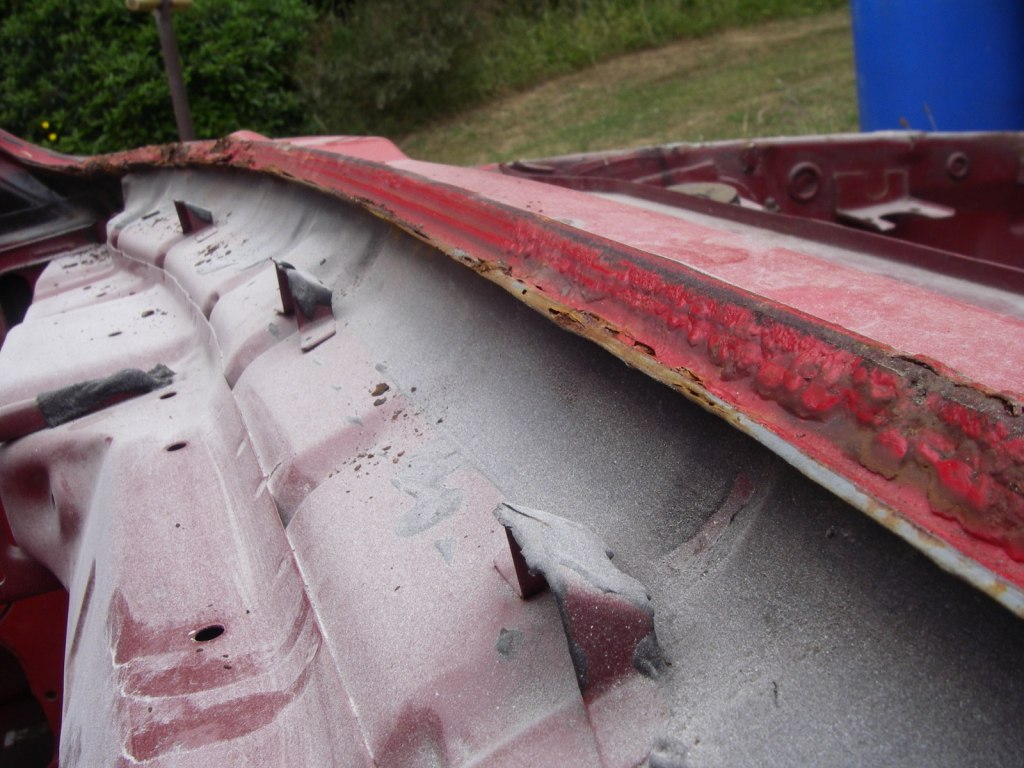


Don't worry there's more work to do here but just thought I'd show progress….

 Will keep this updated as often as I can but that's all for now folks………………….
'84 MK1 Golf - View topic: Humble Beginnings........... - VW Golf Mk1 Owners Club '99 MK4 Golf
Posted
Settled In


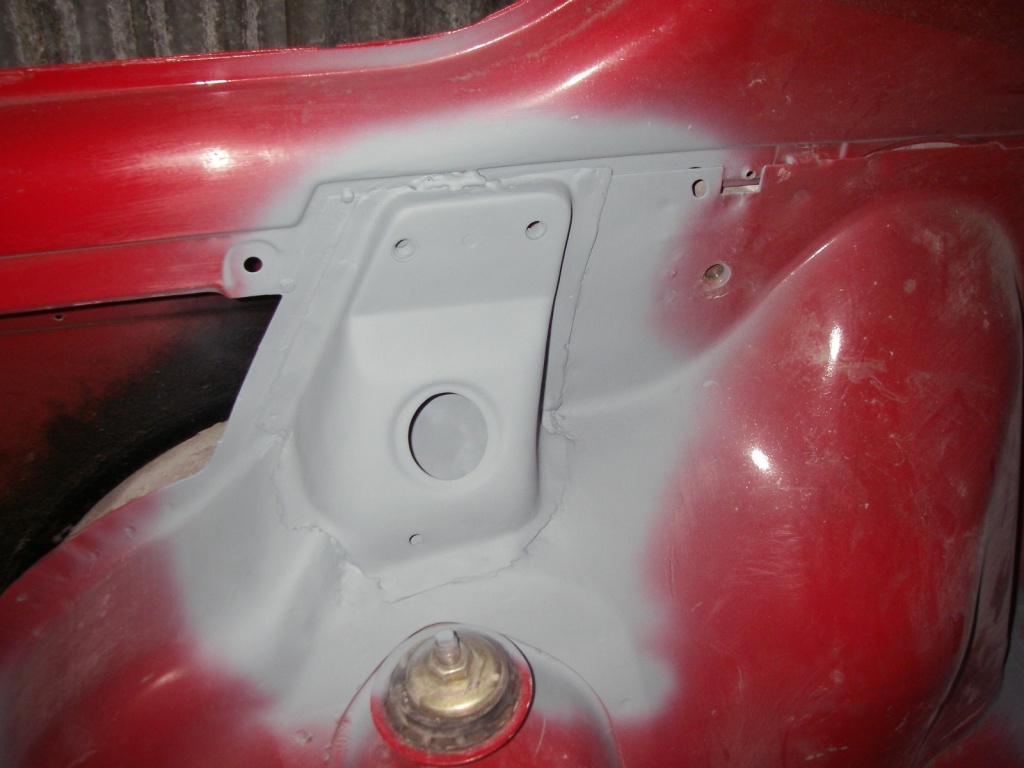

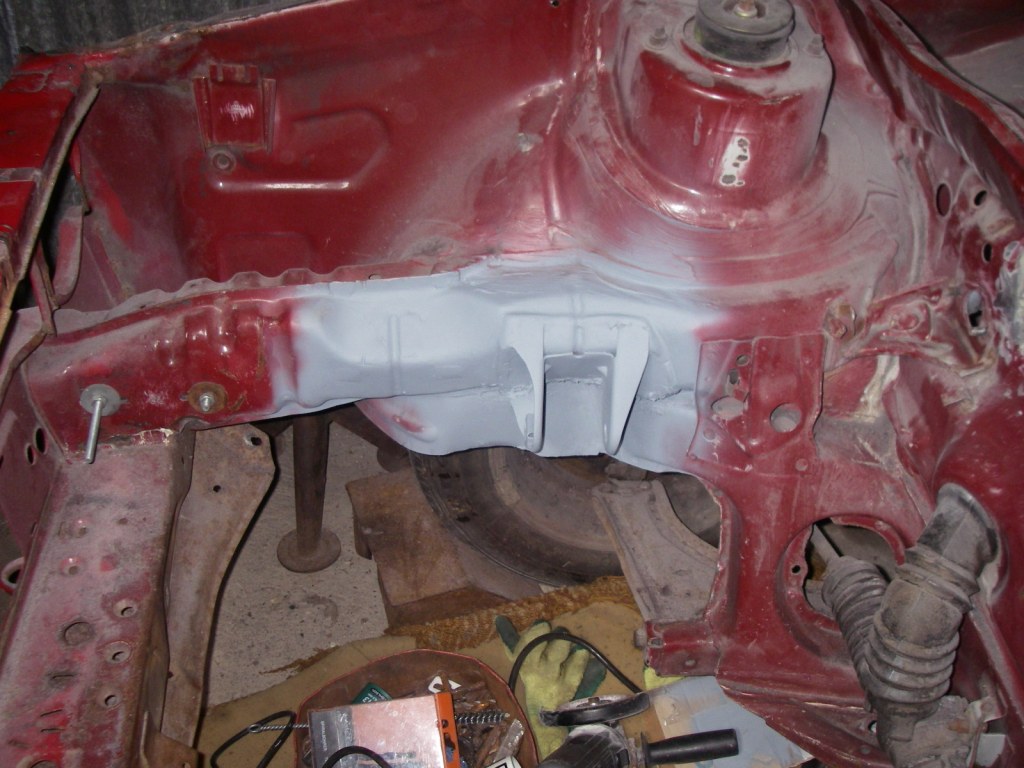

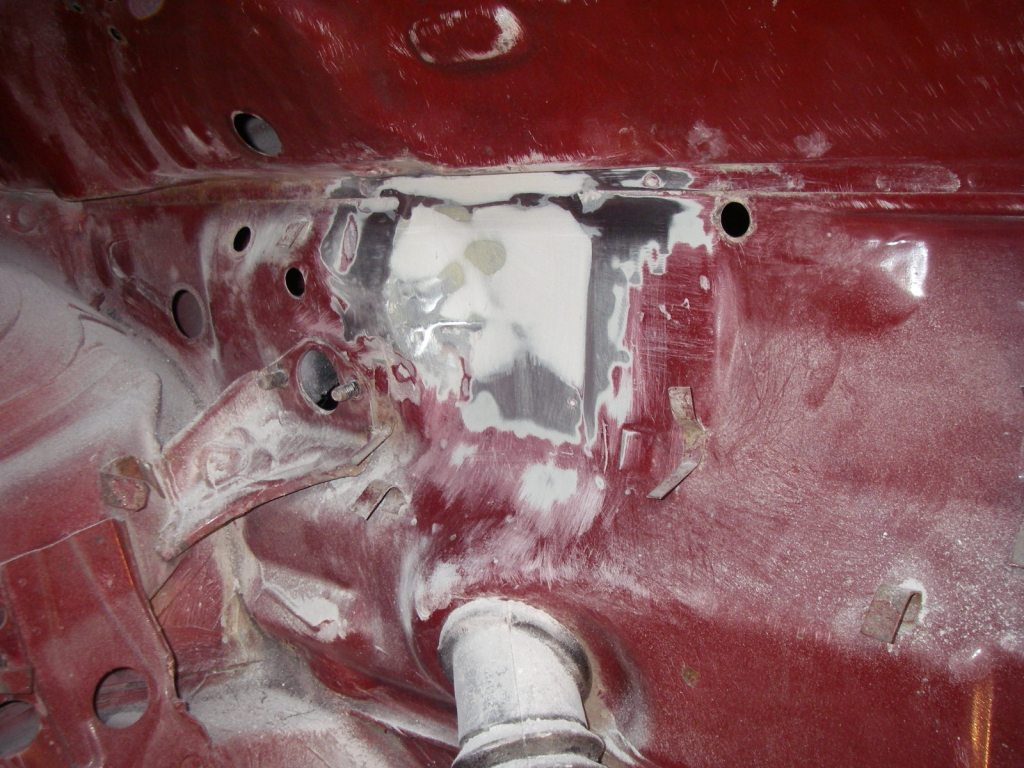
 Getting there slowly but surely
'84 MK1 Golf - View topic: Humble Beginnings........... - VW Golf Mk1 Owners Club '99 MK4 Golf
Posted

Moderator

Posted
Settled In


I can bet you now there'll probably be a box of bits left over at the end!
Does anyone out there have any ideas / experience on what's best to use!? Or am I just being too paranoid in wanting to protect my paint as soon as she's painted!?
'84 MK1 Golf - View topic: Humble Beginnings........... - VW Golf Mk1 Owners Club '99 MK4 Golf
Posted
Old Timer

May have this wrong, but looks like you've filled the hole for the clutch cable….
Matt
Posted
Settled In


I did source the parts to convert the 02a gearbox to a cable change system but after reading that it gives a fairly "clunky", "heavy" feel to the clutch pedal, and the fact that the box is originally hydraulic action plus I do have all the parts needed to get it to work, master cylinder, clutch slave cylinder etc. etc. then thought I might as well fit that.
'84 MK1 Golf - View topic: Humble Beginnings........... - VW Golf Mk1 Owners Club '99 MK4 Golf
Posted
Old Timer

Soon be time to paint!
Posted
Settled In


Yep, less than 2 weeks now and she should be there, it's been a looooonnnggggg time coming that's for sure!
'84 MK1 Golf - View topic: Humble Beginnings........... - VW Golf Mk1 Owners Club '99 MK4 Golf
Posted
Old Timer

Think I'm gonna leave the shell for a month after its been painted, just admire it before the chaos of re-assembly begins!
Posted
Settled In


'84 MK1 Golf - View topic: Humble Beginnings........... - VW Golf Mk1 Owners Club '99 MK4 Golf
Posted
Old Timer

Posted
Settled In


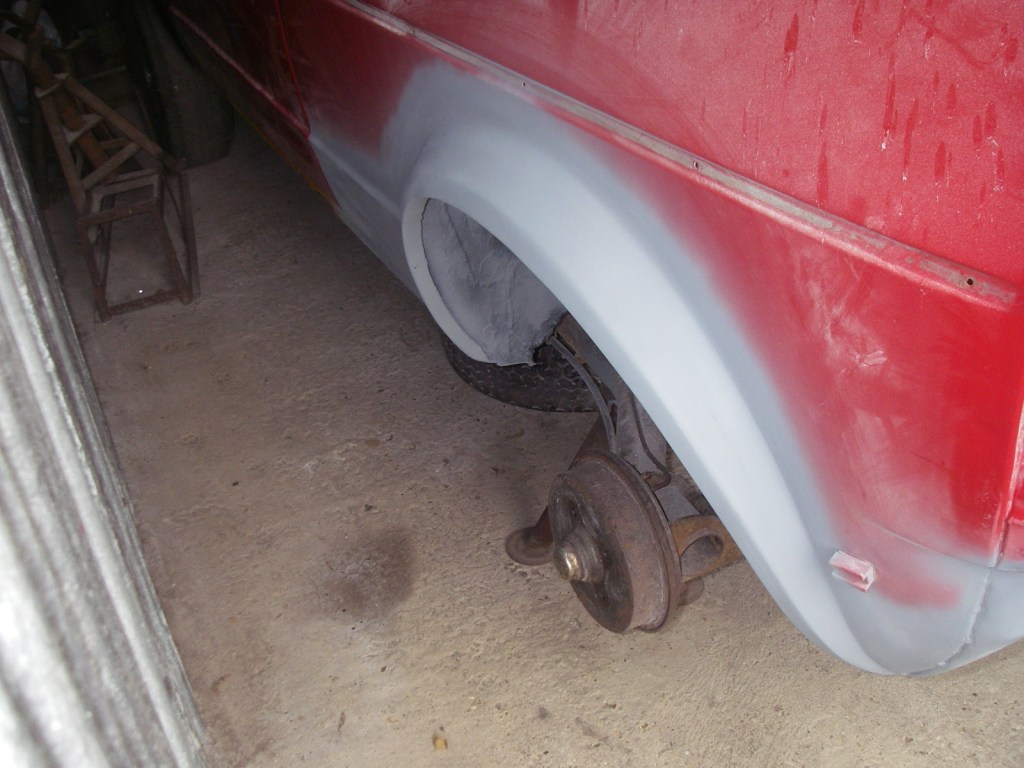
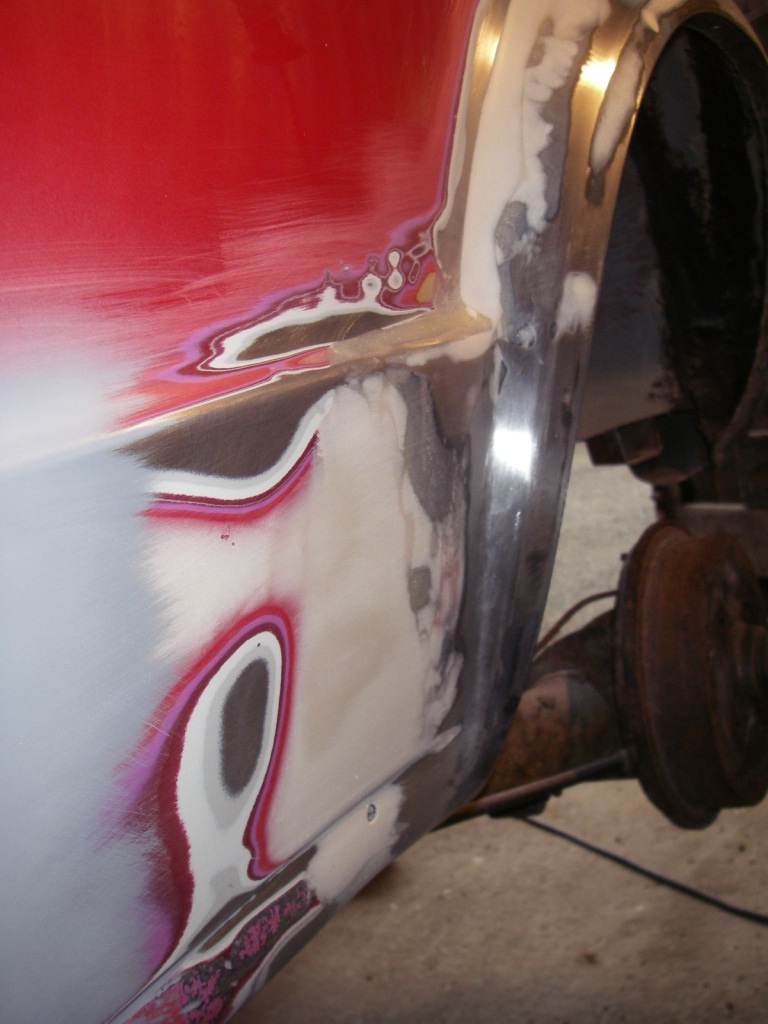
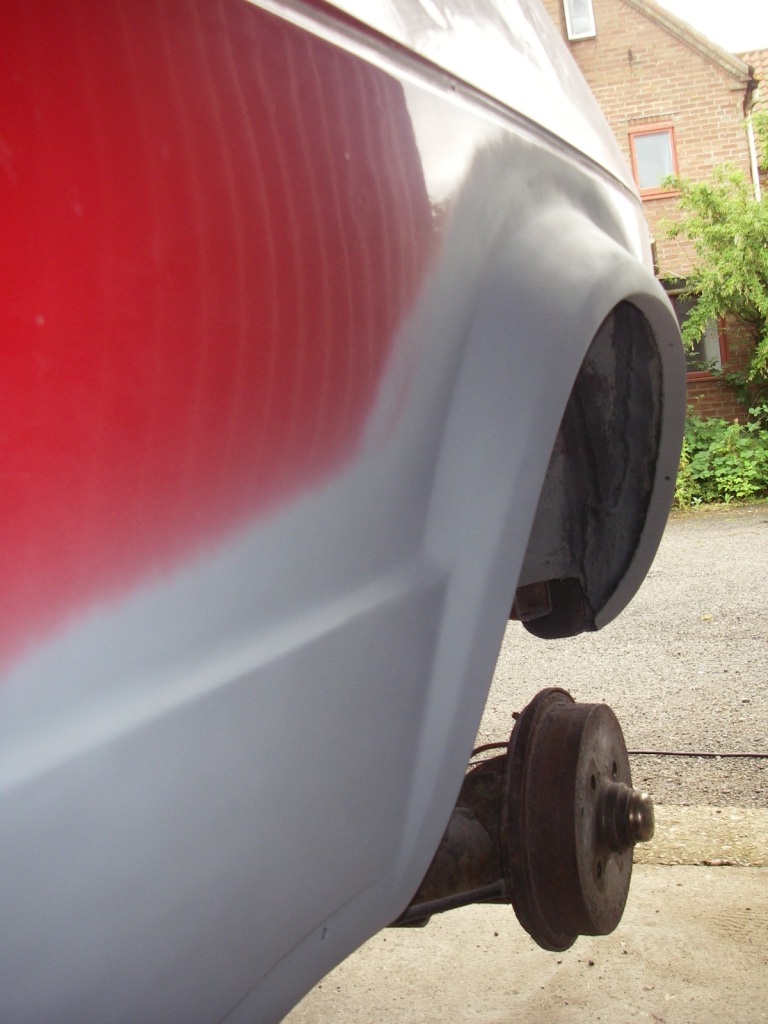
Ok so managed to get another day in last Saturday, again finishing off as much body work as I can before it goes to the paint shop. I’ve been sorting the engine bay and also the nearside rear arch and ¼ panel. It’s getting there slowly but I wasn’t happy with the blending between the front of the arch and the side of the car so ended the day with a little more filler on the area to hopefully sort it next time. On the plus side I’ve all but removed any trace of the nasty dent in the rear ¼ so pretty chuffed with that!


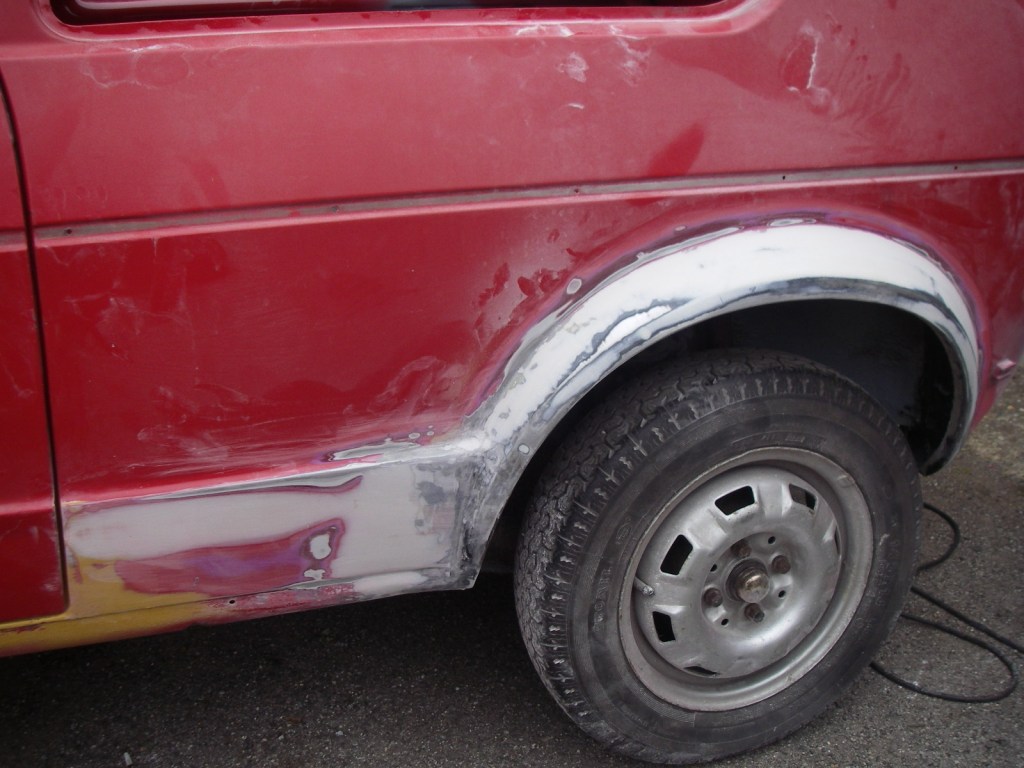

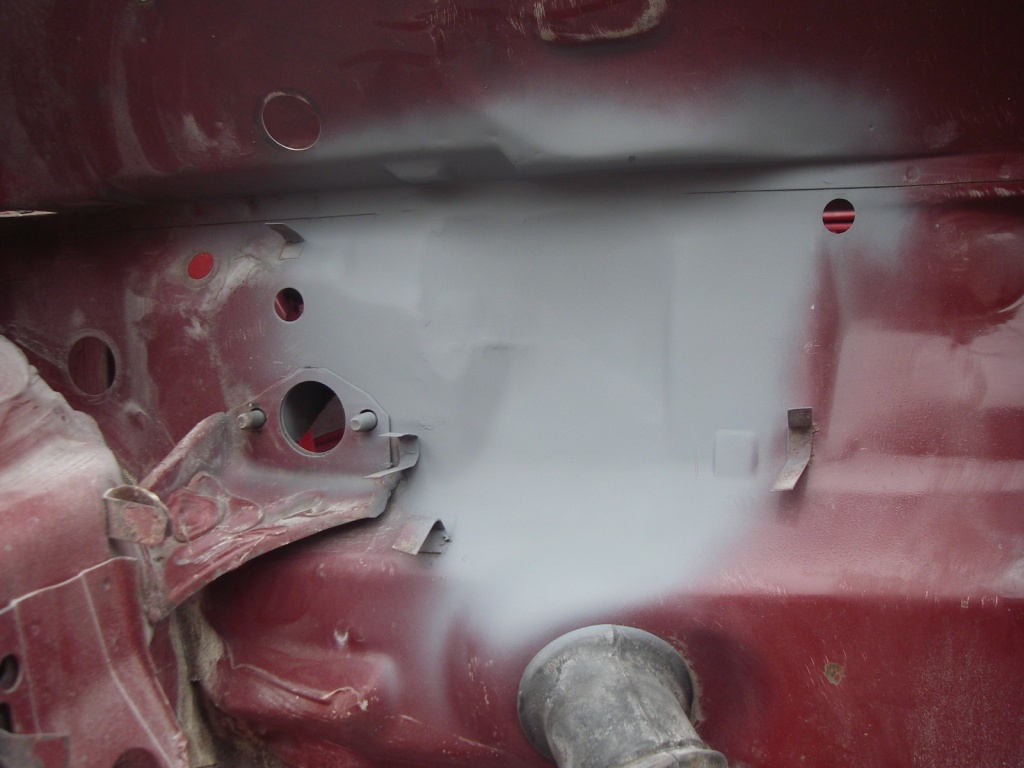


Also fitted the bonnet and front wings ready for when the car heads off. As you’ll see the fit between the front wings and front panel is pretty rubbish, I think that’s because at some point in its life it took a couple of hits to the front end, which would explain the dent in the bonnet and the front panel being in a sorry state. I have also got another couple of front wings and will take these to the body shop as well and they can choose which are the best to use.

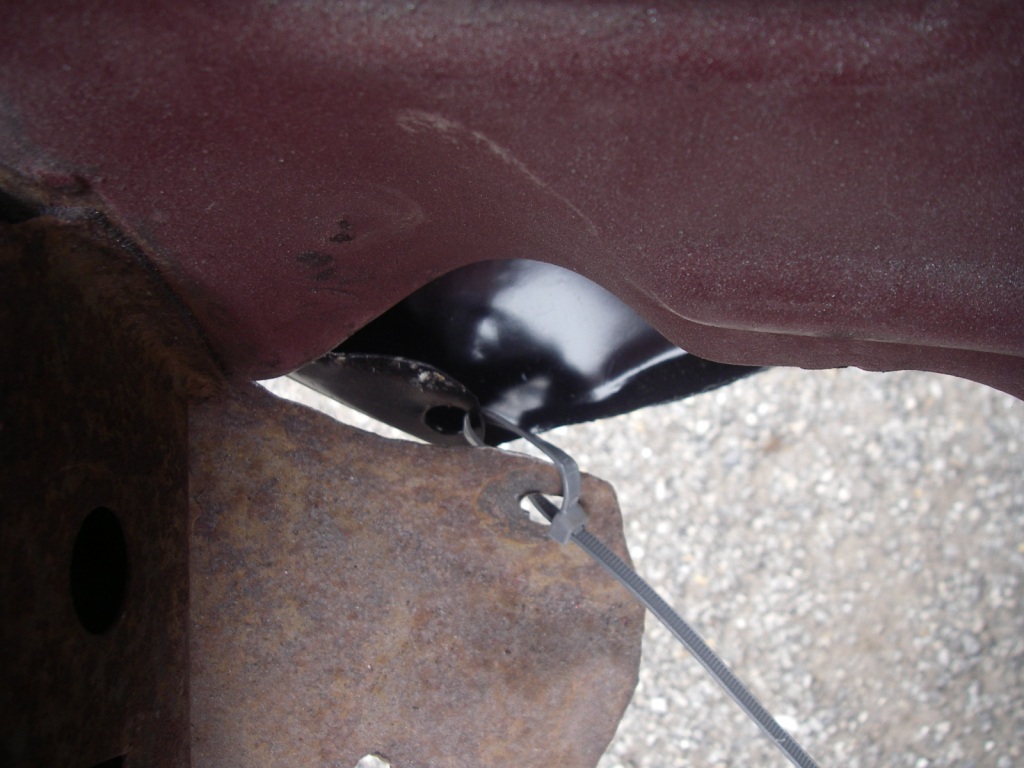
I also couldn’t resist seeing how the duck bill spoiler would look on the front panel, just to get an idea of fitment, and it looks pretty good to me.

Will be ringing the body shop tomorrow to confirm a time to get it delivered next Tuesday and then will only have one last day in which to get as much done as I can. Plan is to get the nearside rear arch finished and in primer and also to trial fit the plastic arch extensions then make a list of the little bits and pieces that need to be finished before it gets painted…….
'84 MK1 Golf - View topic: Humble Beginnings........... - VW Golf Mk1 Owners Club '99 MK4 Golf
Posted
Settled In


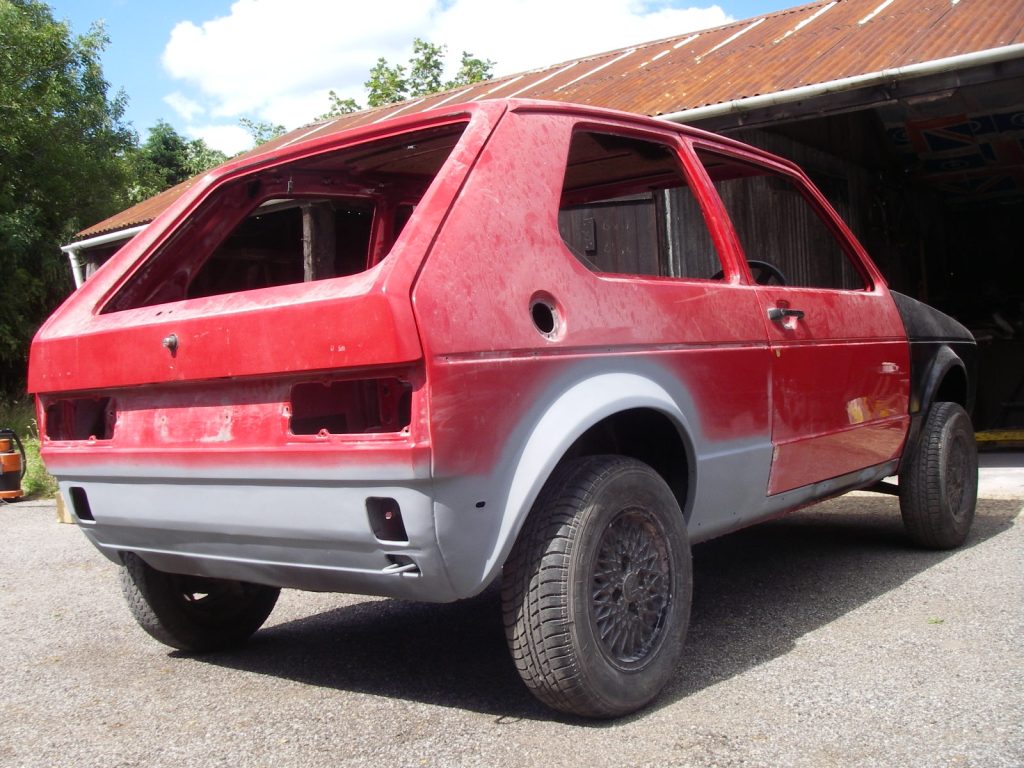
So I managed to get the rear arch to a good standard that I am happy with and got some primer on too. Then I turned my attention to drilling the wholes into the rear arches and sills to allow the fitament of the plastic wheel arch trims and lower trim that runs under the doors. I wanted to sort the holes myself as I’m a bit of a perfectionist when it comes to things like that and wanted them drilled before the car goes for paint, anyway a couple of pics….
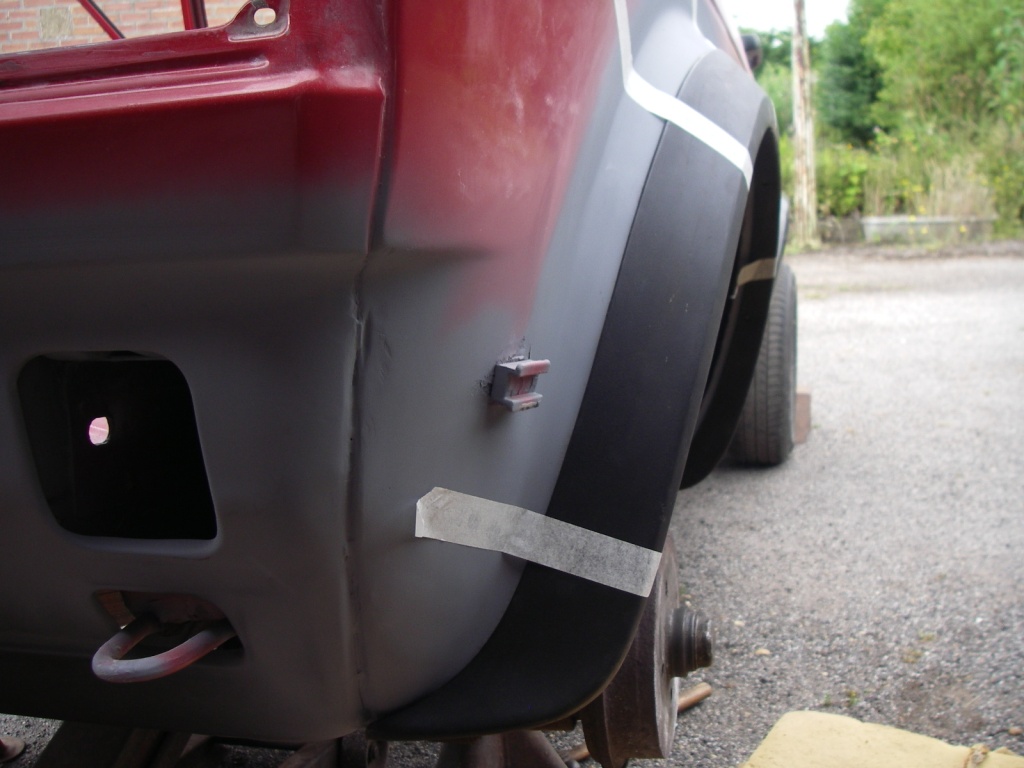


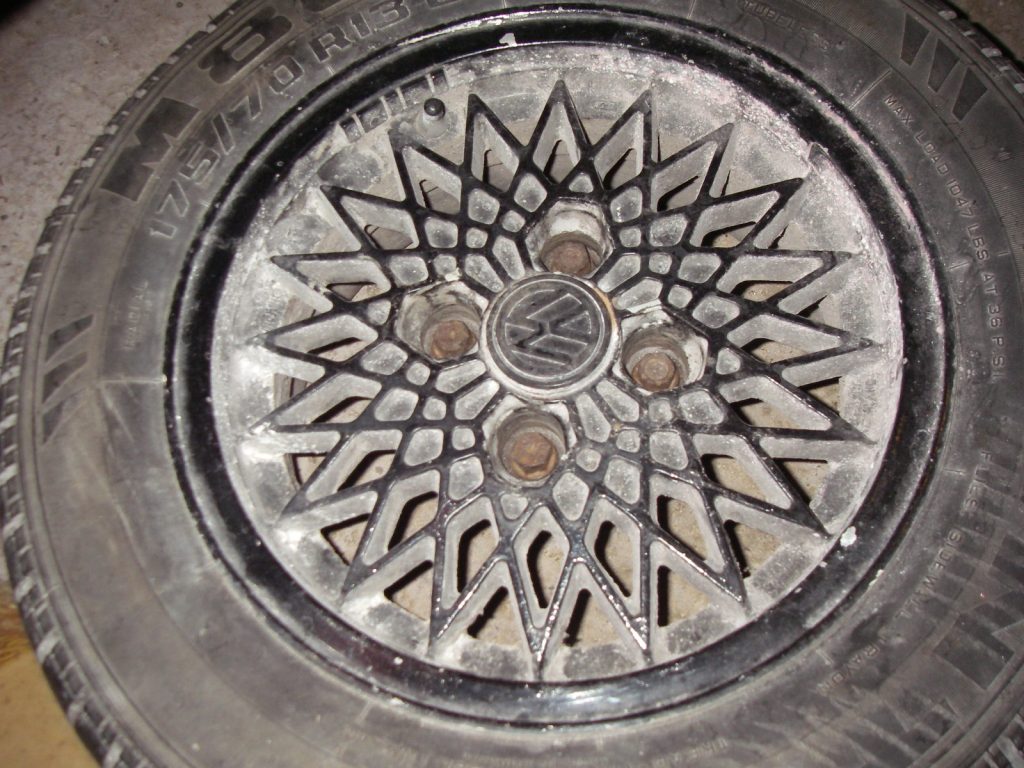
Looking at the car I quite like the wheels that came with it, think they’re BBS RA’s (although correct my if I’m wrong!?) the big chunky tyres suit the car, the alloys are only 13” and think they would look awesome if re-furbed…………………something to look into at a later date maybe!? Could be a back-up if the concept P-slots don’t fit, or the set of 14” Scala Snowflakes I’ve also got for it.


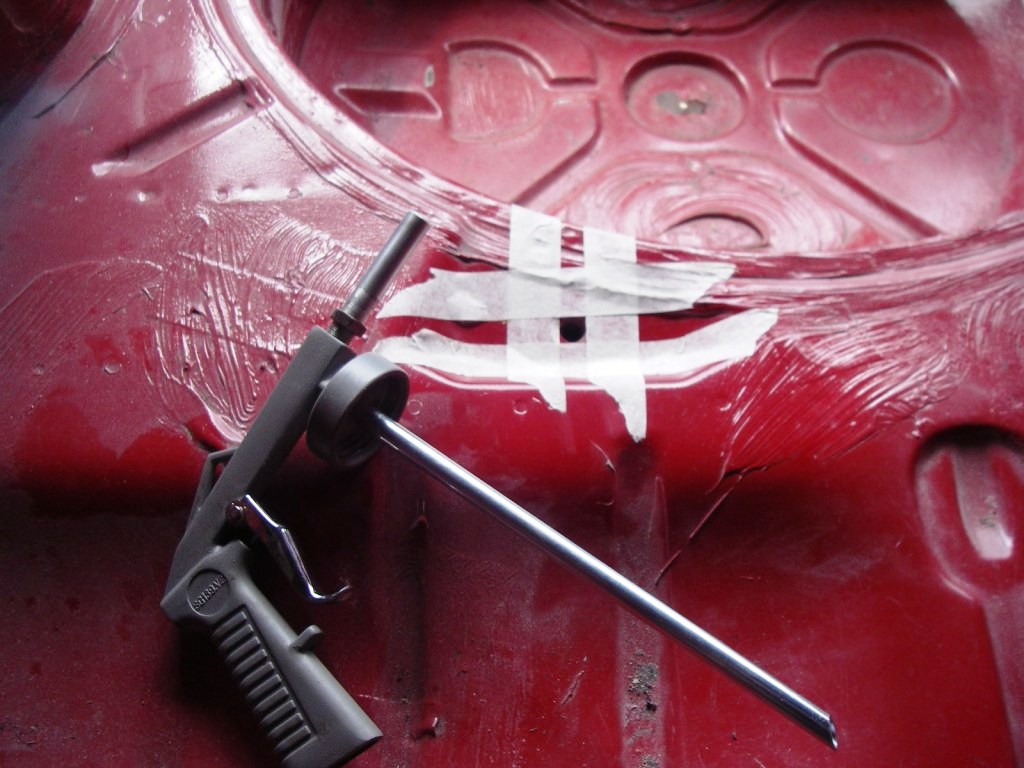
Saturday I only managed half a day on the car but got quite a lot done. When we were welding underneath the car I noticed that some smoke was coming up through where the rear seats bolt down to the floor of the car, so I masked these areas up and sprayed some wax oil down into the holes for protection. I then also managed to wax oil the last remaining wheel arch (n/s rear) and also up on the inside of the rear panel and majority of the rear of the car, around the spare wheel well and exhaust mounting points etc. A very dirty job but vital in protecting the old girl!


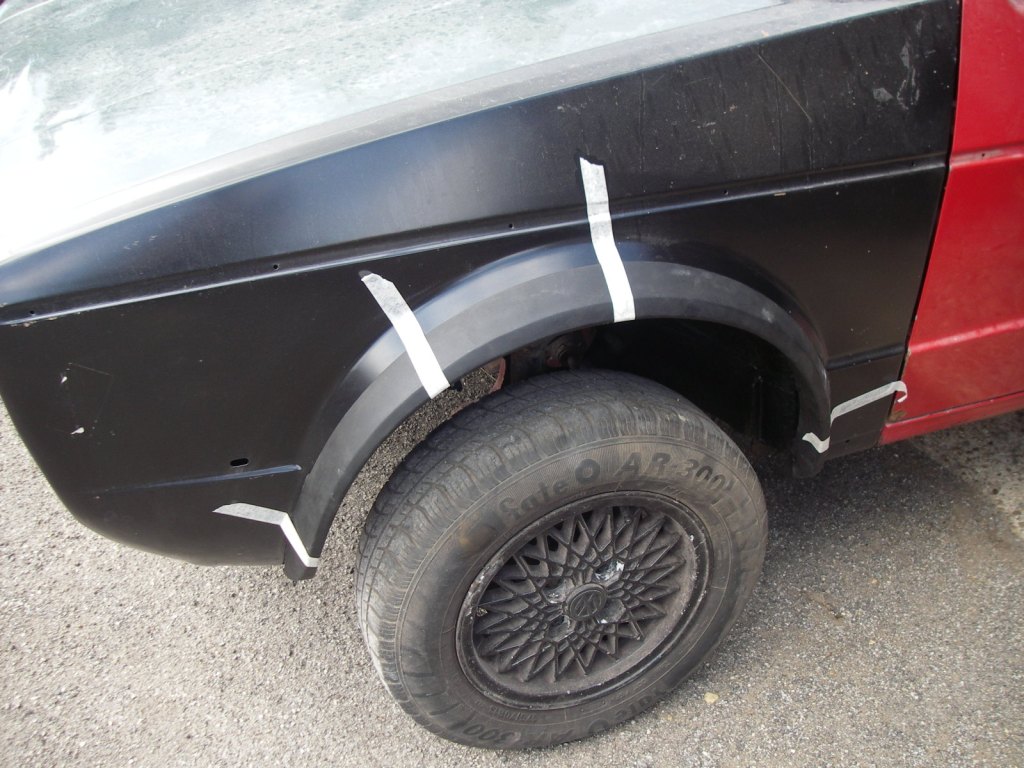
I then set about marking up the holes needing to be drilled to fit the front arch trims, worked out quite well if I say so myself so that means less work for the body shop and cheaper for me!


So that’s where I now at, I’ve done as much bodywork as I can, the rest I will leave down to the body shop, must admit it feels like a weight has been lifted off me knowing that I’ve done all I can. I’m really happy with how it’s currently looking (a dam sight better than when I got it) and can’t wait to see it all painted rather than a mix of colours. She’s heading off this Thursday and I would think she will be there approx. 4-5 weeks as the guy only works 3 days a week. In that time I’m hoping to get a good start in on the engine side of things.


I also emailed Dodo Juice about which would be the best wax to use on the car once it’s been painted to get the best protection. Guy called Dom reckoned that their “Basics of Bling Protection Wax” would be the best one to use so I’m gonna get a tub and see how I go…..
Hopefully the next couple of pics will be the car on the back of the low loader on its way to the paint shop, but for now I’m getting an early night for the BTCC at Snetterton tomorrow
'84 MK1 Golf - View topic: Humble Beginnings........... - VW Golf Mk1 Owners Club '99 MK4 Golf
Posted
Local Hero


Andy
LINCOLNSHIRE REGION - https://www.facebook.com/groups/467122313360002/
1983 MK1 Golf GTI Campaign Model - Under (looooong) resto!
1962 Rover P4 80
2002 BMW 745i
2008 BMW Z4 2.5Si
LINCOLNSHIRE REGION - https://www.facebook.com/groups/467122313360002/
1983 MK1 Golf GTI Campaign Model - Under (looooong) resto!
1962 Rover P4 80
2002 BMW 745i
2008 BMW Z4 2.5Si
0 guests and 0 members have just viewed this: None.


