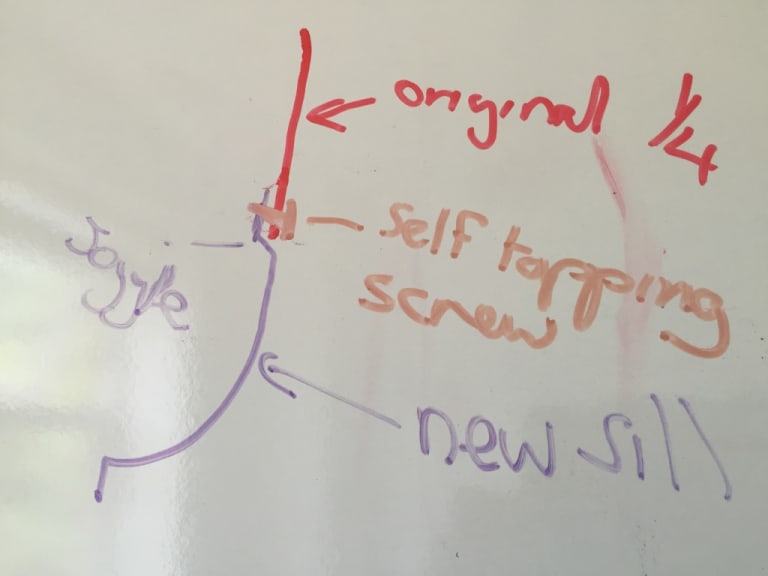
welding outer sill
Posted
#1543668
(In Topic #206338)
Old Timer

how to weld outer sill
CAMPAIGN-HELIOS BLUE-POSSIBLY SEEN IT ON CHRIS BARRIES(RIMMER IN RED DWARF) MASSIVE SPEED PROGRAMME?!!!

ERROR: A link was posted here (img) but it appears to be a broken link.
Posted
Local Hero


Once fitted fit a few self tapping screws along the join before welding as you won't be able to clamp the two pieces together.

Posted
Old Timer

CAMPAIGN-HELIOS BLUE-POSSIBLY SEEN IT ON CHRIS BARRIES(RIMMER IN RED DWARF) MASSIVE SPEED PROGRAMME?!!!

ERROR: A link was posted here (img) but it appears to be a broken link.
Posted
Local Hero


I would start one from the middle then one each end and then slowly weld in the middle of the welds alternating from side to side. You must let the panel fully cool before welding the next spot so it does take time. If you have a compressor with an air gun you can quicken the cooling process by blasting compressed air onto the weld but you must let it harden first or you just create a plasma cutter or sometimes a damp rag
The key is to keep the heat out!!
Another important - more important part in fact is to get everything fitting to the best of your ability before going anywhere near it with the heat. The tighter the fit, the less gaps there are to have to try and fill with weld which is when you get lots of heat into it.
The easy bit is the long flat edge. Its the bits that go around the door shut and arch which take the time and you won't be able to joggle those so easily and getting the line right on the door shut but I guess its how far up the quarter you need to go. Just because you have a big new full sill it doesn't mean you have use it all! I try to keep as much of the original car as possible - within reason.
Its a bit like paint work - the more preparation you do before hand the better the result.
0 guests and 0 members have just viewed this: None.


