


Rallye

Posted

Local Hero


Melteddrummer said
If I'd known you were coming, I'd have baked a cake!
You've got to be careful not to fall through the floor in that part of the yard, I was there when the snow was here and went through the floor with 1 leg!!
I did wonder how close I was to you knowing your from up there.
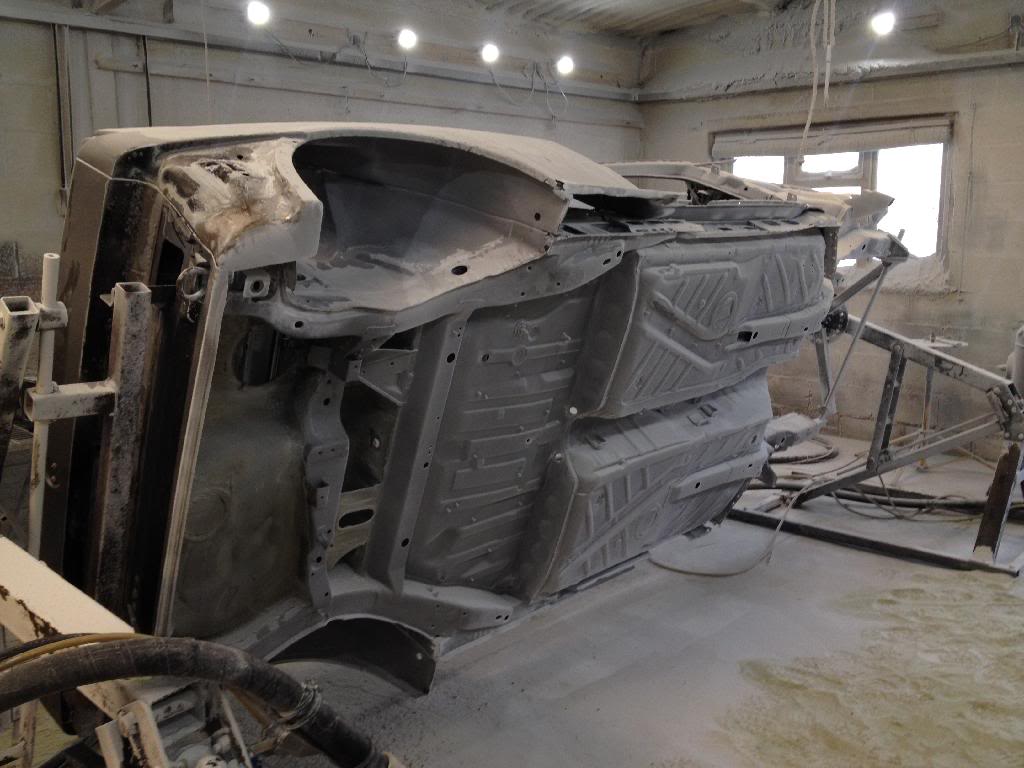
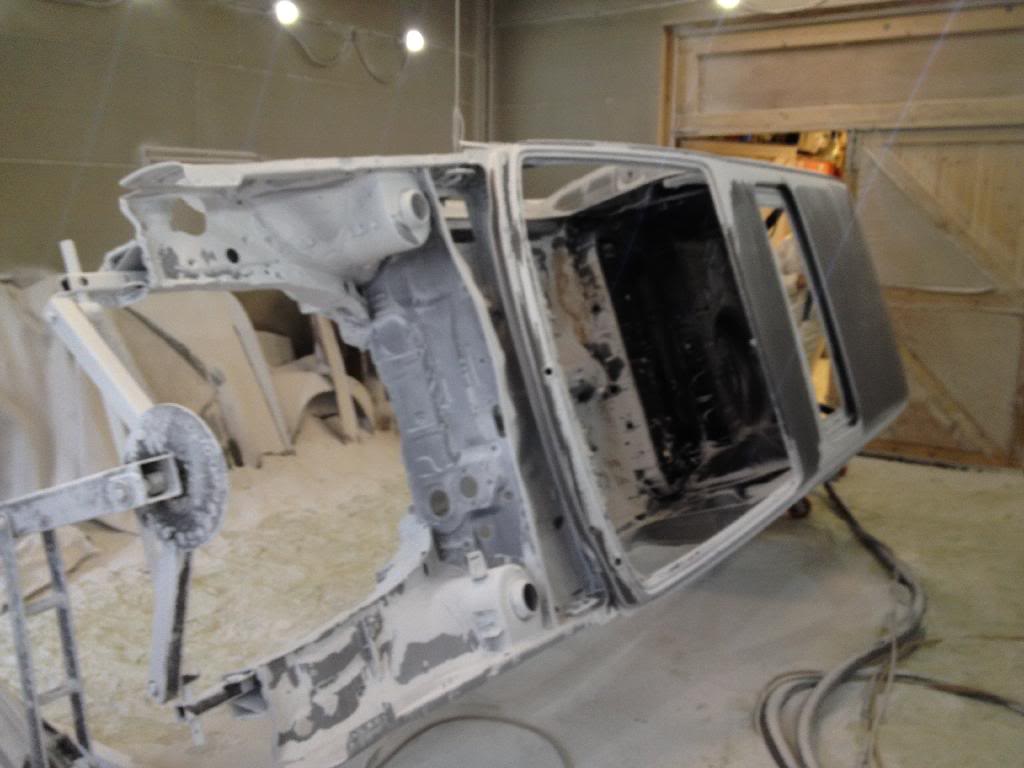
The shells were perched right on the edge of the remains of an old factory with a vertical drop of about 40ft onto another load of scrap cars. My bum was twitching as I went round that side of the shell to have a look!

Posted

Moderator

Don't know how he gets away with the yard being in that state of disrepair
There is another area in the yard they call "the swamp" there are a few mk1s in there if you dare go in!

Posted
Settled In


Posted
Local Hero
Thanks for the photos. they show it better than the photo I took of one.
Posted
Settled In
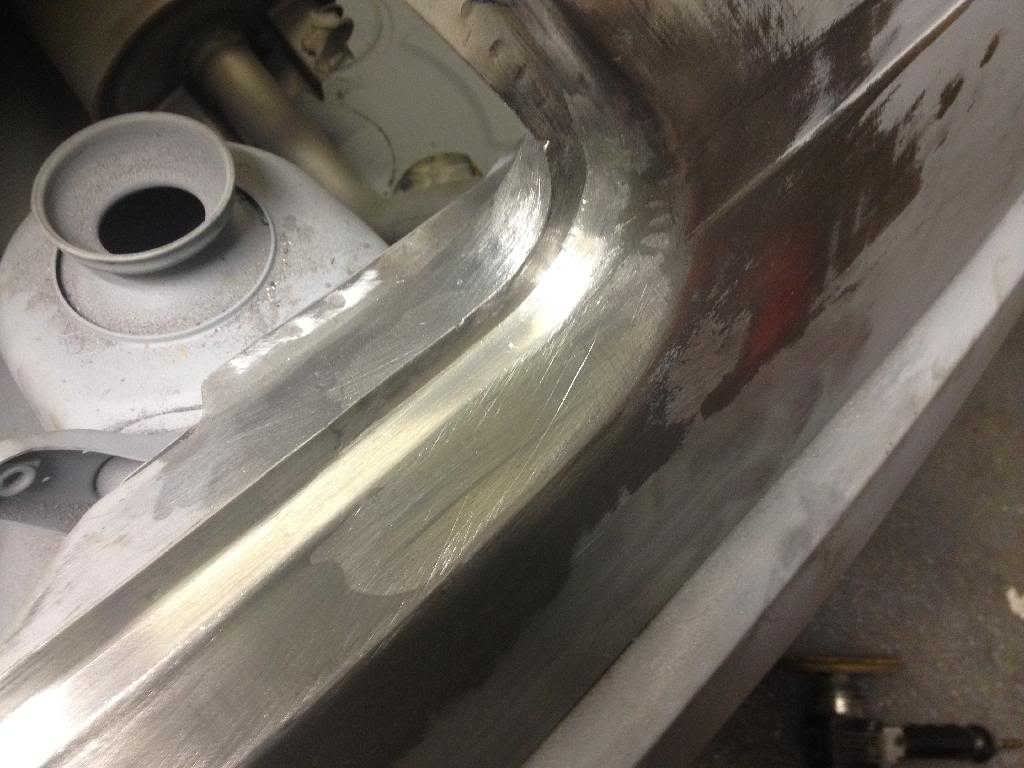
Most non Rallye fanatics think the seam is done with just a gun and seam sealer…..I'm not too sure!
I think the sill was placed on a sill seam/bead and then spot welded and fitted onto the whole quarter panel. The quarter panel is then fitted to the shell. See the picture with quarter/sill fitted as one before being fitted to the shell:

I might be wrong?
I'm not sure how fussy your customer is but for me the first thing I look at when viewing a Rallye is this seam due to it being so hard to recreate. You can usually tell straight away if not original!
Looking at the quality of your resto work I'm sure you'll want to get it correct.
If you need anymore pictures of areas or info, let me know. I have 2 Rallye's and I'm a bit of a Rallye geek so should be able to help! Haha.
Posted
Local Hero
I think you're right regards the order of manufacture as its impossible to get at some of the sill to rear quarter spotwelds if the sill went on last.
We've had a fair bit of interest on producing sills from ebay but I don't think people will be willing to spend the money that they cost to produce.
I shall highlight the bead to the painter to make sure its as close to original as possible knowing that someone like yourself will be lurking nearby at a show!

Posted
Settled In
Regards your reproduction sill, would it be possible to buy one directly from you instead of lining Ebays pockets? I would only need the same side you've listed (o/s) as I have a NOS one for the other side. Private message me if you prefer.
Regards
Gareth.
Posted
Local Hero
Regards the sill being made, we're letting the ebay ad run to the end and then we'll tot up how much interest there is to give us an idea of cost and whether its worth putting more tooling into it to make it easier to make.
Posted
Settled In
Re your sills; So does that mean if not a lot of interest the one on eBay will be the last one you make? As said, I need one but I'm reluctant to get into 'bidding wars' for it……..I'm prepared to pay a fair price for it but not an extortionate one!
Posted
Settled In
Posted

Old Timer

Do it once and do it right! ok, we've identified the problem, lets not make it worse by guessing……… Identifying the sympton is not the same as understanding the cause 
Posted
Local Hero
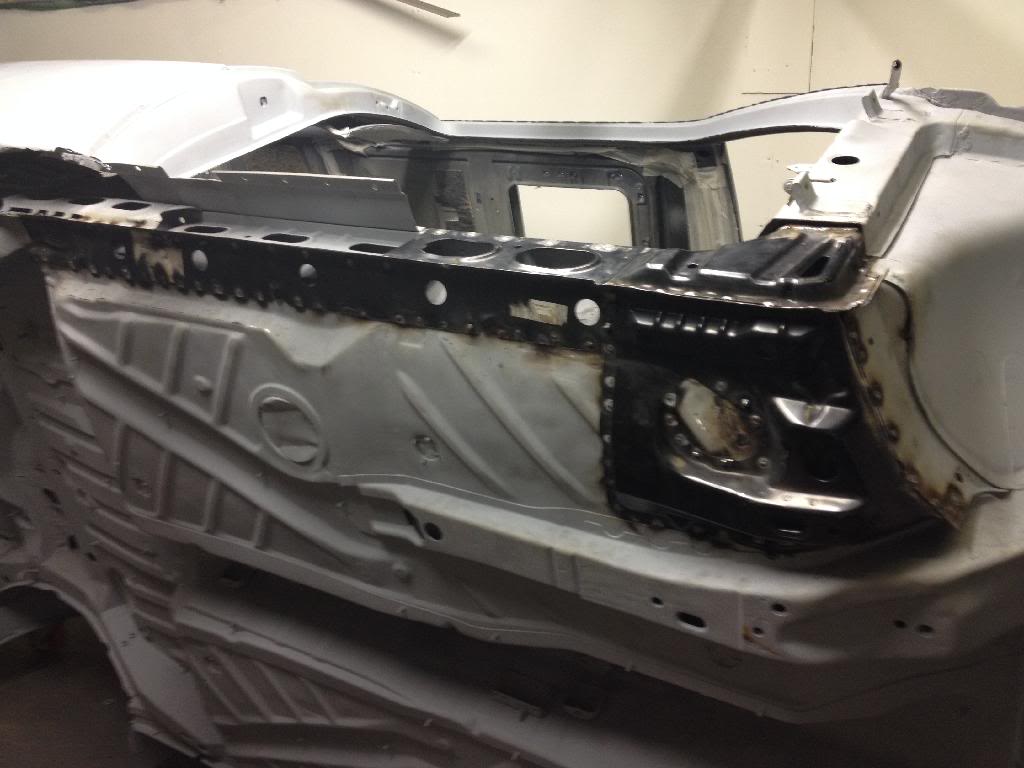
Before I weld the sills on I wanted to get it blasted to make sure the areas inside the sill were free of rot and old sealer.
The under side was bead blasted and the outer panels were soda blasted.
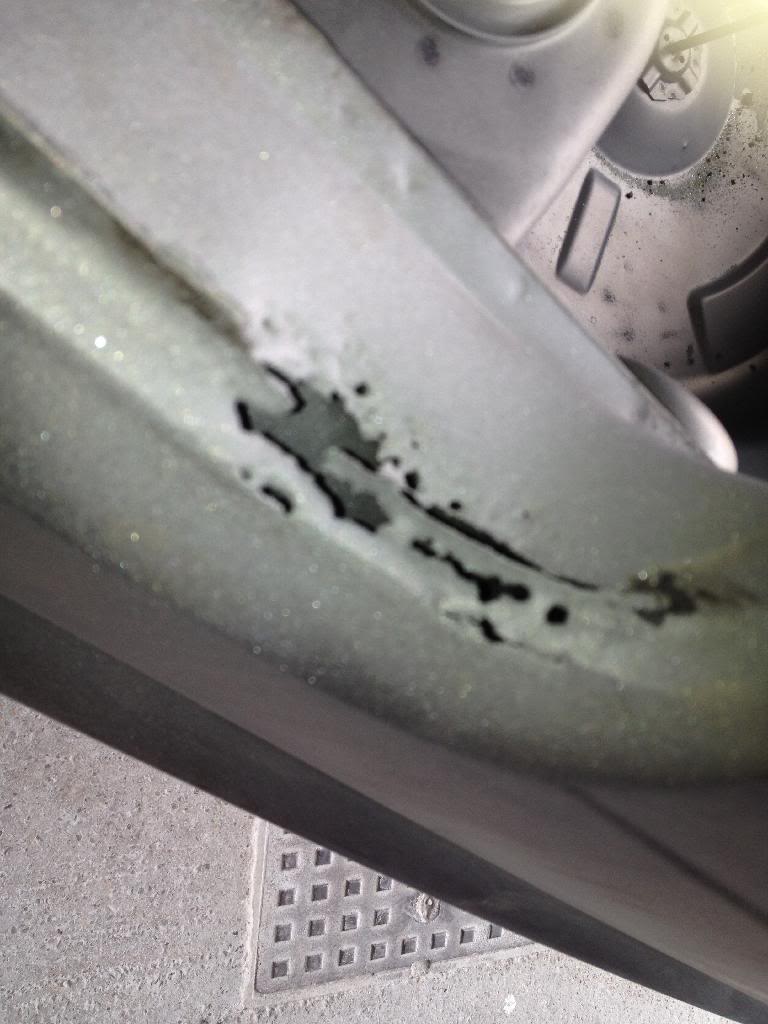
The blasting did highlight a couple more holes but nothing major. Although it is suprising what looks to be only surface rust is not.
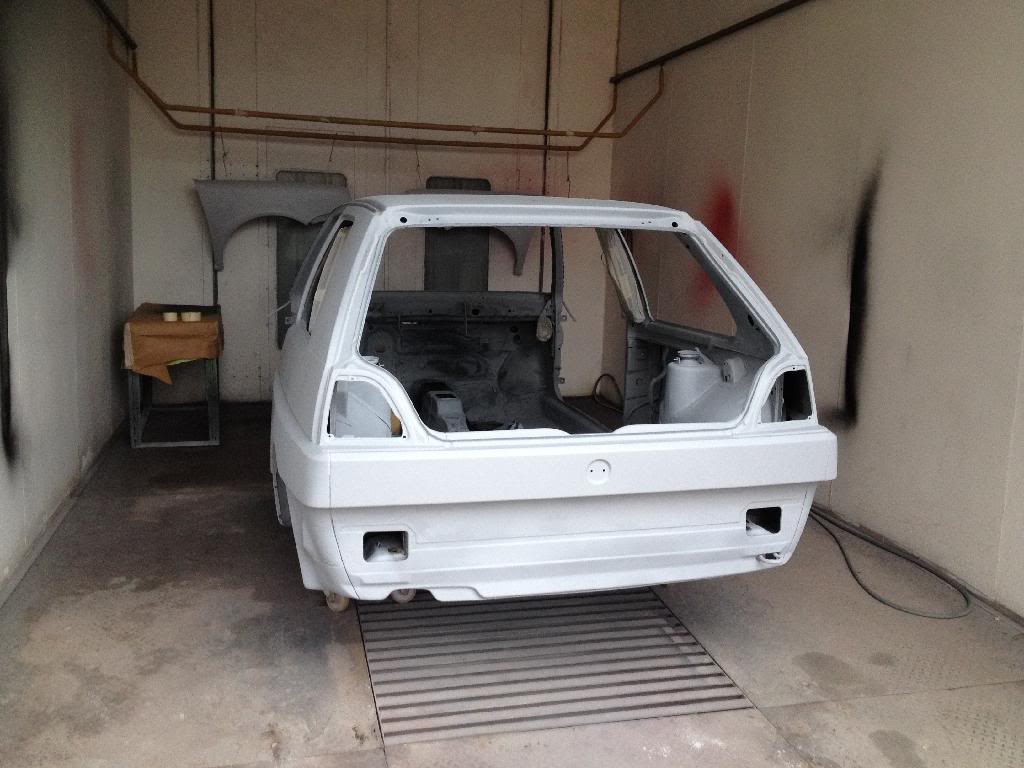
Once blasted it went stright over to the painters to have a coat of primer before returning to my shop to start having the final repairs completed.
Shell in primer….
What looked like a small hole under the rear quarter window rubber ended up looking like this……
but now looks like this!…..
I was able to scavange the corner from the rear quarter we had so it just needed fittng and loading. The inner piece had to be made.
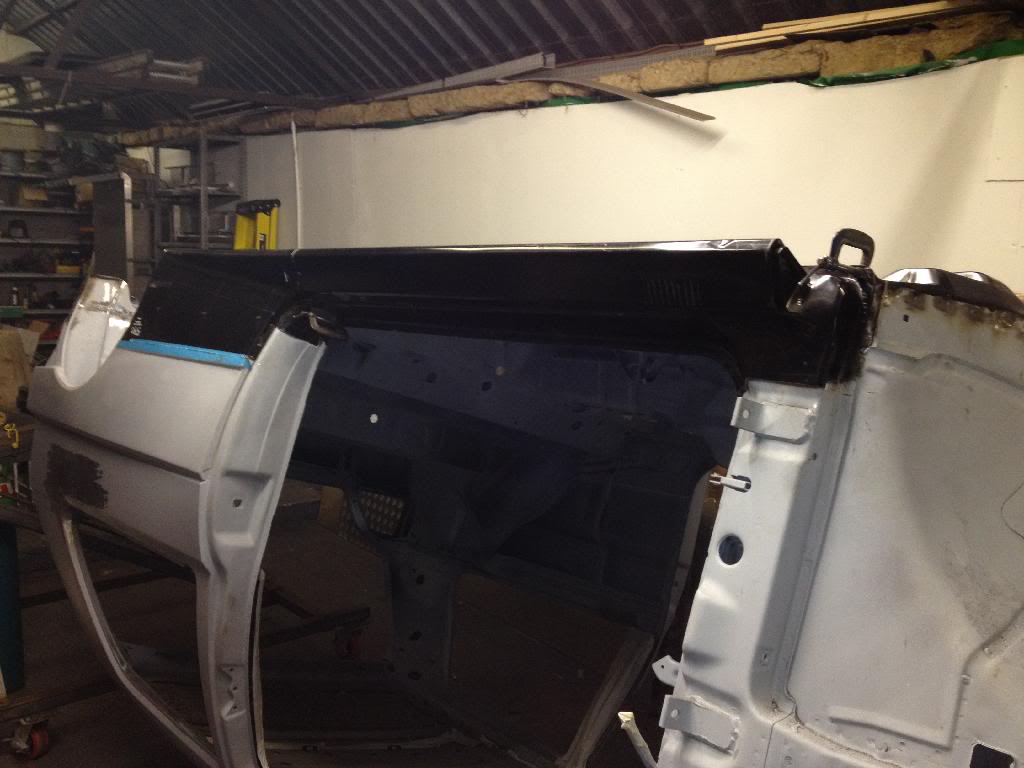
Started fitting up the panels we got from heritage today in prepearation for the new sills. It's so much easier when the panels are genuine! - They just fit!
Posted

Local Hero


Great repair on the rear quarter by the window, amazing what was hidden.
Makes my lead loading attempt look a little 'splodgey!'
Andy
LINCOLNSHIRE REGION -�https://www.facebook.com/groups/467122313360002/
1983 MK1 Golf GTI Campaign Model - Under (looooong) resto!
1962 Rover P4 80
2002 BMW 745i
2008 BMW Z4 2.5Si
LINCOLNSHIRE REGION -�https://www.facebook.com/groups/467122313360002/
1983 MK1 Golf GTI Campaign Model - Under (looooong) resto!
1962 Rover P4 80
2002 BMW 745i
2008 BMW Z4 2.5Si
Posted
Moderator
Posted
Settled In
Posted
Settled In
Posted
Local Hero
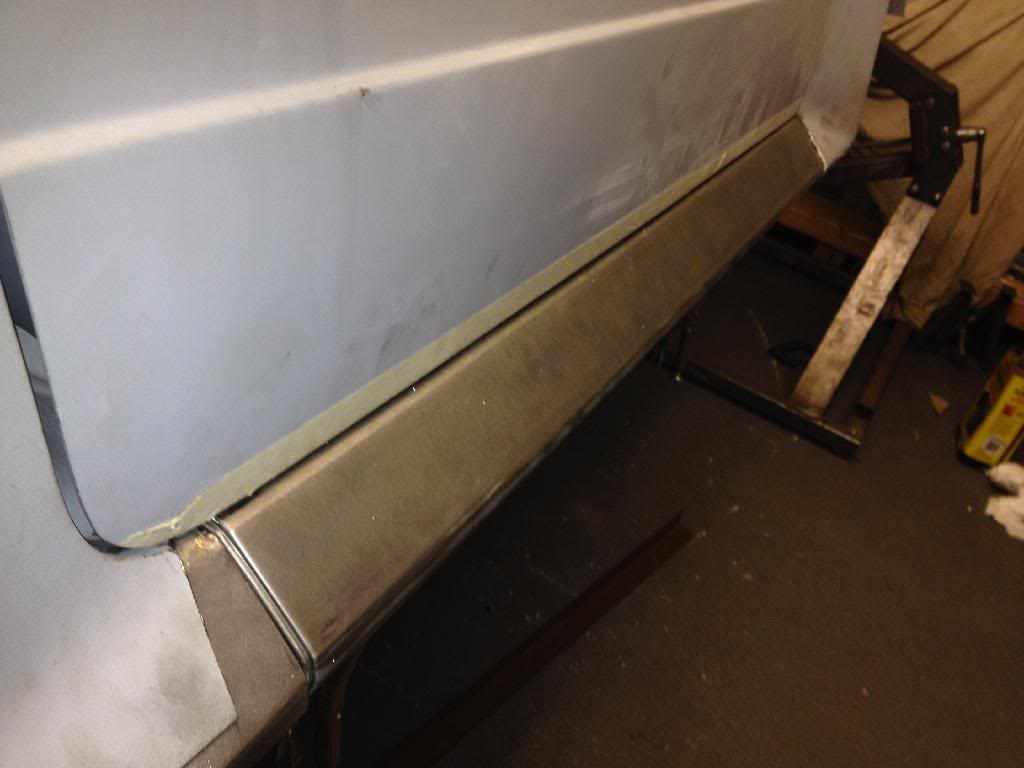
Going for this side first as this is a genuine panel so should fit pretty well stright away and give me some reasonable datums when fitted for the opposite hand home made sill.
There's just a hint of it starting to take shape!
Posted
Design Manager

2018 Up! GTi 1.0 TSI
2015 Mk7 Golf R 2.0 TSI 4motion DSG
2011 Caddy Maxi Kombi 1.6 TDi
1982 Mk1 Golf GTi 3 Door 1.8t - Build Thread
Posted
Local Hero
Had a first fit of the sill and lower rear quarter we've made today. Looks like they stand a good chance but there's still a few hours work to get them to fit.


The curve on the sill matches the curve on the door perfectly.
I'll take some pictures tomorrow of all the various bits of tooling, templates and jigs that needed to be made to assist in the production of these hand made panels.
The rear quarter has had a bash at some time and was full of filler. The bare panel now looks like a bag of King Edward Potatoes from this previous repair. There had been a patch welded around the arch but this has held moisture and rotted the original arch. Cutting the rotten lip away allows some of the stretched metal from the bump to relieve itself. We will planish the panel before any welding takes place so the excess metal from the bump will "flow" to the edge.
Posted
Local Hero
Andy
LINCOLNSHIRE REGION -�https://www.facebook.com/groups/467122313360002/
1983 MK1 Golf GTI Campaign Model - Under (looooong) resto!
1962 Rover P4 80
2002 BMW 745i
2008 BMW Z4 2.5Si
LINCOLNSHIRE REGION -�https://www.facebook.com/groups/467122313360002/
1983 MK1 Golf GTI Campaign Model - Under (looooong) resto!
1962 Rover P4 80
2002 BMW 745i
2008 BMW Z4 2.5Si
0 guests and 0 members have just viewed this: None.