


BMW 2002 Touring '74 Full restoration project

Posted
Old Timer

Only thing that I have to do it weld a new lip to the flange of the quarter panel. But before that I'll have to sand the welds flush with the powerfile I ordered that still hasn't arrived yet..
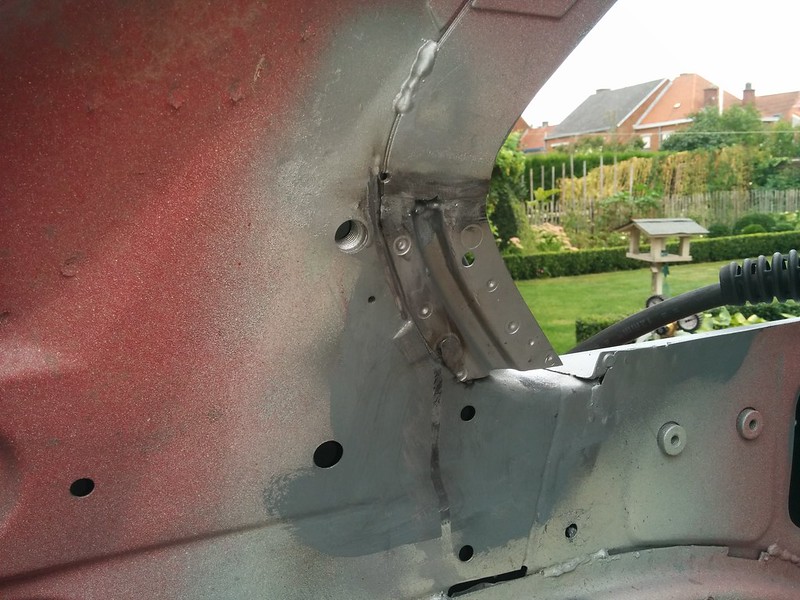
 I started with welding the smaller reinforment piece. I also plug welded it on one spot to make sure I wouldn't shift.
Normally it's only spot welded against the metal sheet I'll install next.
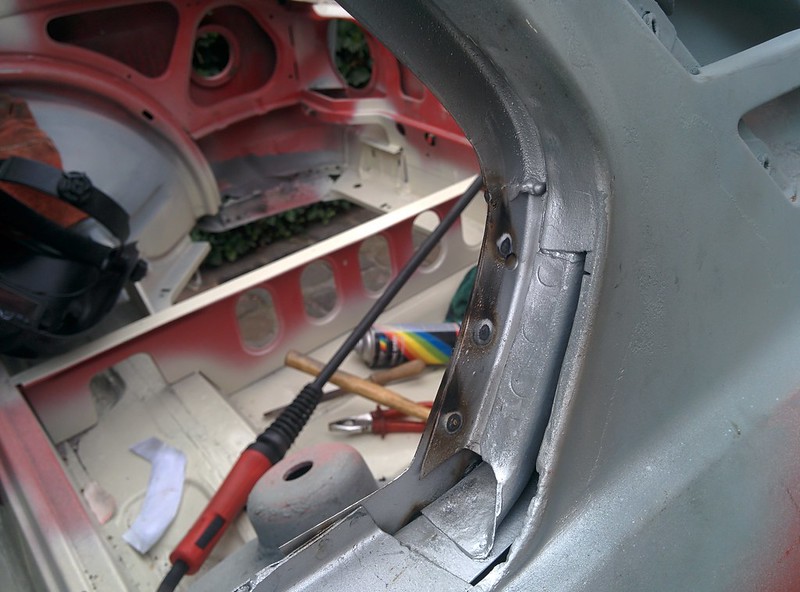
By making a template of the c pillar before taking it all apart, I was able to easily form the metal sheet that goes over the small reinforcement piece I just welded in. This time my plug welds were pretty good, got some good penetration on the other side too.
This piece is plug welded to the piece I just welded in.

I then welded some beads at the sides (like factory) and gave it a final coat of zinc spray.
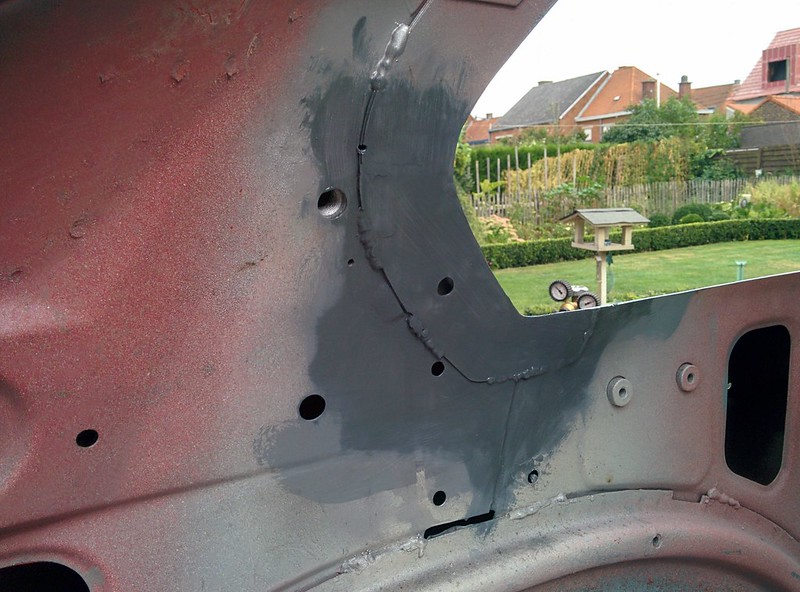
I also welded everything to the 90deg bended piece I installed yesterday. The welds still need to be ground flat. Also coated this in zinc primer

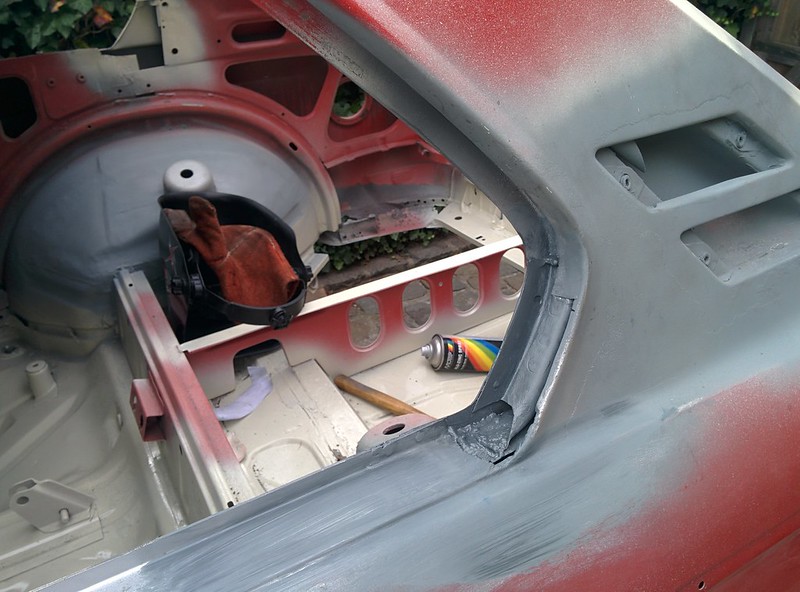
Quite the difference!

 Last edit: by D_Martijn

Old Timer
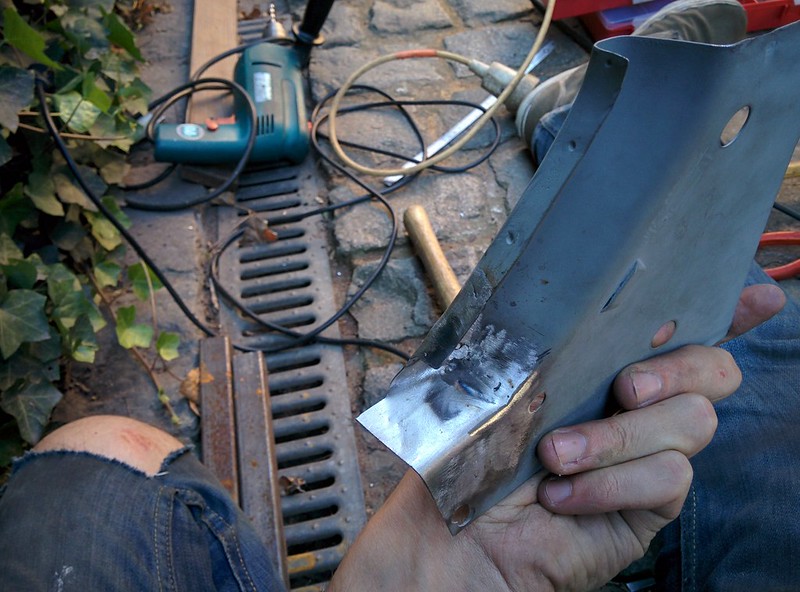
 Feels great in the hand and has some nice weight to it for only 30-40€. I also bought several sanding discs etc.
Angle die grinder and powerfile
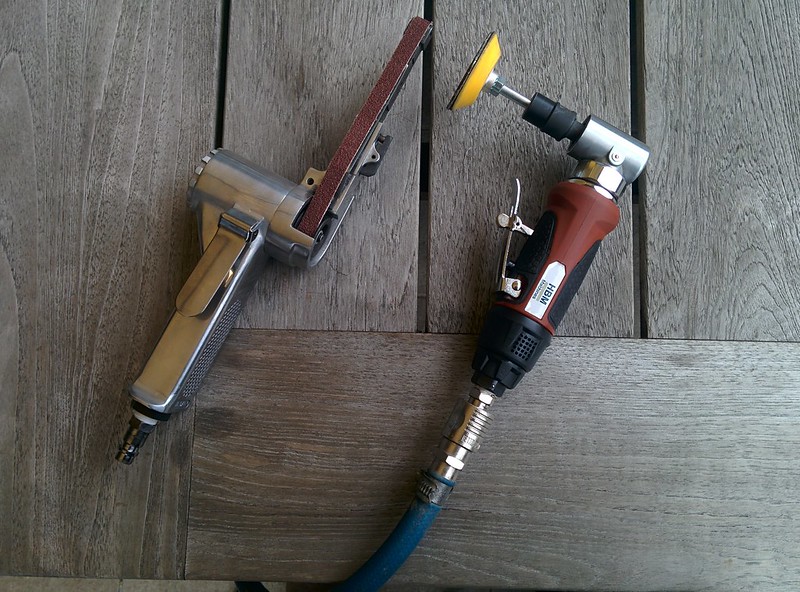
Tested out the powerfile by sanding down the welds on the C pillar I replaced and cleaned it up some further with the angle die grinder.


I also started disassembling the replacement C pillar for the other side. This one had some more rust and might need a bit of patching.
Last edit: by D_Martijn
Posted
Settling In

Old Timer
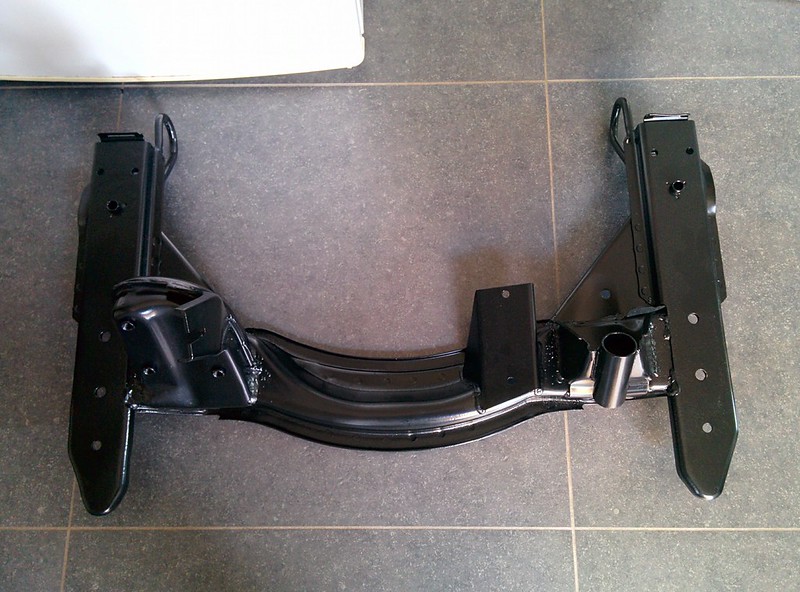
Before taking most of them to our local powder coater, I first welded a plate on the engine mount of the front subframe. I also welded a few holes shut on the pedal box.

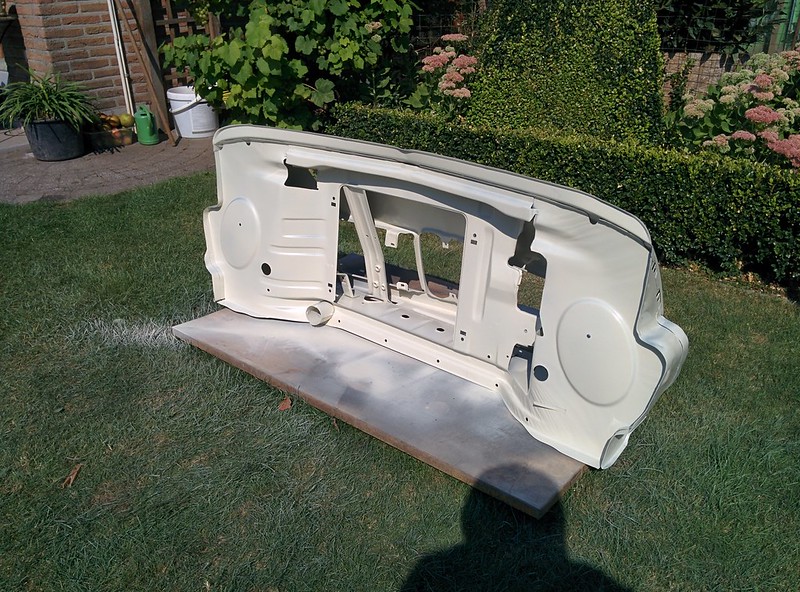
I painted the other parts with primer. Also the front nose got a coat of epoxy primer.


Some parts that got painted with heat resistant paint
I also got started on the C pillar at the right side of our 02.
I first made 2 90deg bended pieces

All welded in and ground back

There was some rot on the inner reinforcement piece of the C pillar, I decided to cut this out.

New piece fitted

And welded in


I also decided to replace the little flange with some new metal

Piece welded into the car

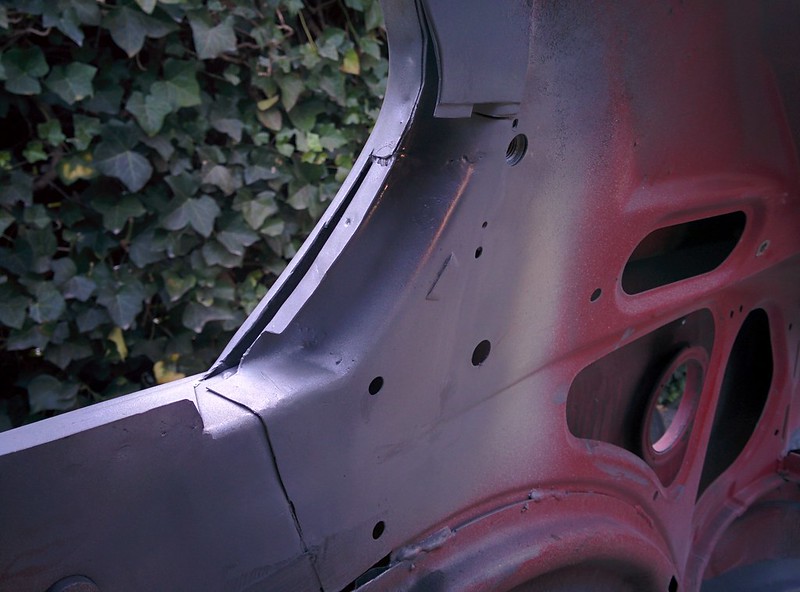
That's how far I got with this side.
I did manage to finish the other side by welding in the new flange.

�
Last edit: by D_Martijn
Posted
Old Timer
Posted
Old Timer
Martyn Wright said
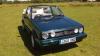
Hi,� I have actually owned two of these "Touring"Models!� One in 1980 this was a Factory produced chaminix White�"BMW 1800 Touring" and was badged so! (1972 Model) when I lived in Germany! �and the second was when I lived in Devon it was a 1974 Blue 2002 Touring.� I sold it on as I already had and still do a 1966 Triumph Vittesse 6(1600cc Six Cylinder Model) Convertible.� Cheers Martyn
That's awesome to hear!
watson said
Amazing fabrication skills you guys have. This is going to be one stunning 2002 when finished. Keep the updates coming.
Thank you Dave!
Old Timer
Looking nice if I say so myself
Rear subframe

Rear trailing arms


Front subframe

Box full of other stuff, struts, brake shields, pedals, motor mounts etc etc…

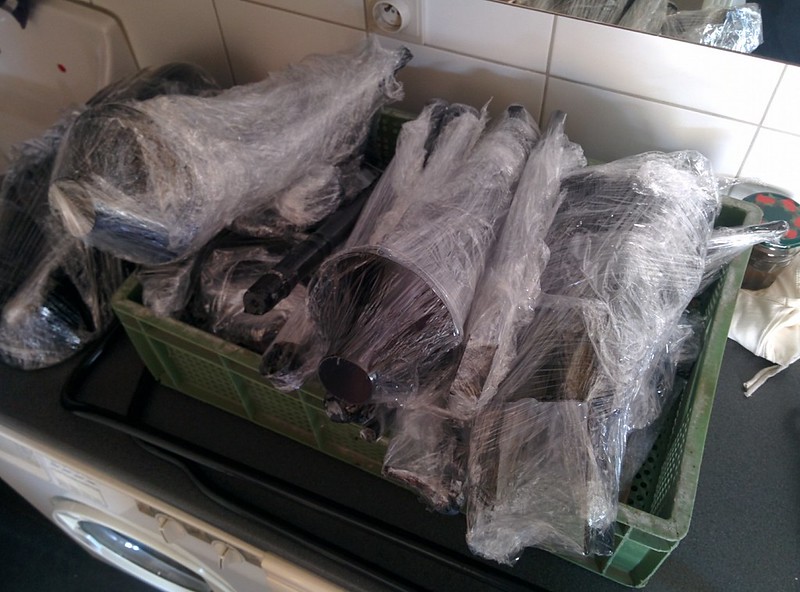
Swaybars


We might have to go back from some other parts too because when we blasted the front control arms, the tube where the rubber bush sits in was rotted. So we'll have to buy some new or used ones. Also the front springs were different so we'll need to sort that out.
As of now only the rear springs got powdercoated.
Last edit: by D_Martijn
Posted

Local Hero


Andy
LINCOLNSHIRE REGION -�https://www.facebook.com/groups/467122313360002/
1983 MK1 Golf GTI Campaign Model - Under (looooong) resto!
1962 Rover P4 80
2002 BMW 745i
2008 BMW Z4 2.5Si
LINCOLNSHIRE REGION -�https://www.facebook.com/groups/467122313360002/
1983 MK1 Golf GTI Campaign Model - Under (looooong) resto!
1962 Rover P4 80
2002 BMW 745i
2008 BMW Z4 2.5Si
Posted
Old Timer

Mars red 1.8 GTI tintop now MOT'd and on the road!
http://vwgolfmk1.org.uk/forum/index.php?page=topicview&id=projects%2Fyour-mk1-golfs_2%2Fwent-to-look-at-a-golf&kfs79=150
http://vwgolfmk1.org.uk/forum/index.php?page=topicview&id=projects%2Fyour-mk1-golfs_2%2Fwent-to-look-at-a-golf&kfs79=150
Posted
Old Timer
Hairyarse said
Nice powder coating
Thanks Andy!
Saulty said
You guys are showing some amazing skills on this car, keep up the good work and keep the updates coming!
Thank you! We will, haven't done much welding since, been quite busy finding a new spot for the cars where we can work on them
Old Timer
I did however send in the engine to get it measured up. It's possible that we'll have to get it rebored as there is quite a bit of wear.
Crankshaft seemed to look good.

Last edit: by D_Martijn
Local Hero
I forgot to take photos though!!! I was too busy admiring them!

Andy
LINCOLNSHIRE REGION -�https://www.facebook.com/groups/467122313360002/
1983 MK1 Golf GTI Campaign Model - Under (looooong) resto!
1962 Rover P4 80
2002 BMW 745i
2008 BMW Z4 2.5Si
LINCOLNSHIRE REGION -�https://www.facebook.com/groups/467122313360002/
1983 MK1 Golf GTI Campaign Model - Under (looooong) resto!
1962 Rover P4 80
2002 BMW 745i
2008 BMW Z4 2.5Si
Old Timer
It's been pretty busy for my, currently have finals so working time is very very limited.
Today I took a short break from studying and decided to tackle the master brake cylinder.
I've been hesitant if I should just replace or rebuild my master cylinder for my 02 Touring.
Before ordering a new one or a rebuild kit from Walloth Nesch, I decided to disassemble the old one.
You first have to remove the circlip at the back of the MC. I also took out the small 10mm bolt. This bolt prevent the second piston to move further (out of the cylinder).By gently wiggling the front piston at the tube that sticks out of the MC I was able to remove it.
For removing the second piston I simply tapped the MC on the bench and it slid right out
Everything laid out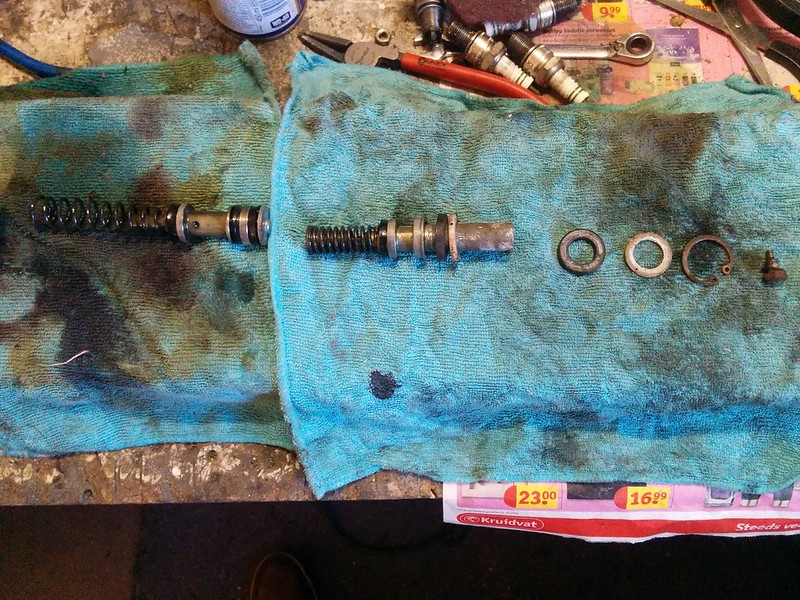
Inside of the MC after cleaning out with some brake cleaner and a rag
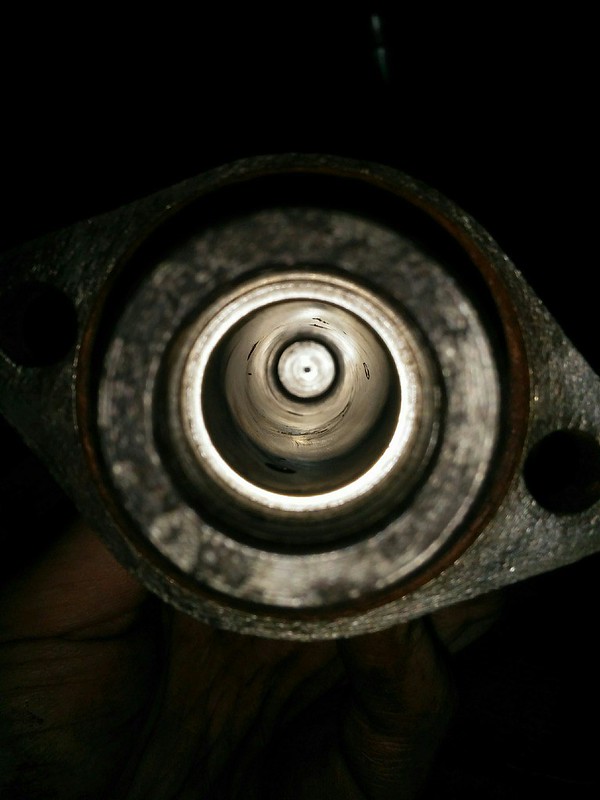

I though it would be pitted / rusted out but the walls still look great! I'll probably go ahead and order the rebuild kit from W&N.
We finally got our own workshop not so far away from our home, the first of February we'll be able to move in.
So expect some update from then on!
Last edit: by D_Martijn
Posted
Old Timer
Mostly specific BMW parts, like little seals, some screws, bushings.. etc etc
Today another package arrived, couldn't believe my eyes at first how big it was!


I'll share some pictures later down the road of all the parts I've gotten for the Touring.
Still need to order ball joints for steering, strut bearing, bearings, brake parts, engine gasket set
Last edit: by D_Martijn
Old Timer
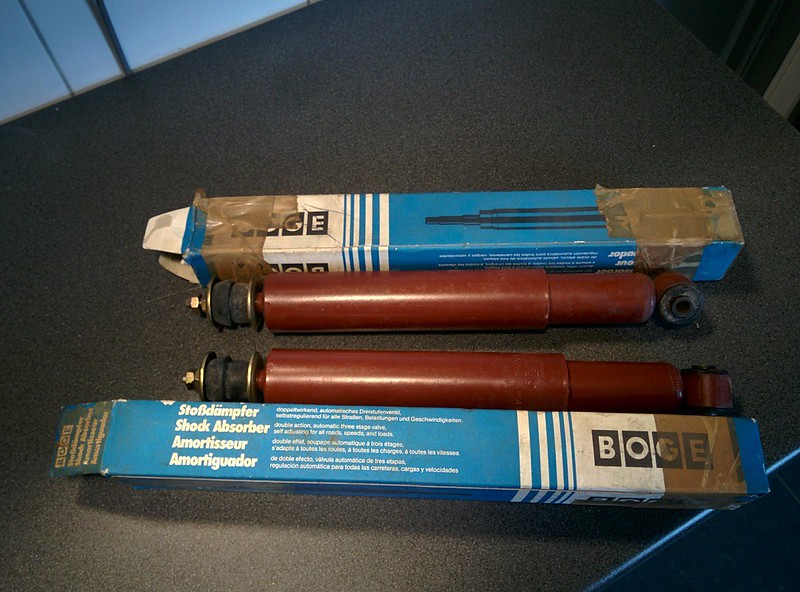
Original BOGE front and rear shocks, still in their original packaging

Last edit: by D_Martijn
Old Timer
We got in our new workshop on the 1st of February, after much driving back and forth to move most of our stuff it was time to move the 02!
Since it isn't far from our home, we were able to just roll the shell over the street.
Car is still in surprisingly good condition (surface rust wise) for sitting so long under a cover
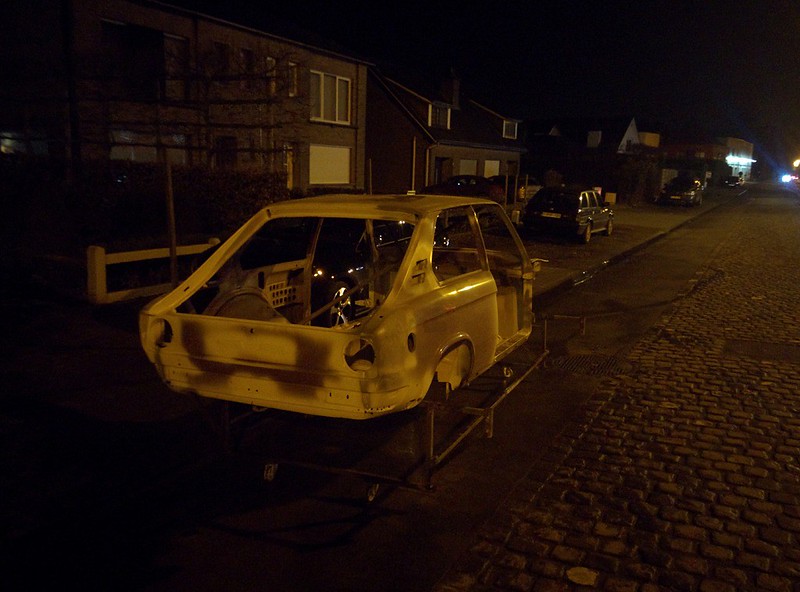
02 sitting in its new home

Also welded some nice big workbenches and a smaller one which we will add some caster wheels on soon
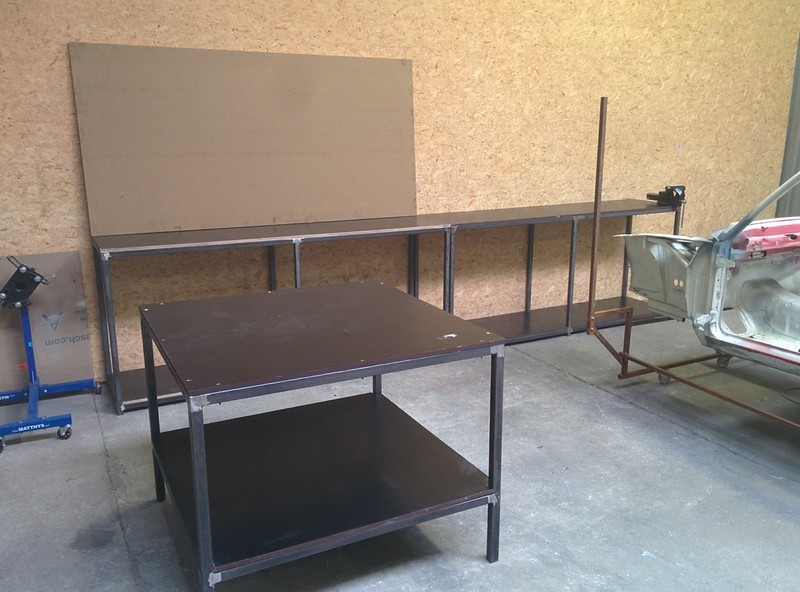
Still need to go through all of the parts and fill up the shelves since all the parts are now just laying on the ground.
I also started welding again on the 02, got started with the A post. Filling in some of the holes the previous owner added for dinitrol/tectyl.
Probably the smallest patch panel I've ever made :p
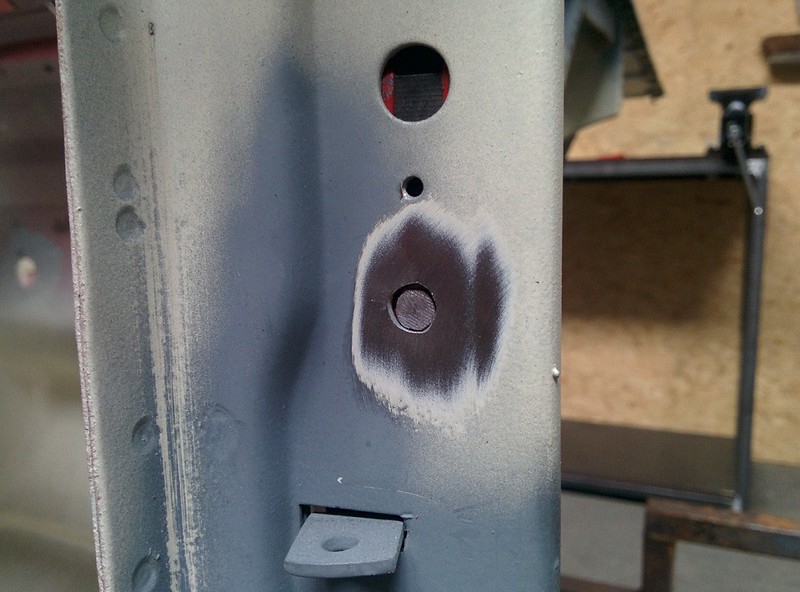

And ground smooth, there was also a hole just about the lower hinge


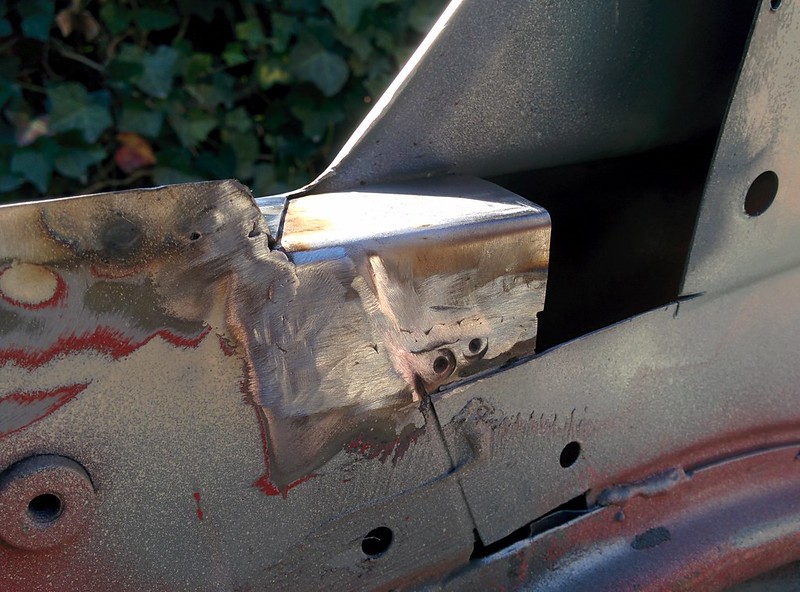
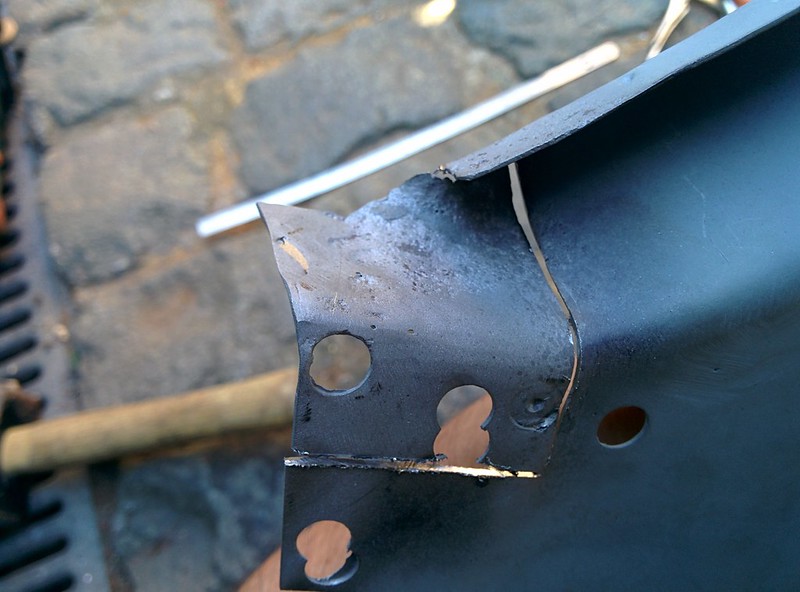
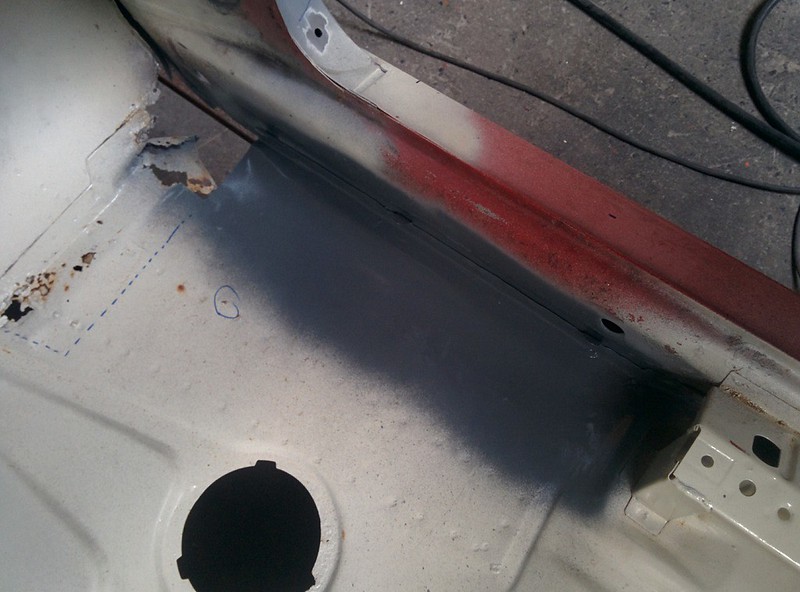
When we sandblasted the car I noticed some rust lurking between the flange of the passenger floor and the sill.
Decided to cut a the piece out and make a new flange.
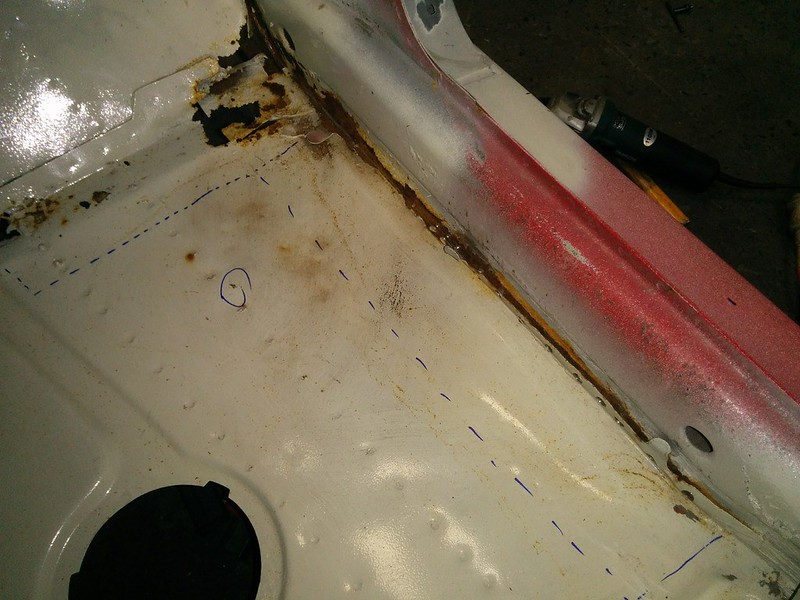


New flange tack welded on

Making sure it still fits


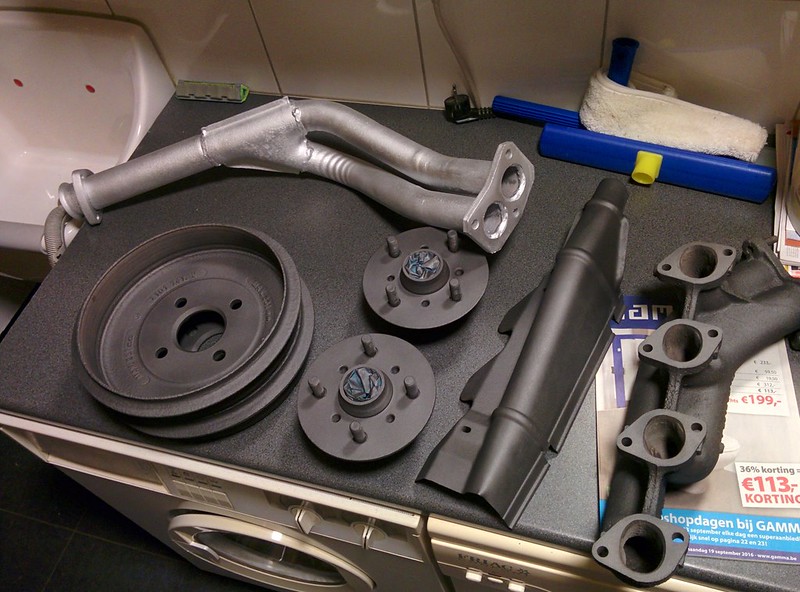
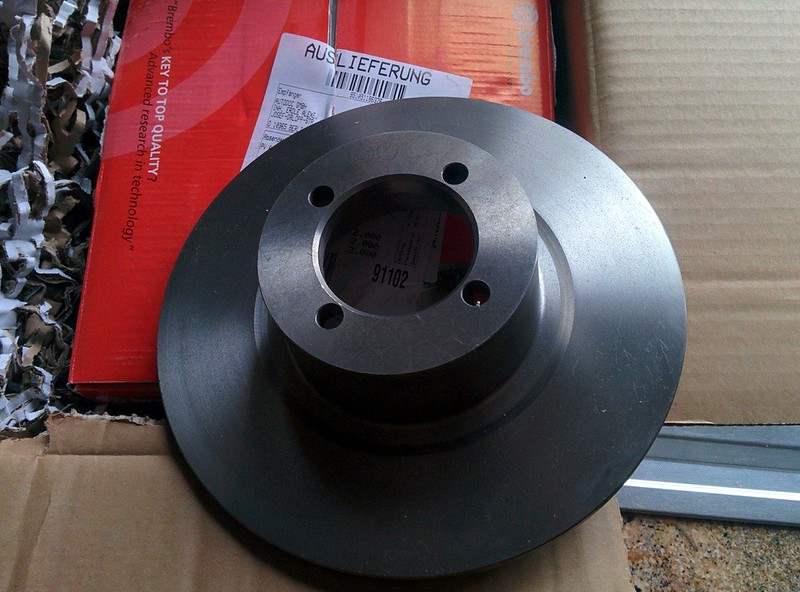
Got some more parts in too,
New brake discs, drums, waterpump, gasket kit for the engine, bearings etc etc..

�
Last edit: by D_Martijn
Posted
Old Timer
Old Timer
Thanks, Dave. Appreciate your comment!watson said
Your metalworking skills always amaze me Martijn, from the body repairs to the work benches. Nice new workshop too.
Got an other small update for your guys, couldn't do a lot of work since I was replacing fluids on my E30 325iX Touring
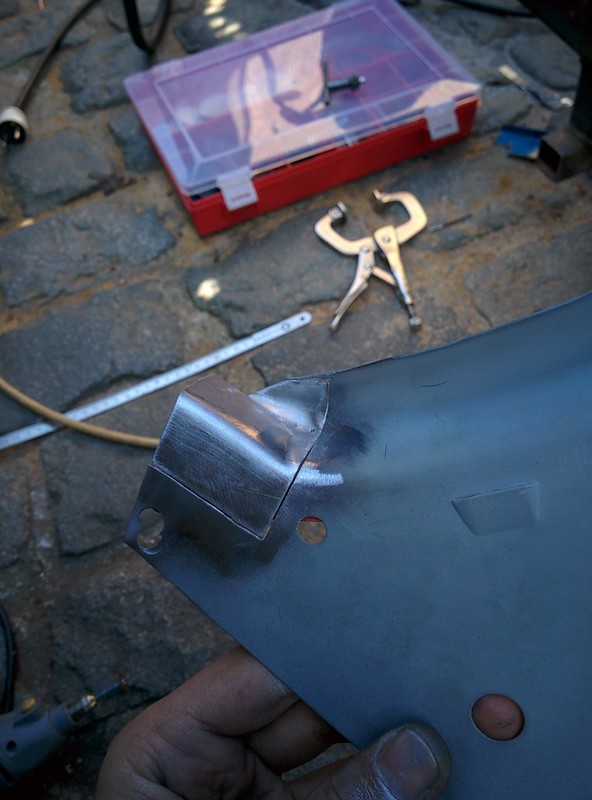
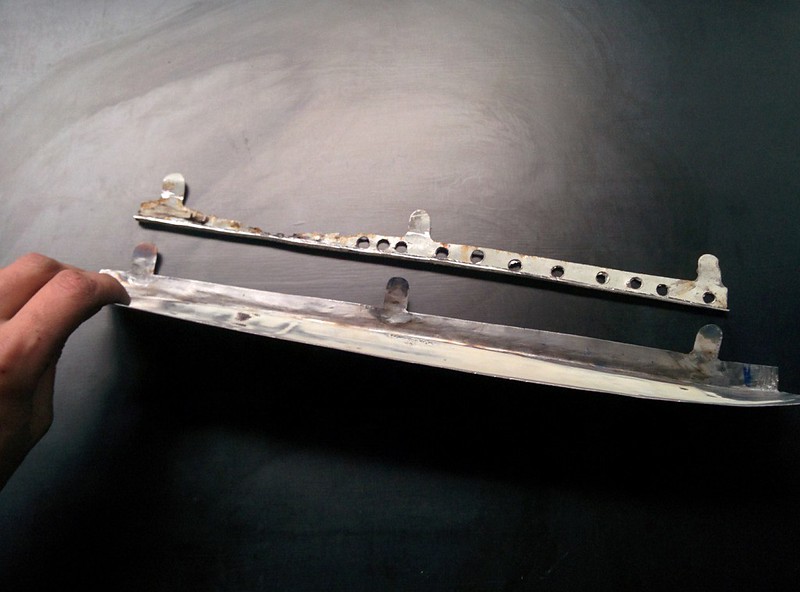
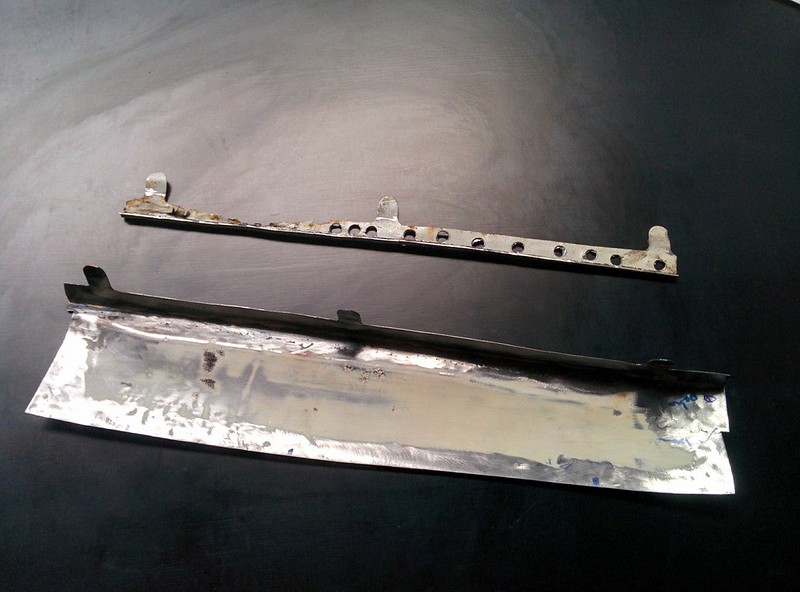
Finished the new flange with the small metal tabs that hold the fuel line in place.
I did not cut these when redoing the flange because I did not know if it would turn out that great.
Cut the little tab with the angle grinder and rounded it of with a file.

Welded in place

Old vs new
Last edit: by D_Martijn
Old Timer
Luckily it was only half a day.
When I got home I went to the workshop to start welding in the floor.
Tacked into place, ground the little tacks down.

Fully welded, ground down and a layer of zinc primer

Also sorted most of the 2002 parts that were sitting on the ground onto the shelves. We also installed the height adjustable feet on the workbenches, still need to get some casters for the smaller table.
Last edit: by D_Martijn
Old Timer
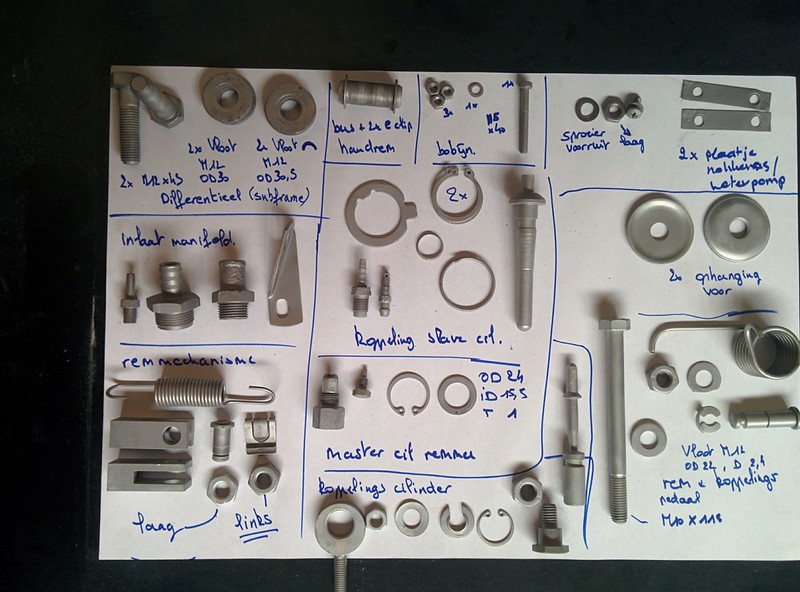
When I blasted a couple of parts I laid everything out on an A3 paper and wrote down which parts, how many, some other notes and finally�took a picture of it all. I also got a bow full of all new washers, nuts and bolts a while ago which I'm also taking to the plater to get it yellow plated.
All the blasted parts together


2 of the papers I made:


Last edit: by D_Martijn
There are too many online users to list.