ARC894Y
Posted
Settled In


Project Corona
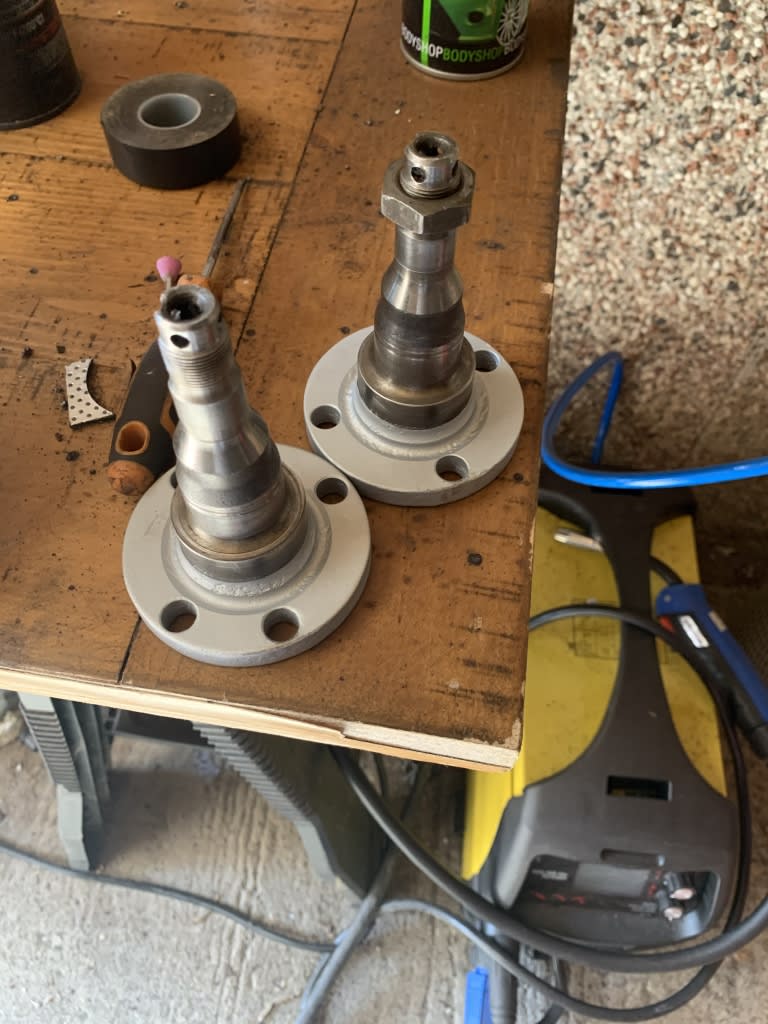 Painted them silver and hate them. I've got some high temp grey so going do a couple of coats of that instead tonight.
 On a separate note does anyone have the torque settings for the bearings caps on top of the camshafts I remembered today that I haven't torqued them down so need to do that before I forget!
Posted
Old Timer


Posted
Newbie

How are you getting on with the sandblasting cabinet? I'm debating which one to get at the moment.
Are you finding its up to the job? also what media do you use?
All the best.
Posted
Settled In


Posted
Settled In


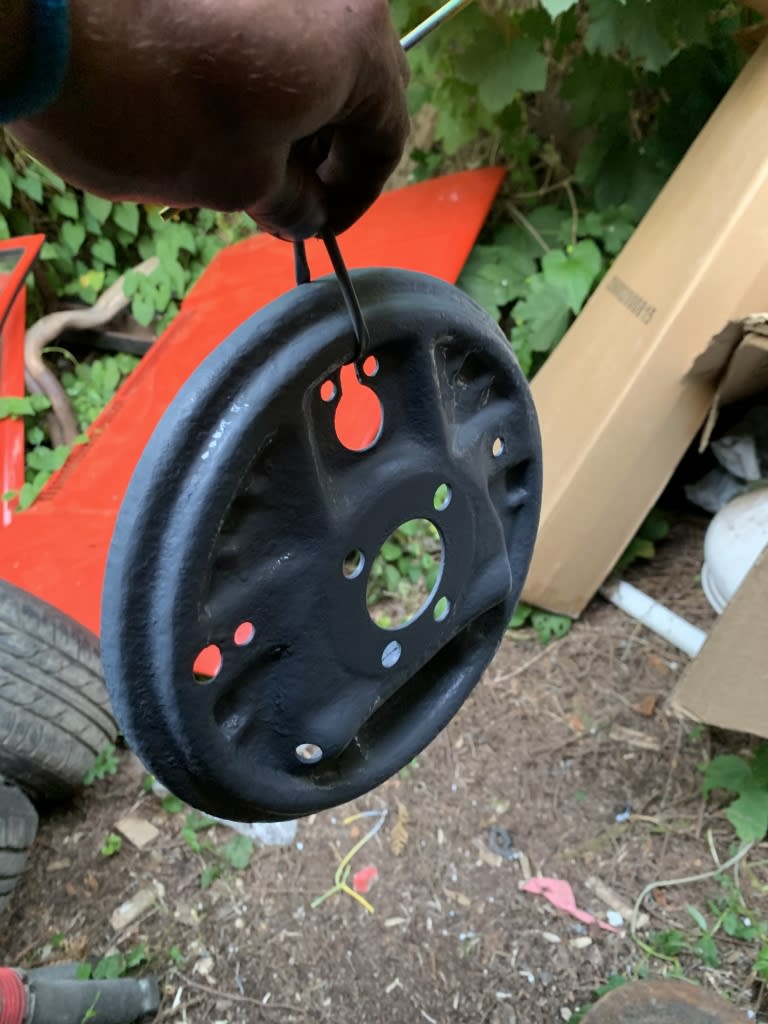
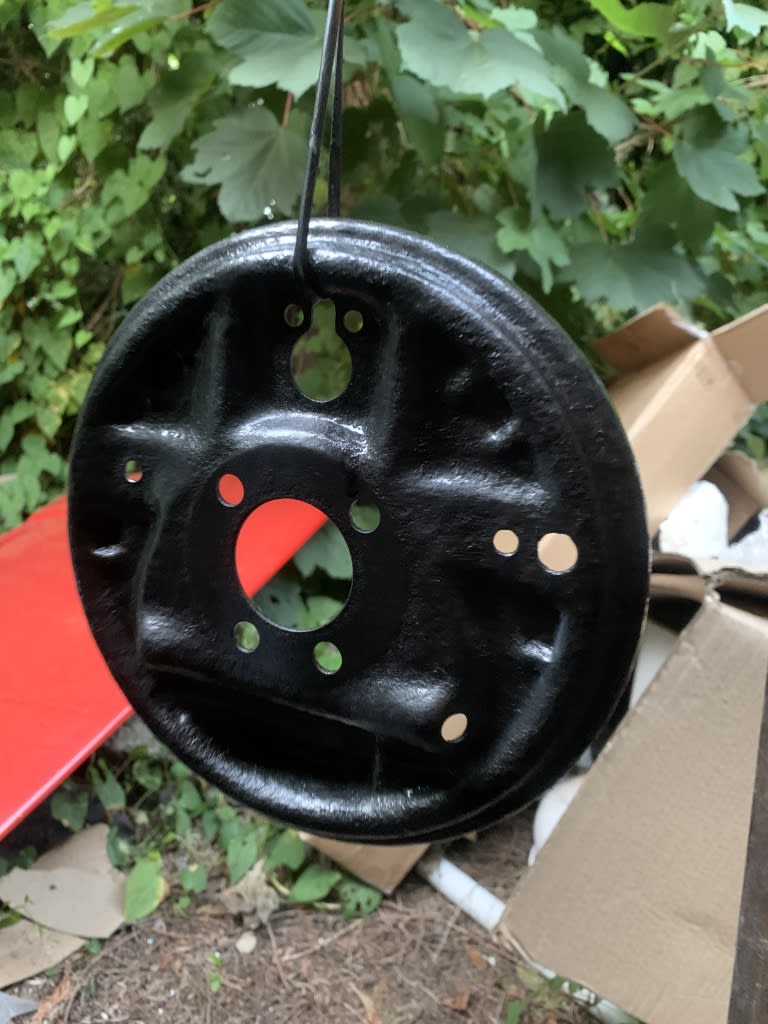
Going to cut the front panel out tomorrow ready for welding! Looking forward to it with some trepidation!
Posted
Settled In


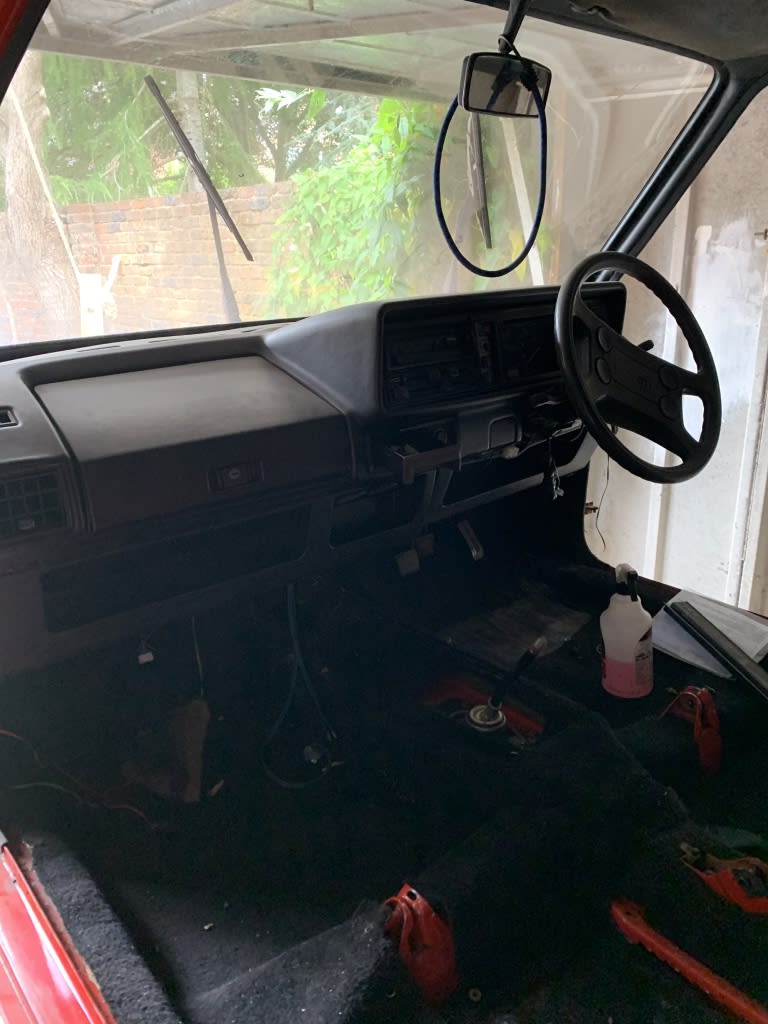
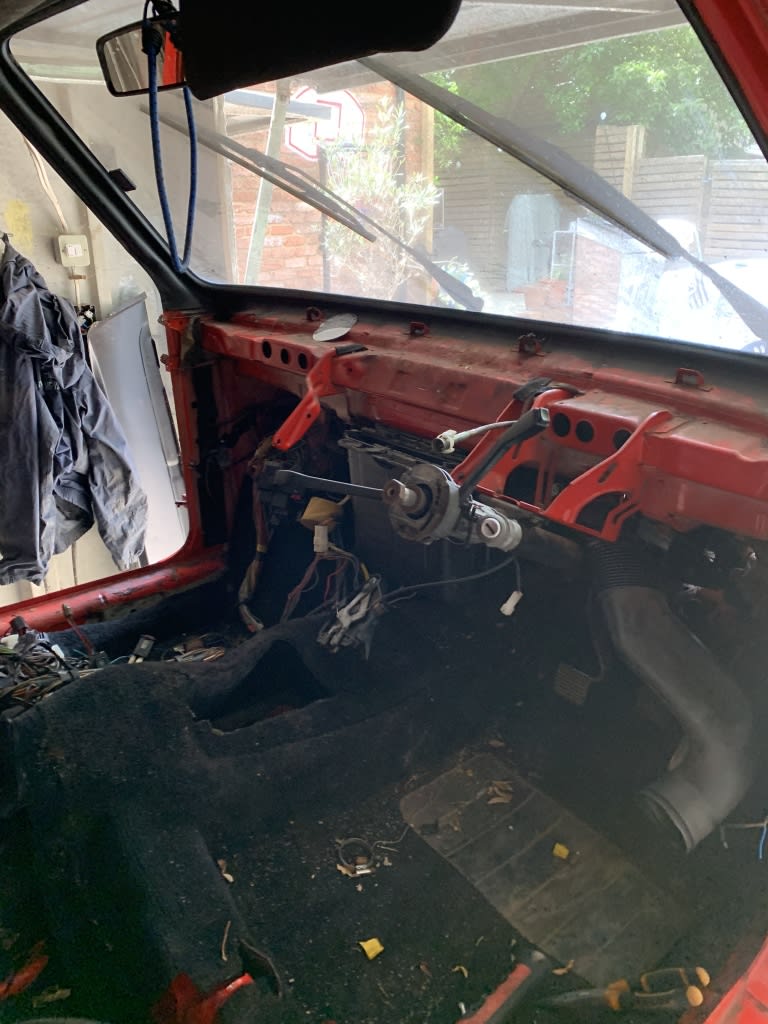
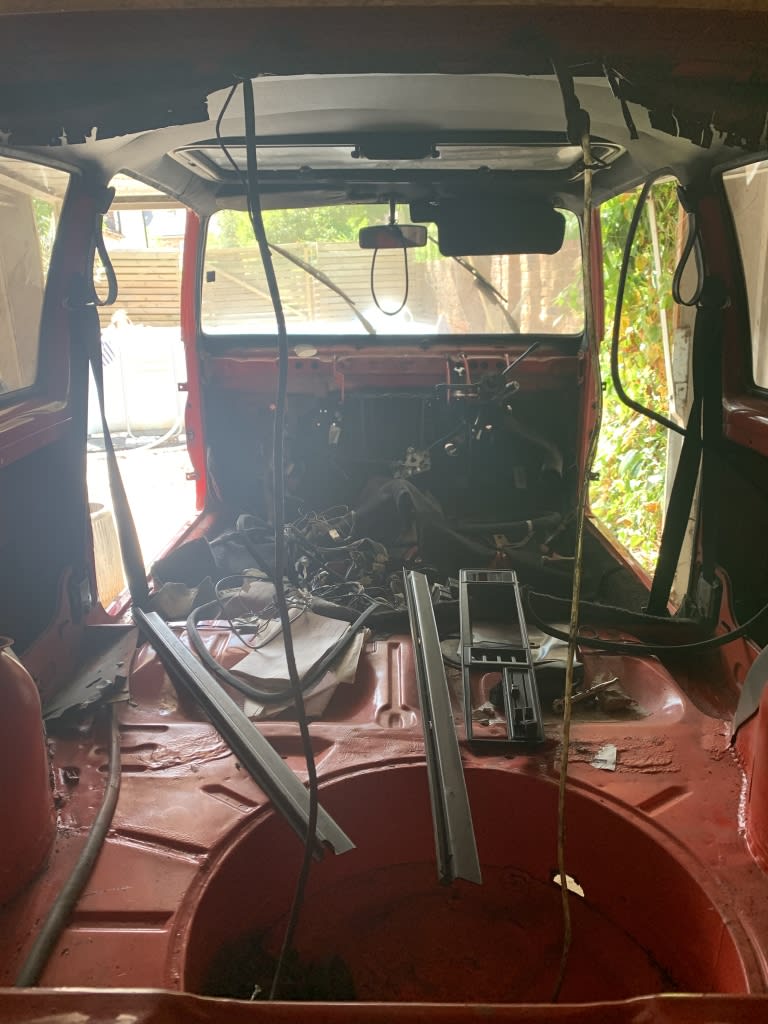
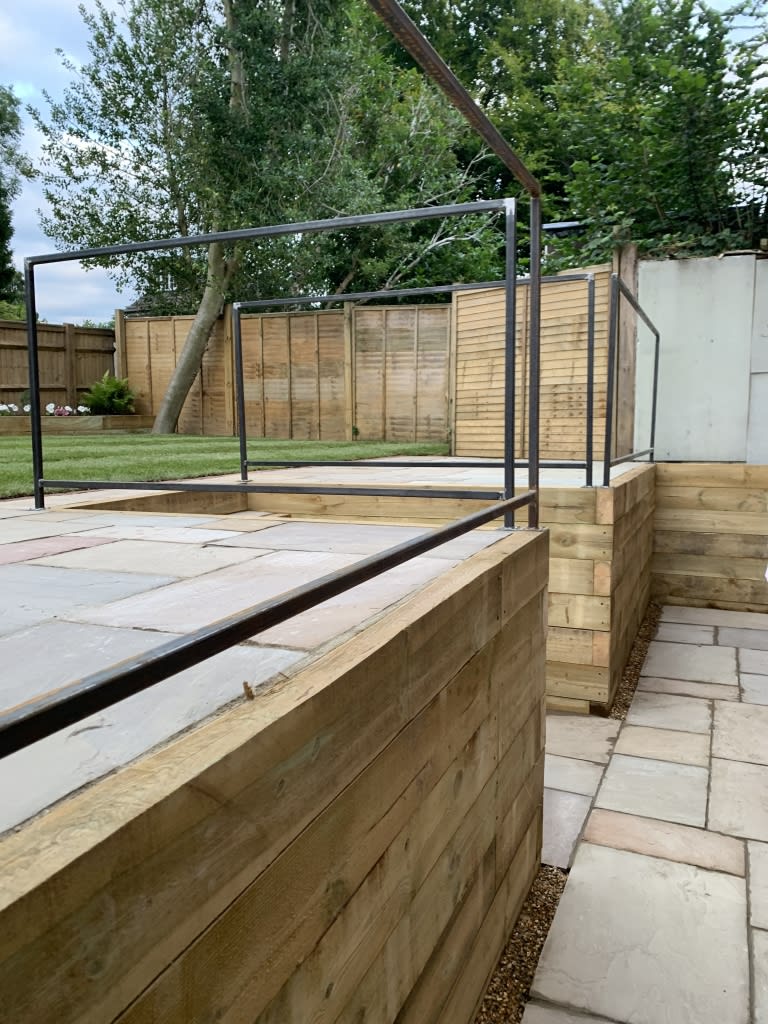 Bit of time away from the project after a brief return. I realised that i kind of needed to learn how to weld before carrying on too much further. I decided to do a few little projects, so created a balustrade for a rental property I own just so that I could learn the basics of welding which i now hope to be able to apply to the car (realising that welding 1mm is a lot different to welding 3mm) still i know how the basics now which means I can begin fabricating bits for the car and getting them welded together.
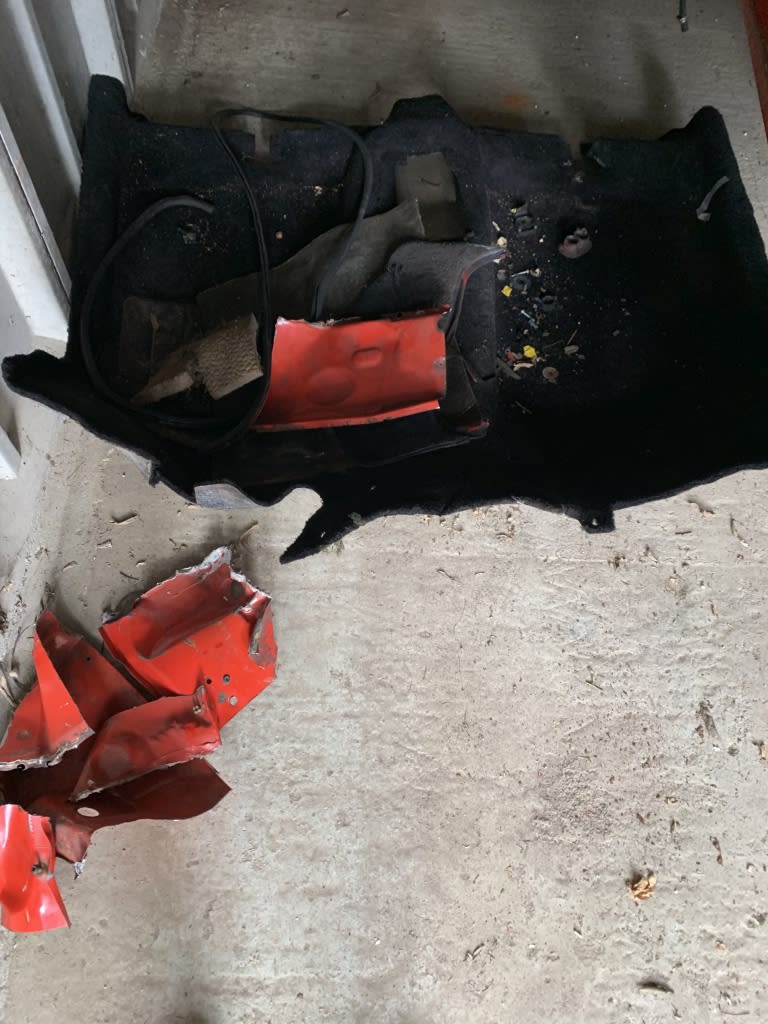
I ripped out the wiring loom which took 2 hours or so because I was labelling everything then without me realising my 5 year old decided to play with it and take all my labels back off again. Which is great! I'm sure it will be fine there must've a guide on here somewhere. Tomorrow going to get the carpet out so I can do the 1st repair which is welding the clutch cable hole back together again! Wish me luck.
Posted
Old Timer


Posted
Settled In


Posted
Moderator


Posted
Settled In


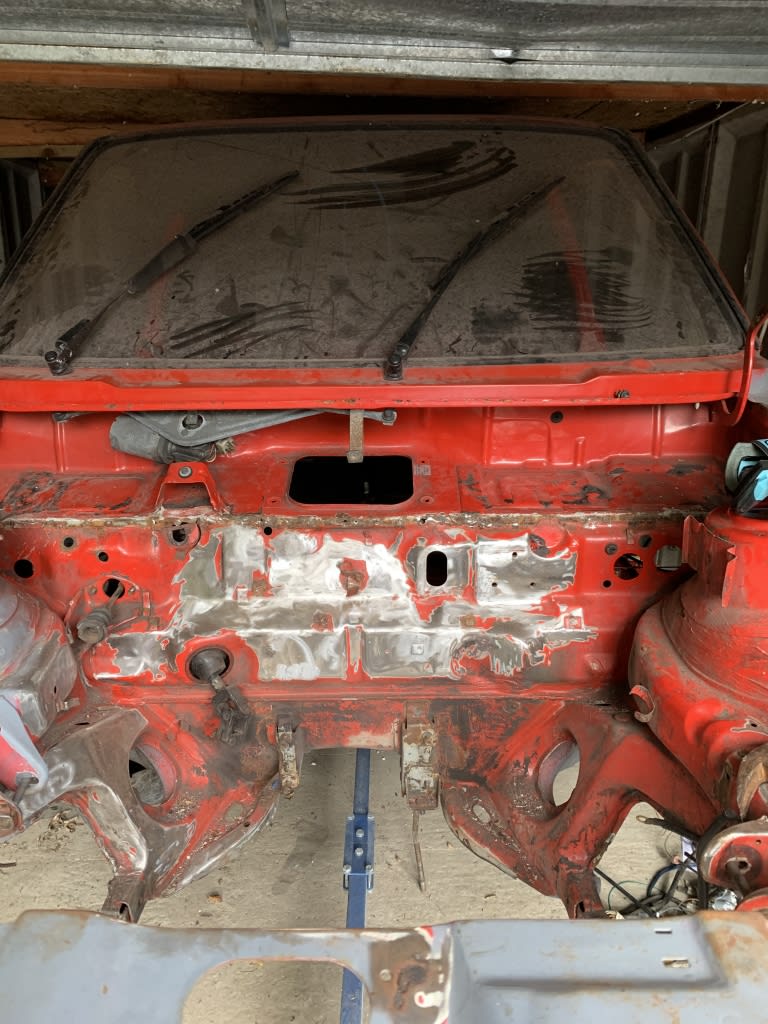
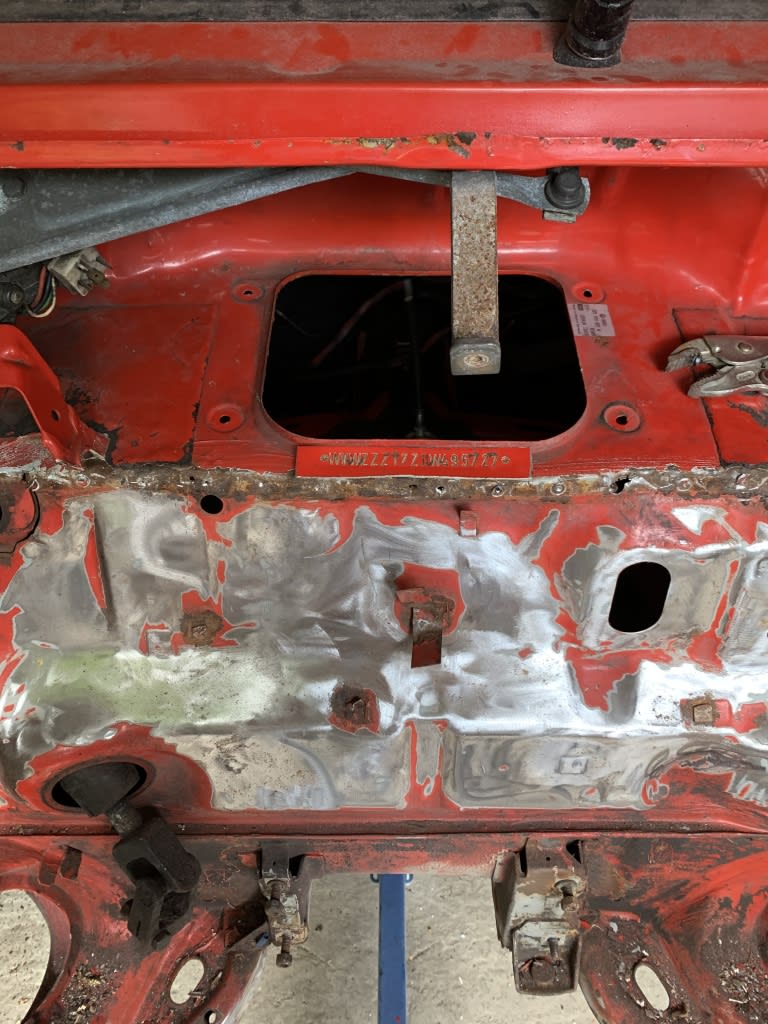
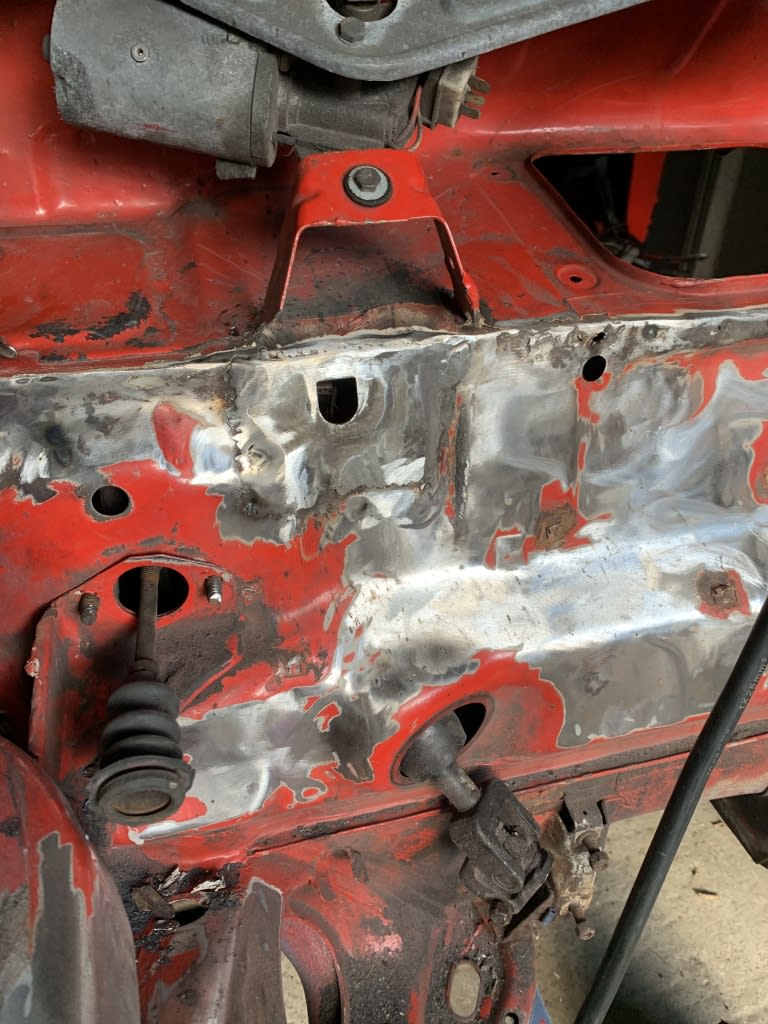
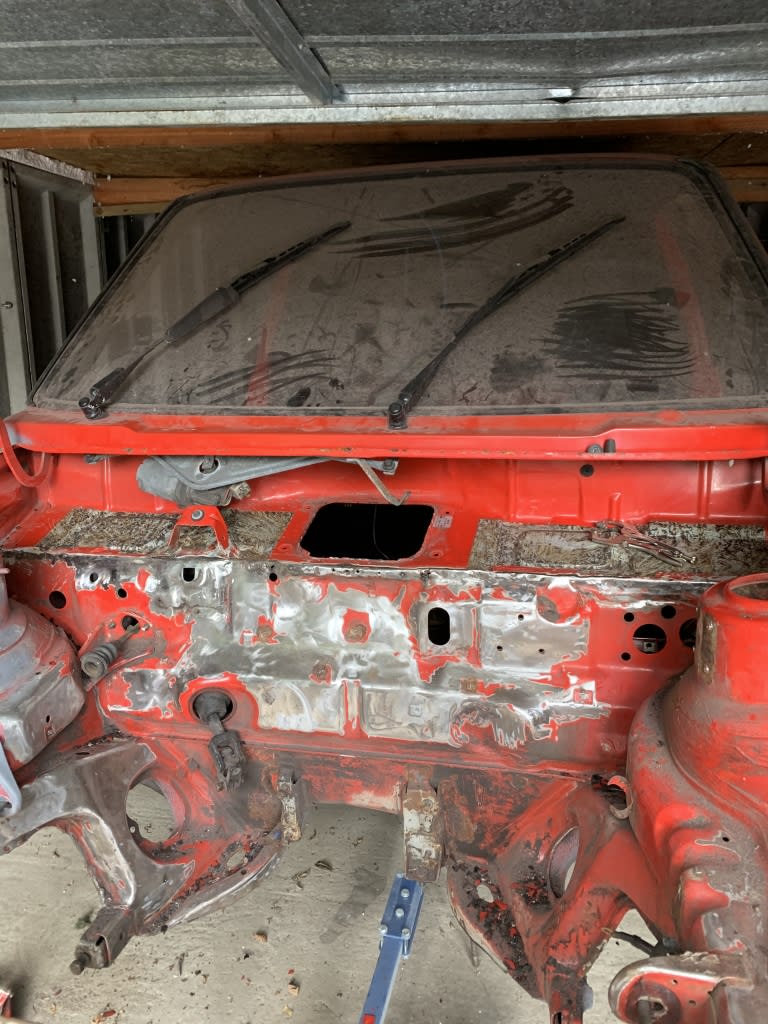
I went to sort the clutch cable through the bulkhead problem yesterday and saw that in order to do that properly I would have to get access under the rain tray. So I decided to bite the bullet and today take the rain tray out. Many will say it's a bad idea but I just love the look of a nice clean bay, so that's the look I'm going for. I cut the chaisis number out and will put it somewhere else, was thinking under the heater matrix or whatever it's call in the engine bay. Well the rain tray is now gone so I can get started making the bay lovely. Here's some pics.
Posted
Old Timer


It definitely does look cleaner. I tried it and realised I would miss the stock heater so put it back on. I must admit much easier with it off to work on the back of the engine.
Like the practice run on the railings and want to face our retaining wall like that with the wood
Posted
Settled In


Posted
Old Timer


vdubber2 said
I have no idea how you got yours out without mangling it! I spot weld drilled all the welds and it was so stuck in there, I ended up getting angry and just ripping it to bits! Kind of regret it now but my patience was wearing very thin with it in the end! To be honest though I have no plans to use the car in the cold, may be ha day on those cold nights but again it's not going to see many of those! It's very much going to be a special occasion car.
It was a struggle for sure 😂.
Posted
Moderator


So just all the holes to weld up, bits to flat and fill. shouldn't take too long
So you'll be welding up the heater box hole? If you do decide that you need demist in the future i believe the rear demist from a BMW 3 series convertible can be used as it's a fan system with an electric heater.
Just a thought
Ian
Posted
Settled In


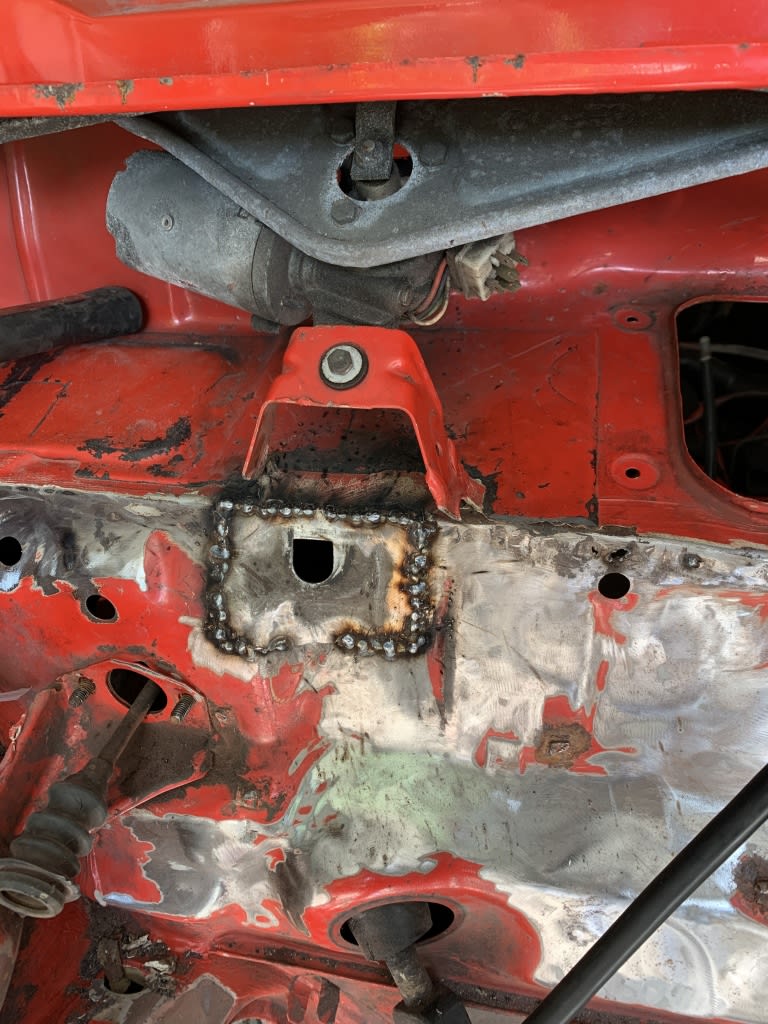
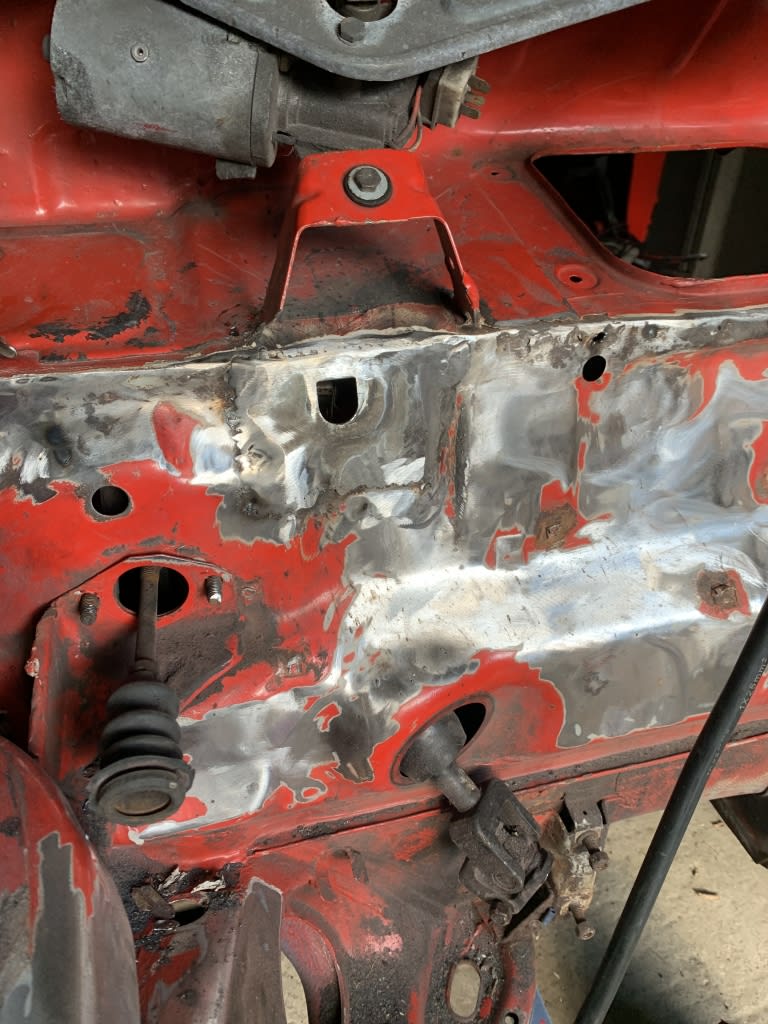
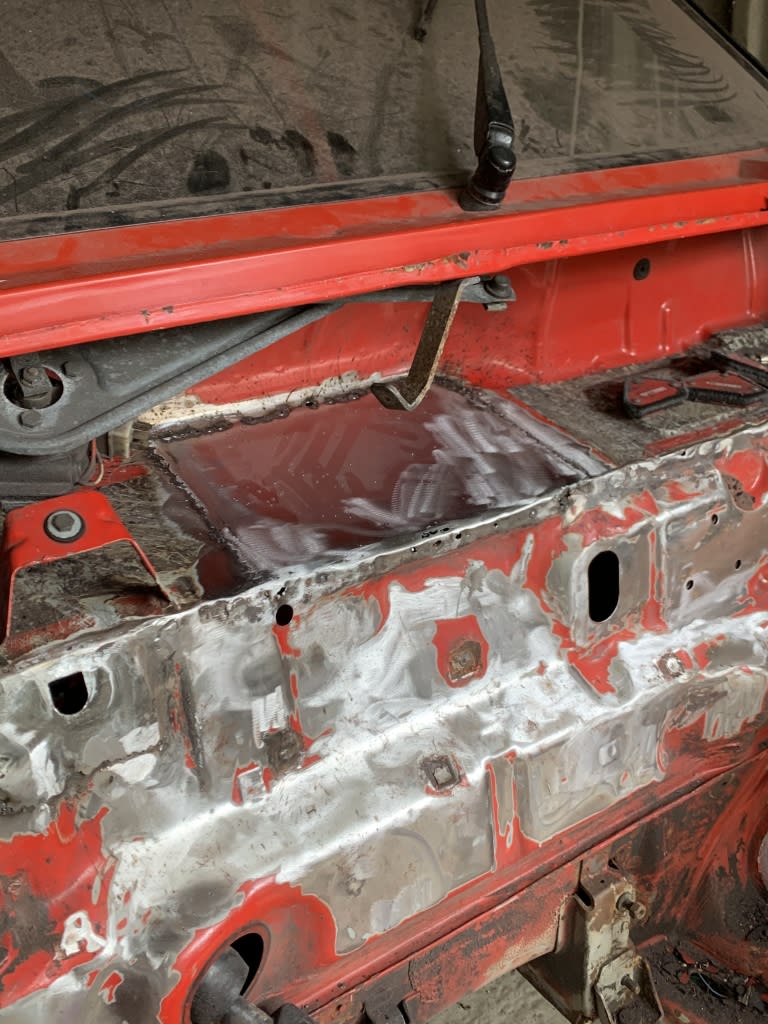
I got started on the clutch cable repair panel, needs some seriously work on the welds but it's a start at least!
Posted
Settled In


Posted
Settled In


Posted
Settled In


Posted
Settled In


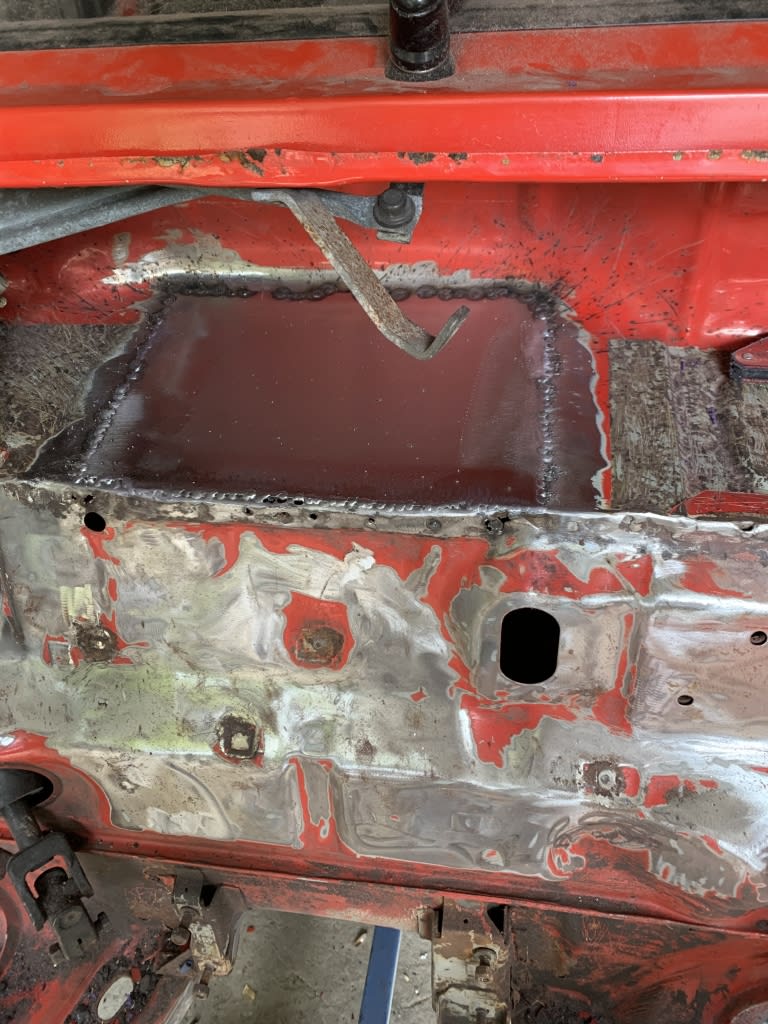 Started to weld up the holes in the engine bay today. Only been able to snatch an hour or so over the last two weeks. Slow progress for sure
0 guests and 0 members have just viewed this: None.


