


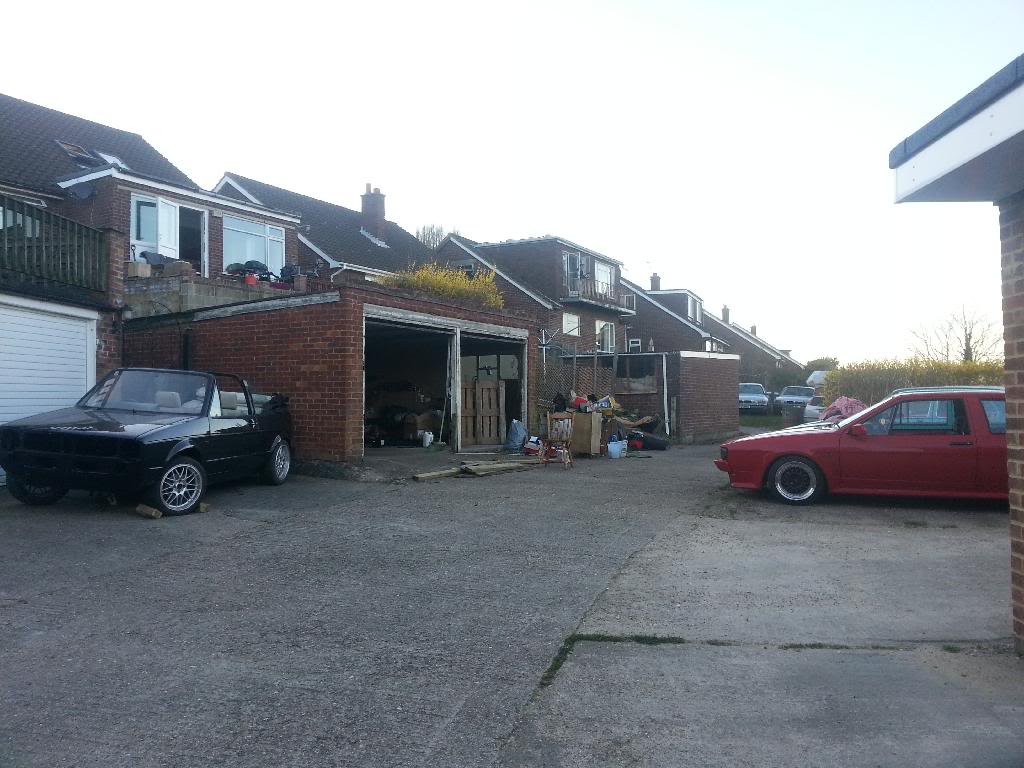
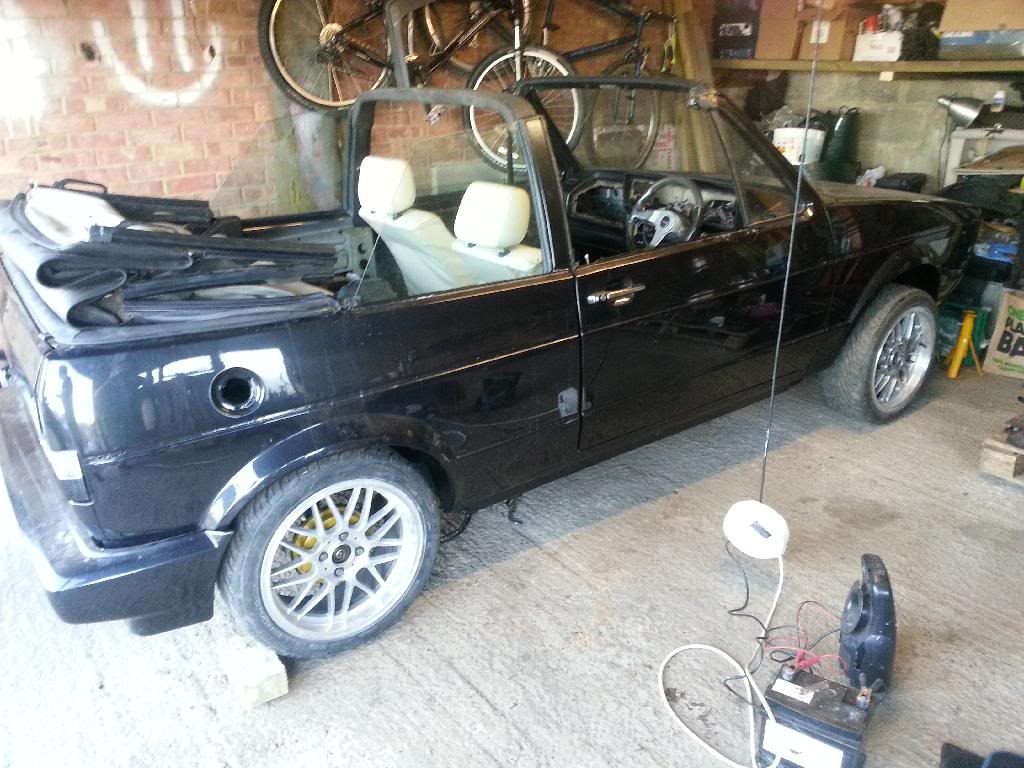
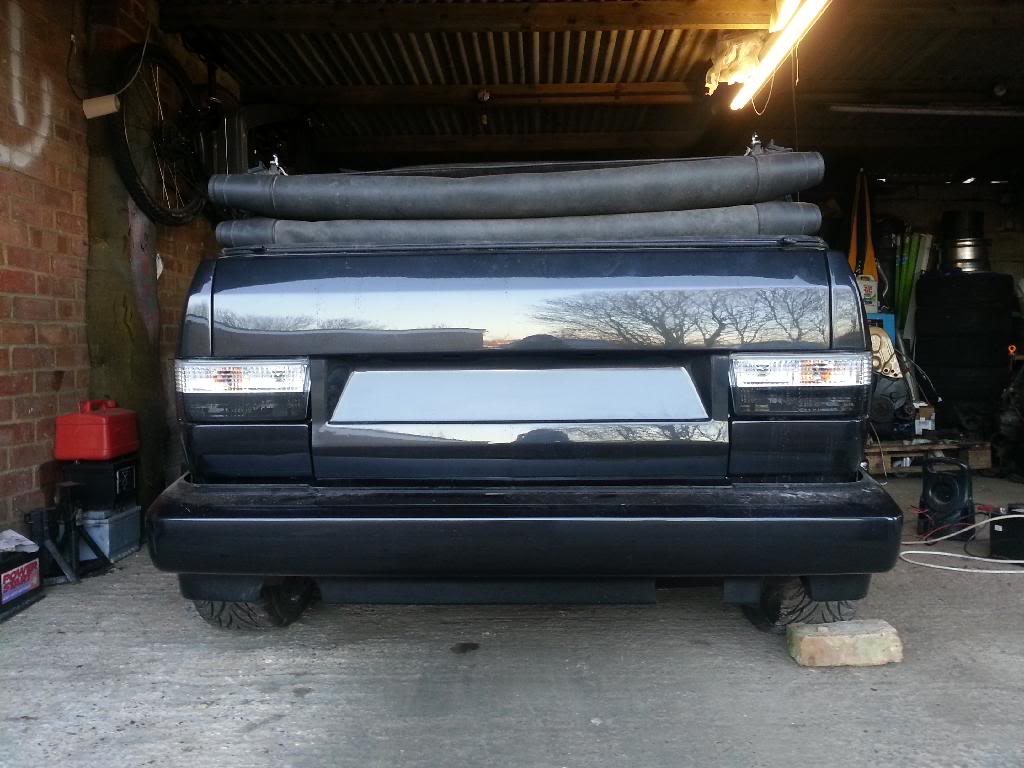
My '85 Cabby - getting closer to completion

Posted
Settled In


1985 Karmann Cabriolet
Behind the petrol cap hole.
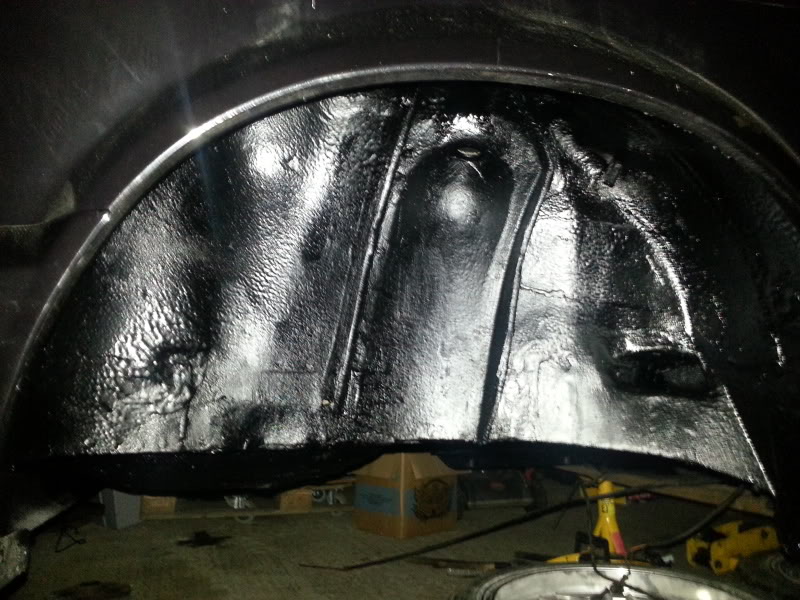

Enjoy…
Posted
Settled In
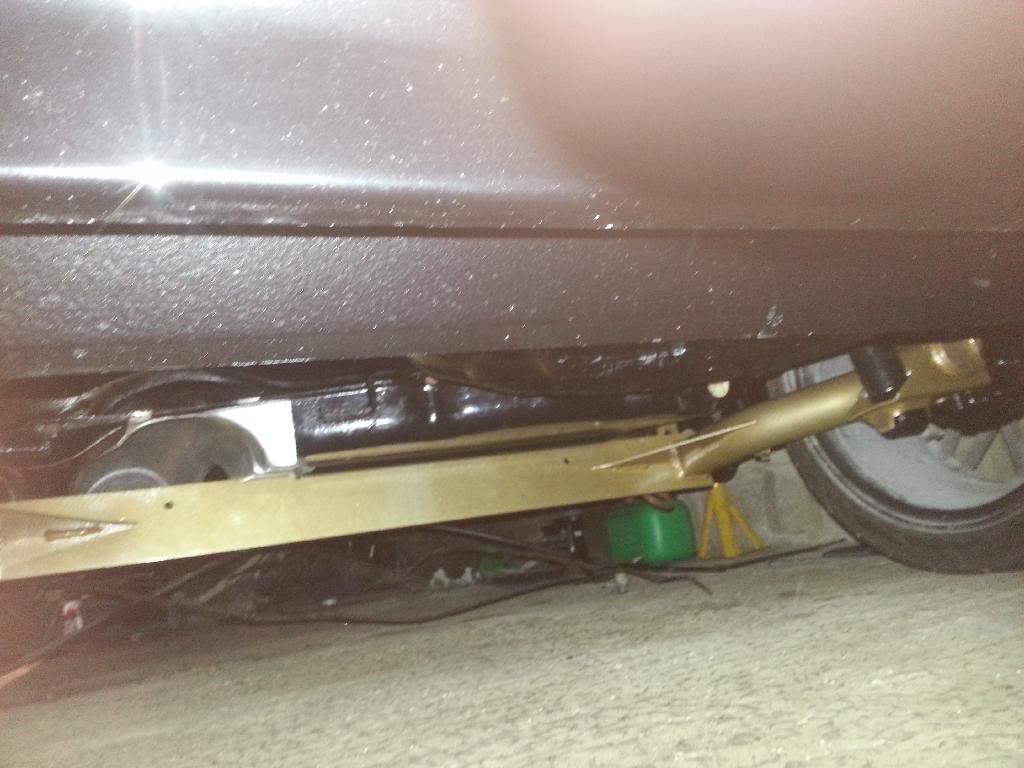
I went to SprayBlast in High Wycombe and would highly recommend them. I had loads done including axle, shocks, springs, brackets, rad cowling, rocker/cam covers, brake parts, anti-roll bars etc etc in a mixture of gold with a sparkle and satin black. I expected it to cost a couple of hundred but it cost half that. Bargain!
Posted

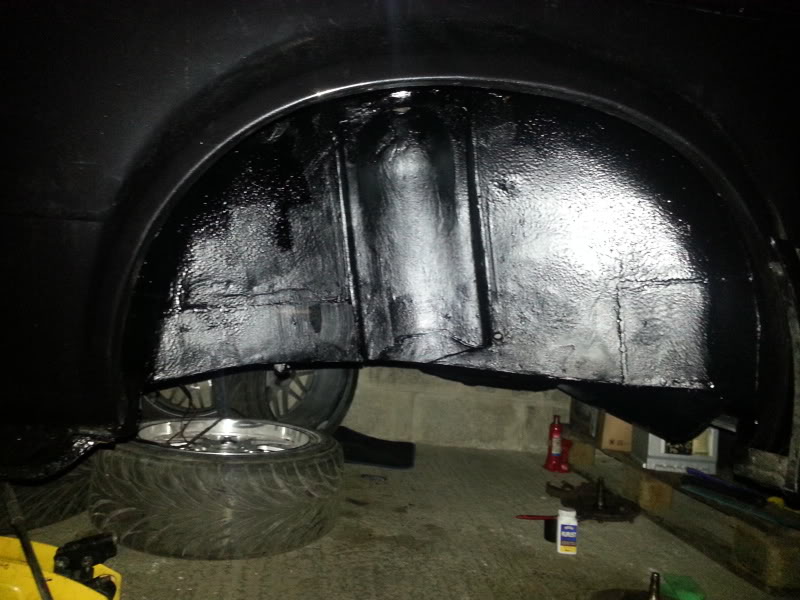
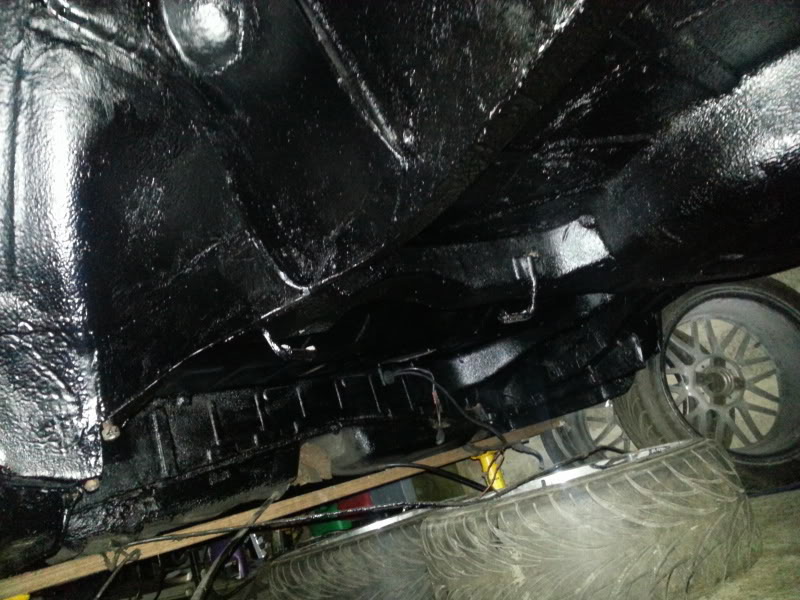
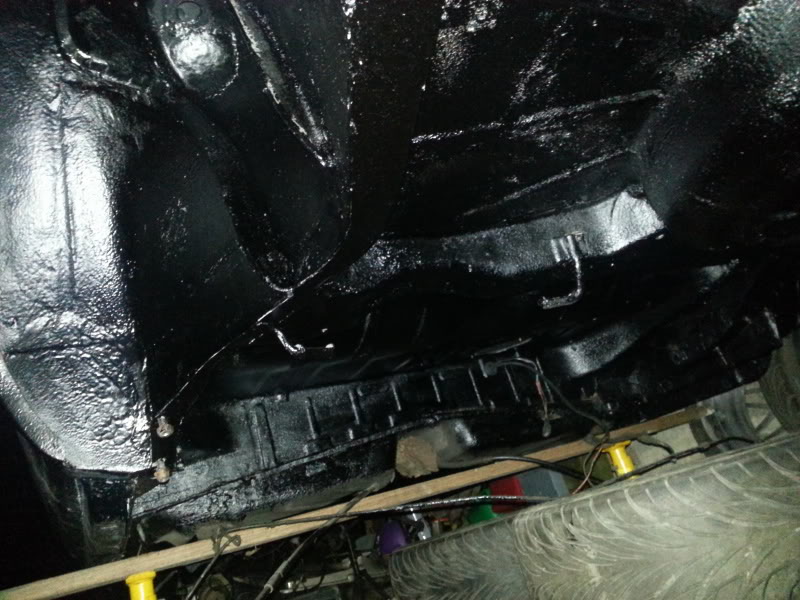
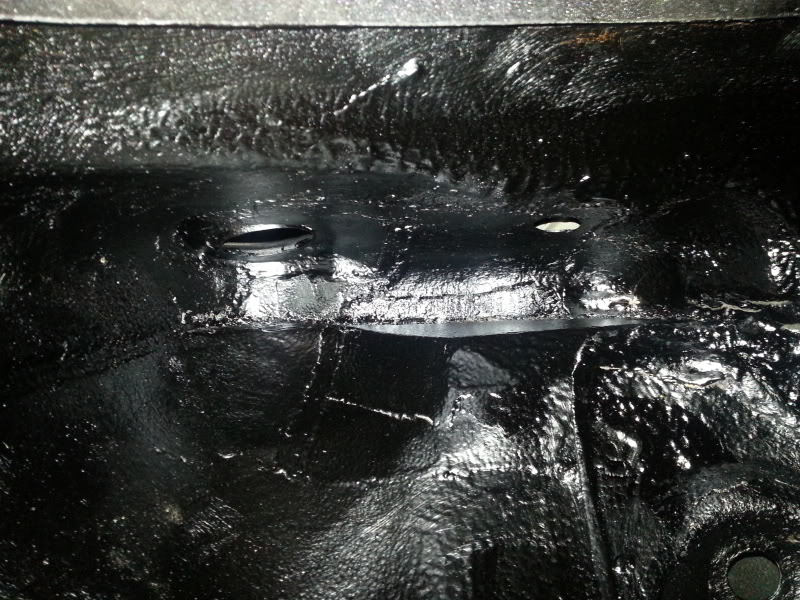
Local Hero


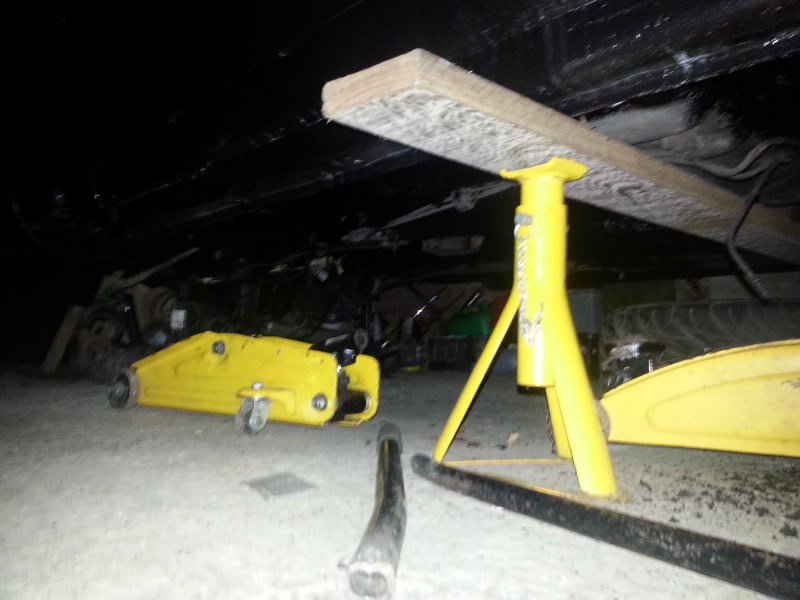
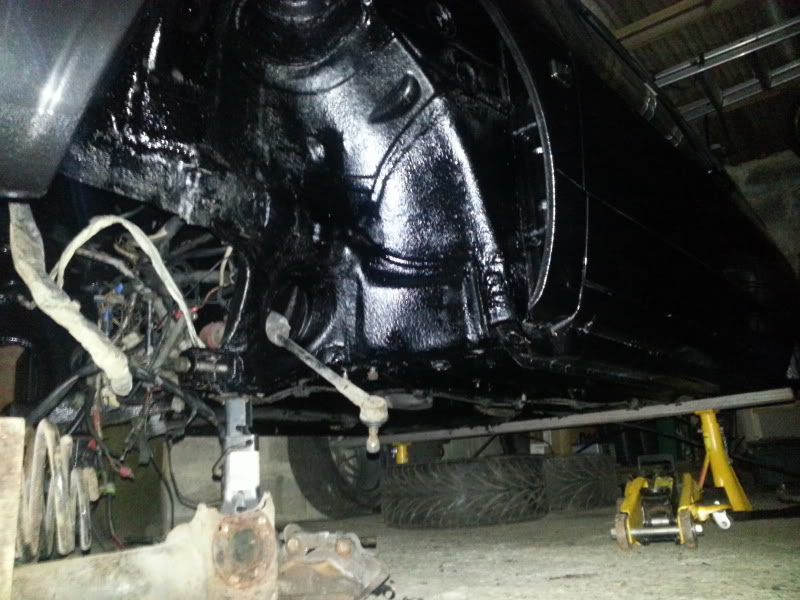
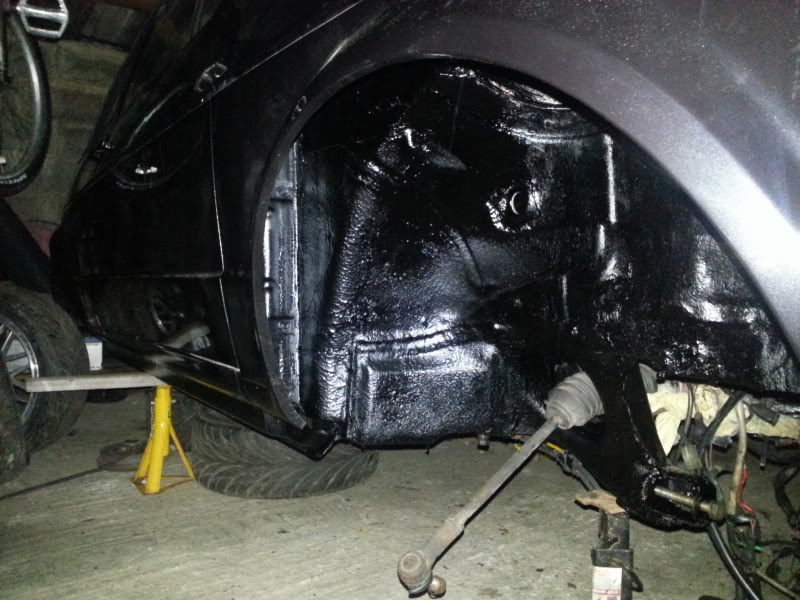
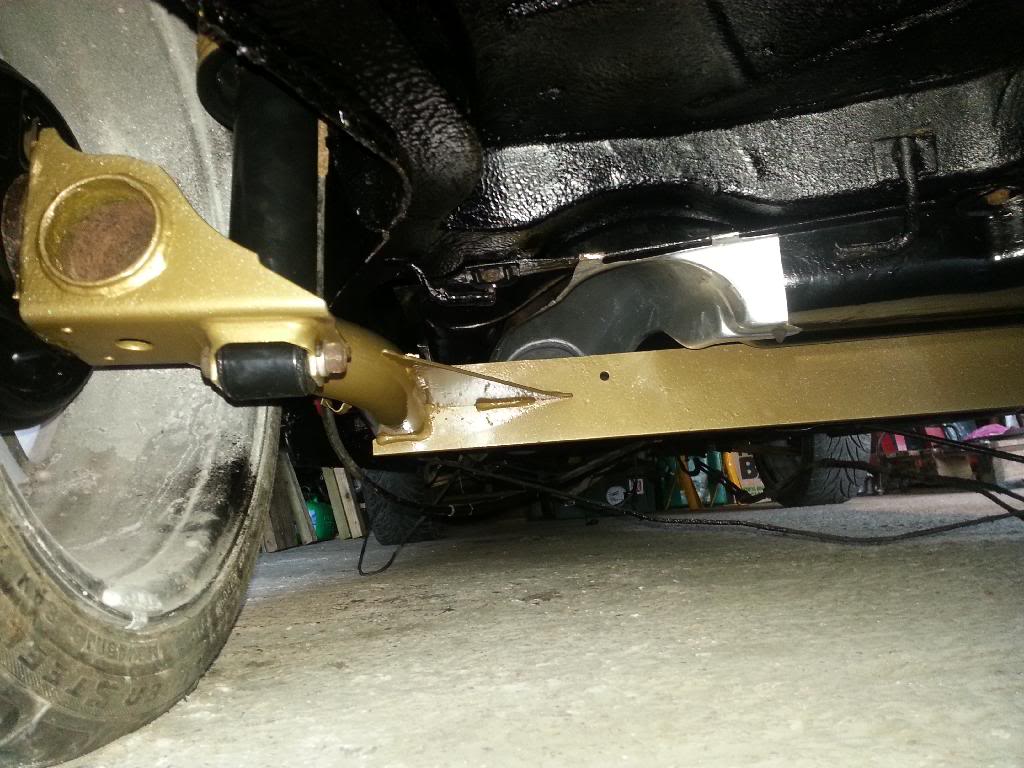
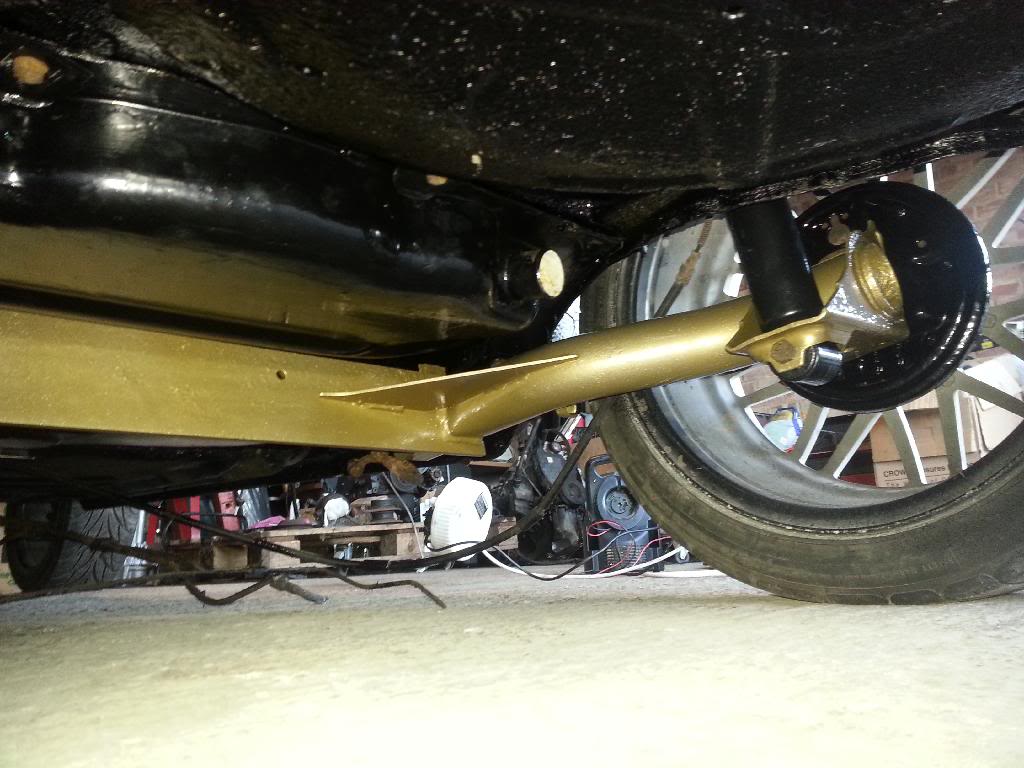
 Underside is looking tidy too
Andy
LINCOLNSHIRE REGION -�https://www.facebook.com/groups/467122313360002/
1983 MK1 Golf GTI Campaign Model - Under (looooong) resto!
1962 Rover P4 80
2002 BMW 745i
2008 BMW Z4 2.5Si
LINCOLNSHIRE REGION -�https://www.facebook.com/groups/467122313360002/
1983 MK1 Golf GTI Campaign Model - Under (looooong) resto!
1962 Rover P4 80
2002 BMW 745i
2008 BMW Z4 2.5Si
Posted
Settled In
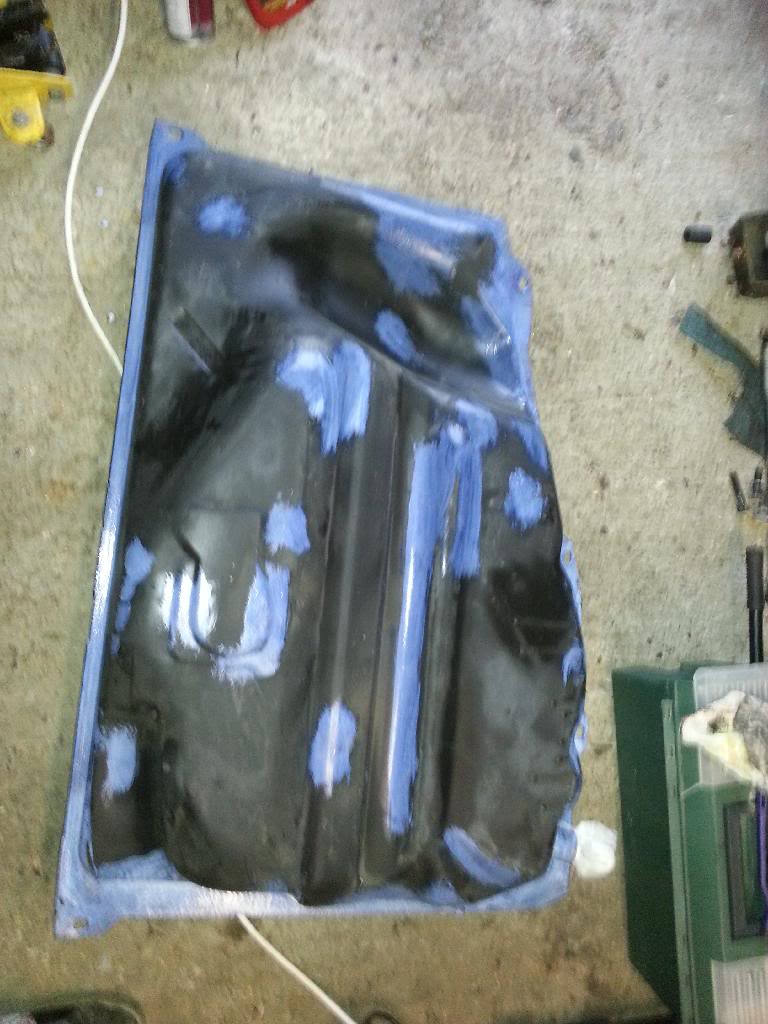
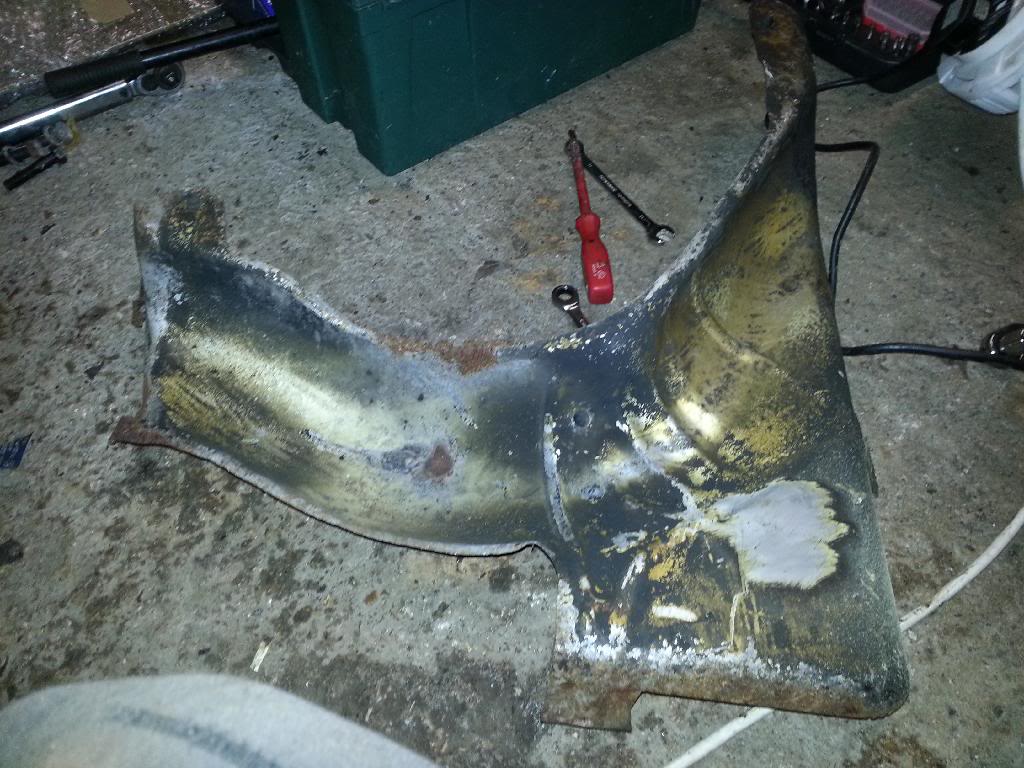
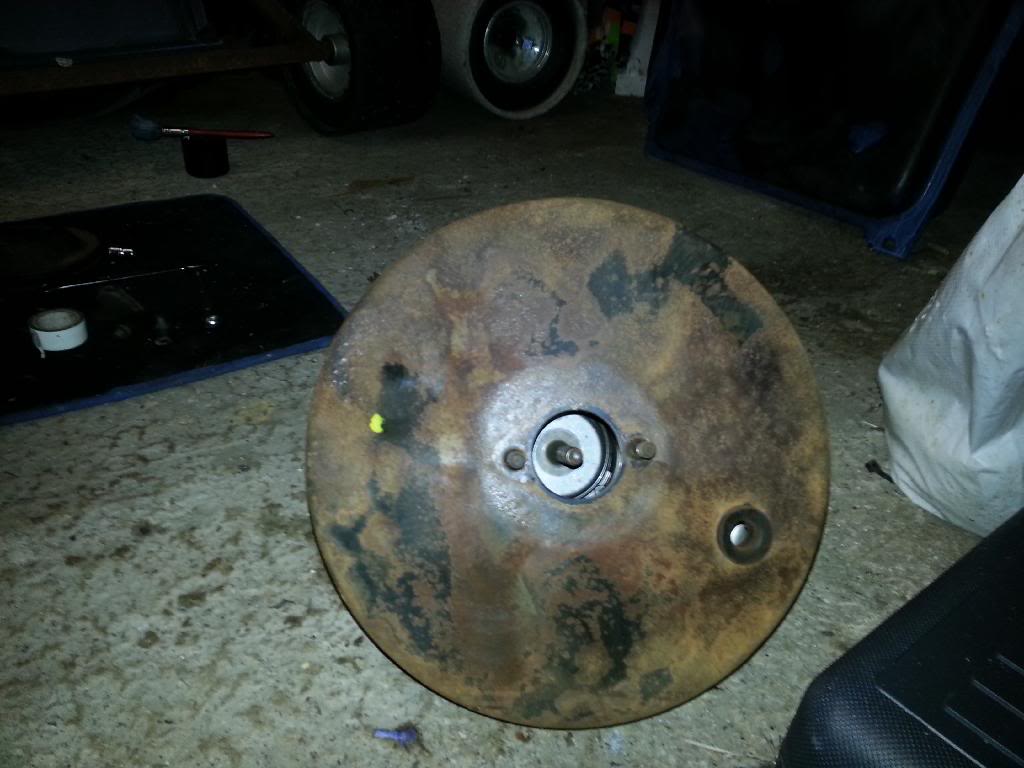
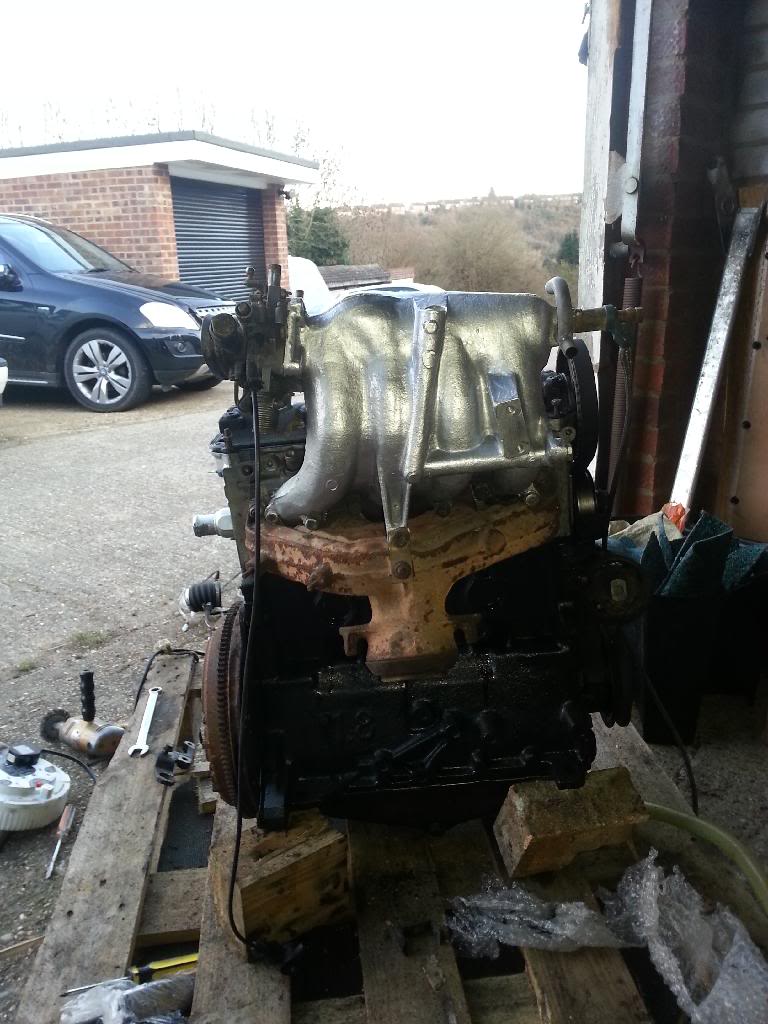
I've got a huge shopping list ready so will be going to VWH and Funkstar in just over a week to get it all. In the mean time I started to clean down the engine/gearbox further, as well as clean up the petrol tank, servo and brakes ready for a bit of paint. Had to do it all in a dimly lit garage seen as it's been daffodil it down all weekend.
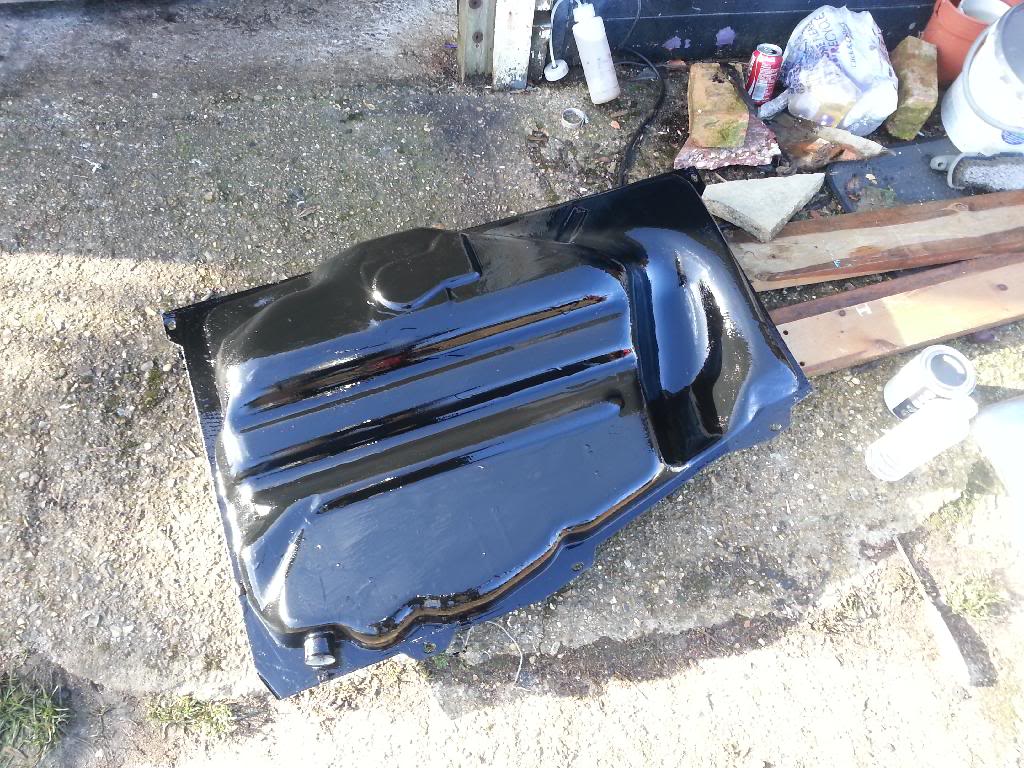
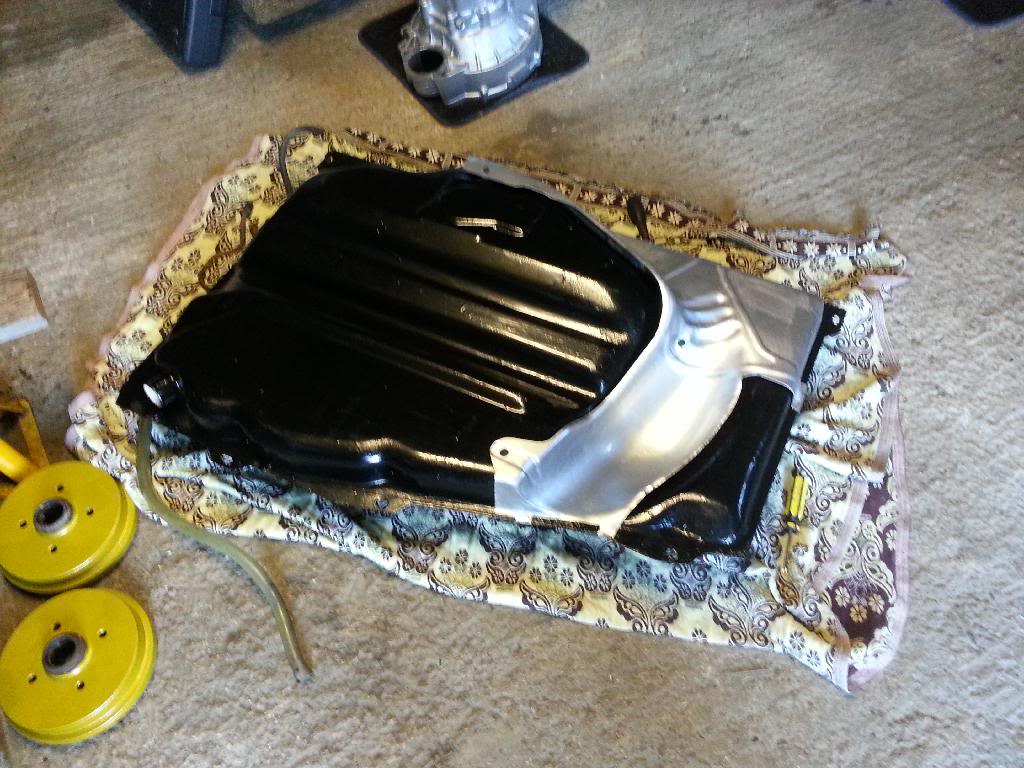
Heres the tank after wire wheel and Kurust treatment:
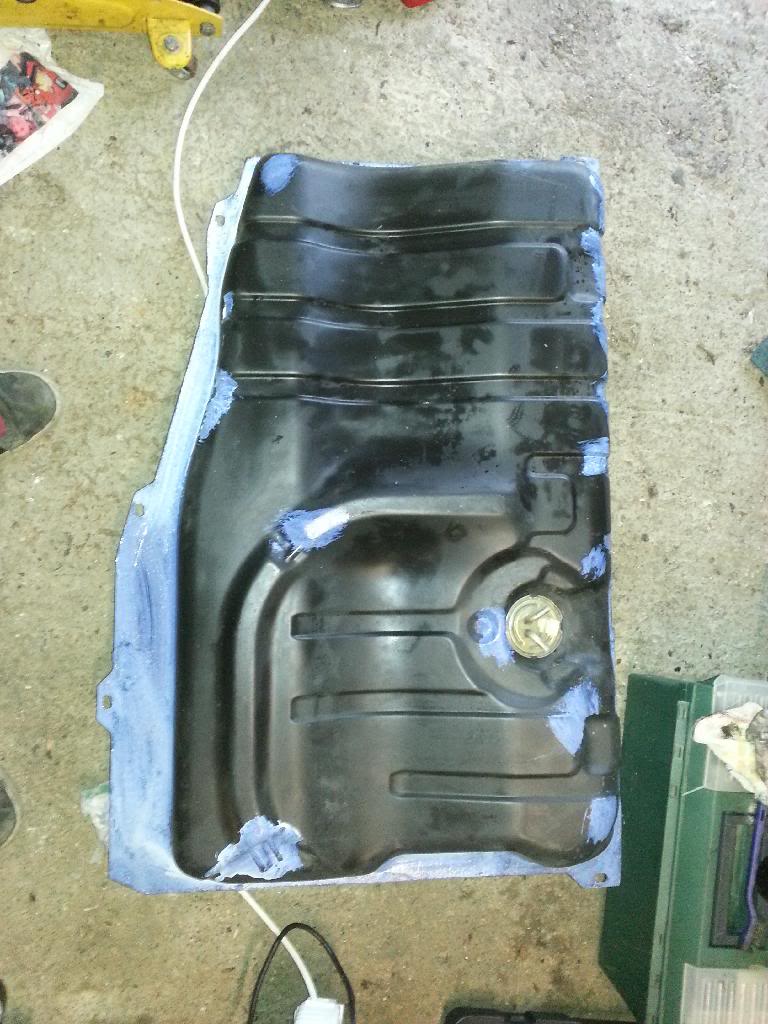
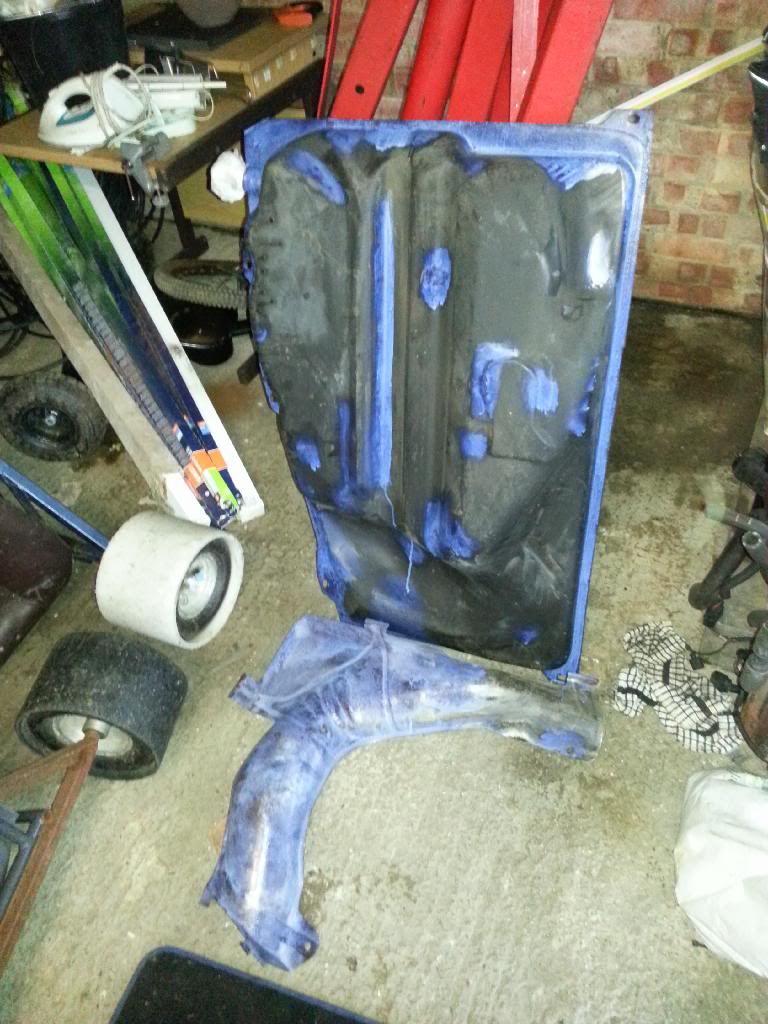
This was the tank guard before I started:
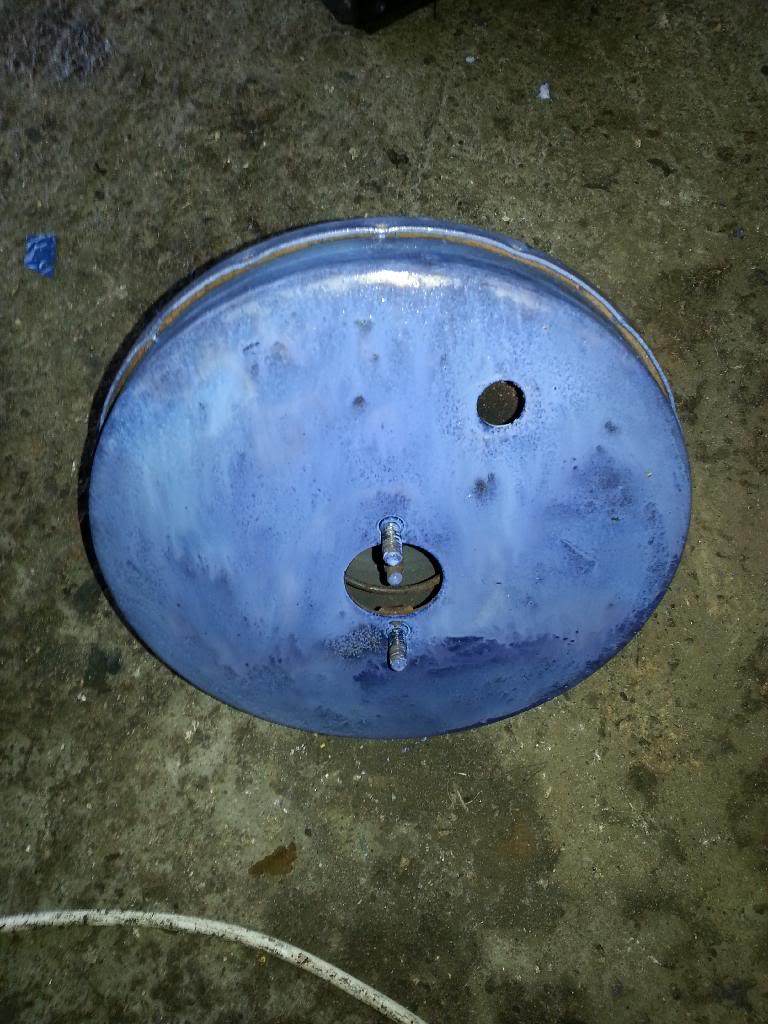
Servo during strip down and wire wheel/sanding:

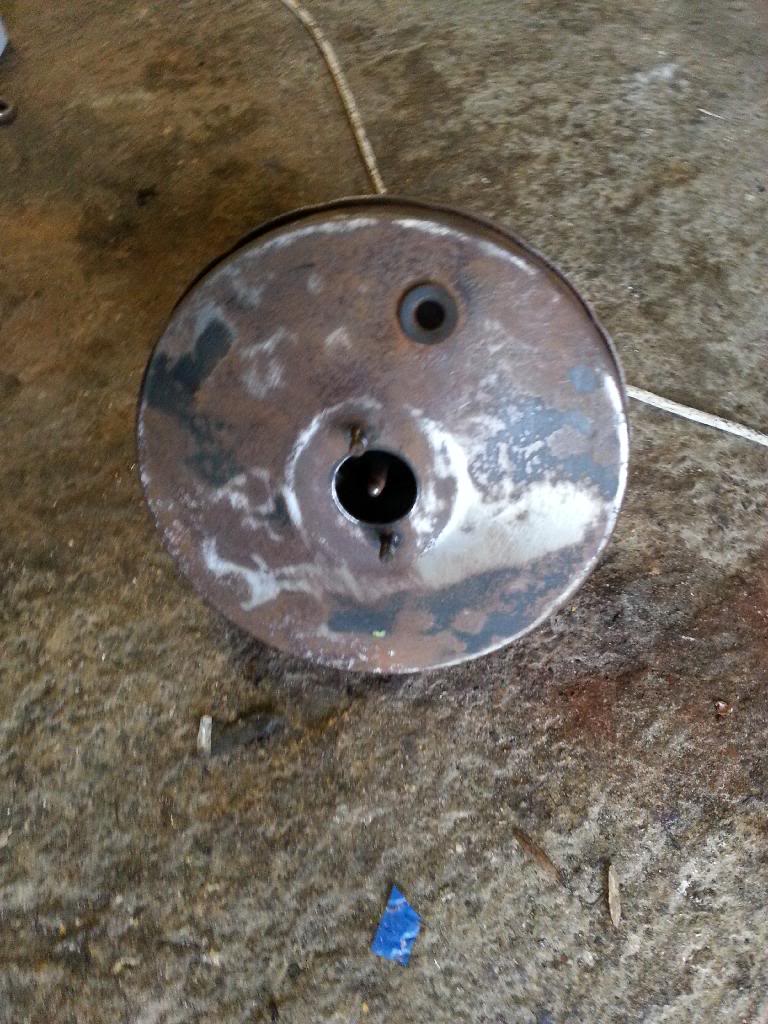

Kurust treatment:
Taking ages to dry coz it's so cold. Will spray them next week:
Gearbox cleaned up a bit:

Brake parts waiting for Kurust treatment:

Finished Kurusting then called it a day. Got 3 weeks off in a weeks time so I'm hoping to make lots of progress

Posted
Settled In
Posted

Old Timer

1985 Cabriolet GL
Posted
Settled In
Posted
Settled In

Tank:

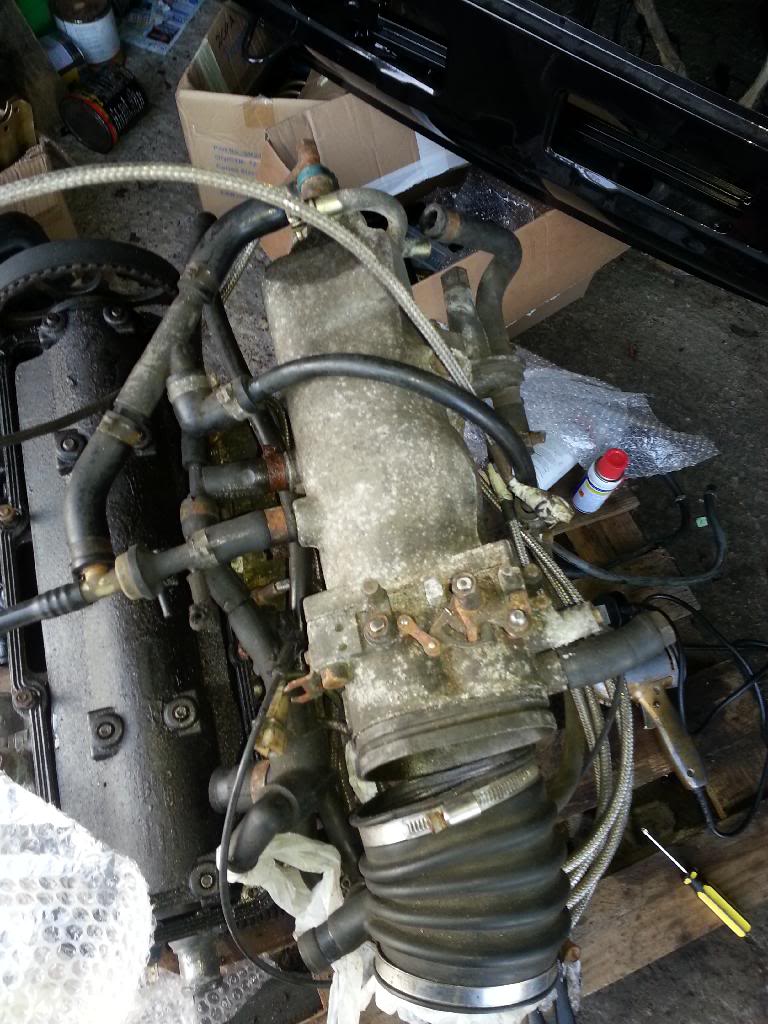
Then started on the engine. Here's the inlet prior to cleaning and painting:
And� all painted:

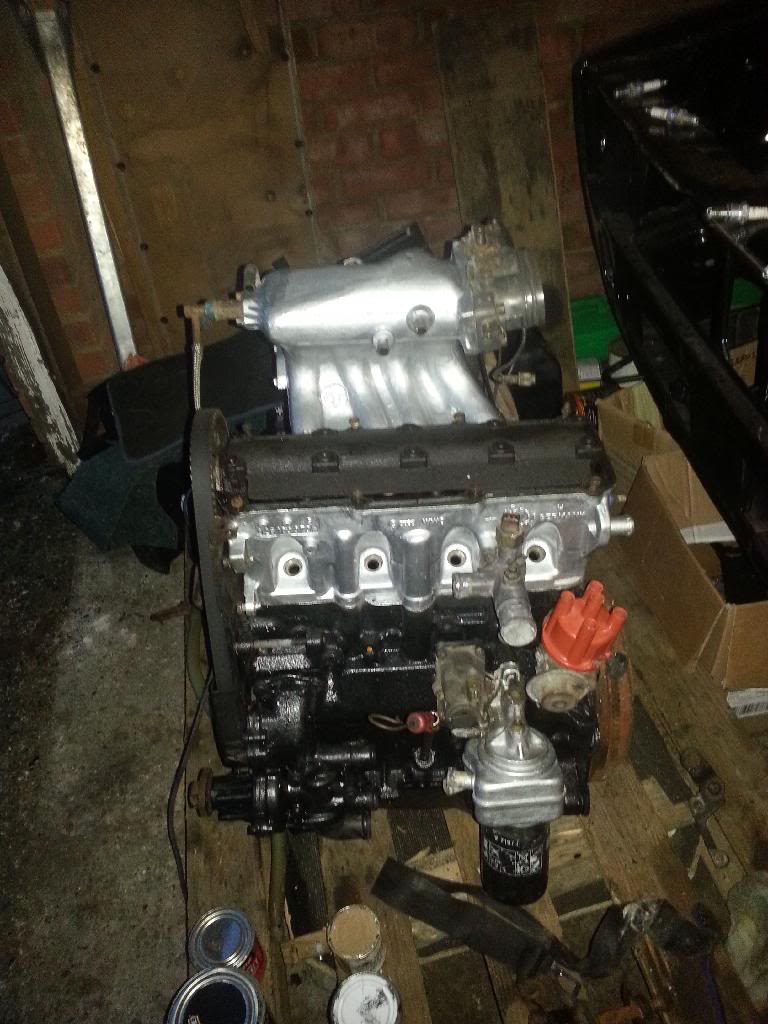
Quite happy how it turned out. Will decide if anything needs a 2nd coat later today.
Posted

Settling In

Posted
Settled In
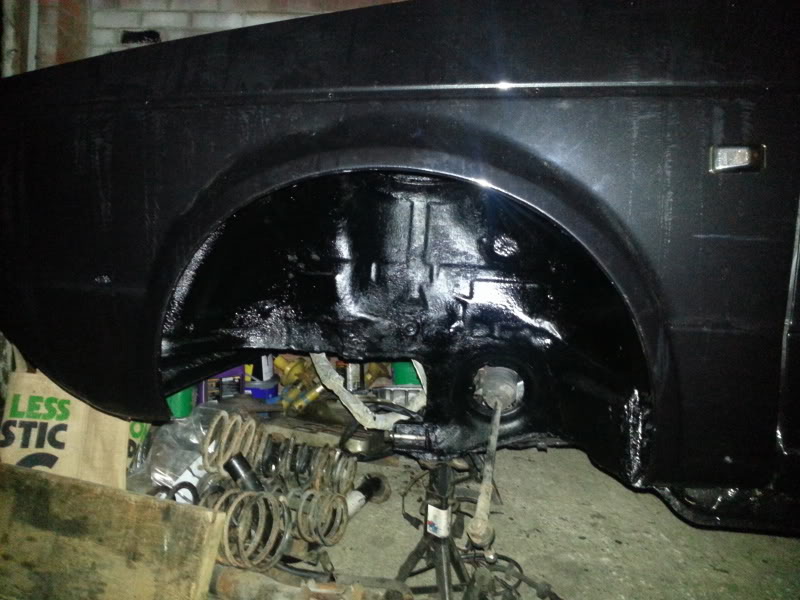
Tank shield fitted:
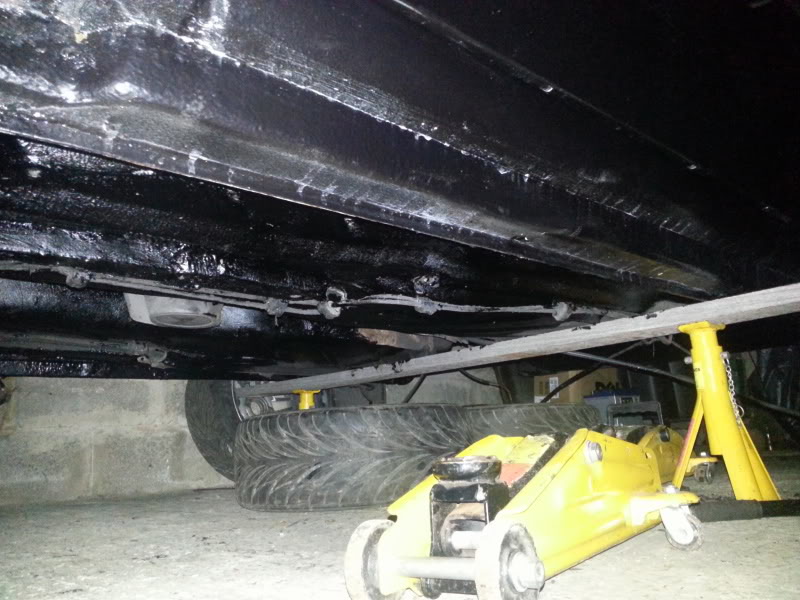
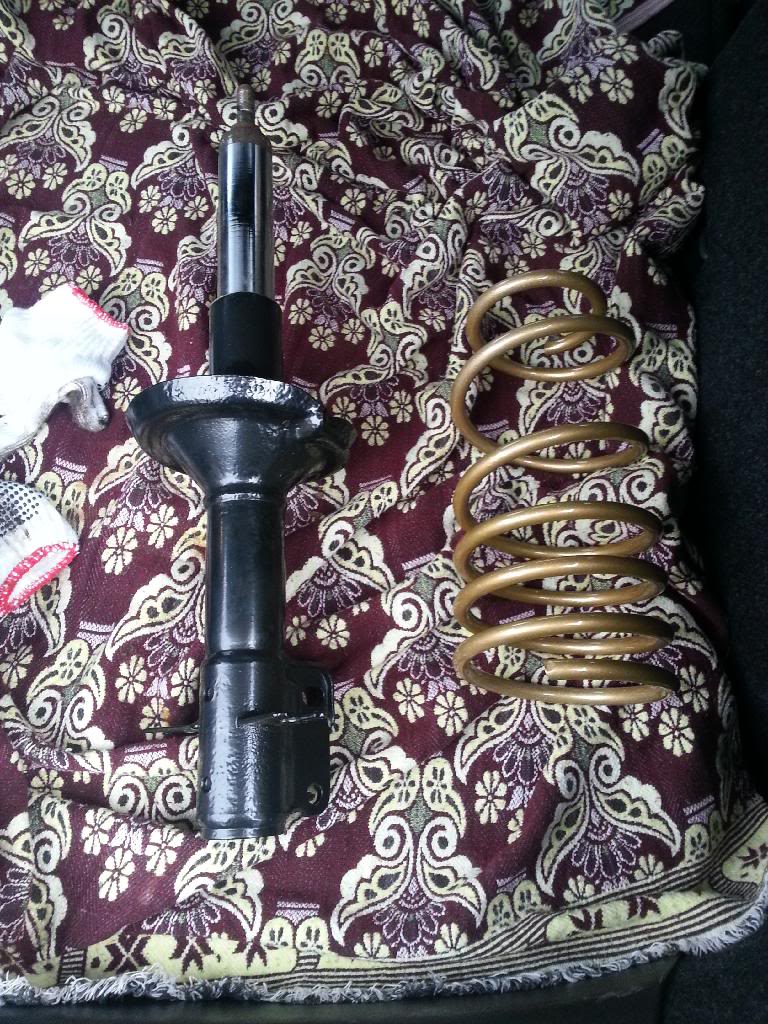
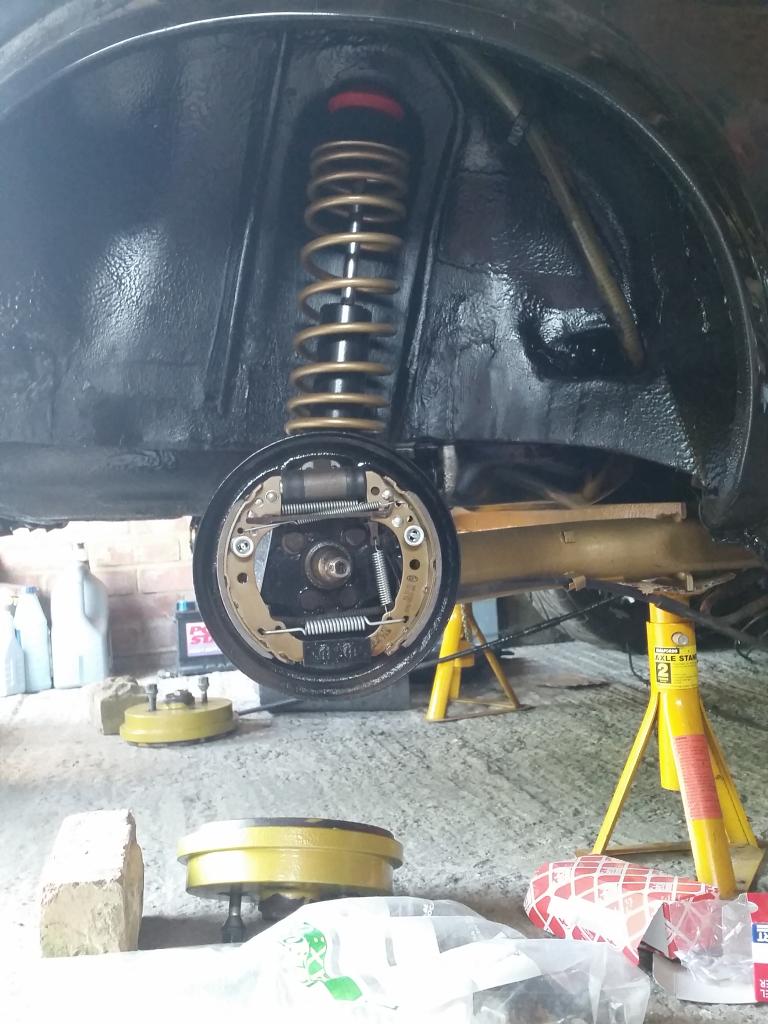
After a while the suspension was built up and rear axle put on. Then it was back on its feet for the first time in months:
More of the rear axle:
Will get more done over the next few weeks but currently replacing the cambelt and water pump on my mk4 1.8t. Got it replaced today but need to finish putting it back together after I ran out of light.
Posted
Local Hero
Not seen rear lights like those before with grey smoke only, looks smart

Andy
LINCOLNSHIRE REGION -�https://www.facebook.com/groups/467122313360002/
1983 MK1 Golf GTI Campaign Model - Under (looooong) resto!
1962 Rover P4 80
2002 BMW 745i
2008 BMW Z4 2.5Si
LINCOLNSHIRE REGION -�https://www.facebook.com/groups/467122313360002/
1983 MK1 Golf GTI Campaign Model - Under (looooong) resto!
1962 Rover P4 80
2002 BMW 745i
2008 BMW Z4 2.5Si
Posted
Settled In
Posted
Local Hero
Andy
LINCOLNSHIRE REGION -�https://www.facebook.com/groups/467122313360002/
1983 MK1 Golf GTI Campaign Model - Under (looooong) resto!
1962 Rover P4 80
2002 BMW 745i
2008 BMW Z4 2.5Si
LINCOLNSHIRE REGION -�https://www.facebook.com/groups/467122313360002/
1983 MK1 Golf GTI Campaign Model - Under (looooong) resto!
1962 Rover P4 80
2002 BMW 745i
2008 BMW Z4 2.5Si
Posted

Moderator

Posted
Settled In
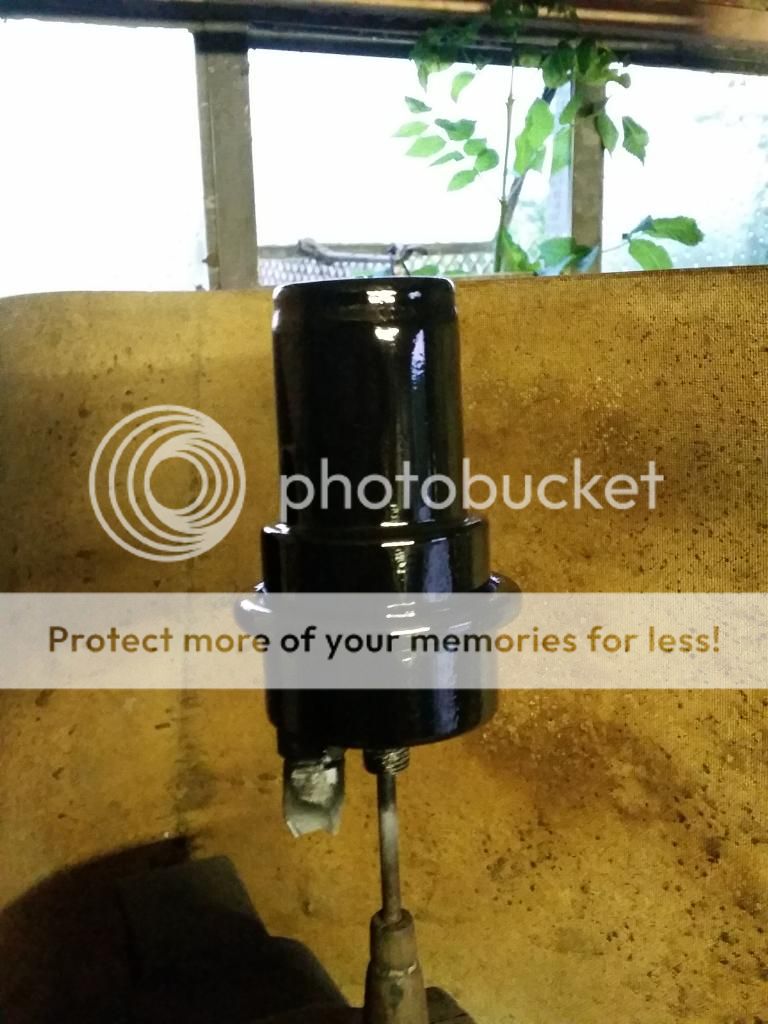
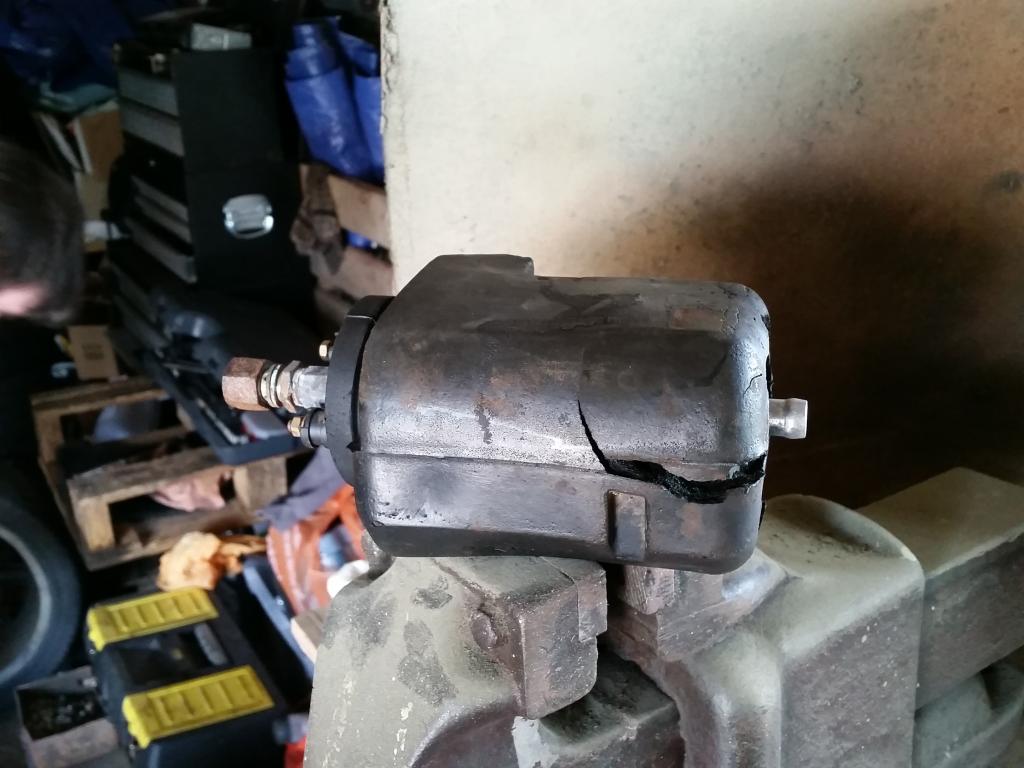
Rear brakes are built up now and I've been trying to recon the fuel system. Here's how my pump and accumulator looked:

It took a lot of effort getting these apart:

After wire brushing and course sandpapering:

Primered:
Painted and lacquered:
I'm quite happy with how it's come out. I'm also doing my brake servo again as the finish using a brush was not good enough. I've got it to the stage that the accumulator was before painting but today I'm going to get some leveller to build up on it and then rub it down again to get a pretty decent finish. I'll post some more pictures when I get a chance.
Posted
Local Hero
Andy
LINCOLNSHIRE REGION -�https://www.facebook.com/groups/467122313360002/
1983 MK1 Golf GTI Campaign Model - Under (looooong) resto!
1962 Rover P4 80
2002 BMW 745i
2008 BMW Z4 2.5Si
LINCOLNSHIRE REGION -�https://www.facebook.com/groups/467122313360002/
1983 MK1 Golf GTI Campaign Model - Under (looooong) resto!
1962 Rover P4 80
2002 BMW 745i
2008 BMW Z4 2.5Si
Posted
Settled In
Had to heat it up a lot to get the sheared bolt out and it's now painted, just need to lacquer it
I also rubbed down and used high build primer on the brake servo but the paint reacted really badly so I've left it over night to harden and will give it another go later. So my jobs today are to rub down the servo AGAIN and lacquer the accumulator bracket. I will also clean the servo with white spirit before I give it another layer of primer.
Also here's a shot of my driverside rear brakes built up:
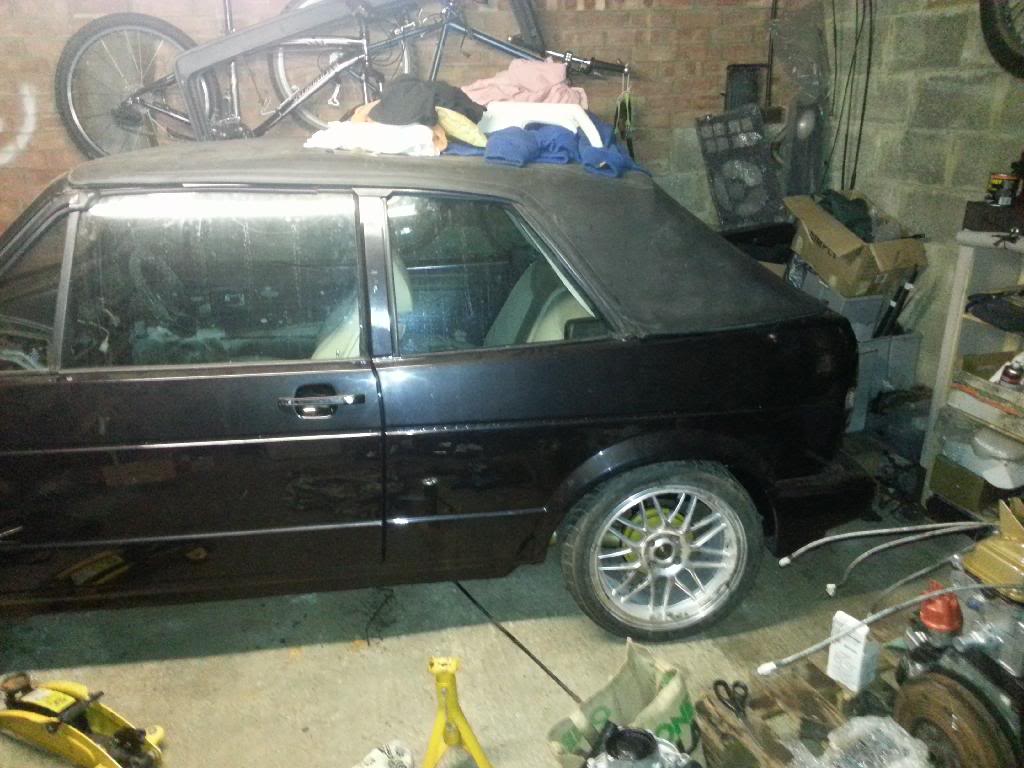
I think I've finally got the mk1 bug again

Also, we have further cars in our vw family, another 2 polos and a Corrado as one polo goes to the scrapyard in the sky and another one goes in to a lock up for a bit after the cambelt tensioner went on it for a 3rd time in a row! oh well
Posted
Settled In
After loads of priming and sanding I managed to get the servo looking like this:

Ive only got Matt Black at the moment so that's the lolour it's going:
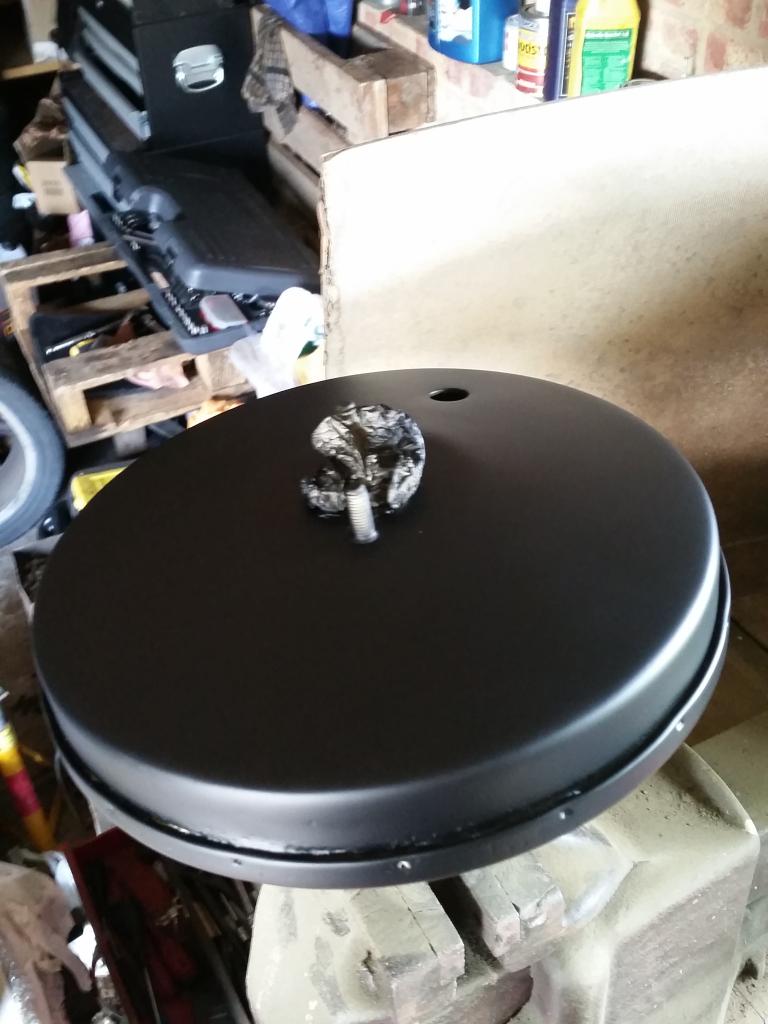
Not the best finish but a lot better than it was. I need to laquer it now.
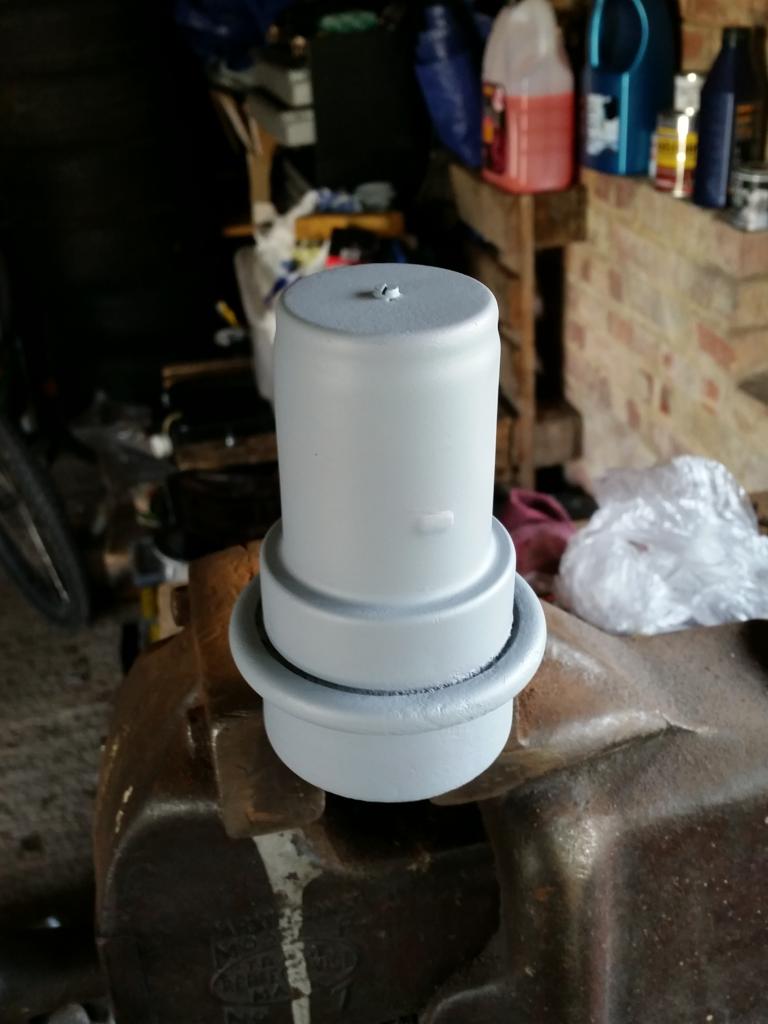
Accumulator bracket all done and back together:

Fuel pump foams and rubbers cleaned. Need a bracket now though:
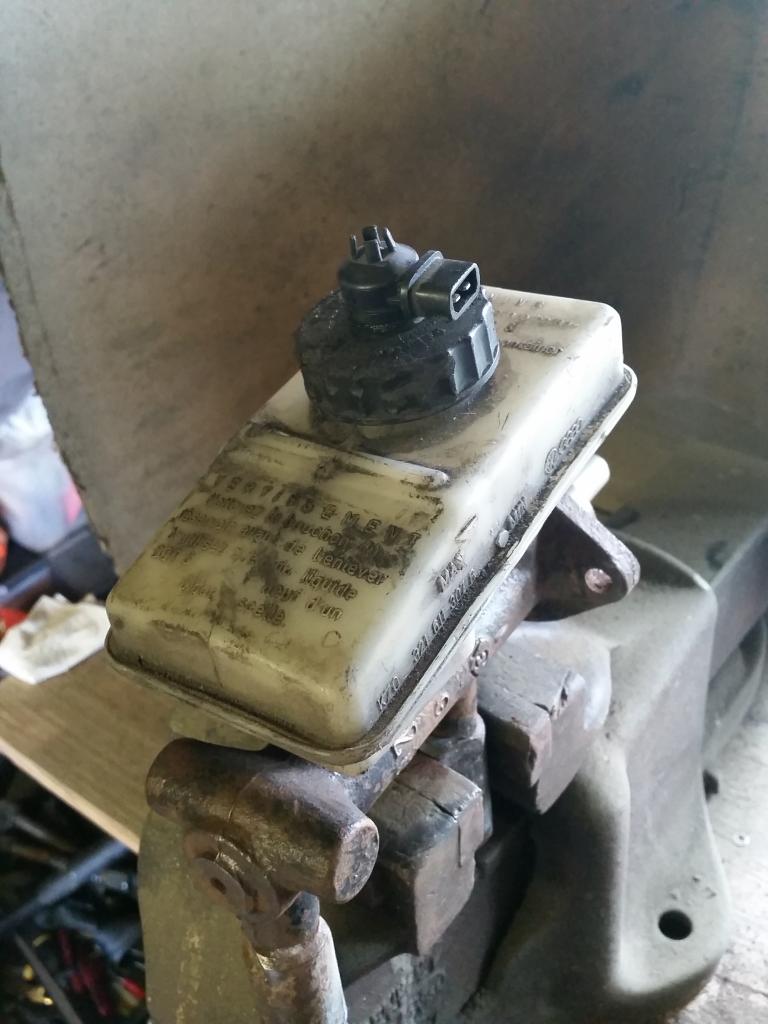
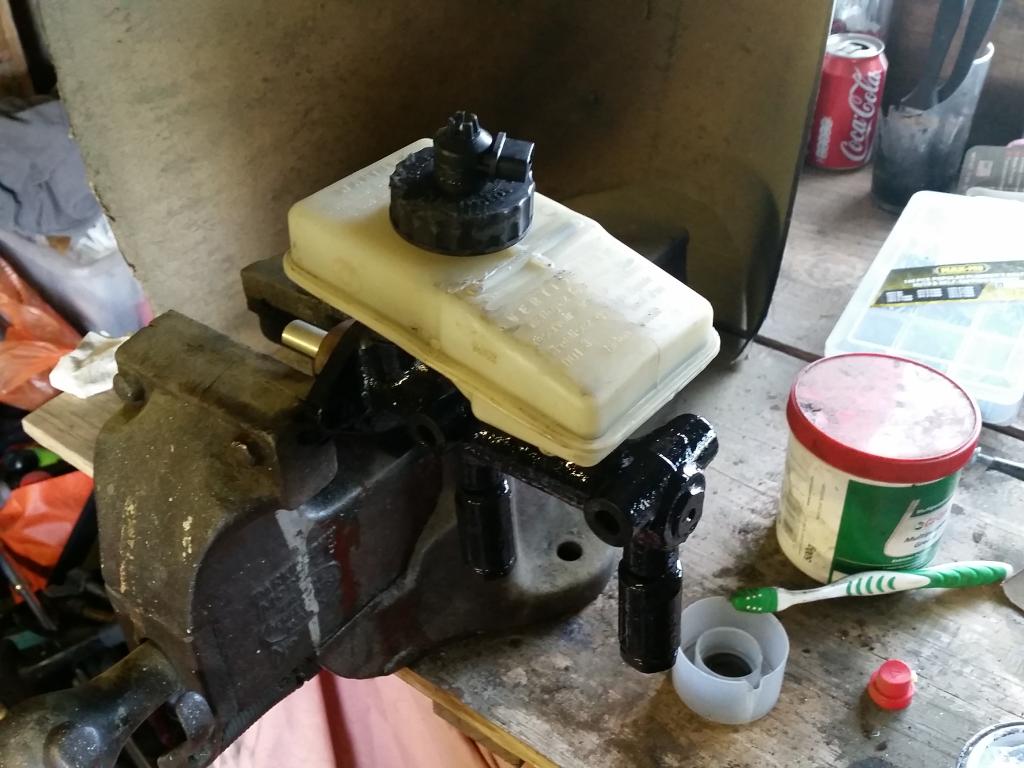
And moved on to the master cylinder:
Posted
Settled In
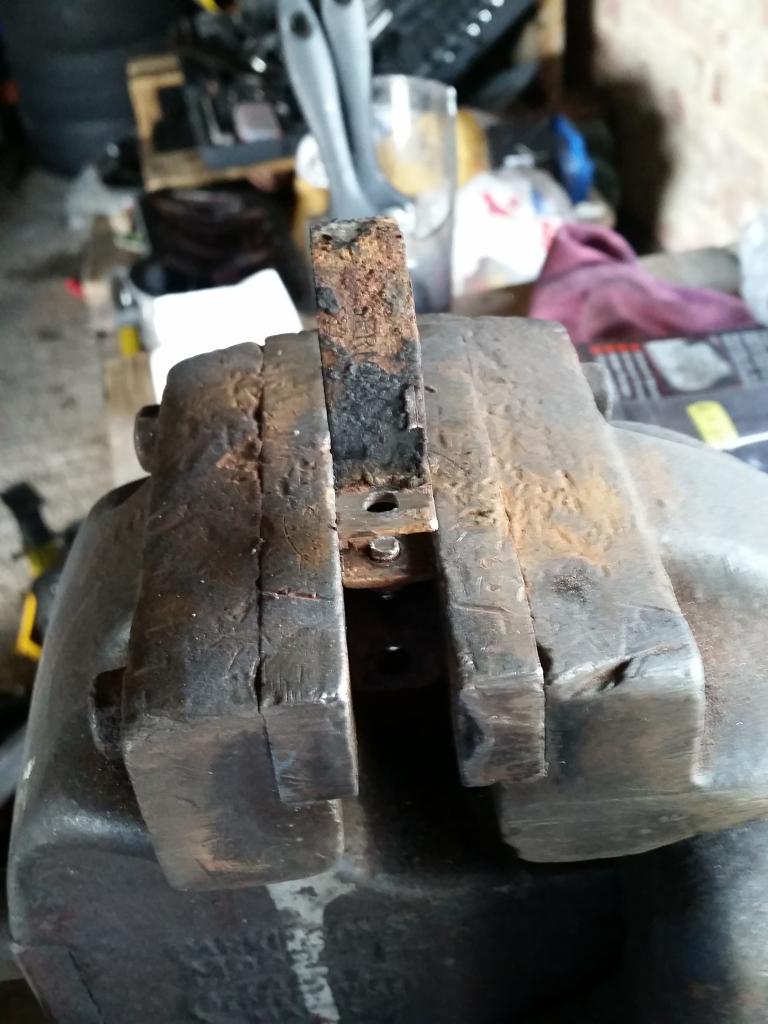
Managed to snap a bolt in my steering column a couple of months ago so finally got started on removing that:
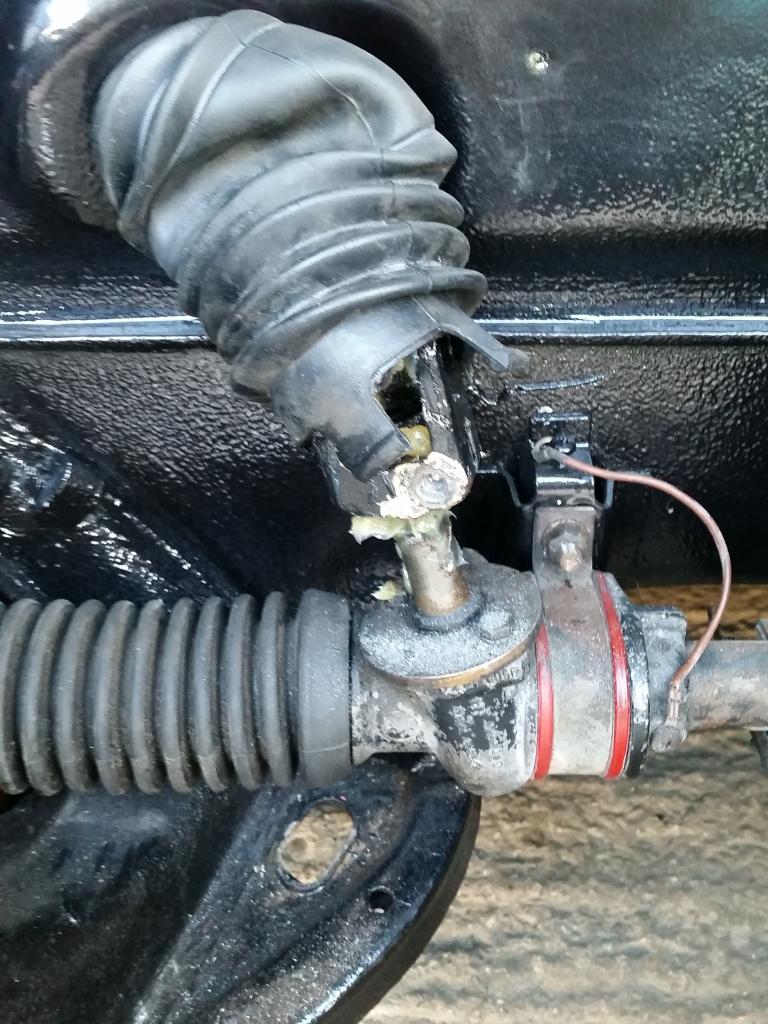
I went through a few drill bits and need to wait to get some more before I continue. Nightmare!
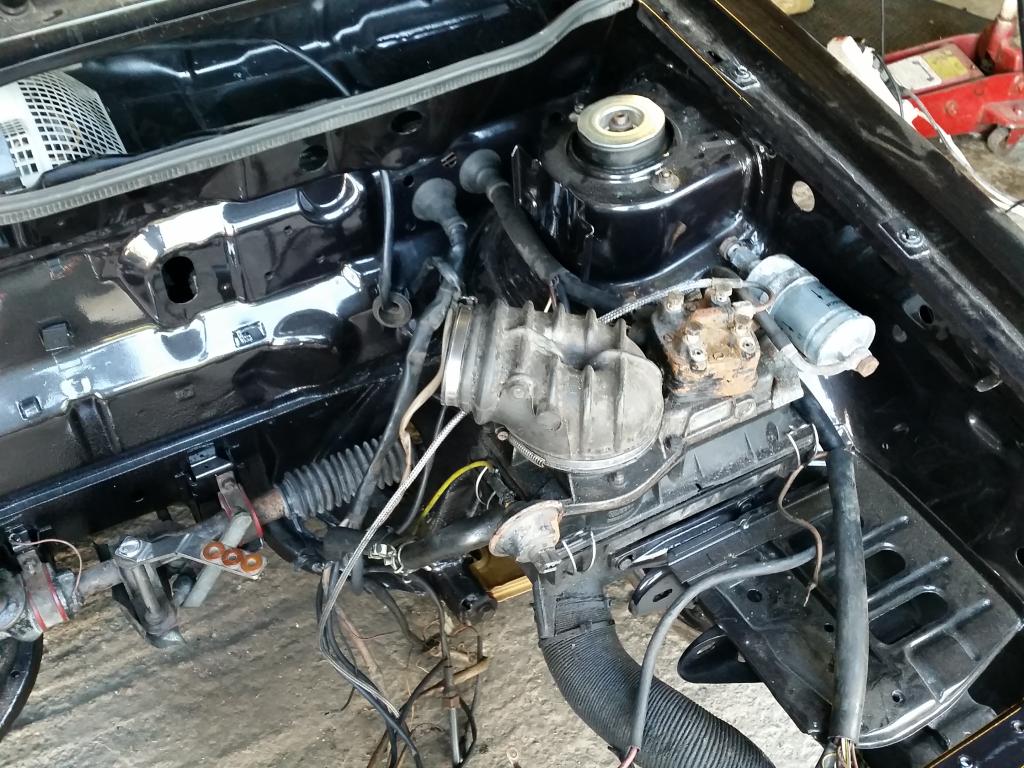
My main task now is to measure how long I want my fuel lines, hence why I've propped my metering head in the bay. I've also fitted the accumulator under the car and need to fit the other thing under there (not pump or accumulator) to see where the return line goes to. As far as I can see the supply line comes from the accumulator to the metering head and returns to where I've just described.
That's it for now but hopefully try and get some more done after work tomorrow.
Posted
Local Hero
Andy
LINCOLNSHIRE REGION -�https://www.facebook.com/groups/467122313360002/
1983 MK1 Golf GTI Campaign Model - Under (looooong) resto!
1962 Rover P4 80
2002 BMW 745i
2008 BMW Z4 2.5Si
LINCOLNSHIRE REGION -�https://www.facebook.com/groups/467122313360002/
1983 MK1 Golf GTI Campaign Model - Under (looooong) resto!
1962 Rover P4 80
2002 BMW 745i
2008 BMW Z4 2.5Si
0 guests and 0 members have just viewed this: None.