


My '85 Cabby - getting closer to completion

Posted
Settling In

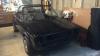
1985 Karmann Cabriolet
I started my build up again after 5 years lol … basically doing same as you but r32 conversion … got so much work to do smh
Posted
Settled In


Loading up in my friends trailer:
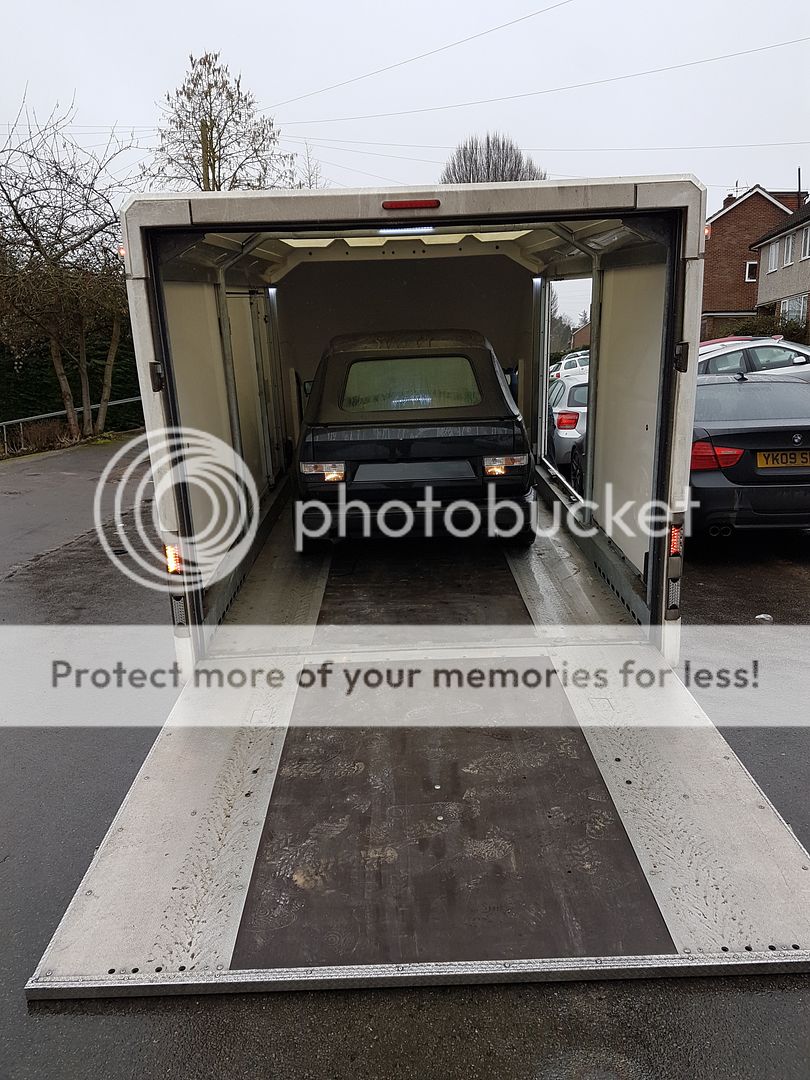
And tucked up at my new place:
It's a little tight:

When my friend turned up to pick up the car I hadn't driven it and it's maiden voyage was going to be driving it the quarter mile down the service road and on to the main road, so it's easier to be put on the trailer.
Last time he picked up from here he drove down the service road with the trailer only to find the trailer was too big to turn around easily. We managed to squeeze it between the garages with the help of neighbours but it took over 2 hours.
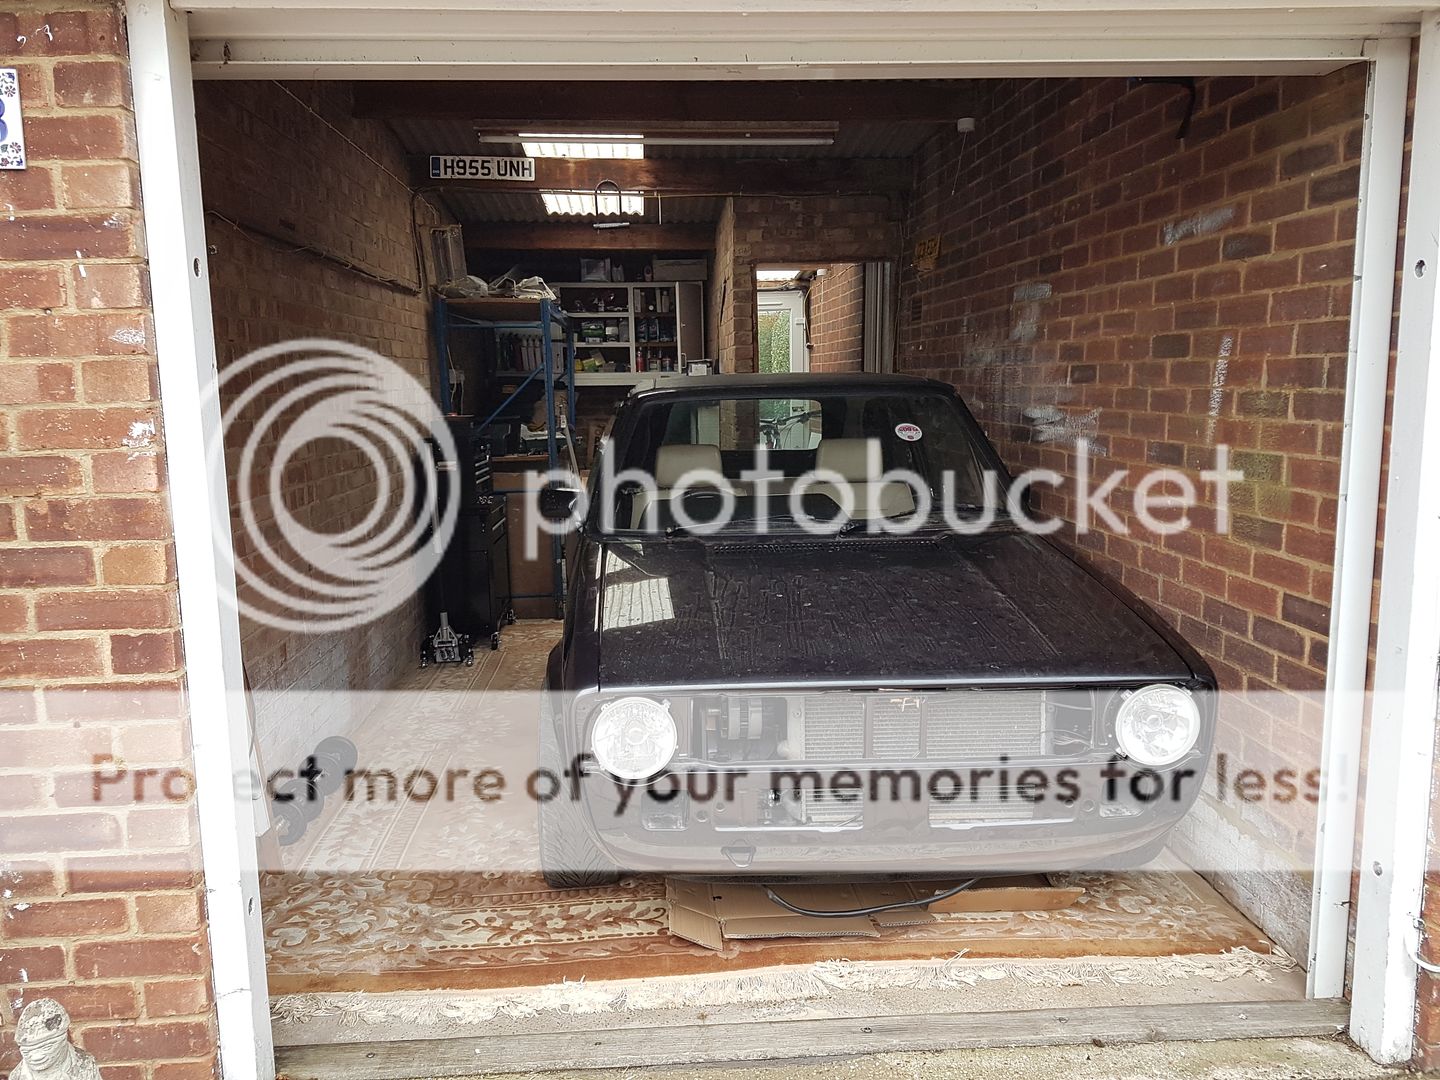
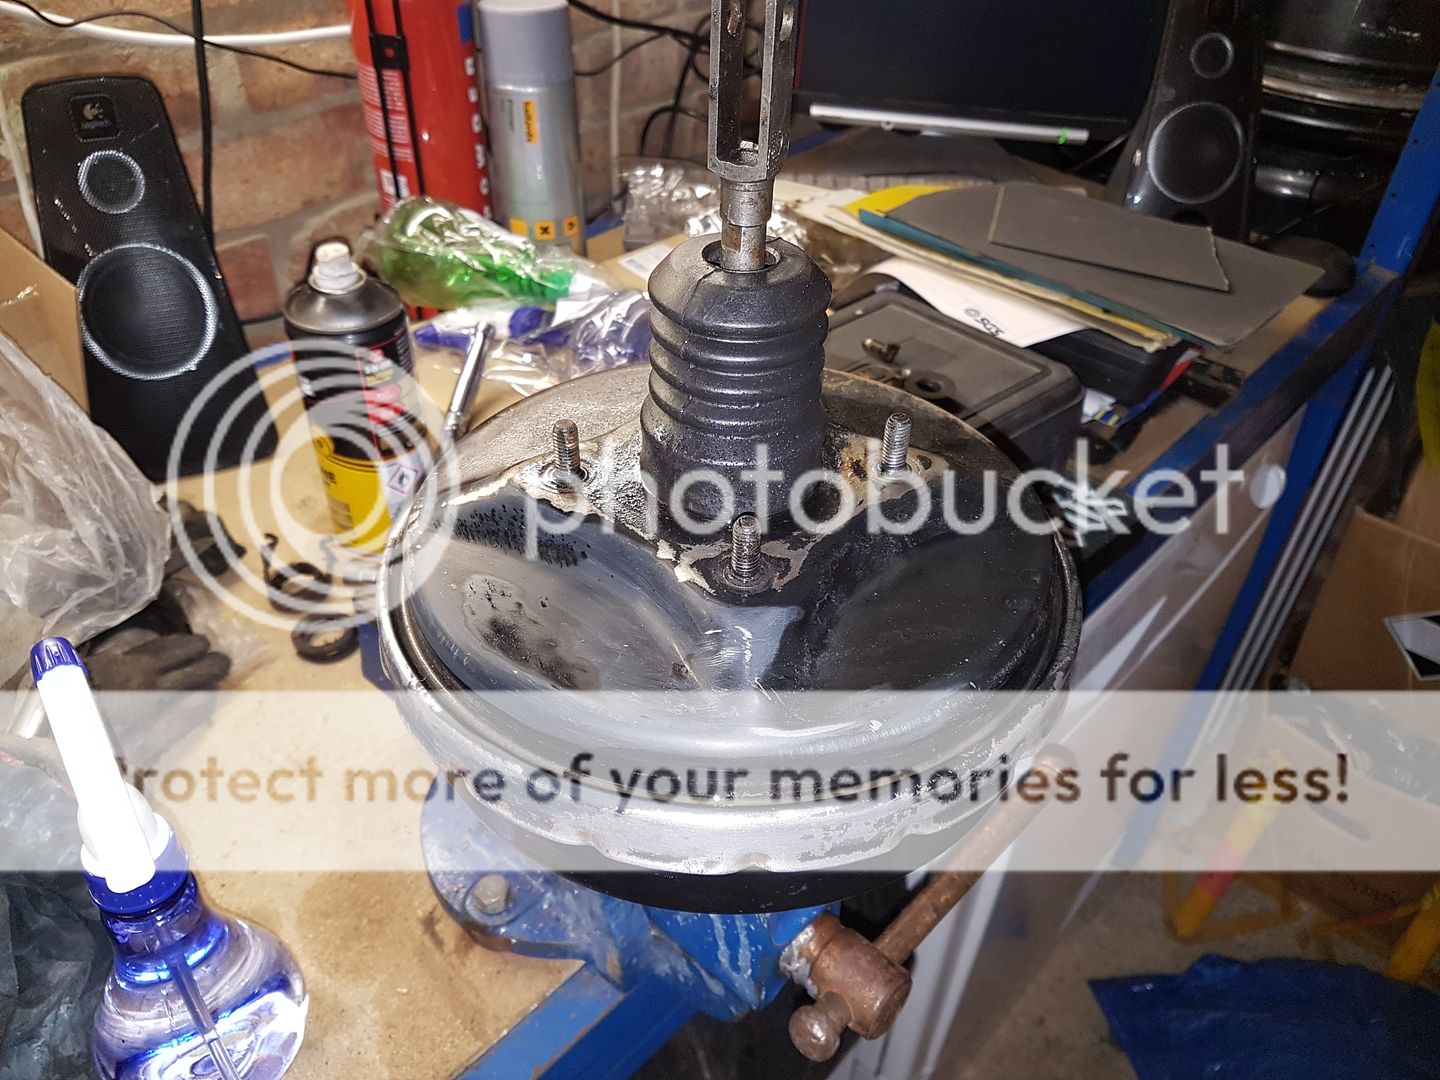
So I pull away down the service road and my brakes are binding quite badly. Worked out the servo was sucking them on, so to get me going again, removed the vacuum hose and they were free. No servo assistance though.
Over in the new place, I realised the servo had been upgraded at some point and the larger size meant it was fouling a few things in the bay. It worked before being dismantled but was looking in rough shape on the inside.
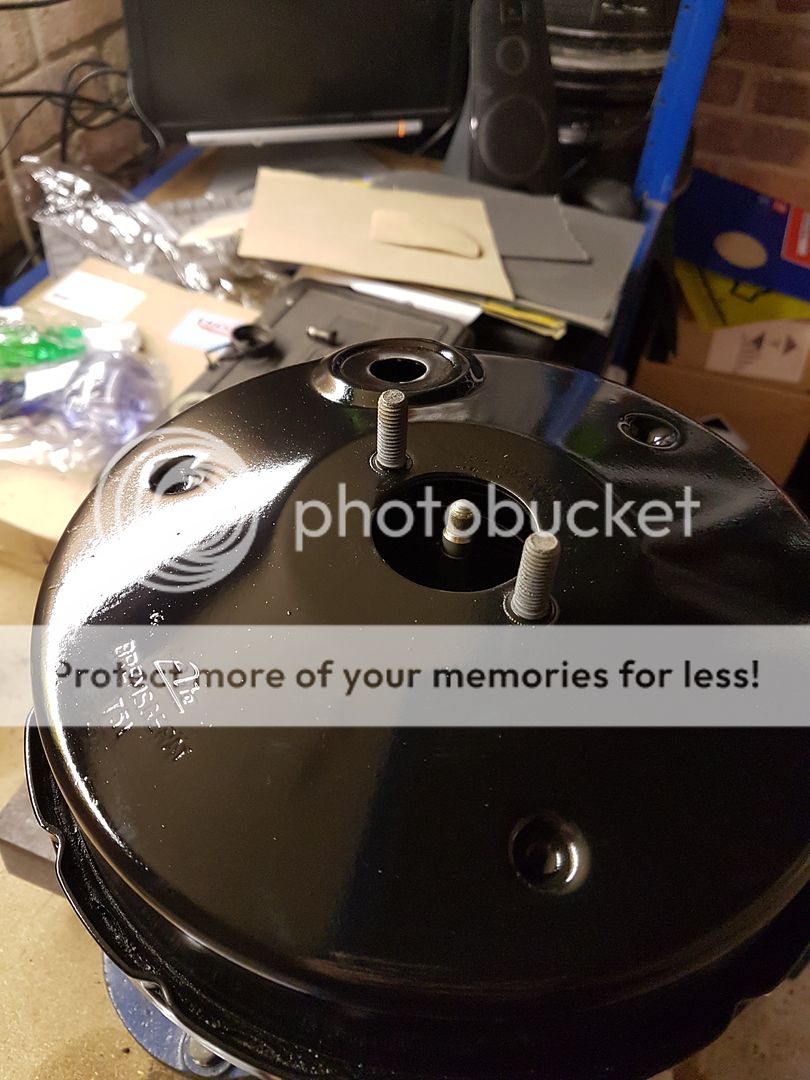
I got hold of a standard brake servo and set to giving it a new lick of paint before fitting.

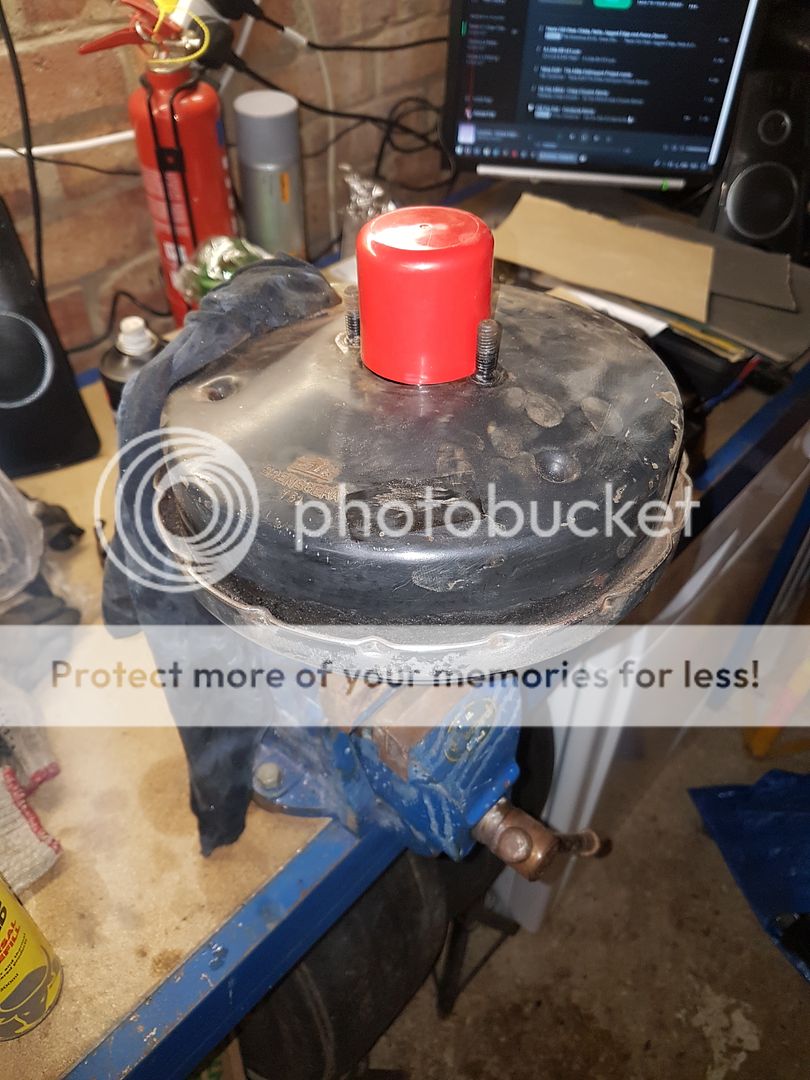
Not a mirror finish but looking a bit better than before:
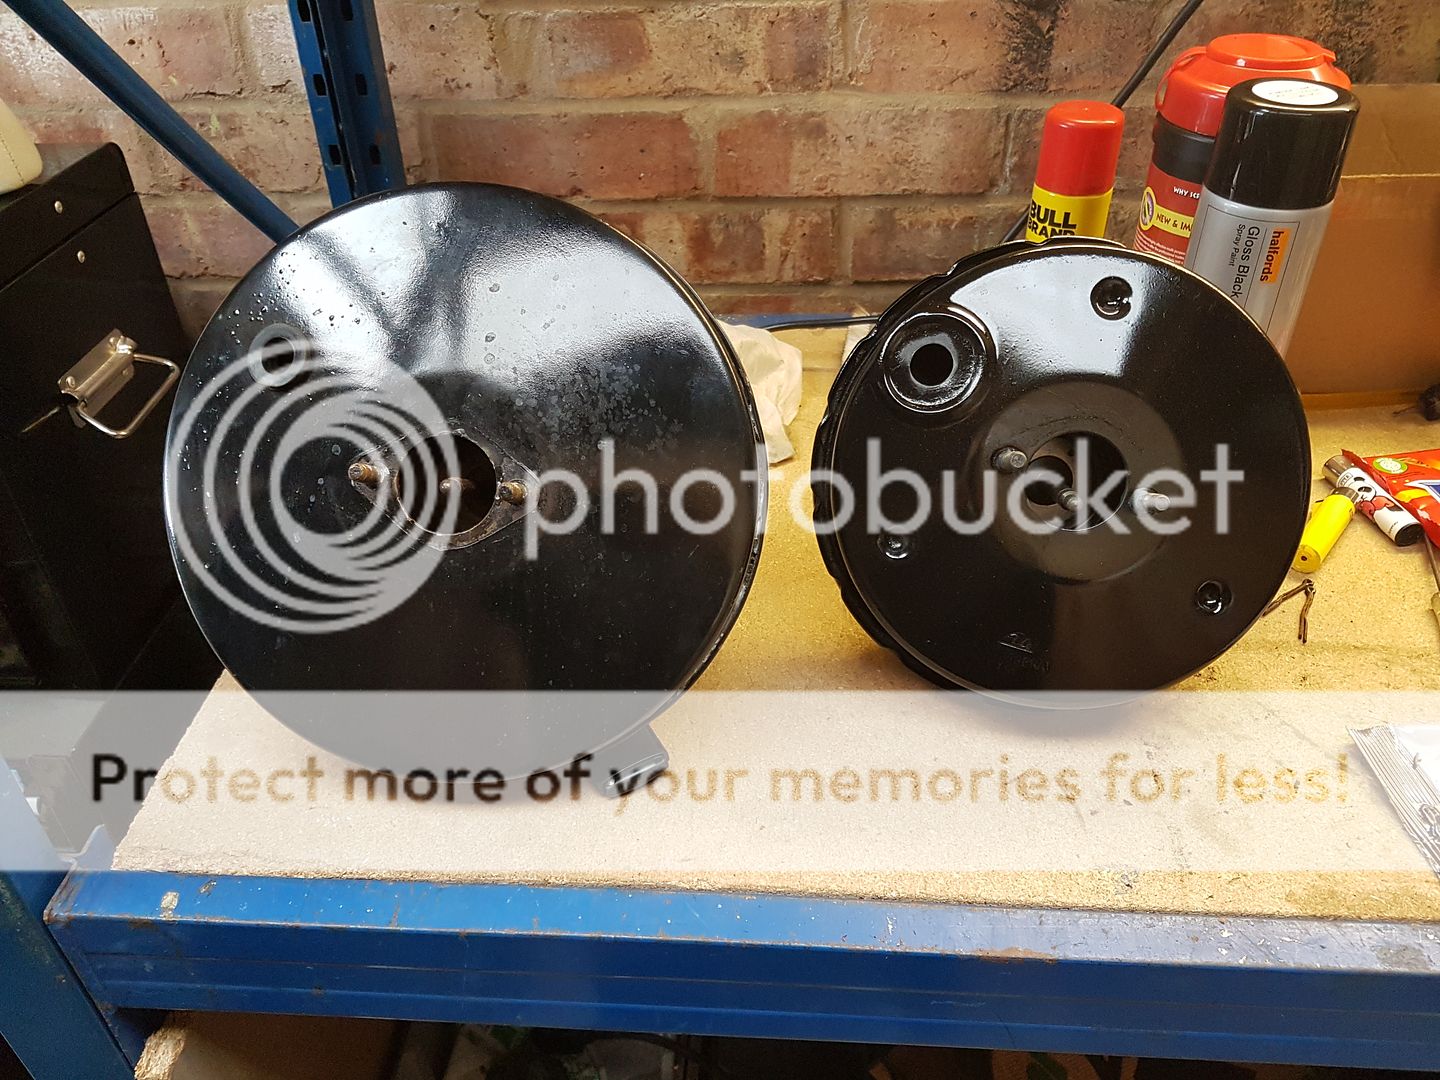
Once I had both servos on the bench, you can really tell the size difference. The one on the left measured 10.5" to the standard 8 on the right.
Going in:

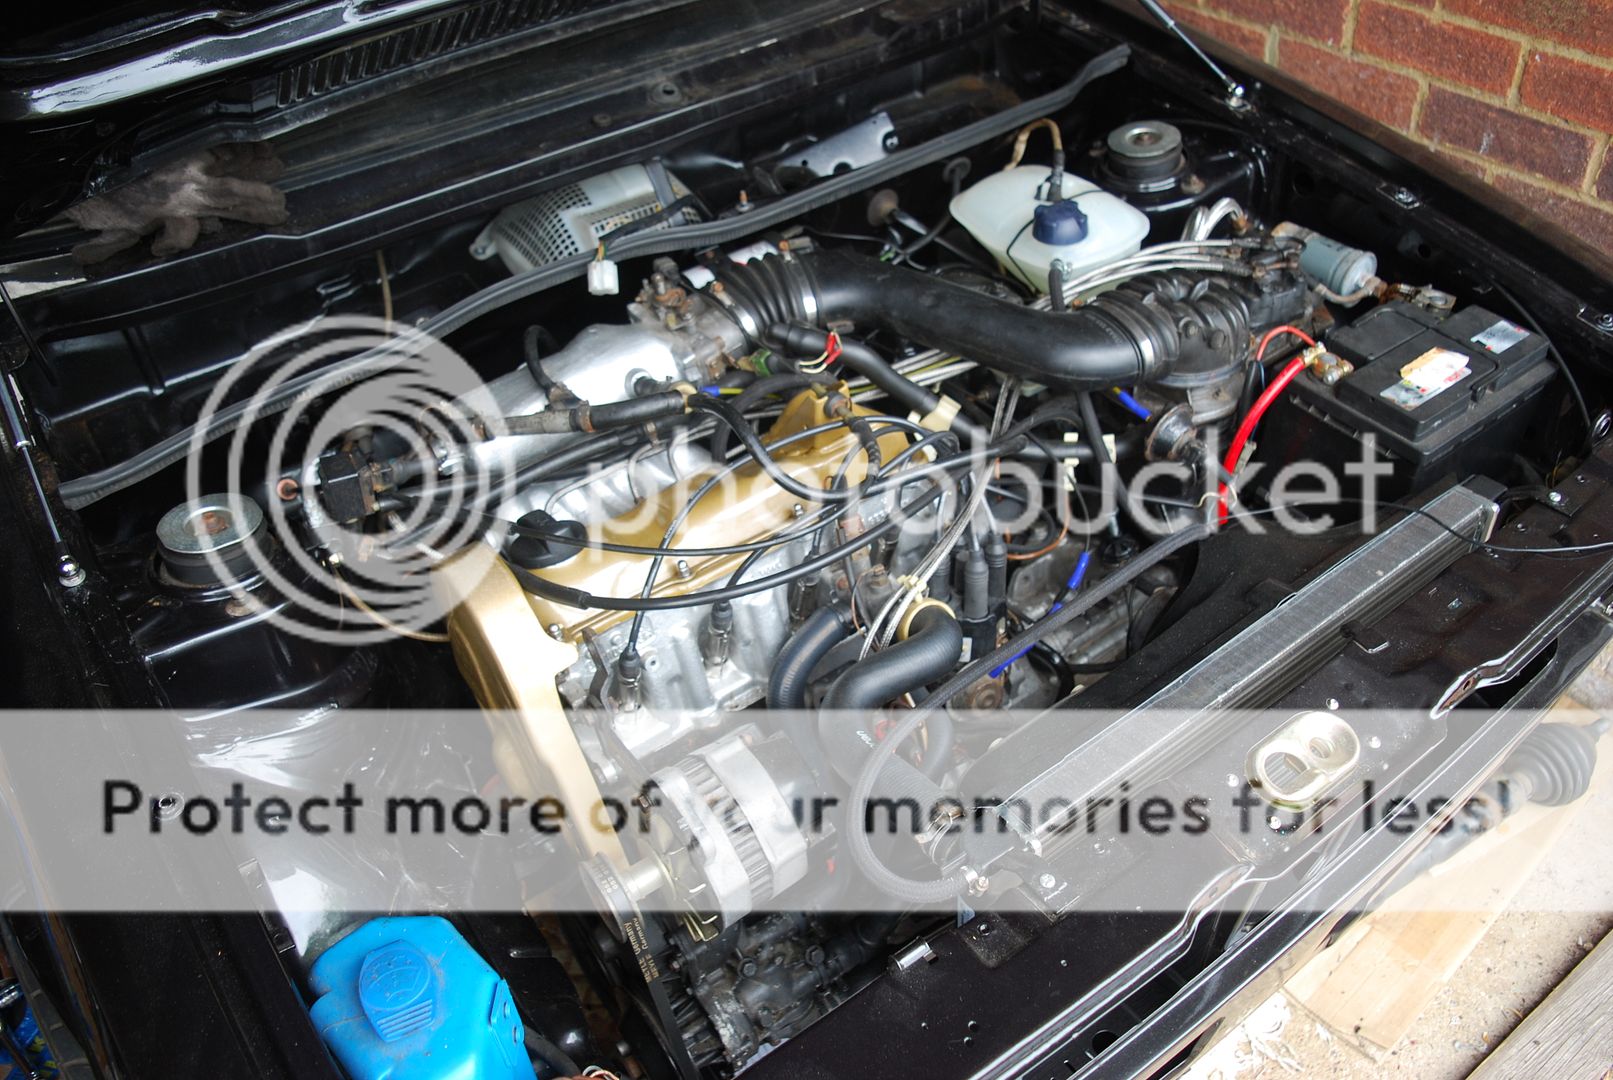
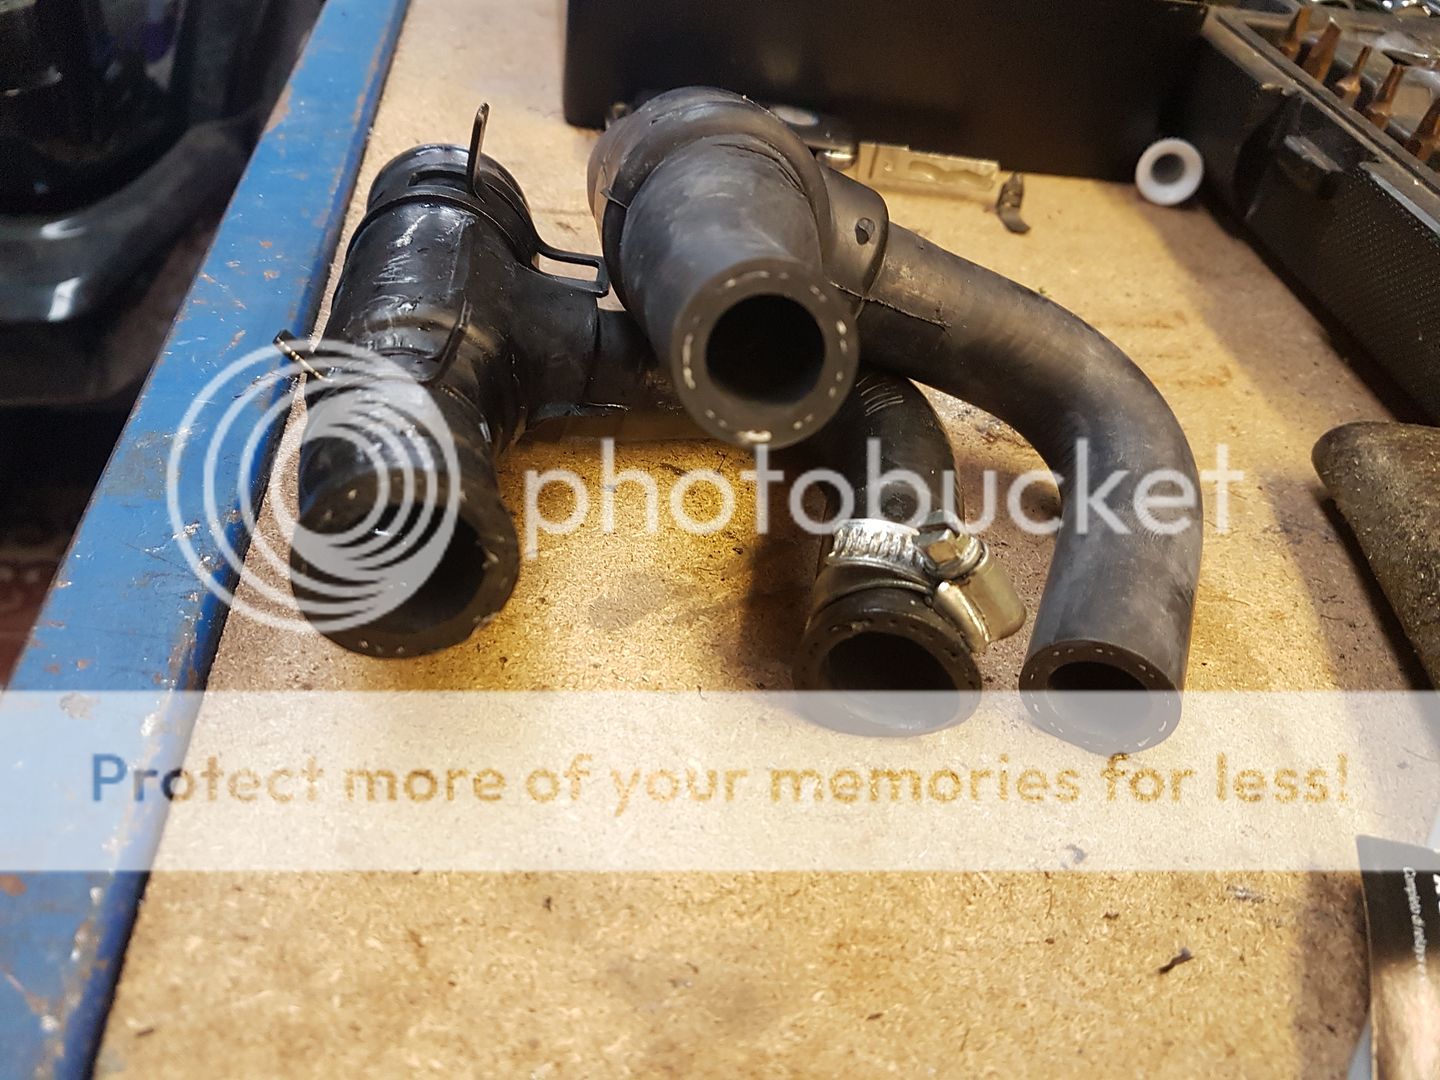
I also ran its maiden voyage with no coolant so had to get that sorted before running the engine again.
I got a leak from a coolant hose so replaced that and soon realised that all of my coolant hoses were looking pretty rough, so I replaced them all.
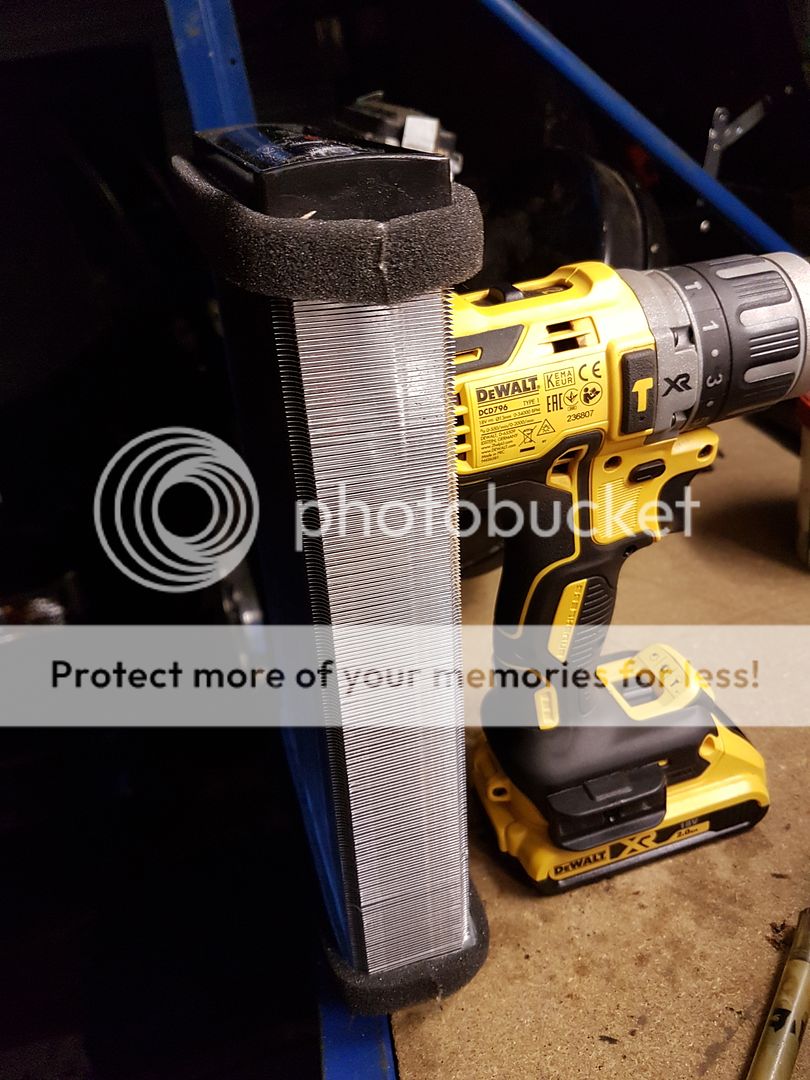
I also replaced the heater matrix as that had seen better days:

I think this is where the foam goes. I cut them down and glued them together so it's continuous all the way around.
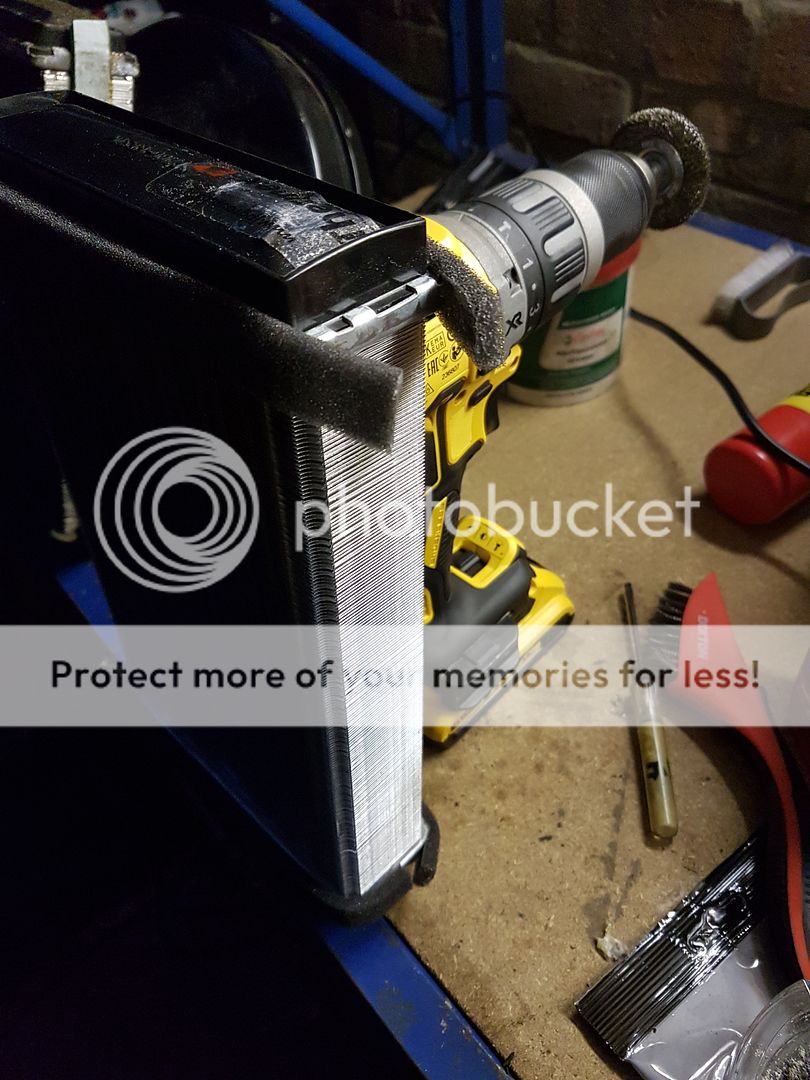
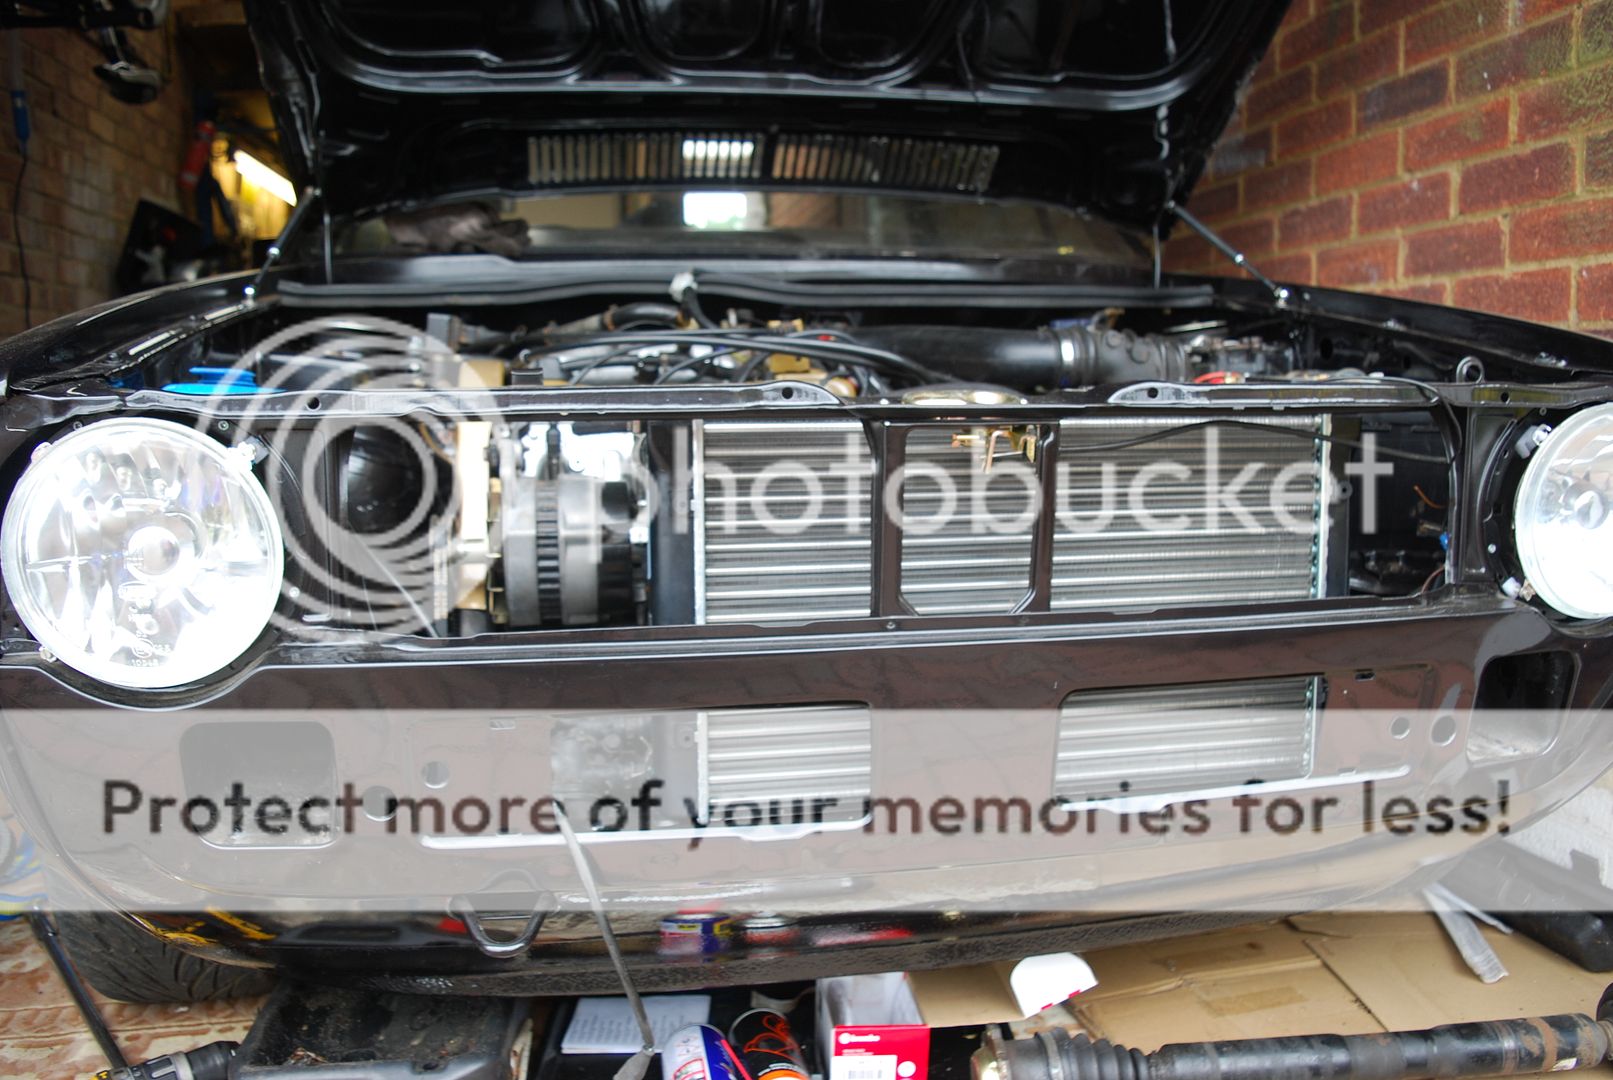
And once everything was tight and I ran the engine again, the radiator gave way so I had to replace that too.
Now running very nice:
So now the engine starts on first turn of key every time, gets to temperature, and doesn't leak. The main thing now is finishing and electrical things.
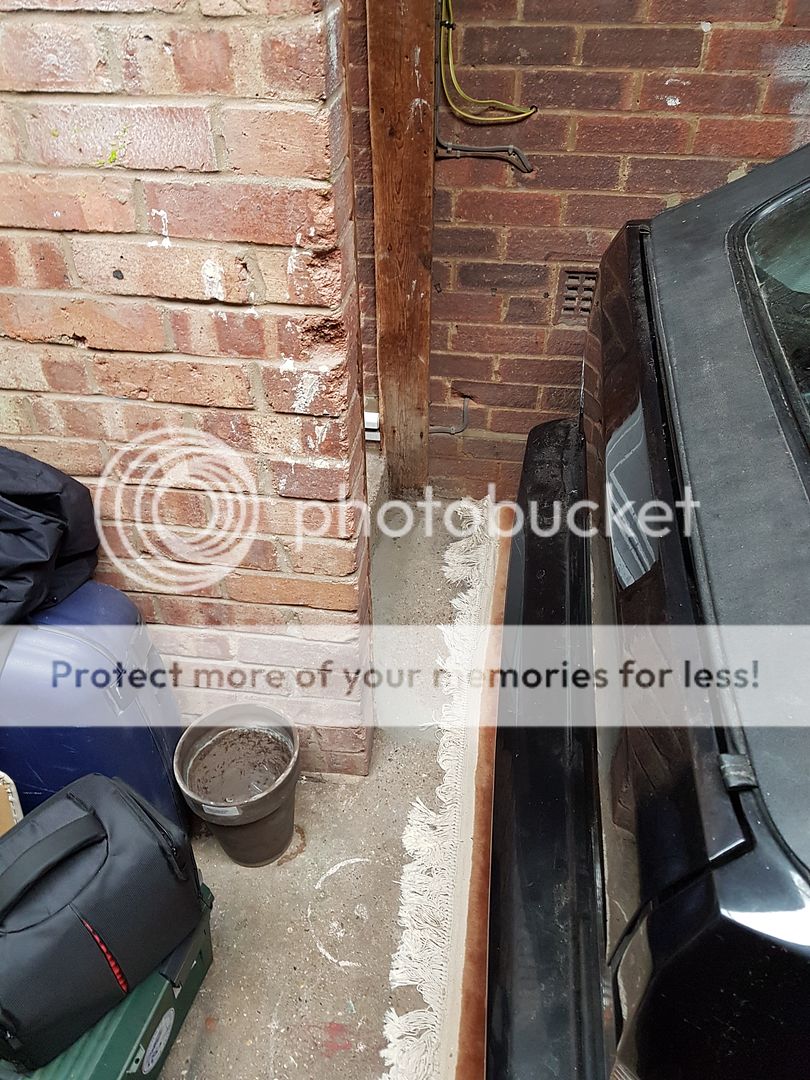
Electrical things include doing all the indicators, rear fog, centre console gauges, and interior light. Once that's done I can finish doing the interior. I also have to do some things to the outside of the passenger side. It's been in the garage against that side but I'll get it out in the next few weeks.
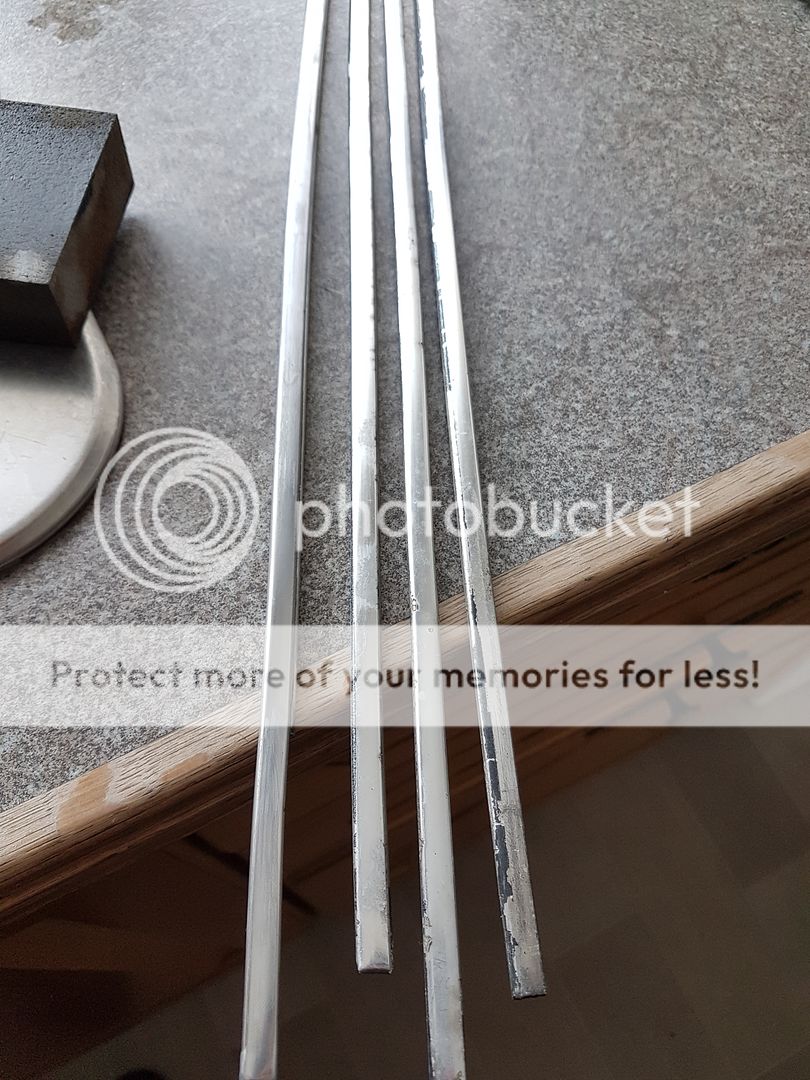
Another thing I did recently is rub down and polish the metal that sits underneath the scrapers as they were looking grotty. Im sure Ive got more pictures somewhere but heres one side fitted:

I went to see my bodyshop guy at the weekend, he's busy as usual, but it's booked to go in in 6 weeks for final paint corrections and polishing. I should have it 'mot-able' by then to drive it straight to a garage. Can't wait!

Settled In
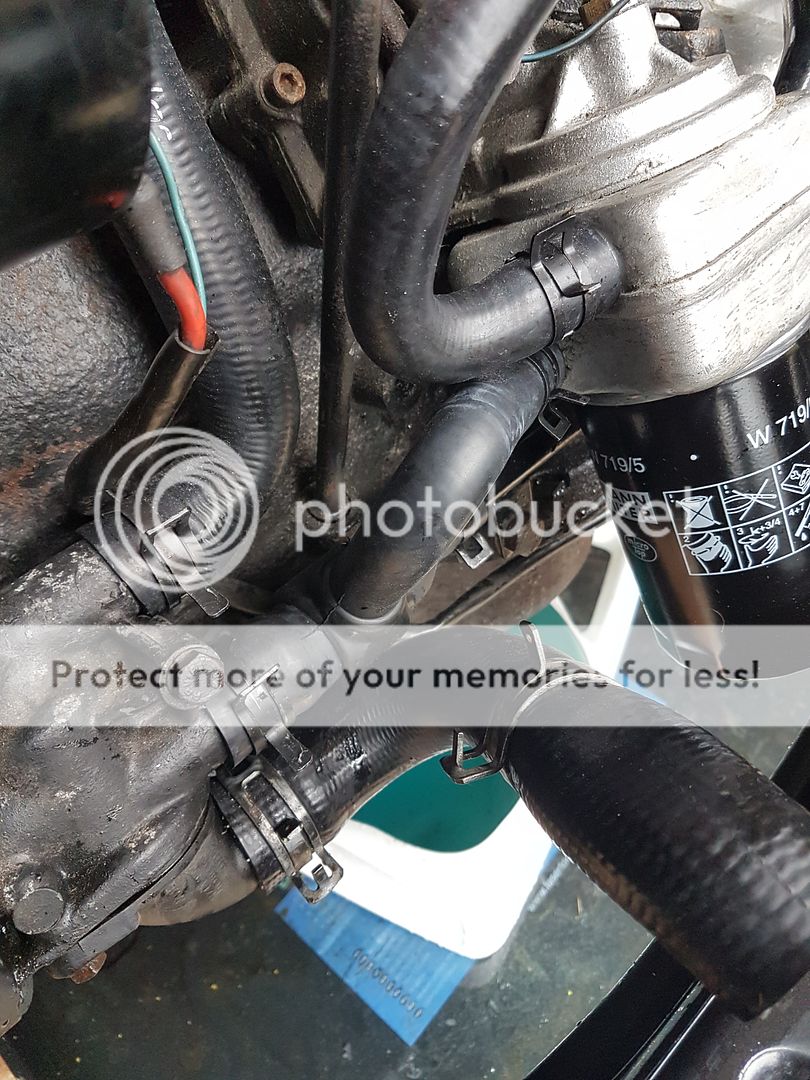
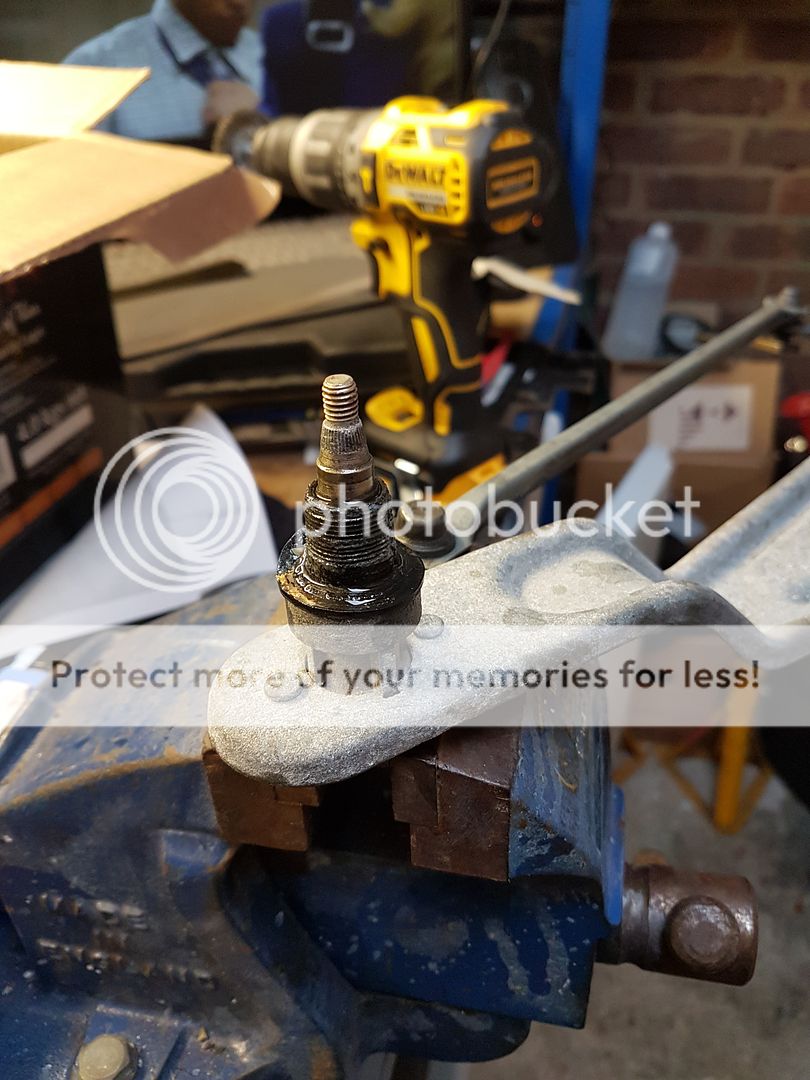
I think part of the problem with the leaks was the crappy jubilee clips I was using so replaced all with new OEM style:
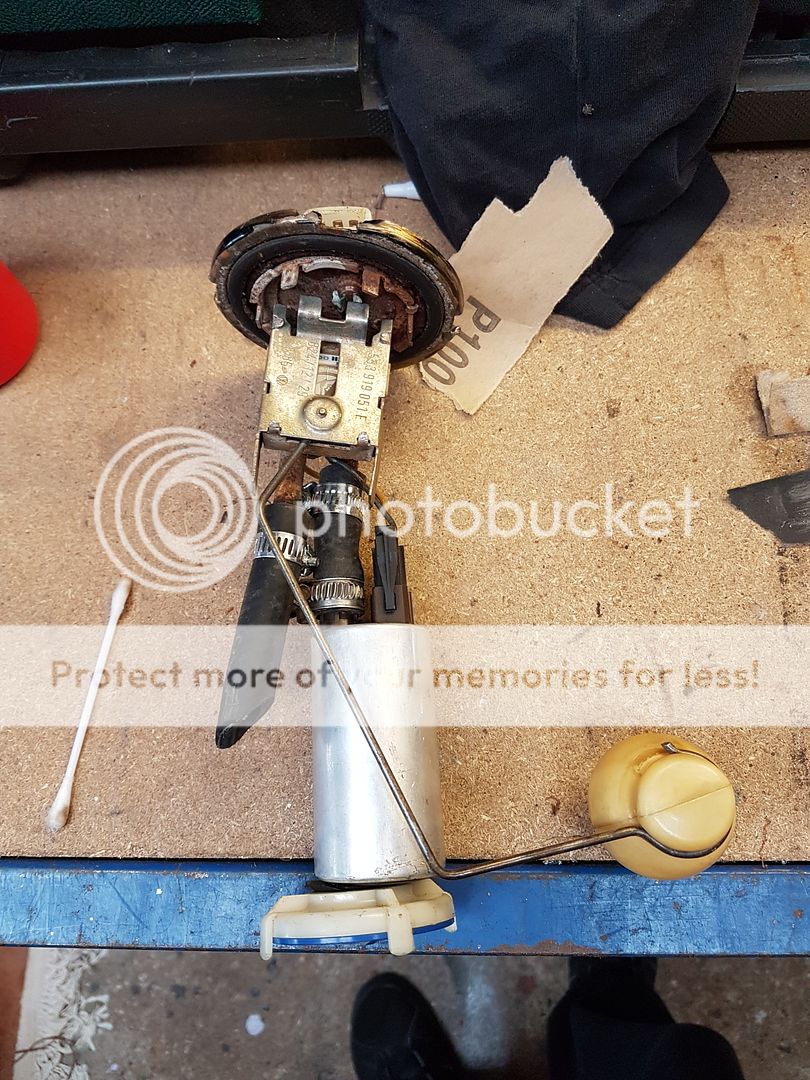
Next I had issues with the fuel sender unit so took it out to give it a clean using alcohol on the board
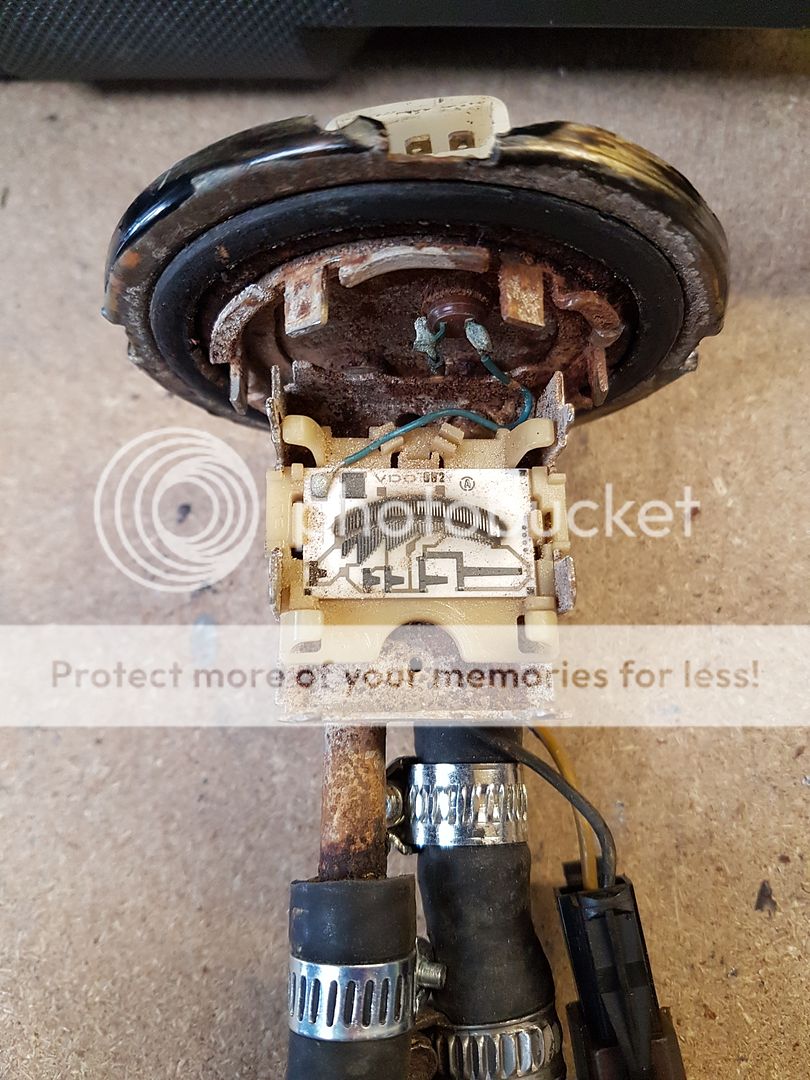
And rubbed down the contact:
Ready to go back in:
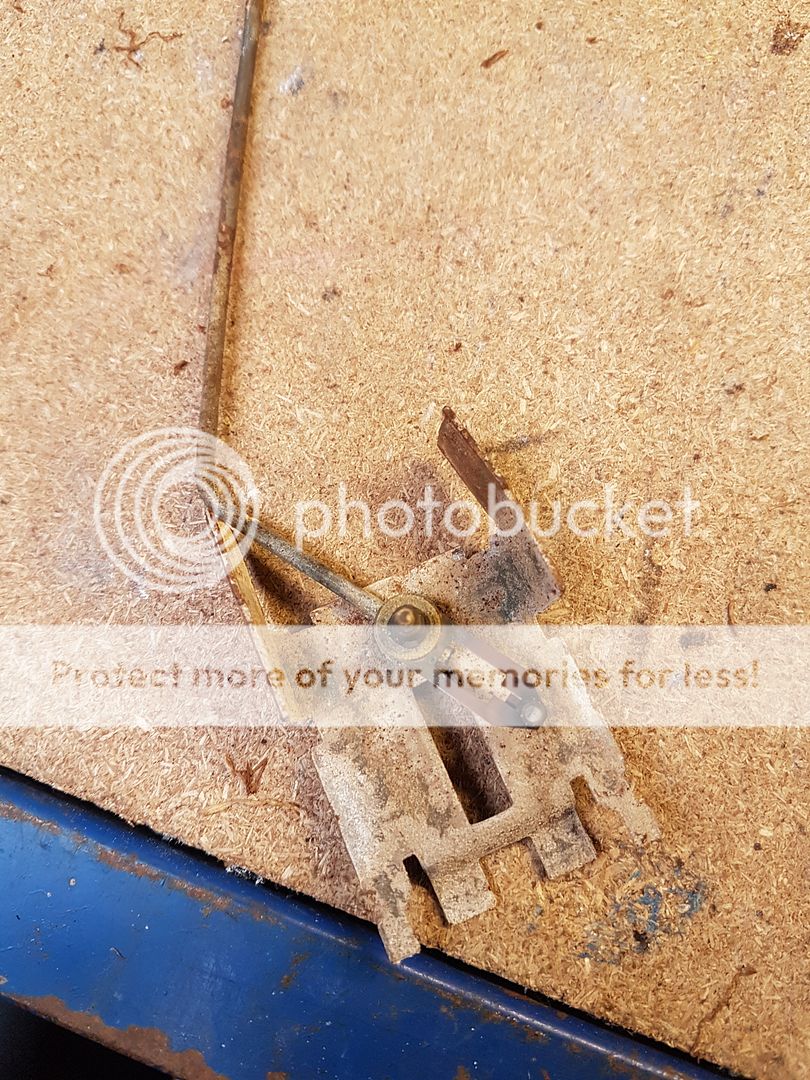
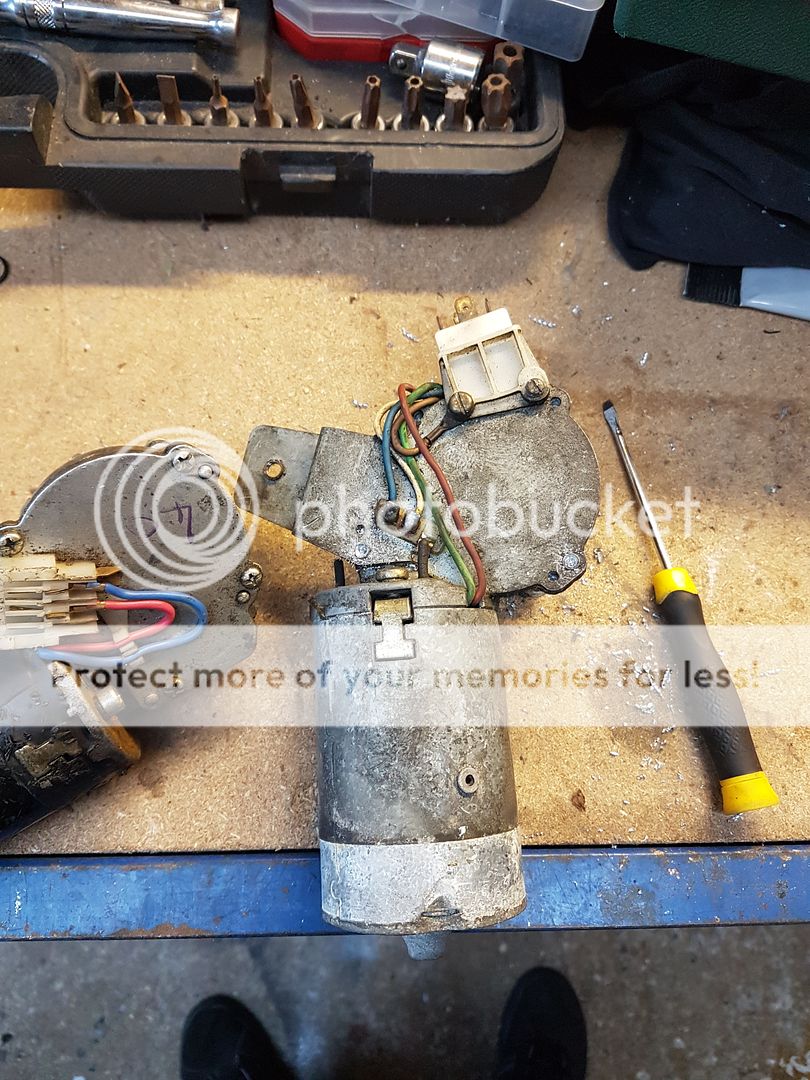
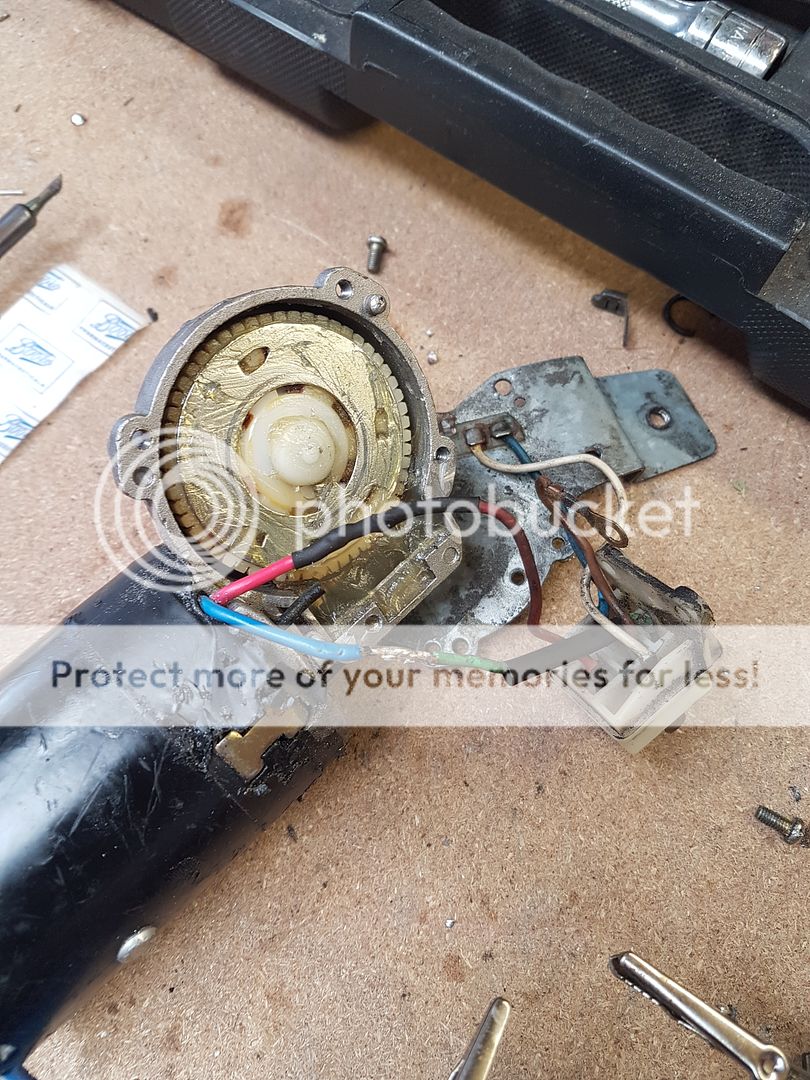
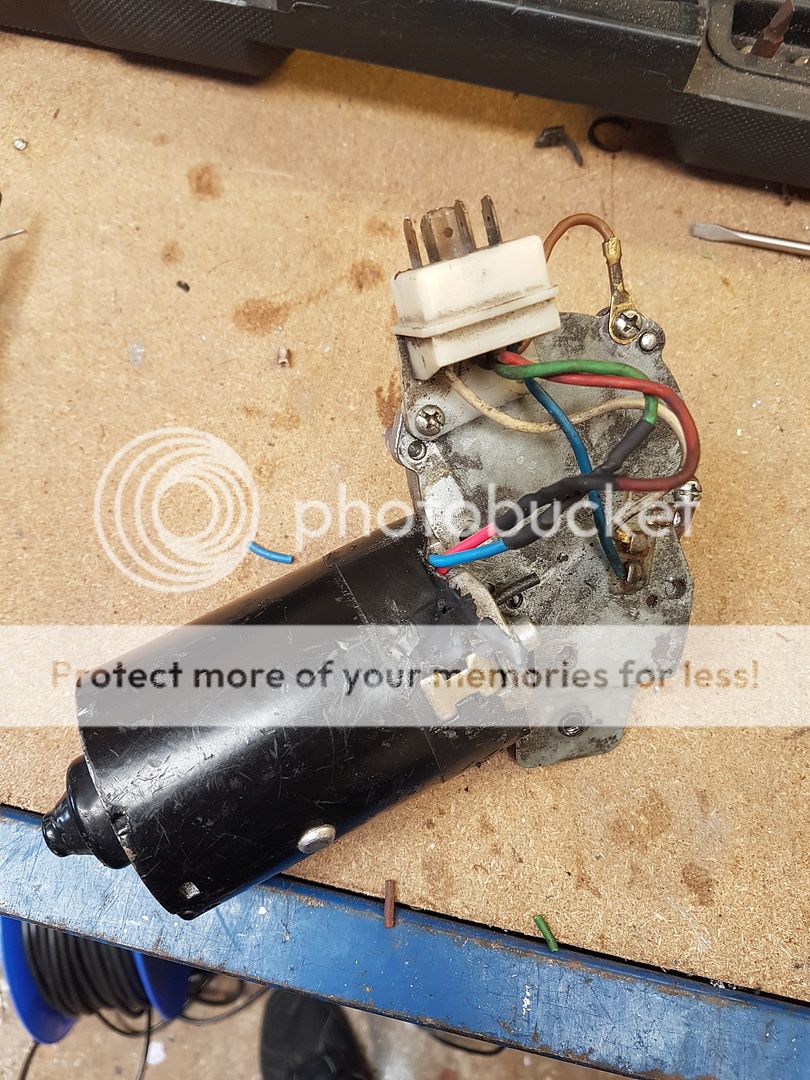
Another issue was the wiper motor had burnt out due to the linkage being completely seized, so I had to take that apart:
It took about 5 minutes to get the worst one out:

I don't seem to have any of the condition when they came out but this is one I have rubbed down:

It's free and working now but I'm not 100% pleased so may get a better linkage at some point. As the motor was burnt out, I read about a mk3 wiper motor conversion so had a go at that. I've not tested the motor yet and not sure if what I've done will work but it only cost me �5 for the mk3 motor. I've used the backing plate from the mk1 and put it on the mk3 motor. The motor doesnt fit on the original body mount though.
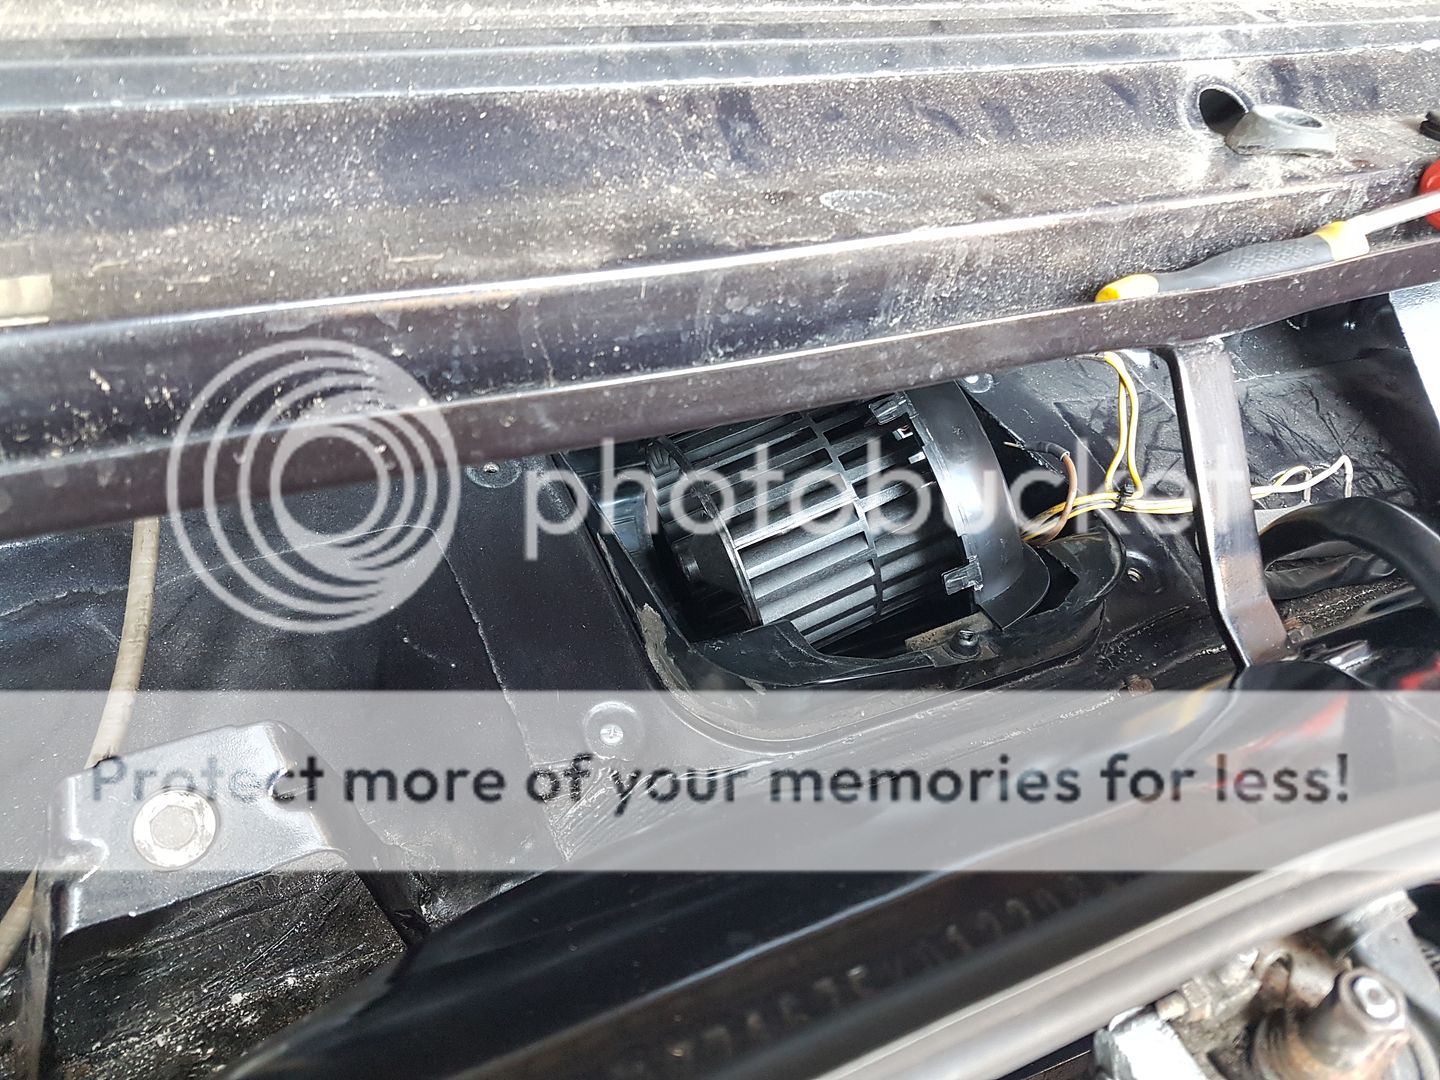
The blower motor wasnt working and upon investigation, it was seized. It seems that I've replaced pretty much everything on this car now! I read about replacing it through the engine bay and it was actually quite easy to do. You start by removing the cover to reveal the blower motor:
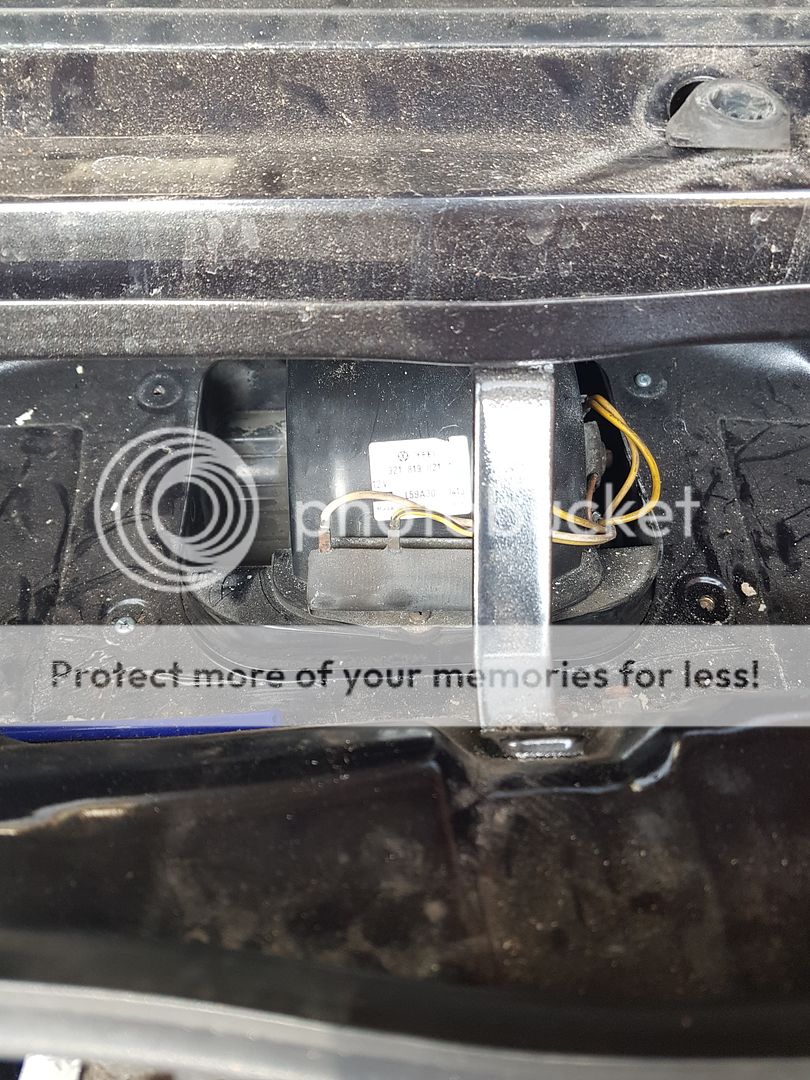
Remove any wiring from the old motor and move the resistor at the front, out of the way:
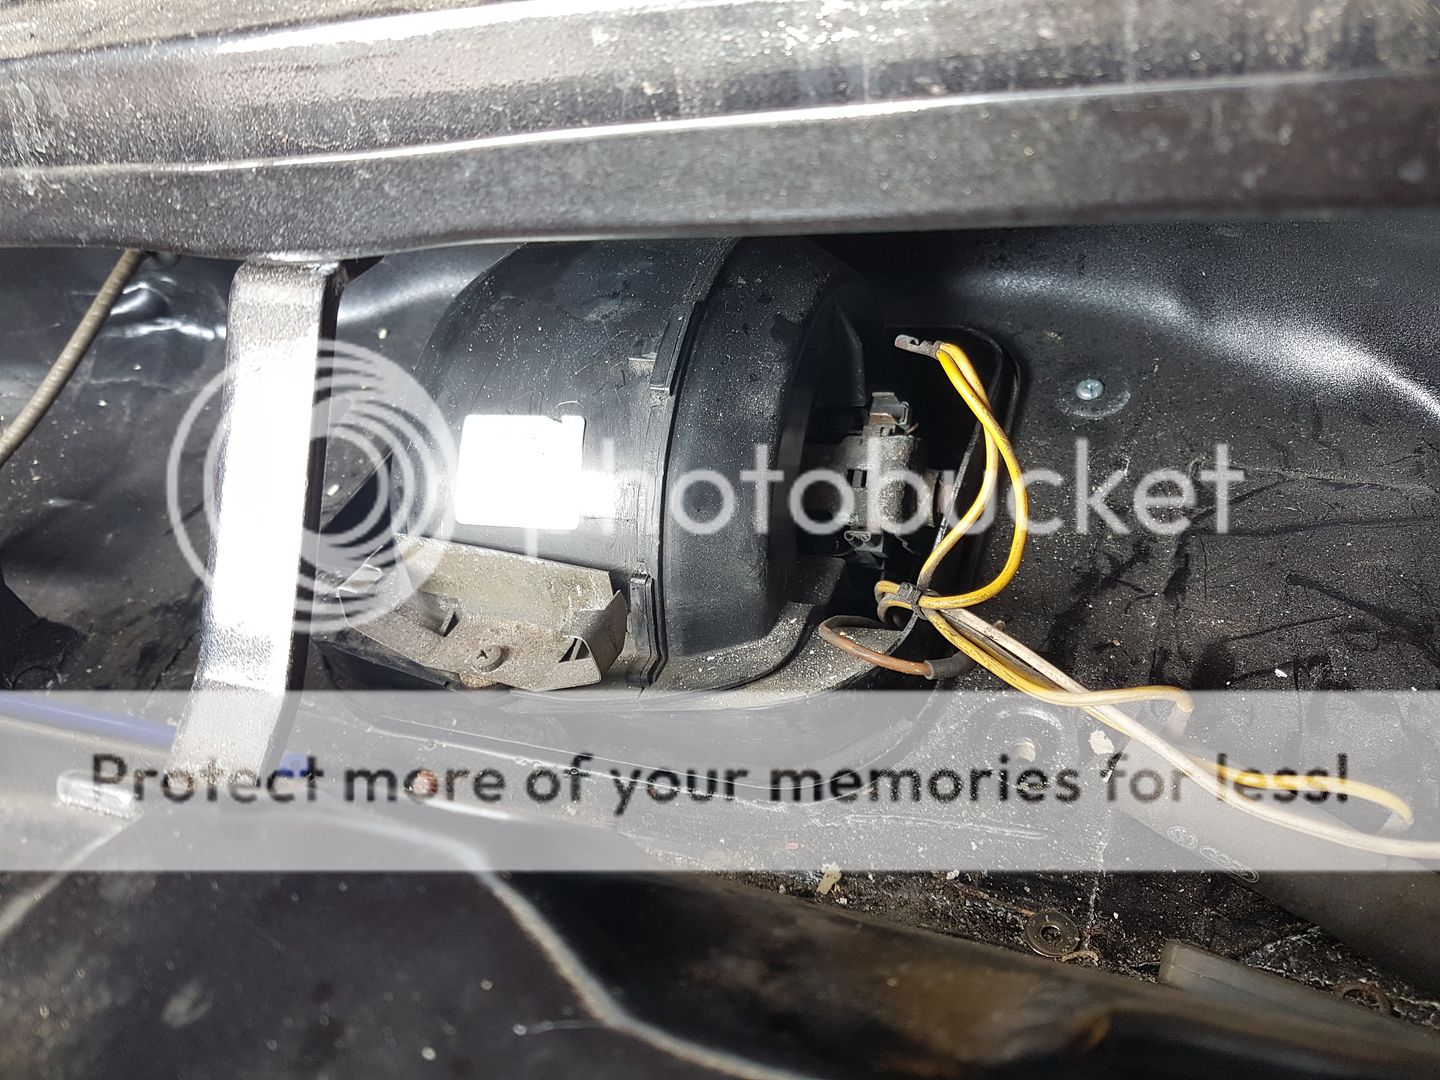
After removing the screw, now comes the tricky part. You have to split the blower motor in 2, in order for it to fit out through the engine bay. Removing the old one I used a bit of brute force at first but you can just work your way around the join with a spudger to split it. Here is the new one, split, with the foam gasket transferred over, and ready to go back in:

Here it is going in, but I have no further pictures. Rejoining the 2 halves is quite easy as they just clip together.
On the doors, I have recreated the rubber flaps. I bought some 1mm rubber off ebay and cut them with scissors:

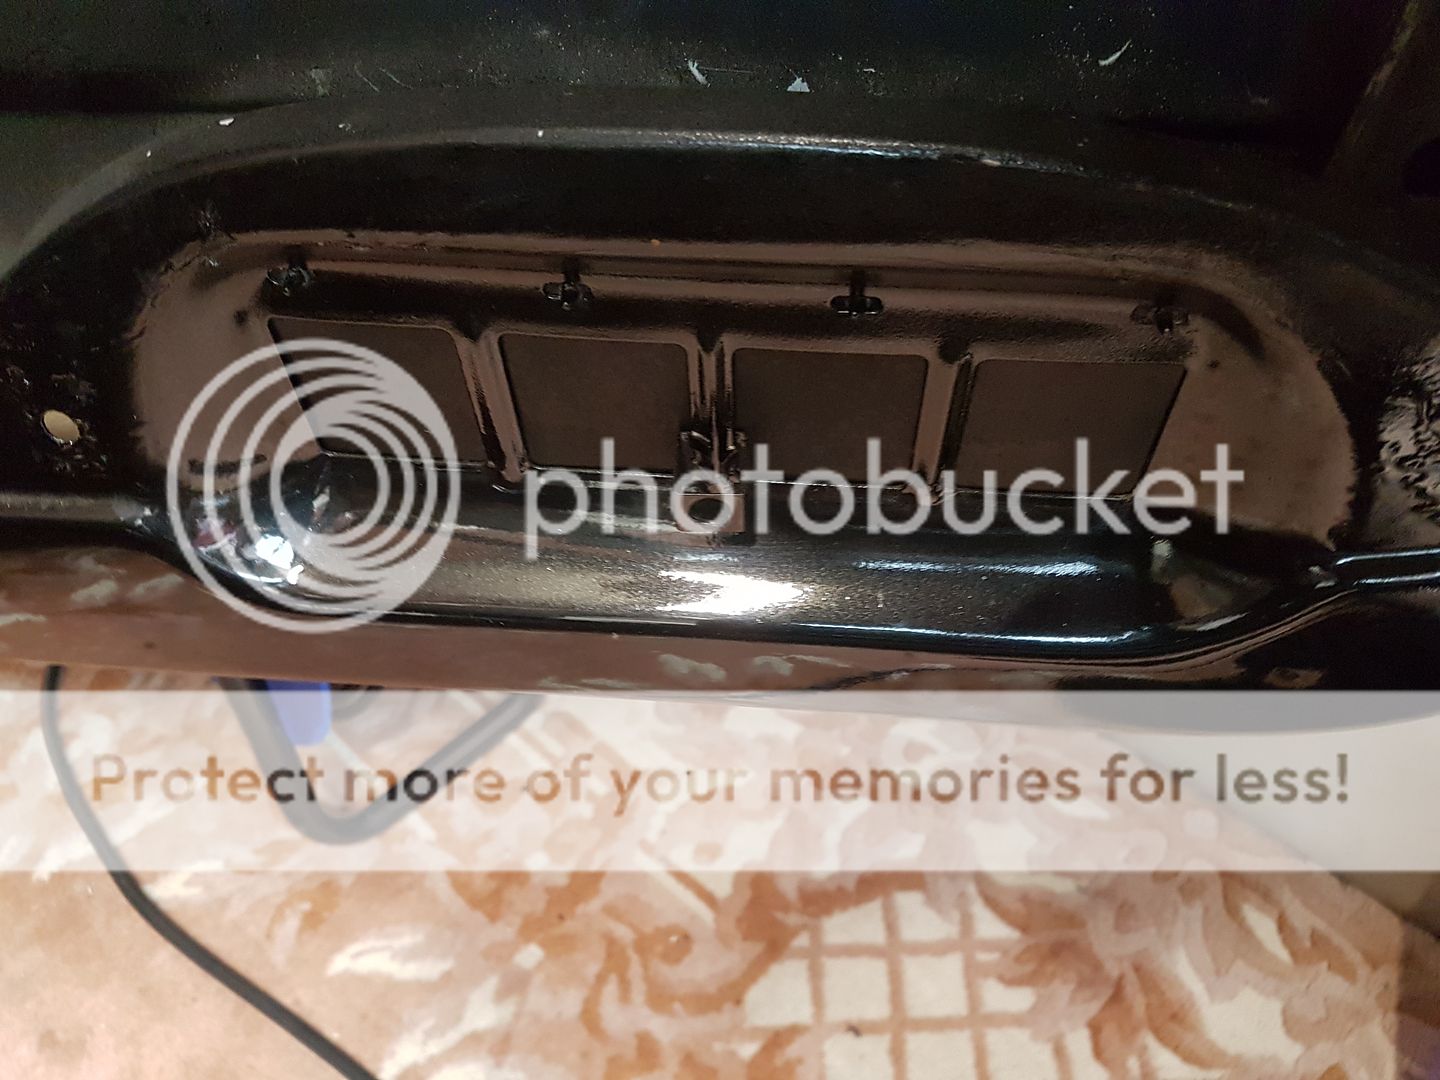
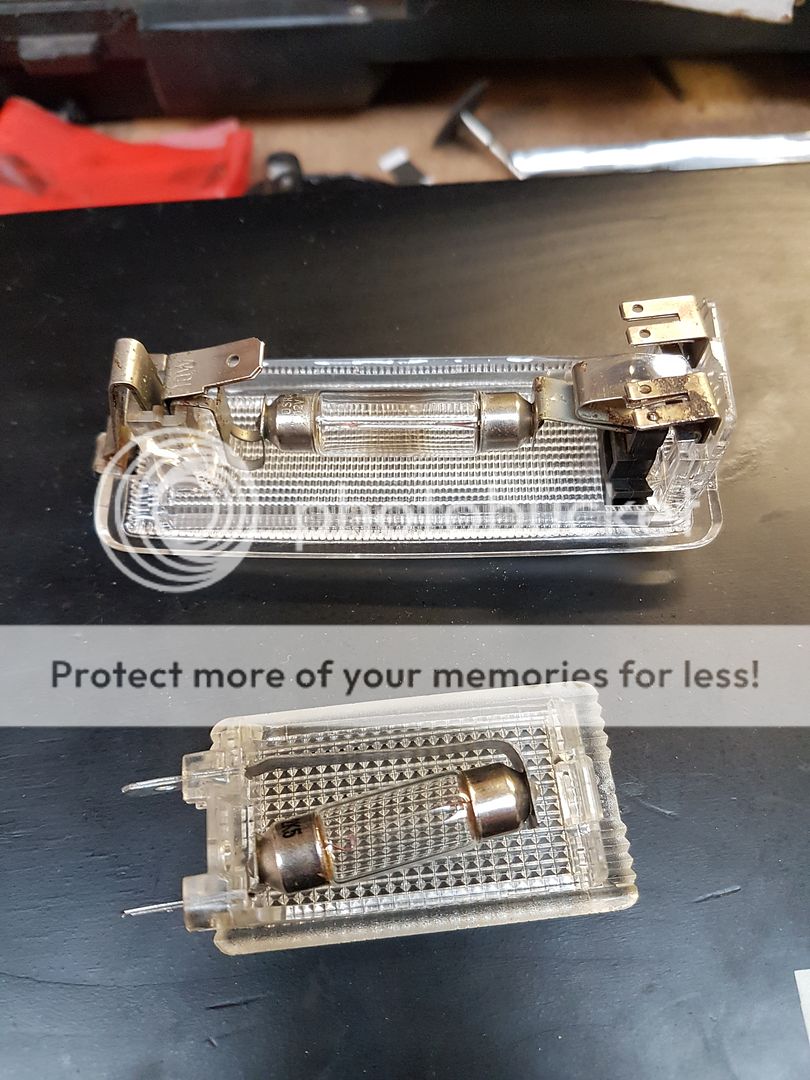
I found the boot light so gave that and the interior a good clean up. I now have a working boot light. Very strange that it only works when the headlights are on!
Before:
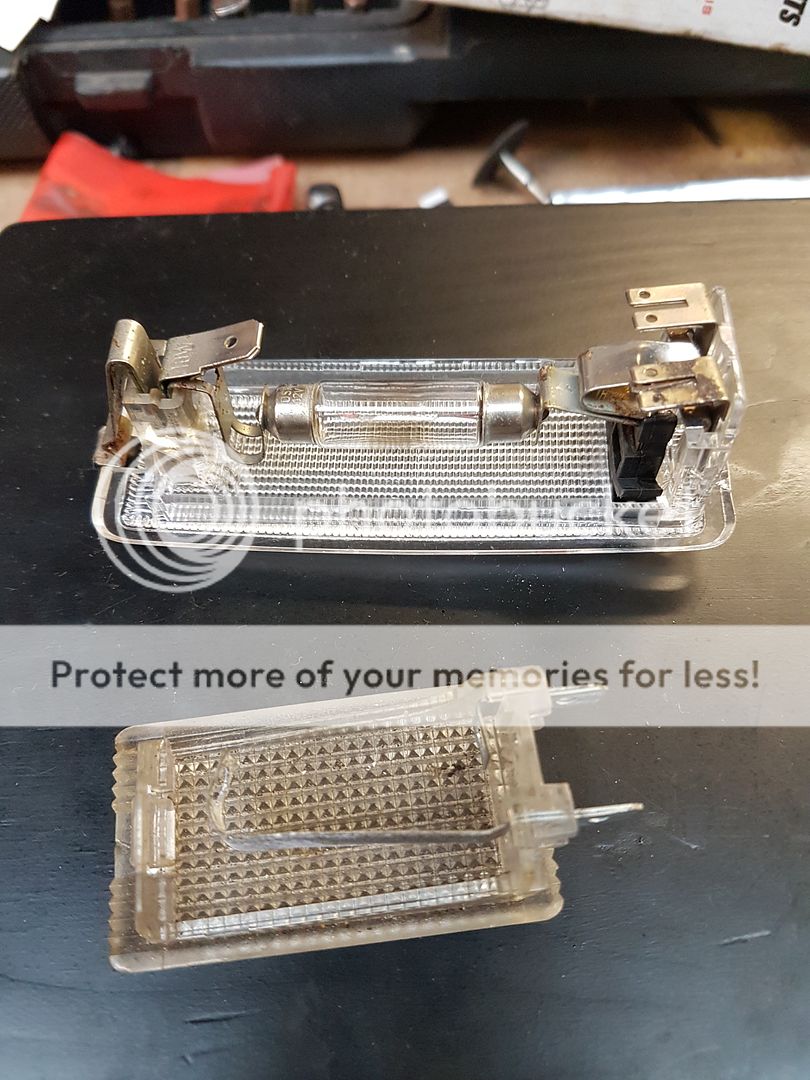
After:
Here's a picture of the metal under the scrapers. I had done the one on the left and the other 3 left to do at this point. They took about 45 minutes of hurt to do each so think I've still got 1 or both passenger sides to do:
That's all I've got for now. Hoping to get some done soon but I've got man flu

 Last edit: by karmannndunc
Posted

MOTY 2013


Hello my name is John and I'm a dub addict.
My wiring diagrams and other documents have moved here:
VAG Documents & Downloads
You'll need to sign into google/gmail for the link to work! (its free!)
My wiring diagrams and other documents have moved here:
VAG Documents & Downloads
You'll need to sign into google/gmail for the link to work! (its free!)
Posted
Settled In
rubjonny said
yeah it is a bit odd with the light, the later cars have a live feed which goes to the same fusebox pin as the interior light so thats an option if you fancy it. my mk1 cabrio came with this modification pre-done
It's something I'll look to do in the future. I've never had it on the road so that's the priority

0 guests and 0 members have just viewed this: None.