


Mk1 Golf 16v - Full Body Restoration - Insta chrisqgolf


Settled In

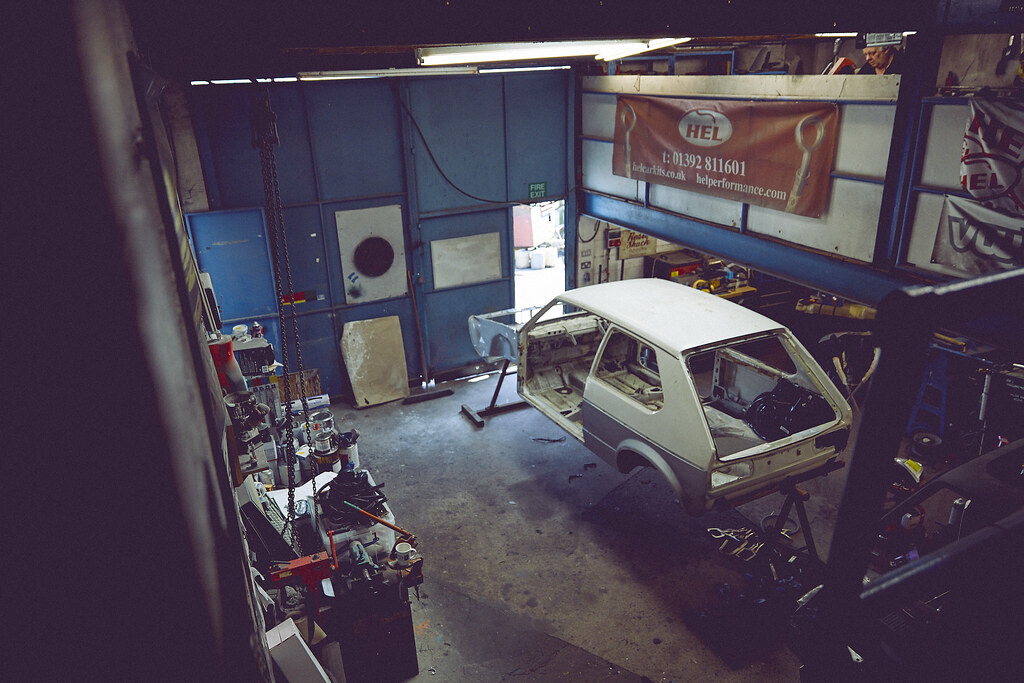
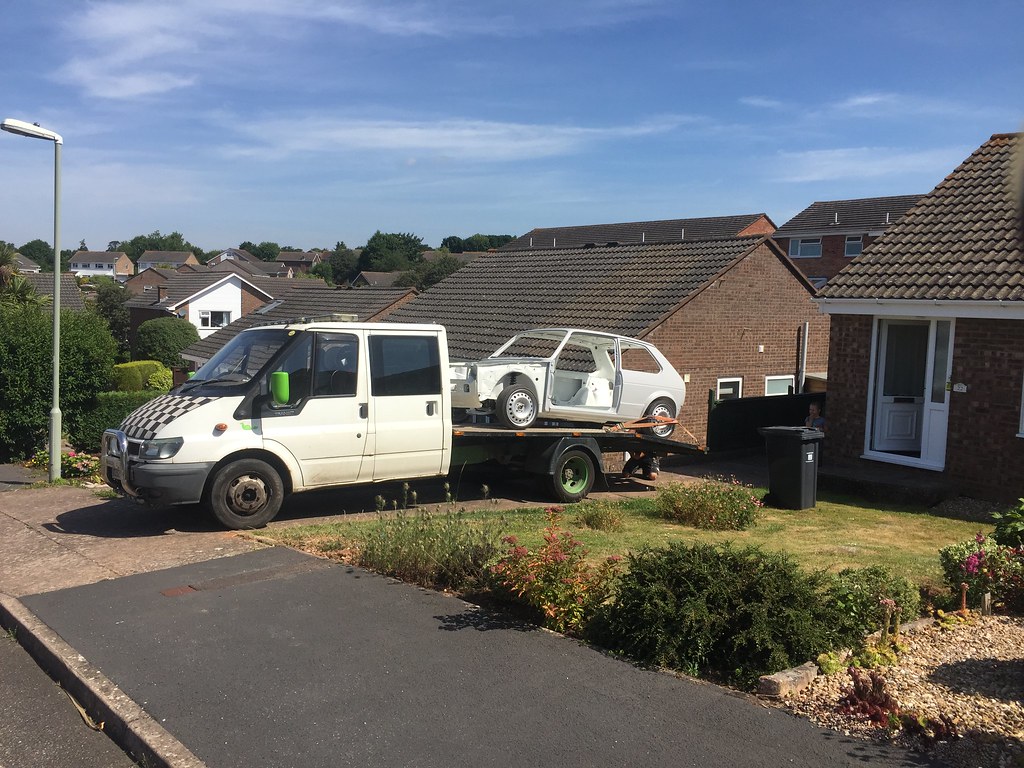
Mk1 Golf Driver - 16V project
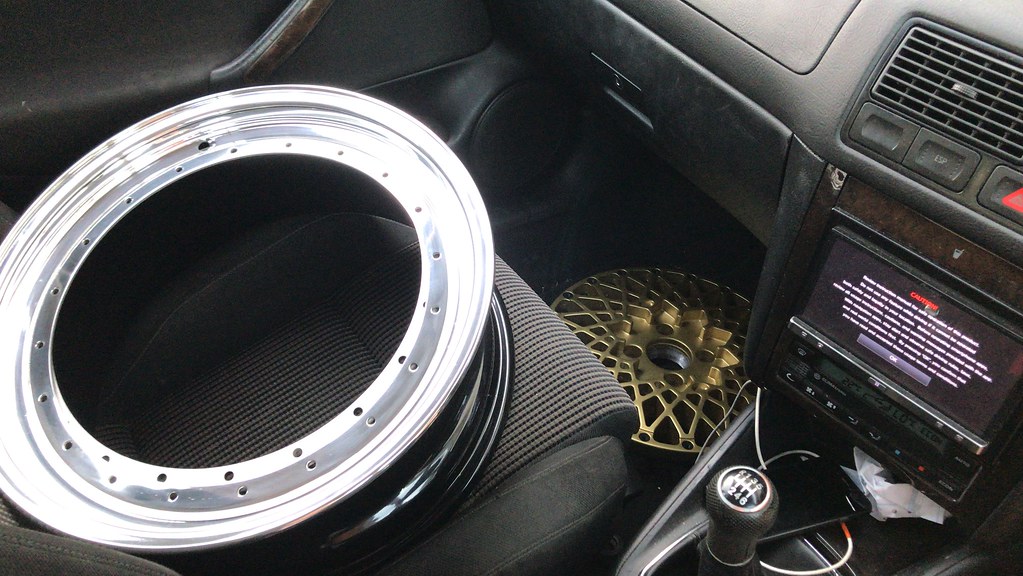
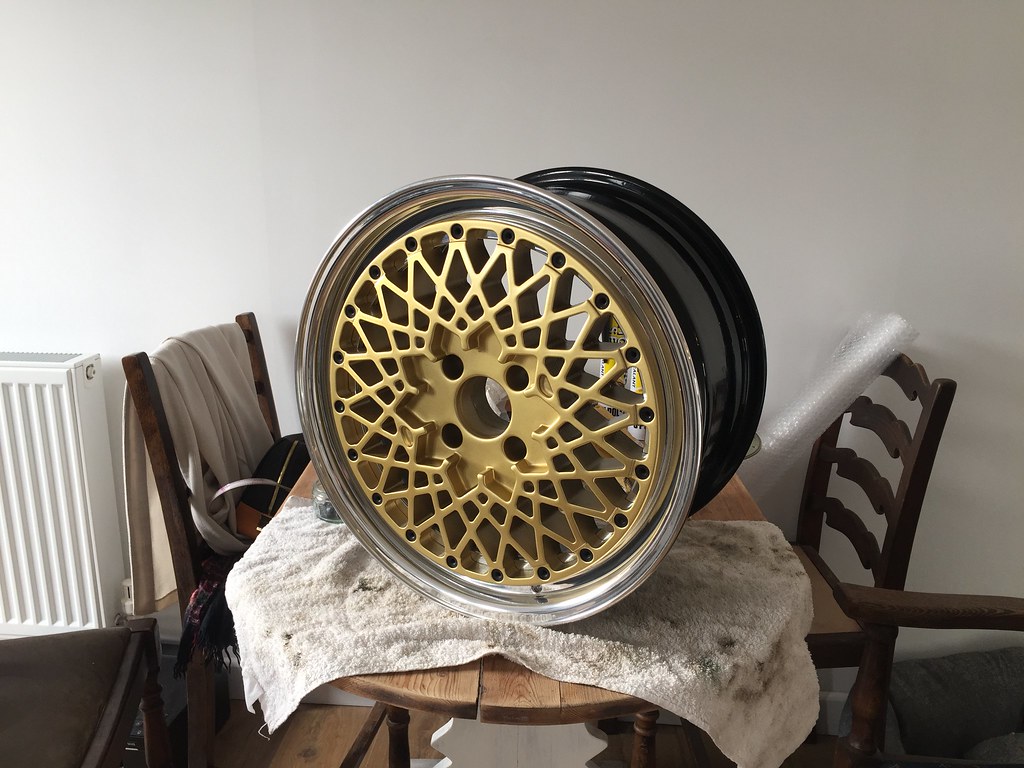
 Thanks Hurtig, The wheels have now been powdercoated, - I've had a mock up picture of the powdercoated faces on their barrels and lips back from my wheel guy yesterday too…�
 �I'll share once they're built up in a couple of weeks. Yeah man, was a very tough decision as to what to do with the colour scheme for the engine, but as the whole car is basically black and white just seemed right to do the same for the engine - although white being silver. Cheers, I cant wait either…. VERY long time coming!
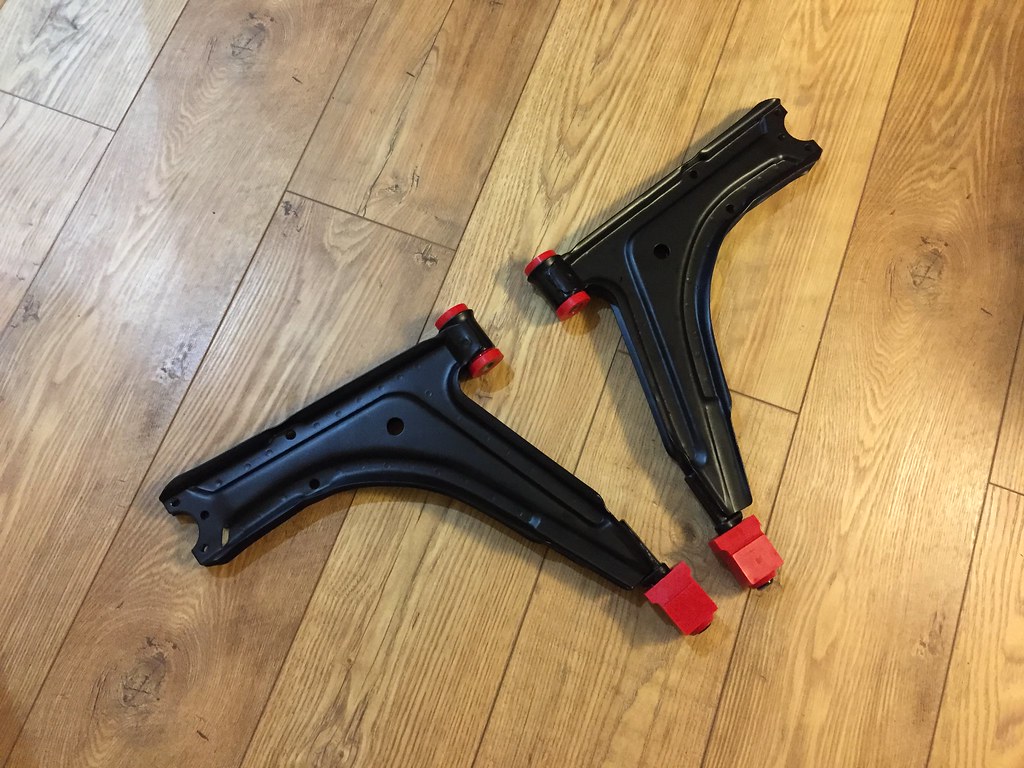
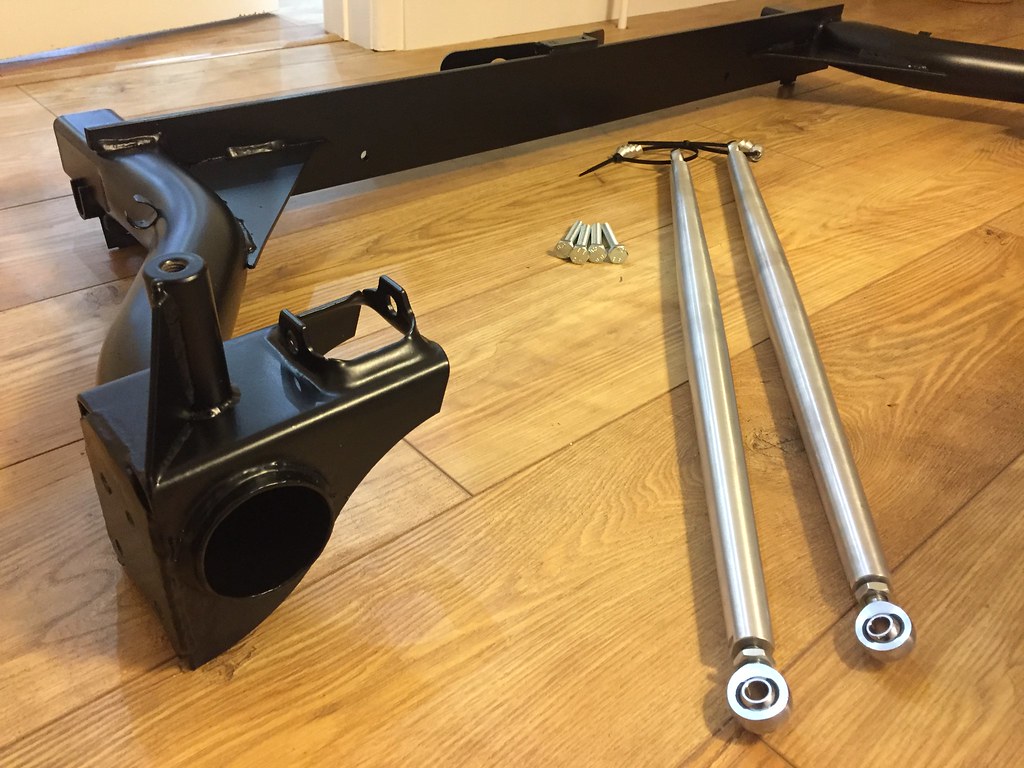
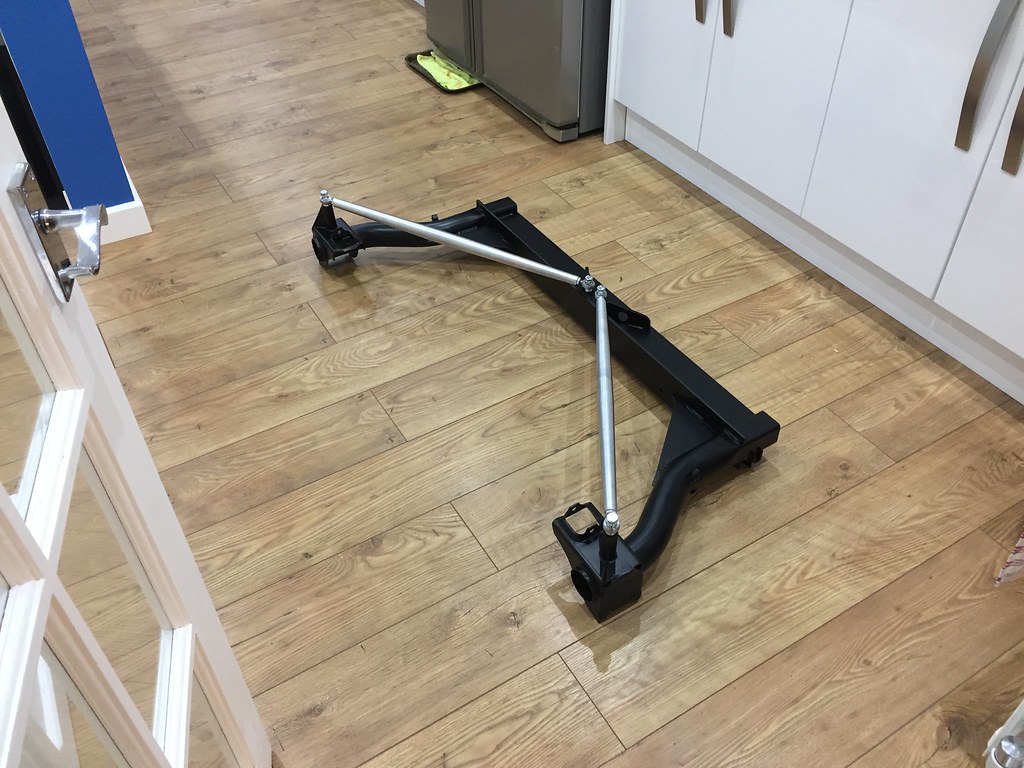
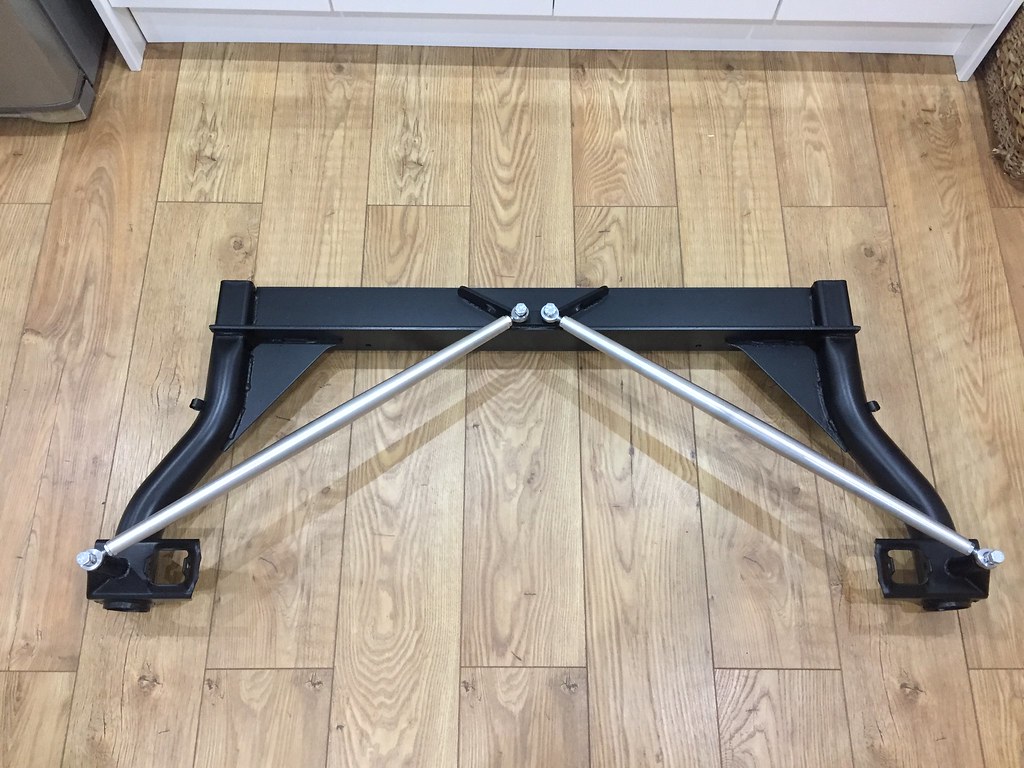
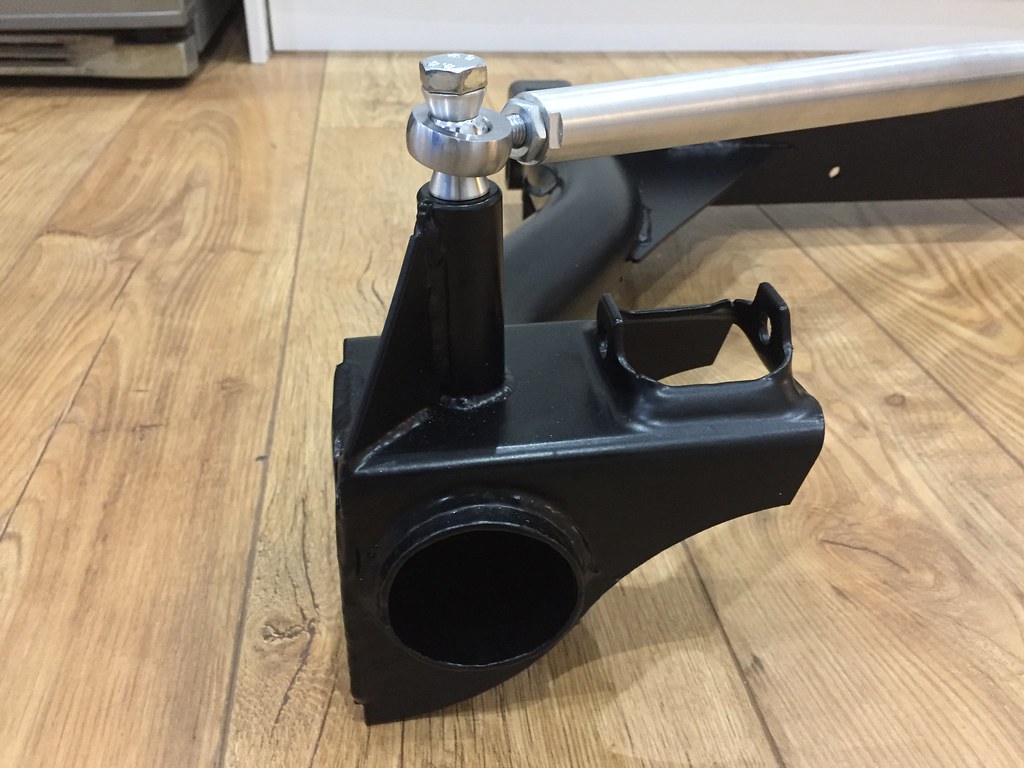
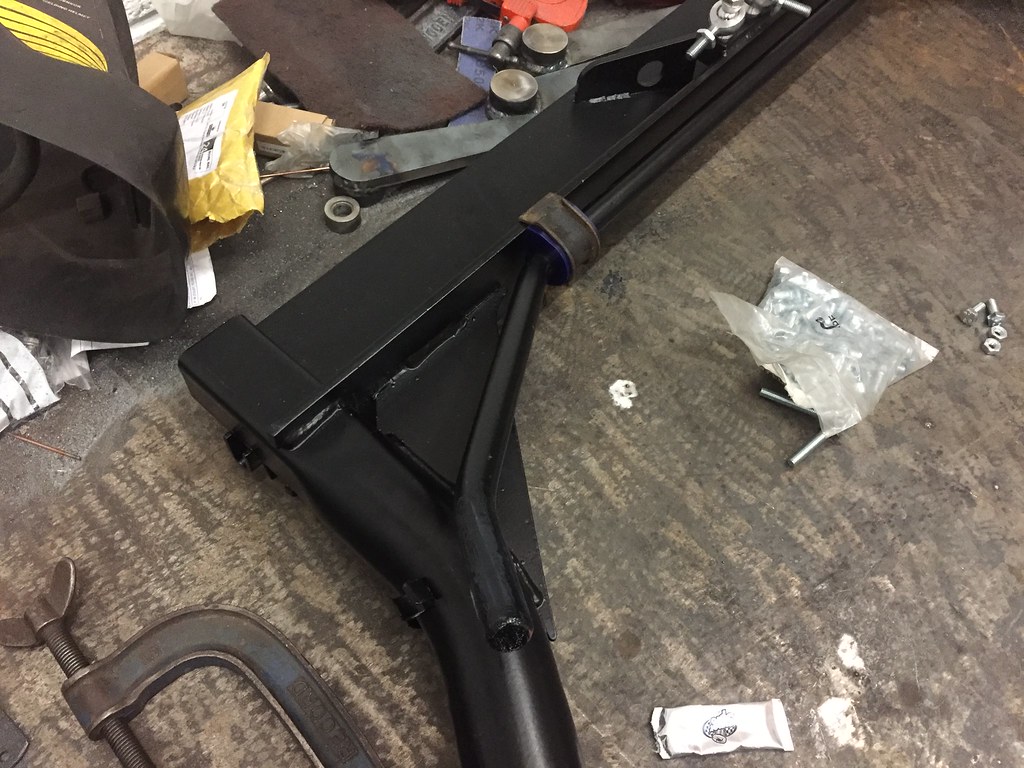
Wishbones back from the powdercoaters, seam welded thanks to Dave, then put the bushes on
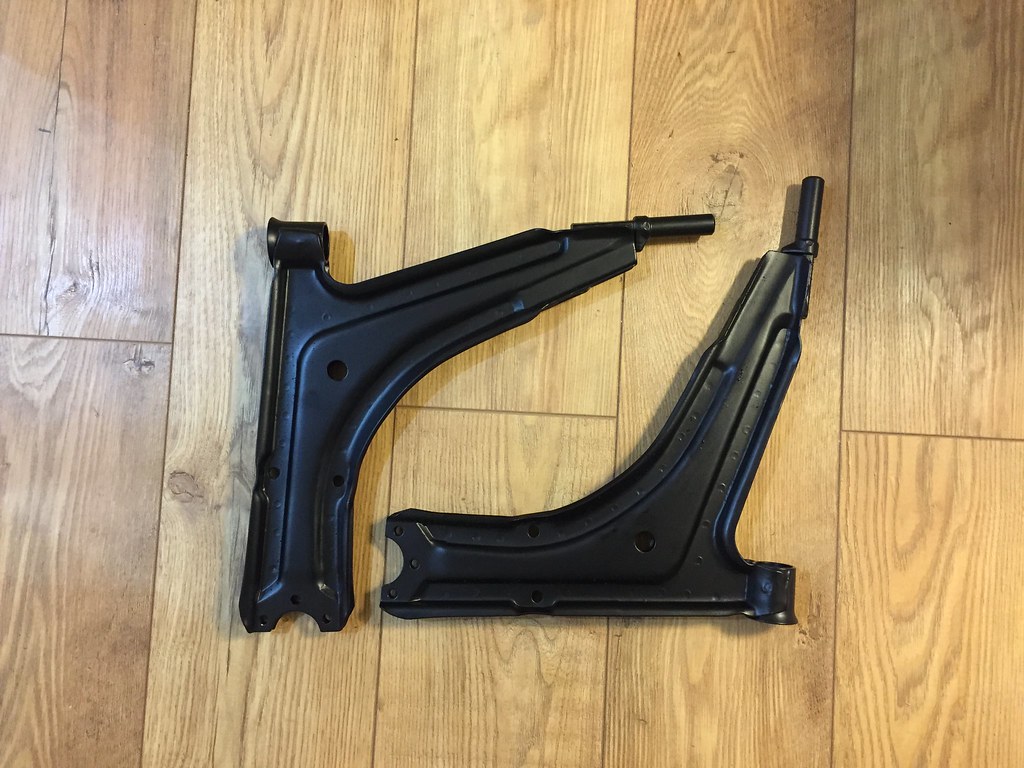
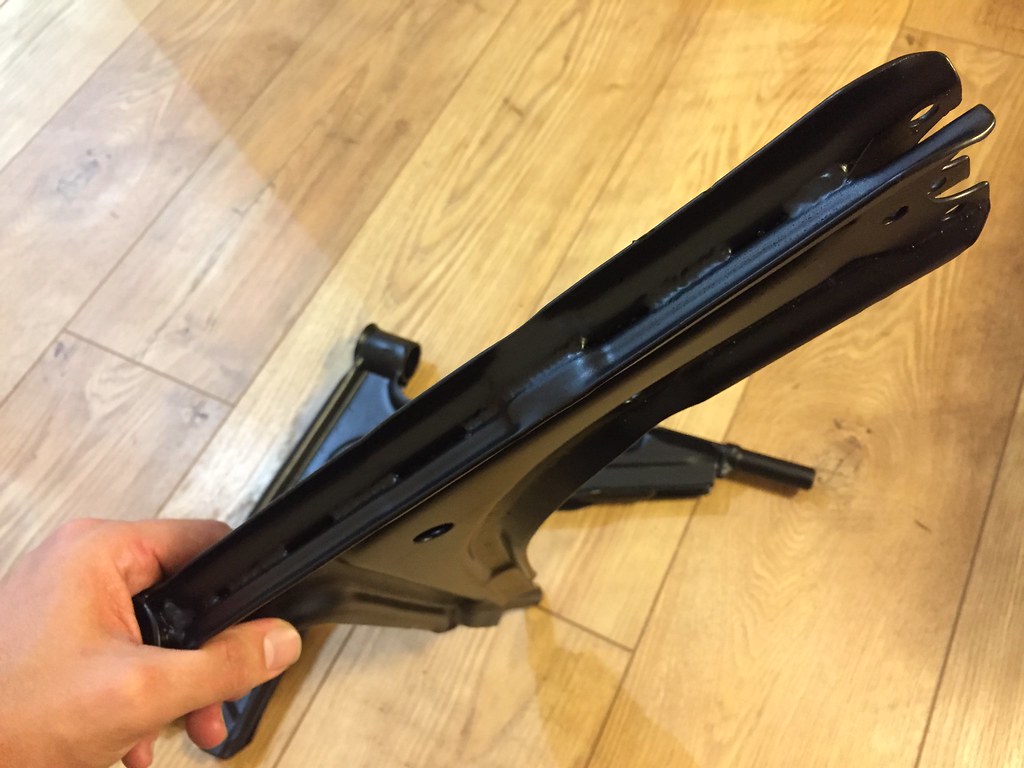
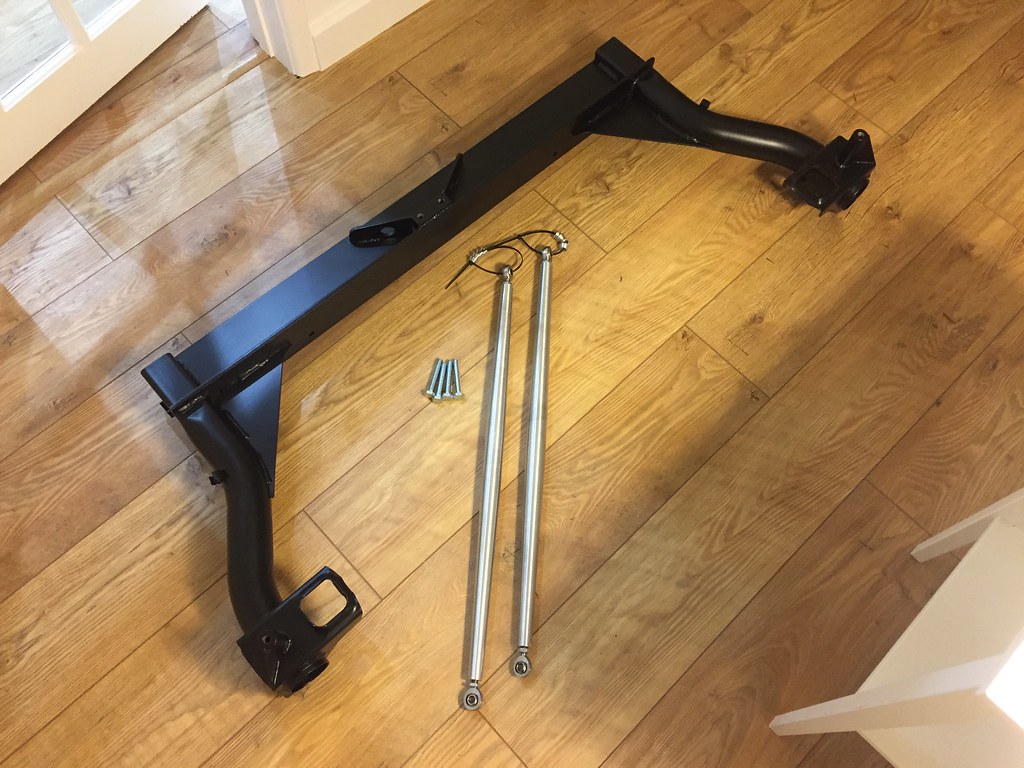
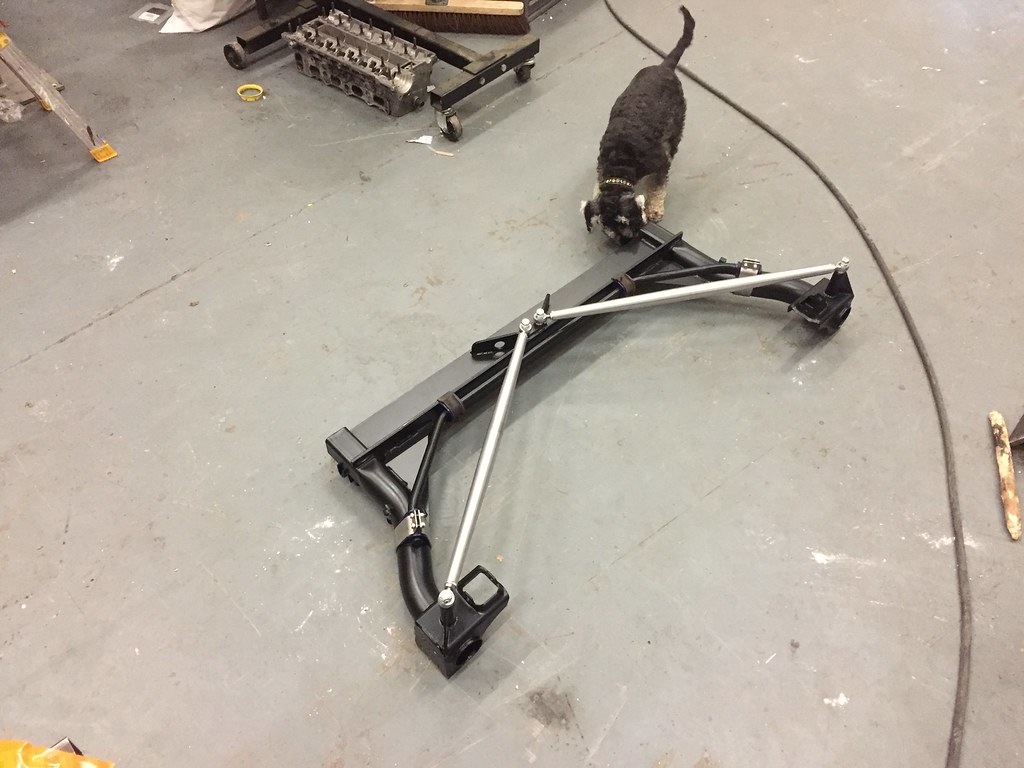
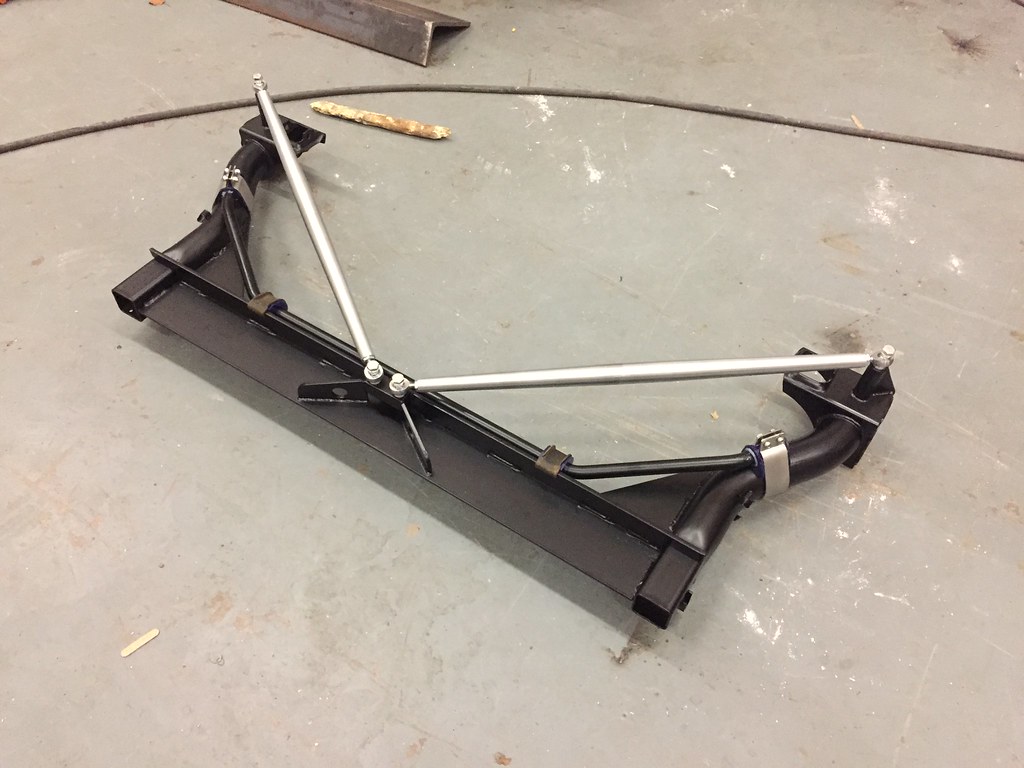
Also back from the powdercoaters is the rear beam. Although I forgot to mention to not coat the mounting face for the hubs, will probably take that back to metal.
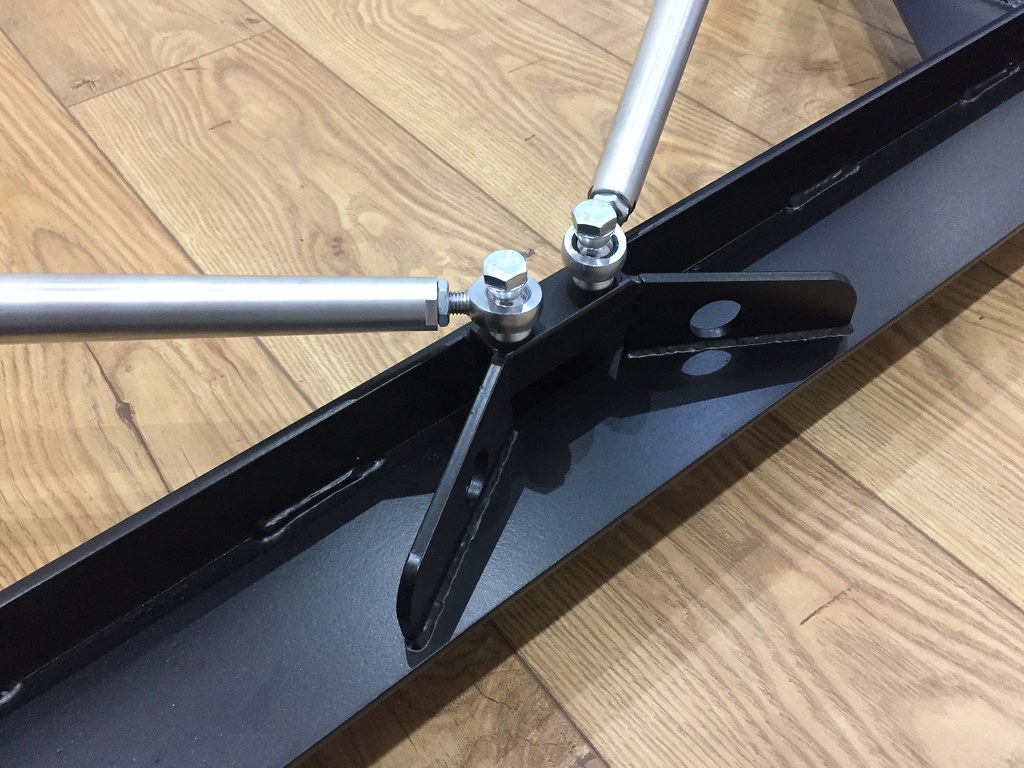
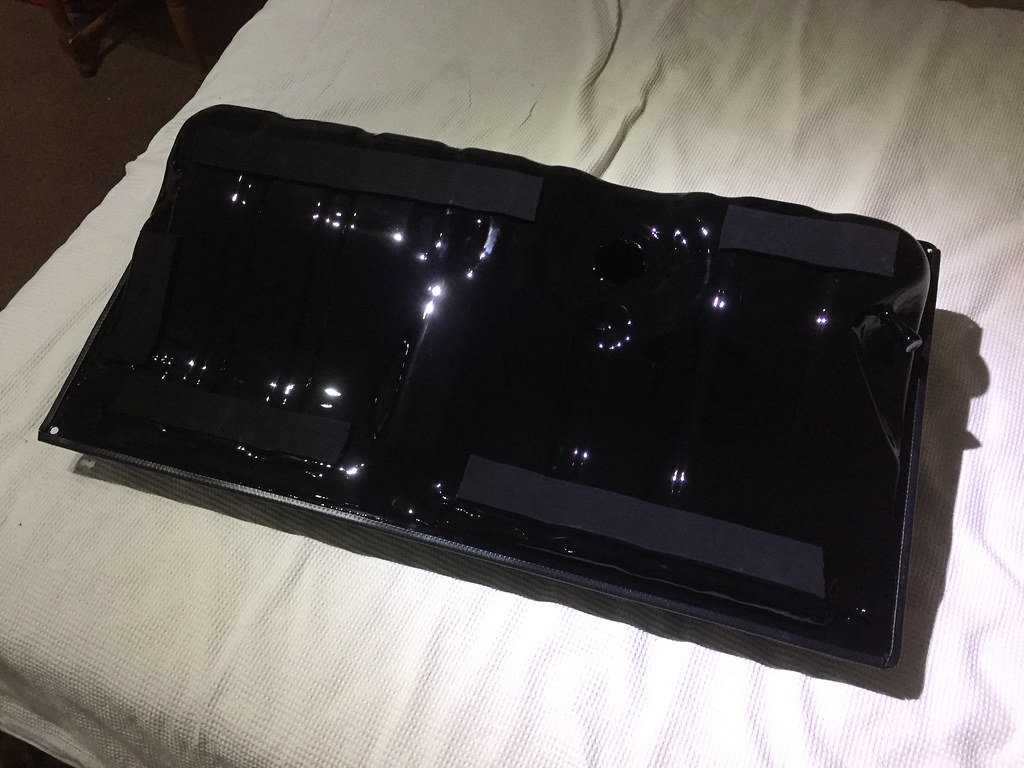
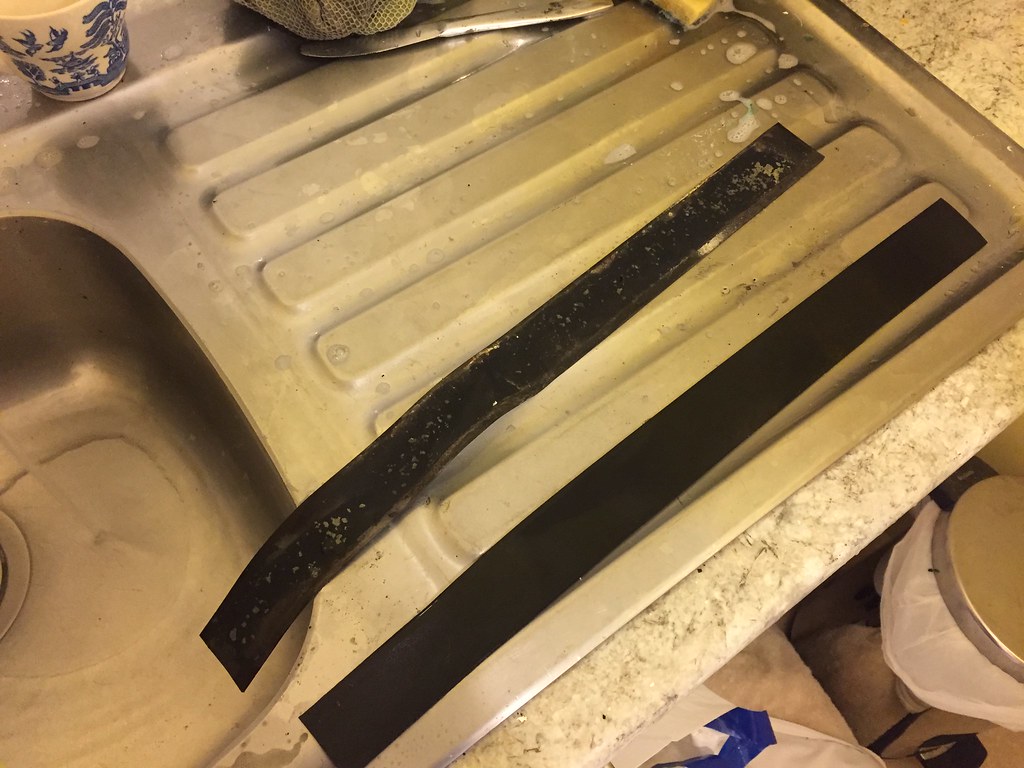
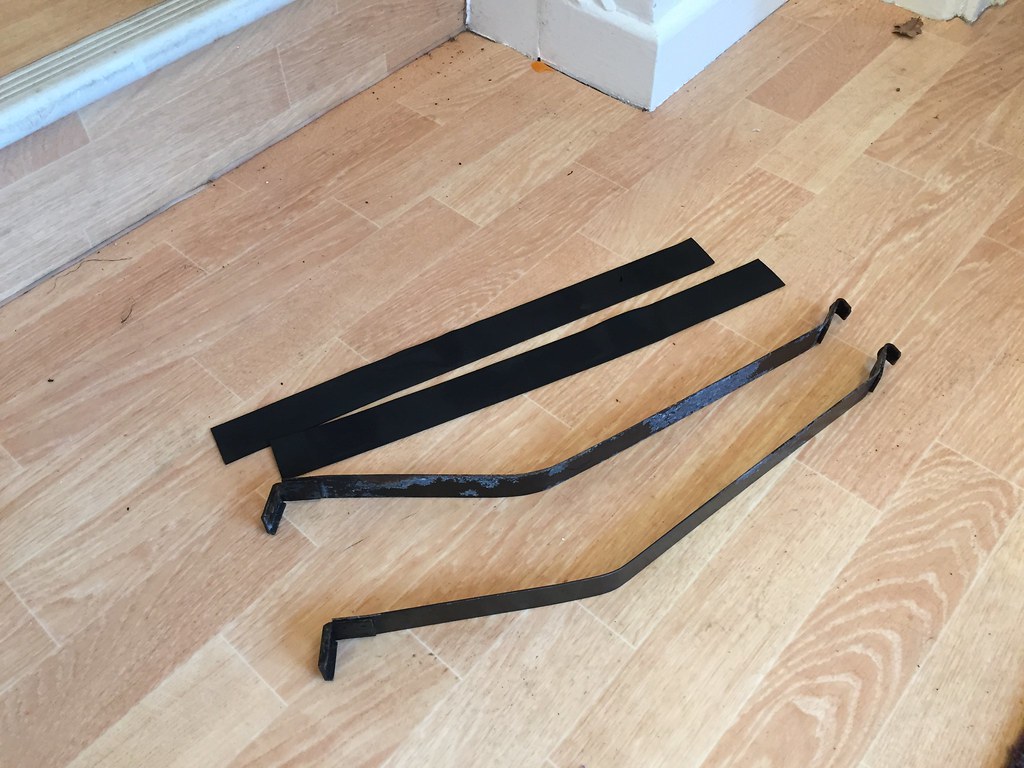
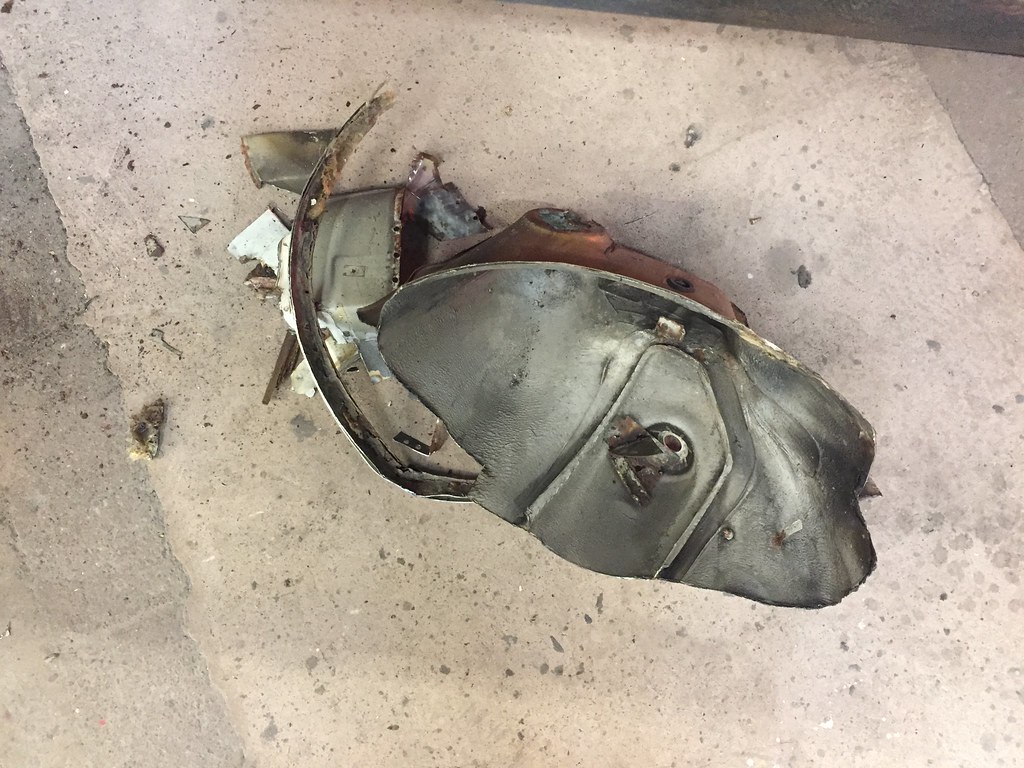
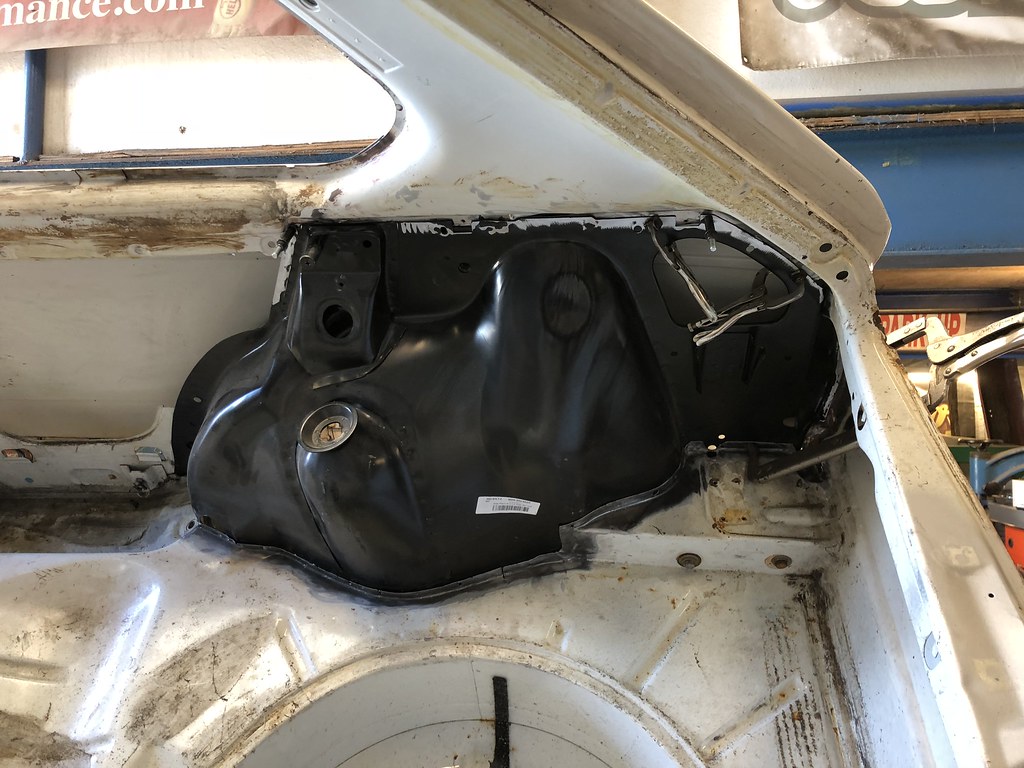
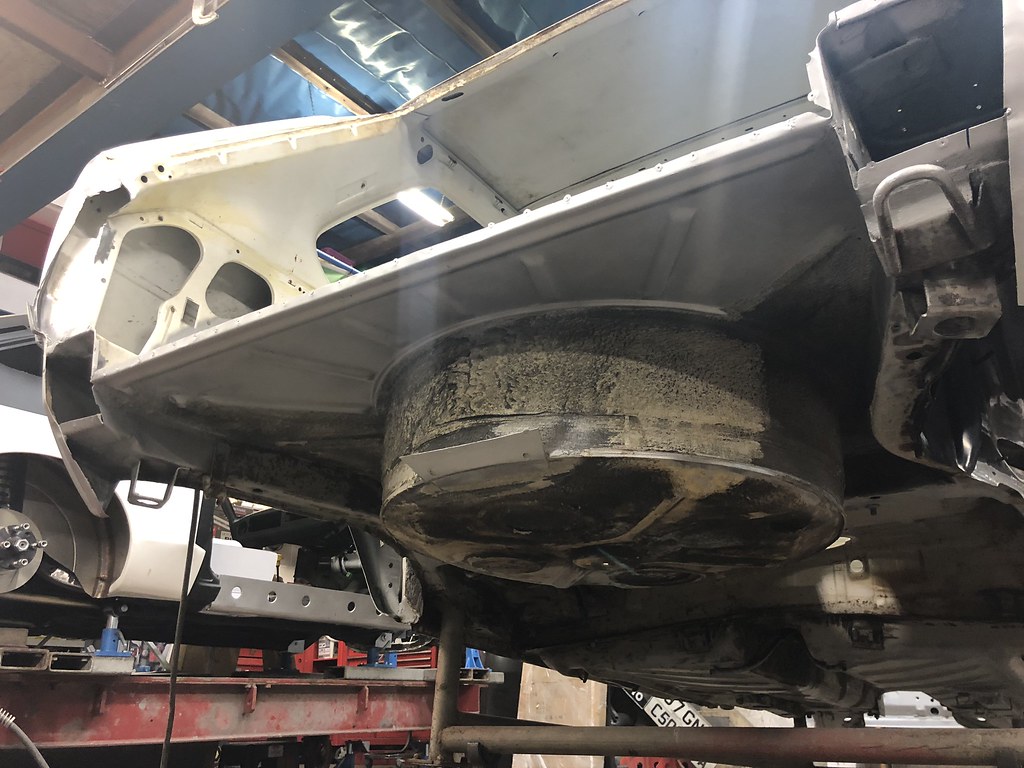
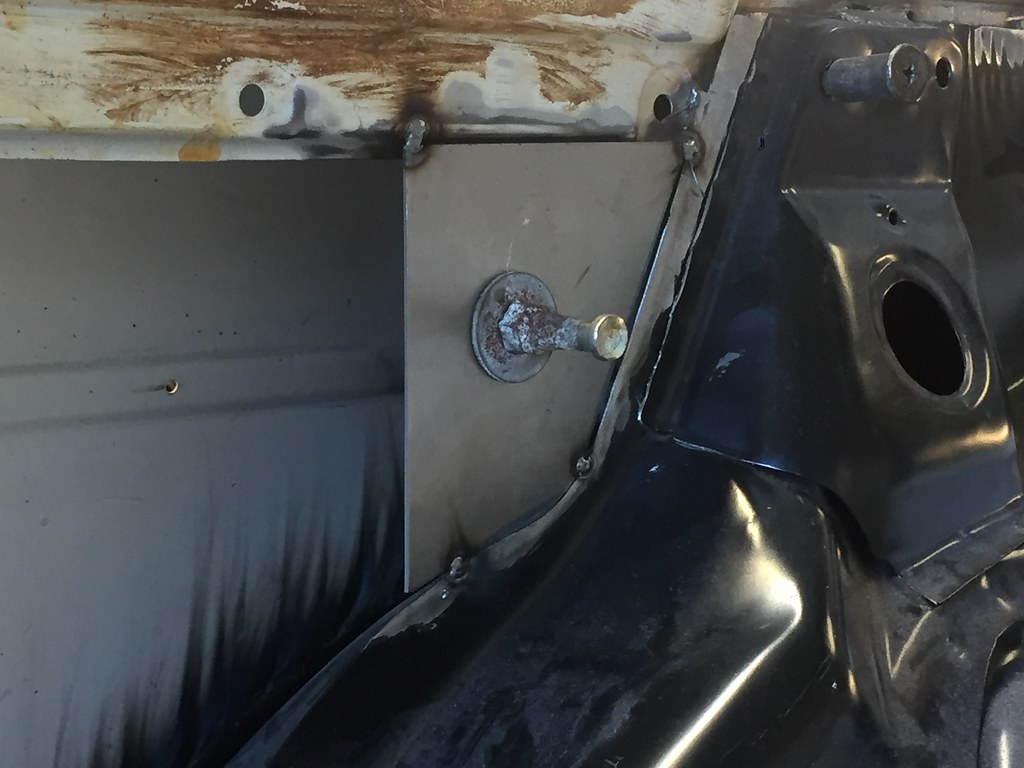
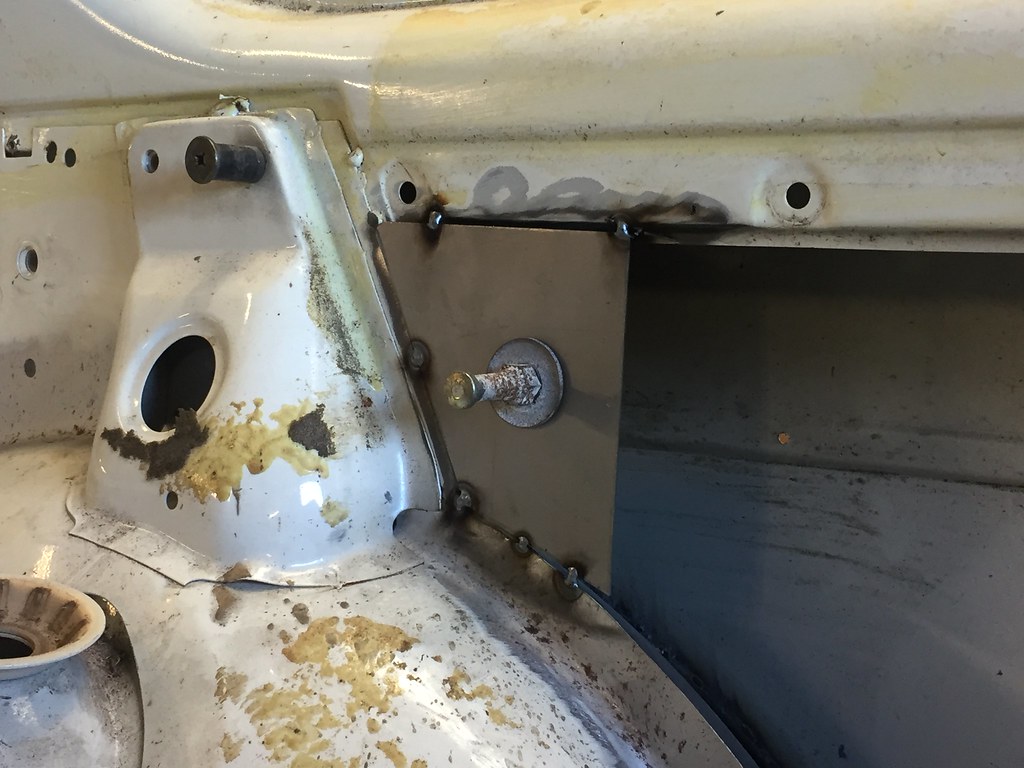
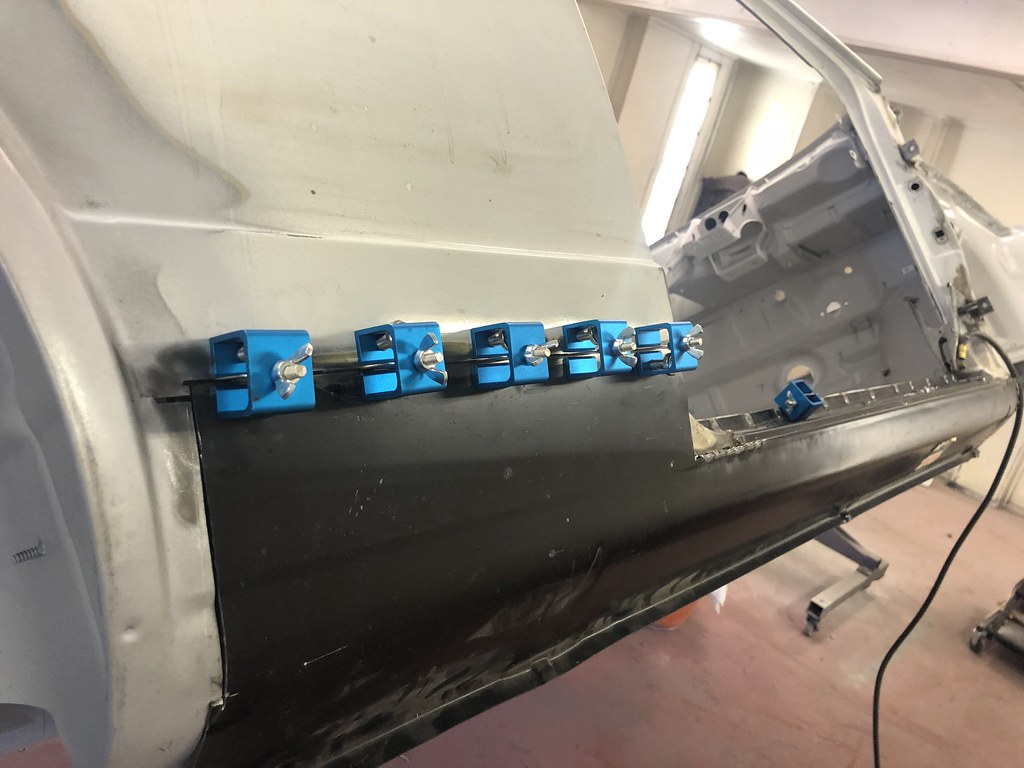
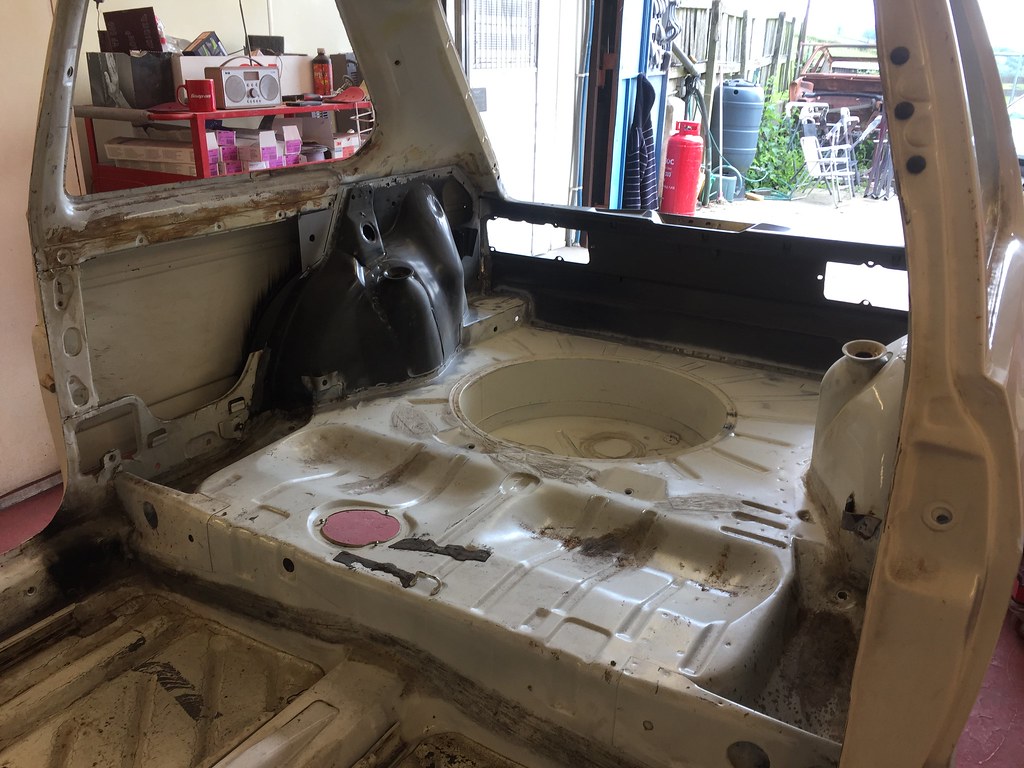
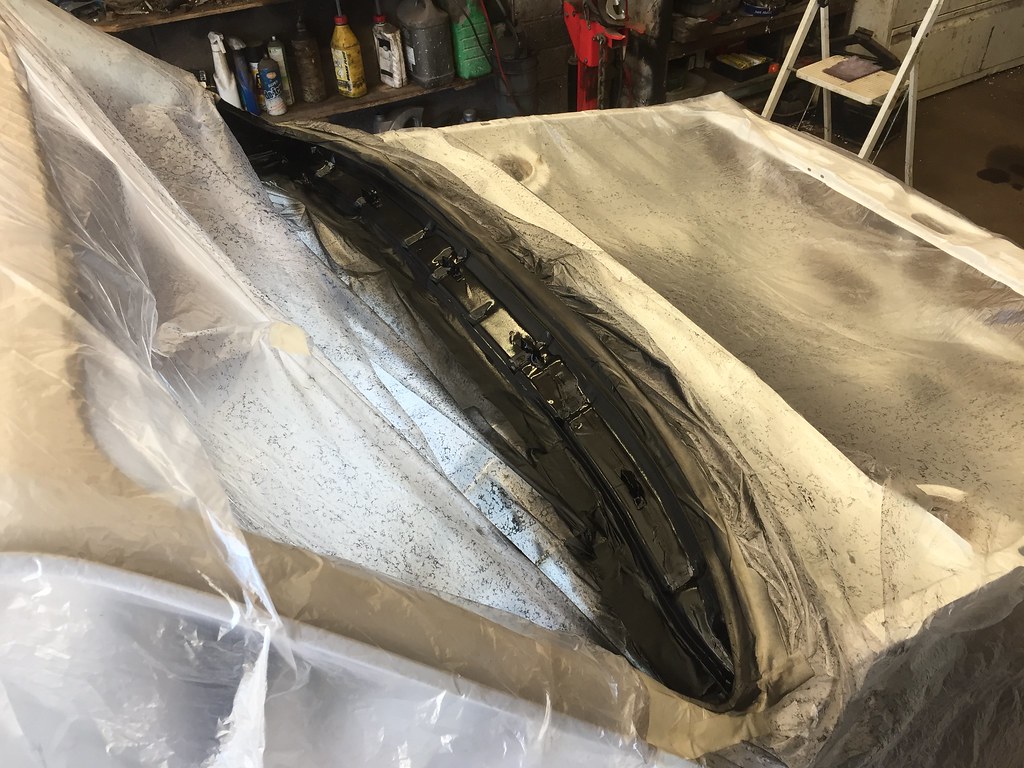
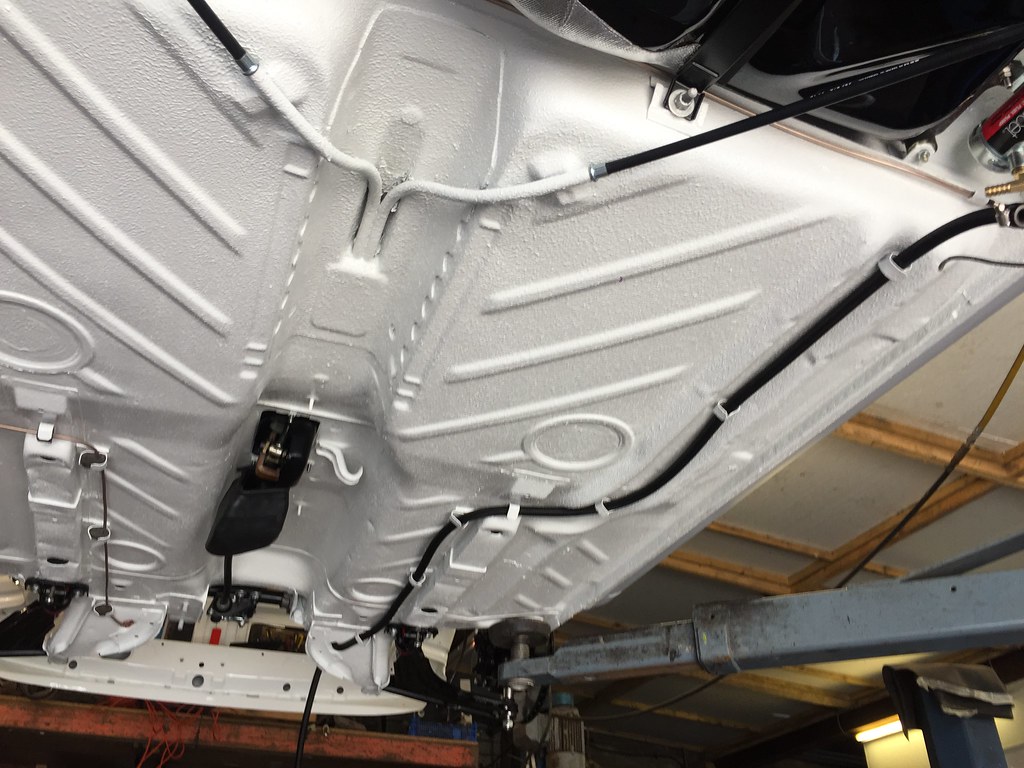
Also put some edging round the fuel tank
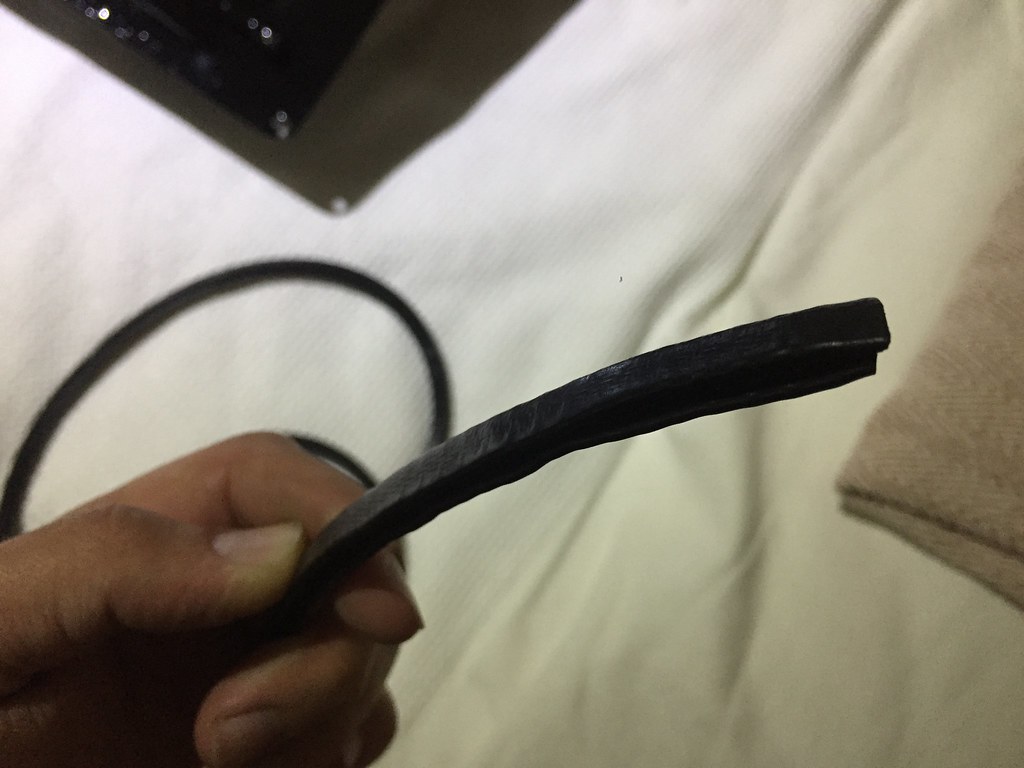
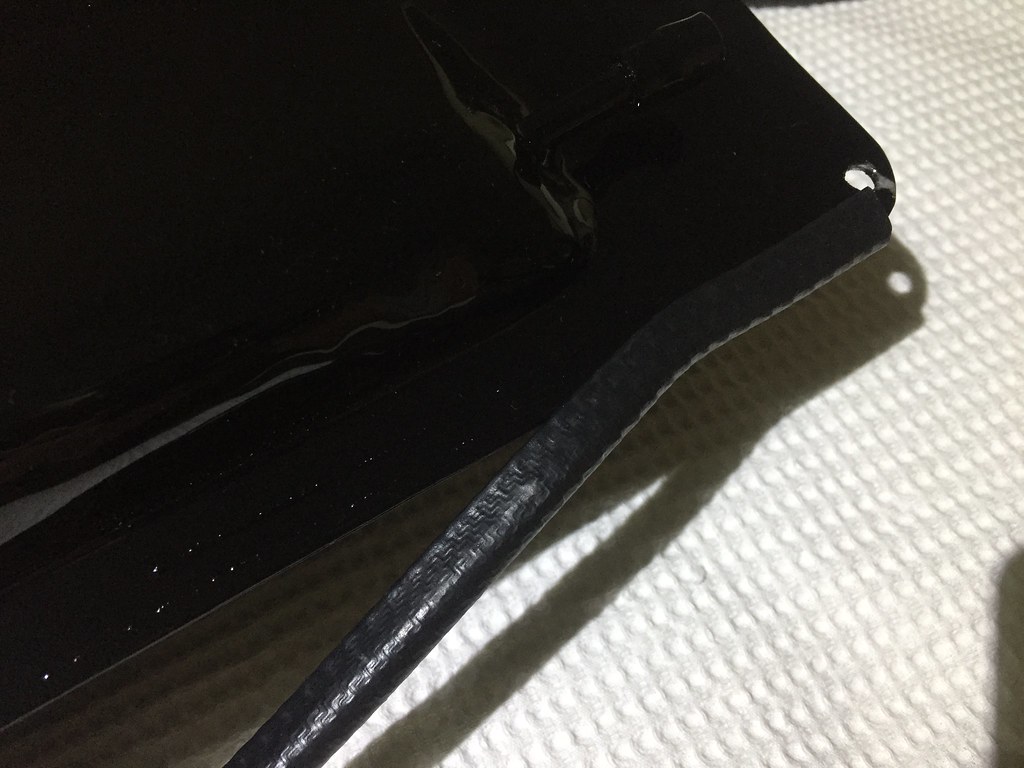
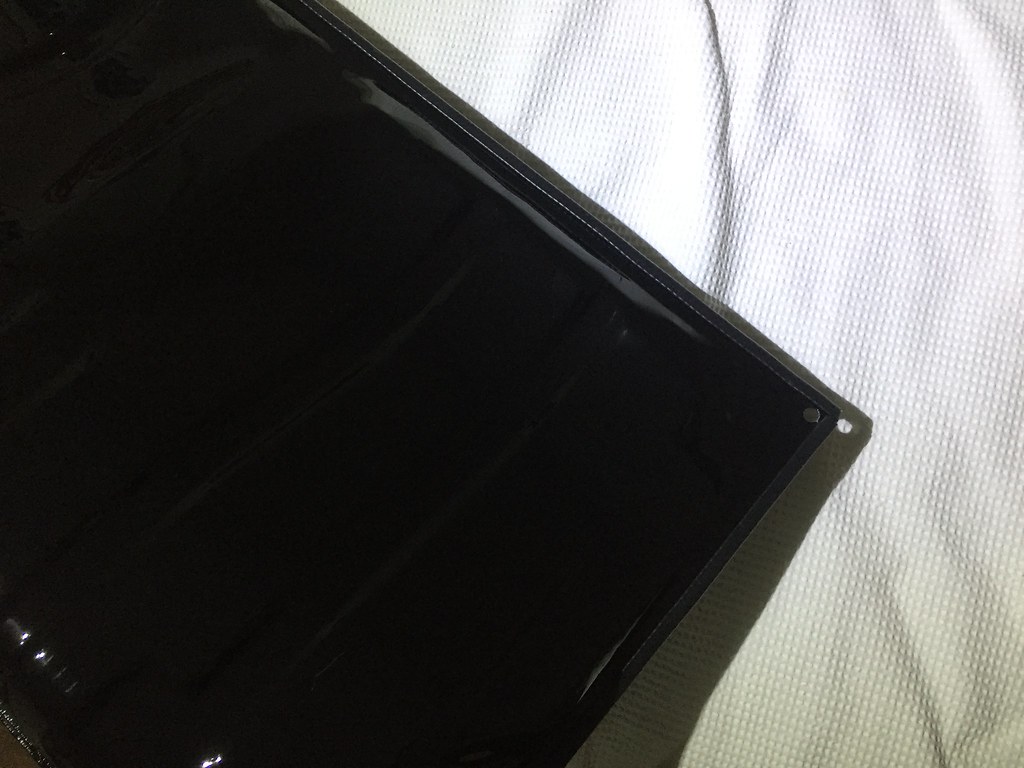
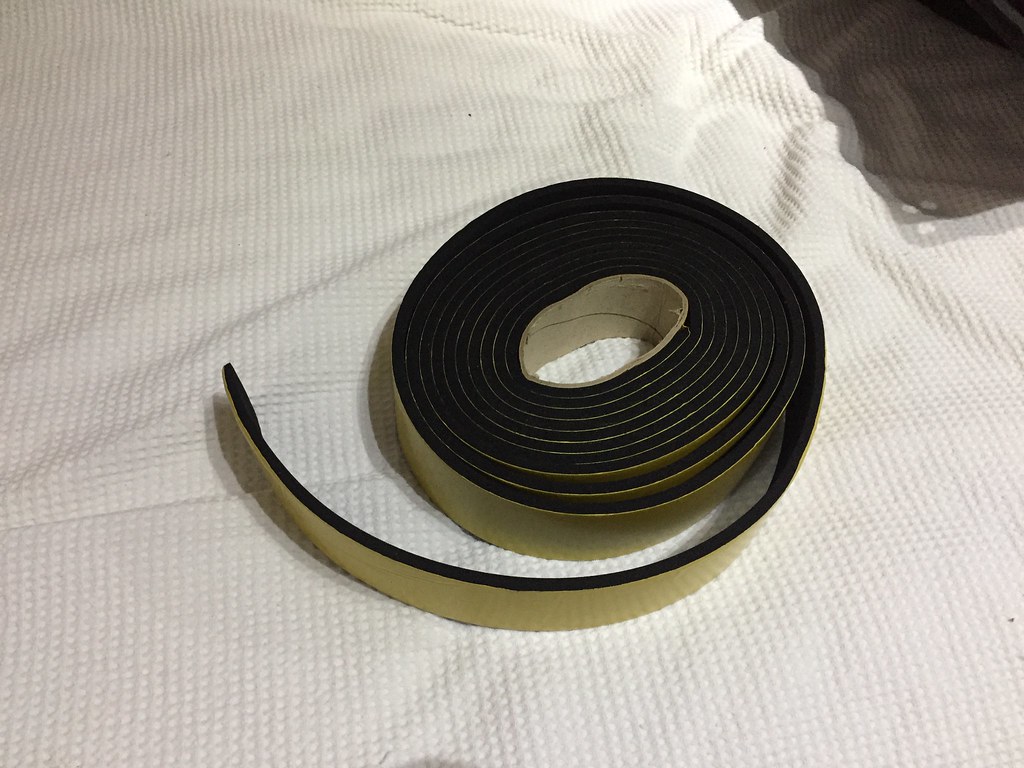
And then put on some rubber strips that sandwich between the tank and the shell in the standard positions
 Last edit: by Mk1_Golf_Chriz

 ��
��
Posted
Moderator


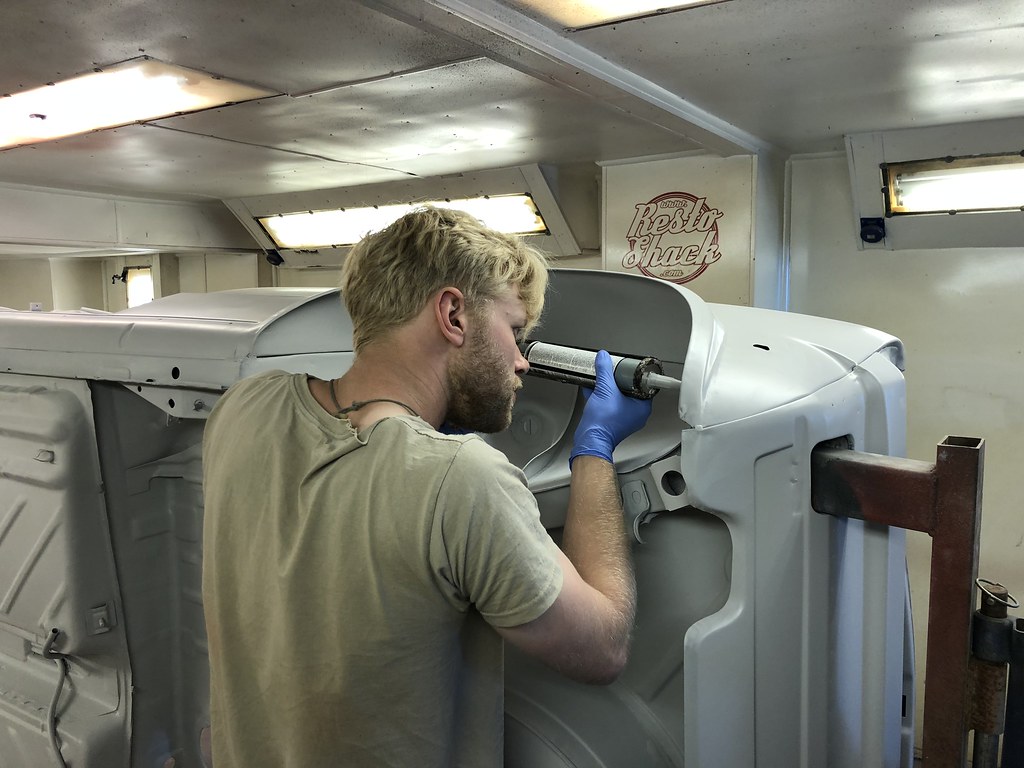
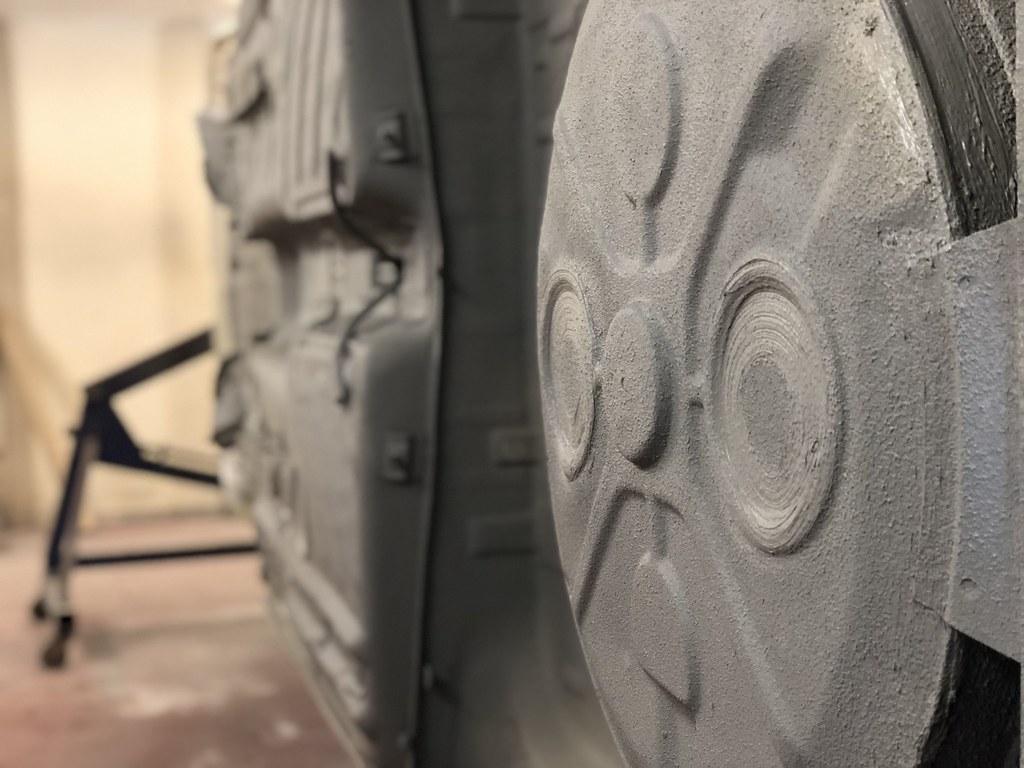
Great close up photos, keep them coming please! 👍🏼
Sent by a smartphone and not a smartperson!
Play Guess the Asking Price 'SEASON 4' as of Sunday the 29th of October 2017.
https://vwgolfmk1.org.uk/forum/index.php?page=topicview&id=chat%2Fmk1-golf-chat_2%2Fguess-the-asking-price_2
OLD.
https://vwgolfmk1.org.uk/forum/index.php?page=topicview&id=chat%2Fmk1-golf-chat_2%2Fold-guess-the-asking
Ever wondered who's behind the scenes of this forum?
https://vwgolfmk1.org.uk/index.php?page=committee
Mike
There's me building mine 28 years ago, almost finished!

Be proud of your VW Golf Mk1, it's very special!
Play Guess the Asking Price 'SEASON 4' as of Sunday the 29th of October 2017.
https://vwgolfmk1.org.uk/forum/index.php?page=topicview&id=chat%2Fmk1-golf-chat_2%2Fguess-the-asking-price_2
OLD.
https://vwgolfmk1.org.uk/forum/index.php?page=topicview&id=chat%2Fmk1-golf-chat_2%2Fold-guess-the-asking
Ever wondered who's behind the scenes of this forum?
https://vwgolfmk1.org.uk/index.php?page=committee
Mike
There's me building mine 28 years ago, almost finished!
Be proud of your VW Golf Mk1, it's very special!
Posted
Settled In

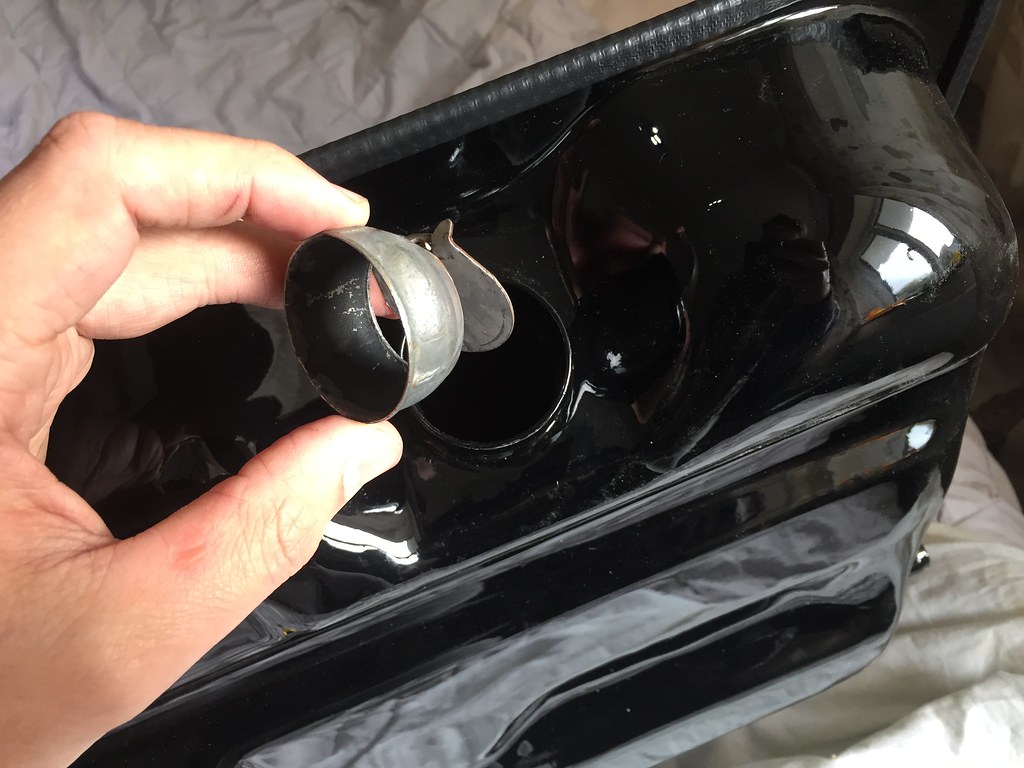
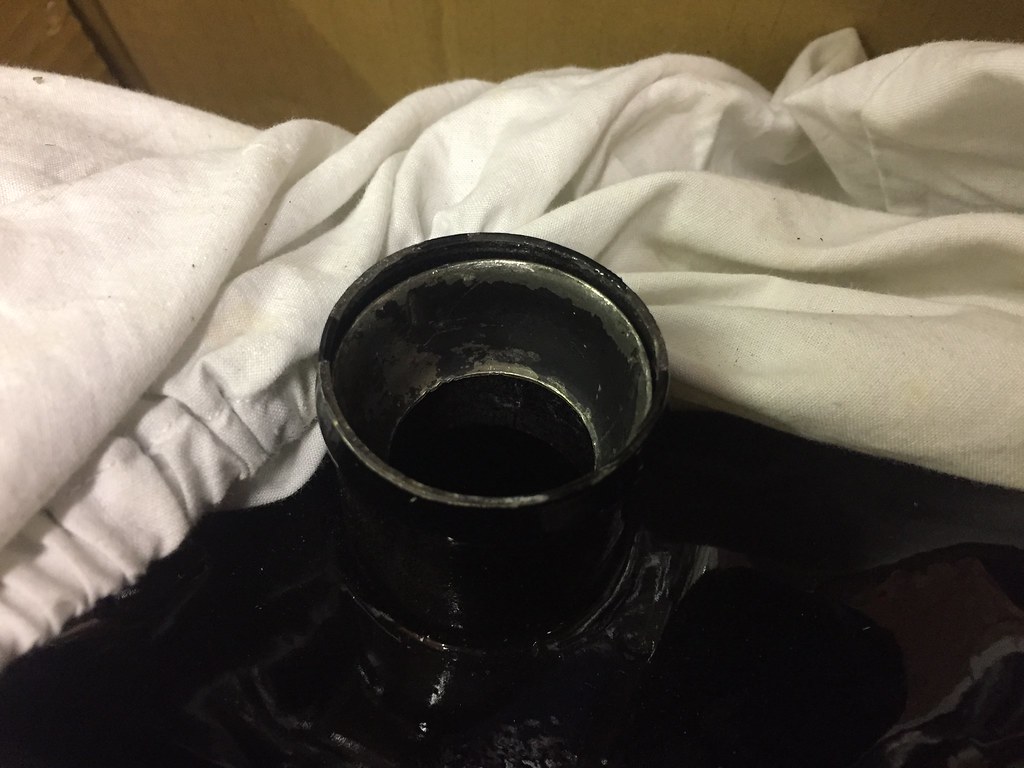
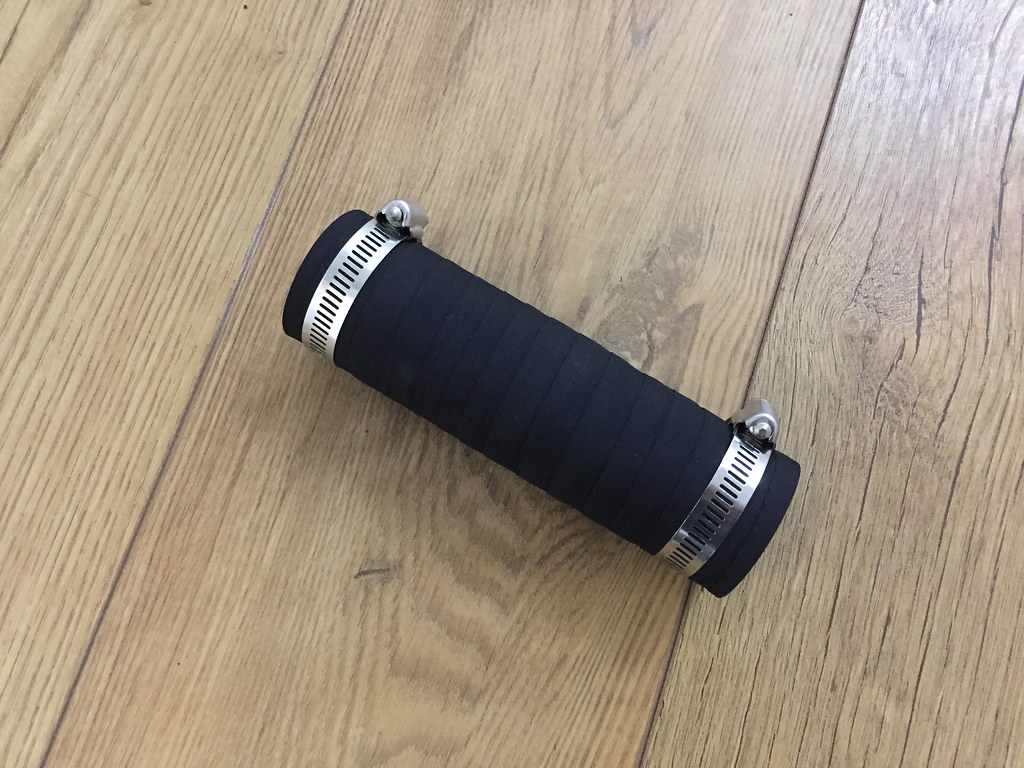
New filler pipe and clamps
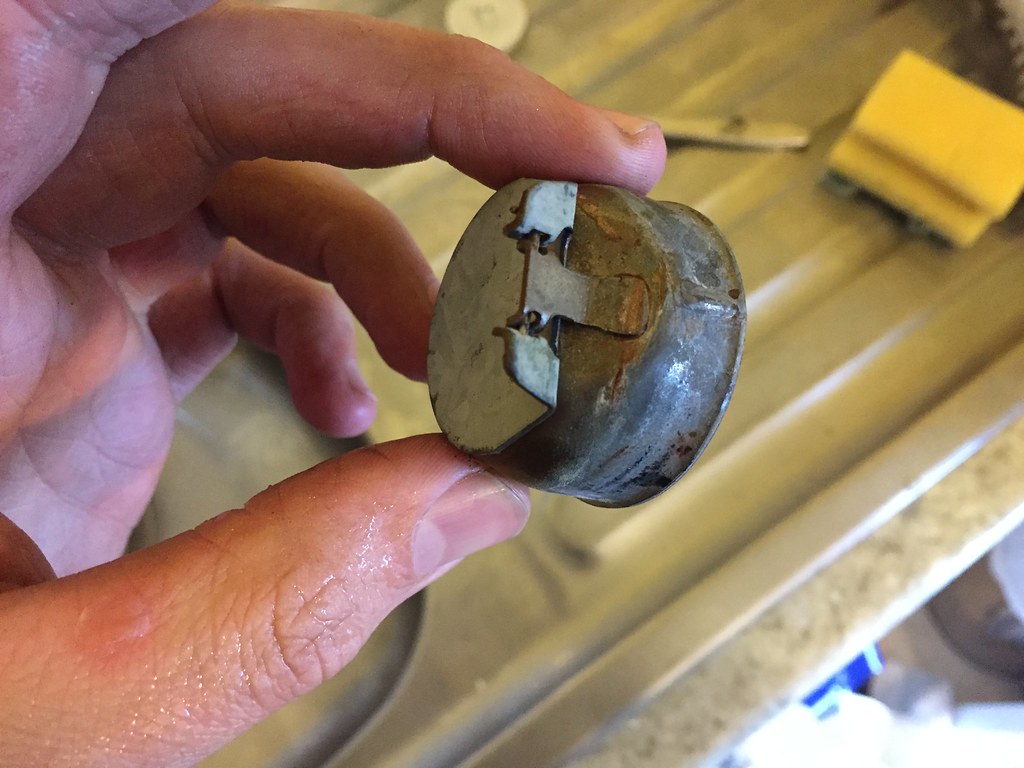
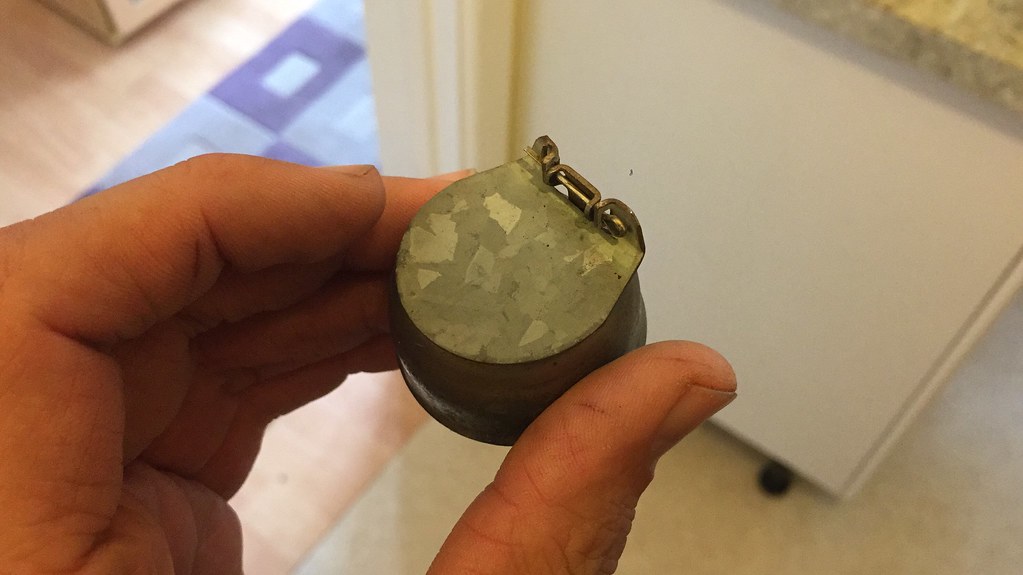
Then realised the old sender unit and pick up didn't fit in the tank due to the so called swirl pot.
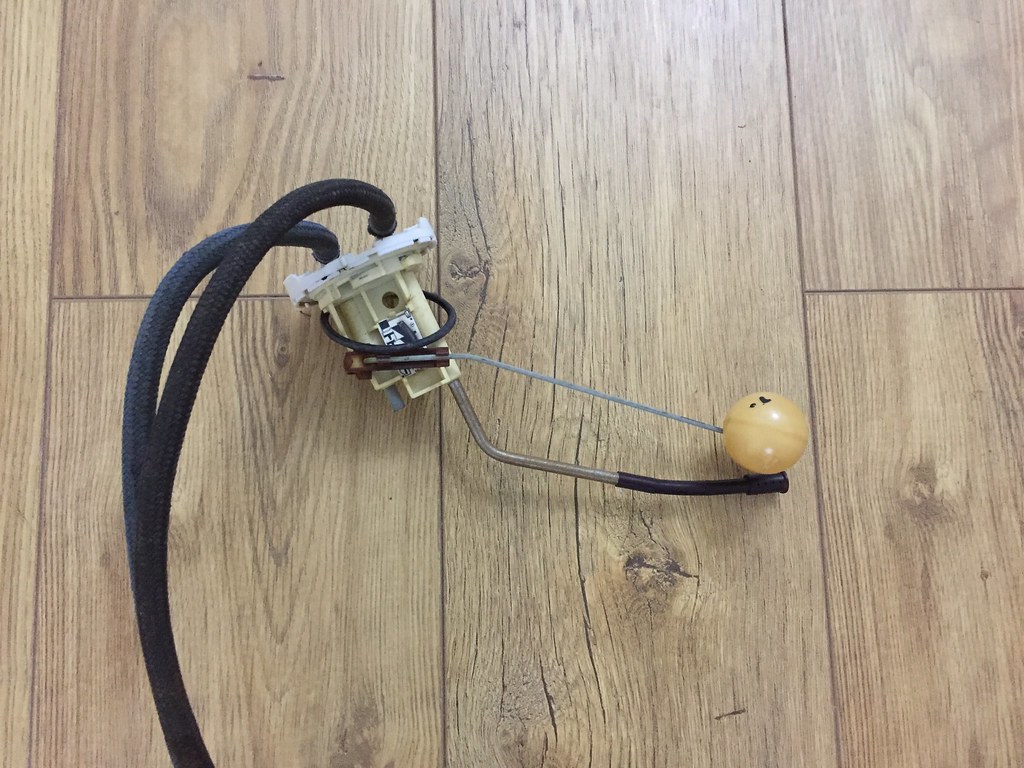
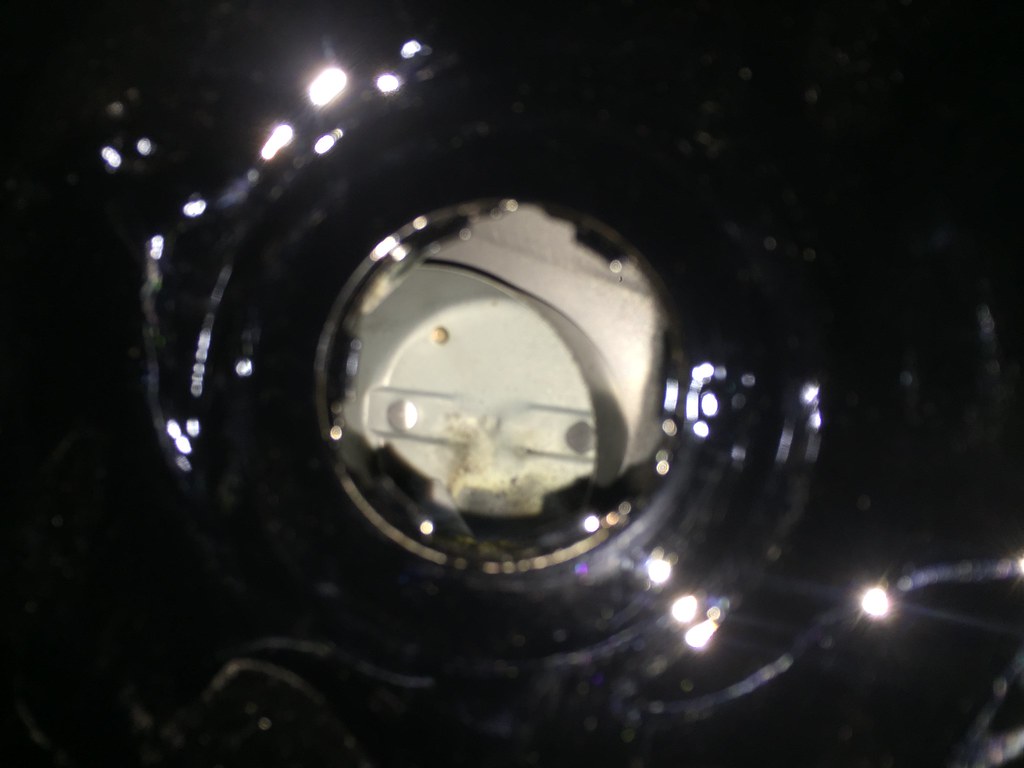
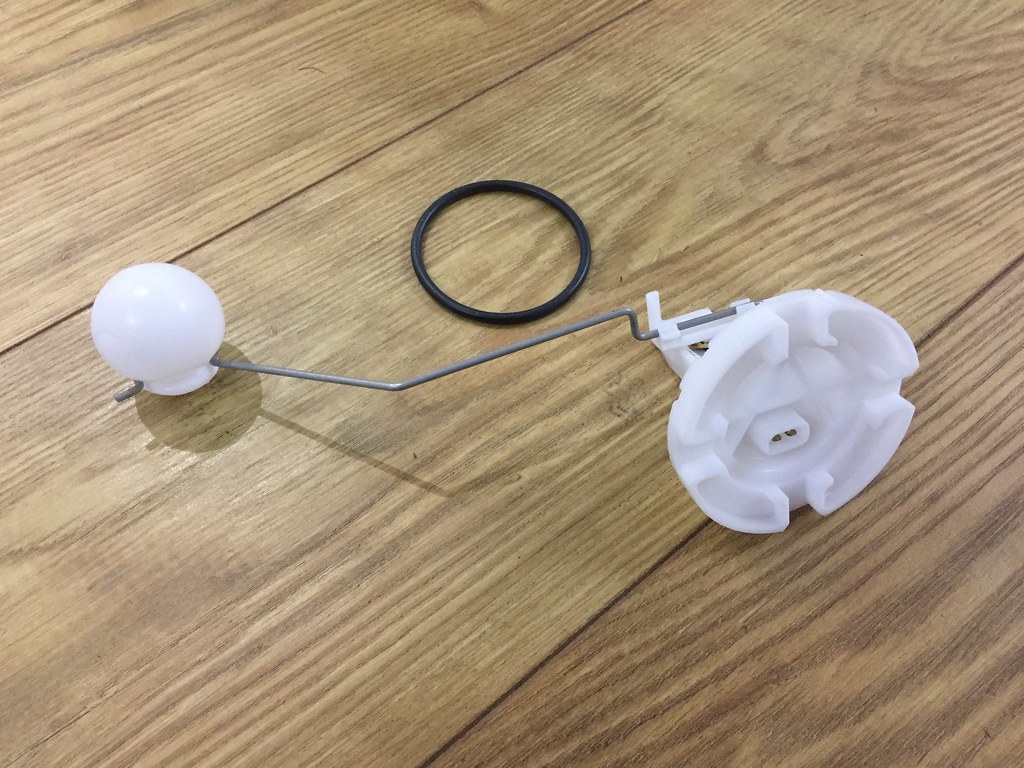
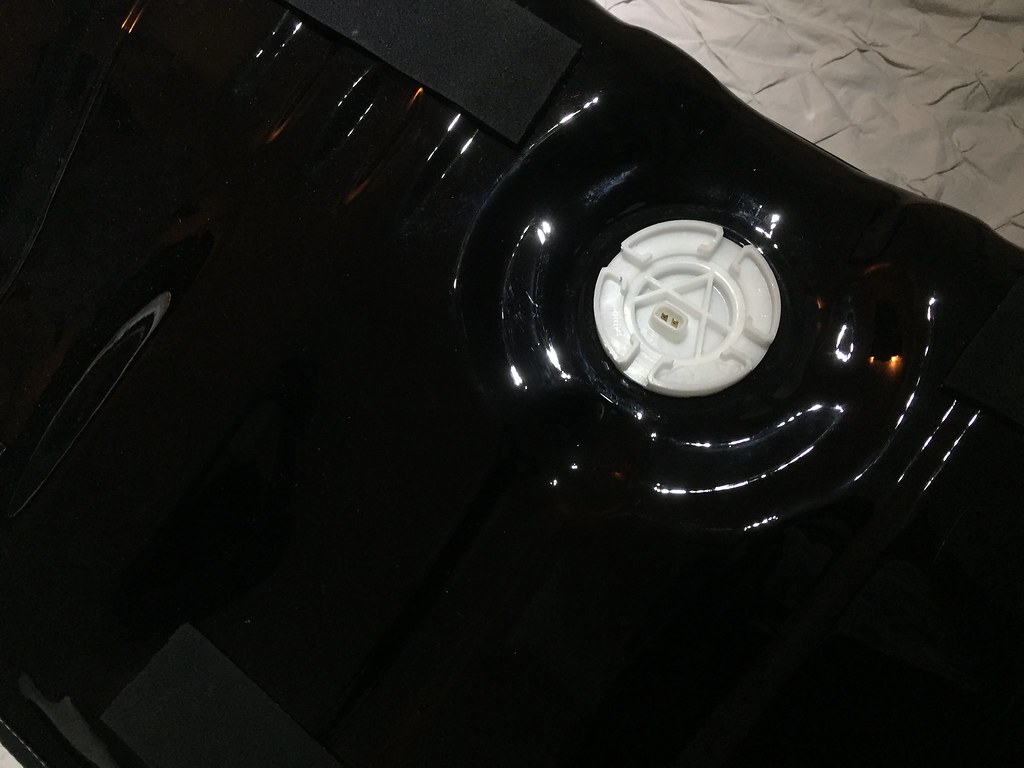
So new GTi sender, and will use the pick ups on the side of the fuel tank.
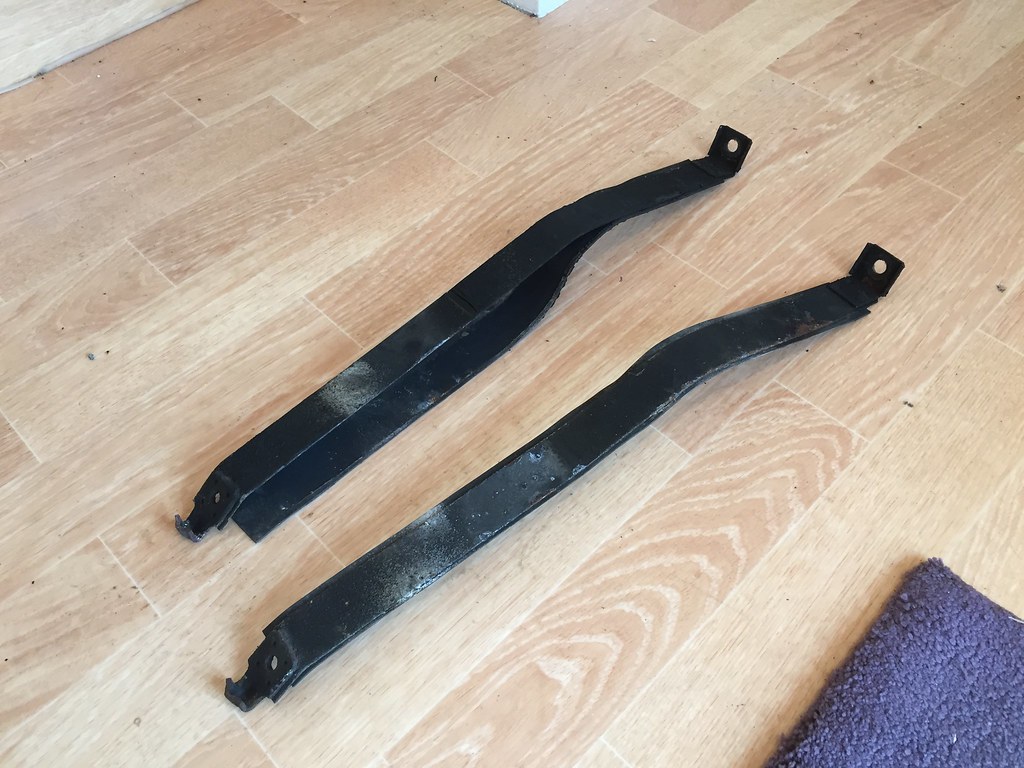
Cleaned up all the tank straps, and chucked in the pile to get powdercoated.
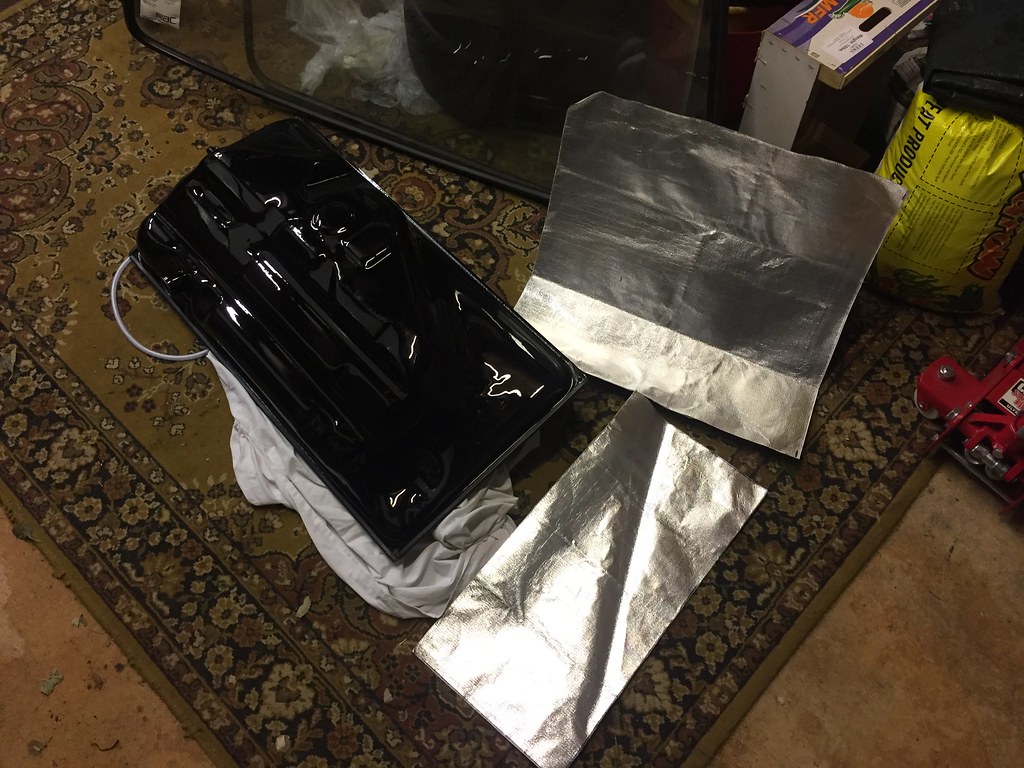
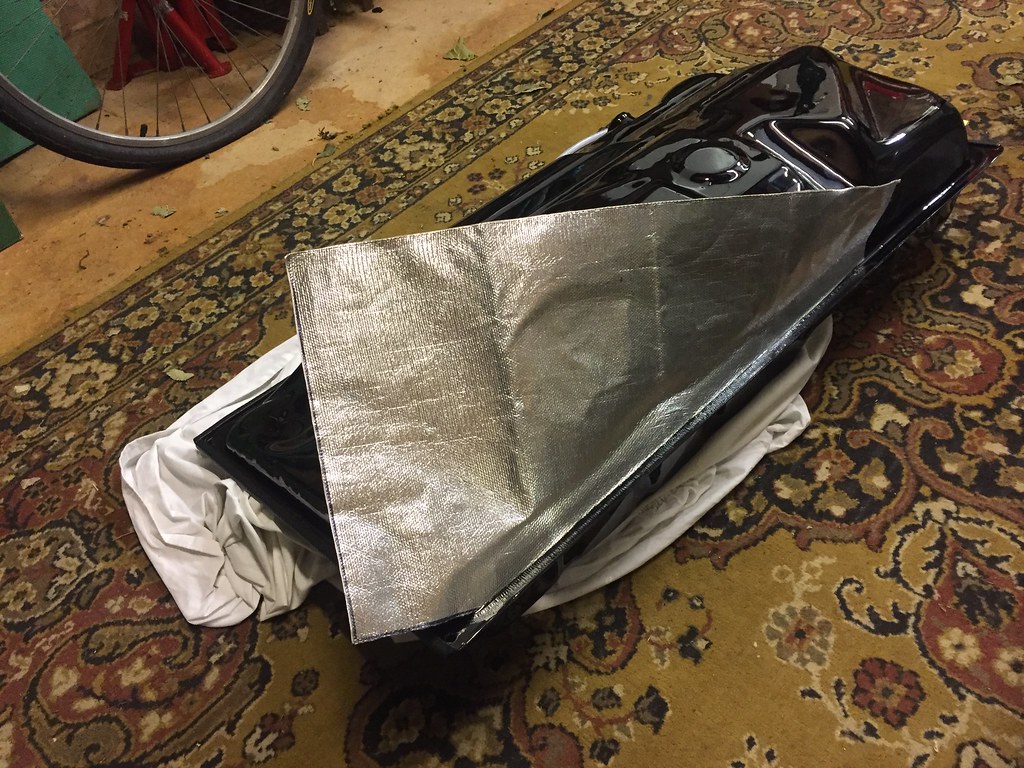
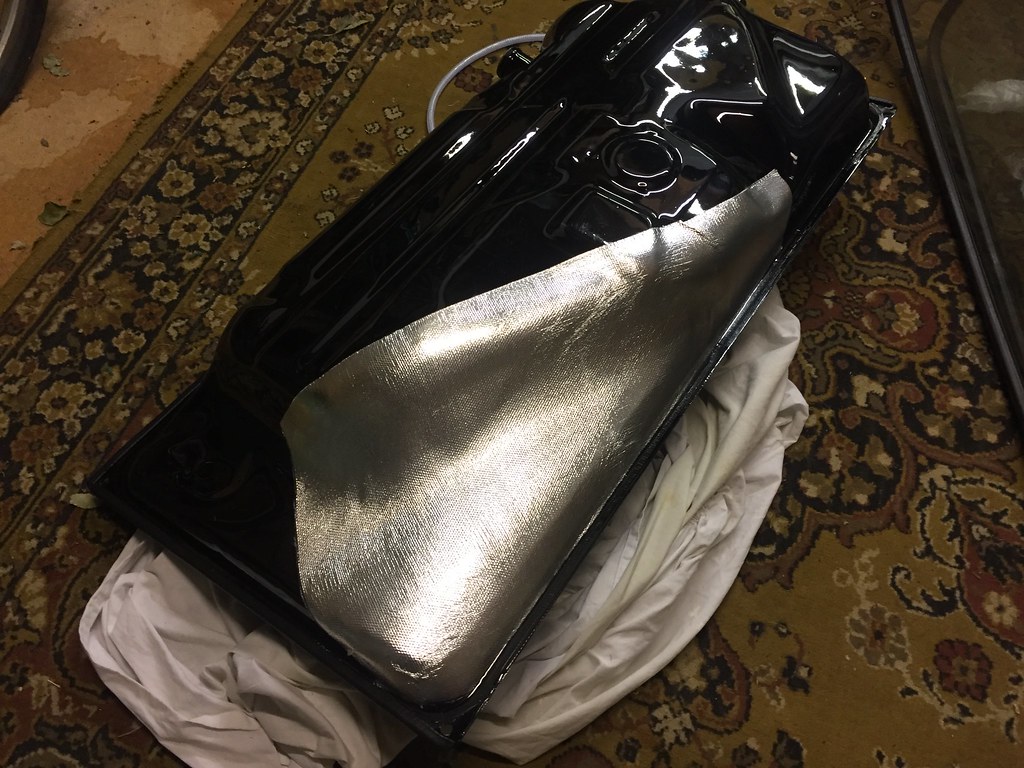
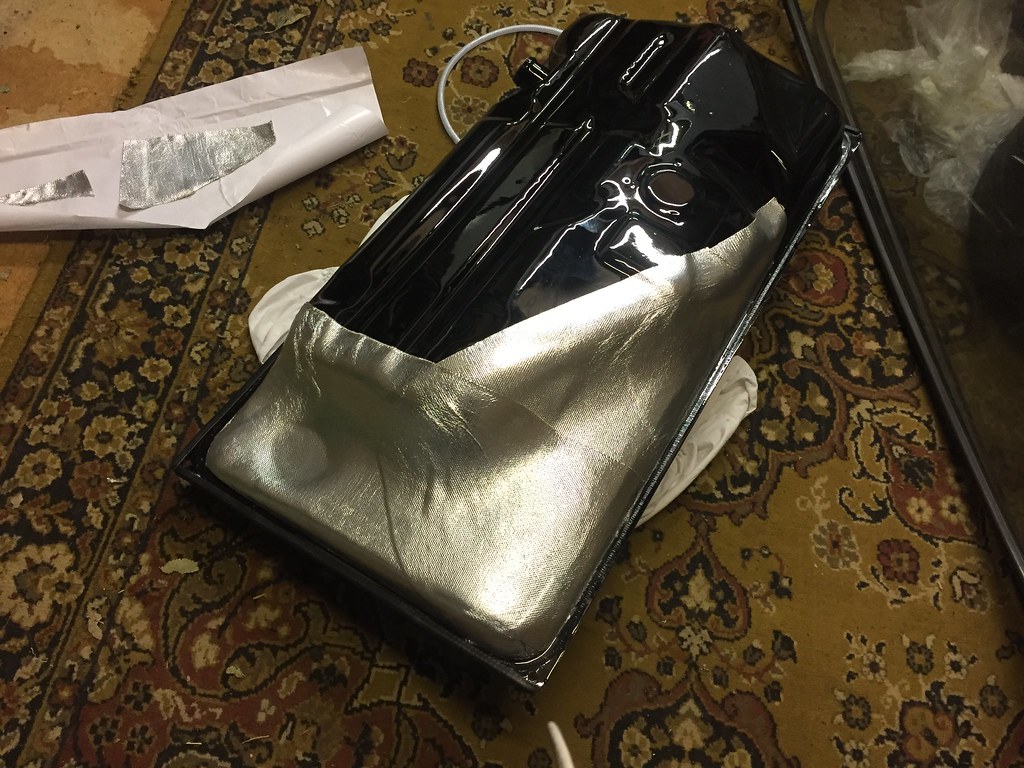
Then applied some heat repellent on the bottom of the tank where the exhaust flows past -
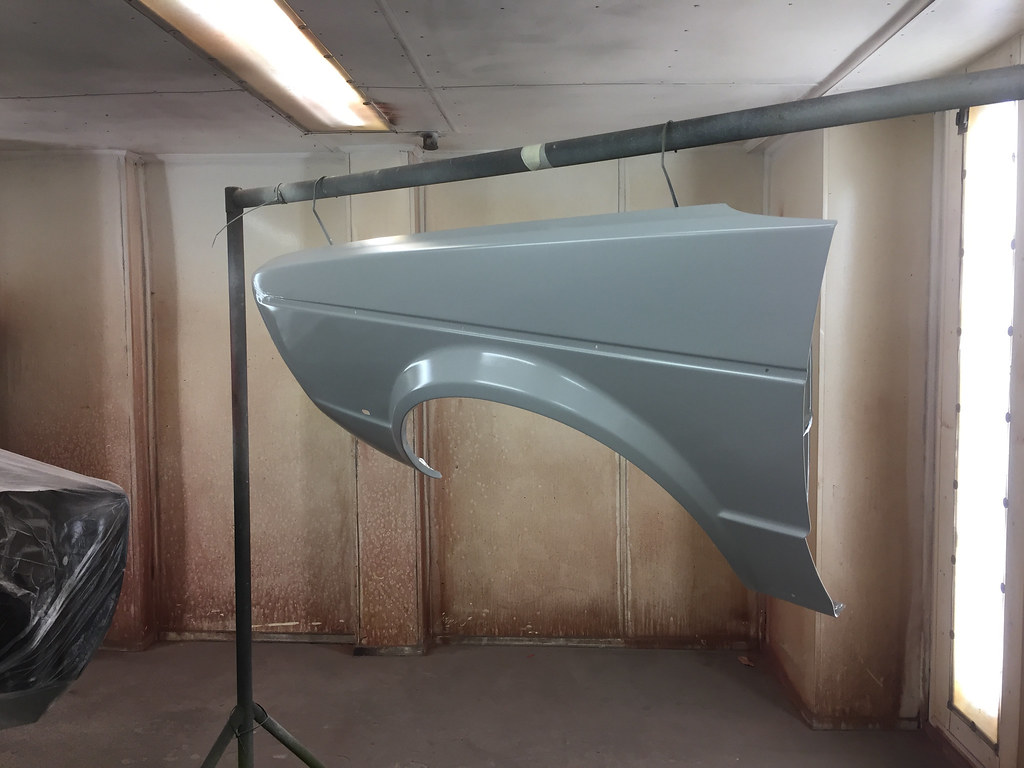
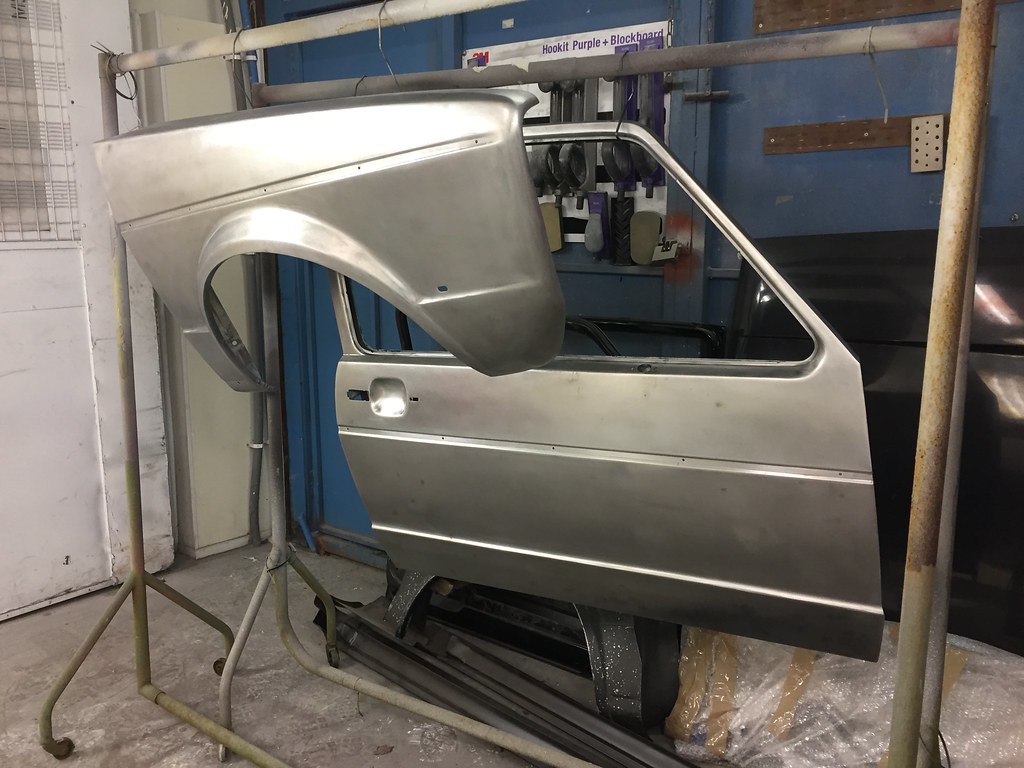
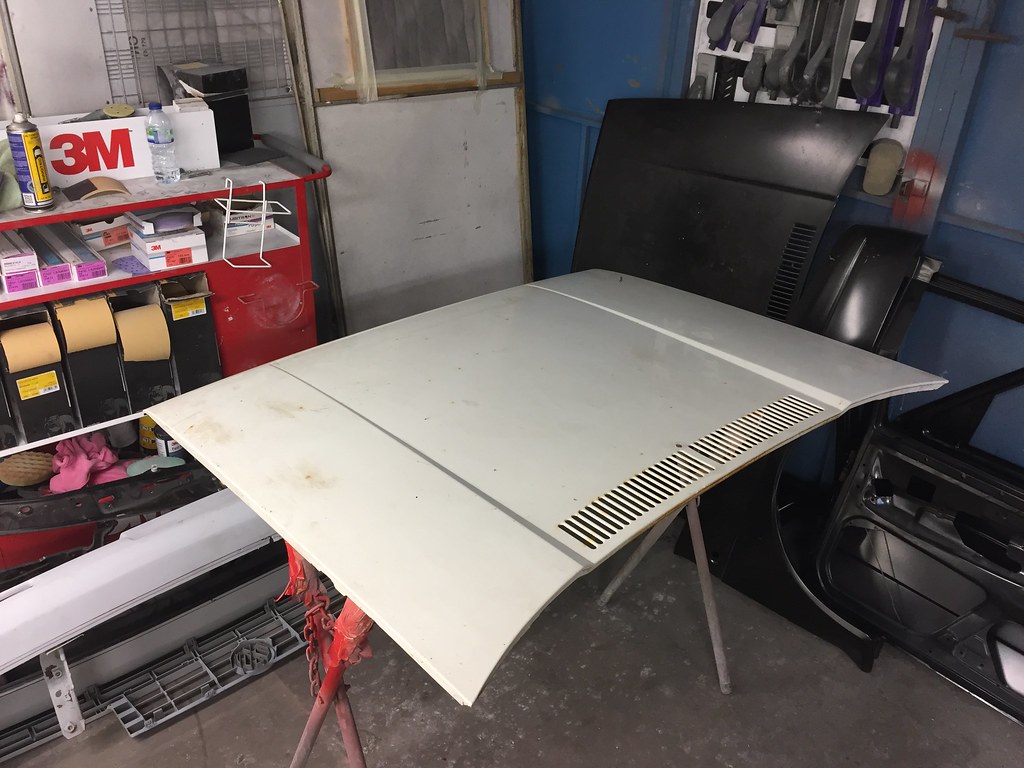
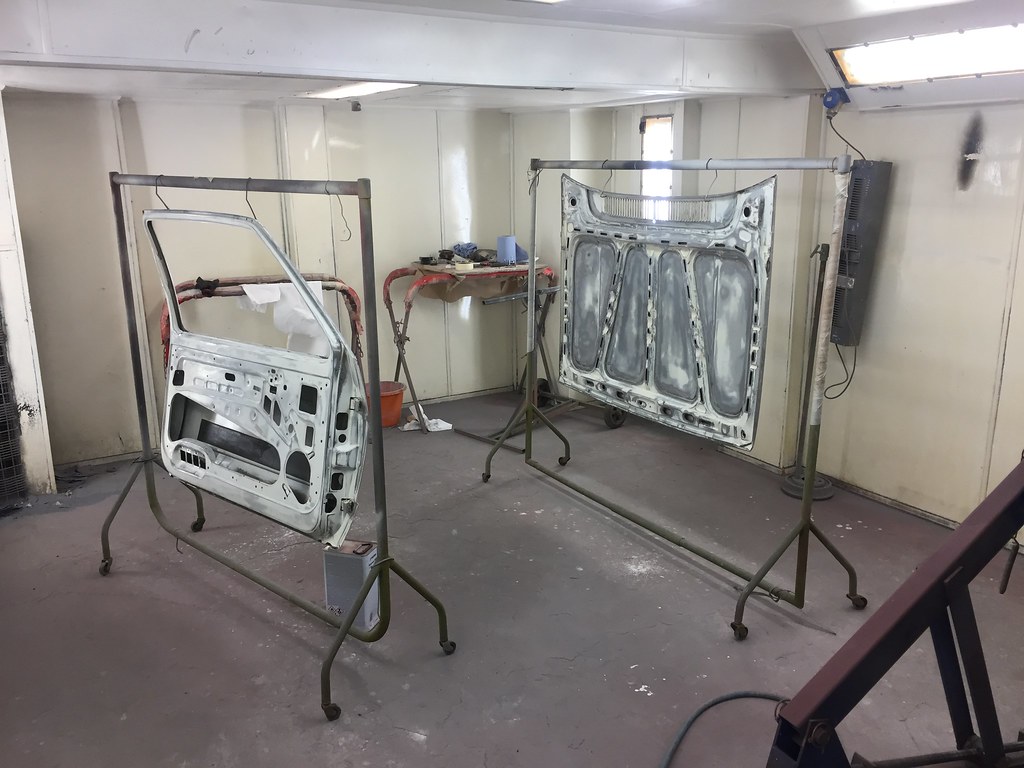
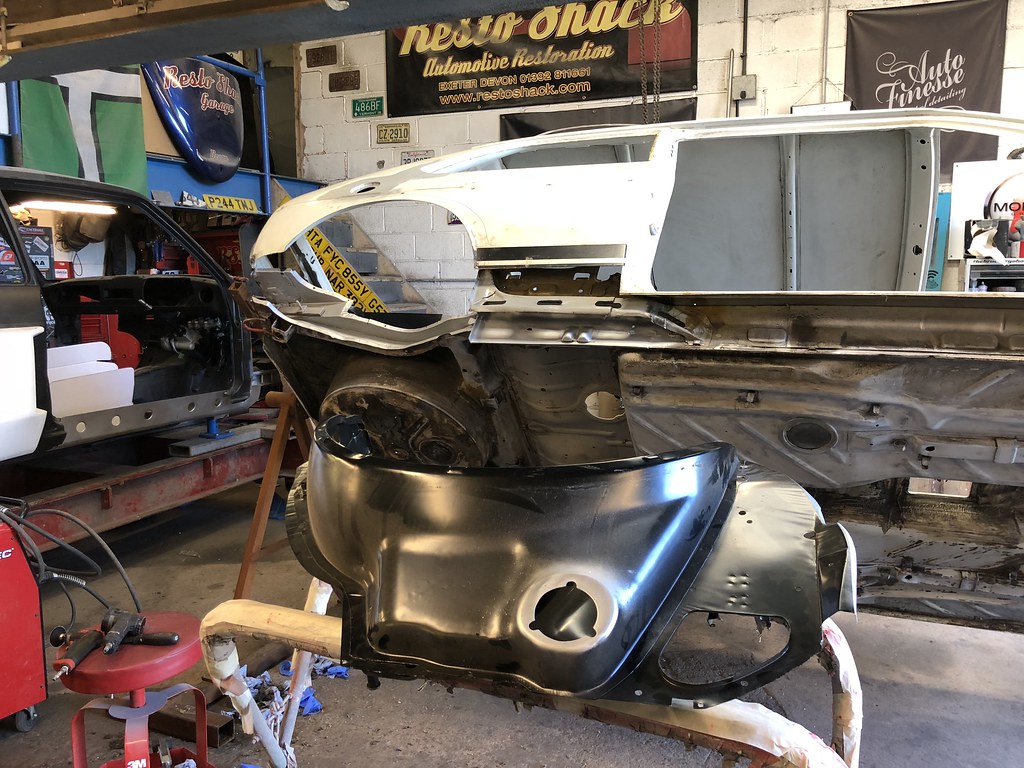
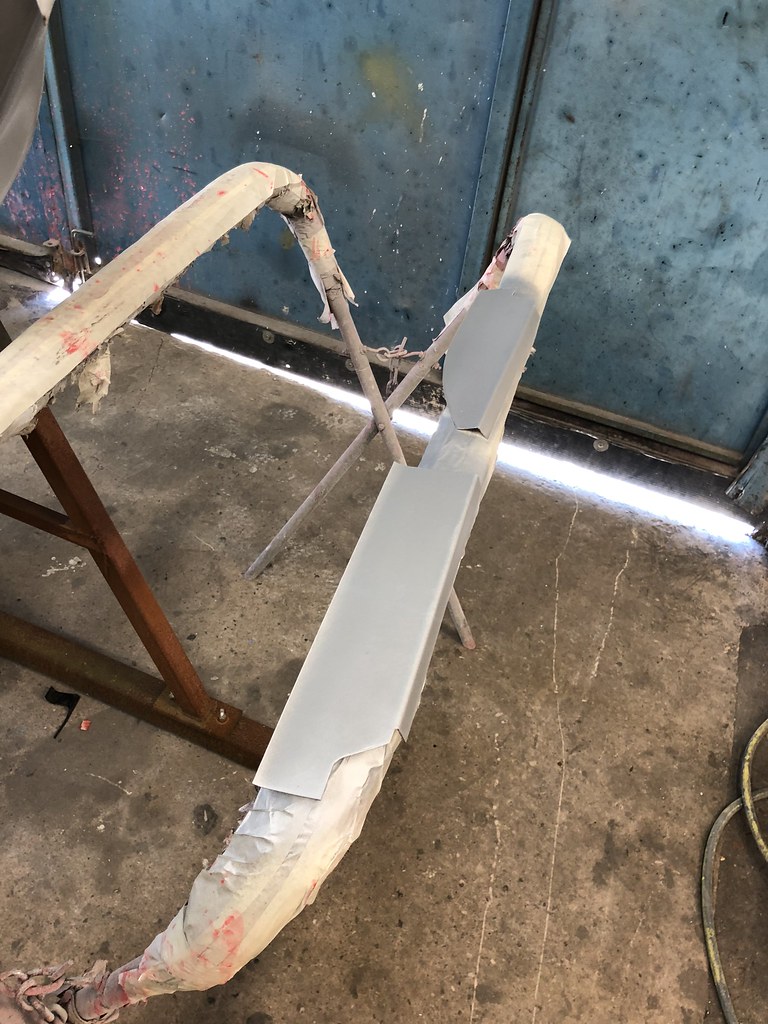
Passenger wing and bootlid are now all prepped and e-proxied
Passenger
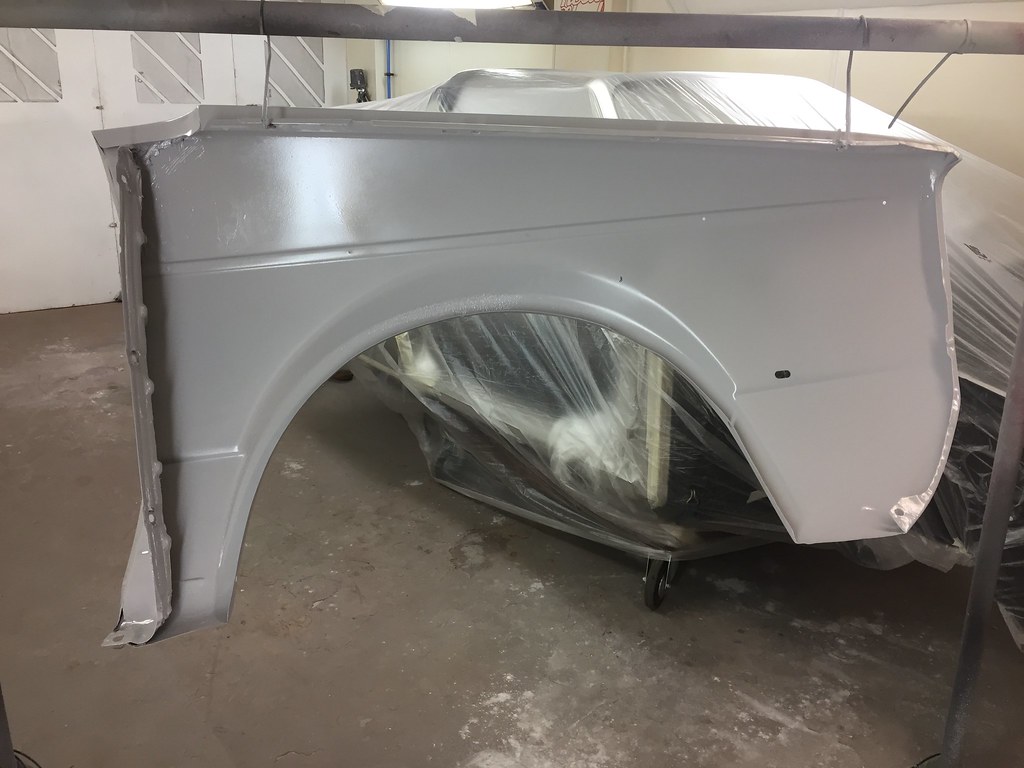
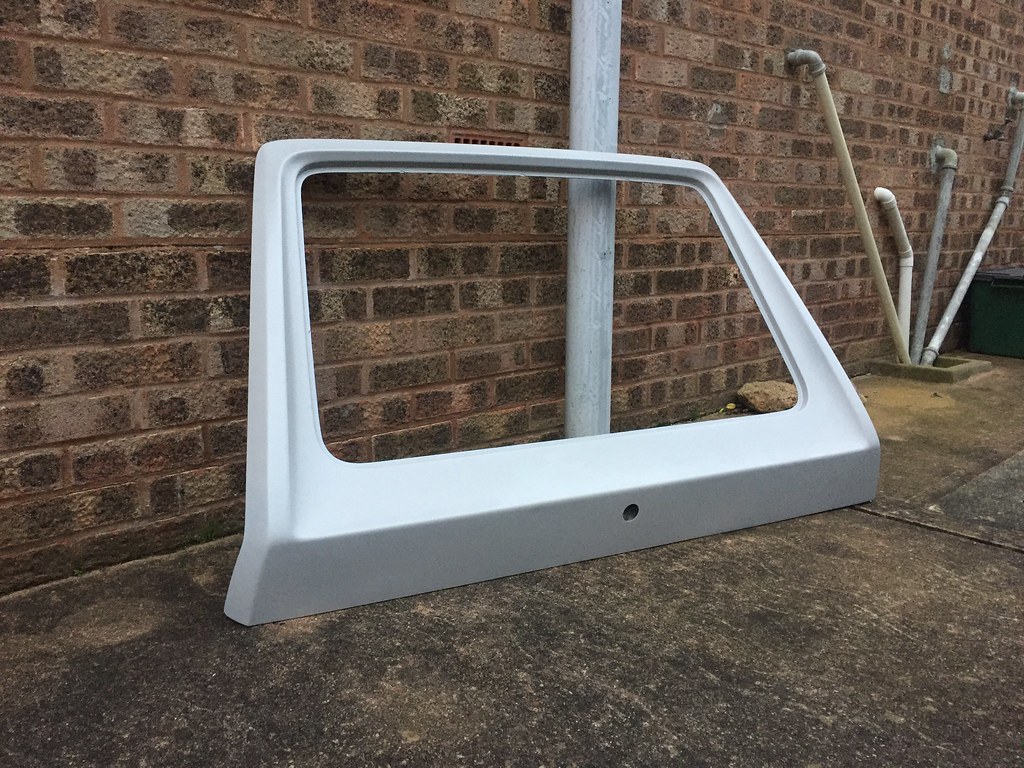
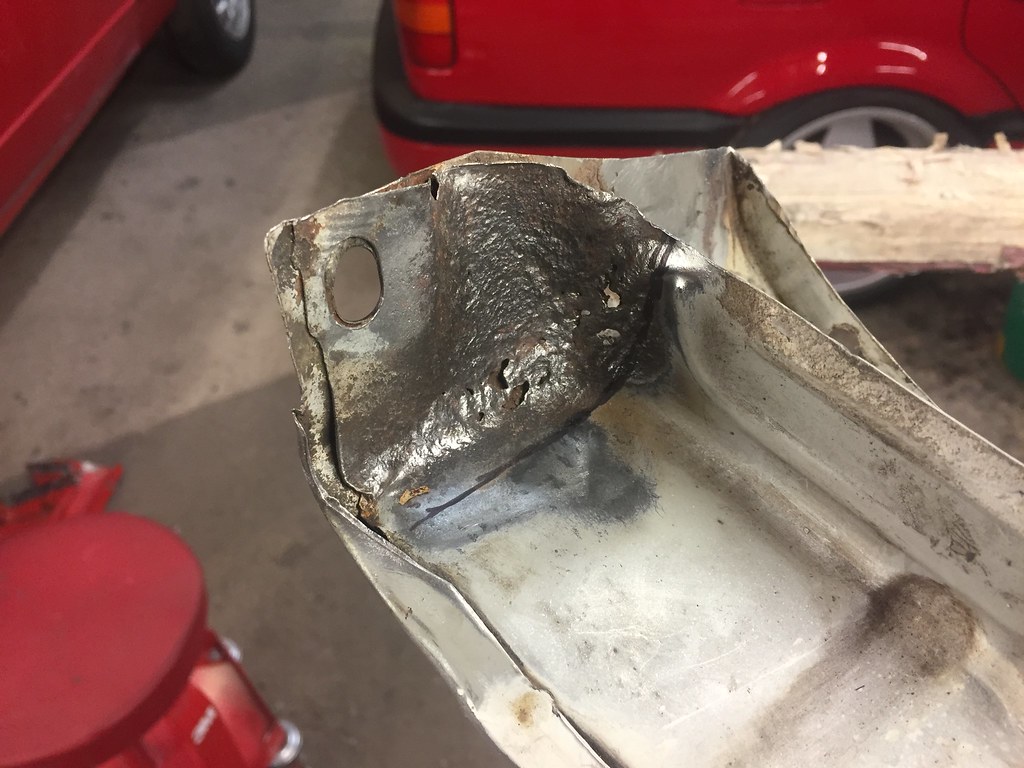
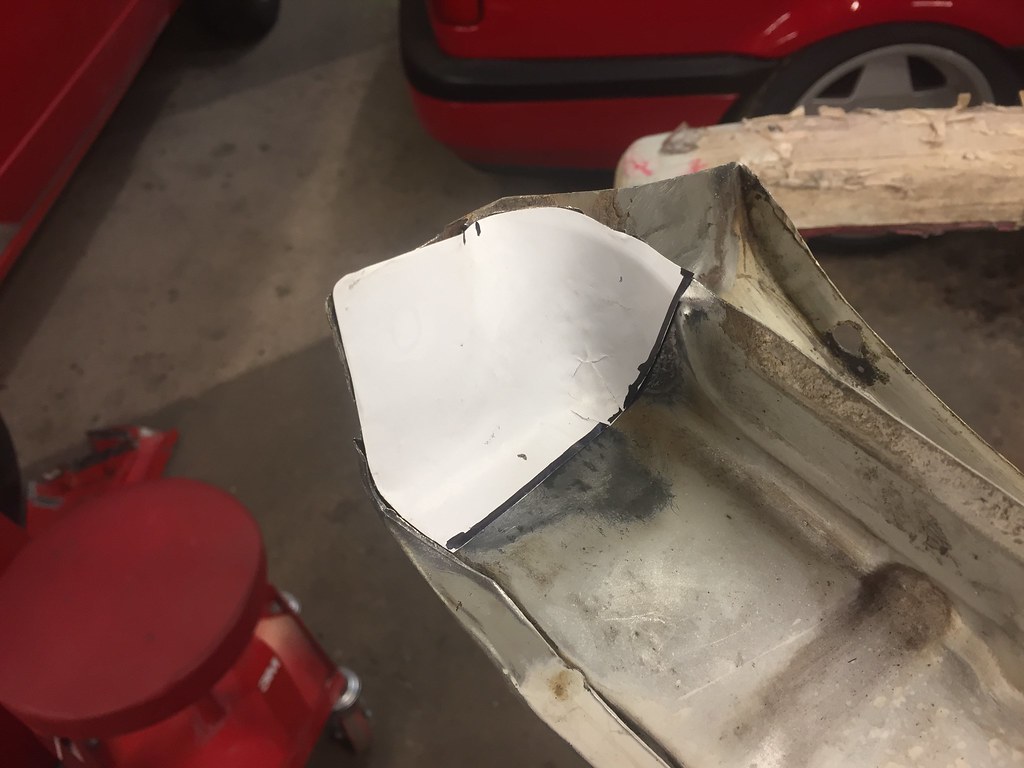
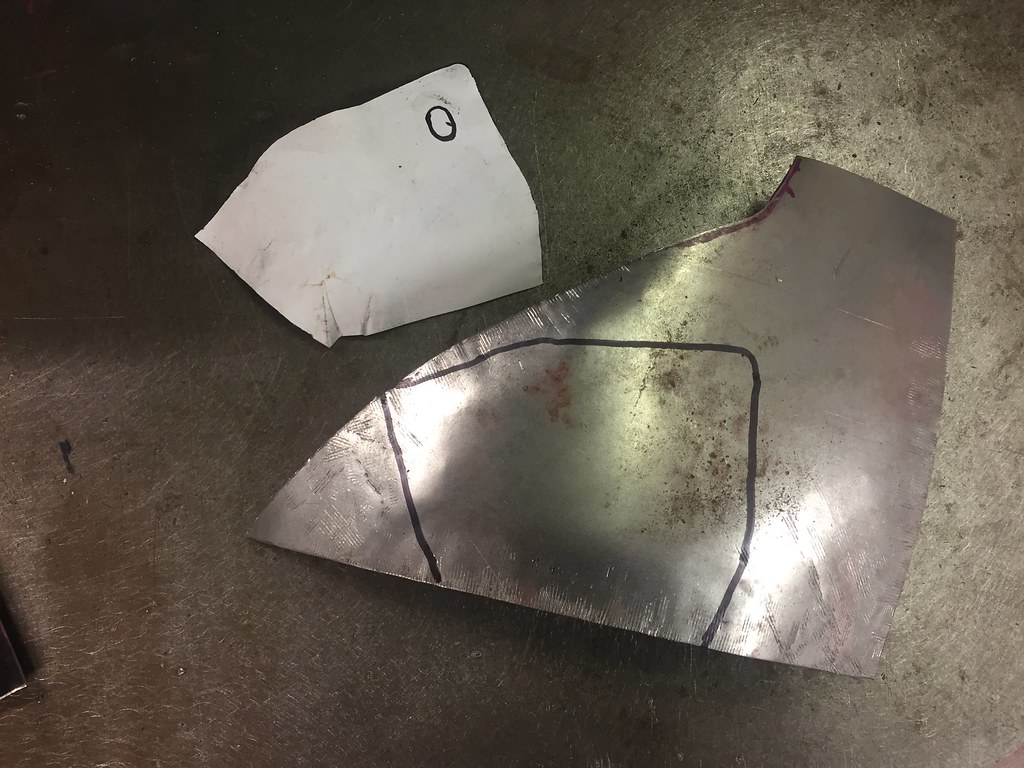
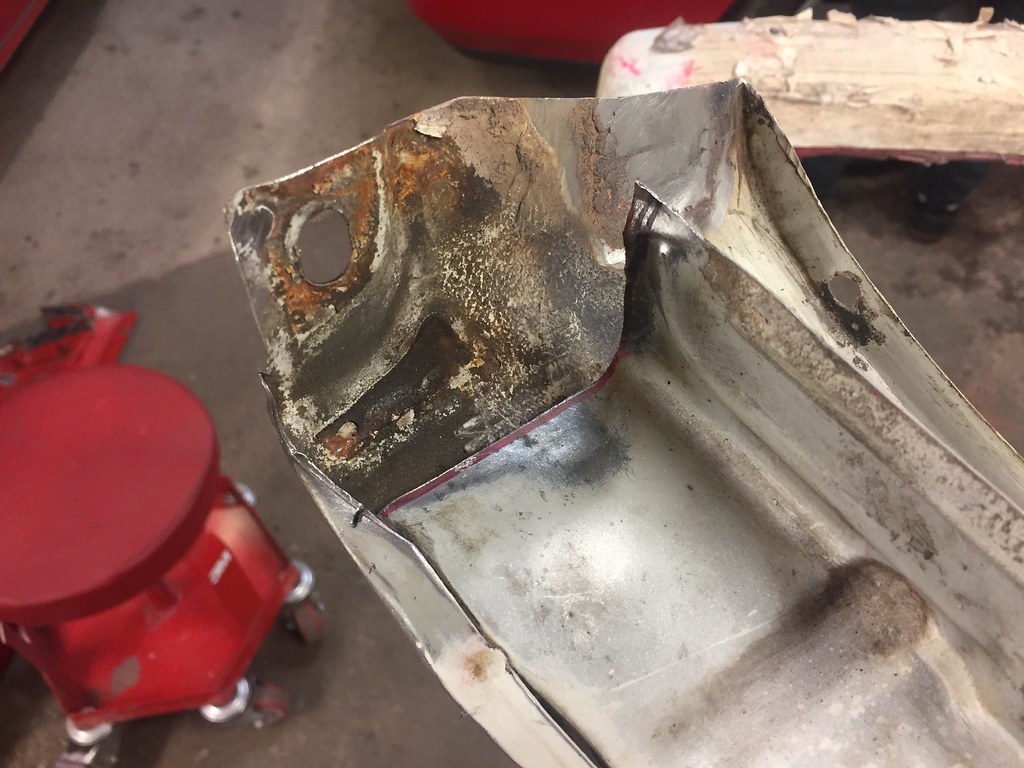
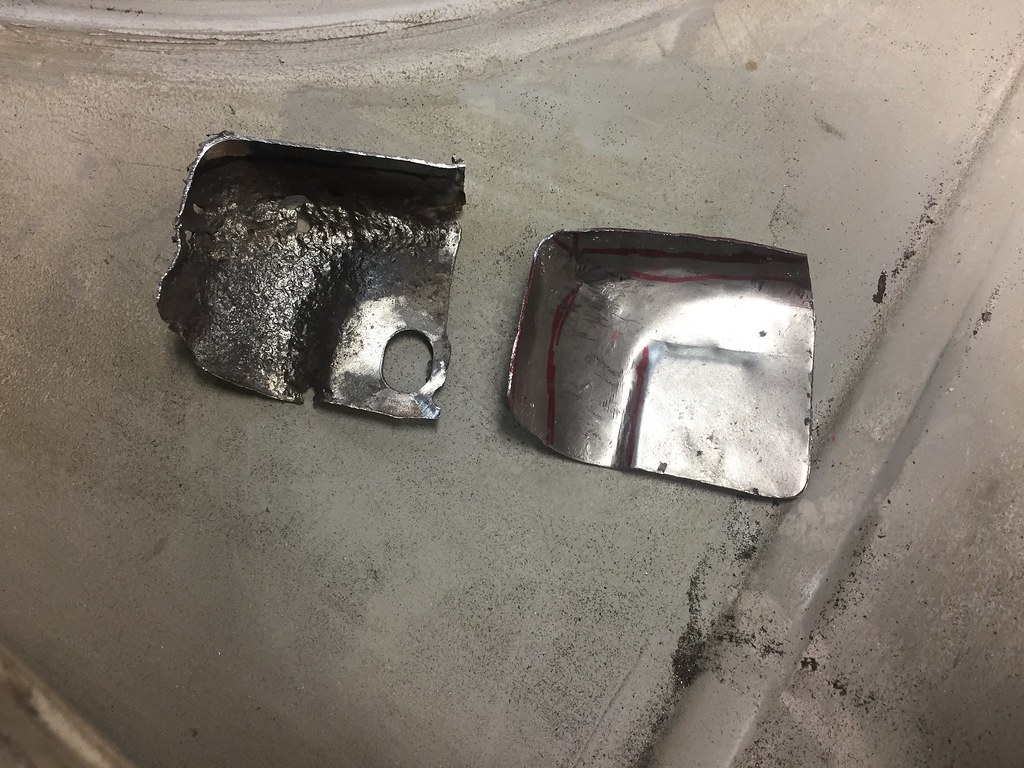
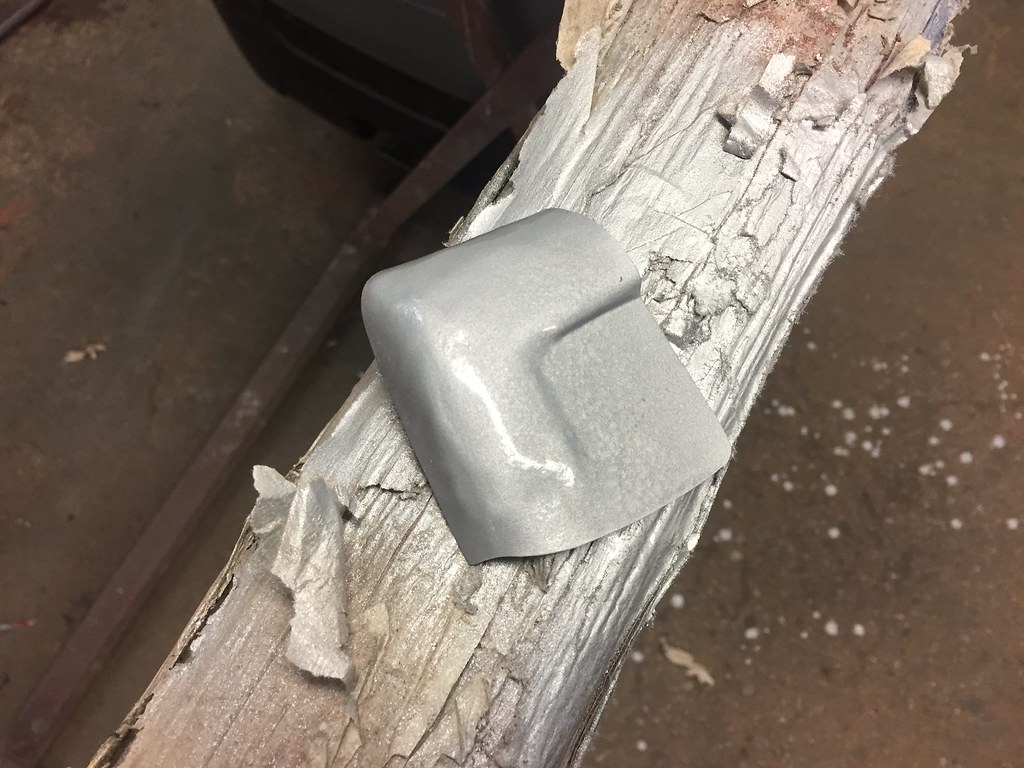
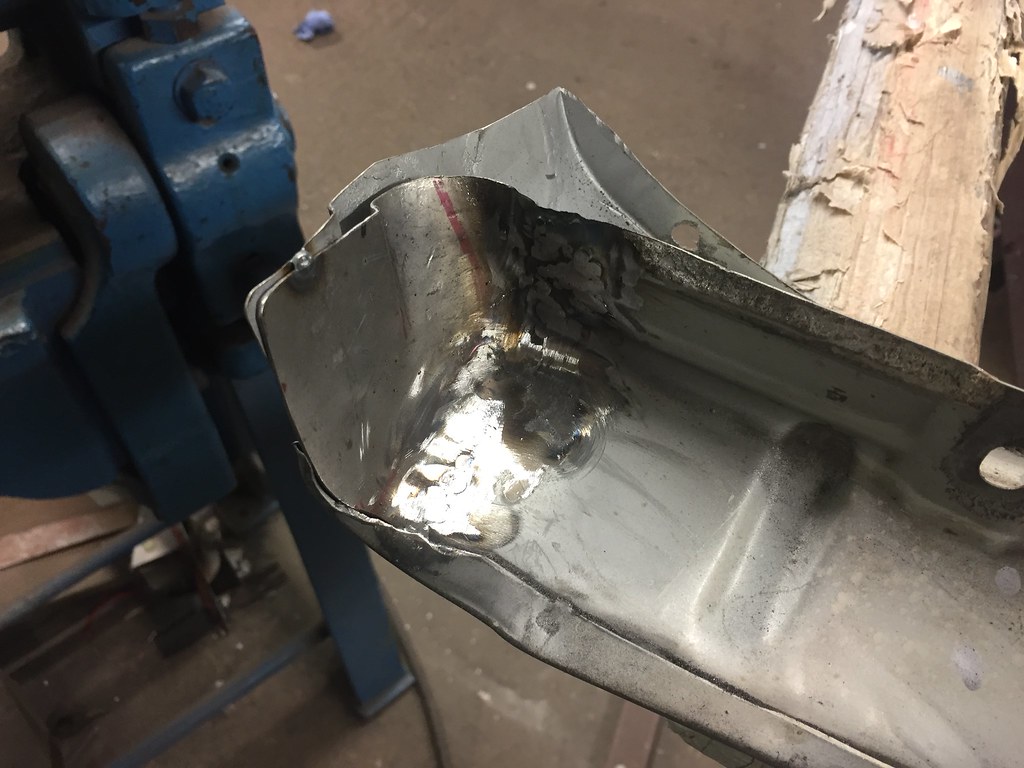
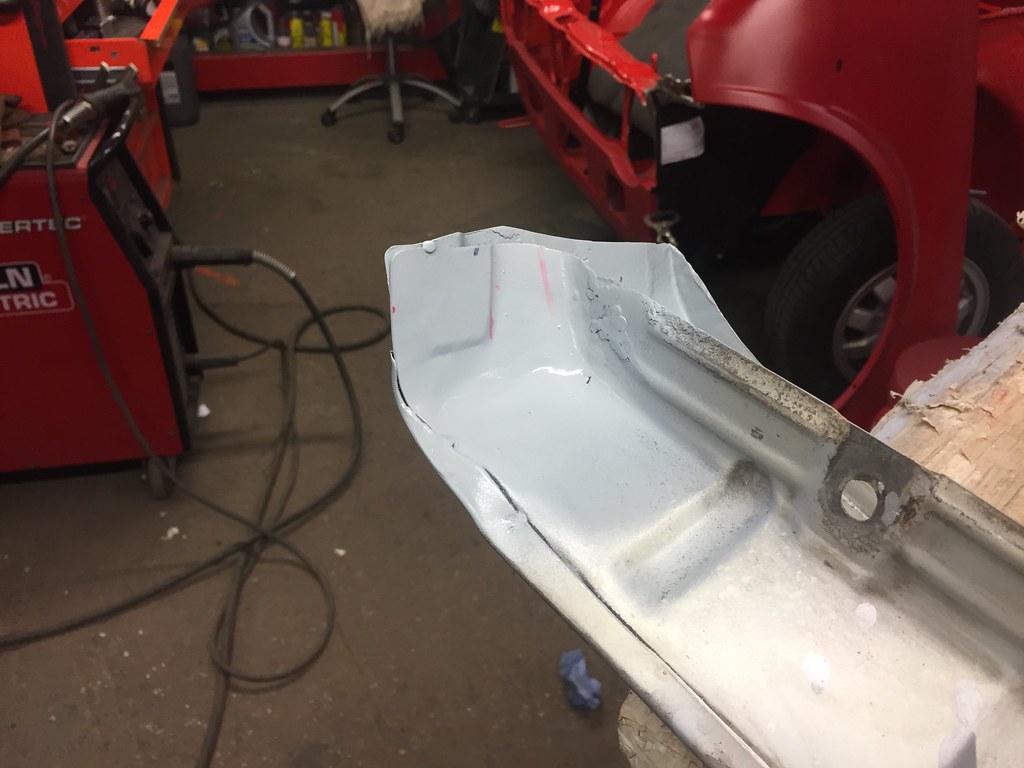
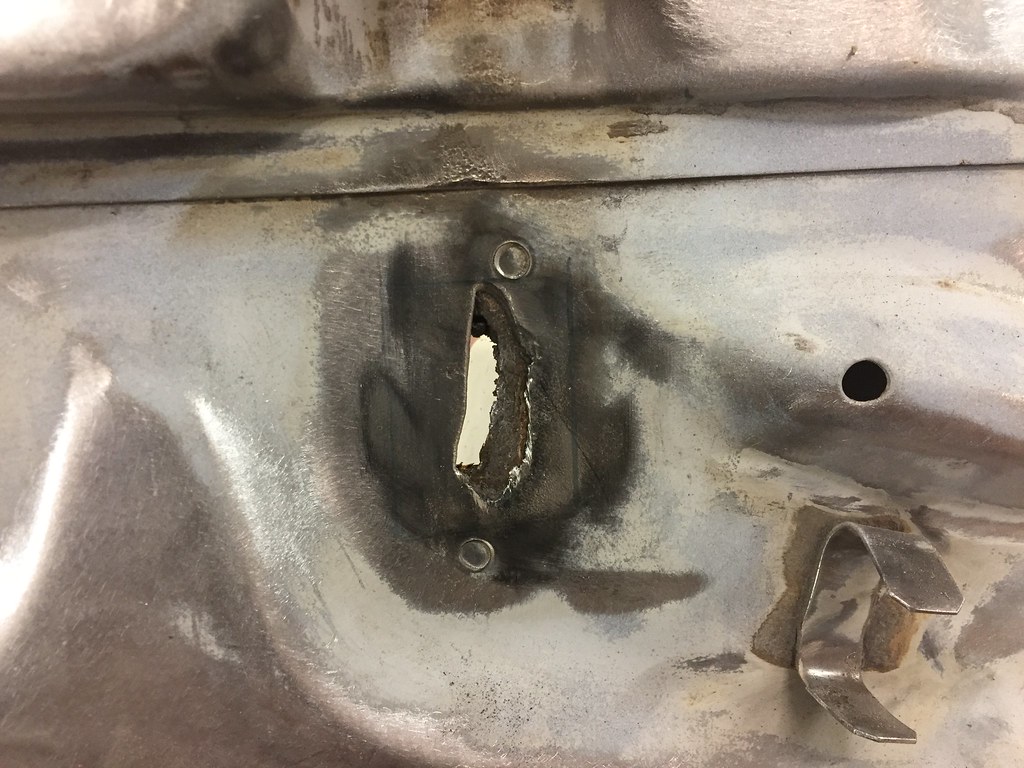
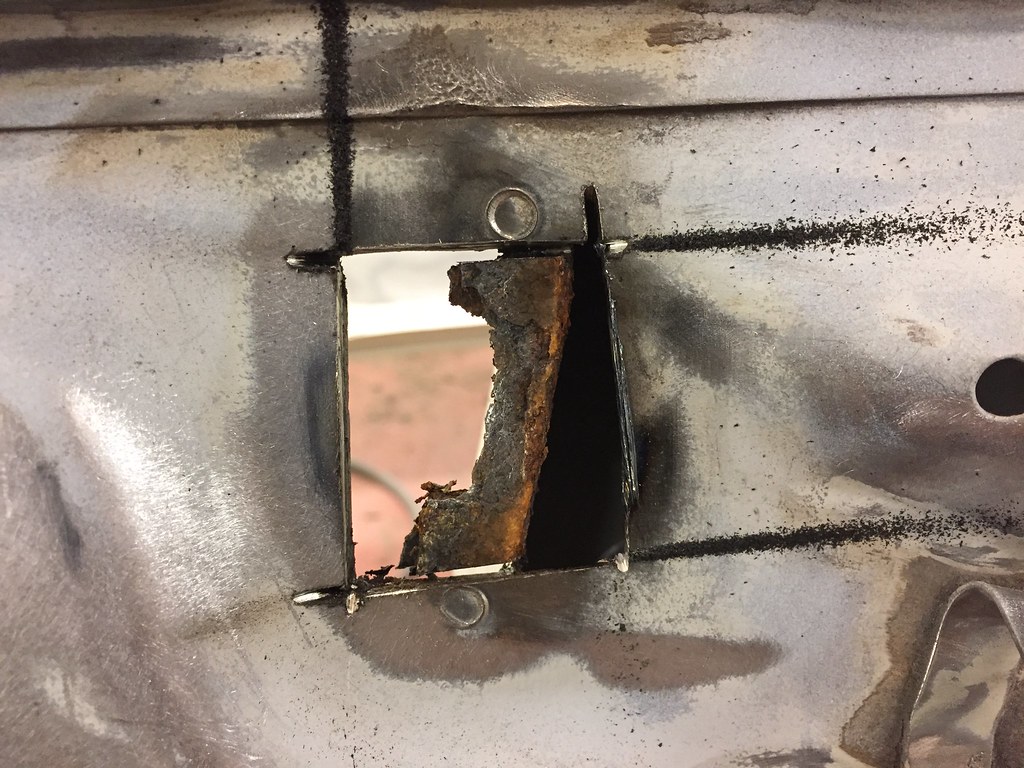
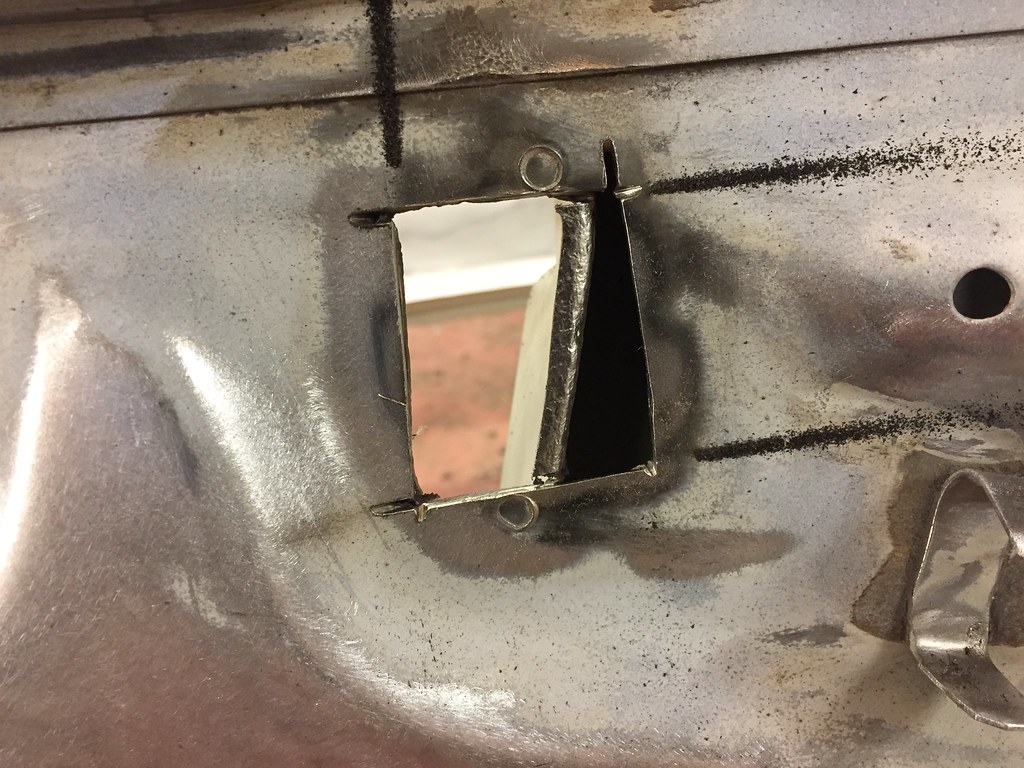
Drivers wing did need some more attention, had to fix a rotten patch with some help from Dave -

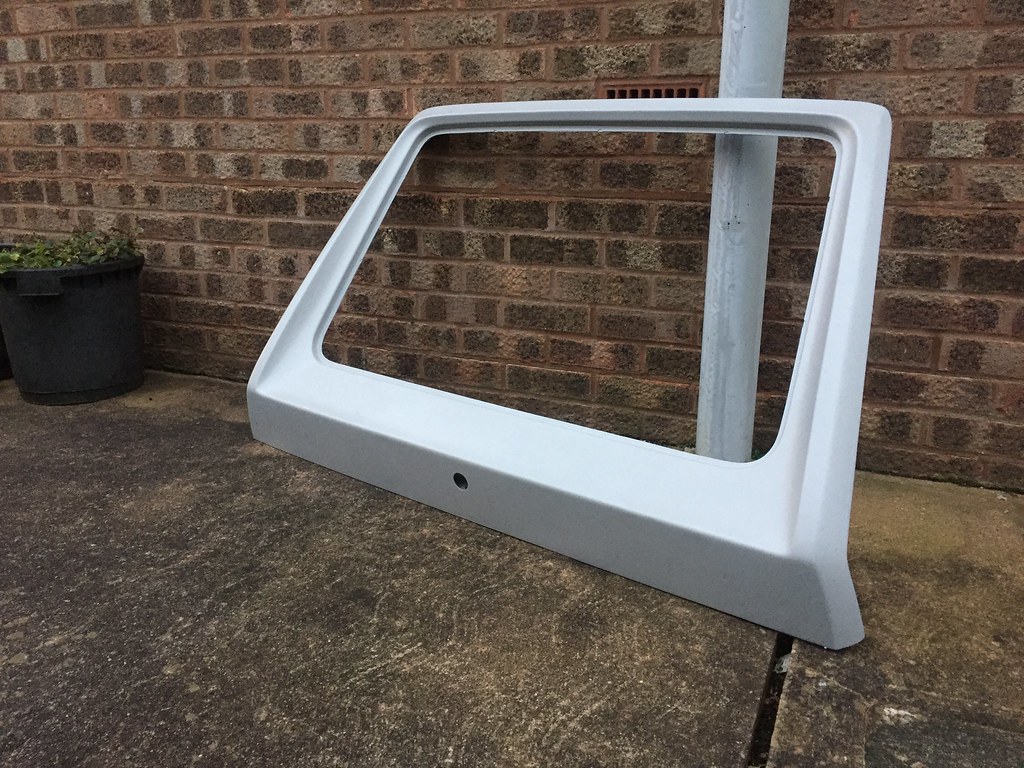
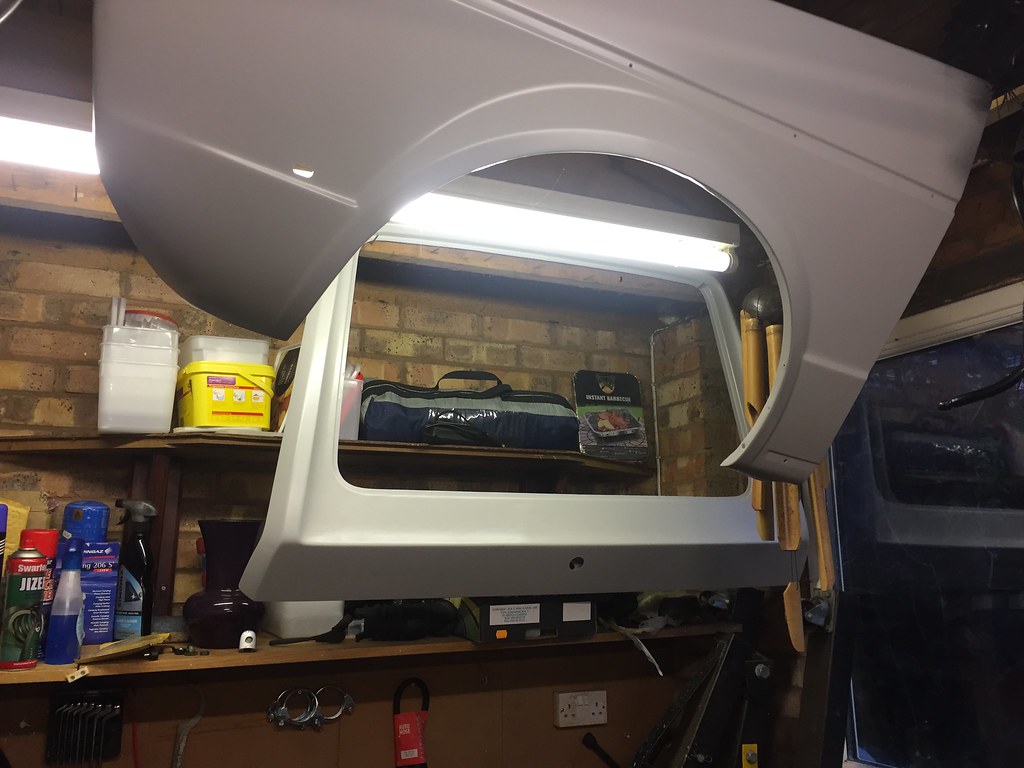
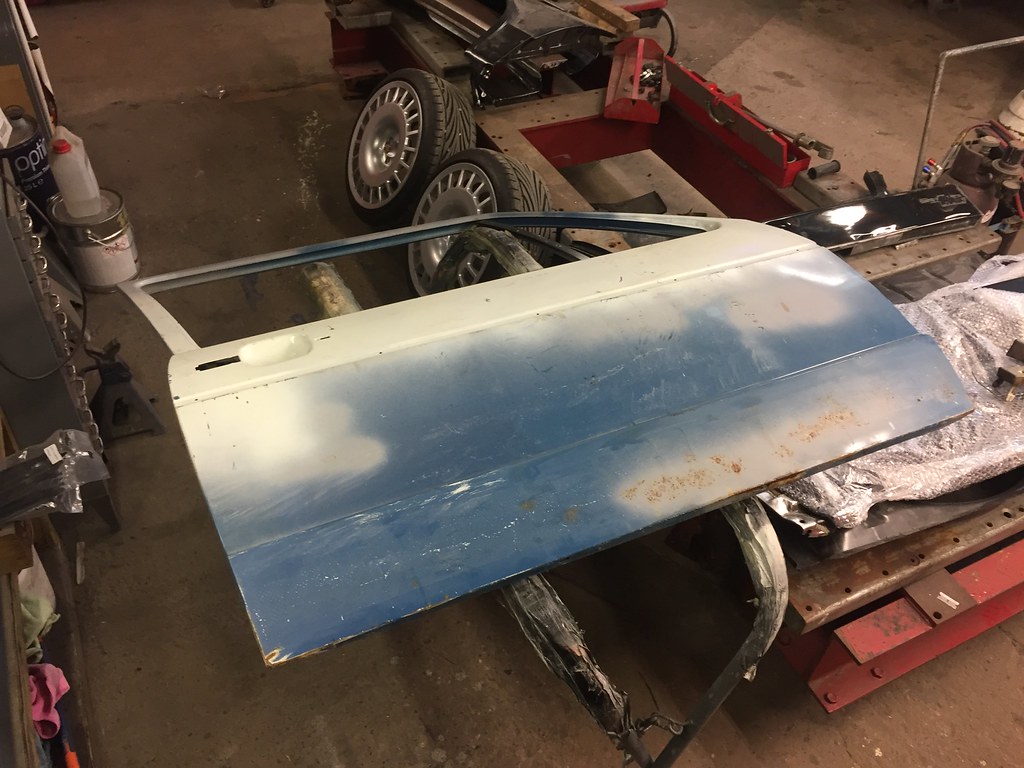
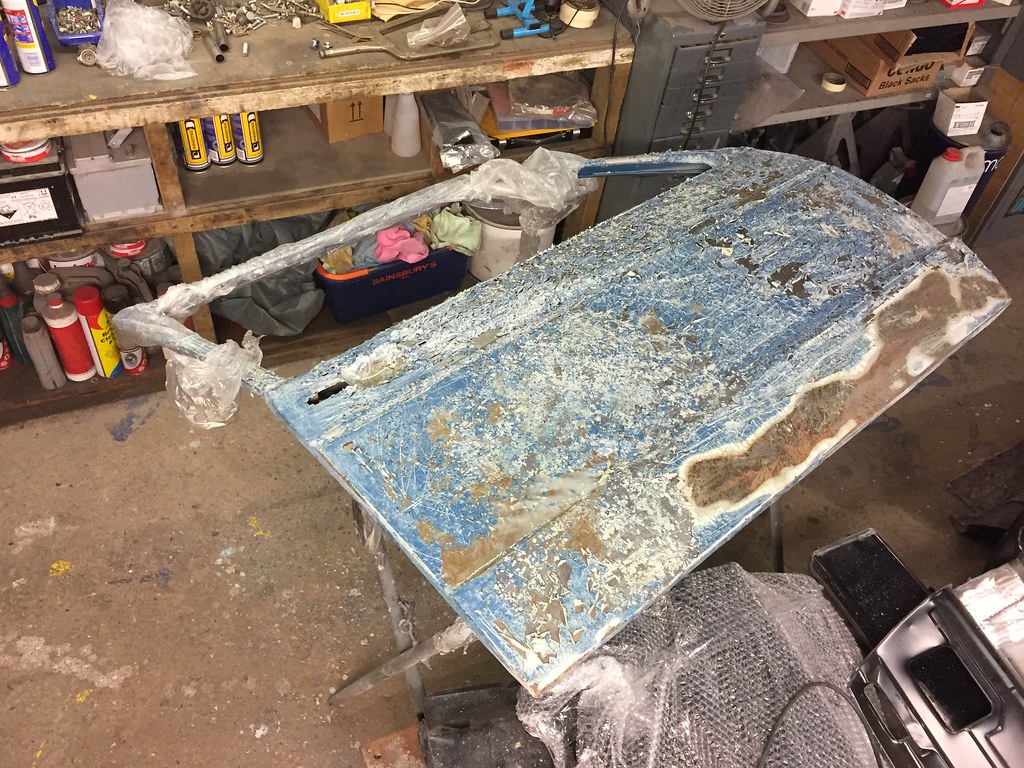
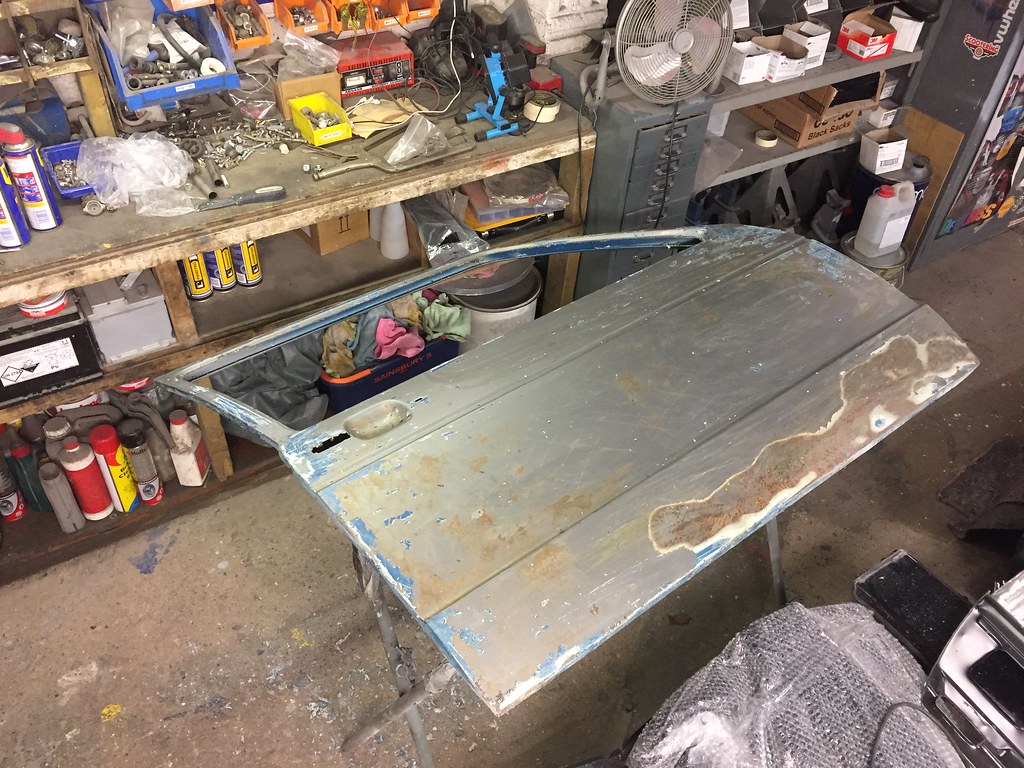
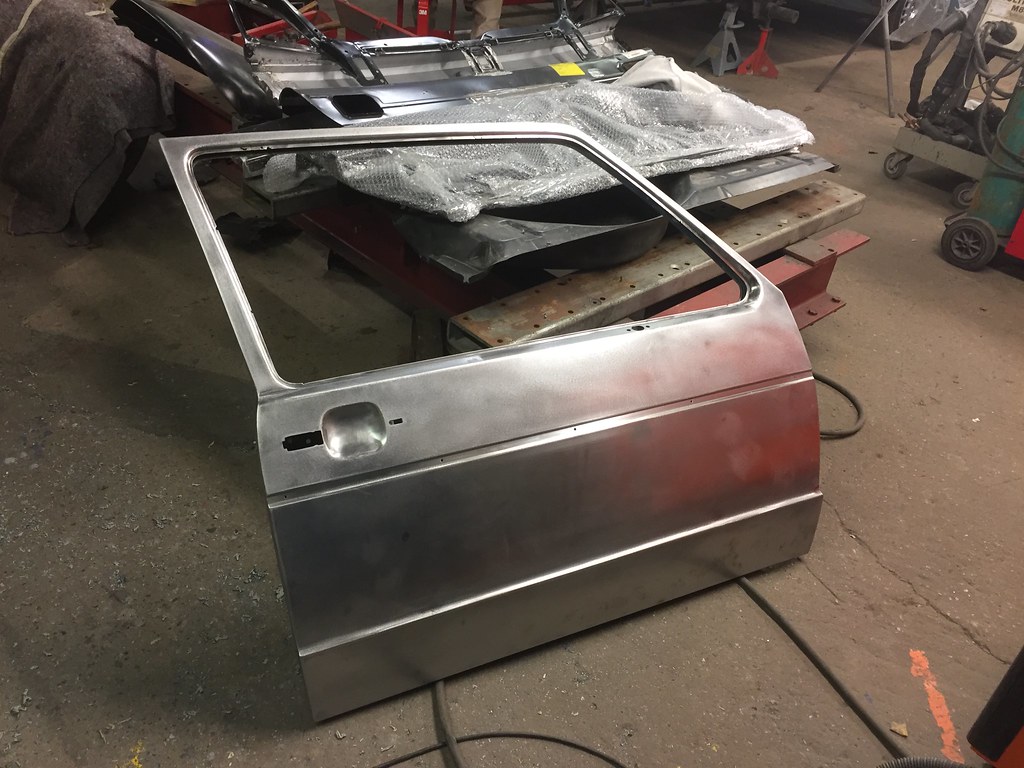
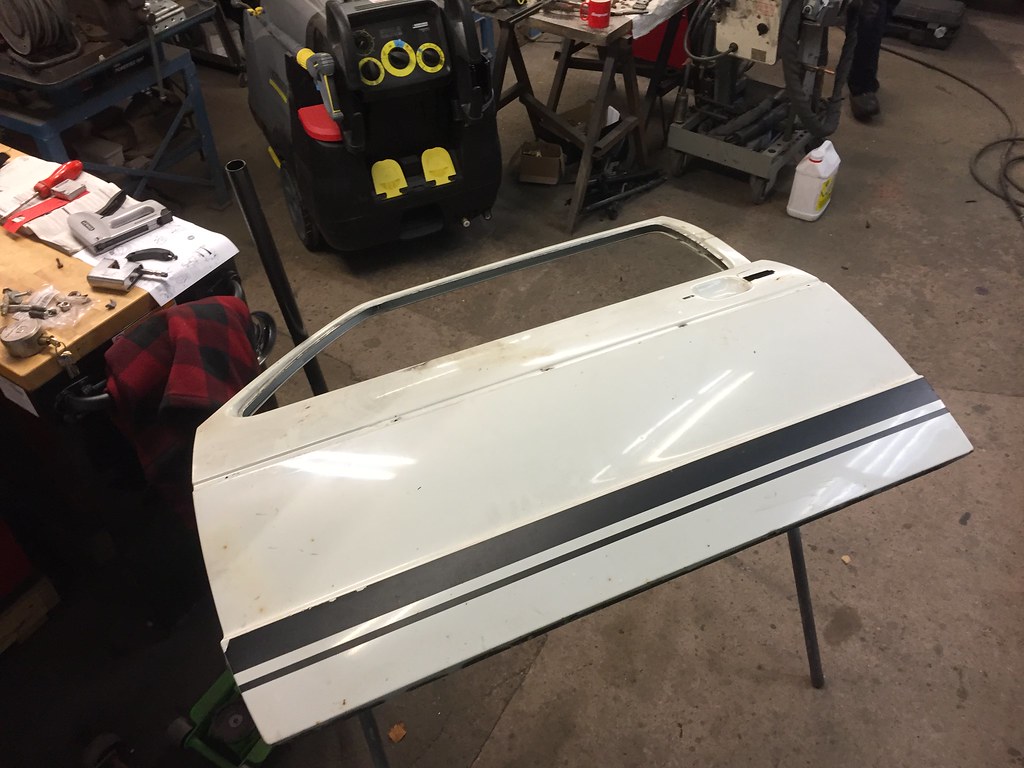
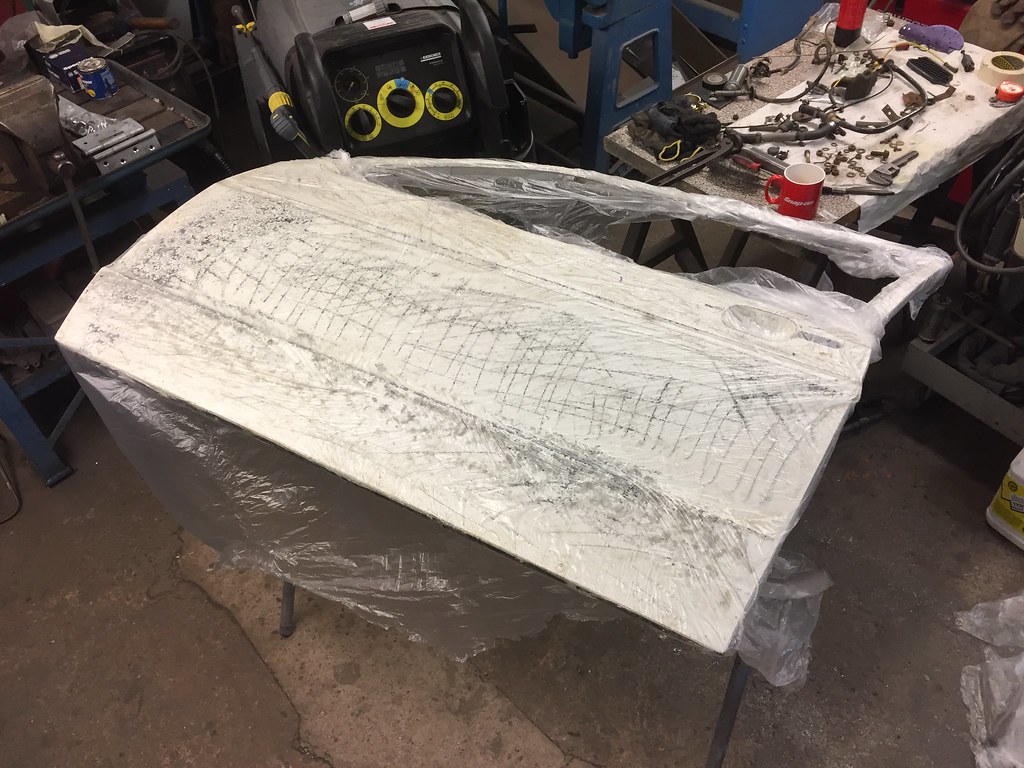
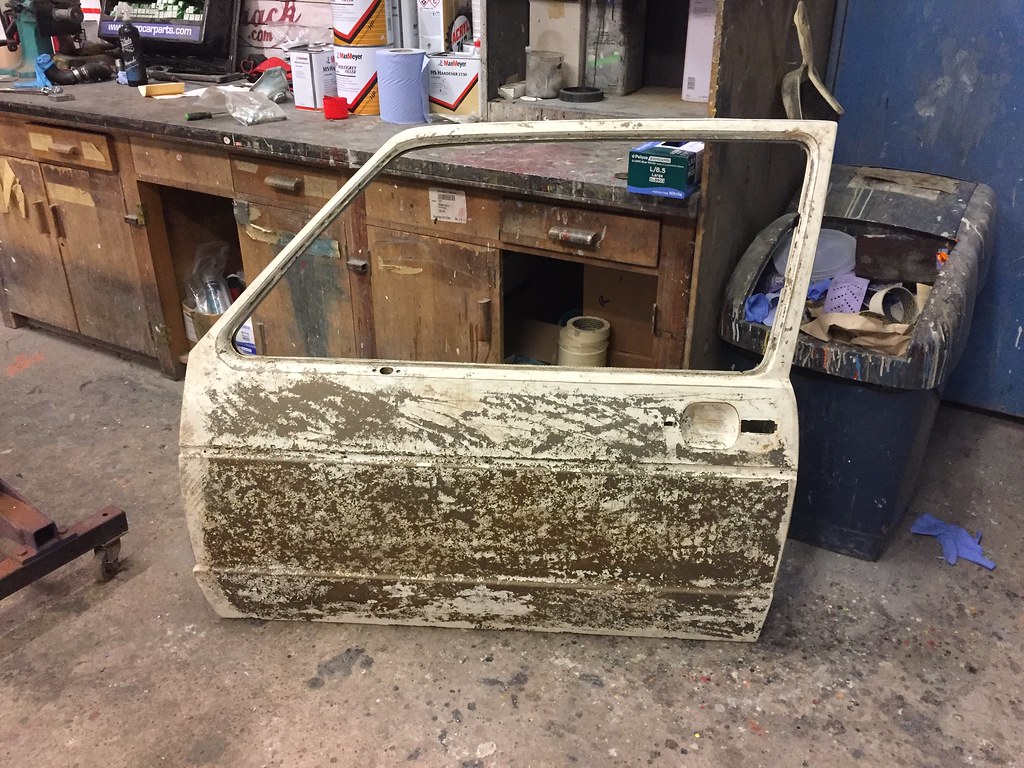
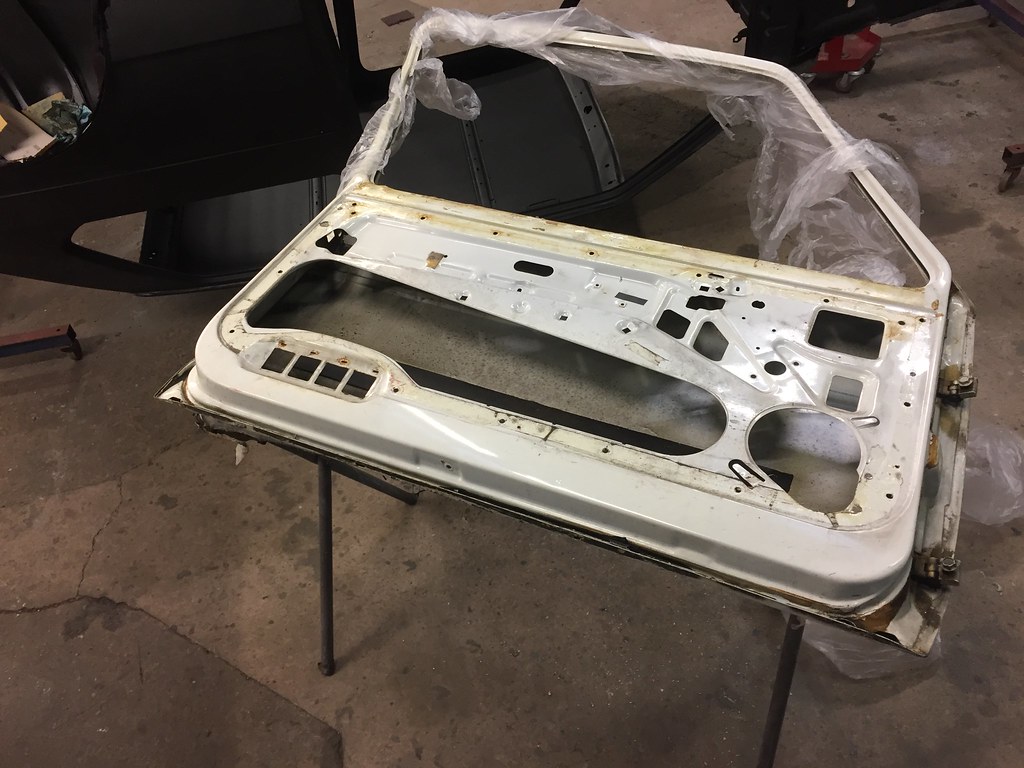
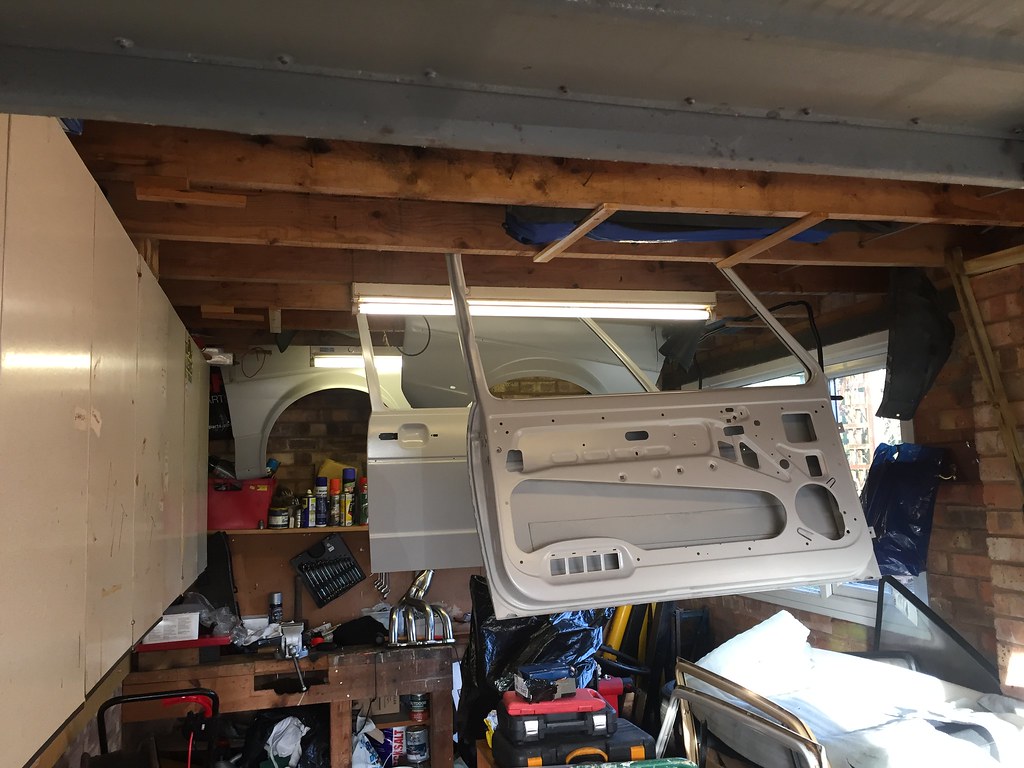
Then started work on the doors
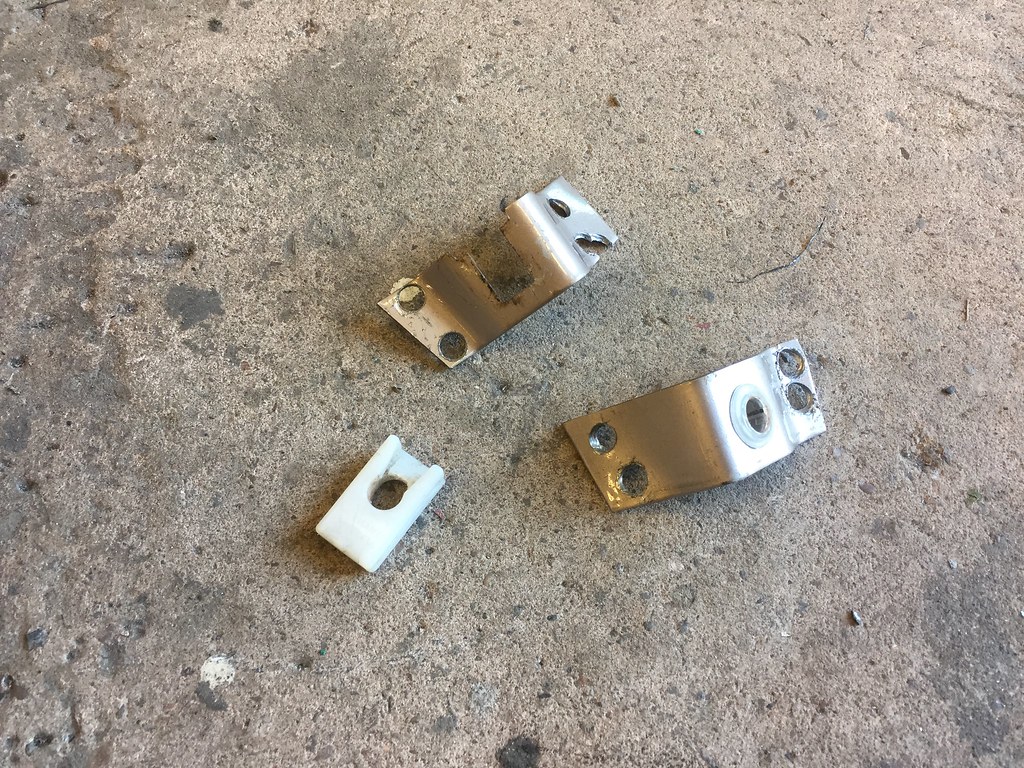
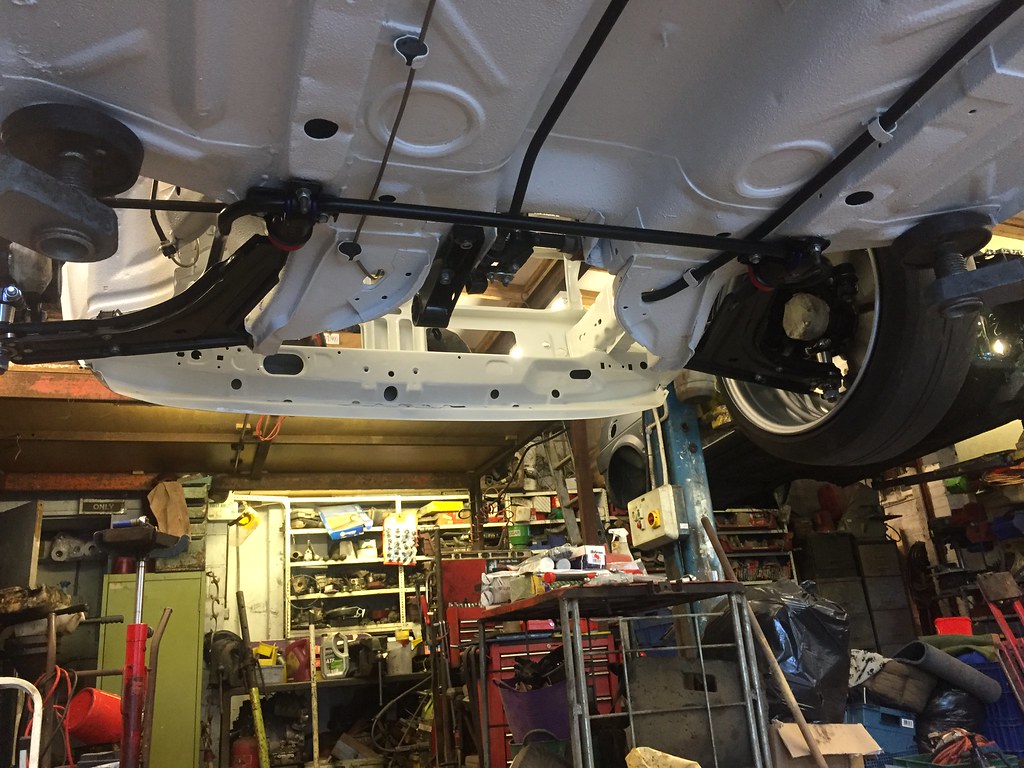
Mounted the rear ARB on the rear axle with Adams (Noath) lovely S/S ARB clamps
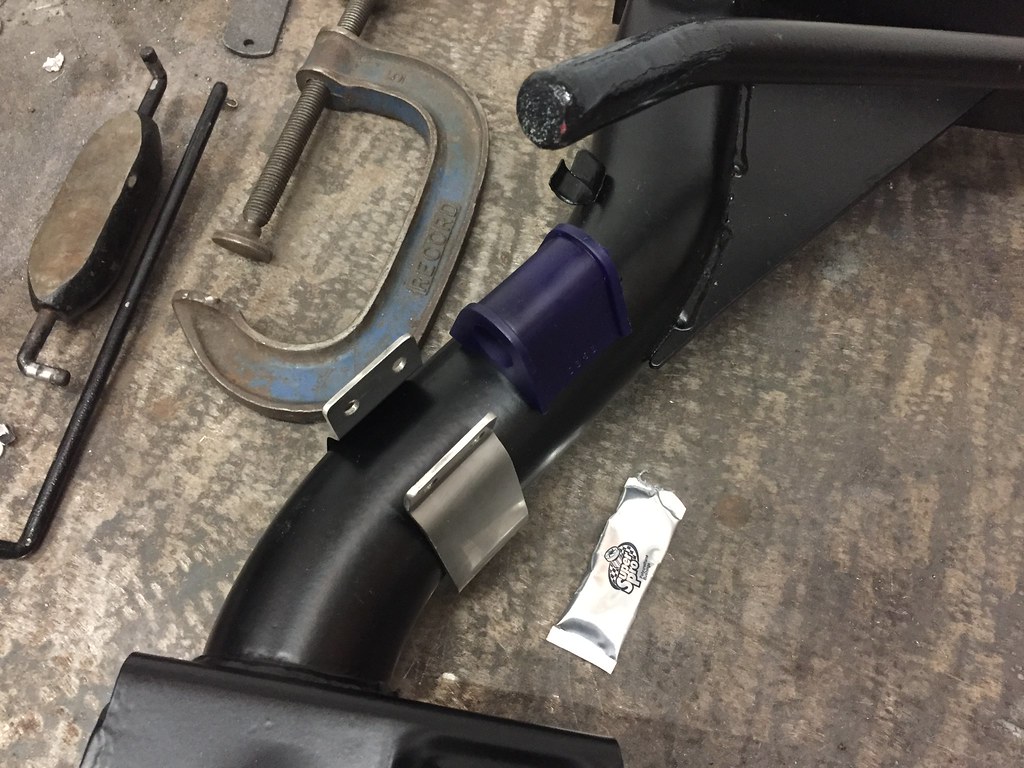
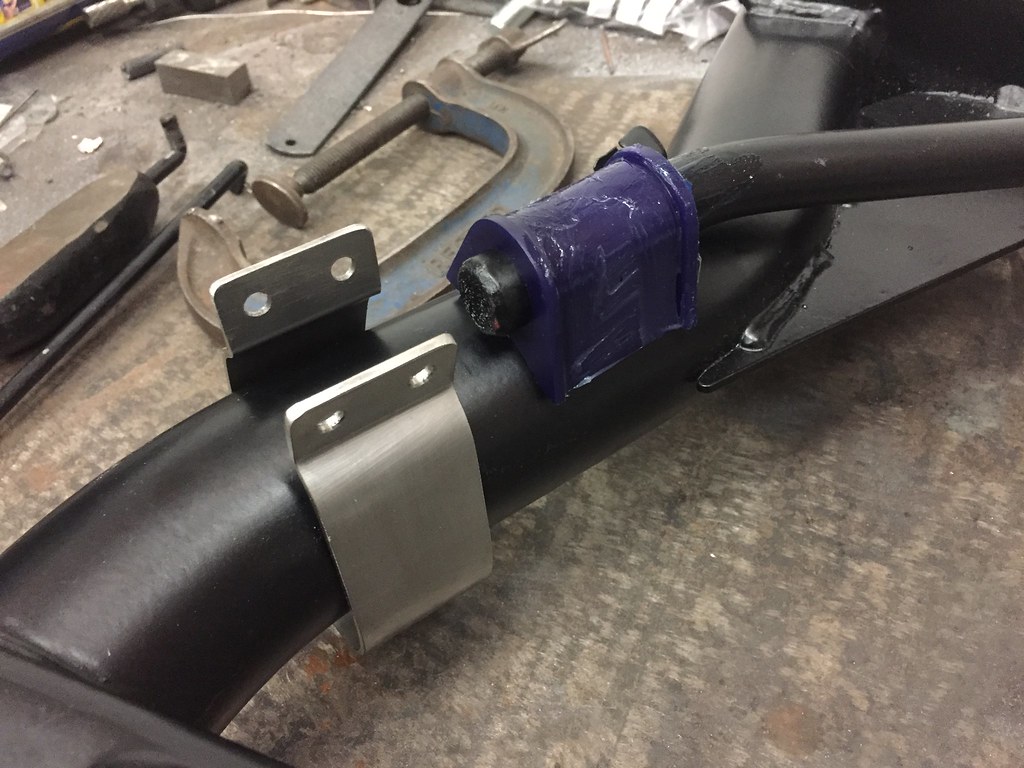

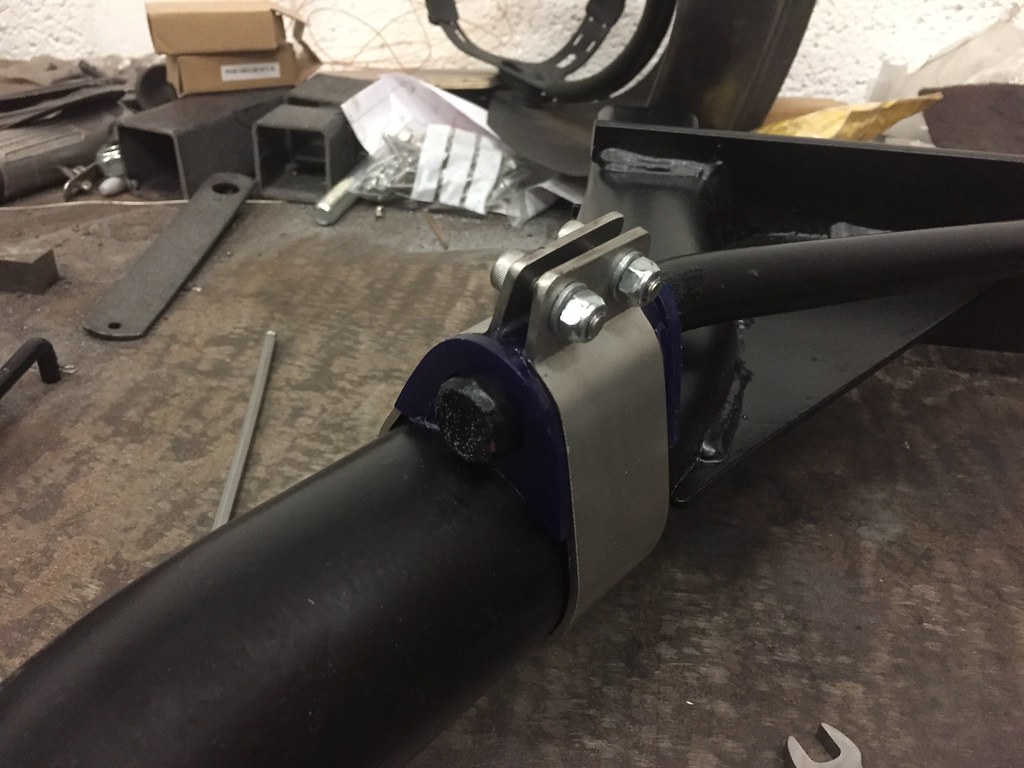
Just waiting on John to finish powder coating some parts for me so I can replace the inner ARB clamps, but other than that it's built up and can be shoved in the corner.
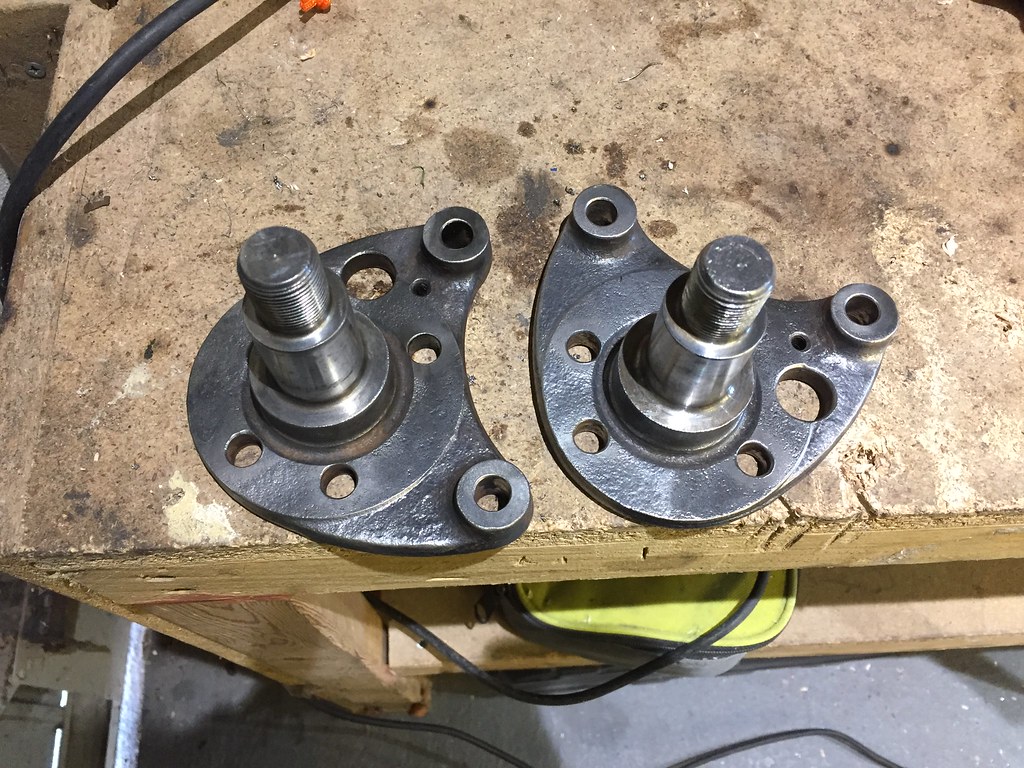
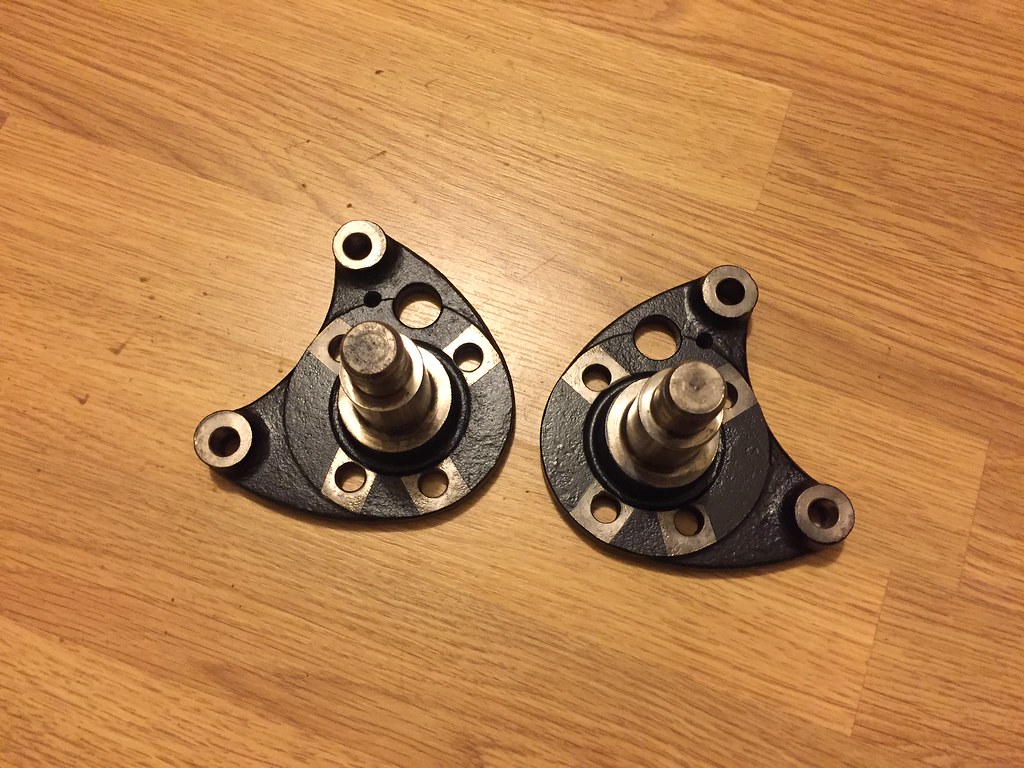
Polo stub axles cleaned up and painted
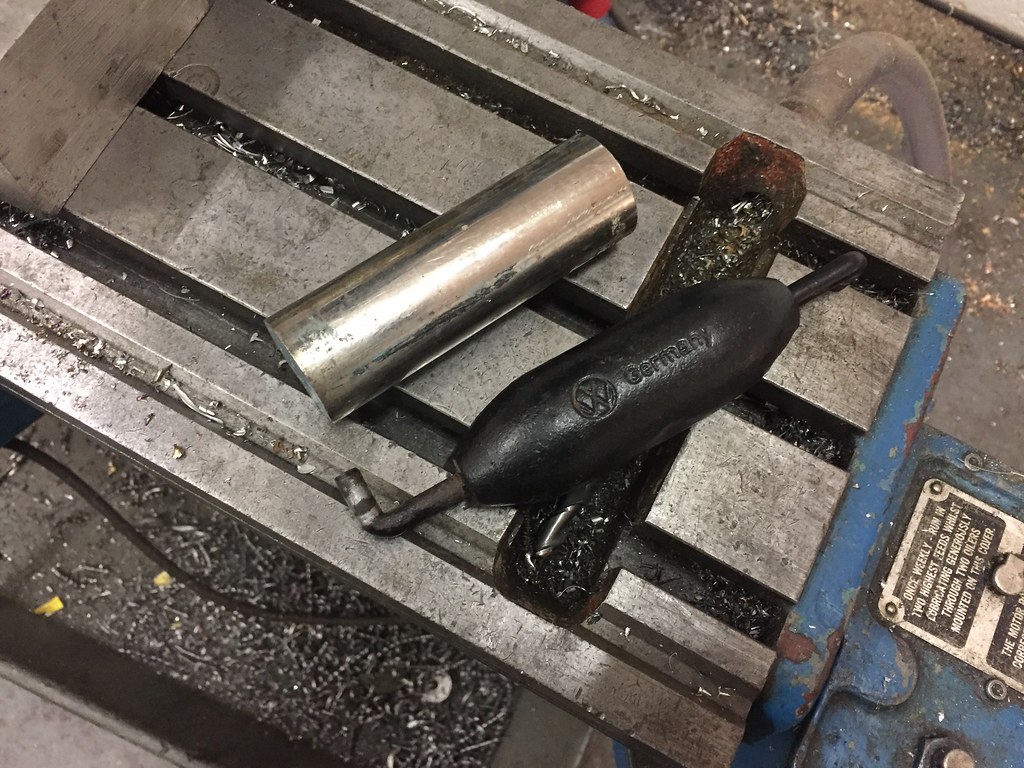
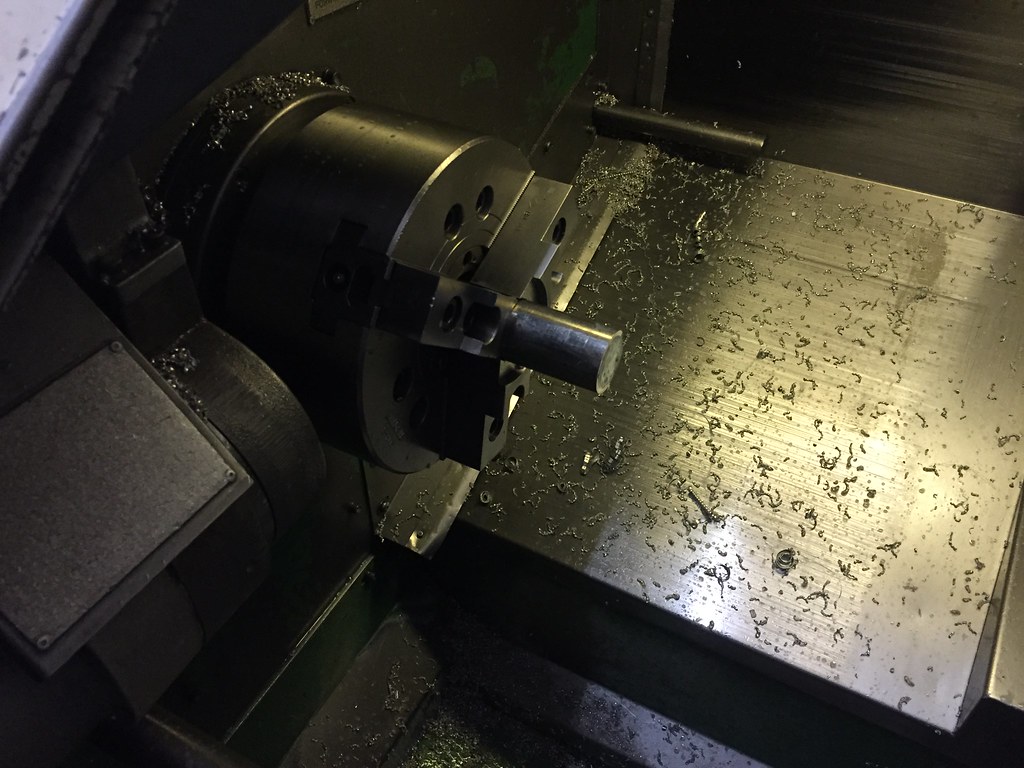
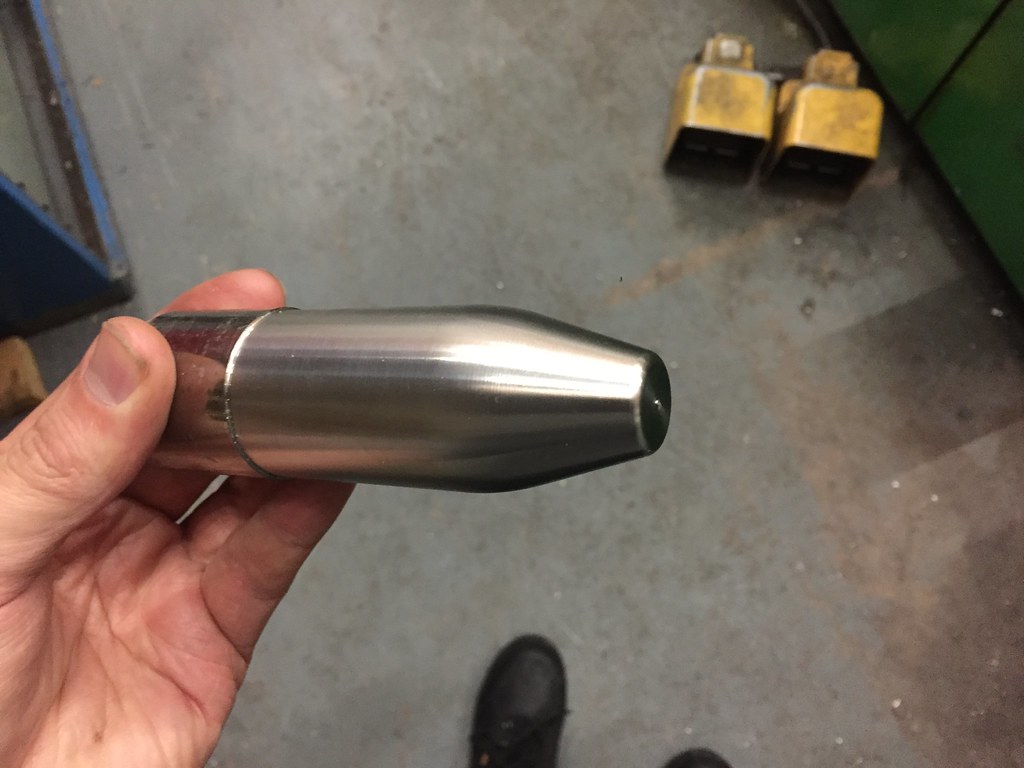
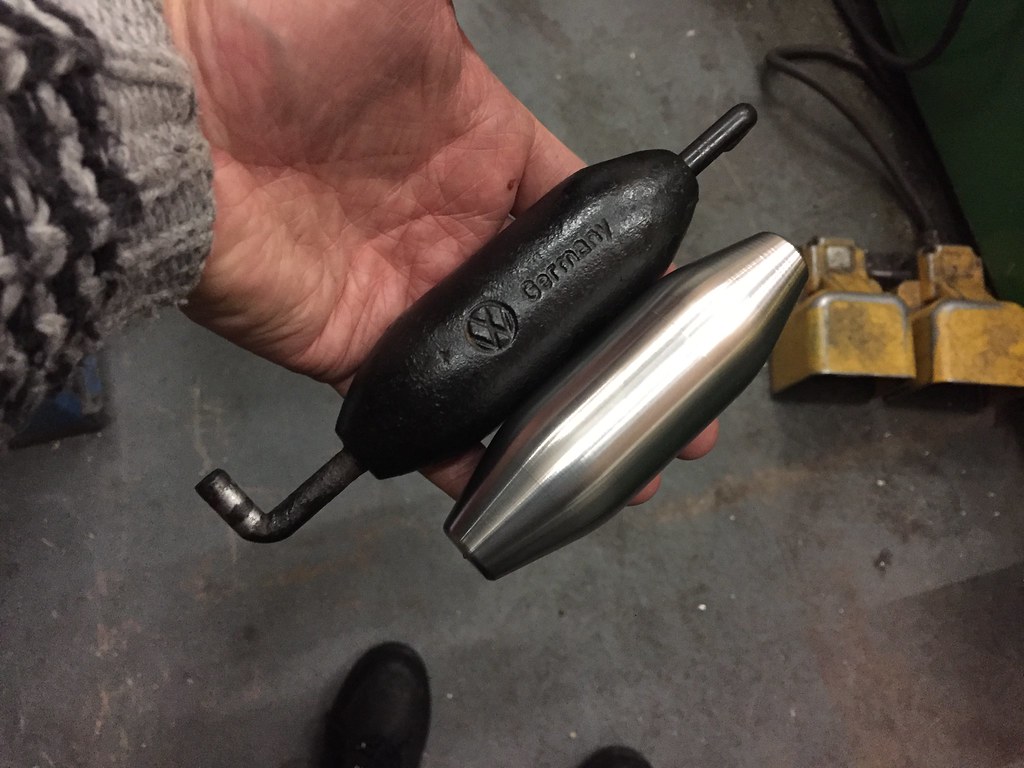
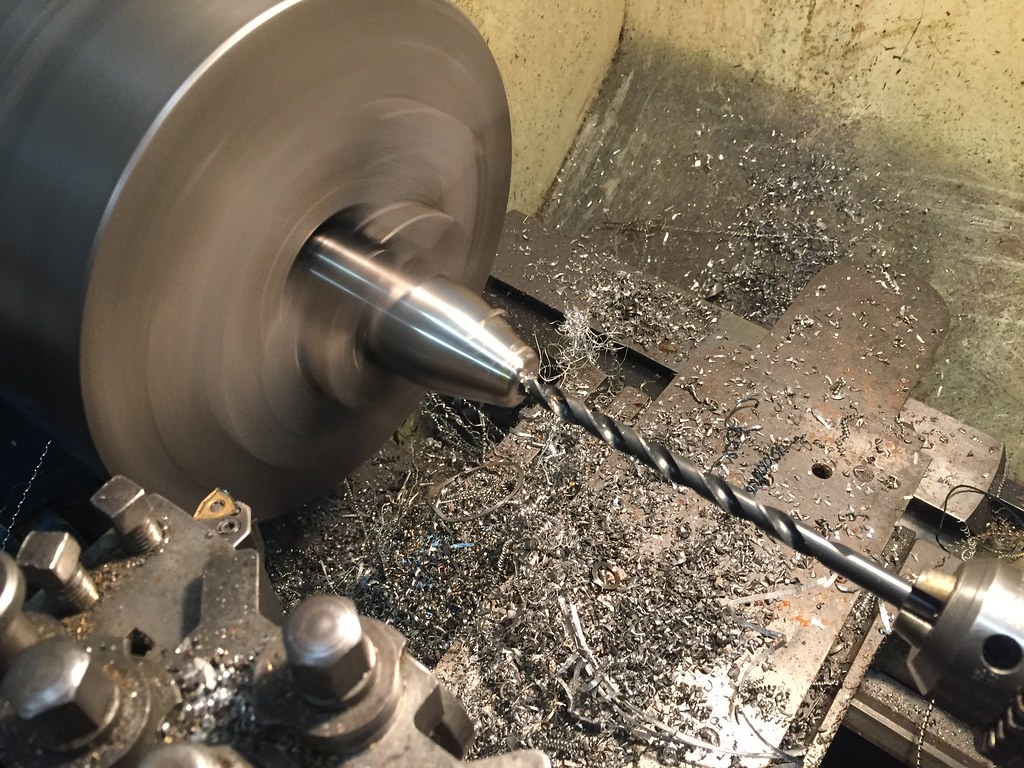
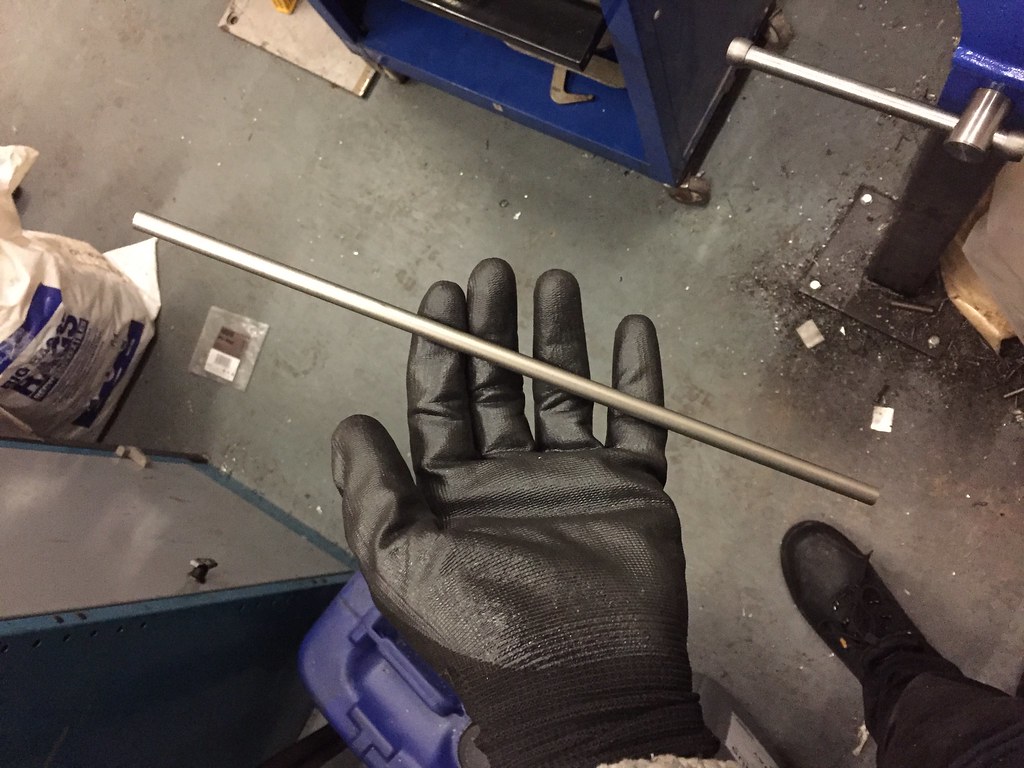
Spent some time with Adam down at Noath Precision and made an 020 weighted shifter rod
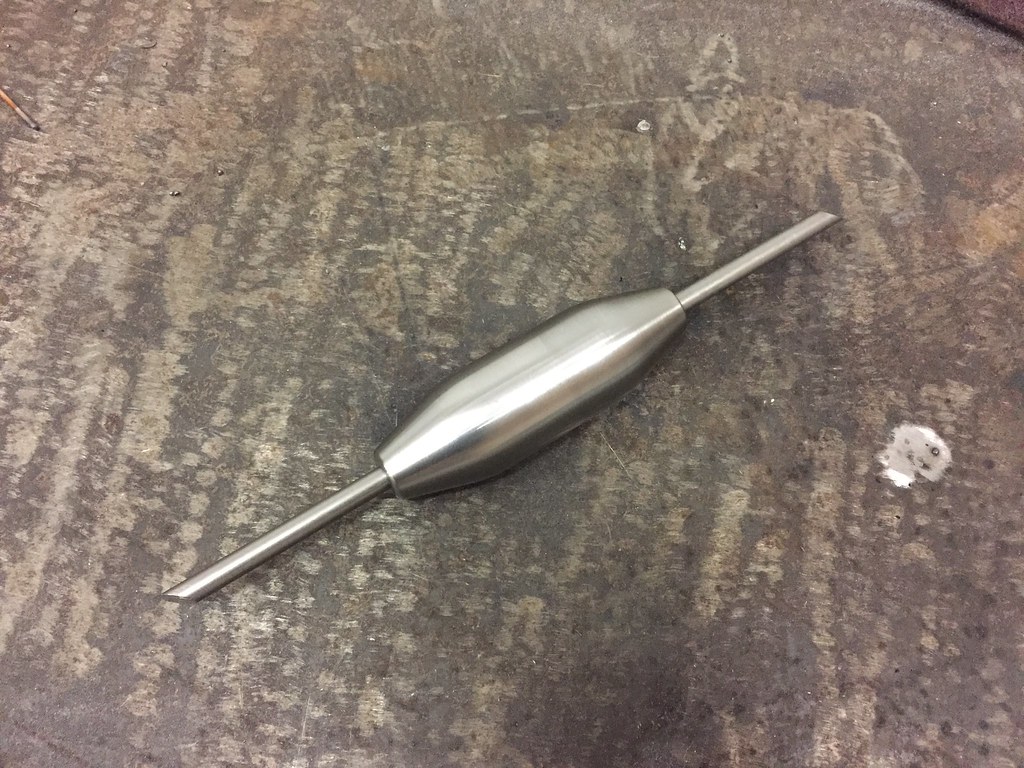
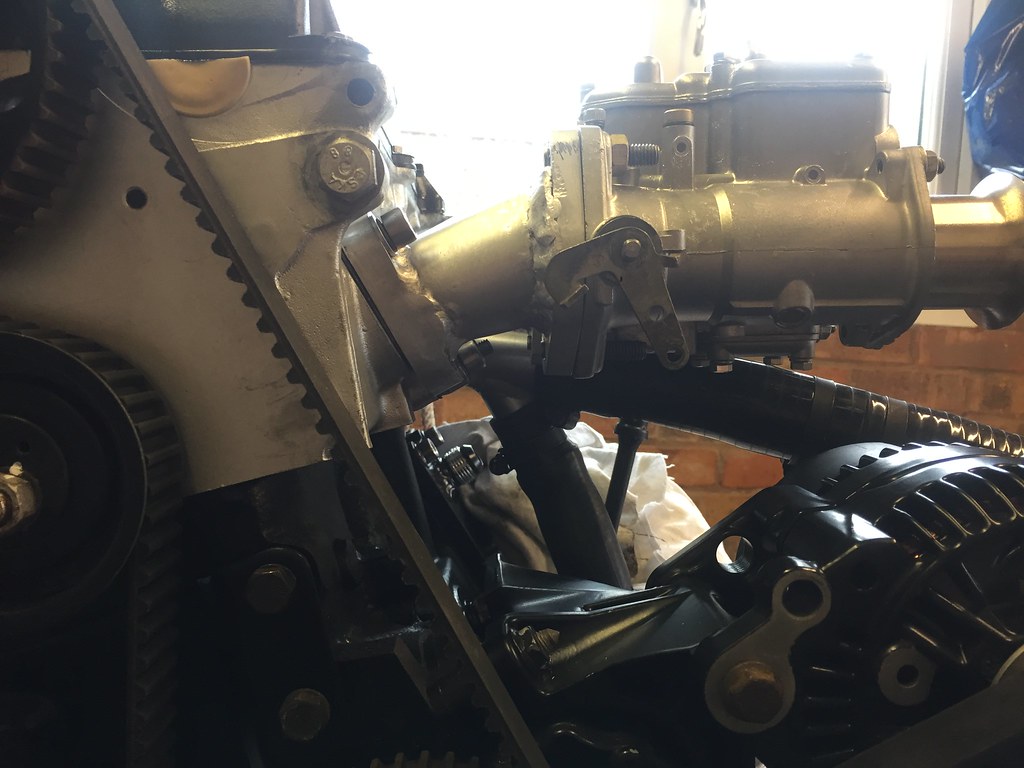
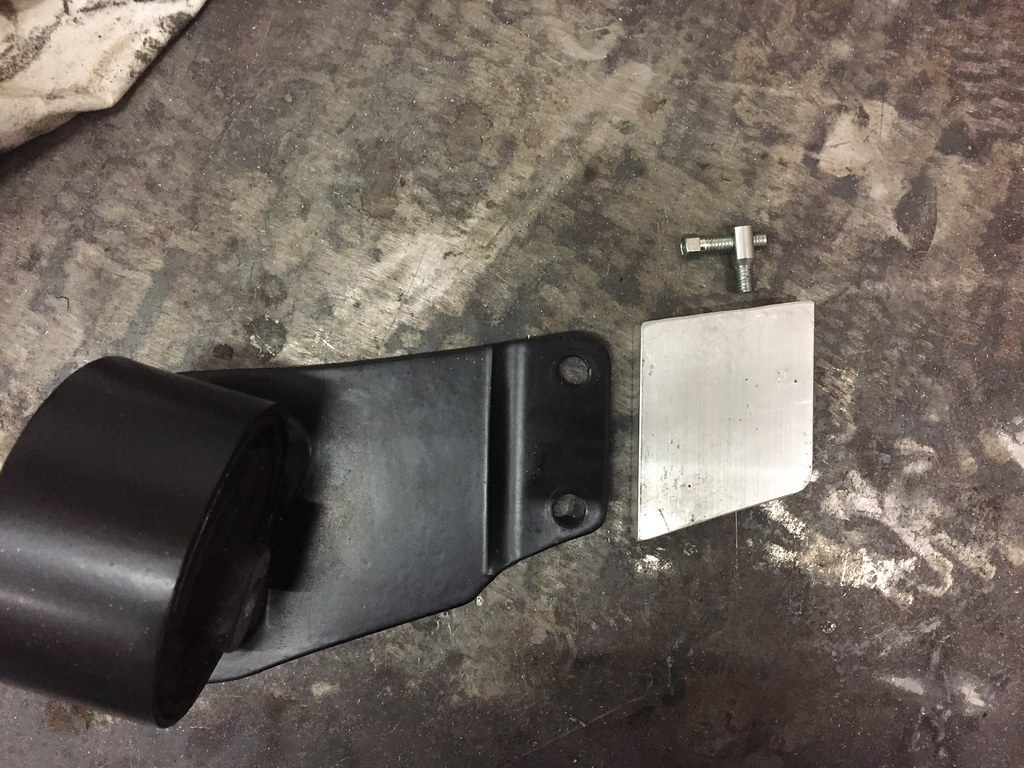
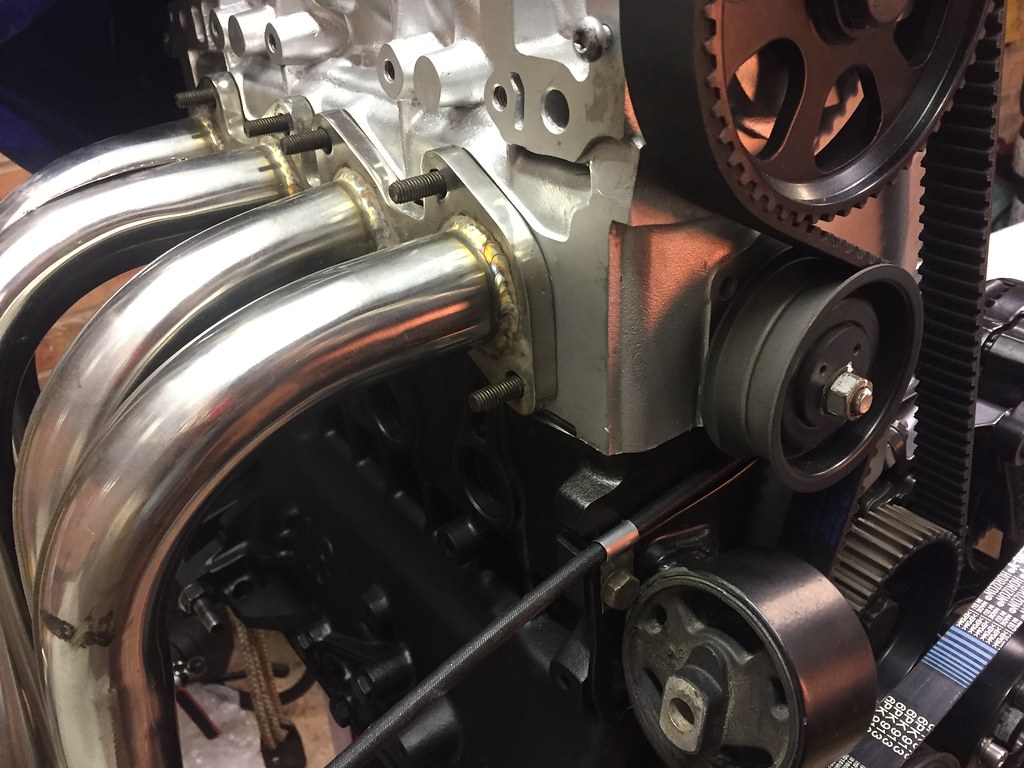
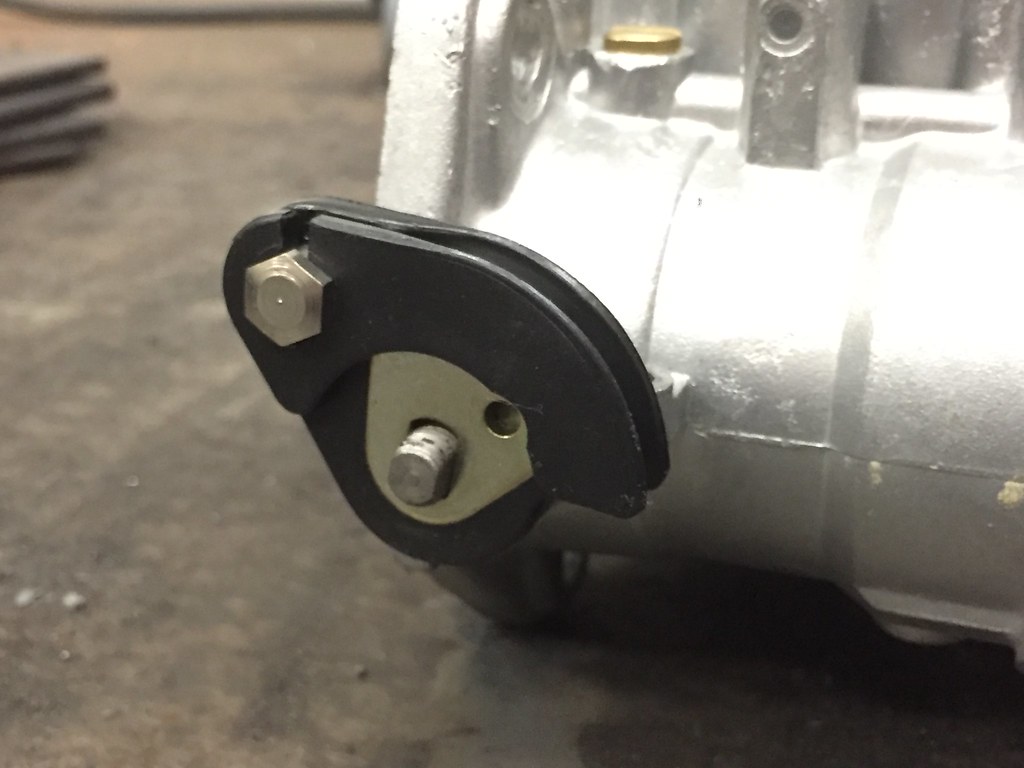
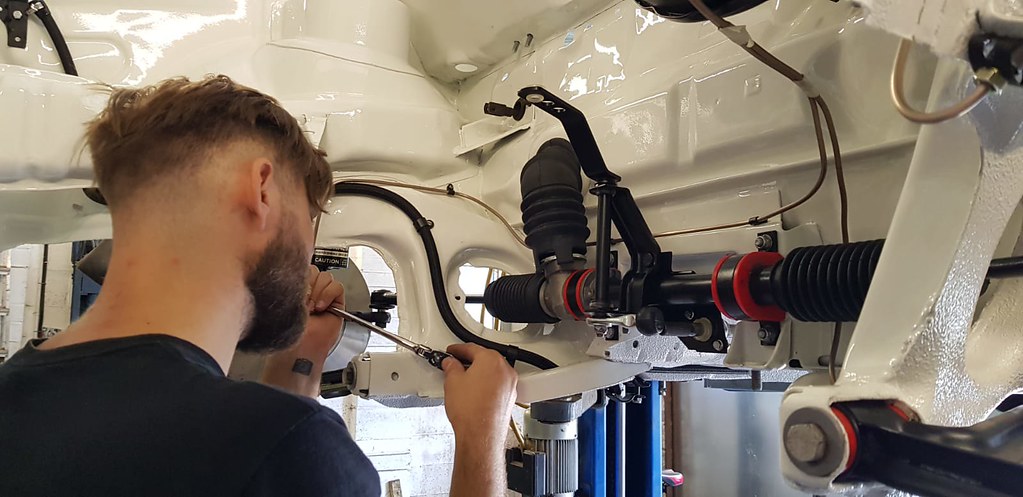
And because its all abit tight underneath my carbs, I don't think a genuine weber linkage setup would work (and don't want to be sensible and run a top mounted one) and I'm running a TPS sensor on the other side of the carbs, so decided to make my own out of some simple levers, spring and by mounting the cable down the side of the engine -
No room at the Inn -
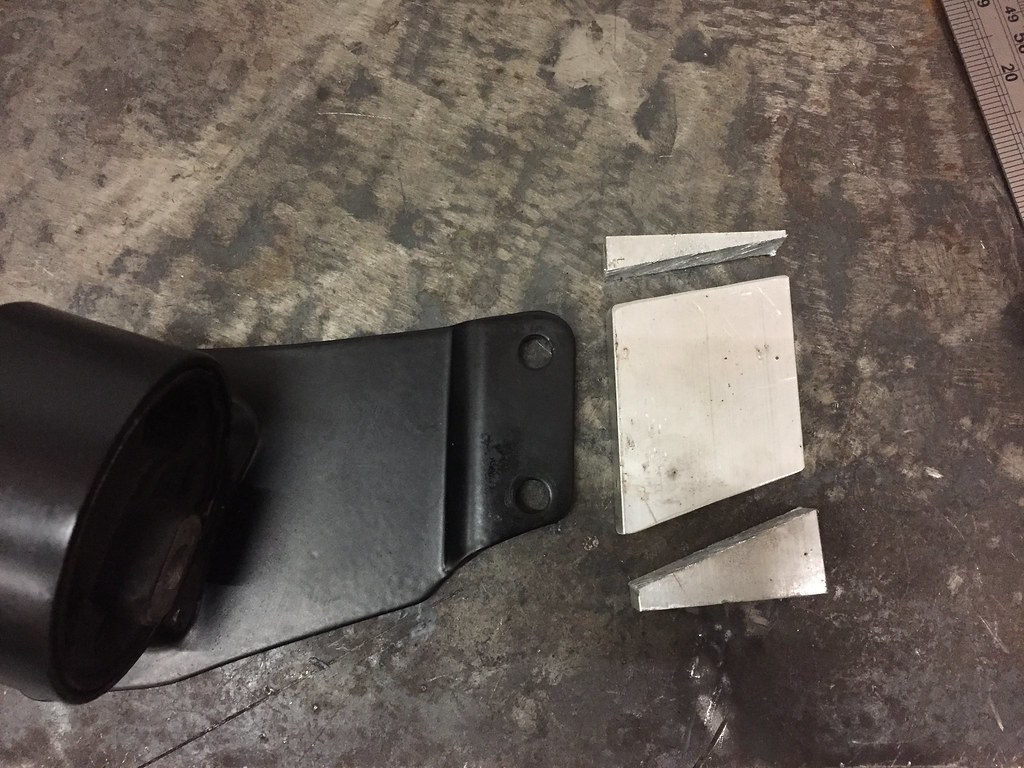
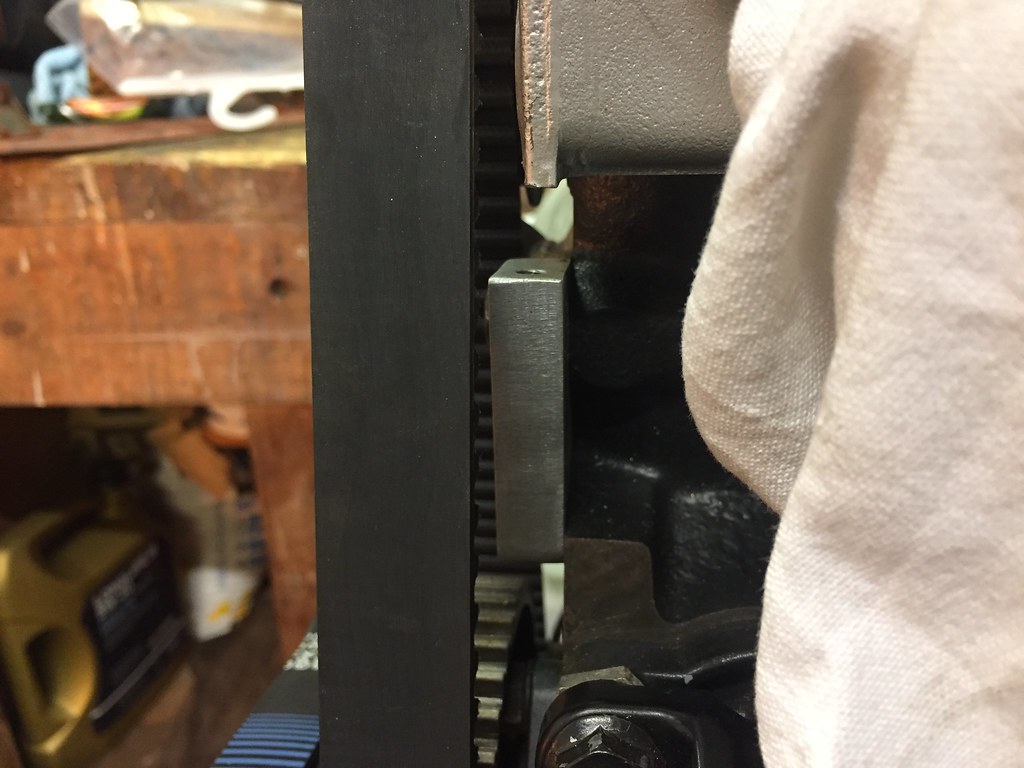
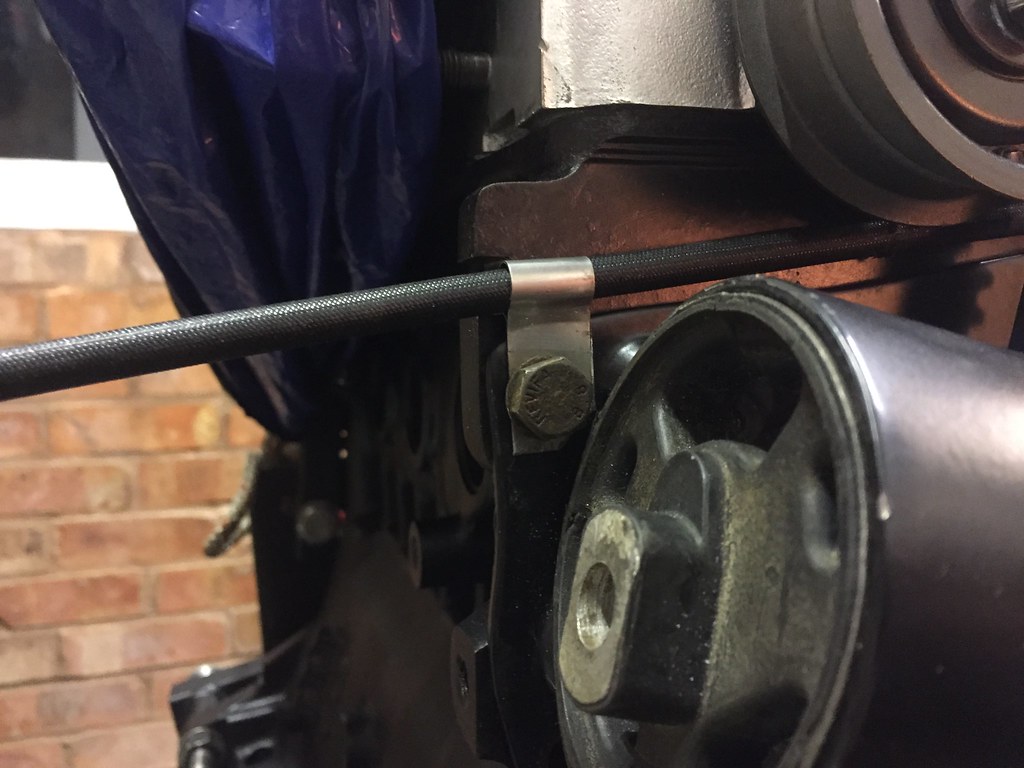
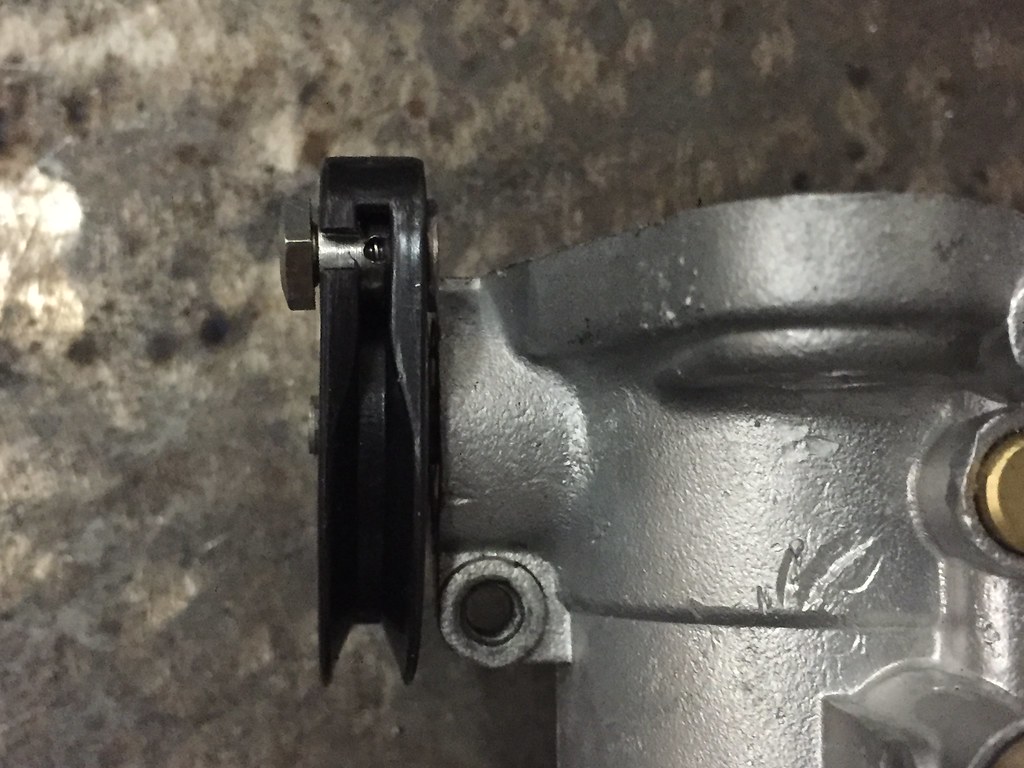
So decided to run the cable off the side of one of the carbs, and run it between the belt and the engine and make a bracket to hold it between the engine mount where it raises out -
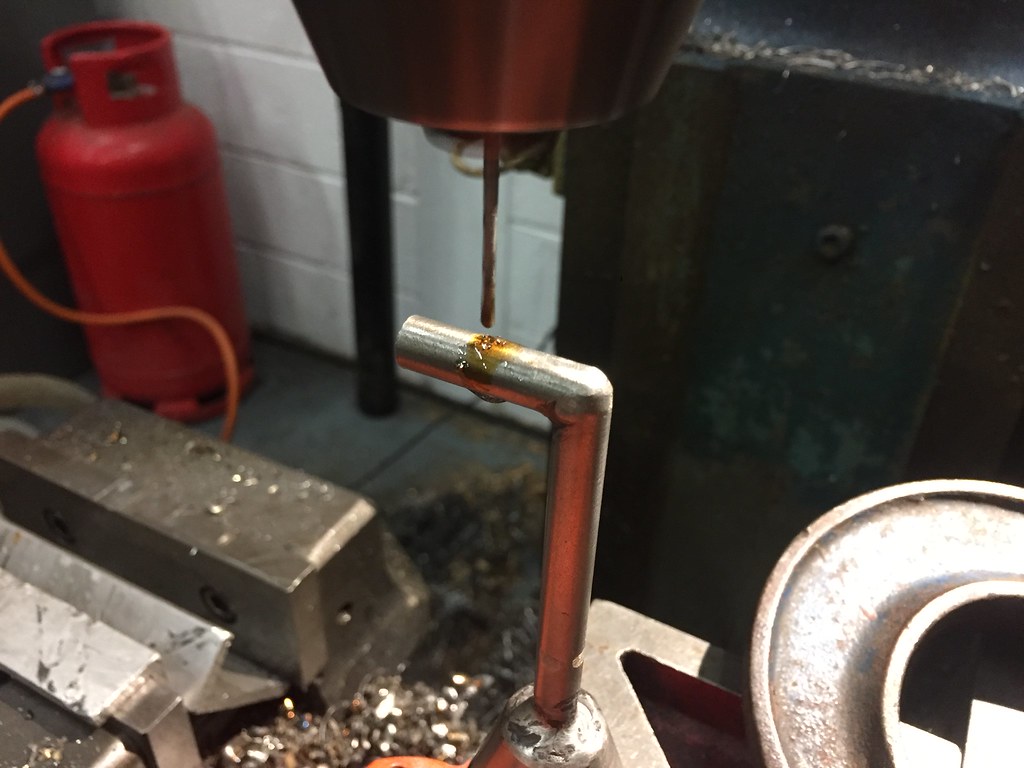
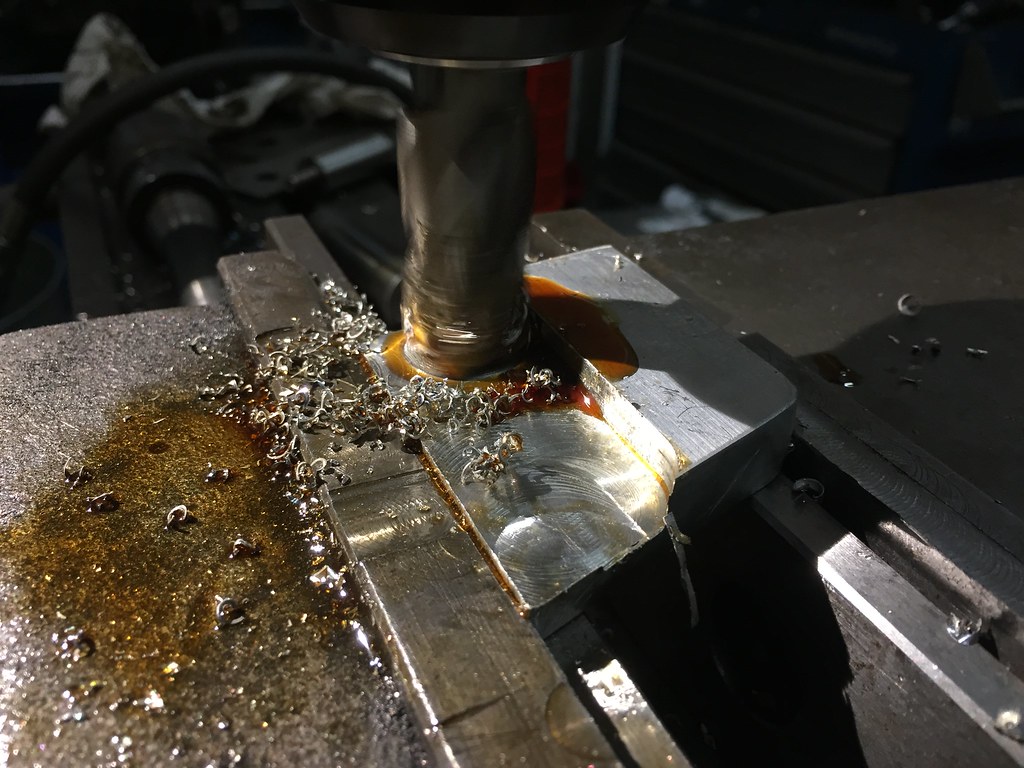
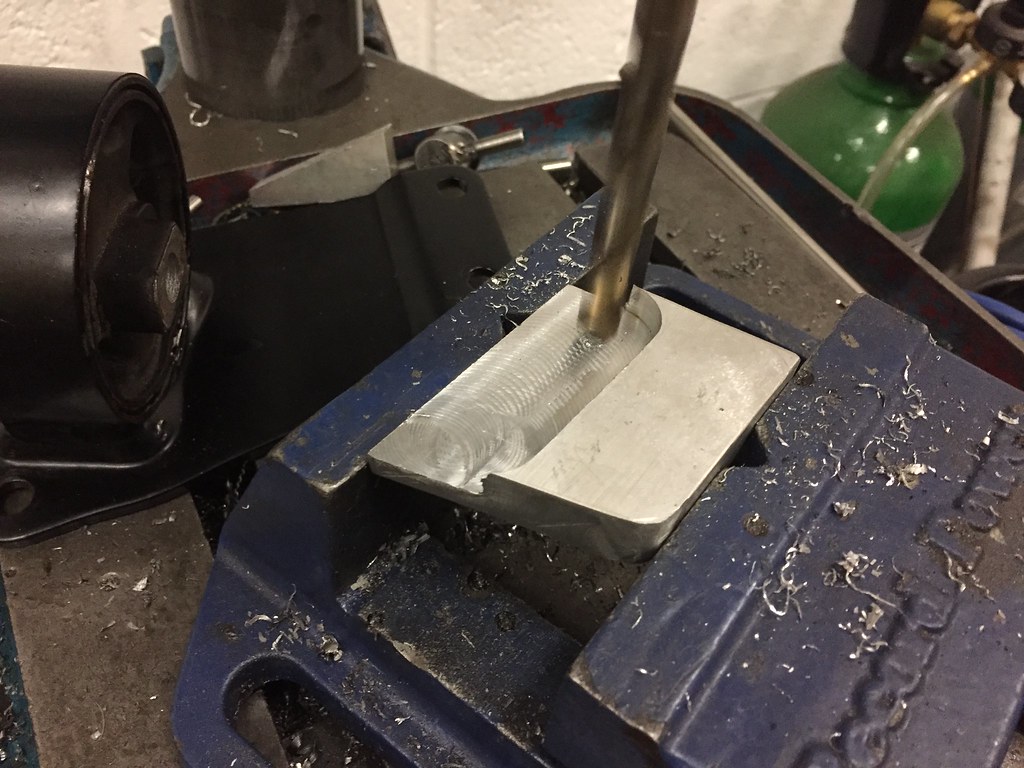
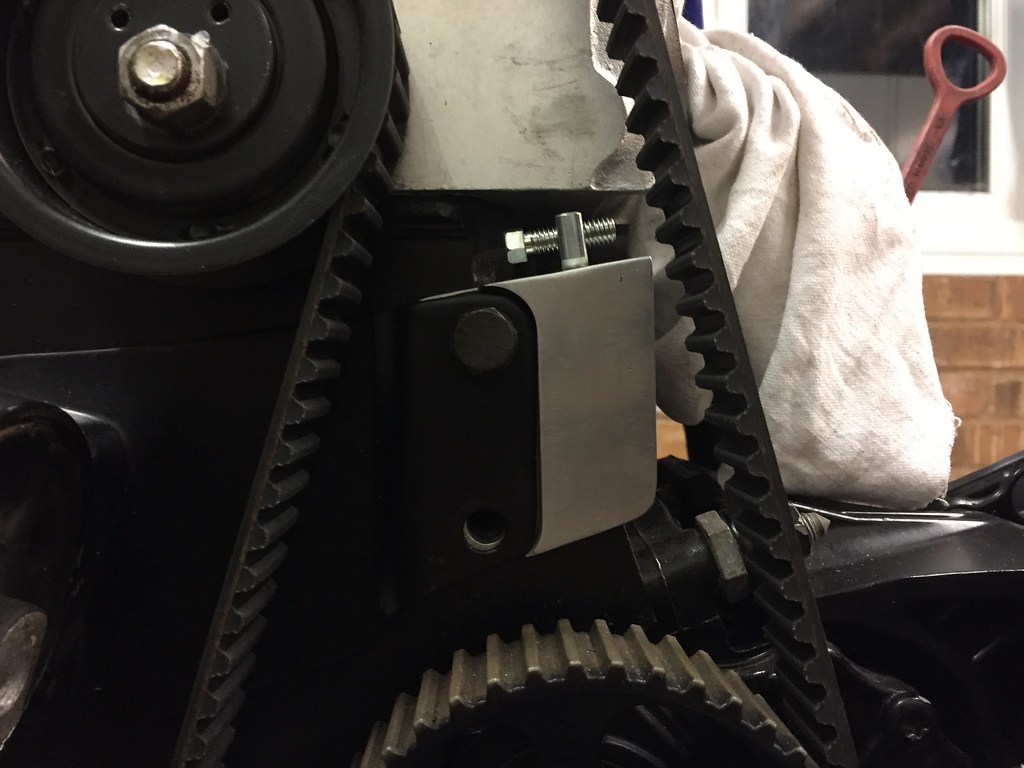
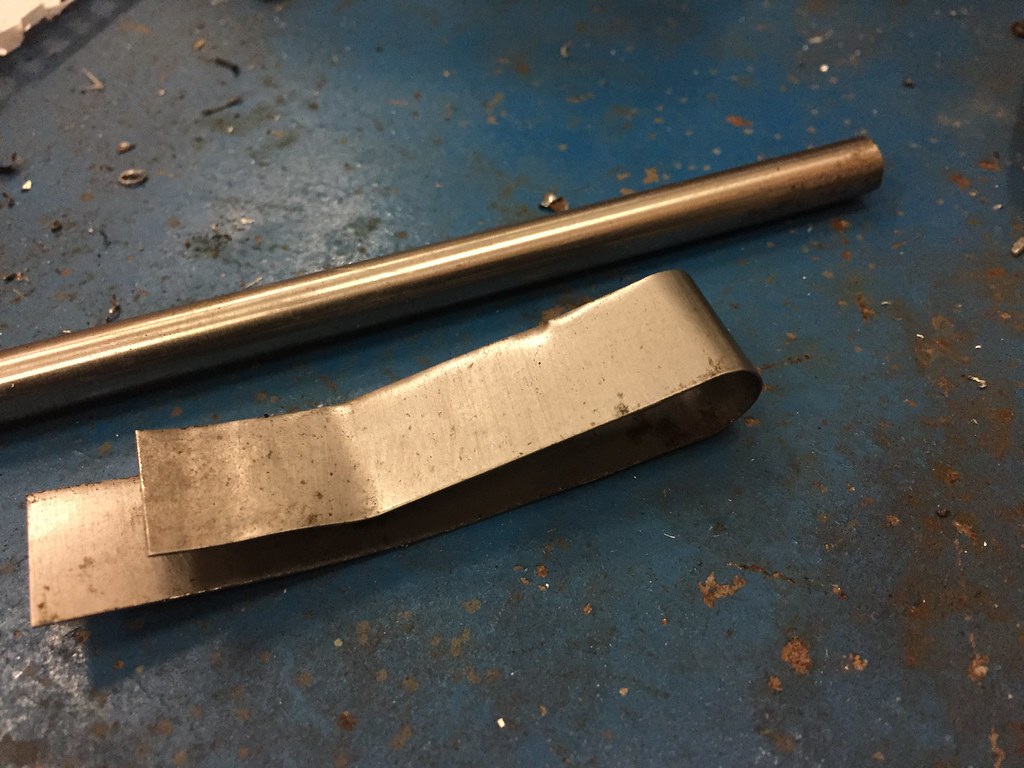
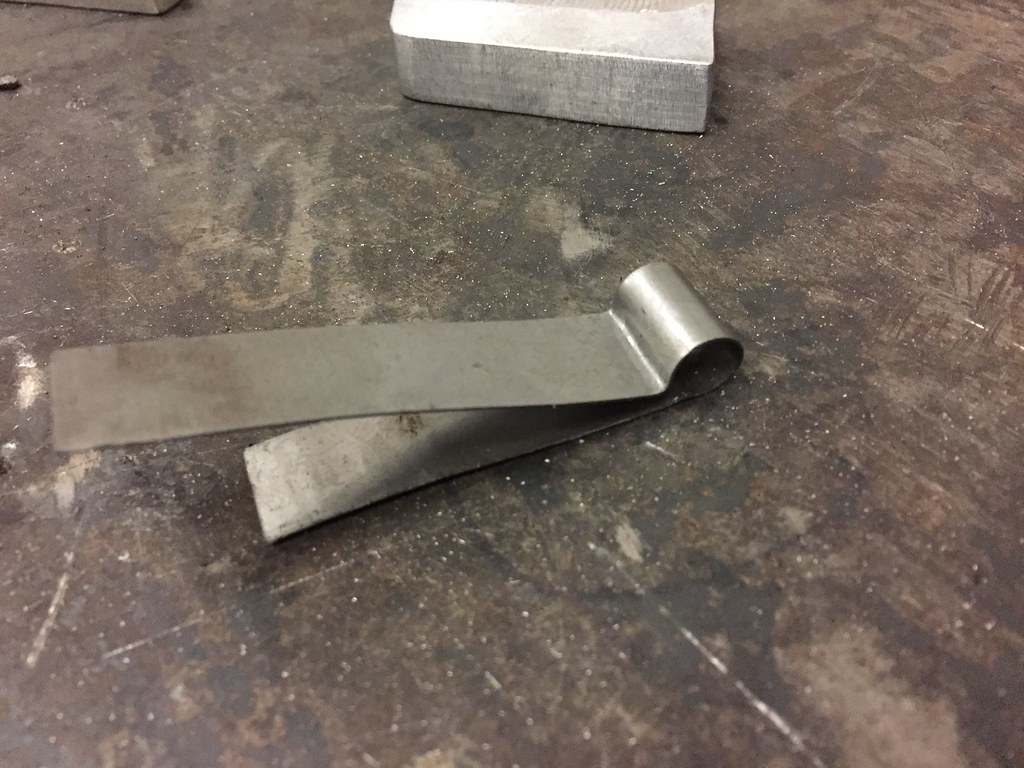
Making the bracket with some help from Adam out of aluminum -
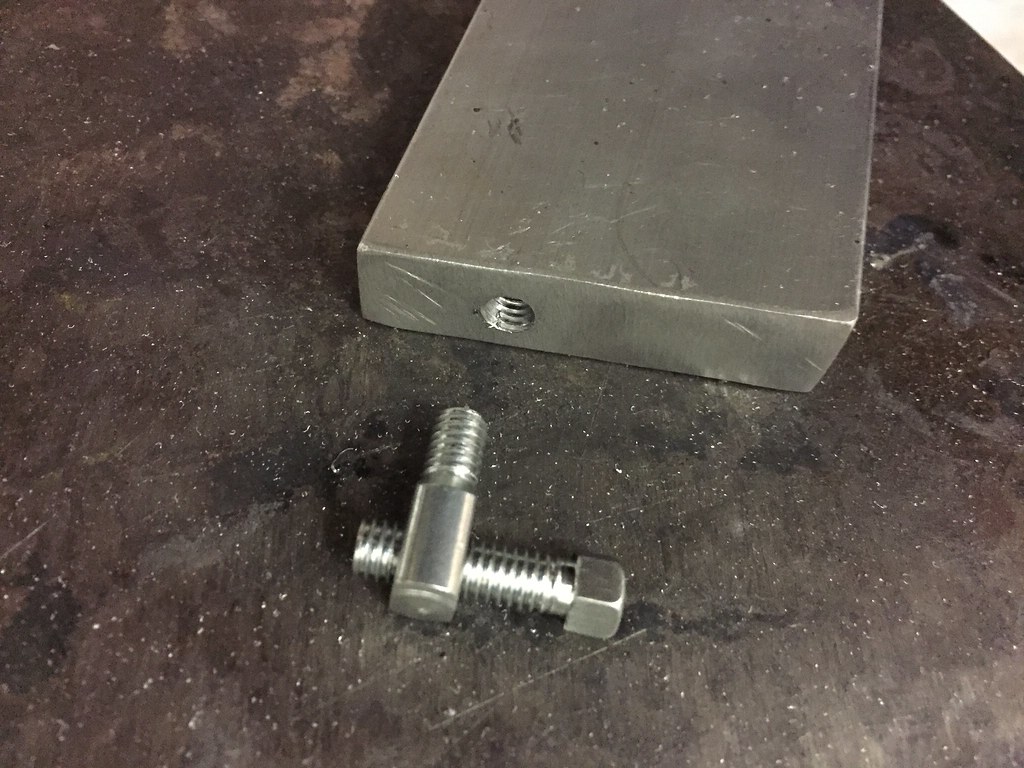
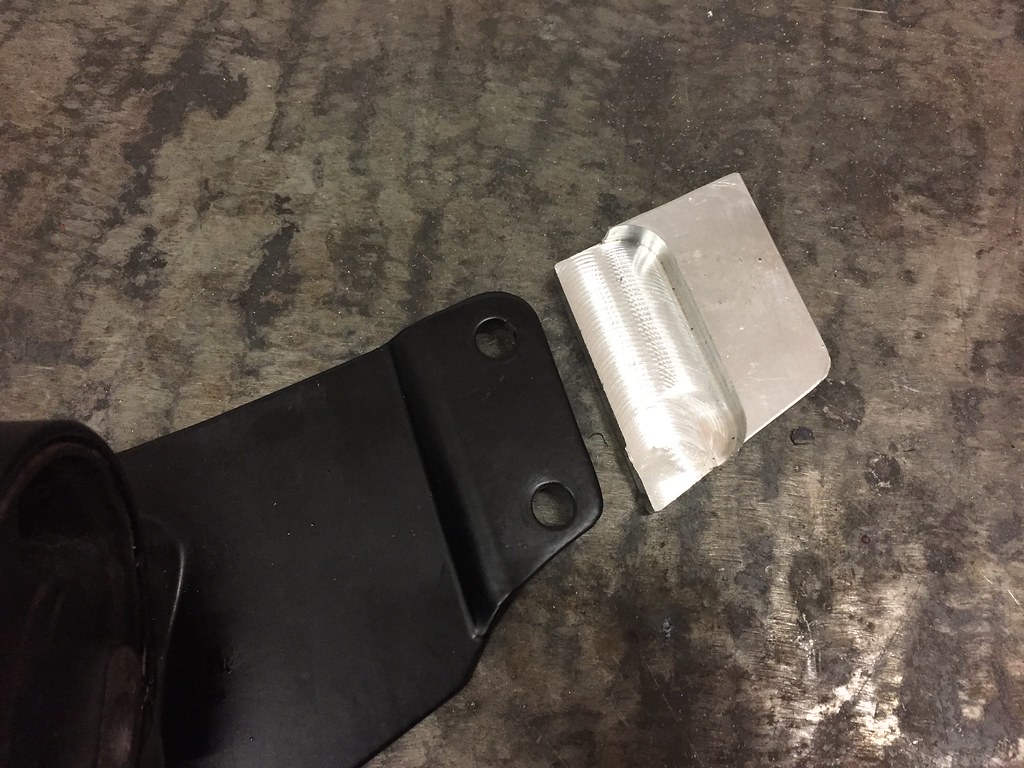
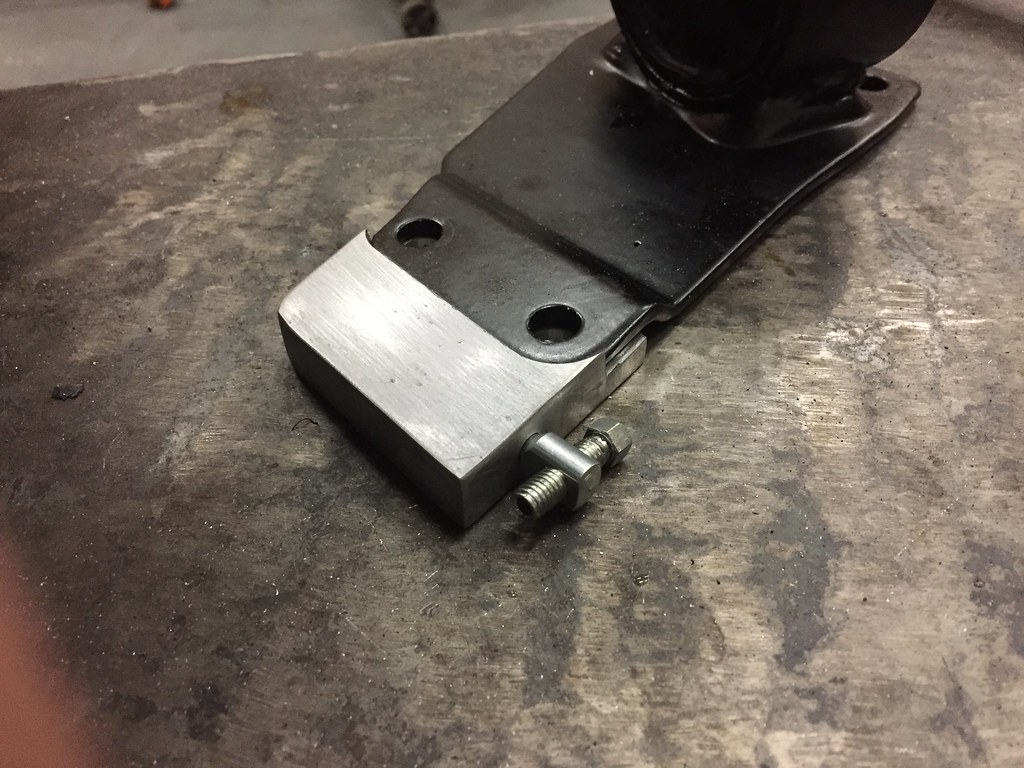
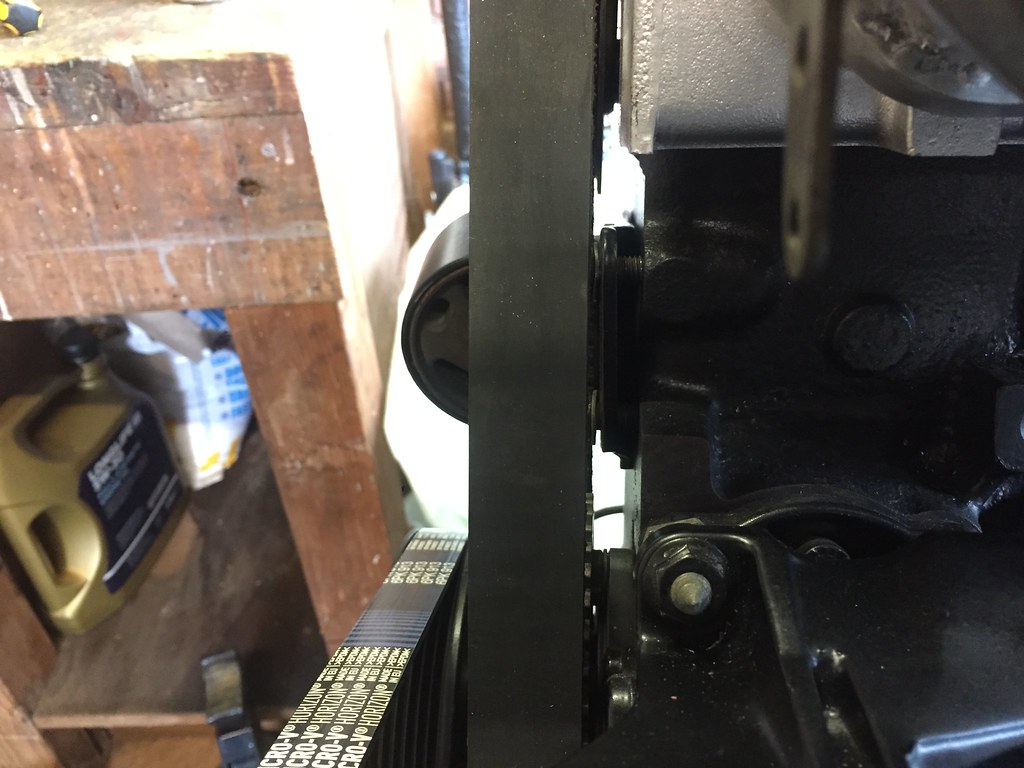
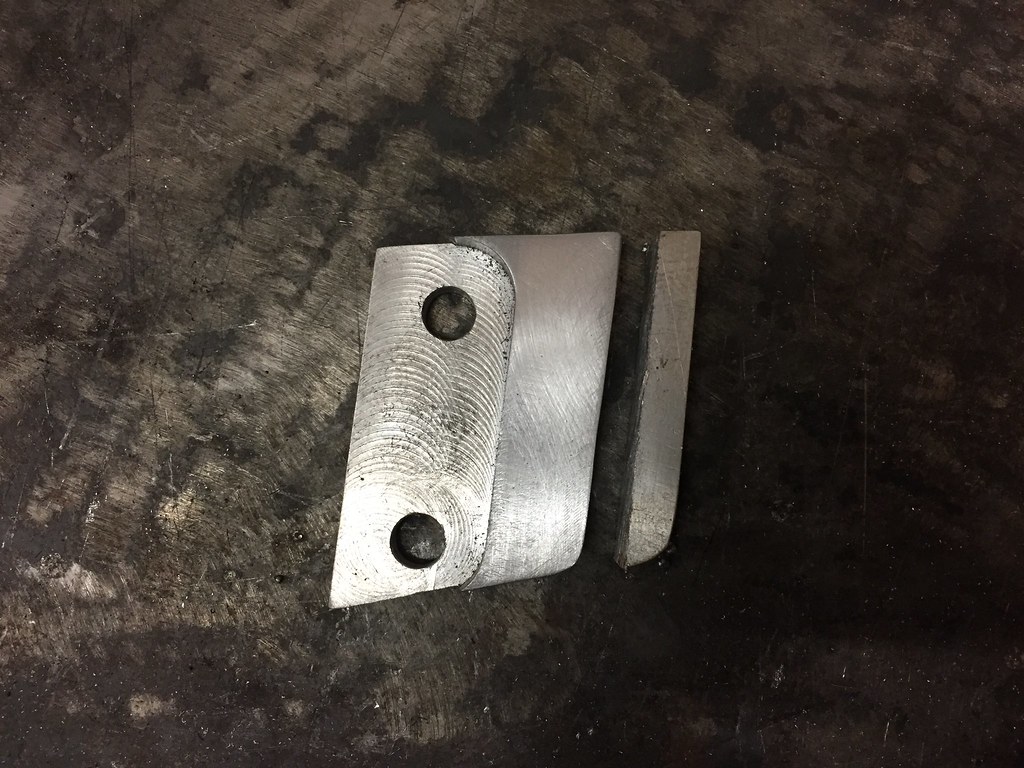
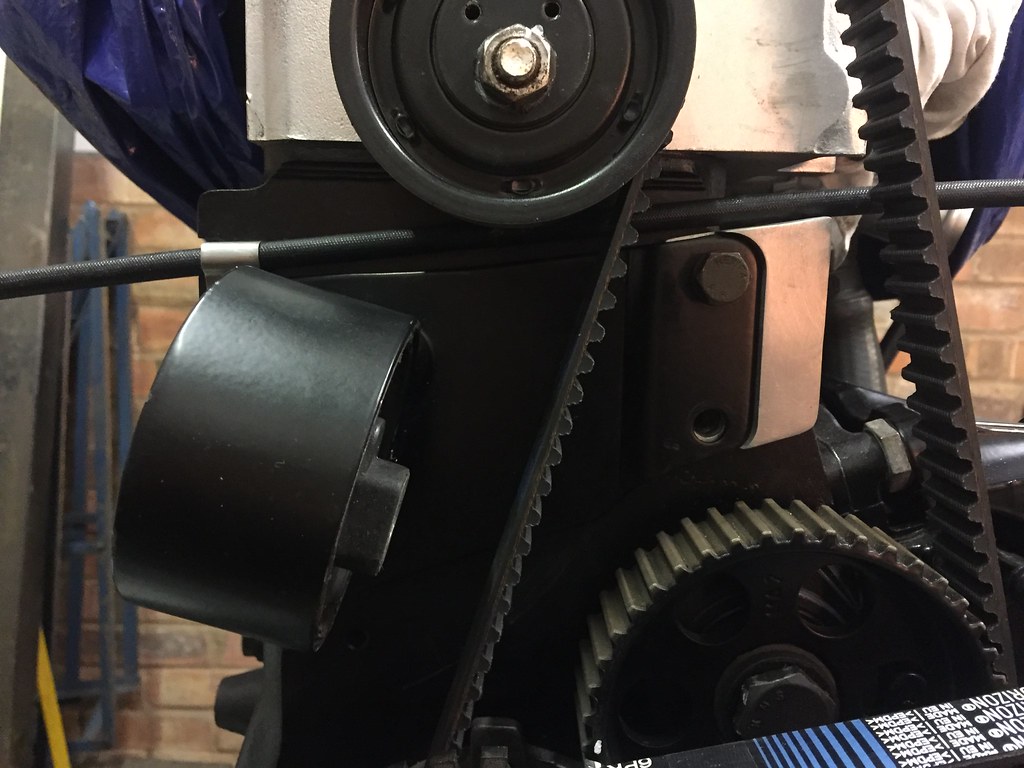
Ended up being a little too close to the belt for my liking, so took it back 10mm, it's not like it needed to be that long anyway.

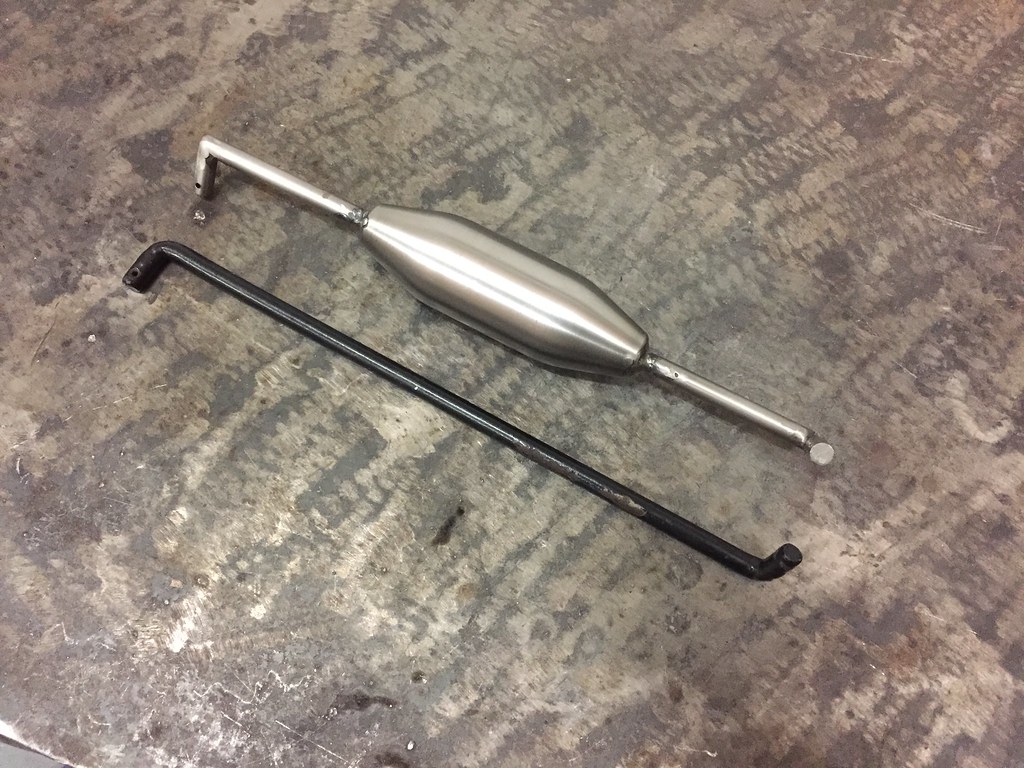
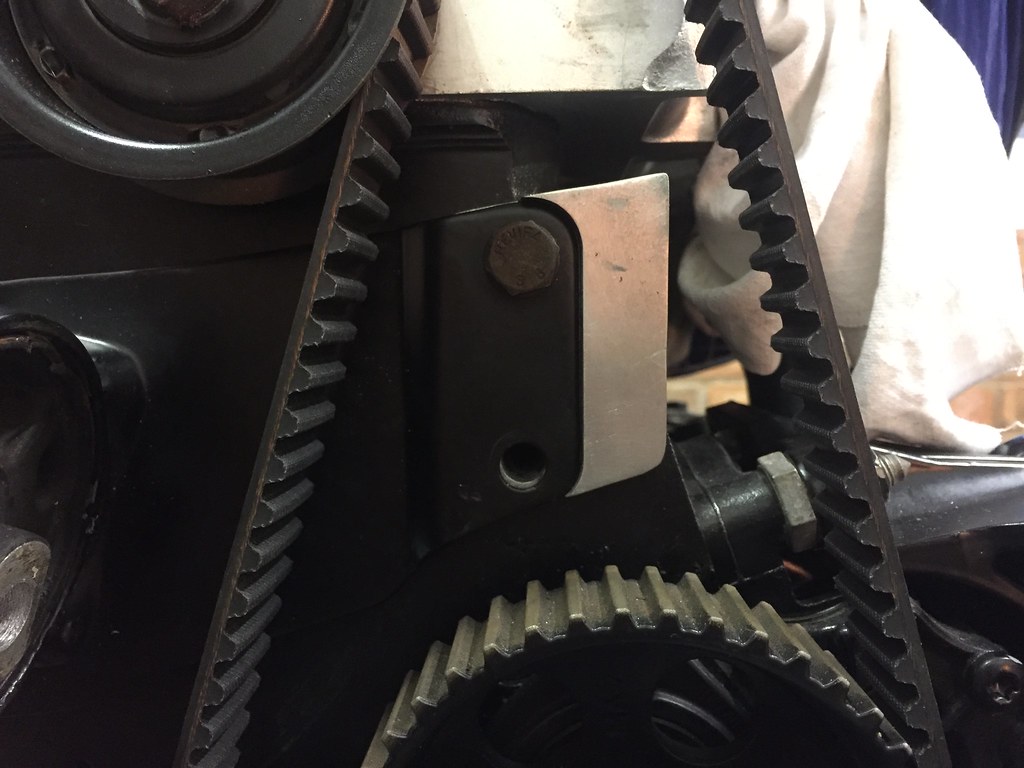
So back to the shop and took the end off, much better �:thumbup:
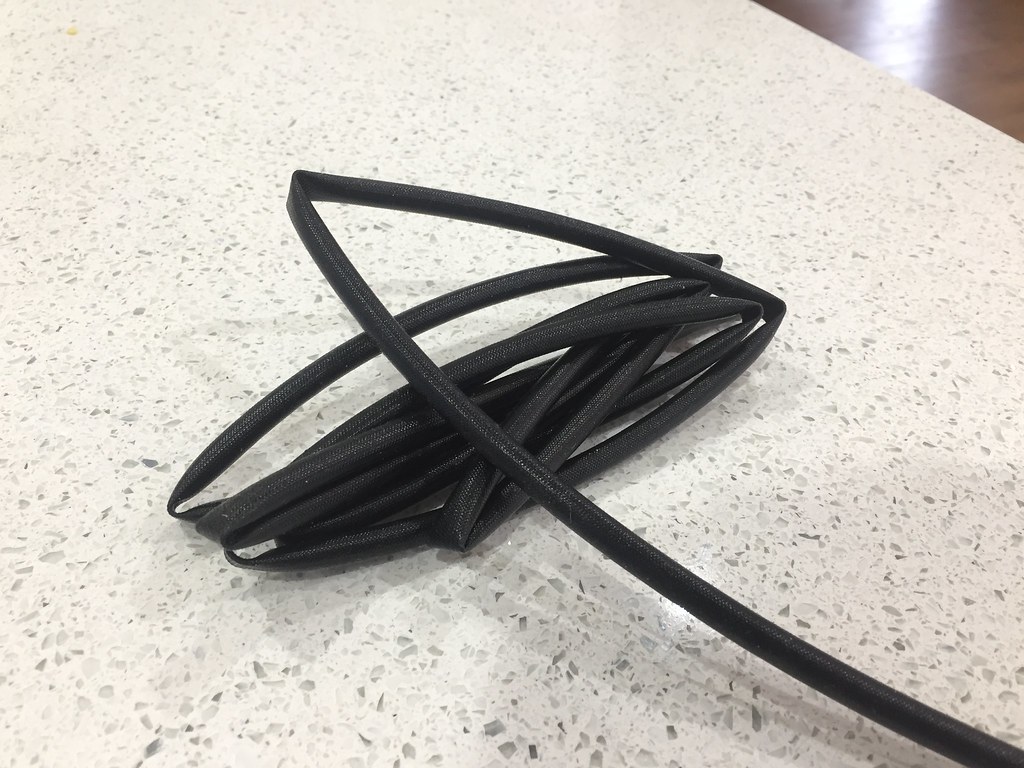
Mk2 Golf 1.3 throttle cable with all the mk2 gubbins taken off -

Some heat protection -
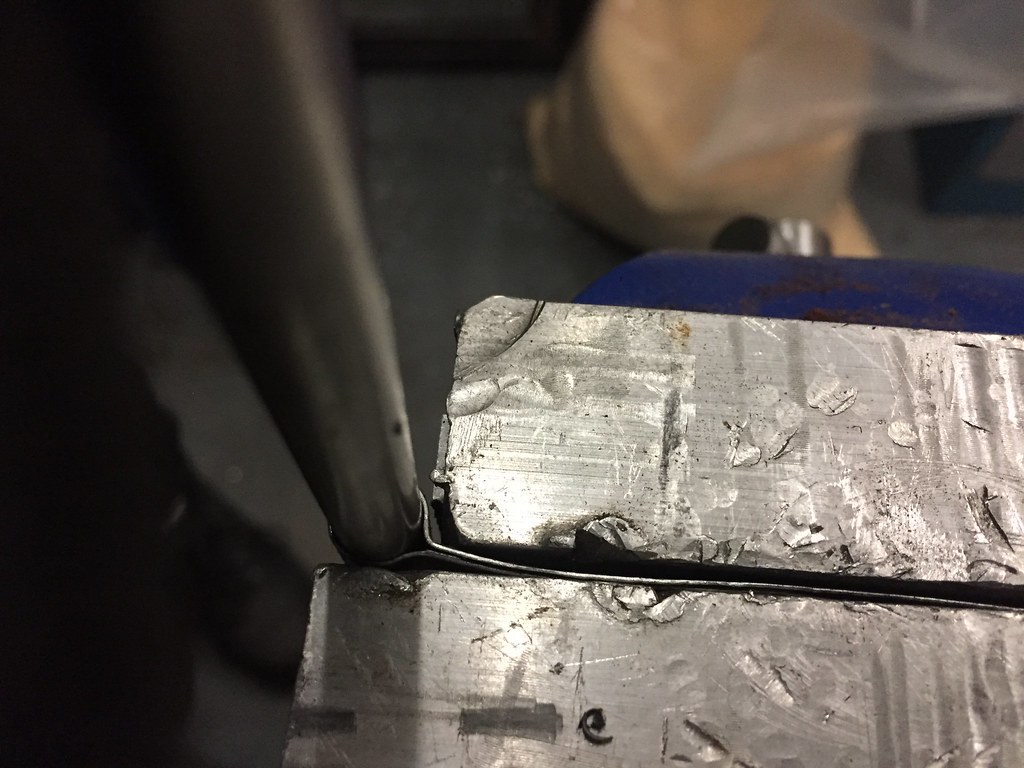
Then back to Noath to make a lil p clip to support the throttle cable up against the engine block -
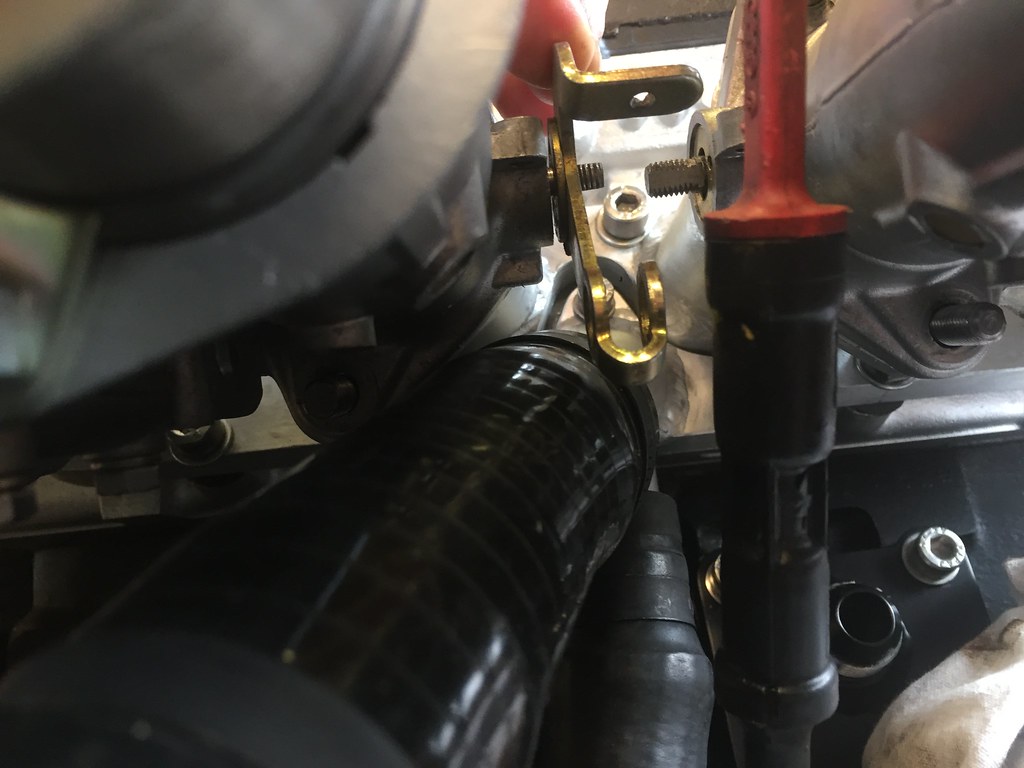
Then picked up this lever and made a solderless pinch to fit in it for the throttle cable. This will hopefully do the trick and make it a nice smooth transition in throttle movement.

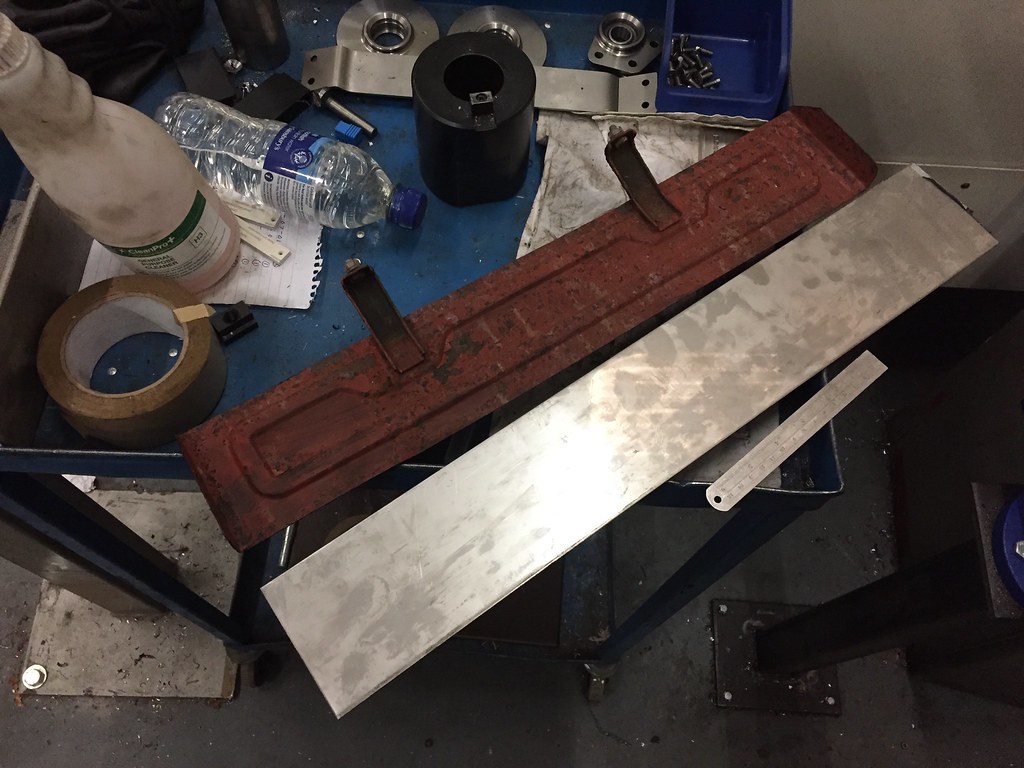
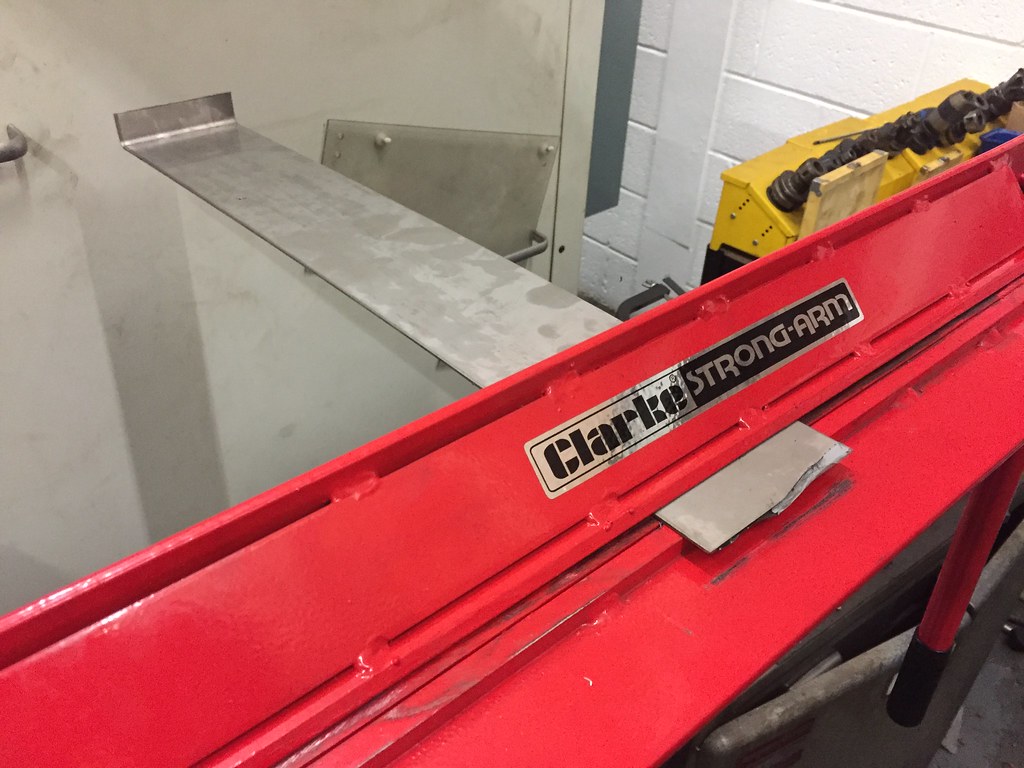
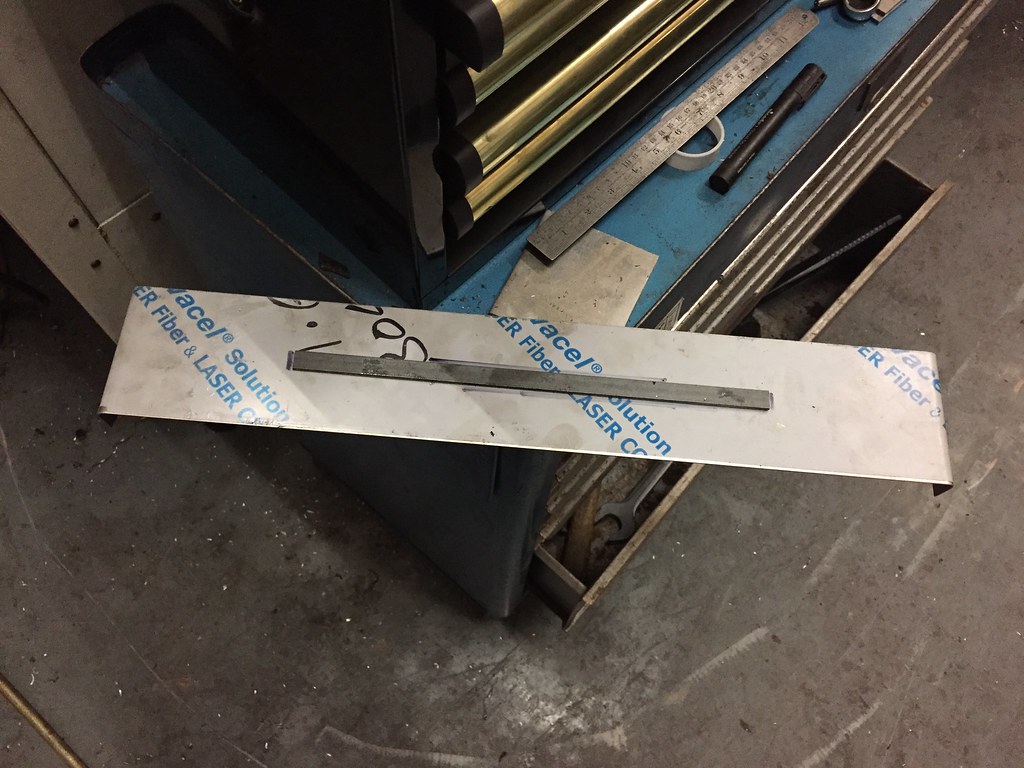
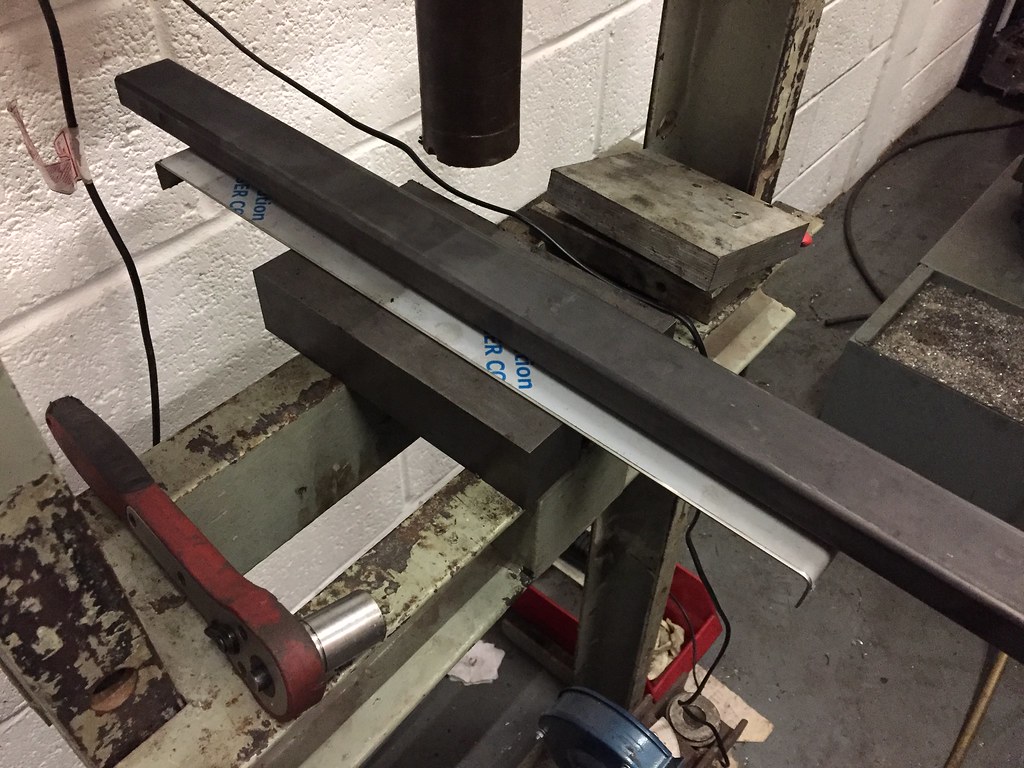
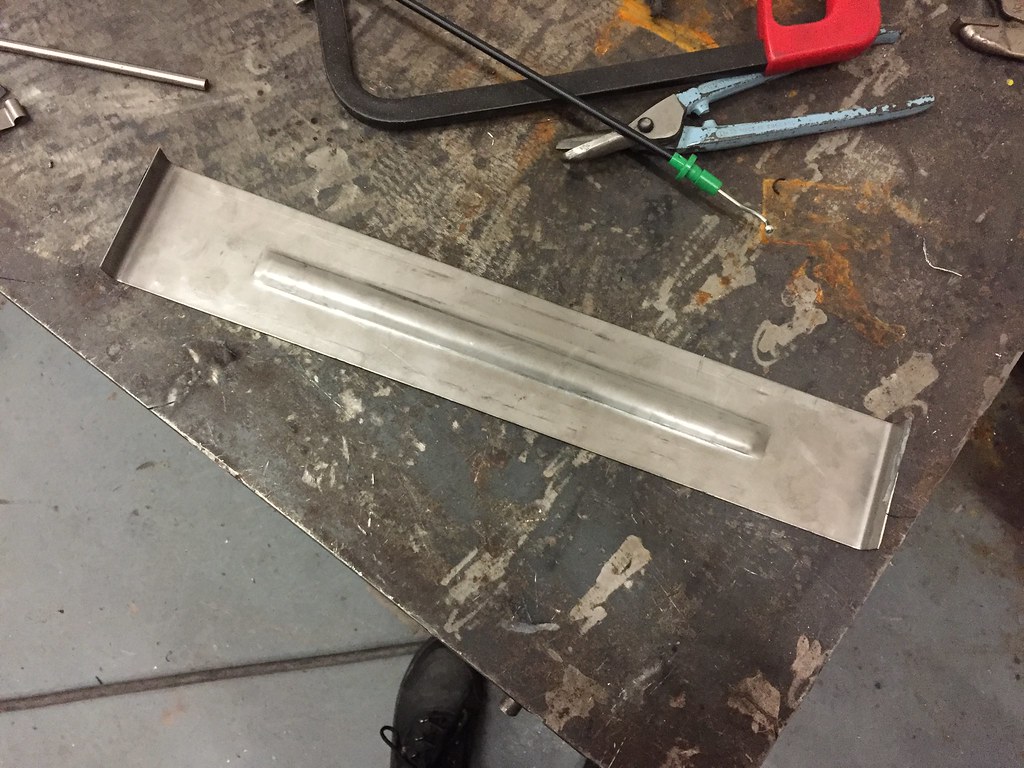
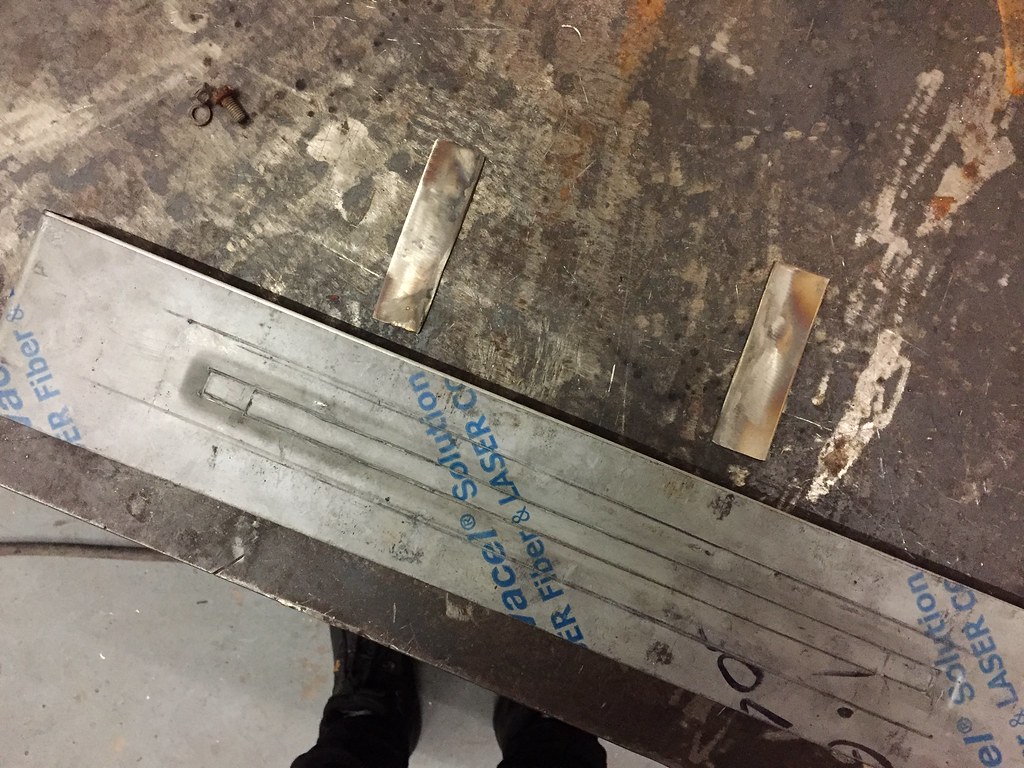
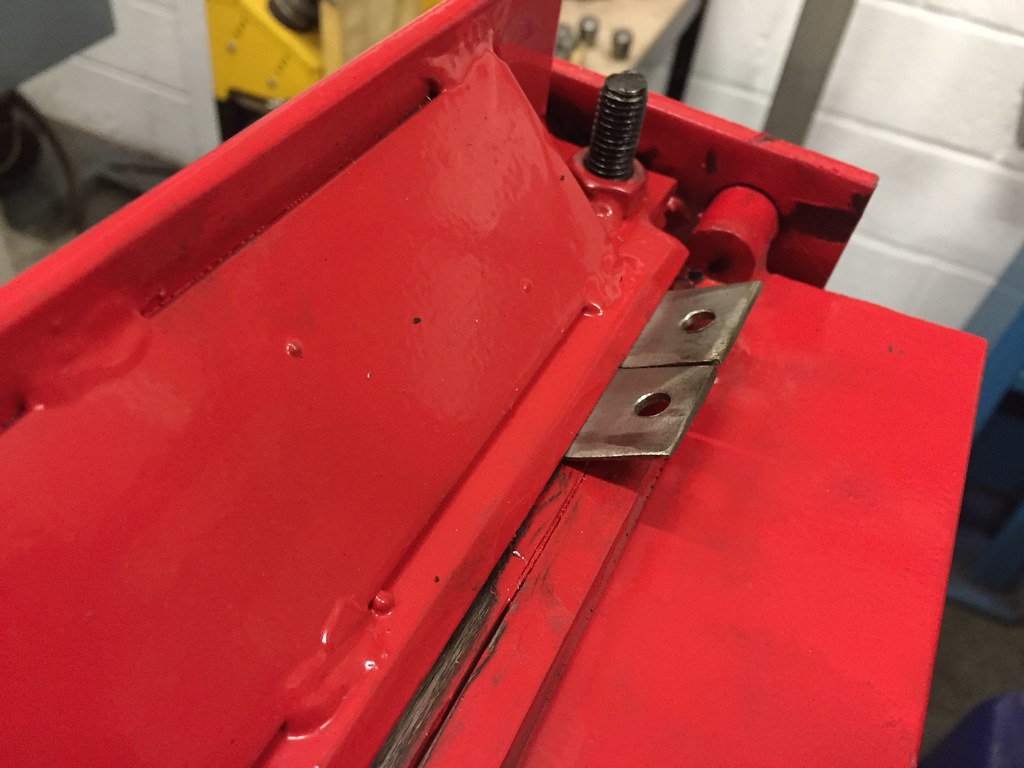
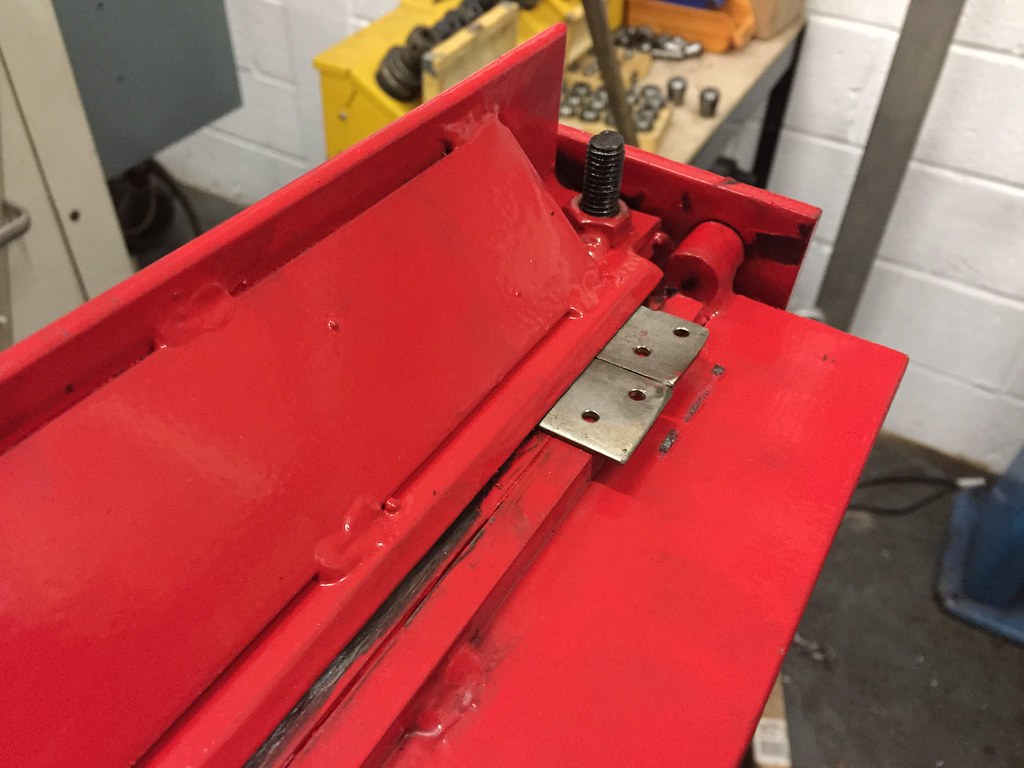
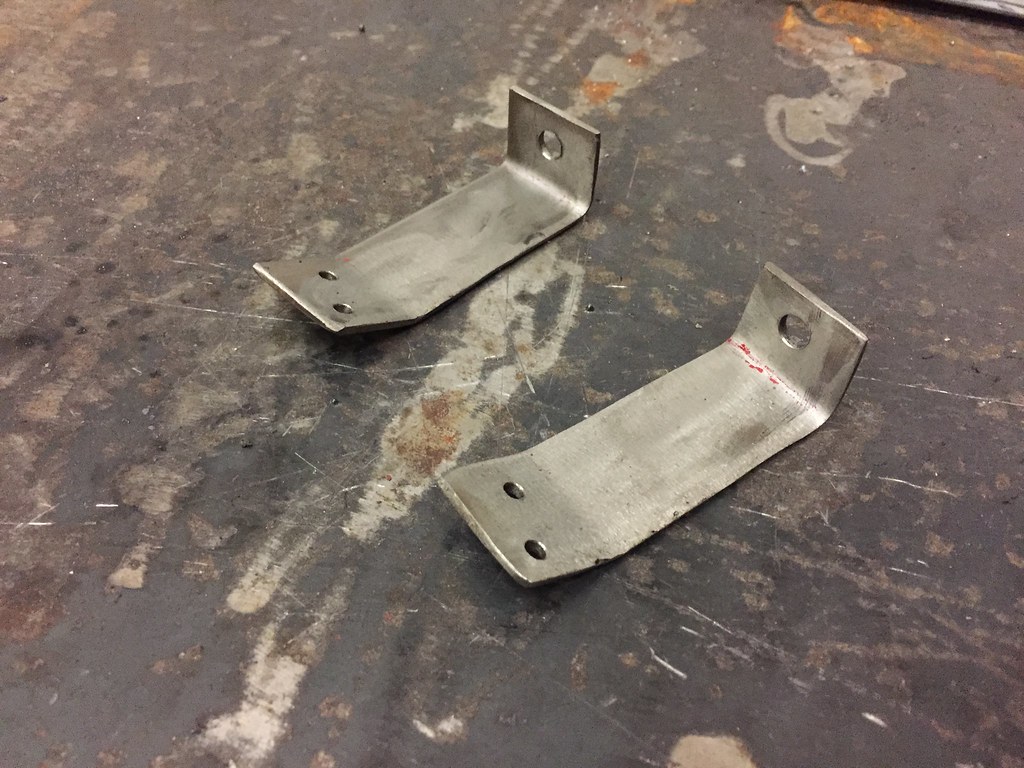
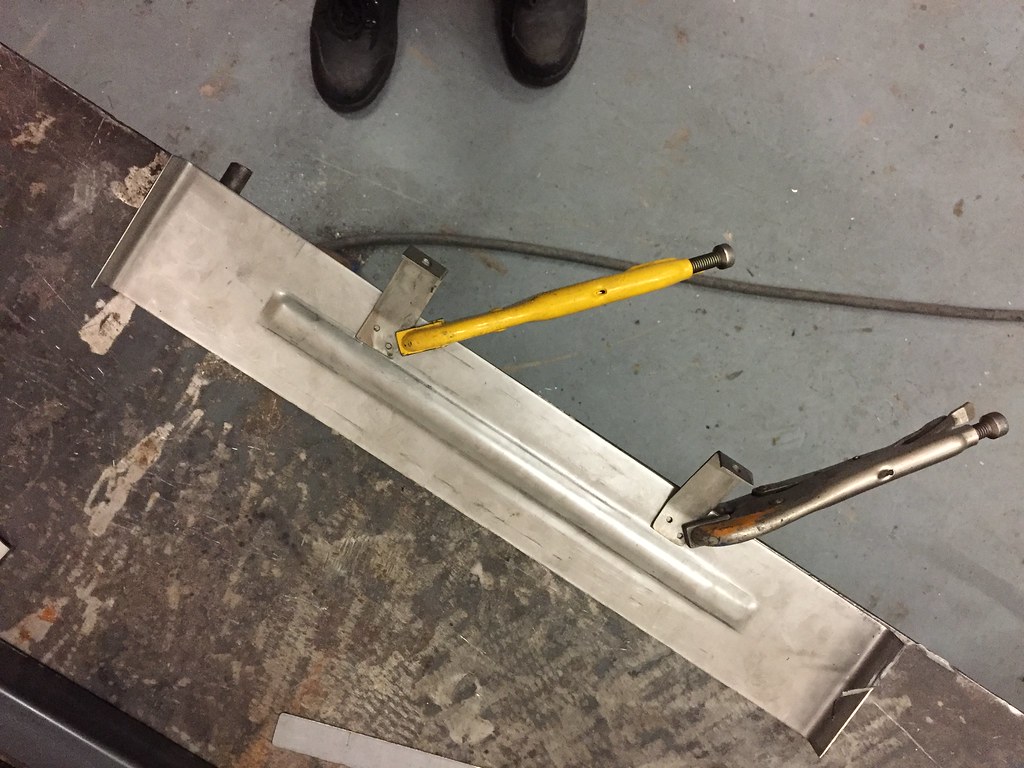
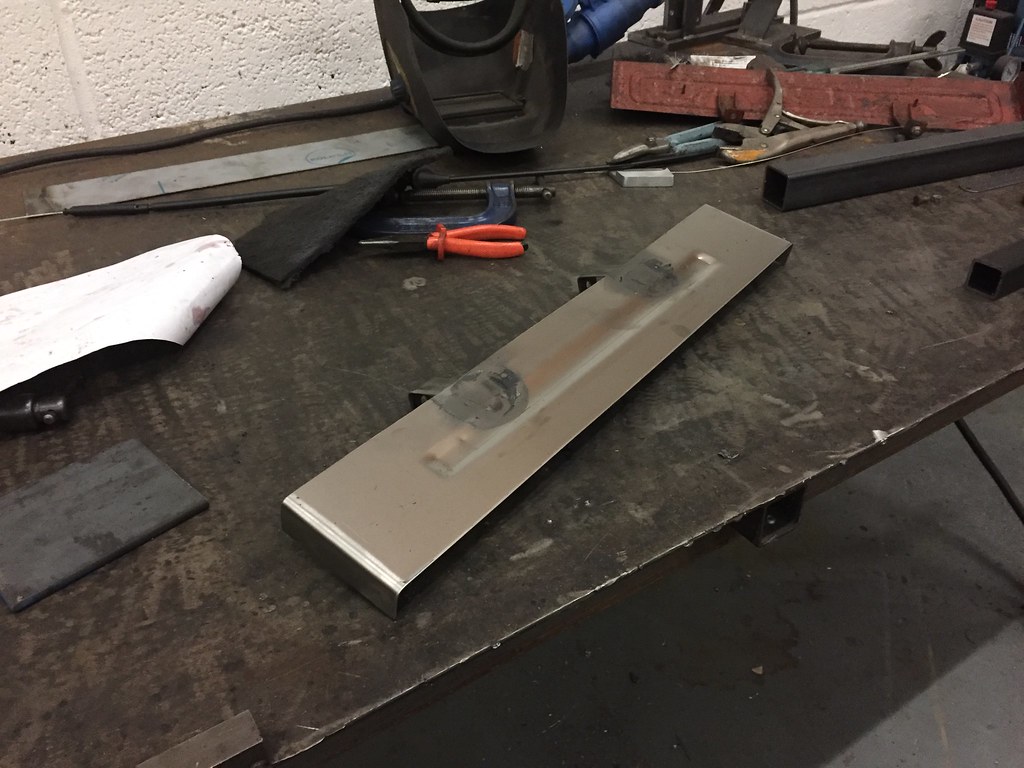
Then made a replacement front number plate holder out of stainless steel -
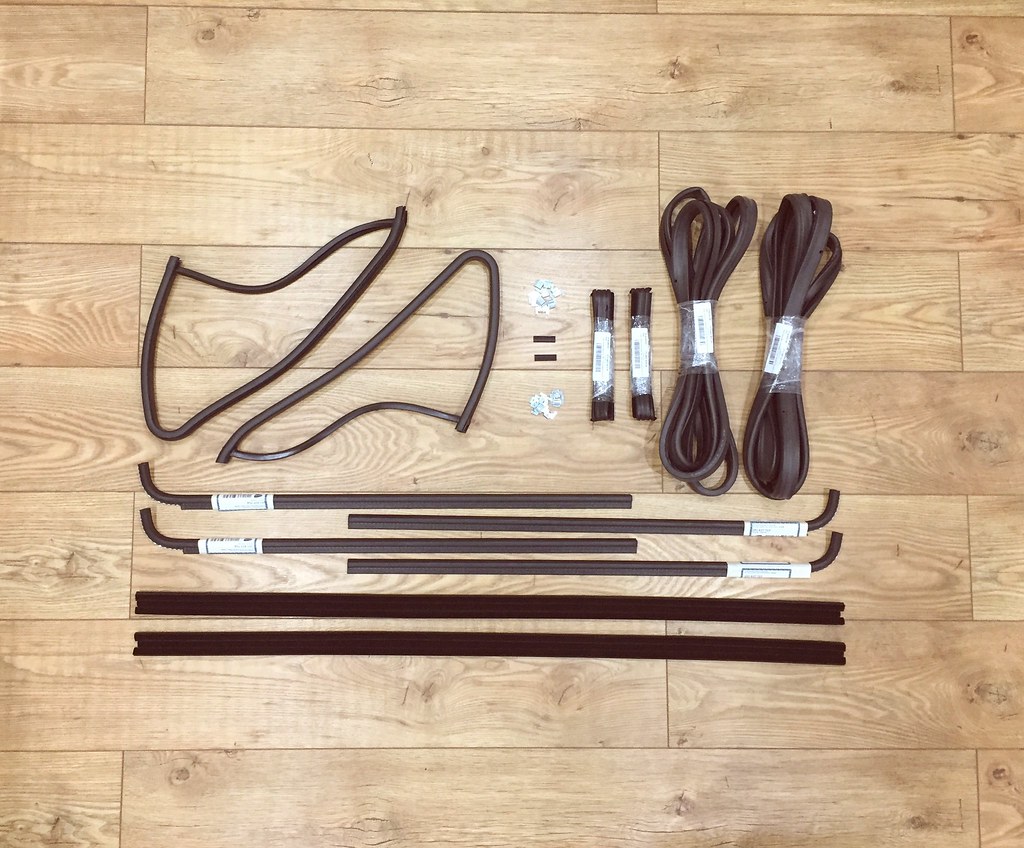
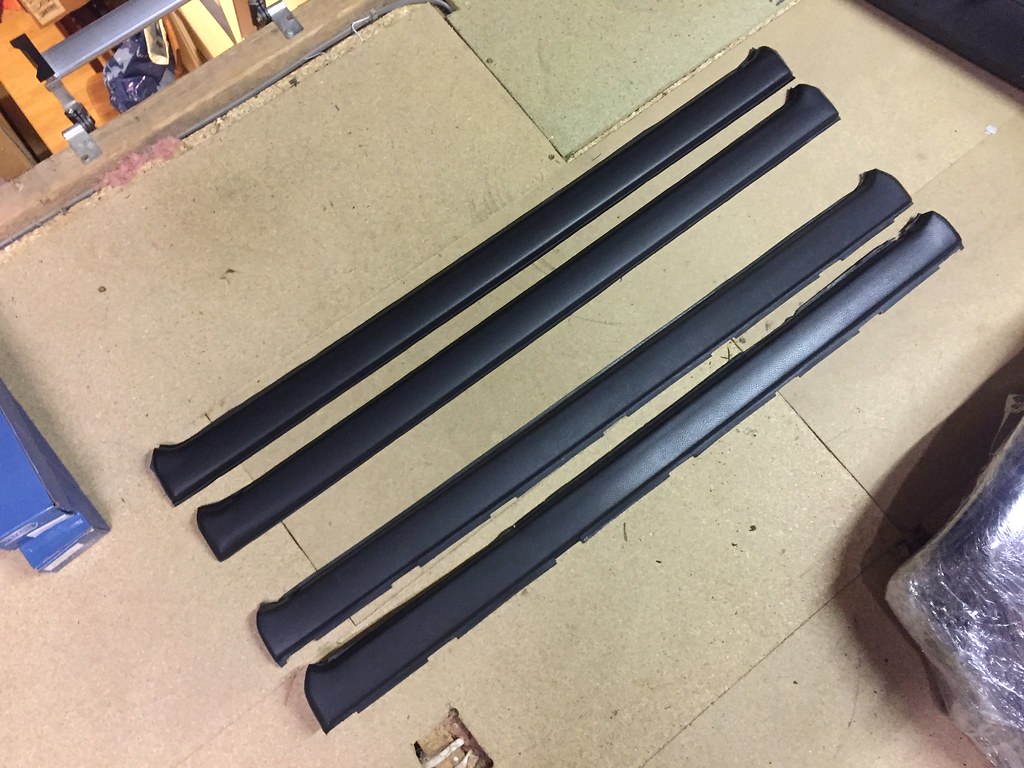
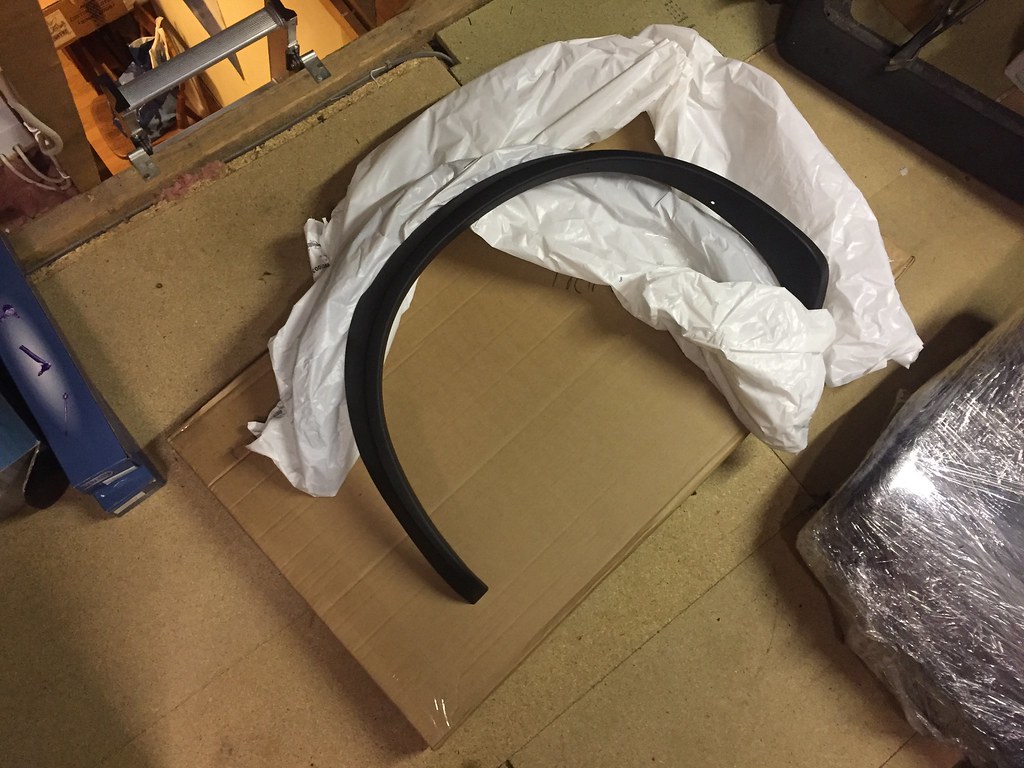
Oh and a purchase from VW Heritage - All new door and door window seals, new GTi arches, and some door mouldings as mine were cracked.
Original VW vs SA VW, shame the texture isnt the same �:yawn:
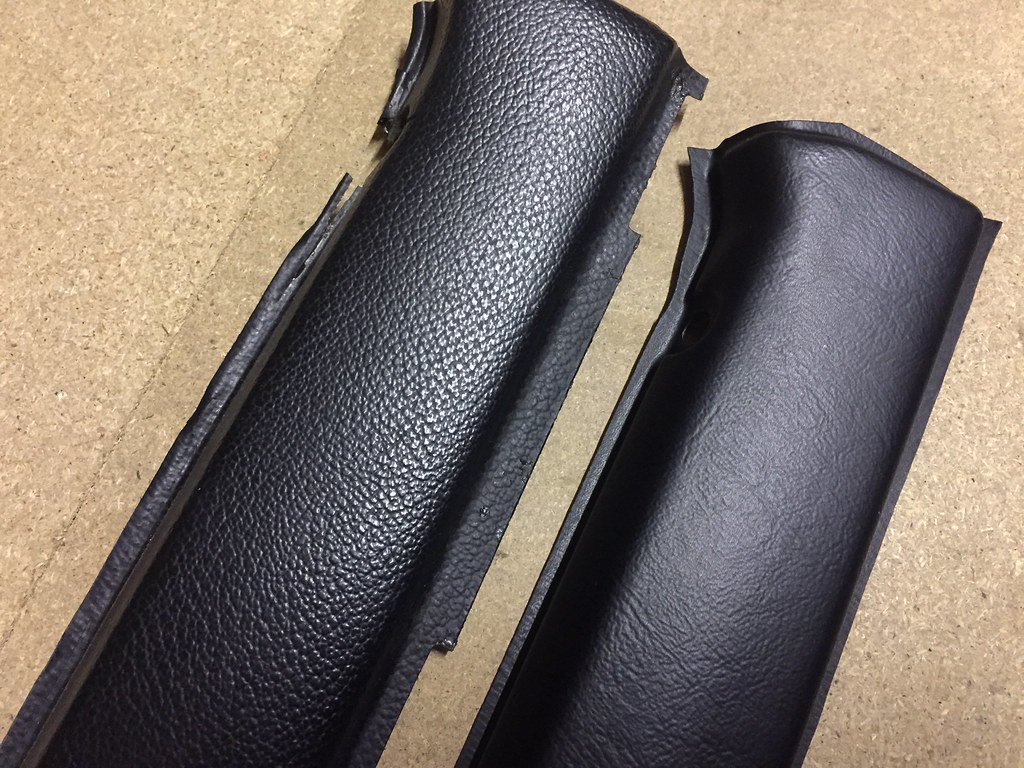
And the same can be said for the GTi arches.

Posted
Settled In

 .
.Chris by any chance does noath precision sell a few custom items on the ebay?.Looks great what he produces.
Settled In
 �and yeah he does, he's slowly starting up but he creates some awesome stuff. I'm trying to get him to make loads and loads of Mk1 bits -
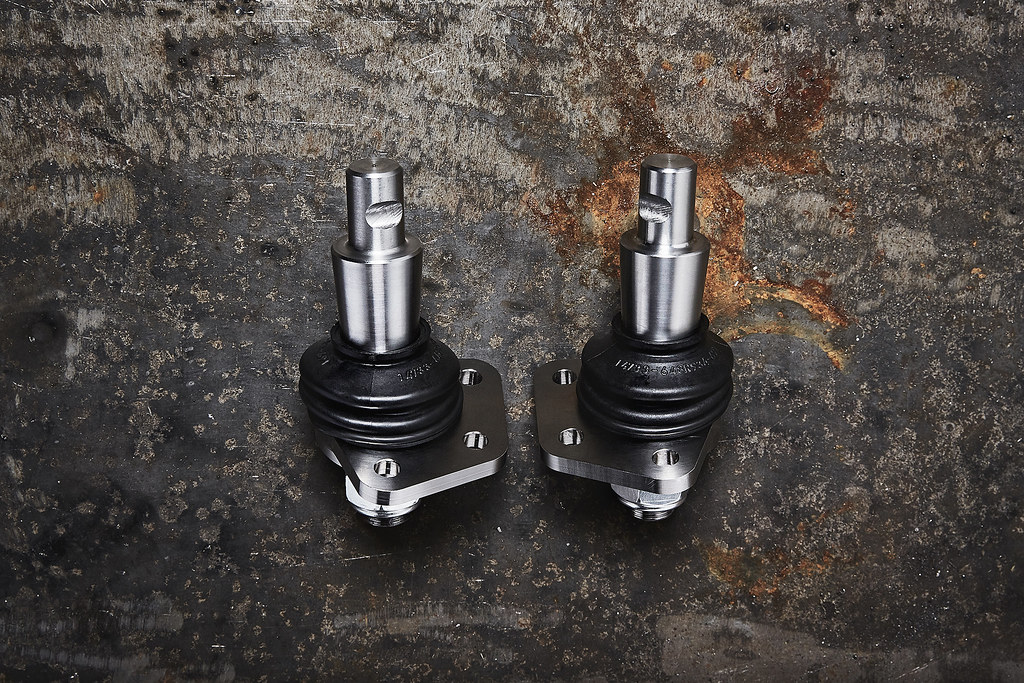
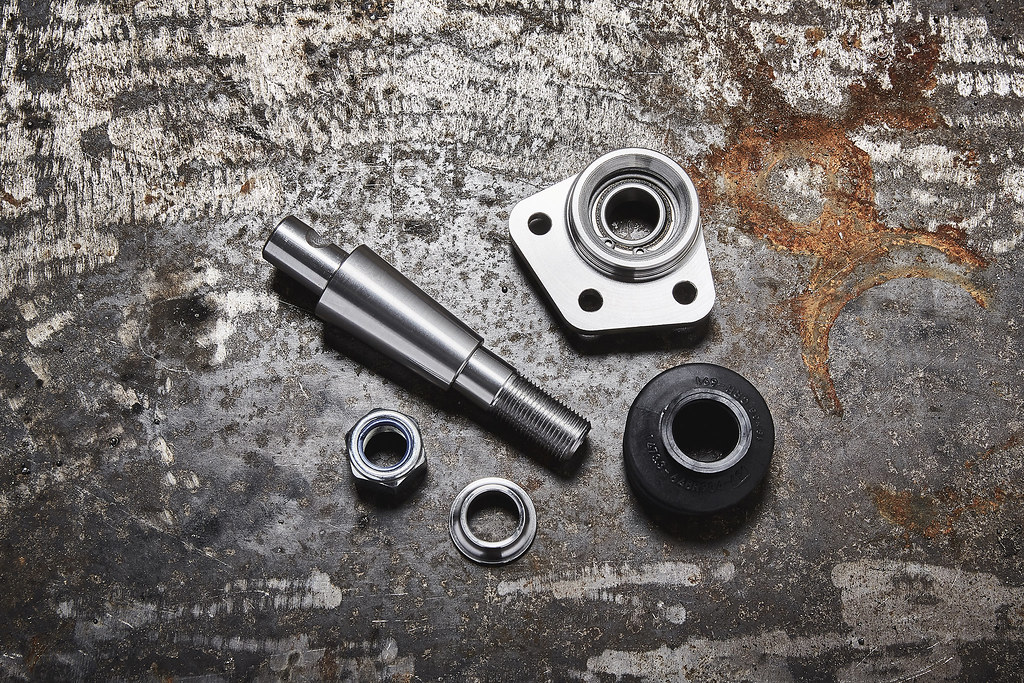
These are some of the stuff he makes, all of which can be seen on my car (once its built)
Ball Joint Extenders -
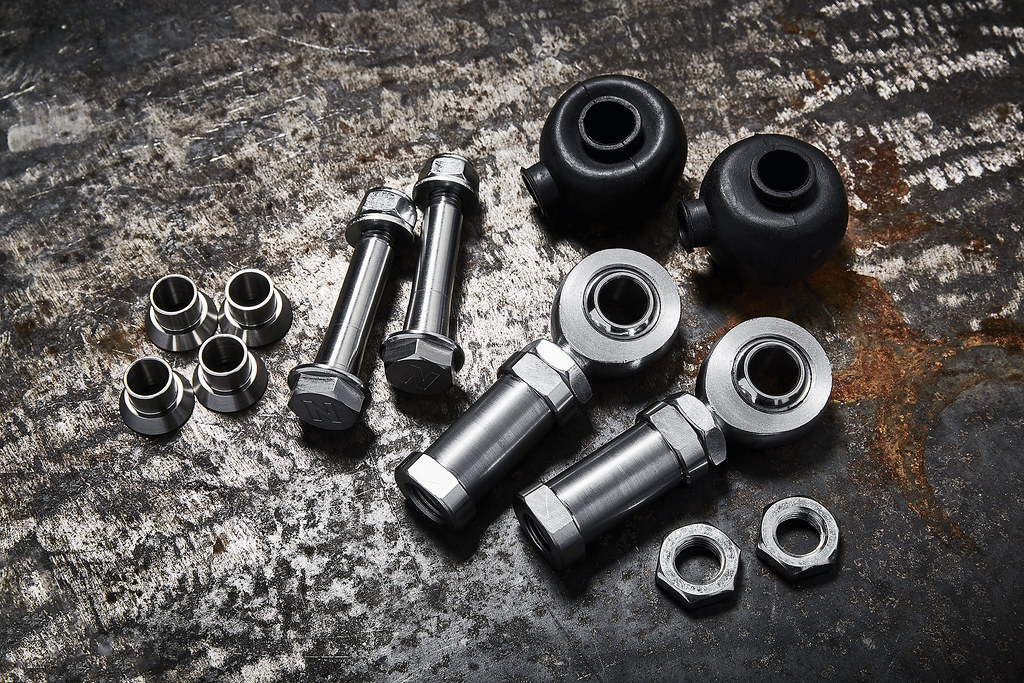
Rose jointed track rod arms with flip pins to suit the ball joints above -
And stainless steel rear ARB brackets

�
Posted
Old Timer


Posted
Old Timer
Posted
Settled In
What would people like to see be made? 5 Stud Mk1 Hubs? Solid Top Mounts? Strut Braces?
Posted
Old Timer
Posted

Settled In
Posted
Settled In
abfmk1 said
What I personally would like is a modified hub assembly.
Correct, it is something that would cost alot, not just in material but in his time to design and machine time. Again like you said would probably be too specialist and wouldnt get enough units sold for the amount of effort to go into them. But who knows, maybe one day 😉
�
Baggins said
where do I get some of those Noath ARB clamps? They look great, as does the rest of the build
Cheers Baggins 🍻 send Adam a message on his facebook page, he has them�In stock and ready to rock -�https://www.facebook.com/noathprecision/
Posted
Old Timer
Mk1_Golf_Chriz said
Very, very nice, will you be running a centre positioned exhaust?
Anymore details on this, it is an off the shelf kit or home fabricated?
Thanks
Lhasa2008
Settled In
These are not yet available to purchase off of Adam / Noath Precision, maybe after we've done a bit more testing on fitment and clearance then he will make a batch of them to sell as off the shelf items or something you could post your ream beam to him for him to weld on etc. Will update with when we have a look at creating a bent arm this week.
Posted

Local Hero

I like the homemade weighted shift rod
Andy
LINCOLNSHIRE REGION -�https://www.facebook.com/groups/467122313360002/
1983 MK1 Golf GTI Campaign Model - Under (looooong) resto!
1962 Rover P4 80
2002 BMW 745i
2008 BMW Z4 2.5Si
LINCOLNSHIRE REGION -�https://www.facebook.com/groups/467122313360002/
1983 MK1 Golf GTI Campaign Model - Under (looooong) resto!
1962 Rover P4 80
2002 BMW 745i
2008 BMW Z4 2.5Si
Settled In
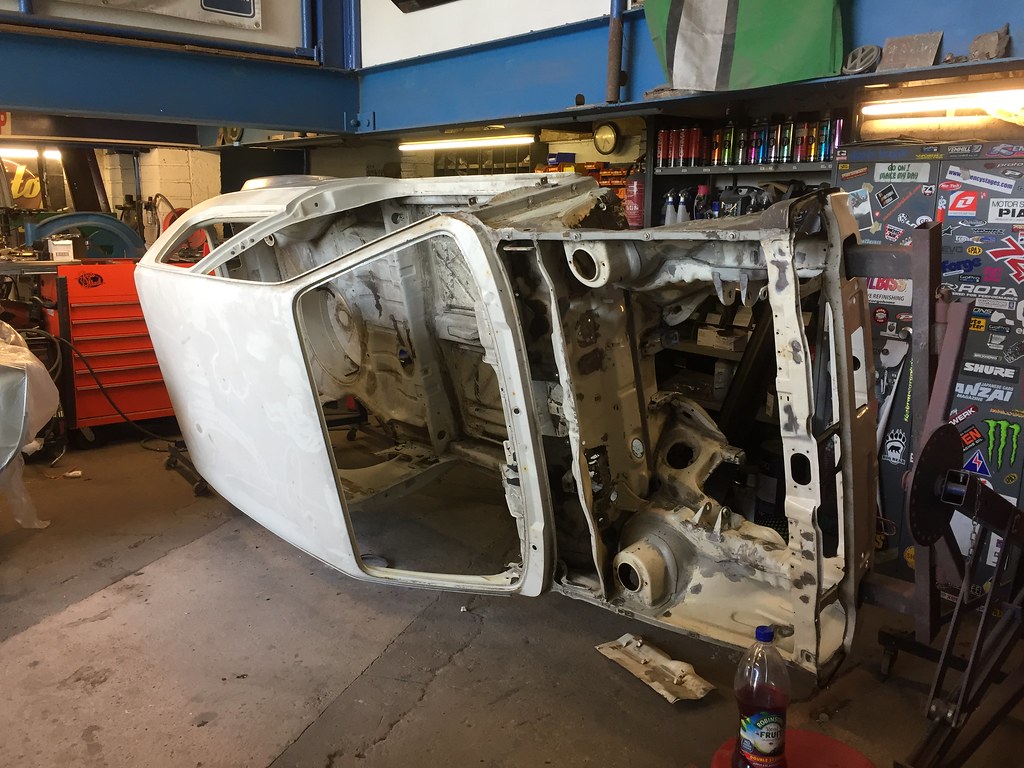
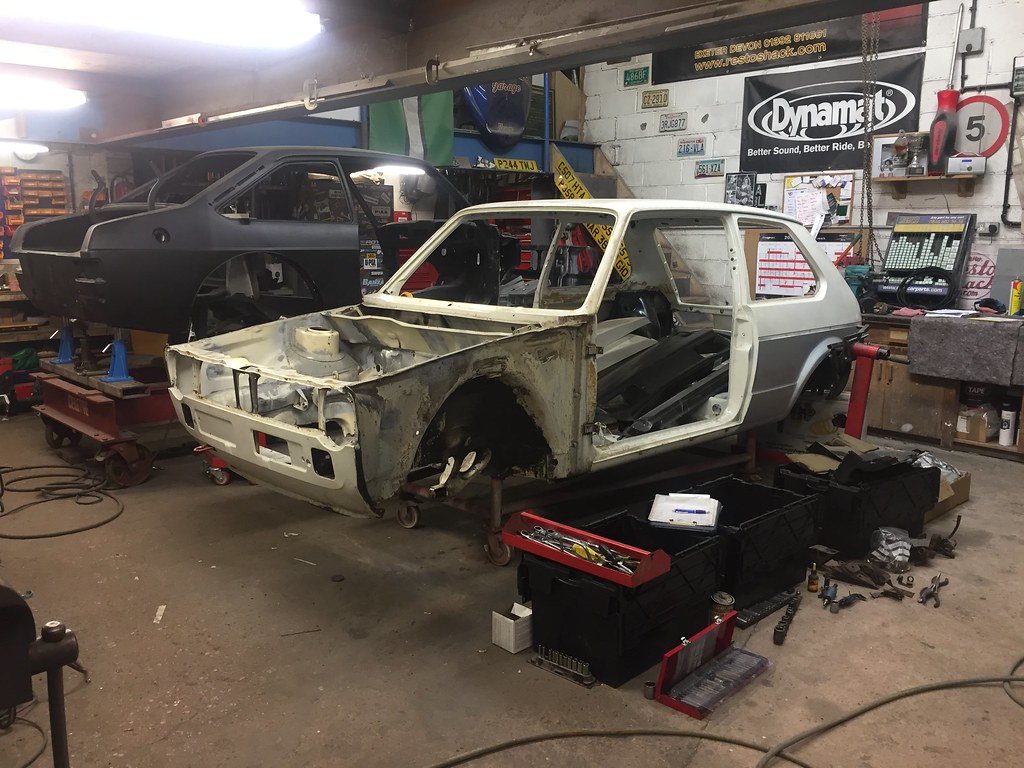
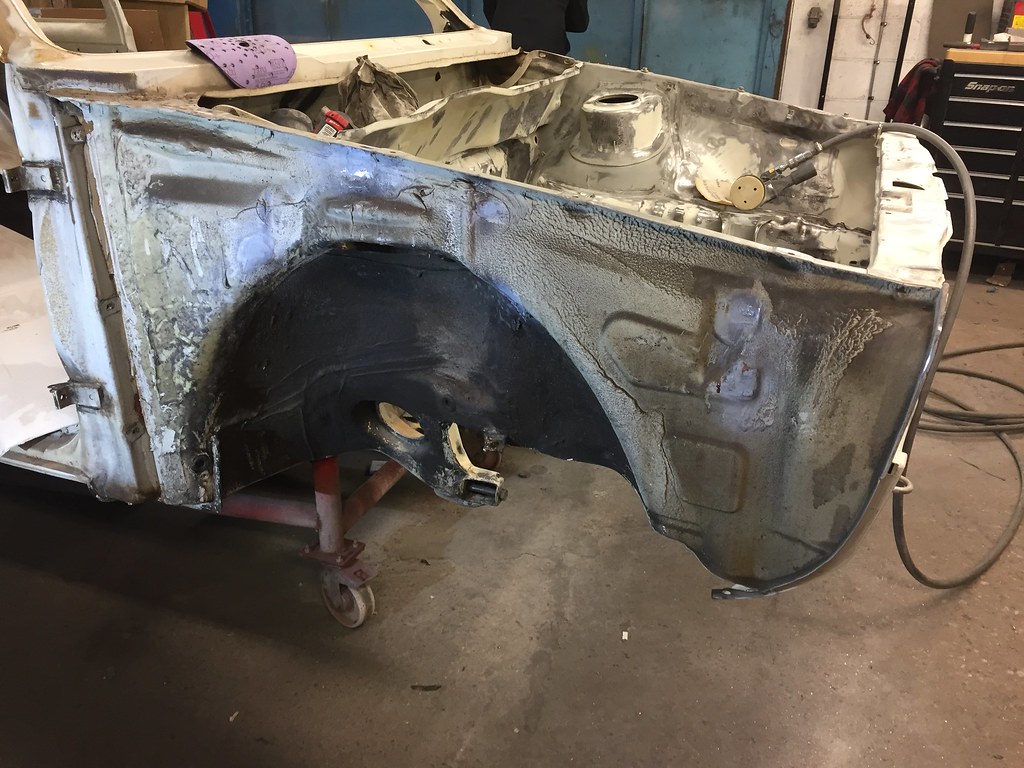
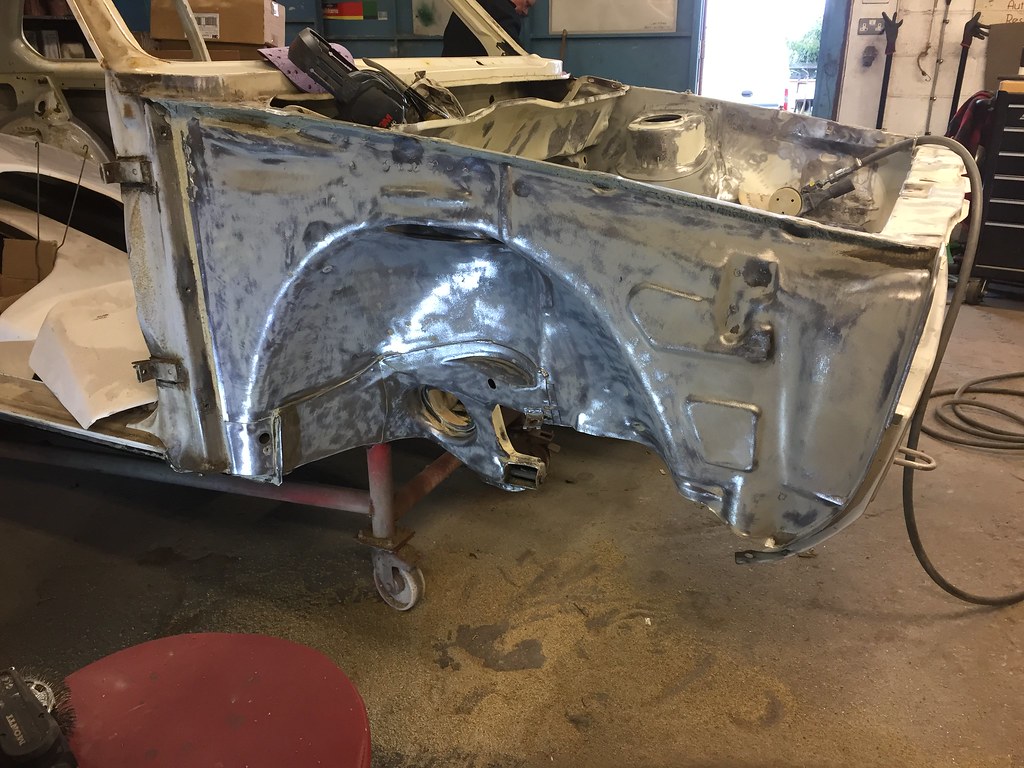
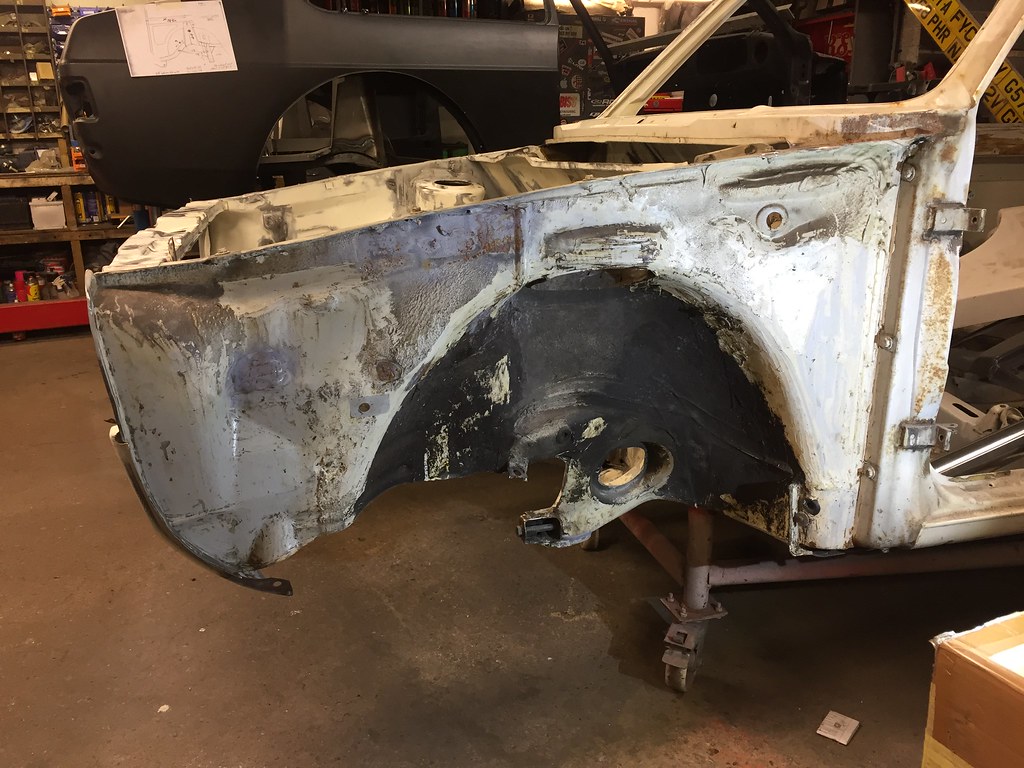
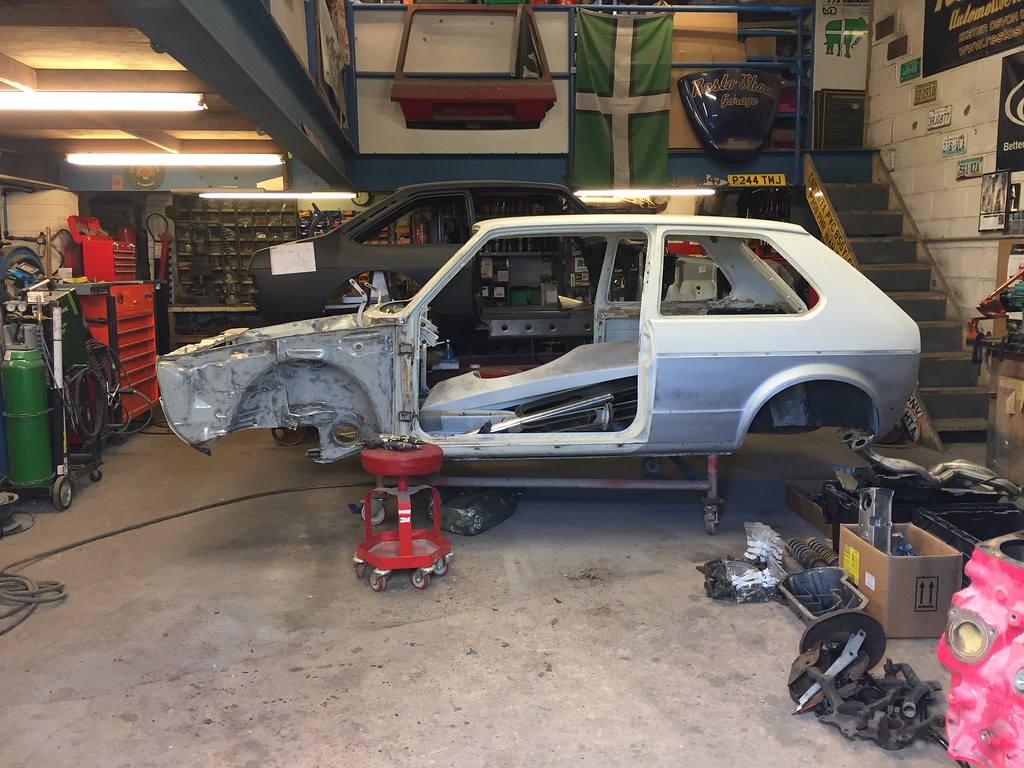
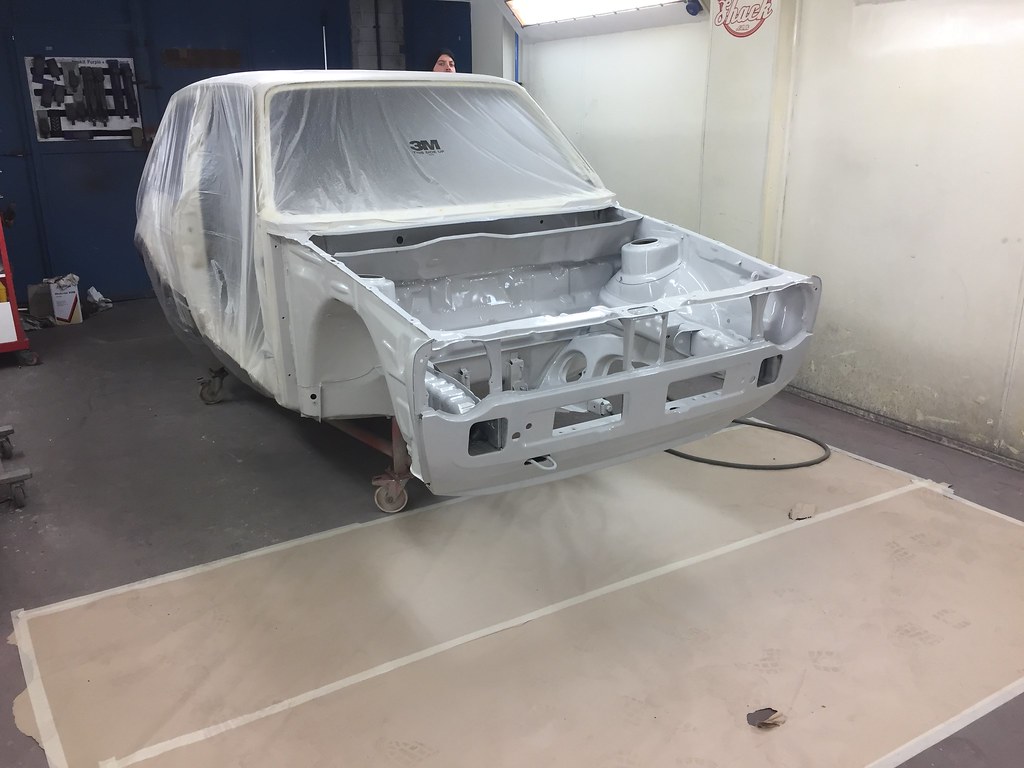
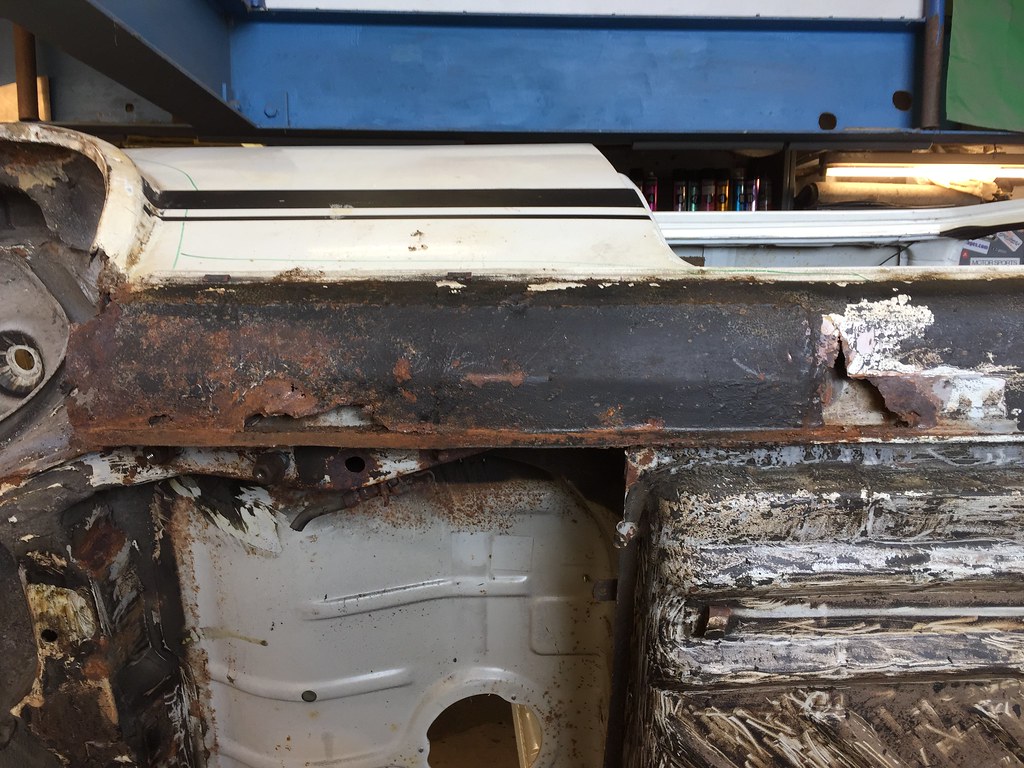
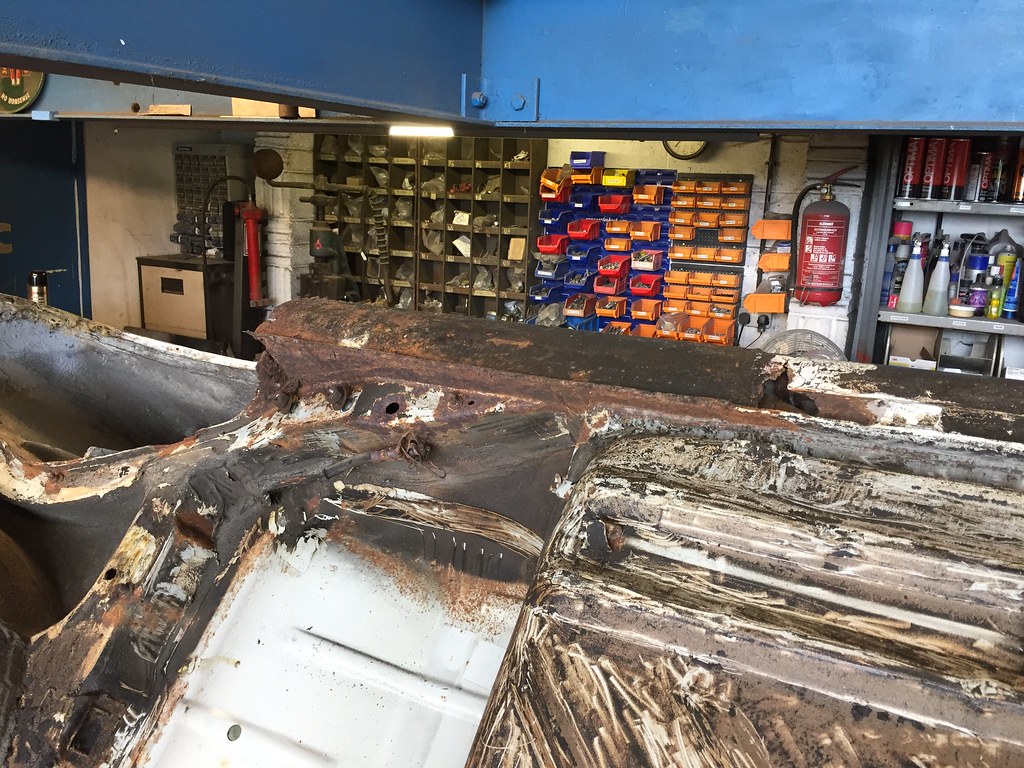
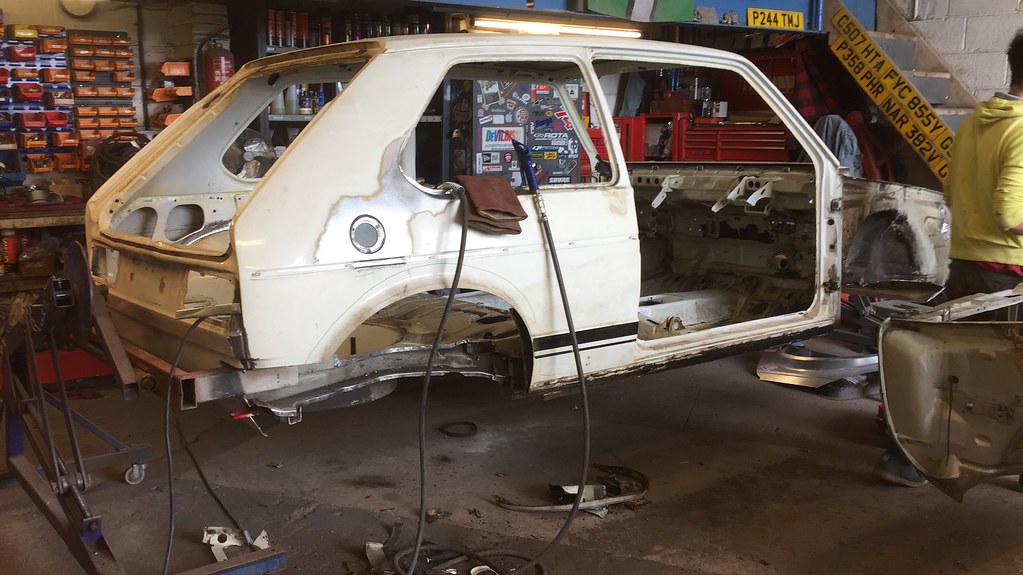
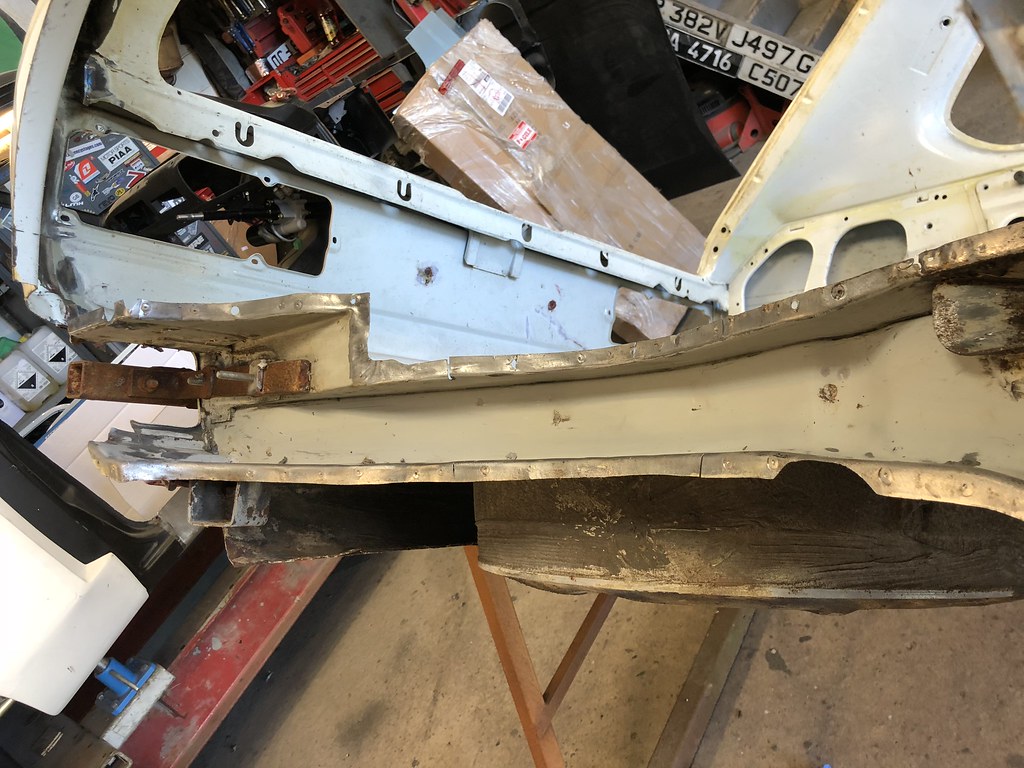
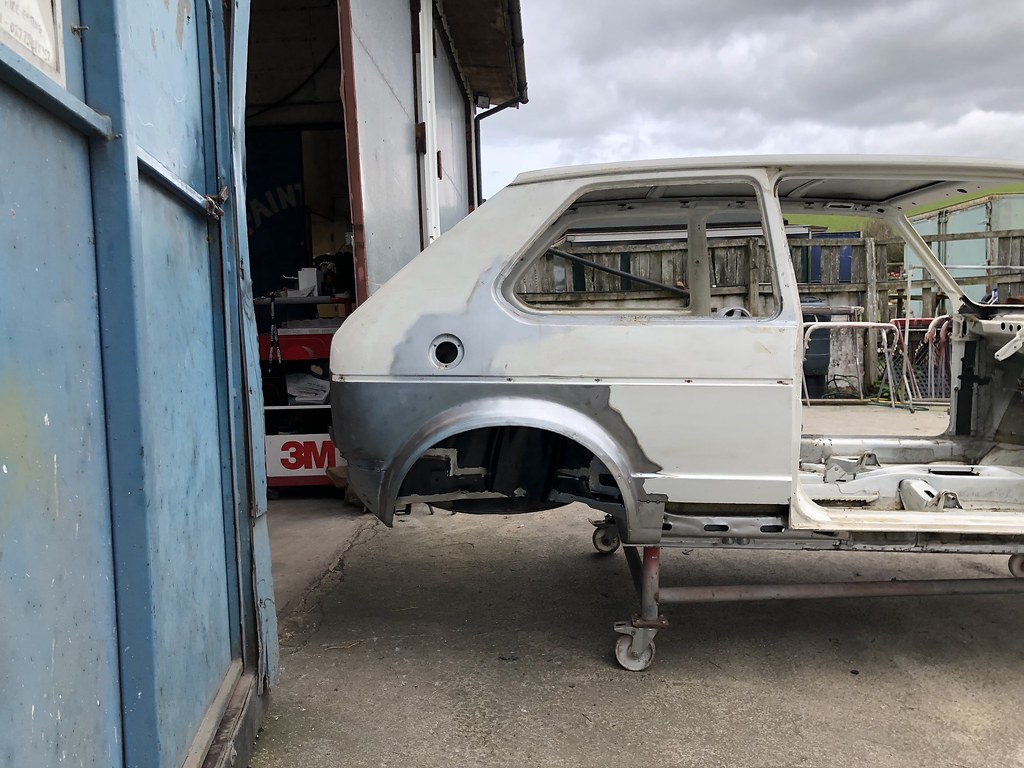
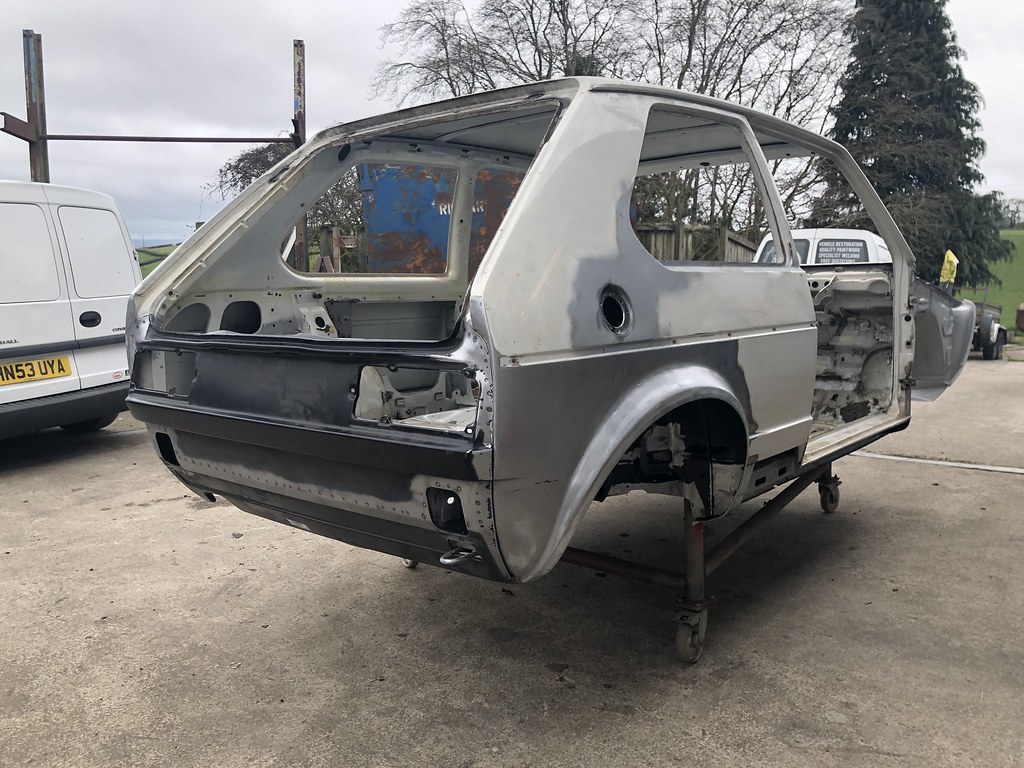
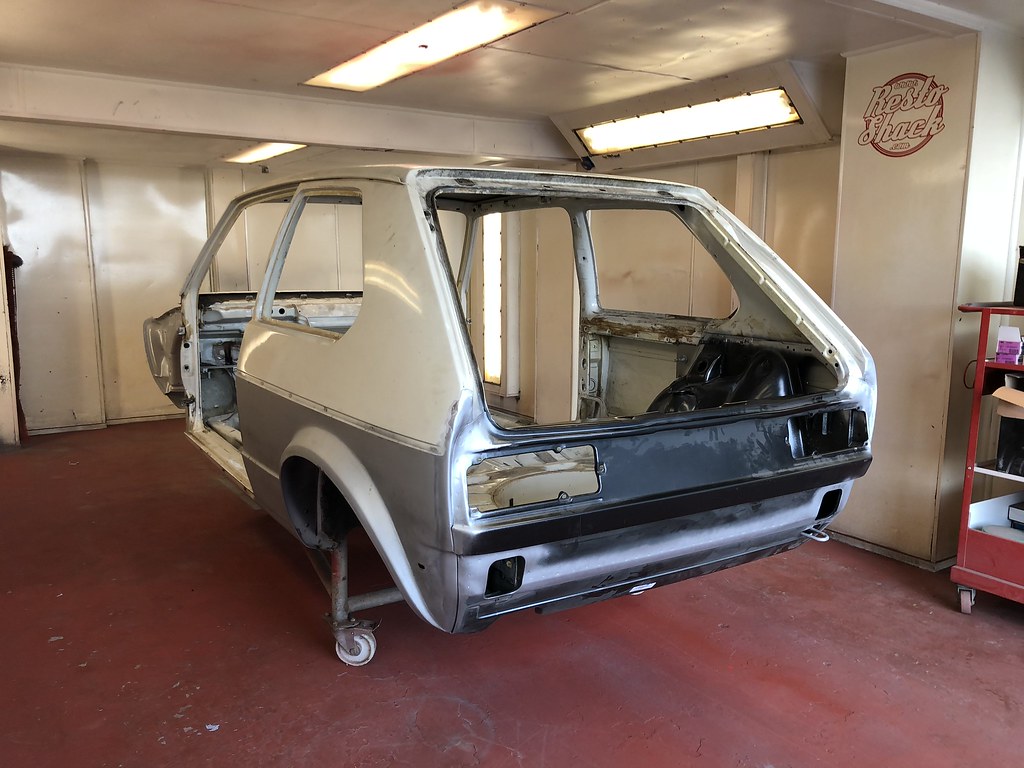
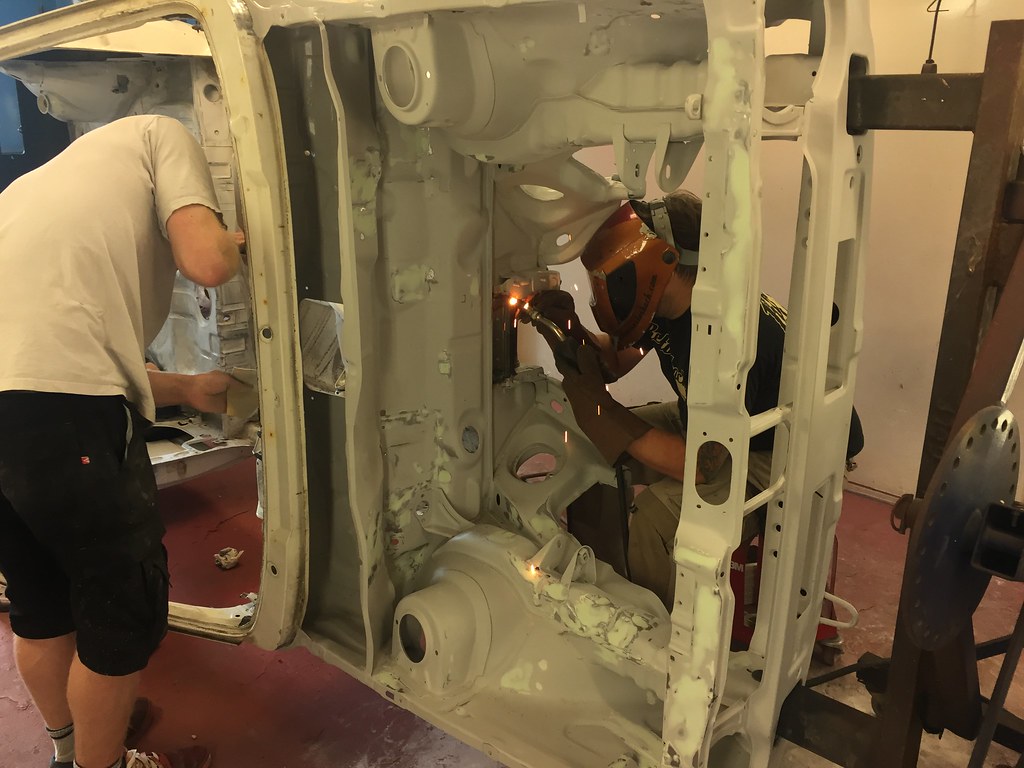
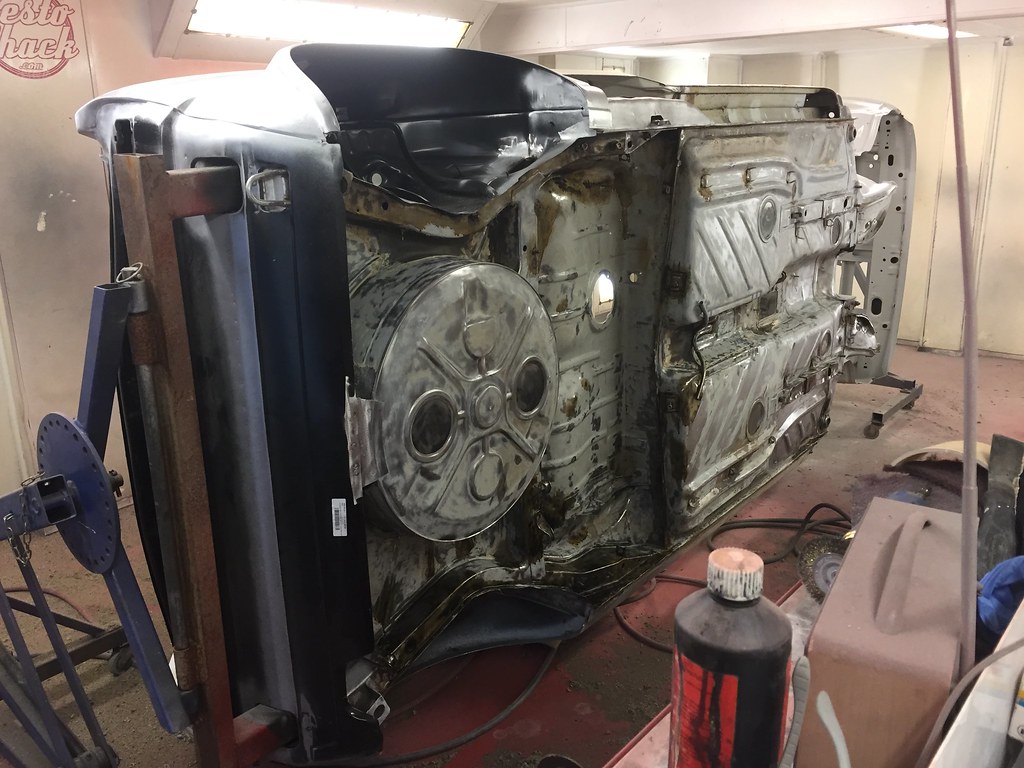
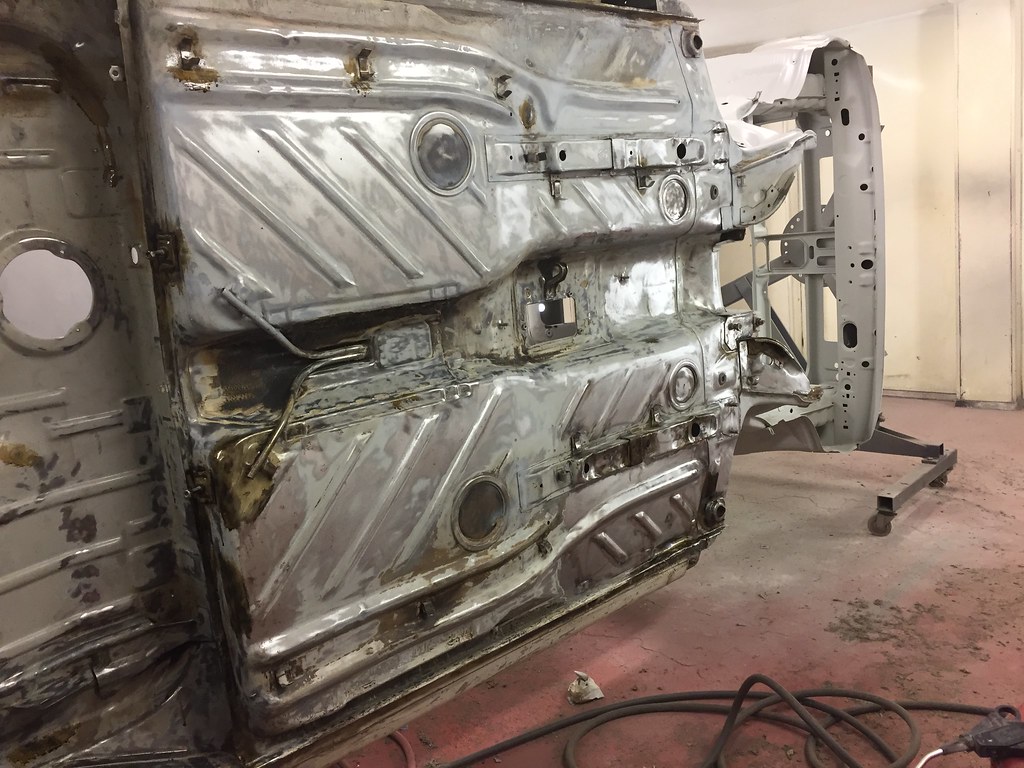
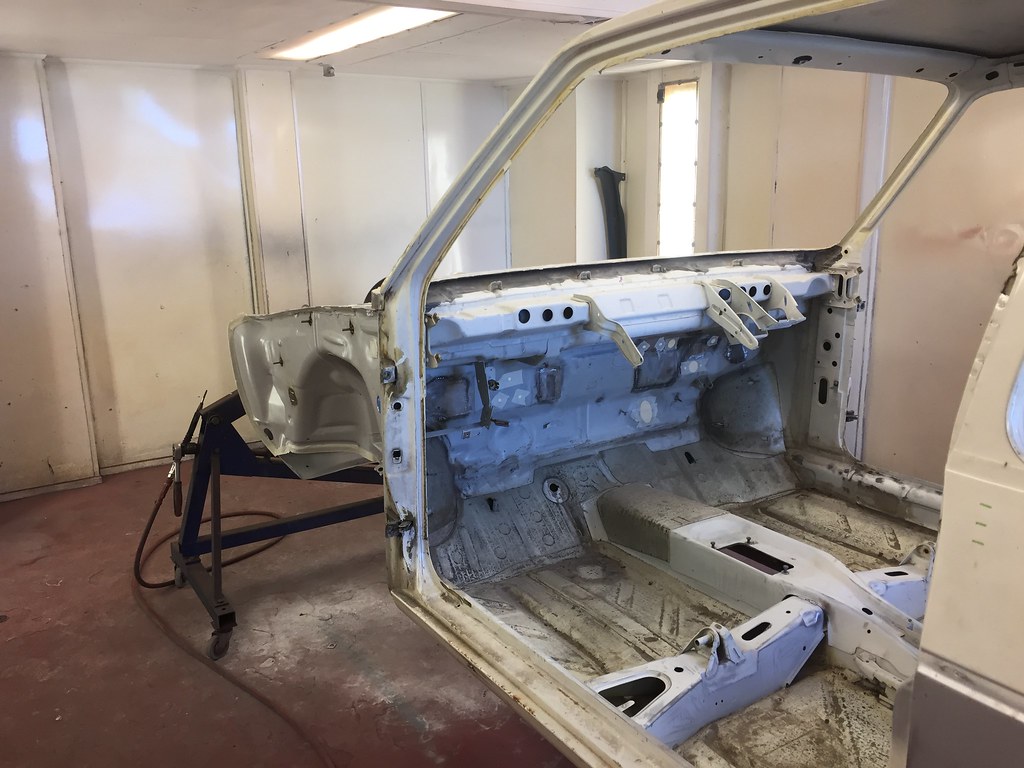
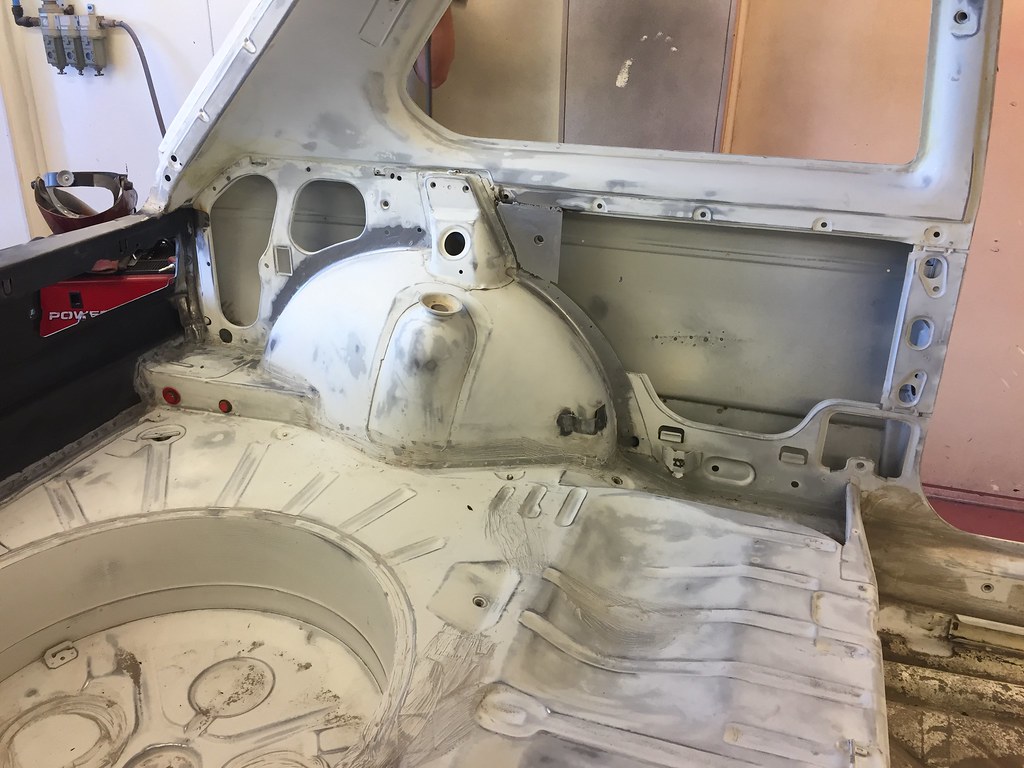
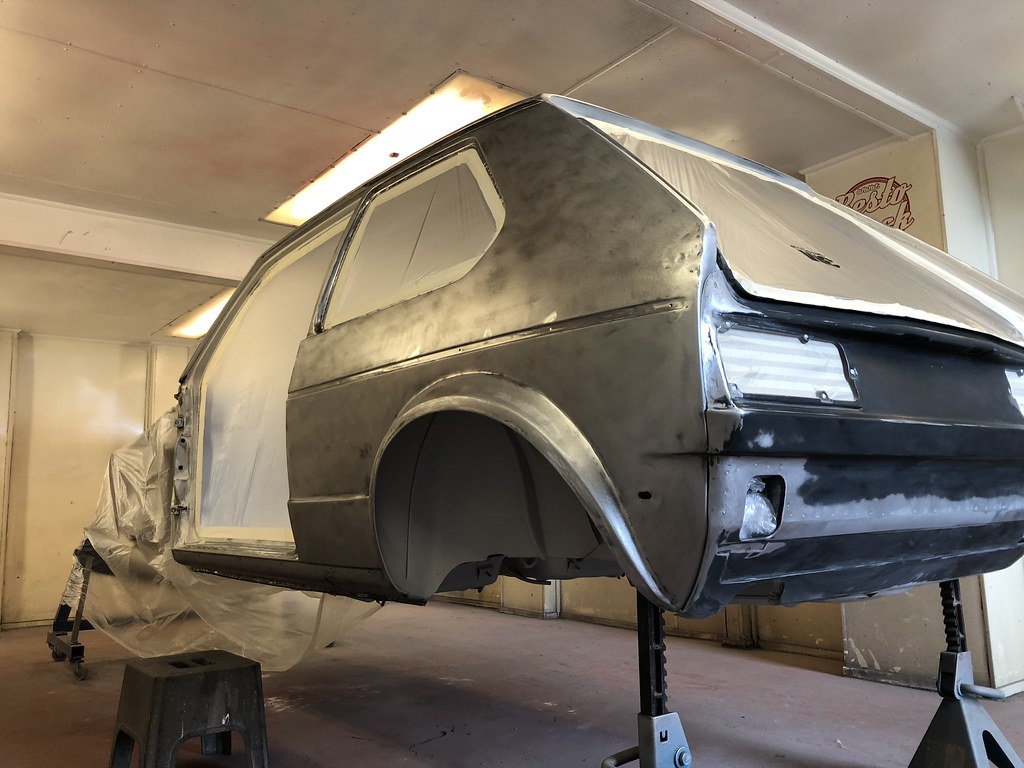
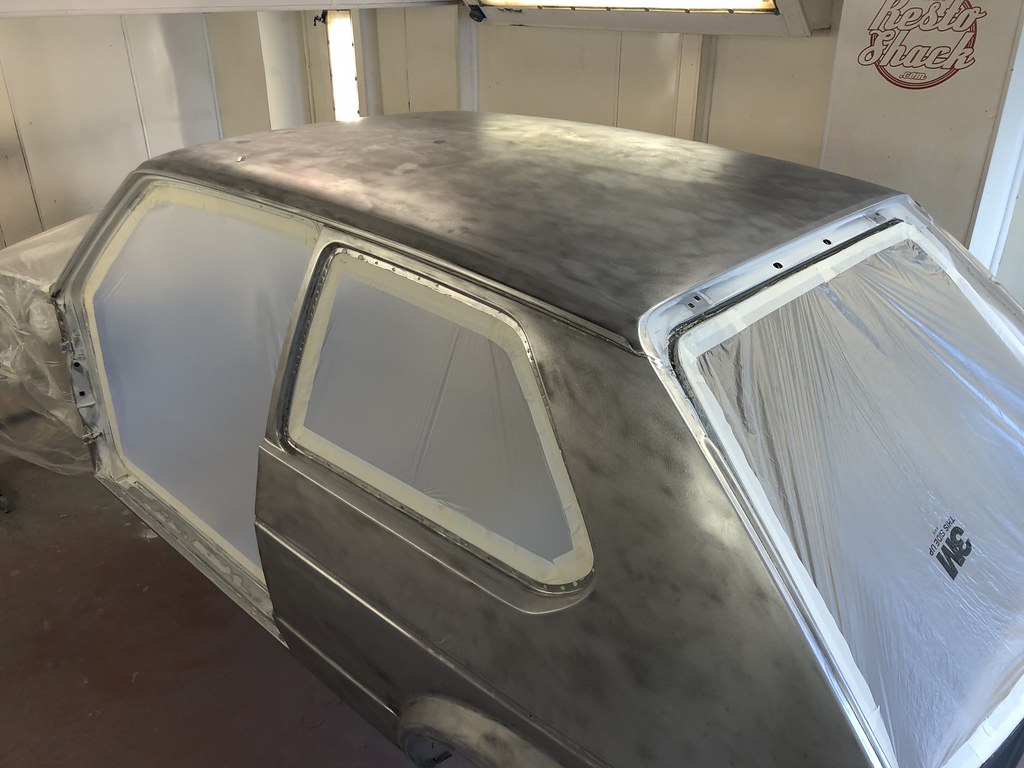
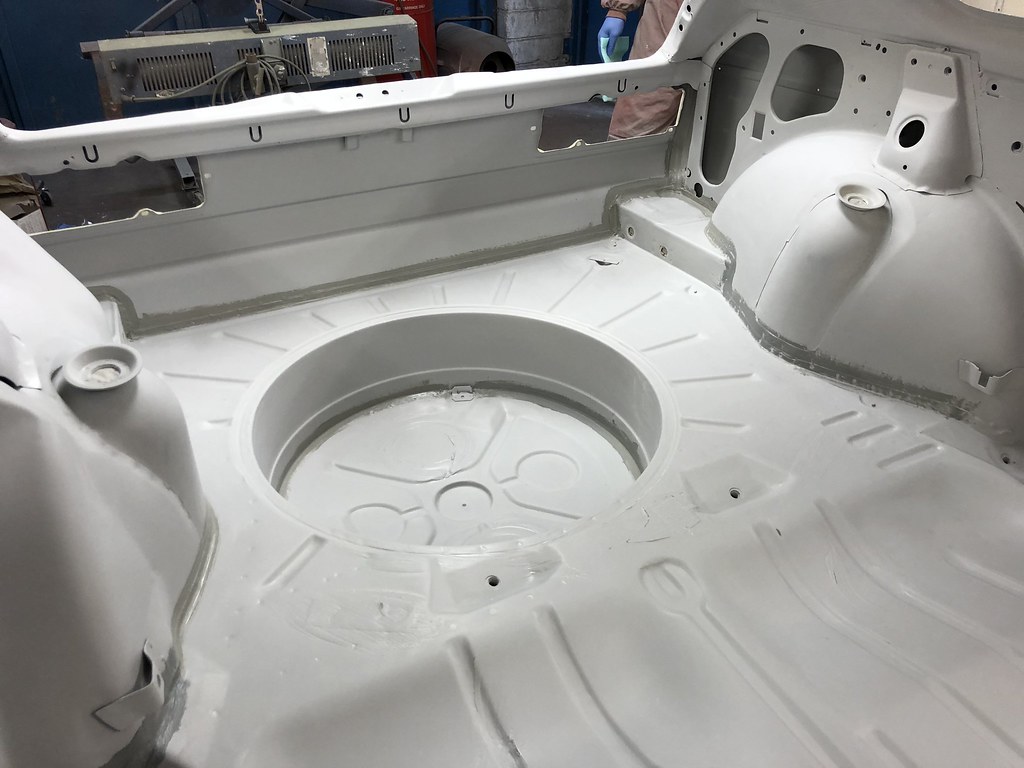
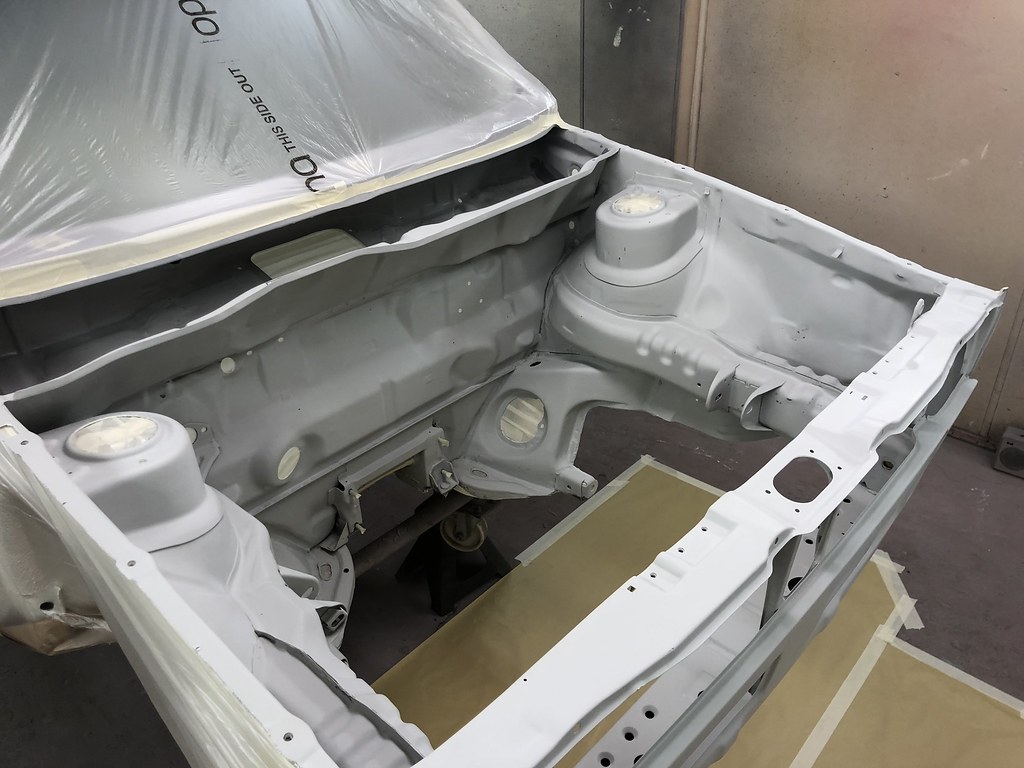
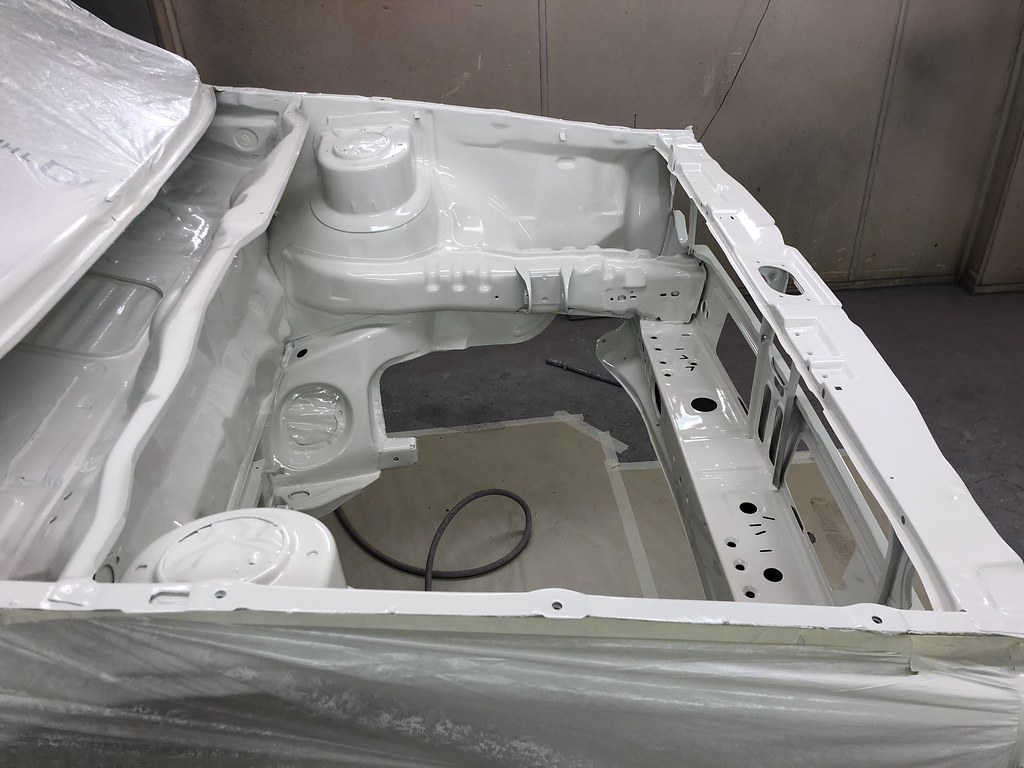
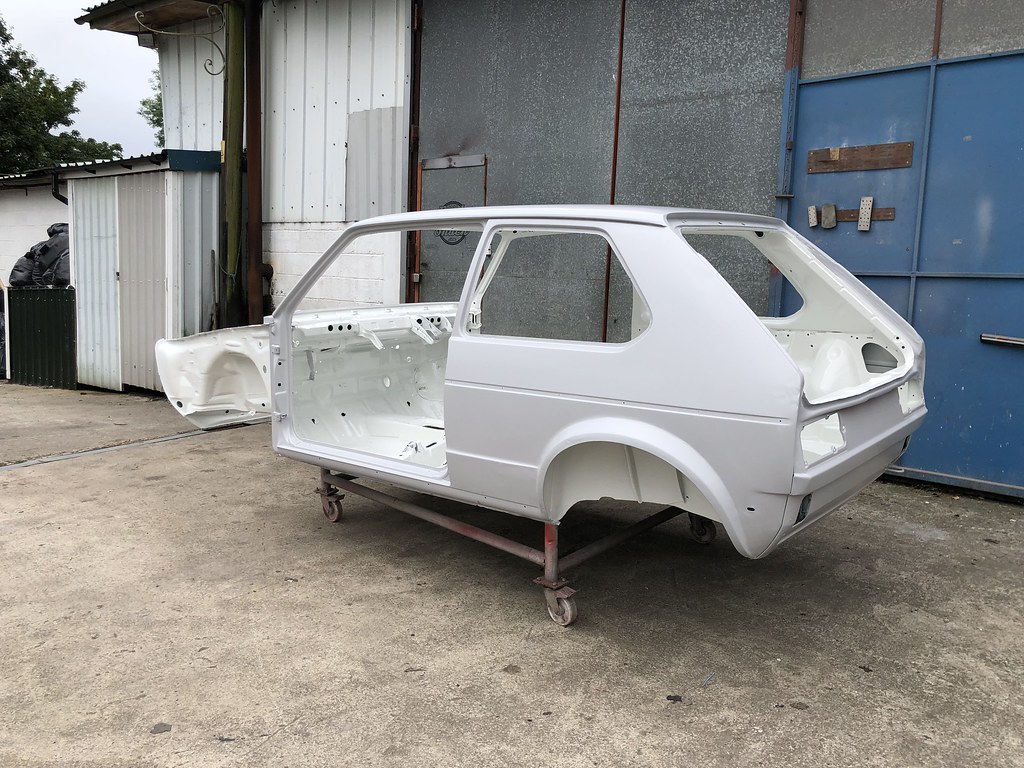
Body work -
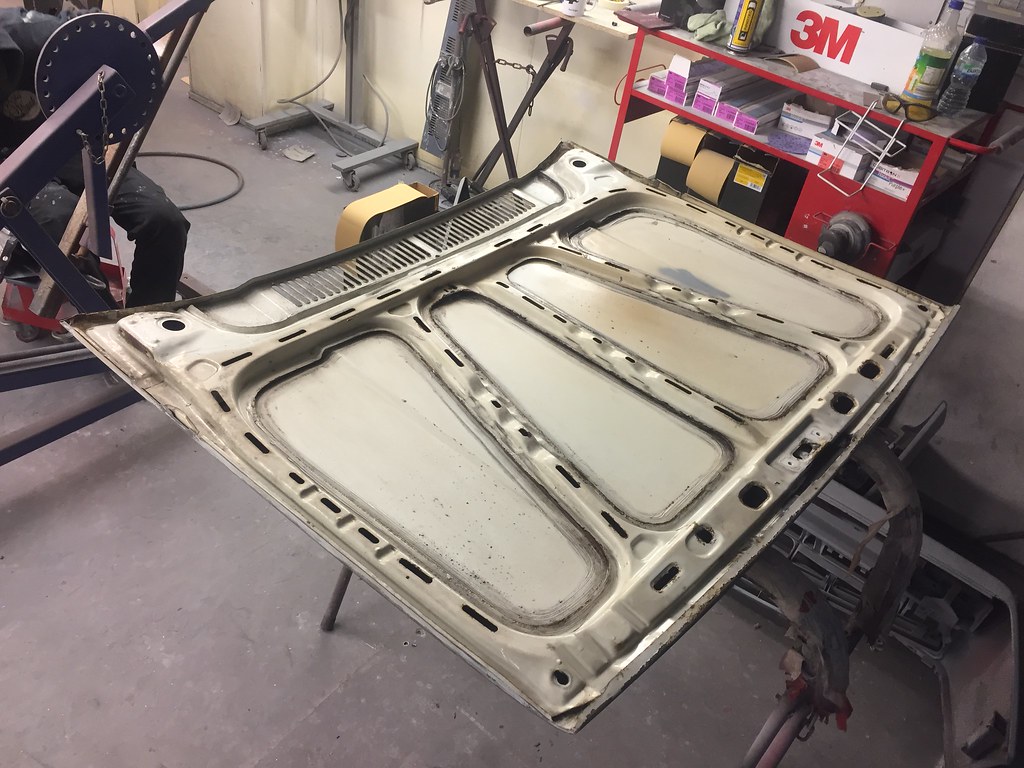
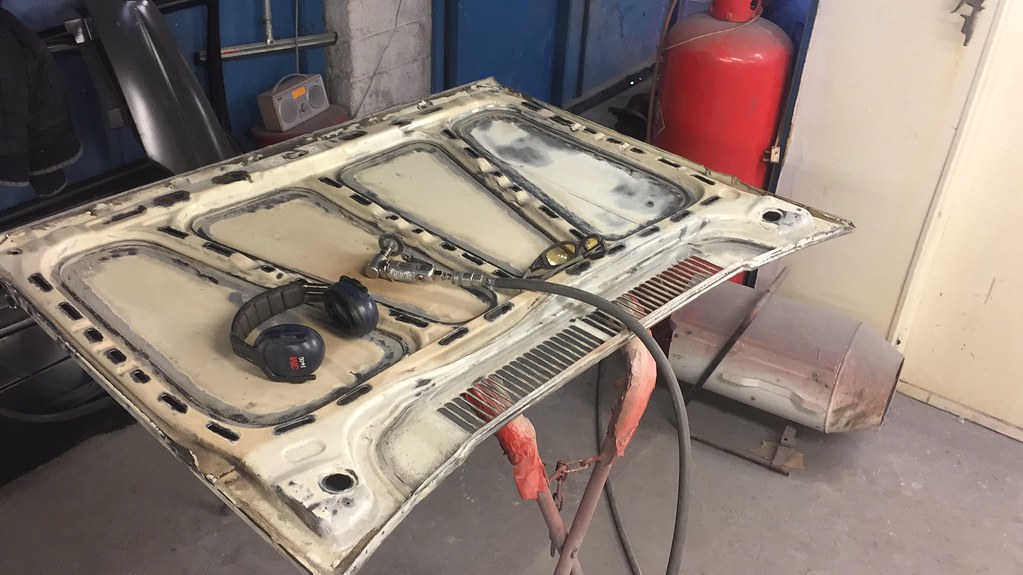
Thats all the panels de-rusted, eproxyed and ready for body working and paint
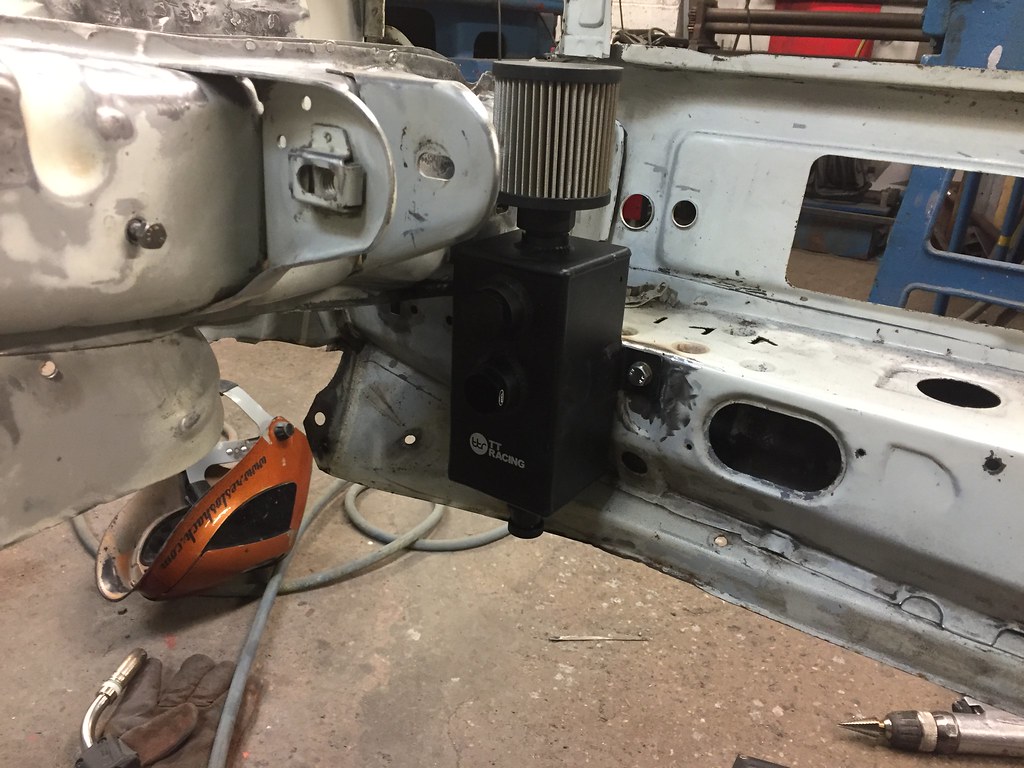
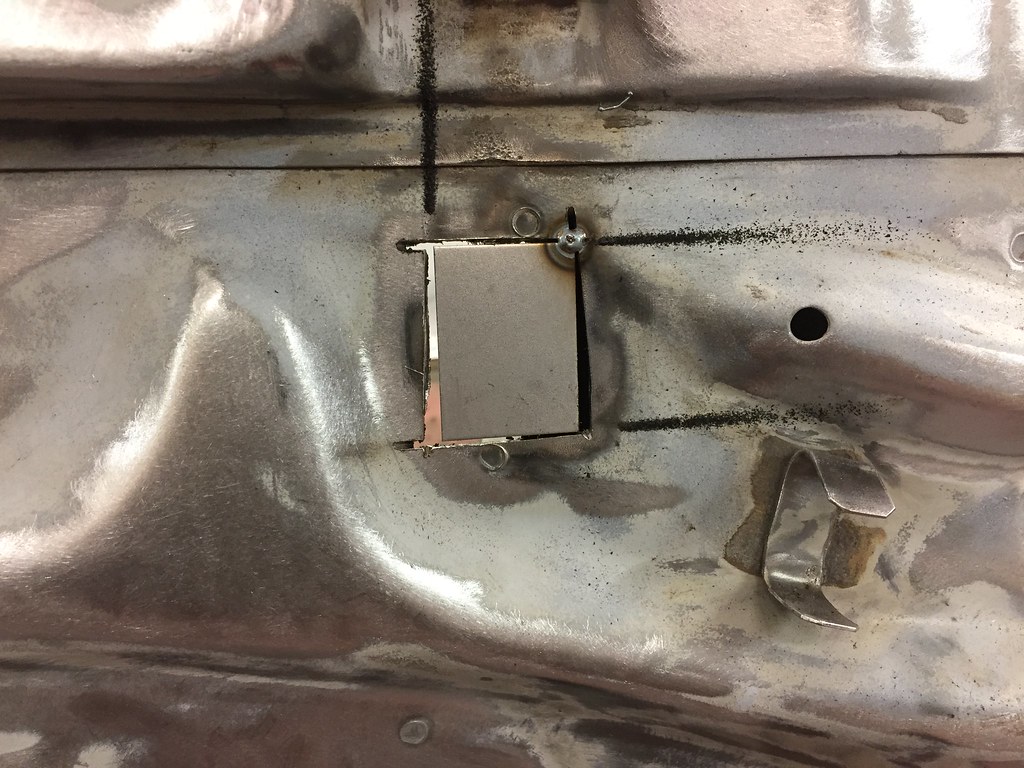
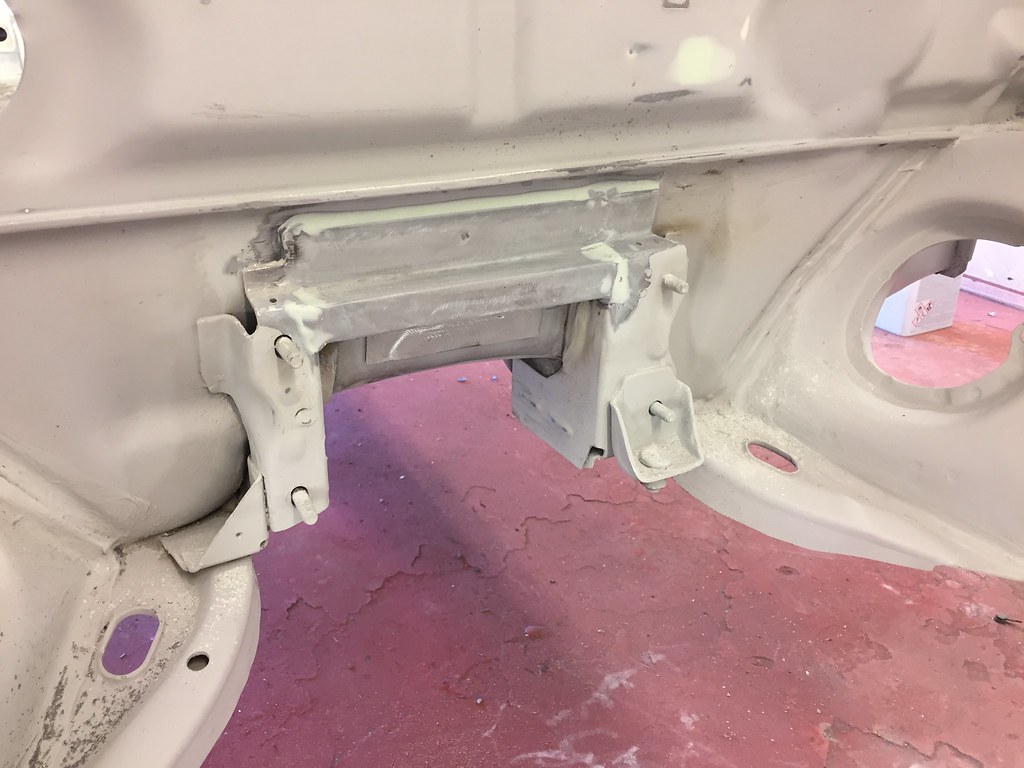
First job was to get my breather mounted.
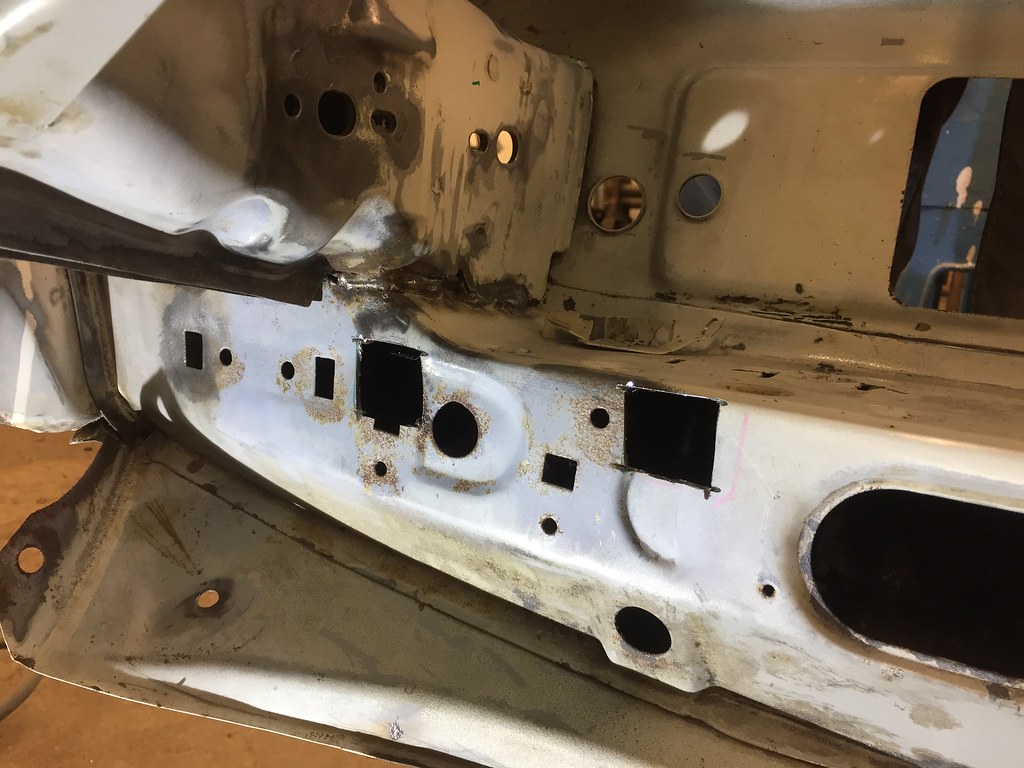
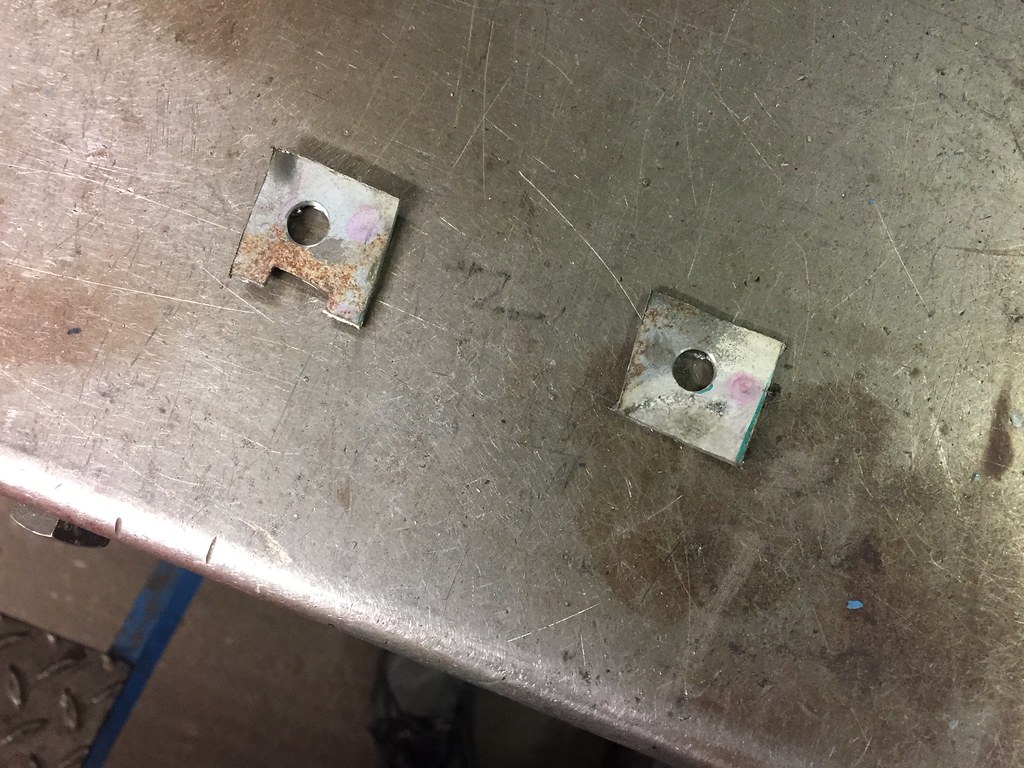
Forgot to take pictures, but I welded on nuts behind the square plates and then welded them back into the cross member.
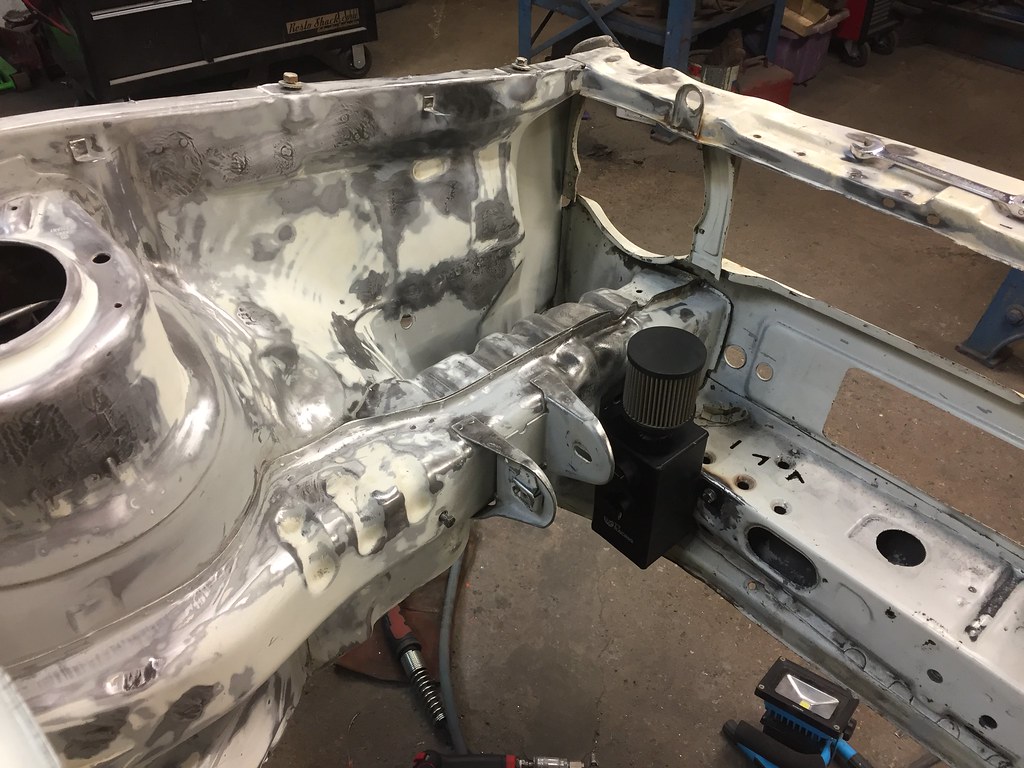
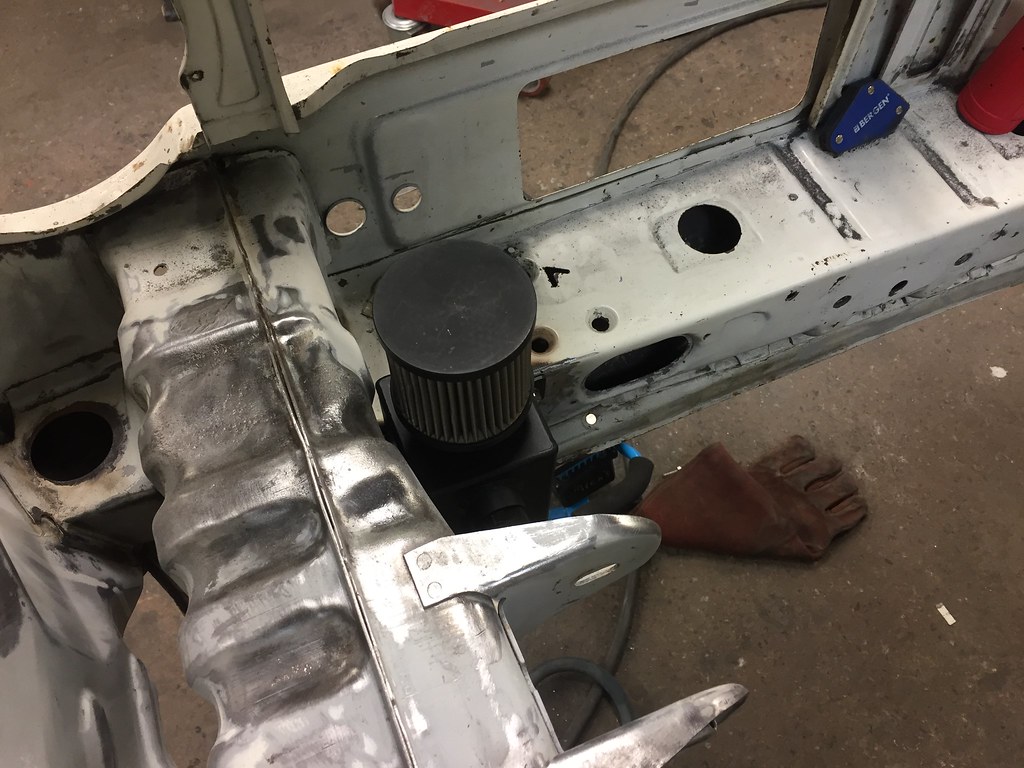
Rubbed down the whole front end ready for some eproxy primer.
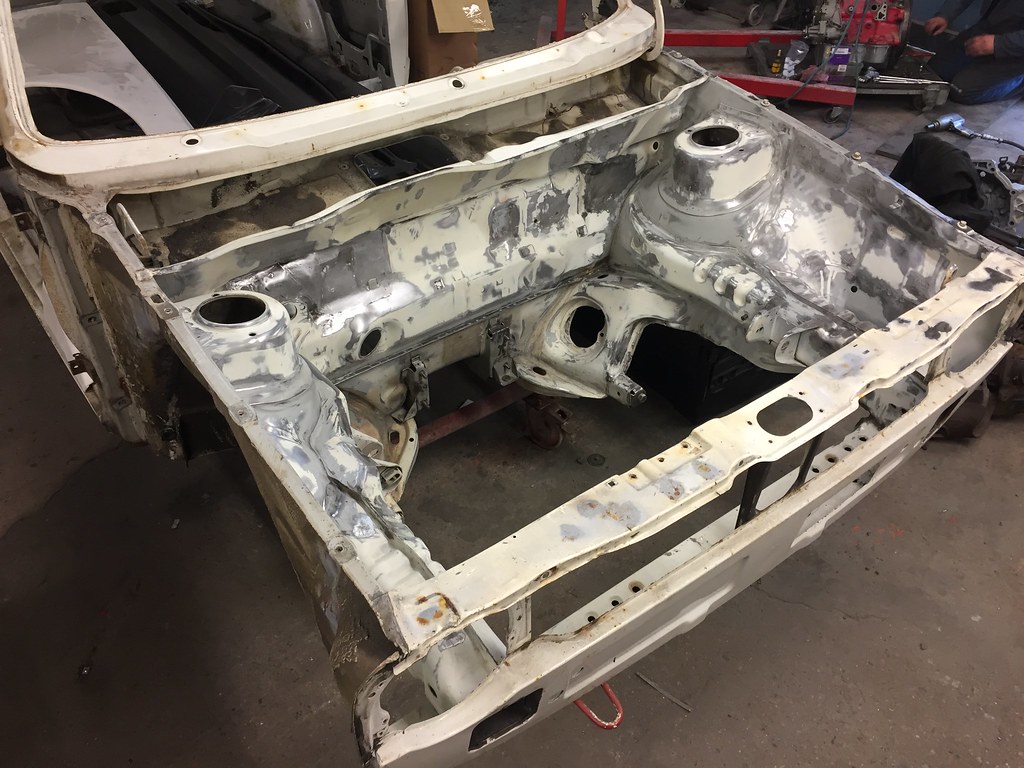
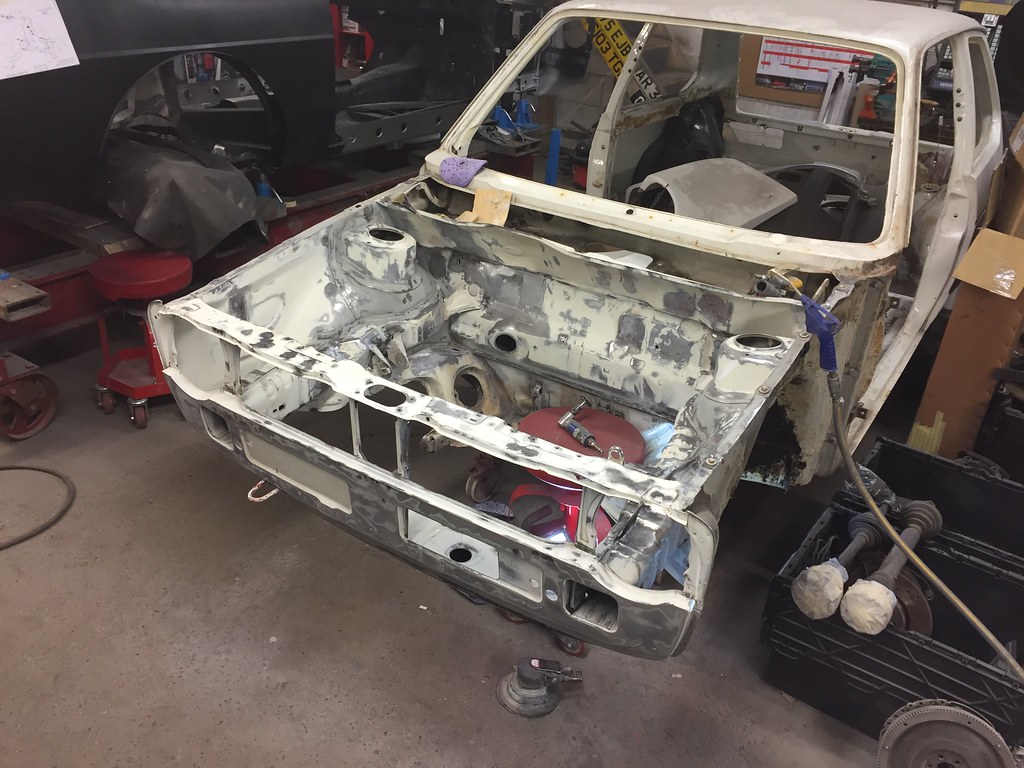
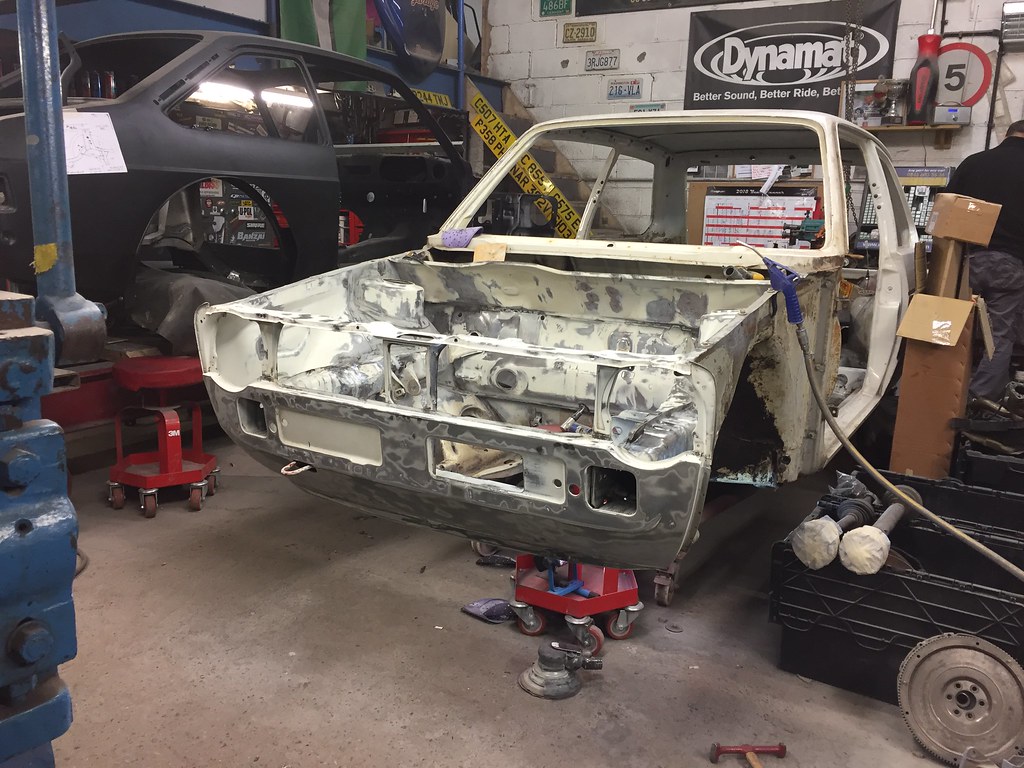
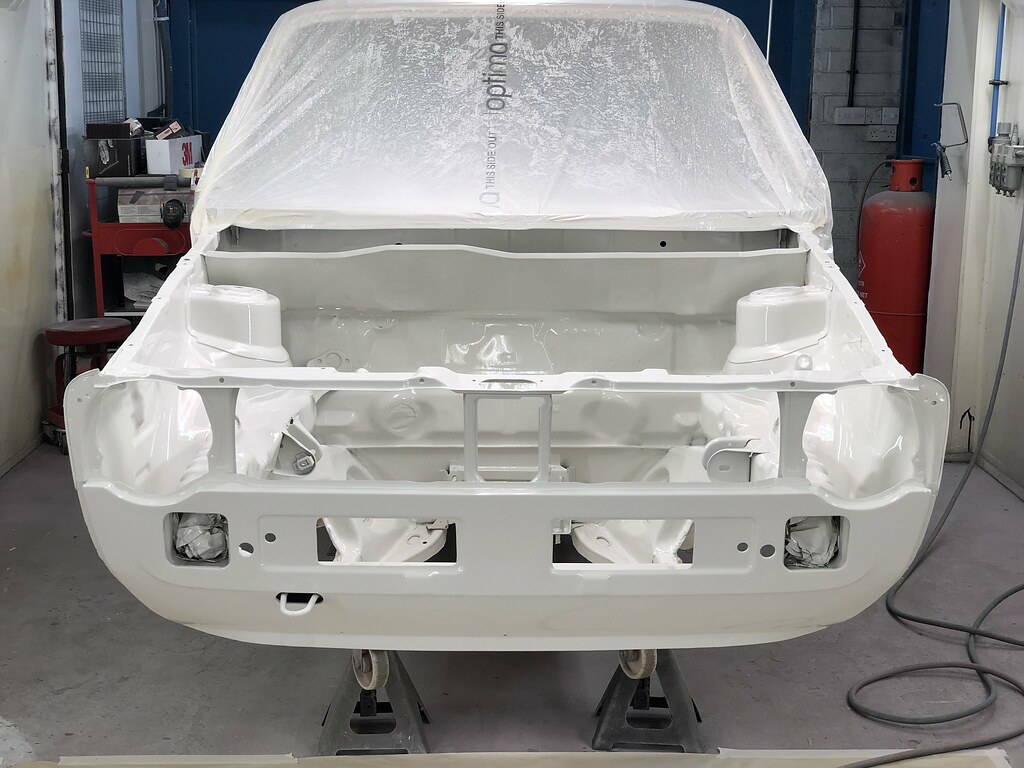
Then thought it was wise to cut out the extra hole in the front panel as I really don't want any issues with over heating.
Then in for Eproxy -


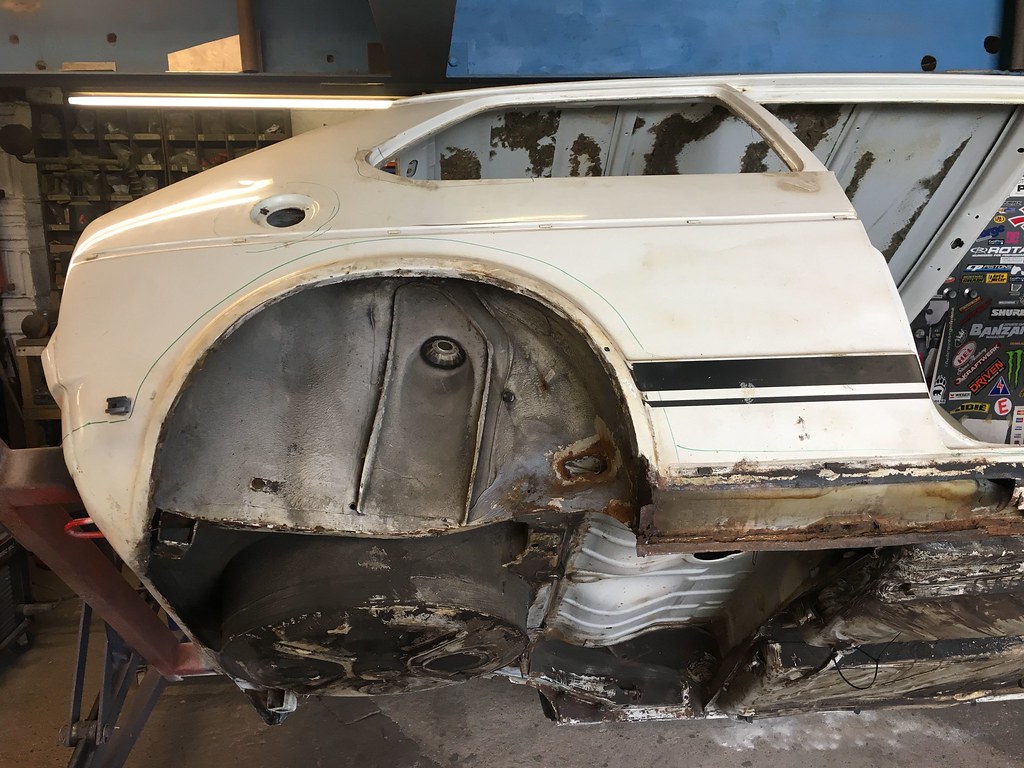
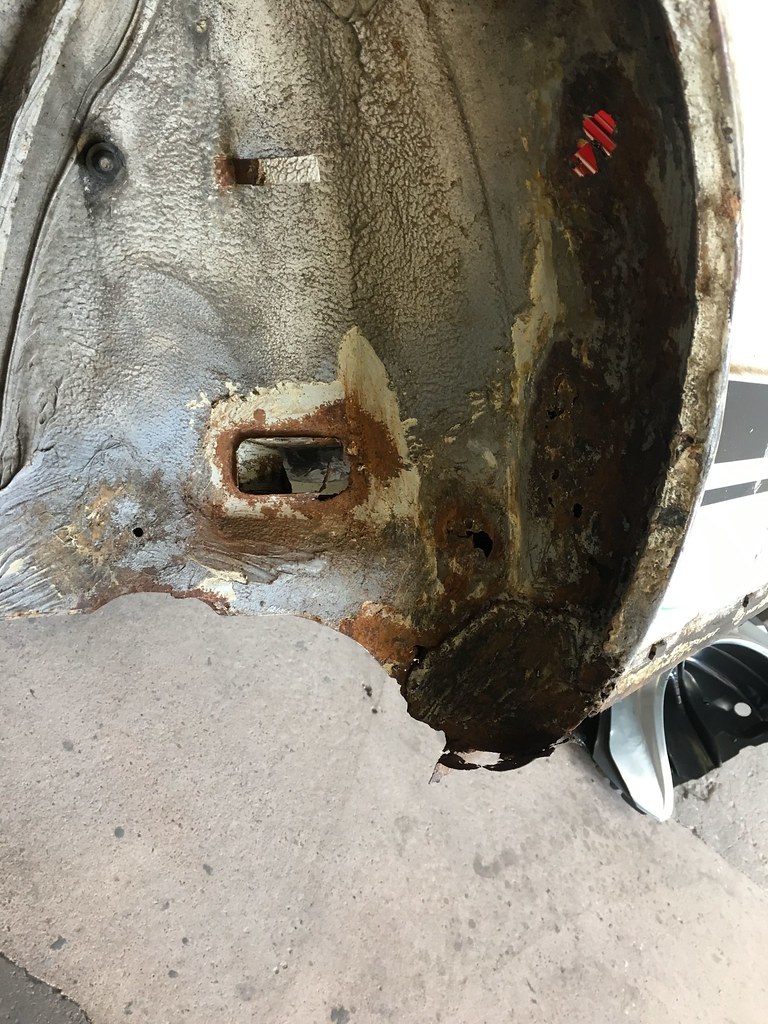
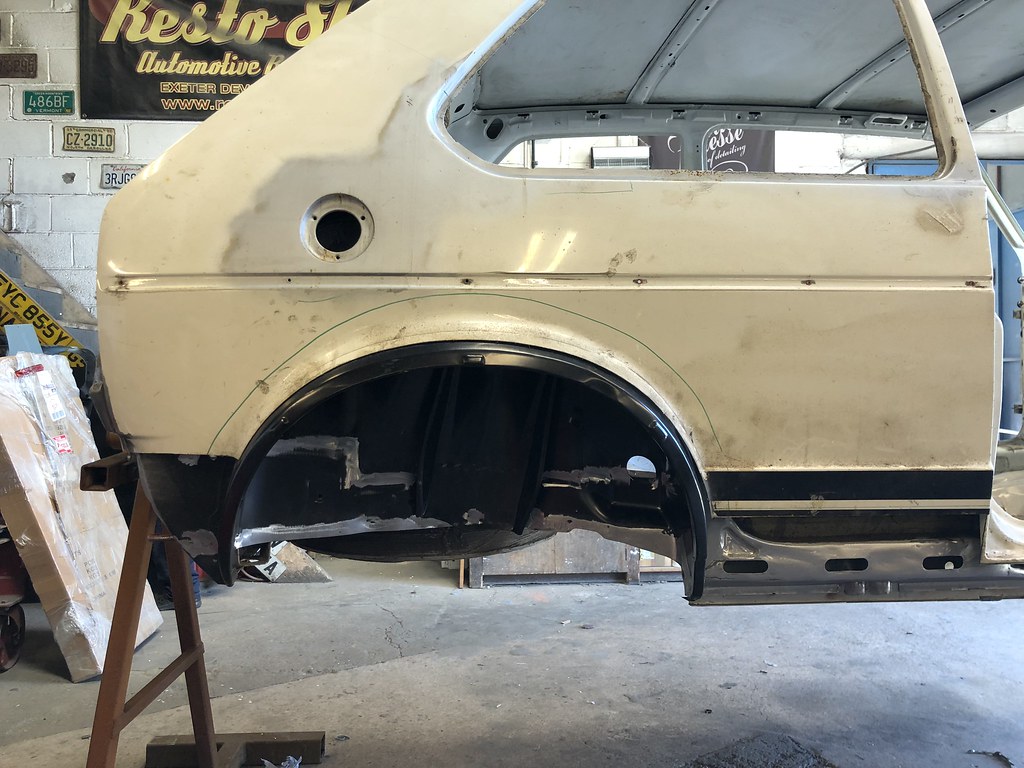
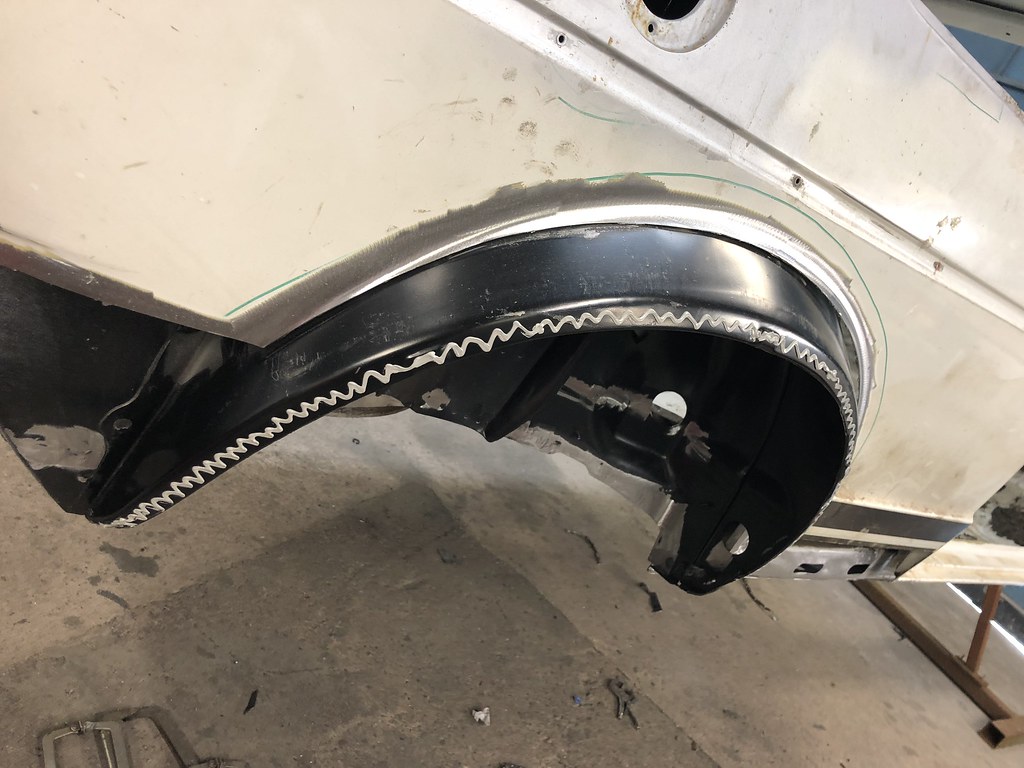
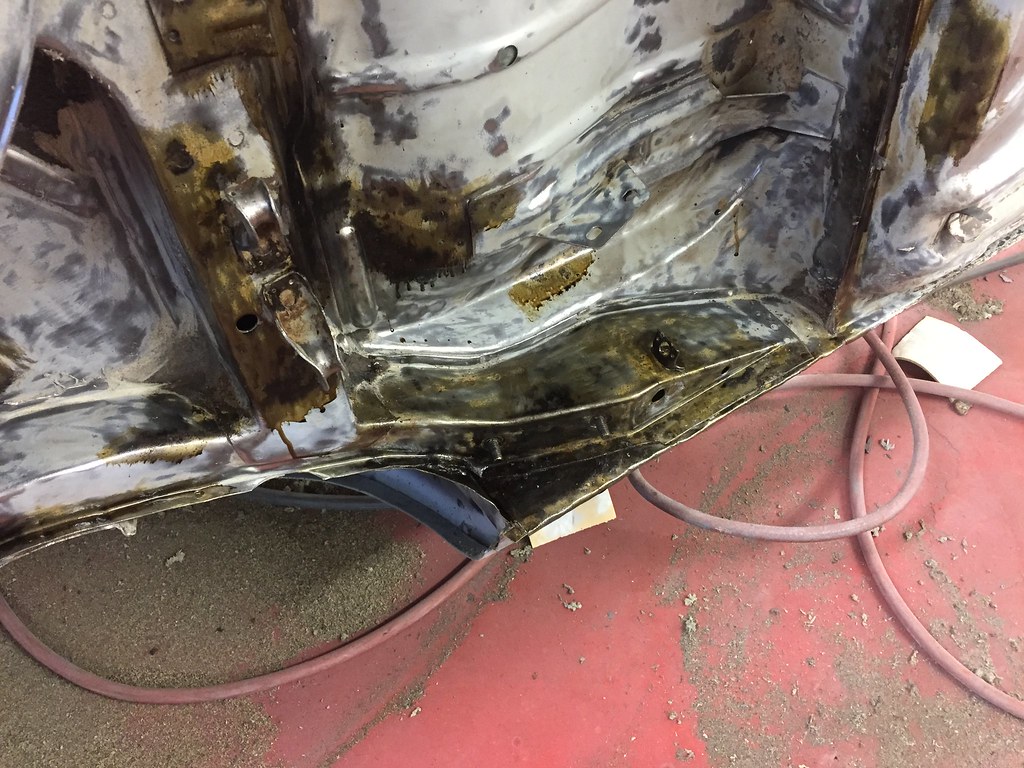
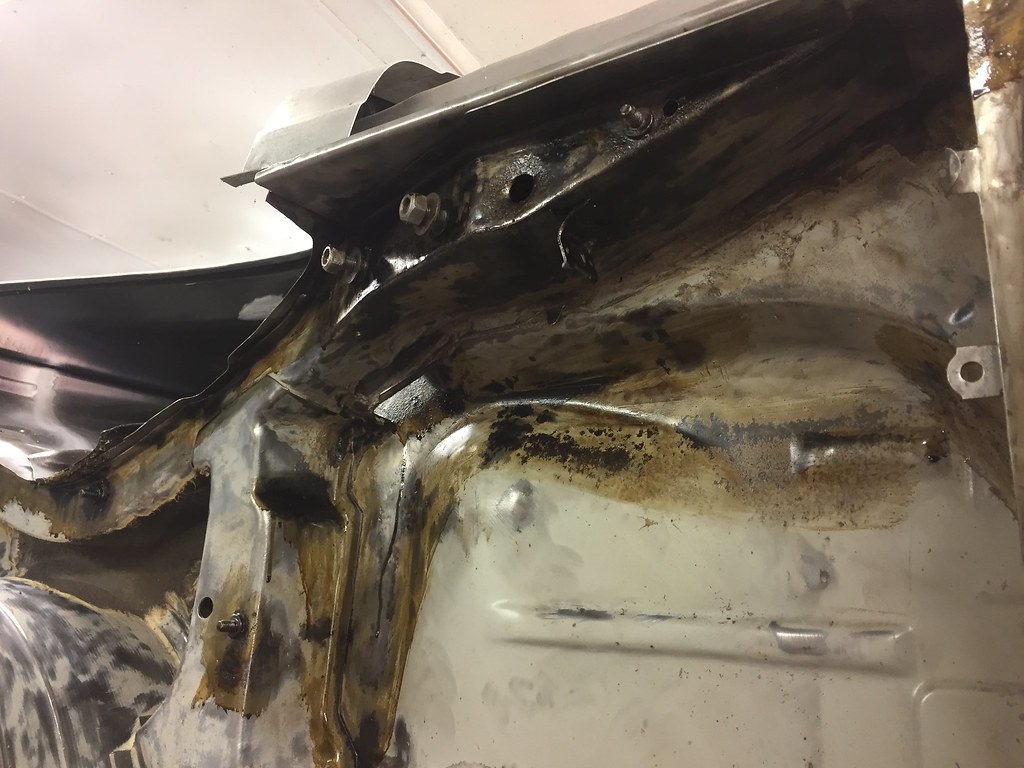
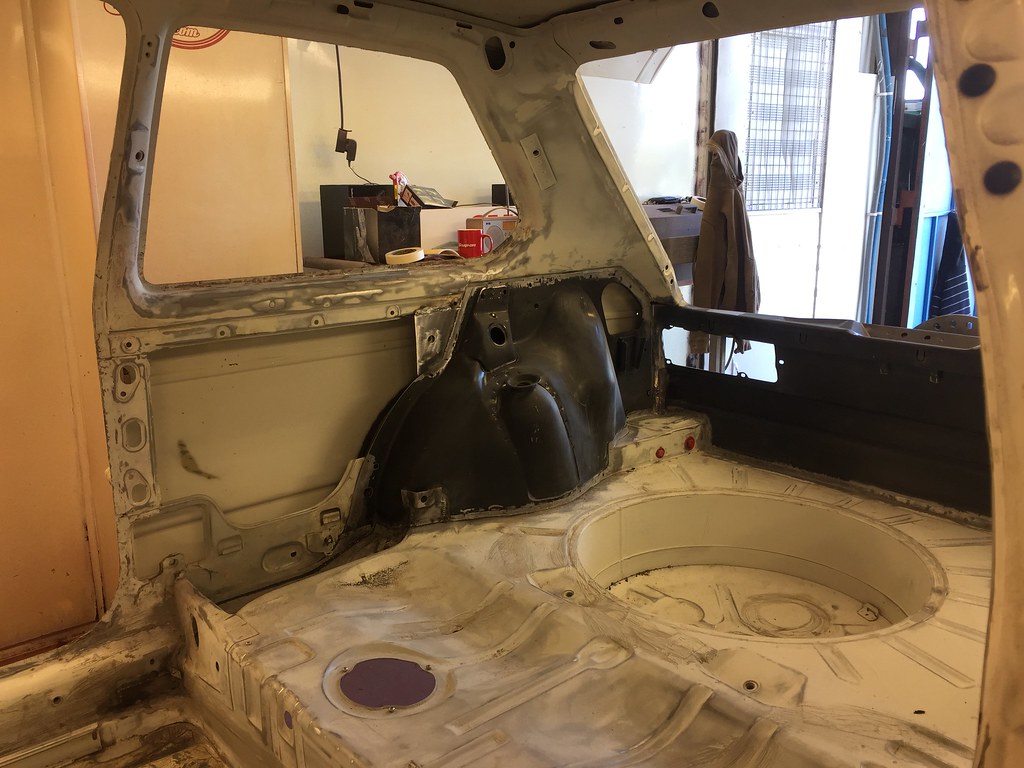
Then time for the other rear arch/tube/sill -
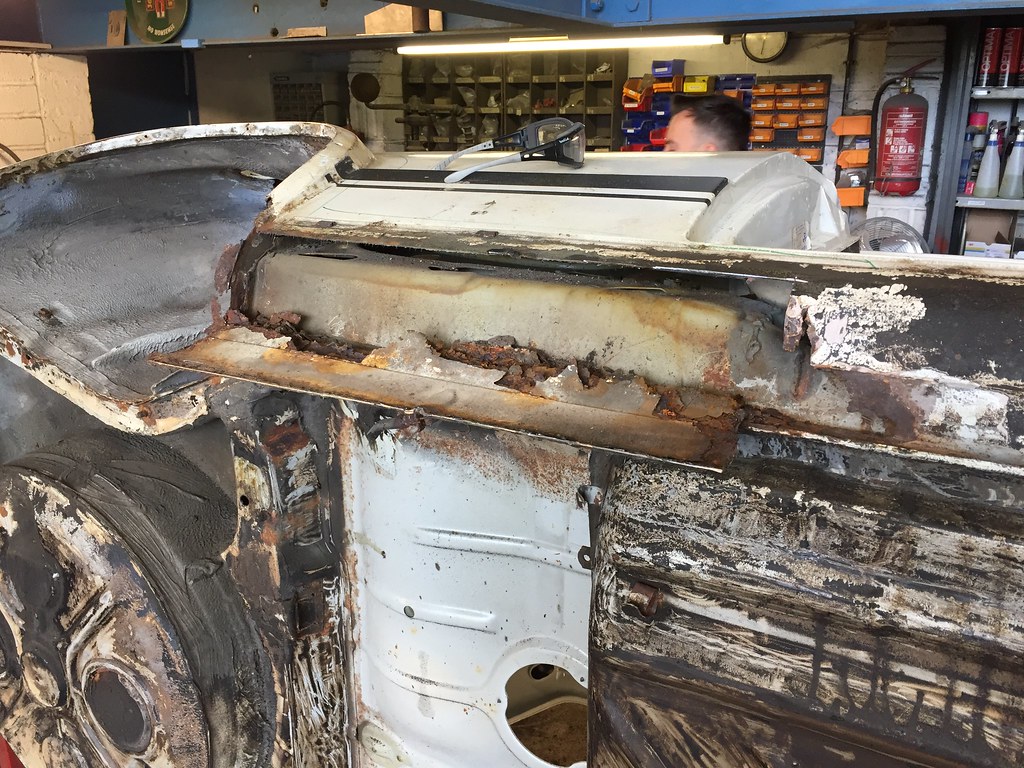

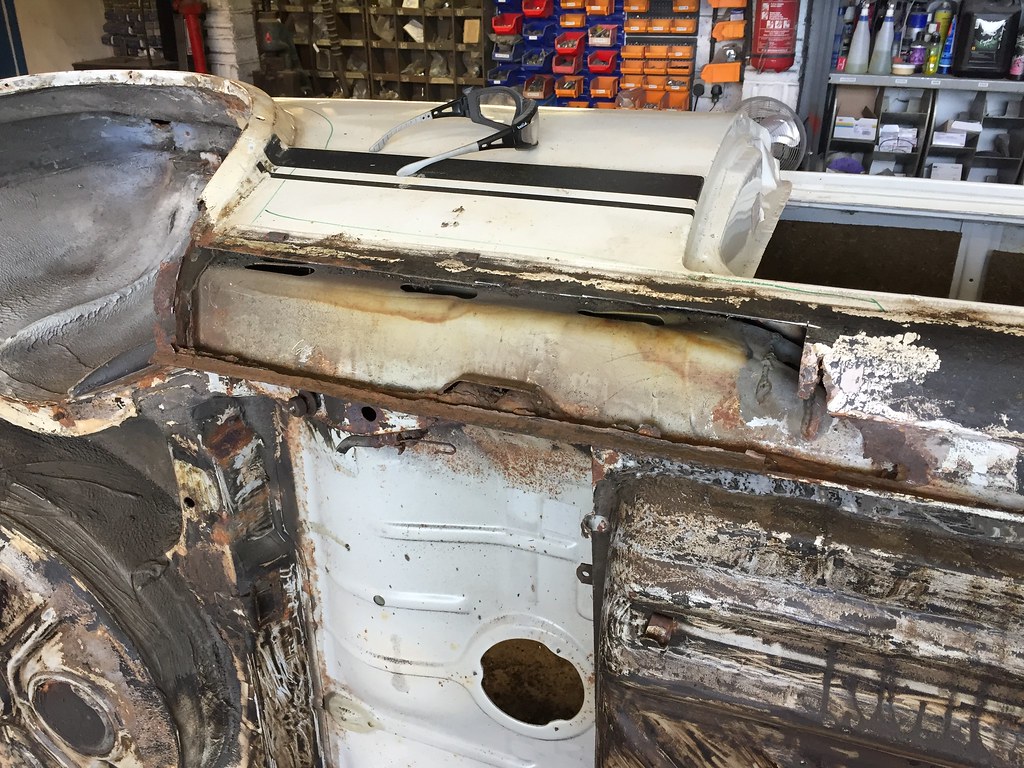

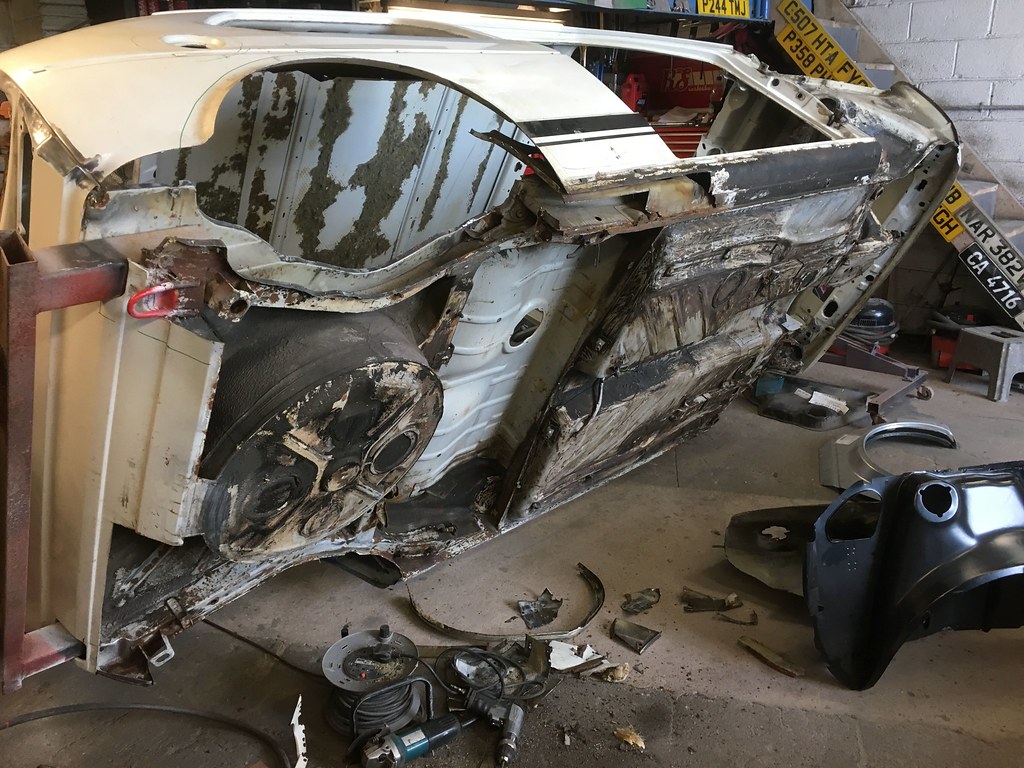
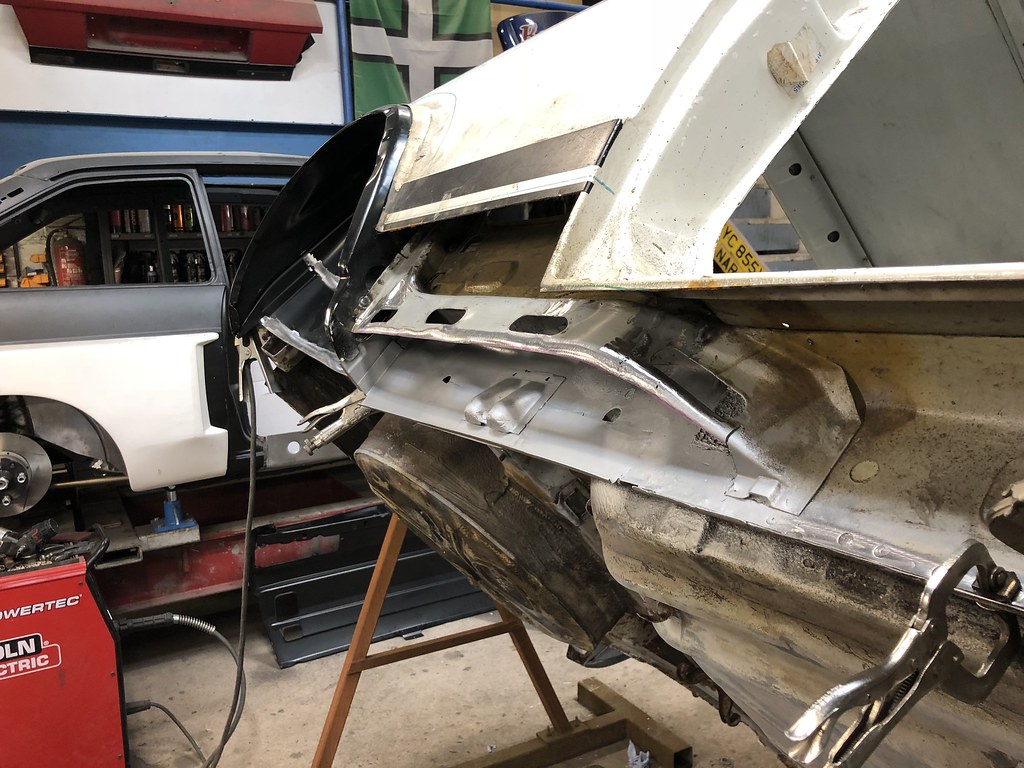
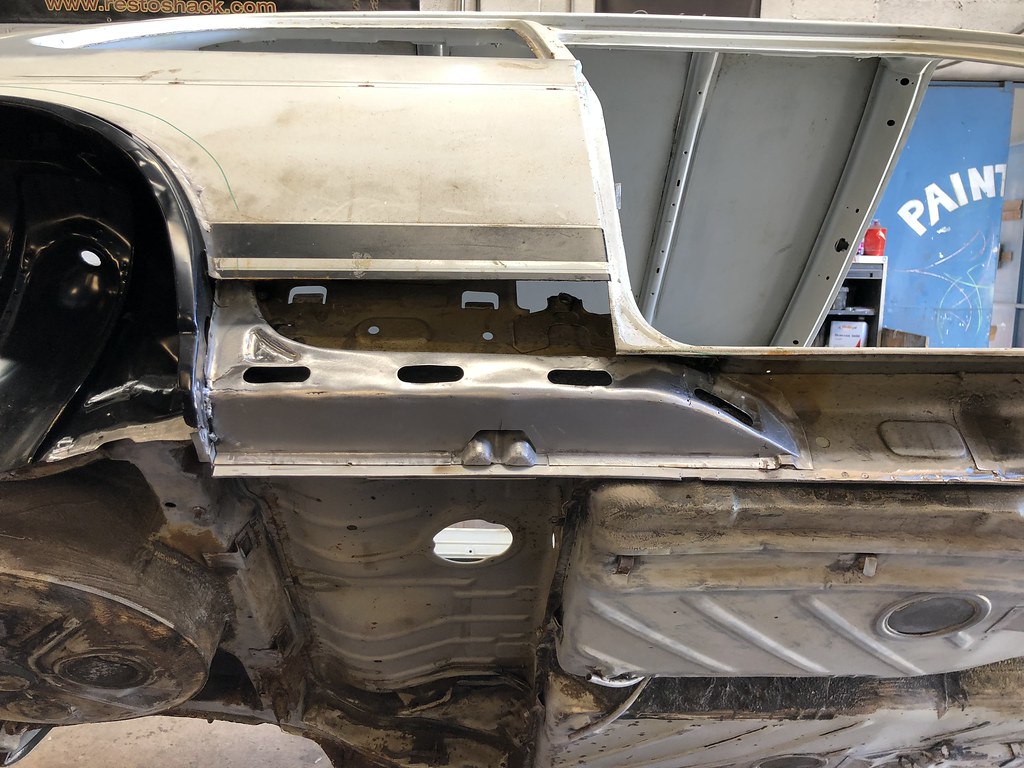

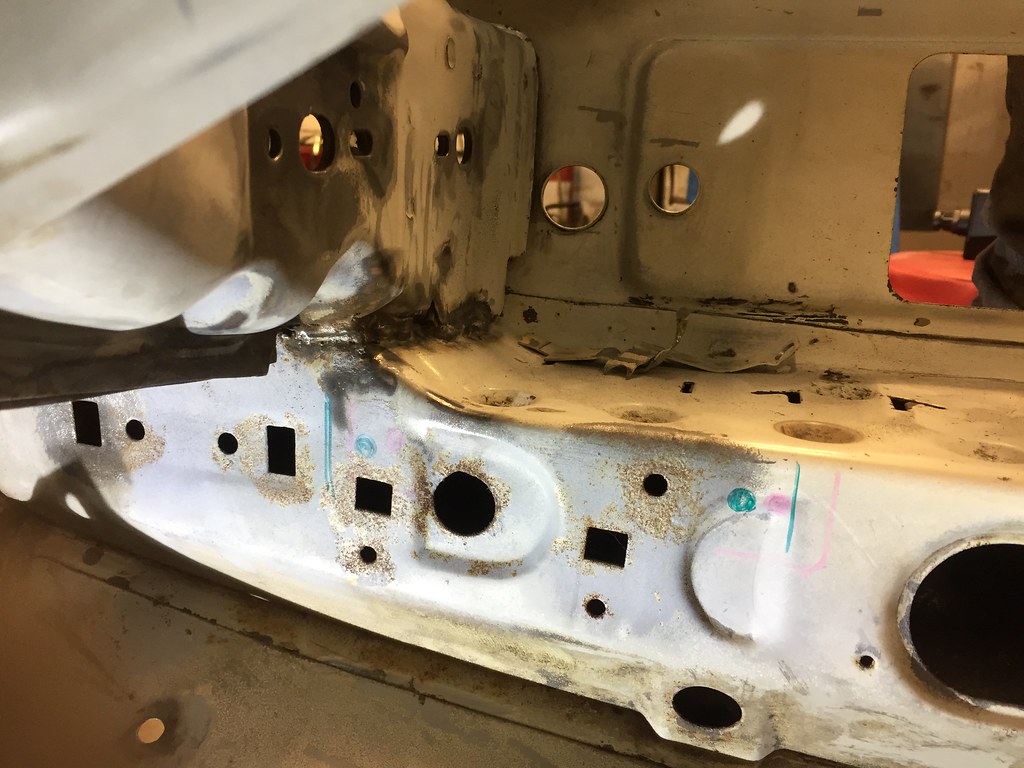
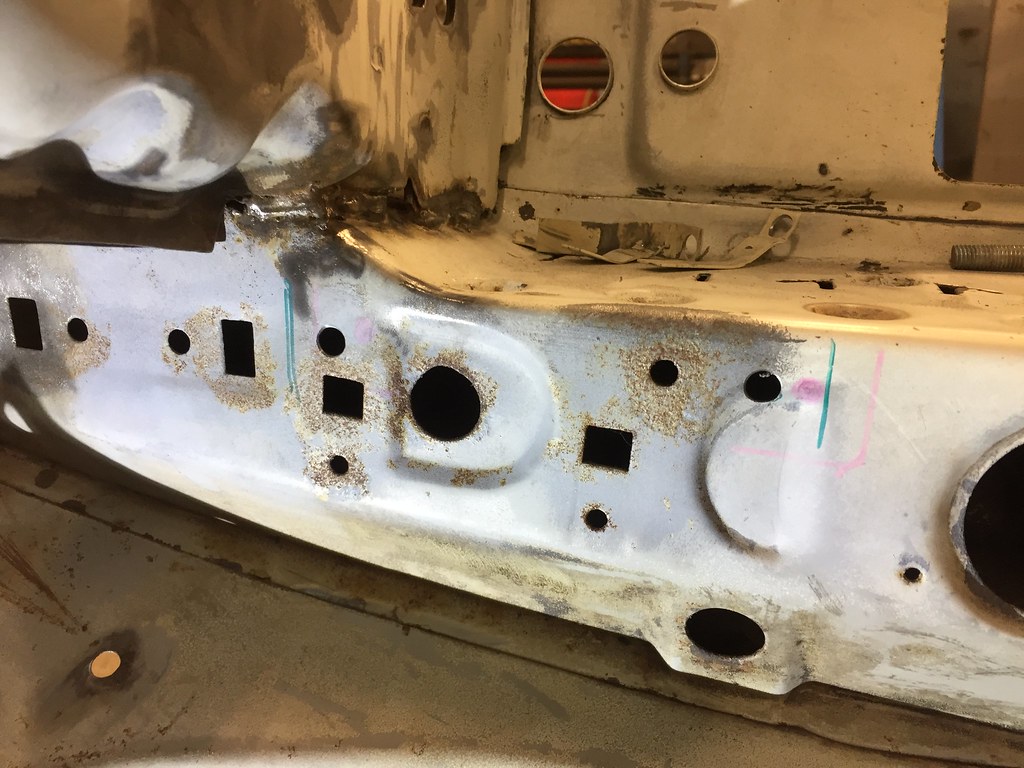
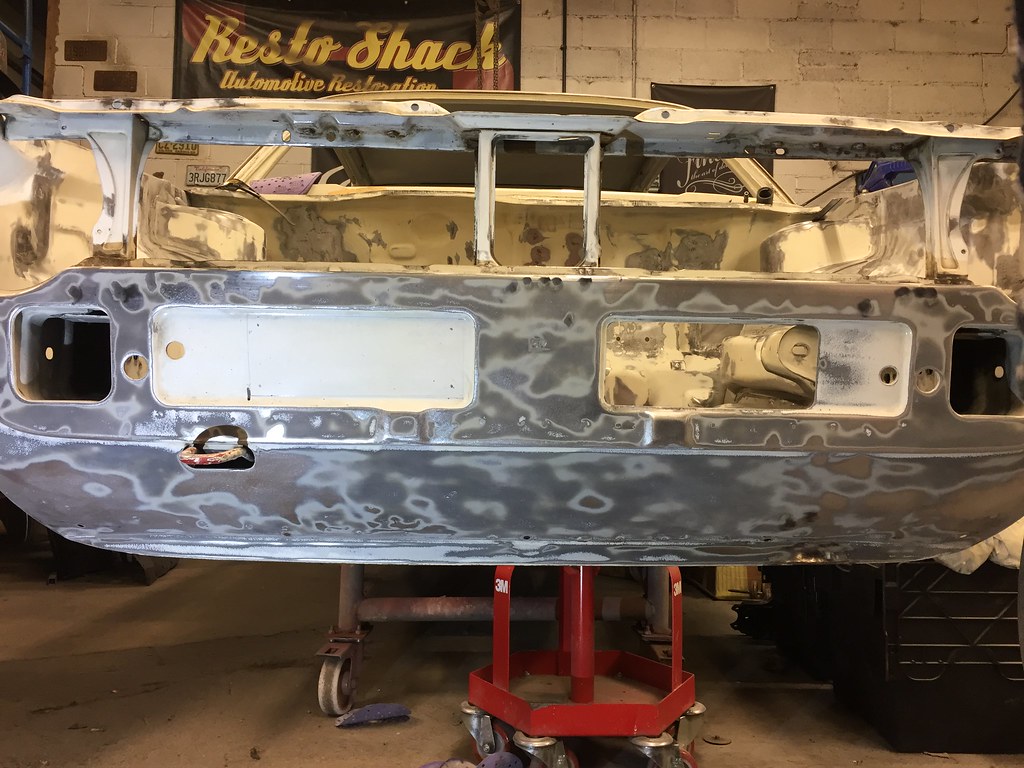
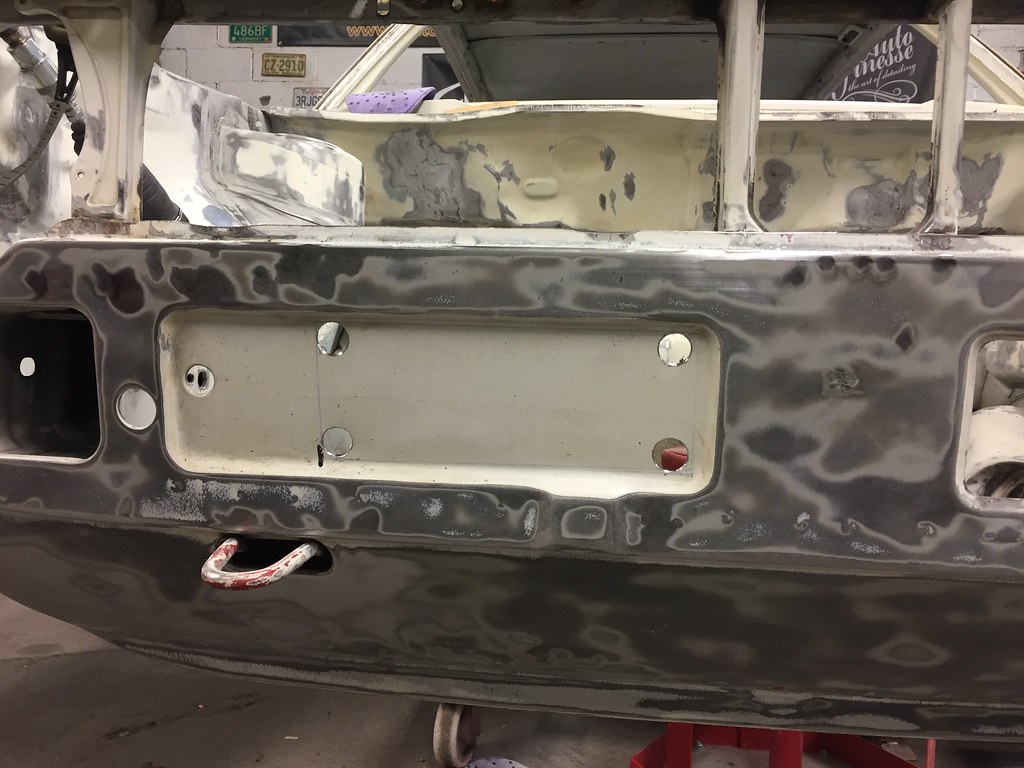
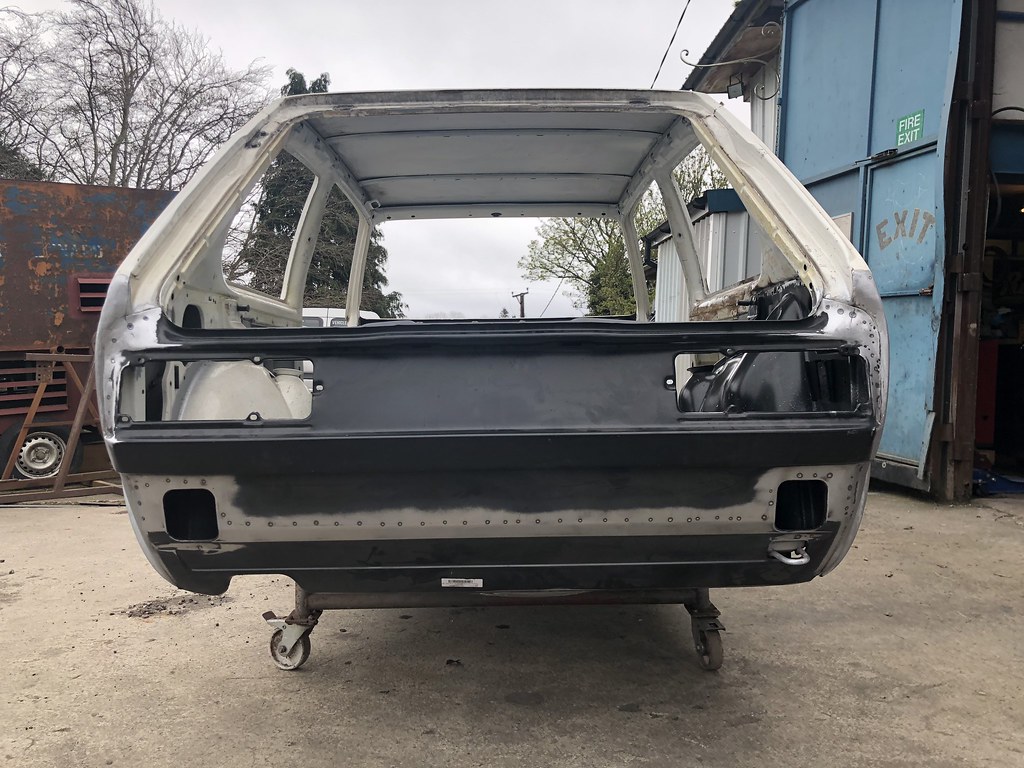
Then on to the rear panel -
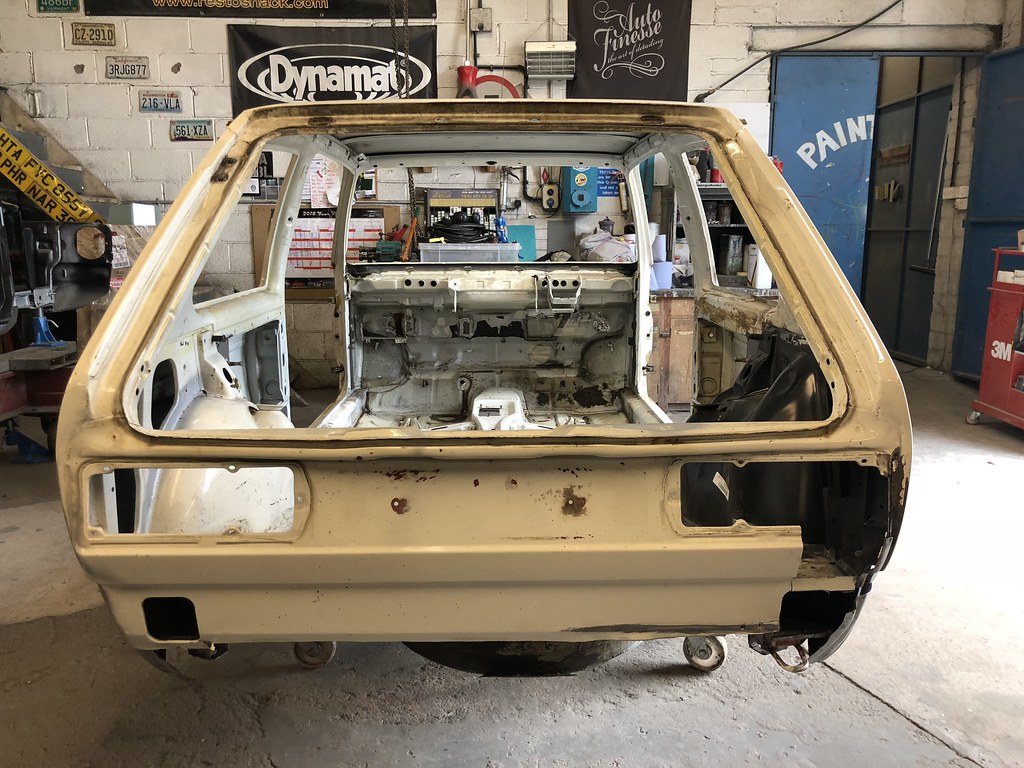
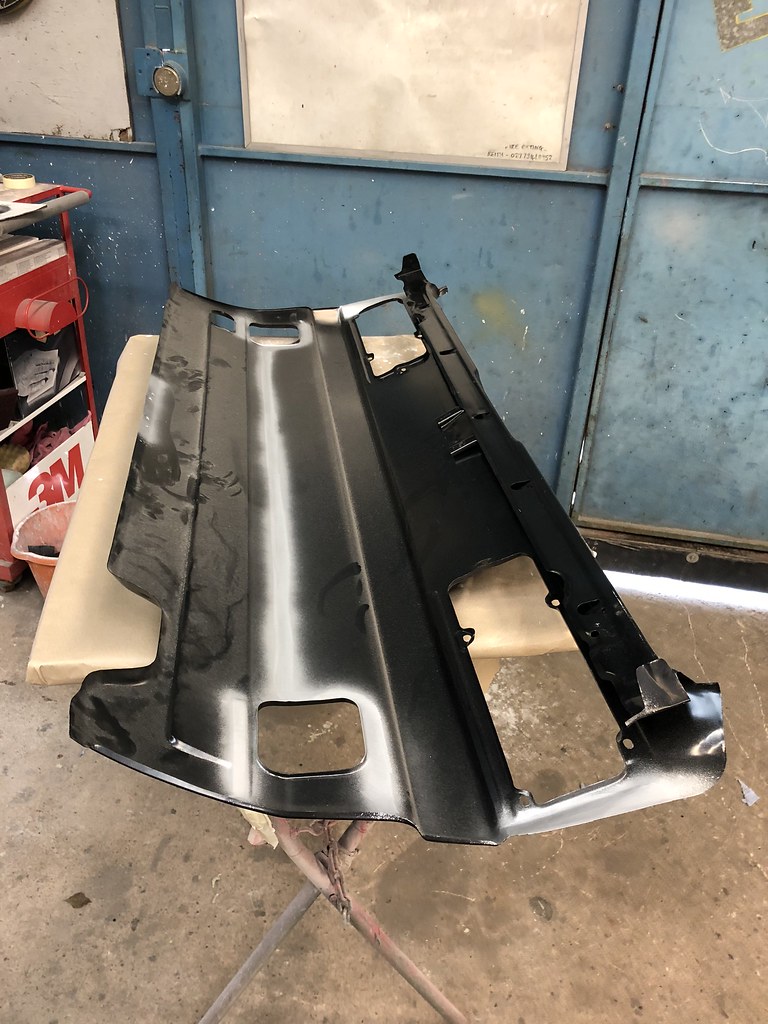
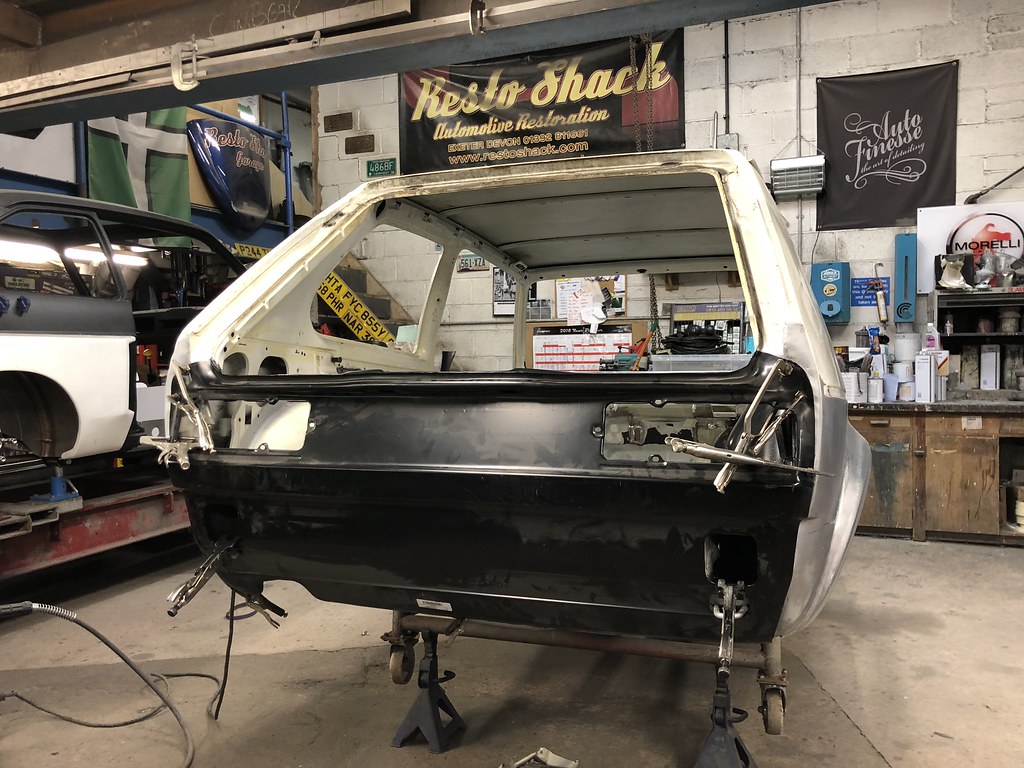
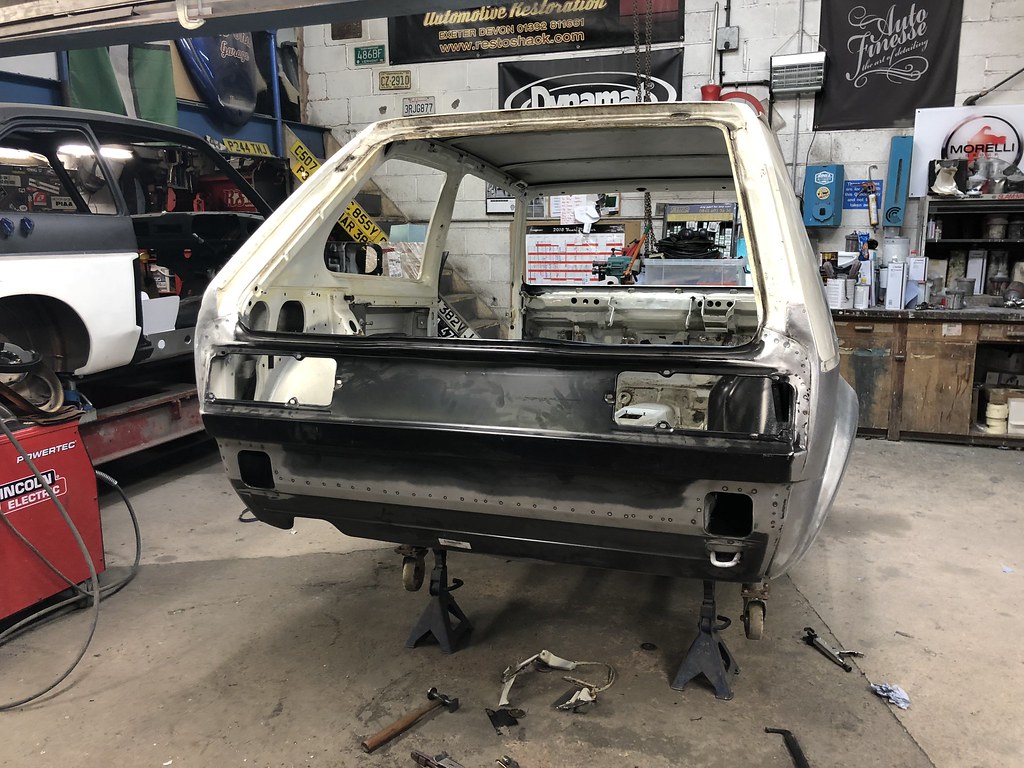
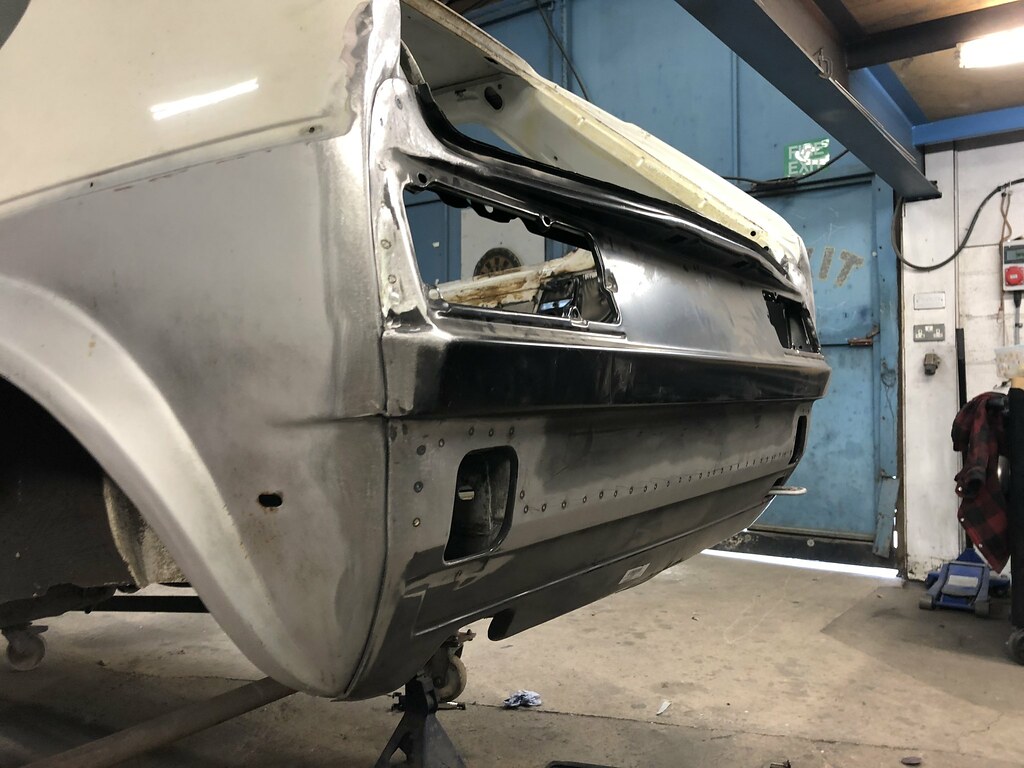
Take note, original spot welding and panel lines� :clap:
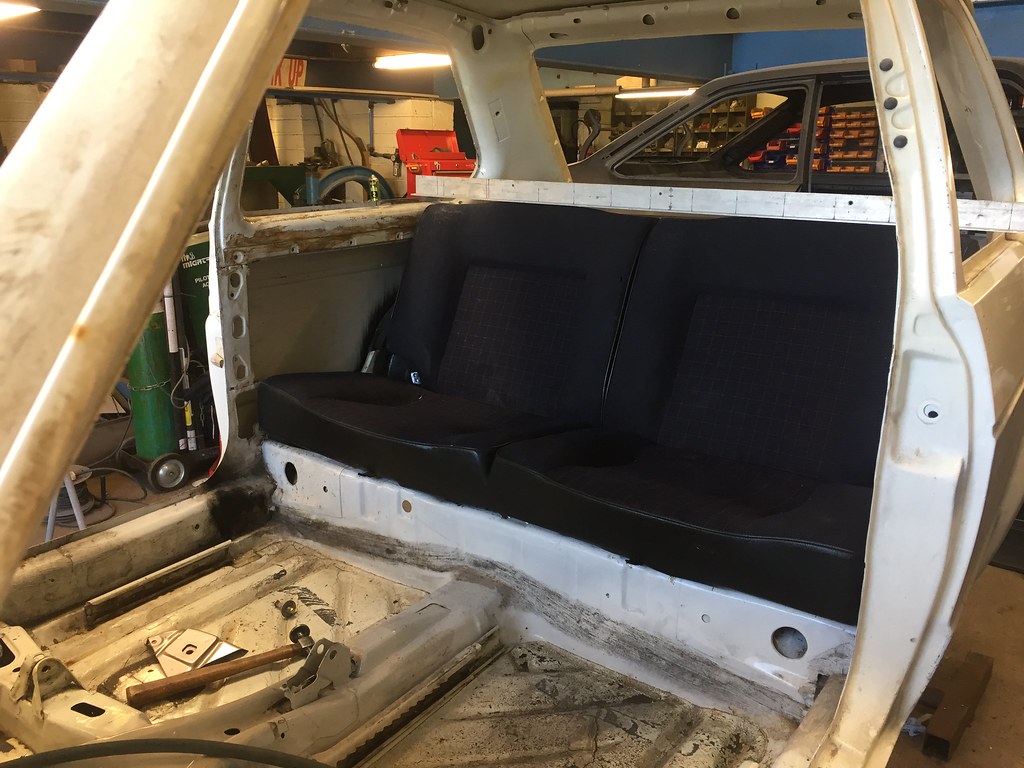
Now to instal the Scirocco rear bench -


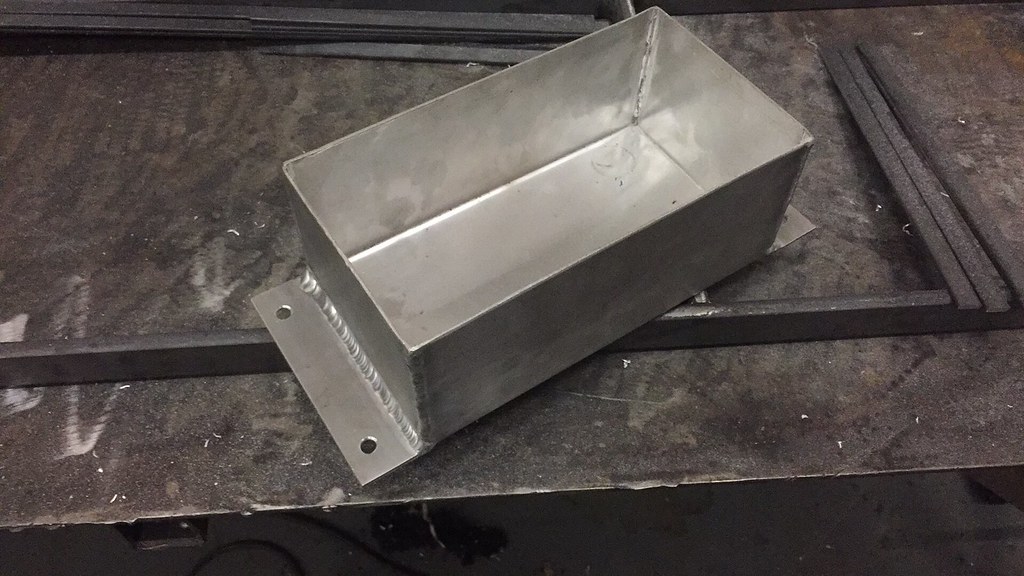
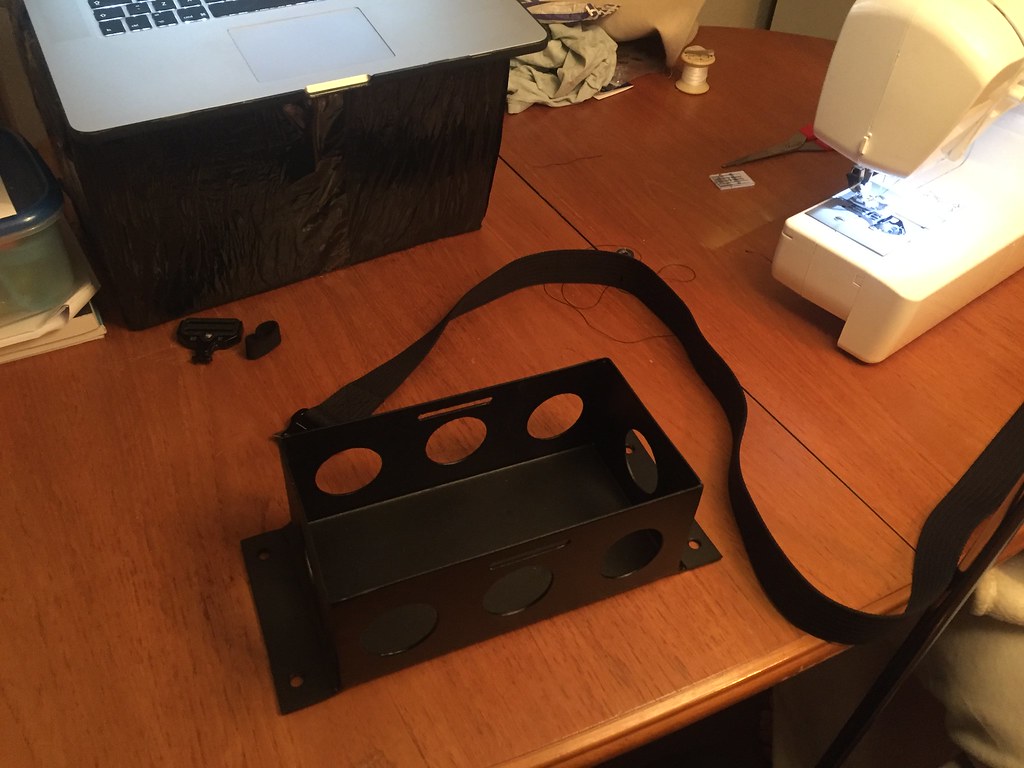
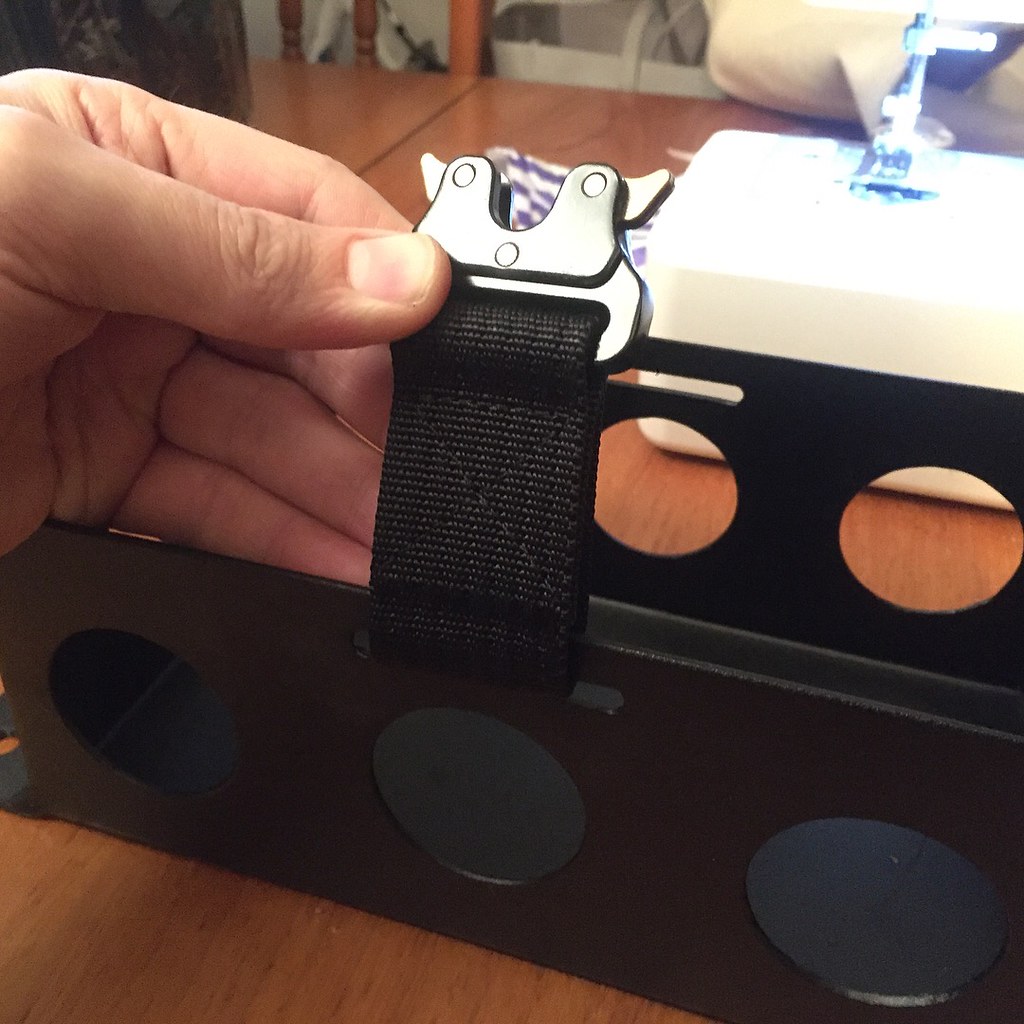
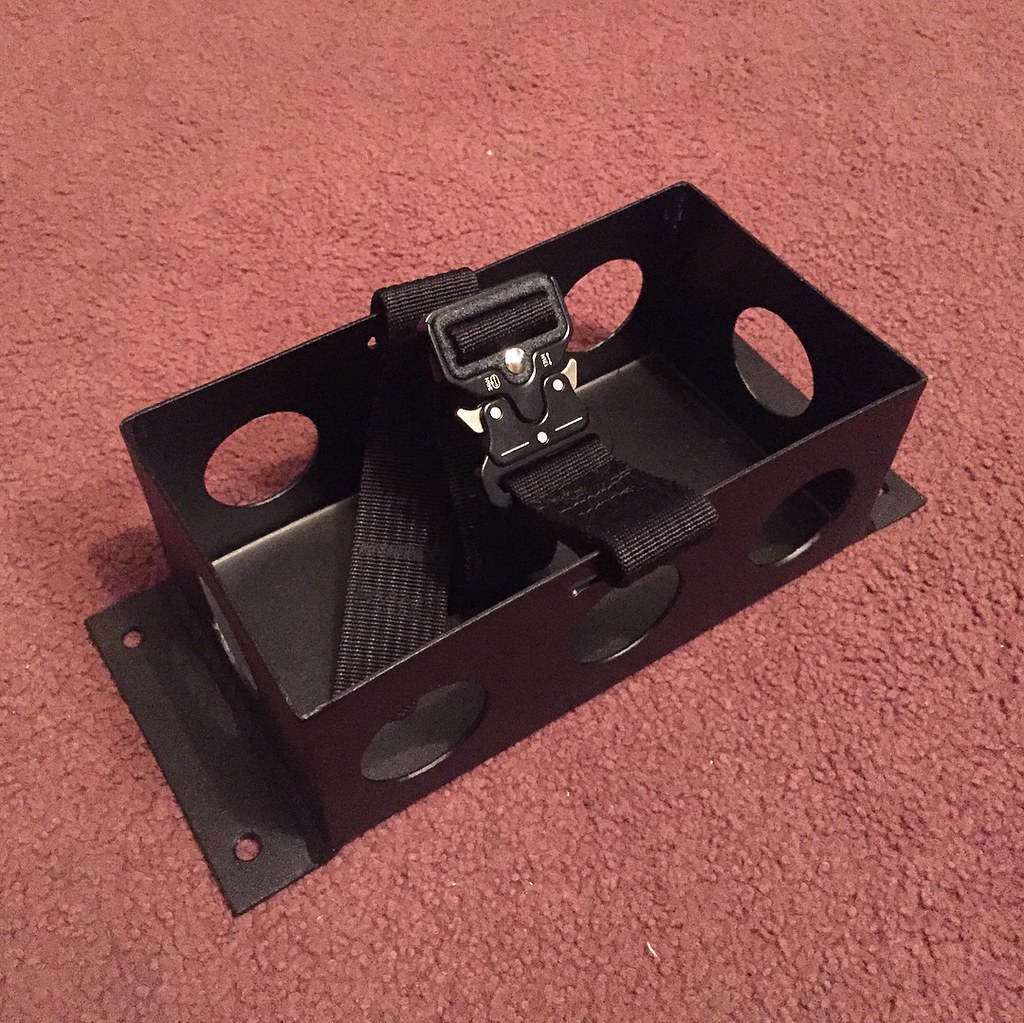
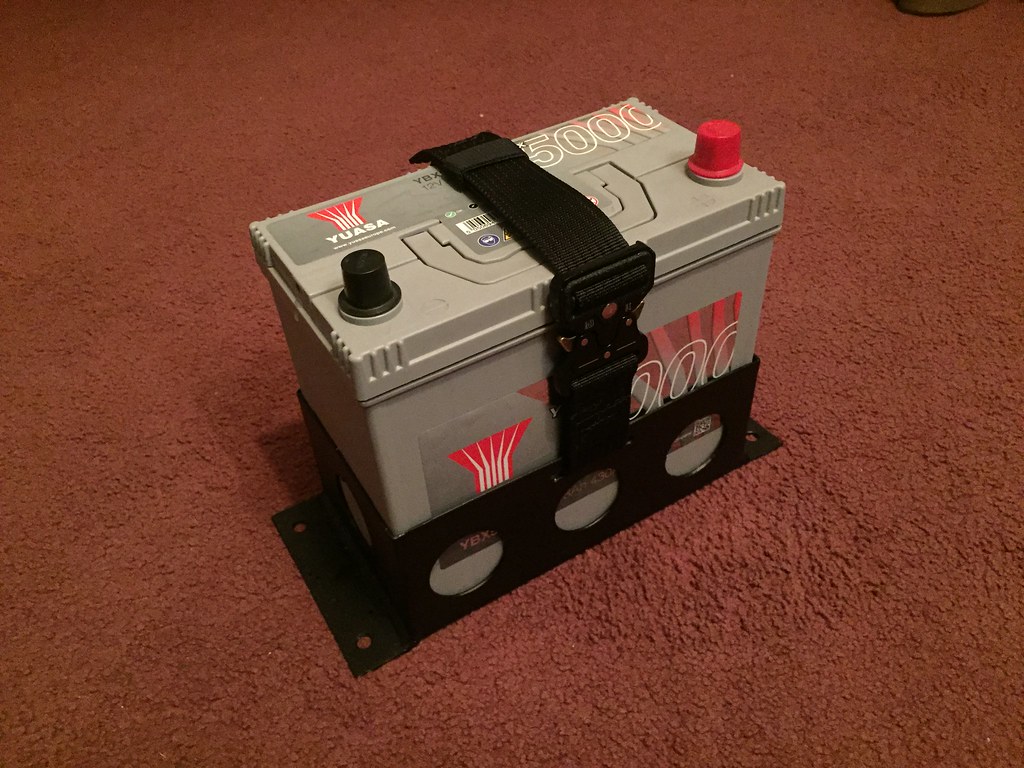
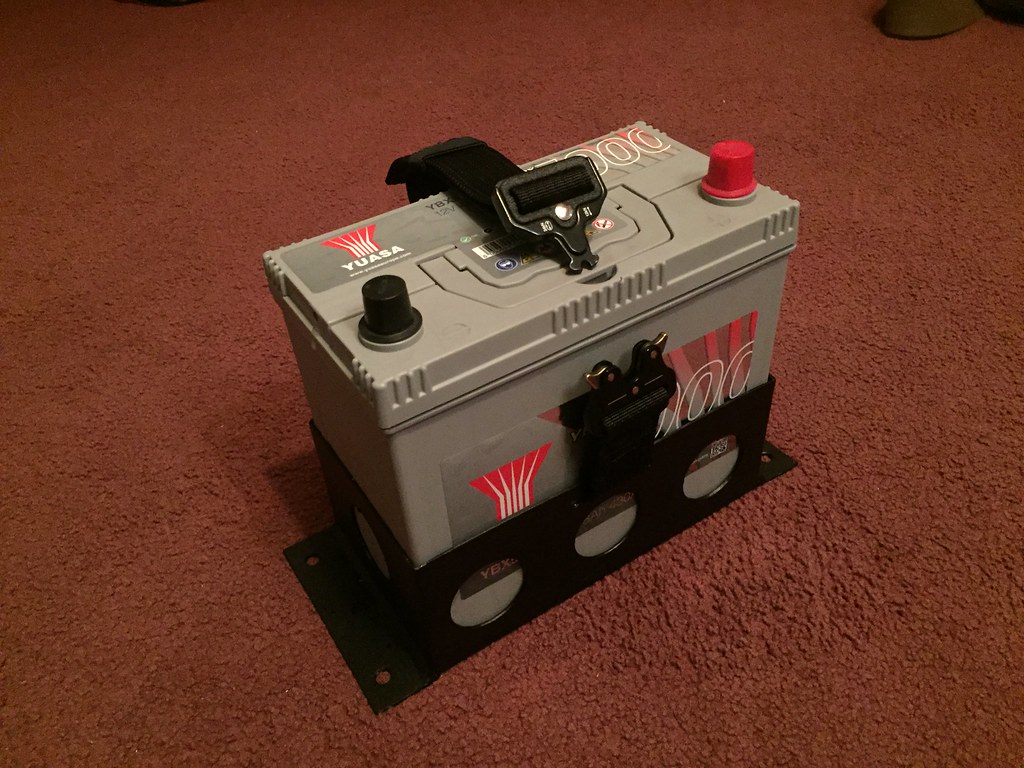
Dave then got some lovely bloke to weld us both up a battery box -
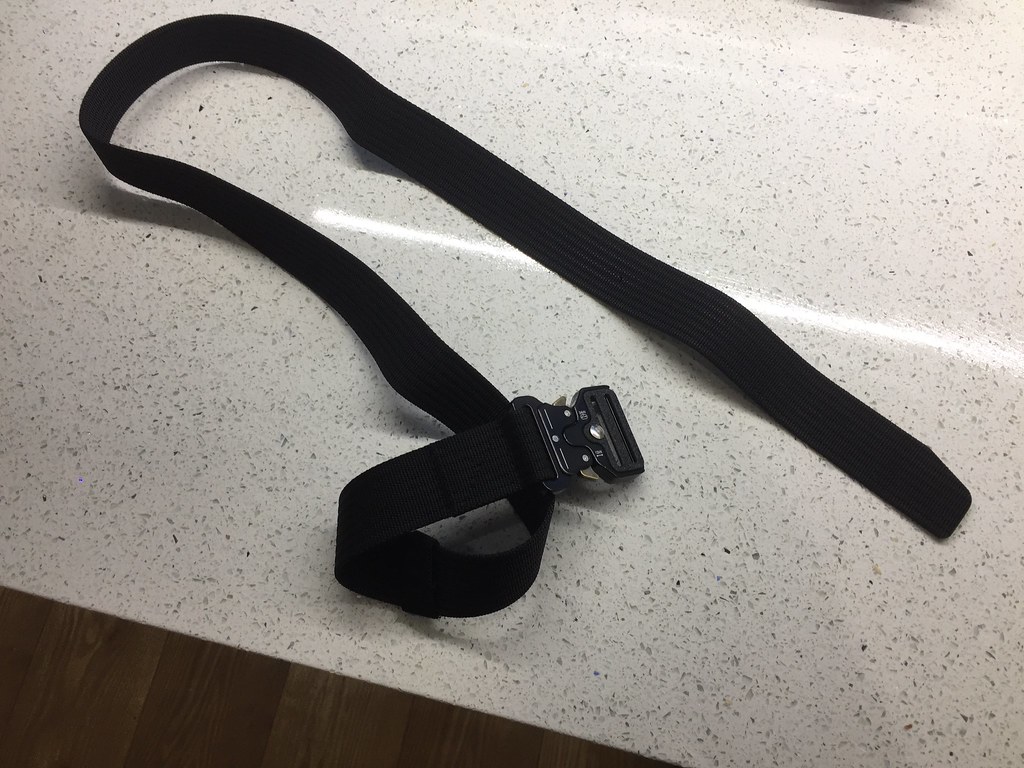
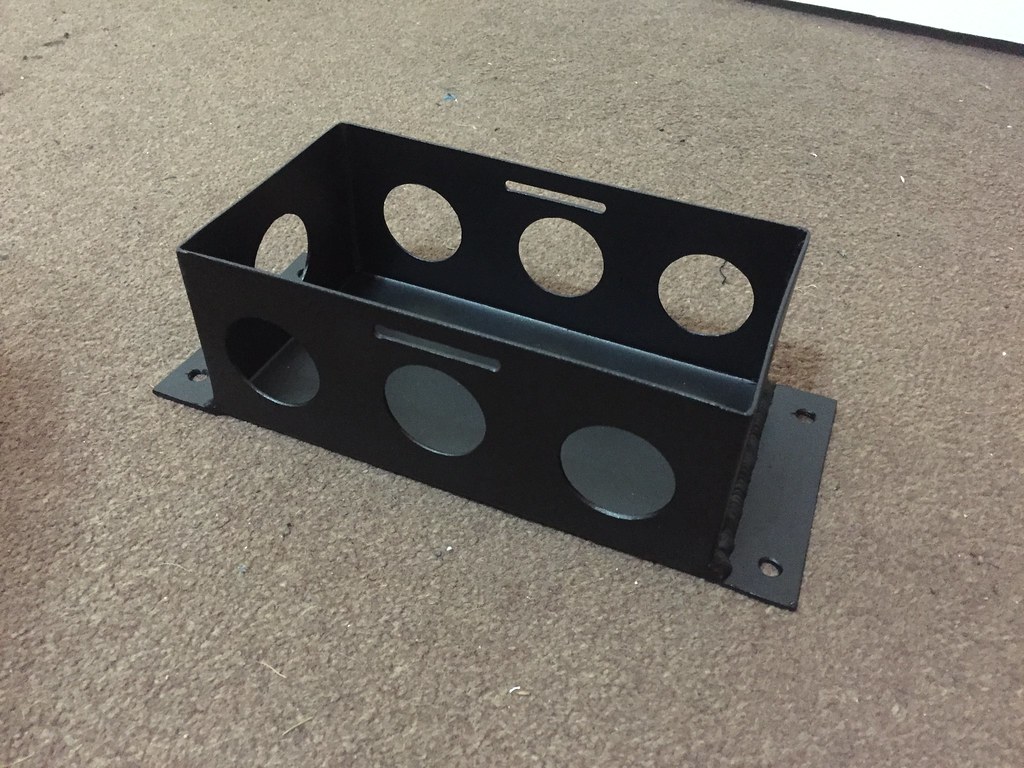
Which I couldn't just leave it alone, drilled some go faster holes in it, anodised it and made a strap out of a military belt -
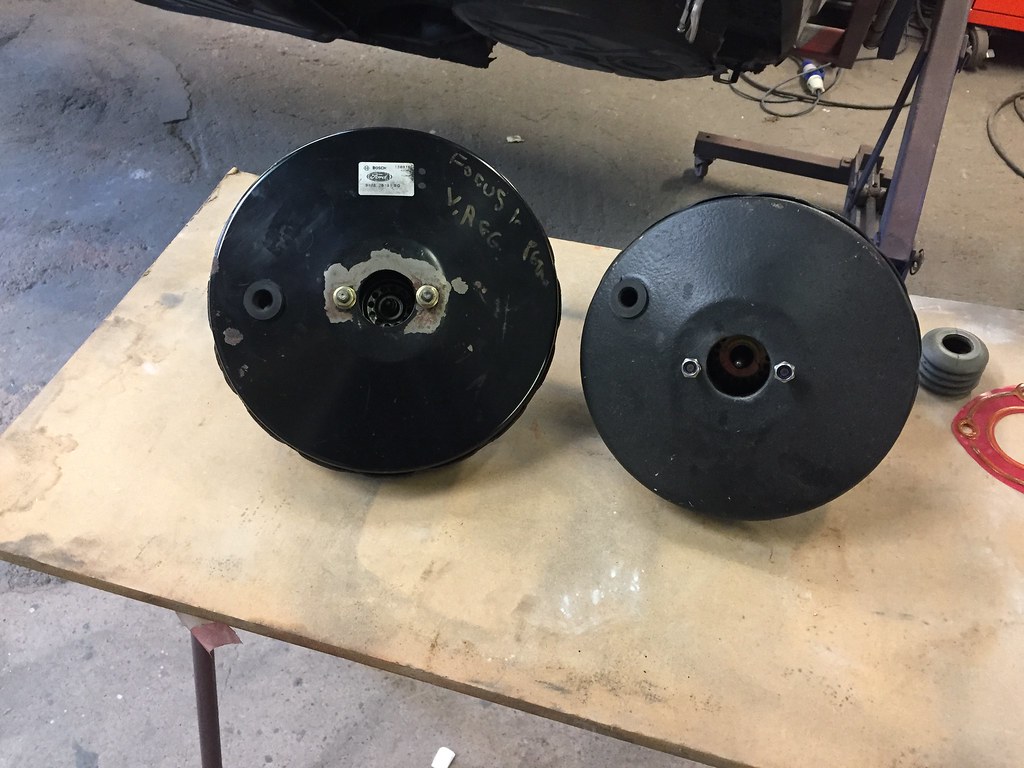
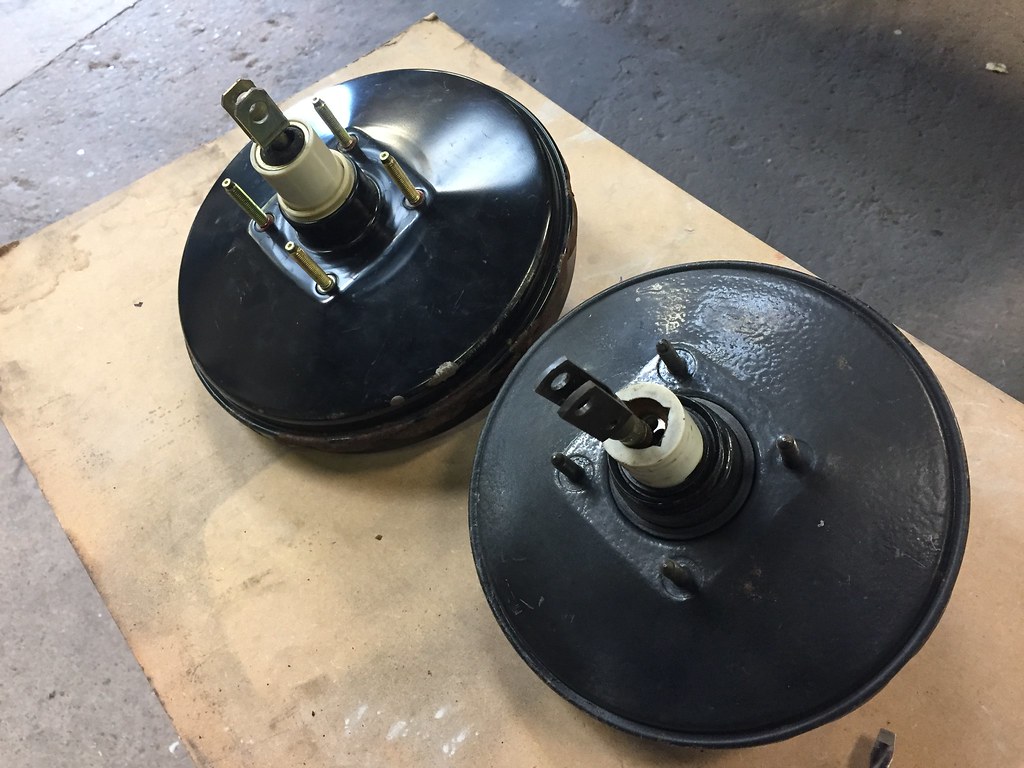
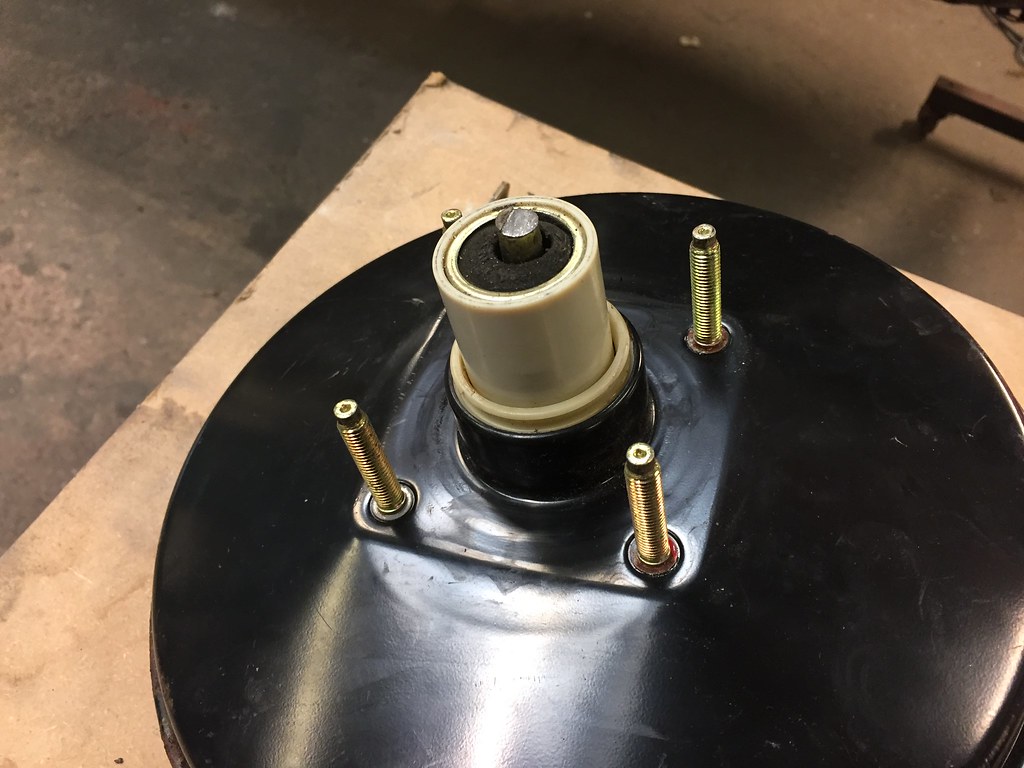
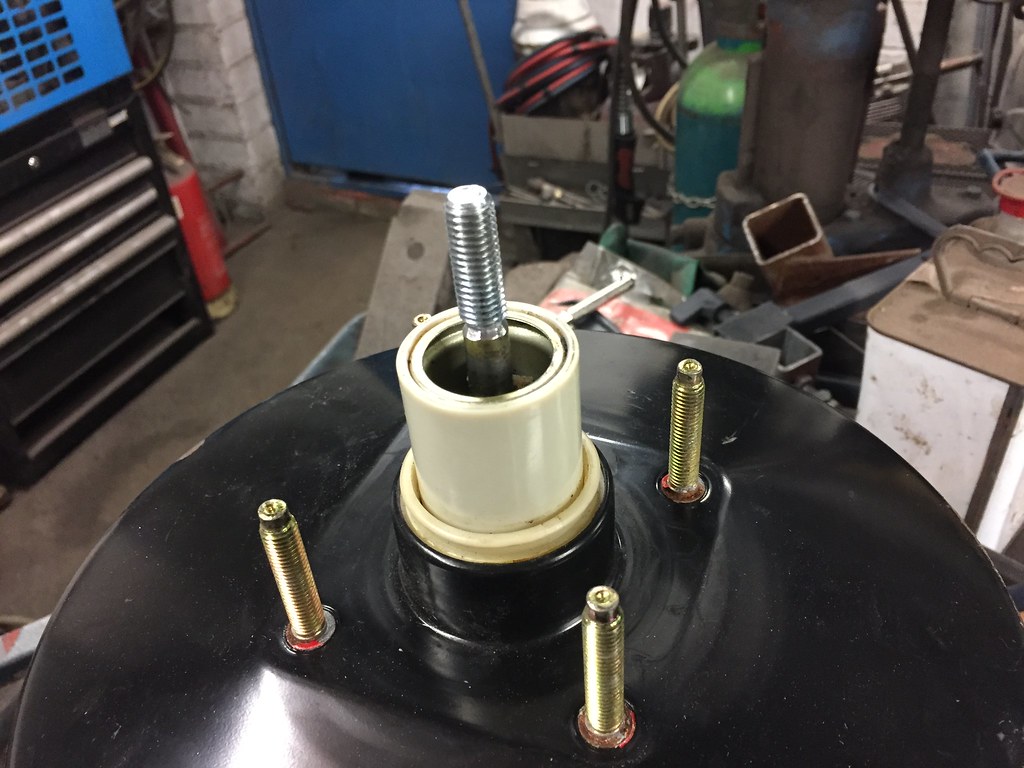
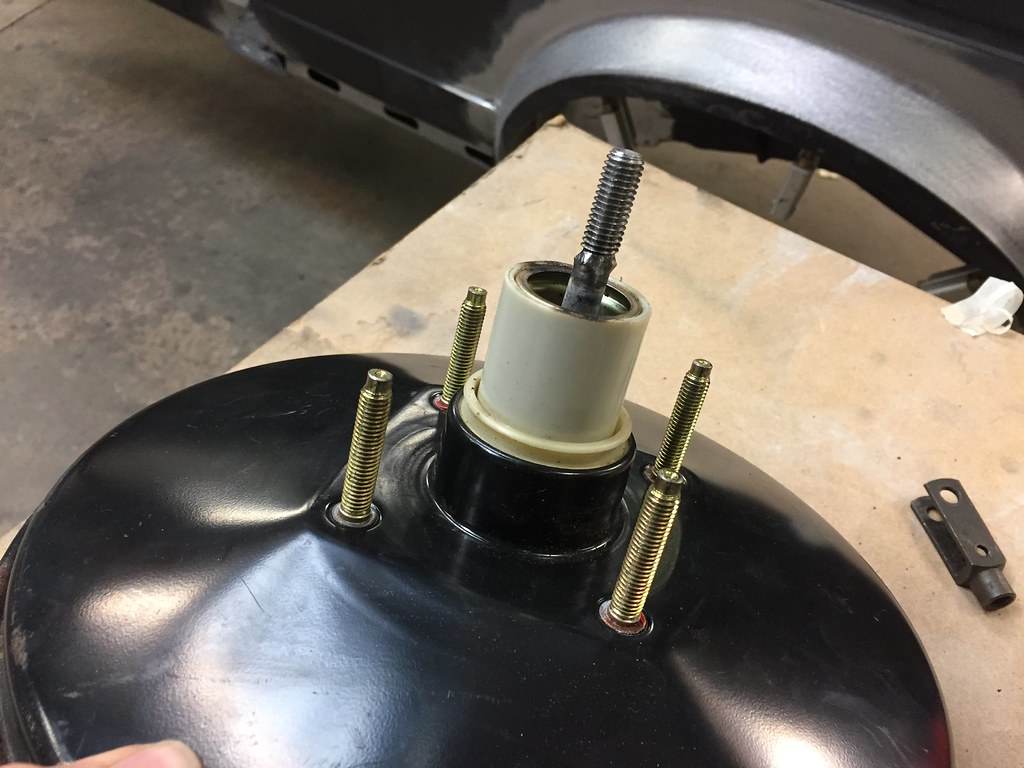
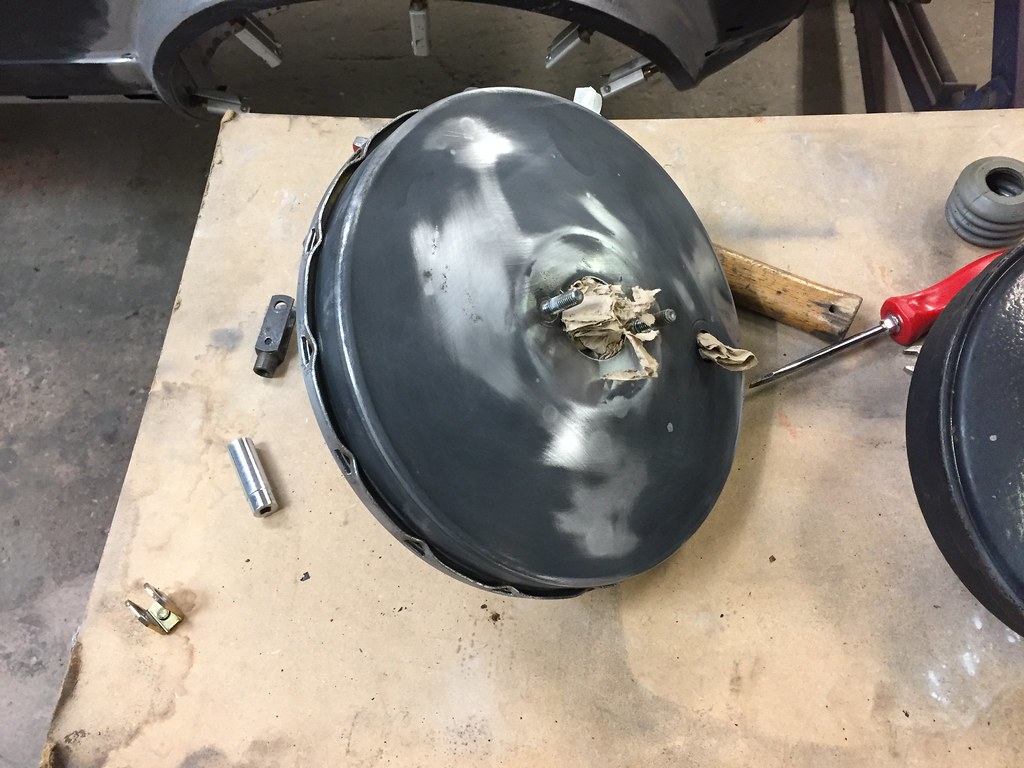
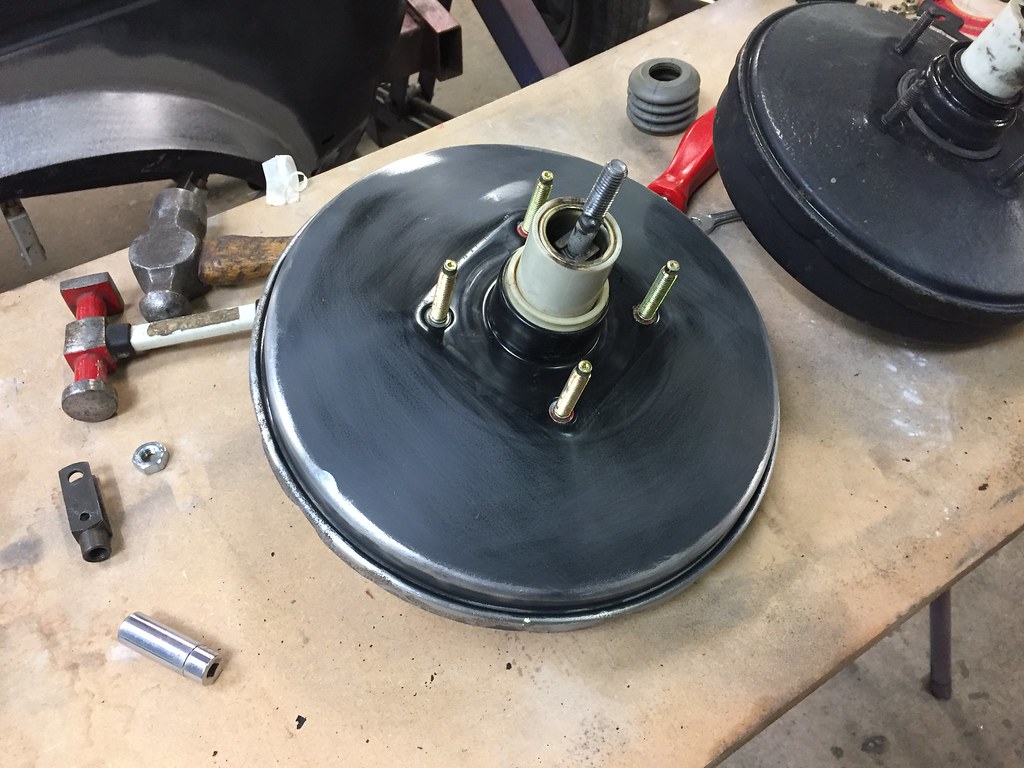
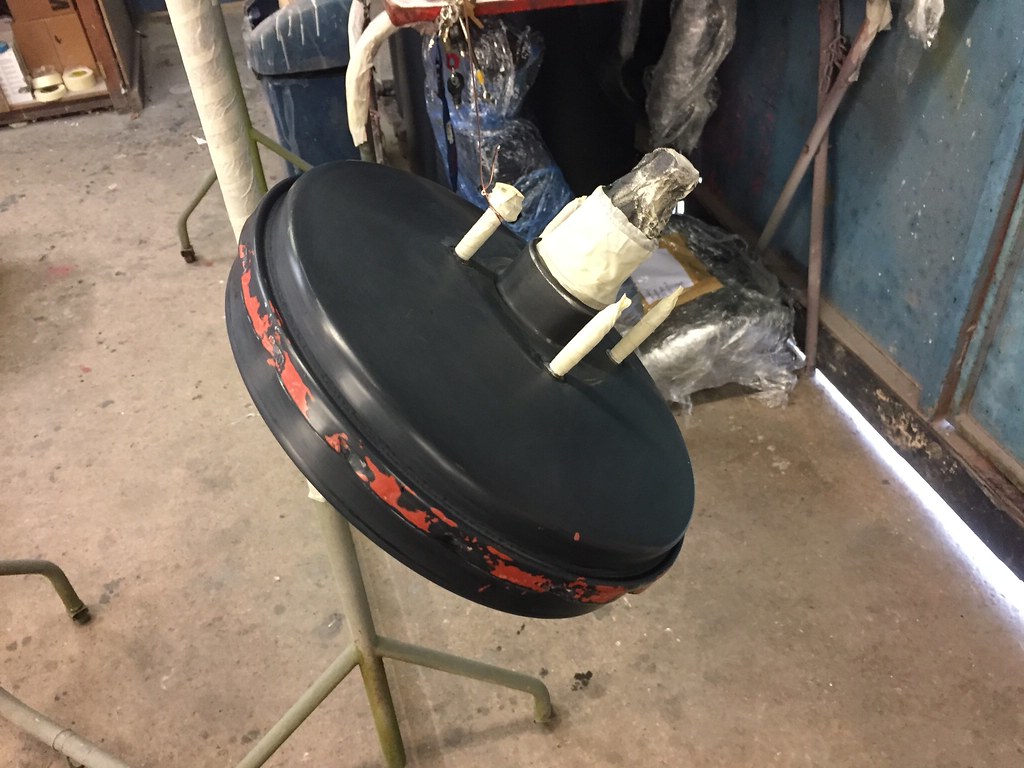
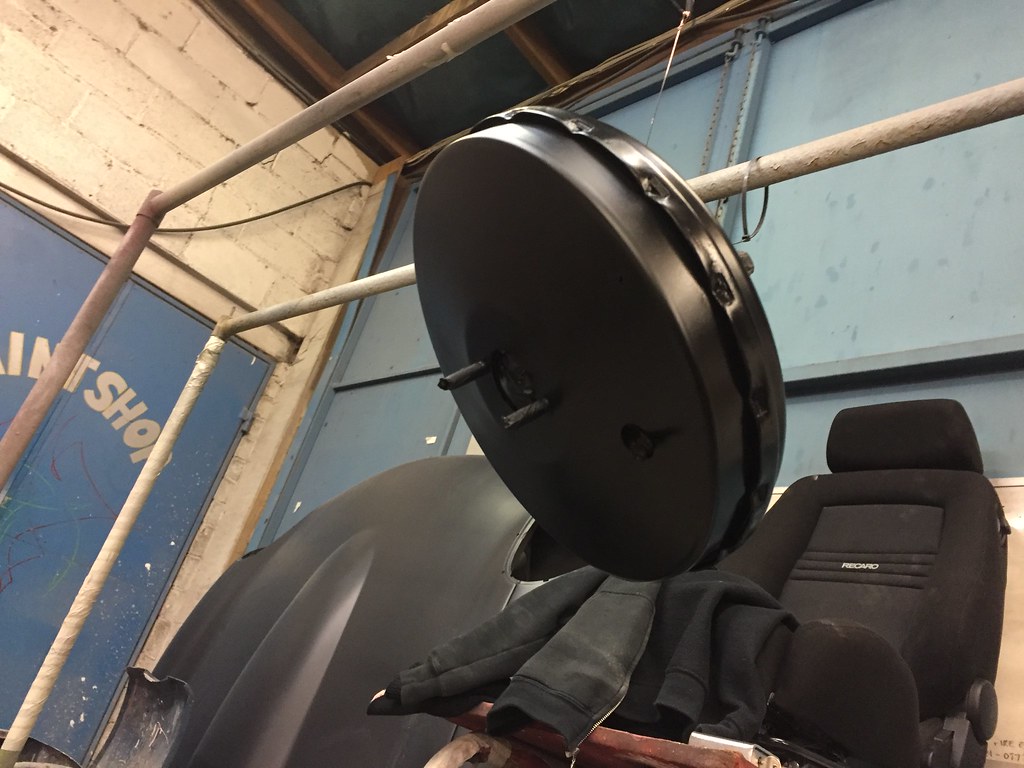
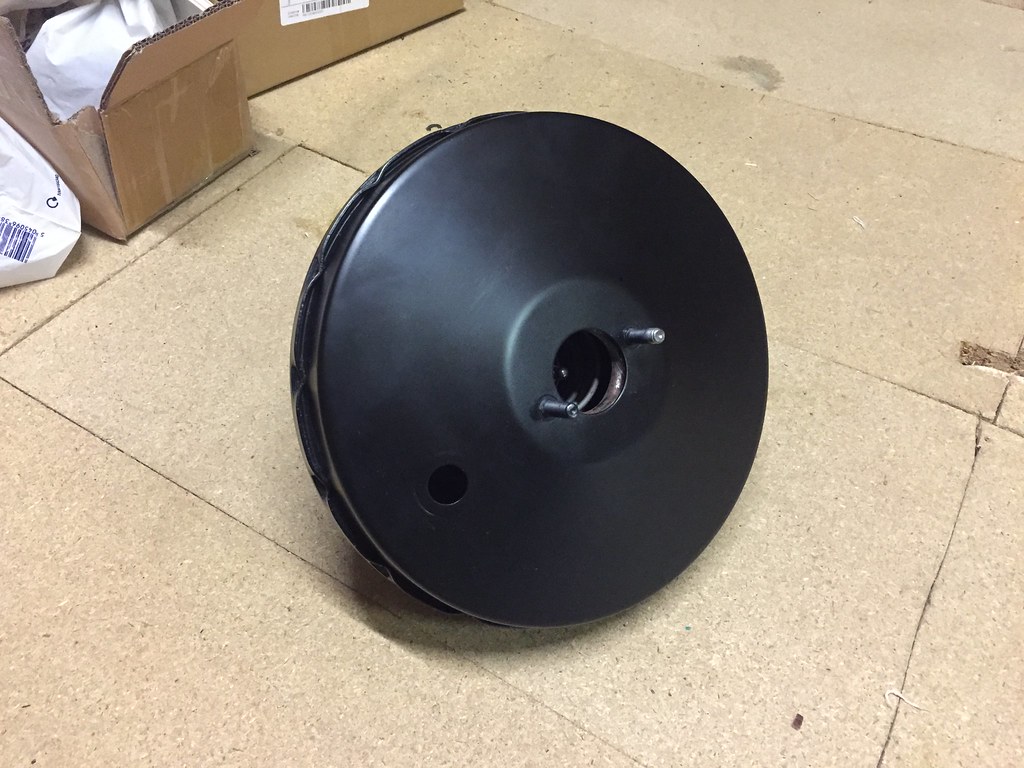
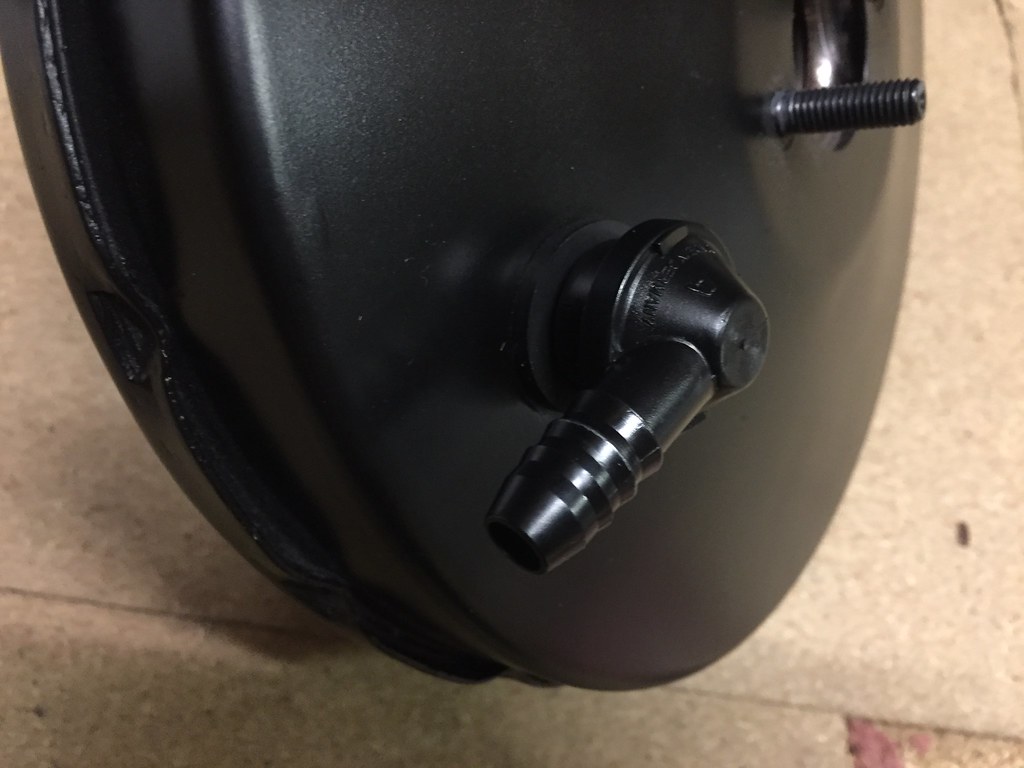
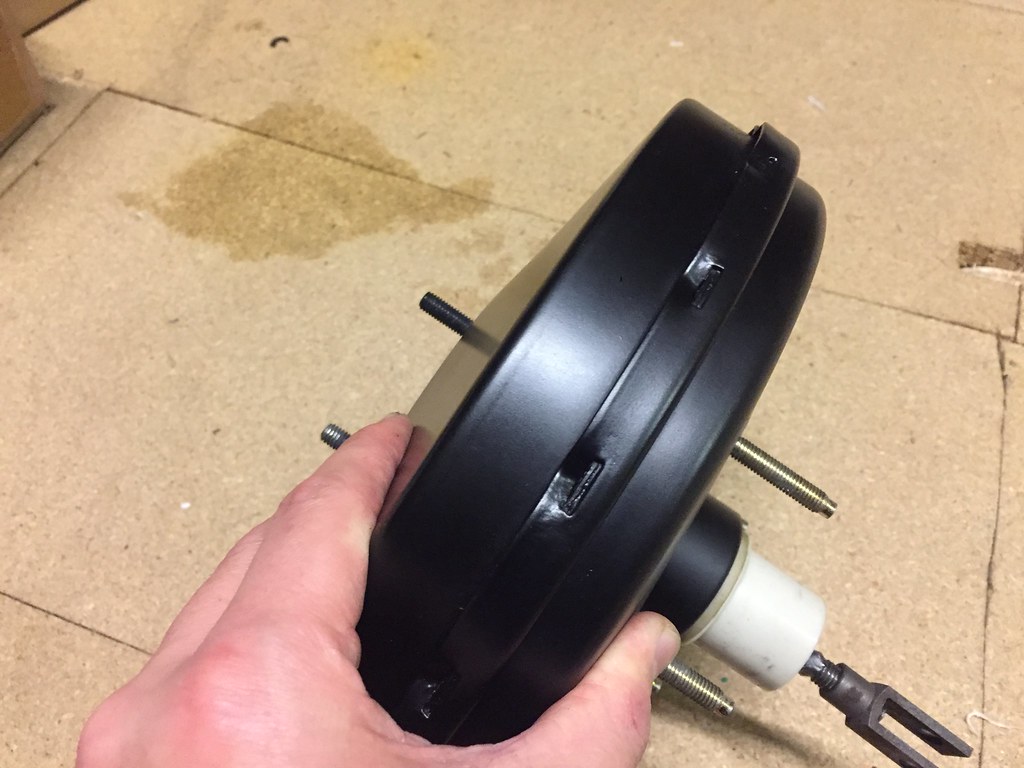
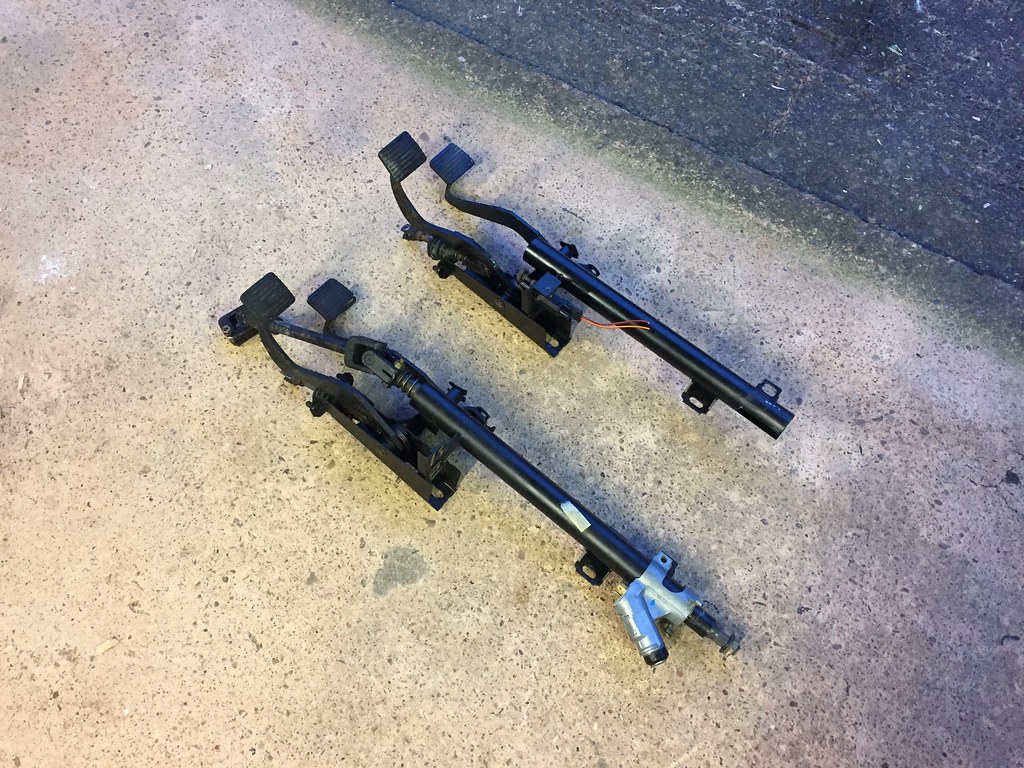
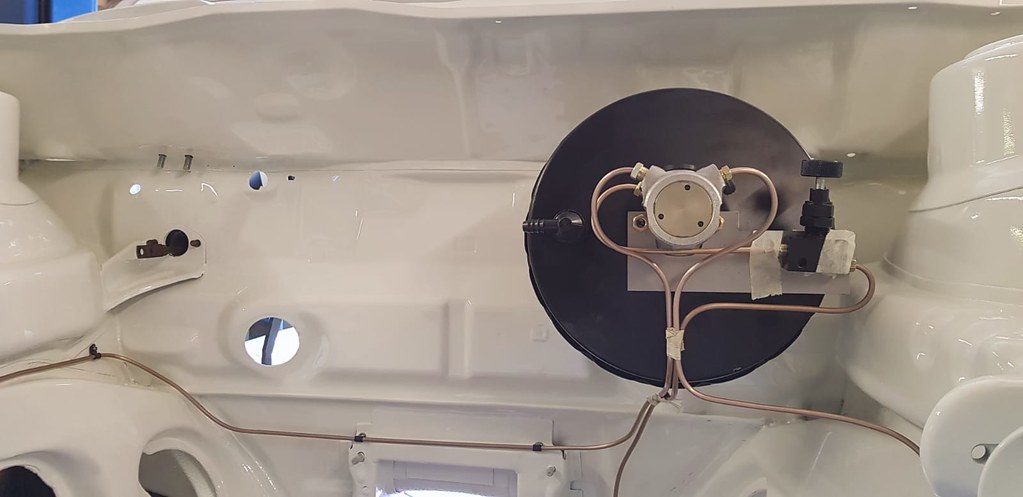
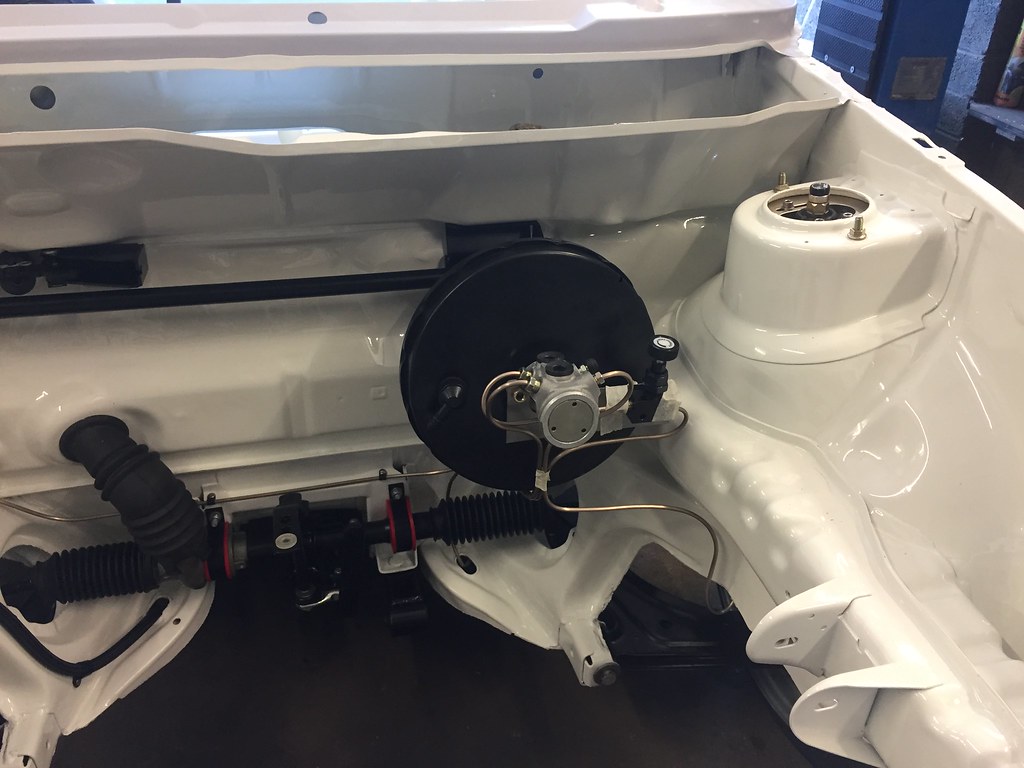
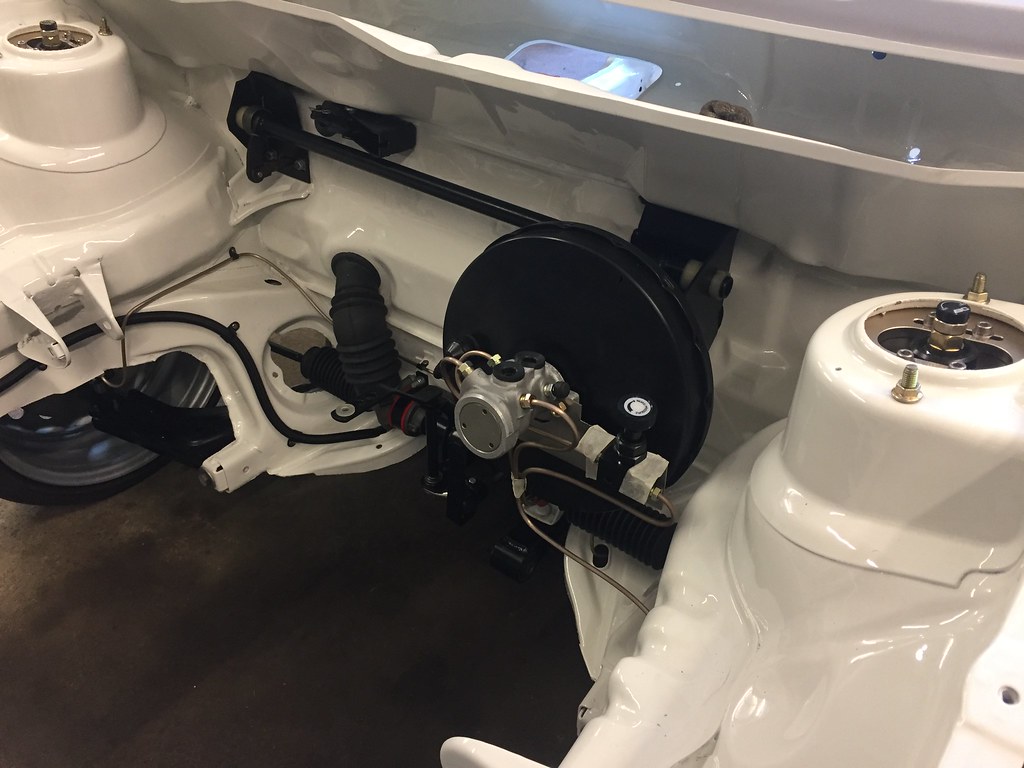
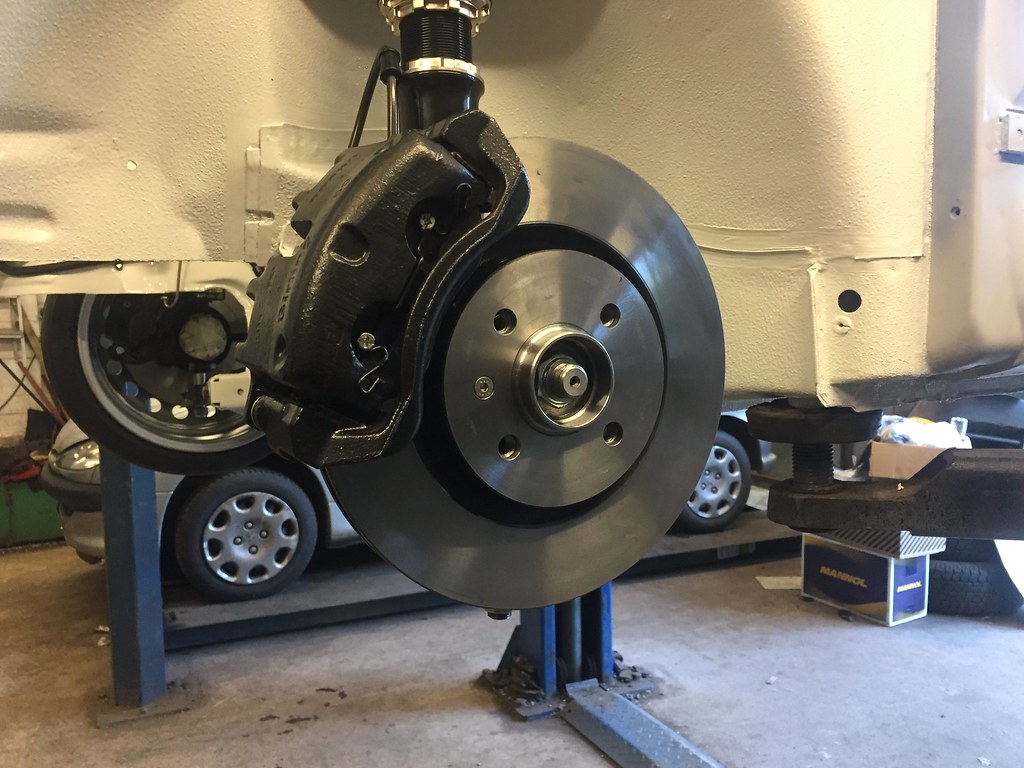
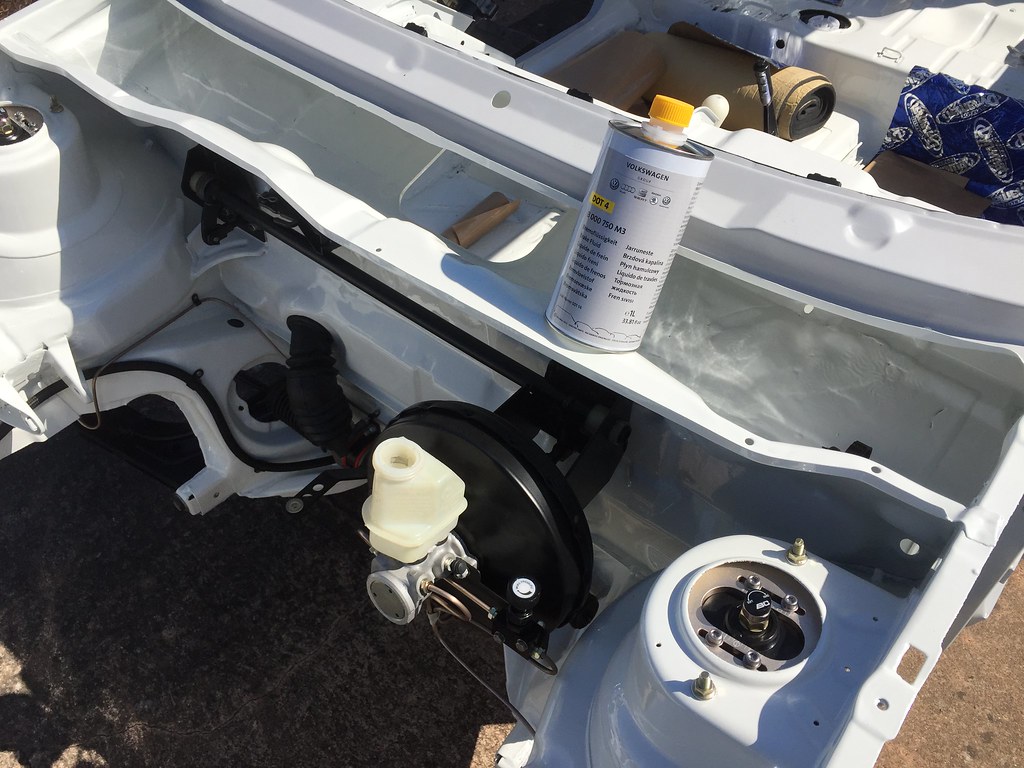
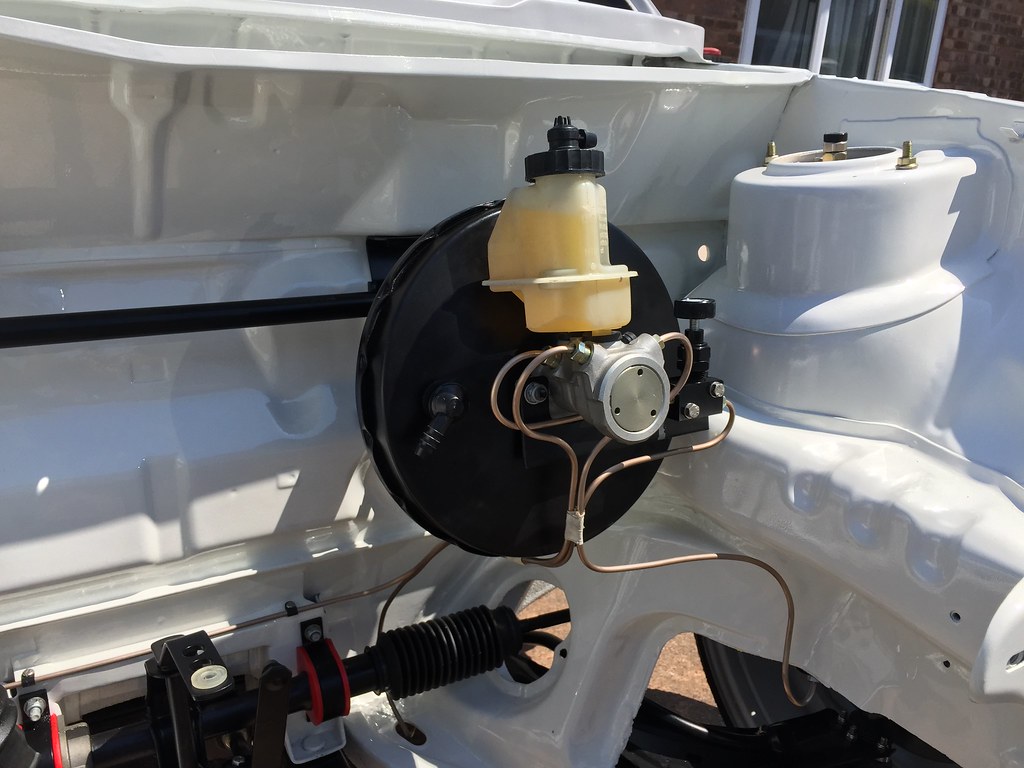
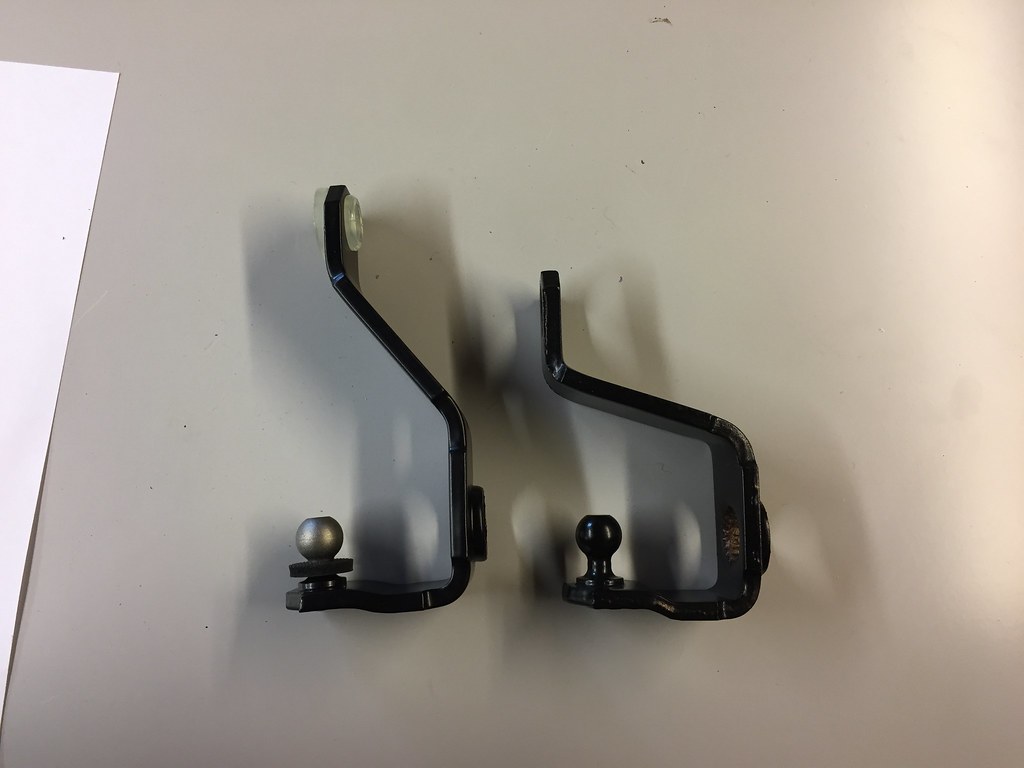
Also decided to put in the 10.5" brake servo I got when I bought the stubby M/C, only needed to modify the pin on the back to take a treaded bar to put the original clevis pin on. Comparison up against a mk2 Golf 9" servo I was going to put in.

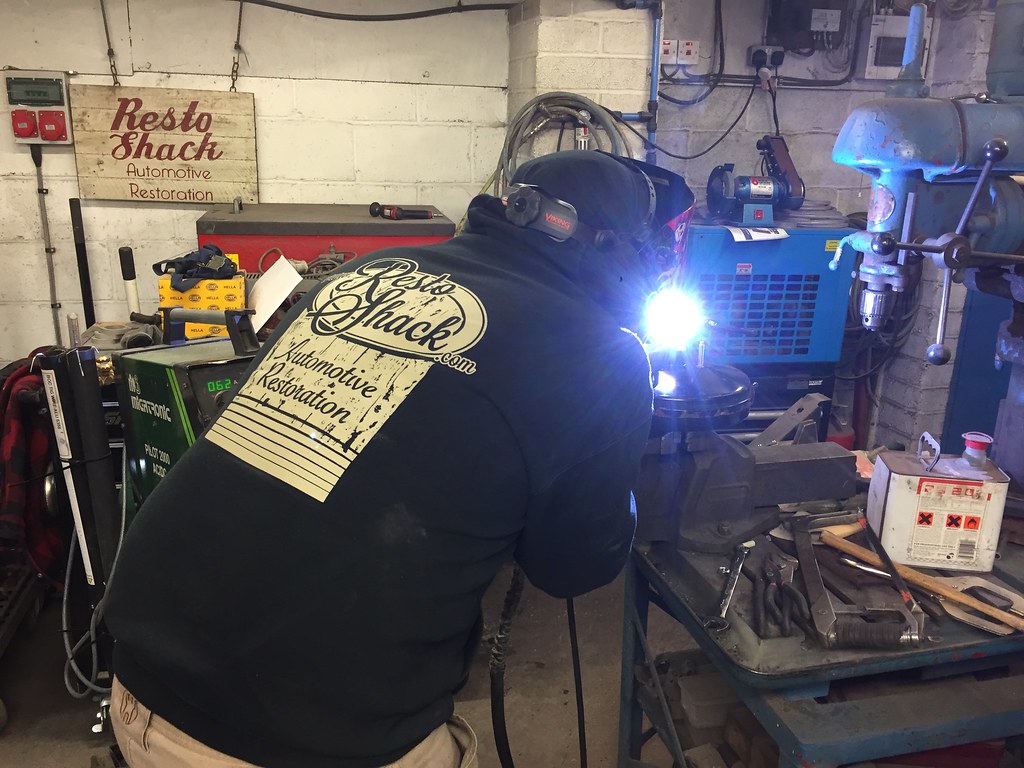
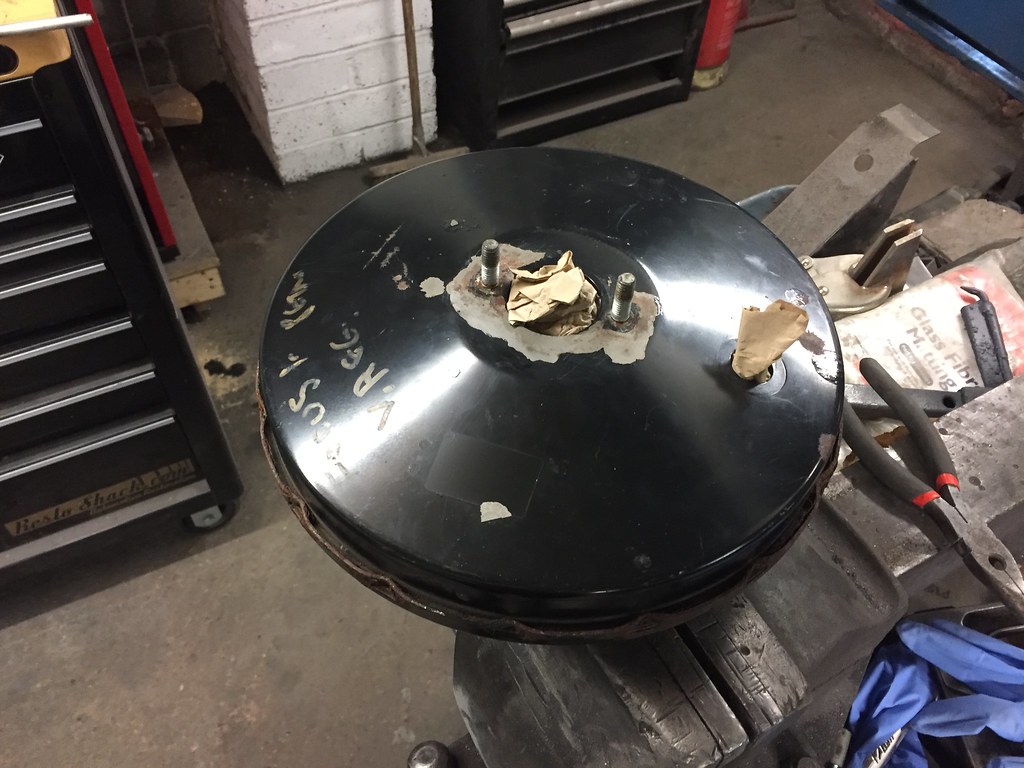
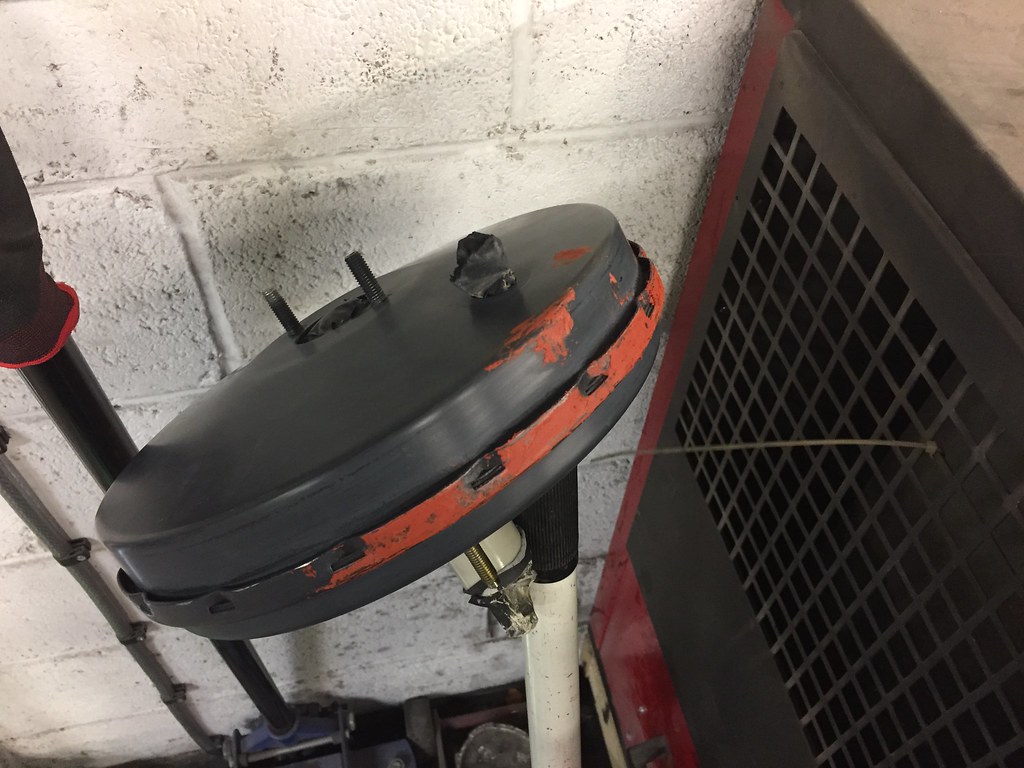
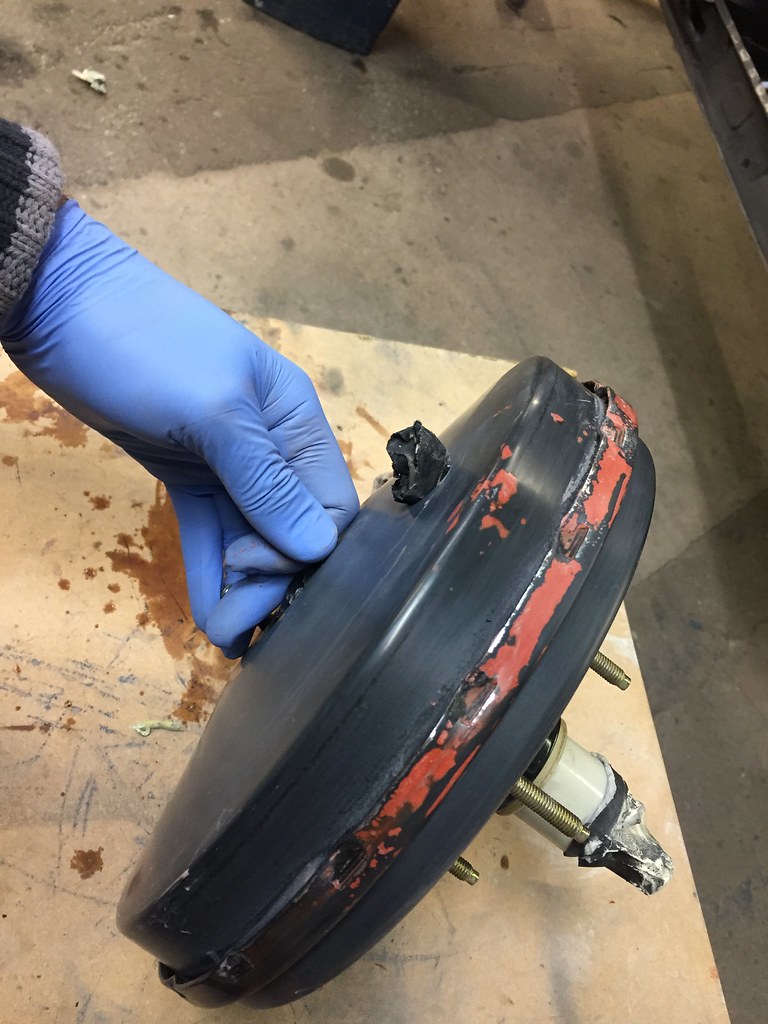
Then to rub down, fill and paint -
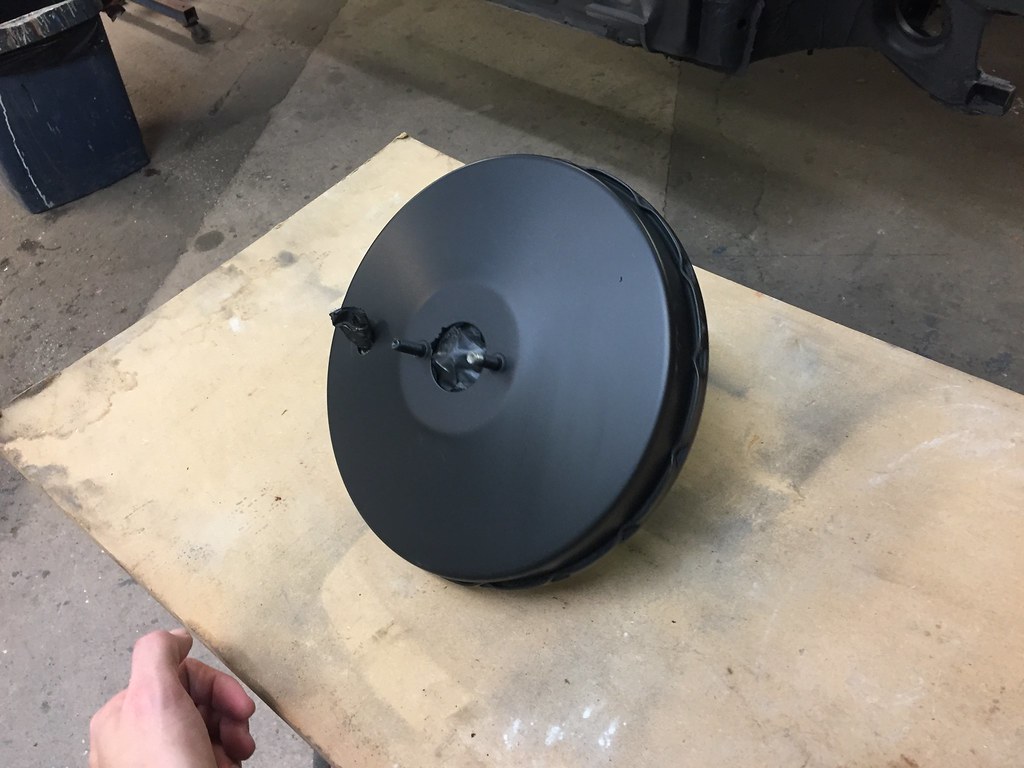
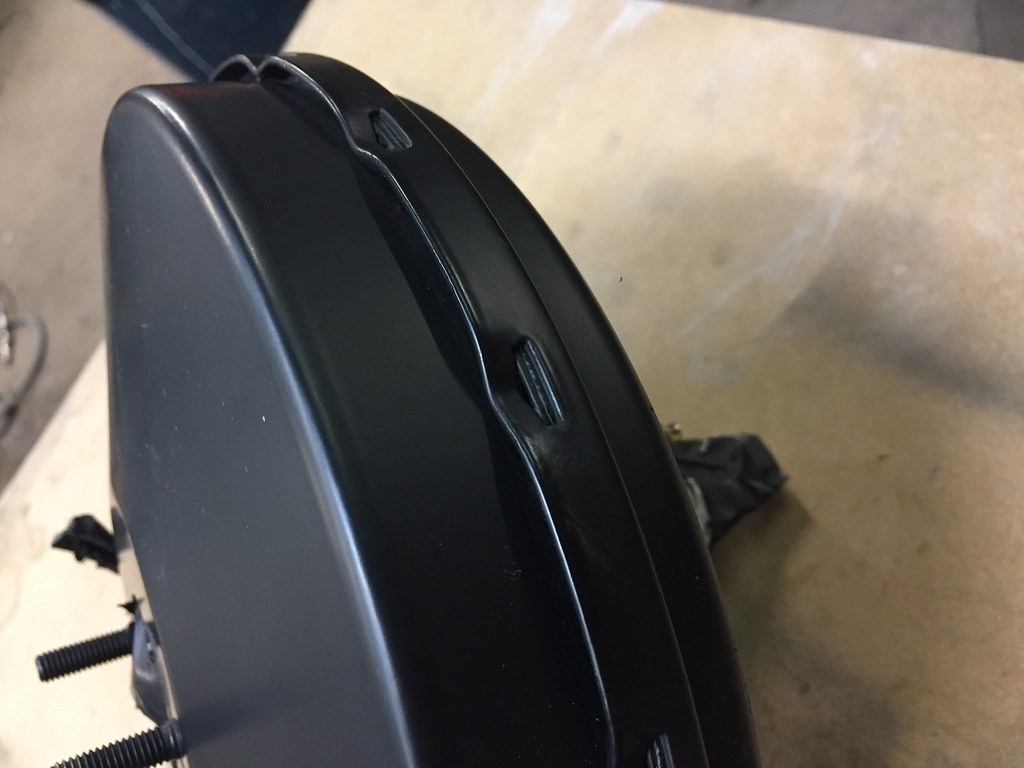
Then chucked in a BMW check valve and done� :thumbup:
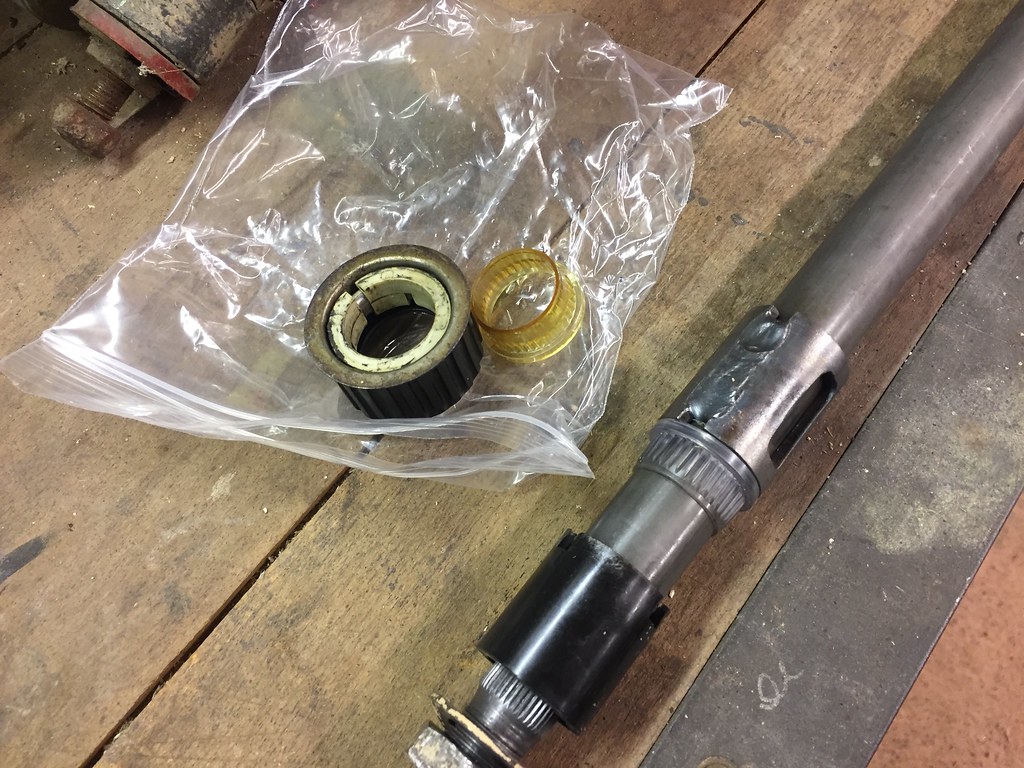
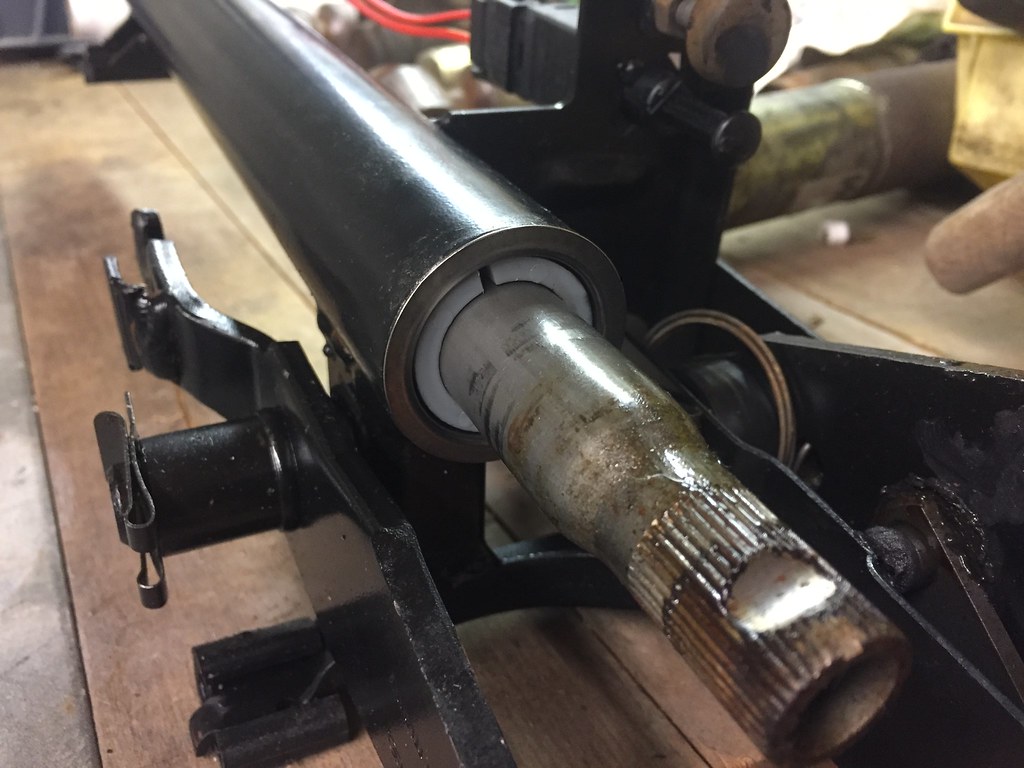
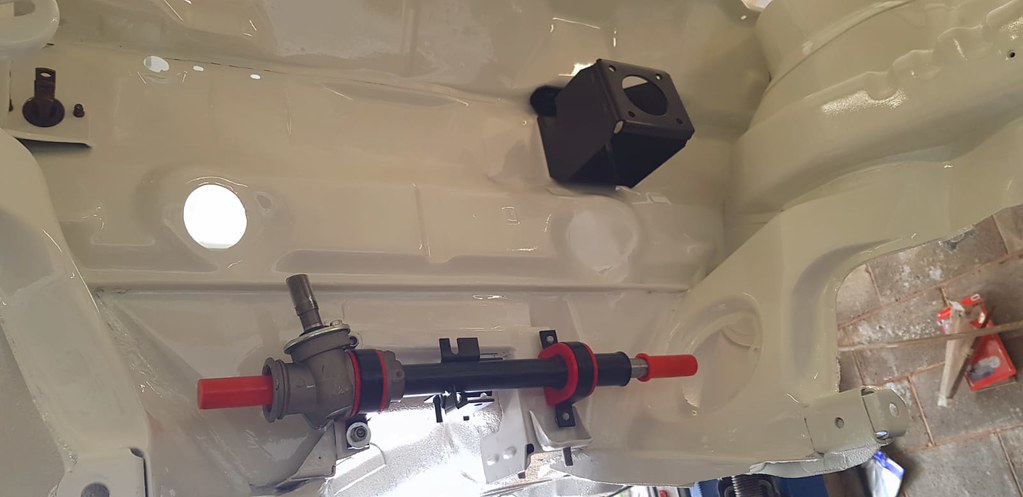
Also picked up a Scirocco steering column from Mr R32 screamer James with that all important brake light switch -
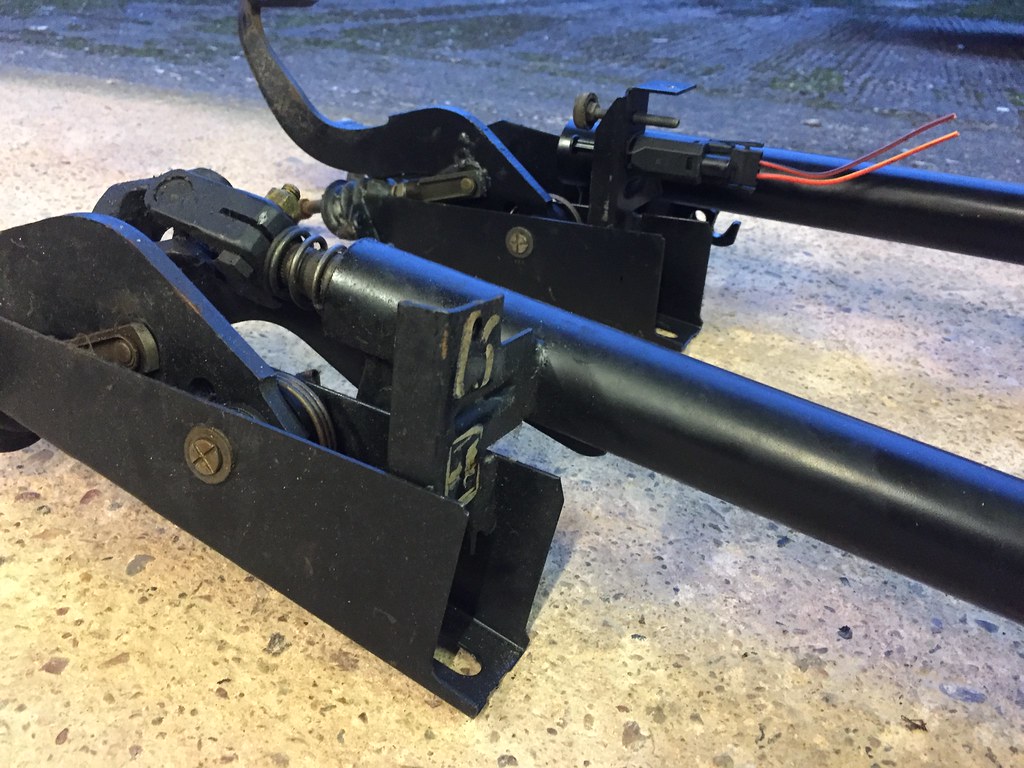
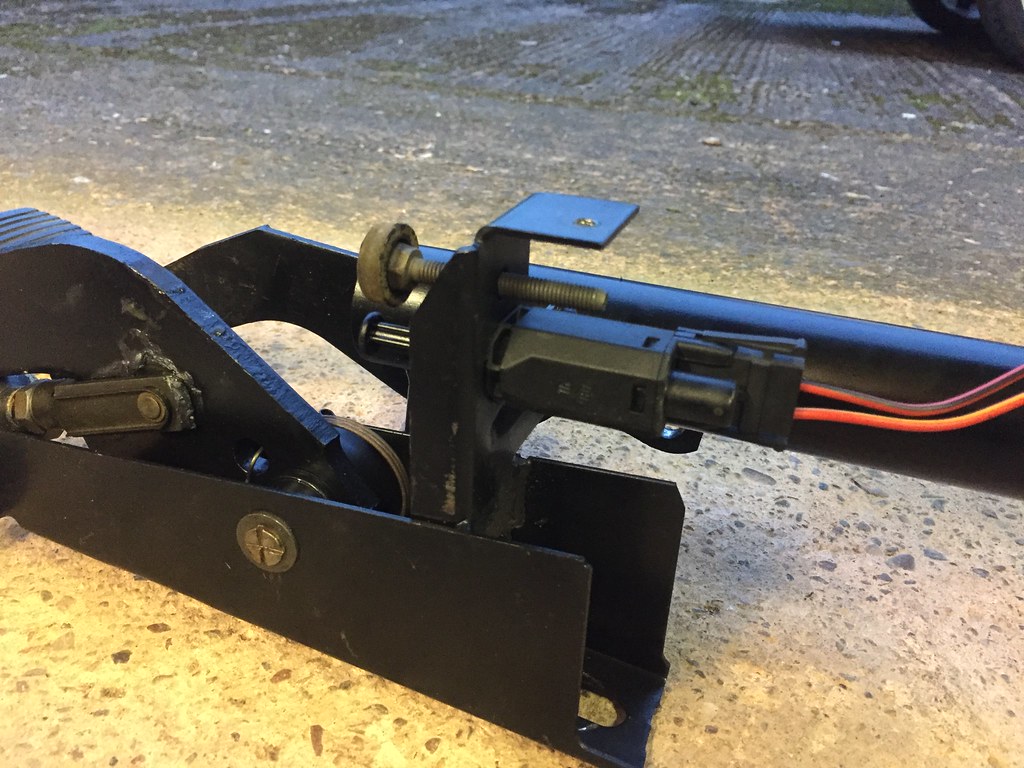
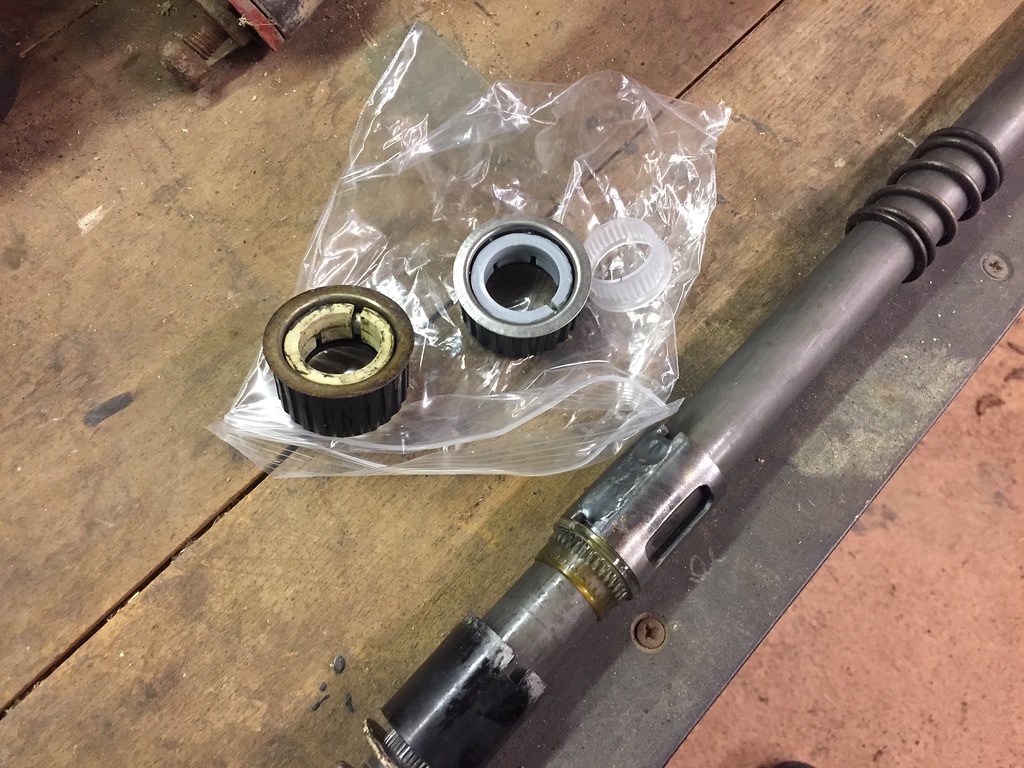
Which I took apart and put new bearings in -
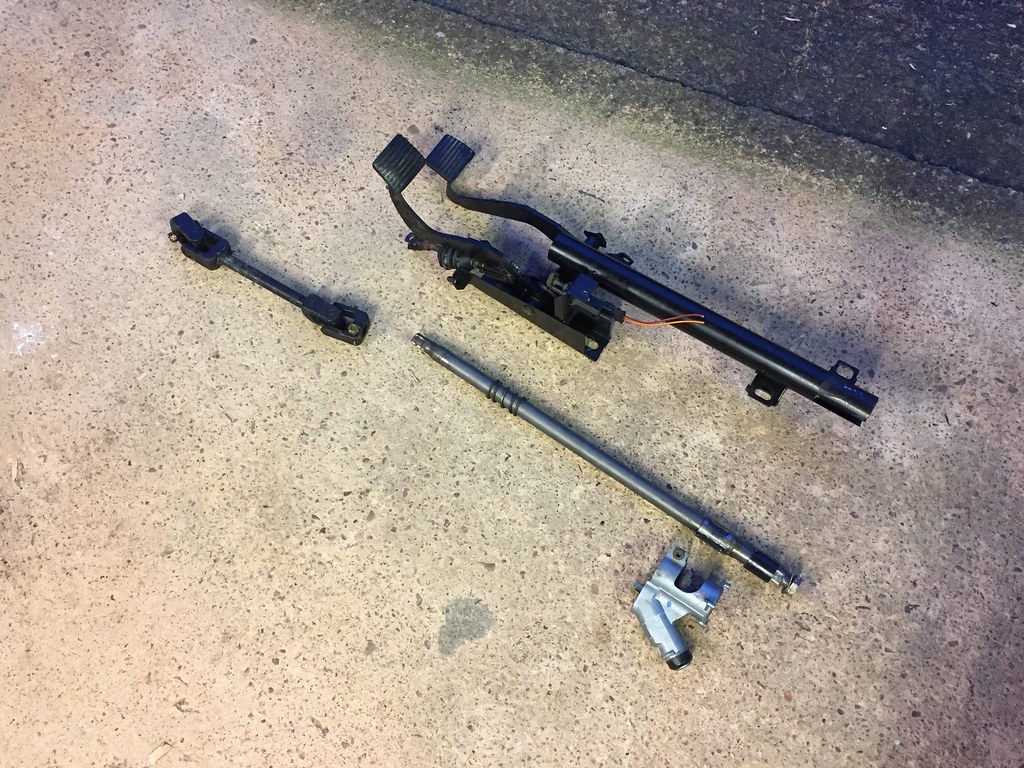
And got my VR sensor bracket and accelerator cable bracket anodised -
Posted
Settled In
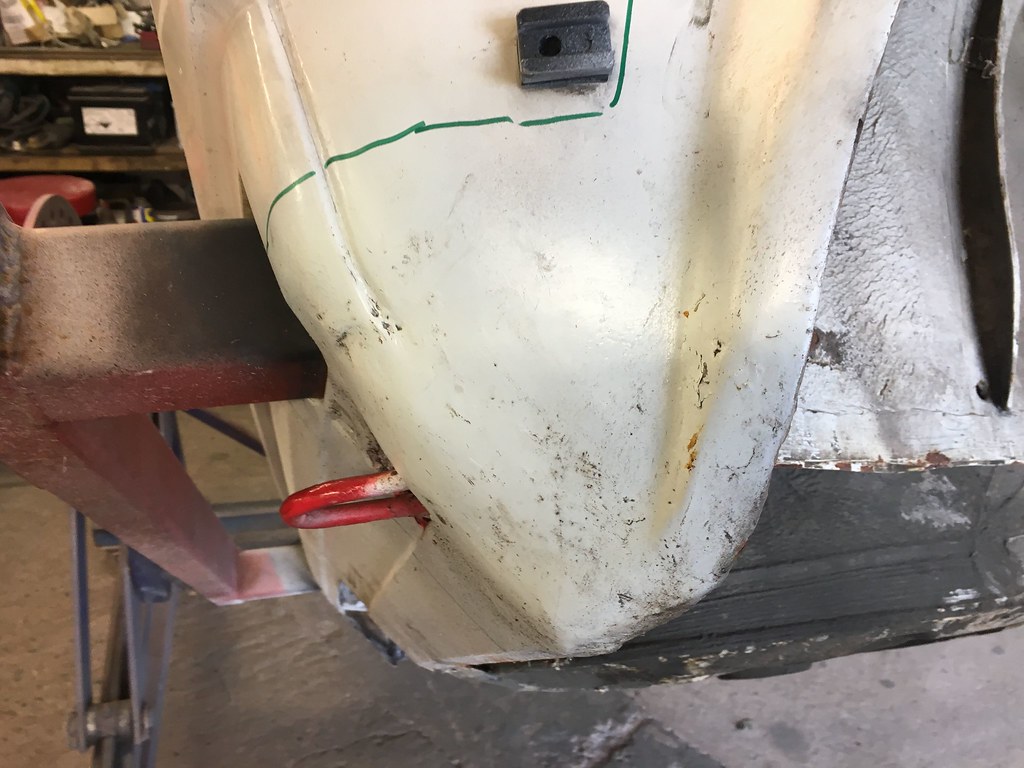
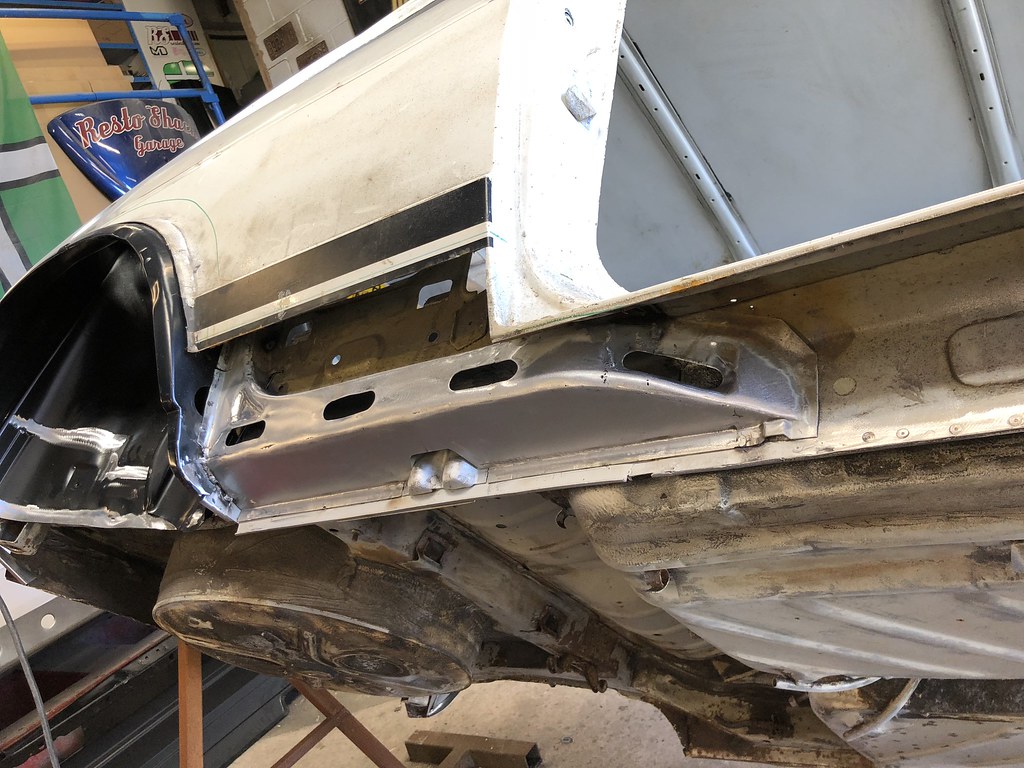
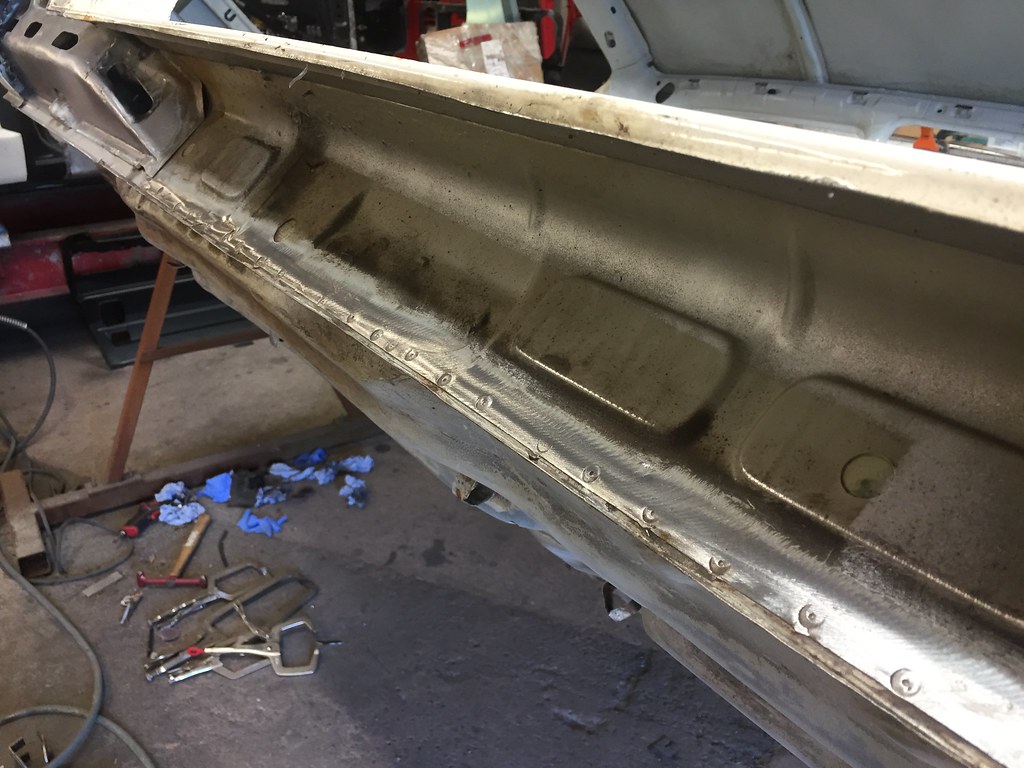
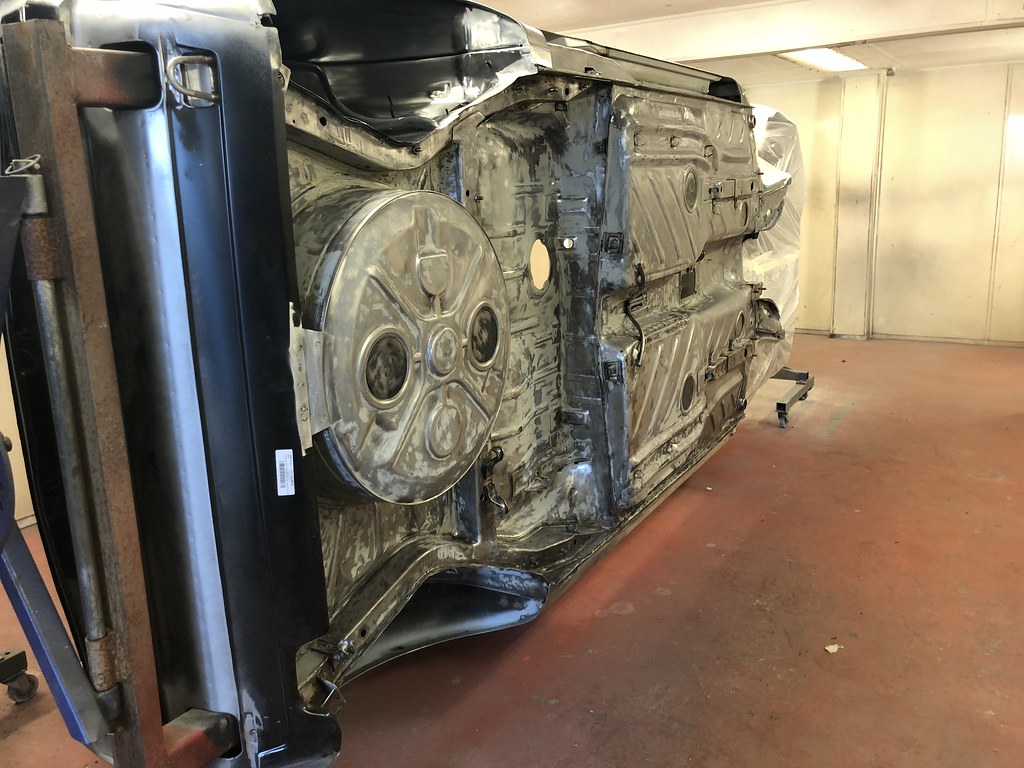
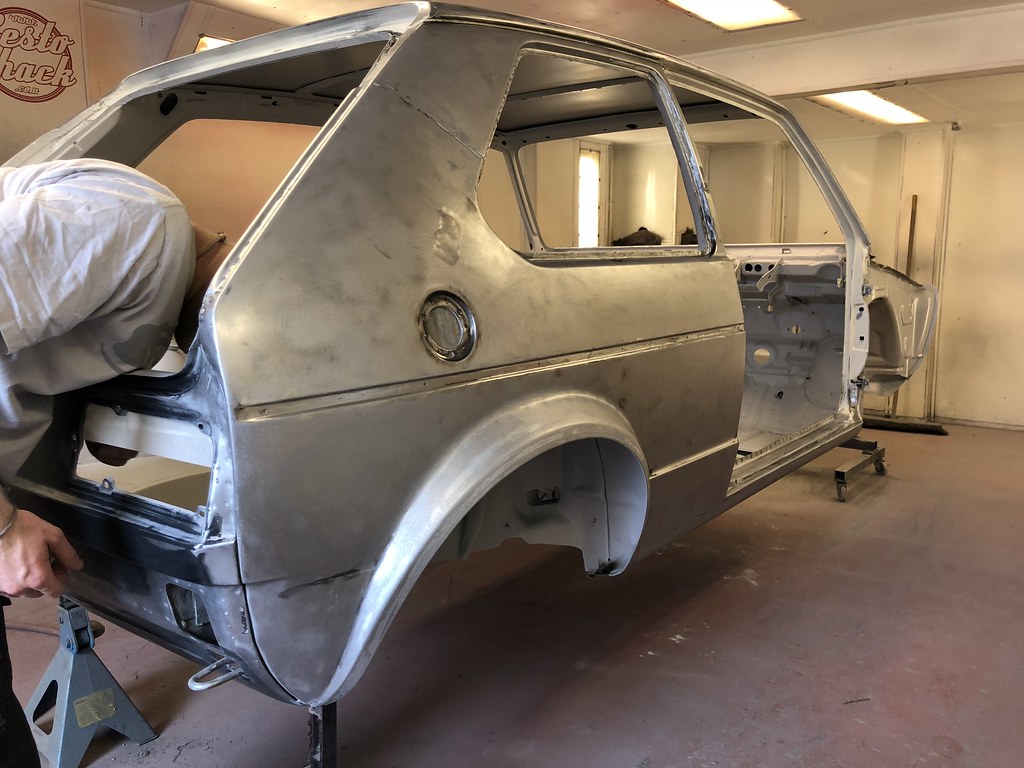
Finishing the Sill -

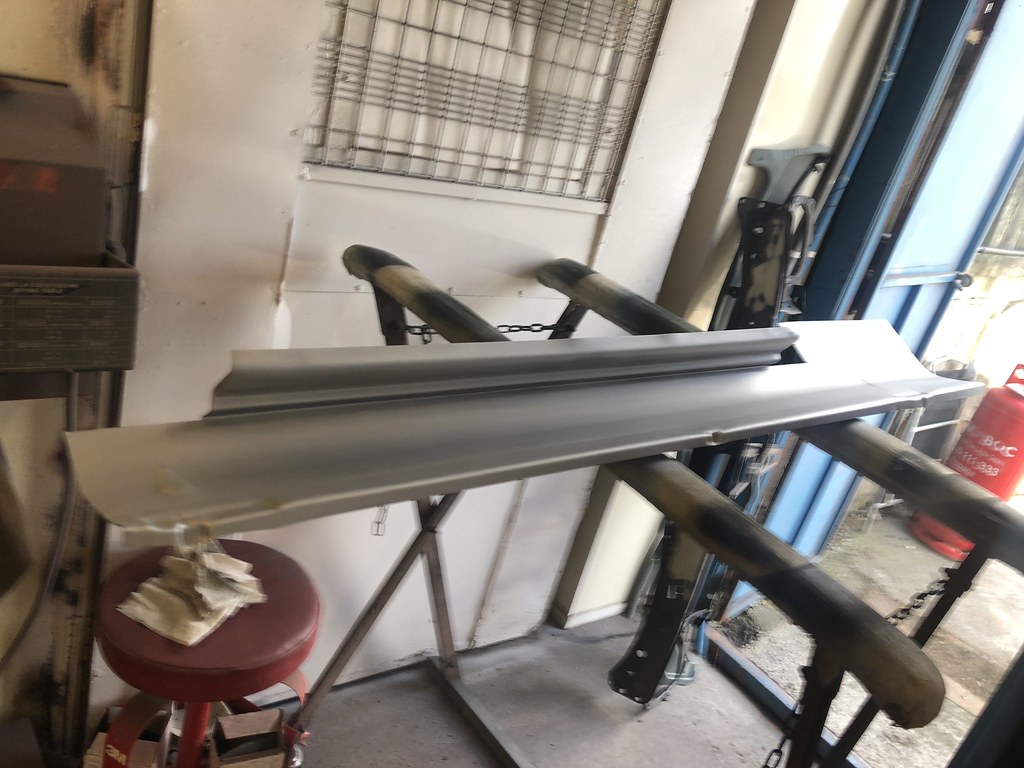
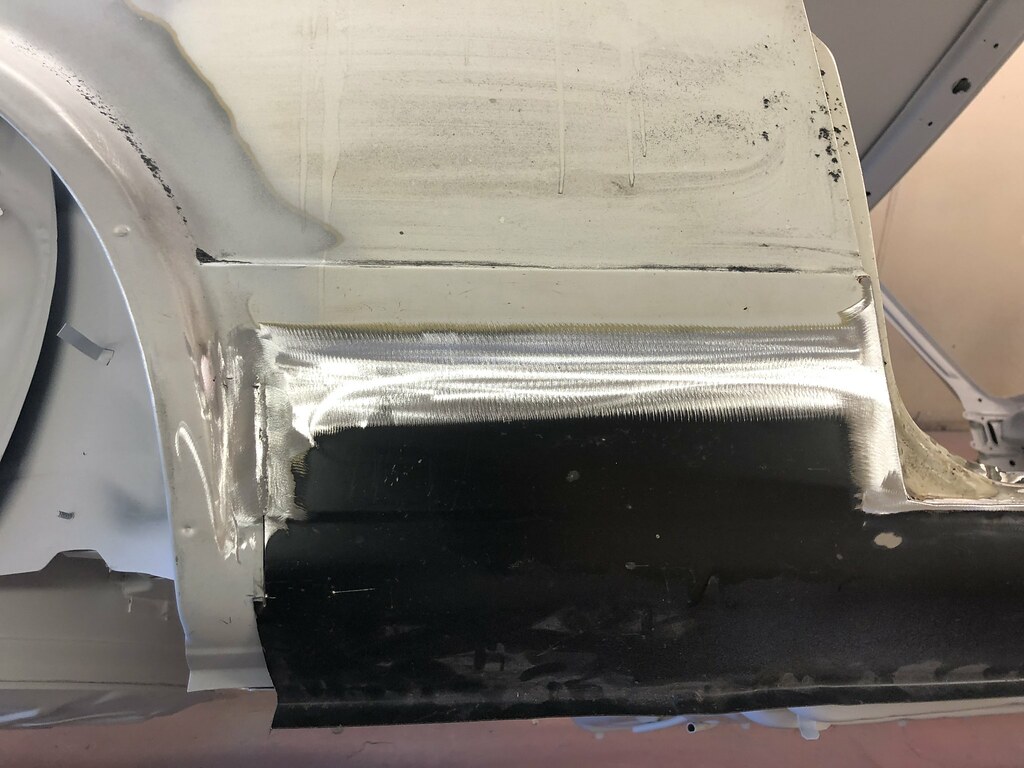

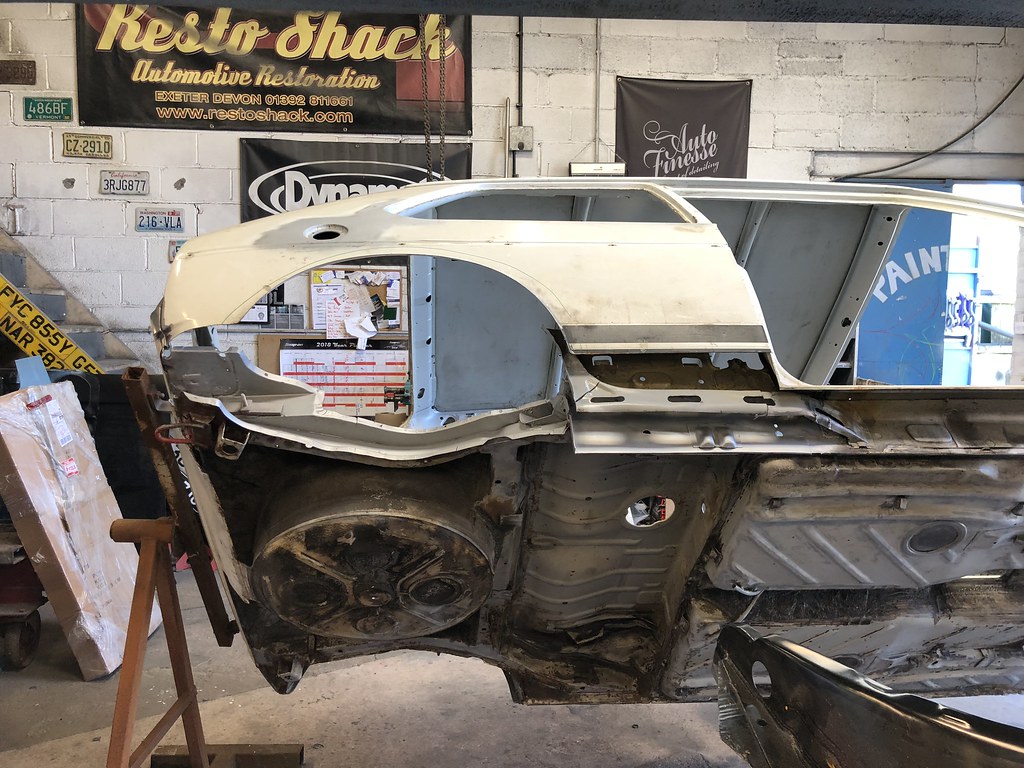
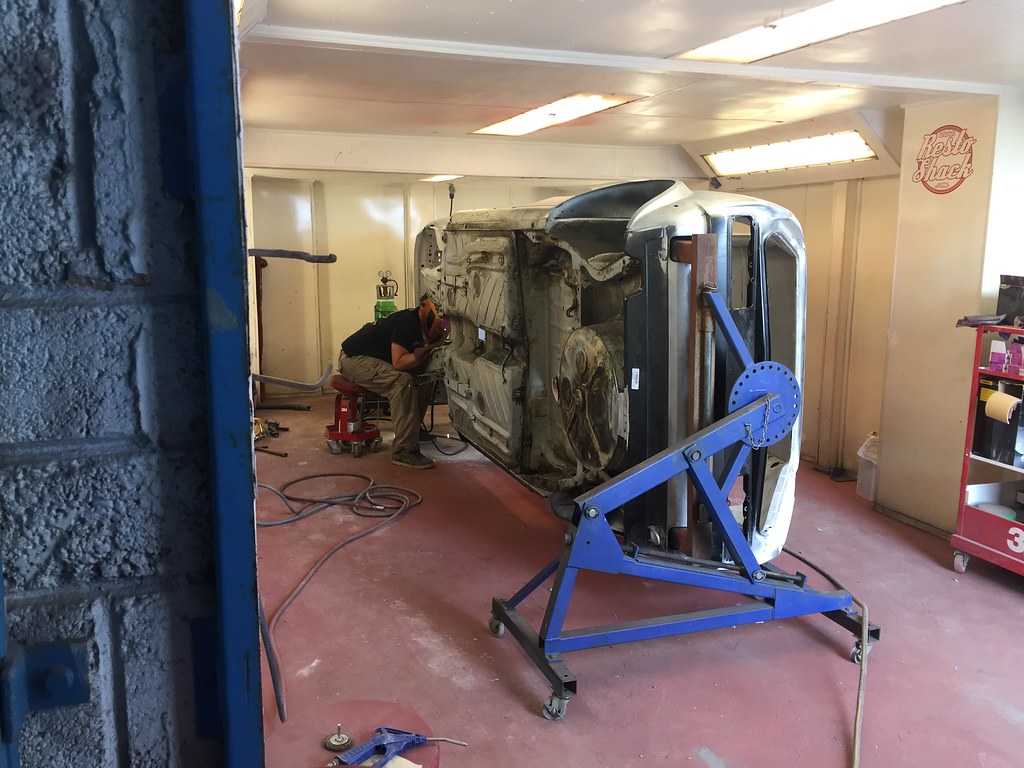
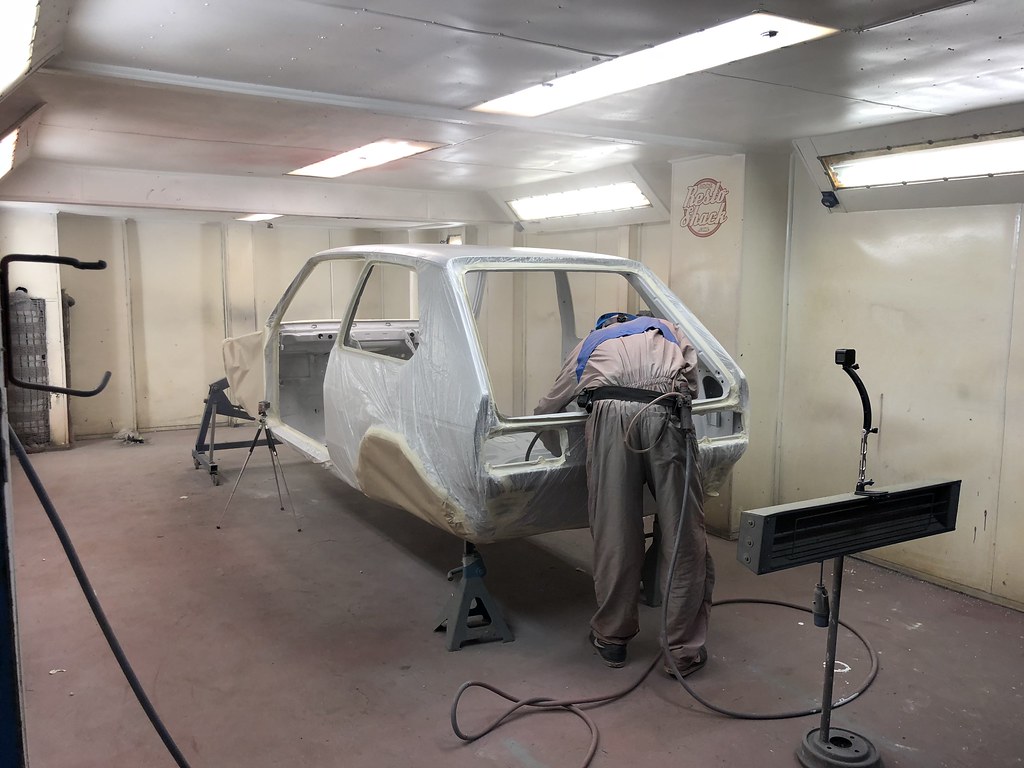
So I'm just going to swamp you with loads of pictures of the rest of body work and paint -


Posted
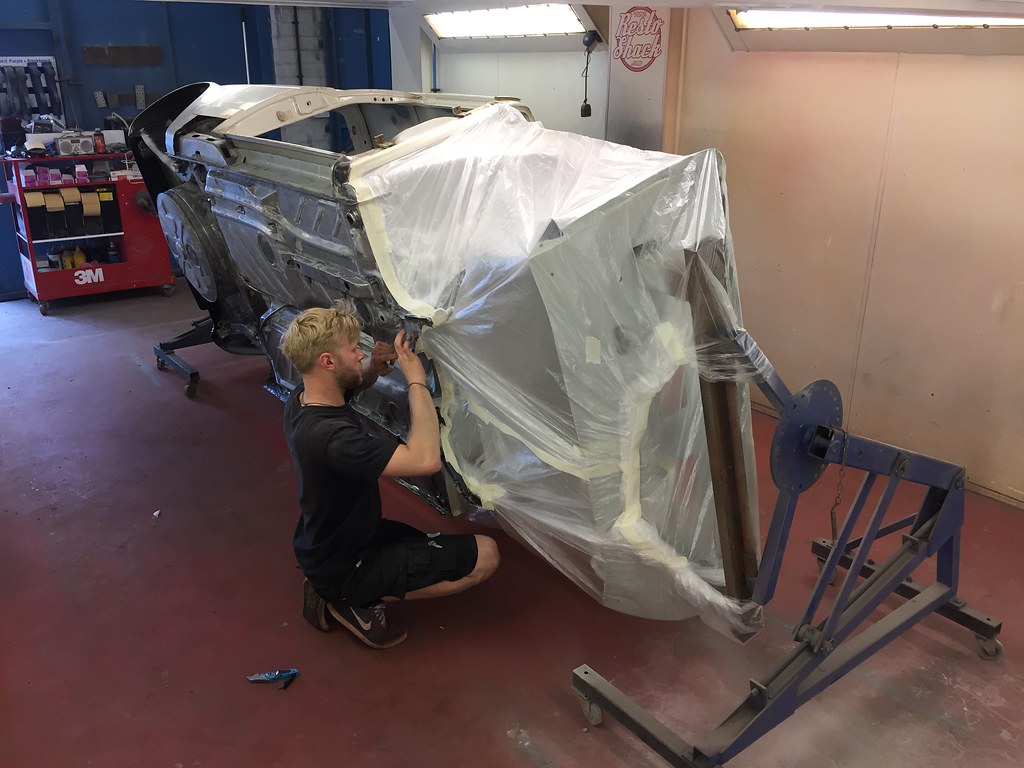
Settled In
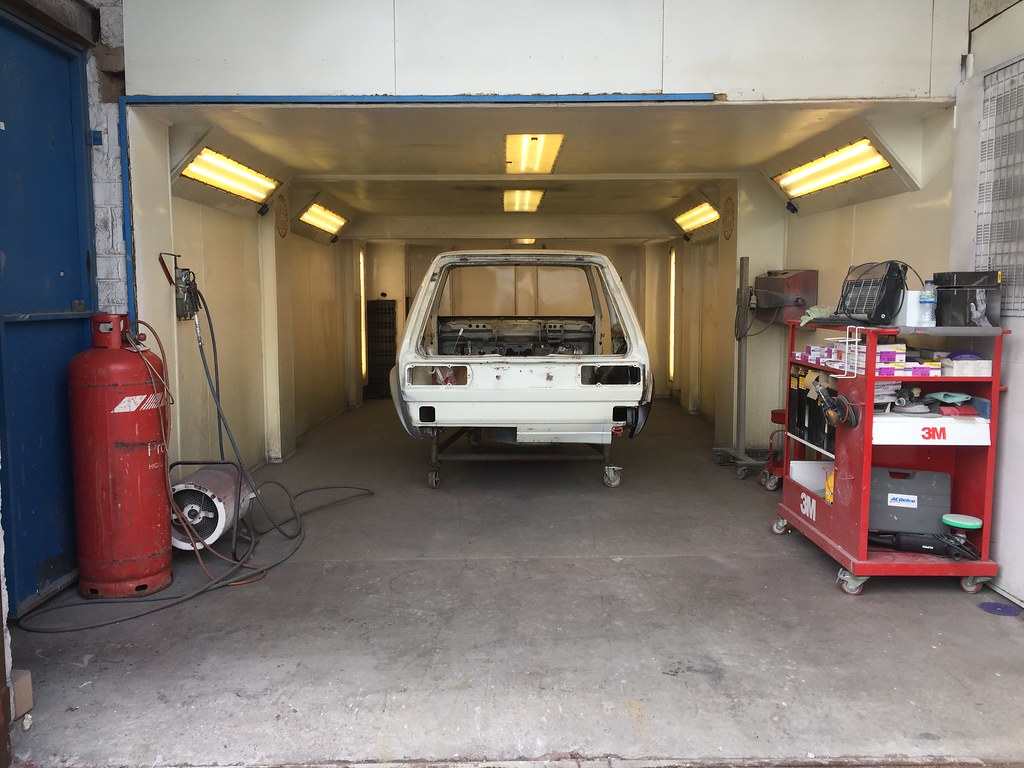
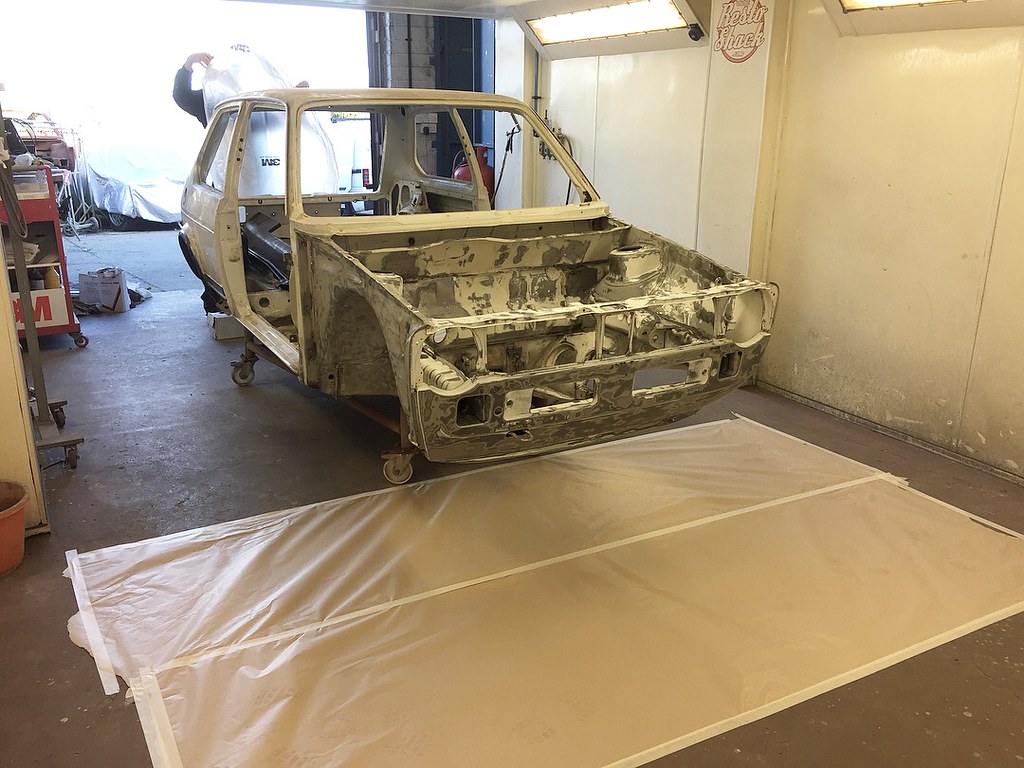
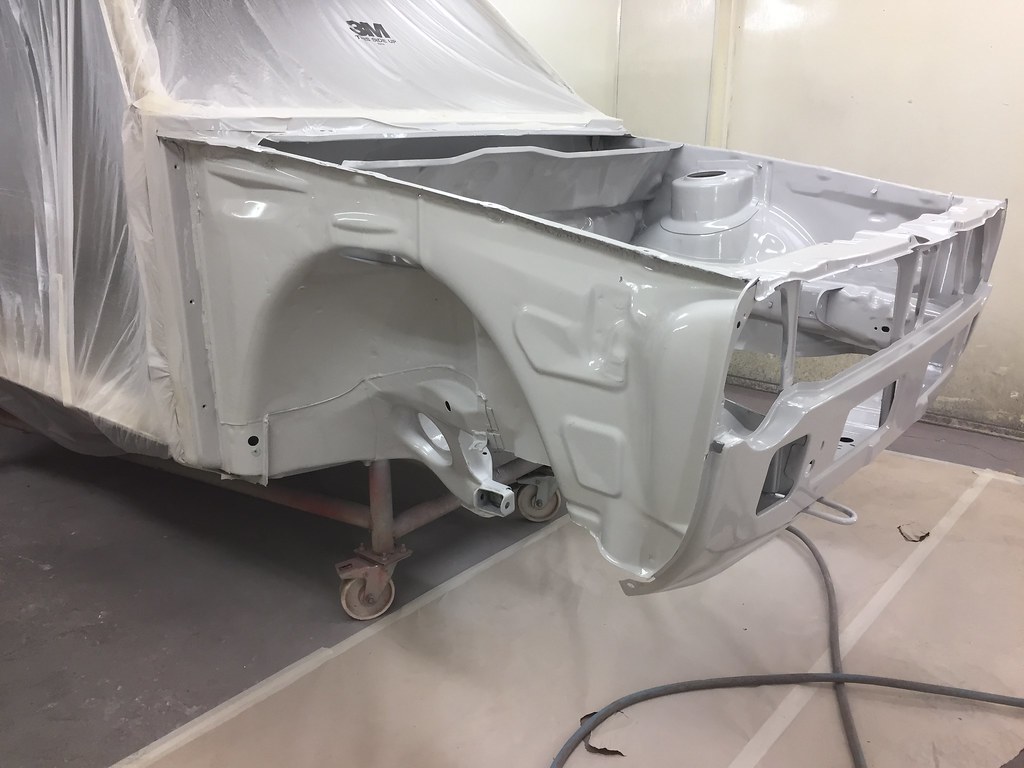
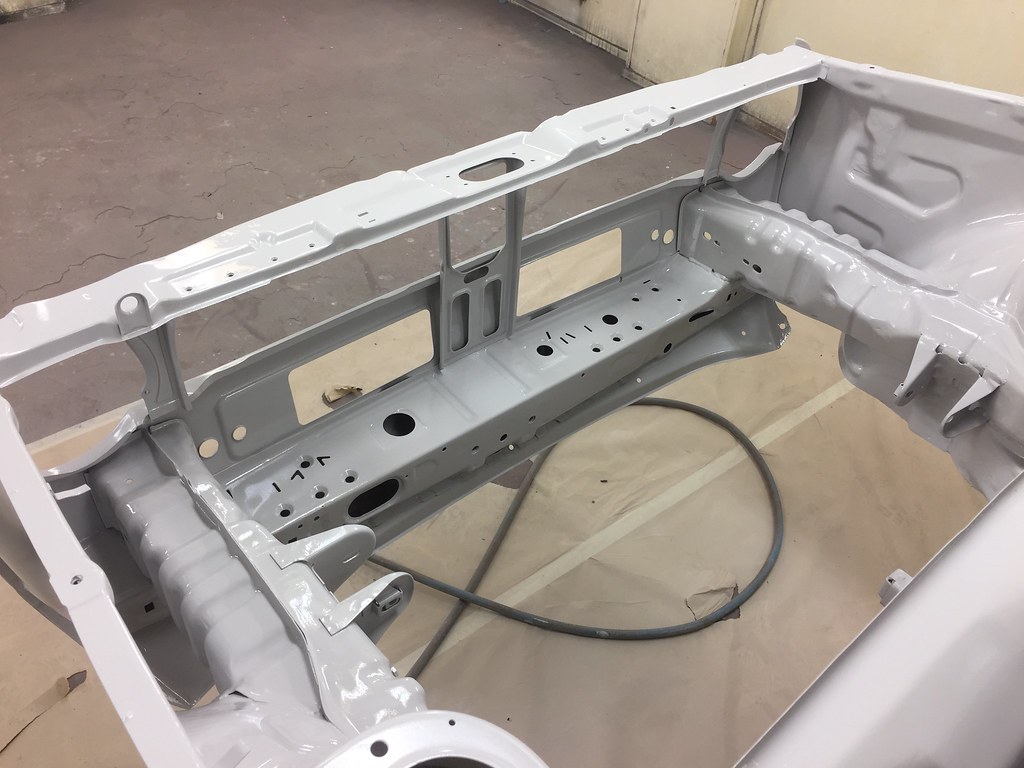
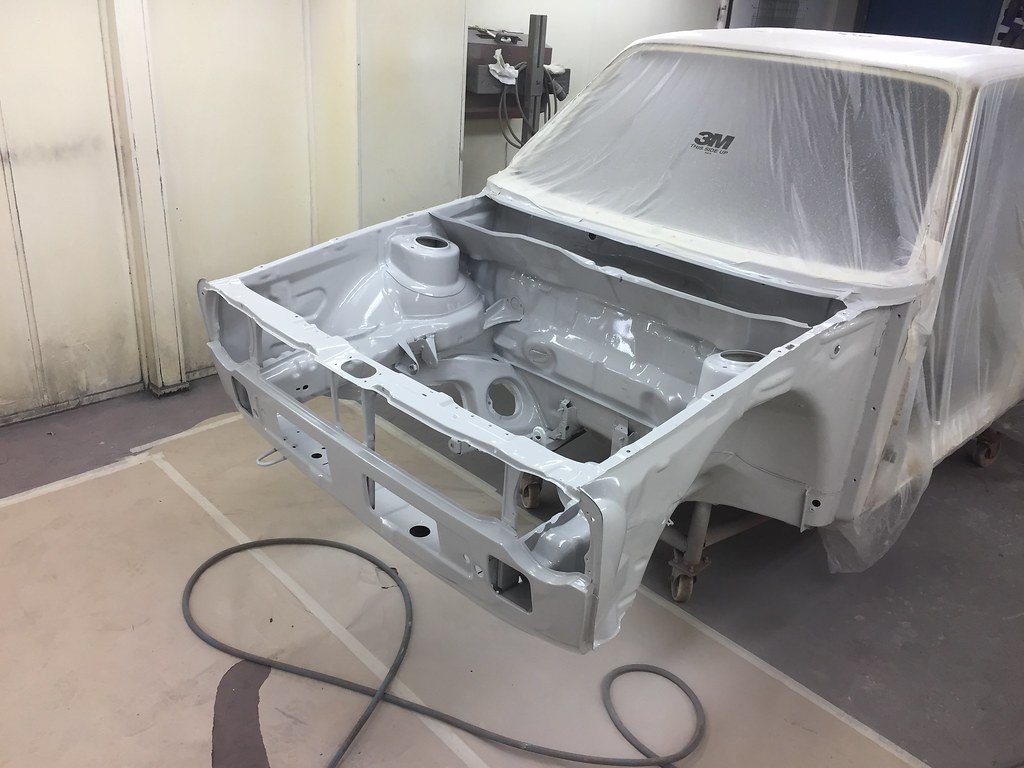
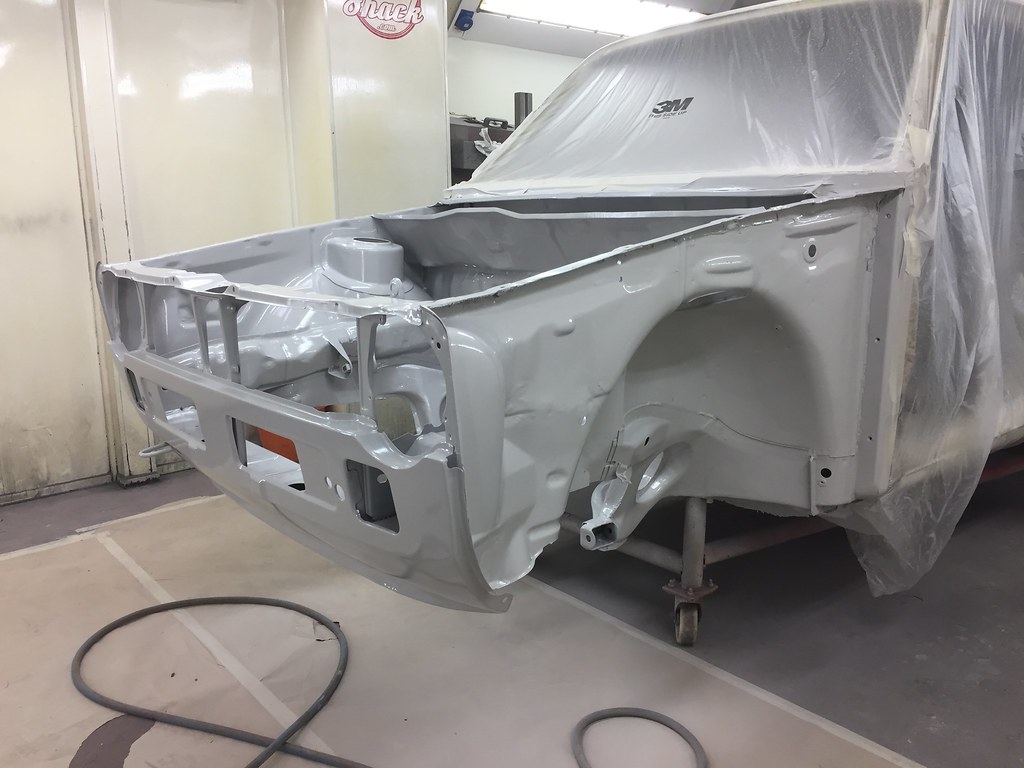
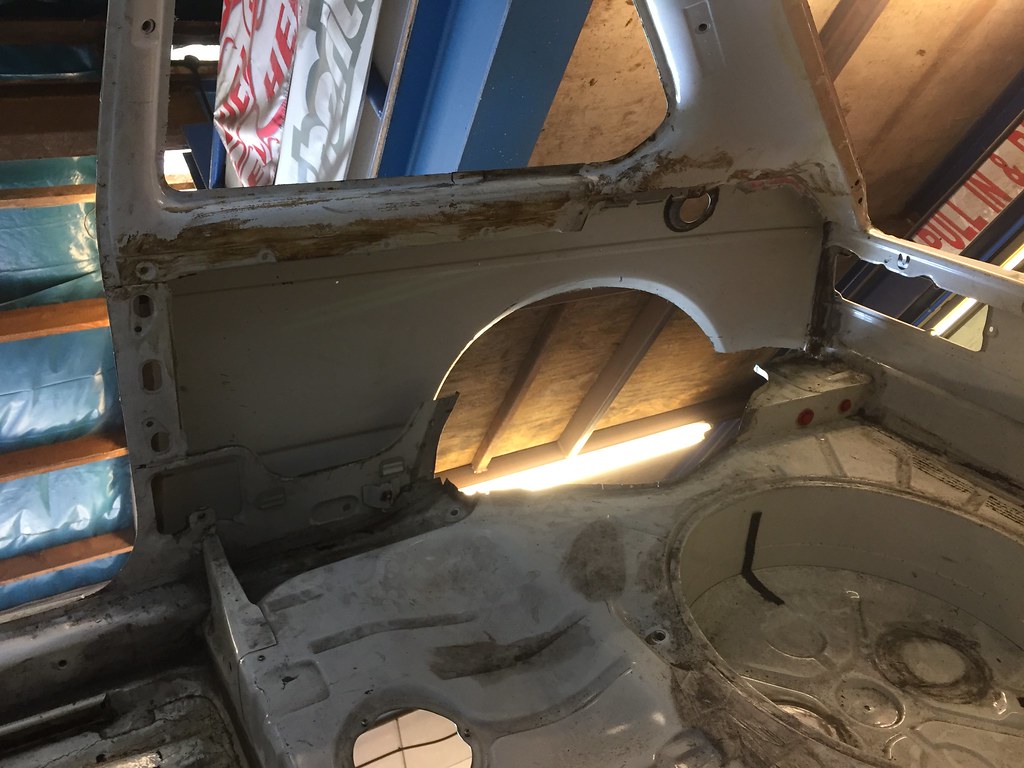
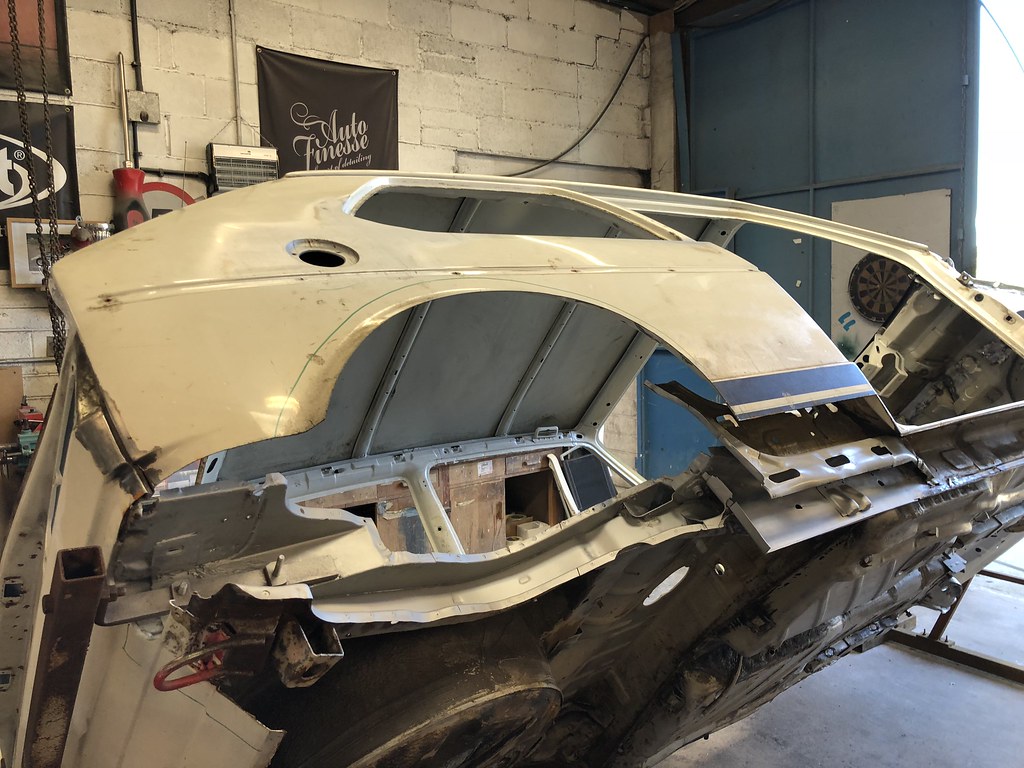
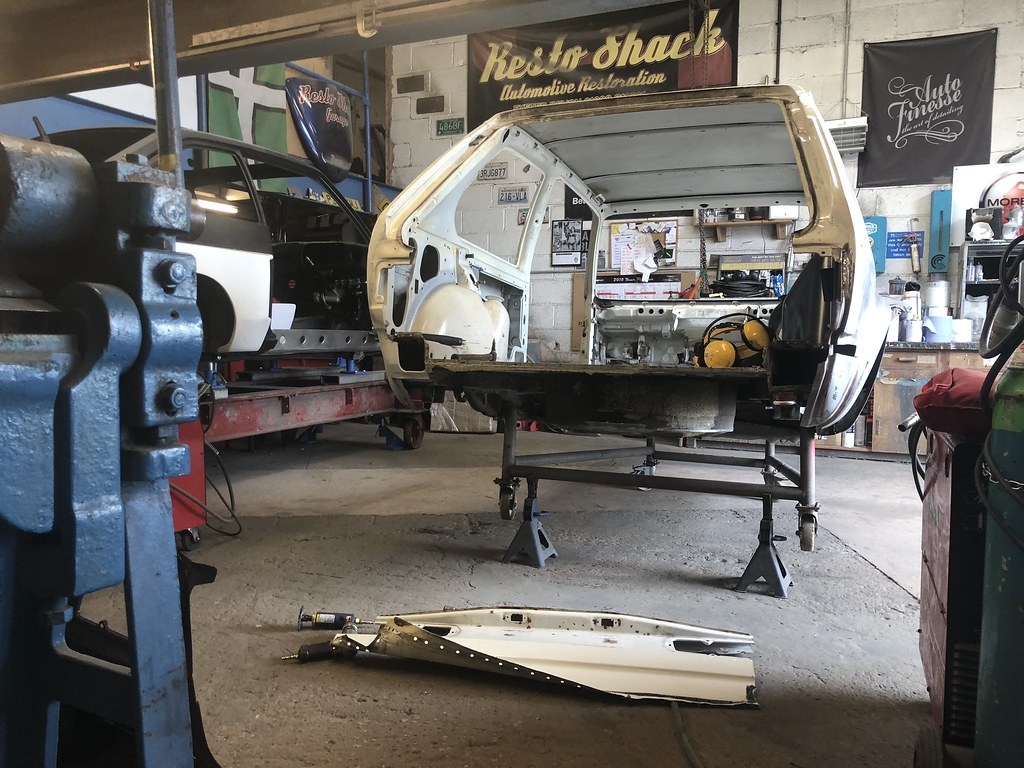
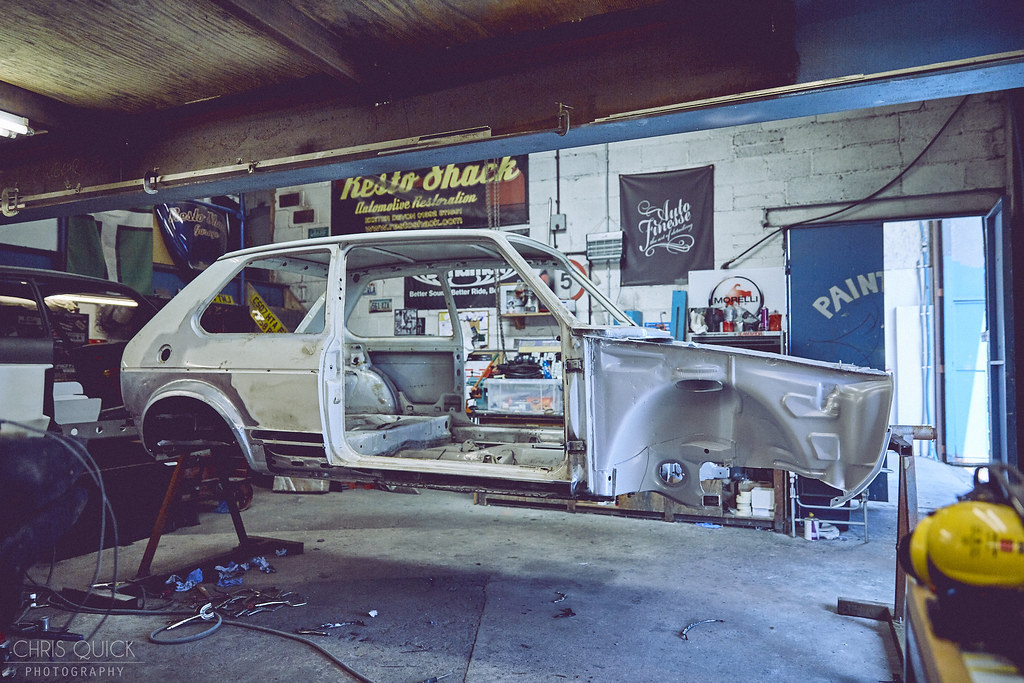
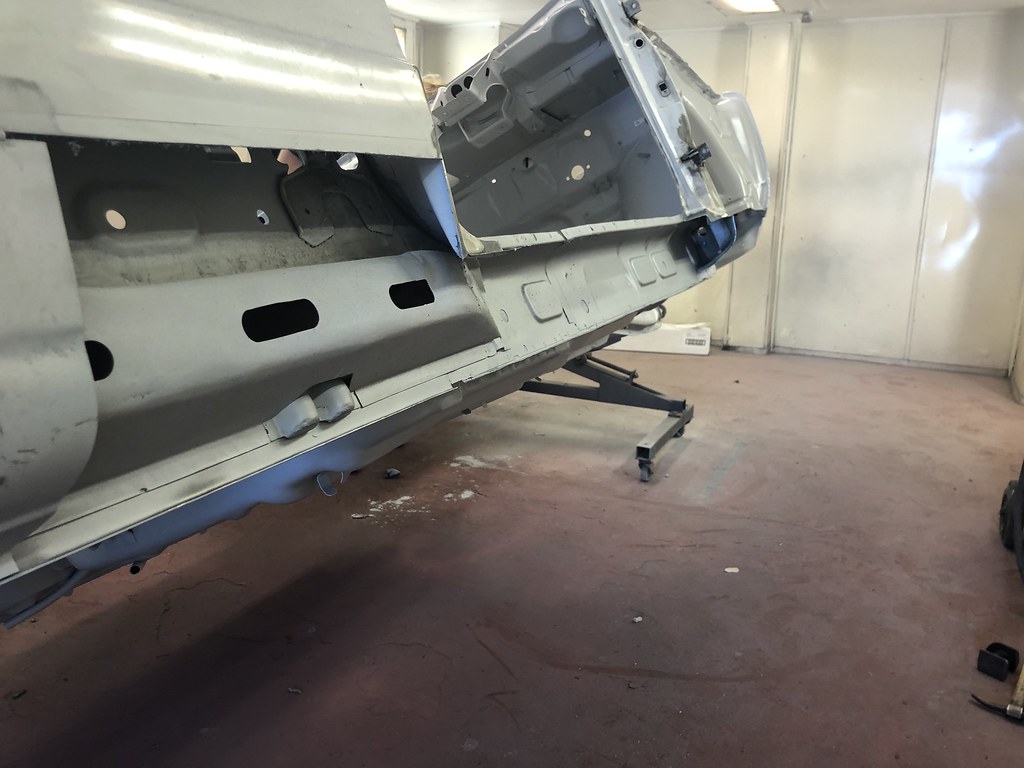
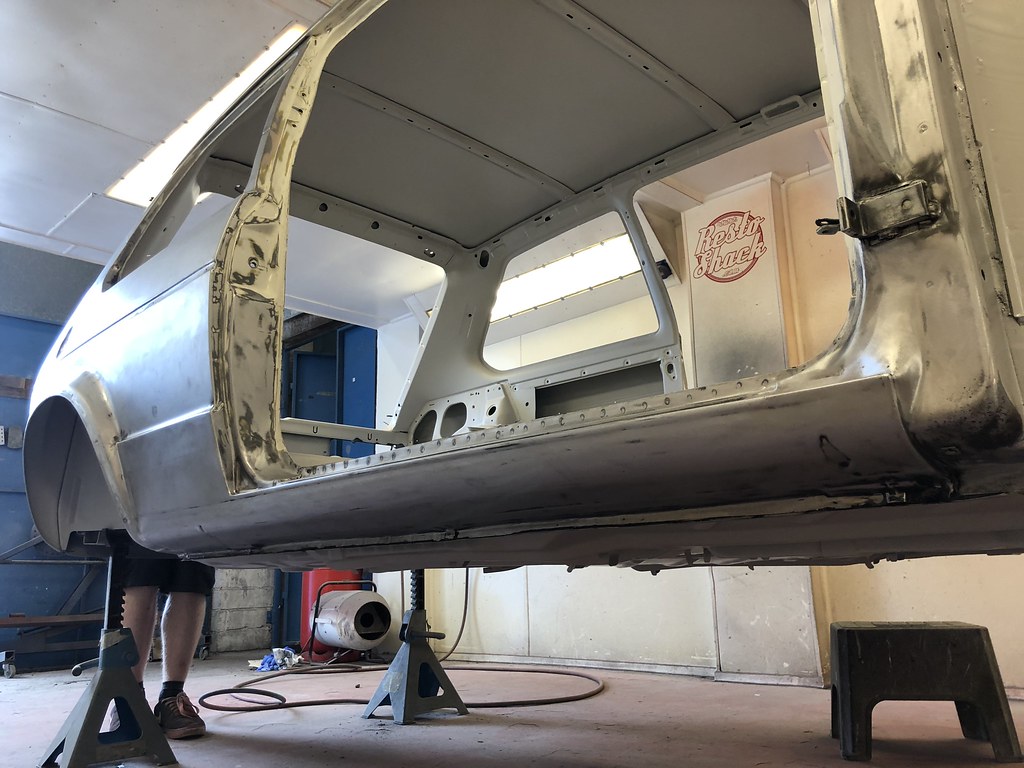
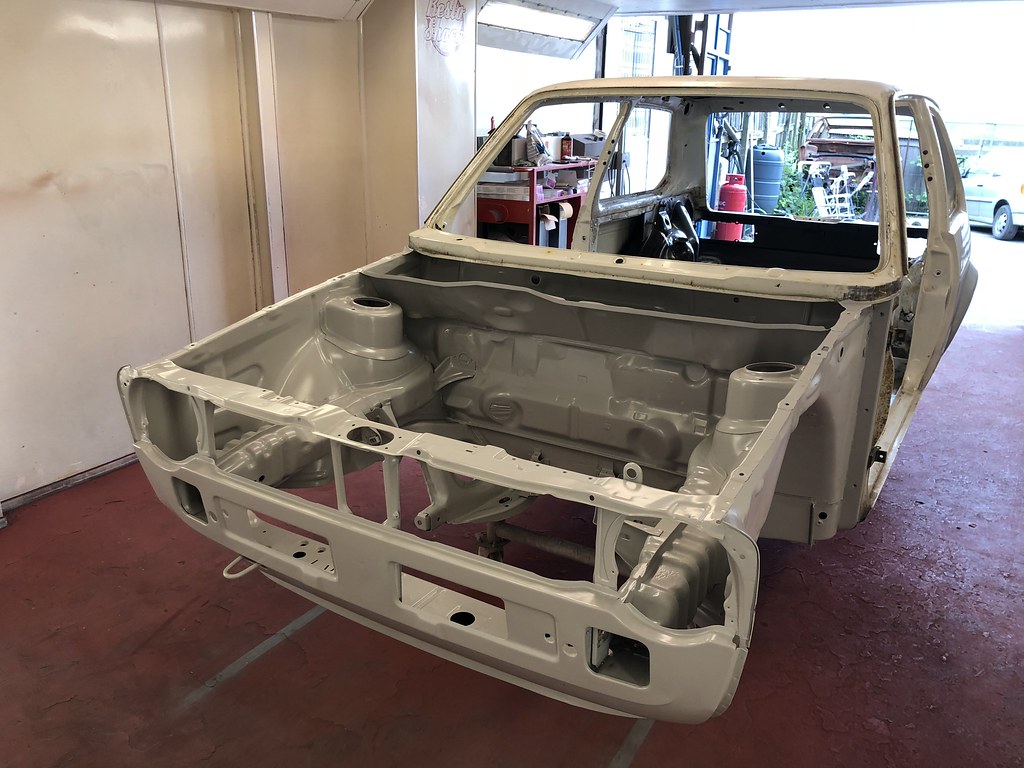
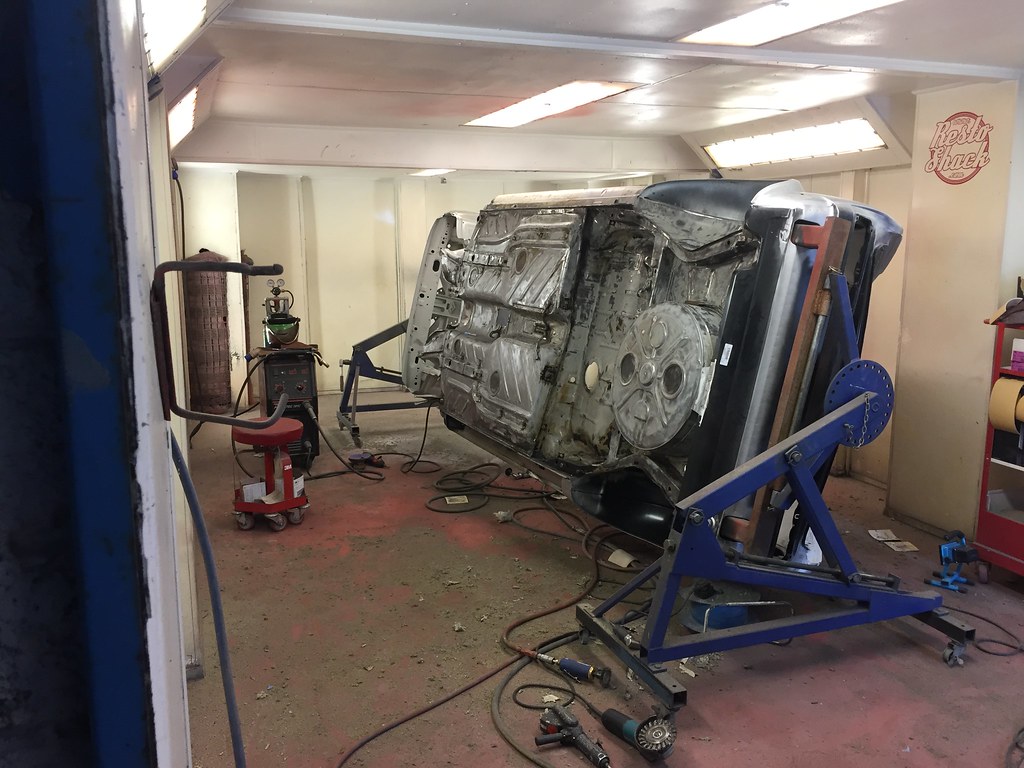
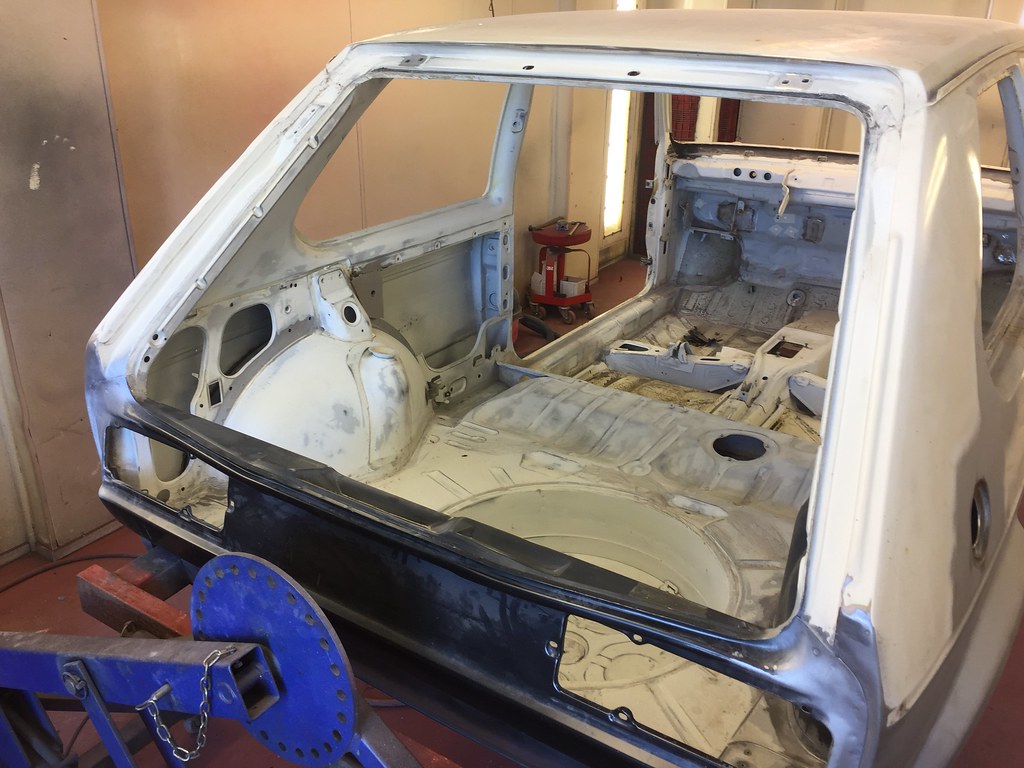
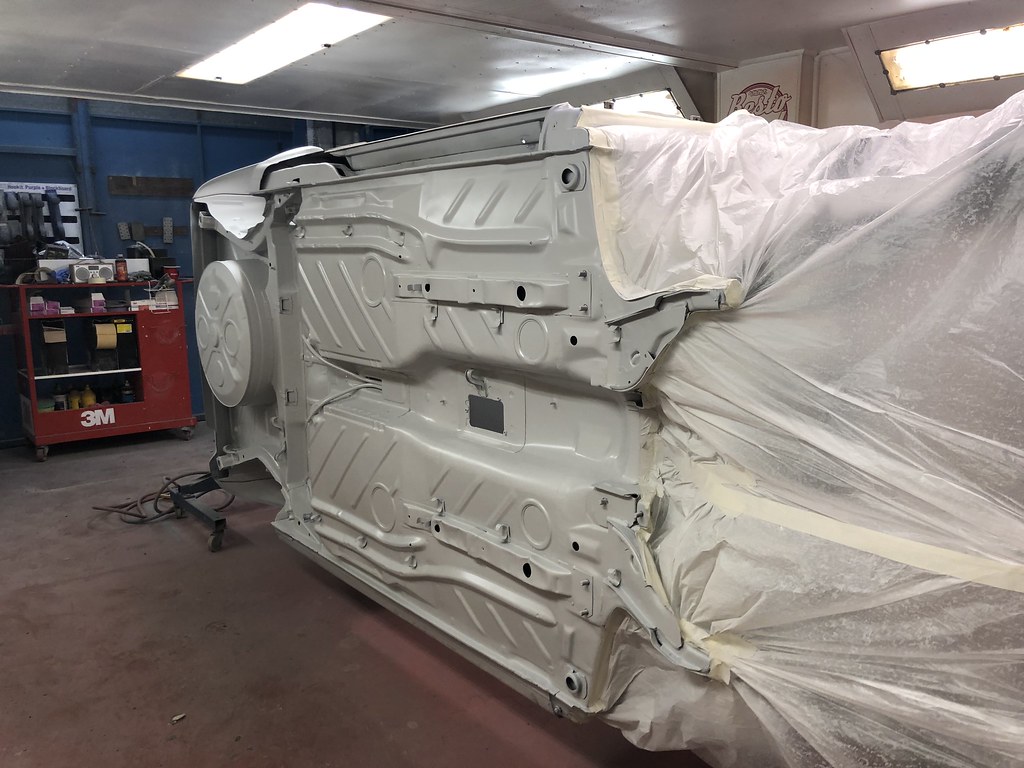
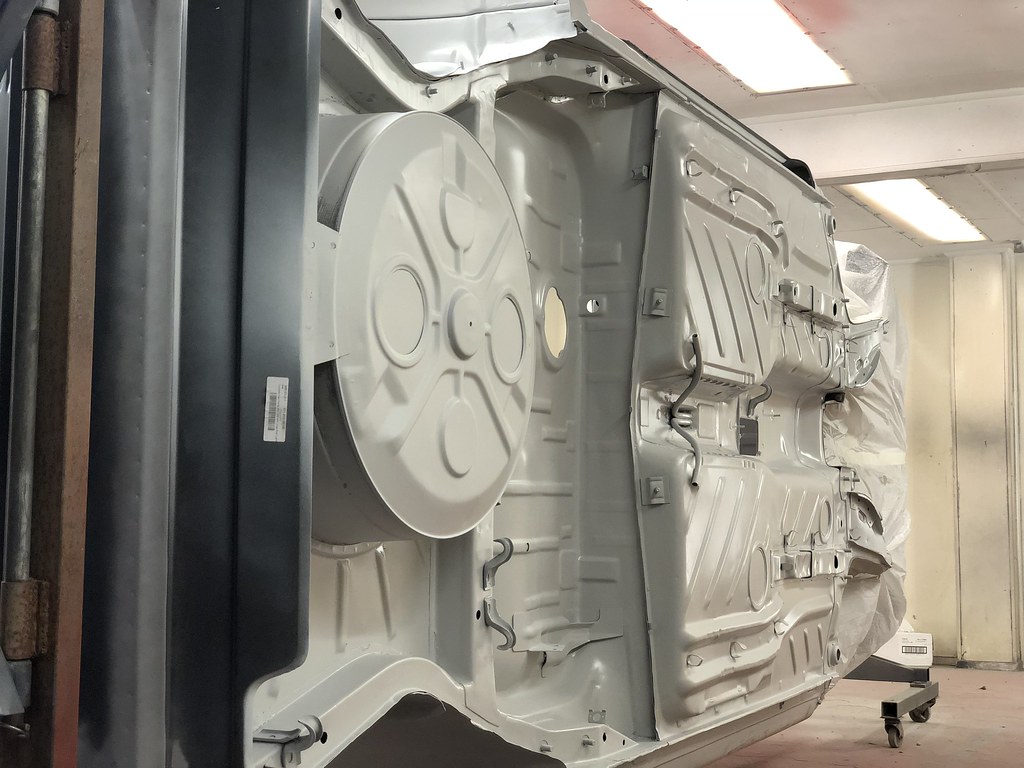
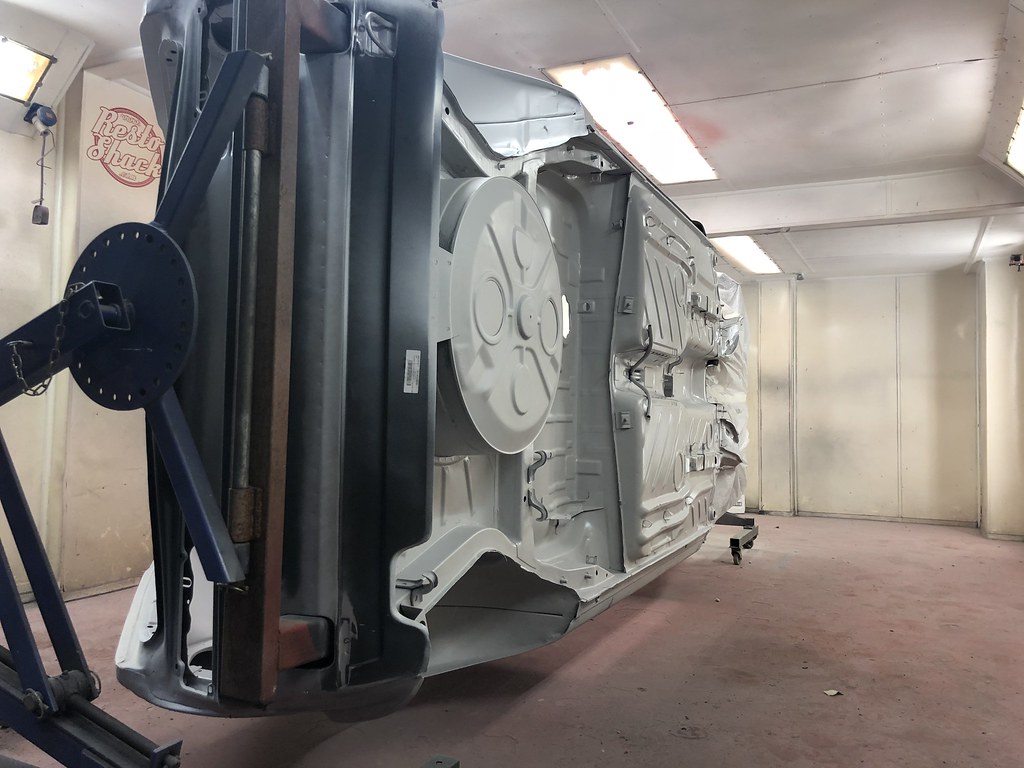
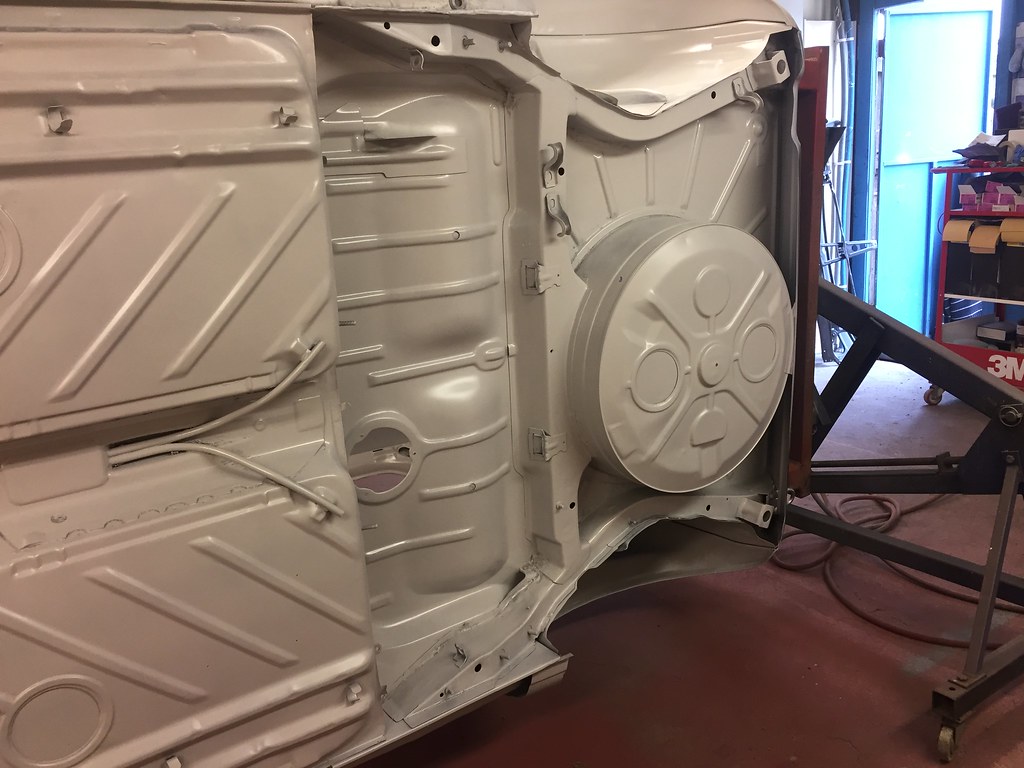
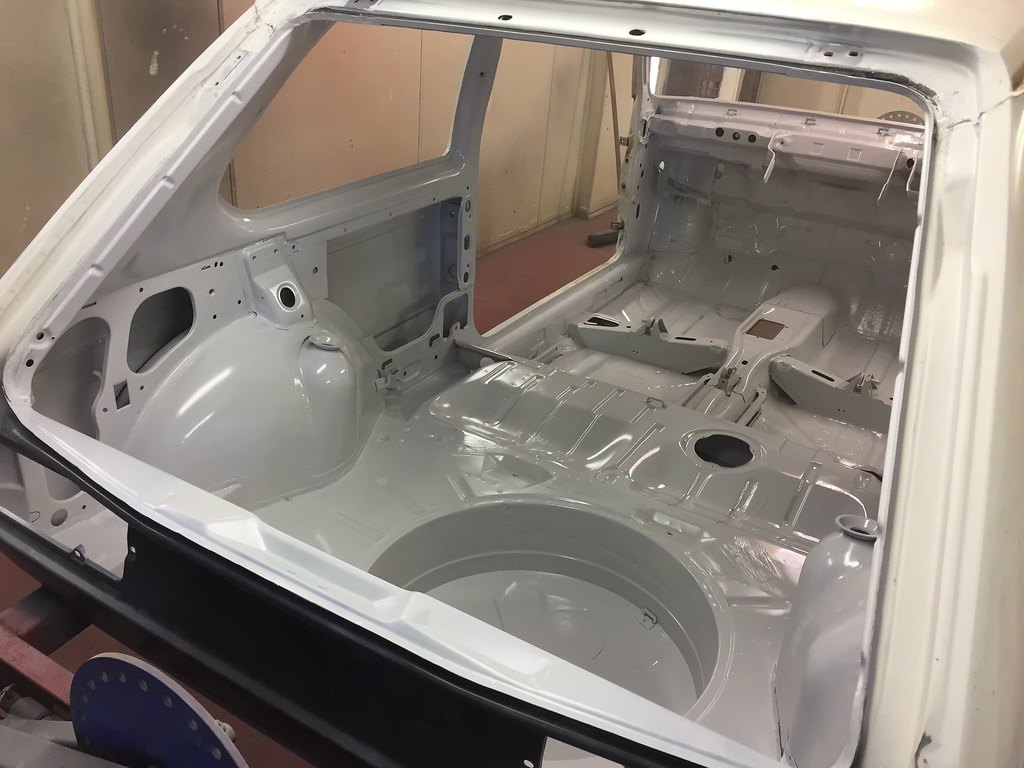
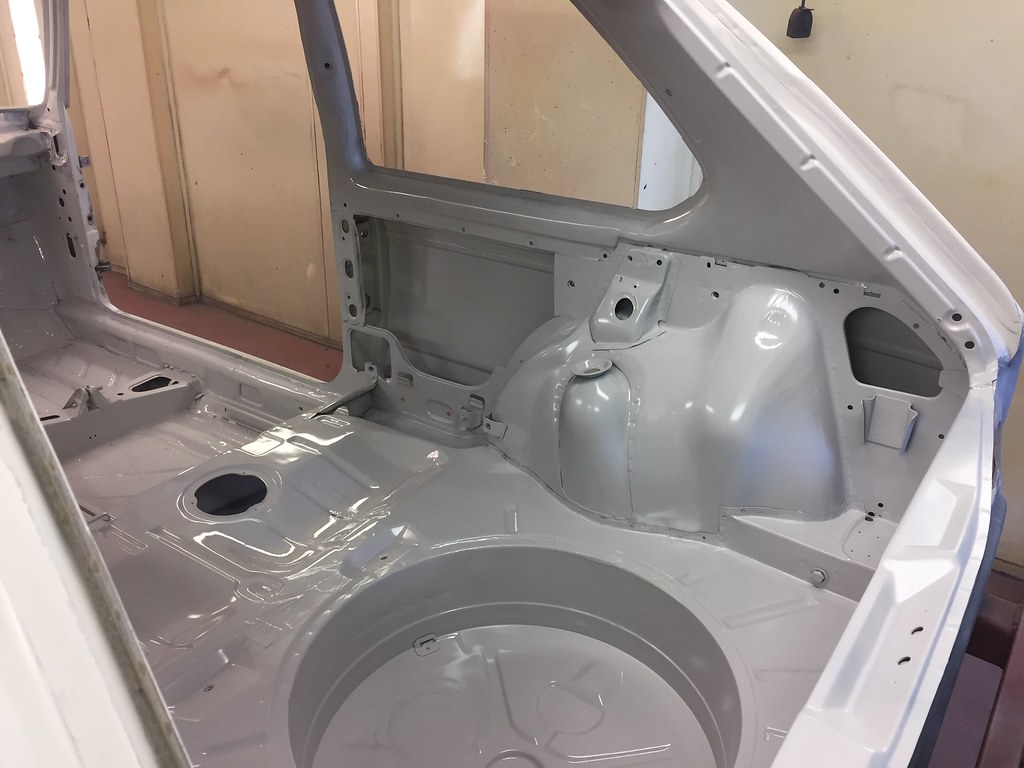
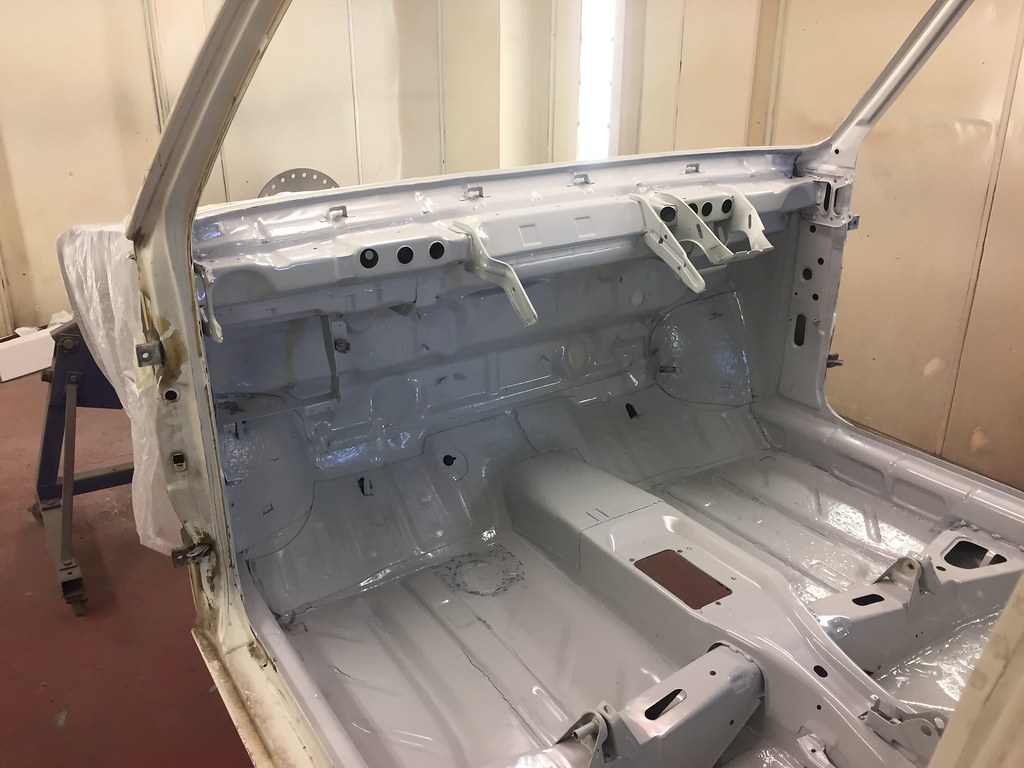
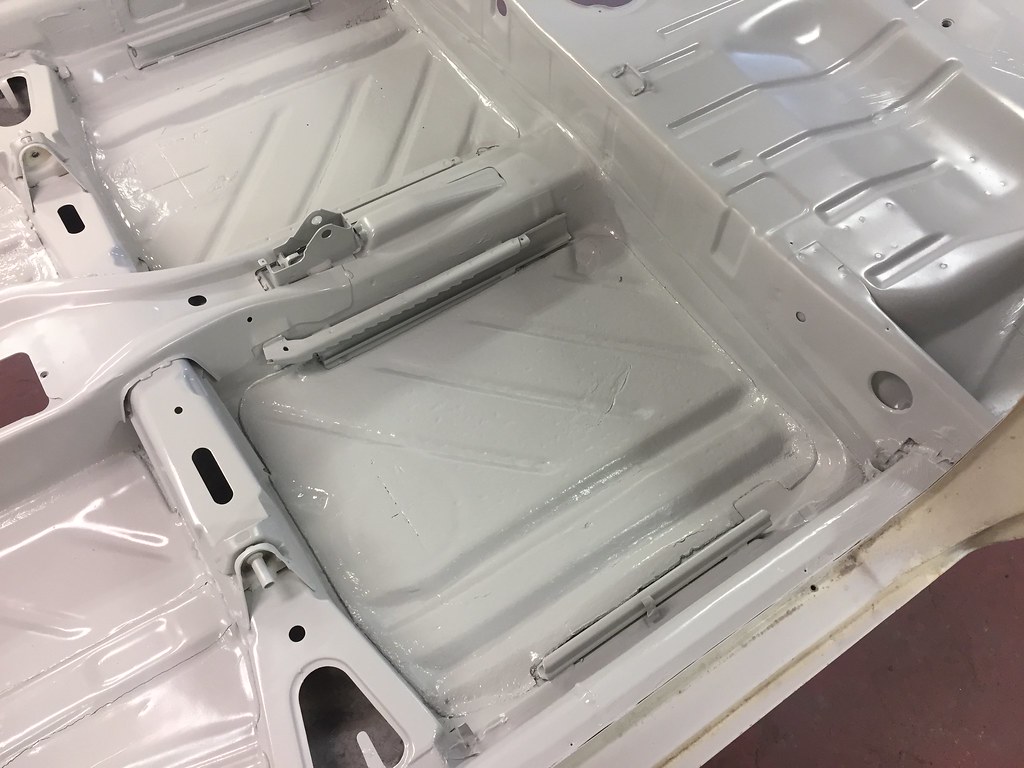
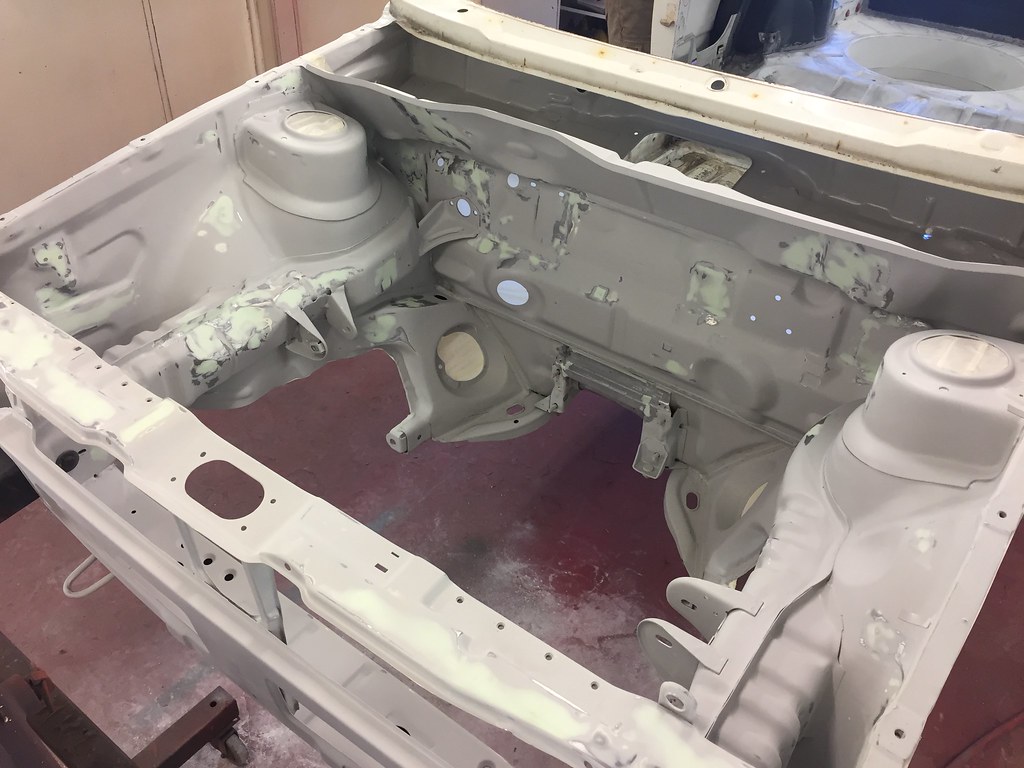
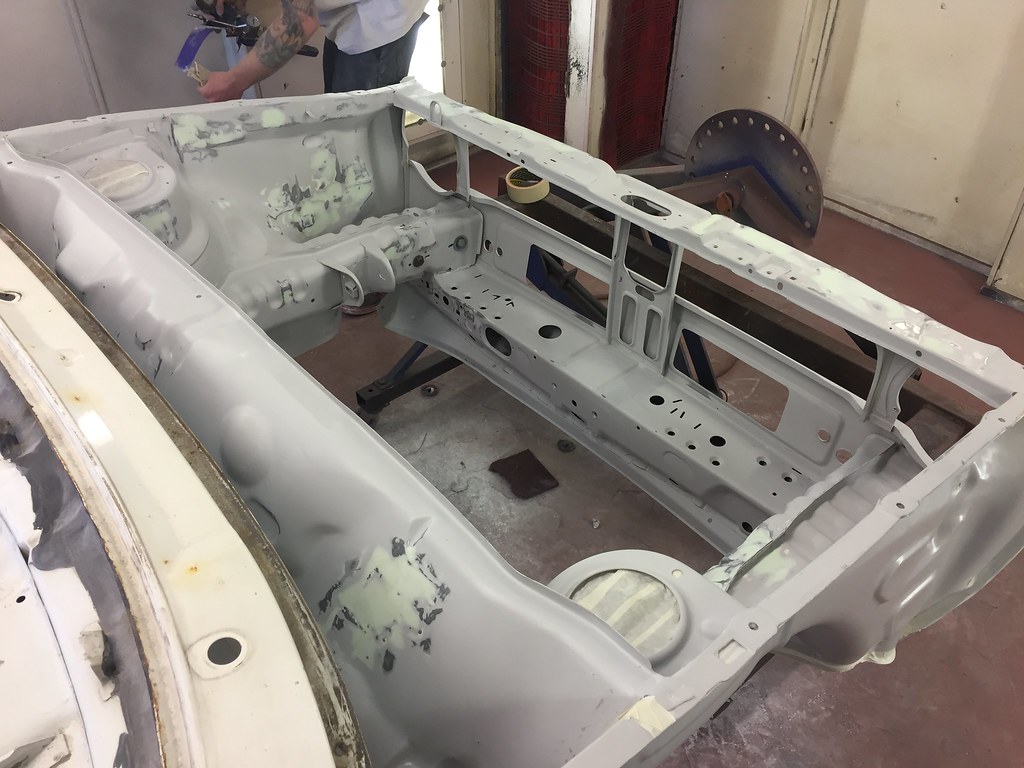
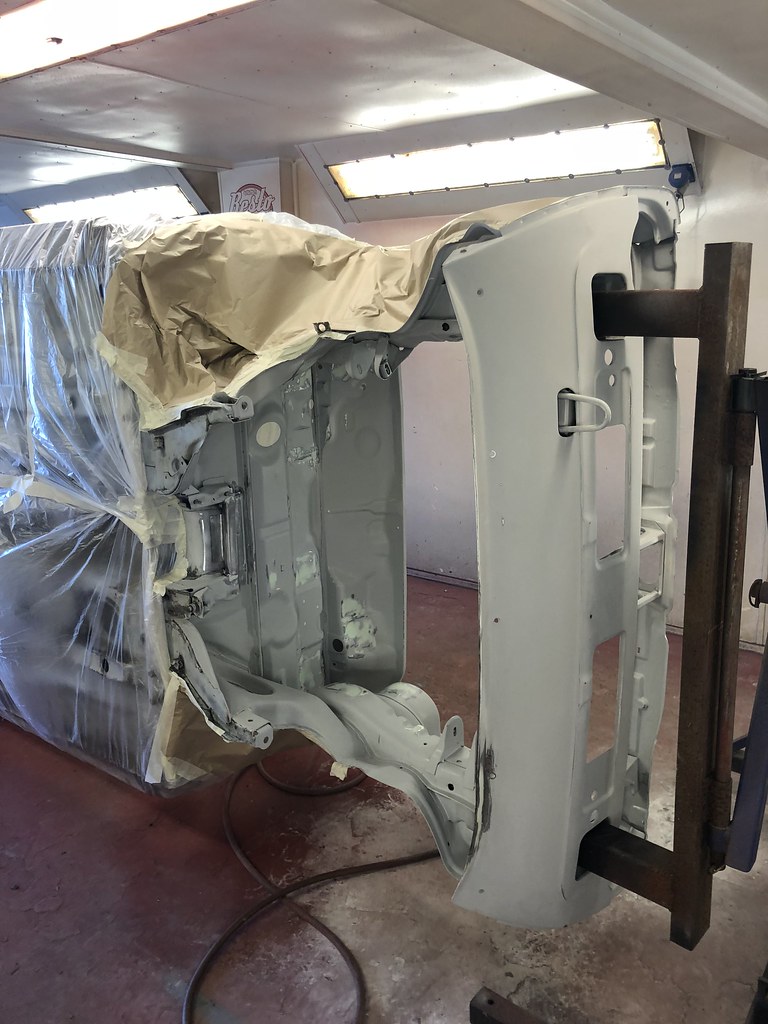
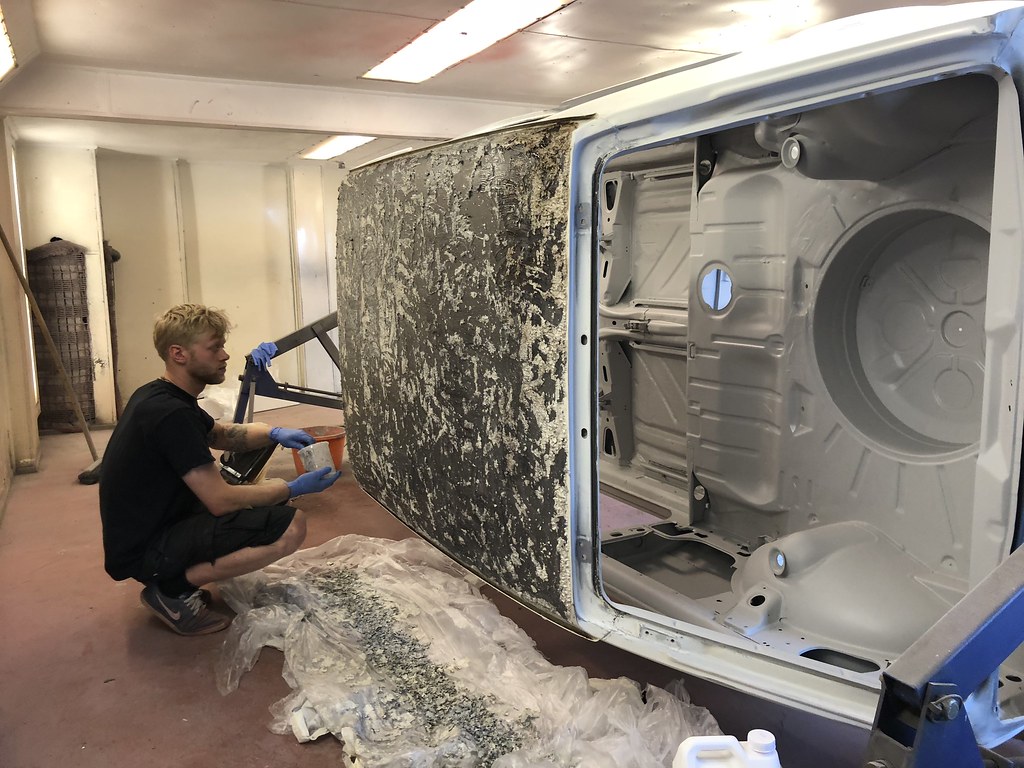
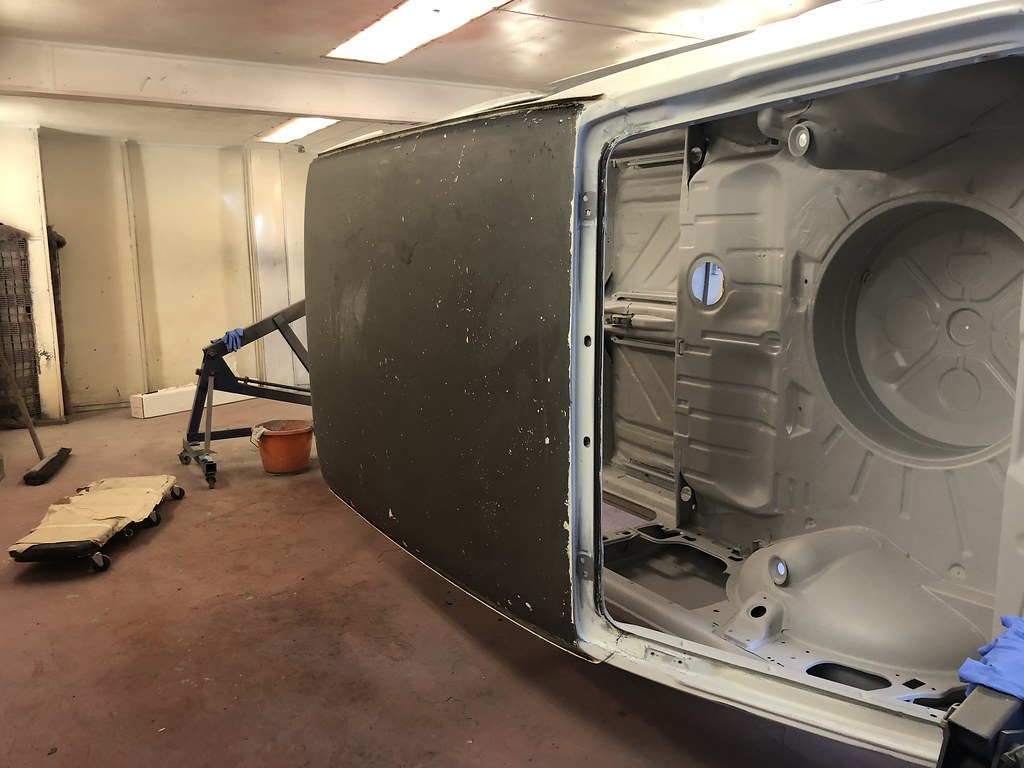
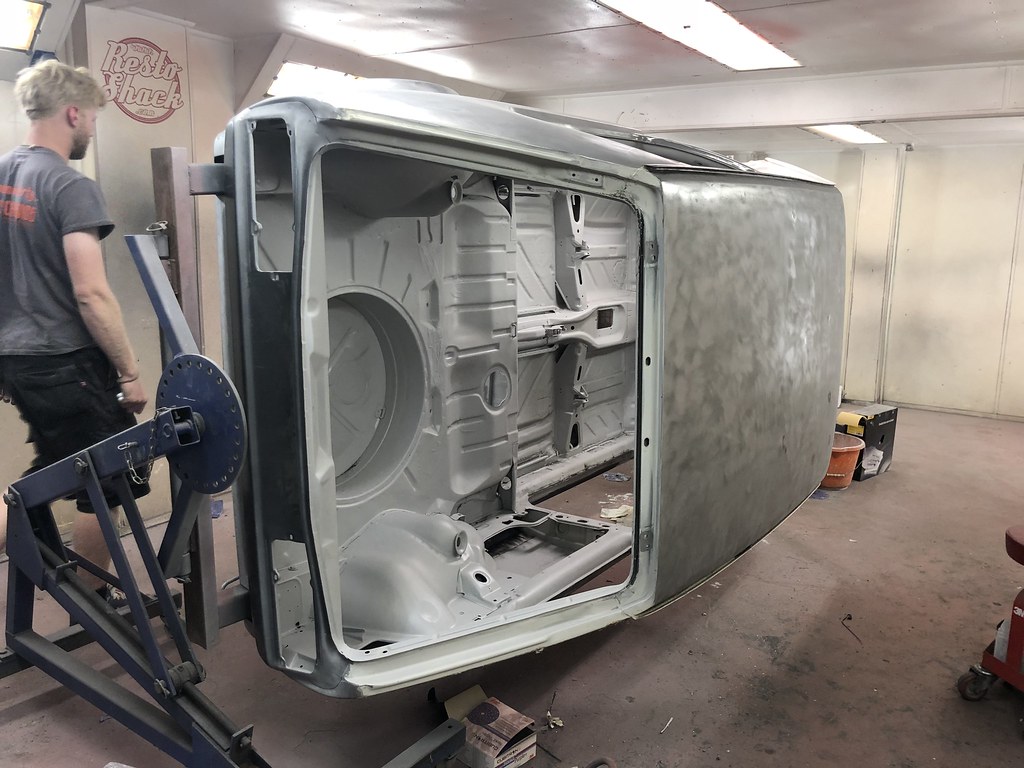
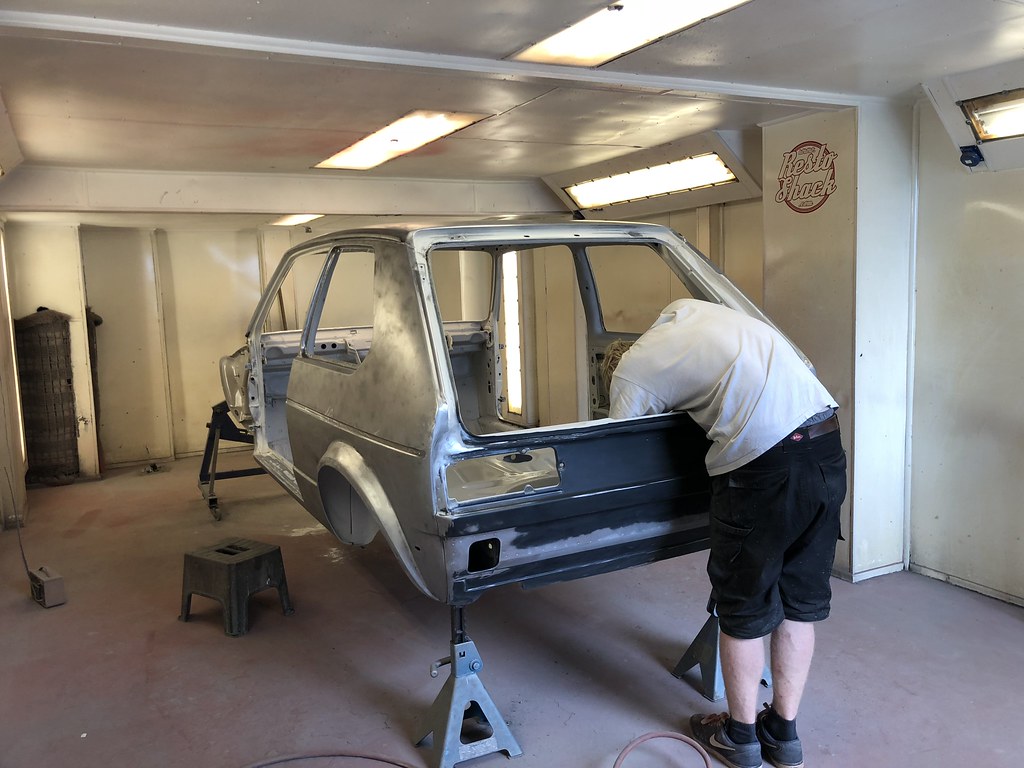
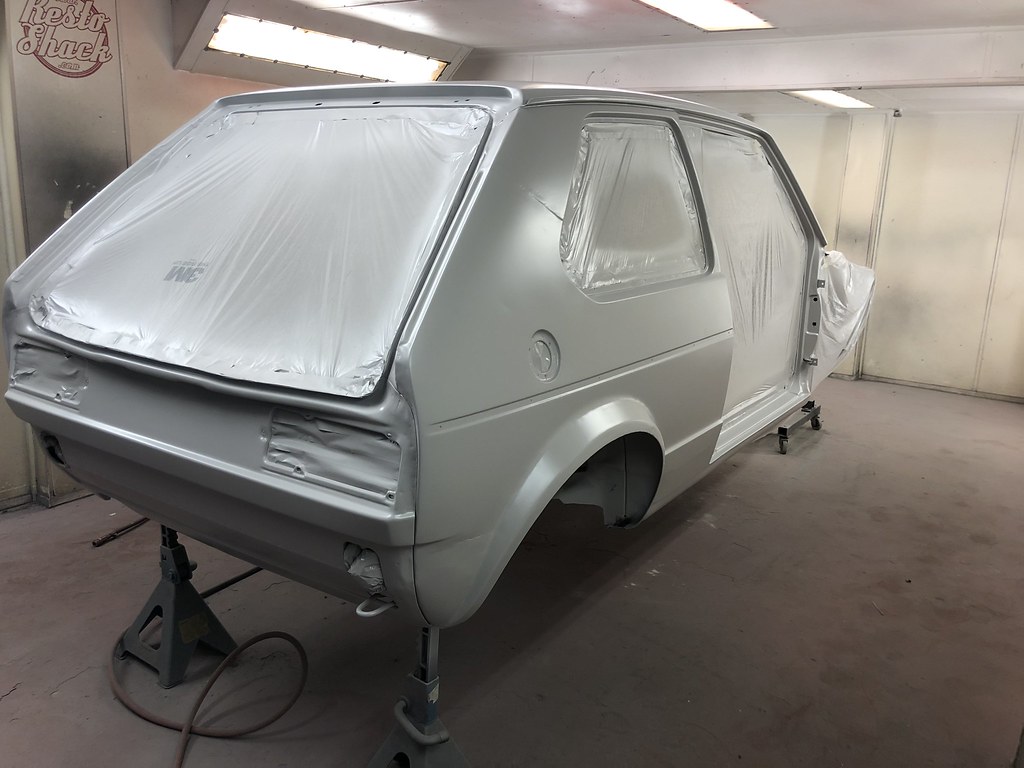
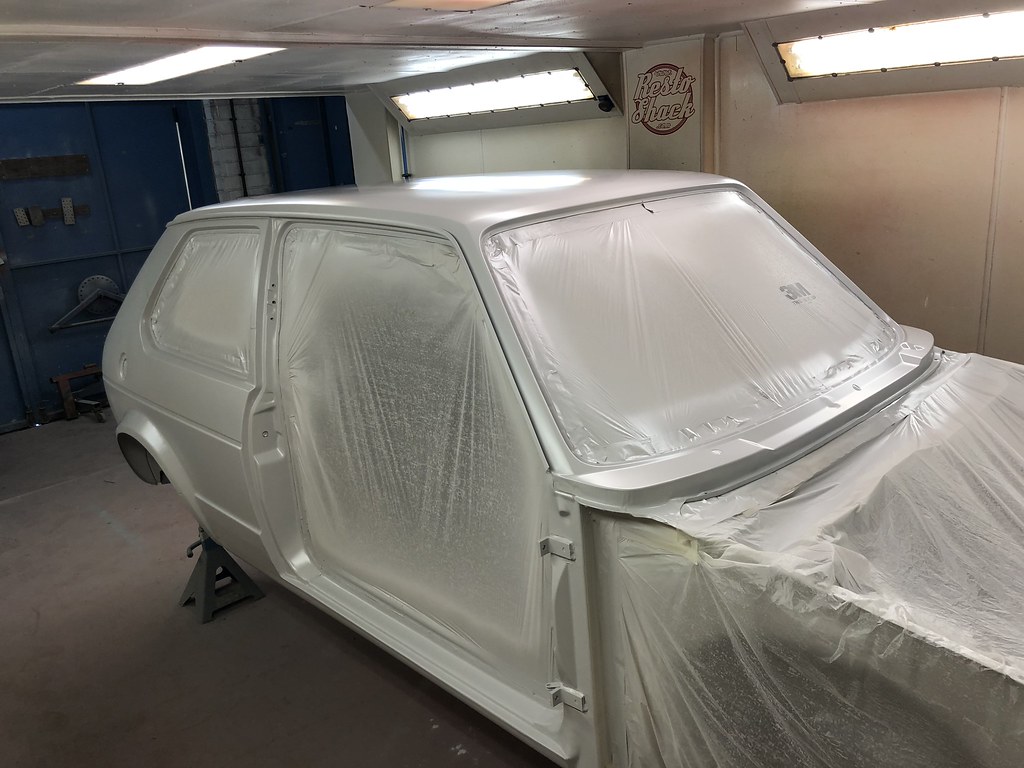
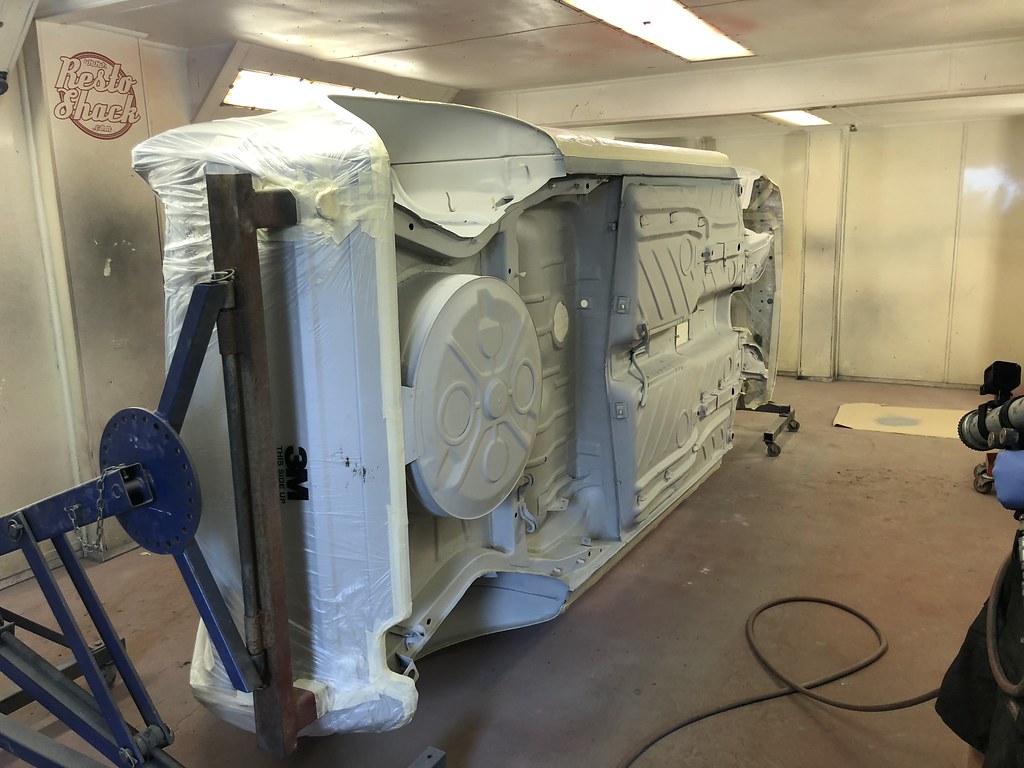
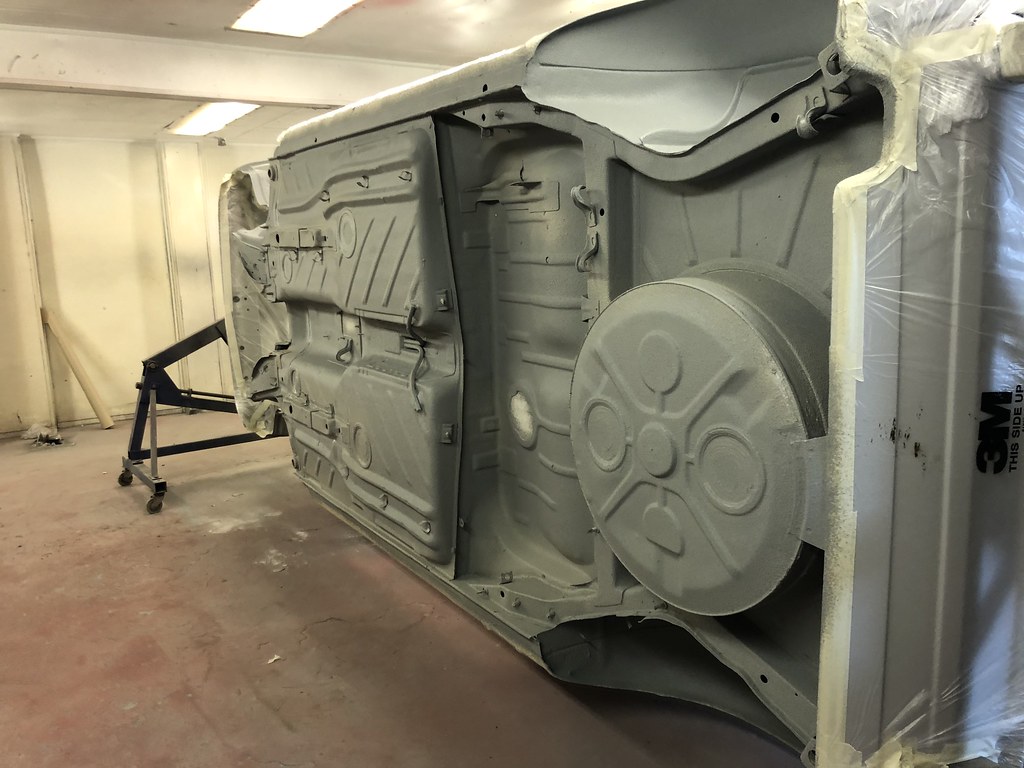
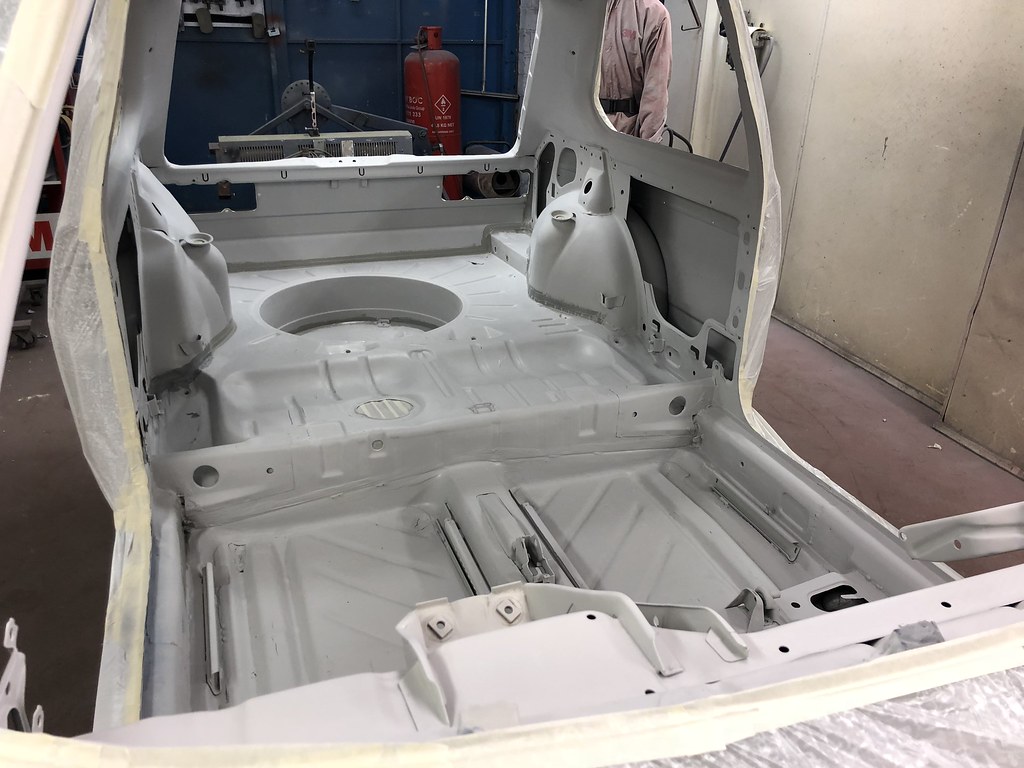
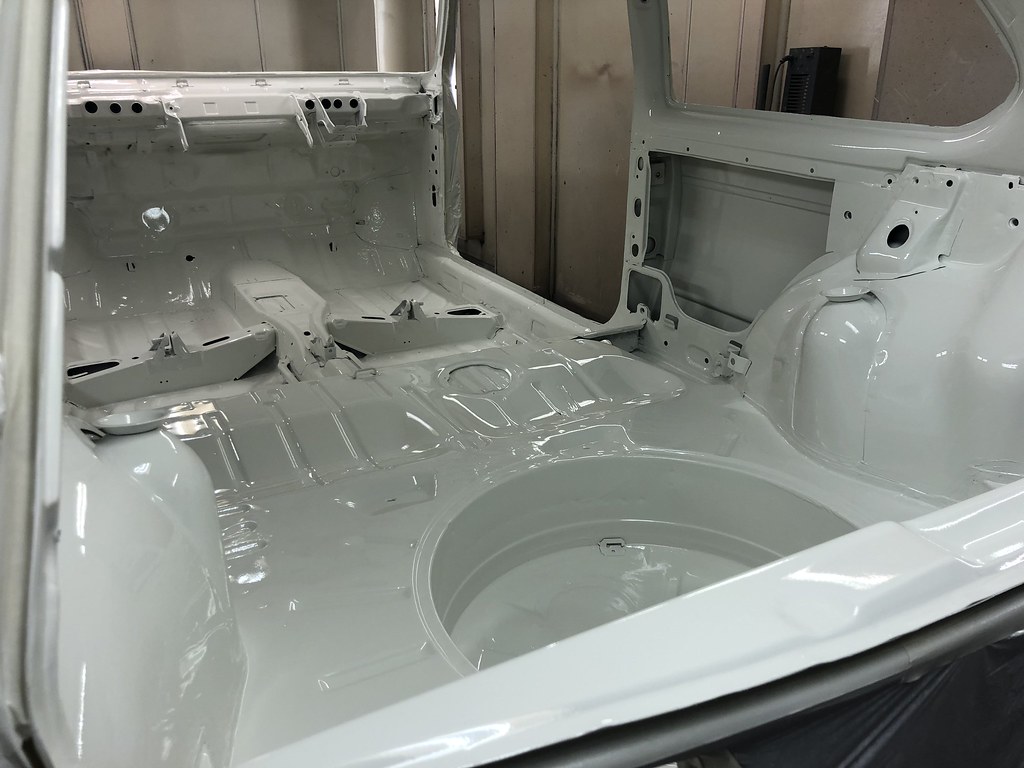
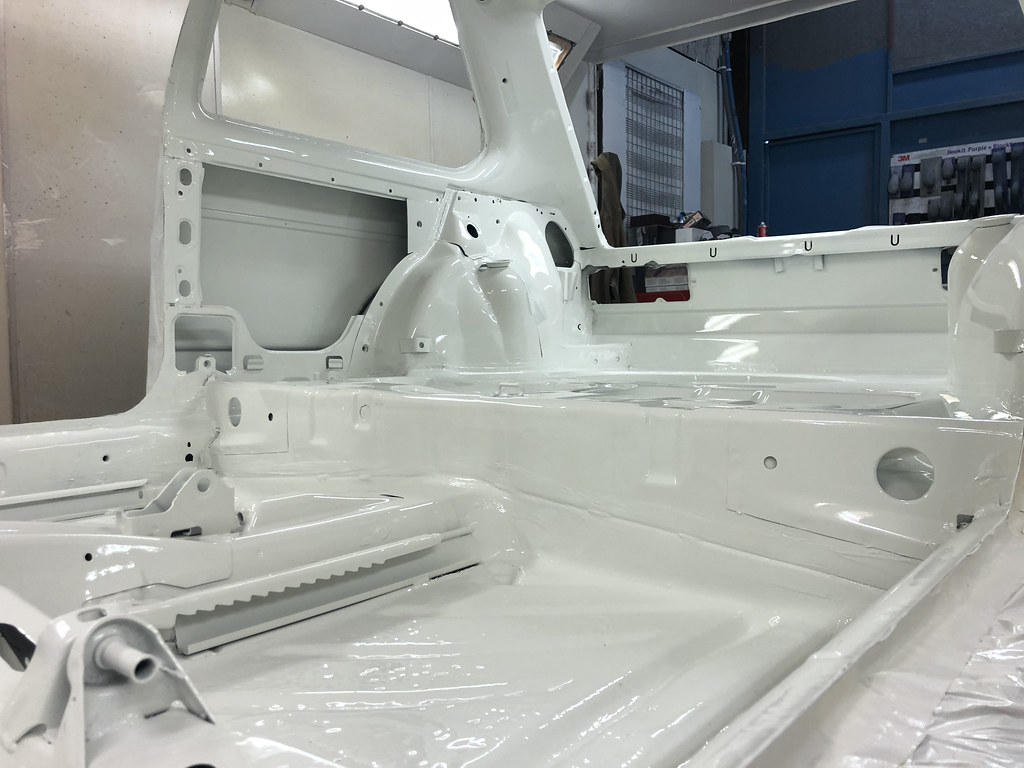
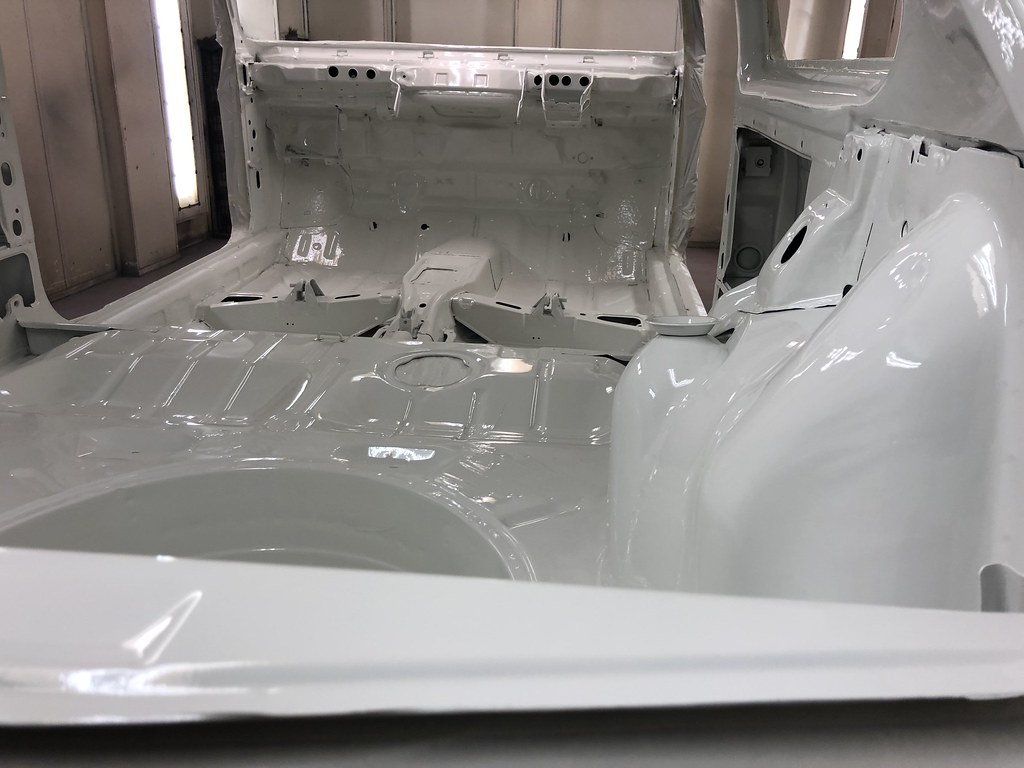
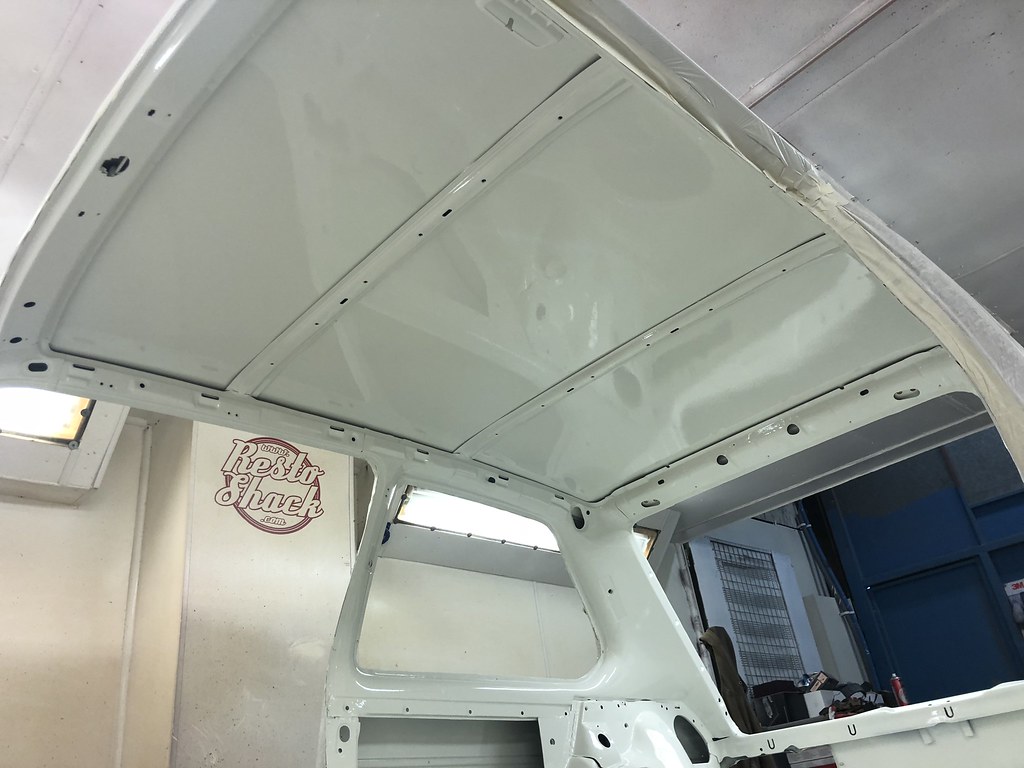
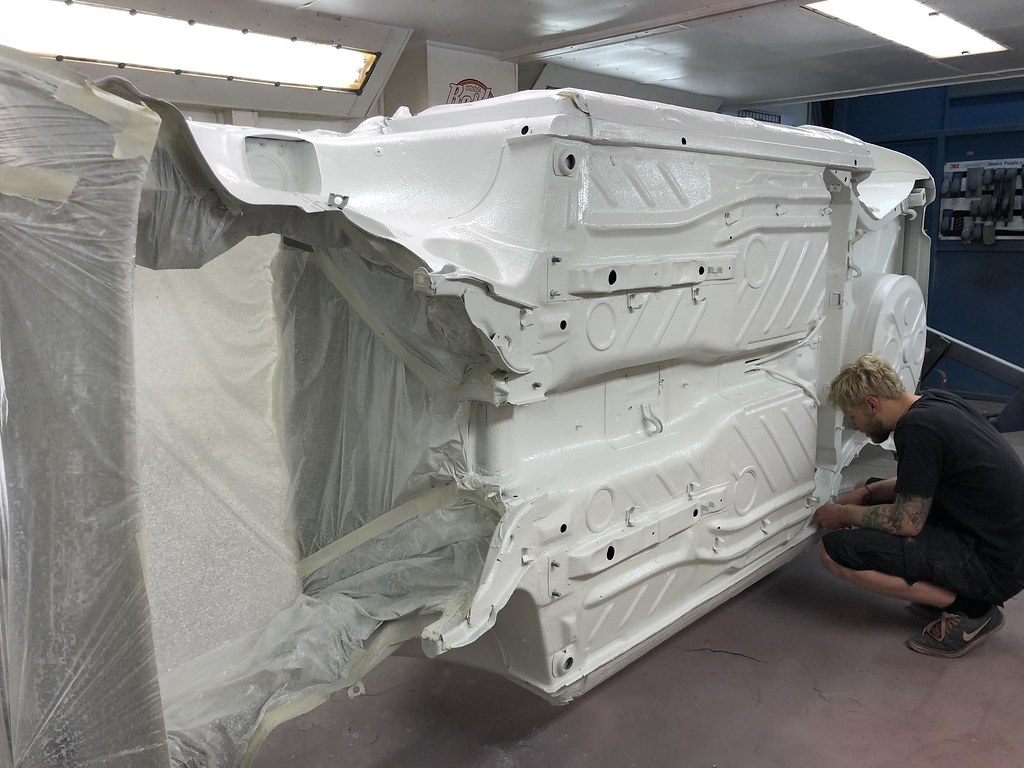
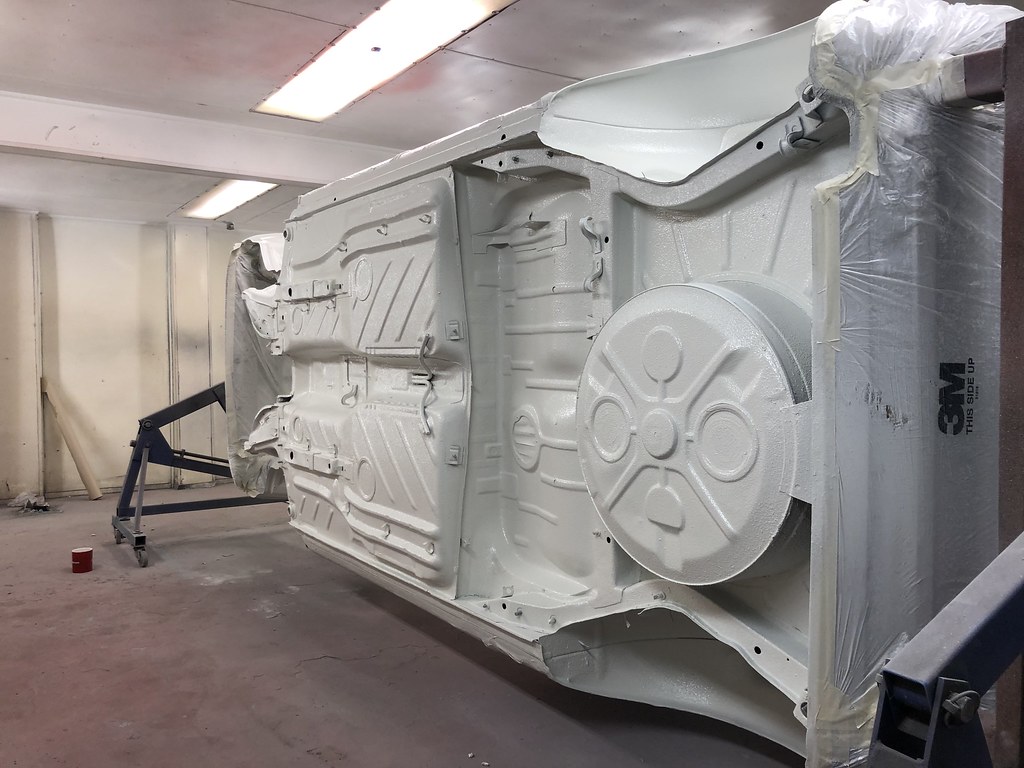
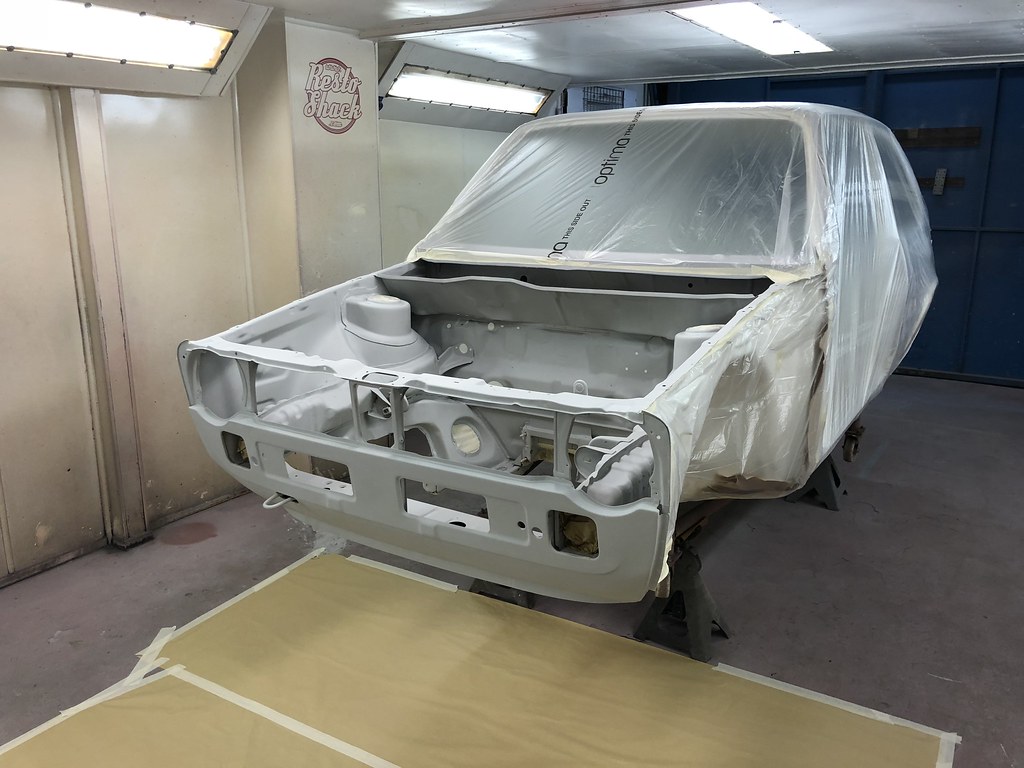
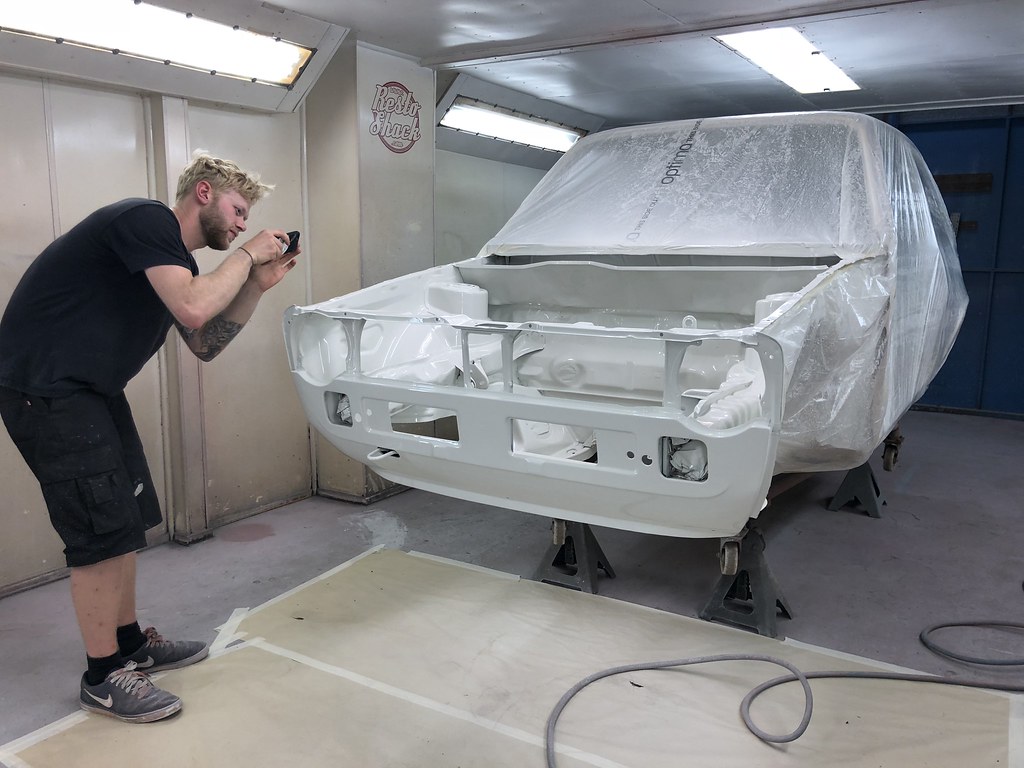
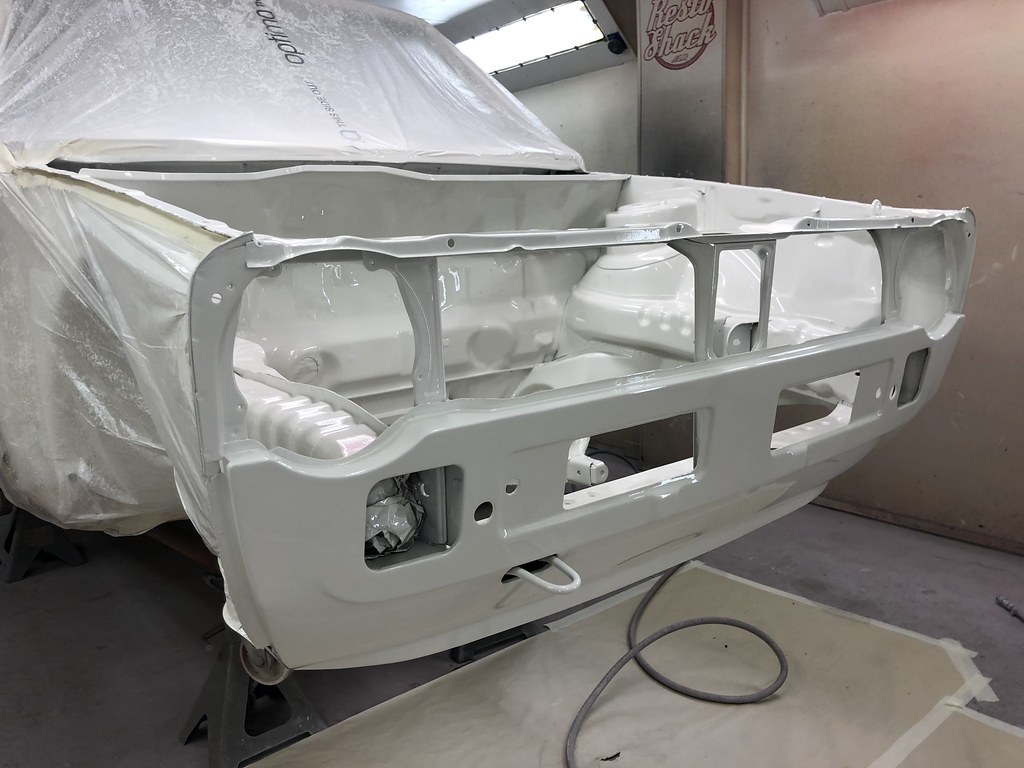
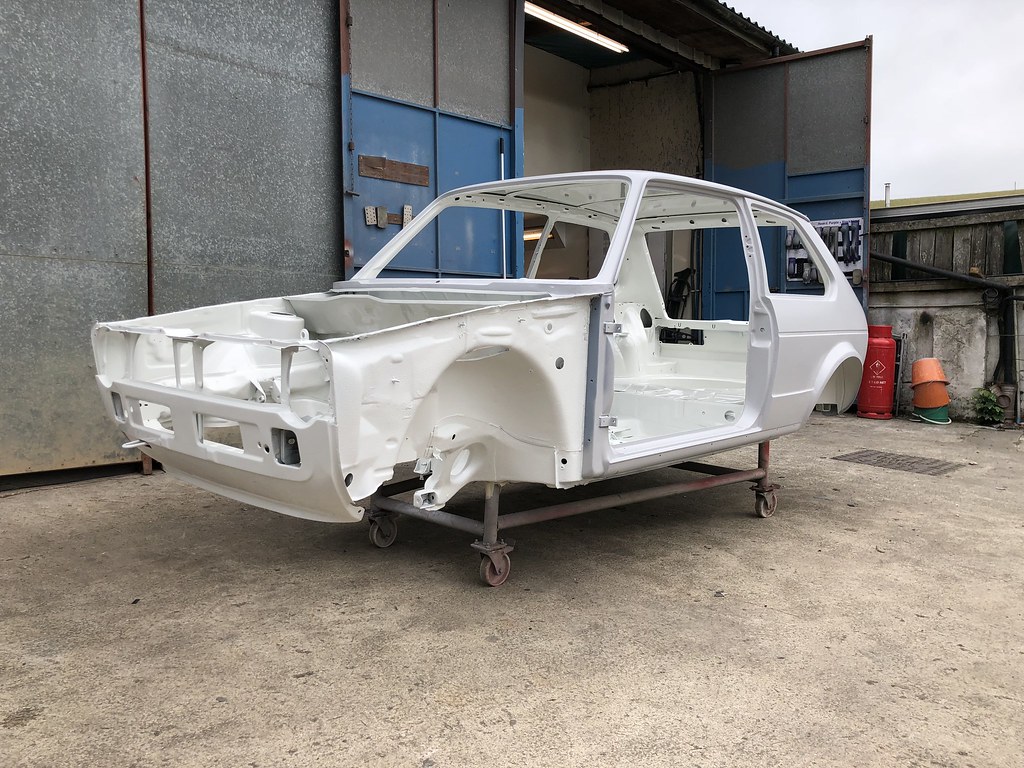
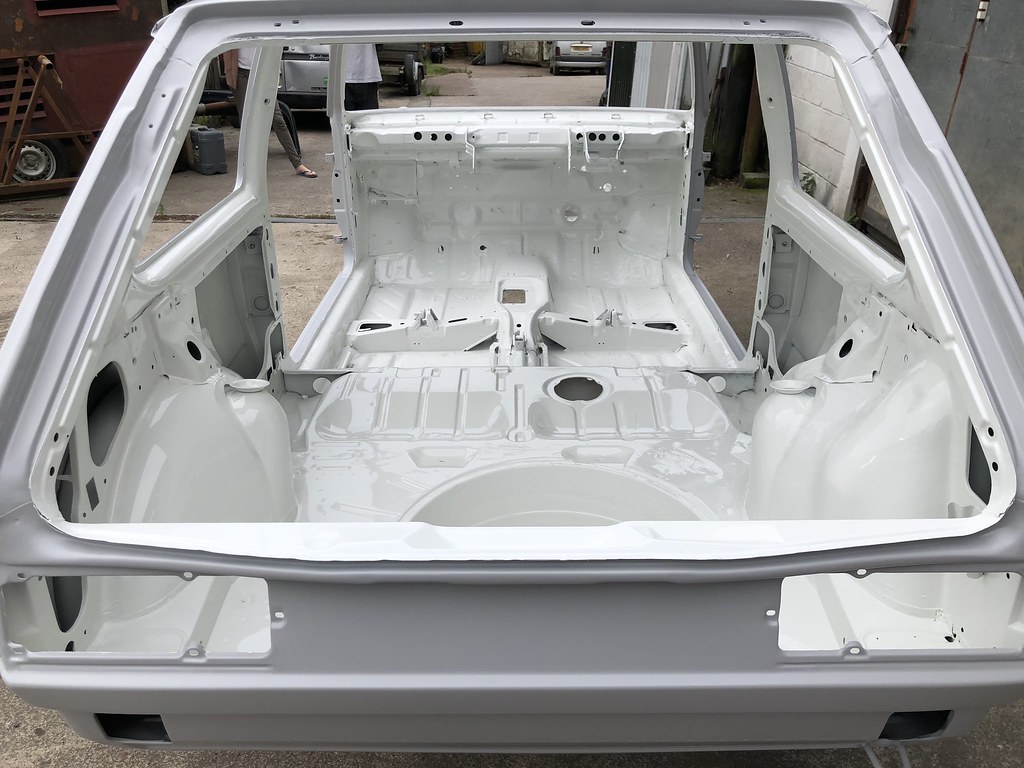
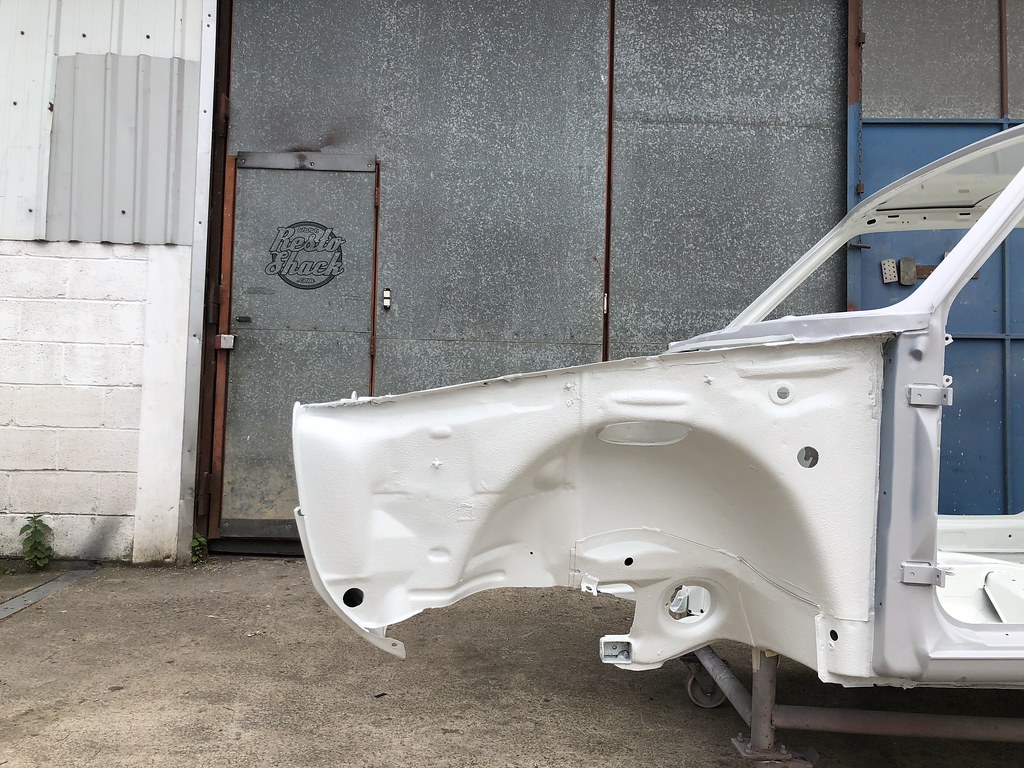
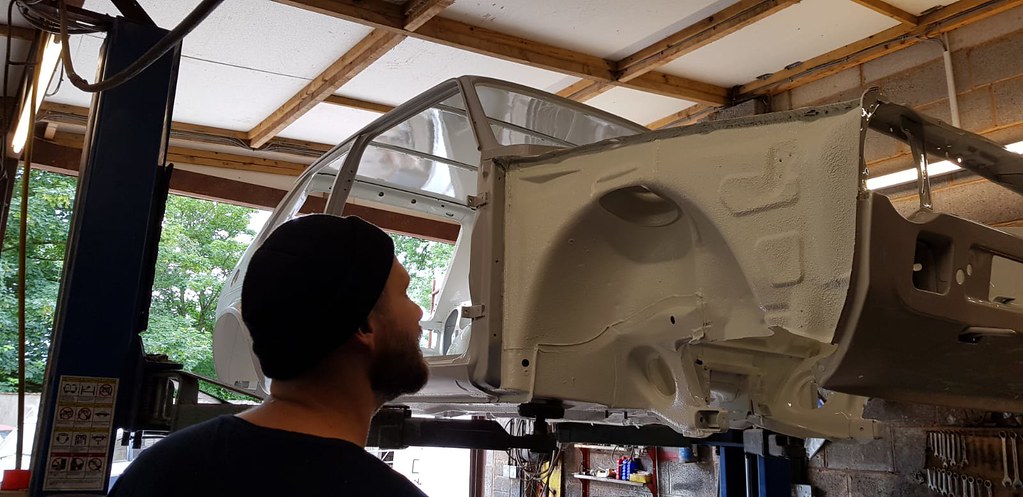
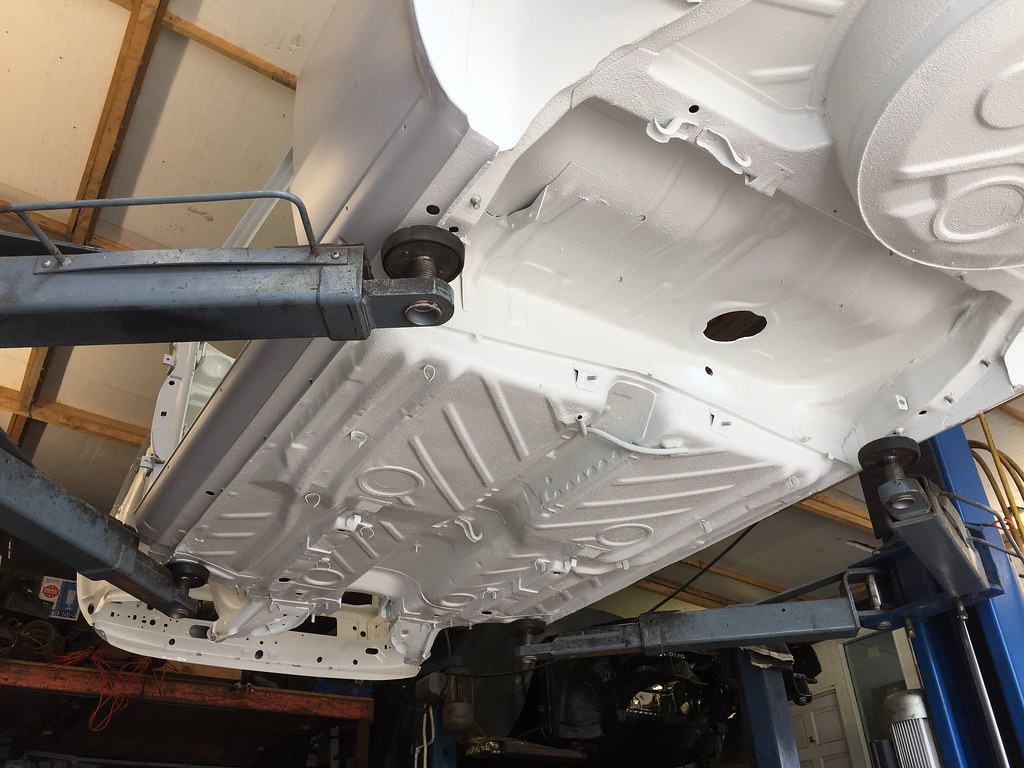
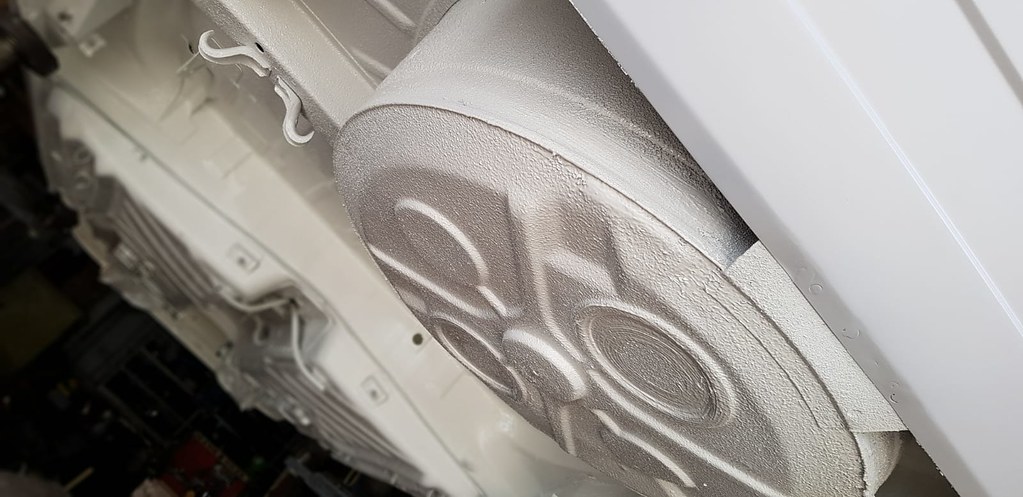
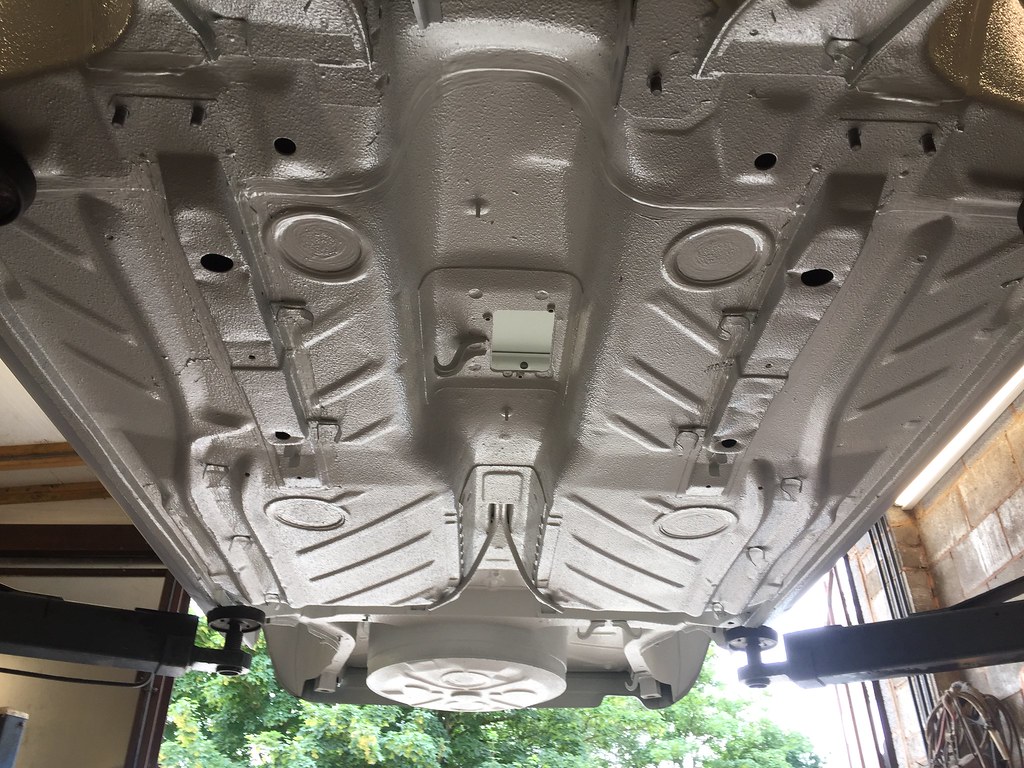
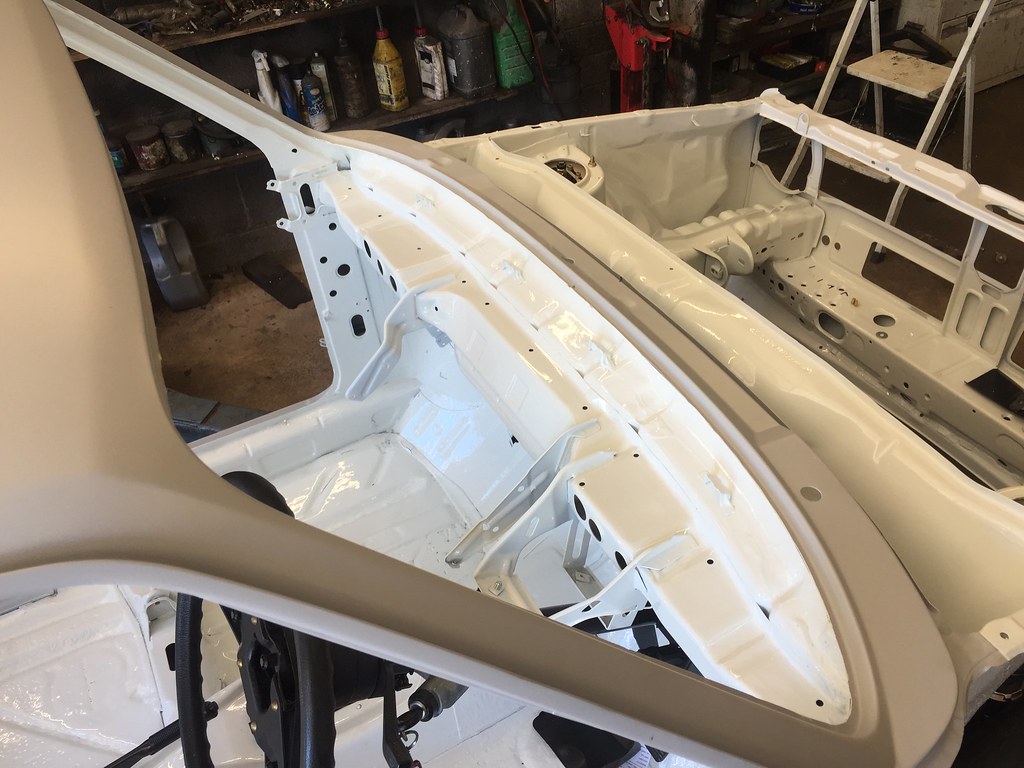
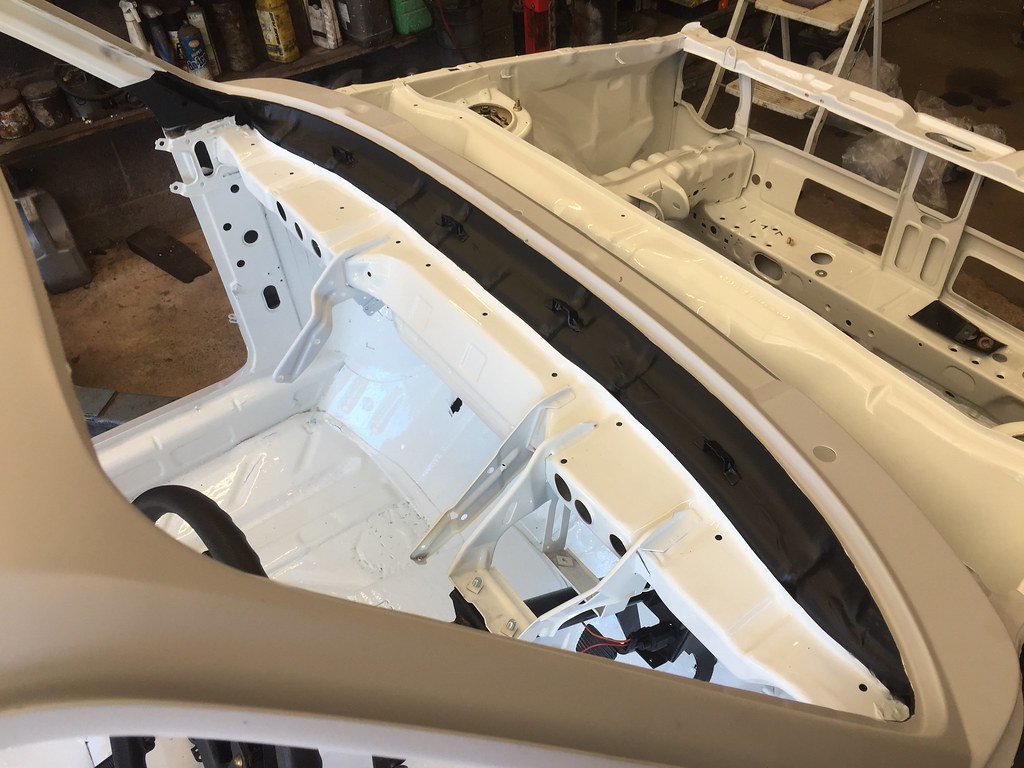
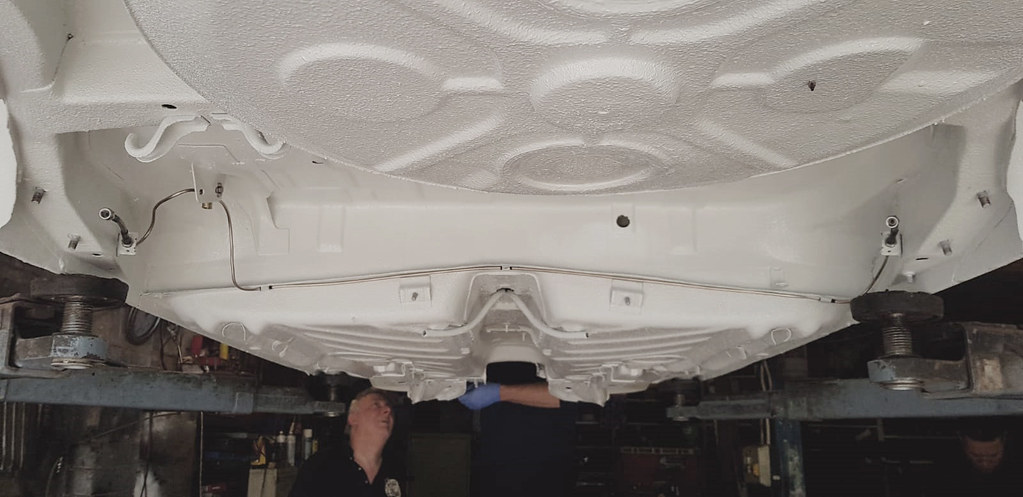
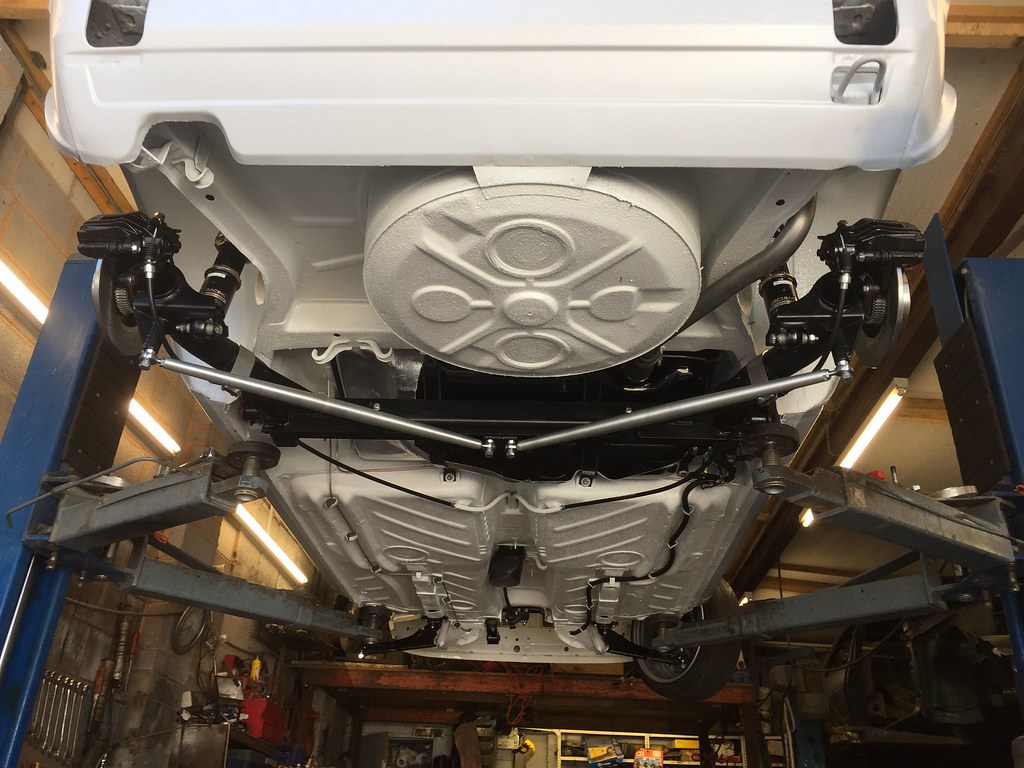
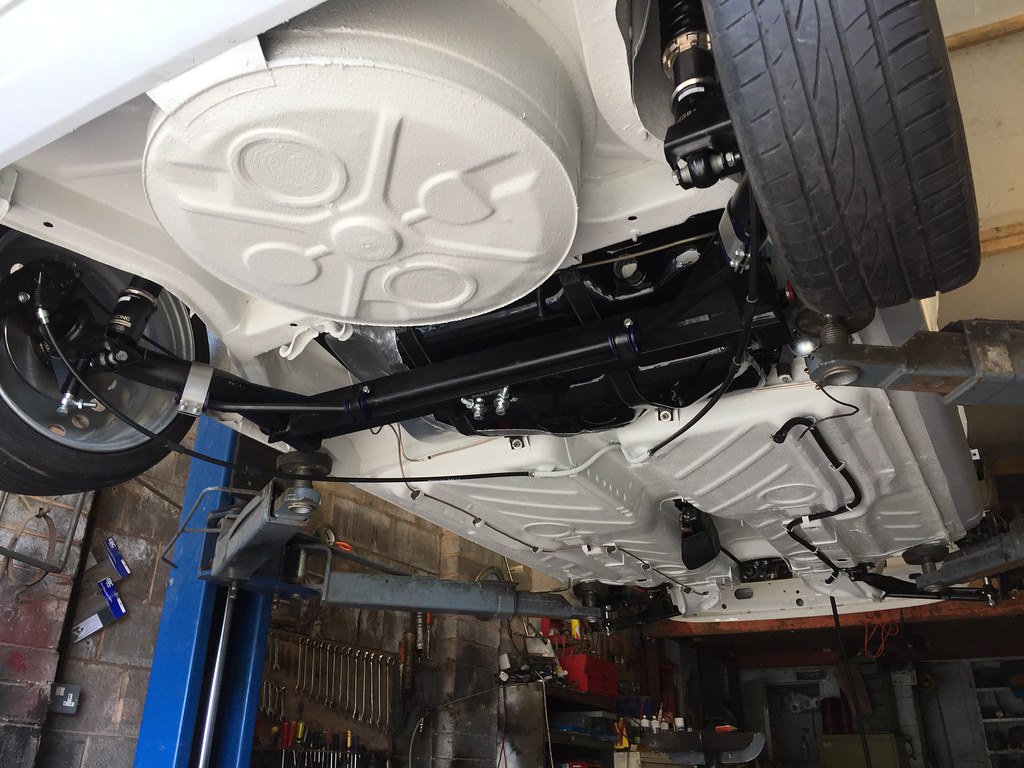
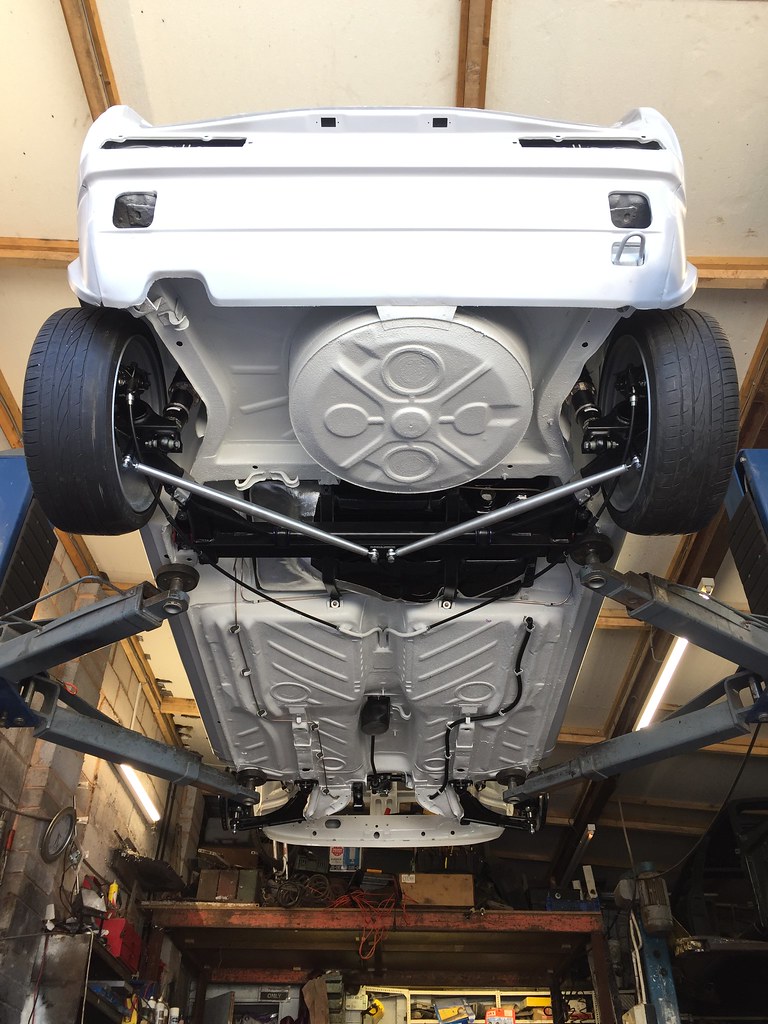
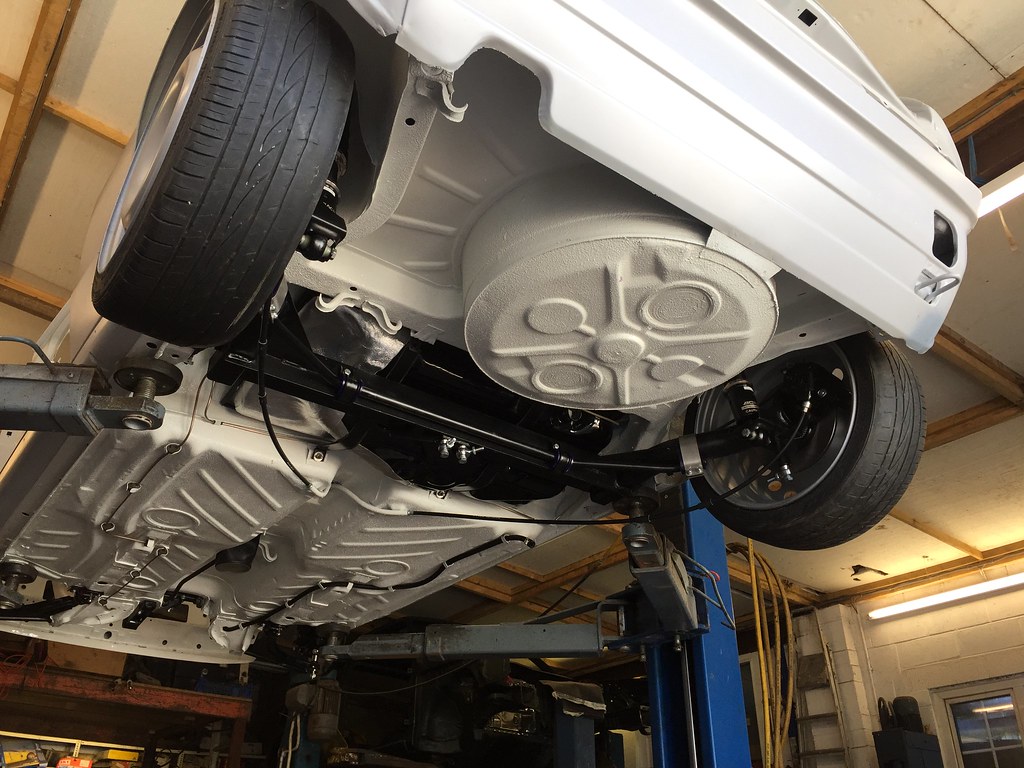
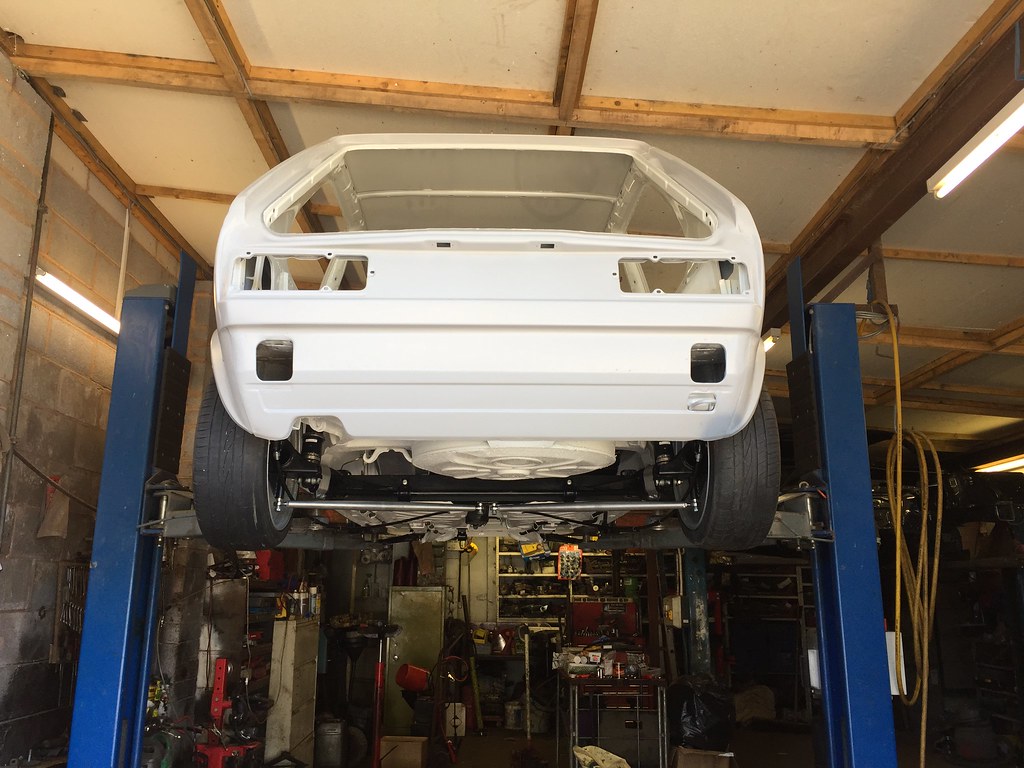
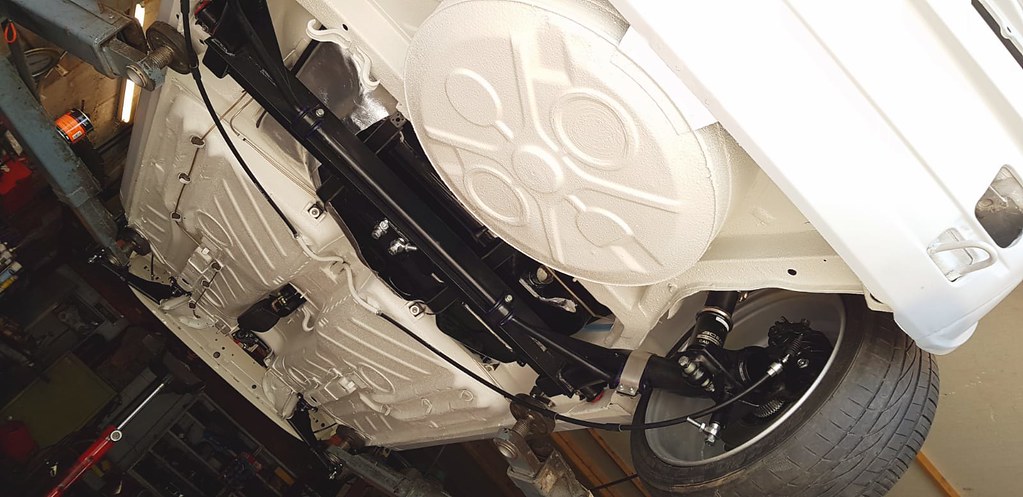
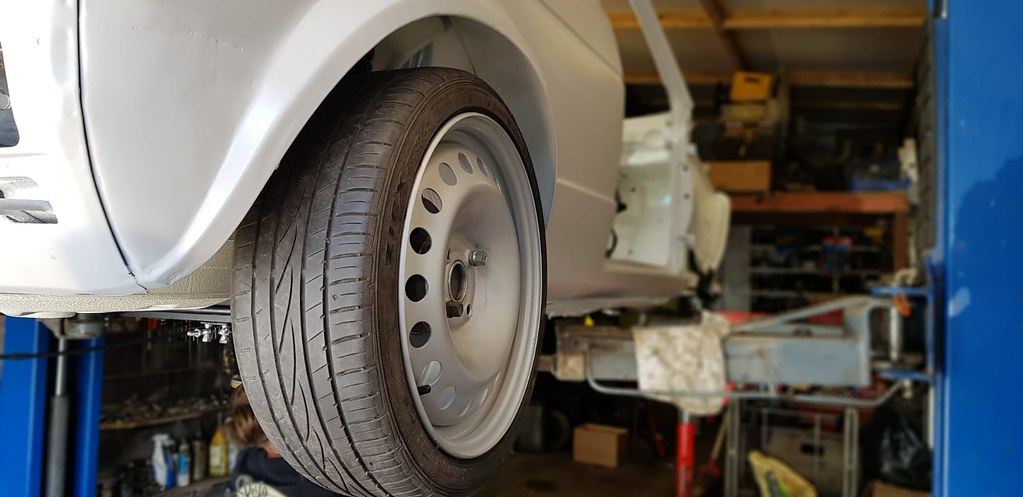
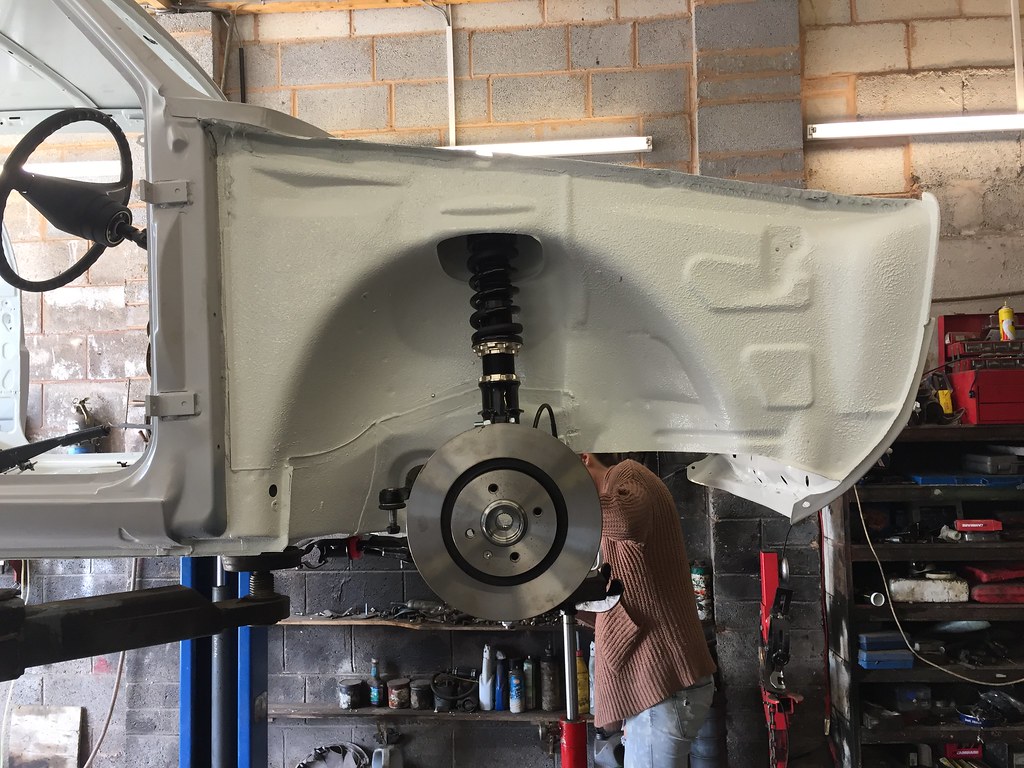
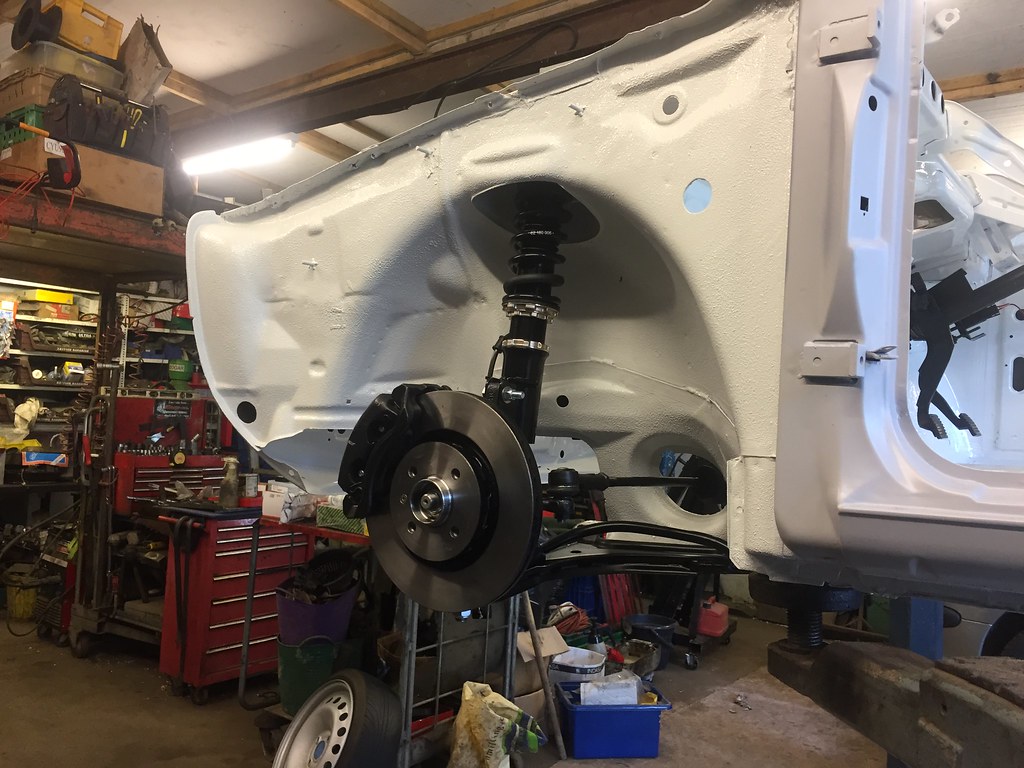
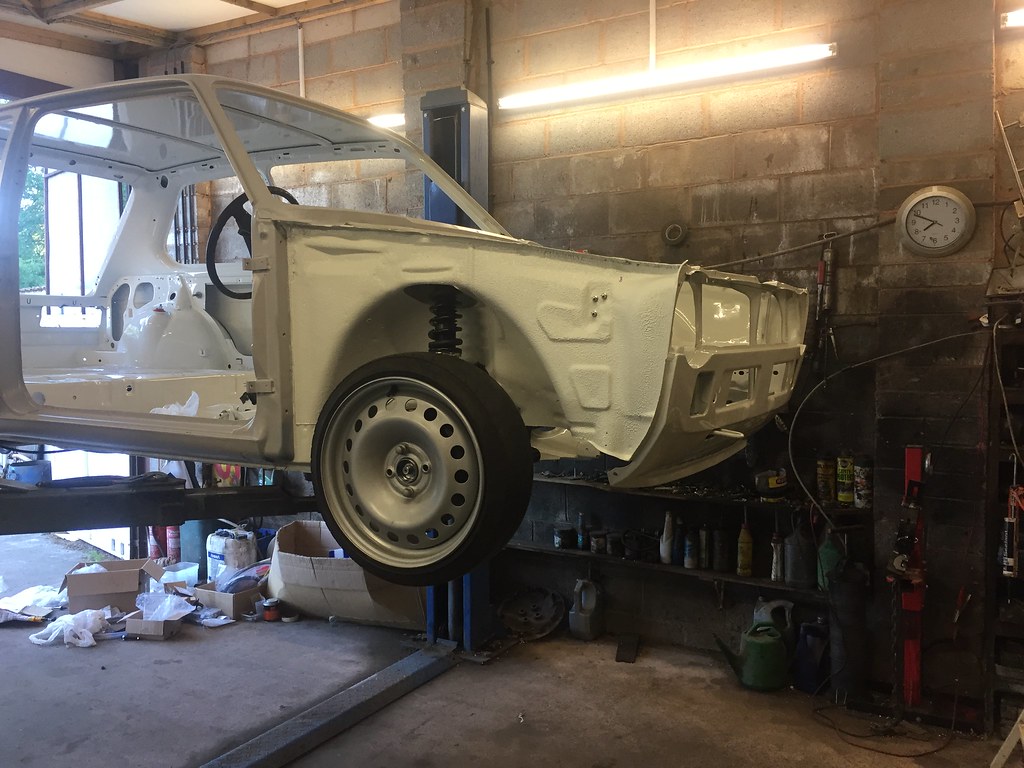
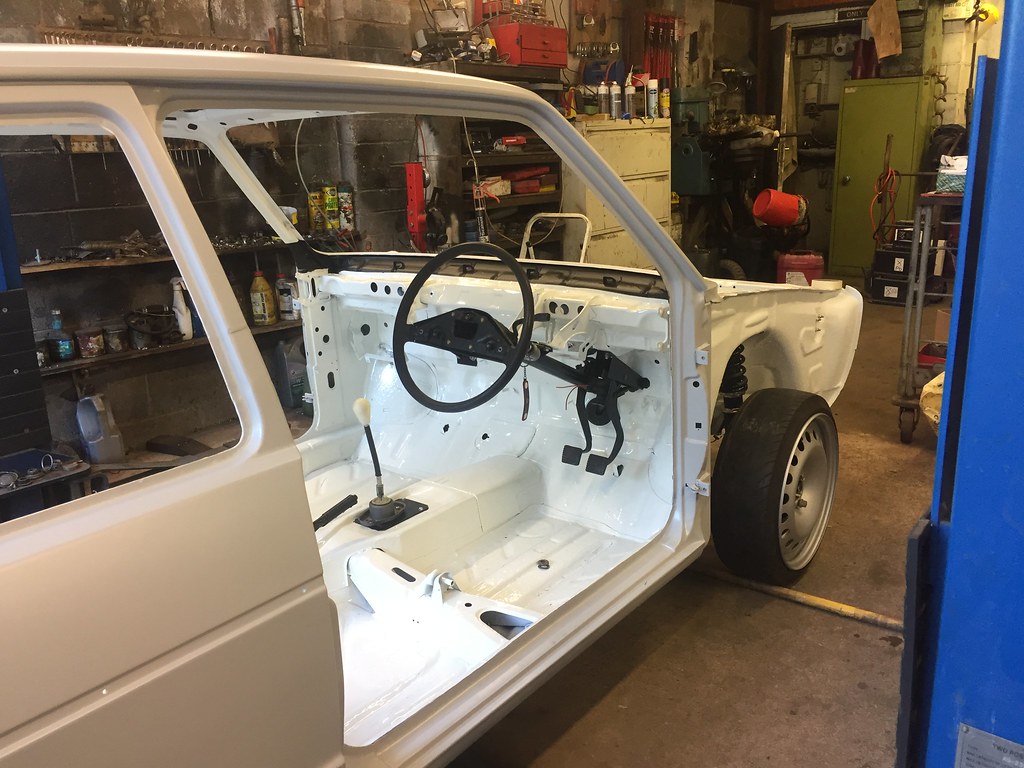
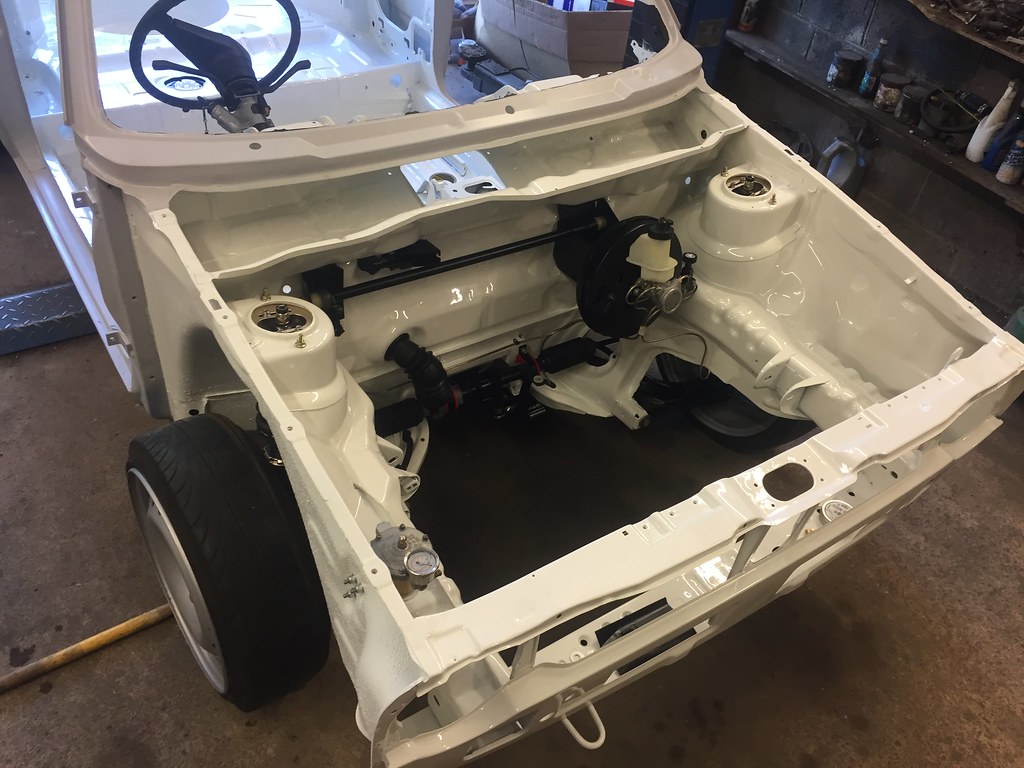
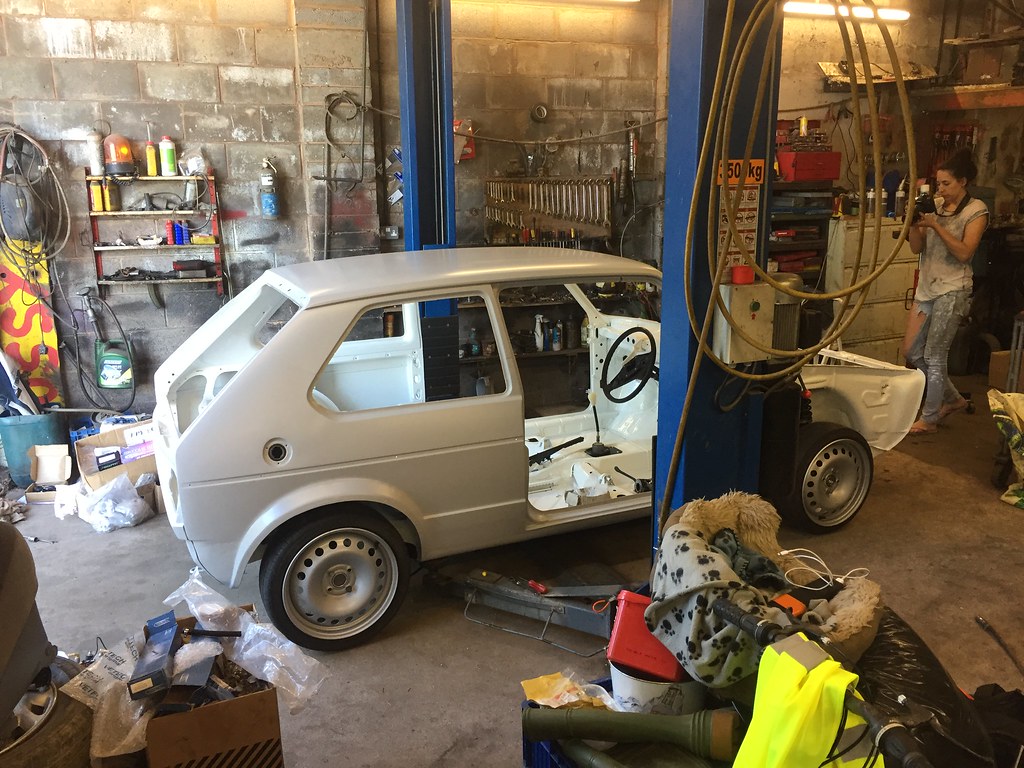
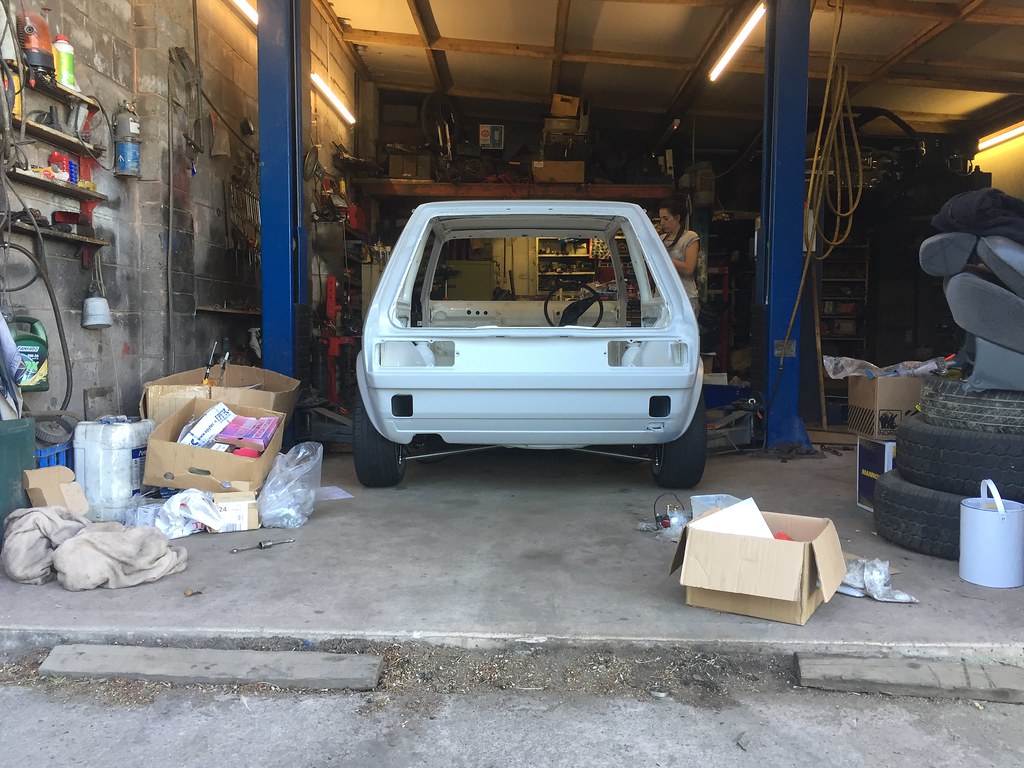
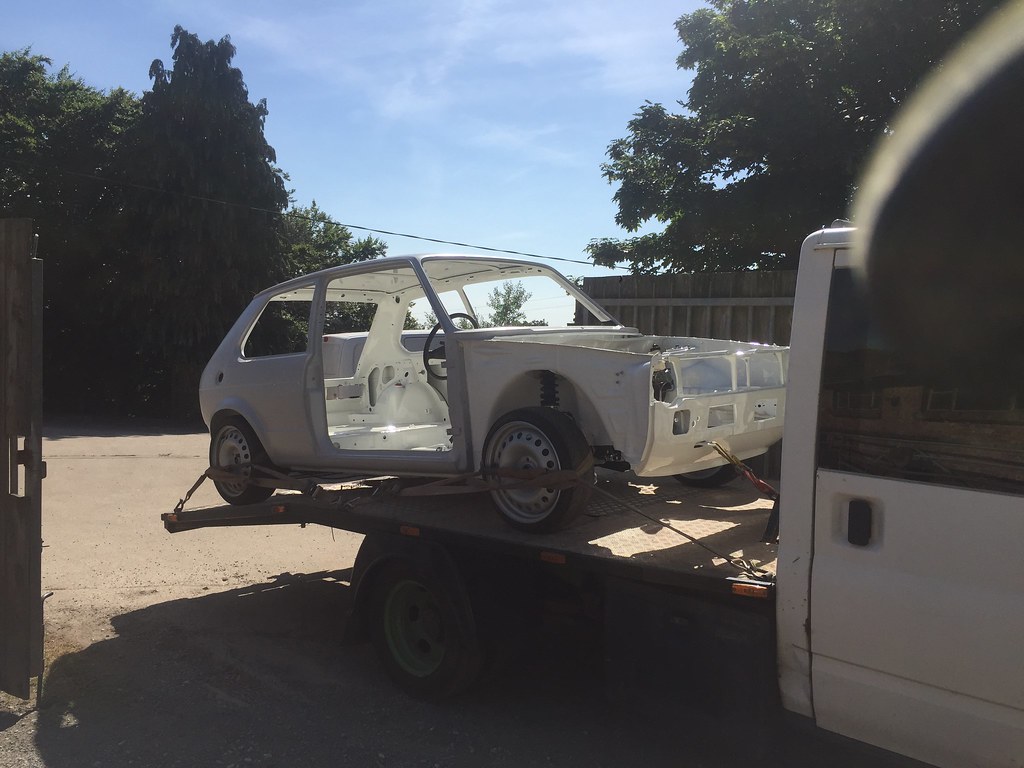
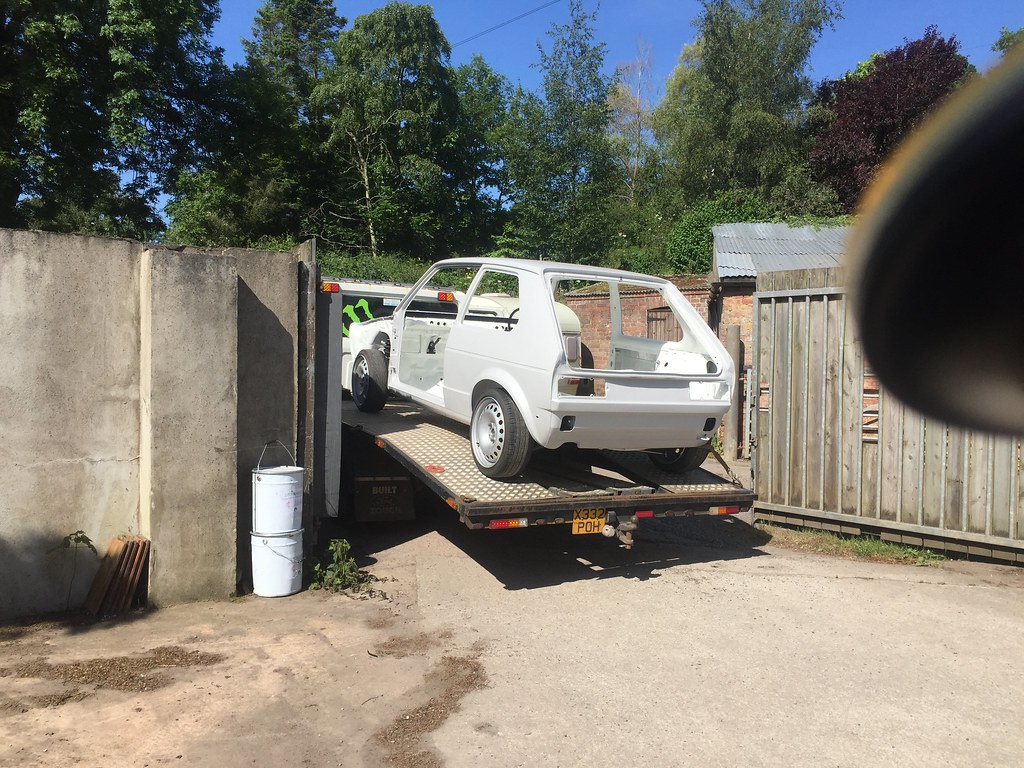
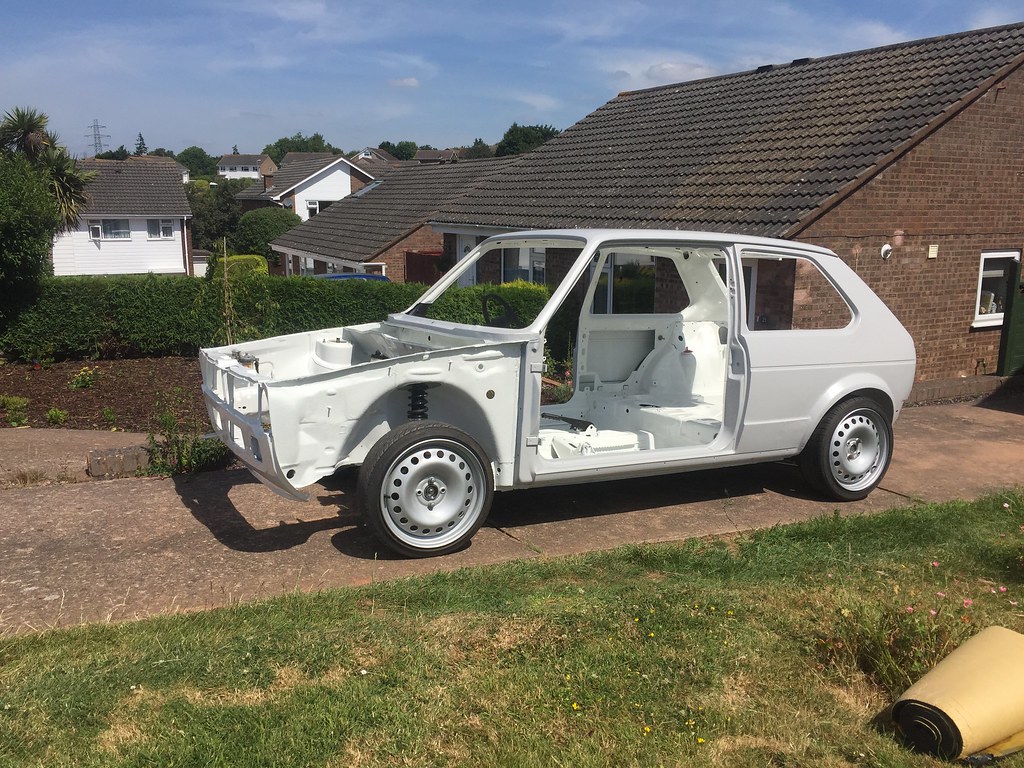
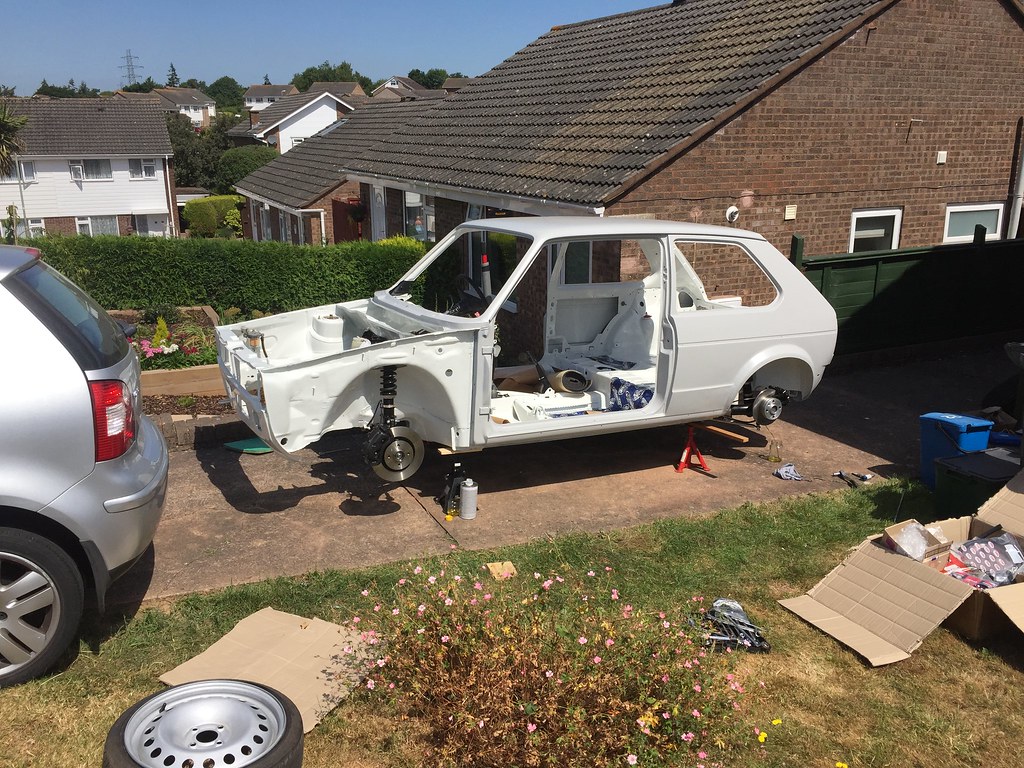
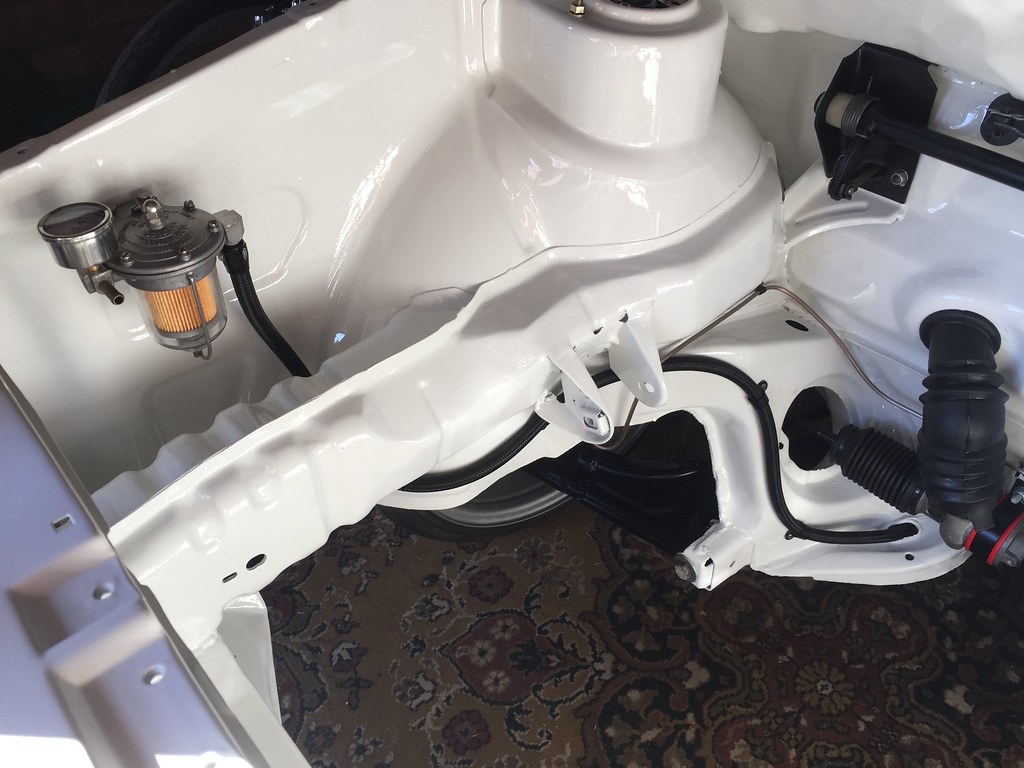
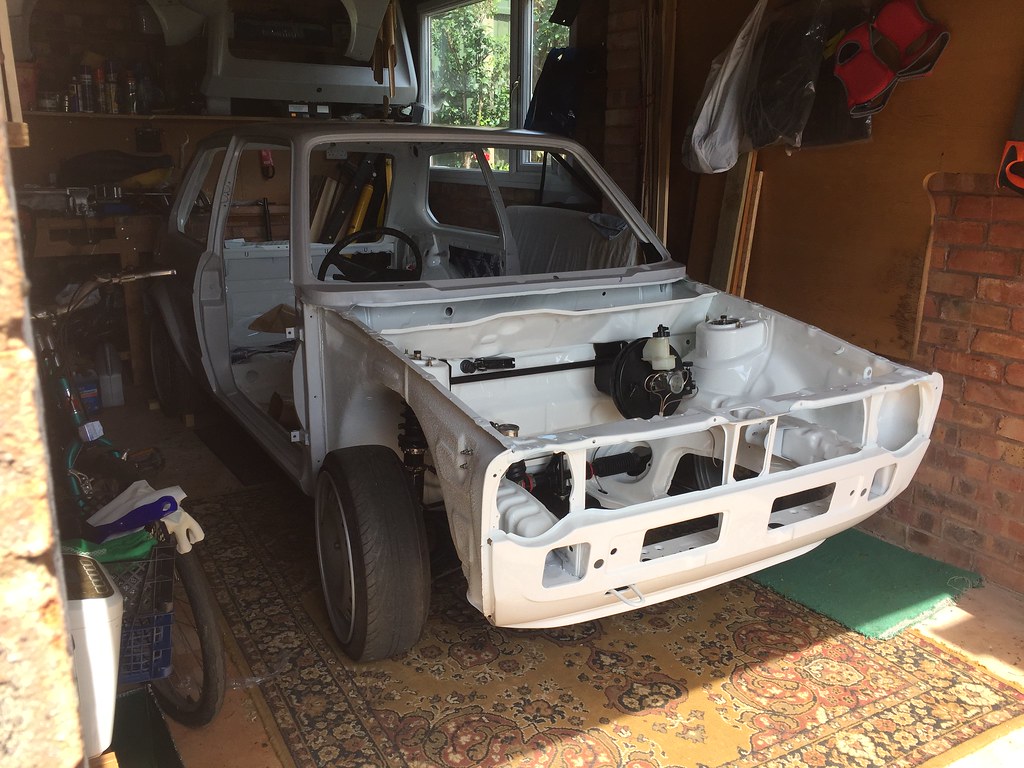
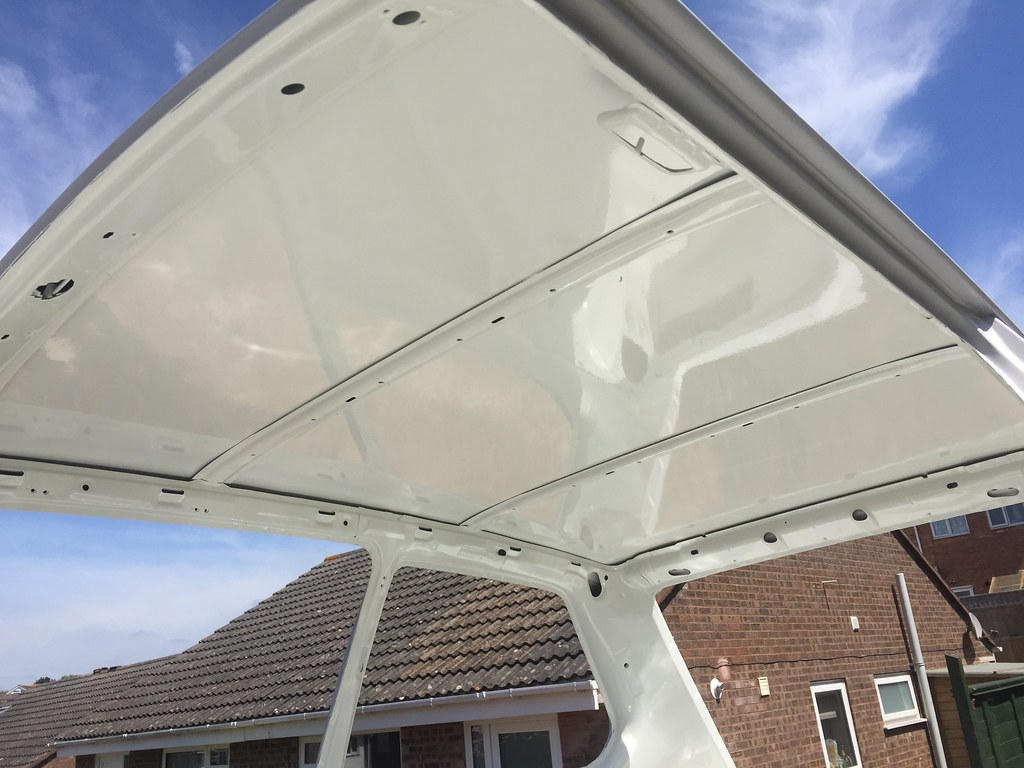
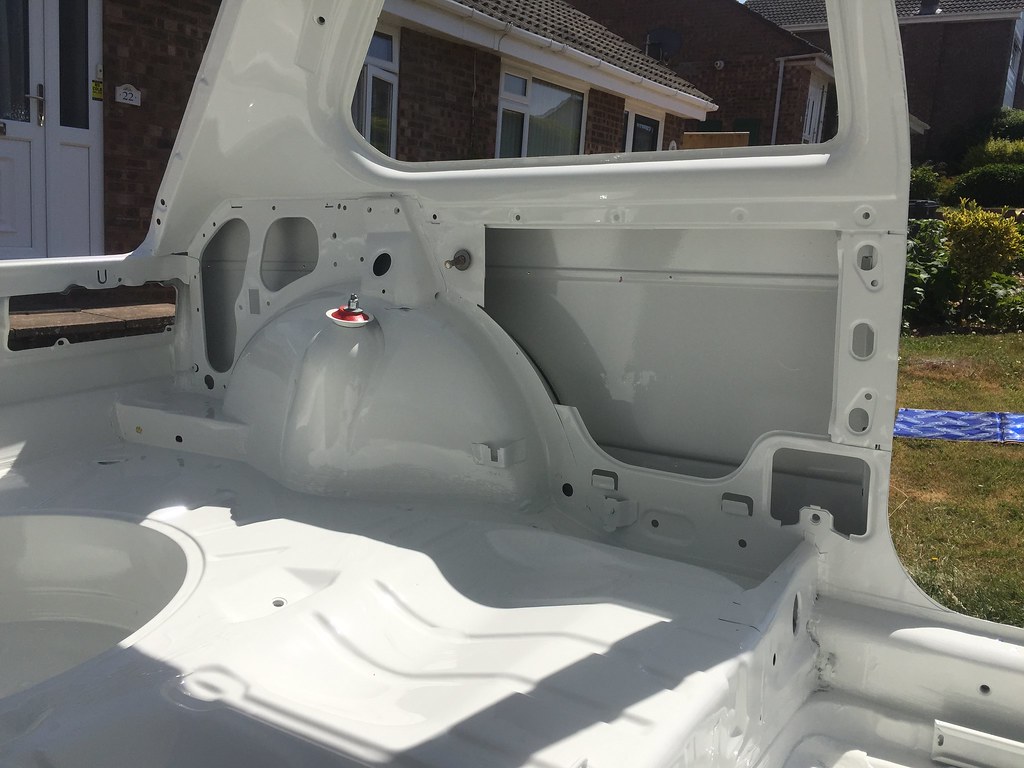
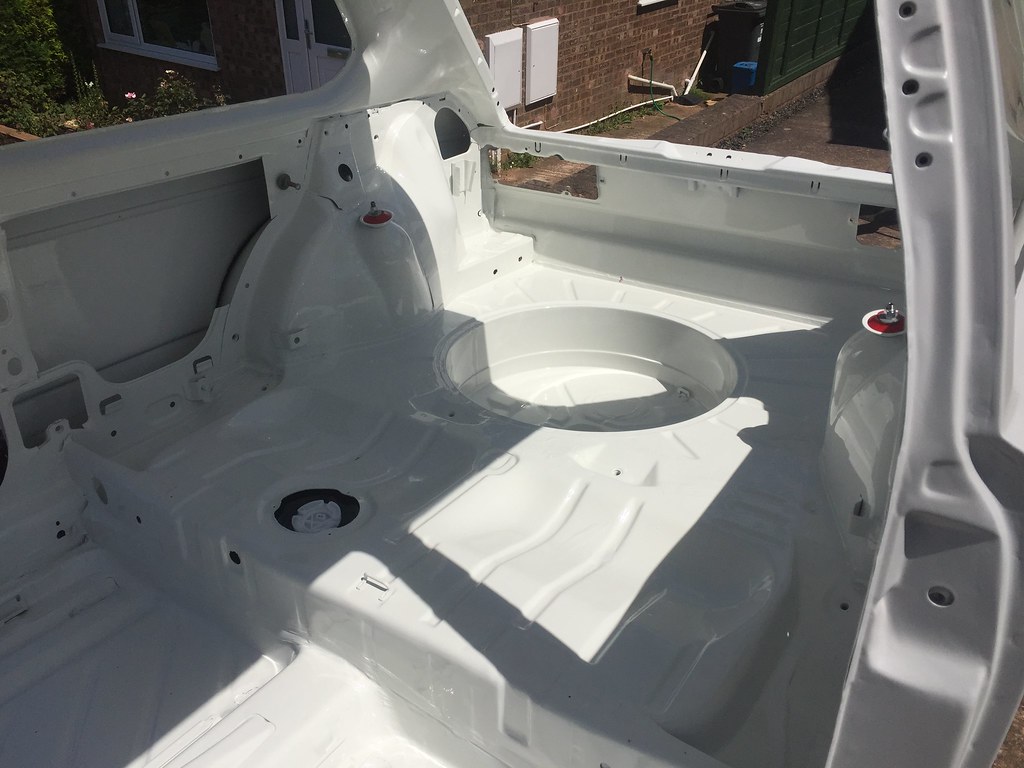
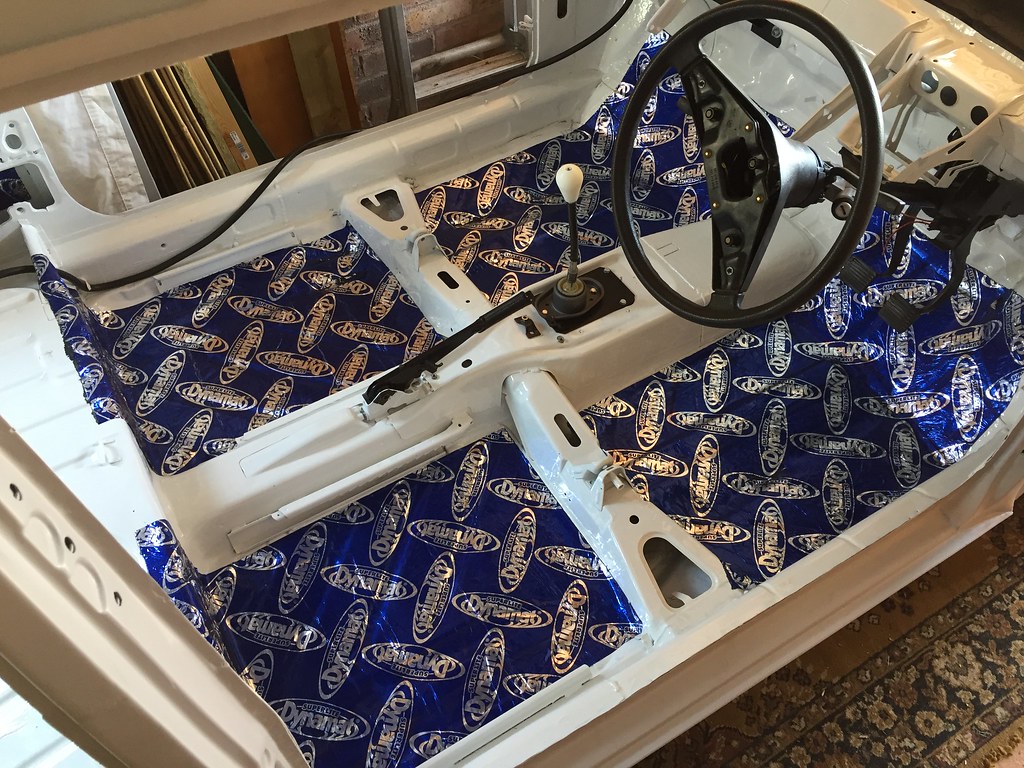
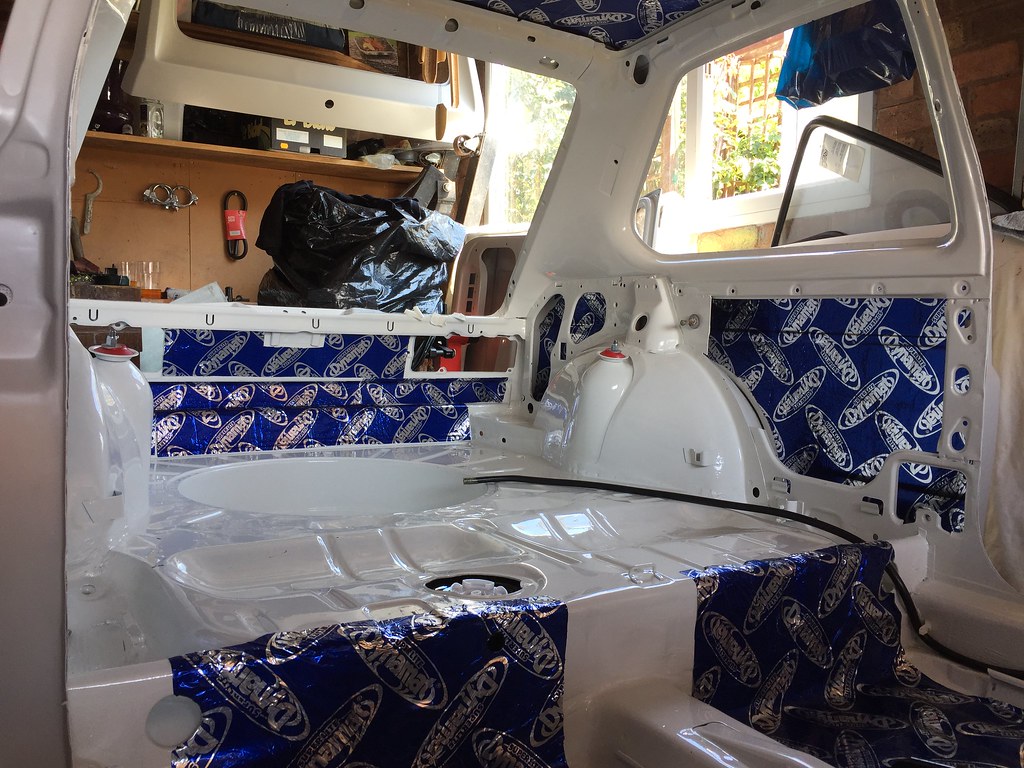
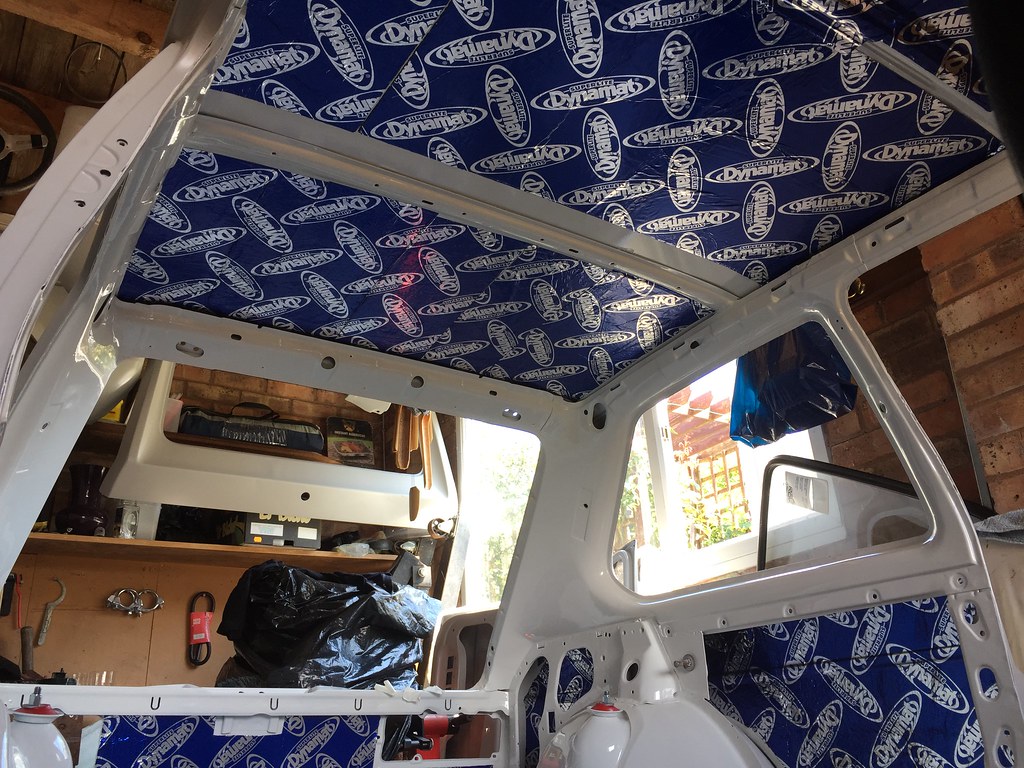
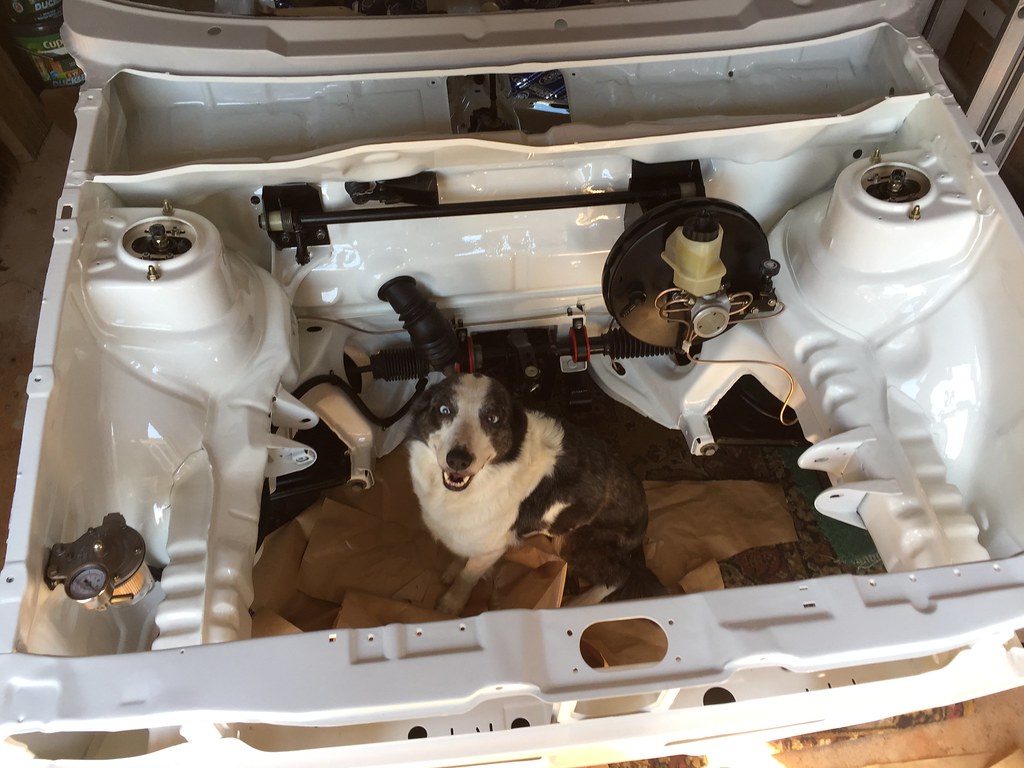
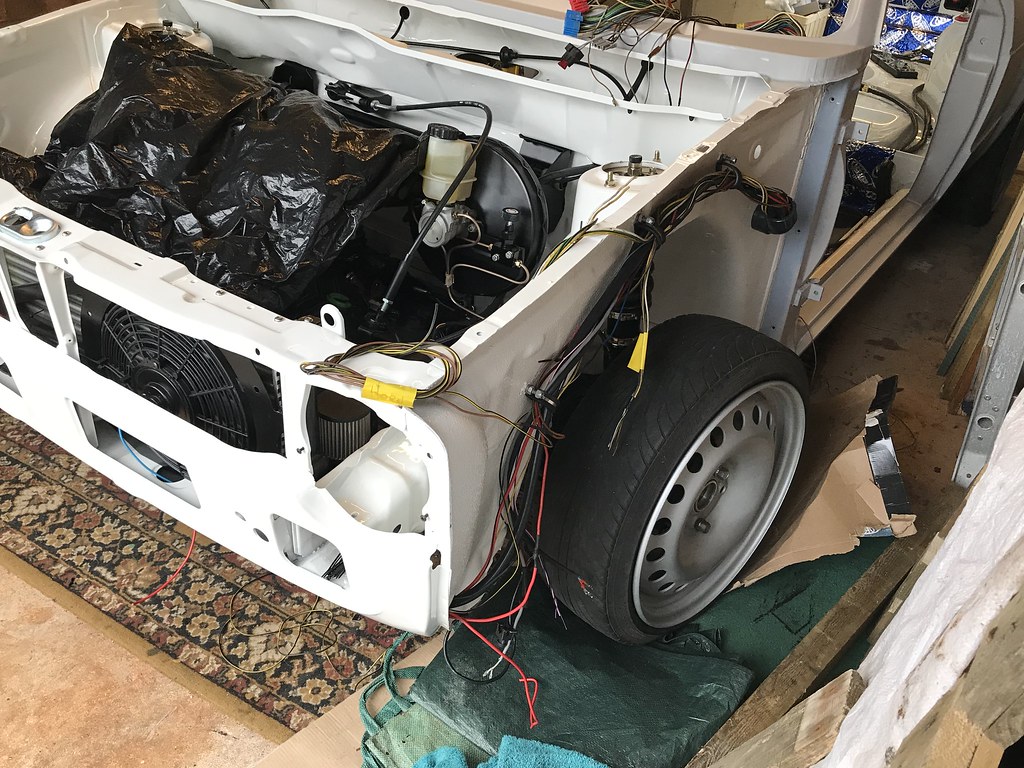
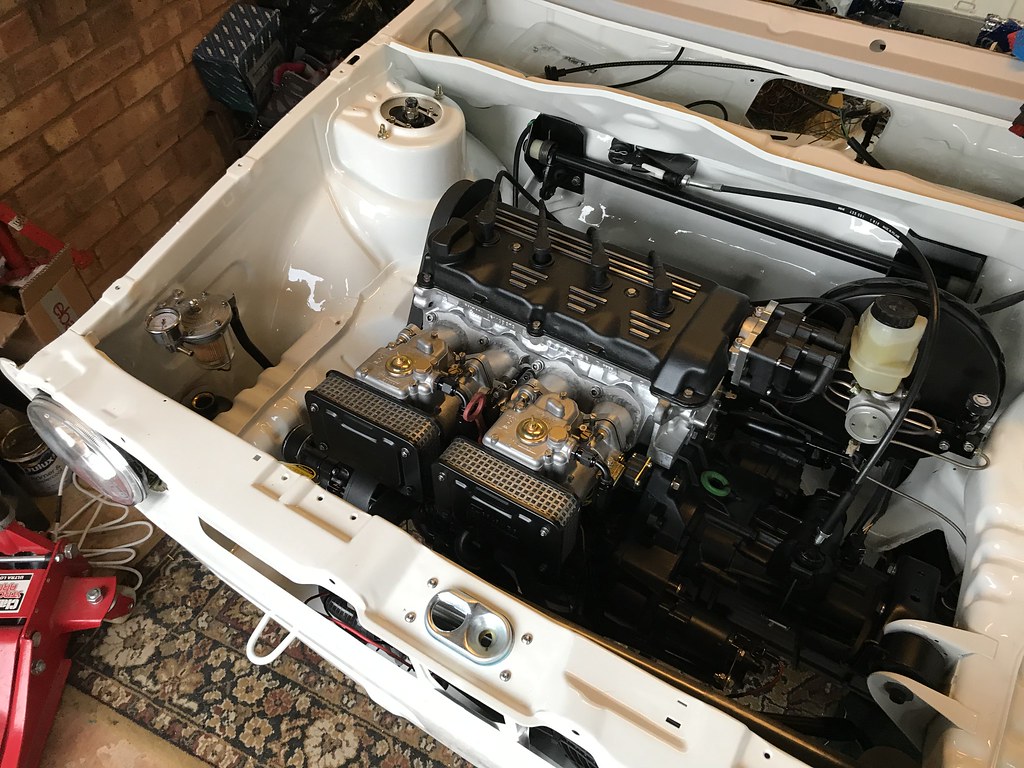
So Dave has now finished with the shell ready for me to start building up the running gear to be able to take it home and finish up the rest of the build. The underside, inside and engine bay are all in Alpine White with the outside left in e-proxy primer to save me from damaging the paint whilst putting everything back on and in and running.
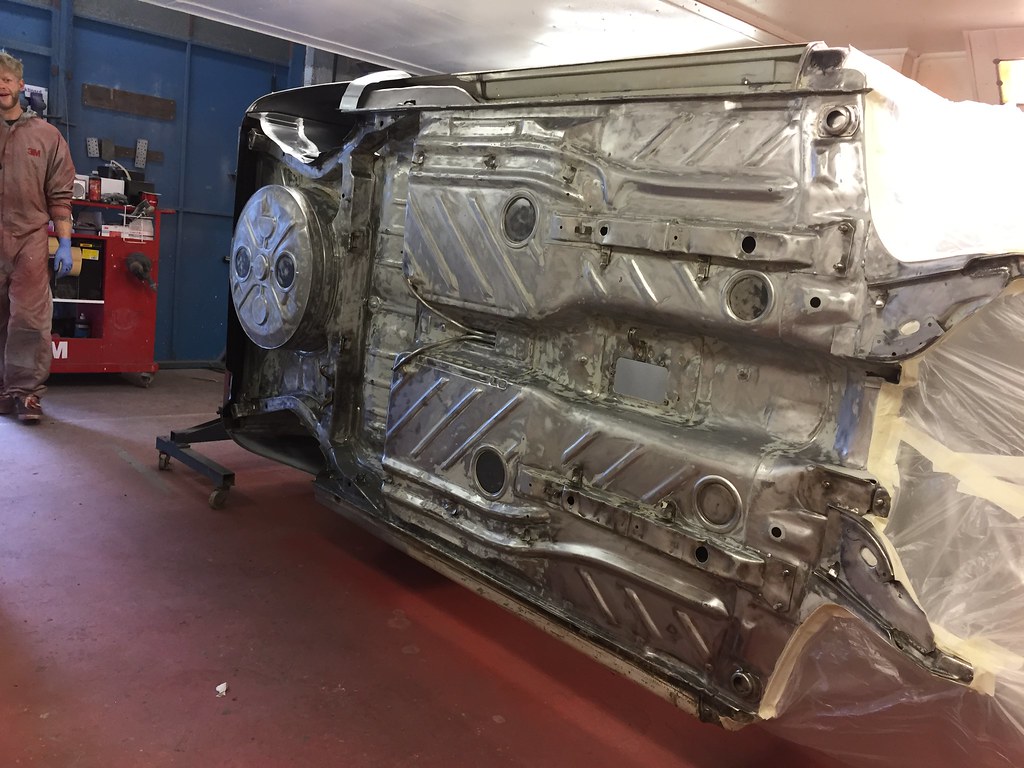
Settled In
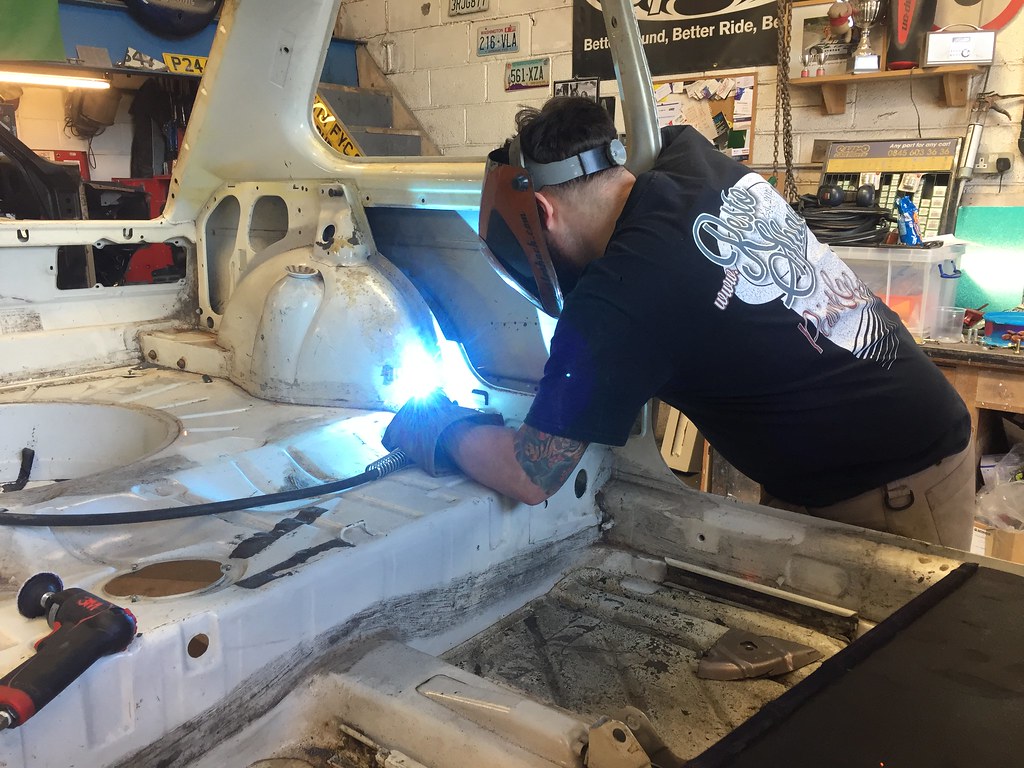
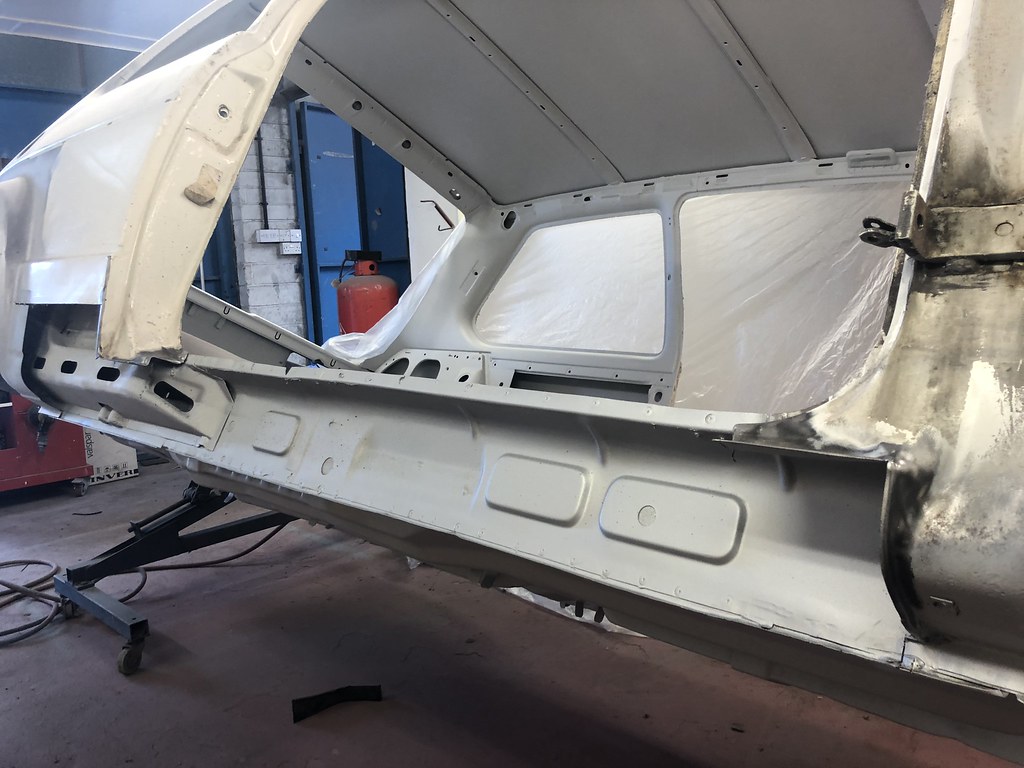
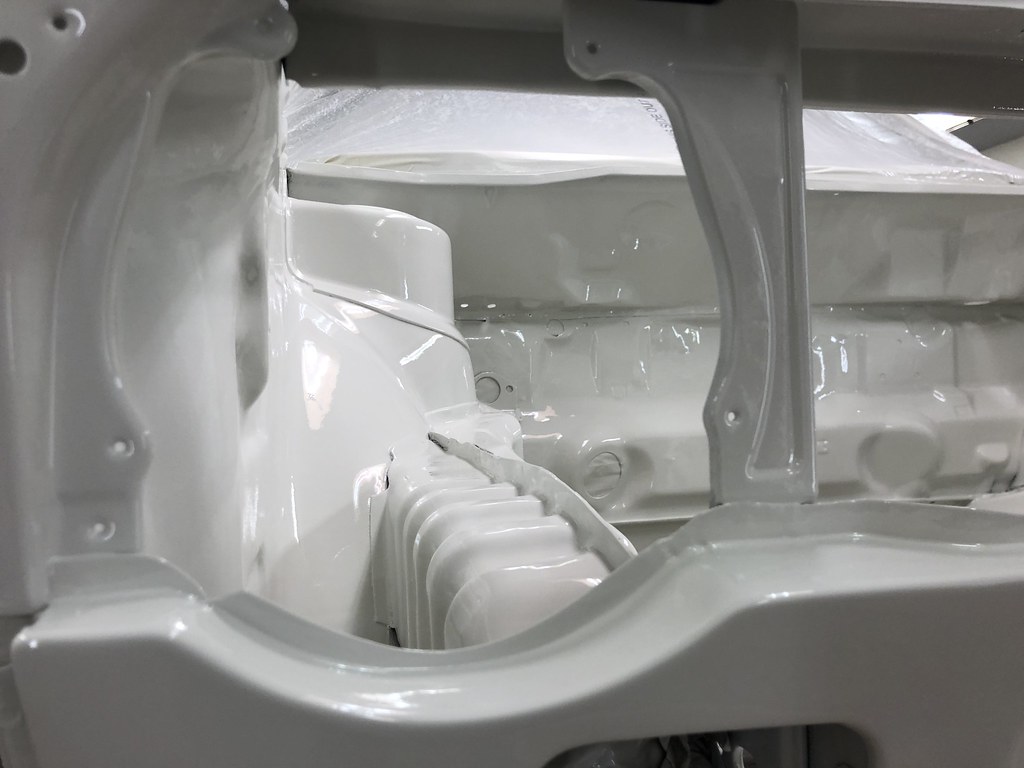
Again, I'm just going to let the pictures do the talking -


Posted
Old Timer
That paint work
Posted
Settled In
Ok, been awhile since this was updated, and I guess nothing interesting has really happened to be honest.
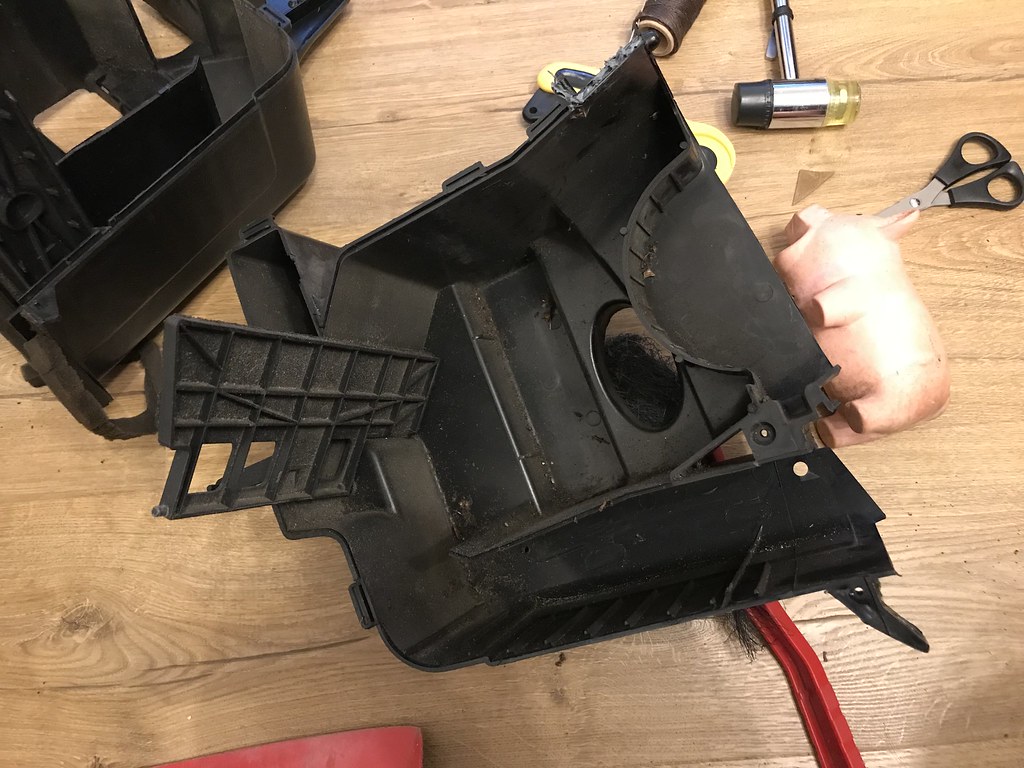
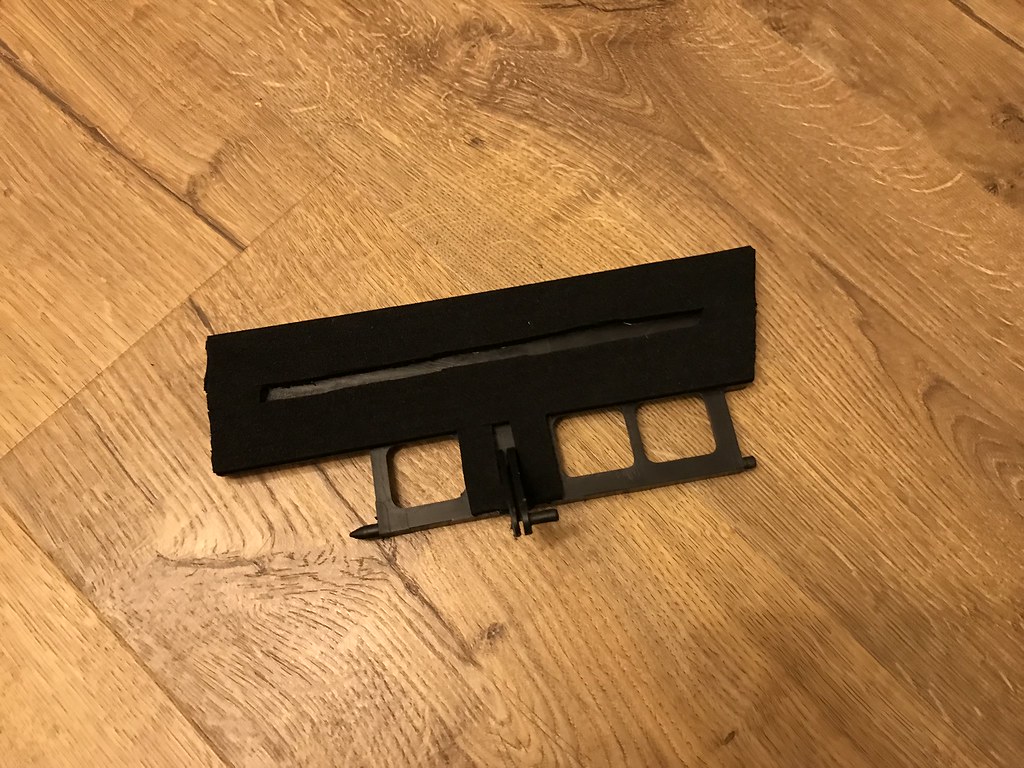
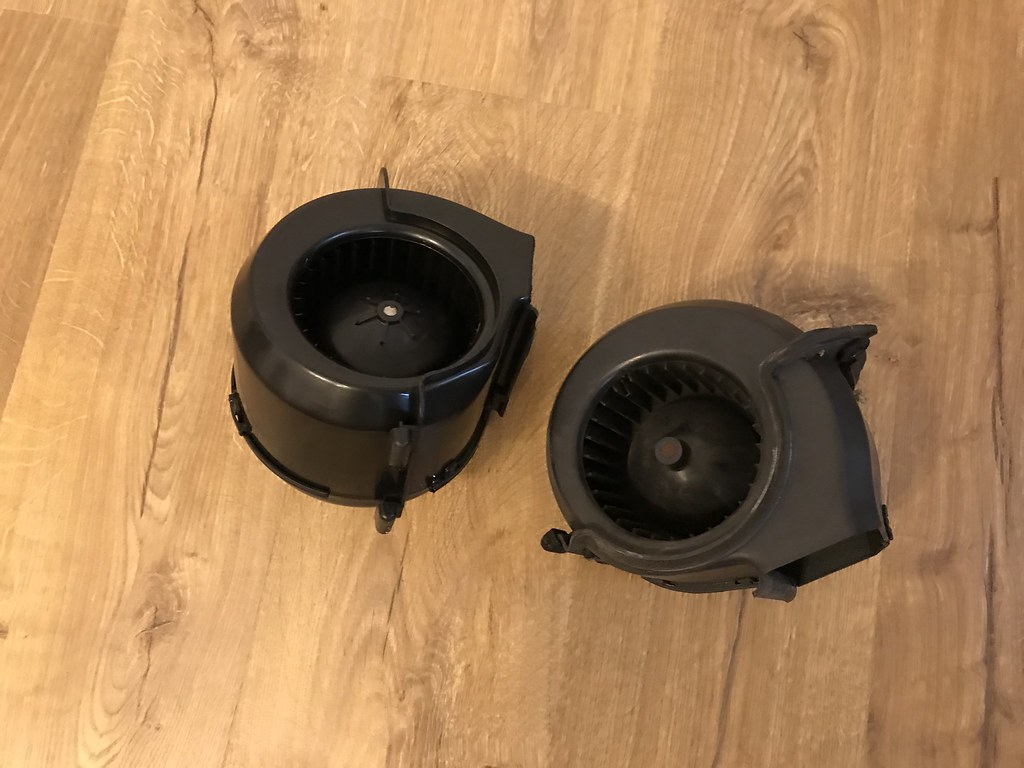
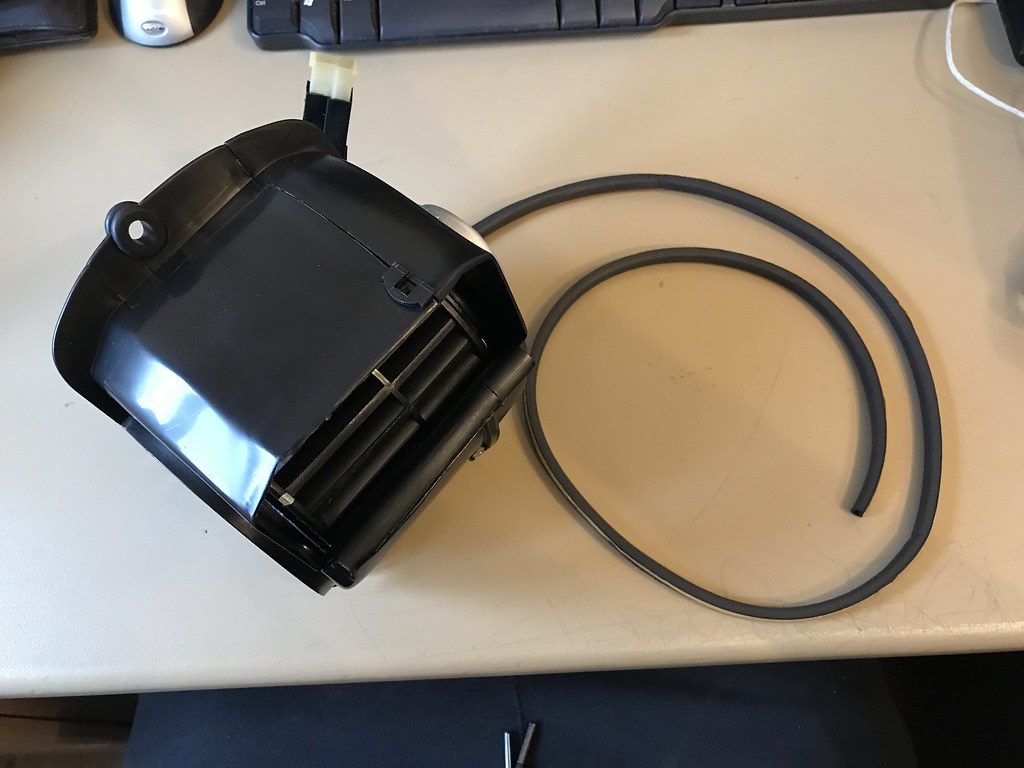
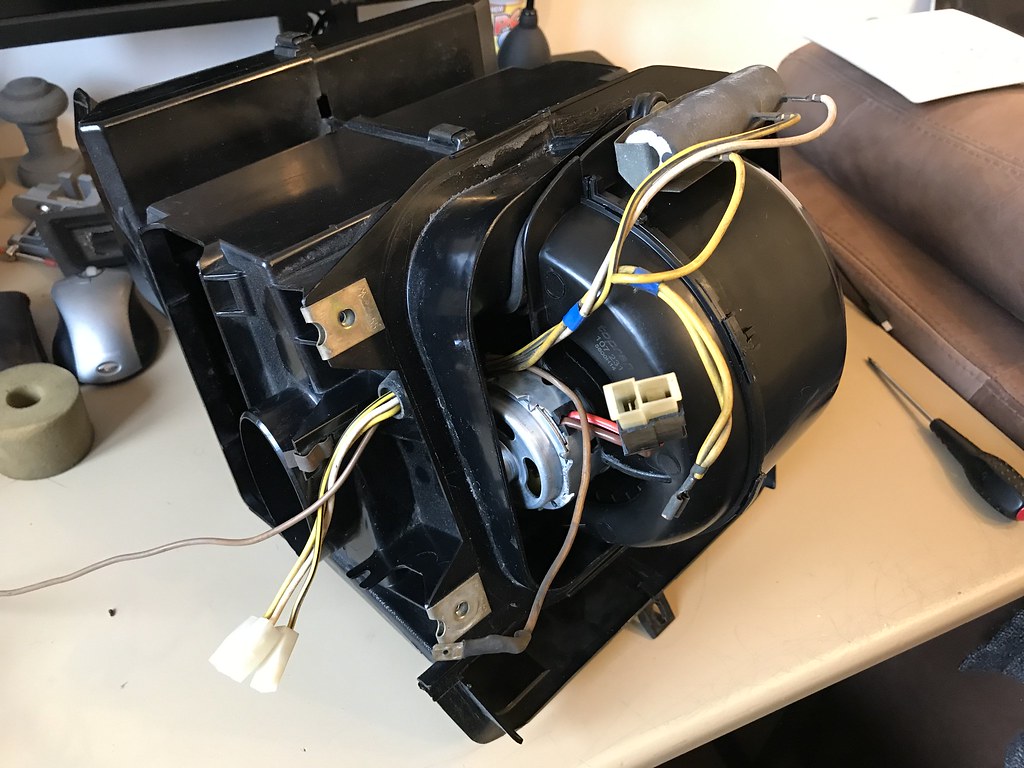
I'll start off first with the heater box -
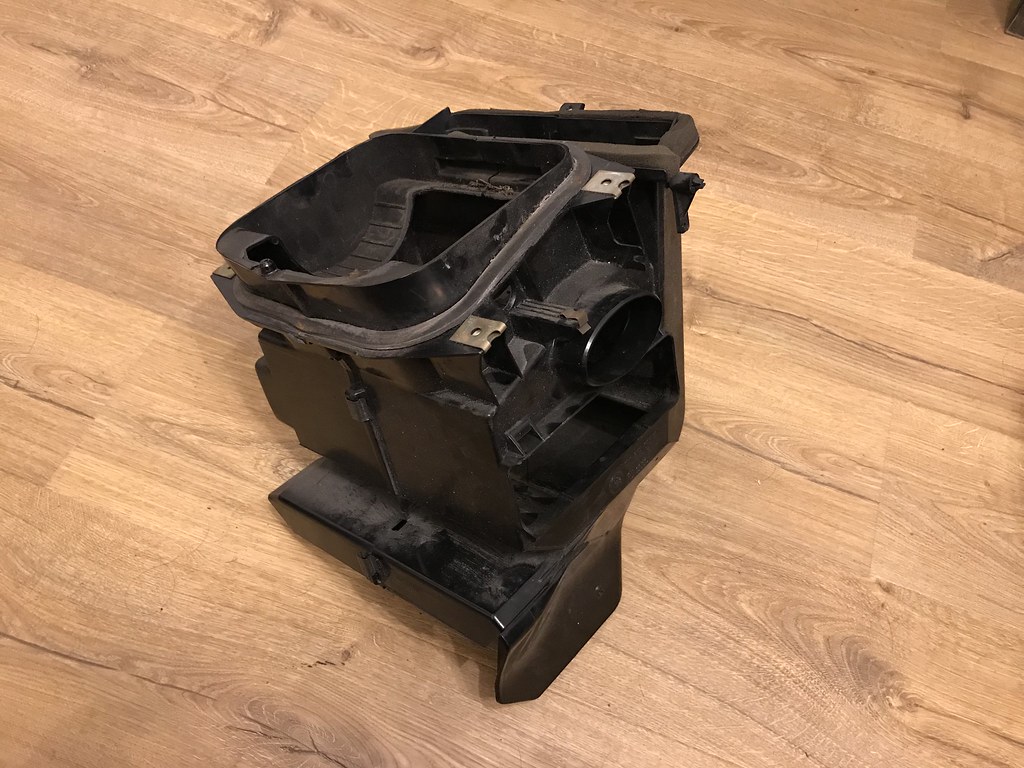
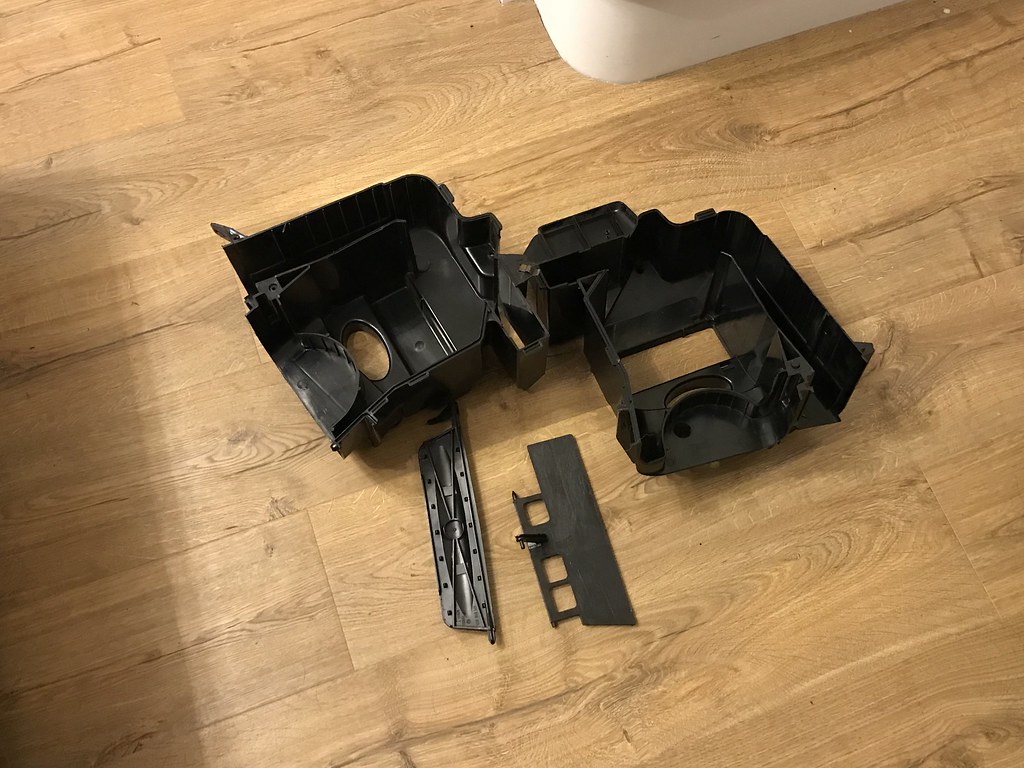
New and Old motor -

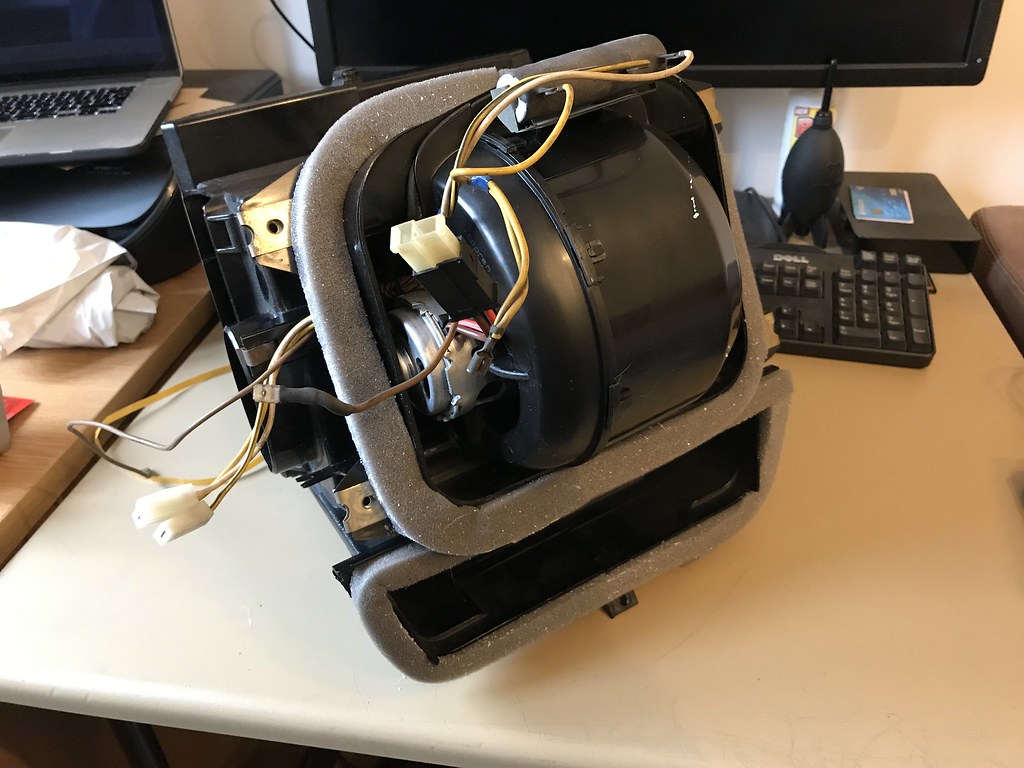
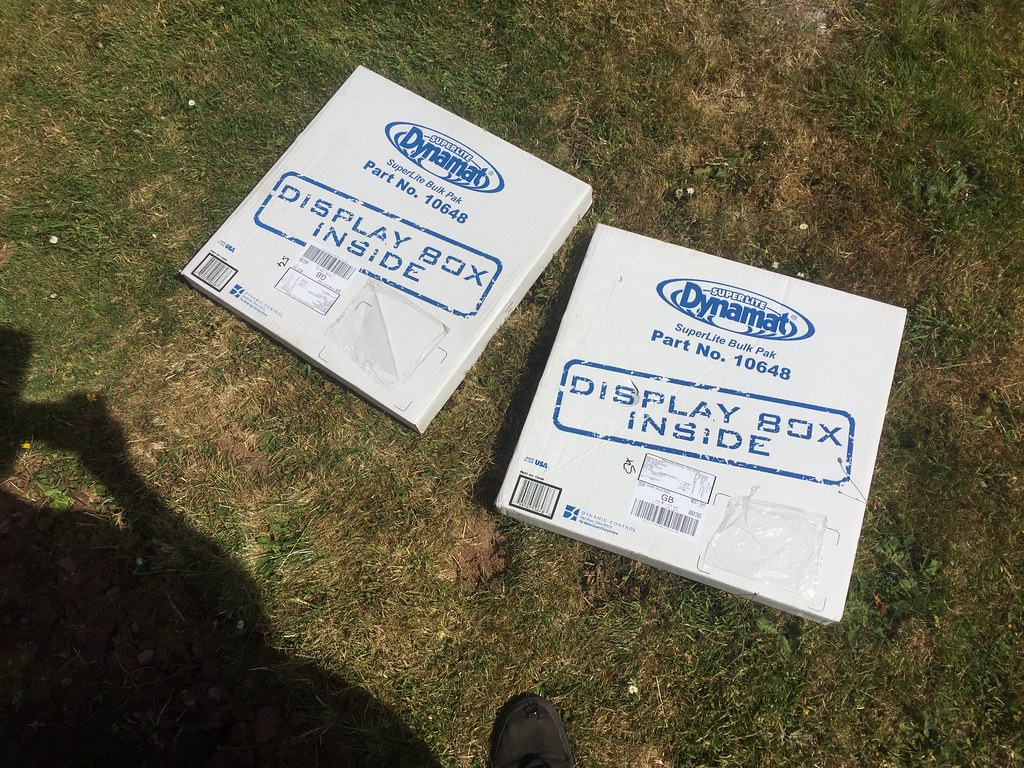
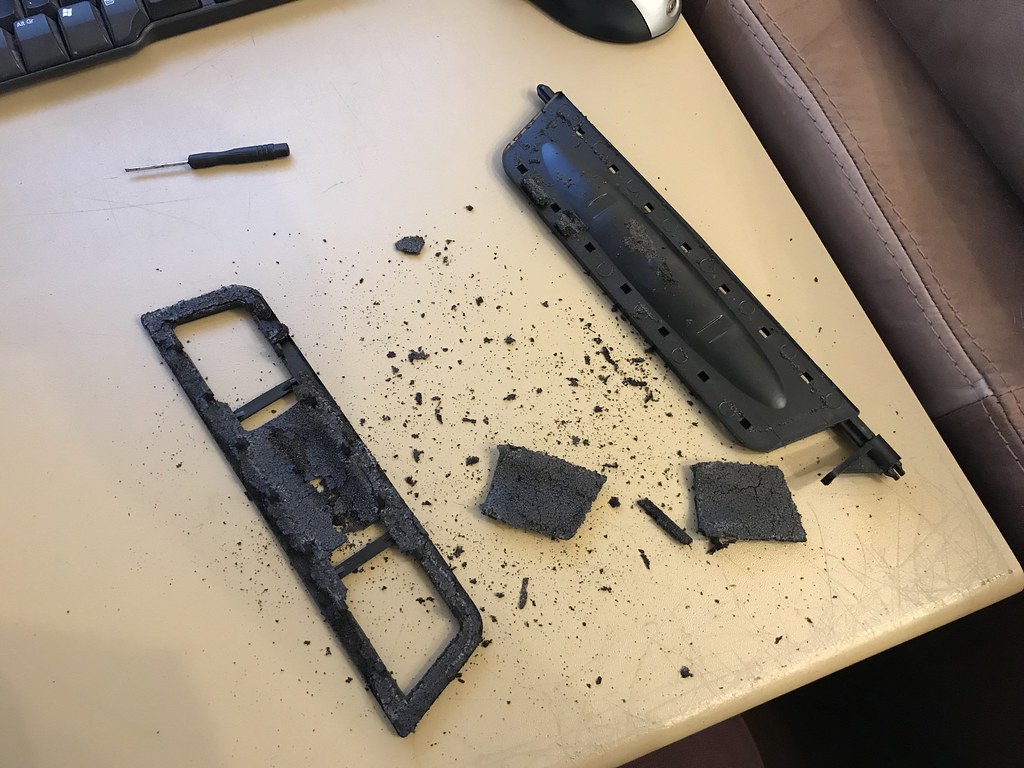
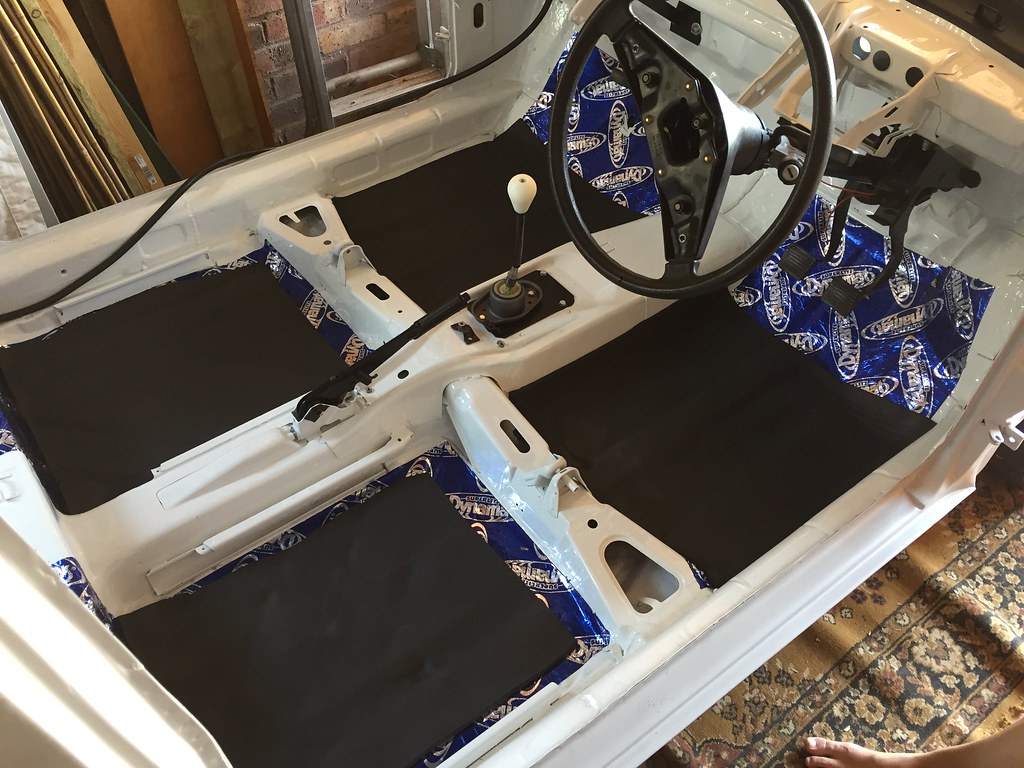
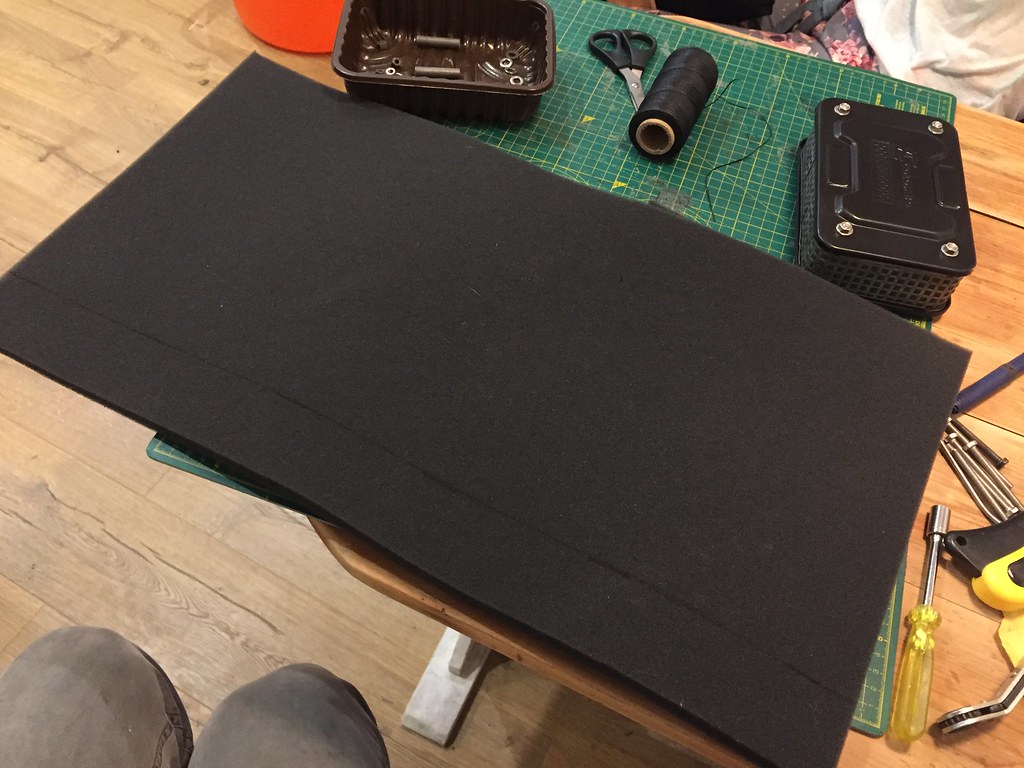
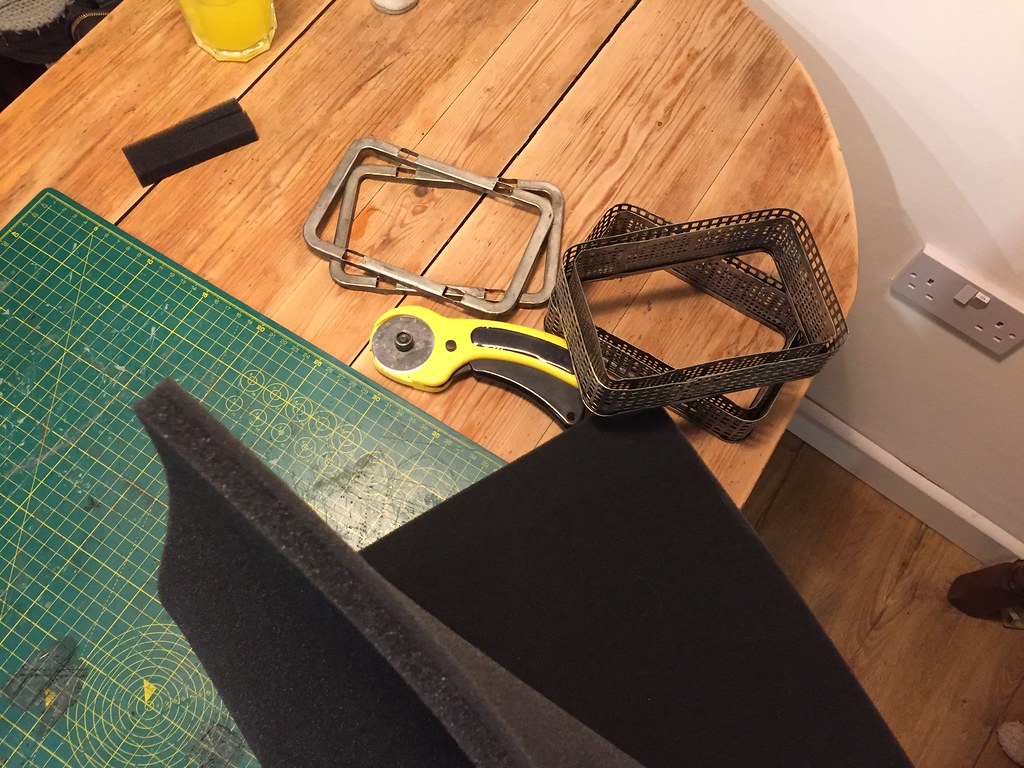
Dynamated the whole inside -
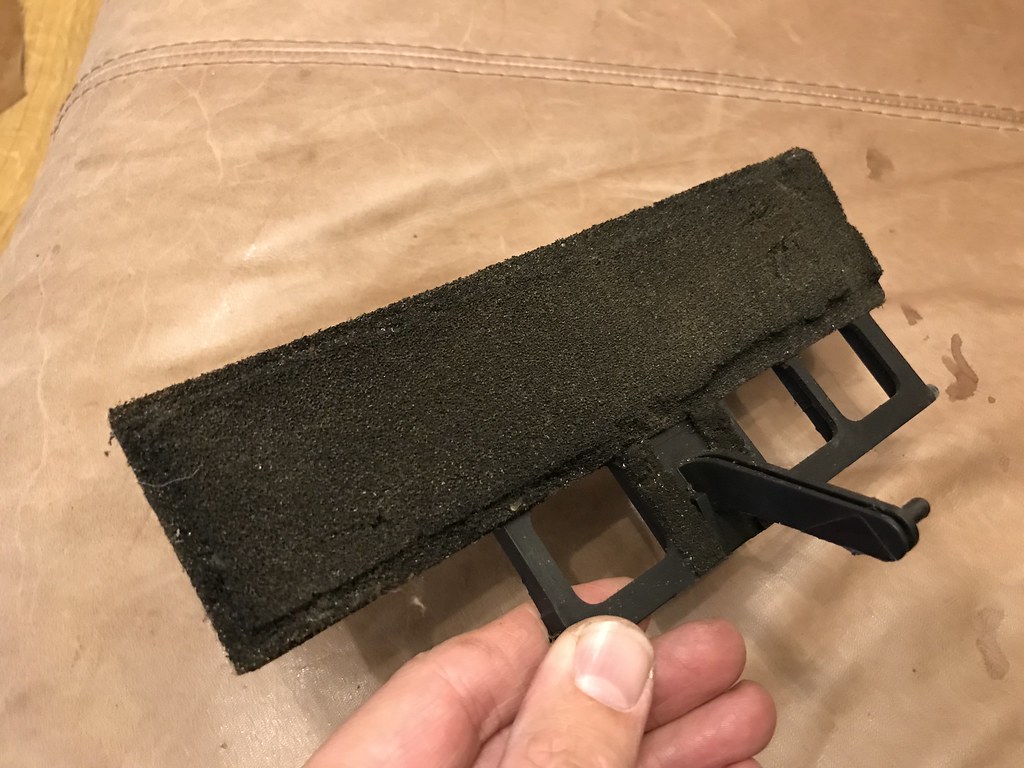
Then laid in some closed cell foam -
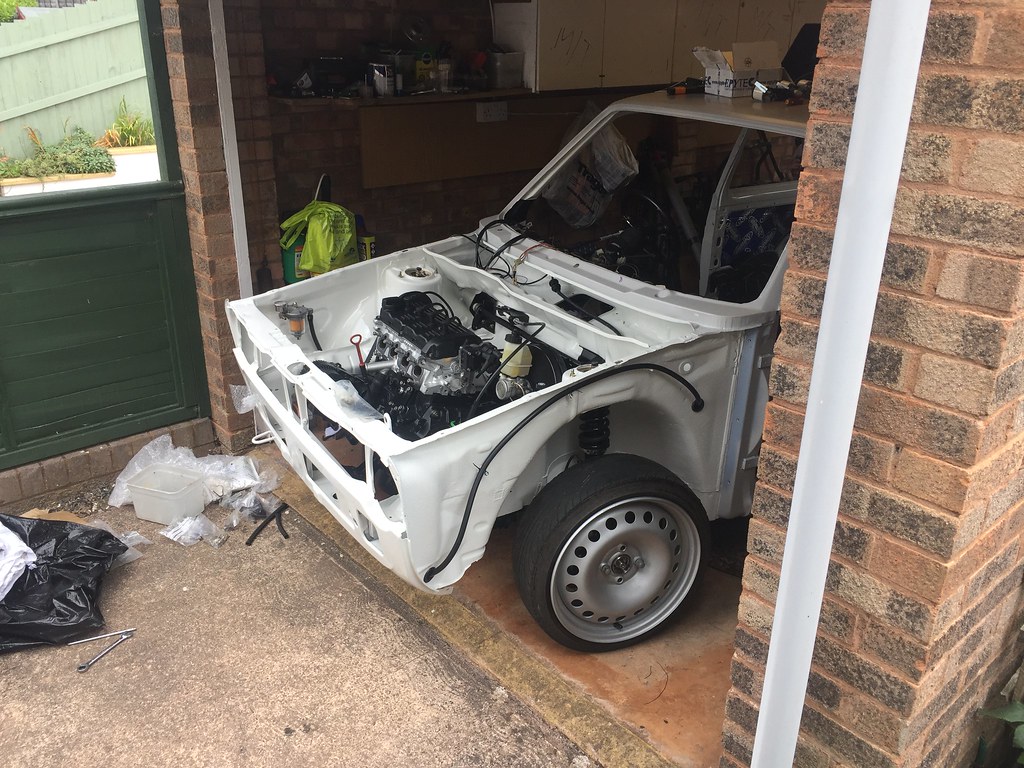
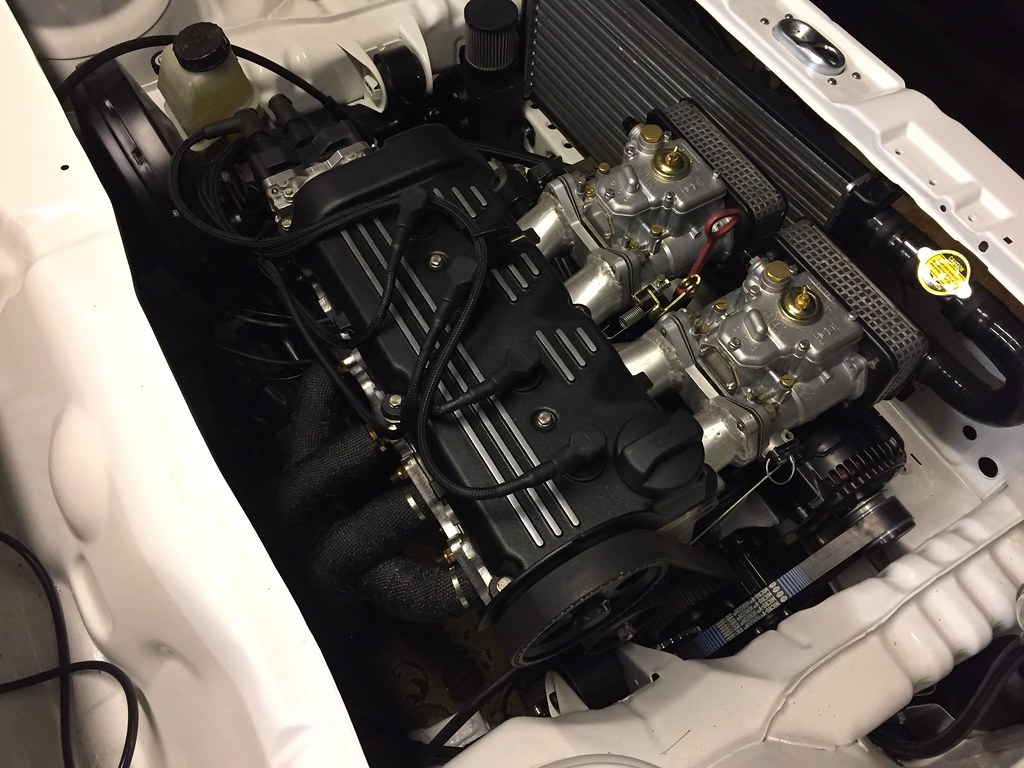
And then got the engine fitted -
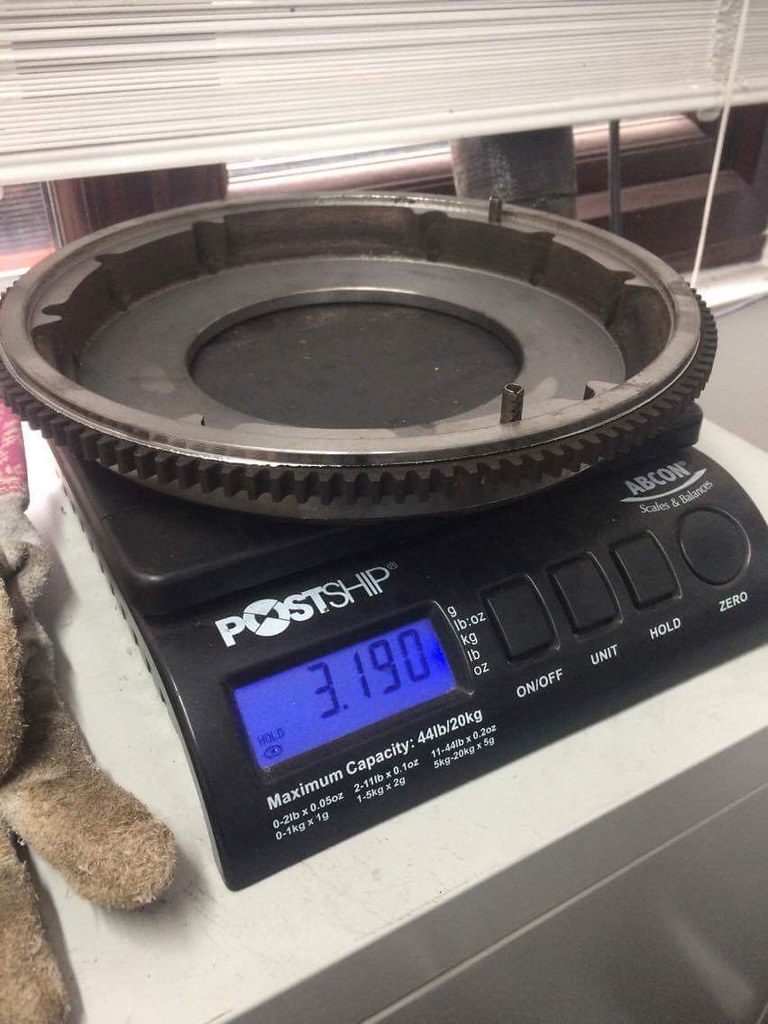
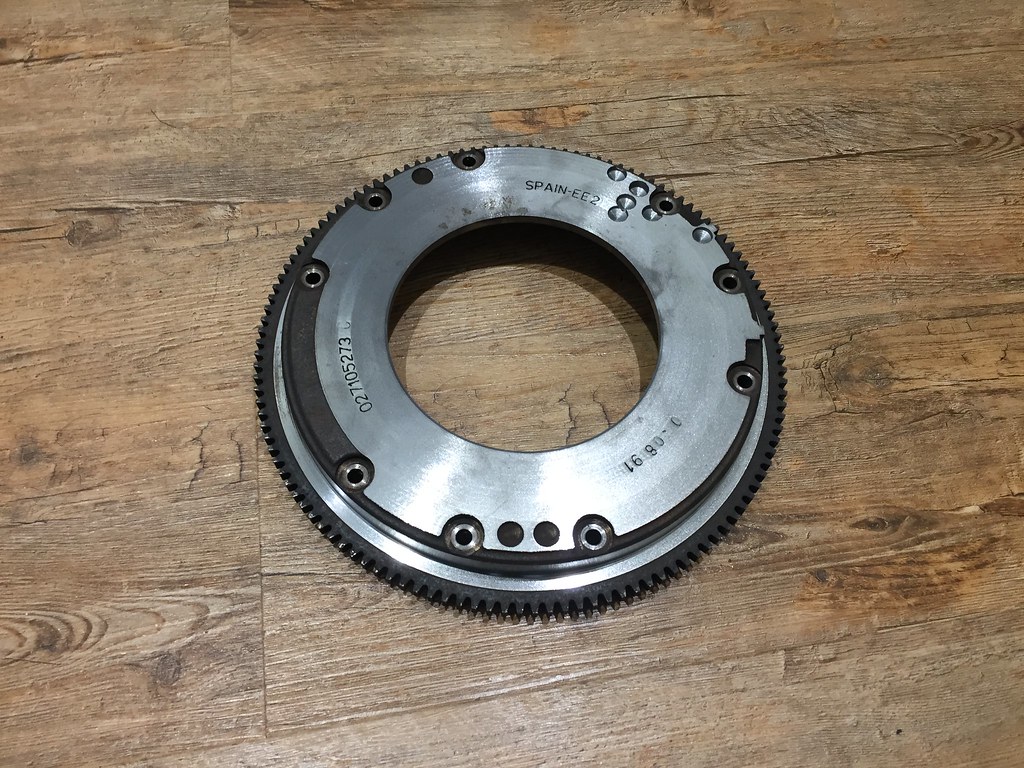
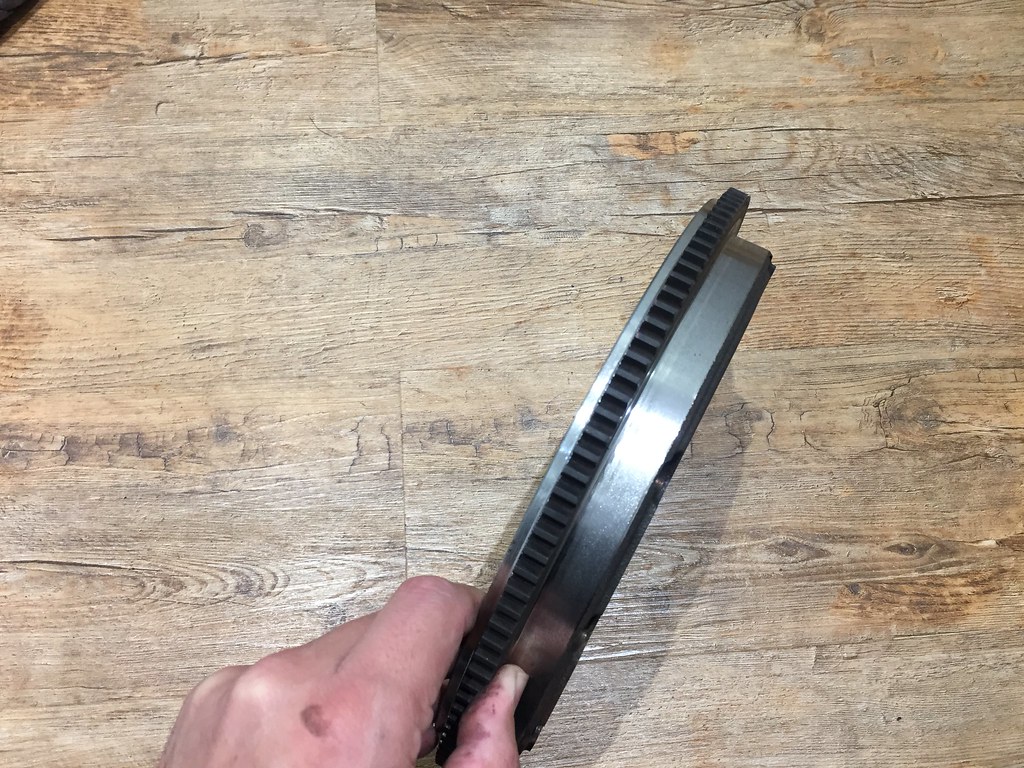
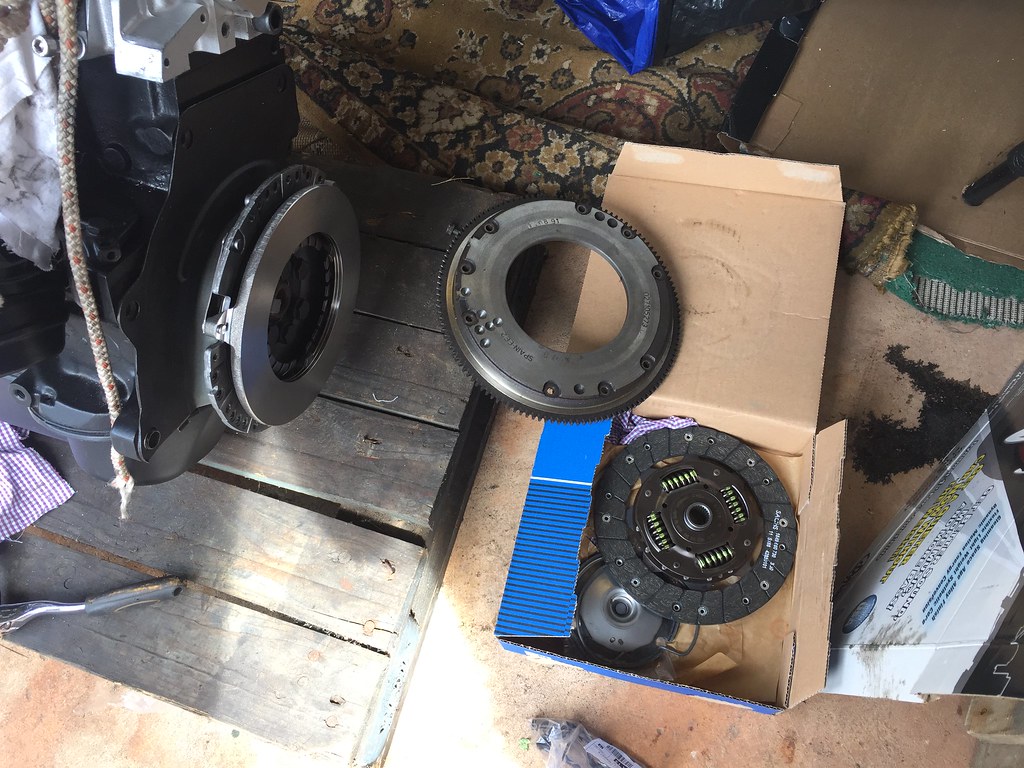
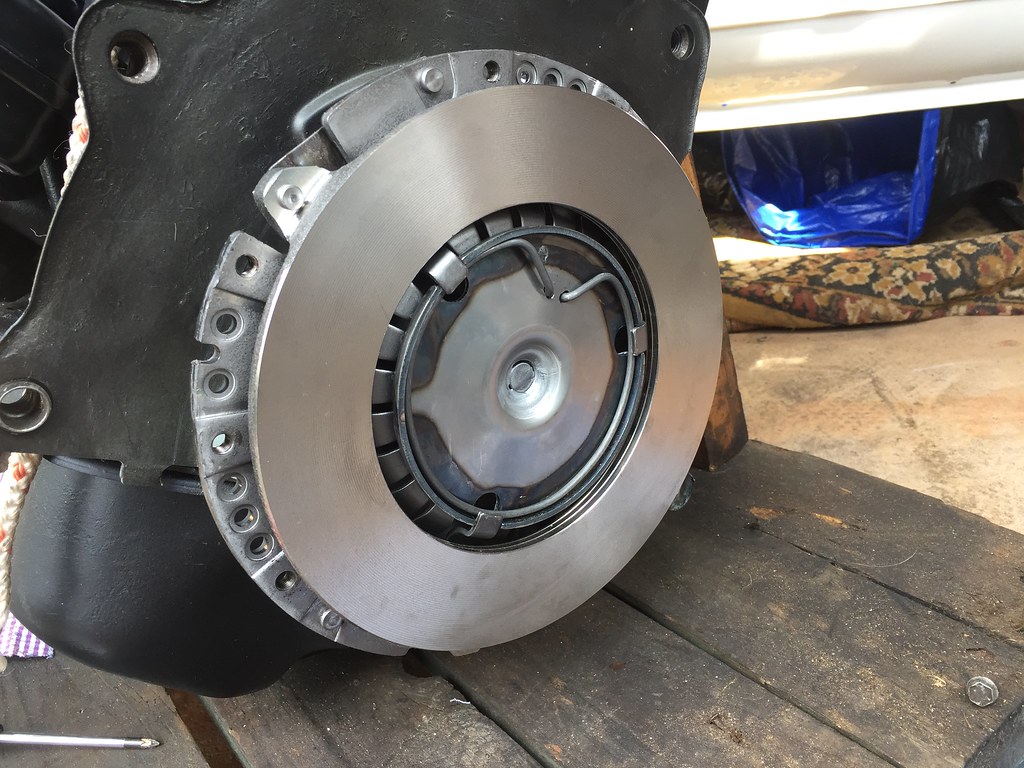
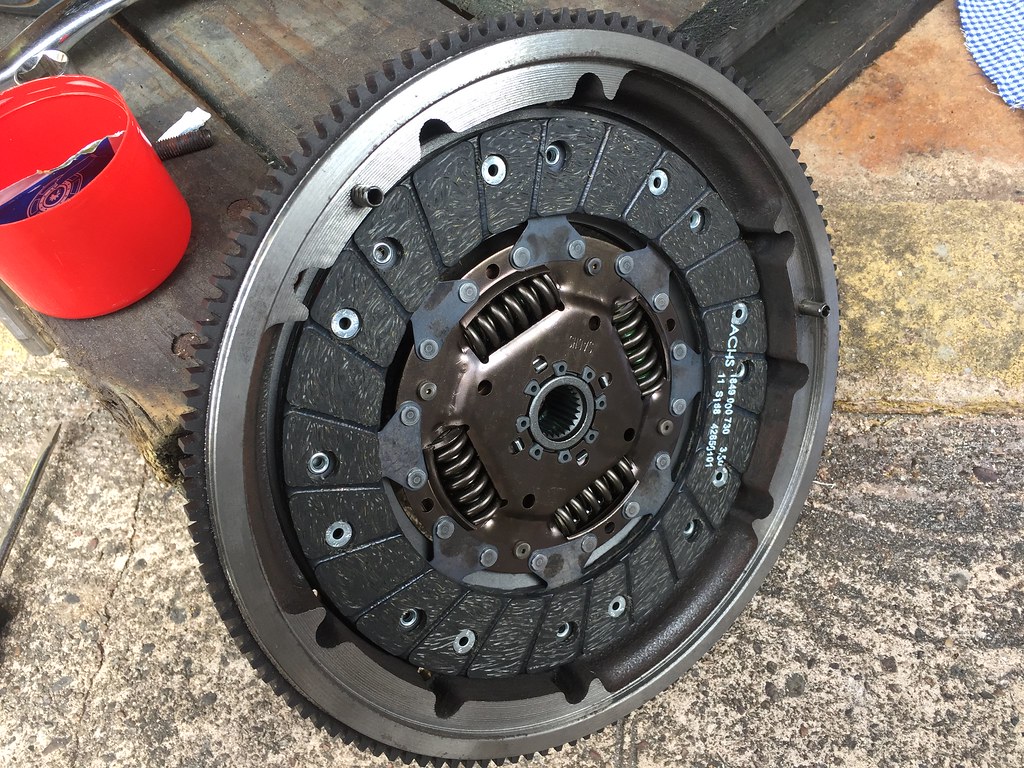
Wish it was that easy! Had to do a few more jobs before that could go in! Got my flywheel sent of to the every so popular Mart at Gas n Gears -
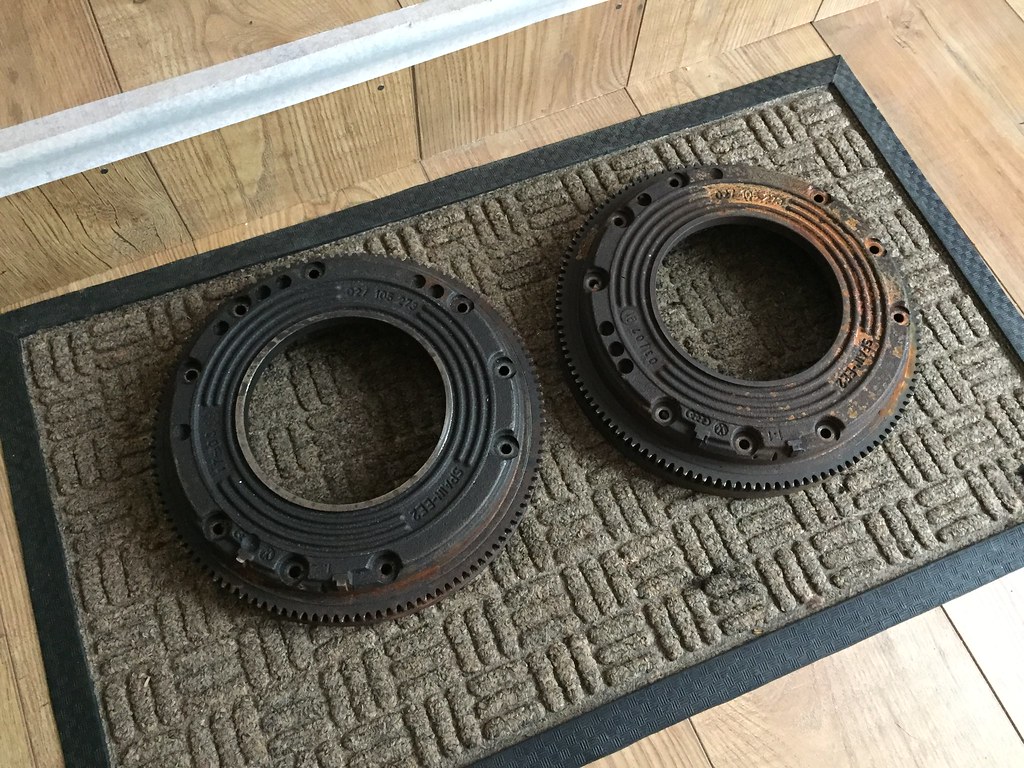
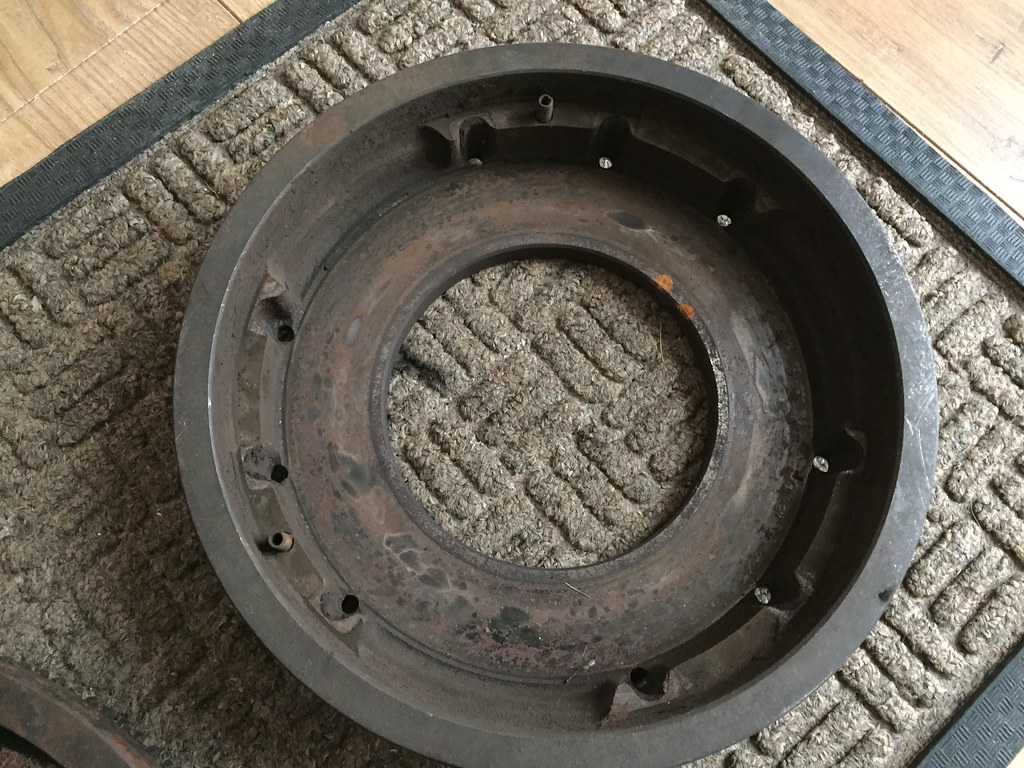
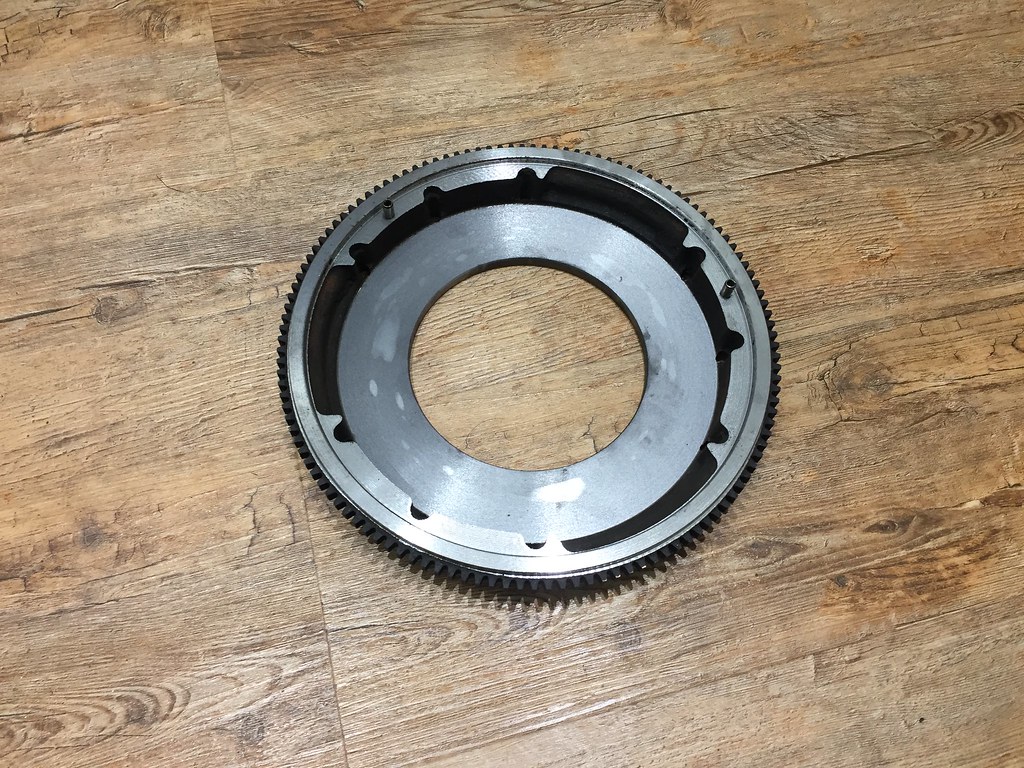
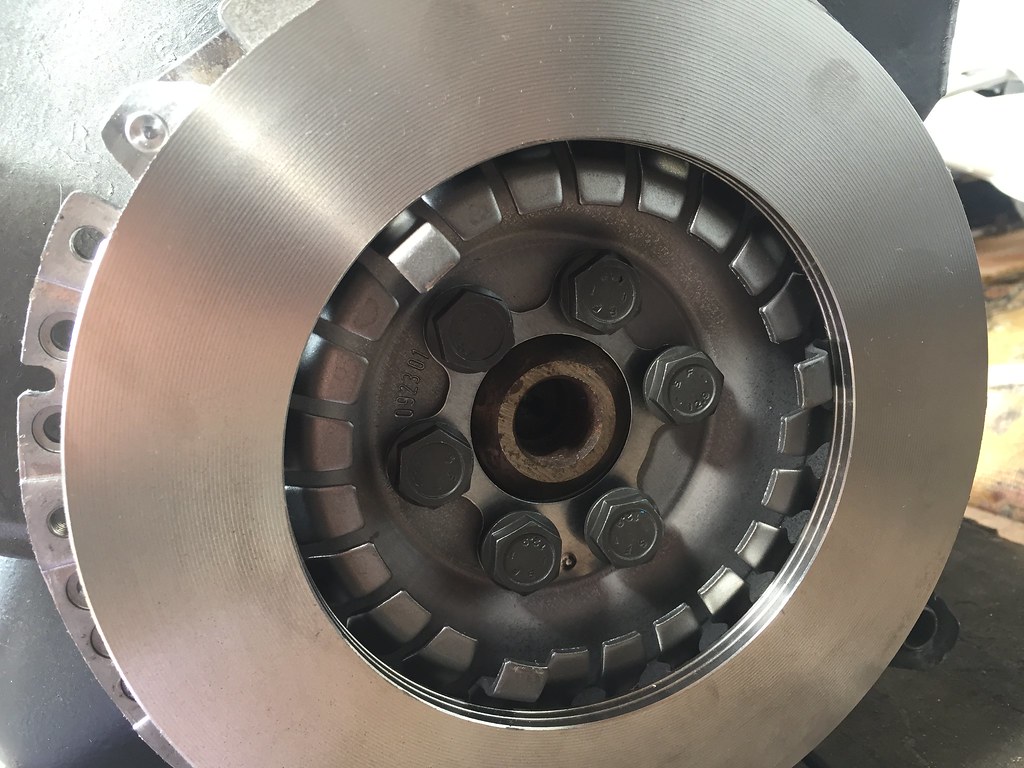
Which then got fitted to the engine with a brand new Sach Clutch -
And some new Flywheel bolts and clutch plate washer from VW -

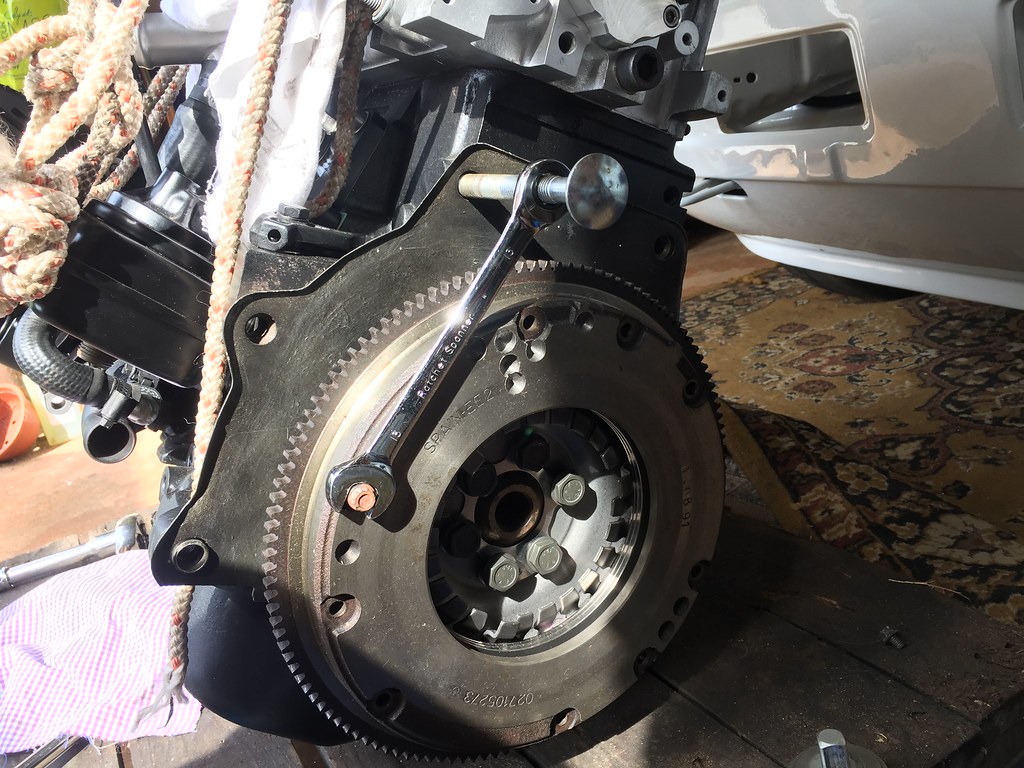

Then time to go in -
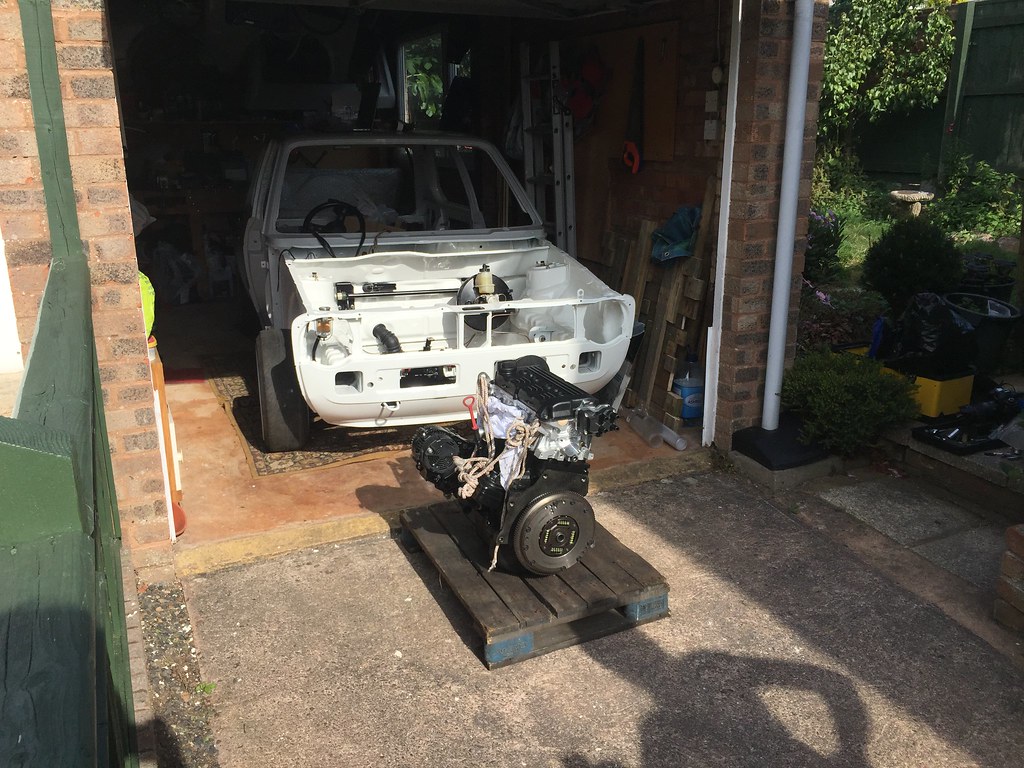
And then POW.., just like that its in -
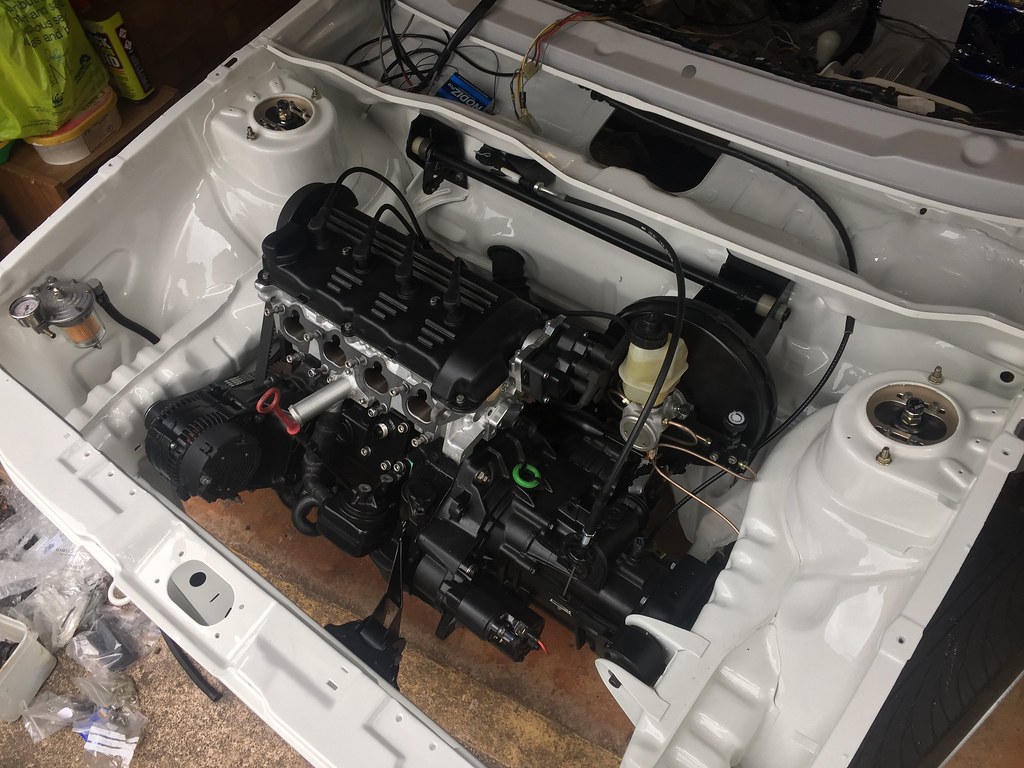
Engine earth made up and place in the rear mount -
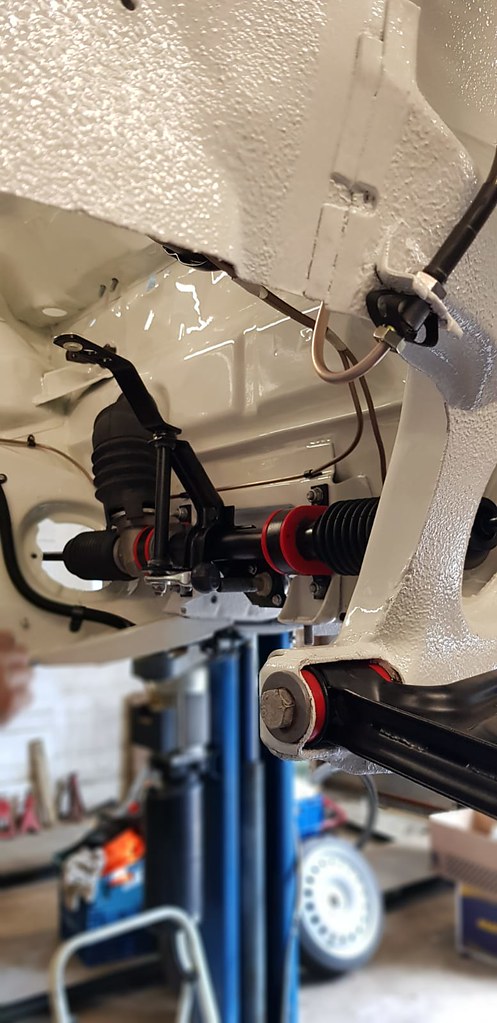
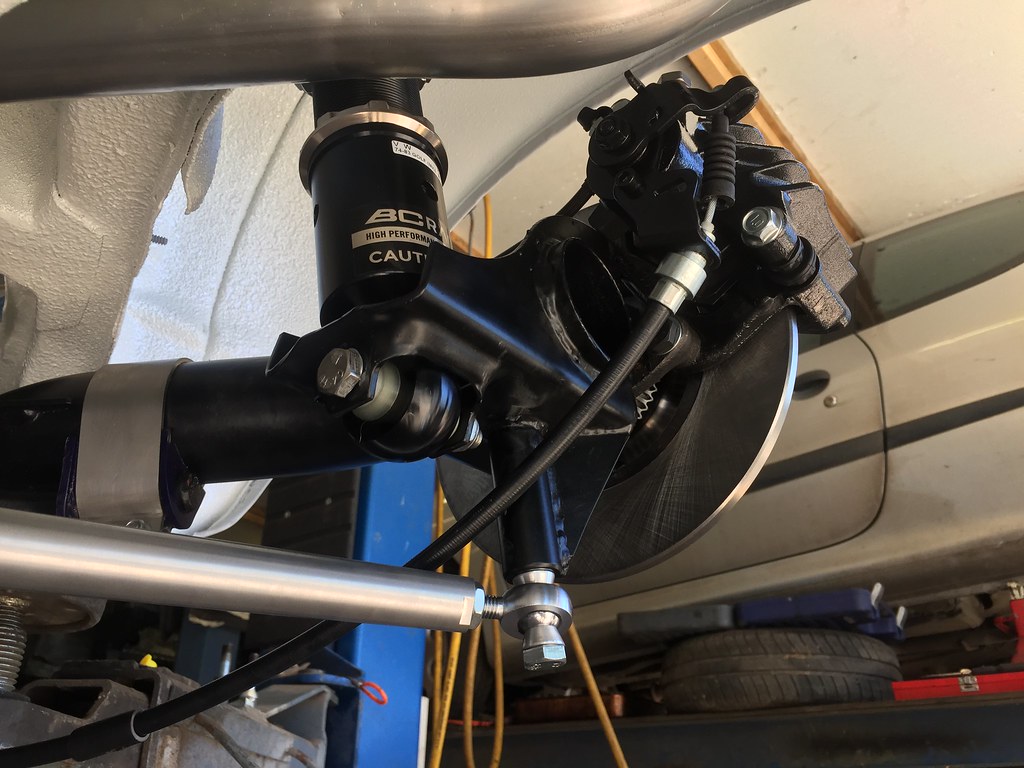
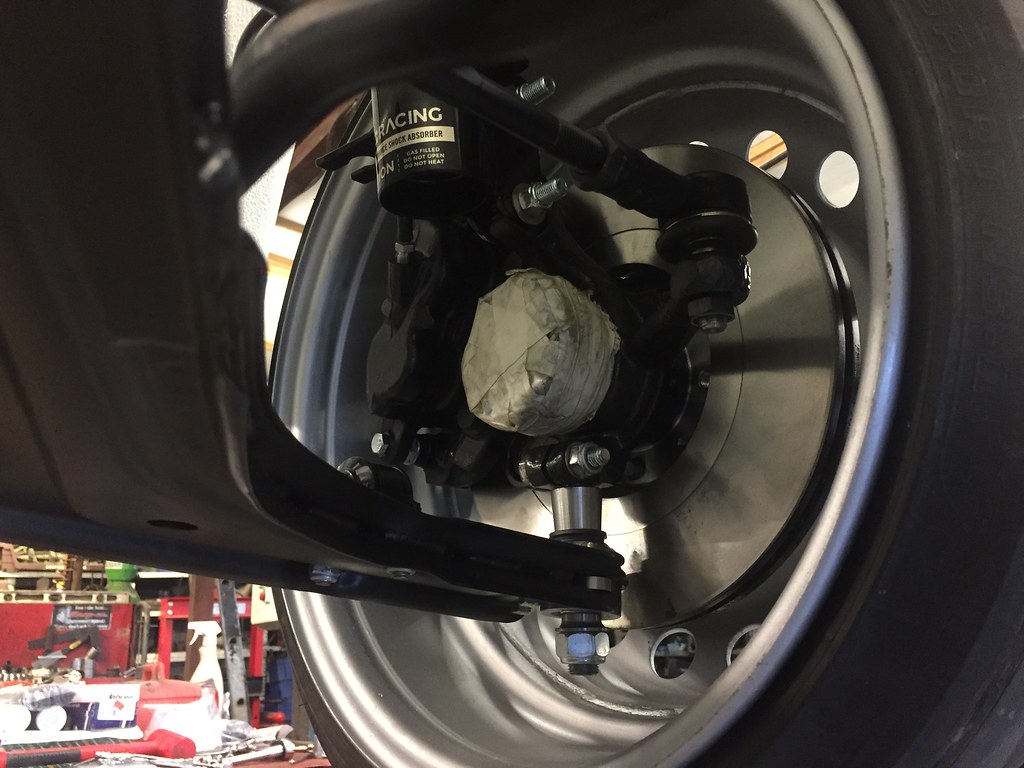
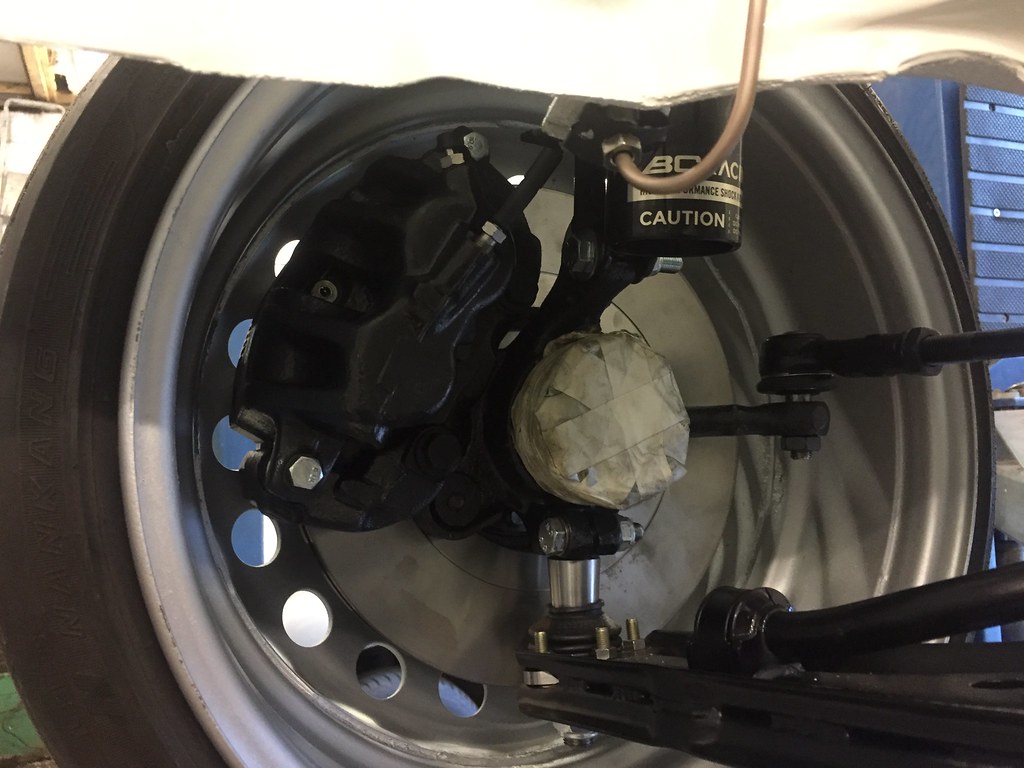
Fitted my Noath track rod flip fit -
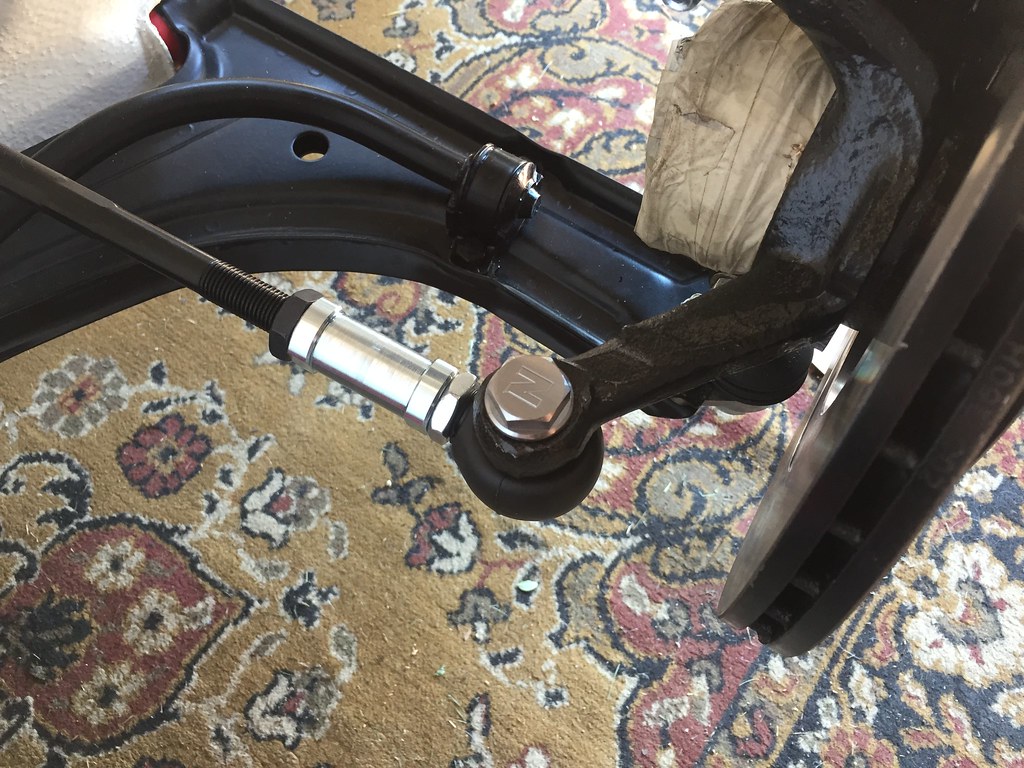
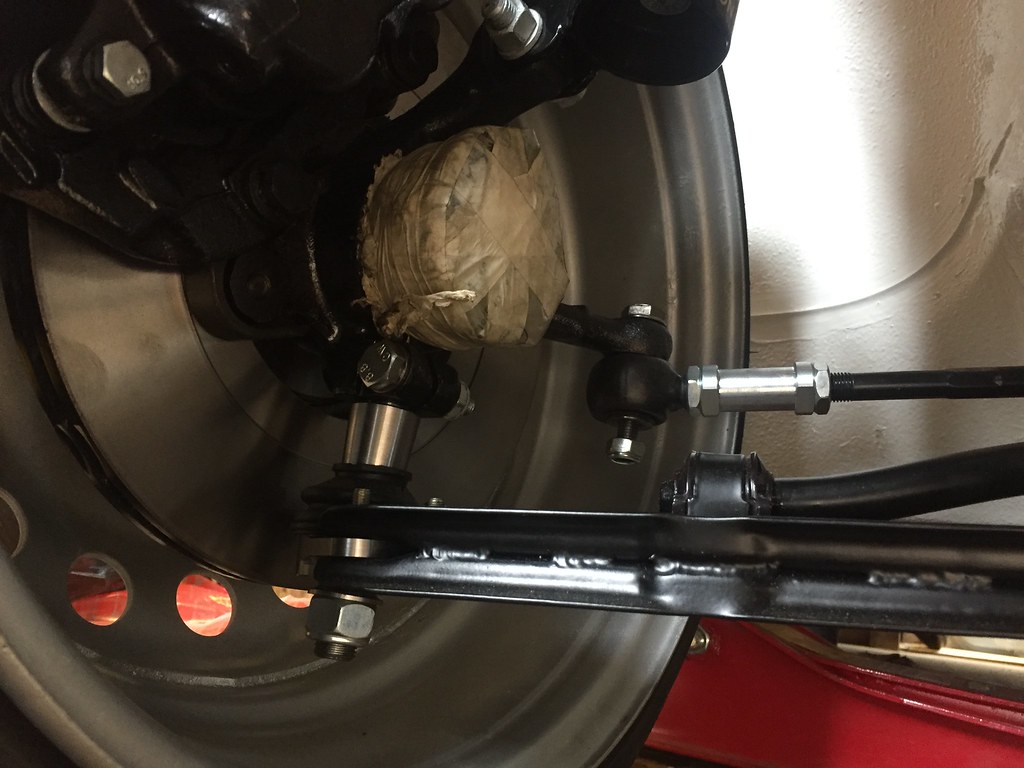
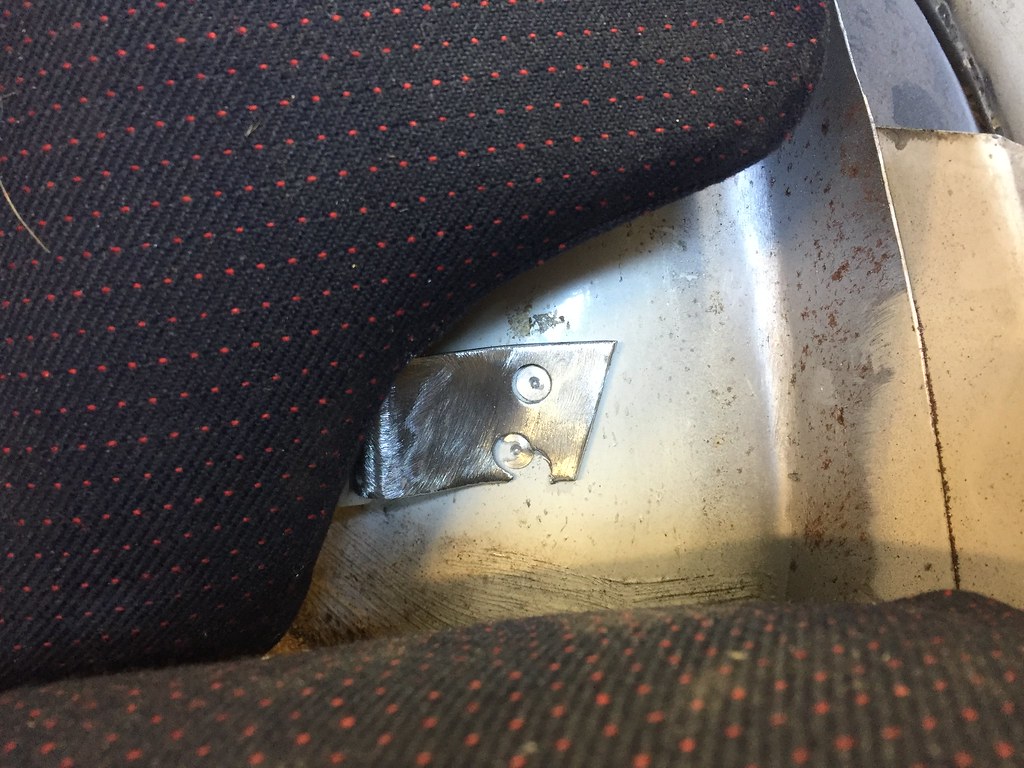
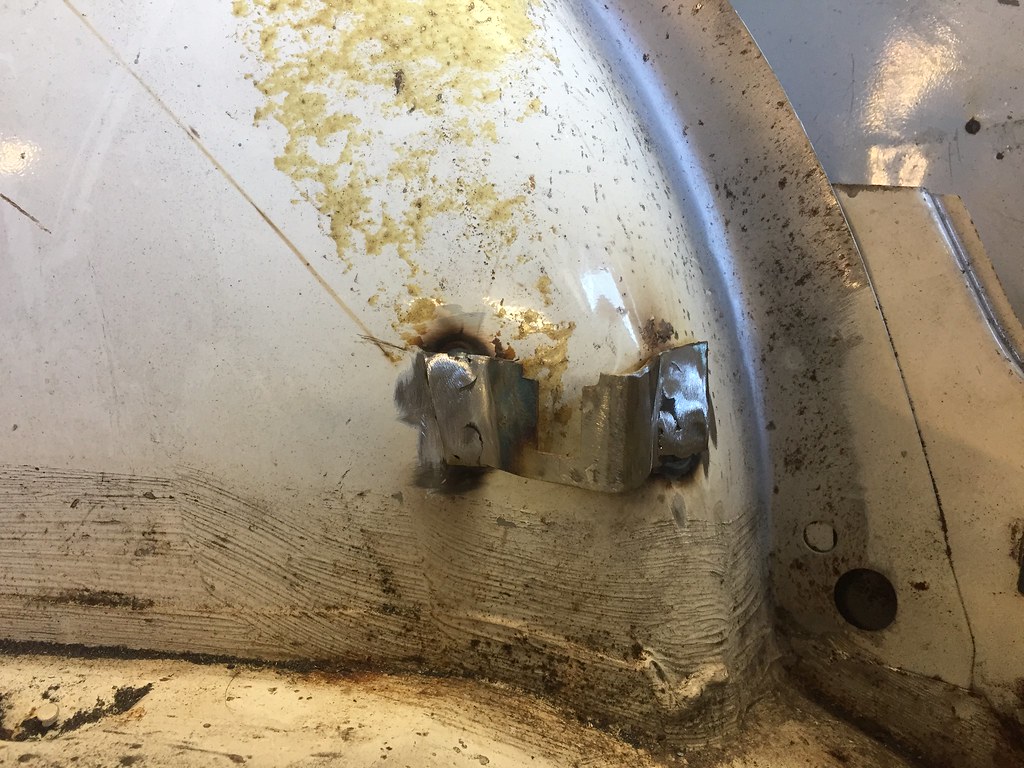
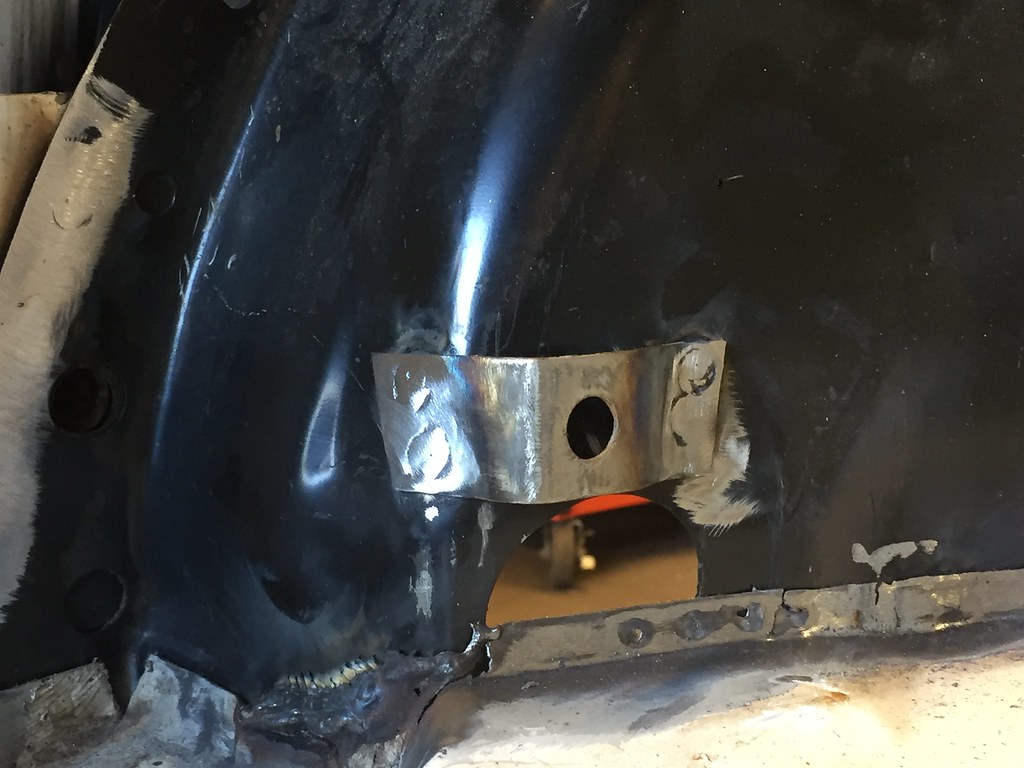
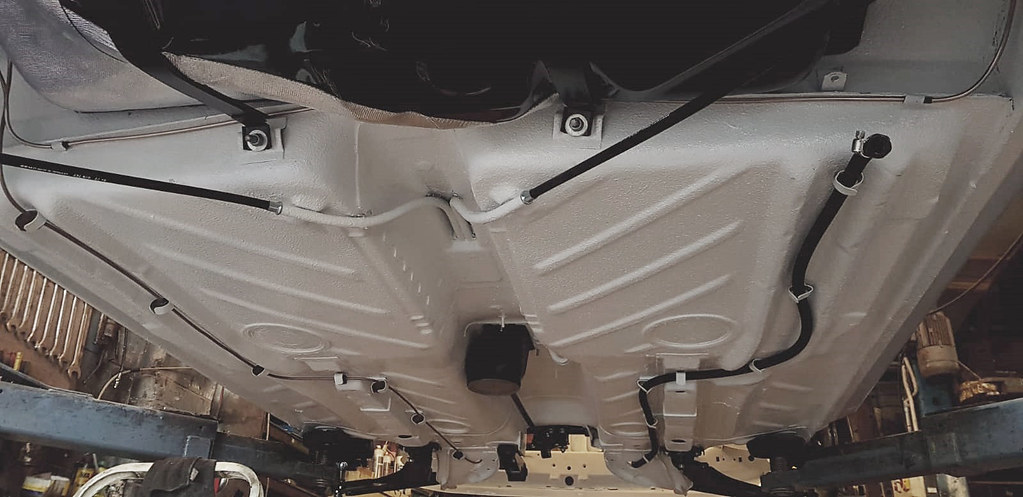
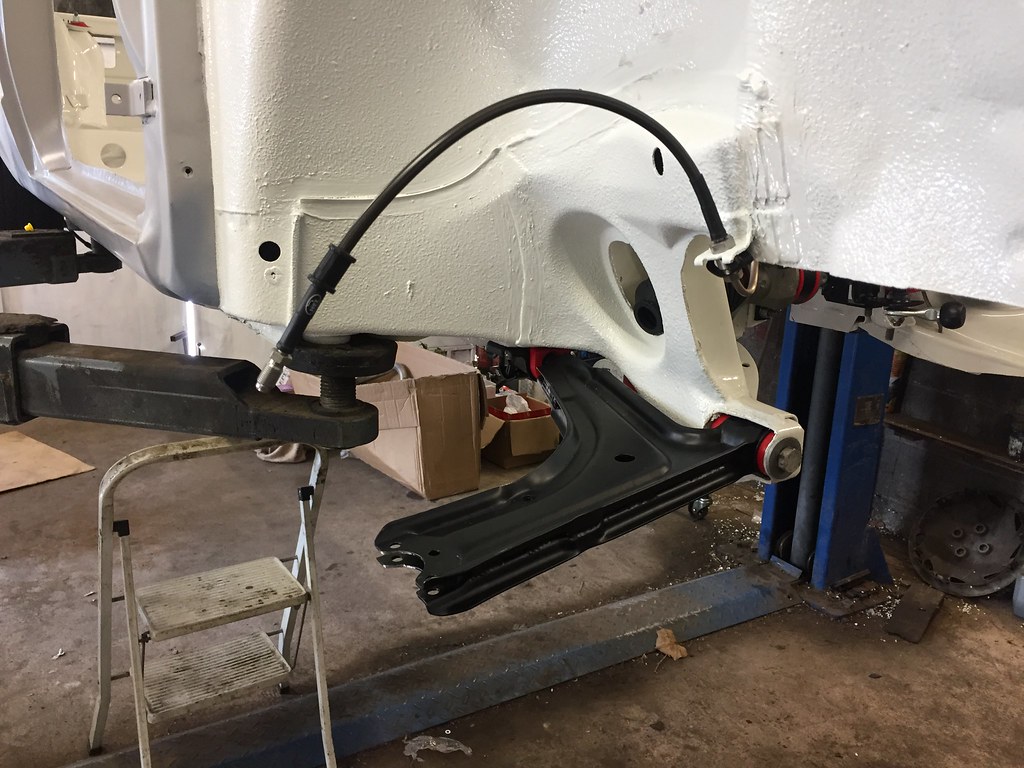
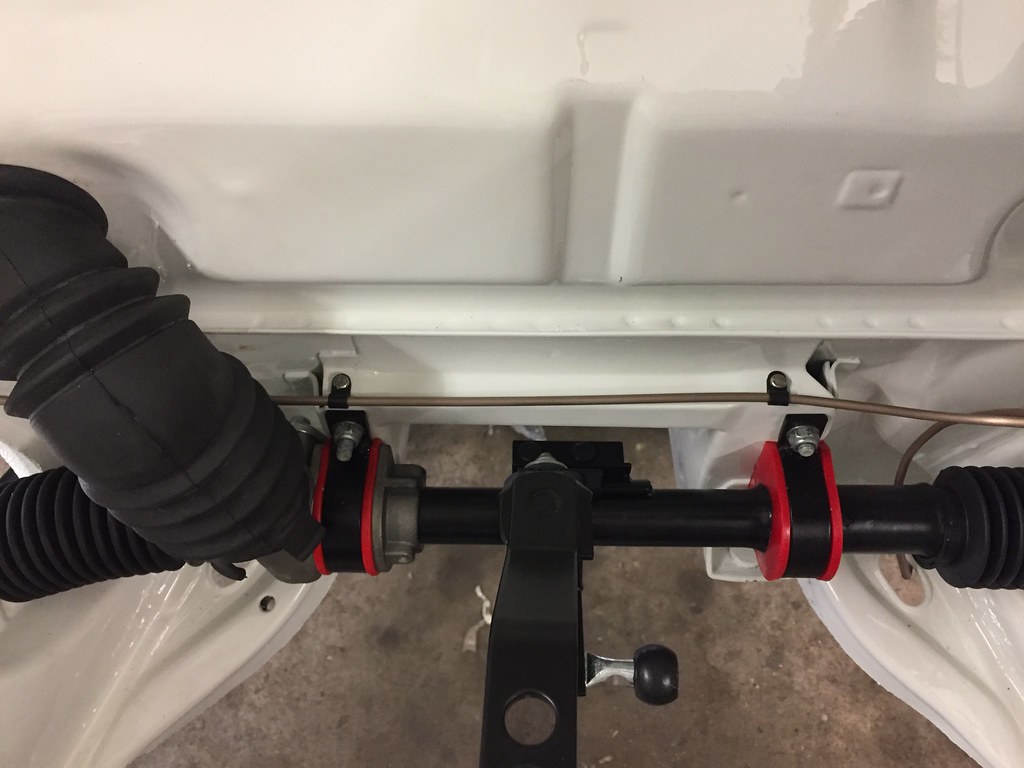
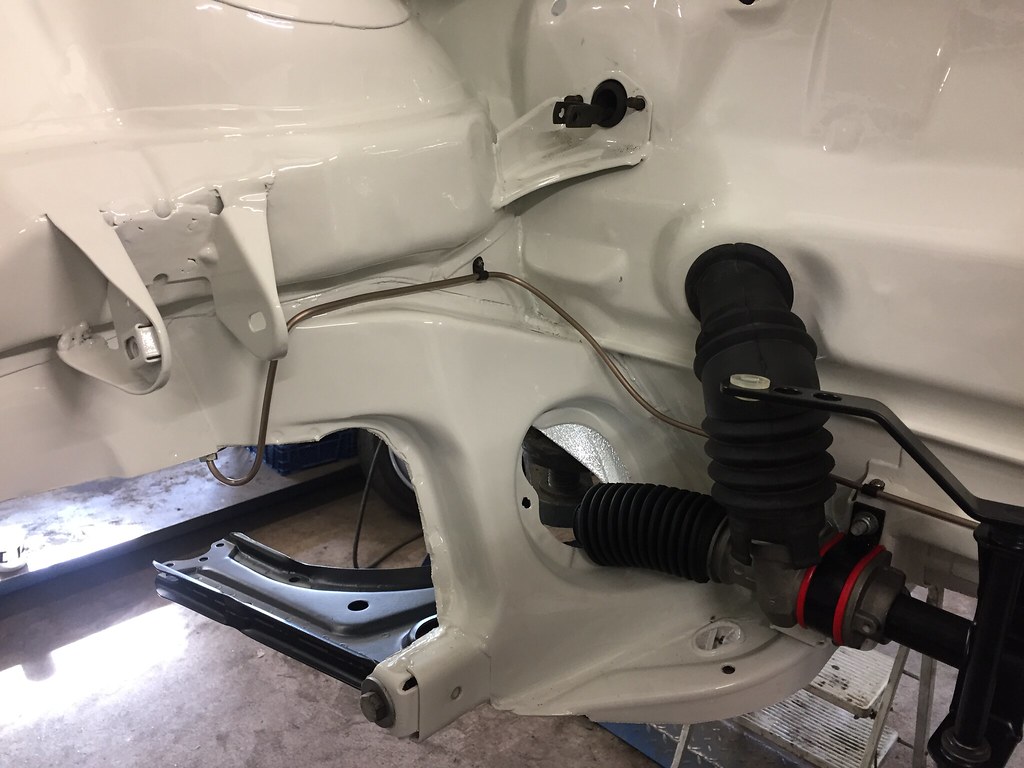
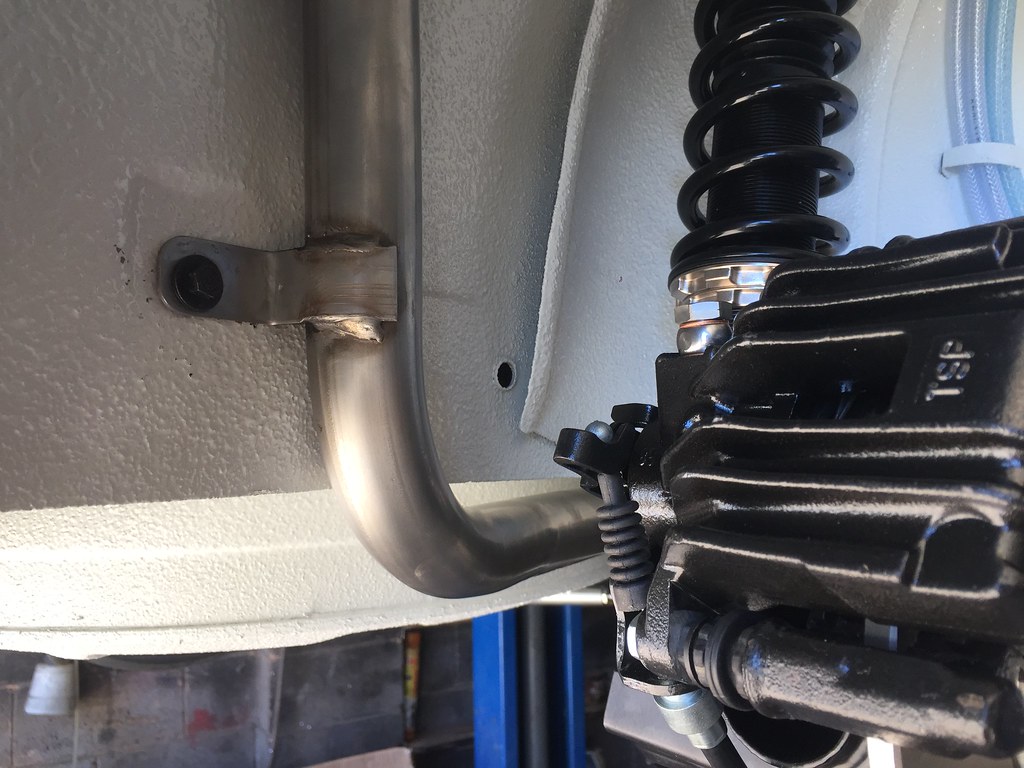
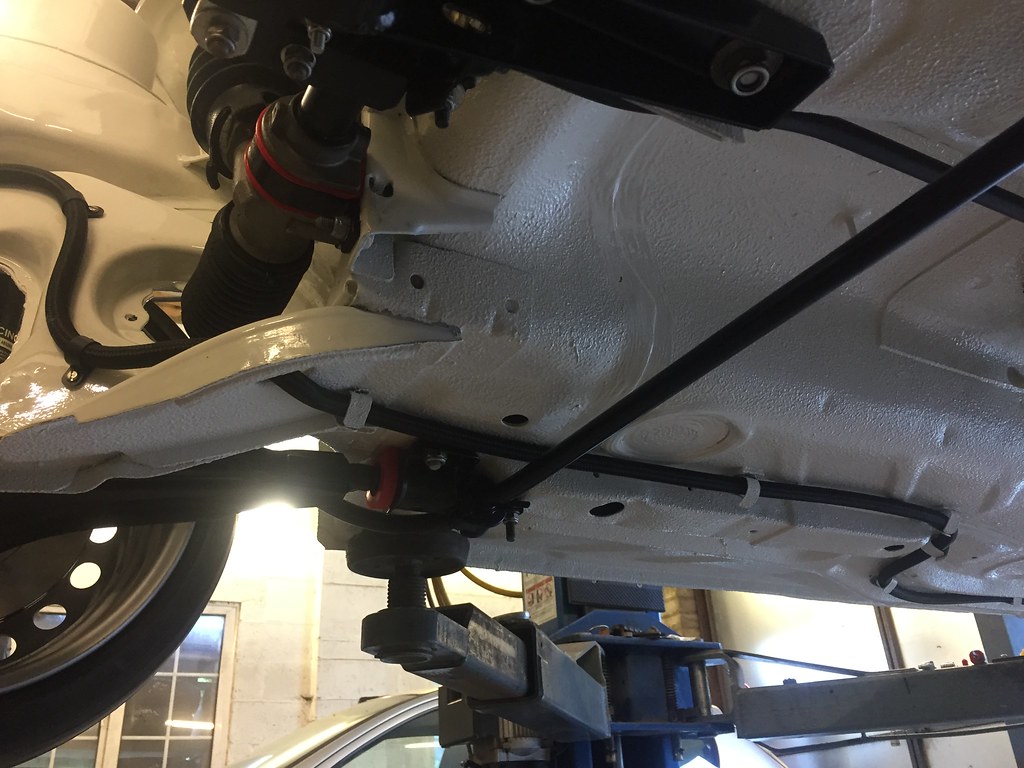
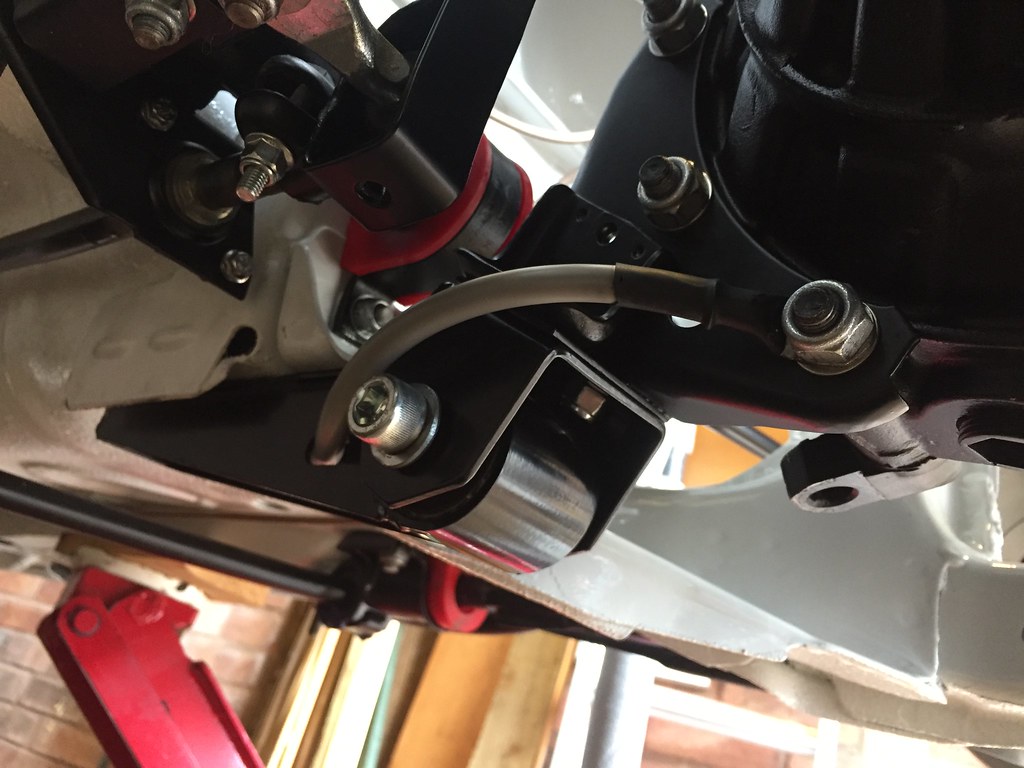
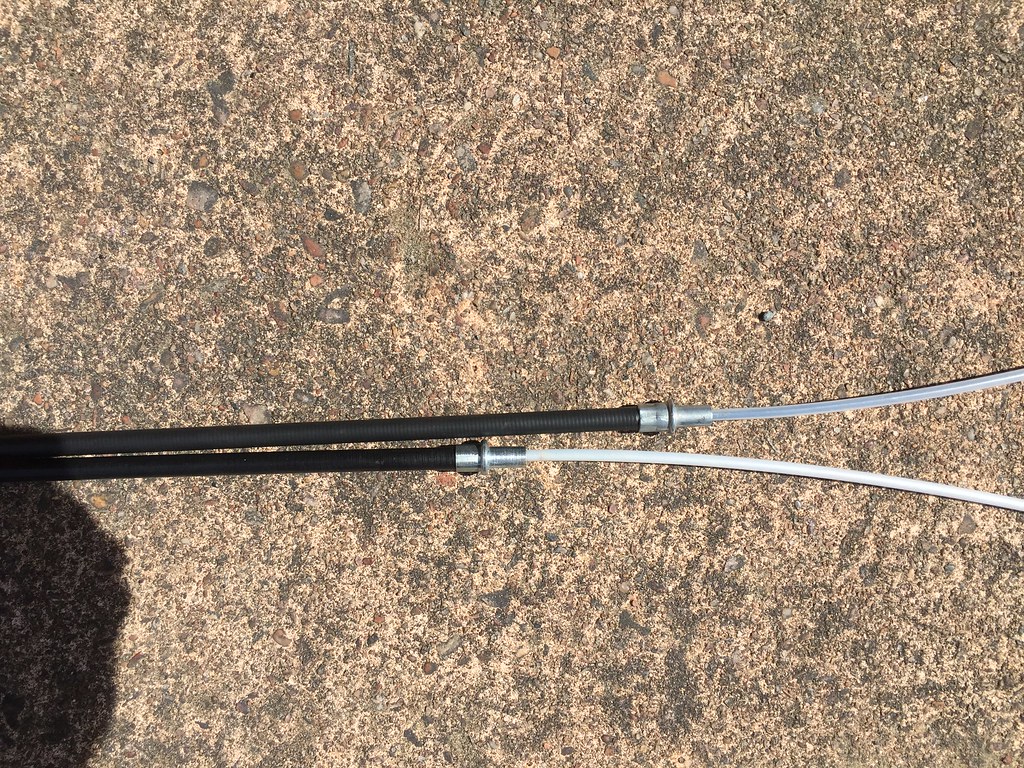
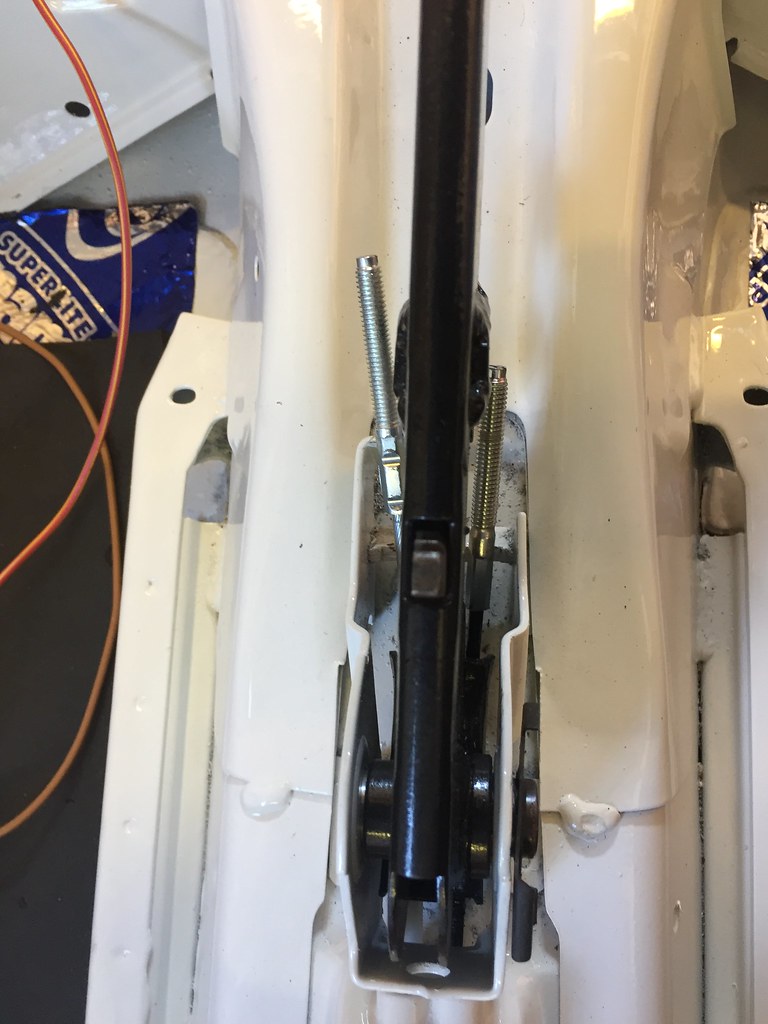
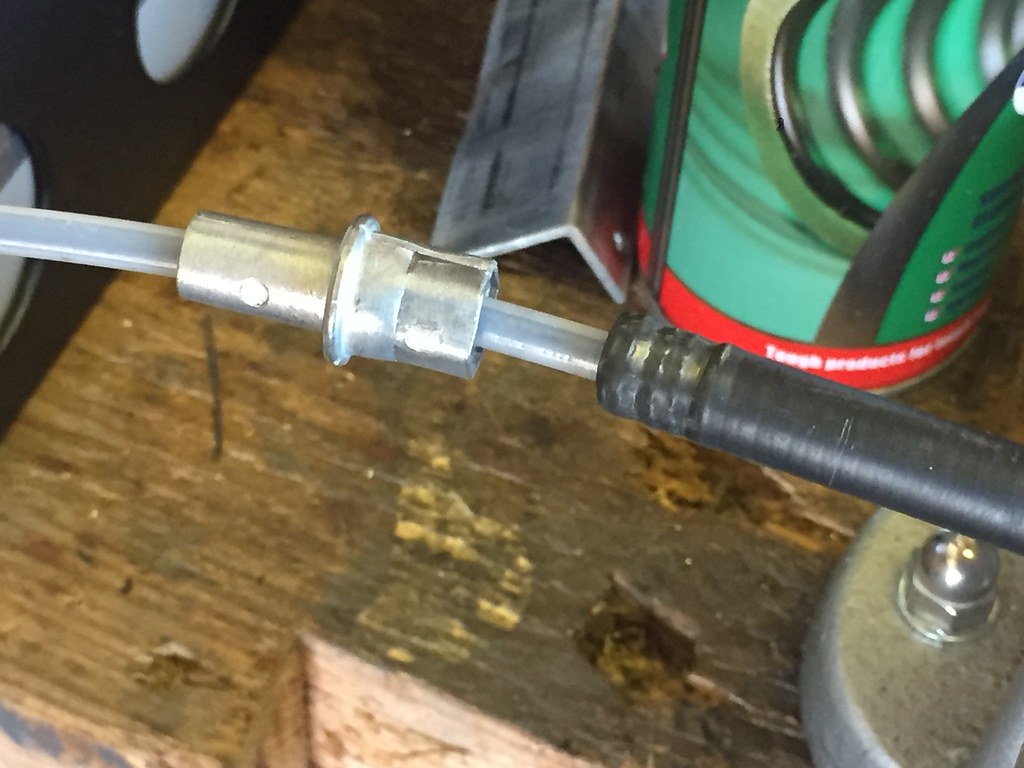
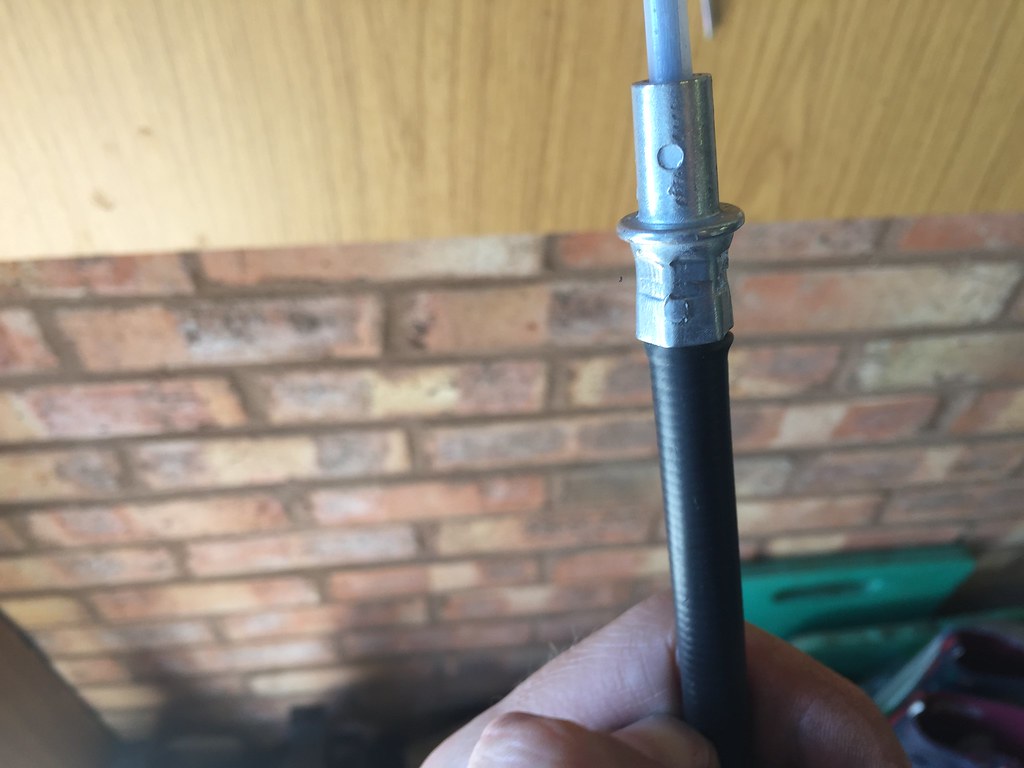
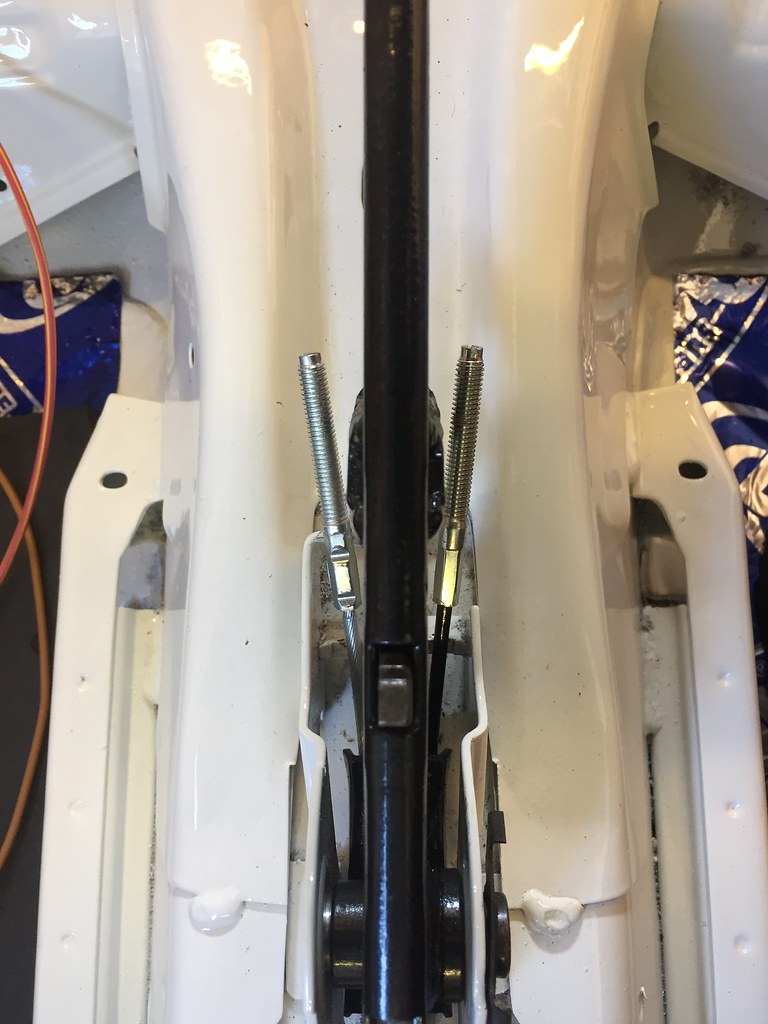
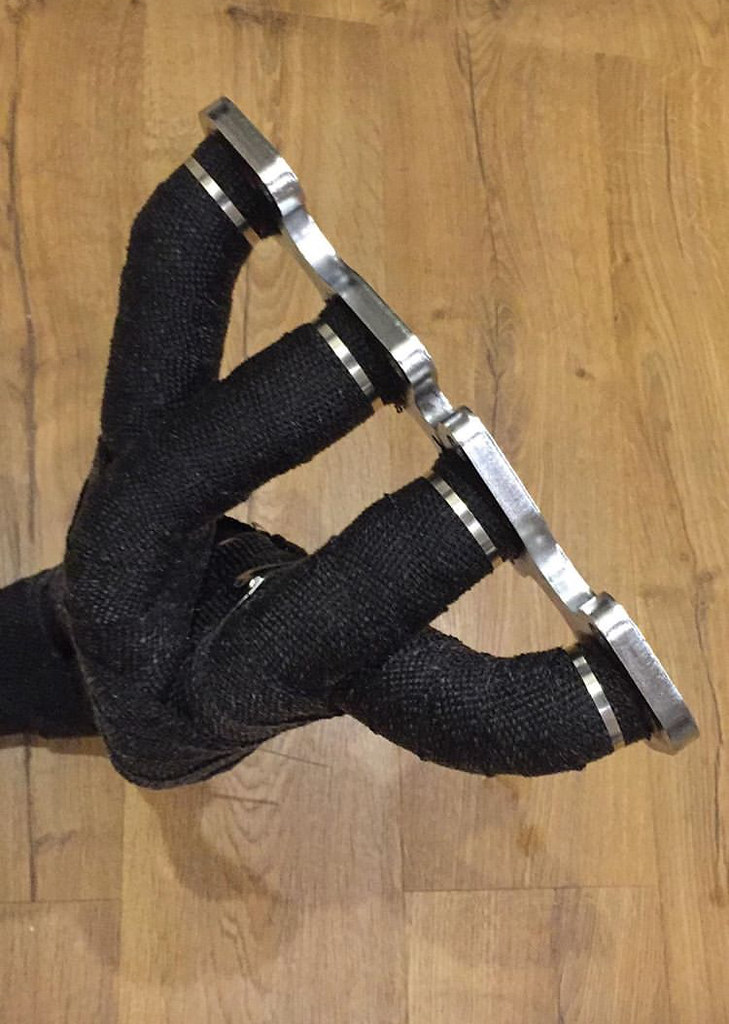
Handbrake cables, right this ones been on my mind for awhile and decided like most people to try out the scirocco 16v cables, but because I have the mk4 rear brake setup they literally just don't fit under the car well. The cable length is actually fine and sit where they need to by the handbrake, but would have sat far too close the exhaust for my liking. Some guy mentioned on my instagram post to try Mk2 Golf cables to which I had much better success. I had to bring the outa sleeving back abit for the actual cable to reach the handbrake, but they work an absolute treat. They now sit in the actually space's that the handbrake cable is meant to go, sit around the rear beam and slot into the floor holes perfectly.

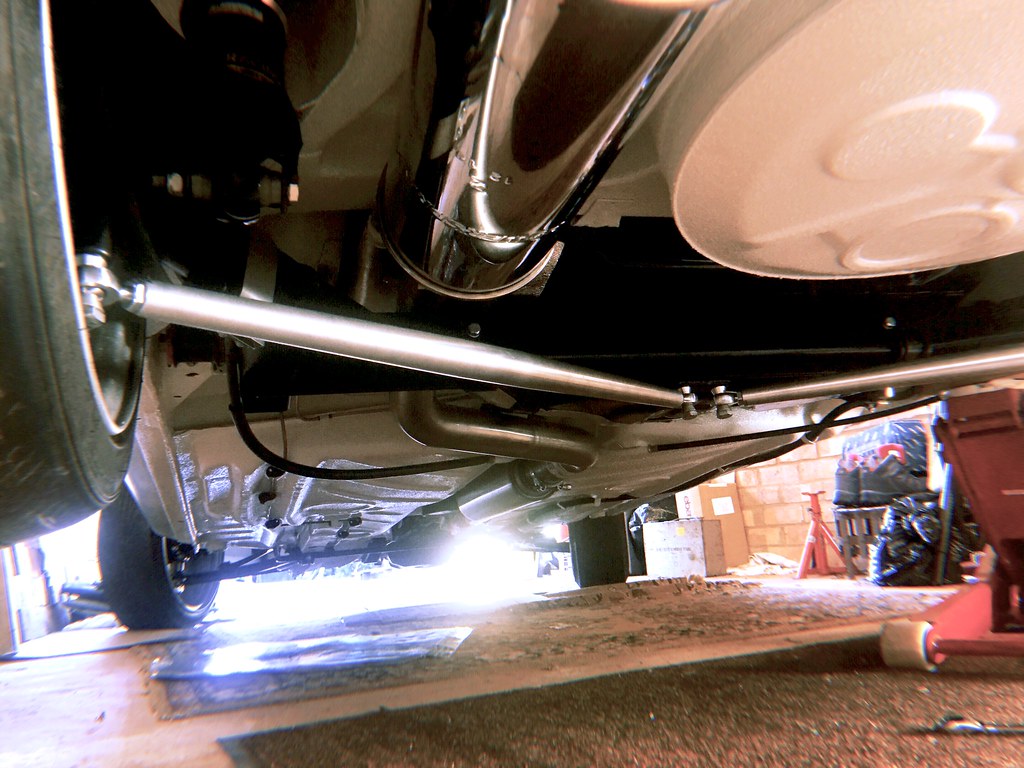
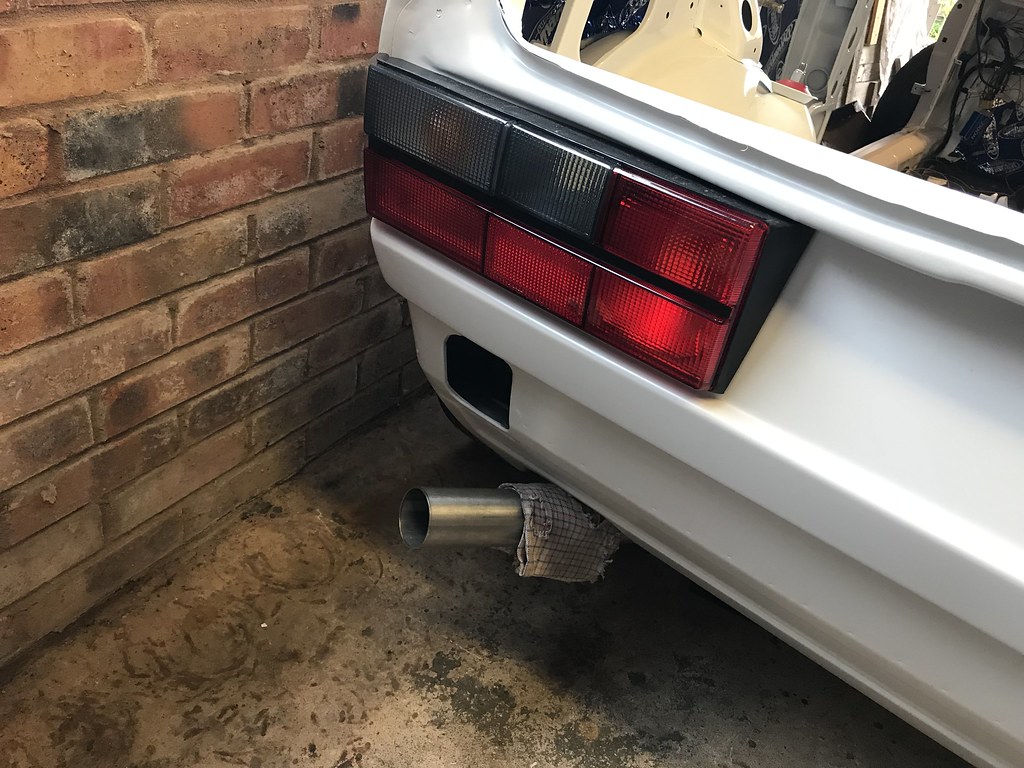
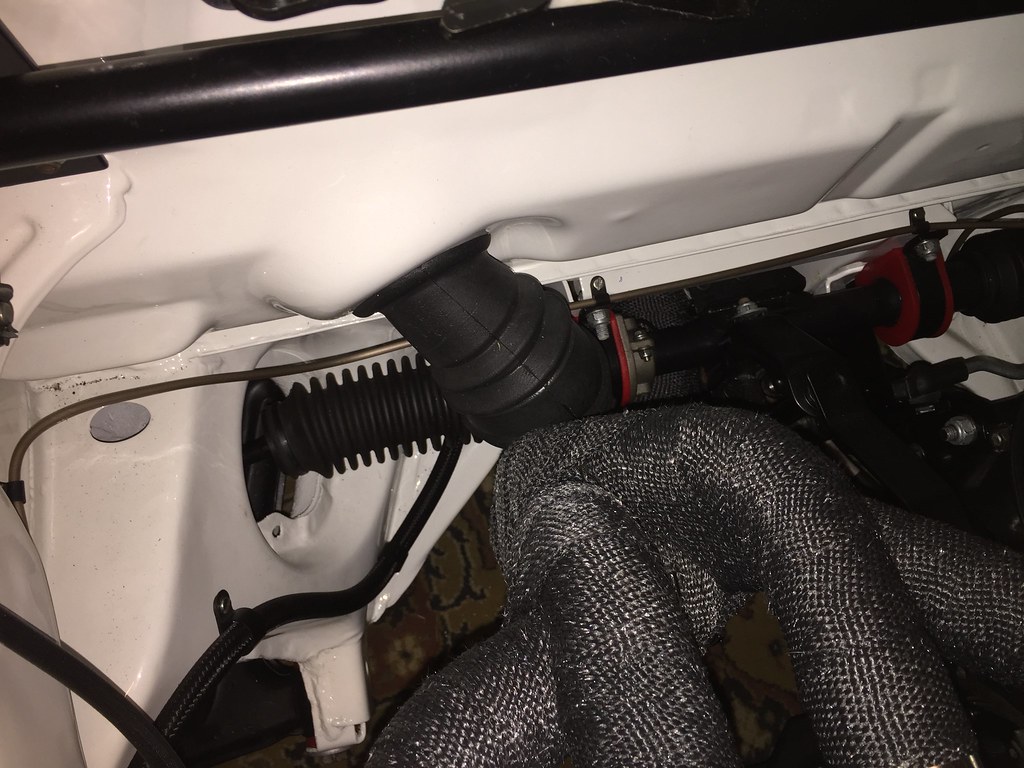
Exhaust On -


Wiring -
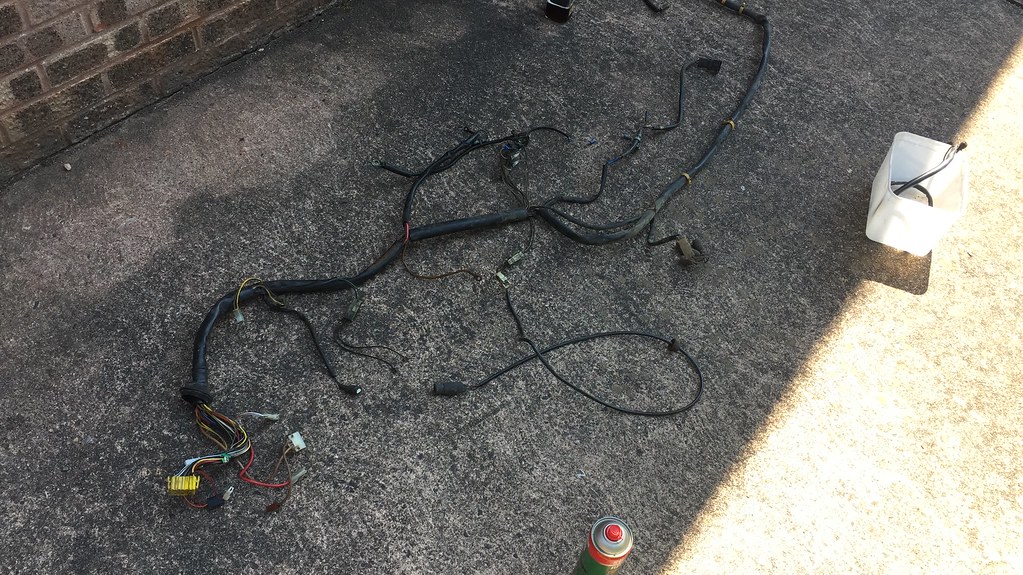
Thought I had lost these, took me a good couple of hours to find them -

Sorry not many pictures of wiring, but its a pretty boring thing to photograph. Wires in, chopped, extended and soldered back together again with glue lined heat shrink.
Will jump back on the wiring subject again at some point as I'm yet to finish it. But the whole fuse box, main live, ignition live and the whole dash and rear loom are all complete, tested and working, cheers to Rubjonny for helping me out as I completely forgot about fuse 17.
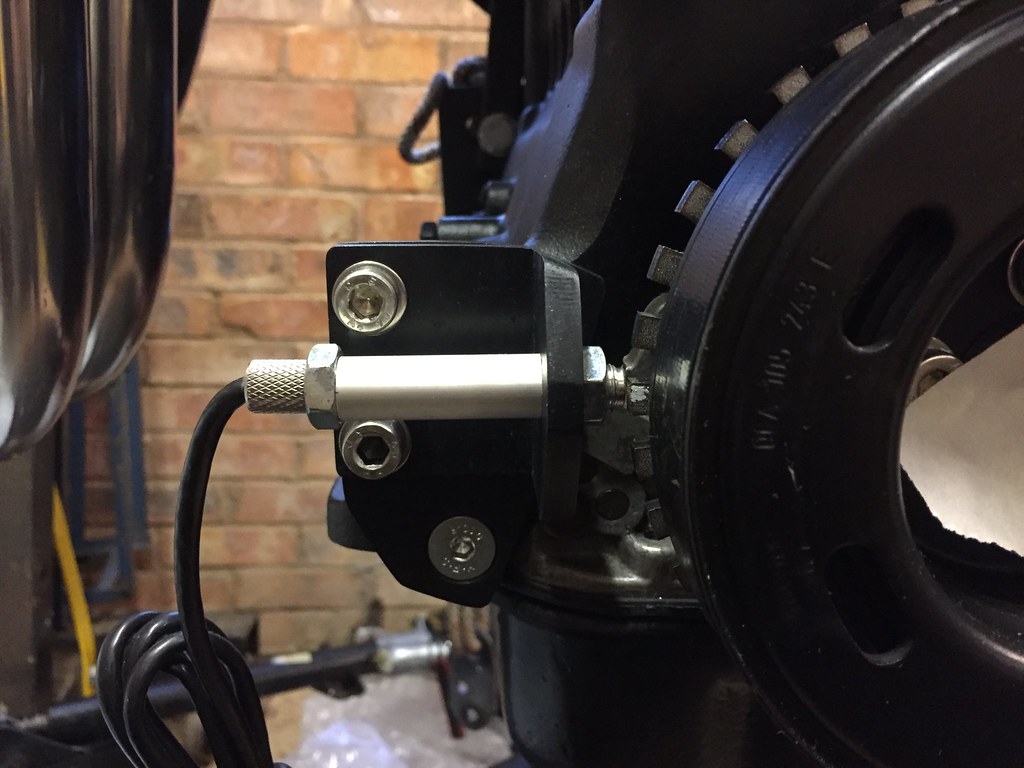
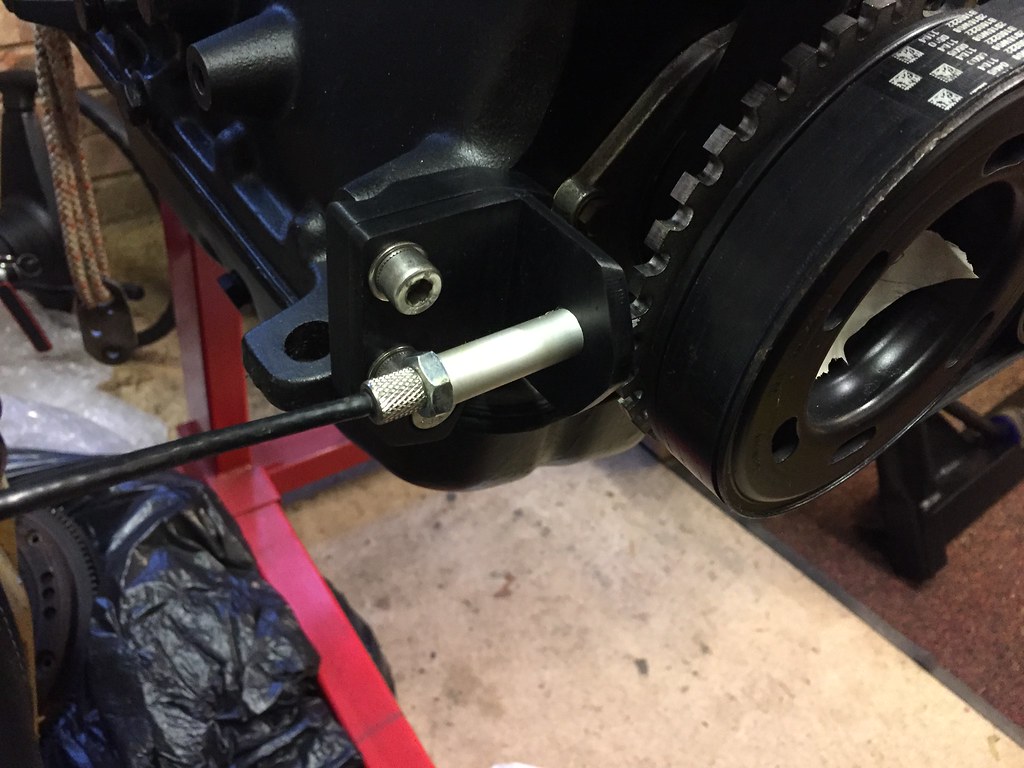
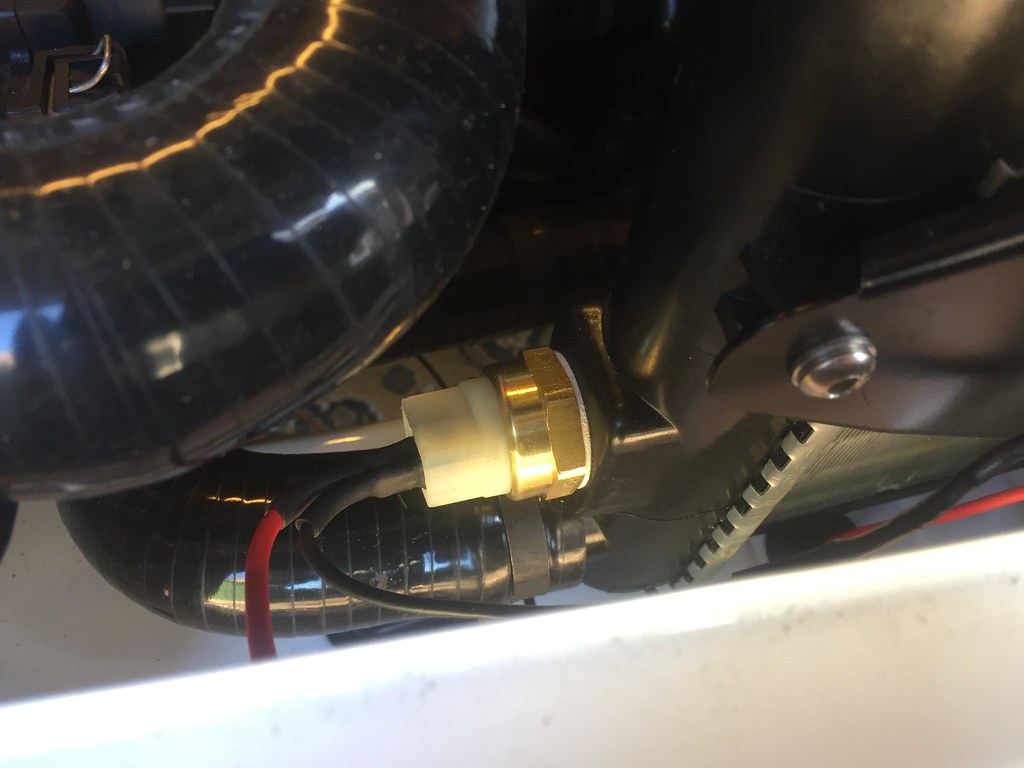
Rad Fan Switch -
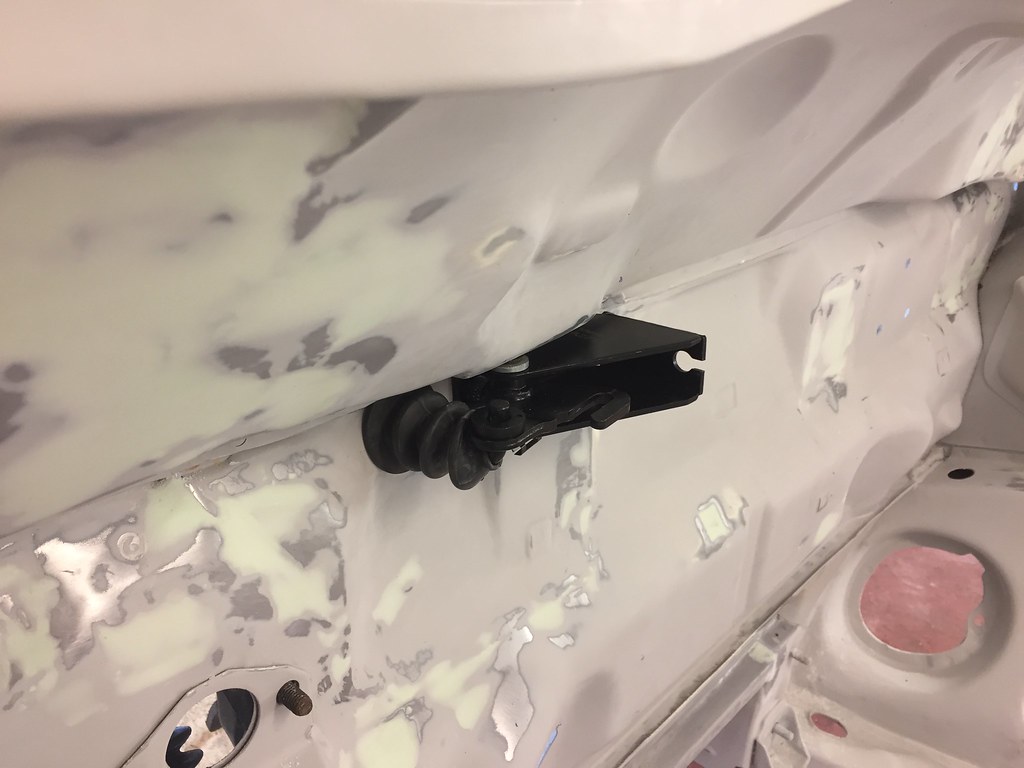
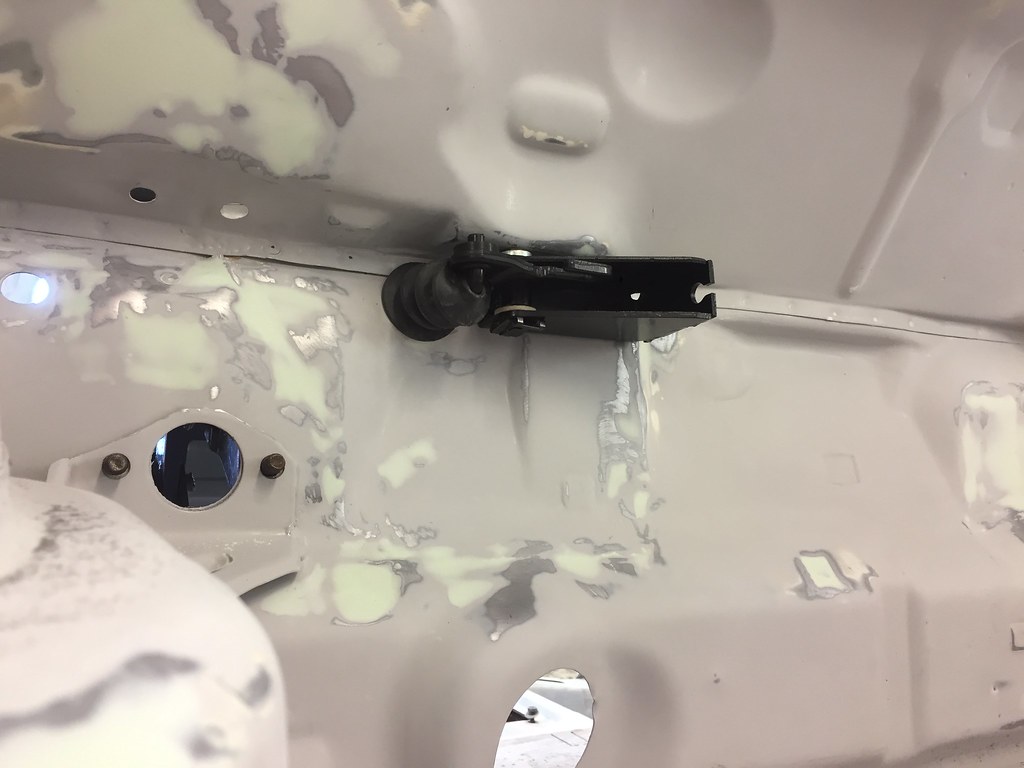
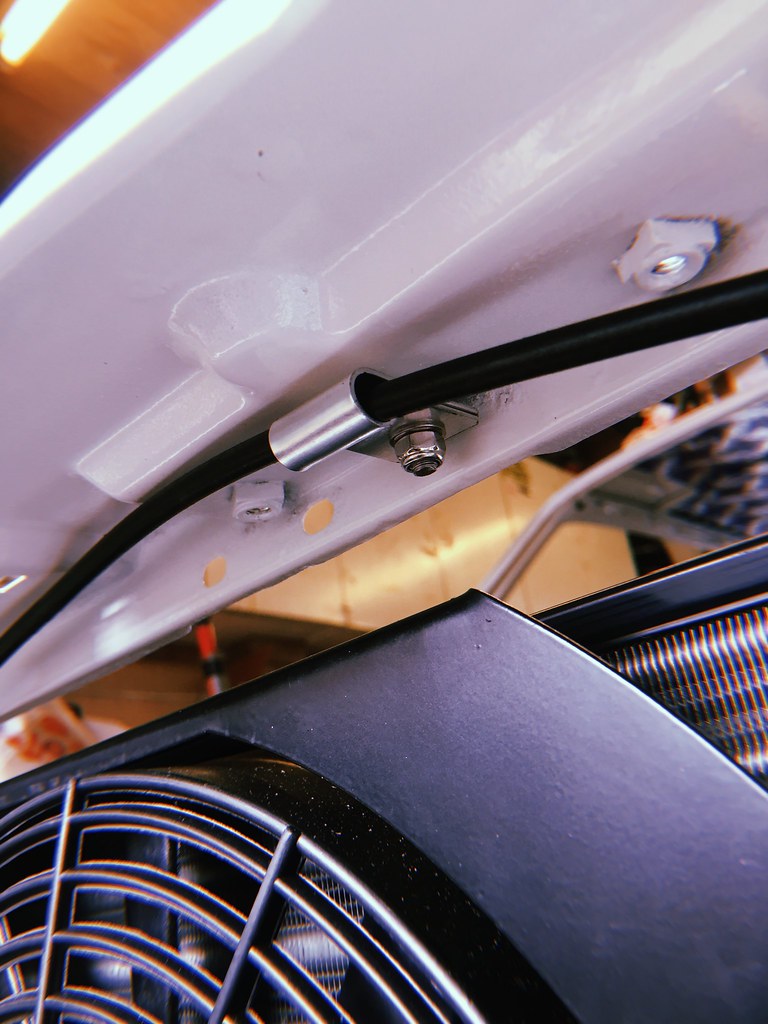
Little bracket I made for the bonnet latch cable to stay up -
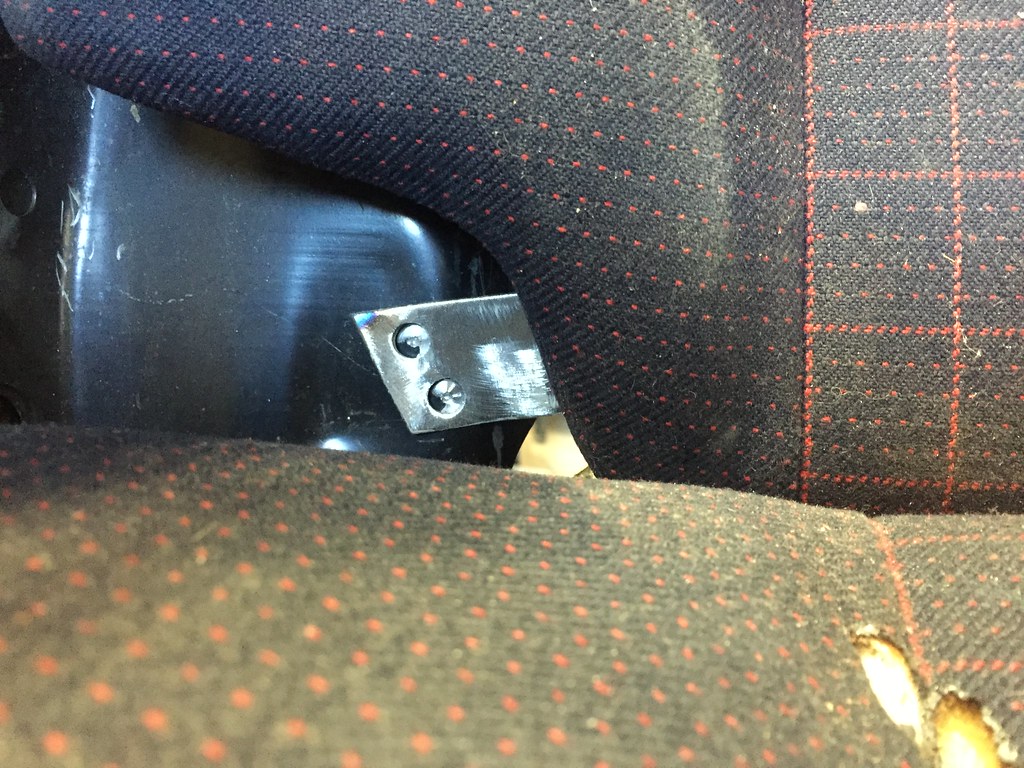
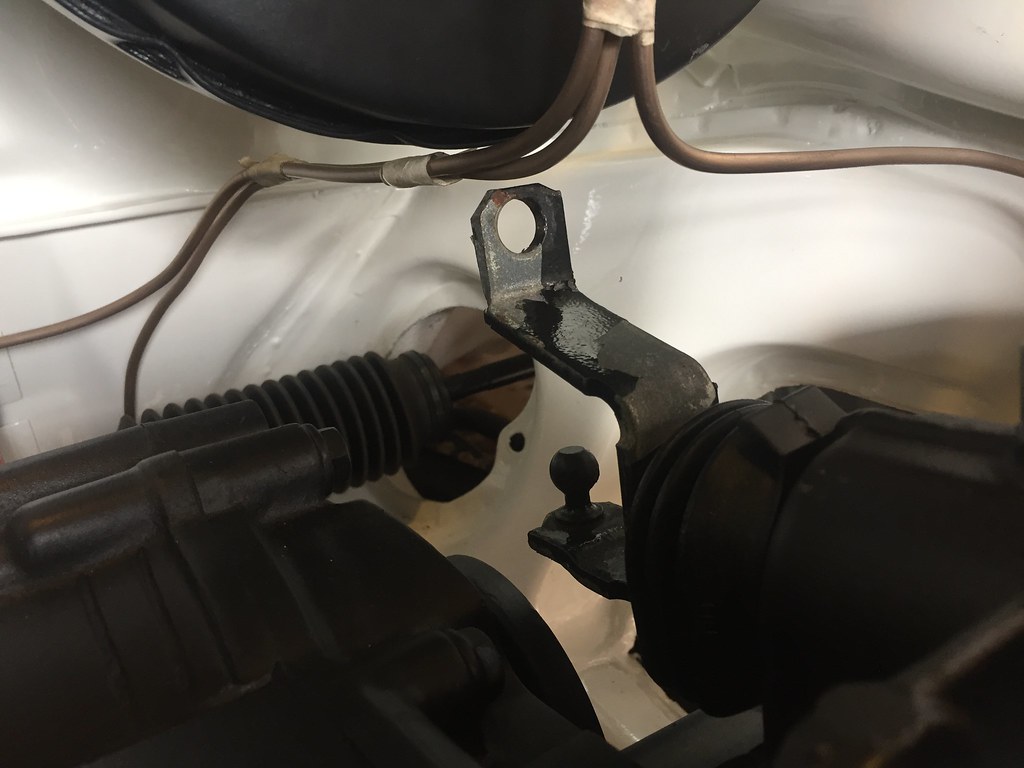
Gear selector on the gearbox didnt fit because of my brakes, so bent the arm down abit and now fits like a dream, just had to reverse the bushing and mount the connecting rod on the other side instead -
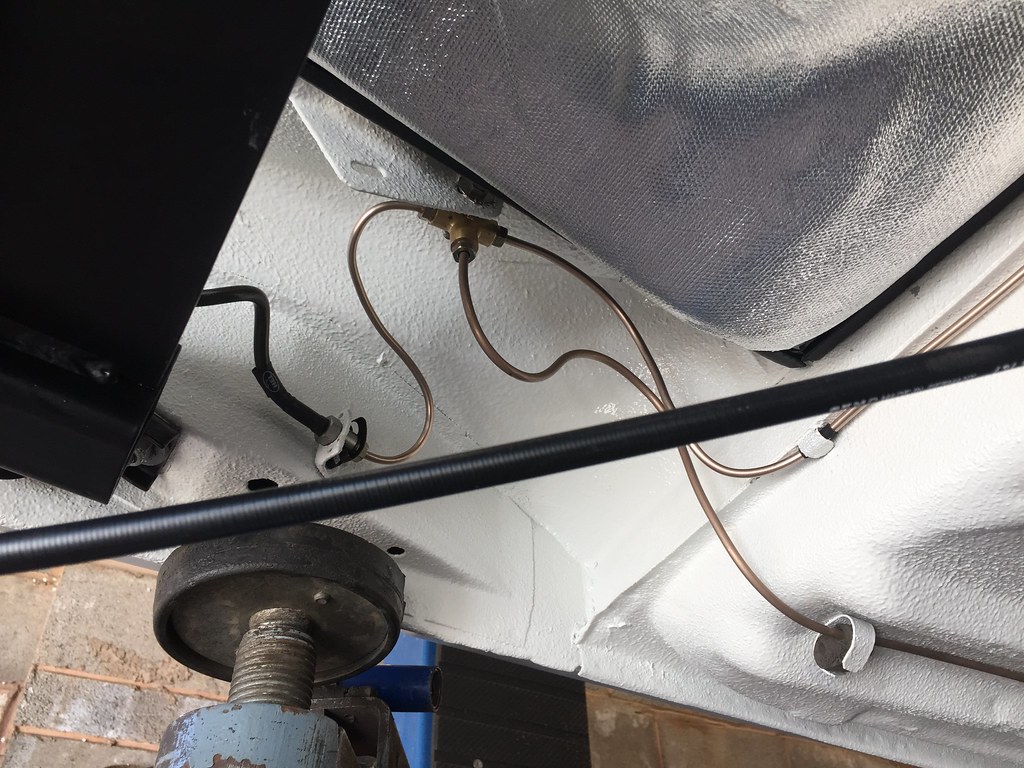
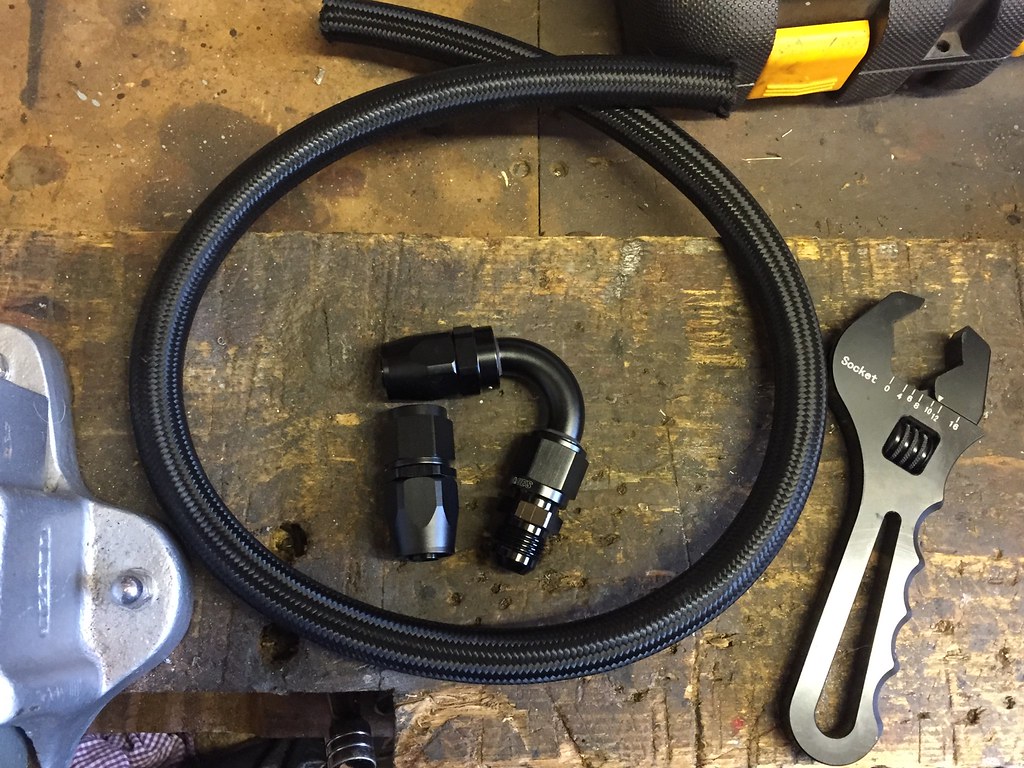
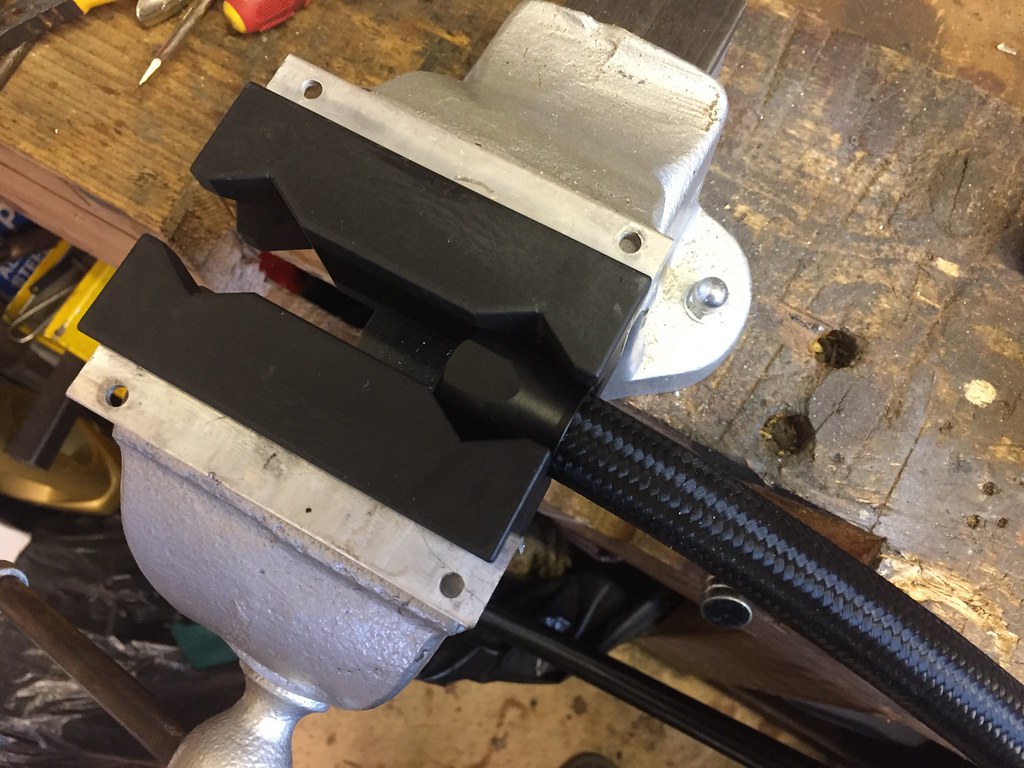
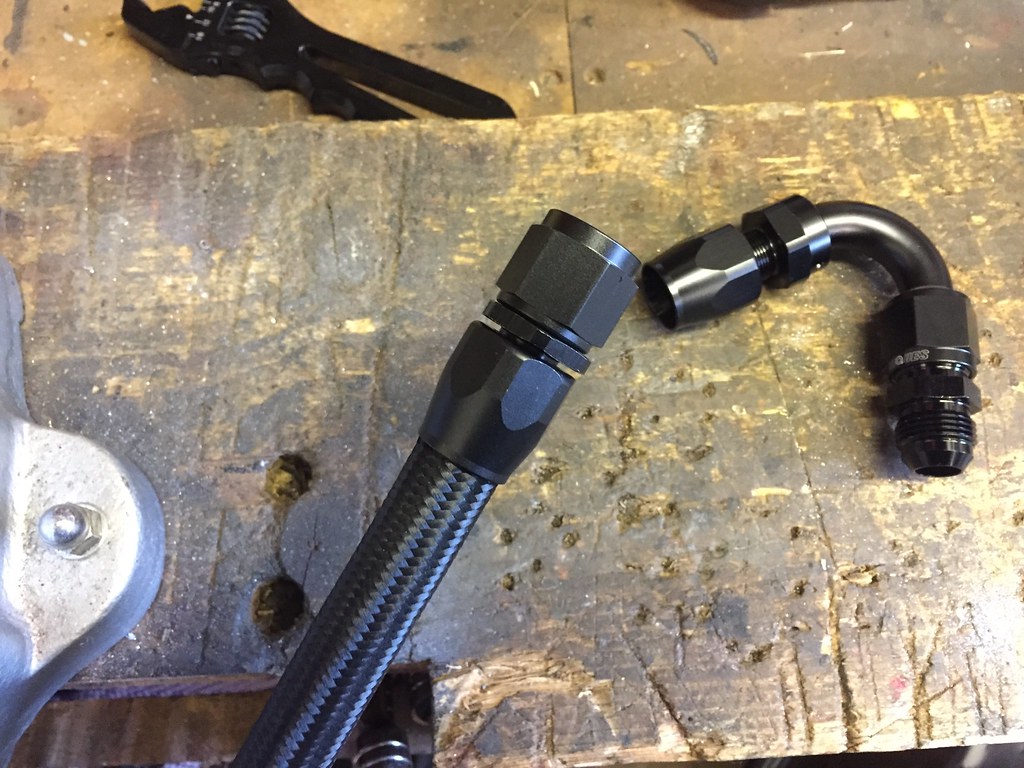
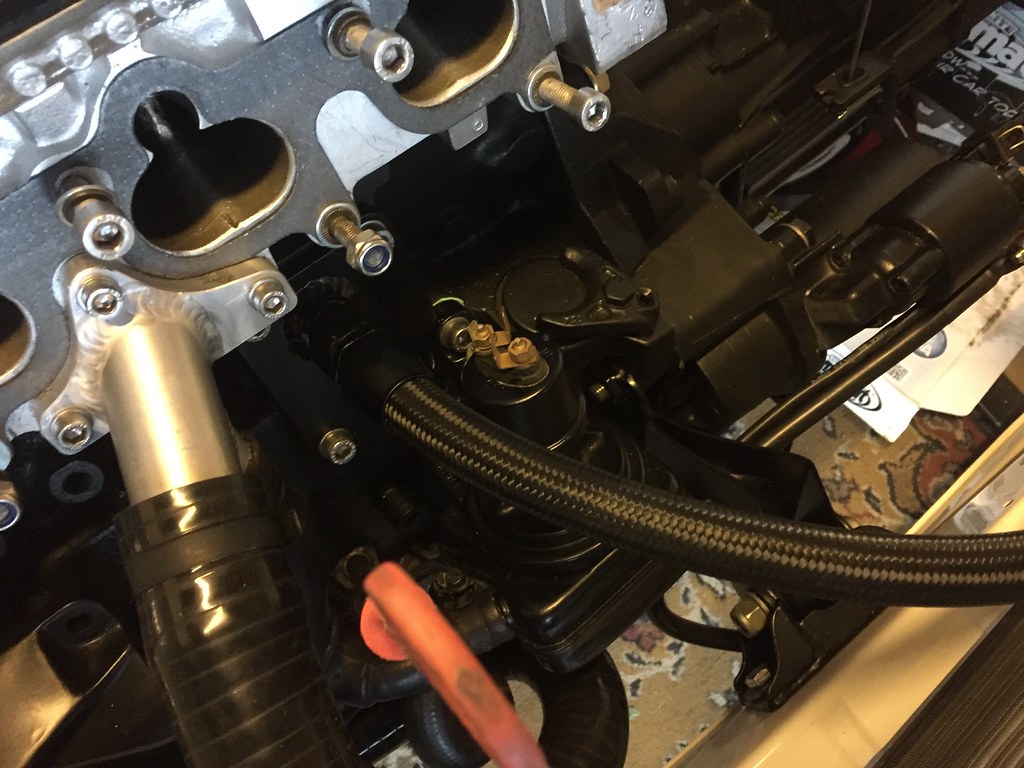
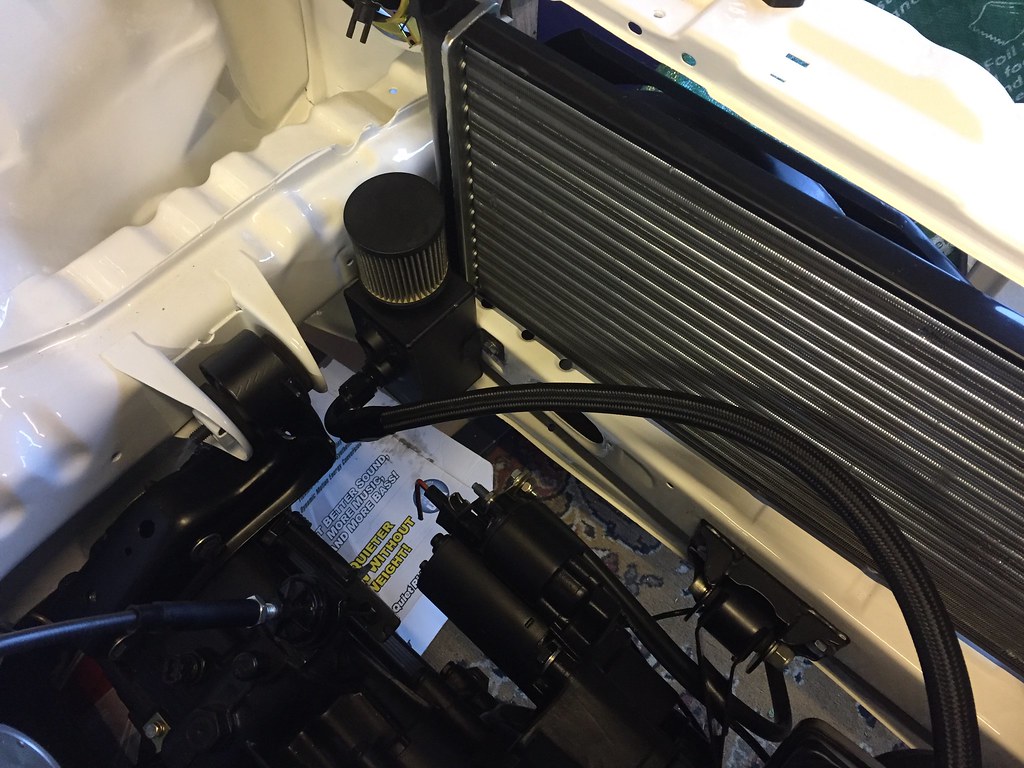
Made an oil line -
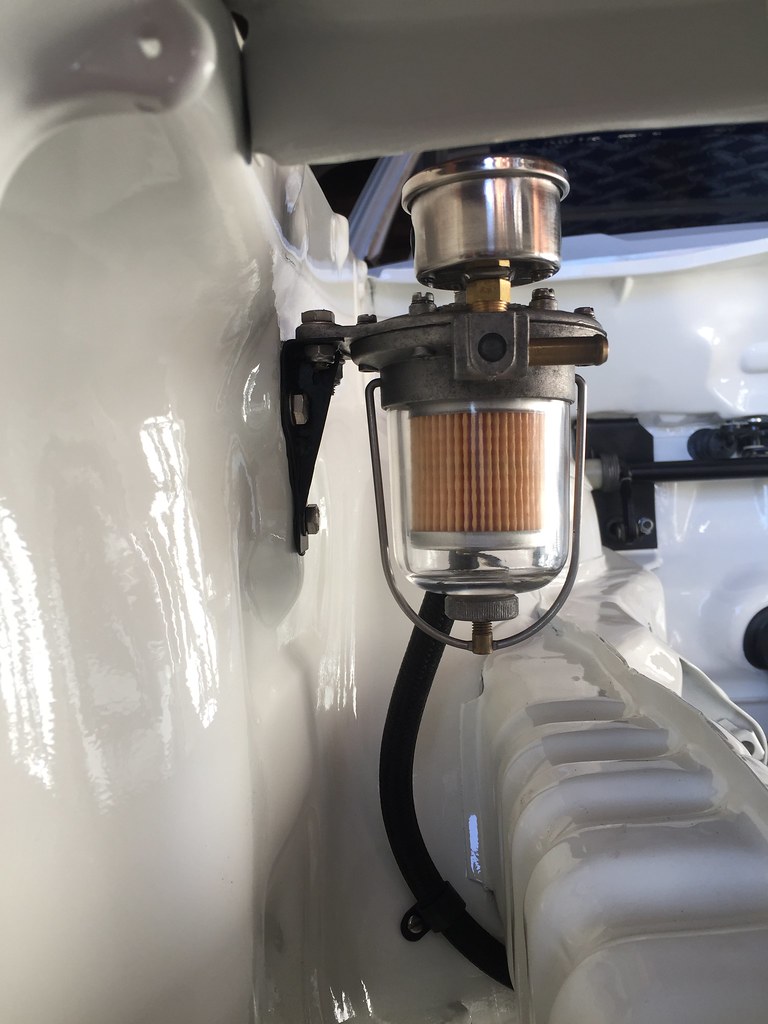
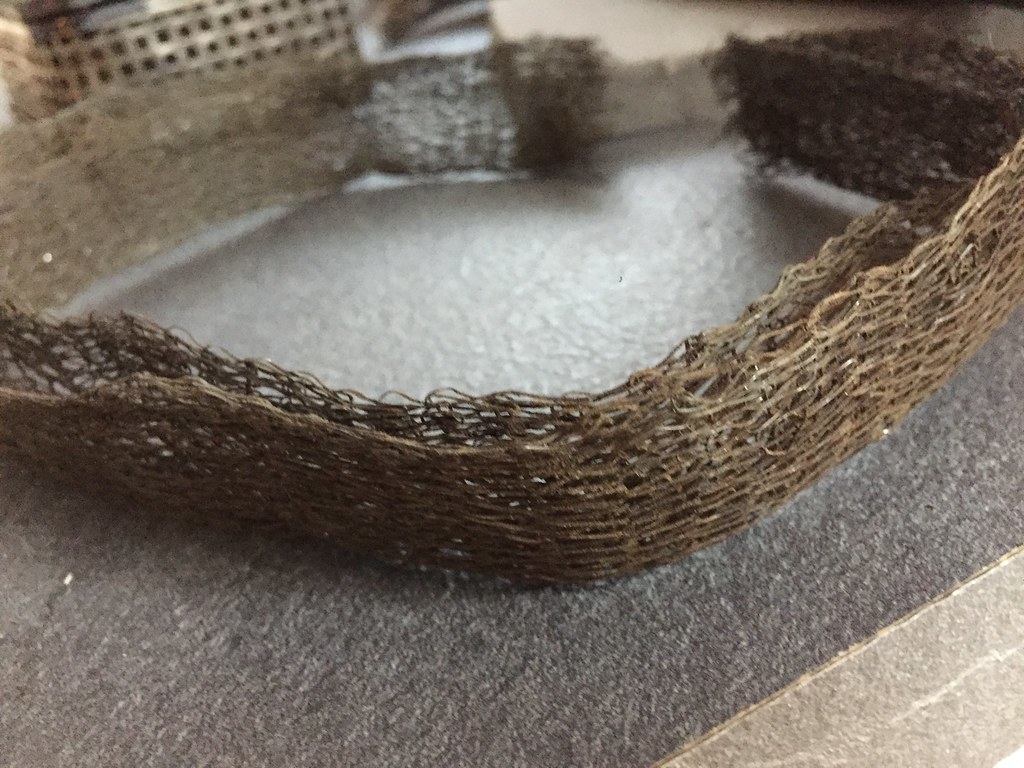
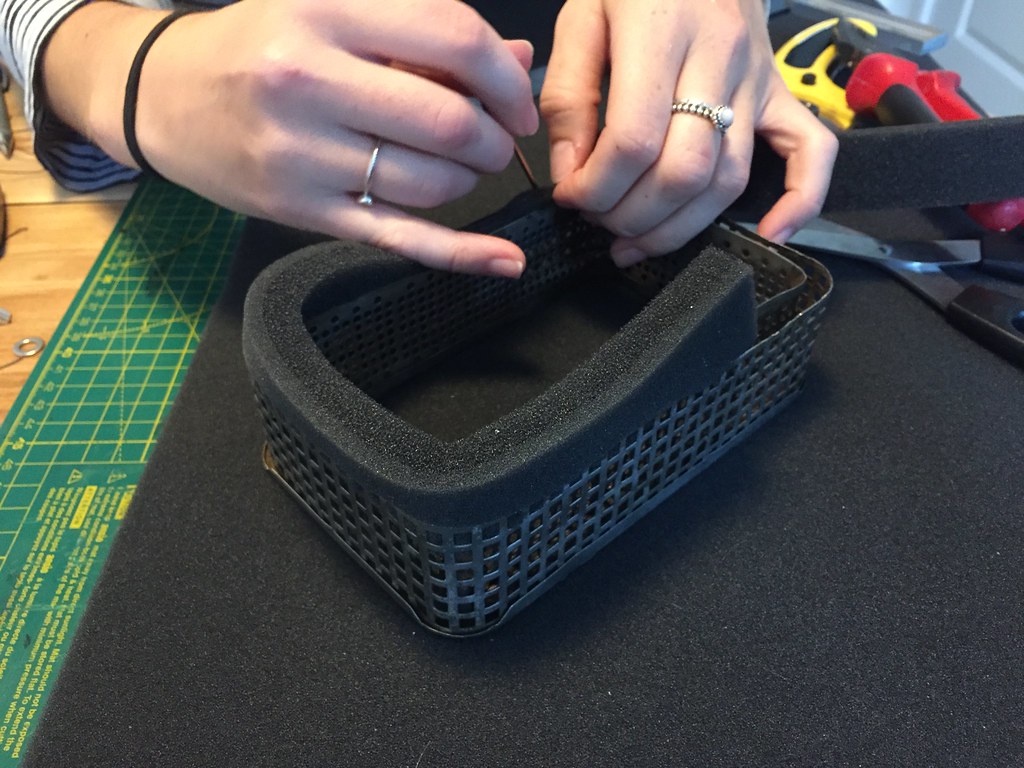
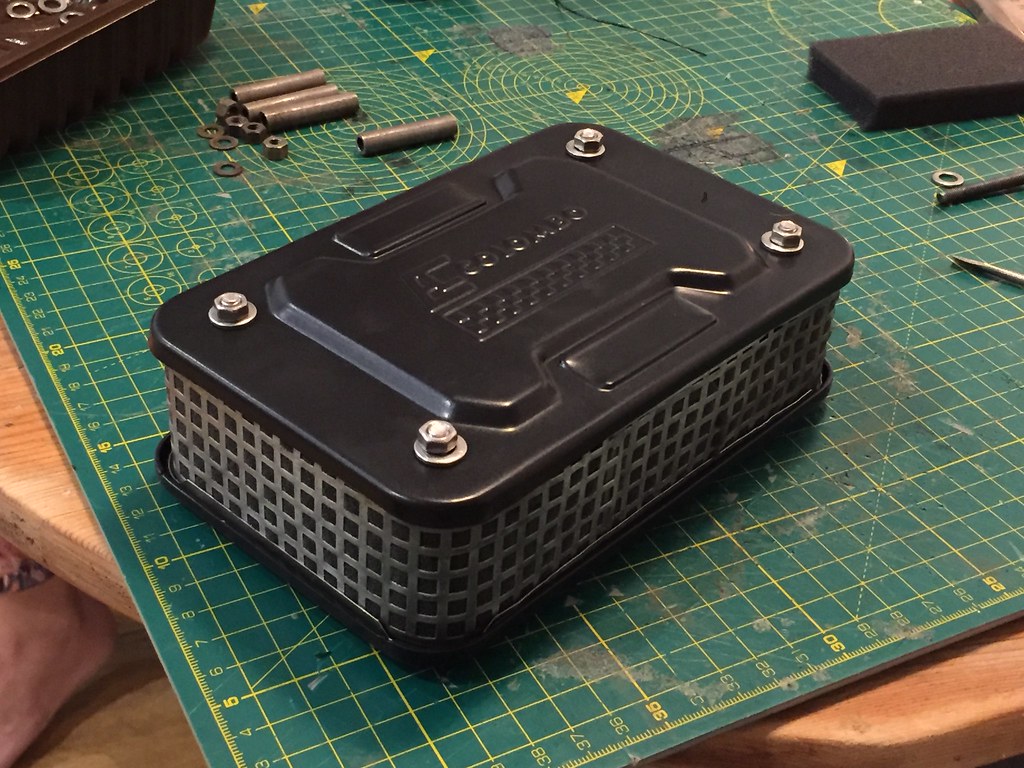
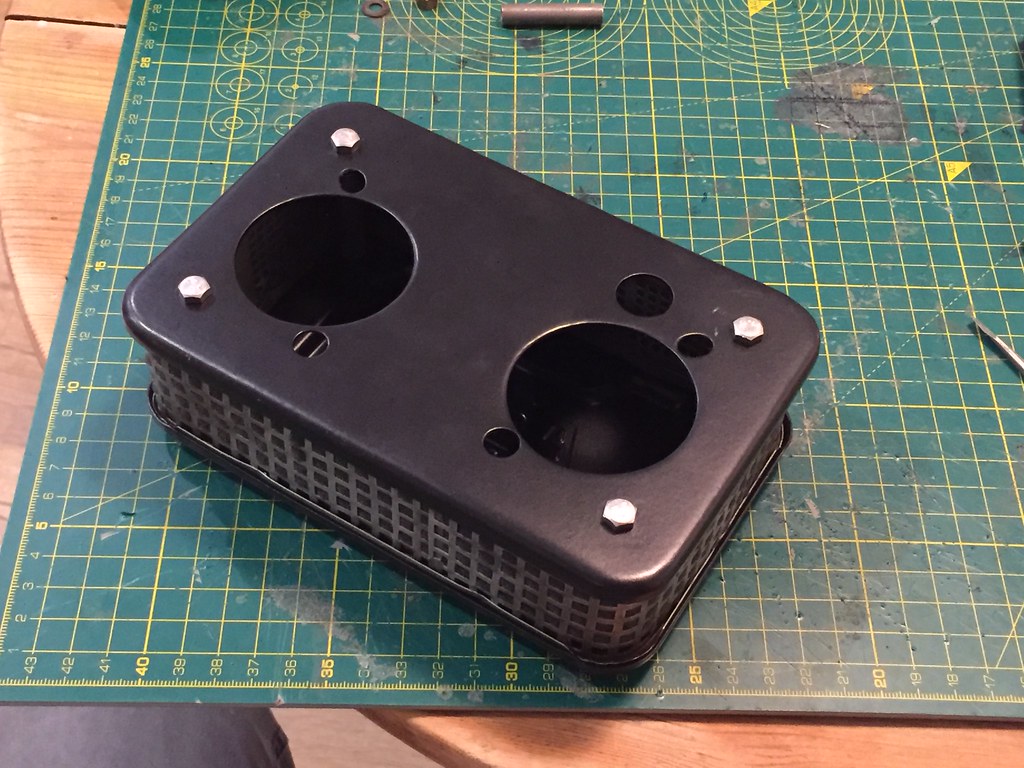
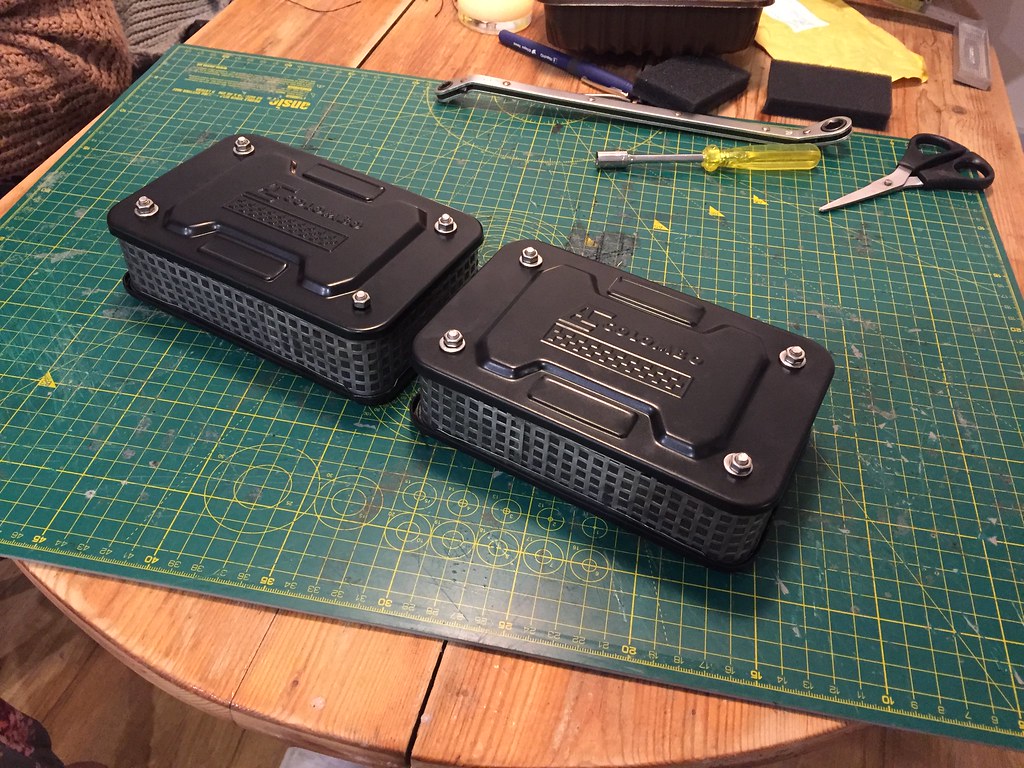
Carb Filters -
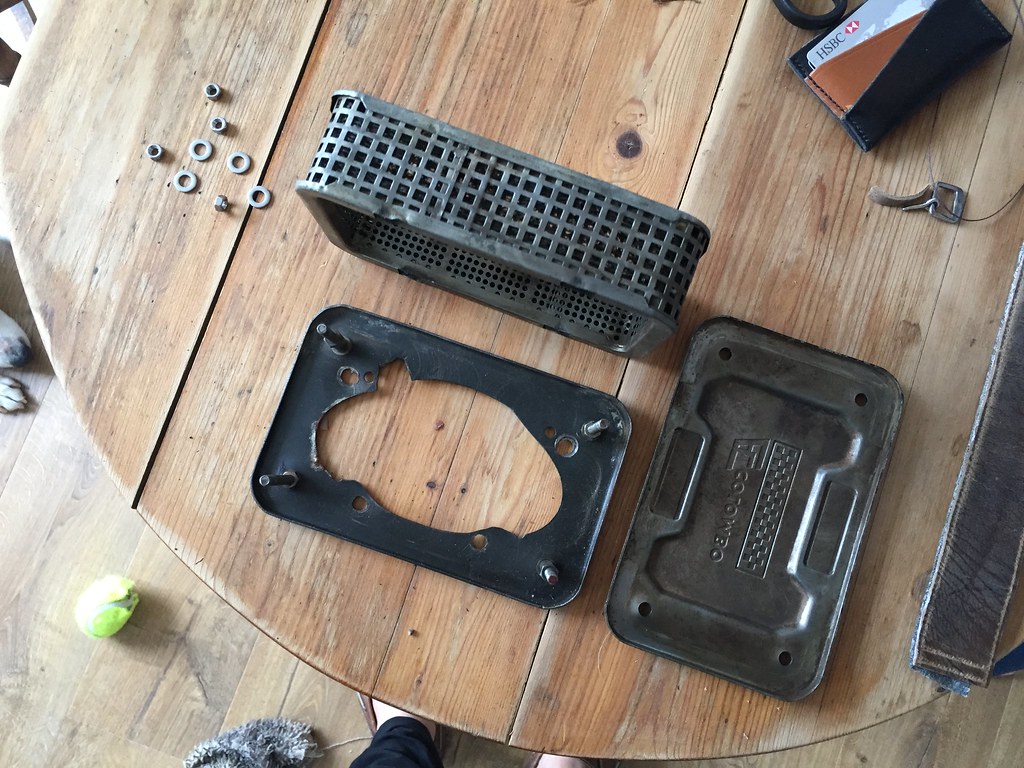
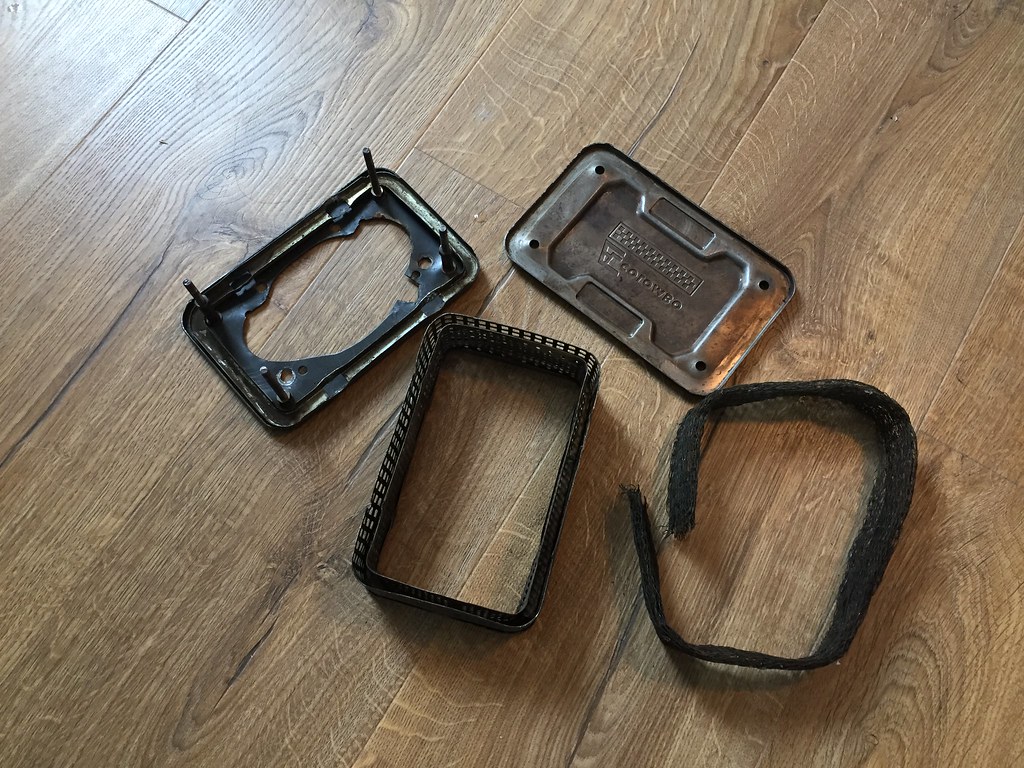
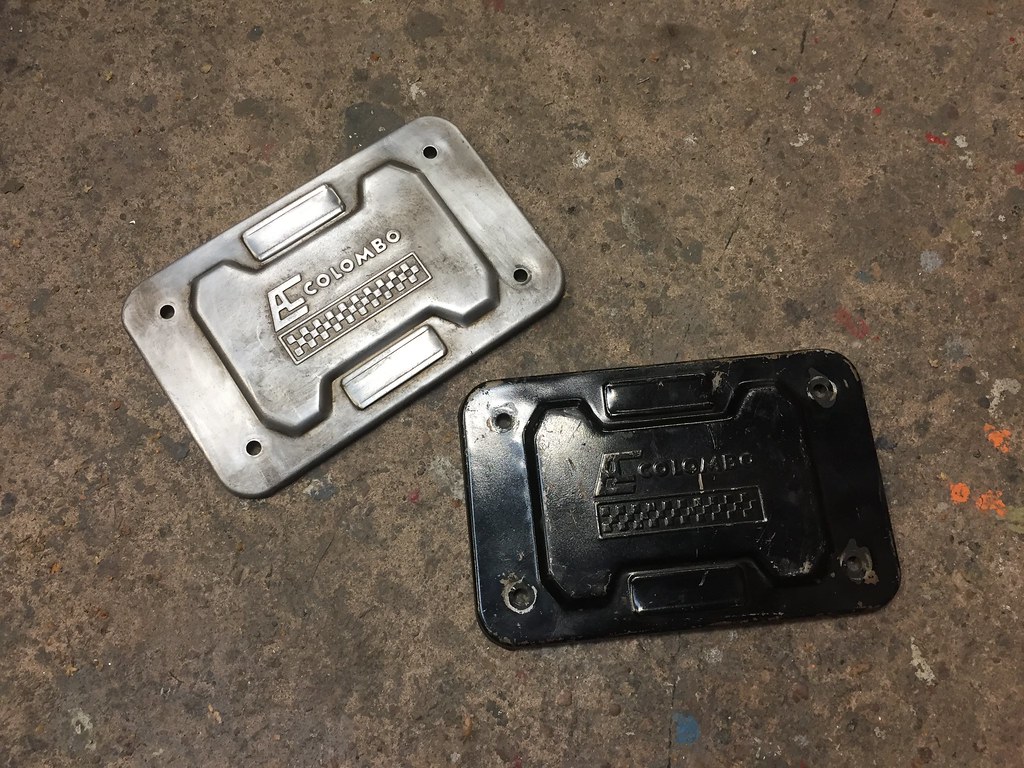
Not in the best of conditions, but thought they looked cool! I straighted them up and cleaned off all the paint on the fronts and Dave at Resto Shack kindly made me some new back plates to mount these to my DCOE's -
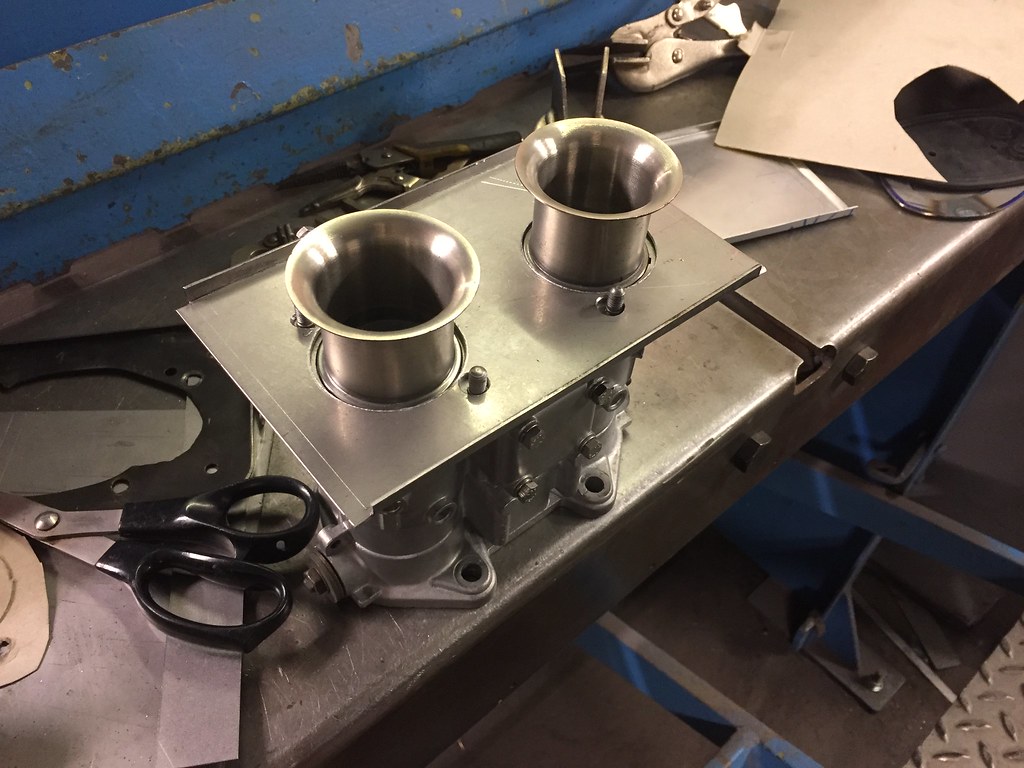

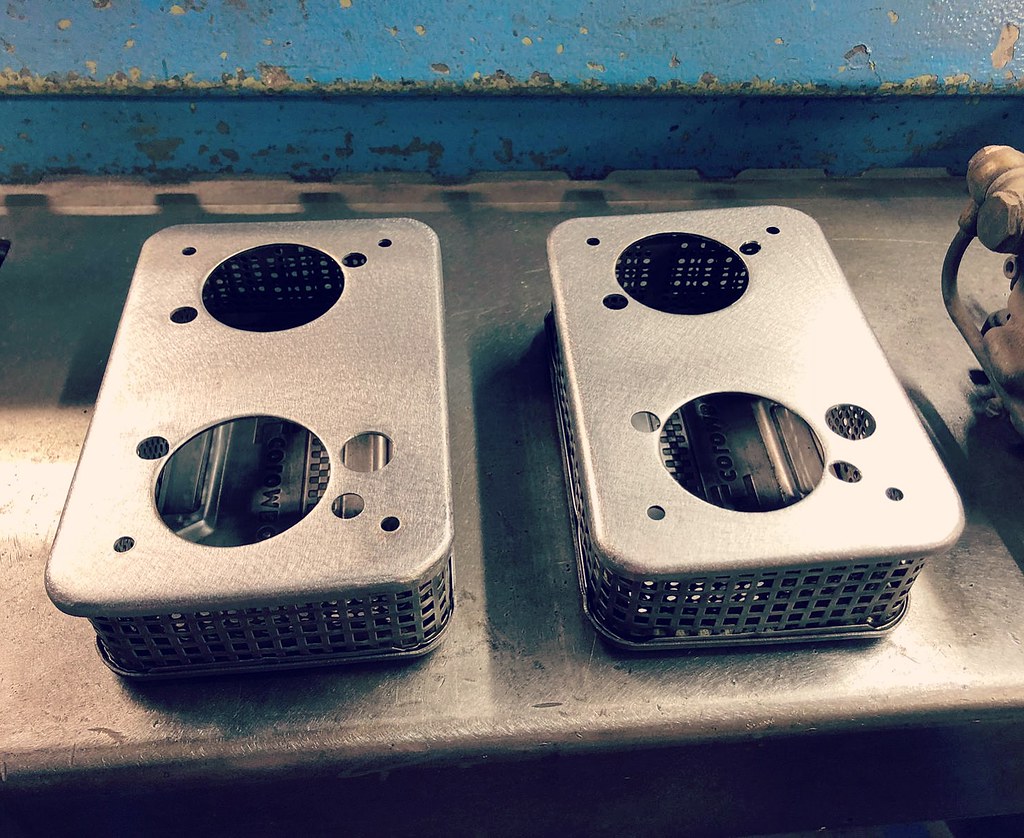
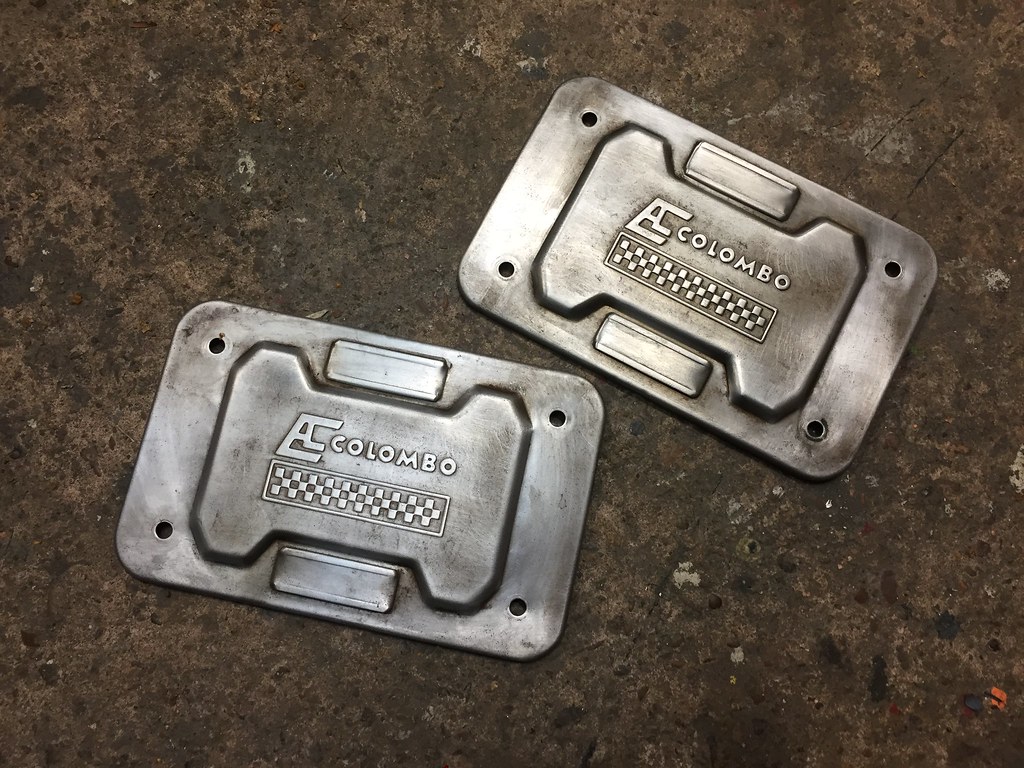
So they went and got powdercoated up and built them back up with Ram Air Foam Filters in the mesh as the original mesh was caked up -
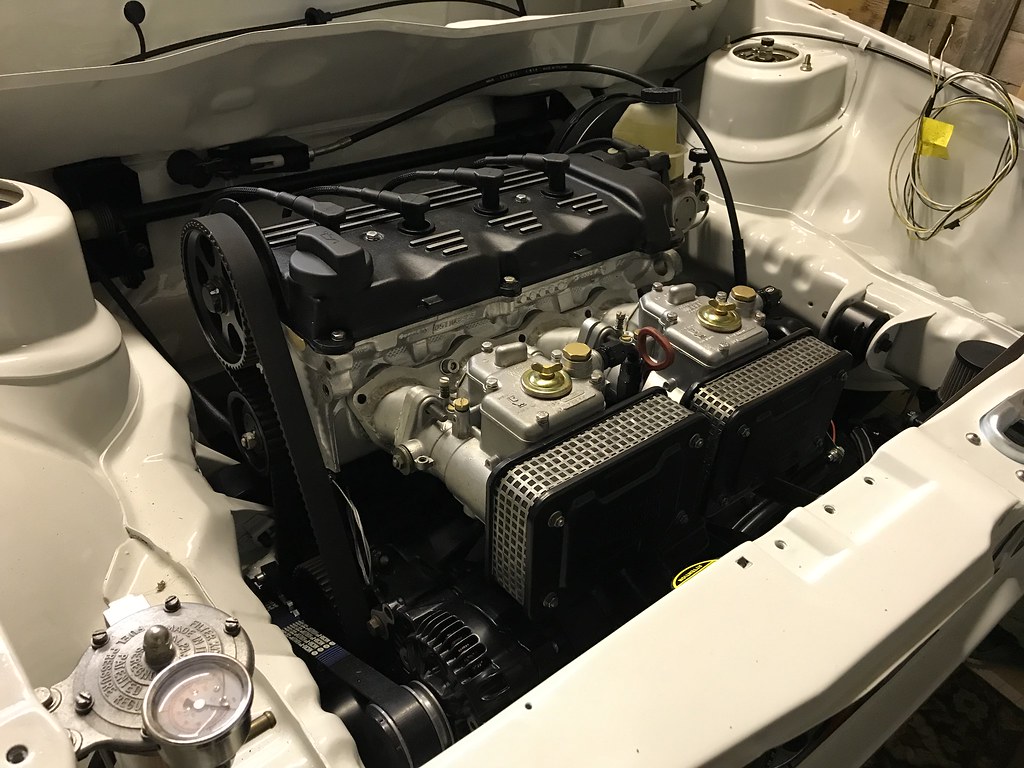
Manifold -
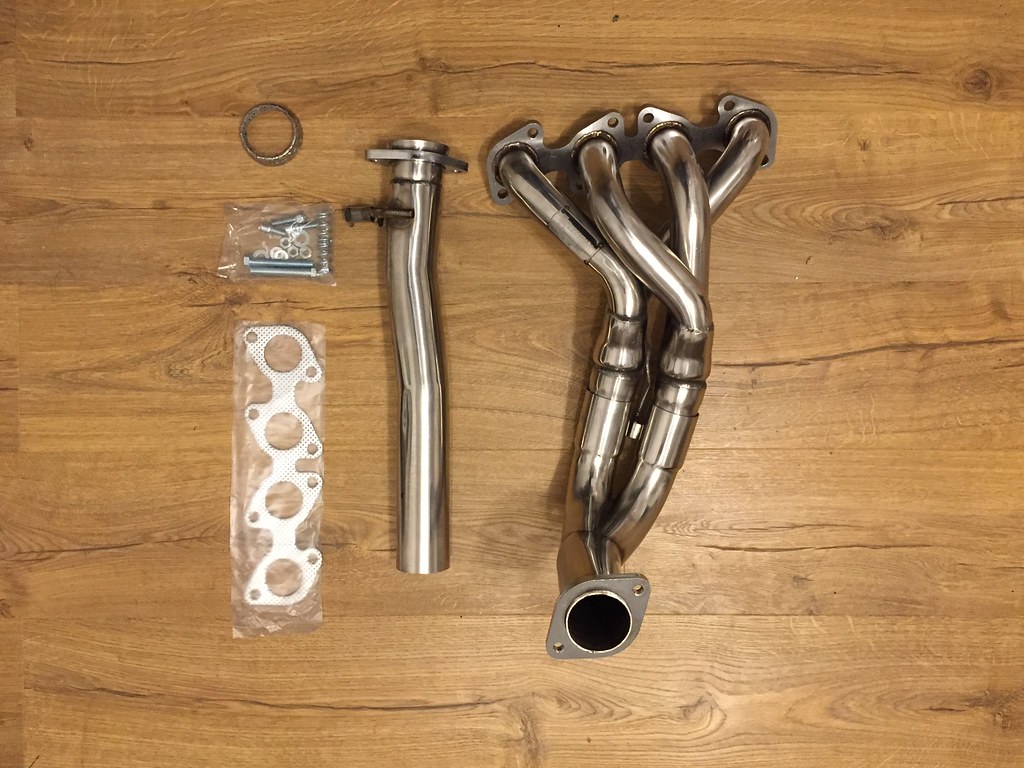

But Jesus is it close to that boot, not just close.. its touching! will have to look at this another time -
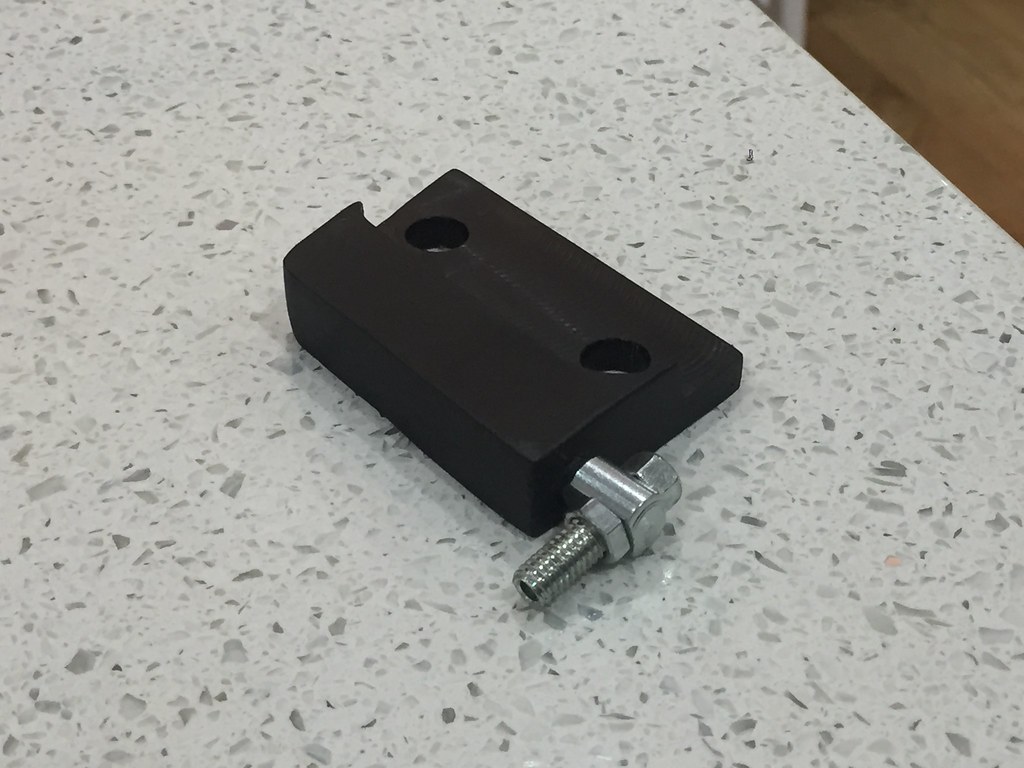
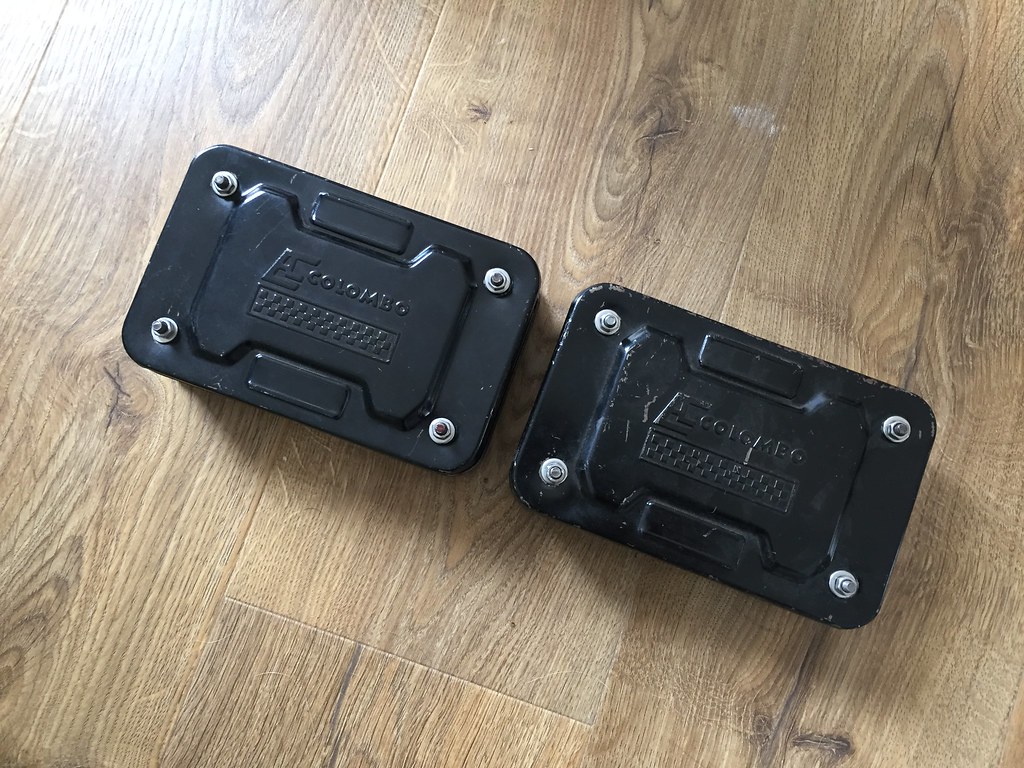
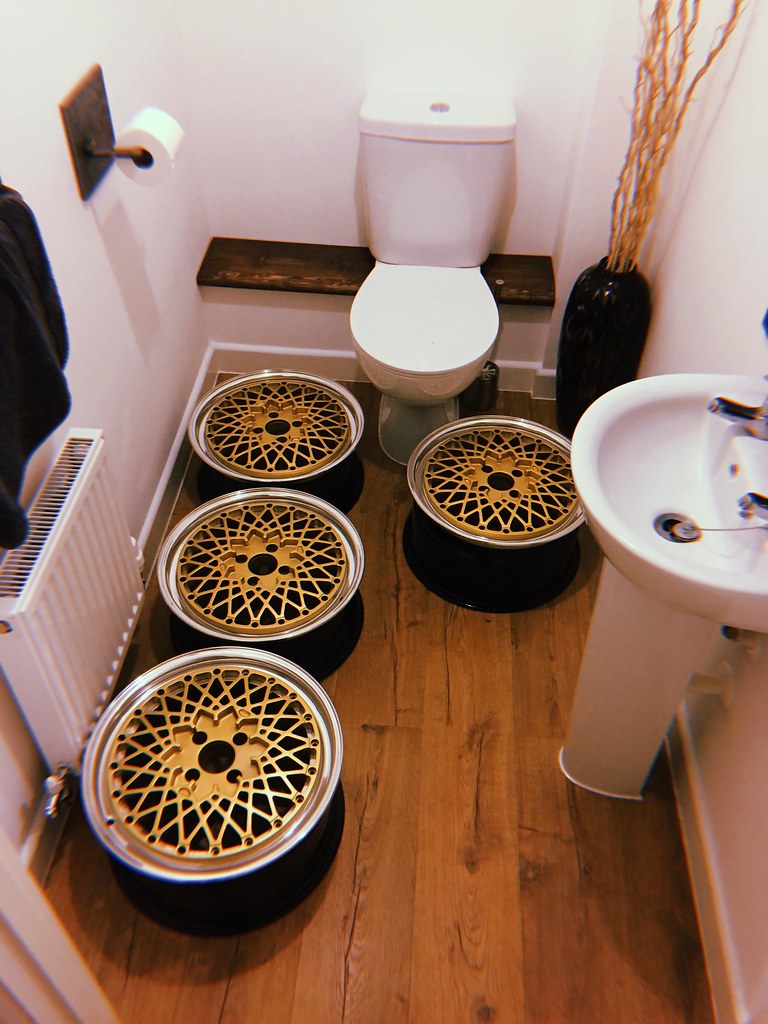
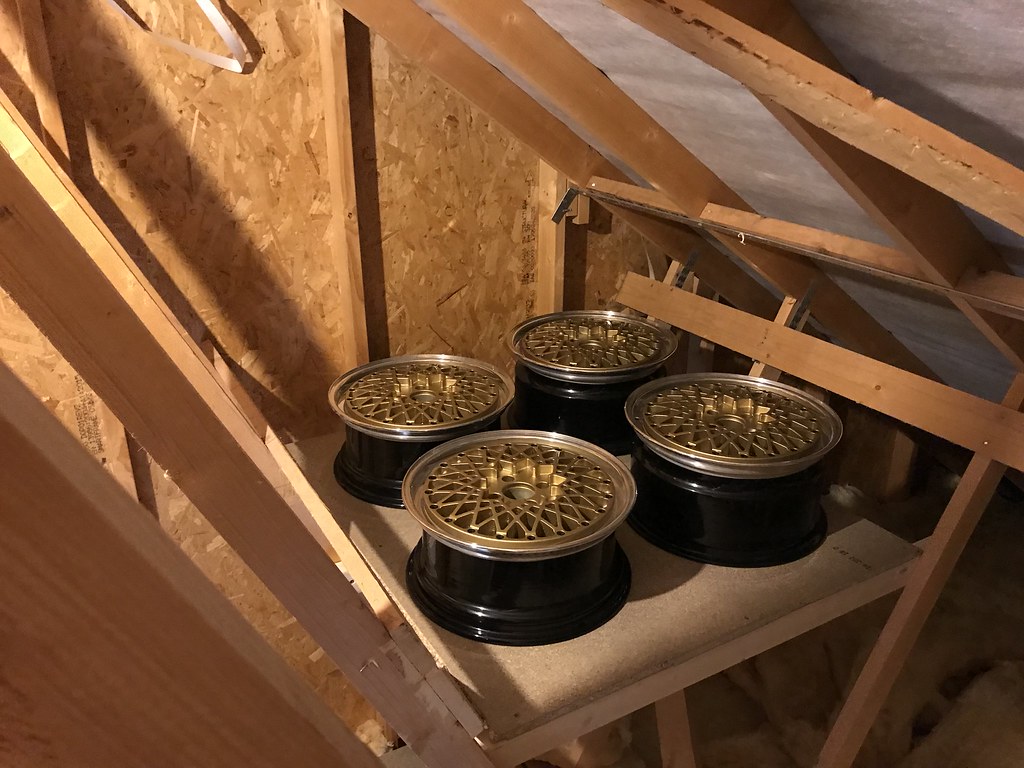
Also these beauties have come out of storage and I'm beginning to build them back up. Inserts pressed in, bolts torqued up and then sealed
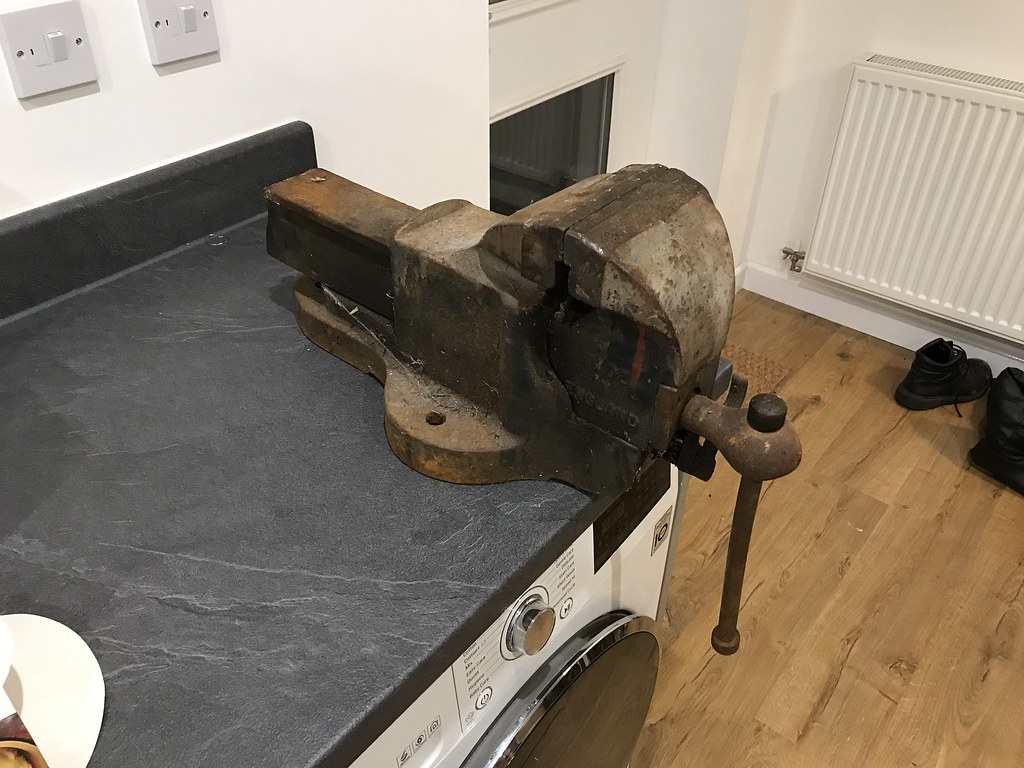
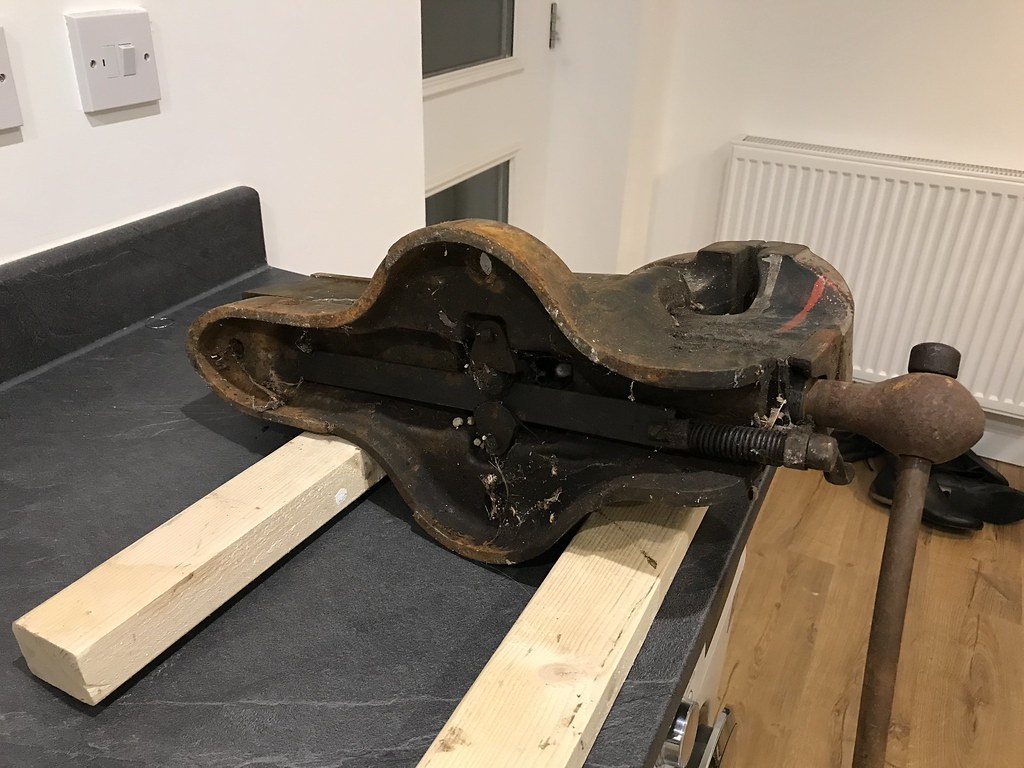
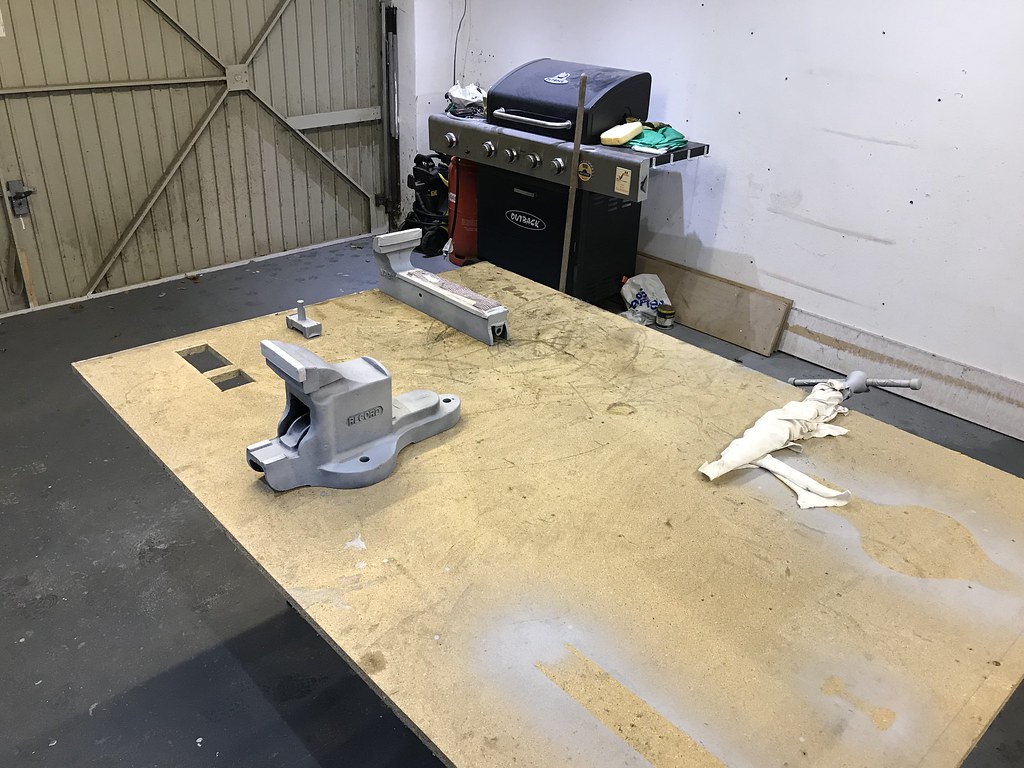
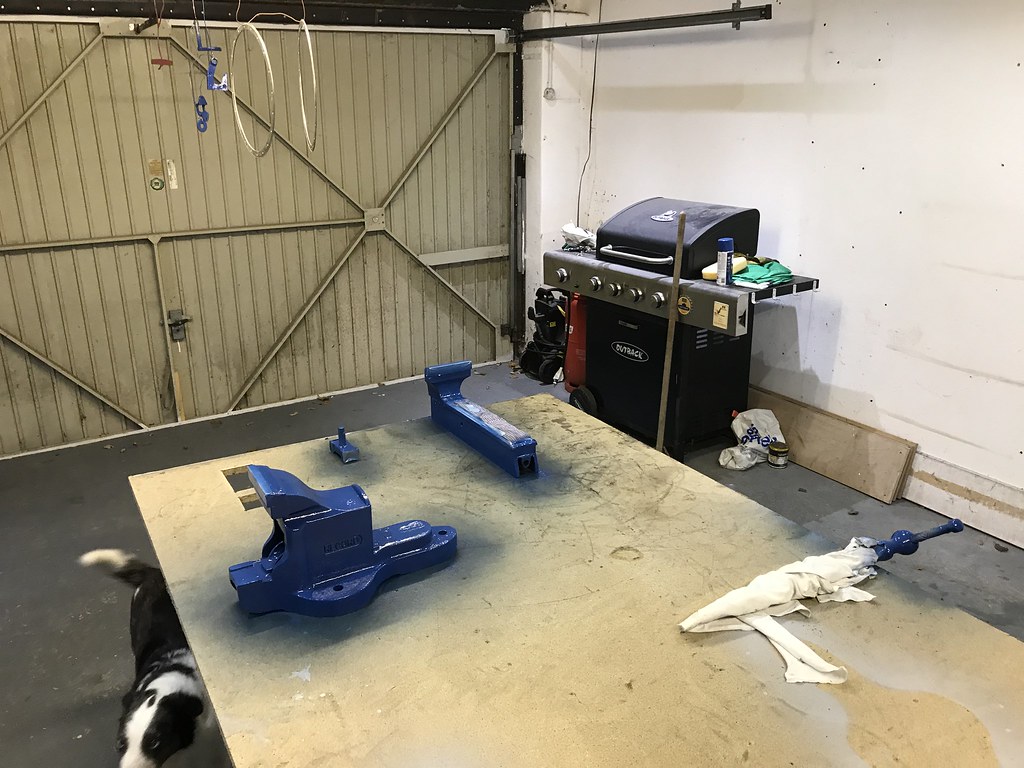
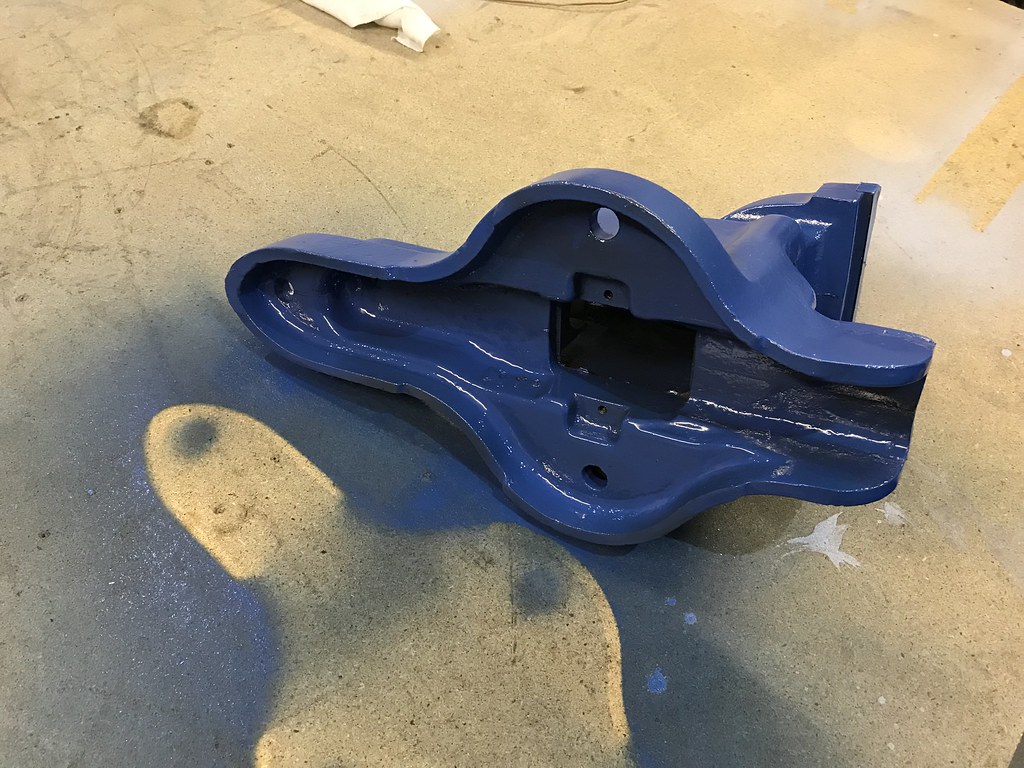
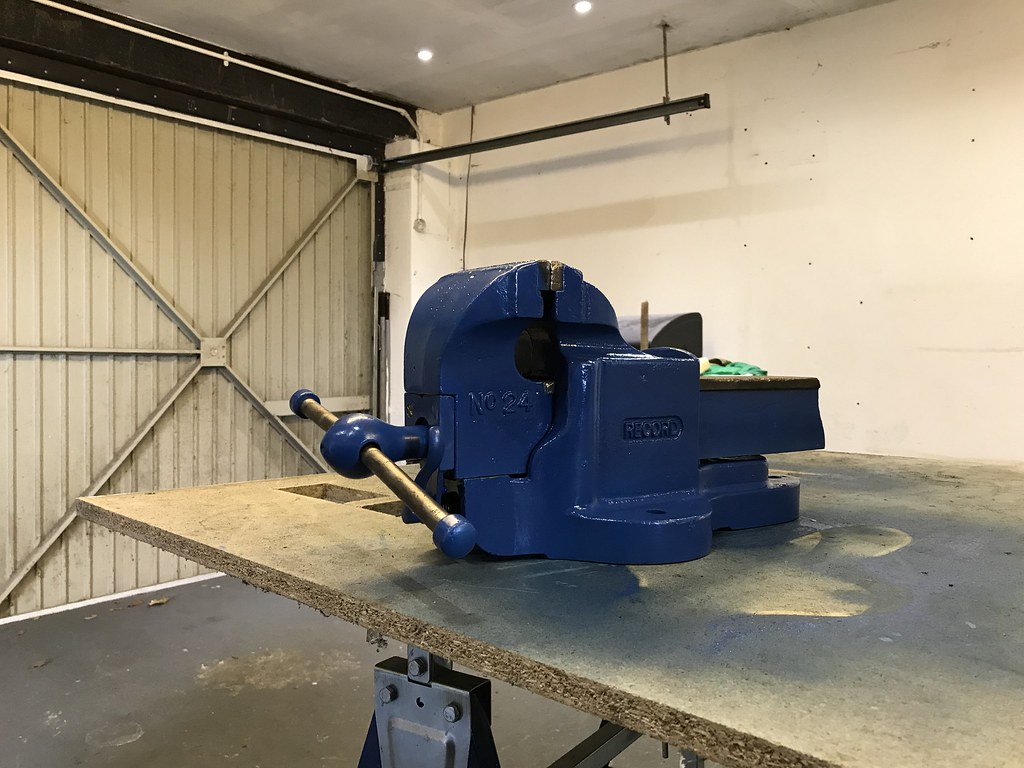
And for anyone interested, I decided to upgrade my vice from a Record no.02 to a Record no.24 with quick release, and gave it a refurbishment -

1 guests and 0 members have just viewed this: None.