Mellow Yellow 3.2ltr 24v Conversion
Posted
Old Timer

can't see how I'm going to grind those spot welds back on mine in the corners between the strut tower and bulkhead
Posted
Old Timer


G60RGE said
did you cut the lip off the scuttle panel and seam weld on top instead of filling all the spot welds?
can't see how I'm going to grind those spot welds back on mine in the corners between the strut tower and bulkhead
Hi George,
Unfortunately the original spot welded section was a bit messed up when I removed it so I cleaned the edge as I only cut to where the spot welded flange folded over.
I seam welded from the top as you said. Grinding the weld in the corners was tricky but not impossible.
What you need is an air pencil die grinder with carbide burrs. This is the one I bought Sealey SA673 Air Micro Die Grinder Ų3mm Collet Sealey SA673 Air Micro Die Grinder, 203mm x 347mm x 53mm : Amazon.co.uk: DIY & Tools
Also my 9mm Makita file sander came is handy but if you haven't got one then there are cheaper alternatives now.
It's all doable with a bit of patience.
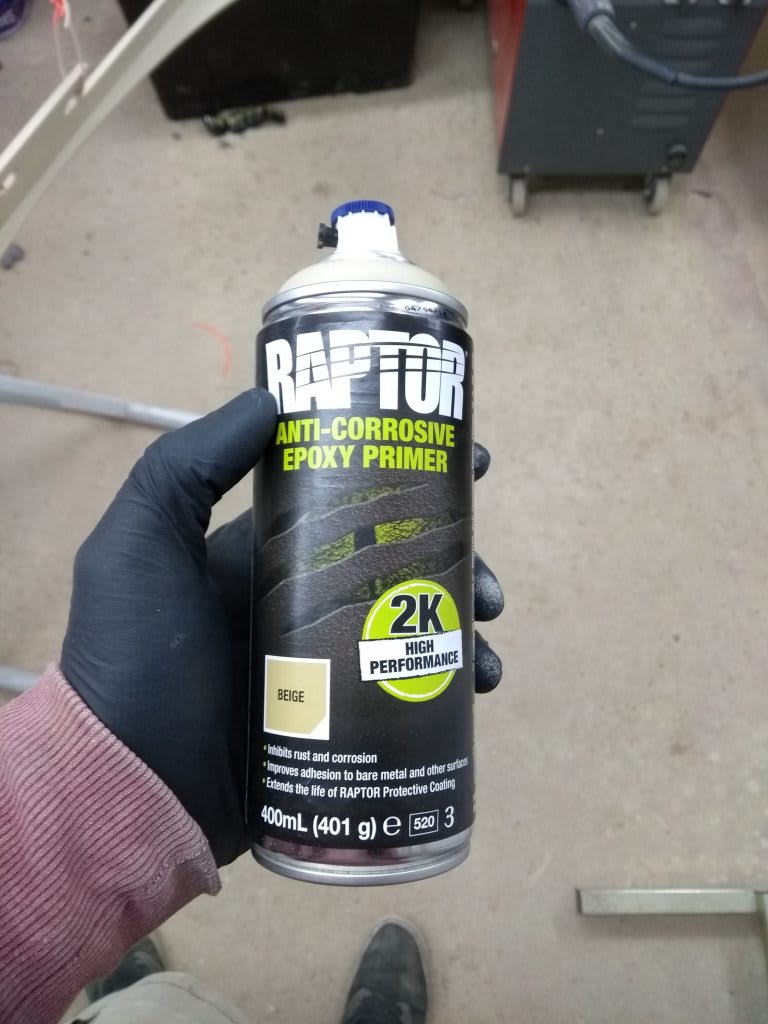
Going to epoxy prime all those bits and then filler prime and seam seal the underside before top coat
 Last edit: by Rich.
Posted
Moderator


Posted
Old Timer

Rich. said
G60RGE said
did you cut the lip off the scuttle panel and seam weld on top instead of filling all the spot welds?
can't see how I'm going to grind those spot welds back on mine in the corners between the strut tower and bulkhead
Hi George,
Unfortunately the original spot welded section was a bit messed up when I removed it so I cleaned the edge as I only cut to where the spot welded flange folded over.
I seam welded from the top as you said. Grinding the weld in the corners was tricky but not impossible.
What you need is an air pencil die grinder with carbide burrs. This is the one I bought Sealey SA673 Air Micro Die Grinder Ų3mm Collet Sealey SA673 Air Micro Die Grinder, 203mm x 347mm x 53mm : Amazon.co.uk: DIY & Tools
Also my 9mm Makita file sander came is handy but if you haven't got one then there are cheaper alternatives now.
It's all doable with a bit of patience.
Going to epoxy prime all those bits and then filler prime and seam seal the underside before top coat
the belt sander looks like the way to go.
Posted
Settling In

What a job I love it!I have question for you.I'm making a 3.2 swap into my scirocco MK1 and was asking myself about the length of the transmission axle, can you give me the size of the 2 axle you bought on eurowise?
Thank you so much
Posted
Old Timer


Bergie64 said
Hello Rich just read all the 18 page of your post!
What a job I love it!I have question for you.I'm making a 3.2 swap into my scirocco MK1 and was asking myself about the length of the transmission axle, can you give me the size of the 2 axle you bought on eurowise?
Thank you so much
Thanks for the kind comment.
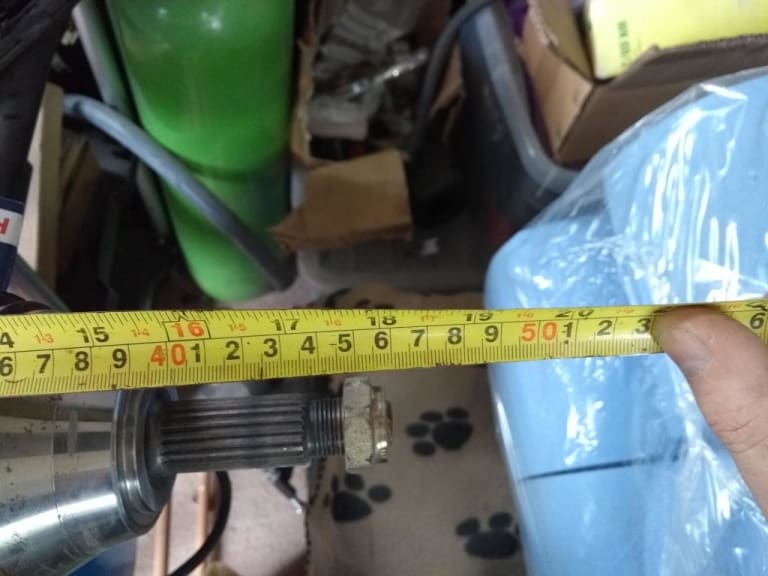
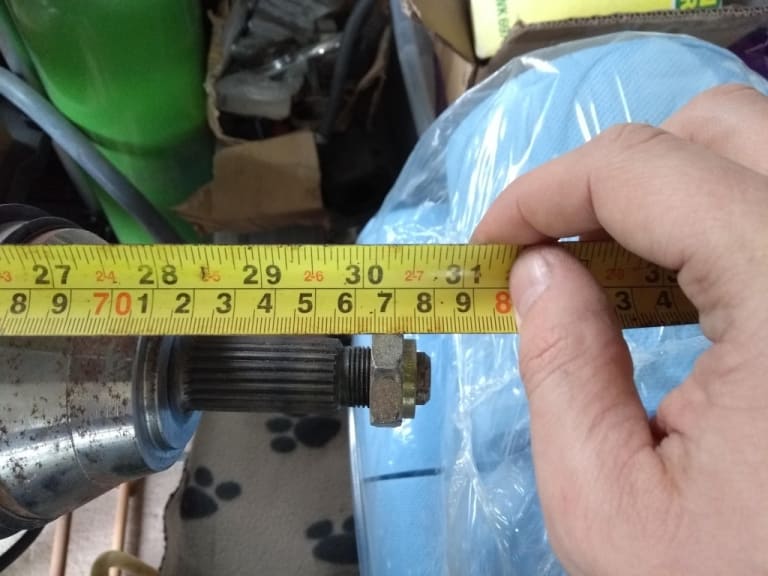
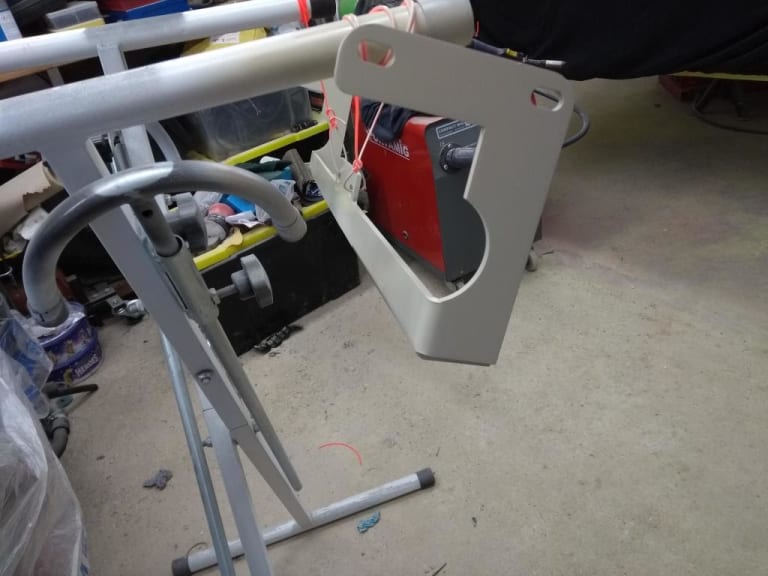
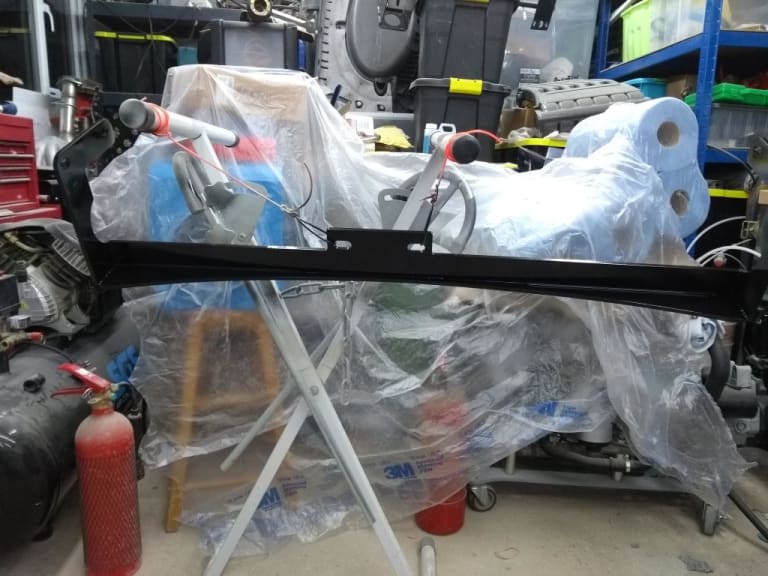
I must admit I'm not entirely sure how you effectively measure a drive shaft. Mine are designed for the 02a Corrado VR6 gearbox. I have measured them in a compressed state and have included pictures for reference. Take this with a pinch of salt though.
780mm for longest shaft and 460mm for shortest. I would reach out to the guys at retrofication as they make custom driveshafts for the conversion and may answer the question.
Posted
Old Timer


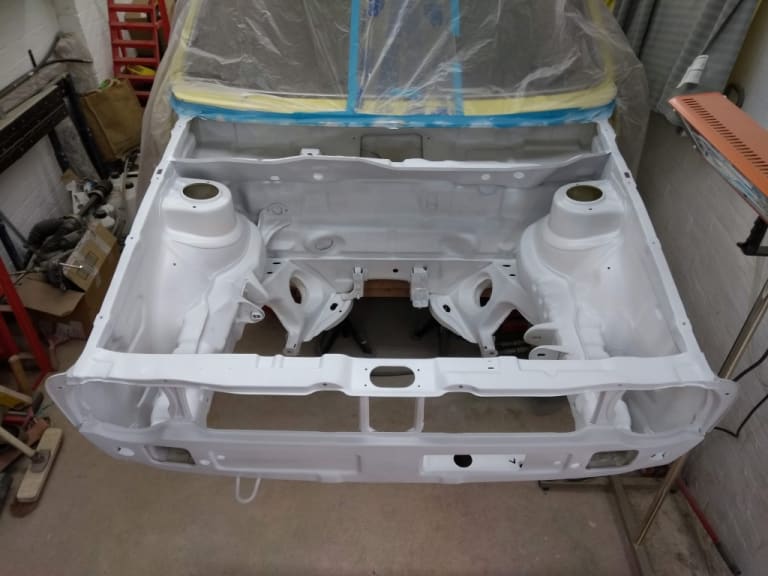


Hoping to get the top coat on early next week so the engine can go back in
Posted
Settling In

Thank you you are so quick to answer!Rich. said
Thanks for the kind comment.Bergie64 said
Hello Rich just read all the 18 page of your post!
What a job I love it!I have question for you.I'm making a 3.2 swap into my scirocco MK1 and was asking myself about the length of the transmission axle, can you give me the size of the 2 axle you bought on eurowise?
Thank you so much
I must admit I'm not entirely sure how you effectively measure a drive shaft. Mine are designed for the 02a Corrado VR6 gearbox. I have measured them in a compressed state and have included pictures for reference. Take this with a pinch of salt though.
780mm for longest shaft and 460mm for shortest. I would reach out to the guys at retrofication as they make custom driveshafts for the conversion and may answer the question.


Your measure are good!
I use a BHE engine from a audi TT I bought in UK and a Corrado Vr6 gearbox code CHN!
I'm using epytec engine mount but they have drive shaft pretty expensive so I Tru to find a solution….
Nice work you did can't wait to see the end.

 Last edit: by Bergie64
Posted
Old Timer


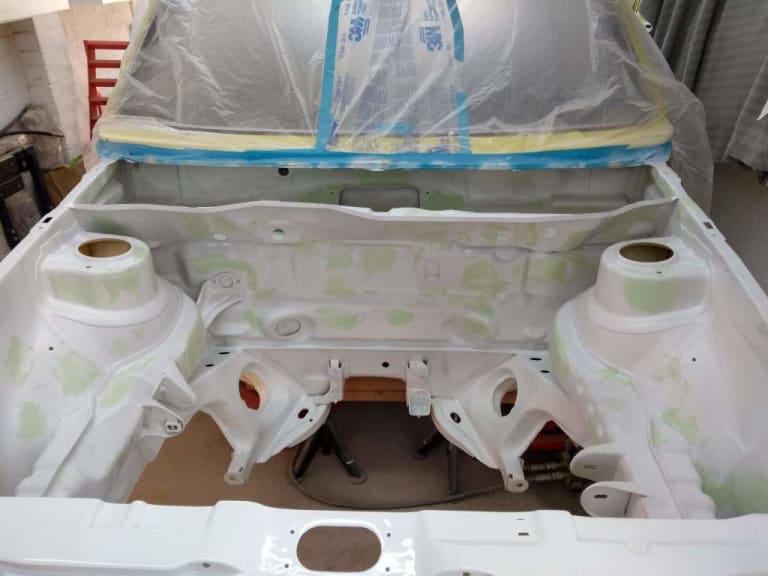


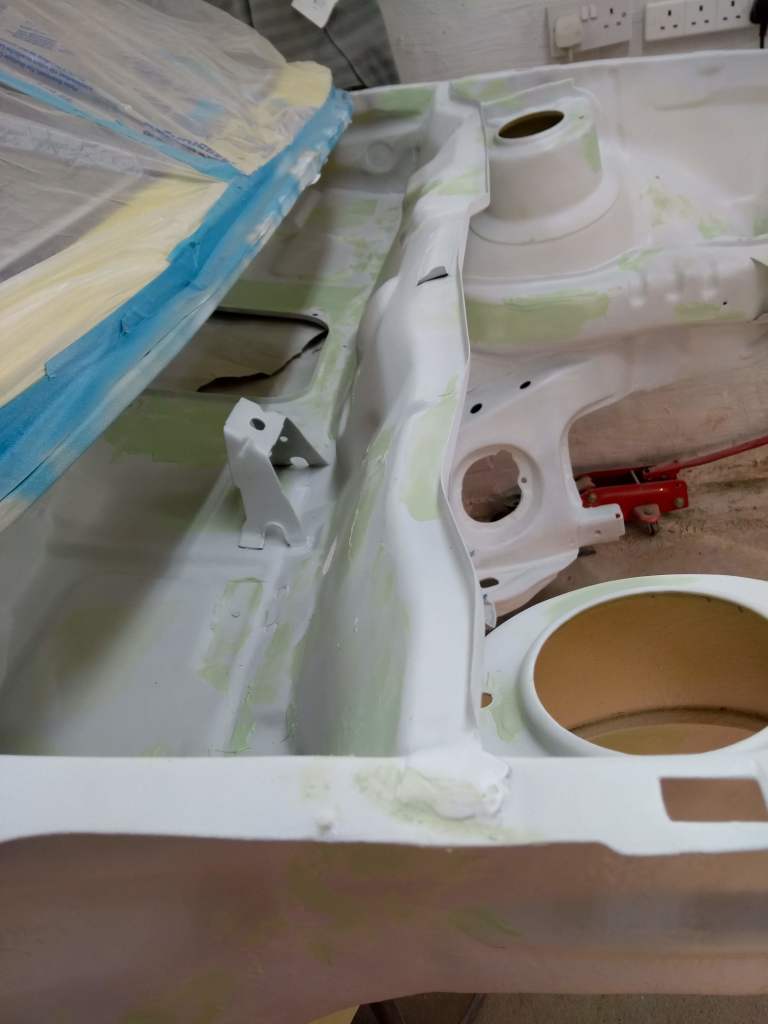
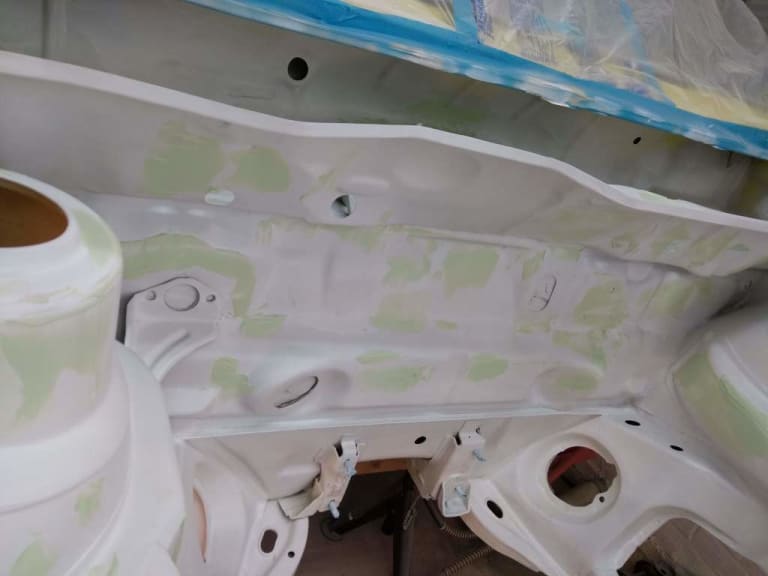
Spent a day and a half sanding it back then resprayed in white primer but ran out :/
Got the seam sealer in and really pleased with the outcome. More primer has arrived now so will get it sorted this week.


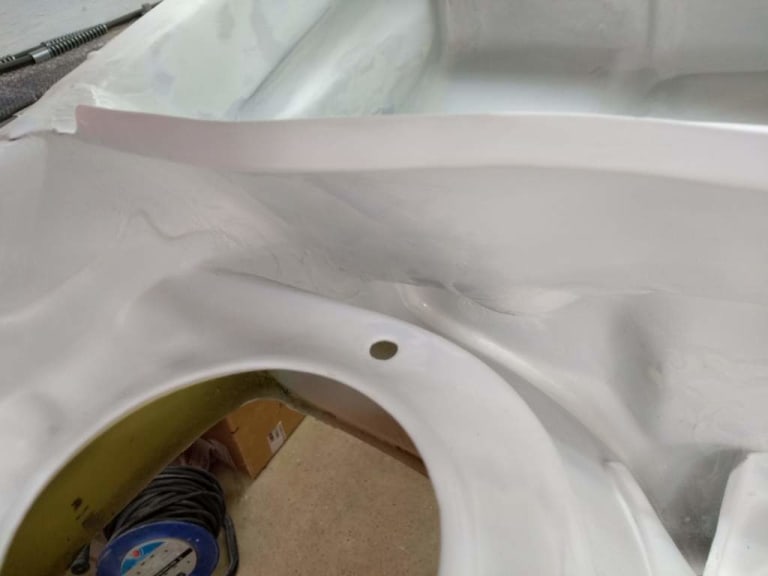


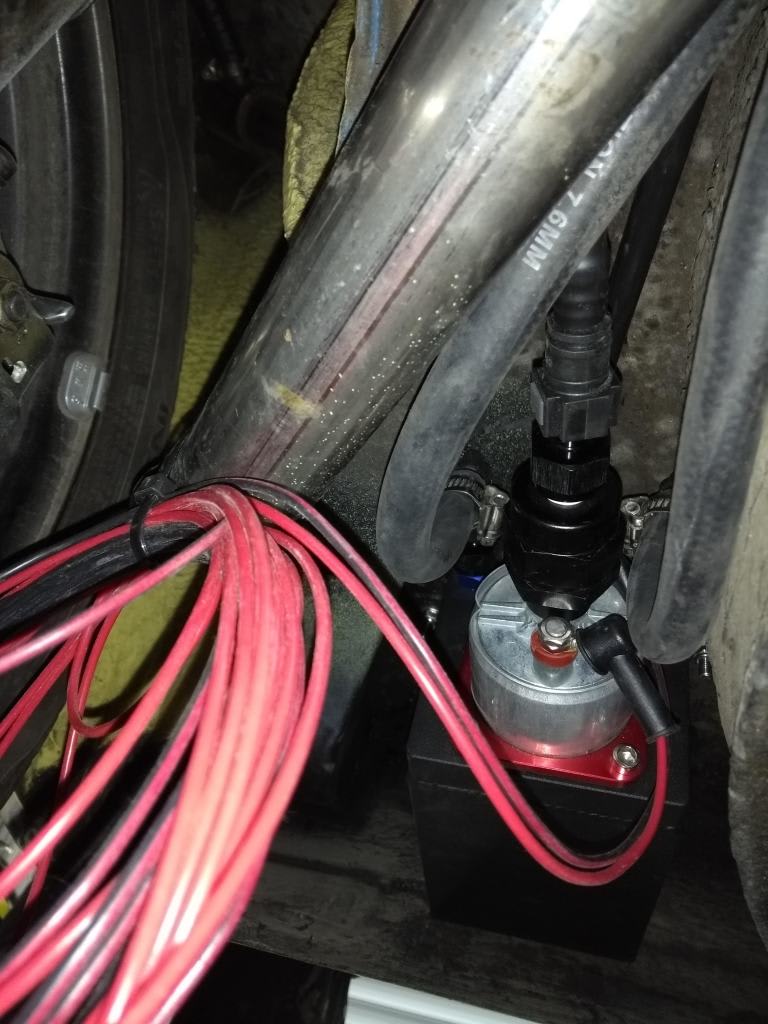
So whilst I was waiting for the primer to arrive I finished the fuel system.
The lift pump in the tank fills the swirl pot using R9 rubber fuel hose. The remaining connections are using quick connect fuel fittings and nylon fuel hose.
The fuel filter / pressure regulator is mounted in the accumulator position with a stainless cradle from Crazyquiffs.
I'm going to make a change to the rubber hose connections with a 90 degree bend so there is more clearance from the wheel tub and chassis leg. The current connections are on swivel nuts so once I add the fuel line clips will pull away from any abrasive areas.


Posted
Old Timer


Posted
Old Timer


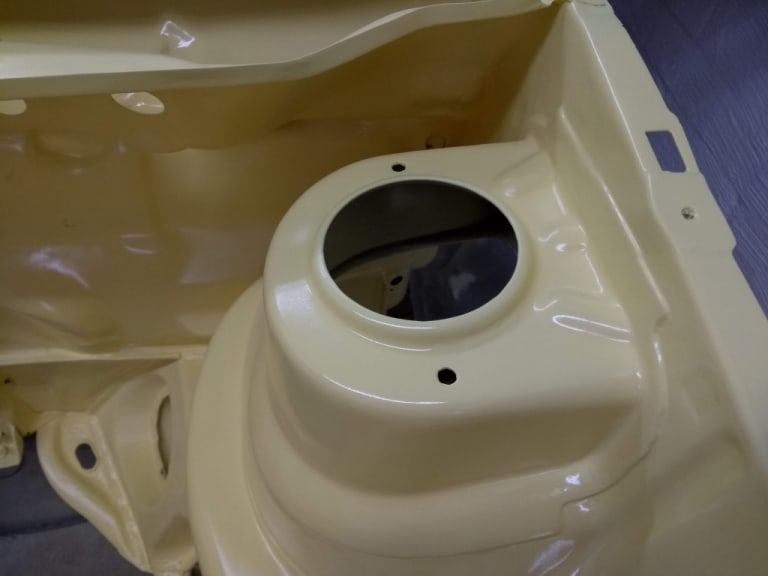
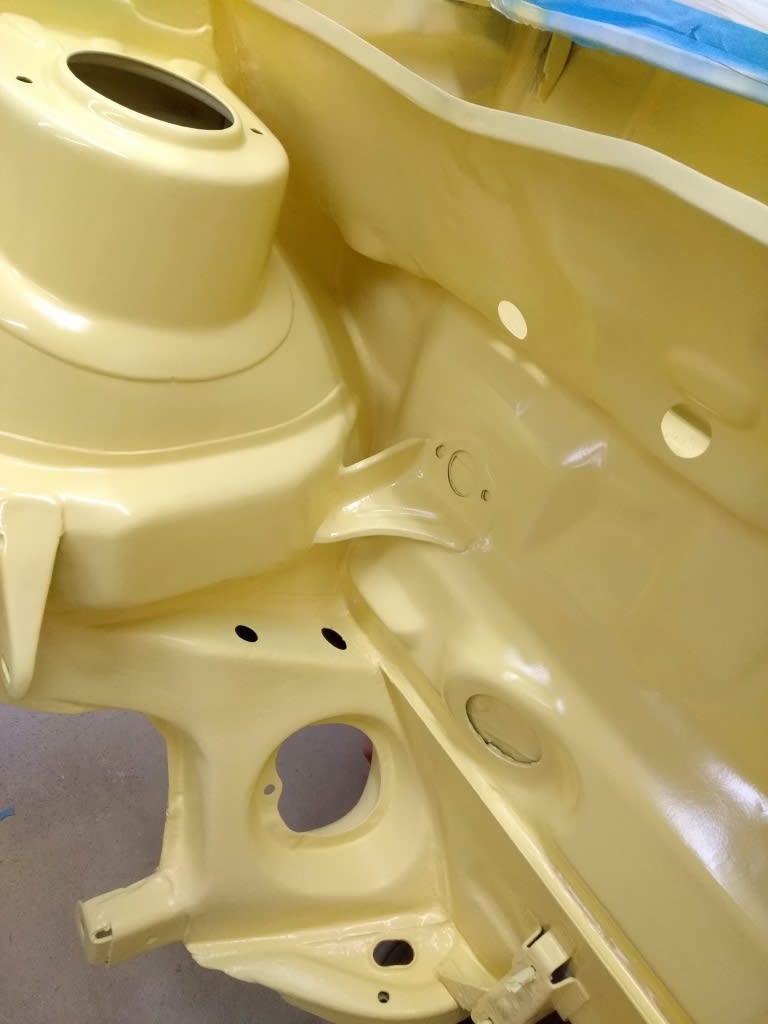
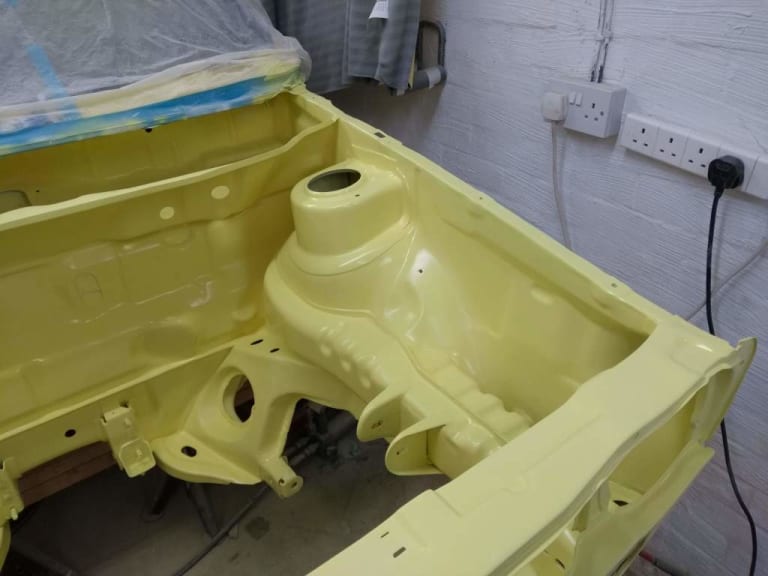
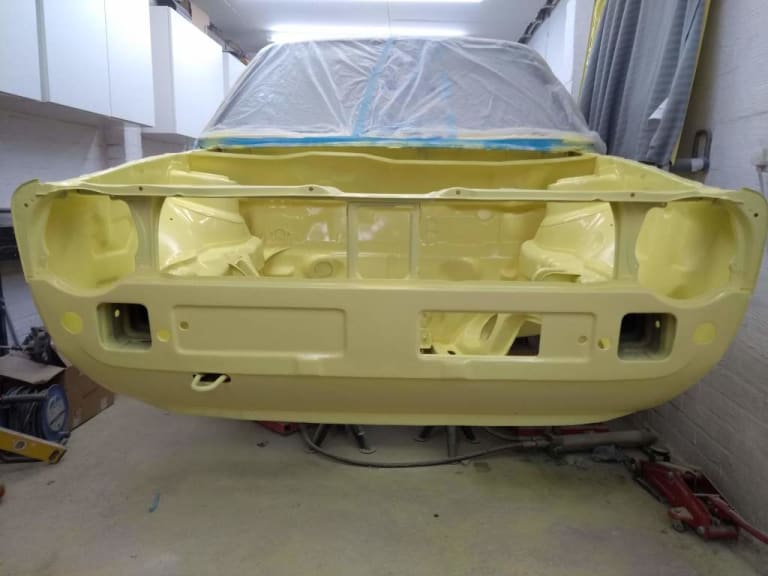
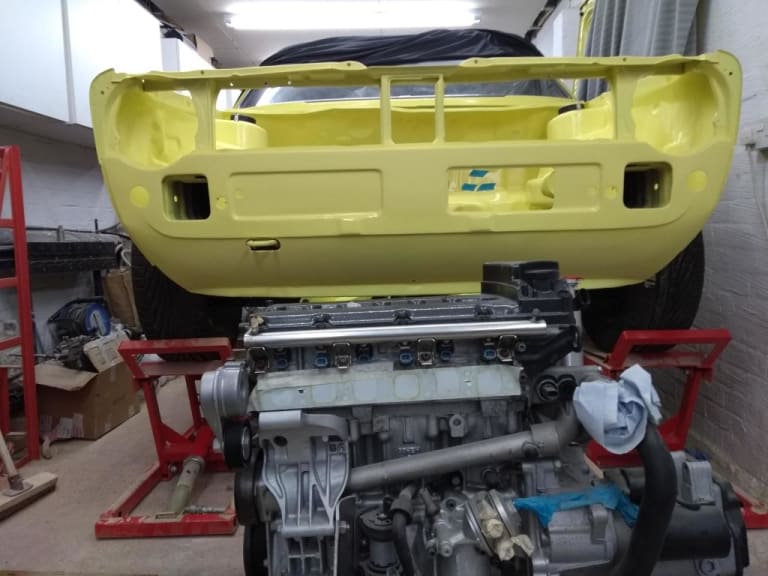
Going to prep the engine again for going back in on Saturday but need to be really careful I don't trash the paint on the way back in.






Posted
Old Timer


Bergie64 said
Thank you you are so quick to answer!Rich. said
Thanks for the kind comment.Bergie64 said
Hello Rich just read all the 18 page of your post!
What a job I love it!I have question for you.I'm making a 3.2 swap into my scirocco MK1 and was asking myself about the length of the transmission axle, can you give me the size of the 2 axle you bought on eurowise?
Thank you so much
I must admit I'm not entirely sure how you effectively measure a drive shaft. Mine are designed for the 02a Corrado VR6 gearbox. I have measured them in a compressed state and have included pictures for reference. Take this with a pinch of salt though.
780mm for longest shaft and 460mm for shortest. I would reach out to the guys at retrofication as they make custom driveshafts for the conversion and may answer the question.


Your measure are good!
I use a BHE engine from a audi TT I bought in UK and a Corrado Vr6 gearbox code CHN!
I'm using epytec engine mount but they have drive shaft pretty expensive so I Tru to find a solution….
Nice work you did can't wait to see the end.

I suggest you contact Dave Mac propshafts in Coventry, https://www.google.com/url?q=https://davemacprops.co.uk/&sa=U&ved=2ahUKEwiSpoSCifzmAhVwQ0EAHSaTAWQQFjALegQIBxAB&usg=AOvVaw23GA6bKwq81Vrn0Hskecdw Dave is class leading in shafts and you will deffinately get custom shafts of the best quality.
Marcus.
Posted
Old Timer


Mellow Yellow 24v Conversion
Lovely job, looks mint!Rich. said
No more paint to do yeyReally happy with the outcome.
Going to prep the engine again for going back in on Saturday but need to be really careful I don't trash the paint on the way back in.


Sent from my iPhone using Tapatalk
Posted
Old Timer


Mike 16vG60 said
Lovely job, looks mint!
Sent from my iPhone using Tapatalk
Cheers Mike, going to wet sand and compound tomorrow night to get more shine
Posted
Old Timer



Posted
Old Timer

how did the chassis number come out after the top coat?
Posted
Old Timer


G60RGE said
mint!
how did the chassis number come out after the top coat?
Cheers chap, it came out really well.
After the white primer I pealed the masking tape off and feathered the white in to the existing yellow by the VIN with sand paper. I then masked off the vin so it was barely covered.
I applied 3 coats and then on the final coat pealed the taped off and applied a light coat.
Posted
Old Timer

Madone with the two Cabs 82 (UK RHD) and 85 (US LHD) (92 sold)
Posted
Old Timer


madone_si said
that is coming along nicely now. Love the color.
Yellow wouldn't necessarily be a colour I would pick on a car but when I first saw her I fell in love with it.
Cheers
Rich
Posted
Old Timer


Going to give it a clean up tomorrow
0 guests and 0 members have just viewed this: None.


