Mellow Yellow 3.2ltr 24v Conversion
Posted
Old Timer


Posted
Old Timer


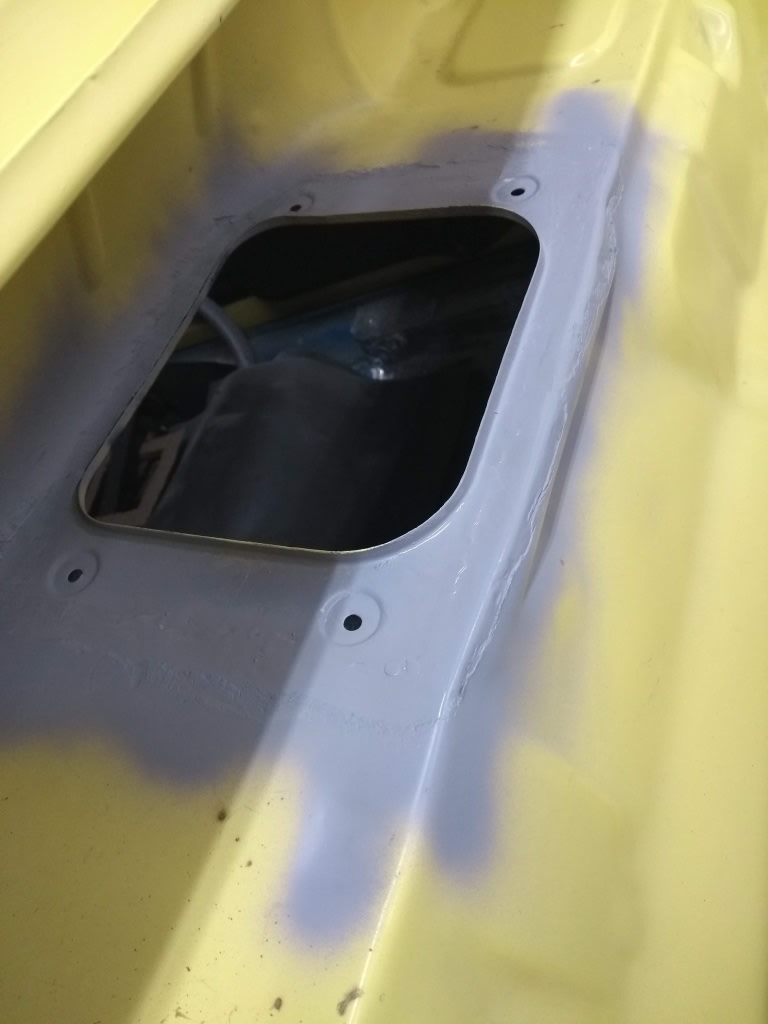
Cut the hole for the heater matrix and brake pedal bar.
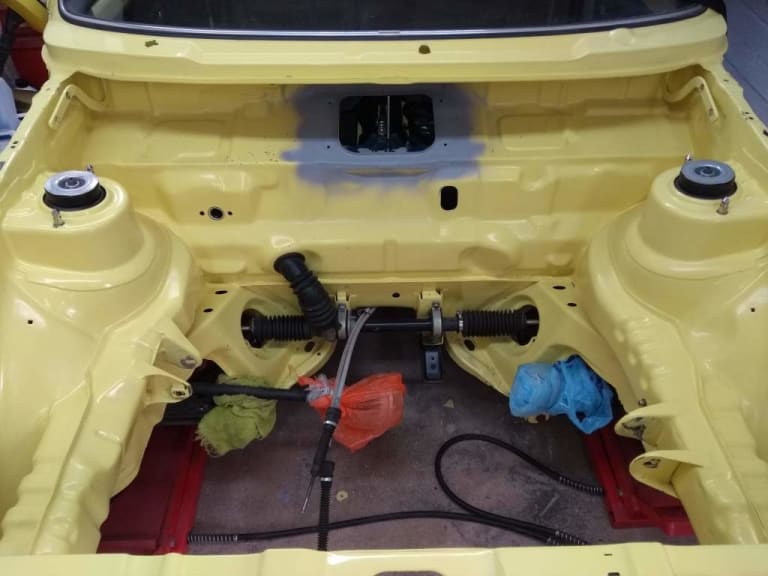

Also welded up some holes that were for various components when I had my G60 conversion.
Going to dress the edges and get it trial fitted this week. Managed to find a wiper bracket to weld back on as well so should be back to normal.
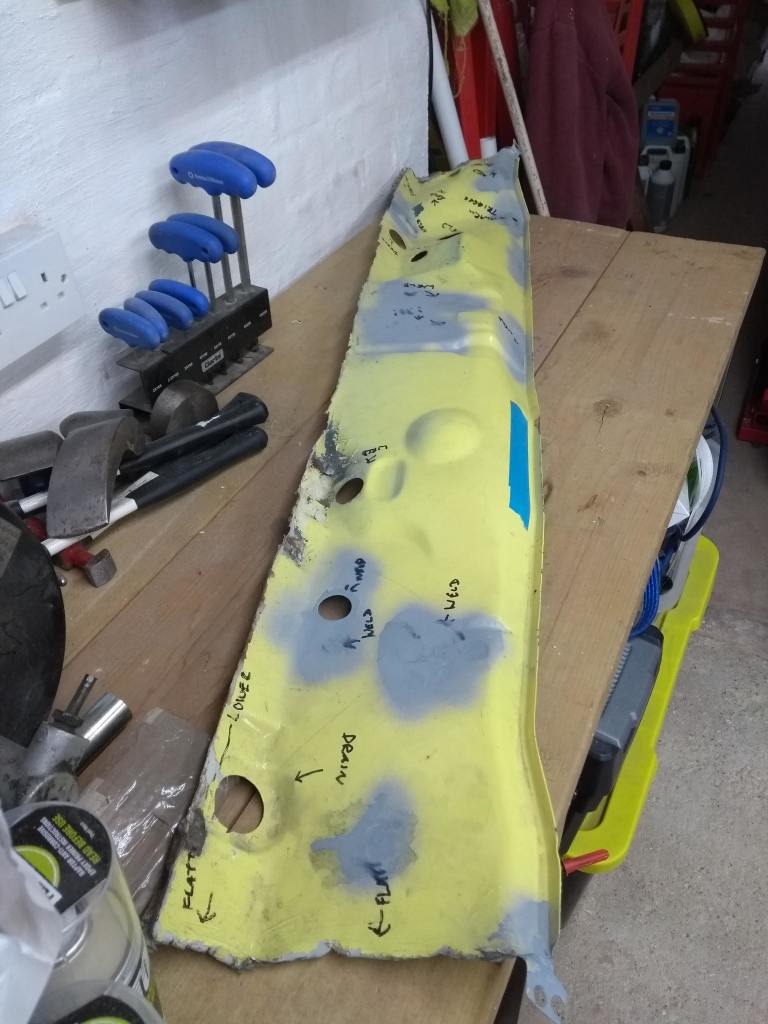

 Last edit: by Rich.
Posted
Old Timer


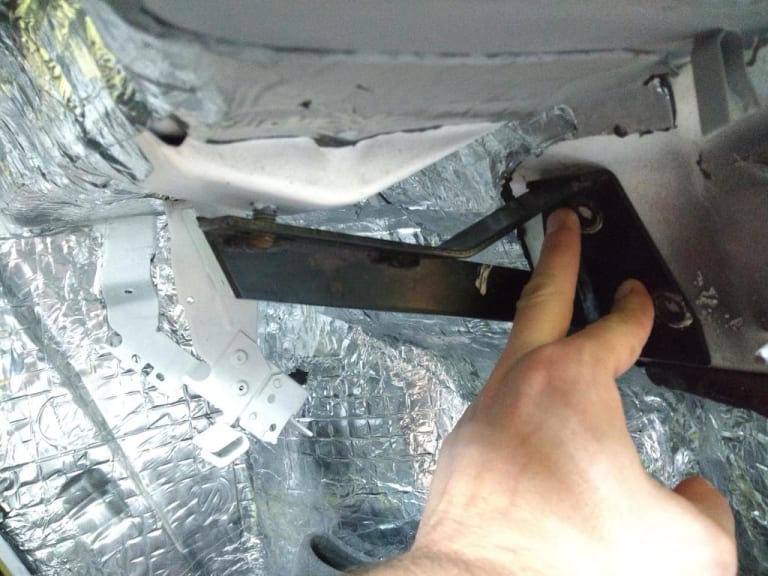
I want to drill the 3 hole through the bulkhead where the studs on the servo poke through to the reinforcement bracket on the rear.
I can see where I had welded the holes up but when I place the bracket the fitment isn't great.
Is there something between the bracket and the bulkhead I'm missing.
This is a picture of the part I'm referring to:

Posted
Old Timer




Posted
Settled In

Question, how do you remove the drivetrain? Complete? Engine, trans, starter, exhaust, manifold? up and out or down and out ?
I fear the struggle when the car is newly painted and everything is perfect
Posted
Old Timer


Thank youHummel said
Looking good mate, as always…Question, how do you remove the drivetrain? Complete? Engine, trans, starter, exhaust, manifold? up and out or down and out ?
I fear the struggle when the car is newly painted and everything is perfect
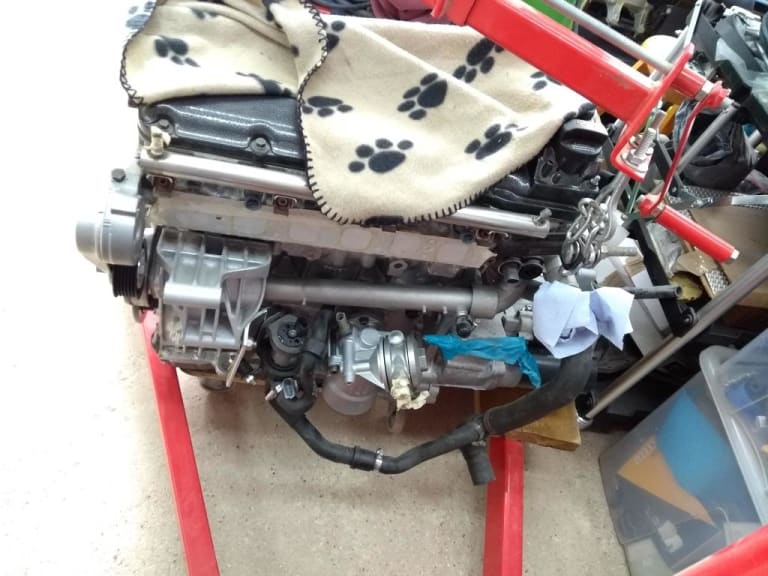
I lifted the engine out but the crank pulley and back of the box are really tricky to manoeuvre but with a load leveller it's possible not too knock anything but won't risk it when I finish the paint for the final time
 Last edit: by Rich.
Posted
Settled In

the project is not moving anywhere, I struggle a bit with ride height, wheel alignment. And I installed a mk2 cluster.
Other than that It seems like the weather is to bad for anymore testing, so I will begin on disassembling the car for paint
Posted
Old Timer


Hummel said
Is it possible to lower the car down onto the engine complete with manifolds ?? I also lifted the engine in the car the first (and only) time I did it and I'm glad it wasn't painted
the project is not moving anywhere, I struggle a bit with ride height, wheel alignment. And I installed a mk2 cluster.
Other than that It seems like the weather is to bad for anymore testing, so I will begin on disassembling the car for paint
Yes it will go up in to the car with the exhaust manifolds on
Oh get some pics of the mk2 cluster. How come you went that route?
Posted
Settled In

Yeah I still suck at the picture thing, sorry. But it really went well, it fits like stock and with the tacho It is really nice, also got a temp gauge now
I decided to lose the idea of a pre-facelift complete swap, I got everything needed, but then I change my mind, maybe to much work, maybe just me being lazy, but I chicken out when I should cut a weld the brackets, also the fresh air intake needed modification, and last, the shelf under the dash wouldn't fit…
I will update my project thread wit the pictures I have of other stuff
Posted
Old Timer


Then on to the body work again, hopefully last time
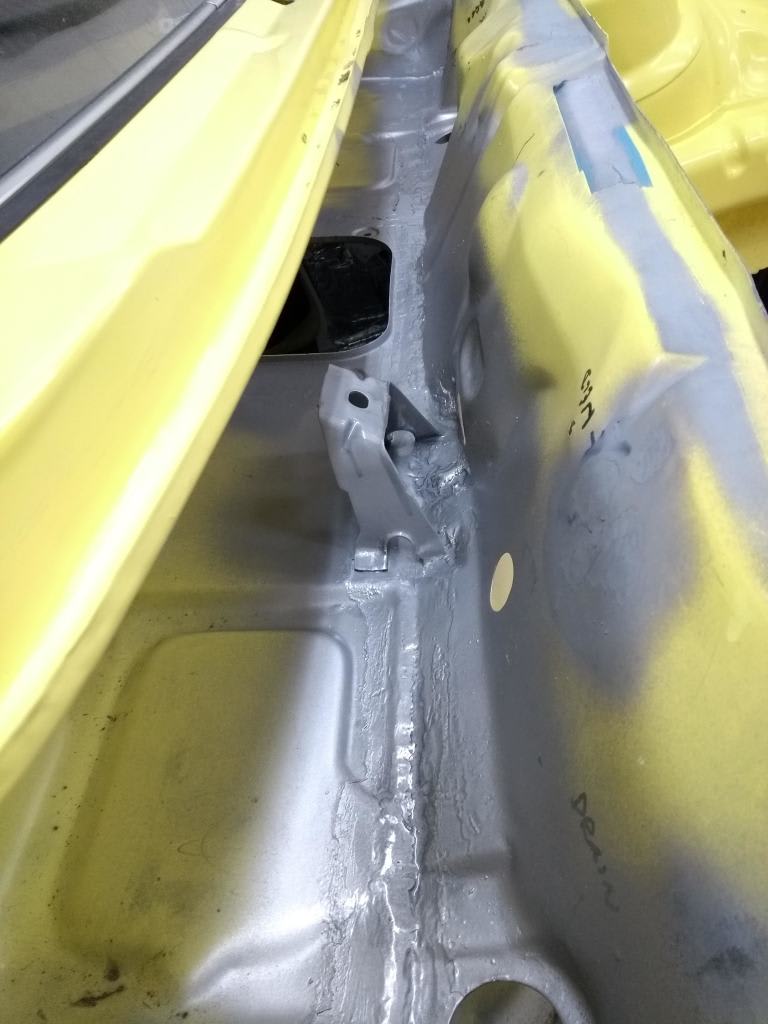
Can I get some advice from anyone that has done a respray of the rain tray. How do I go about painting the VIN area, I'm concerned it will lose definition if sprayed.


 Last edit: by Rich.
Posted
Old Timer


At least the drums are off and new disc and wheel bearings fitted.
Also received a Bosch 040 pump, I went for that instead of the 044 as it has an integrated strainer. Seriously larger than the mk1 Golf Bosch pump (see side by side photo).
Apparently the 040 is capable of 500bhp rather than the 044 which is rated at 750bhp so more than double what i need


Posted
Old Timer



Posted
Settled In


Posted
Old Timer


FXTURE said
Coming along nicely Mr rich . Always drop in to have a peek
Thank you sir, getting there now. Can't let this drag on any longer
Posted
Old Timer


Finally got round to welding the brake pedal reinforcement bracket to the chassis leg
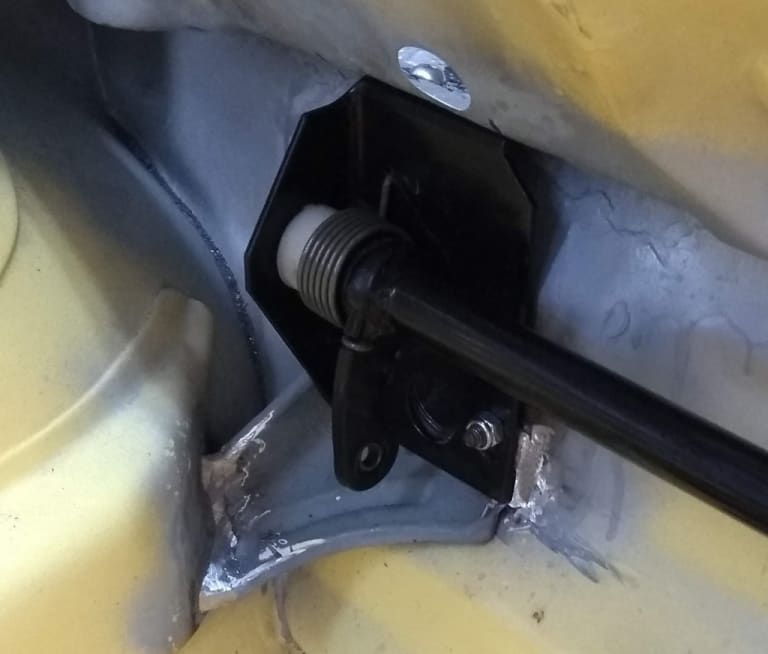
And then the massive ball ache getting the South African brake bar to fit!!! Trying to mark the position of the holes up in to the rain tray was a mission but managed to get everything square and secured.
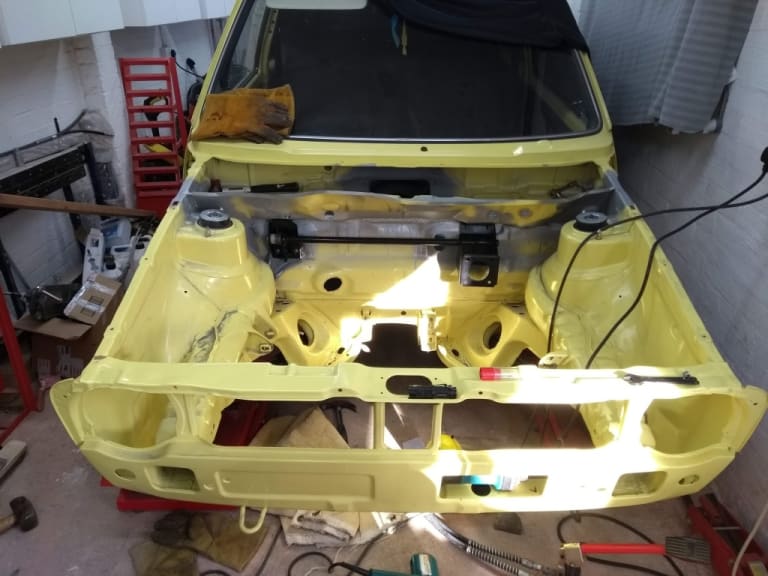
Next make it look pretty
Posted
Old Timer


Mellow Yellow 24v Conversion
Sent from my iPhone using Tapatalk
Posted
Old Timer


Hi Mike,Mike 16vG60 said
Looking good. Does that mean I’d be a fool to try and fit my SA brake bar without removing the engine?
Sent from my iPhone using Tapatalk
If you can remove the stock bar with the engine in situe then you should be OK.
If you haven't already check the position of the holes on the bulkhead to ensure they line up whilst the bar is pushed up against the rain tray.
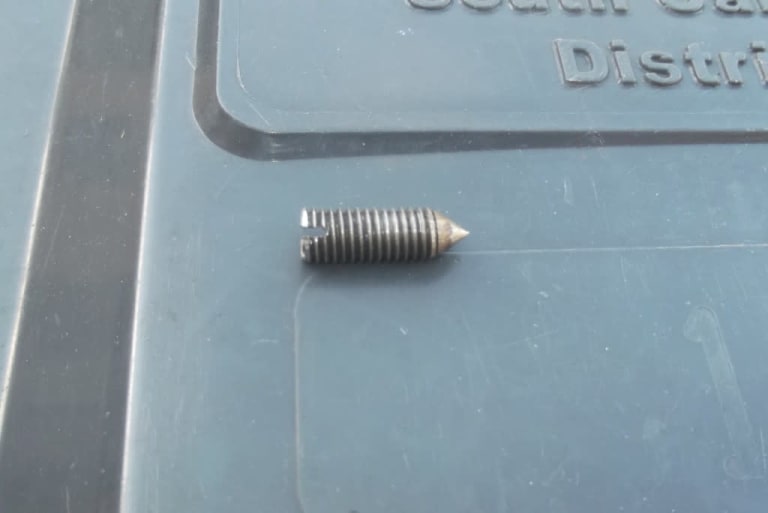
You can convert a spare bolt in to a tool with a point like this to mark the position of the holes to drill in to the rain tray.
Credit to
Posted
Old Timer


Mellow Yellow 24v Conversion
Perfect - thanks! I just foundRich. said
Hi Mike,Mike 16vG60 said
Looking good. Does that mean I’d be a fool to try and fit my SA brake bar without removing the engine?
Sent from my iPhone using Tapatalk
If you can remove the stock bar with the engine in situe then you should be OK.
If you haven't already check the position of the holes on the bulkhead to ensure they line up whilst the bar is pushed up against the rain tray.
You can convert a spare bolt in to a tool with a point like this to mark the position of the holes to drill in to the rain tray.
Credit toabfmk1

Sent from my iPhone using Tapatalk
Posted

Settling In

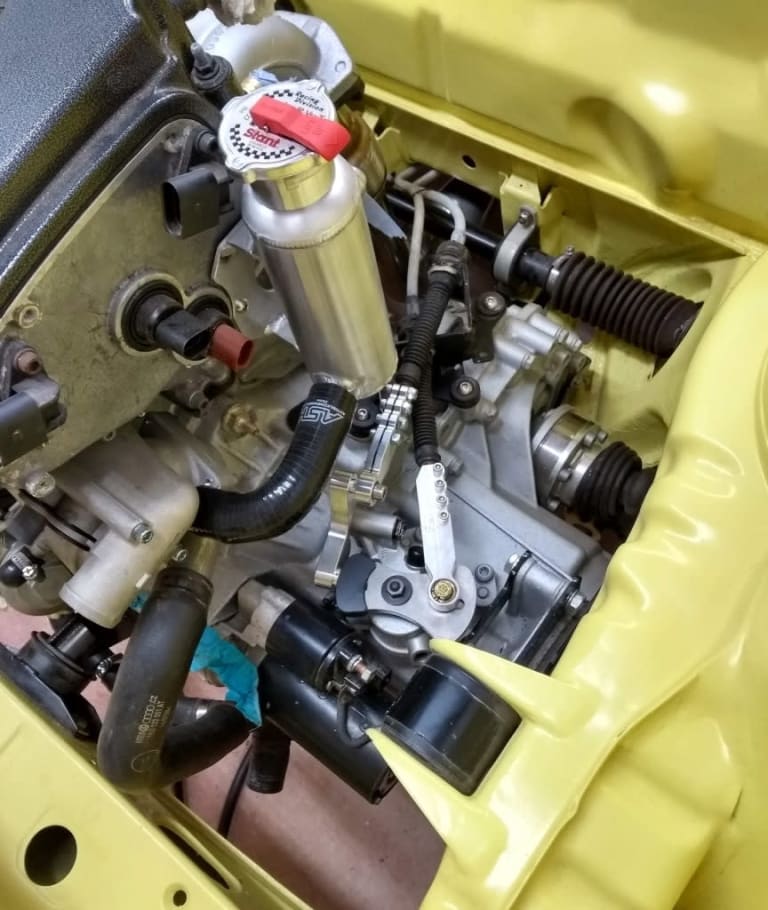
btw.. which coolant expansion bottle are you running on this?
Posted
Old Timer


Thanks for the steering column boot. Will add a nice functional finish rather than me wrapping it with heat reflective fibreglass.

I found someone on ebay that made a one off batch of R32 expansion tanks similar to the 12v version Eurowise and other companies produce. Was really lucky to find it
Going to get some updates up later on.
There are too many online users to list.


