Mellow Yellow 3.2ltr 24v Conversion
Posted
Old Timer

Did you apply the G3 by hand? If so, how
Matt
Posted
Old Timer


pazwaa said
Looks to be coming up beautifully, great job
Did you apply the G3 by hand? If so, how
Matt
Mr Miyagi taught me, wax on wax off Daniel san
On a serious note, damp polish cloth dabbed in compound, and horizontal movements until the compounds disappears keeping it wet with a spray bottle.
Posted
Old Timer

Posted
Old Timer


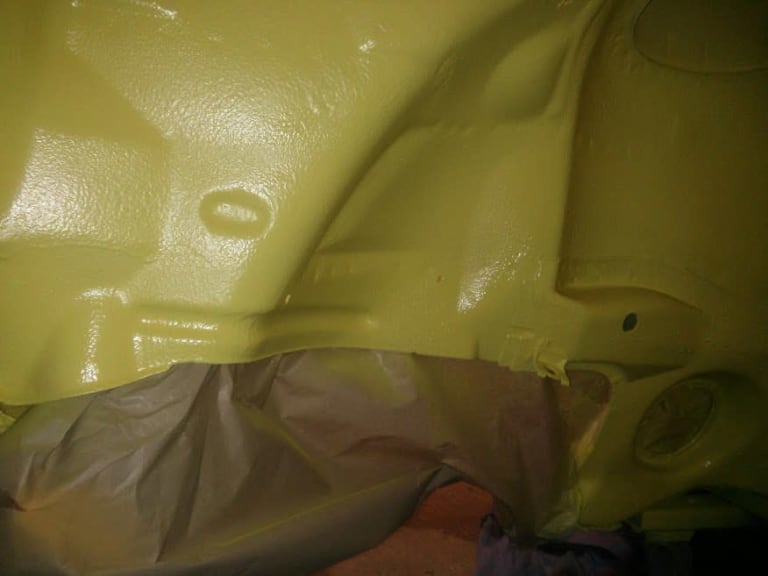
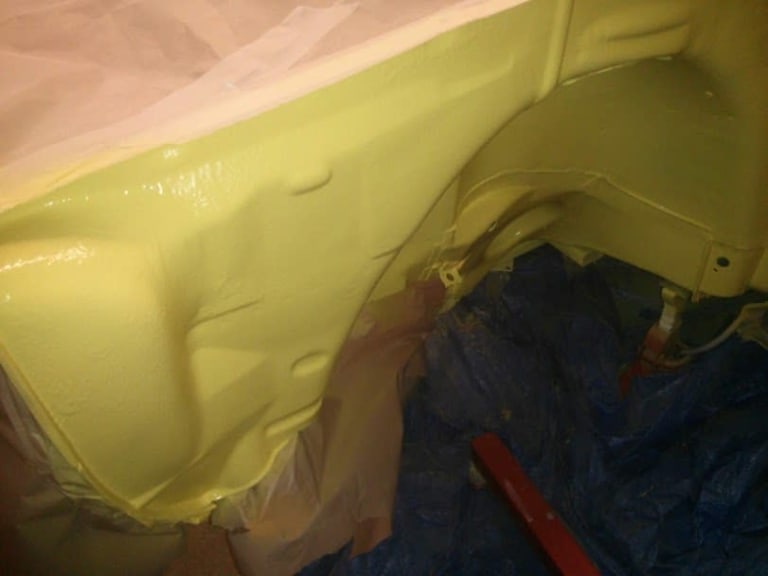
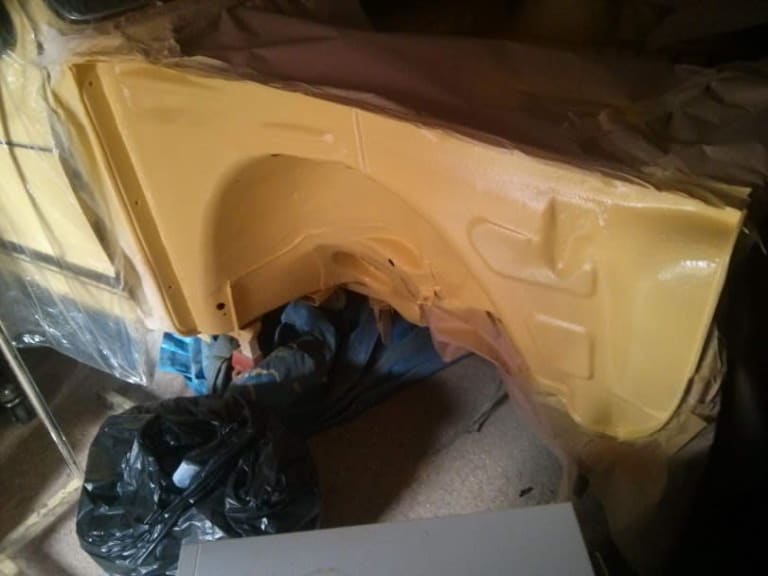
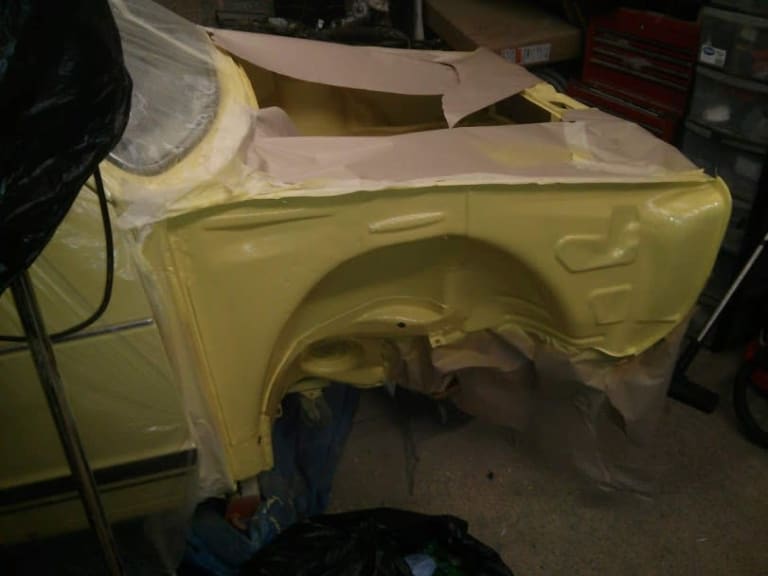
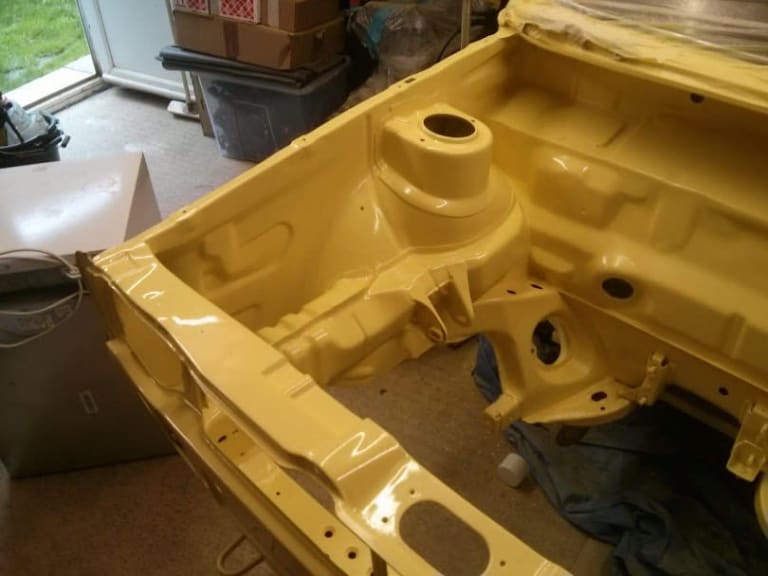
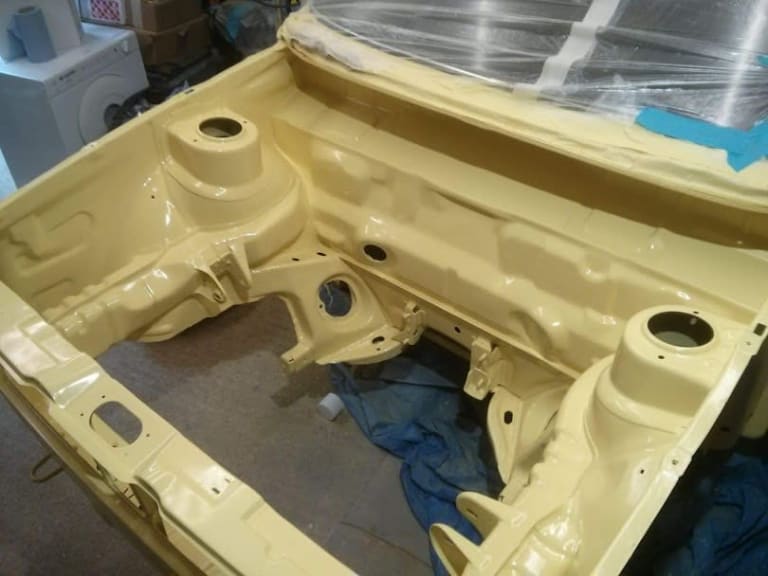
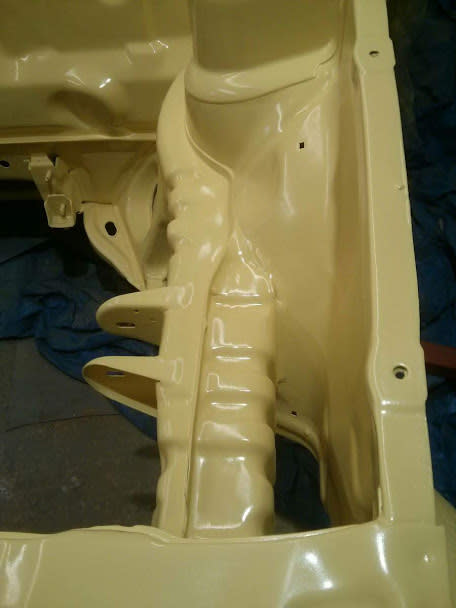
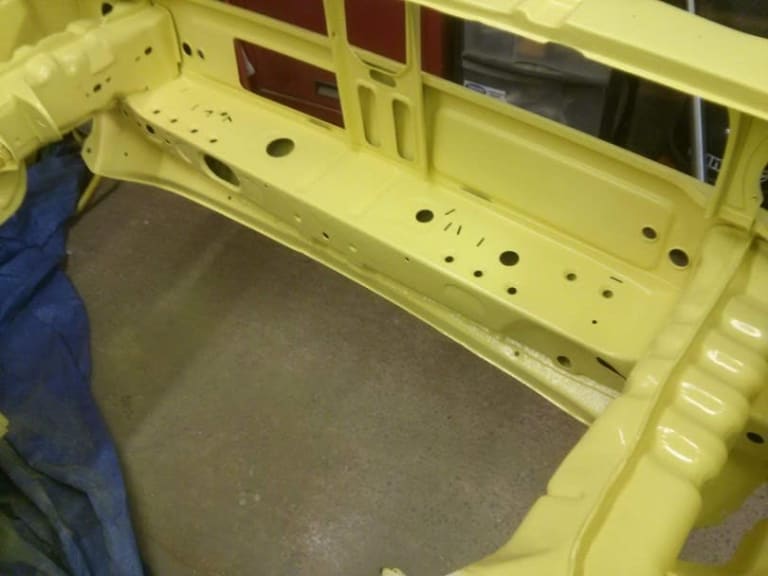
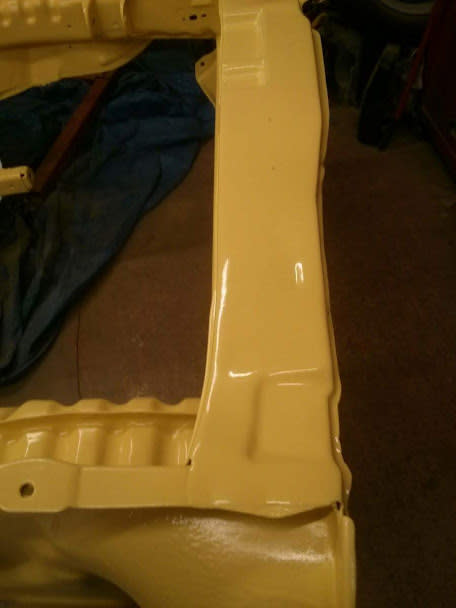
I was pondering how best to improve the gloss on the wings and bottom of the front panel as it was quite dull out of the gun and polishing was out of the question with the textured surface from the stone chip.
I played around with the gun and realised I had the pressure too high and the paint was going on too dry.
I've decided to put another coat on the main part of the engine bay using my new found technique to aid the buff up. I only managed to polish one wing
 Last edit: by Rich.
Posted
Old Timer

Matt
Posted
Settled In


Posted
Old Timer


FXTURE said
Coming along nicely there chap.Hope to see it one day.How complicated is it looking on the wiring side there rich ,or will that be along way off?.
The main loom conversion isn't too bad according to
It's a standalone loom and has relays for the ecu / fuel pump and fan control / aux electric water pump. I think it's very simple to connect. Needs earth / power / fuel pump and starter connections
That should get the engine running.
The other complication is the rev counter.
I chose to get a diesel alternator with W+ terminal and a little box that converts the pulse from 4 pot to 6. I'm hoping John can assist with that wiring.
Later on I found there is a canbus thing I could've bought and used the original alternator. hey ho
Finally I need the water temp and oil pressure. for the instrument panel. John said I can use a sender from a later golf for oil pressure.
I'm hoping that is it,I'm sure John will say something if I've missed anything
Posted
Old Timer


pazwaa said
You're getting good at this
Matt
Cheers chap. Looks like engine in next week
Going to do an update tomorrow.
Posted
Old Timer


Bit of a light polish and should look really good




 Last edit: by Rich.
Posted
Old Timer


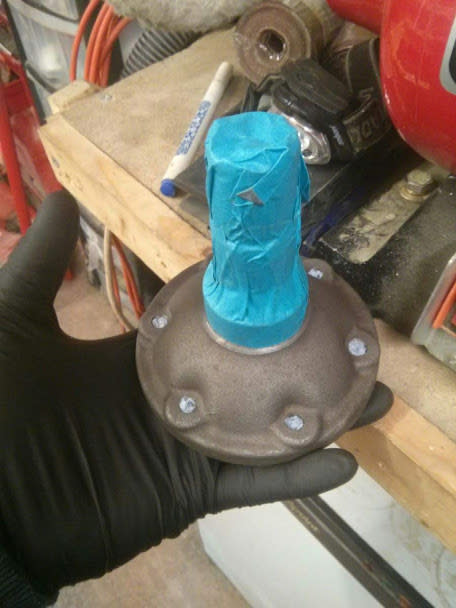
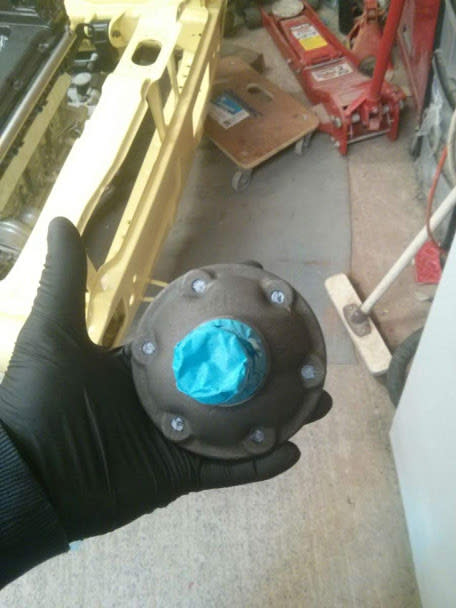
Started working on the hubs. In Por 15 metal prep
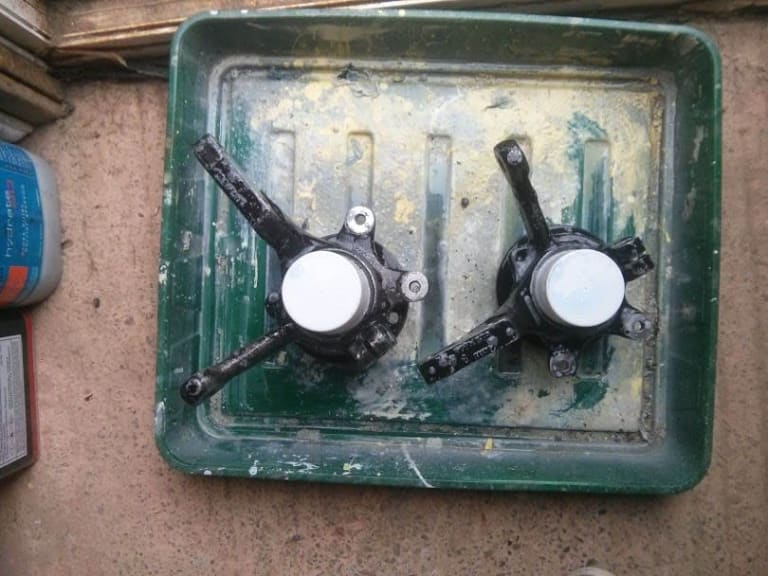
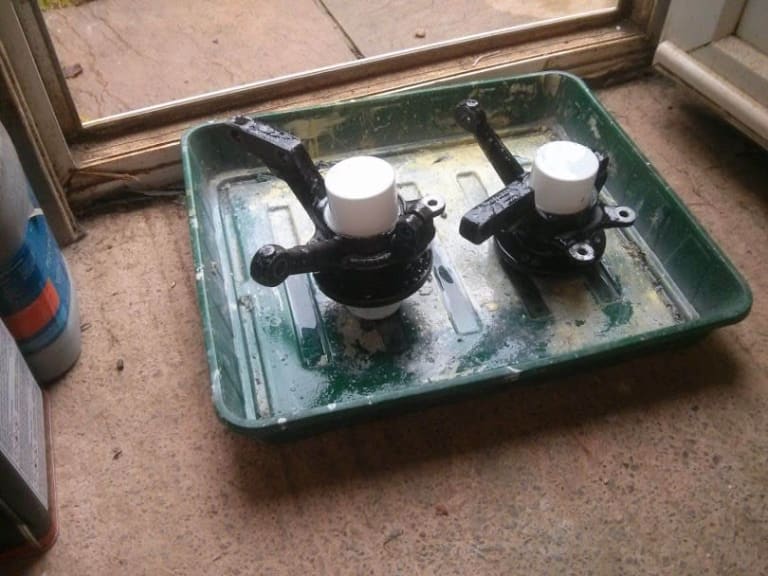
Now I thought I had black epoxy but turned out as grey lol
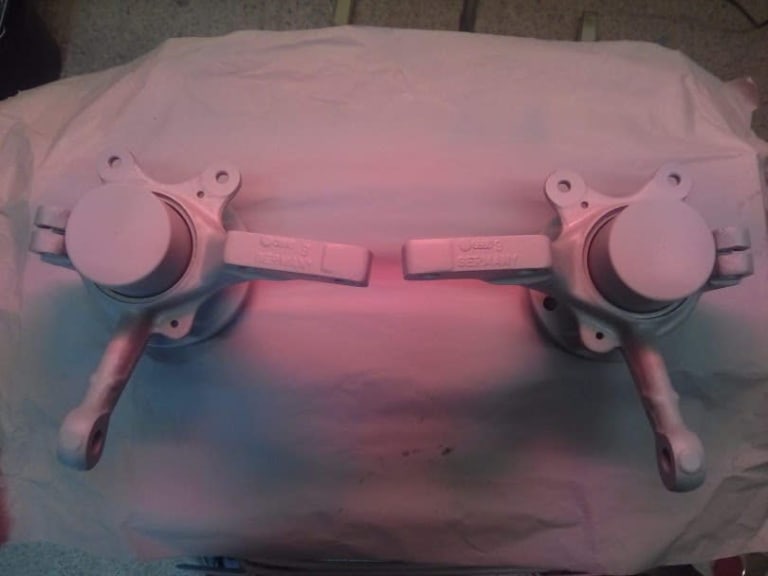
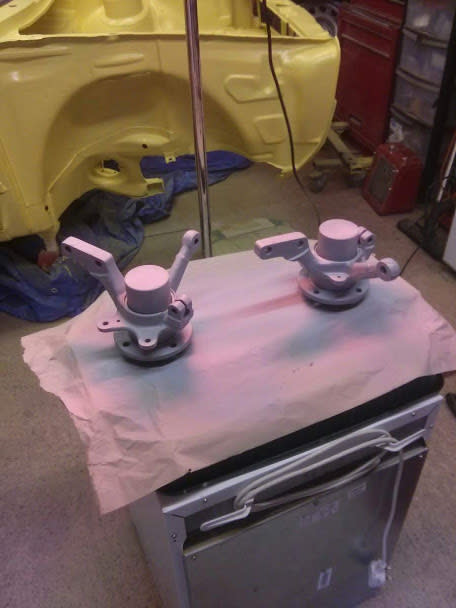
Put several coats on and will finish in black enamel.
 Last edit: by Rich.
Posted
Old Timer

Matt
Posted
Old Timer


pazwaa said
Your engine bay looks so nice, you should be very proud of the work you've done
Matt
Cheers bud appreciate it. Hopefully progress will accelerate now. Lots of bolt on goodies
Posted
Old Timer


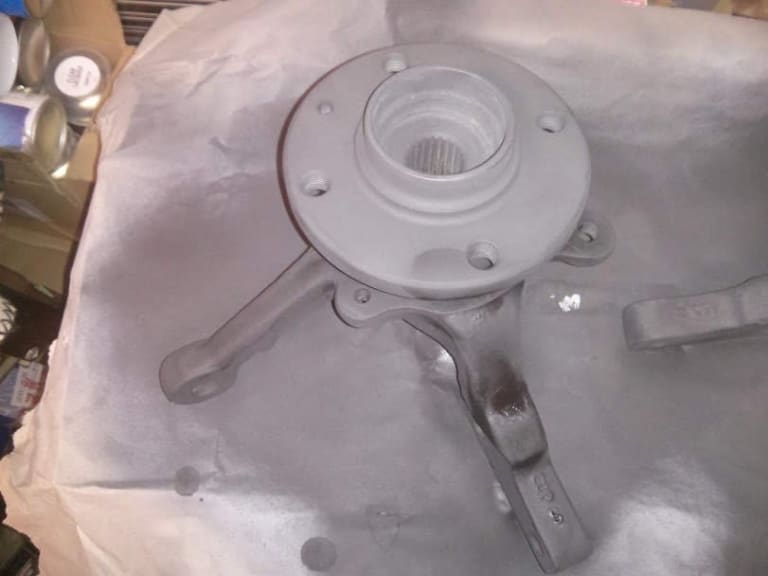
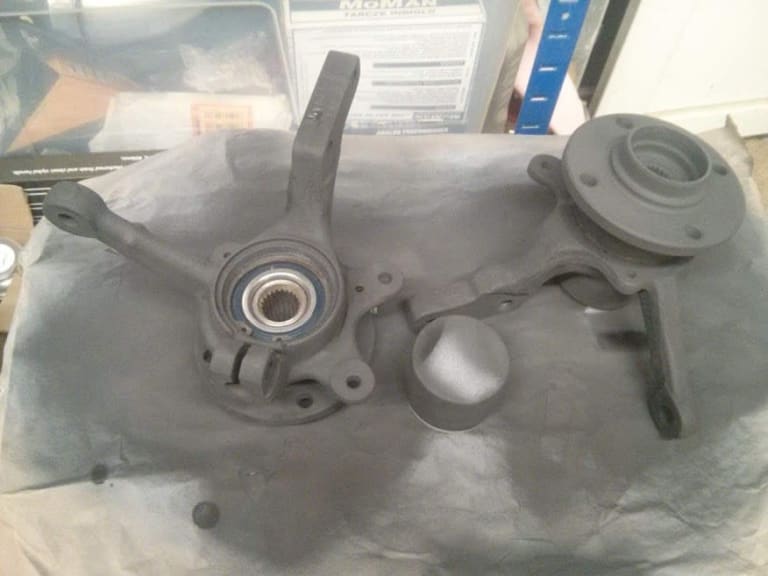
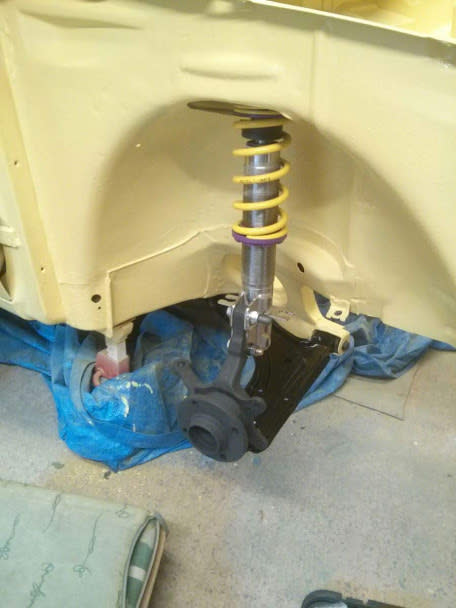
Started to build the suspension up. Got one side done and then broke a tool trying to remove the old top mount strut nut! New deep offset 22mm spanner coming tomorrow! Not going to struggle again with that lol

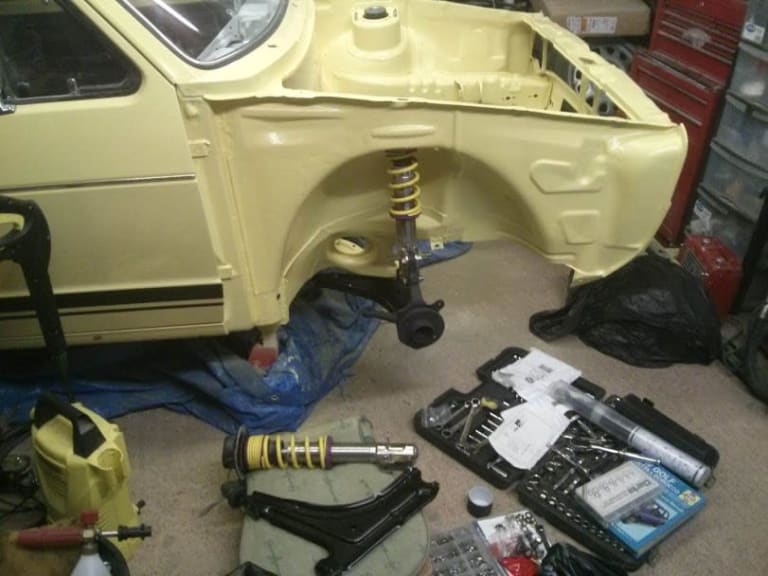
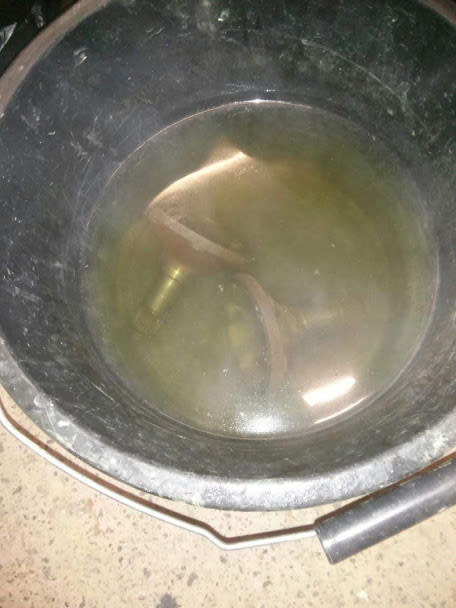
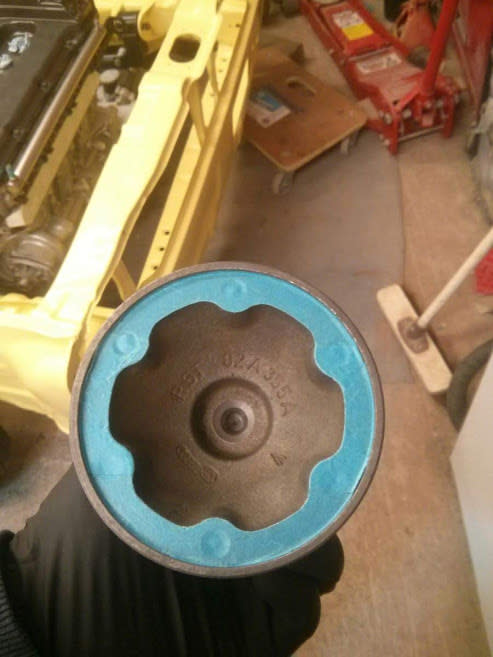
Started to soak my 100mm output flanges in Deox C. Only light surface rust so should come up nice
 Last edit: by Rich.
Posted
Old Timer


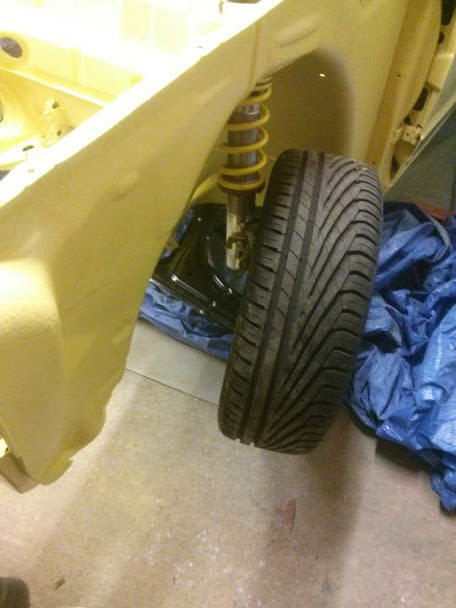
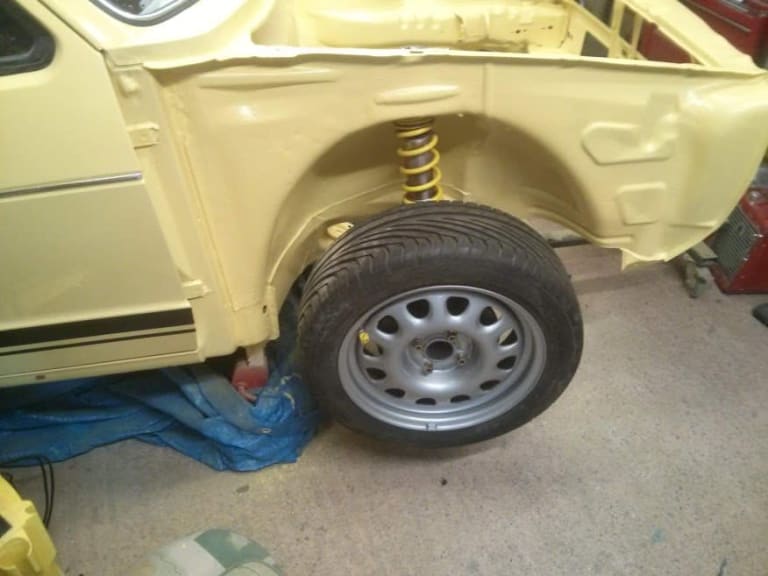
All new steering rack, rods and ball joints. Oh you've seen it
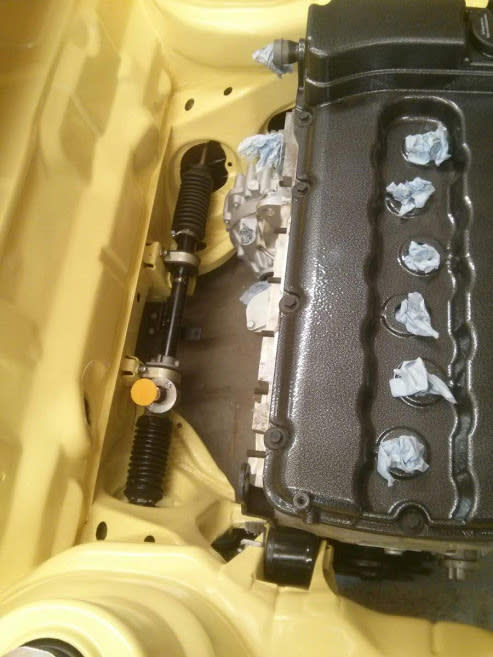
Engine in situe
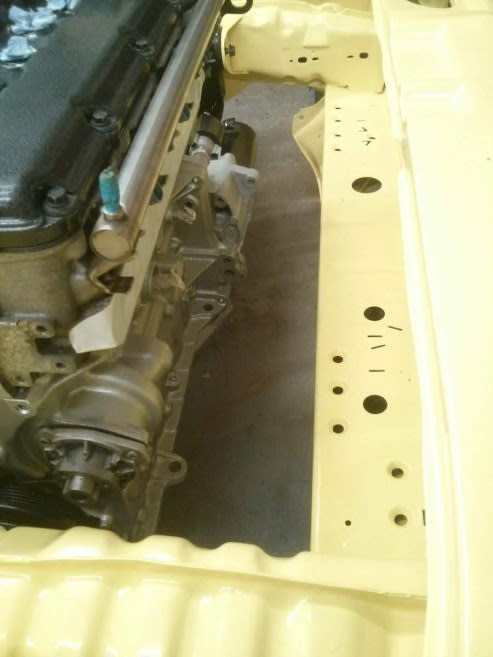


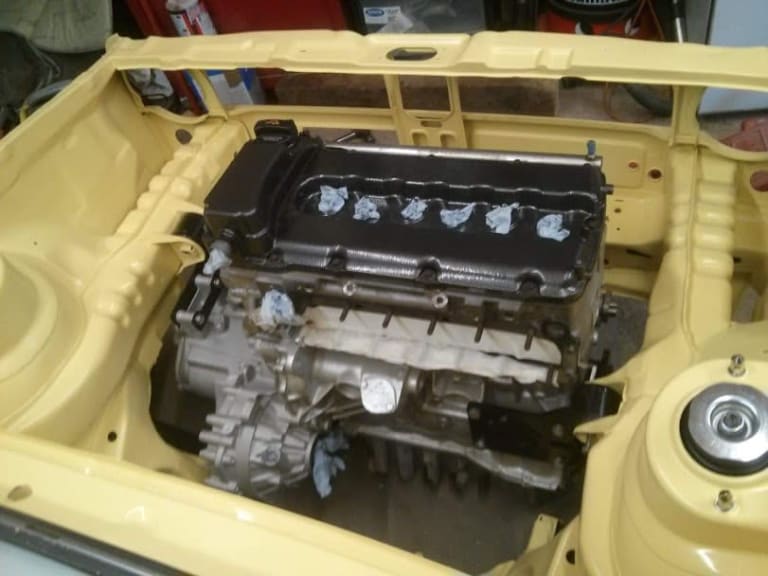

 Last edit: by Rich.
Posted
Settled In


Posted
Old Timer


Ha ha, I like to keep the content up to date, nothing worse than a stale thread plus it keeps me motivated.FXTURE said
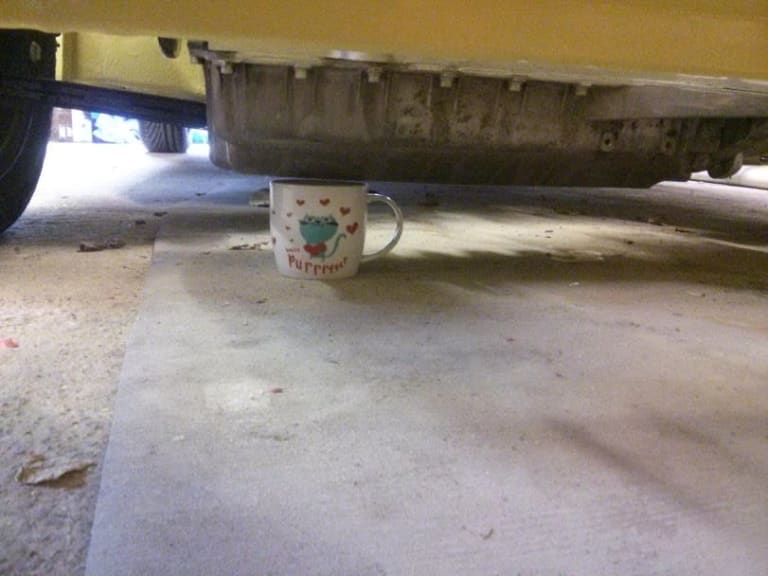
Nice.Seems i get weekly notifications..From ground to the sump,Whats the mug height 4 inch ?And im guessing you will say it isnt yours..
At present it seems very low (about 4 inches) If you look at the coilovers in the pictures they are wound down quite a bit. I needed to wind them down to take the top mounts off but never wound them back up.
The top of the front panel is level with my knees so needs to come up a couple inches. I think I should have at least 5 - 6"'s which should be plenty? Sump guard overwise?
No comment on the cup
 Last edit: by Rich.
Posted
Old Timer

Matt
Posted
Old Timer



 Last edit: by Rich.
Posted
Old Timer



 Last edit: by Rich.
Posted
Old Timer


 Last edit: by Rich.
0 guests and 0 members have just viewed this: None.


