


Golf mk1 1.1 '80 full restoration project (Loads of pictures!)

Posted
Old Timer

Dangerous44Dave said
This is an awesome thread! thanks for showing the detailed bits of welding - has helped me get my head around a lot of what I need to get done! �Keep up the good work
Did you buy the replacement metal for this bit or did you make it? �… if the later … how did you get the same shape? �I've been wondering how to get this section sorted.

Thank you!
We welded a straight piece of metal on the part we cut out of the sill (as you can see on the picture you quoted.
Then we welded a L shaped piece in place that we made from some sheet we got laying around. make sure to make this long enough so you can bend the side over so the rail of your sill looks the same all the way down the car.

After that's done, weld the floor panel you cut out, back in. (We cut it out so it's easier to weld and cut the rust out)
Finally clean up the welds and rail under the sill
I hope I made it a bit more clear, if not send me a pm
 �
�
Posted
Old Timer
Posted
Old Timer
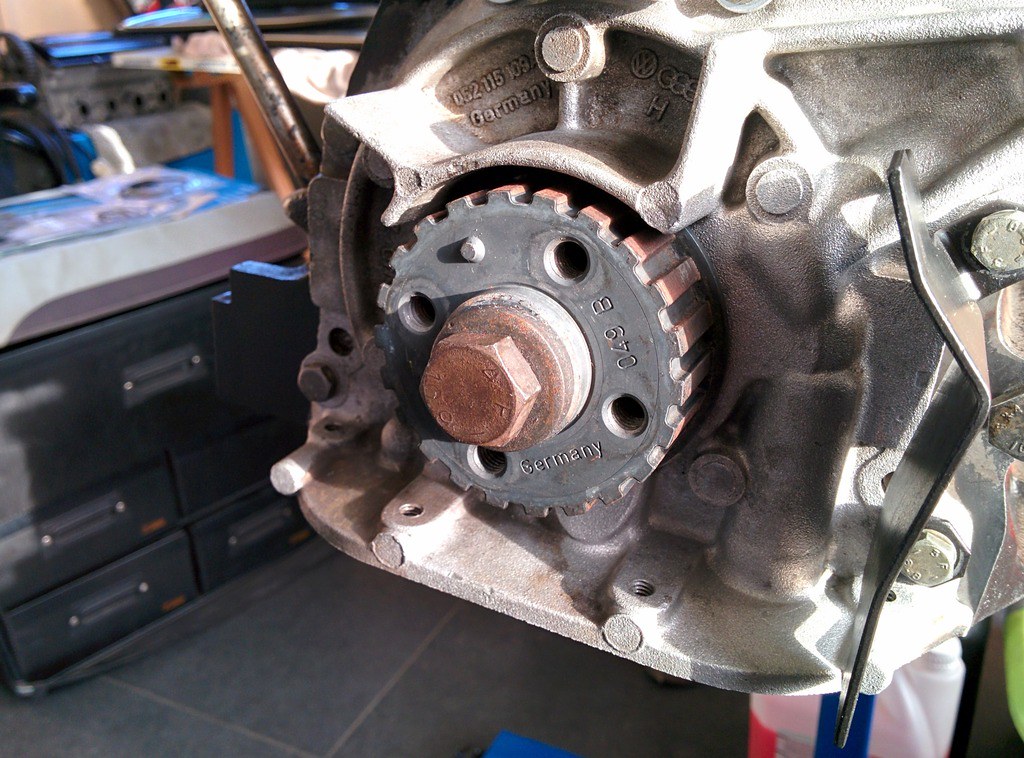
And resprayed the small metal brackets mounted onto the oil pump.
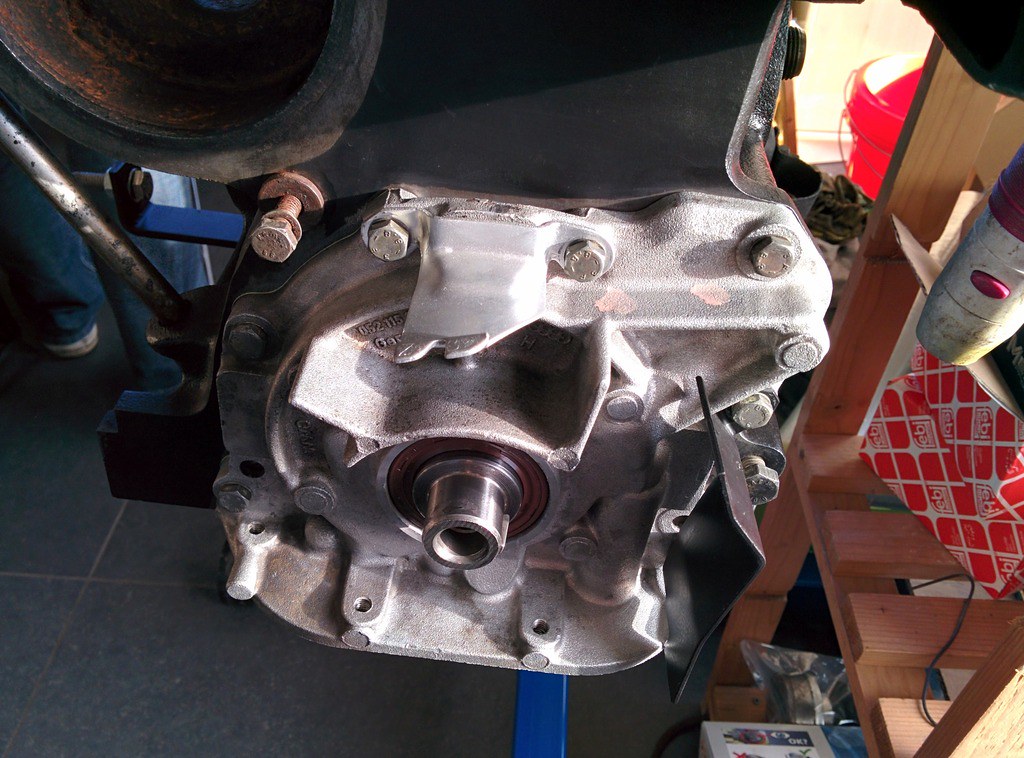
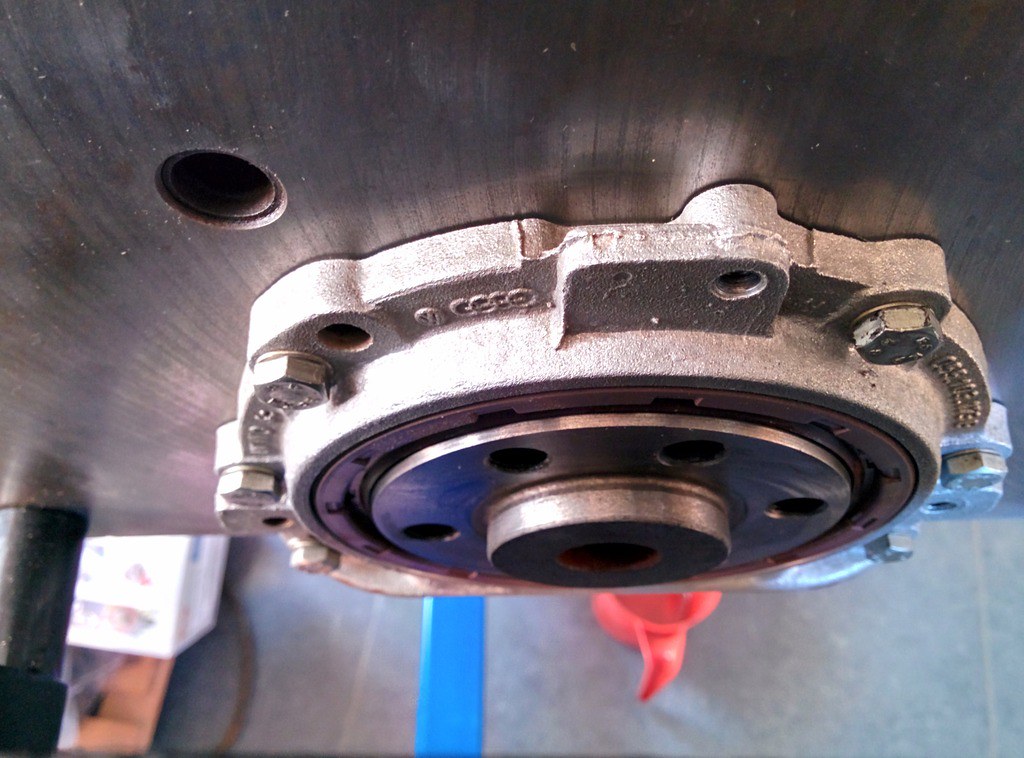
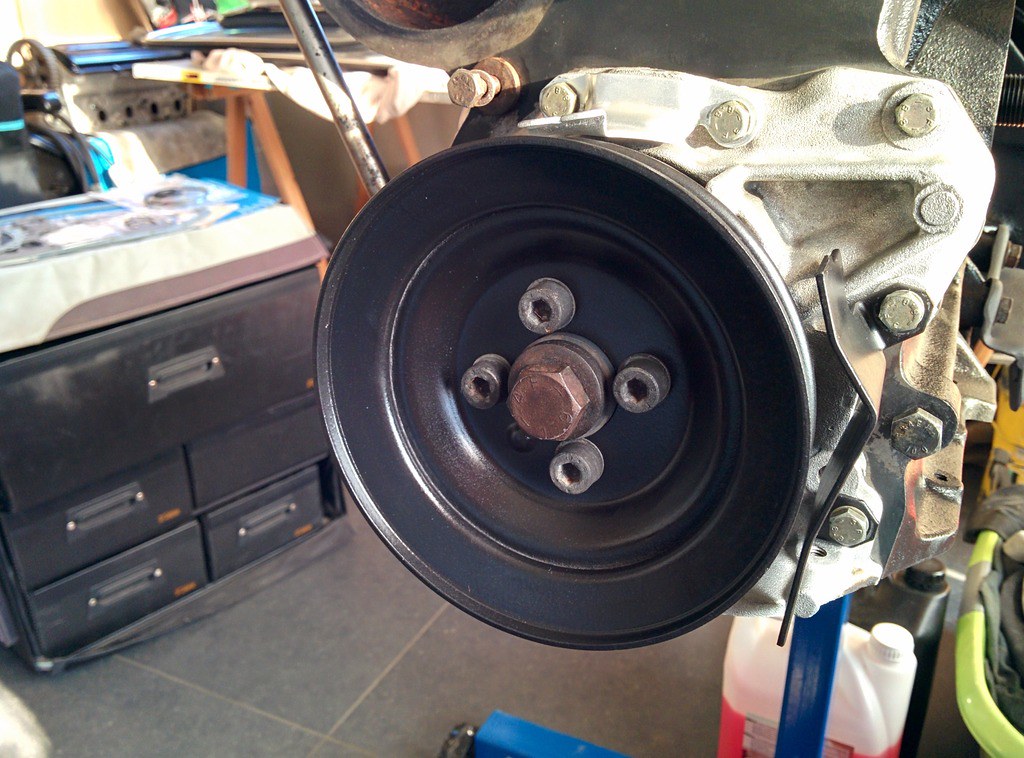
Once the oil pump was in place we mouted the timing belt sprocket and alternator pully.
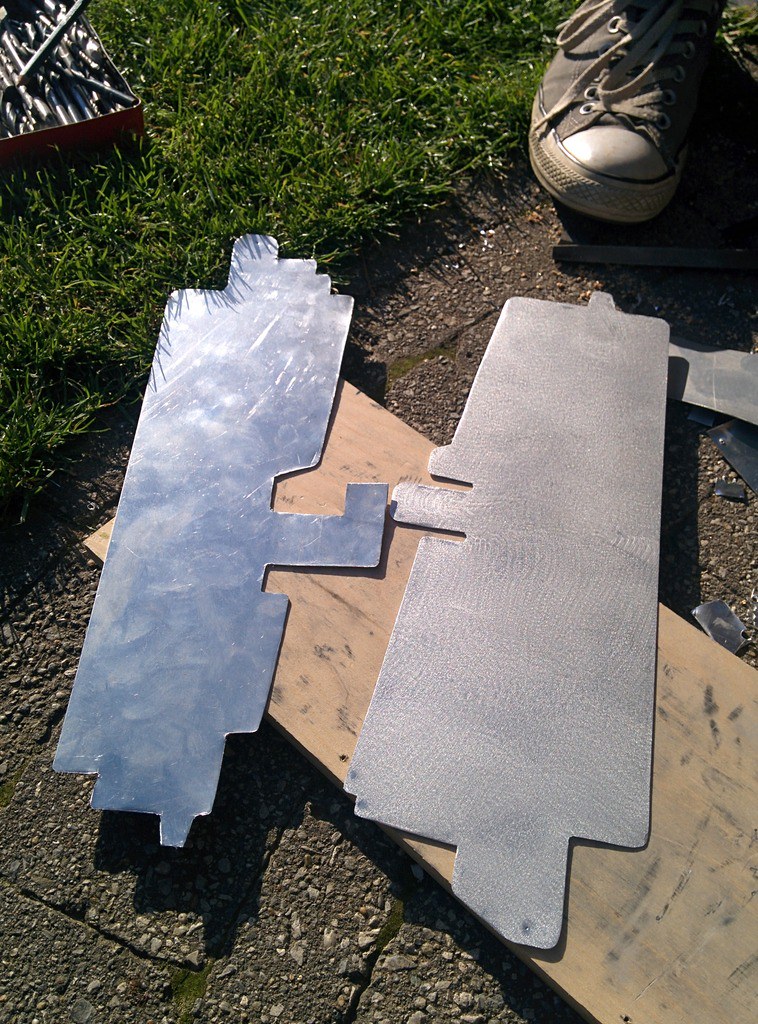
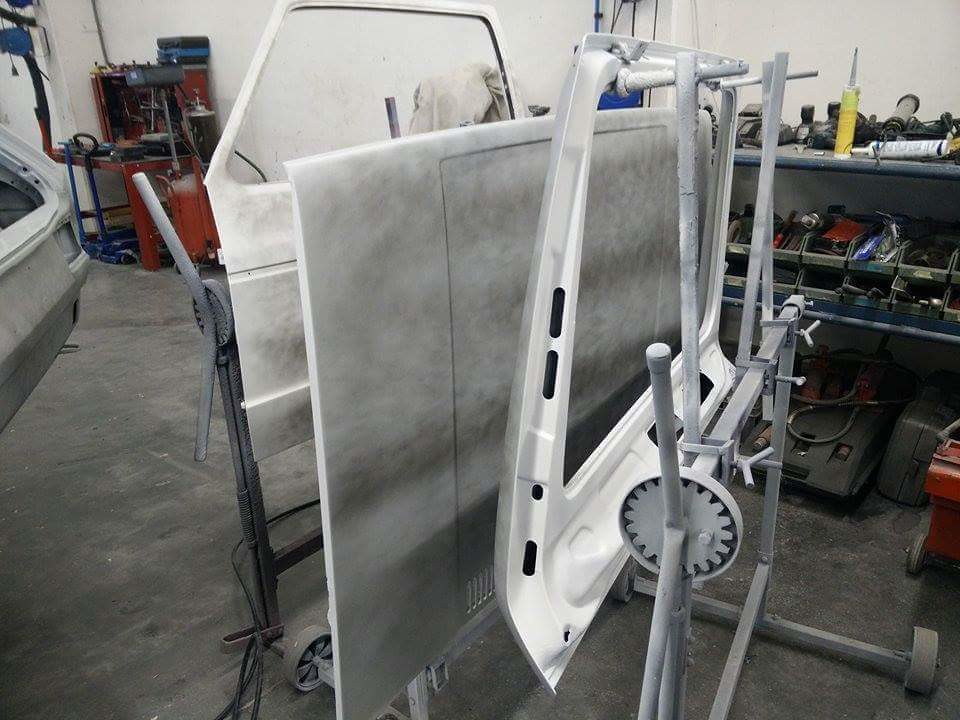
We also gave the airdeflectors a look, they were beyond saving.
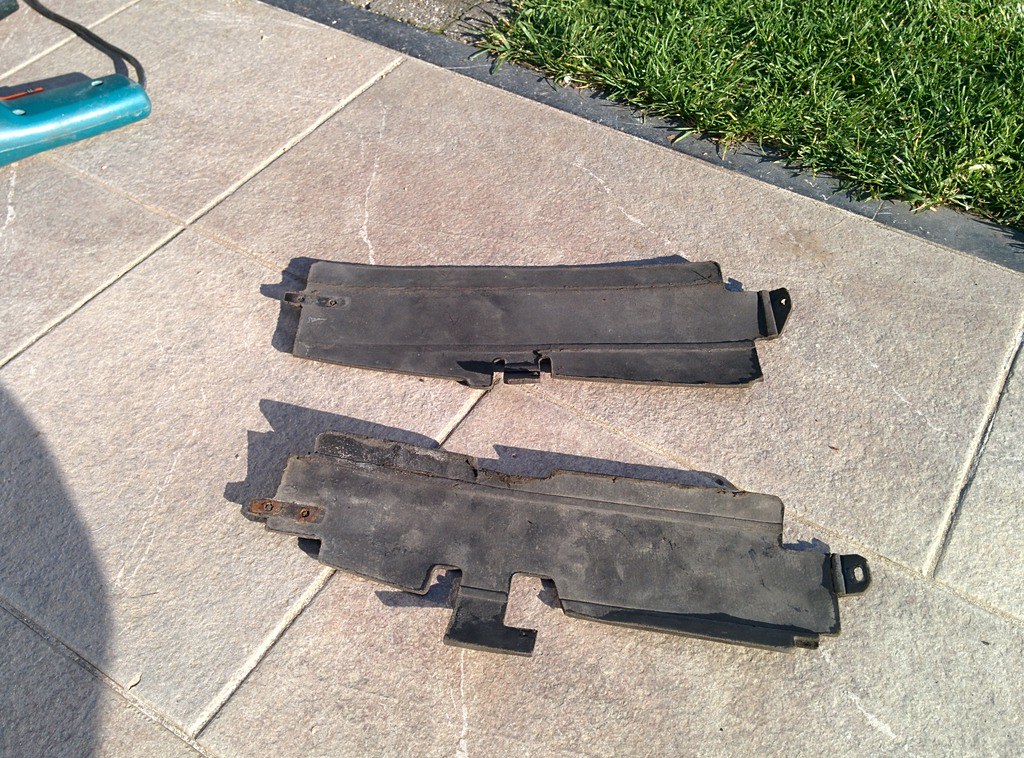
So we fabricated two out of a 1mm thick aluminum sheet, cut them out using metal sheers, gave them a quick sanding. Primer and satin black spraypaint to finish them of.
That's it for now. Hoping to finish the engine rebuild next week.
Hopefully we FINALLY get our freshly painted shell back!�

 Last edit: by D_Martijn
Posted

Settling In

Re:
D_Martijn said
Been a while since I posted some updates
School started again so we have less time to work on the Golfwatson suggested to paint it
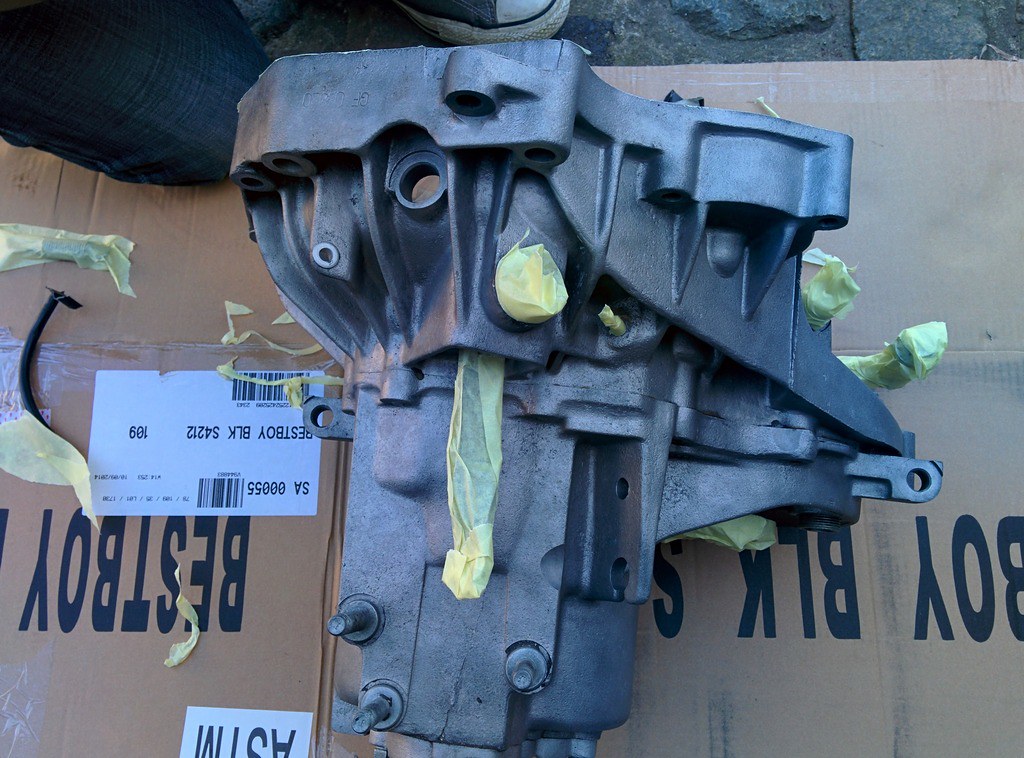
Before, all taped up.

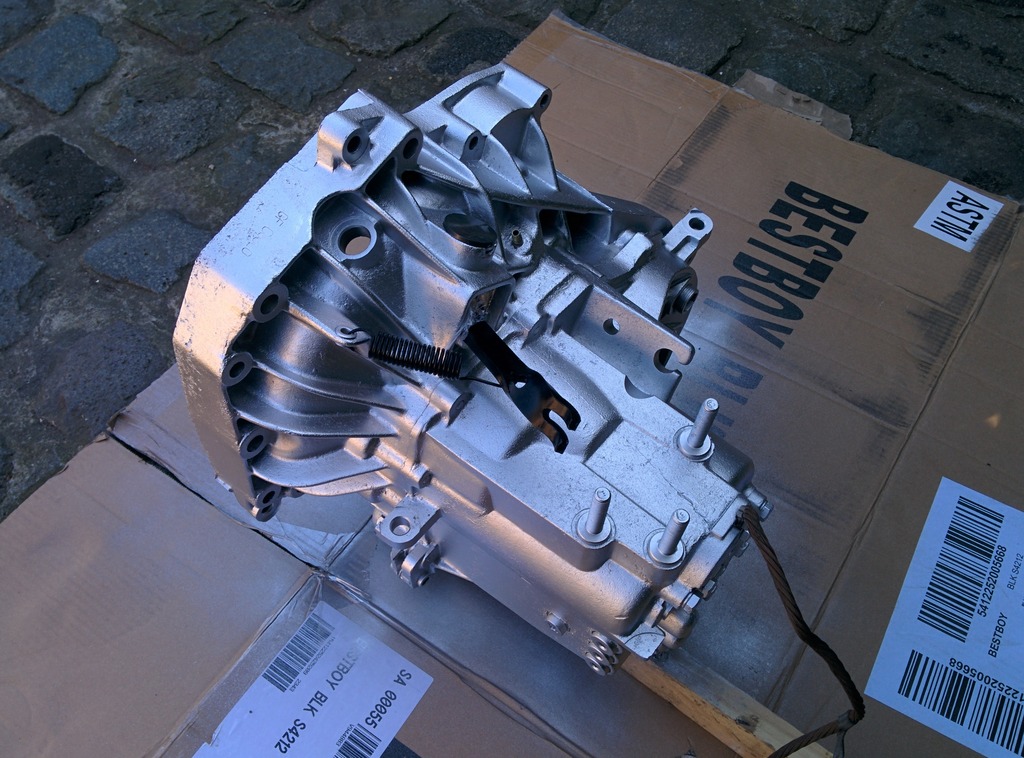
After

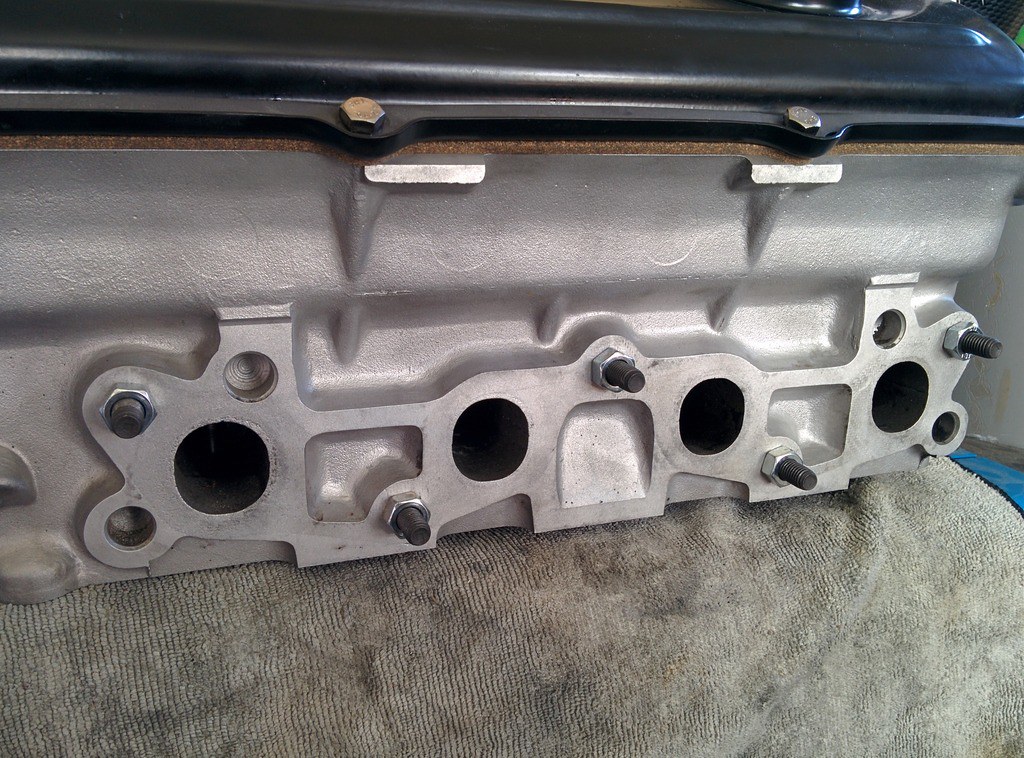
Also bolted new studs on the cilinderhead

What paint did you use for the transmission?
Posted
Old Timer
BajaScout said
What paint did you use for the transmission?
We used Motip heat resistant paint in silver
Posted
Old Timer
Posted
Settling In
Re:
D_Martijn said
BajaScout said
What paint did you use for the transmission?
We used Motip heat resistant paint in silver
Thanks. Looks like Dupli Color is the U.S. product line. Need to do some cleaning first.

Posted
Old Timer
watson said
Nice work Martijn. New air deflectors and painted gearbox looking good.
Thanks
got the idea from you hahaStill no news on the shell

BajaScout said
Thanks. Looks like Dupli Color is the U.S. product line. Need to do some cleaning first.
Indeed, we degreased ours and sandblasted it afterwards to get it fully cleaned
Posted
Settling In
Posted
Old Timer
BajaScout said
Sand blasting. Haven't tried that yet. I have a compressor so maybe I should find a used blasting cabinet.
Make sure you compressor had a big enough air output or you'll have to wait a lot + it'll get super hot
Posted
Old Timer
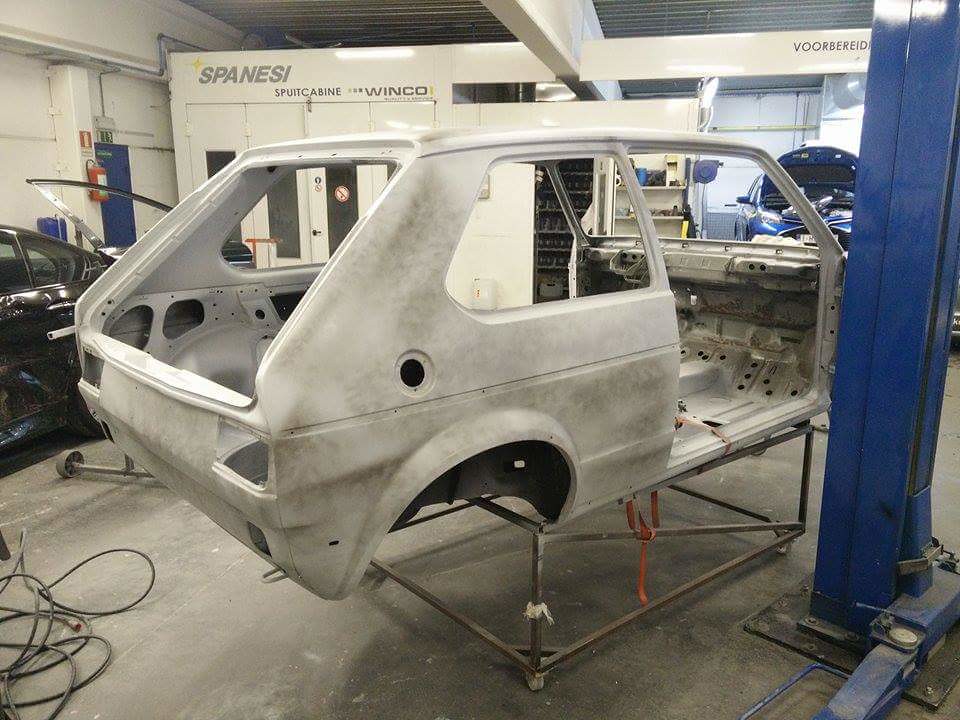
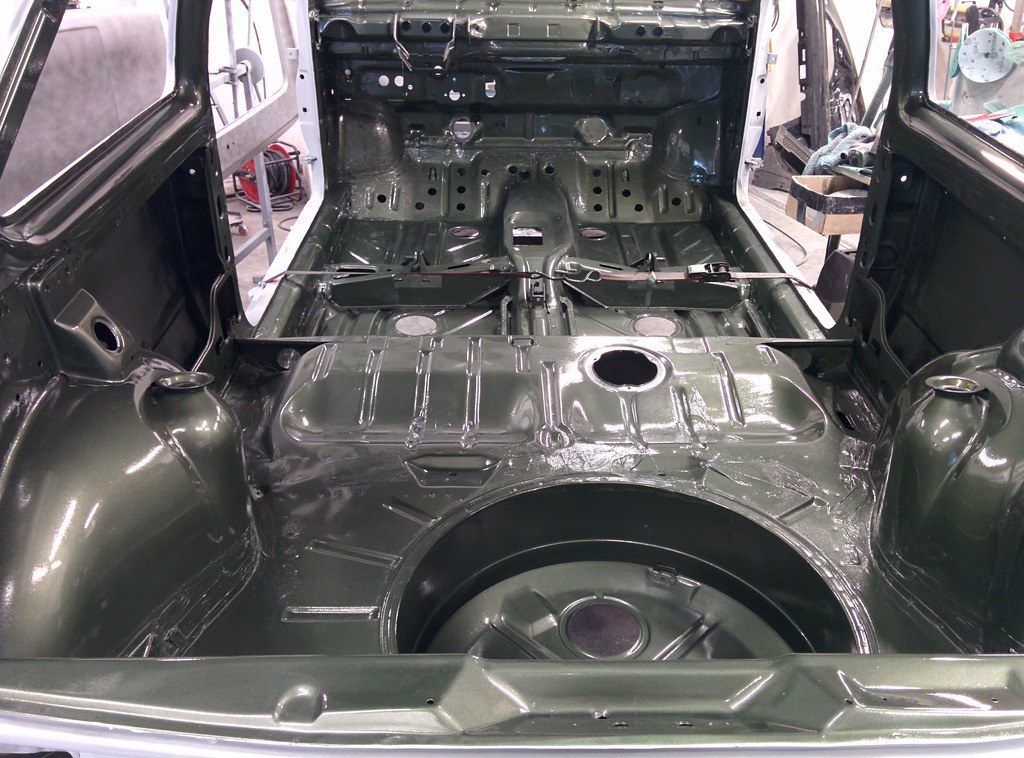
Some pictures of the shell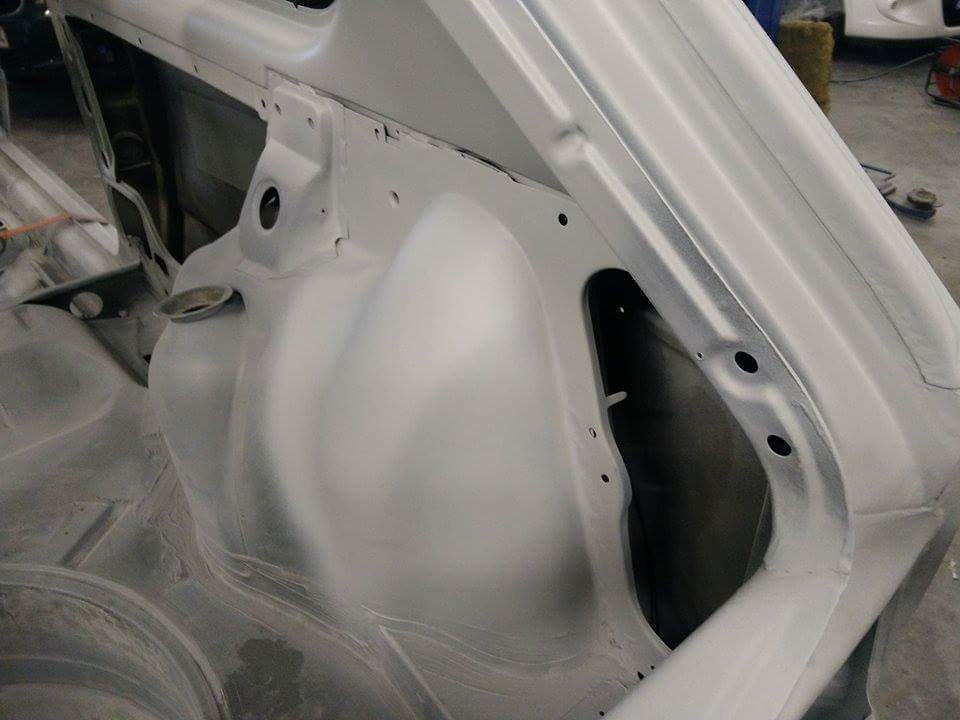


�
Last edit: by D_Martijn

Old Timer
The inside is painted, color is Onyx Green (original color)Now we patiently wait when they finish the outside..

Last edit: by D_Martijn
Posted
Local Hero

My Build Thread
All My Build Photos - https://www.flickr.com/photos/pix-al/albums/72157622794406840
My other hobby - www.pix-al.co.uk
All My Build Photos - https://www.flickr.com/photos/pix-al/albums/72157622794406840
My other hobby - www.pix-al.co.uk
Posted
Old Timer
AL_Mk1 said
Looking good!!!
Thank you!
Feels good to see it painted
Old Timer
We'll be busy the whole weekend
�
Last edit: by D_Martijn
Posted

Local Hero


Andy
LINCOLNSHIRE REGION -�https://www.facebook.com/groups/467122313360002/
1983 MK1 Golf GTI Campaign Model - Under (looooong) resto!
1962 Rover P4 80
2002 BMW 745i
2008 BMW Z4 2.5Si
LINCOLNSHIRE REGION -�https://www.facebook.com/groups/467122313360002/
1983 MK1 Golf GTI Campaign Model - Under (looooong) resto!
1962 Rover P4 80
2002 BMW 745i
2008 BMW Z4 2.5Si

Newbie

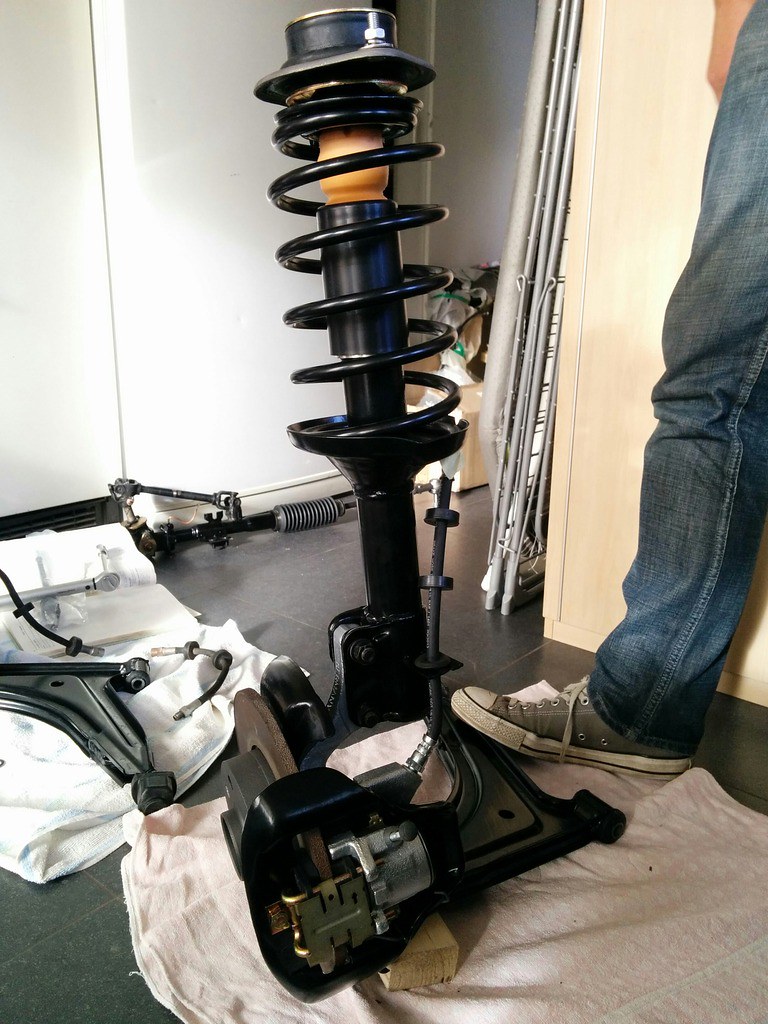
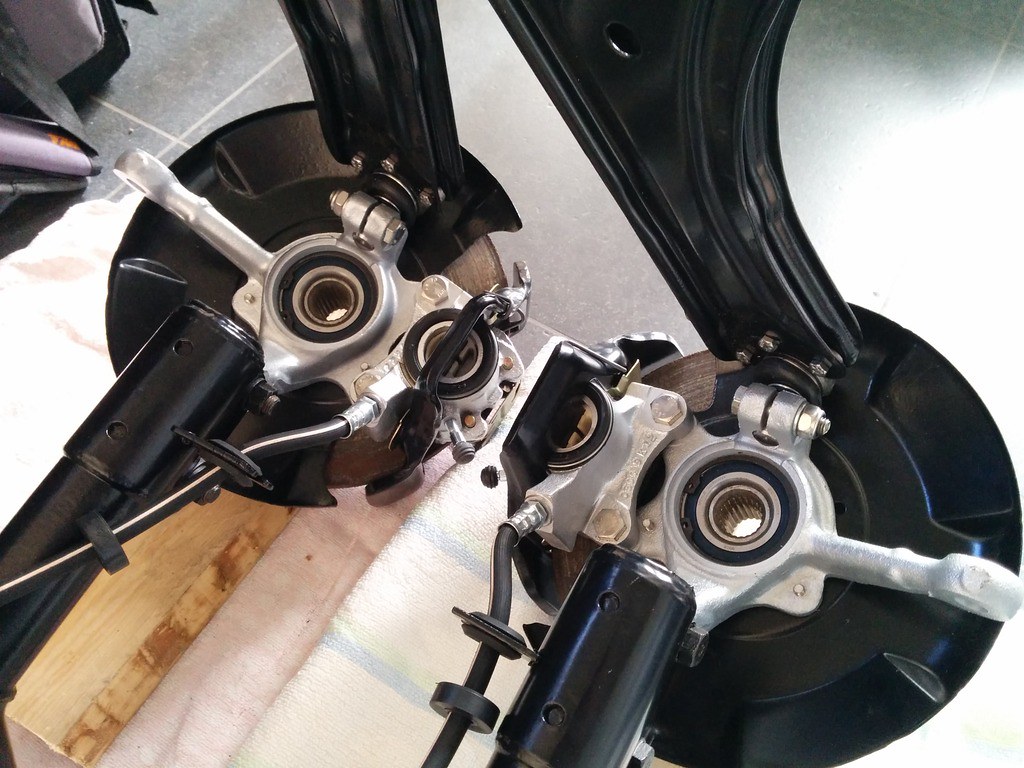
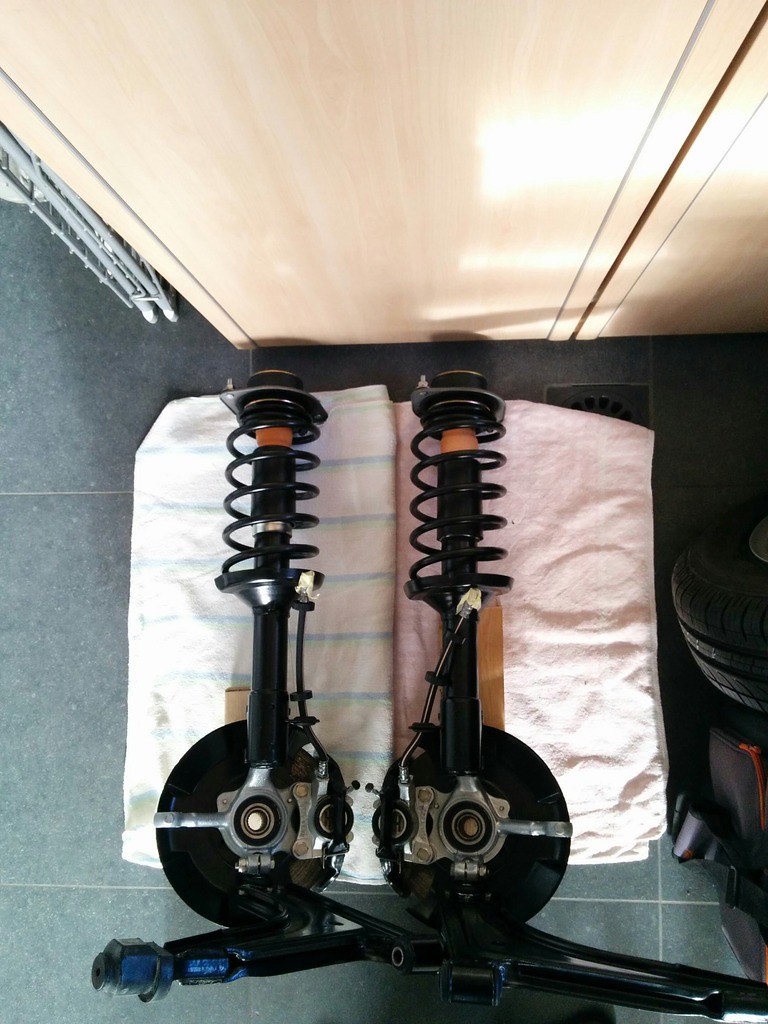
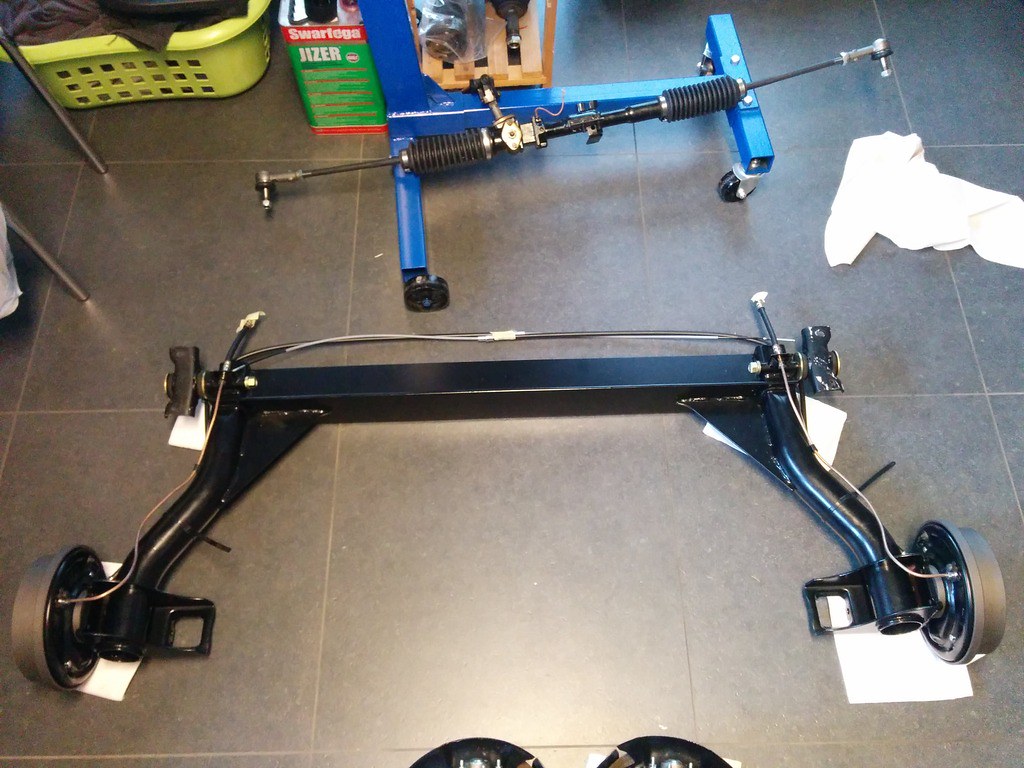
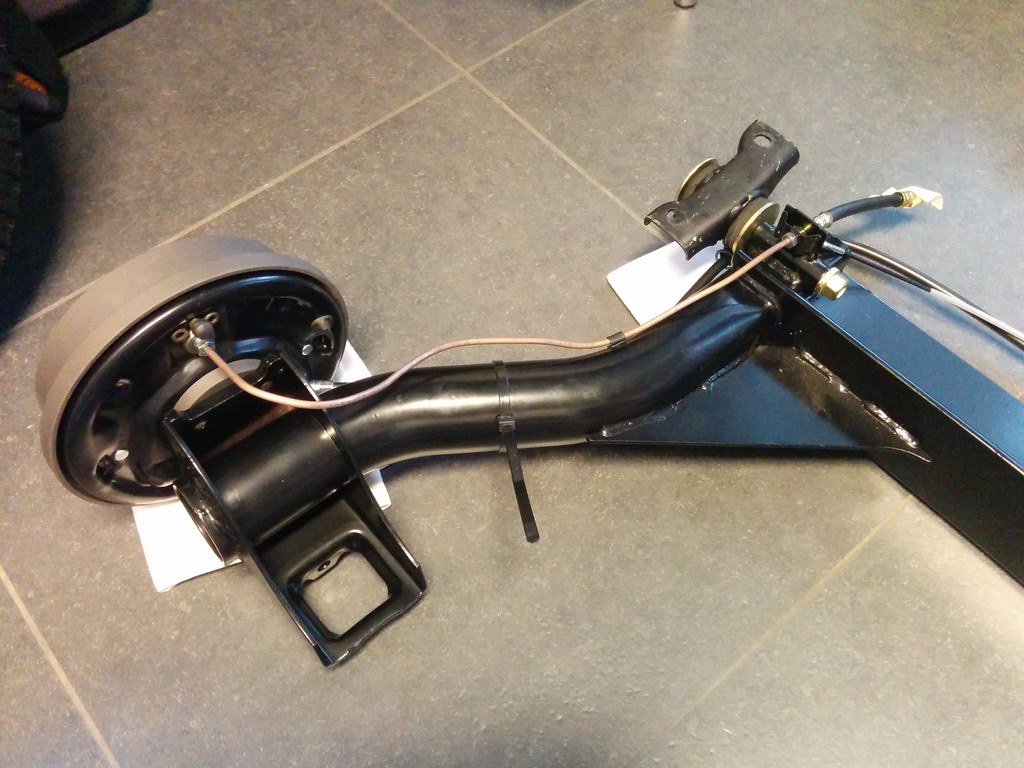
Thanks, all sandblasted and powder coated or painted + new seals and bushes!Hairyarse said
Ooo new stuff!! Looks good �
I'm Martijn's brother by the way, also found my way to the mk1 forum!
Last edit: by JasperDemeulemeester
Old Timer
Also mounted a rear shock to see how it looked
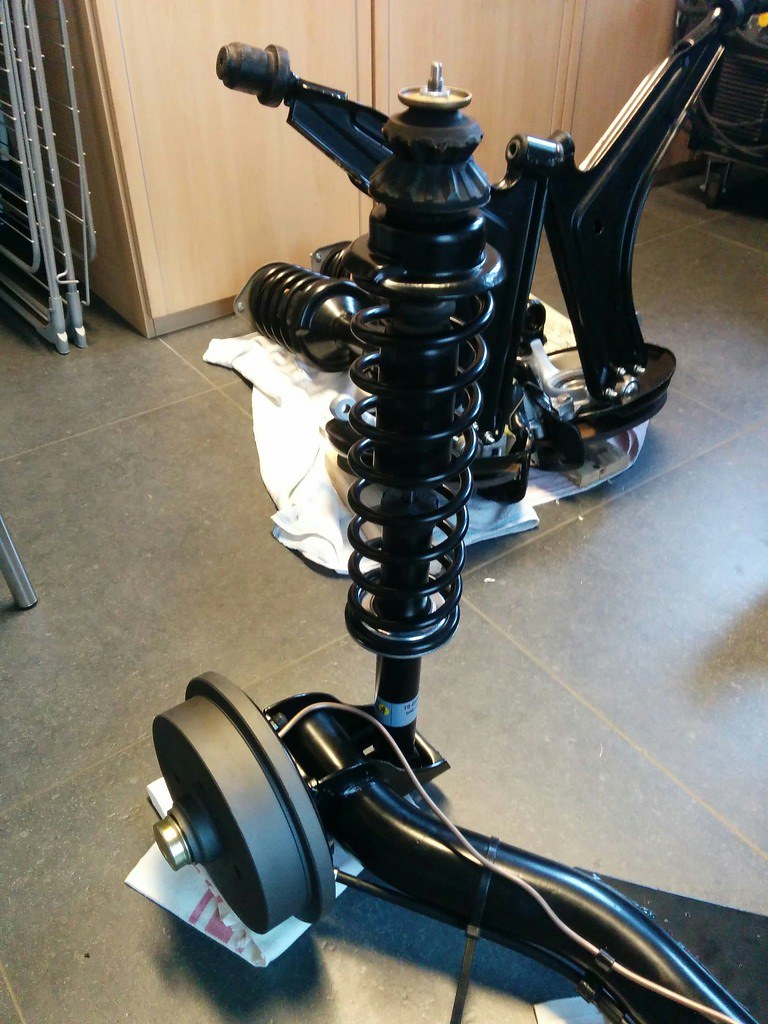
�
Last edit: by D_Martijn
Posted

Old Timer

Posted
Old Timer
Rubbadubdub said
this will be so mint by the time your finished, keep up the good work, cant wait to see it starting to come back together
Thank you!
We can't wait either haha

There are too many online users to list.