


Golf mk1 1.1 '80 full restoration project (Loads of pictures!)

Posted
Local Hero

I've not see jubilee clips used before, I use cable ties and some kits come with a metal clip to fit the outer side.
1988 Mk1 Golf GTi Cabriolet 1.8cc DX, K-jet. Daily drive. 317,000 miles and counting
1978 Mk1 Scirocco GLS 1.6cc FR, Webber carb. Weekend toy.
1978 Mk1 Scirocco GLS 1.6cc FR, Webber carb. Weekend toy.
Posted
Old Timer

mark1gls said
With your steering rack make sure that the jubilee clips are on the right angle so you can get a screw driver/spanner in there to undo them when you need to replace the rubber boot.
I've not see jubilee clips used before, I use cable ties and some kits come with a metal clip to fit the outer side.
Yes, we checked that we can still get to them.
The boots we got were a little bit different than the originals, that's why we used these clips
Posted
Old Timer
Small part done
Almost there!
Now we can start working on the engine.
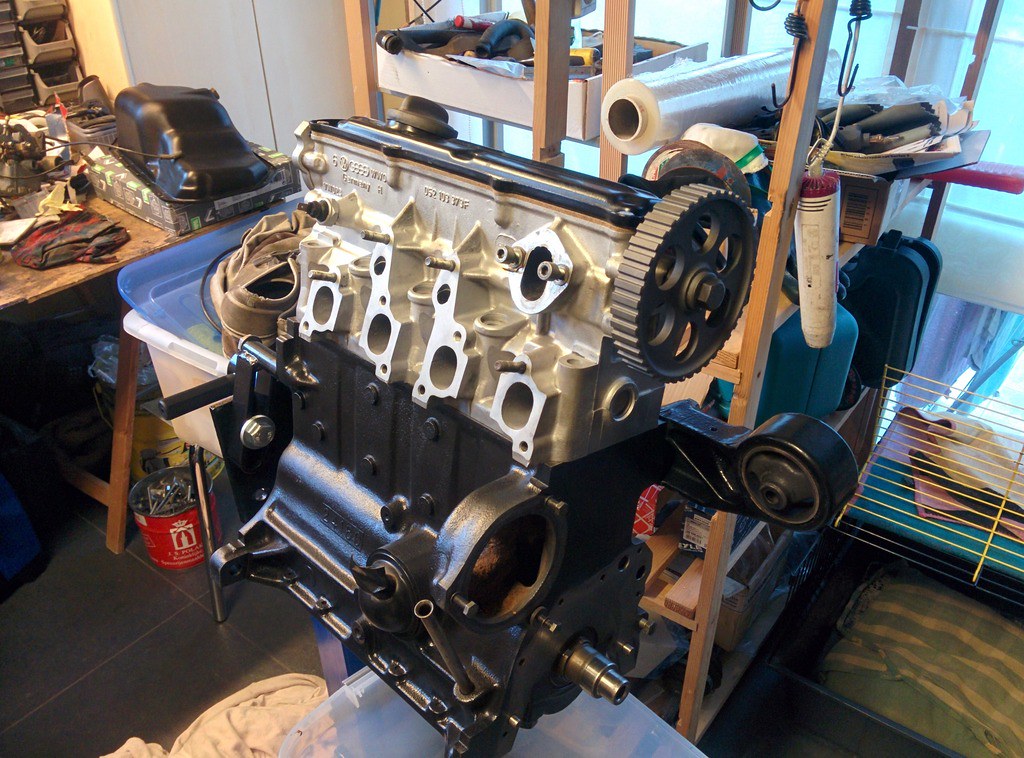
We first degreased it and then painted it black
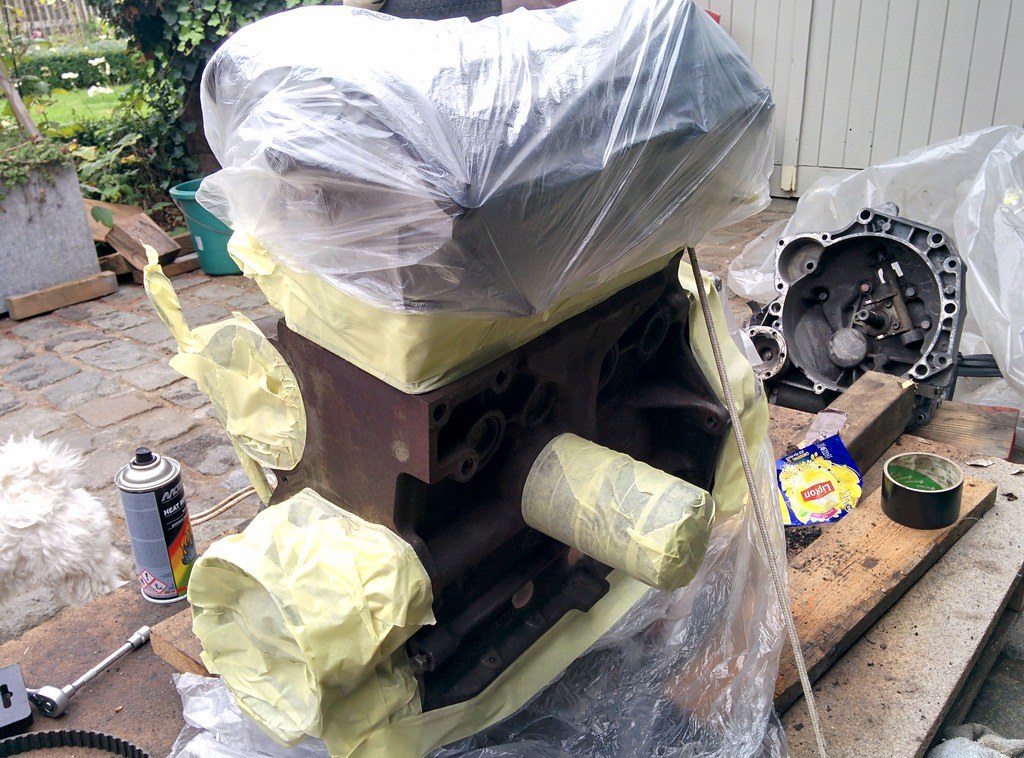
Fully painted, looking good so far!

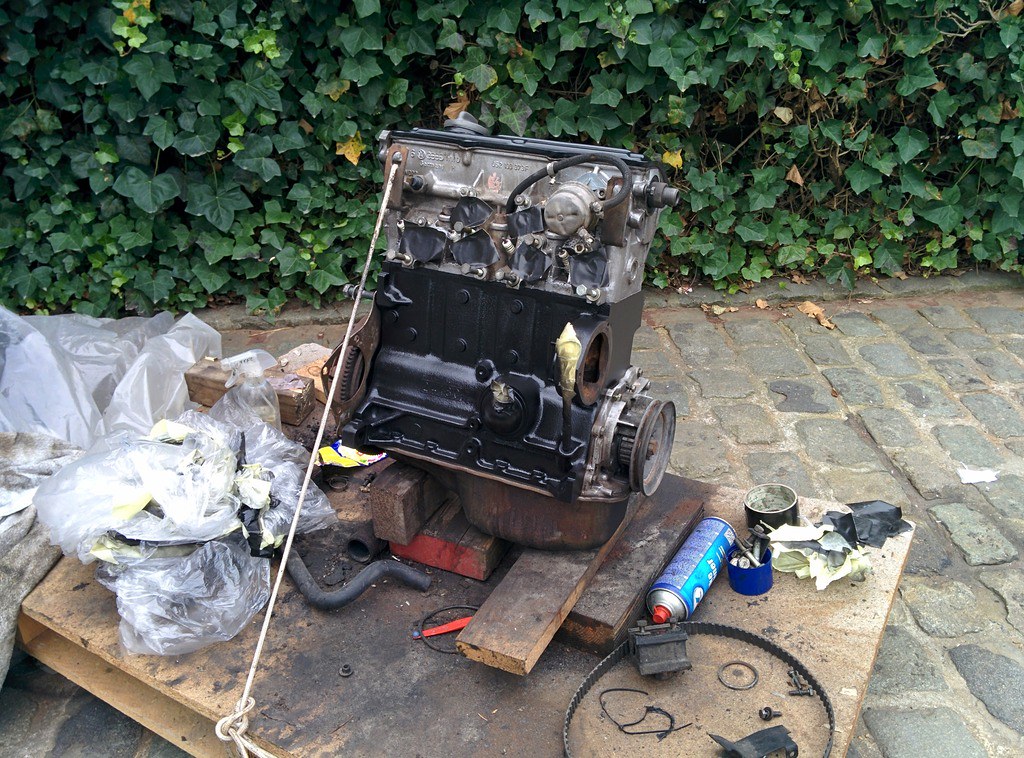
After the engine was painted, we took the head and clutch assembly off.

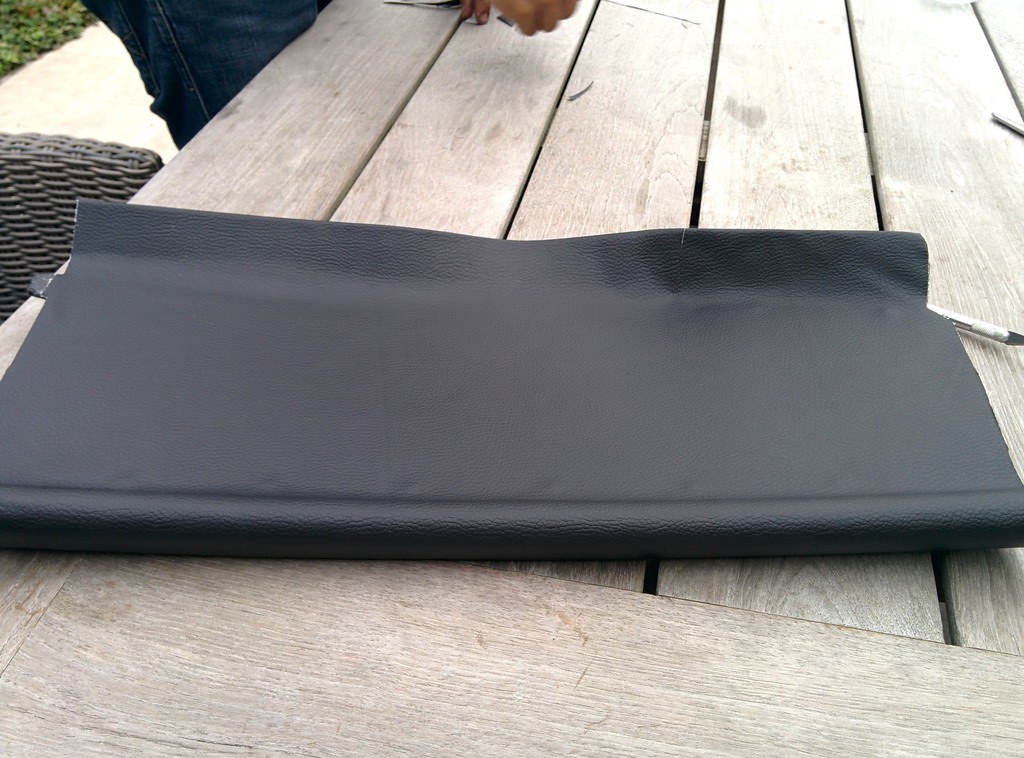
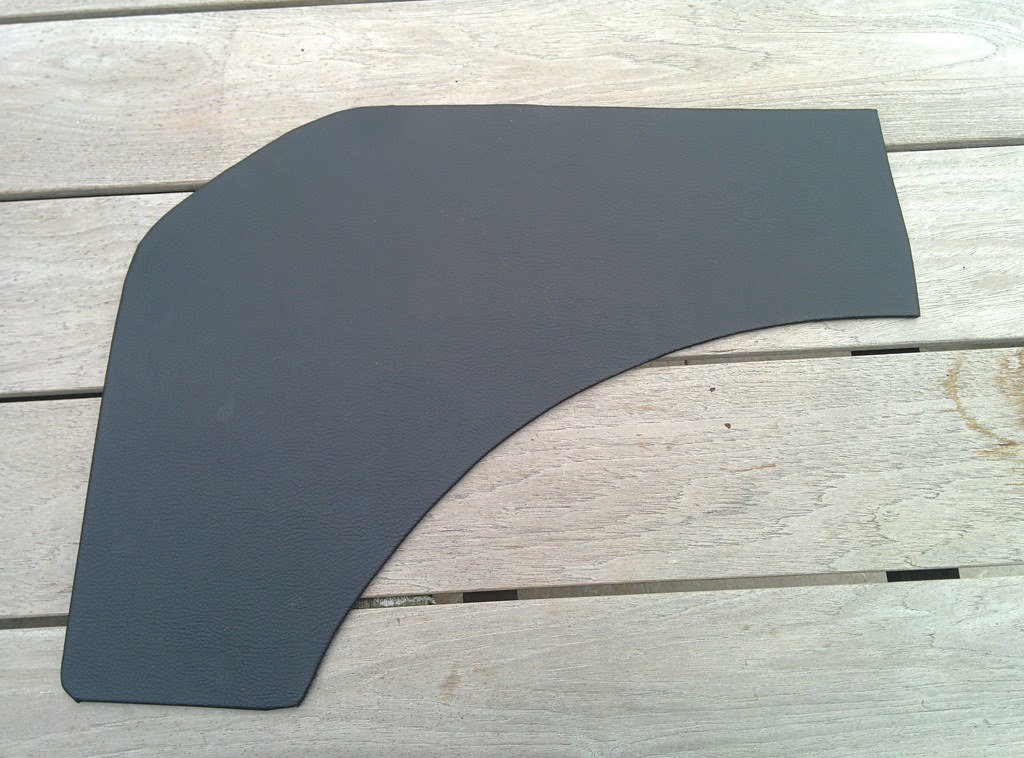
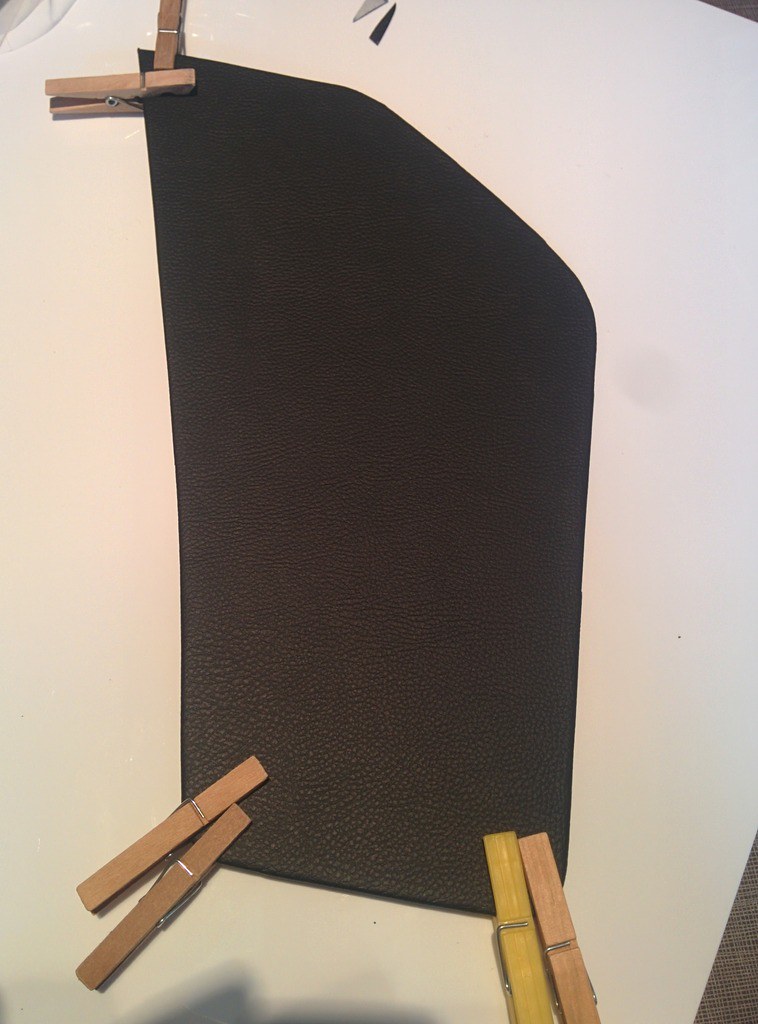
After that was done, we started working on the little interieur panels in the boot and the tray under the dash, we decided to wrap them with vinyl.
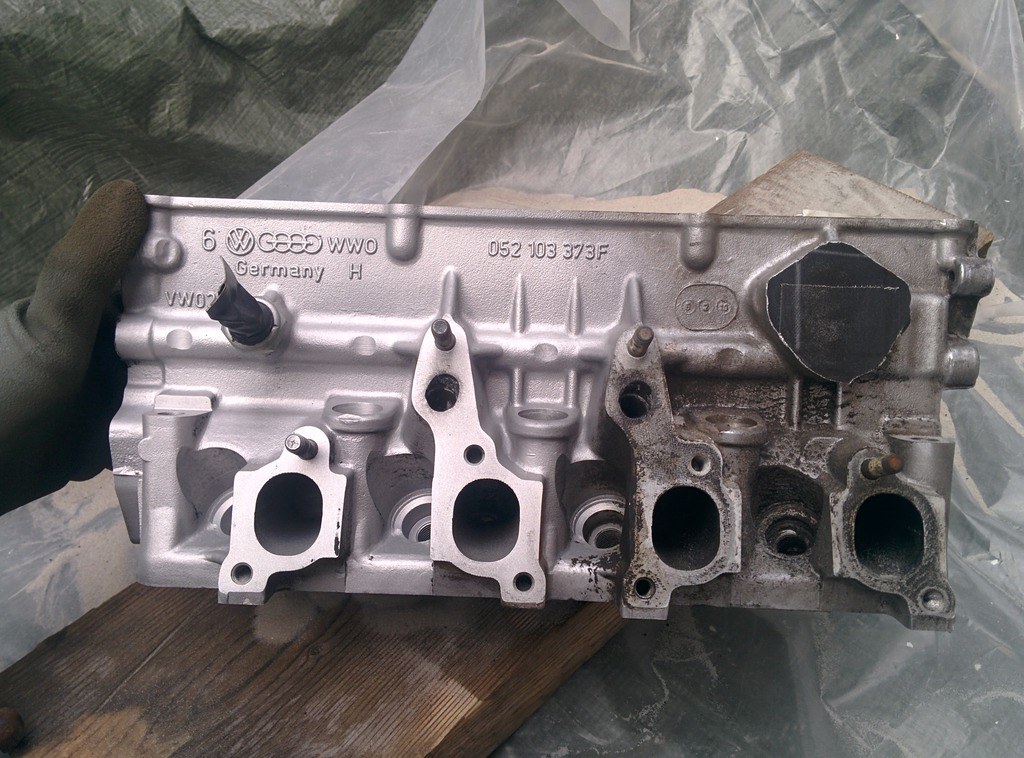
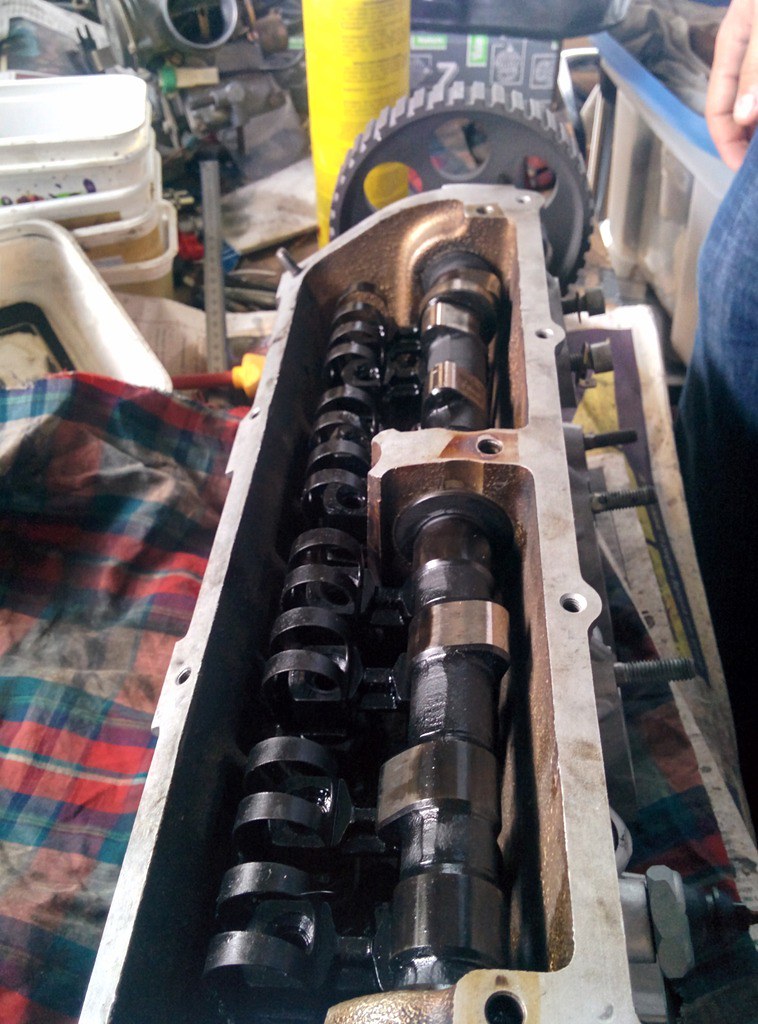
We took the cilinder head to a friend, he's an old mechanic who worked in a VW garage.
He removed the springs and valves.
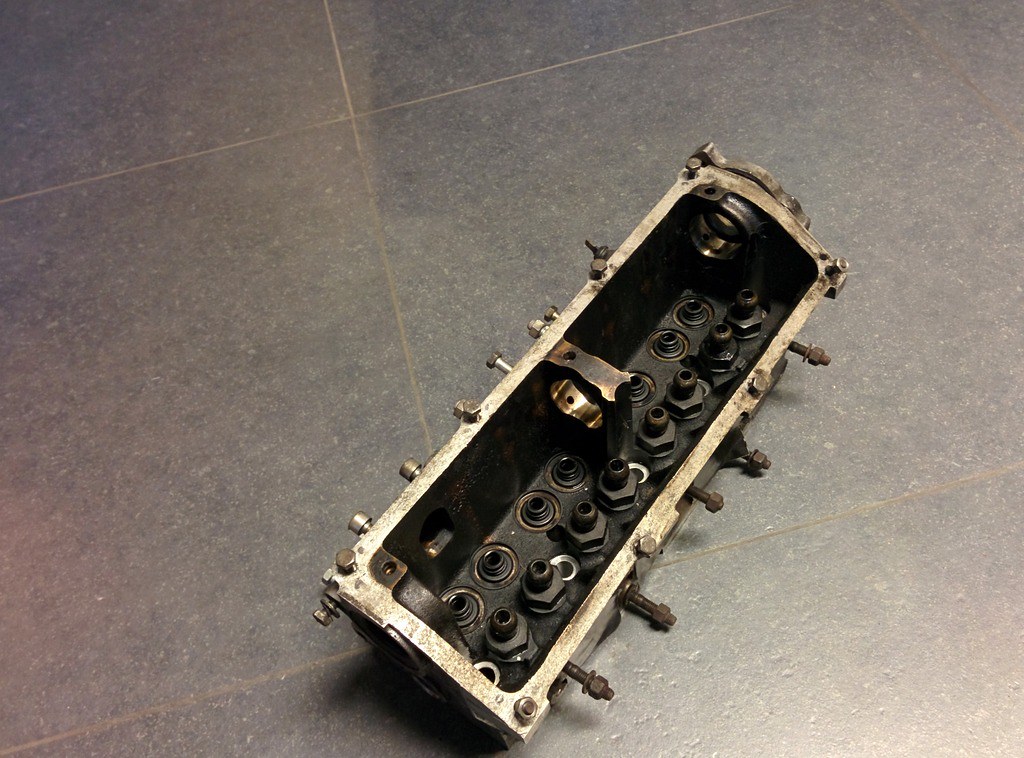
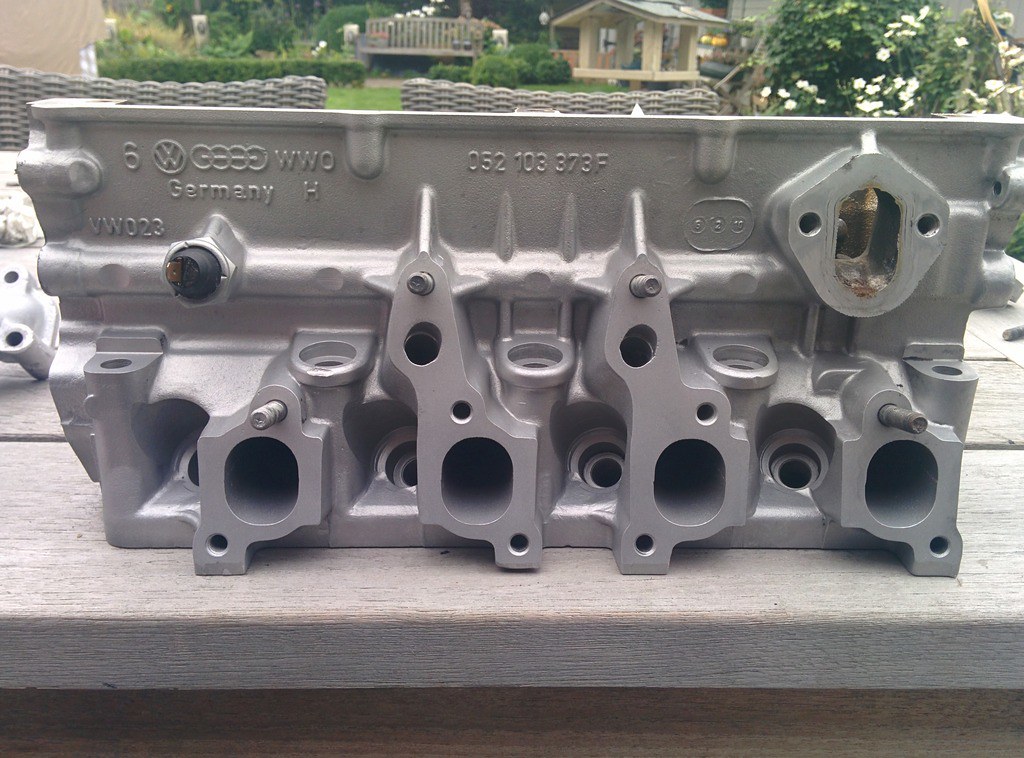
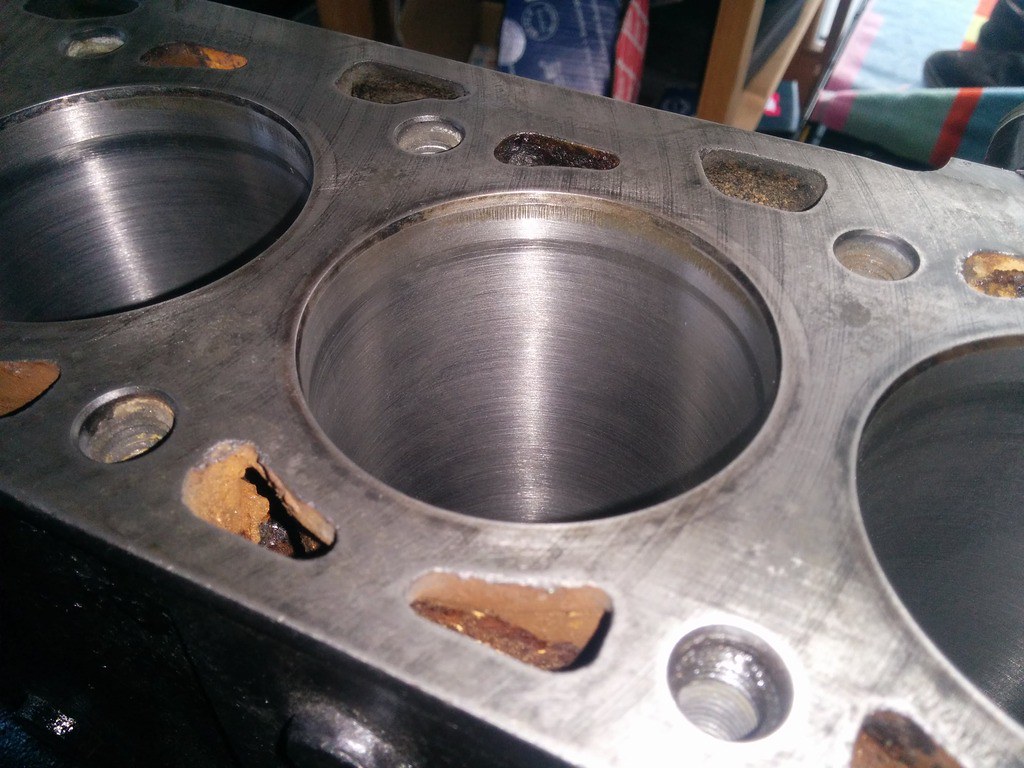
Today, we blasted the head.
That difference

Like new

Yesterday we couldn't find the other panel from the boot.
Today we did, so we also wrapped it in vinyl leahter
�
 Last edit: by D_Martijn
Posted
Old Timer
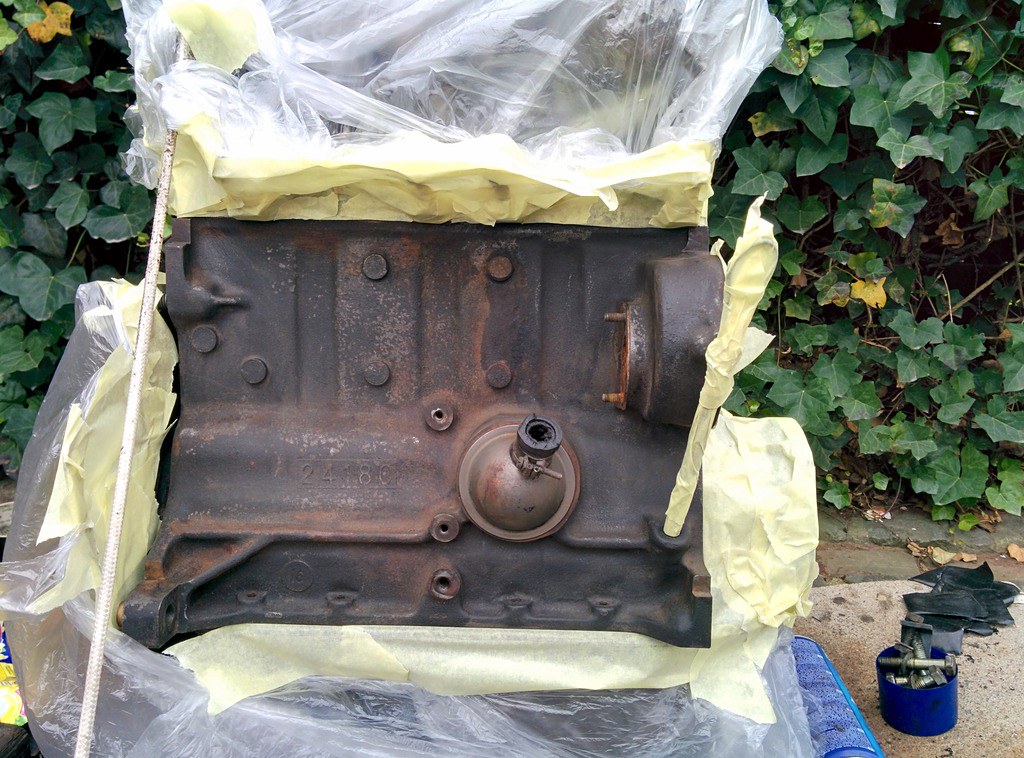
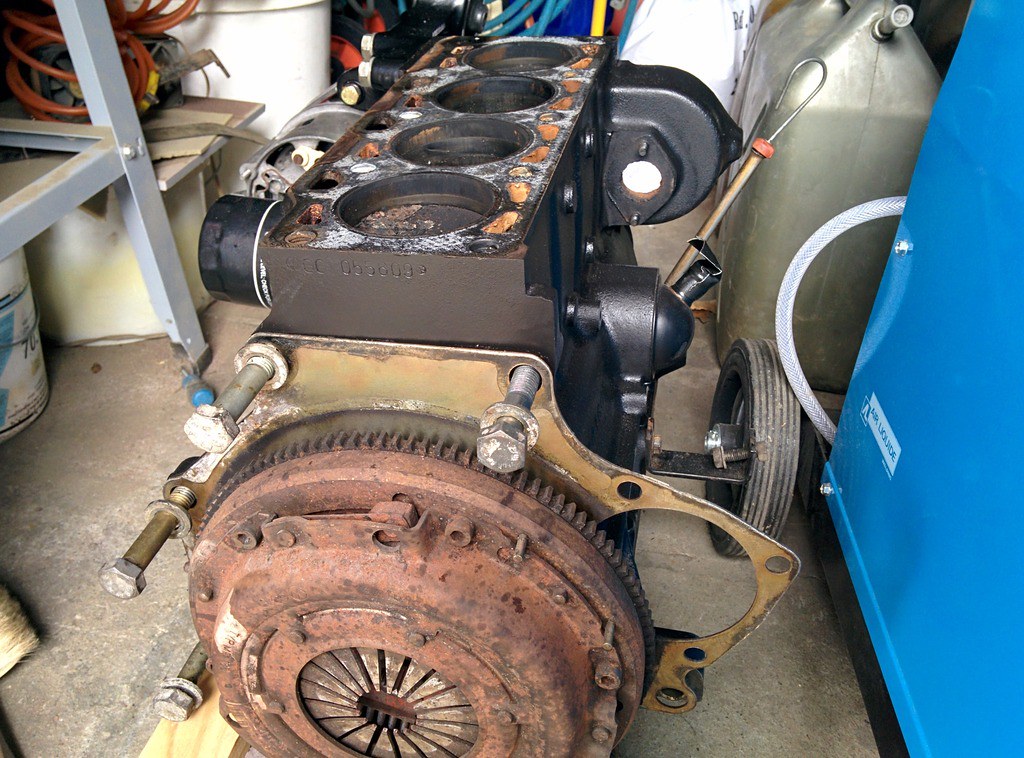
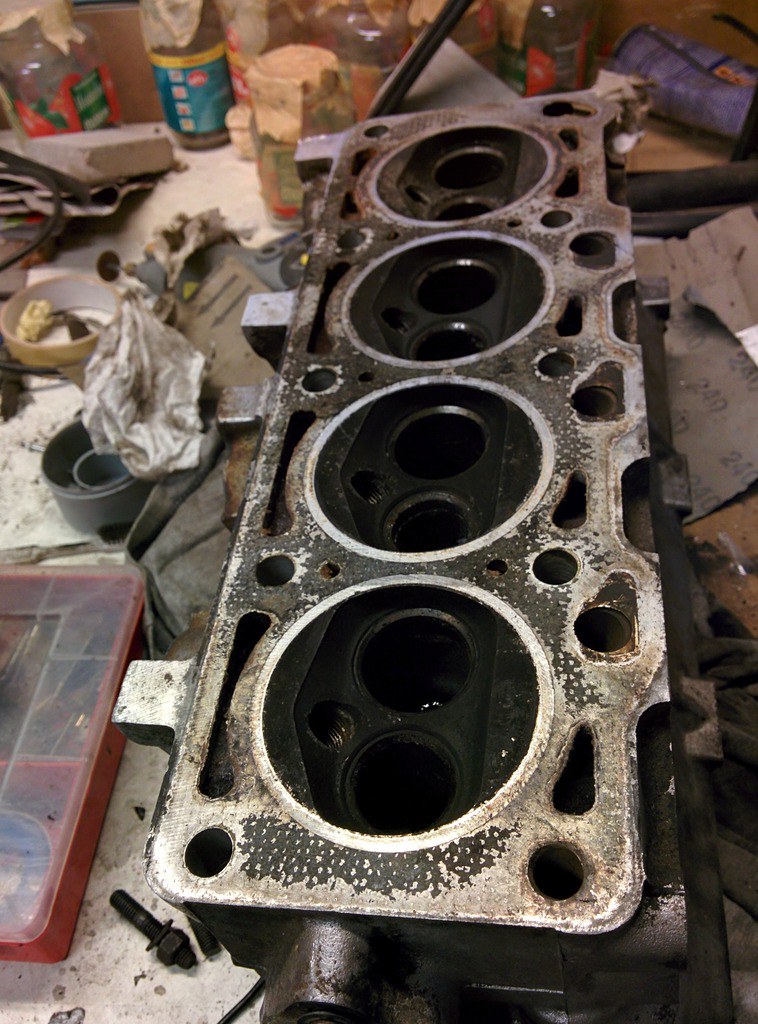
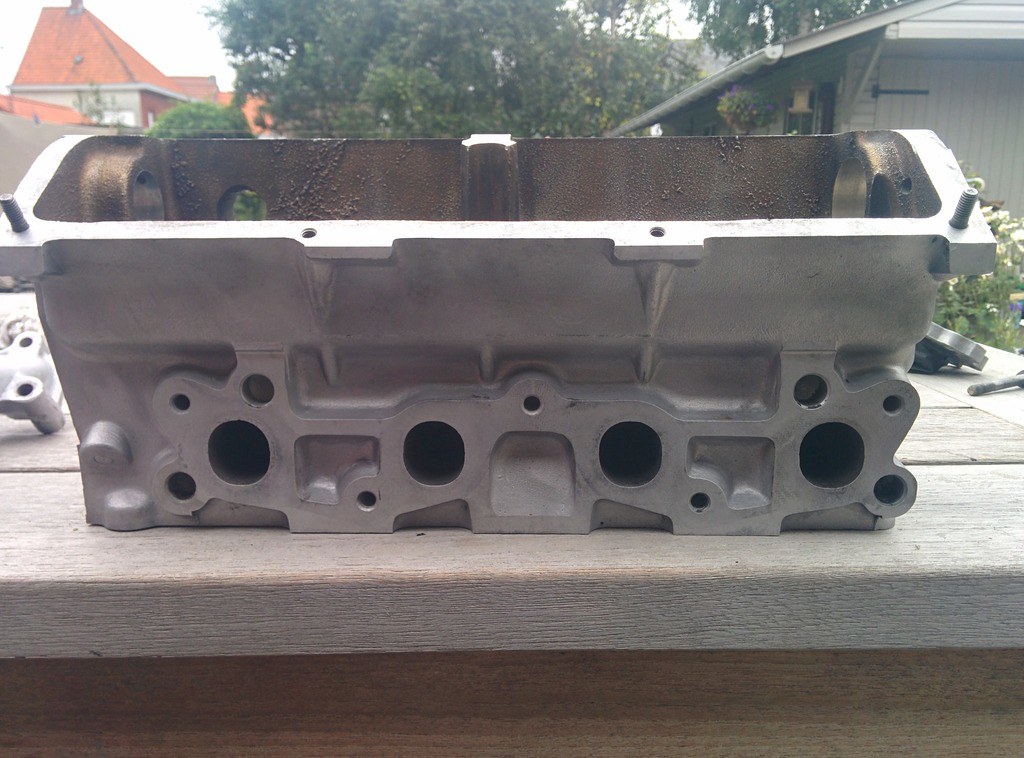
Removing the remaining gasket on the cilinderhead and the engine block
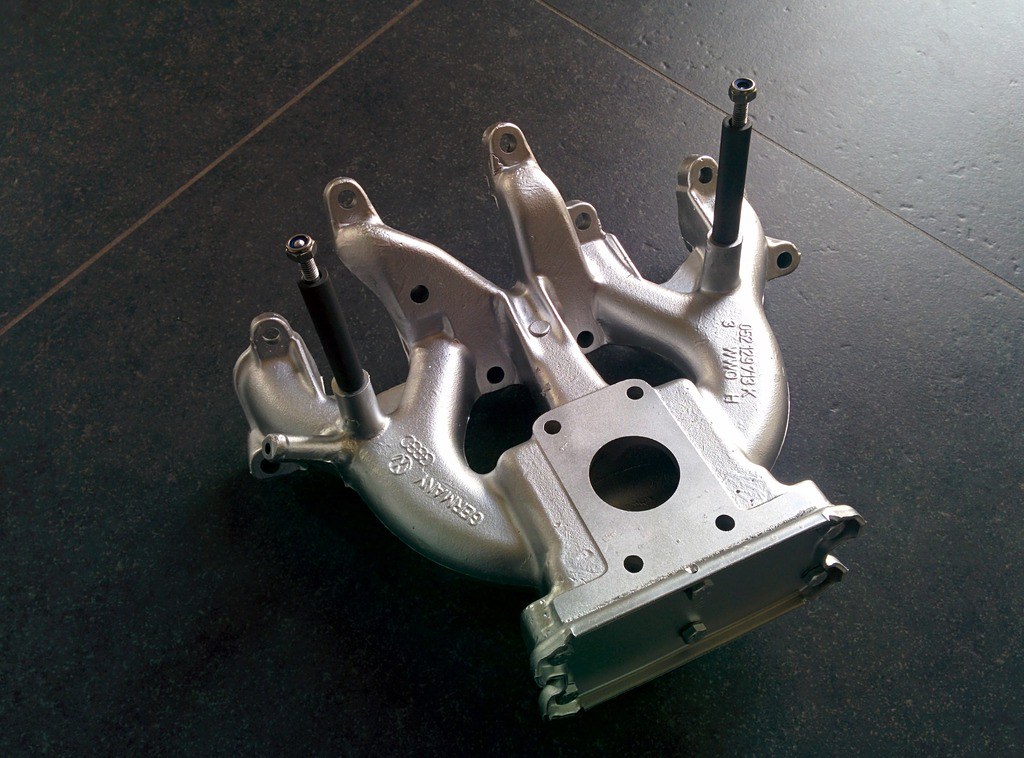
Repainting the intake manifold
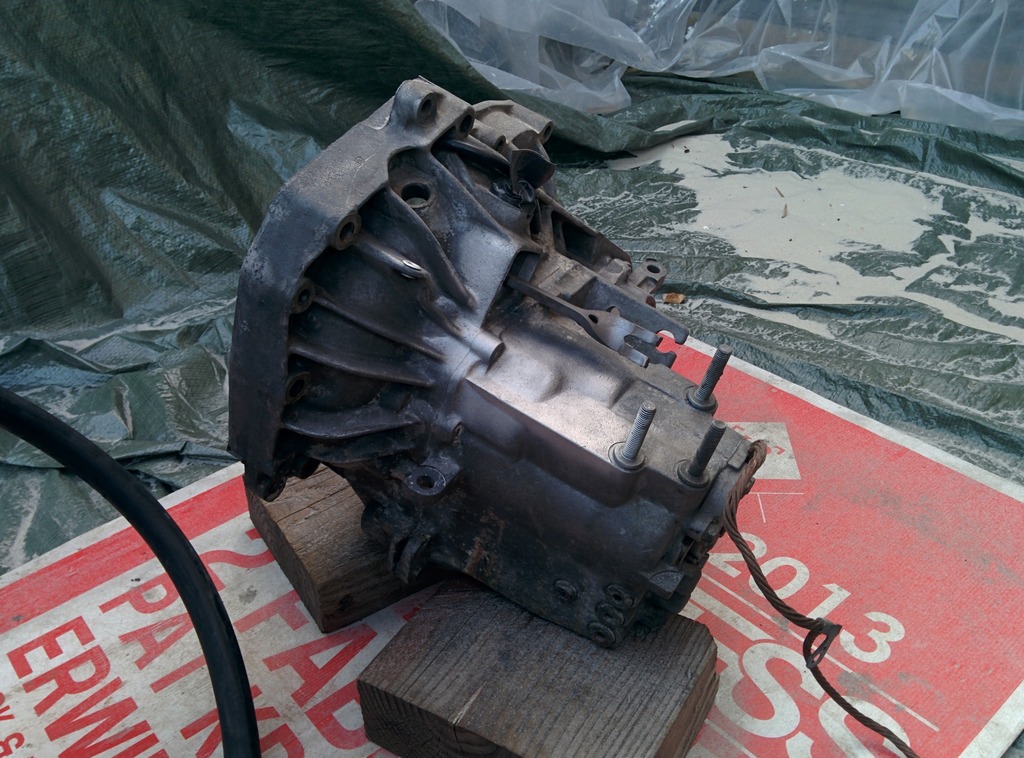
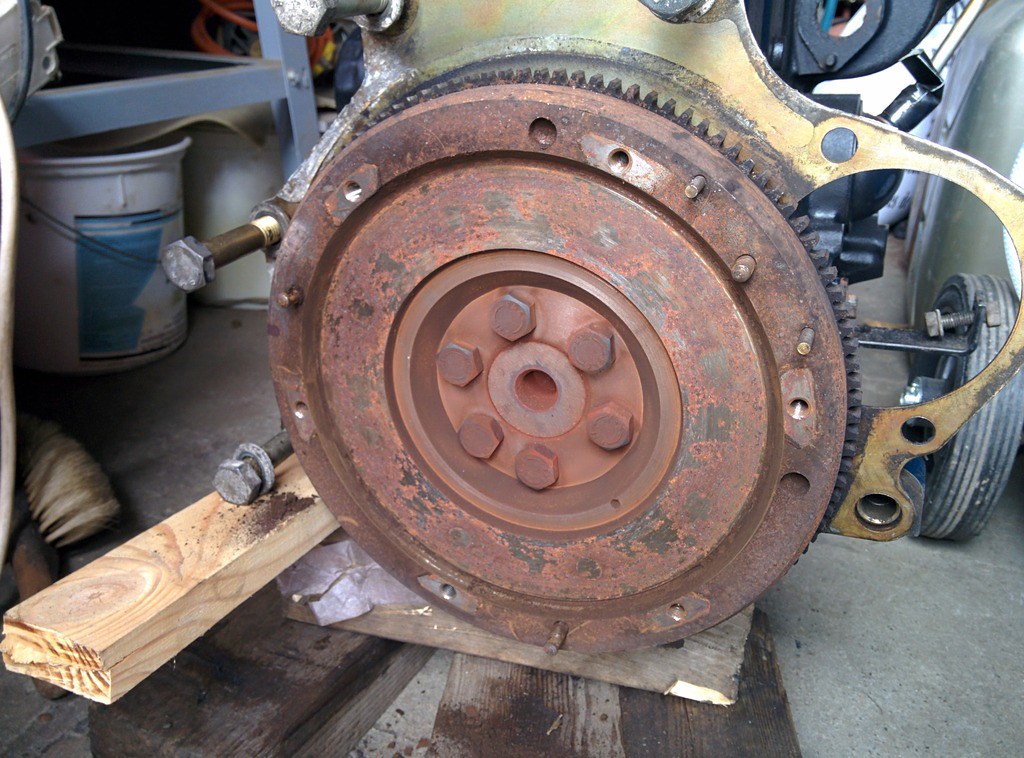
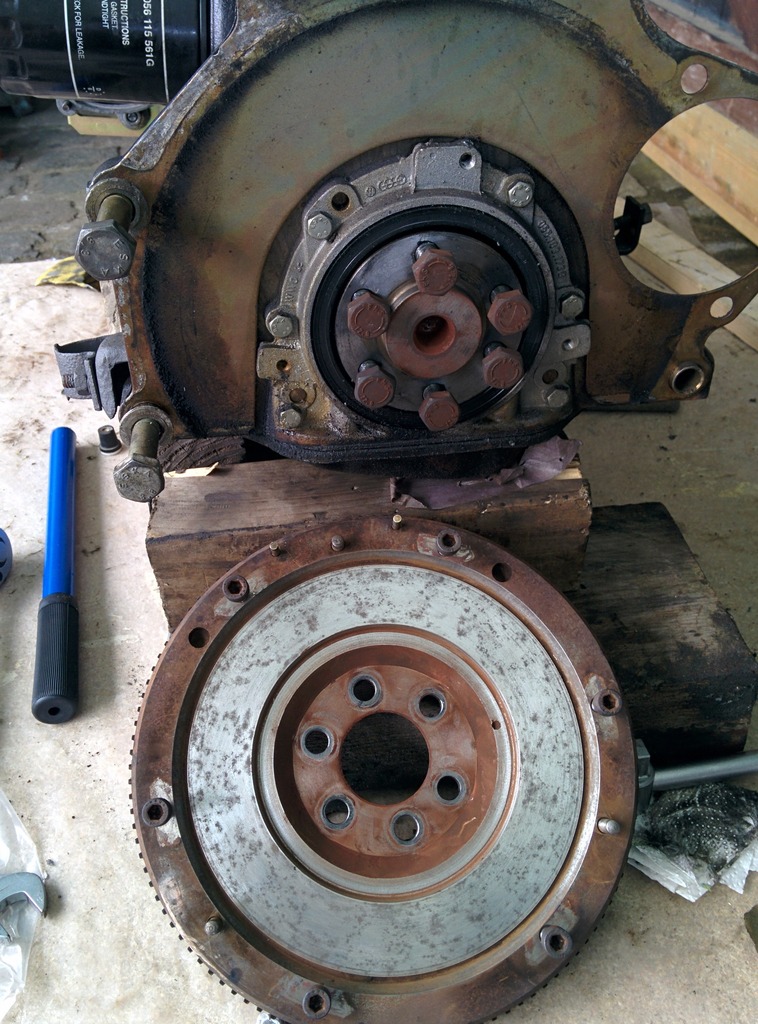
Also took the flywheel off the engine
And finally, we bought an engine stand, this will make working on the engine much easier.
Only problem.. the bolts of the transmission are to short
 �so before we can mount the engine we'll have to get longer bolts
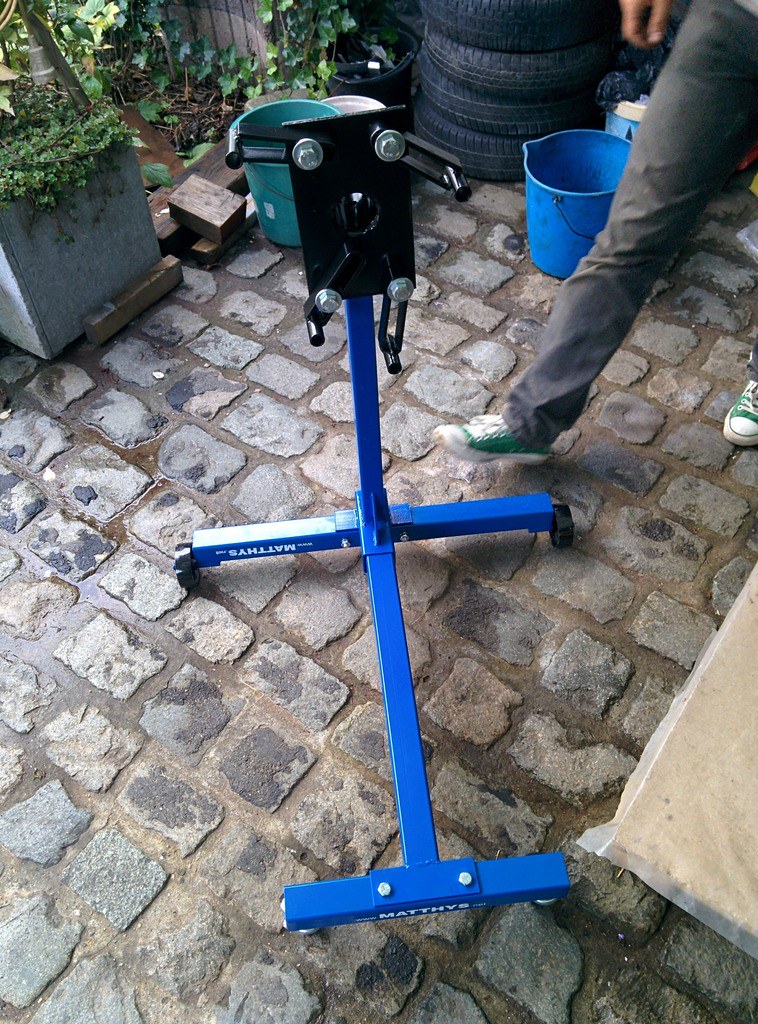
Last edit: by D_Martijn
Posted
Local Hero
I'm sure you know but make sure the head etc is super clean inside when rebuilding it as you don't want any grit from that blasting wearing away the internals of your engine.
I've read about rocker covers getting blasted clean and power coated then not properly cleaned then grit getting into the cylinders and it not looking good for the engine a year down the line.
When I rebuilt my head I took it to a engine re builders and they have a big sort of dish washer to clean the head and for �20 it saved me alot of time and effort.
1988 Mk1 Golf GTi Cabriolet 1.8cc DX, K-jet. Daily drive. 317,000 miles and counting
1978 Mk1 Scirocco GLS 1.6cc FR, Webber carb. Weekend toy.
1978 Mk1 Scirocco GLS 1.6cc FR, Webber carb. Weekend toy.
Posted
Old Timer
mark1gls said
I found the same problem with my new engine stand….
I'm sure you know but make sure the head etc is super clean inside when rebuilding it as you don't want any grit from that blasting wearing away the internals of your engine.
I've read about rocker covers getting blasted clean and power coated then not properly cleaned then grit getting into the cylinders and it not looking good for the engine a year down the line.
When I rebuilt my head I took it to a engine re builders and they have a big sort of dish washer to clean the head and for �20 it saved me alot of time and effort.
We taped the room where the valves and springs sit, only blasted the outside.
Afterwards we got rid of the grit with compressed air till there wasn't any left.
Posted
Old Timer
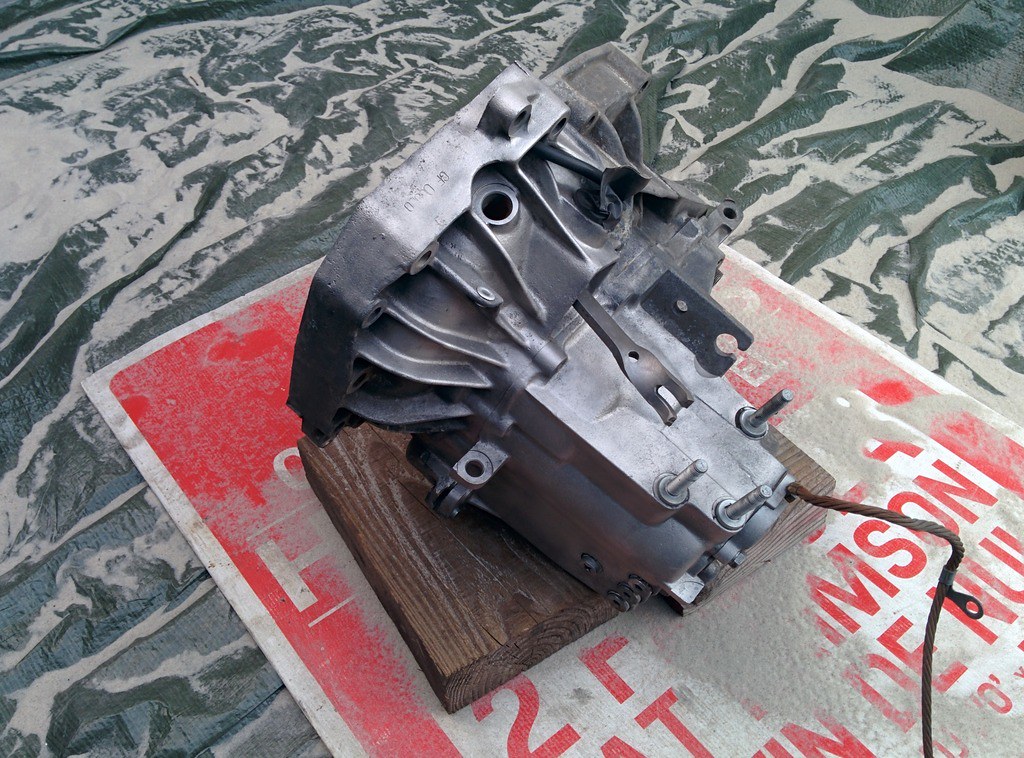
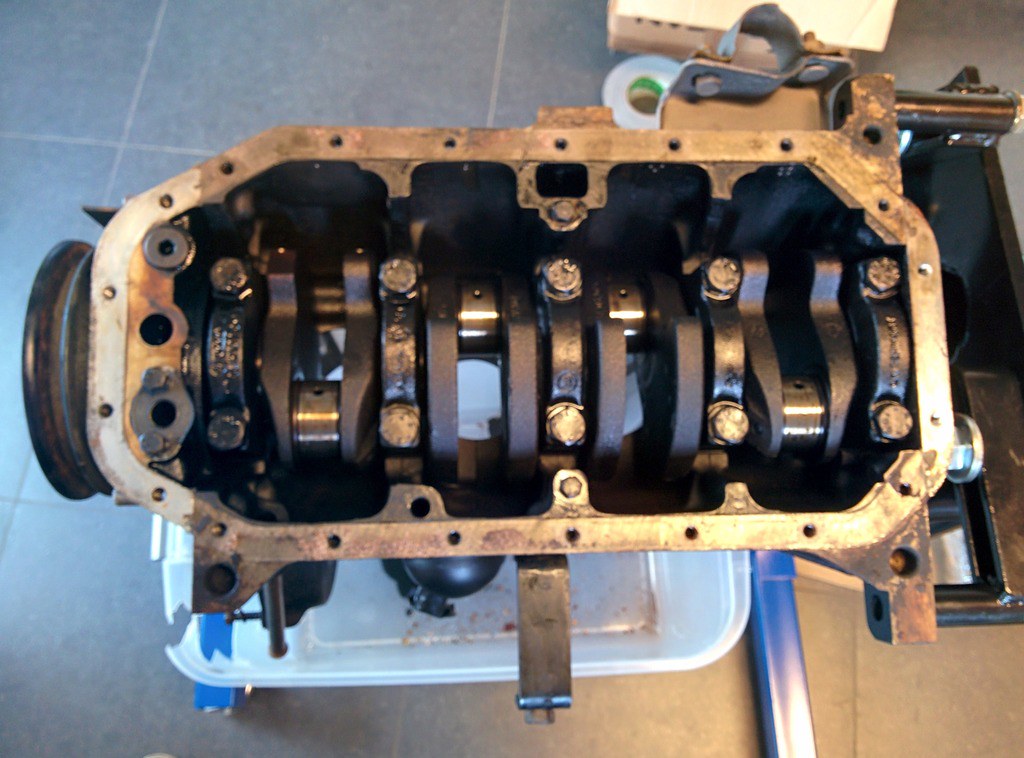
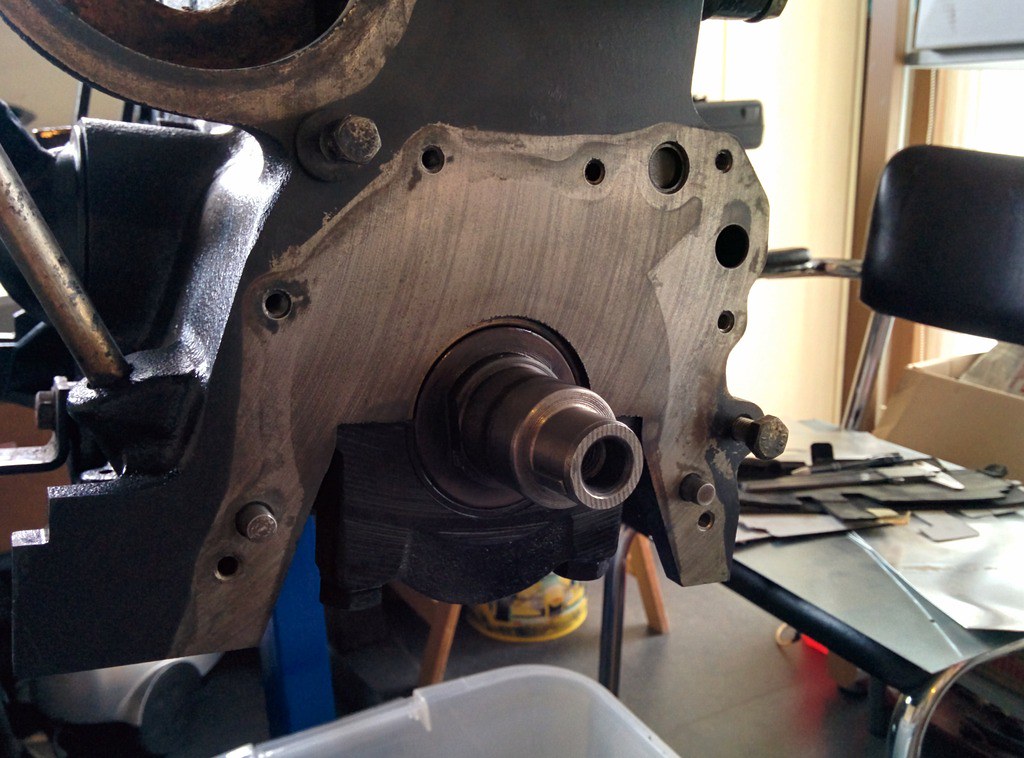
Started with mounting the engine (with the longer bolts
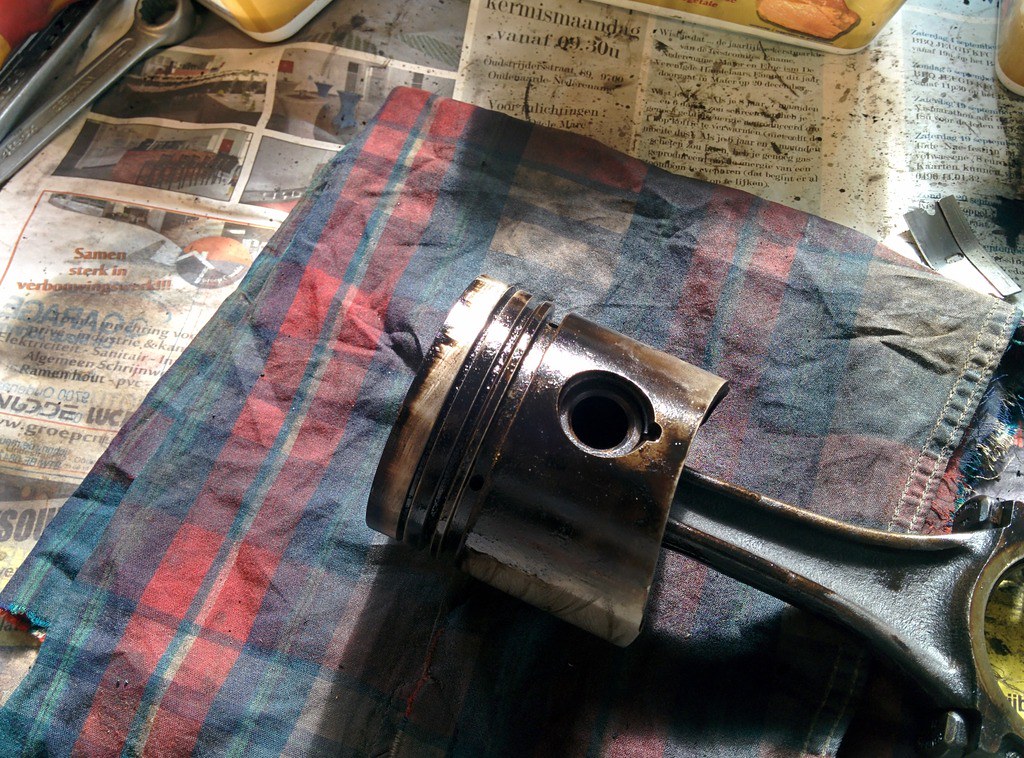
) on the engine stand.Then removed the oilcarter. Now we could start removing the pistons.
When disassembling them we punched some holes in them to make sure we don't mix them up.
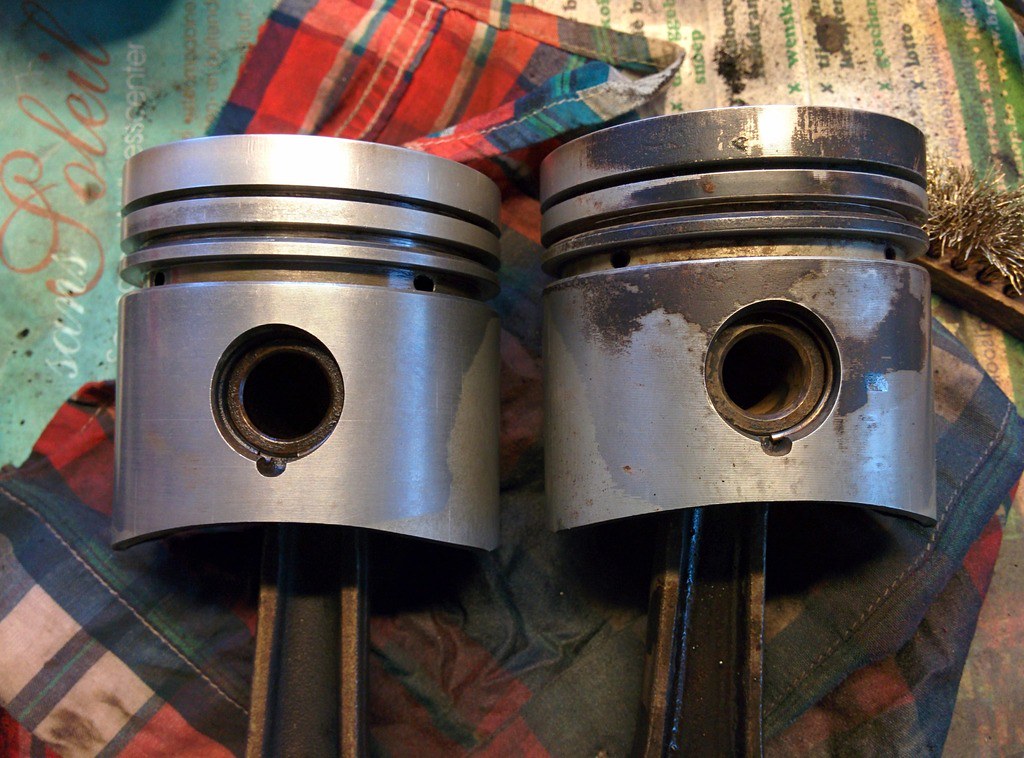
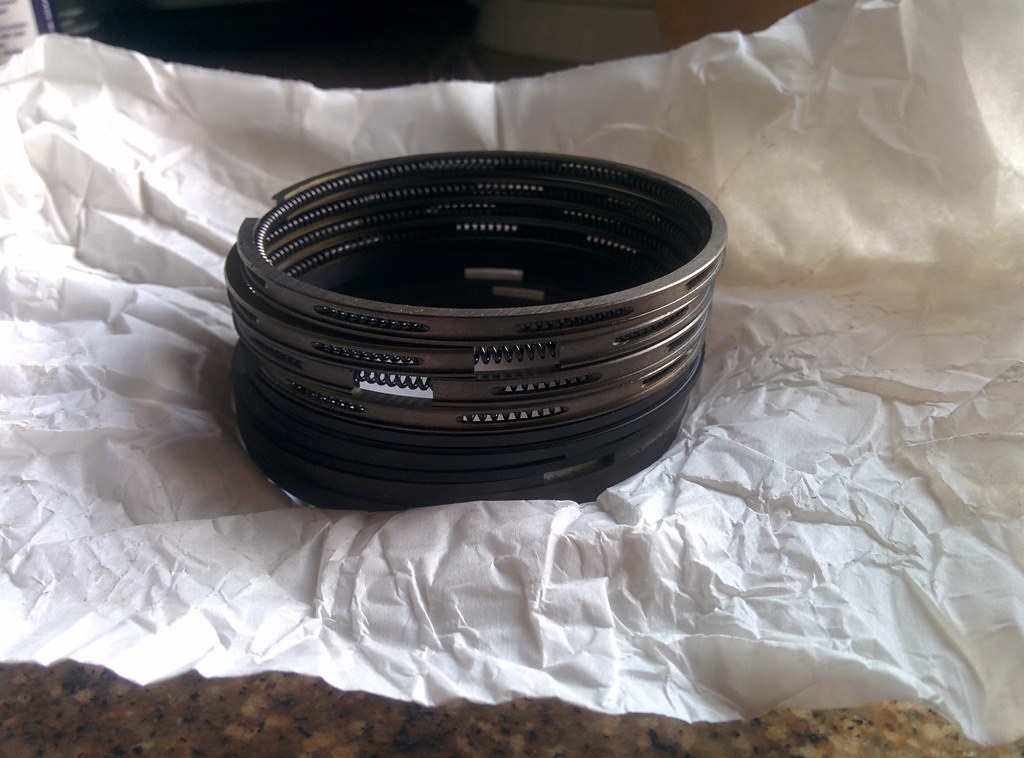
We'll be replacing the piston rings and piston bearing shells.
All pistons out (notice the marks on the engine block)
The pistons (Same thing, notice the marks.)
Also removed the oilpump.
Last edit: by D_Martijn
Posted
Old Timer
Posted
Old Timer
watson said
Nice work there Martijn on the engine and interior panels. Looking forward to seeing pics of the newly painted shell.
Thanks Dave, I do too
Posted
Local Hero


Best of luck with it
SOUTHWEST Regional Host. Bristol Meet - 1st Friday of the month - Toby Carvery Bradely Stoke Bristol Bristol Region Facebook Group
1.8T CABBY
TINTOP THREAD (SOLD 2016) SPORTLINE THREAD (SOLD 2015) CLIPPER THREAD (SOLD 2012)
1.8T CABBY
TINTOP THREAD (SOLD 2016) SPORTLINE THREAD (SOLD 2015) CLIPPER THREAD (SOLD 2012)
Posted
Old Timer
Thanks, I hope we can finish the engine this week and get the car back from paint so we can start putting the headliner and windows in.richyhill said
Wow, some great work guys, look forward to seeing how this one progresses �
Last edit: by D_Martijn
Posted
Old Timer
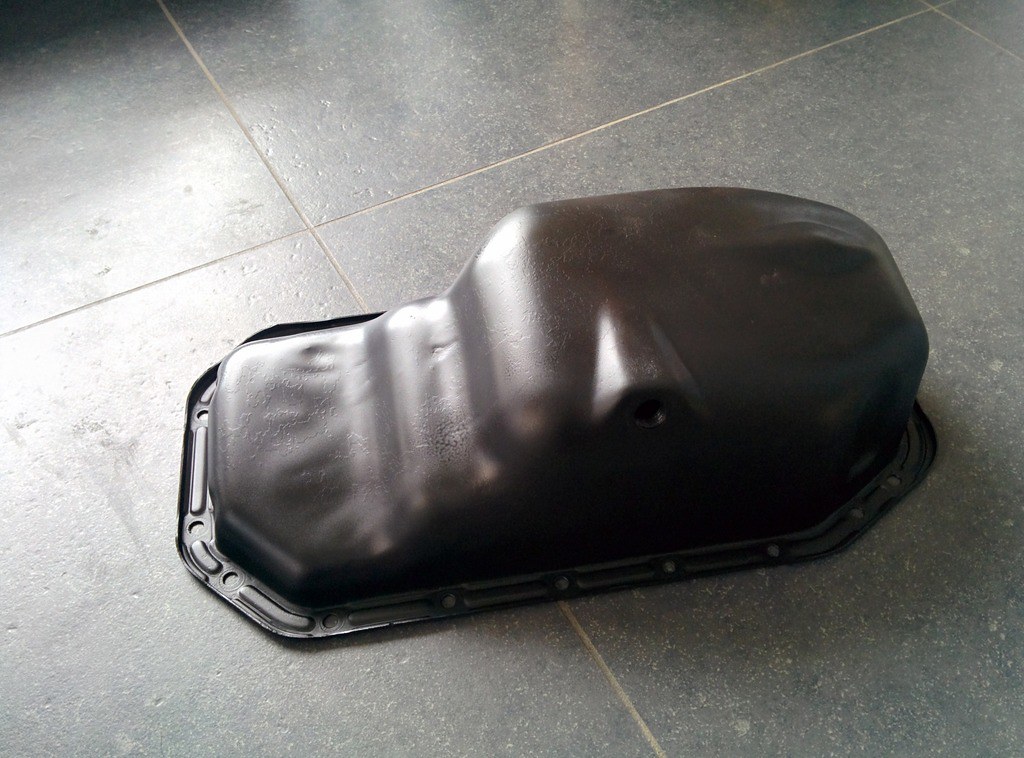
 Degrease the oil carter, outside is ready for some fresh black paint
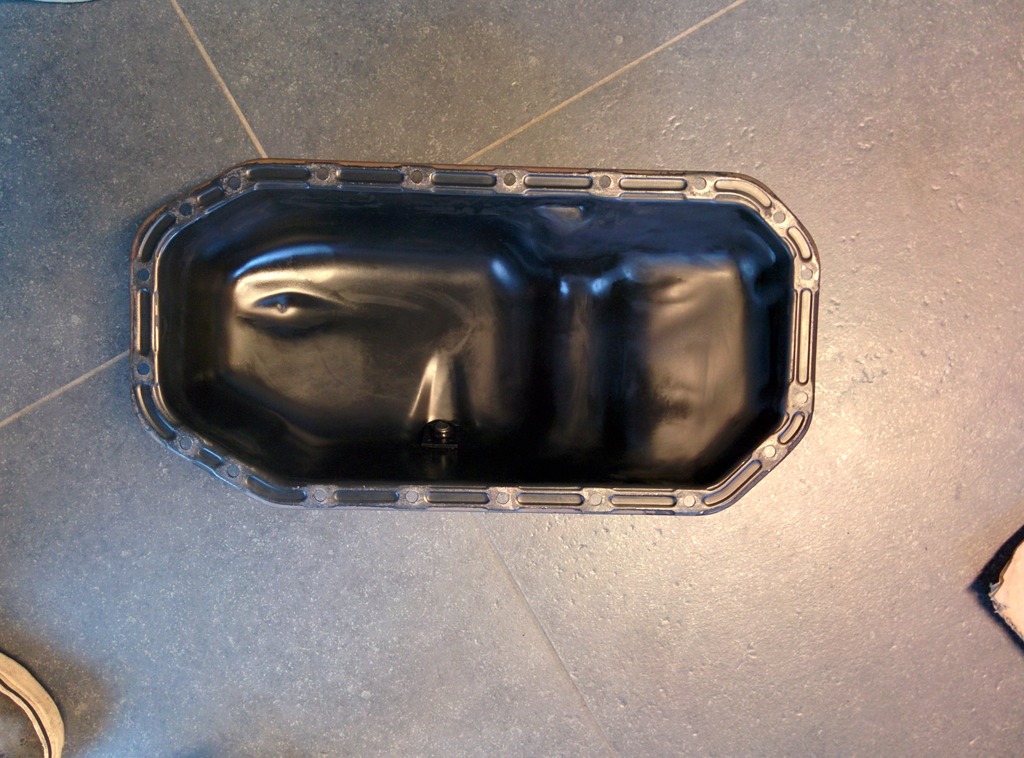
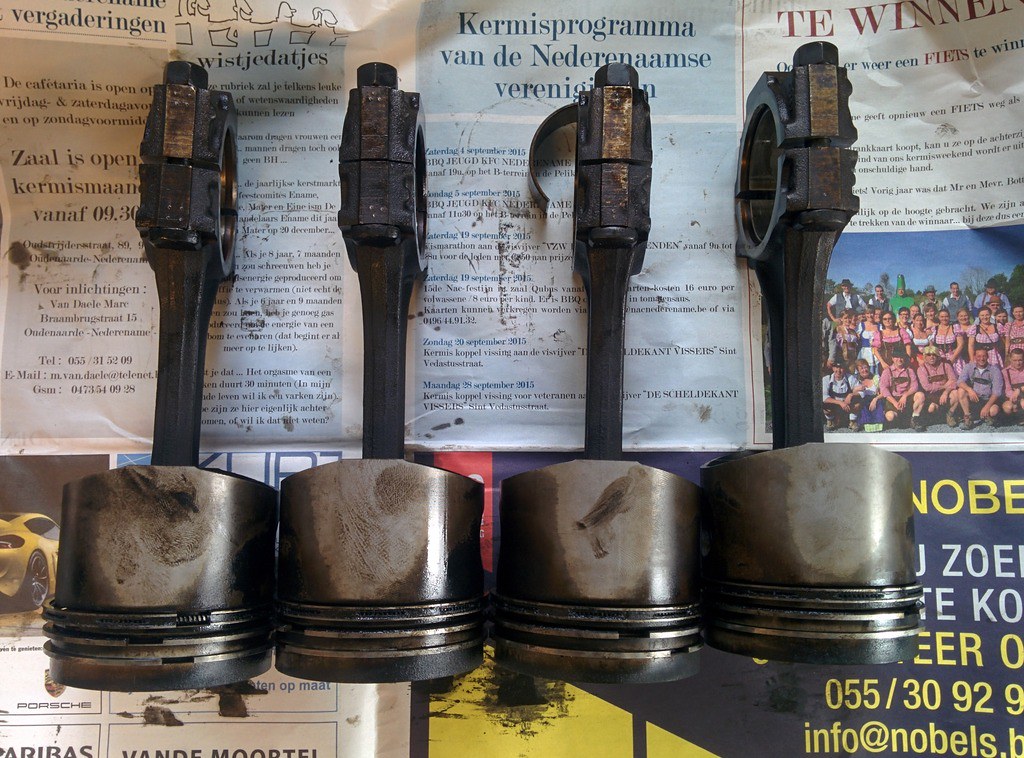
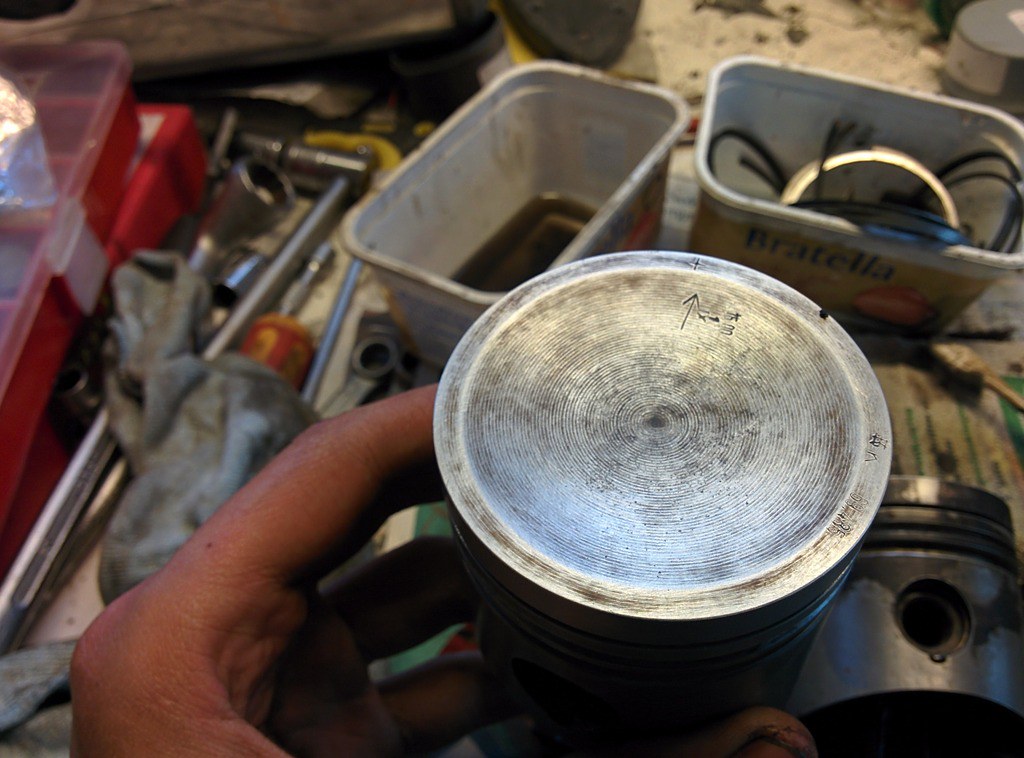
First I started with removing the piston rings. I did manage to break a few but these will be replaced so no big deal.
Started cleaning the pistons with some diesel and a very soft bristle brush so it won't cause scratches.
Cleaned the slots with a broken piston ring.
Face of the piston, cleaned with diesel and a scotch brite pad
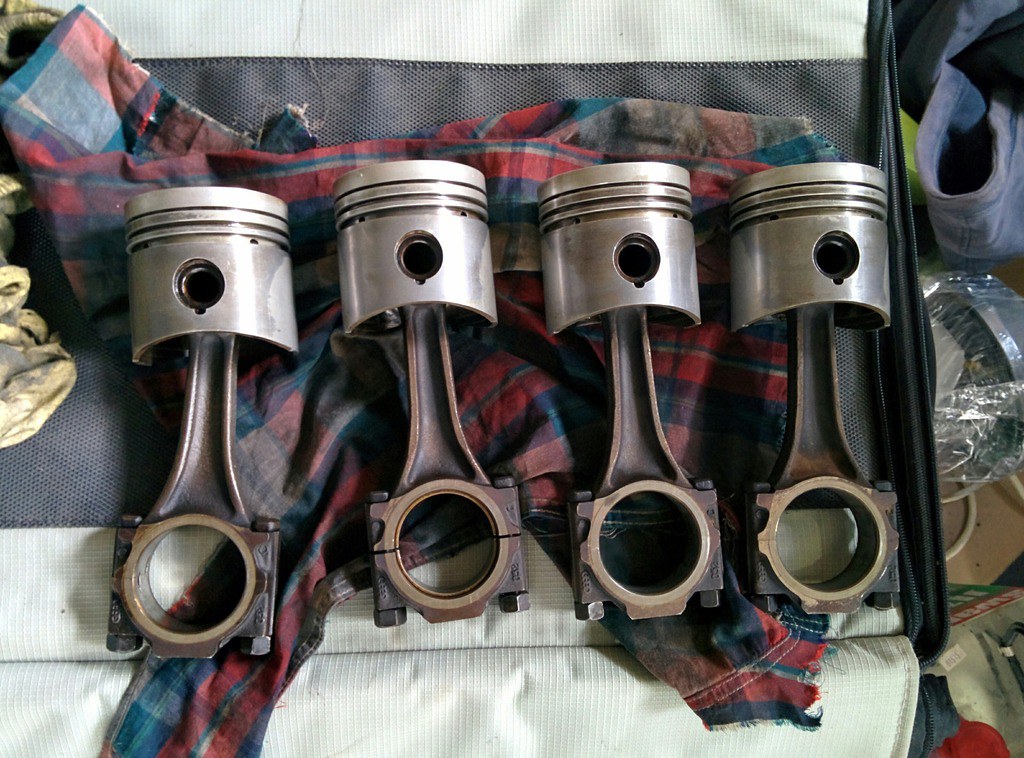
All four pistons
Last edit: by D_Martijn
Posted
Old Timer
Looking fresh and ready for some new piston rings
Last edit: by D_Martijn

Old Timer
Painted the oil pan in heat resistant paint
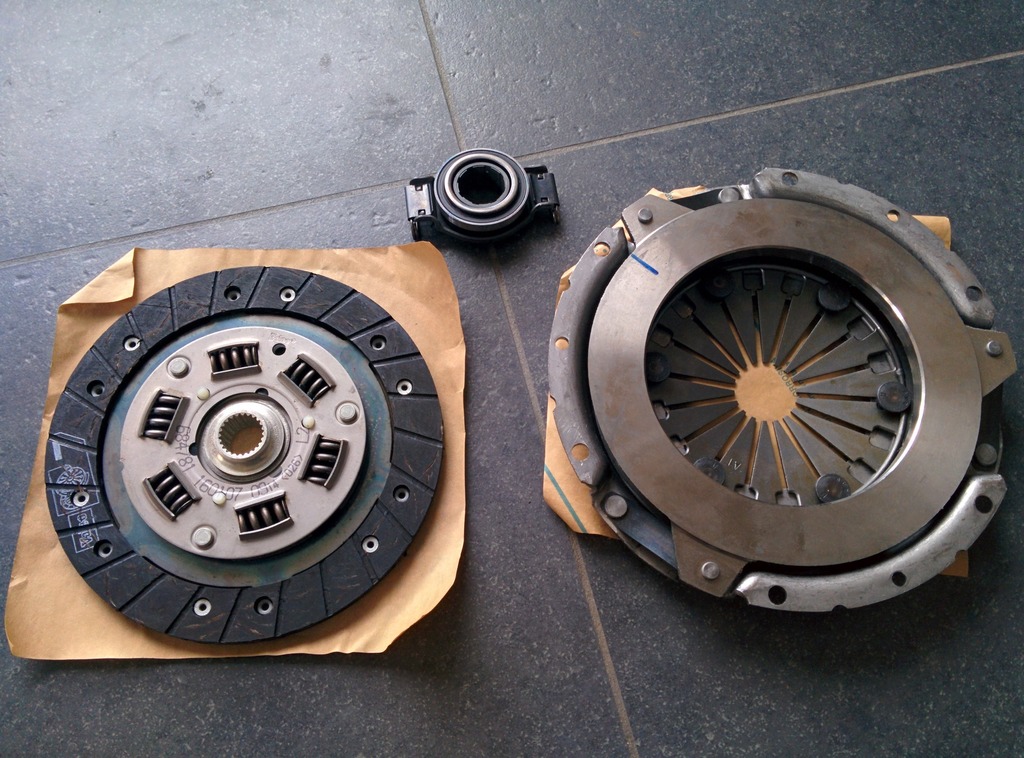
Also got our new clutch and bearing
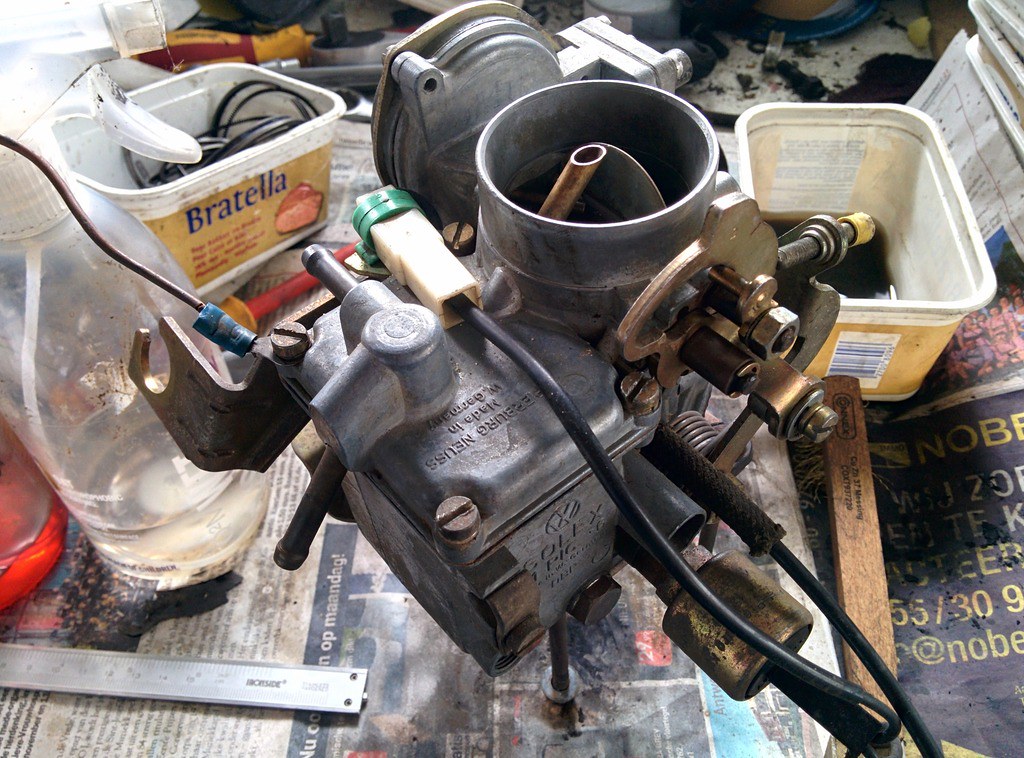
My brother cleaned the carburator with some petrol
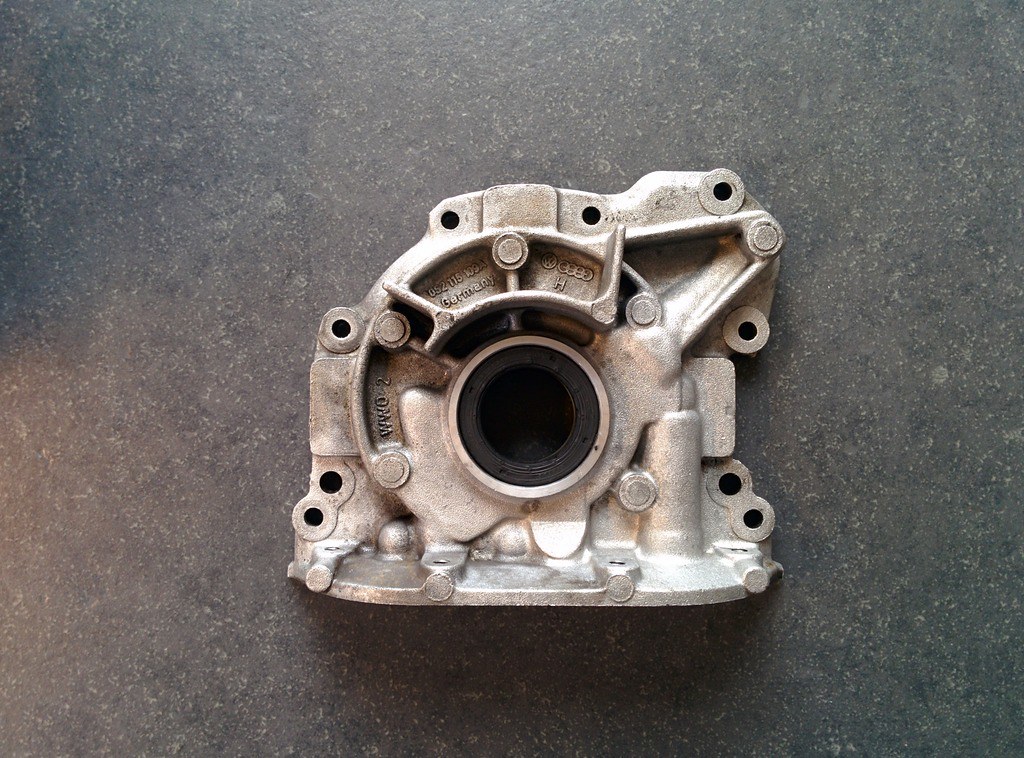
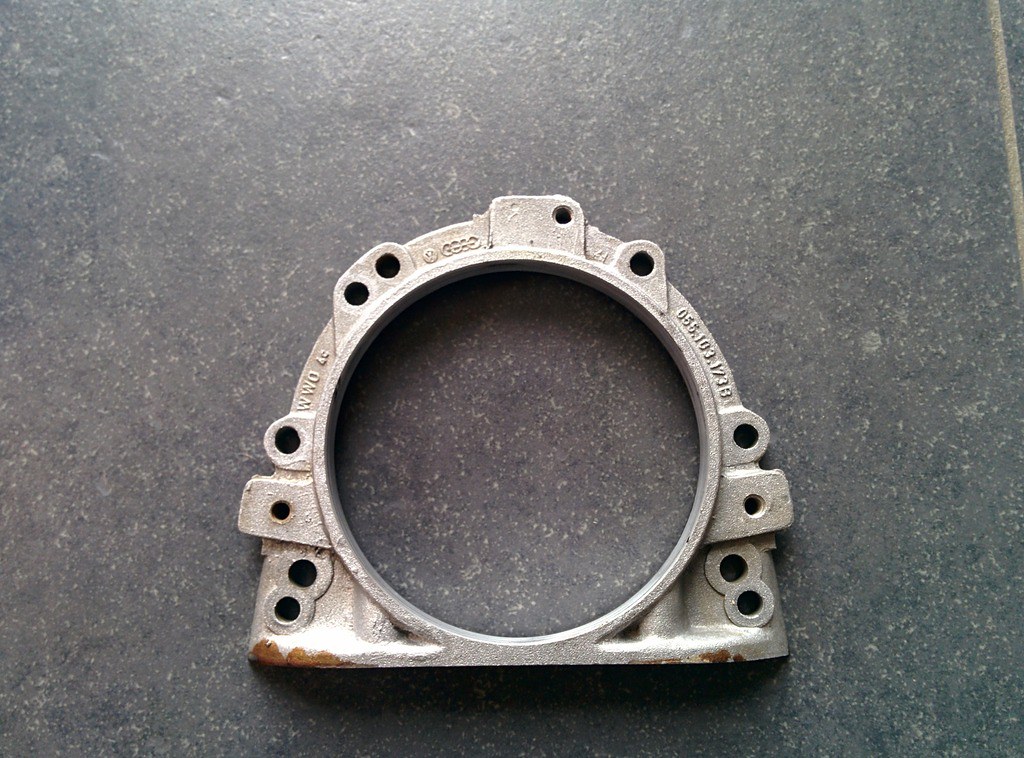
I also cleaned the oil pump and rear plate for the crankshaft oil seal
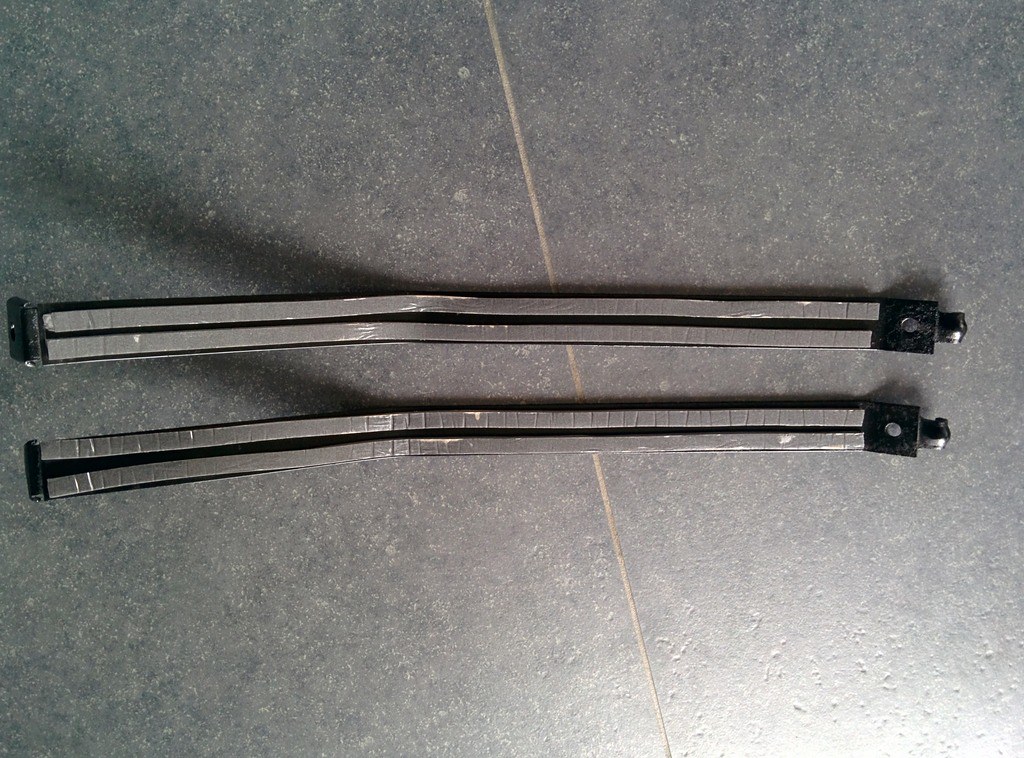
And finally we cleaned the rubbers of the rear side windows
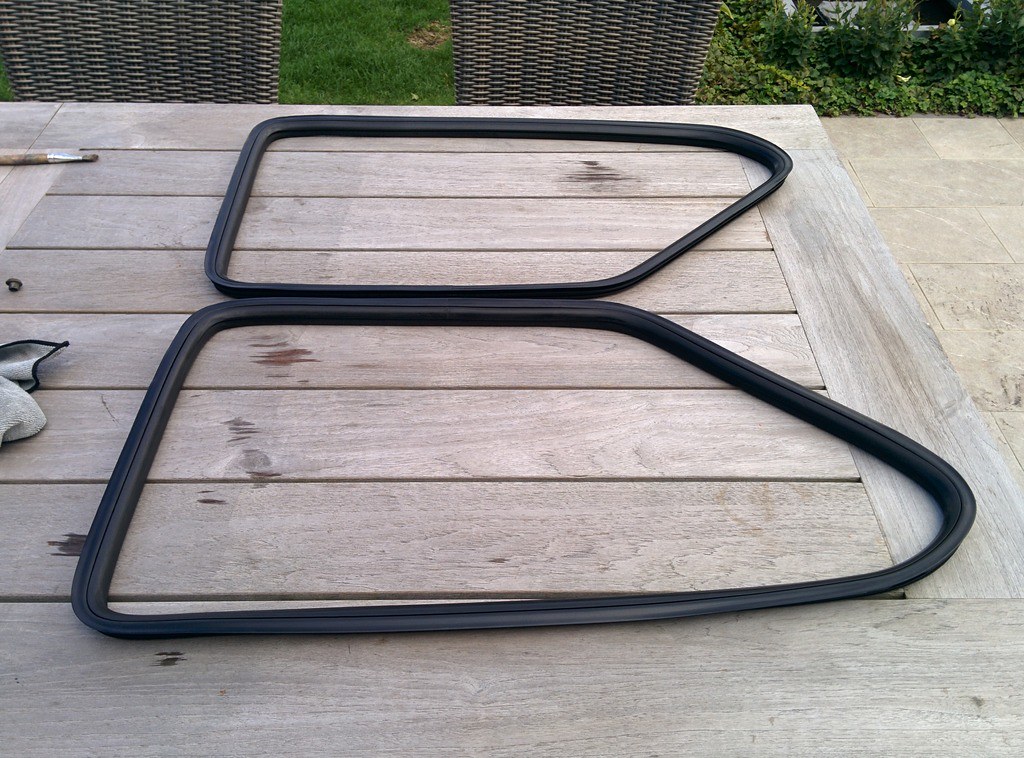
Also started fitting the window trim
1 window done
Both windows

Also the rear window�
Some painters tape holding the seal in place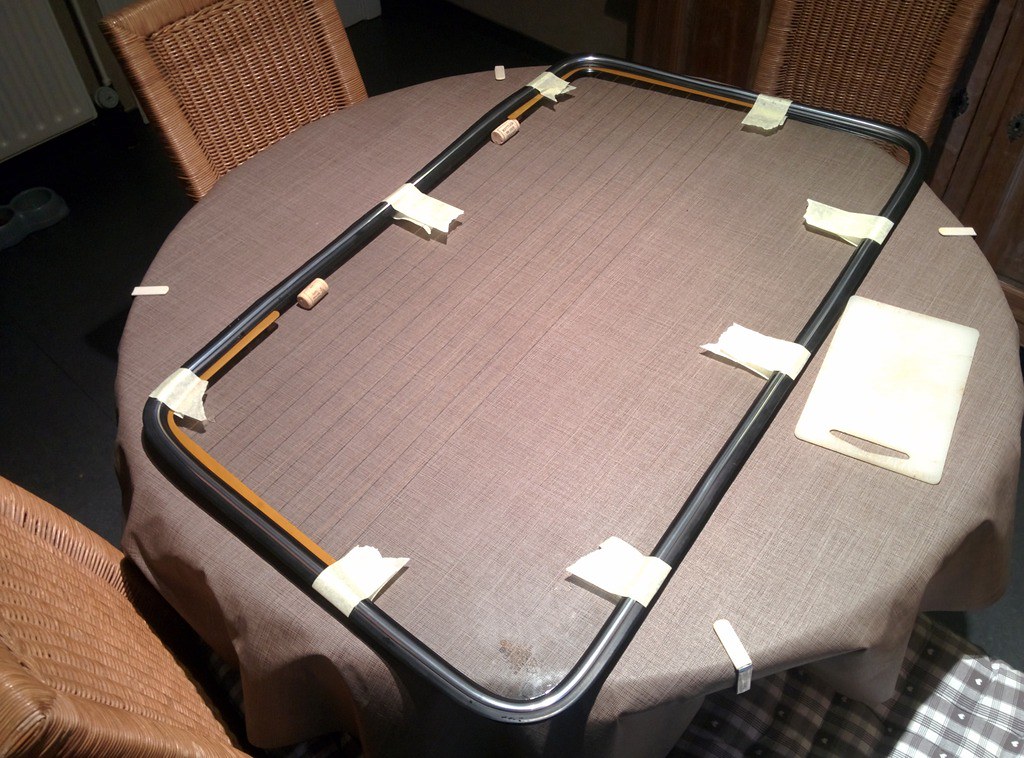
Last edit: by D_Martijn
Posted
Old Timer
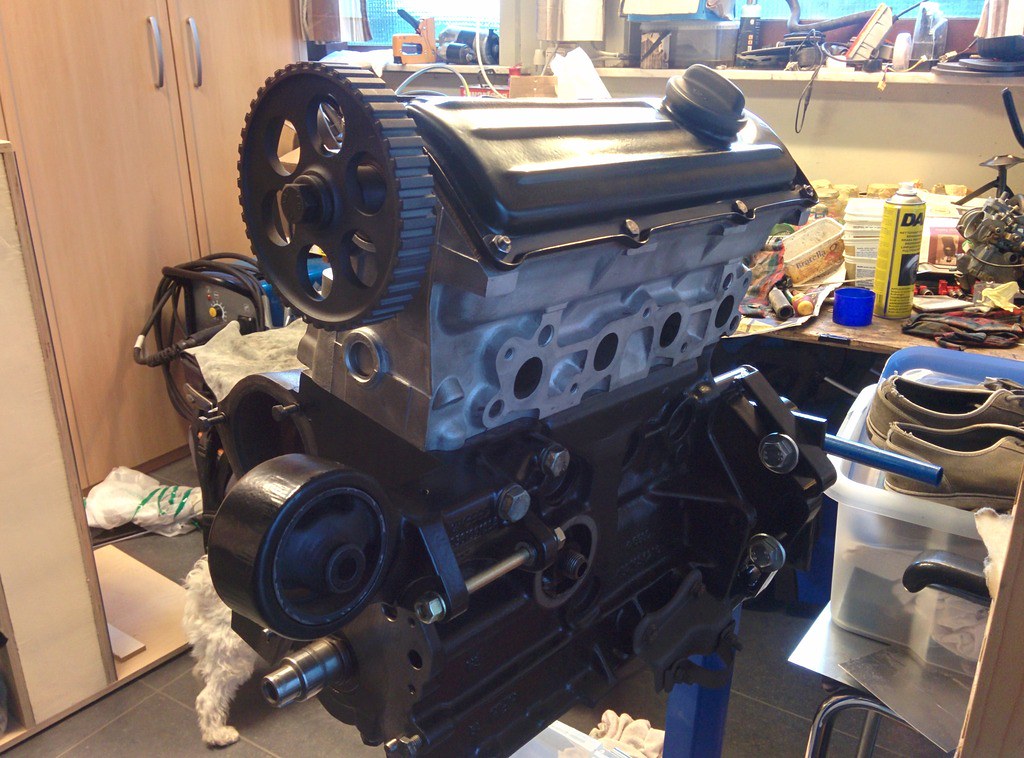
The engine rebuild can begin!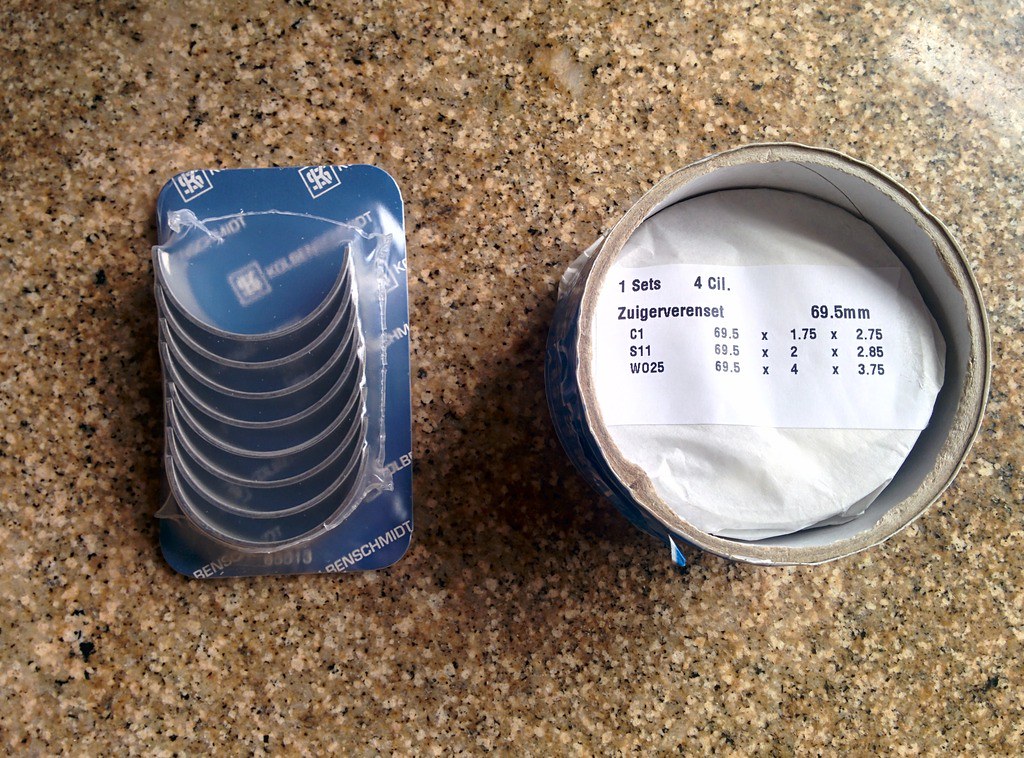
Last edit: by D_Martijn
Posted

Old Timer
"Mk1 Golf Gti...all things to all men"
Posted
Old Timer
Posted
Old Timer
watson said
Nice attention to detail Martijn.� Any paint pics yet ?
Nope.. They haven't started yet

Hopefully this week..
Ice2812 said
Looking good…
Thanks!
Posted
Old Timer
Cleaned valves and gasket surface
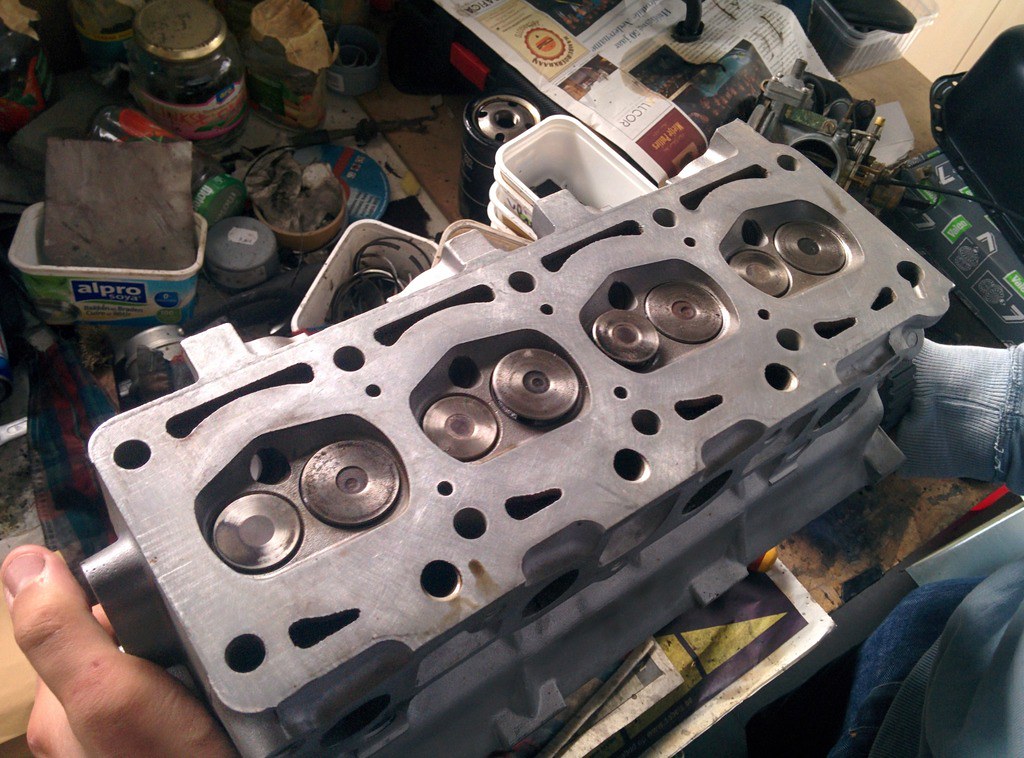
Couldn't wait and aready mounted the valve cover and placed the head on the engine block
�
Last edit: by D_Martijn
Posted
Settling In

Did you buy the replacement metal for this bit or did you make it? �… if the later … how did you get the same shape? �I've been wondering how to get this section sorted.

0 guests and 0 members have just viewed this: None.