GarytheGolf
Posted
Old Timer


GarytheGolf
After you treated your rusty items -with Deox C - I am interested as to the process you used after that.
I am interested in using the "POR15" treatment.
AFTER the Deox C did you use POR15 Cleaner Degreaser
THEN the POR15 Metal Prep??????
THEN POR 15 Rust preventative paint
THEN POR15 Topcoat??????? Just wondered if you need to go through all the layers??? Do you have to wash off the cleaner/degreaser and the Metal prep after use??
Many thank in advance
1983 Golf GTi Campaign Edition, Diamond Silver
http://vwgolfmk1.org.uk/forum/index.php?page=topicview&id=projects%2Fyour-mk1-golfs_2%2F-tag-1983-campaign&redirected=1#post_1551531
http://vwgolfmk1.org.uk/forum/index.php?page=topicview&id=projects%2Fyour-mk1-golfs_2%2F-tag-1983-campaign&redirected=1#post_1551531
Posted
Old Timer


http://www.frost.co.uk/automotive-paint-coating-electroplating/automotive-paint/por15-paints/black-por15-por-starter-kit.html
Looks small but it goes quite a distance. Look at the videos.
I did not like leaving the rust to paint over, so I removed as much as I could dipping in DEOX-C and /or smoothing using with wire brushes / sanders be applying POR products.
.
Then Marine clean, once done, Metal Prep, Note the washing with hot water in between the stages.
Then the Black paint. This leaves a gloss finish, once close to dry / tacky I just used Simoniz, Enamel paint for a Satin finish, looks like it has been powder coated then. POR15 does not like the sun, so OK for chassis, you can overpaint it with other stuff.
With respect to the car body, I just removed the rust, replaced metal where necessary and then used Kurust to keep it at bay or etch primer before the respray.
Obviously externals where further treated by the spray shop and in most cases my preparation was covered our or removed with their own preparation.
Posted
Settled In


I just it loads time to repair leaking fuel tank
Or if it's breaking up with rust
It's really good product I painted alloy window runner on my r32 over 2year ago and I never prepped it and it's still perfect today
Posted
Settling In

Posted
Old Timer


Posted
Old Timer


I have now started on my car - rear axle off - about to drop the tank out. I note you treated your fuel tank with POR15 - even though you did not remove all the old paint - I was under the impression you had to apply POR to un-painted metal??? Thoughts appreciated as I was planning on following your method!!!!!
1983 Golf GTi Campaign Edition, Diamond Silver
http://vwgolfmk1.org.uk/forum/index.php?page=topicview&id=projects%2Fyour-mk1-golfs_2%2F-tag-1983-campaign&redirected=1#post_1551531
http://vwgolfmk1.org.uk/forum/index.php?page=topicview&id=projects%2Fyour-mk1-golfs_2%2F-tag-1983-campaign&redirected=1#post_1551531
Posted
Old Timer


I just treated those areas with POR15 and reapplied the enamel paint on top. On the underside that would be a spray underseal to blend in with the original.
Word of warning, if you are going to do some Grinding to remove the rust, you need to empty and vent the tank for a few days, you can hasten this by applying a steam clean.
Posted
Old Timer


1983 Golf GTi Campaign Edition, Diamond Silver
http://vwgolfmk1.org.uk/forum/index.php?page=topicview&id=projects%2Fyour-mk1-golfs_2%2F-tag-1983-campaign&redirected=1#post_1551531
http://vwgolfmk1.org.uk/forum/index.php?page=topicview&id=projects%2Fyour-mk1-golfs_2%2F-tag-1983-campaign&redirected=1#post_1551531
Posted
Old Timer


Rear suspension/fuel tank all off and currently refurbishing them - using your advice regarding painting - POR15 - WOW! great stuff…
Any tips on fitting the original spec rear axle mounting bushes into the mounting?????????? I dont want to use 2 part bushes/polybush etc - but getting the original in looks as though it could be challenging!
1983 Golf GTi Campaign Edition, Diamond Silver
http://vwgolfmk1.org.uk/forum/index.php?page=topicview&id=projects%2Fyour-mk1-golfs_2%2F-tag-1983-campaign&redirected=1#post_1551531
http://vwgolfmk1.org.uk/forum/index.php?page=topicview&id=projects%2Fyour-mk1-golfs_2%2F-tag-1983-campaign&redirected=1#post_1551531
Posted
Local Hero

If you hold it in a vice you can slowly do up the threaded bar to push the bush through but you may need to push the bush around a little to get it started as mine kept popping out and going on an angle.
I had 1 piece poly bushes so had to get them in. 1 side took about 1 hour as I had to keep resetting the bush to go in straightish and the other side was 15 minutes with a bit of practice.
1988 Mk1 Golf GTi Cabriolet 1.8cc DX, K-jet. Daily drive. 317,000 miles and counting
1978 Mk1 Scirocco GLS 1.6cc FR, Webber carb. Weekend toy.
1978 Mk1 Scirocco GLS 1.6cc FR, Webber carb. Weekend toy.
Posted
Old Timer


I see you changed your rear axle bushes - a job I am about to tackle. I thought the rubber bushes would be symetrical but they arent! Check out my thread if you wouldn't mind.
http://vwgolfmk1.org.uk/forum/index.php?page=topicview&id=technical%2Frunning-gear_2%2Fwhich-way-round&redirected=1&redirected=1
1983 Golf GTi Campaign Edition, Diamond Silver
http://vwgolfmk1.org.uk/forum/index.php?page=topicview&id=projects%2Fyour-mk1-golfs_2%2F-tag-1983-campaign&redirected=1#post_1551531
http://vwgolfmk1.org.uk/forum/index.php?page=topicview&id=projects%2Fyour-mk1-golfs_2%2F-tag-1983-campaign&redirected=1#post_1551531
Posted
Old Timer


Would appreciate your thoughts on my thread again - still puzzling as explained…..
http://vwgolfmk1.org.uk/forum/index.php?page=topicview&id=technical%2Frunning-gear_2%2Fwhich-way-round&redirected=1#post_1551198
1983 Golf GTi Campaign Edition, Diamond Silver
http://vwgolfmk1.org.uk/forum/index.php?page=topicview&id=projects%2Fyour-mk1-golfs_2%2F-tag-1983-campaign&redirected=1#post_1551531
http://vwgolfmk1.org.uk/forum/index.php?page=topicview&id=projects%2Fyour-mk1-golfs_2%2F-tag-1983-campaign&redirected=1#post_1551531
Posted
Old Timer


Hope you don't mind asking you these various questions - but as you have done the work yourself and seem to know what you are talking about, as well as having great photos - maybe you van help.
My gravity valve, that lives high up in the rear wing above the fuel filler, has suffered with age & rust!! It was "stuck" with mastic at the top of the inner wing. Once removed I found the valve and pipes are fine - but the housing part number 171201181A is badly deteriorated - there was evidently a metal bracket of some kind to attach it - somewhere!!!! I have a few rusty holes in the upper inner wing where I suspect there may have been captive bolts but no clue as to where the valve should be located. Also I do not have the cover plate for inside the wing - clearly lost some years ago! Where/how does it fit to the inner wing????? I see on the parts list there is a nut which must fit to a captive bolt - and 2 x oval head panel screws - do they just go into the sheet metal of the wing??
I wondered if you has a decent photo of what the holder/bracket should look like and where exactly it fits……..
Do hope you don t mind me bothering you!
Thanks
Guy
1983 Golf GTi Campaign Edition, Diamond Silver
http://vwgolfmk1.org.uk/forum/index.php?page=topicview&id=projects%2Fyour-mk1-golfs_2%2F-tag-1983-campaign&redirected=1#post_1551531
http://vwgolfmk1.org.uk/forum/index.php?page=topicview&id=projects%2Fyour-mk1-golfs_2%2F-tag-1983-campaign&redirected=1#post_1551531
Posted
Old Timer


http://vwgolfmk1.org.uk/forum/index.php?page=topicview&id=projects%2Fyour-mk1-golfs_2%2F-tag-1983-campaign&redirected=1#post_1551531
1983 Golf GTi Campaign Edition, Diamond Silver
http://vwgolfmk1.org.uk/forum/index.php?page=topicview&id=projects%2Fyour-mk1-golfs_2%2F-tag-1983-campaign&redirected=1#post_1551531
http://vwgolfmk1.org.uk/forum/index.php?page=topicview&id=projects%2Fyour-mk1-golfs_2%2F-tag-1983-campaign&redirected=1#post_1551531
Posted
Old Timer


The first was the TLP 36 carb that I stripped and serviced.
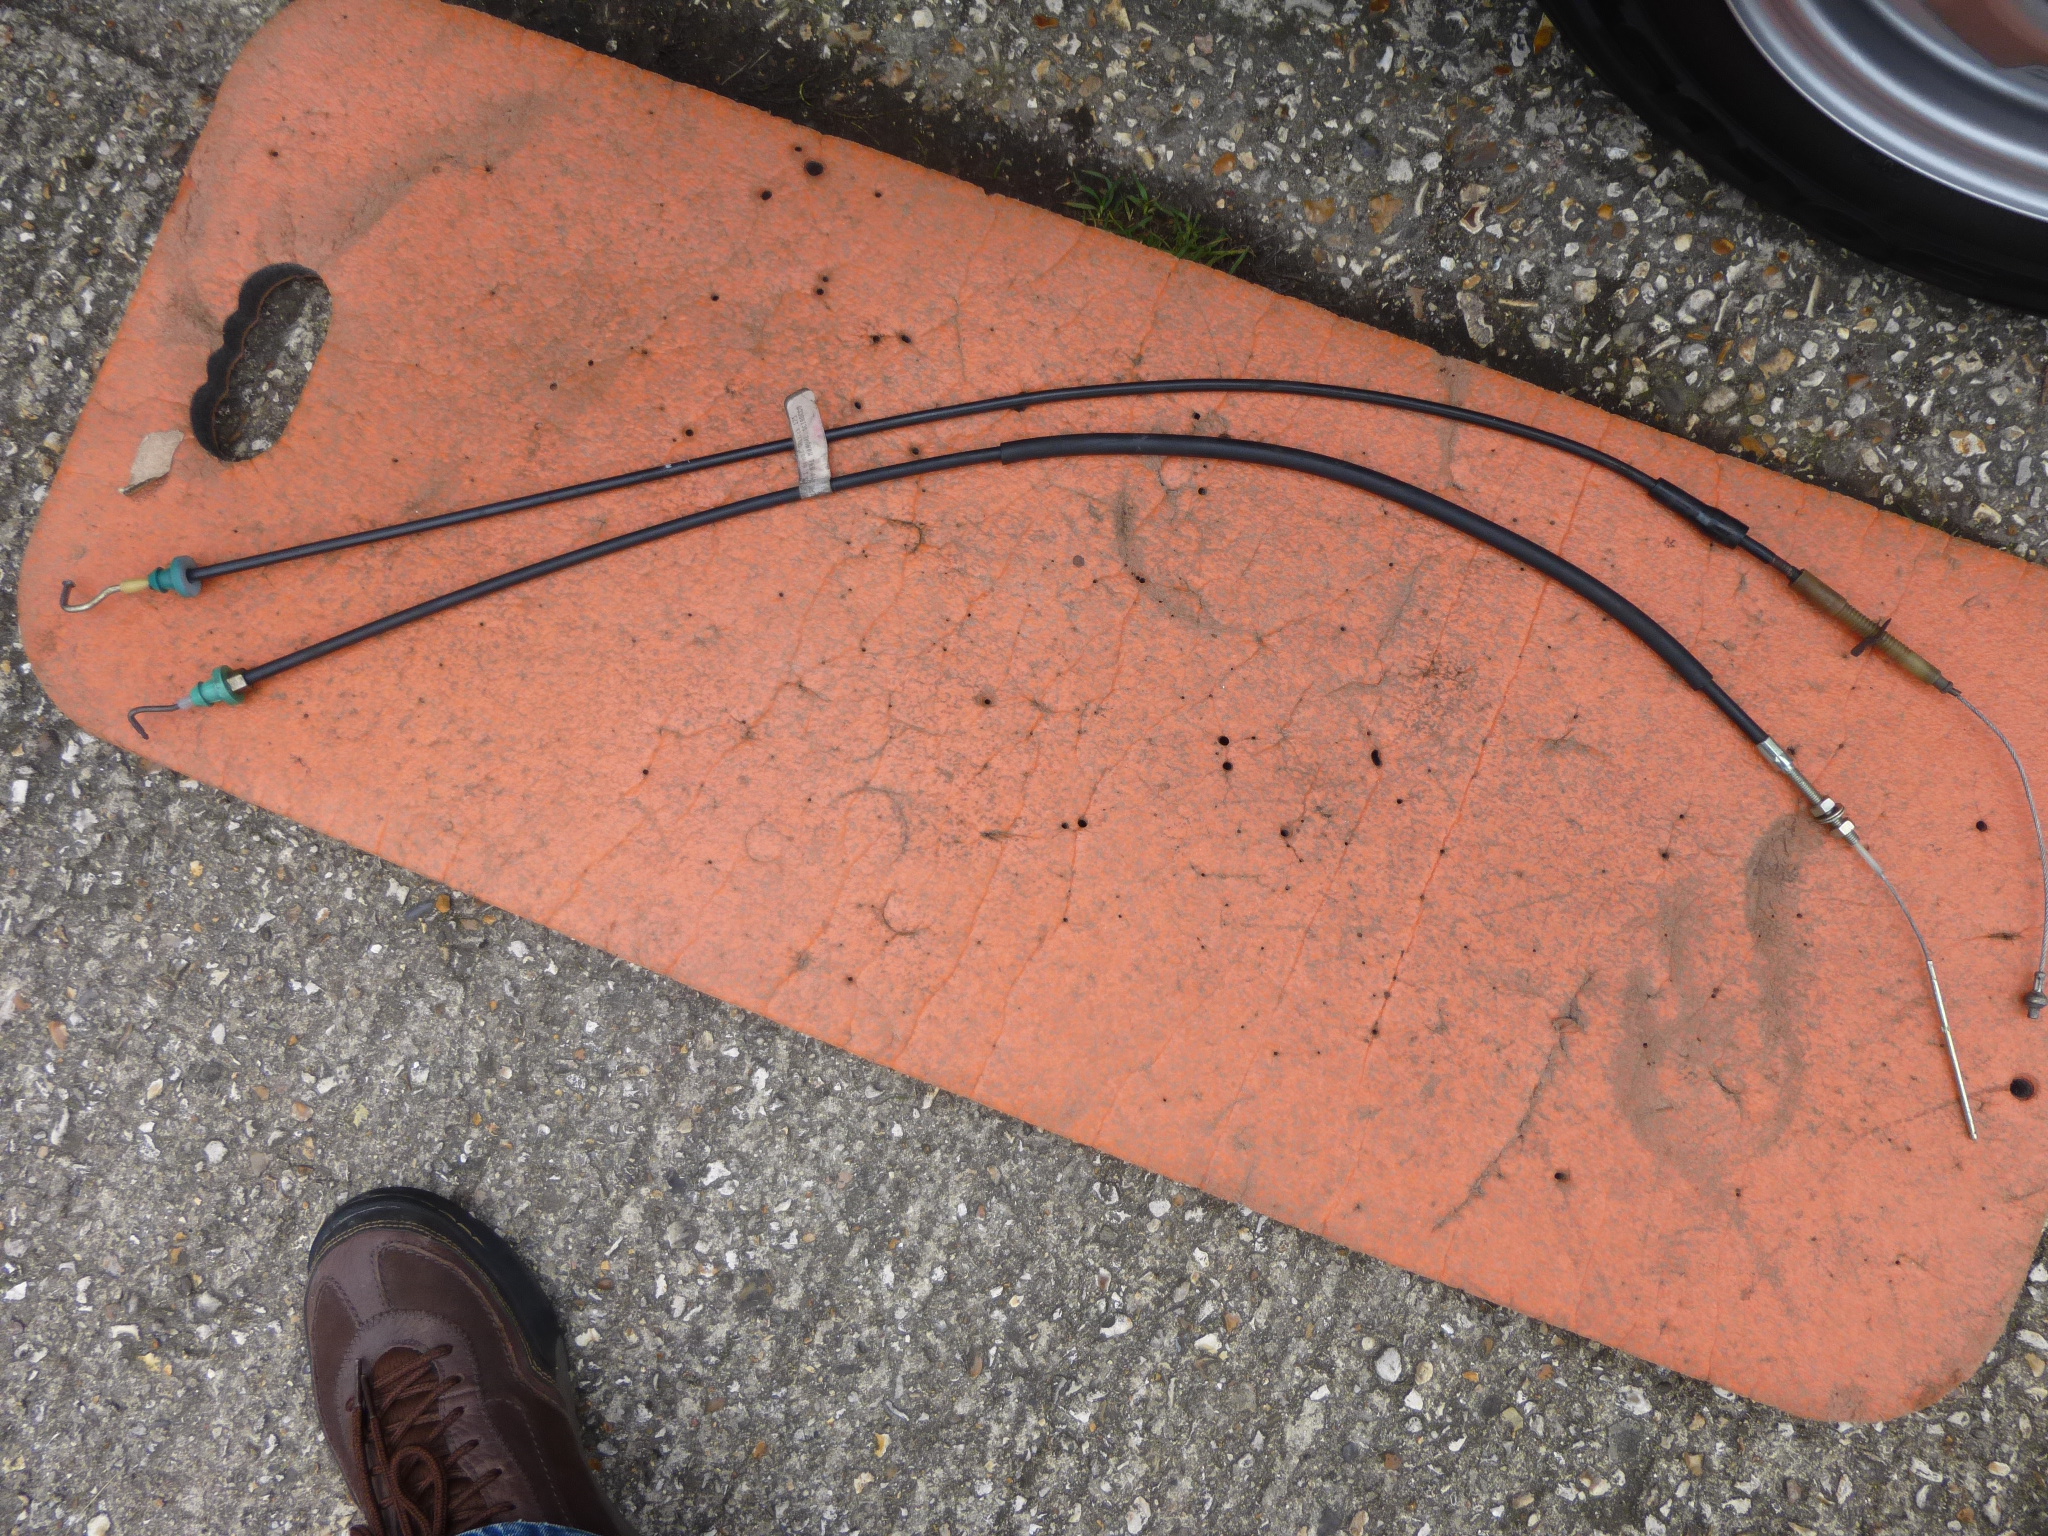
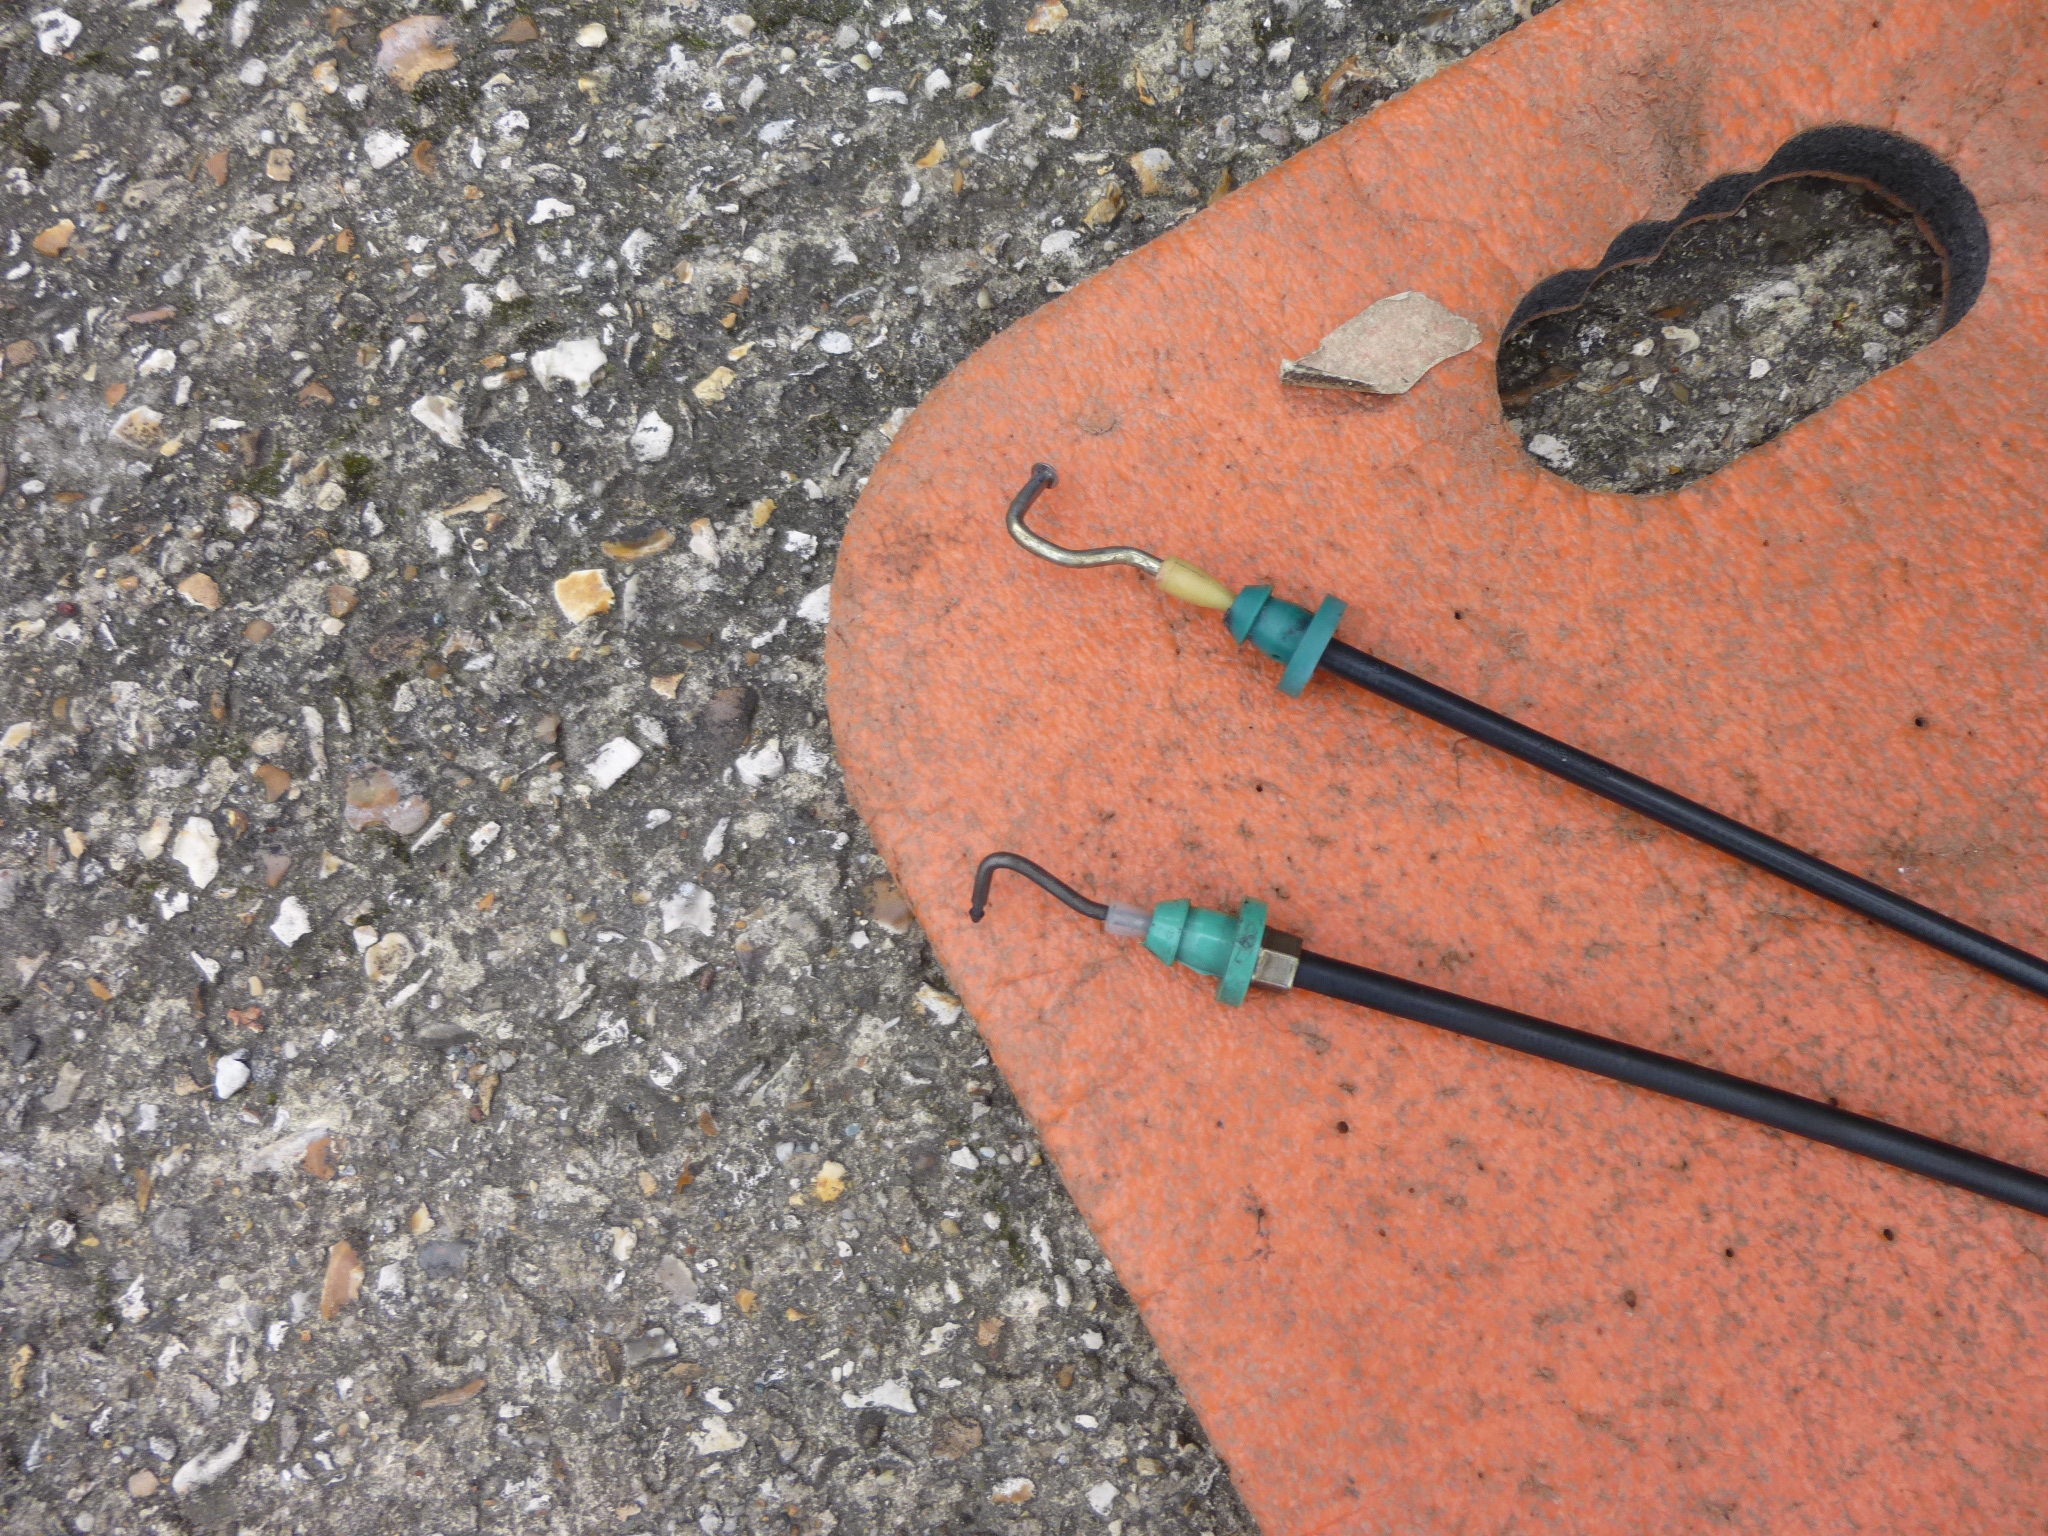
Some years back I also managed to acquire a genuine VW choke cable which I also installed with the necessary warning light switch and a dual indicator for the handbrake and choke.
The car ran well, but a little niggle with the acceleration, maybe a bit more muck, perturbed me.
Surprisingly a listing on ebay became available for brand new Weber TLP34 modified for the 1.5. So having sold some gauges recently and also contacting the seller about the different size, I plunged for a new one.
Having fitted it, it started straight away after priming with fuel.
It took me some time to get the wiring correct for the manual choke switch and indicator, it works a treat now.
No more worrying about the car cutting out with the auto choke.
Smooth acceleration even when cold, I do not notice any loss in performance on the motorway in fact I am sure there is a gain in performance.
.
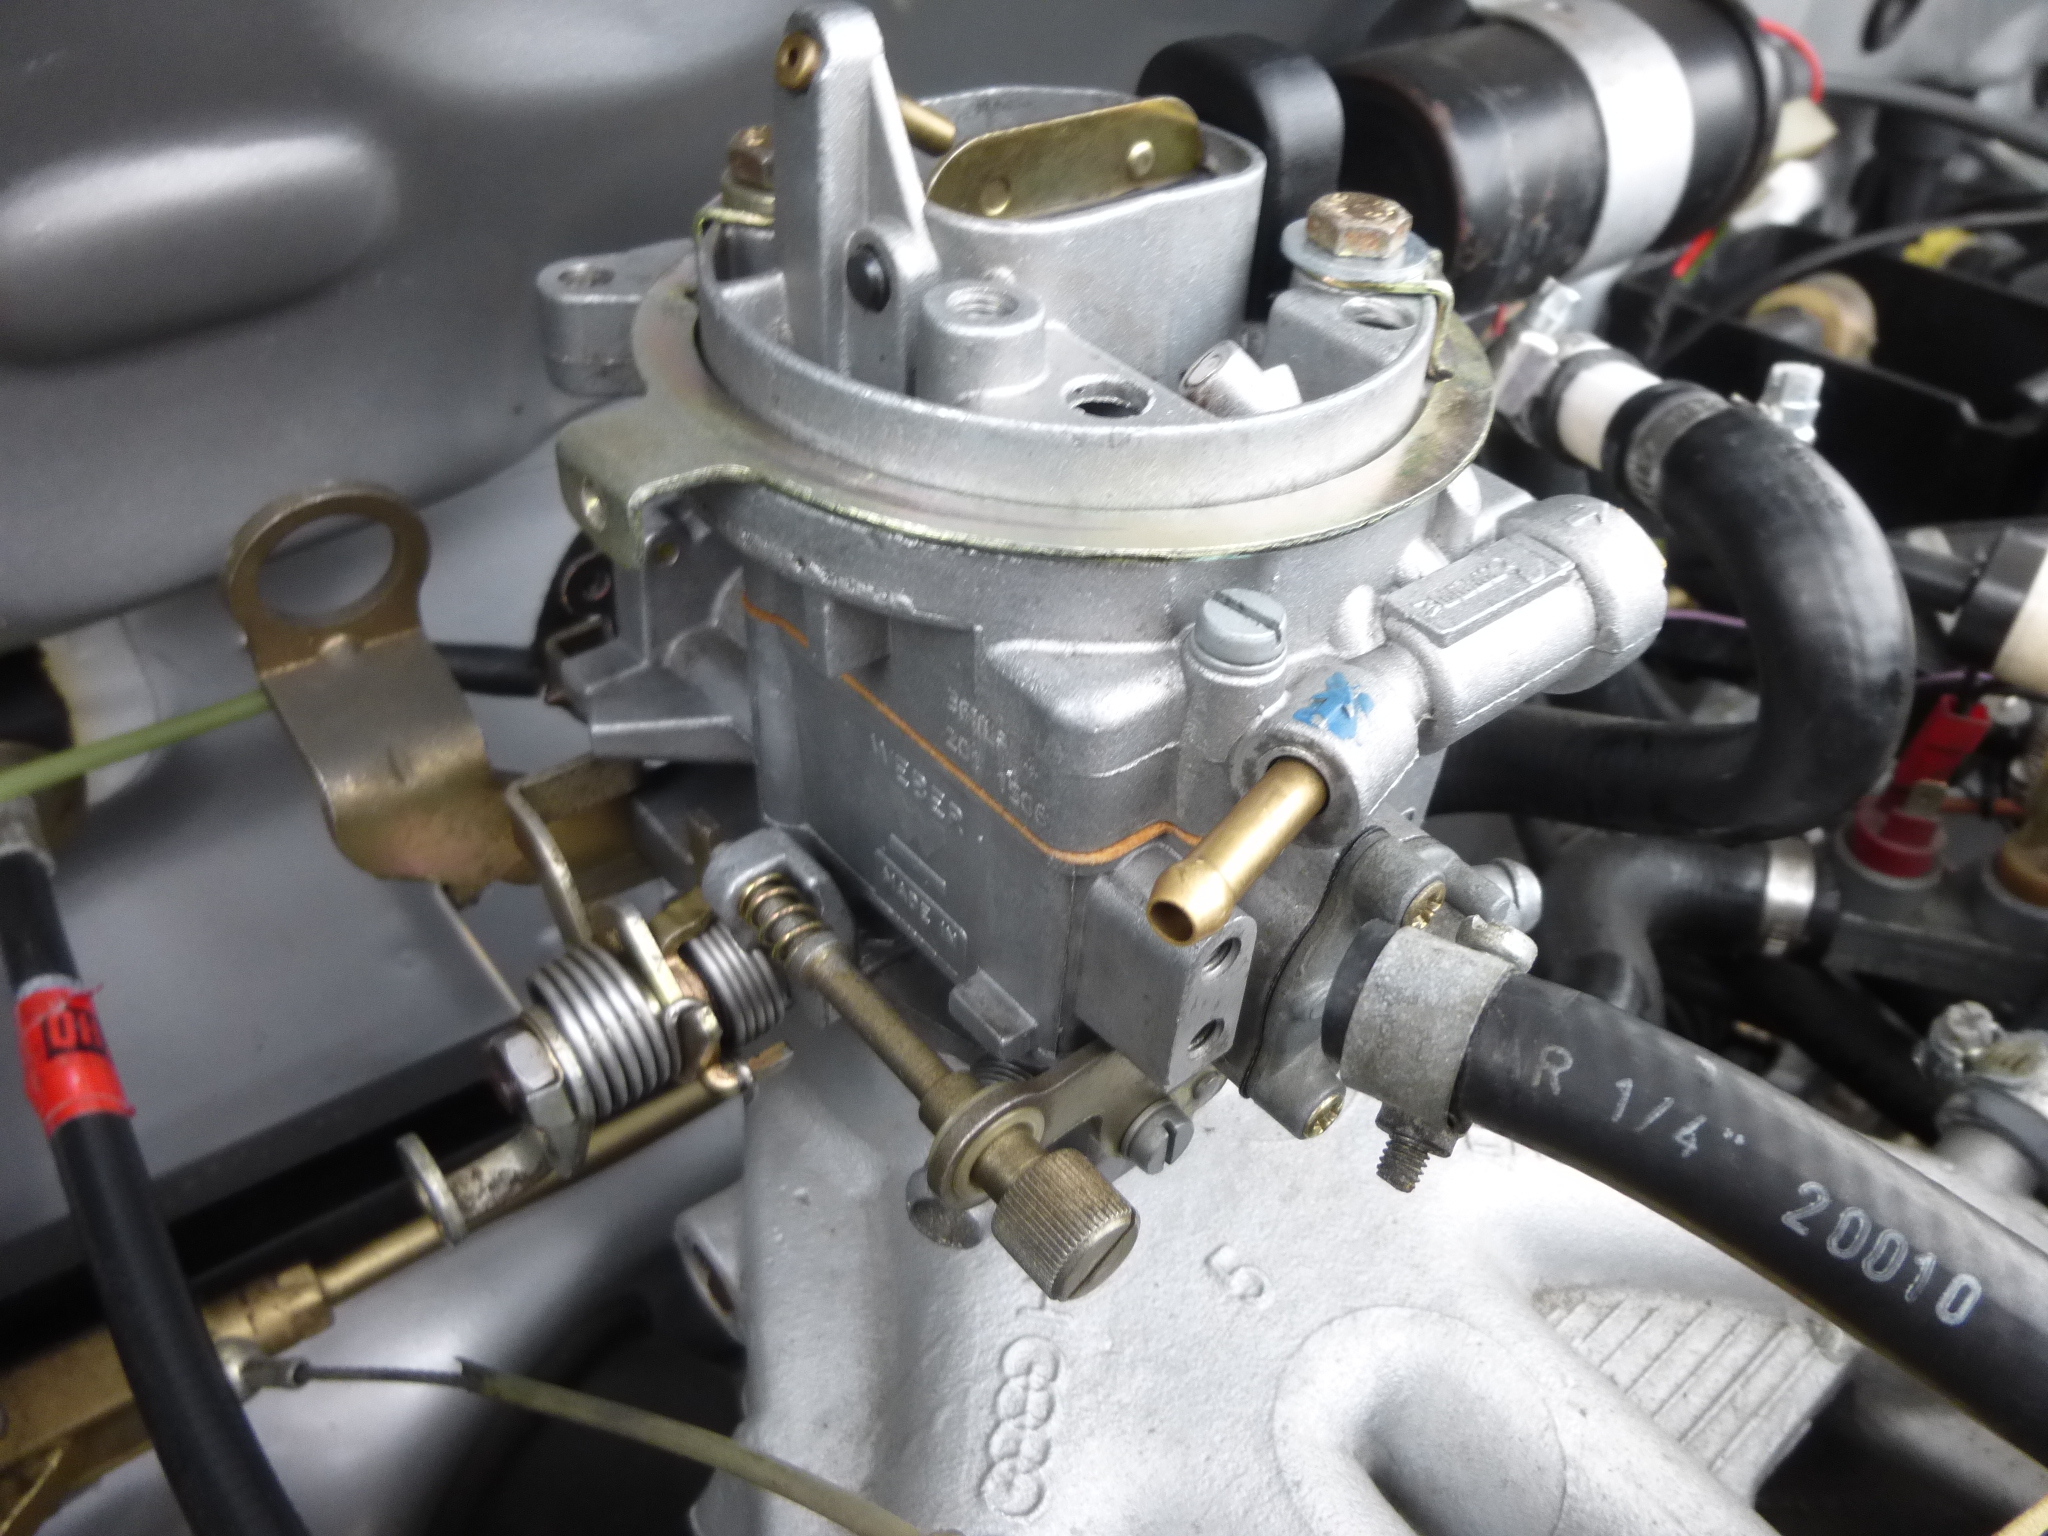
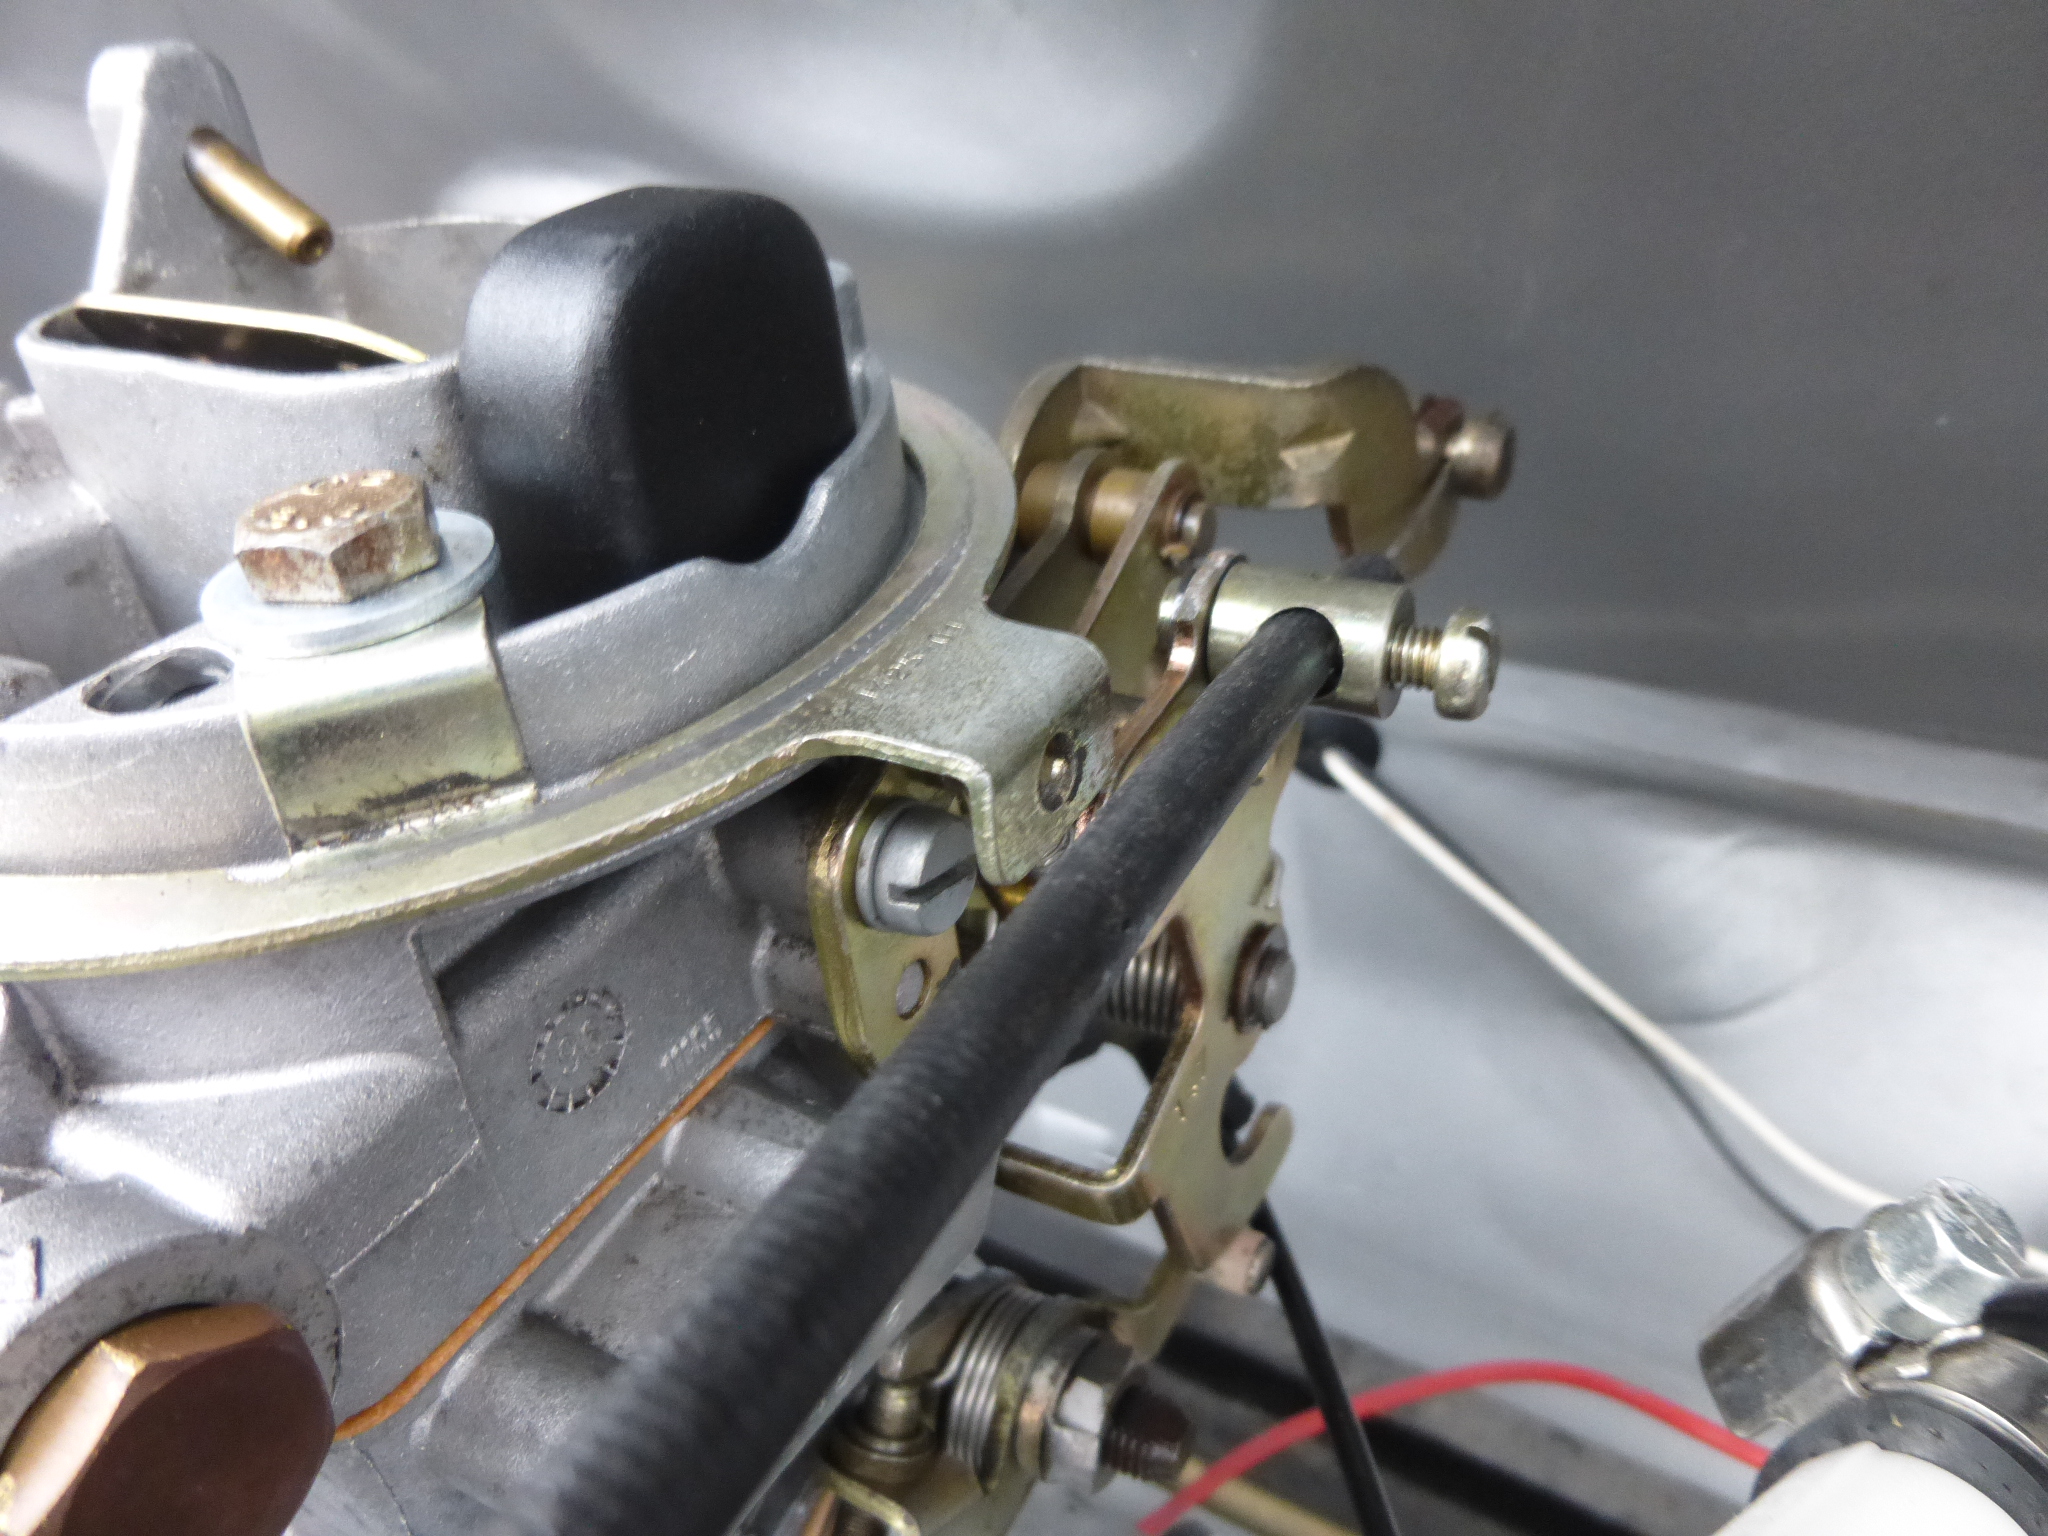
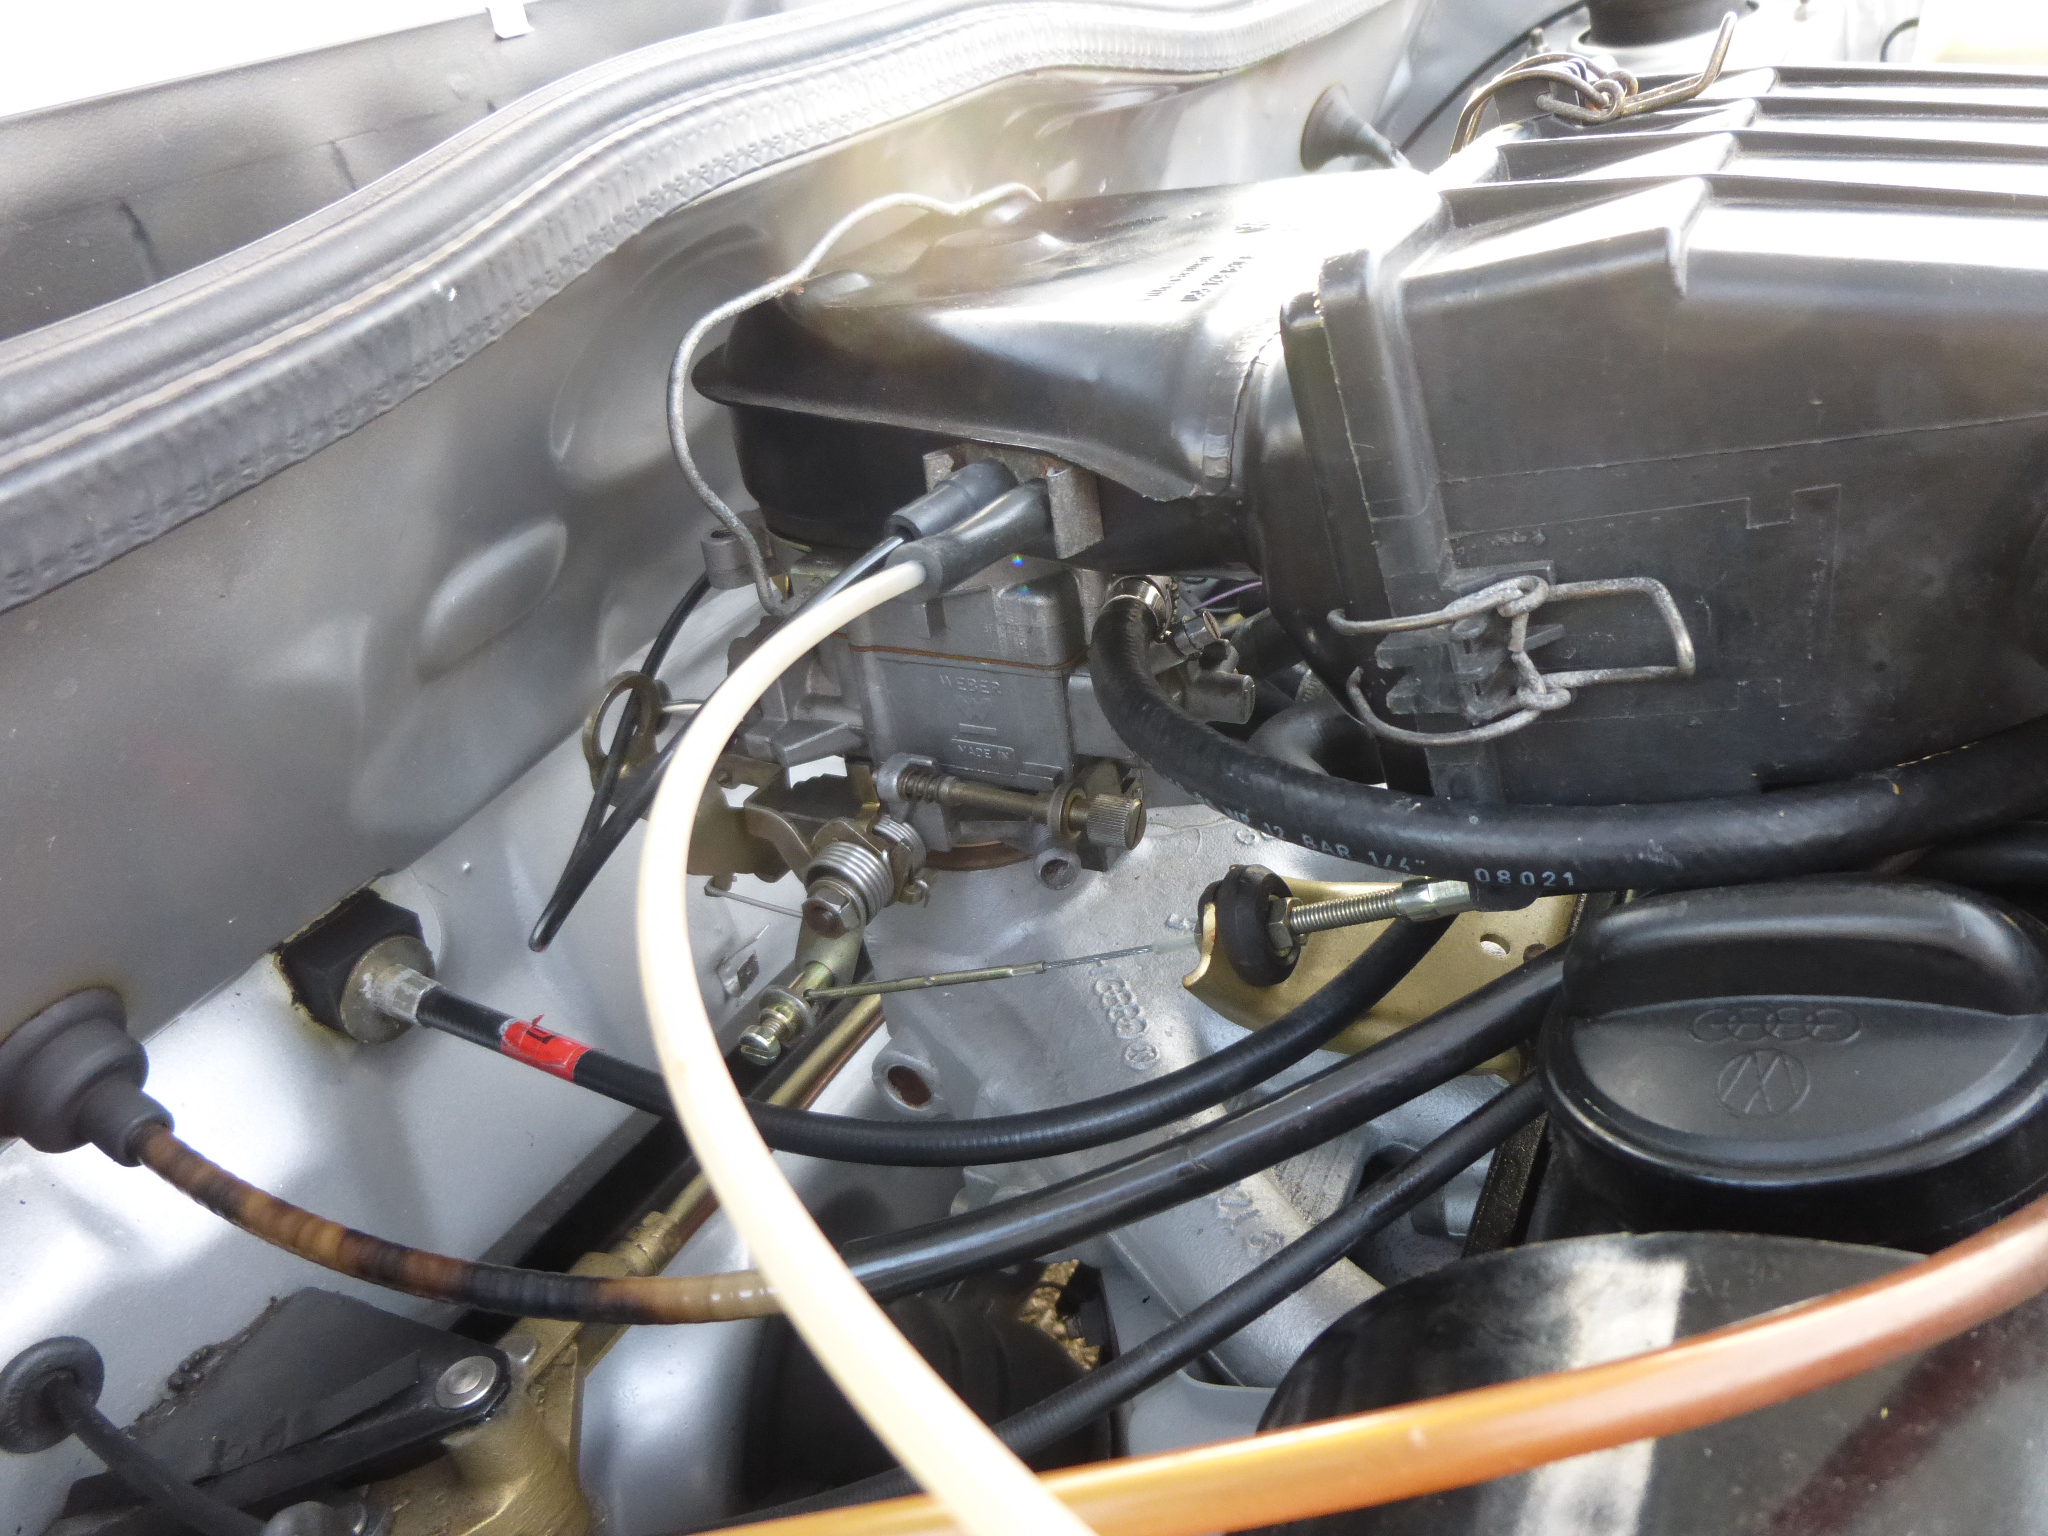
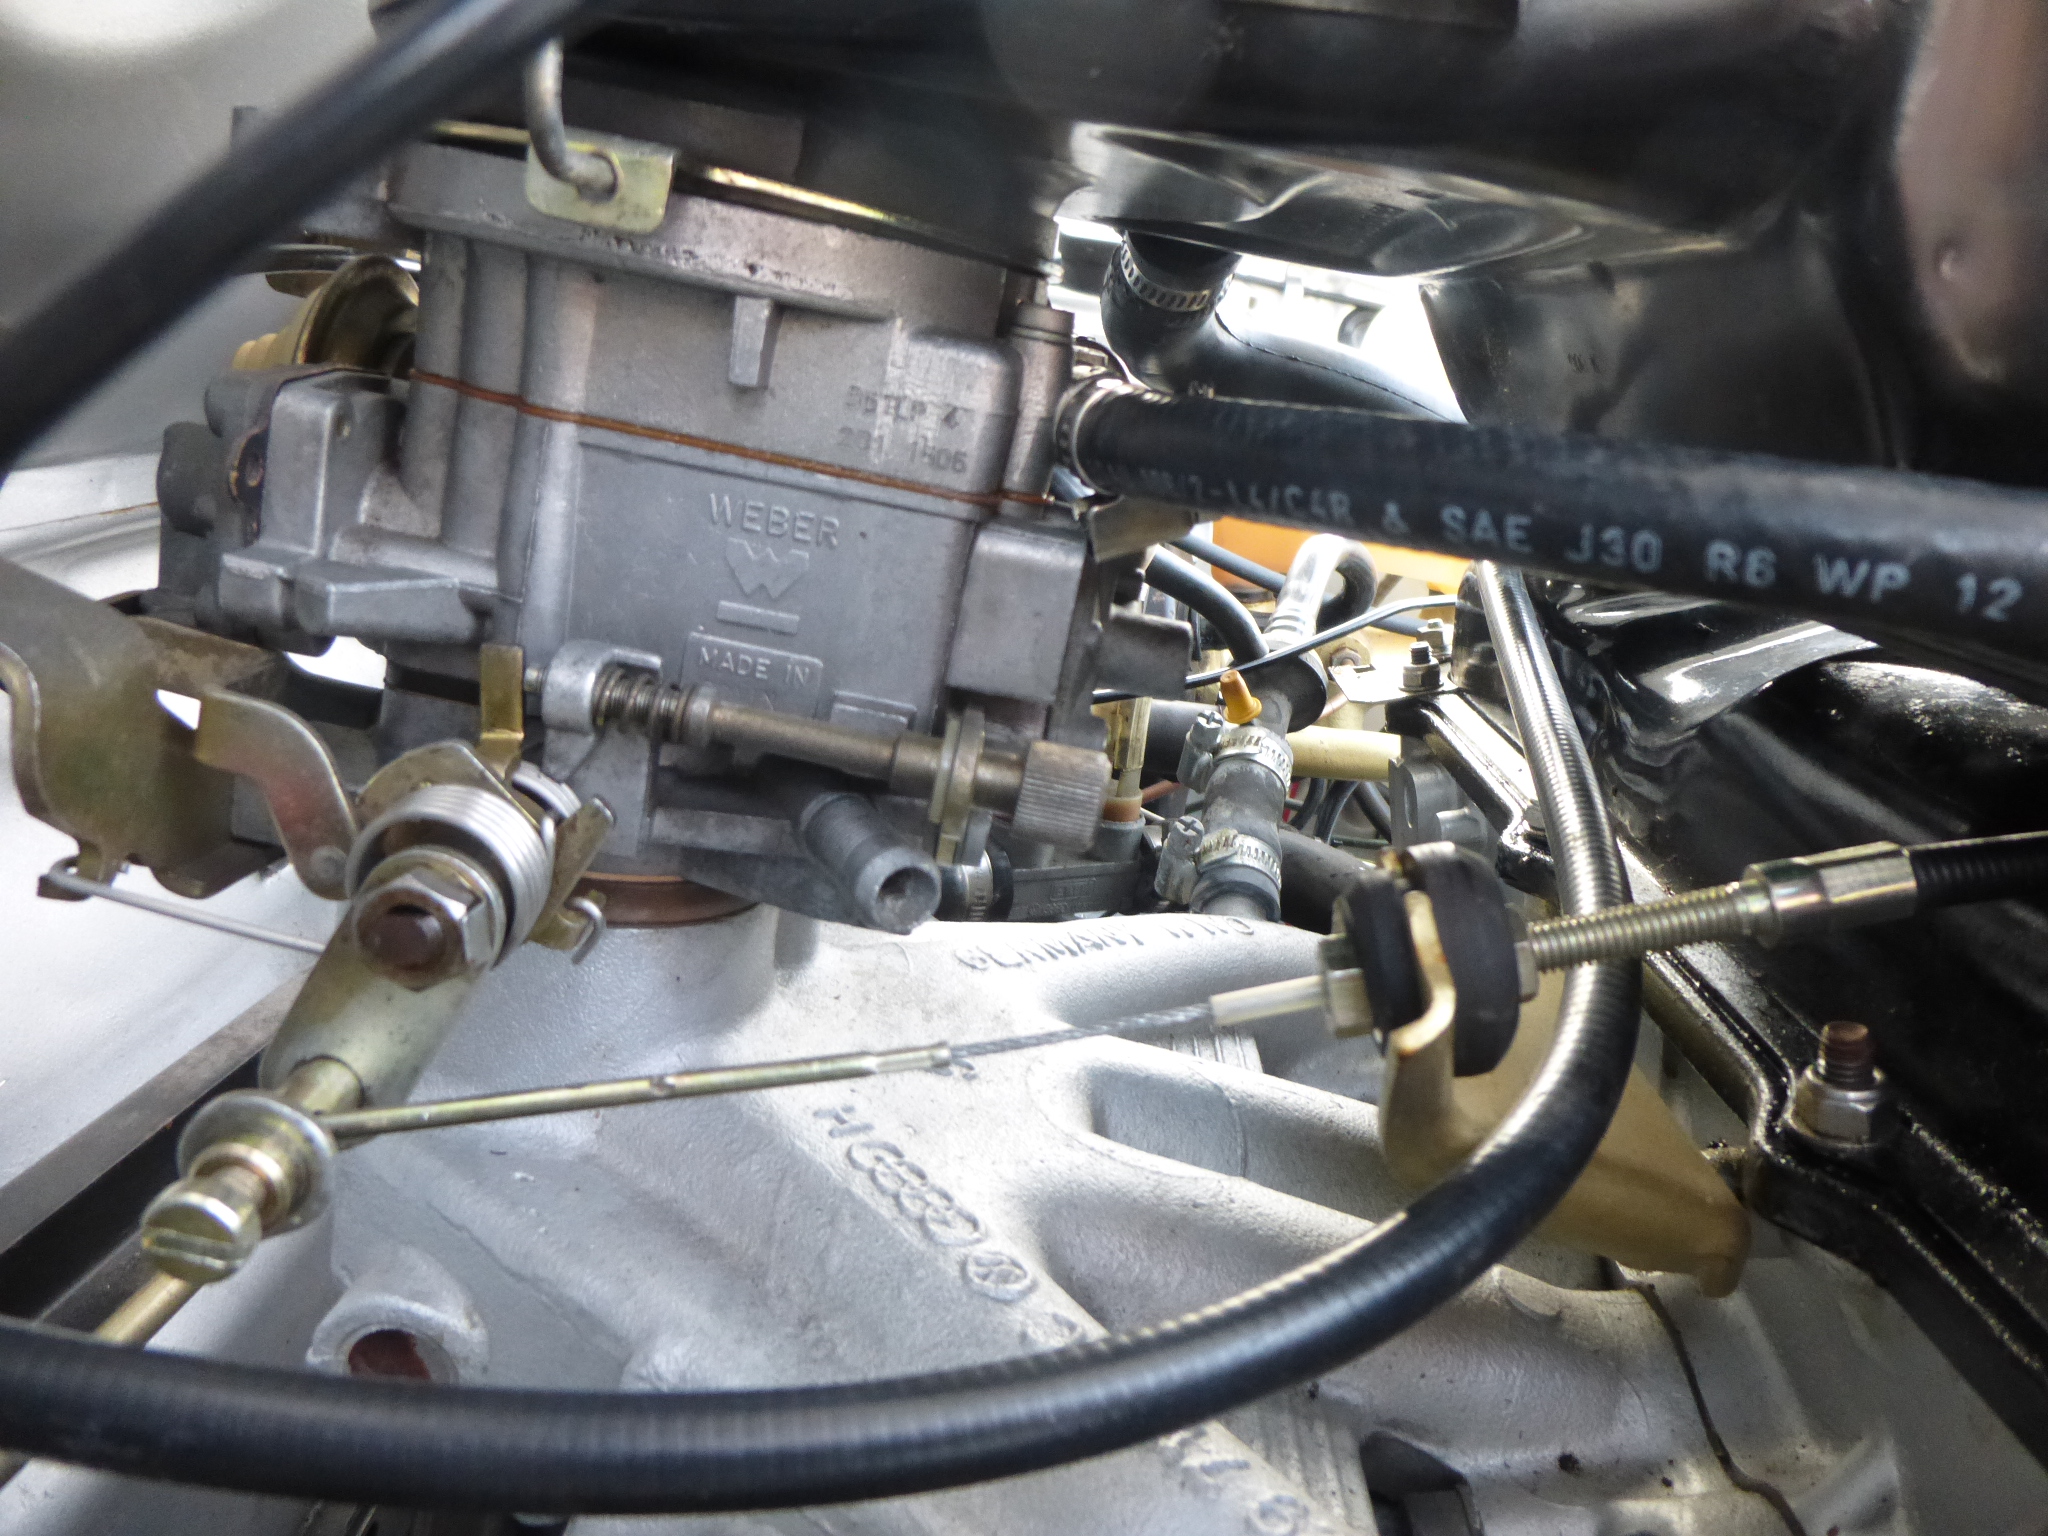
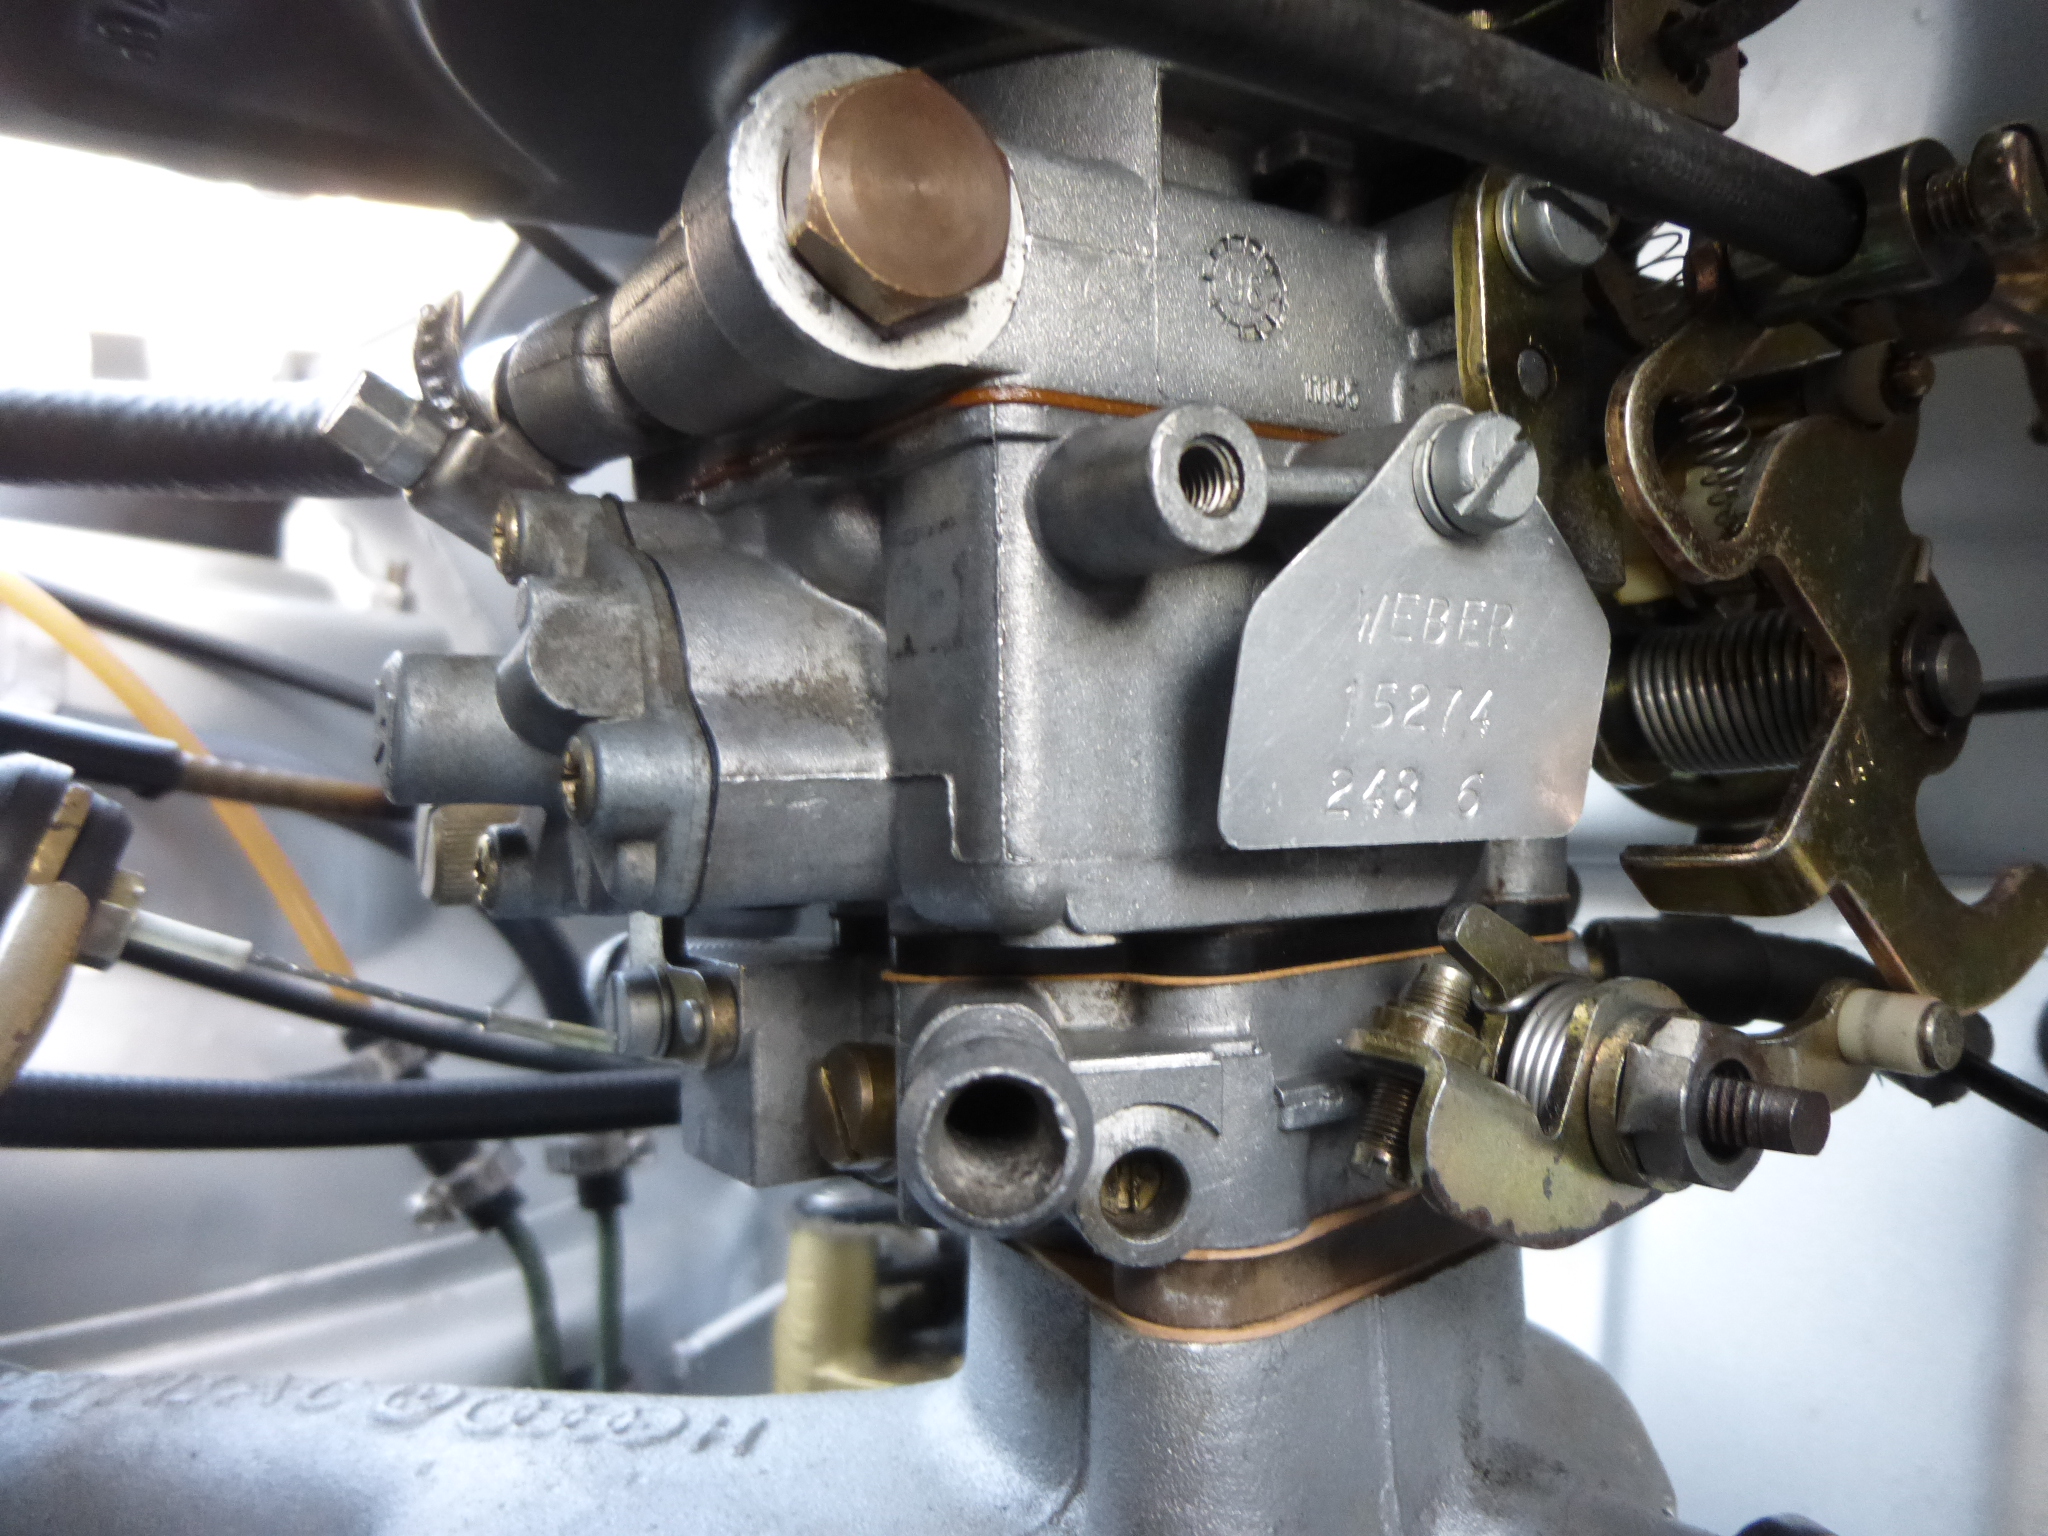
Some pictures of the change to the TLP 36. The TLP 34 looks almost the same.
Pierburg gone, original choke water pipe connected together.
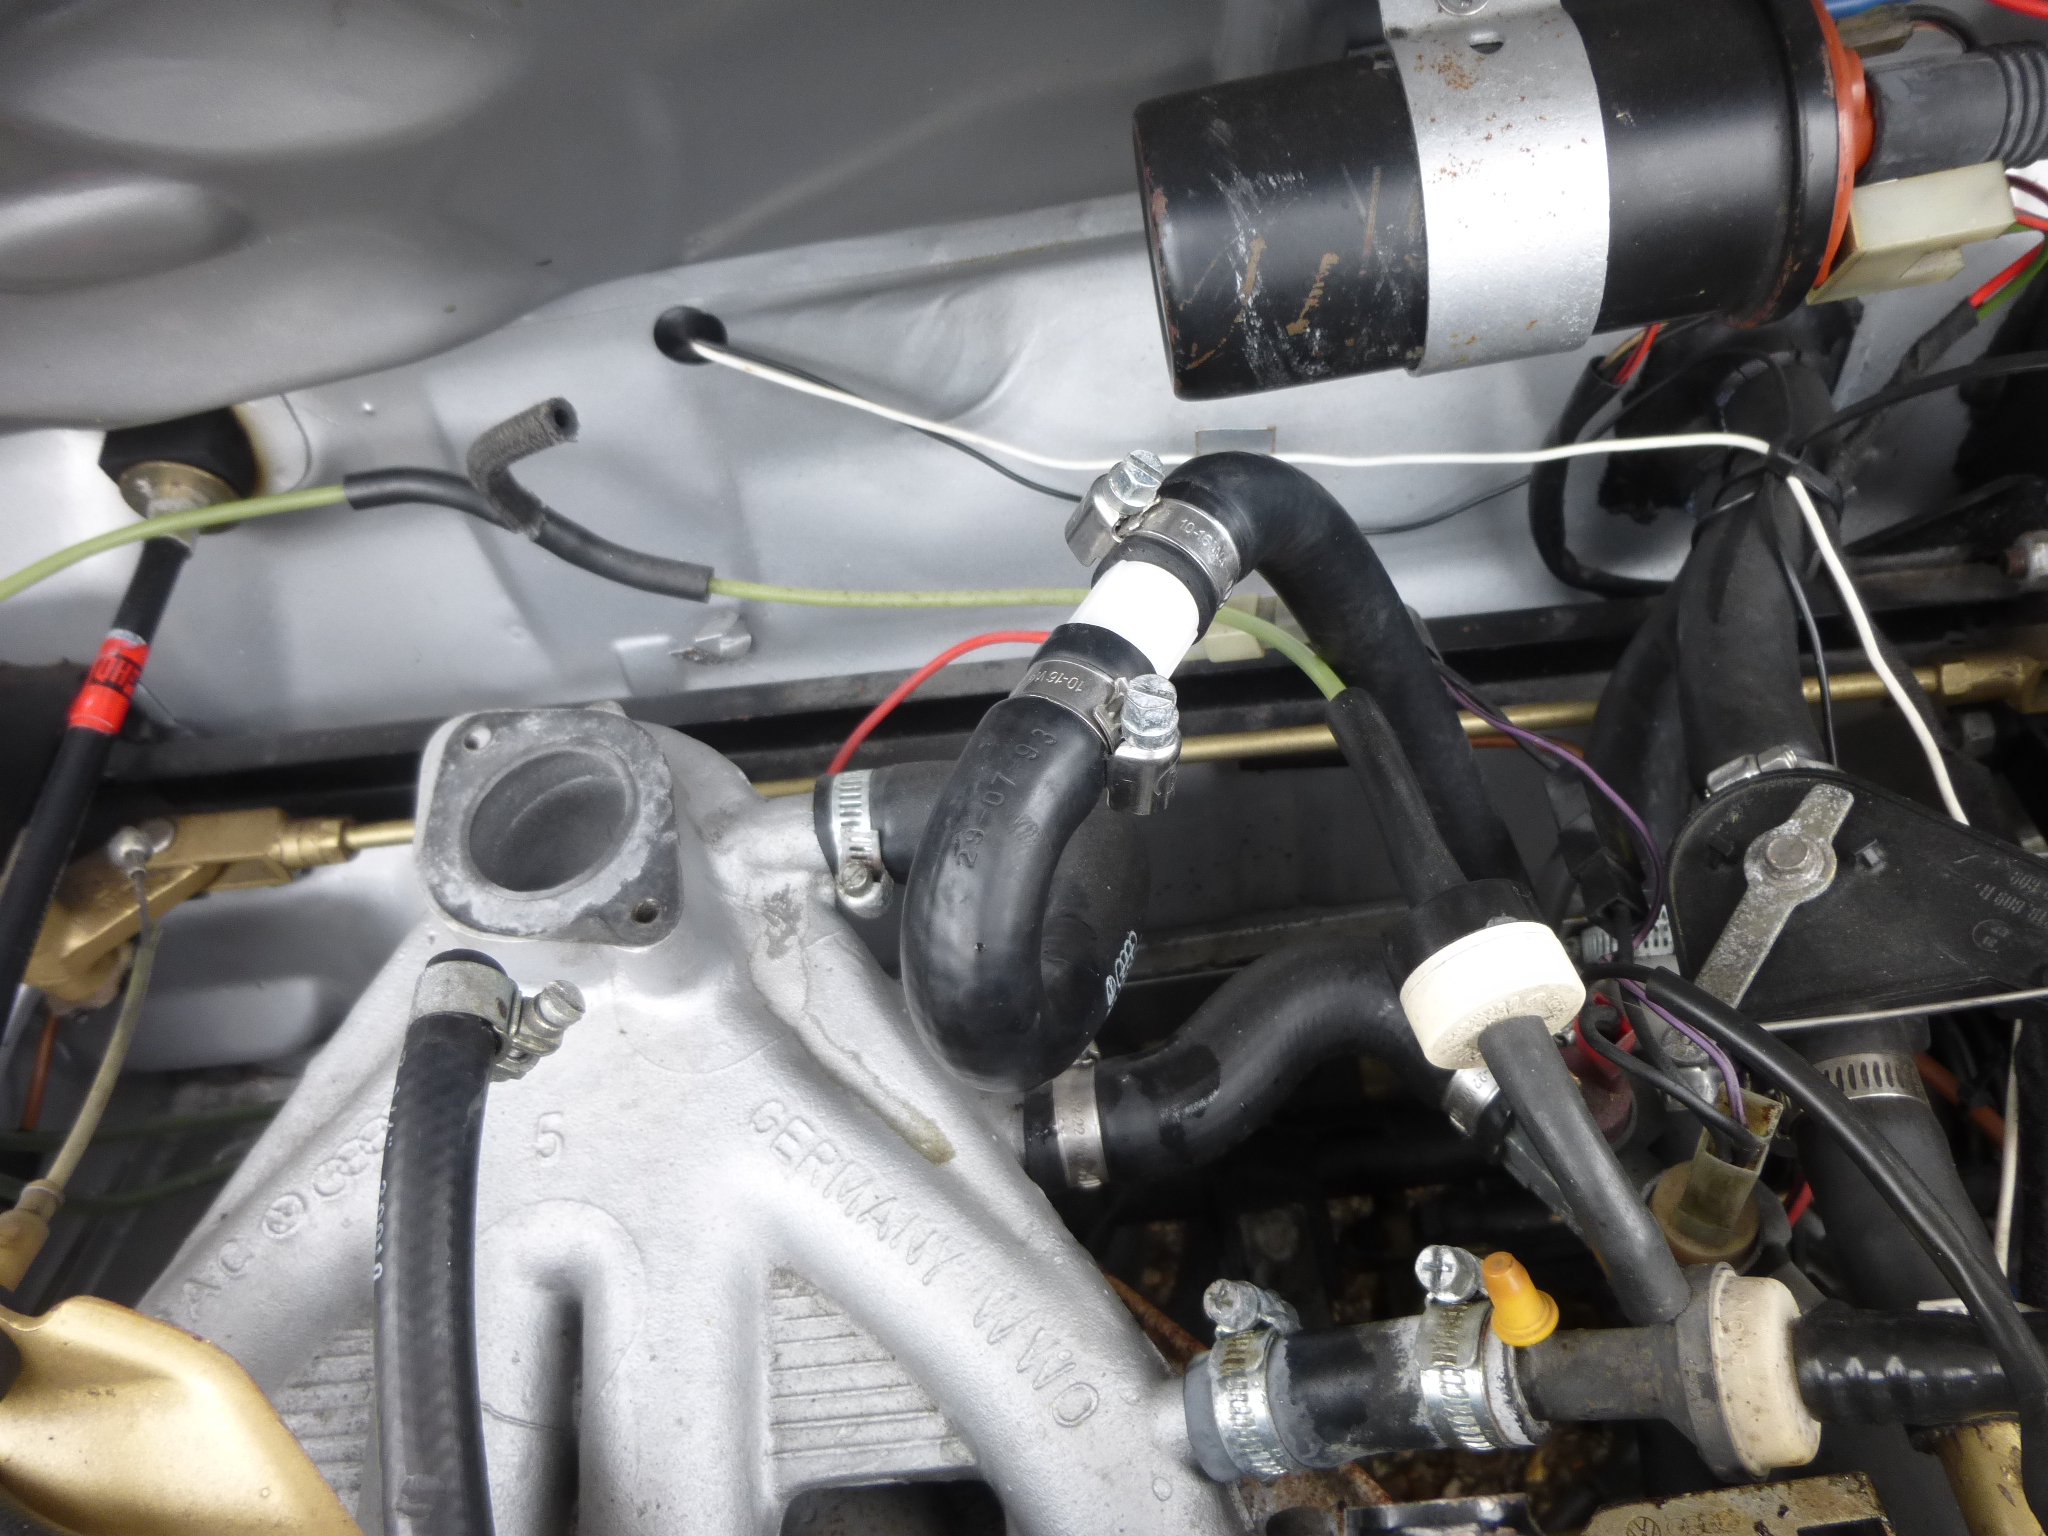
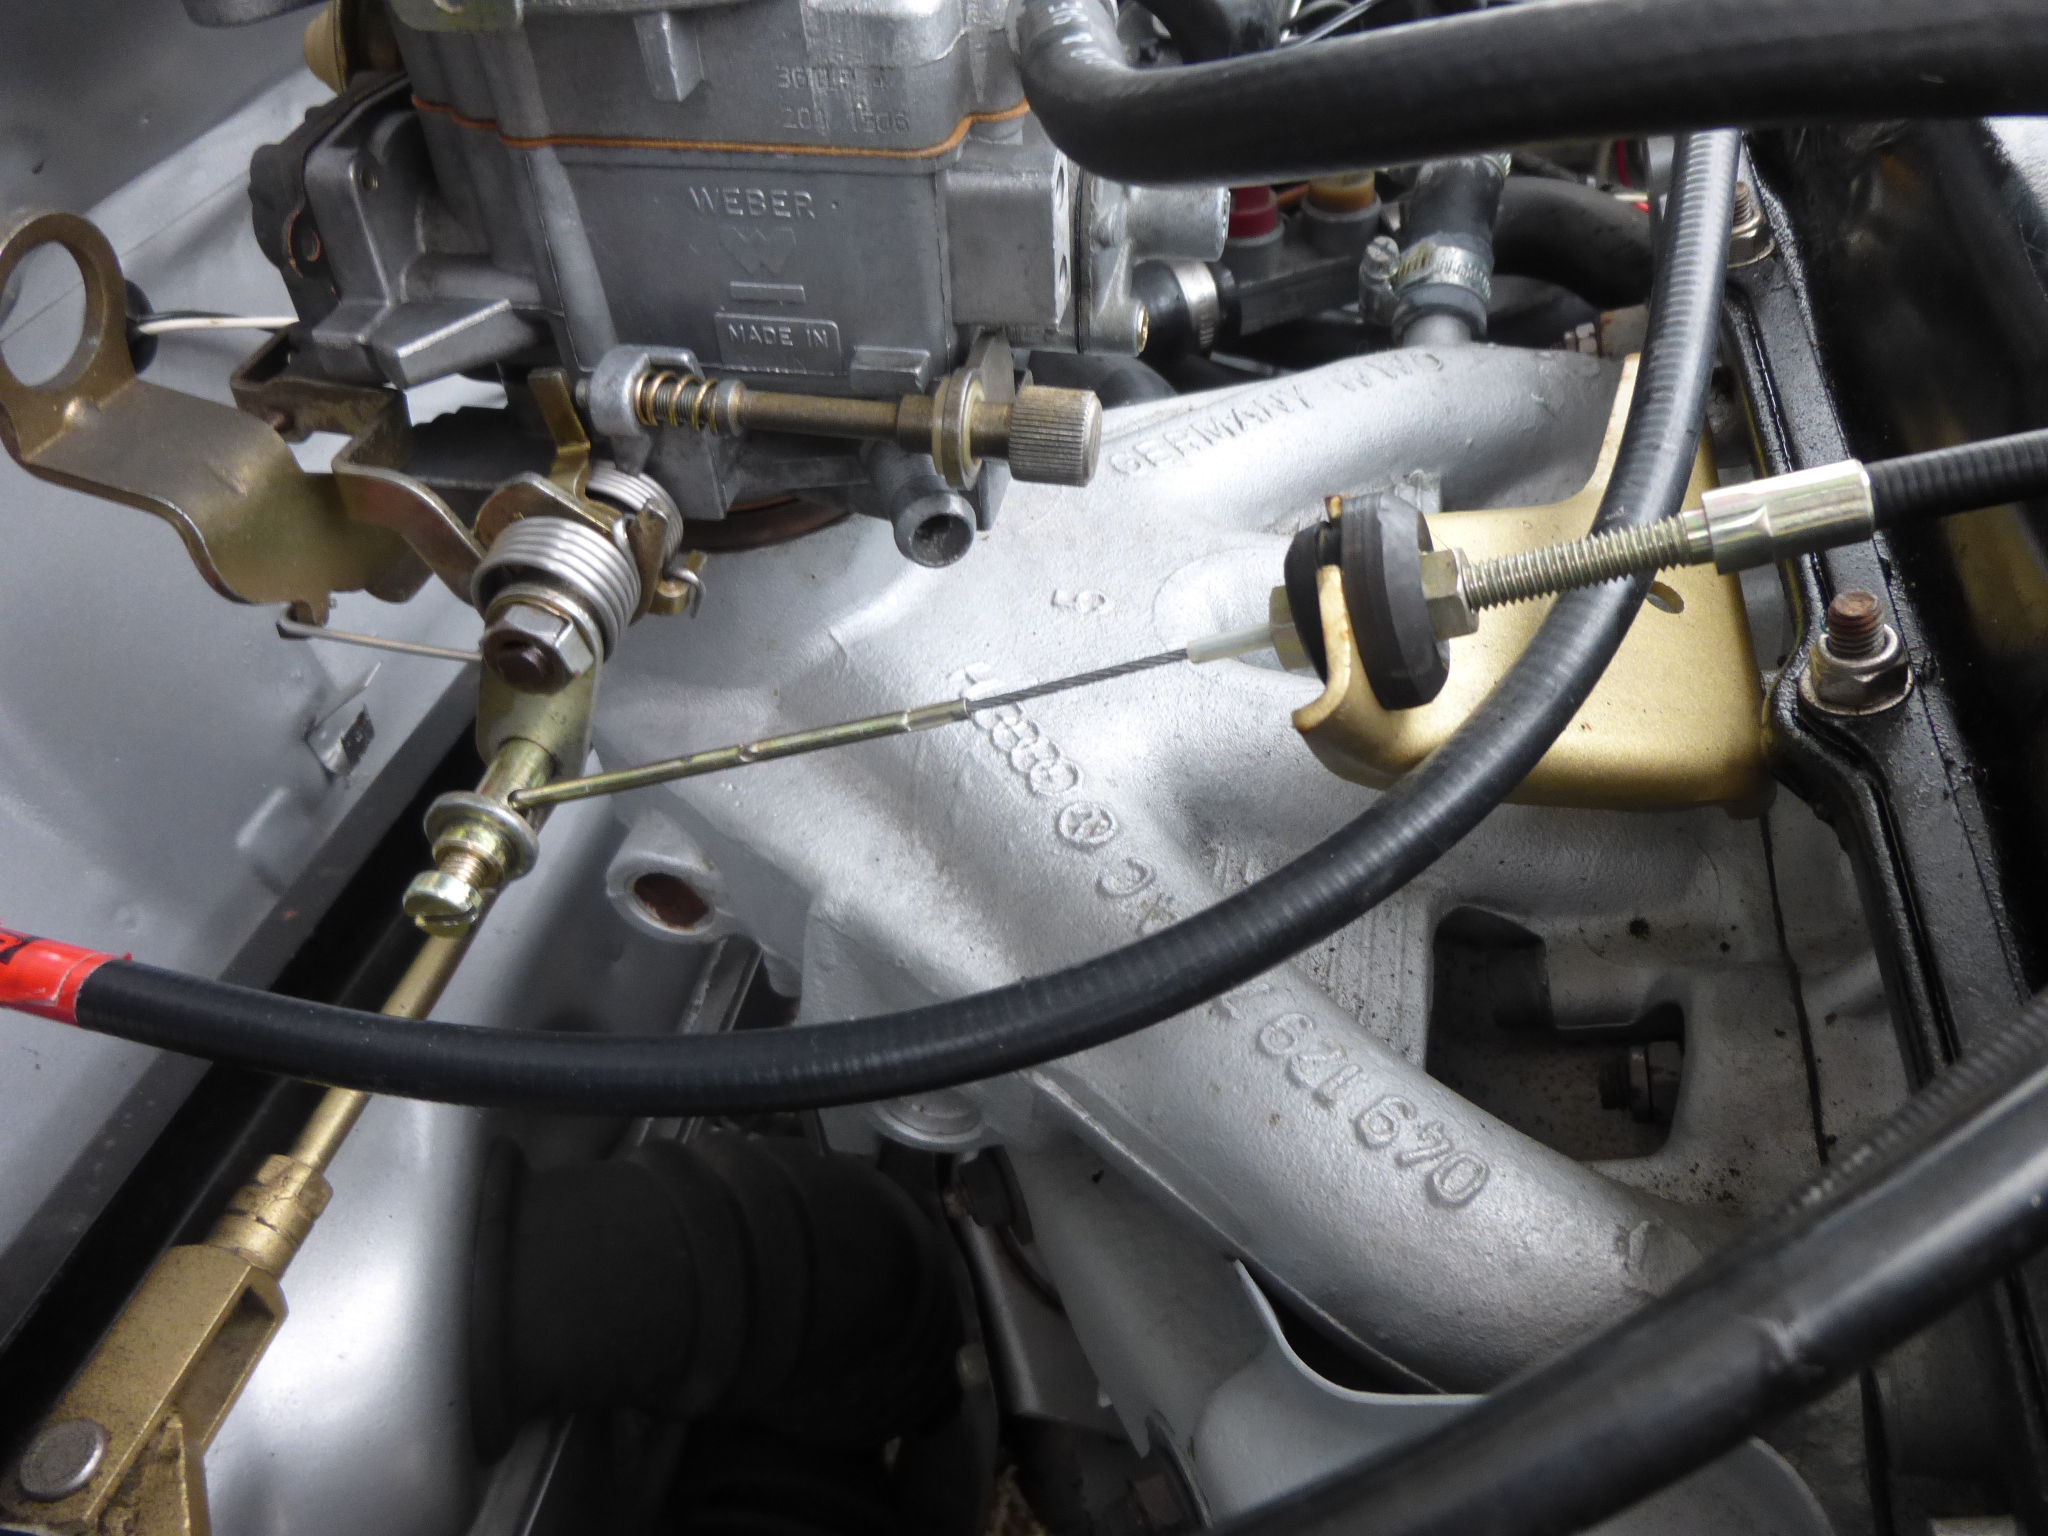
TLP36 in place, to fit the existing air cleaner, you must have the bracket fitted to the top of the carb.
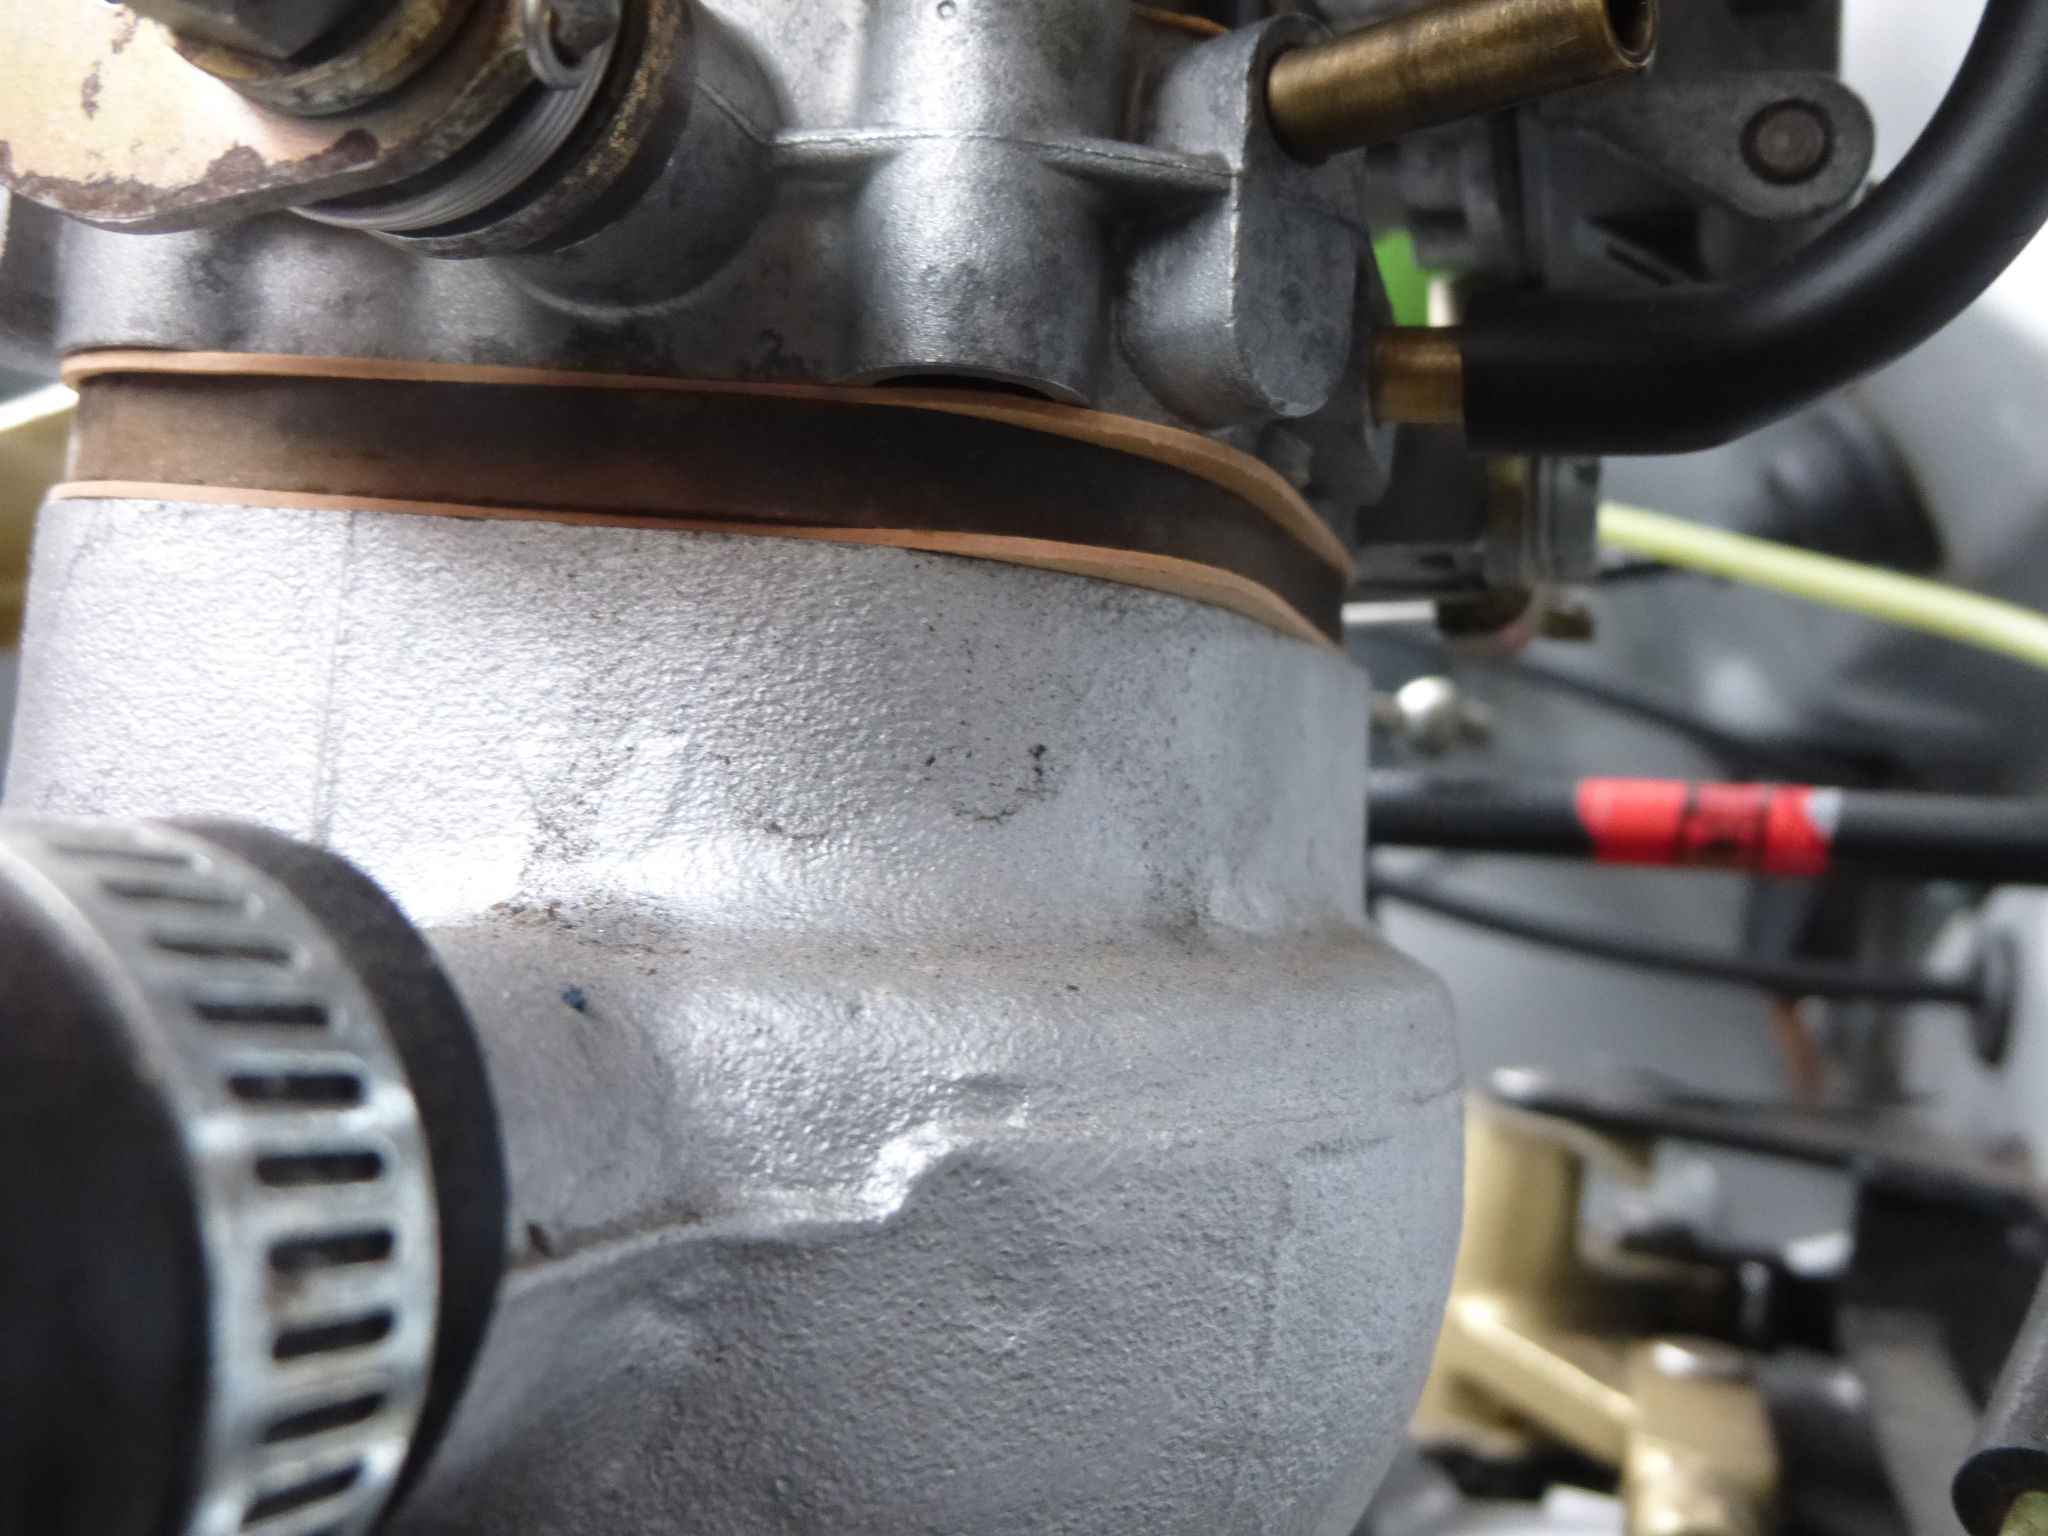
and keep the thick spacer with gaskets:
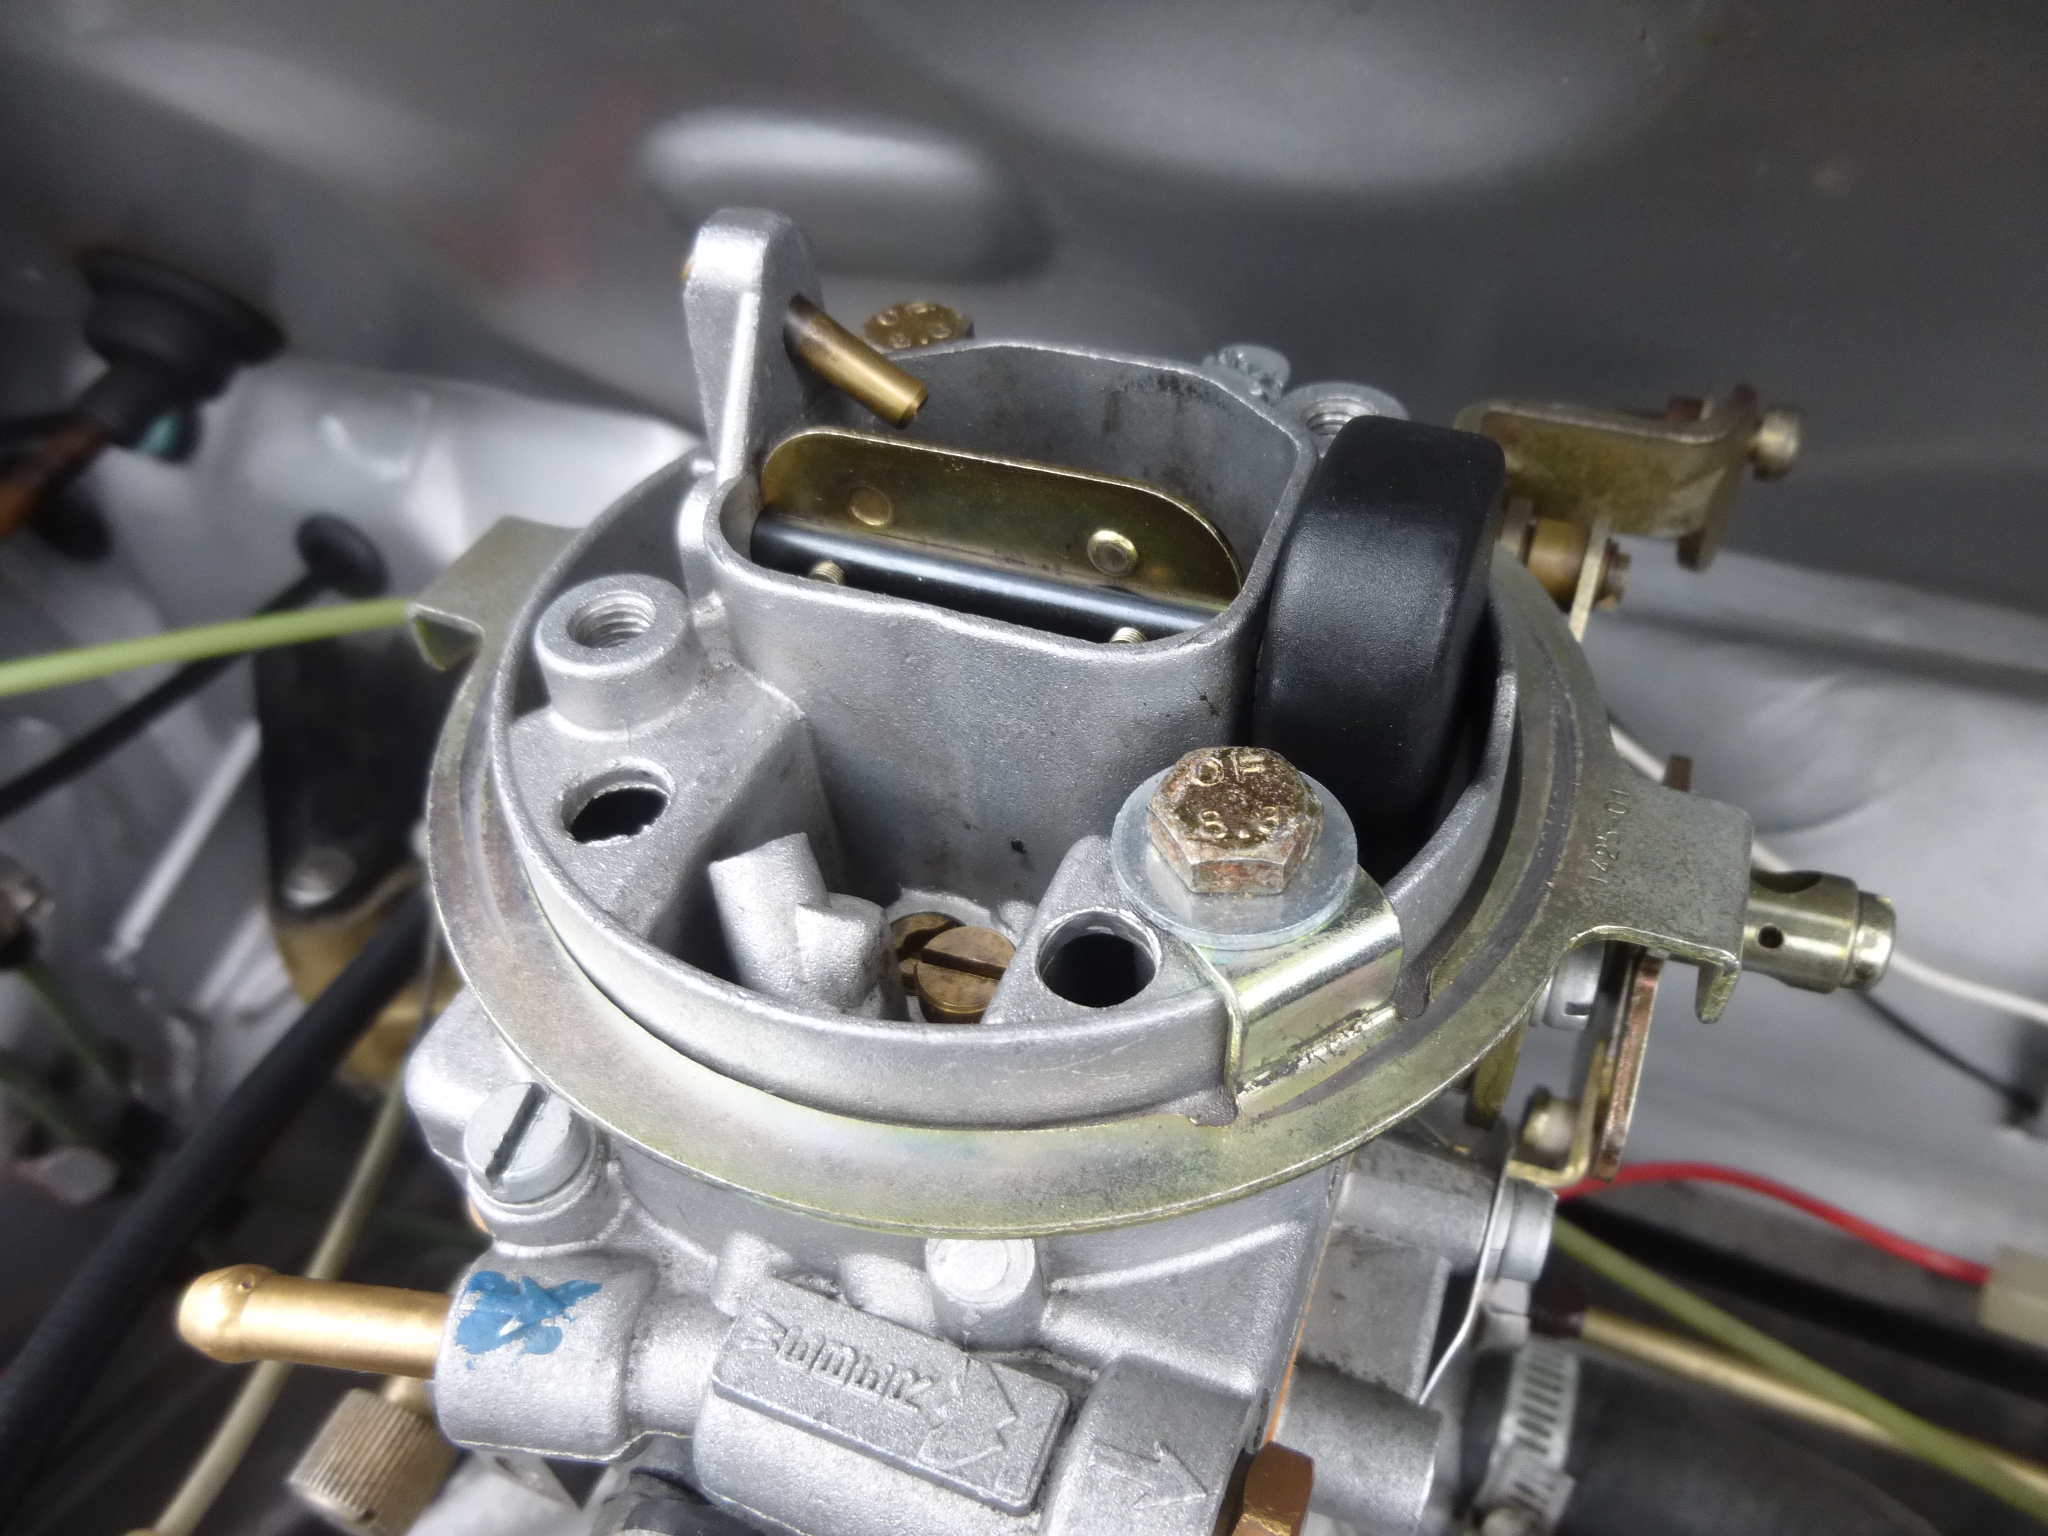
Thick spacer and gaskets required:
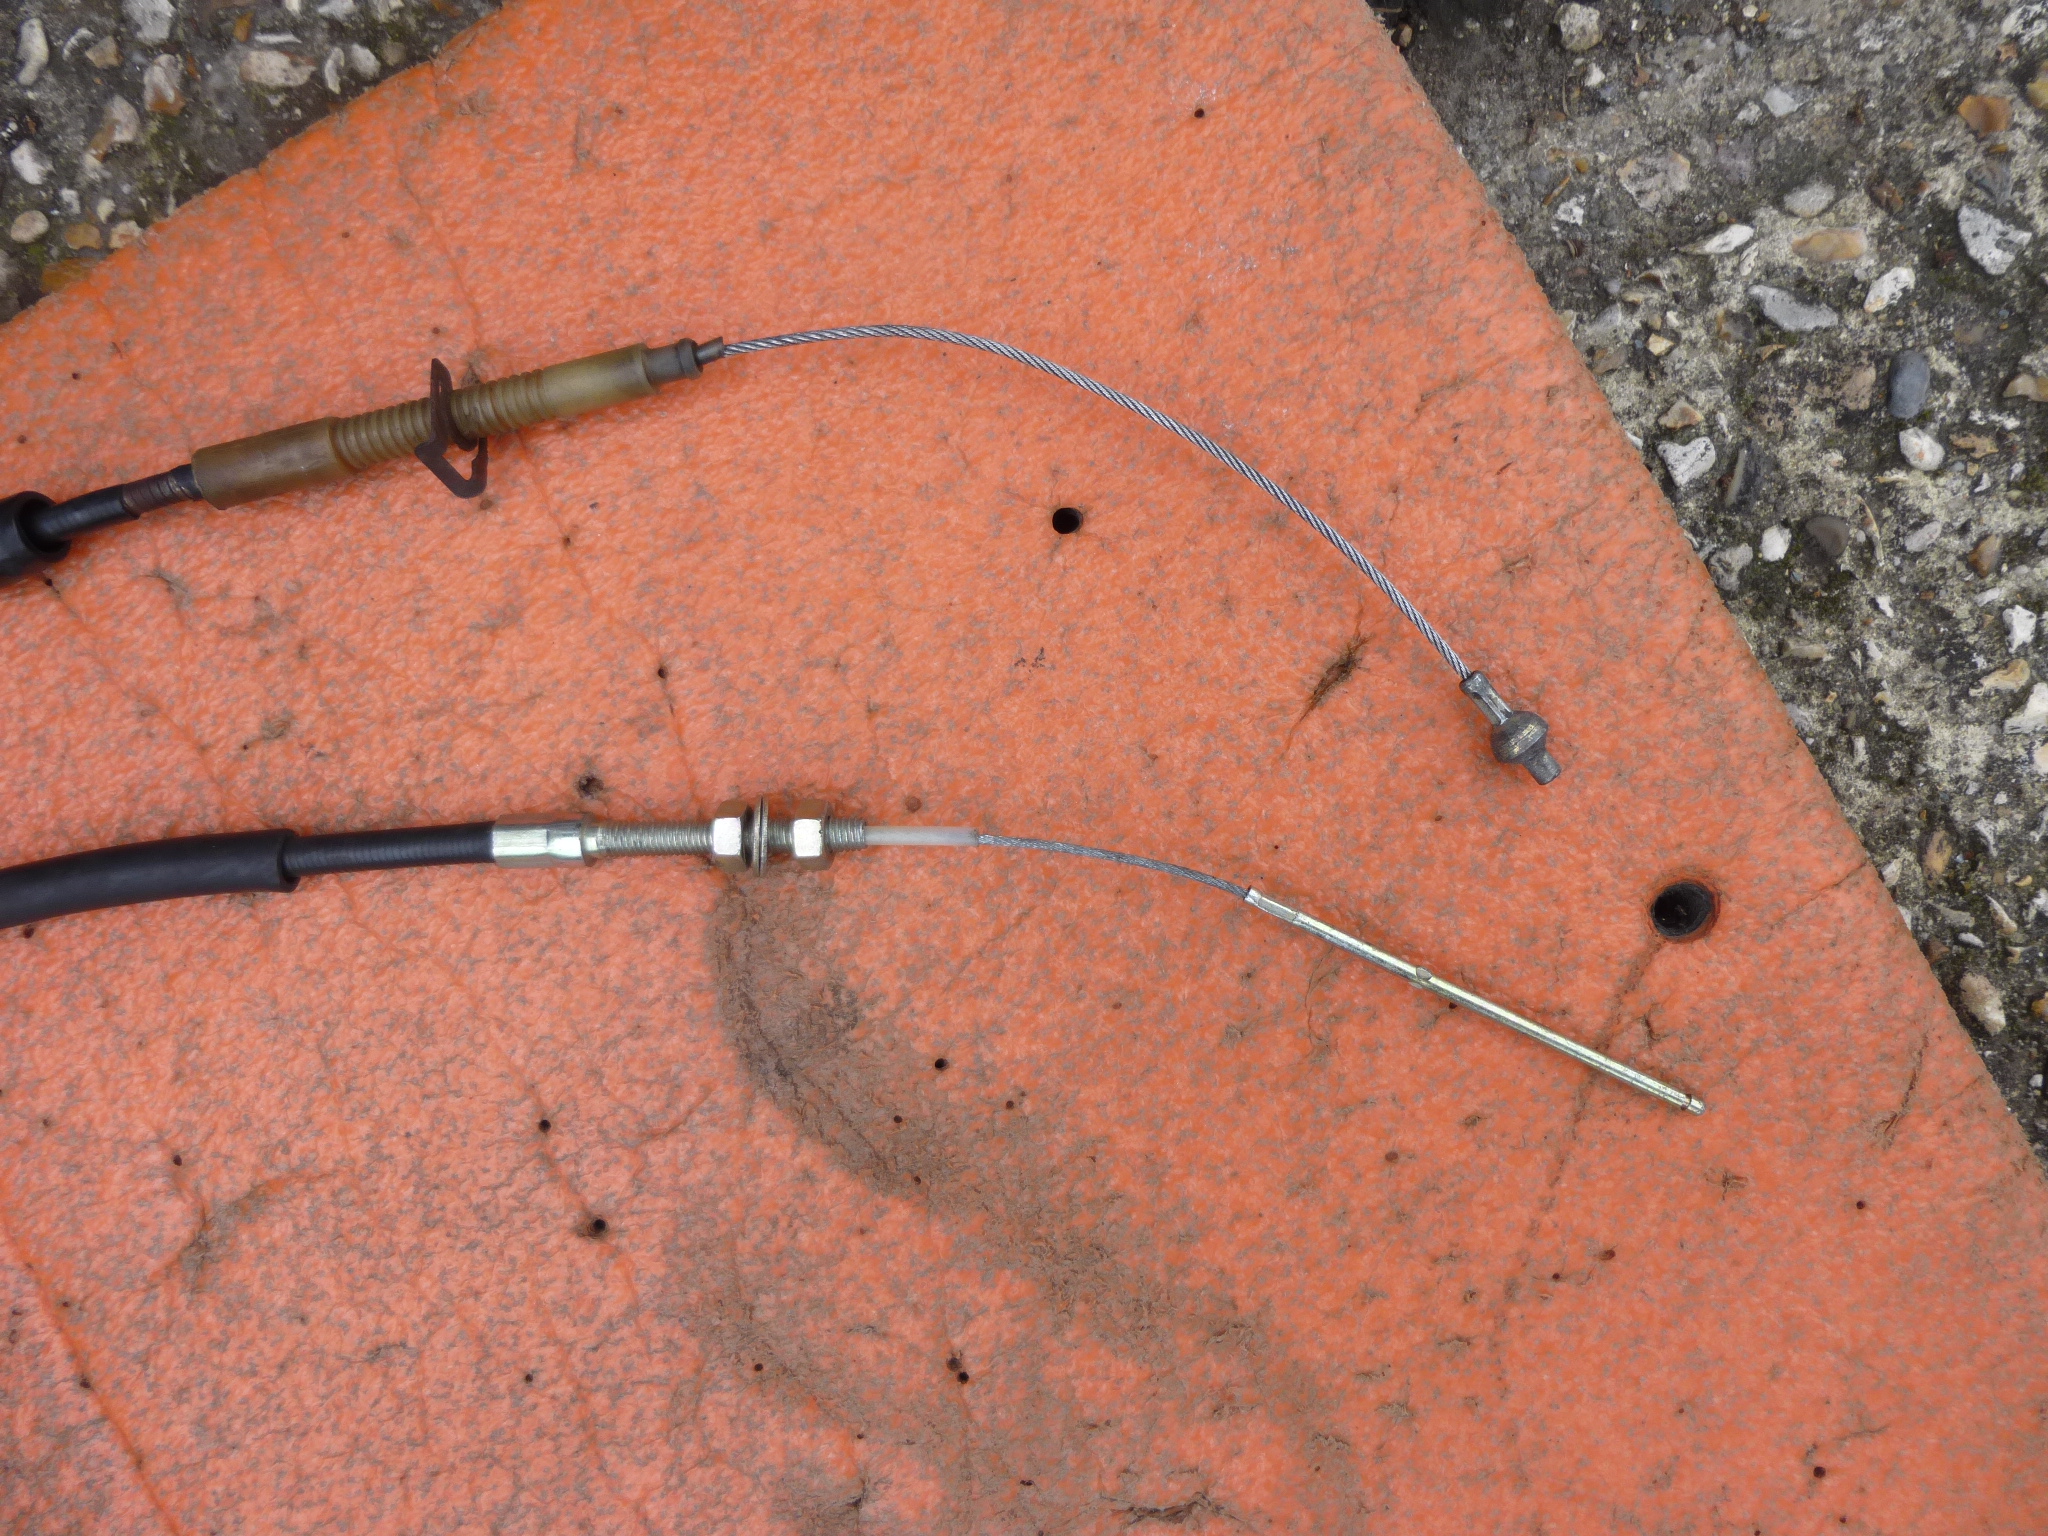
I previously purchased an alternative VW accelerator cable to save cutting off the nipple for the original Pierberg 1B3.
The straight end was OK for the TLP 36, but a bit awkward for the TLP34 as it has a quadrant for the cable to go around. I might revert and cut the nipple and refit the original.
Choke cable fitted:
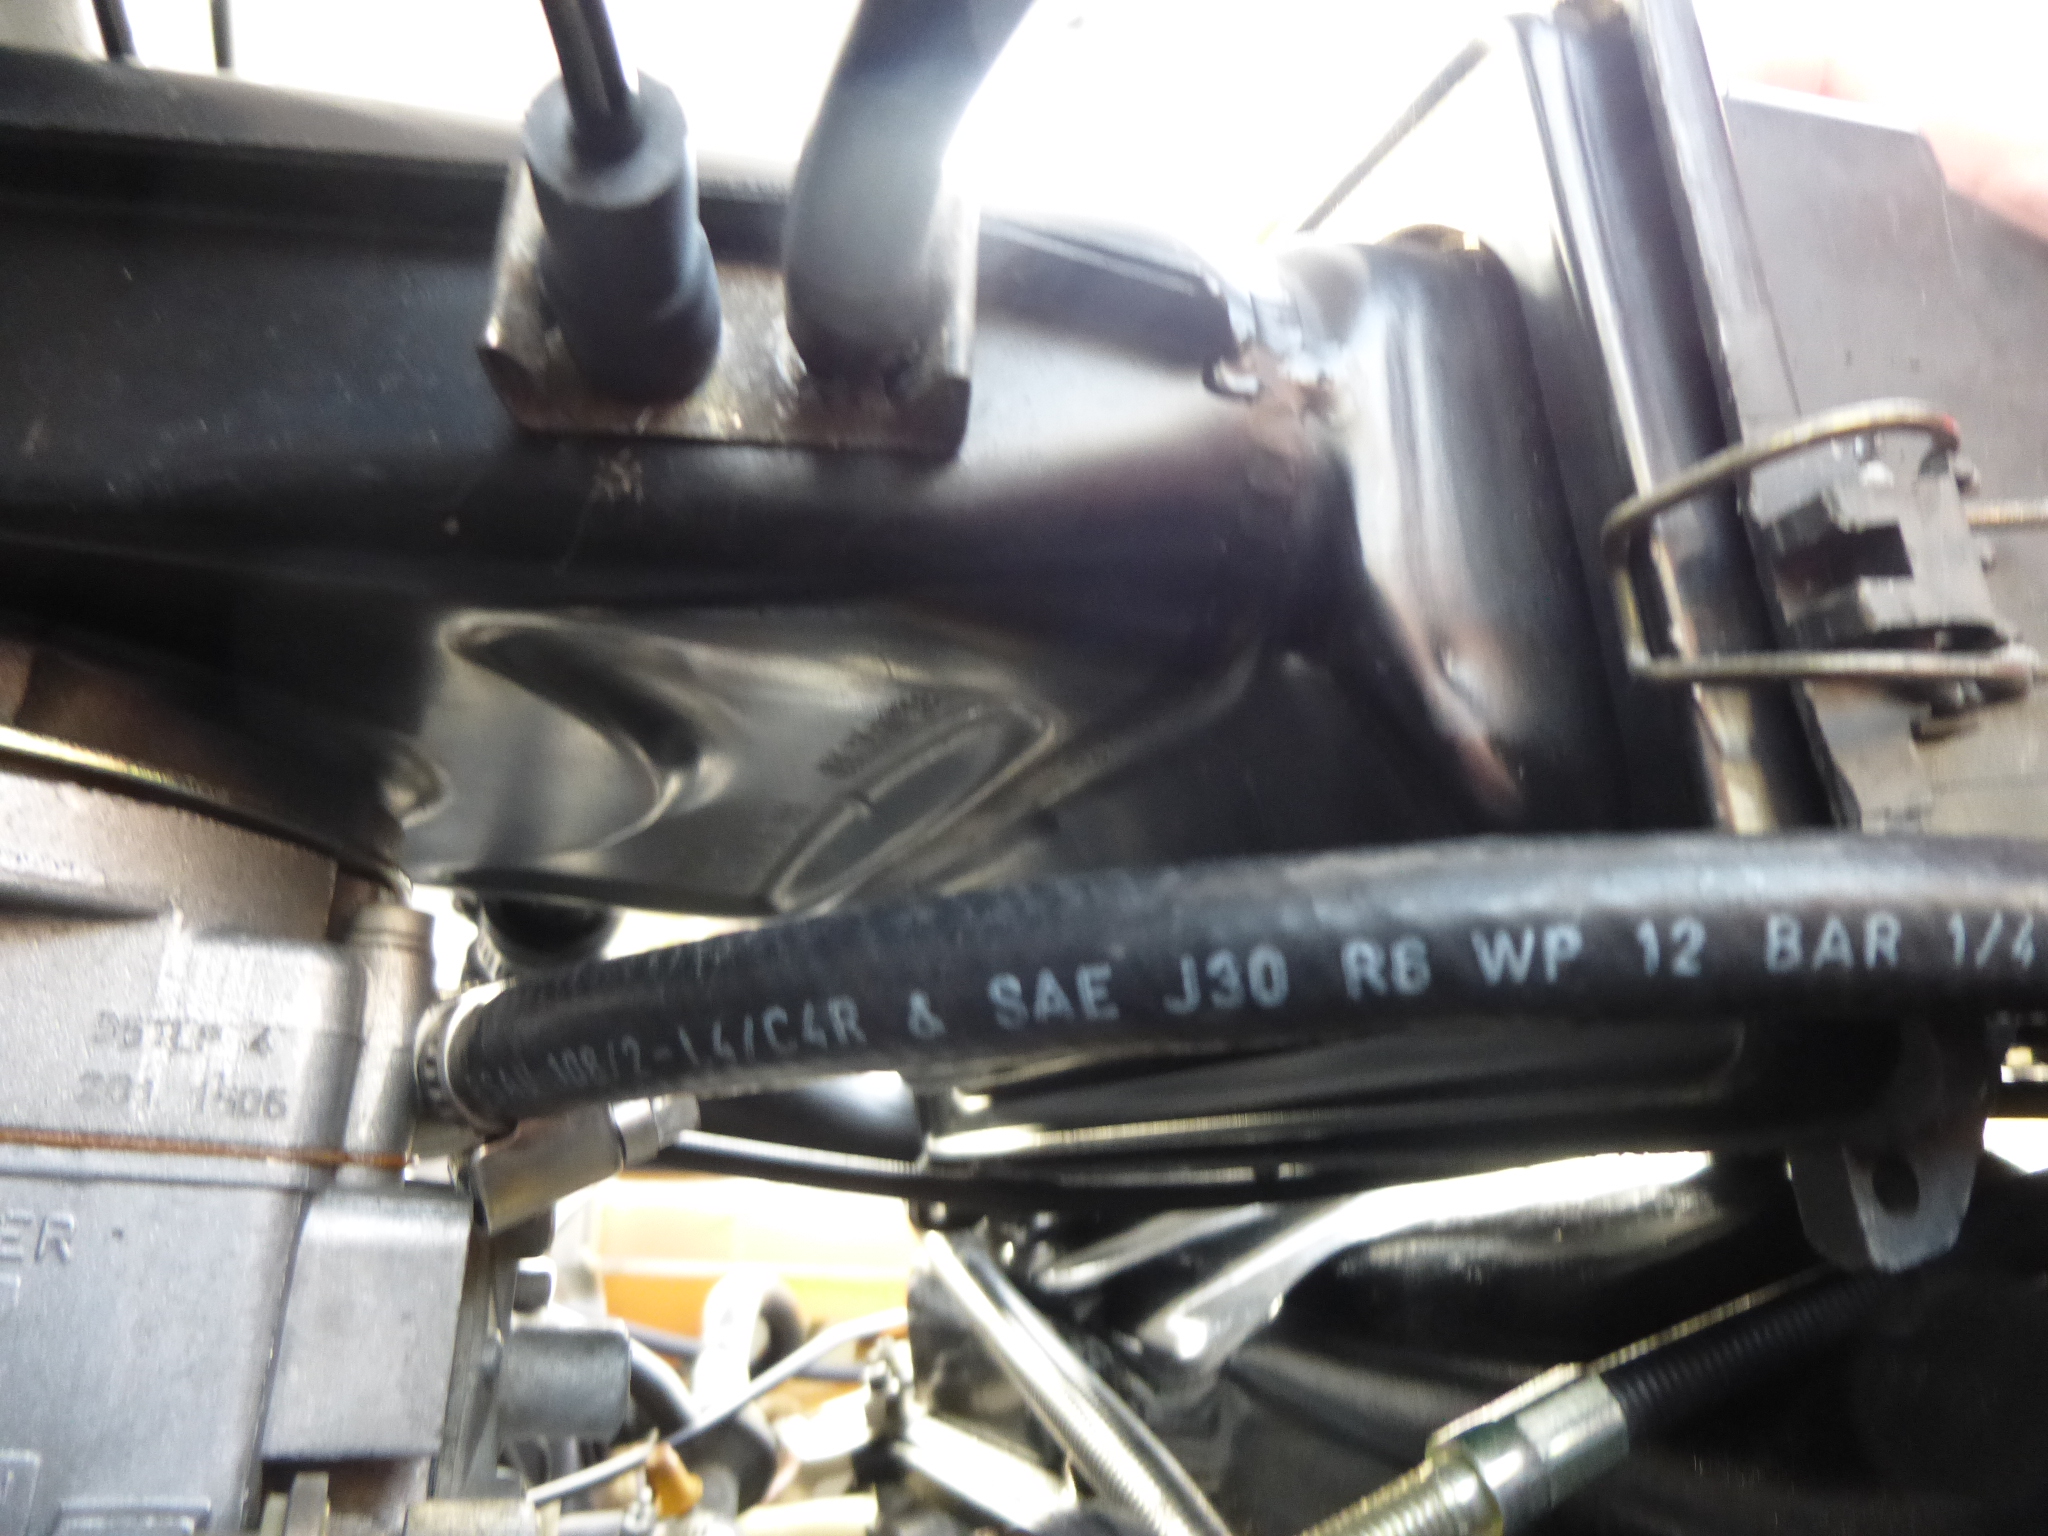
Air Cleaner, fuel and vacuum pipes fitted.
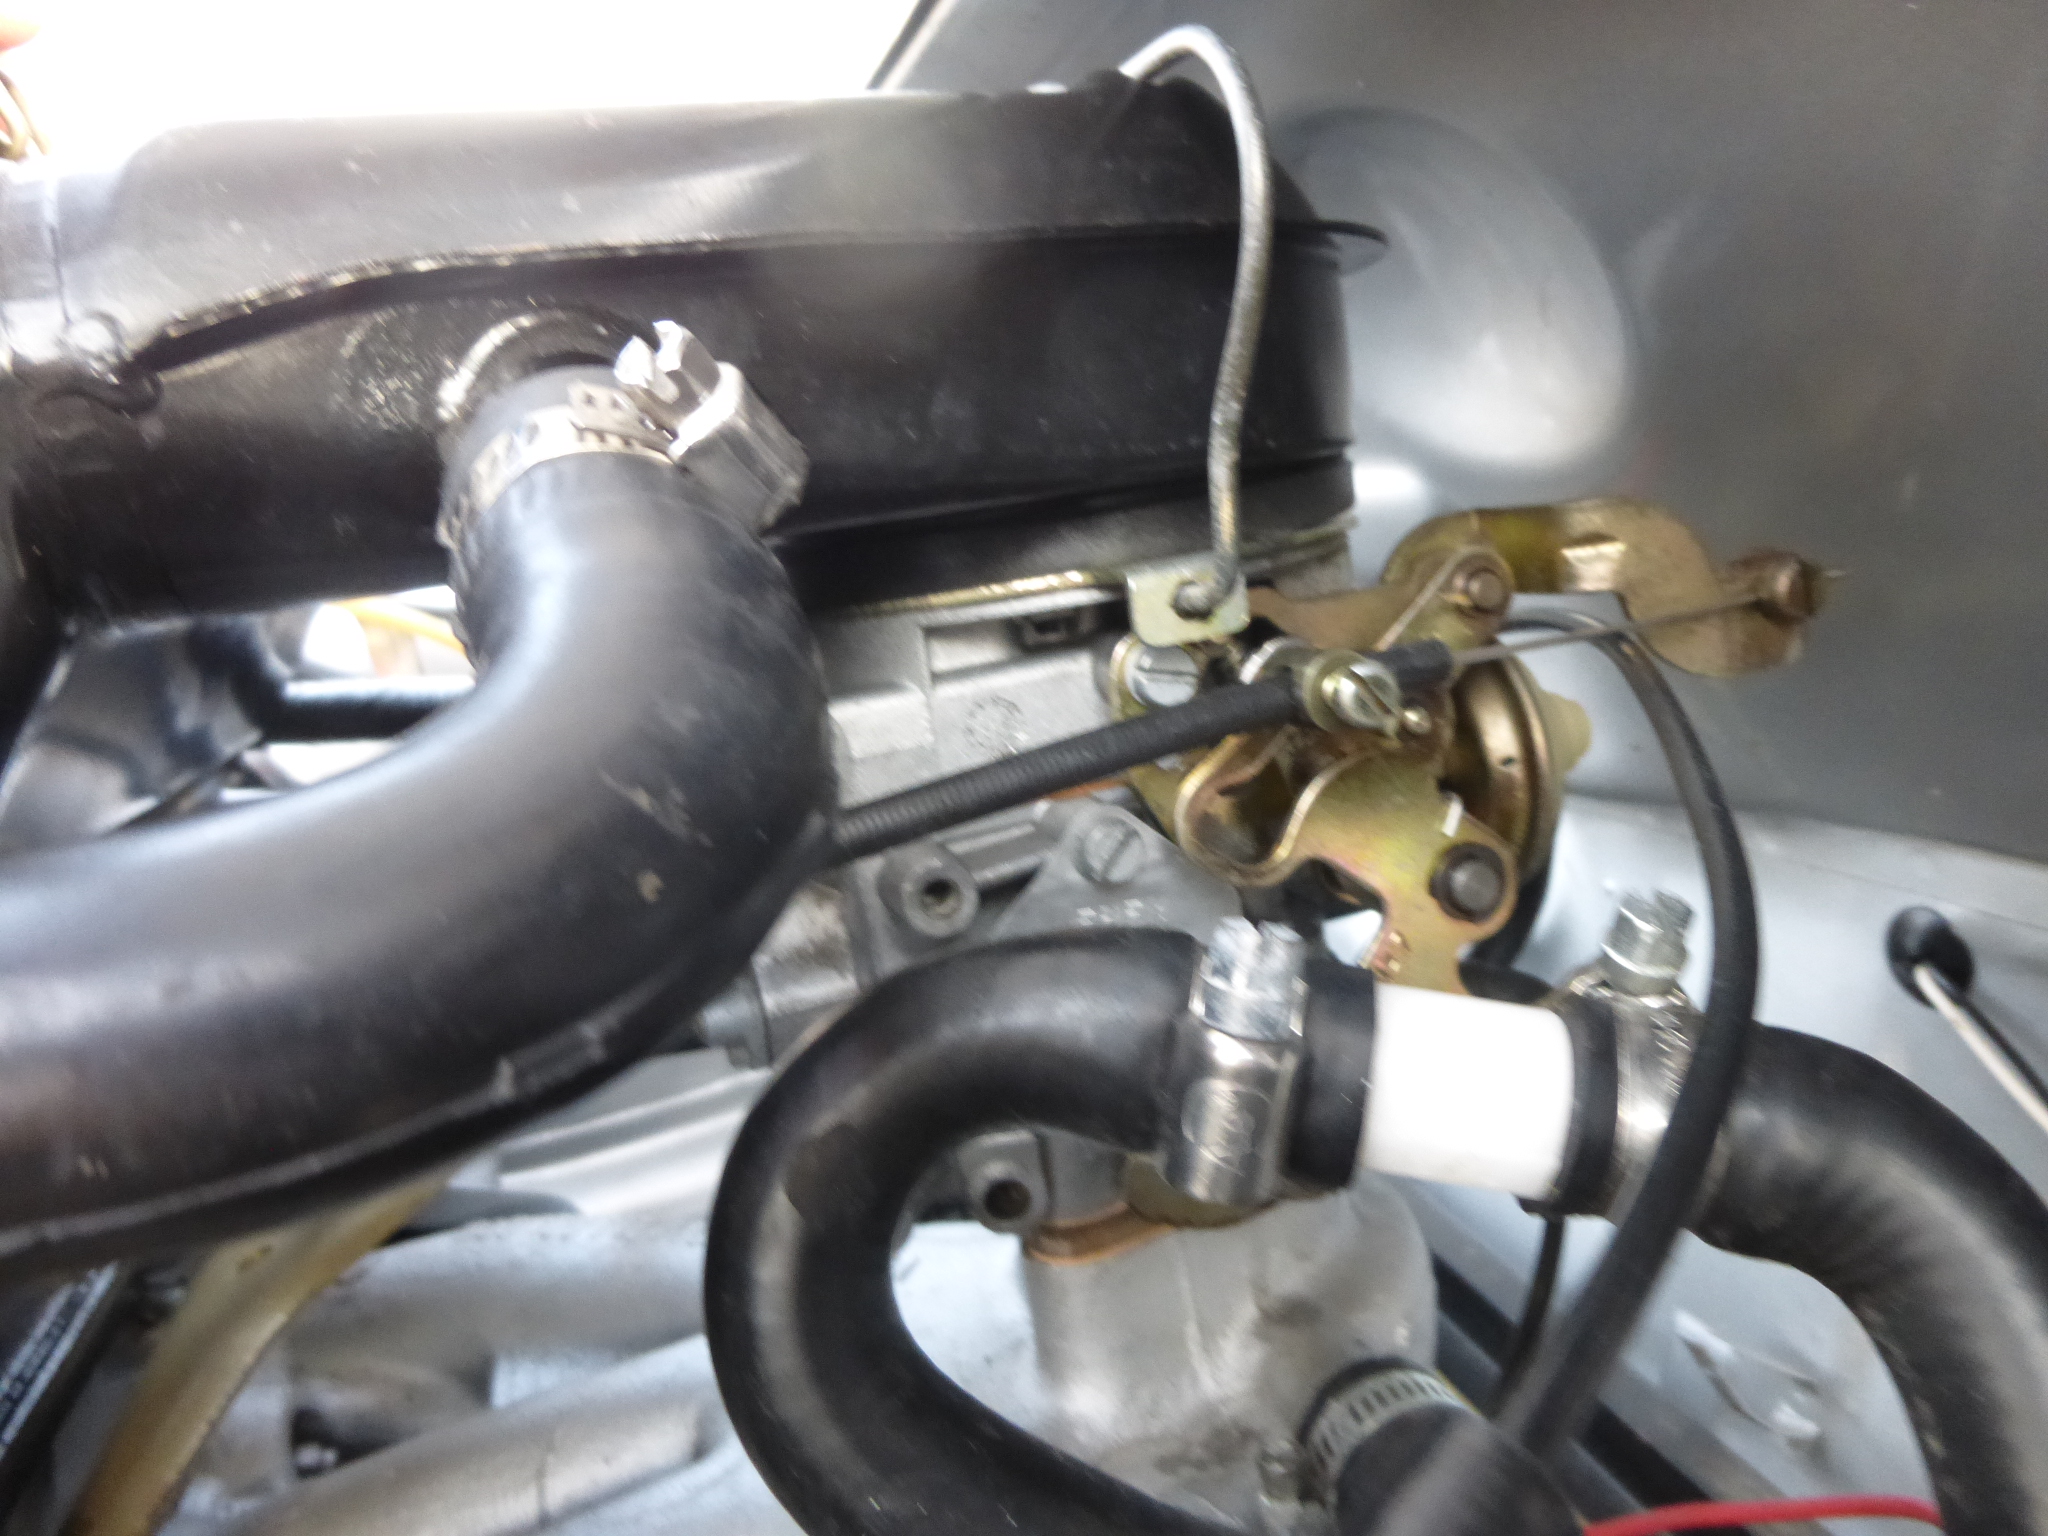
Idling Screw:
Mixture Screw just above the mounting gasket and spacer:
Posted
Settled In

GarytheGolf
Gesendet von iPhone mit Tapatalk
Posted
Local Hero


Stanford Hall '17? …AGM '17?
Andy
LINCOLNSHIRE REGION - https://www.facebook.com/groups/467122313360002/
1983 MK1 Golf GTI Campaign Model - Under (looooong) resto!
1962 Rover P4 80
2002 BMW 745i
2008 BMW Z4 2.5Si
LINCOLNSHIRE REGION - https://www.facebook.com/groups/467122313360002/
1983 MK1 Golf GTI Campaign Model - Under (looooong) resto!
1962 Rover P4 80
2002 BMW 745i
2008 BMW Z4 2.5Si
Posted
Old Timer


I did however manage to go to Simply VW at Beaulieu, Stanford Hall and the Departure Lounge at Alton (with Dave Watson) this year.
Malcolm
Posted
Local Hero


Andy
LINCOLNSHIRE REGION - https://www.facebook.com/groups/467122313360002/
1983 MK1 Golf GTI Campaign Model - Under (looooong) resto!
1962 Rover P4 80
2002 BMW 745i
2008 BMW Z4 2.5Si
LINCOLNSHIRE REGION - https://www.facebook.com/groups/467122313360002/
1983 MK1 Golf GTI Campaign Model - Under (looooong) resto!
1962 Rover P4 80
2002 BMW 745i
2008 BMW Z4 2.5Si
0 guests and 0 members have just viewed this: None.


