"TAG" - 1983 Campaign restoration blog
Posted
Old Timer


Out of interest, is the heat shield around the gear selector original or can you still get them? - mine is missing that bit. Also, is that new plastic bit on the selector finger?
Cheers,
J
Posted
Old Timer


Seriously looking superb by the way 👌
Posted
Old Timer


Good advice - thanks Malcolm!
1983 Golf GTi Campaign Edition, Diamond Silver
http://vwgolfmk1.org.uk/forum/index.php?page=topicview&id=projects%2Fyour-mk1-golfs_2%2F-tag-1983-campaign&redirected=1#post_1551531
http://vwgolfmk1.org.uk/forum/index.php?page=topicview&id=projects%2Fyour-mk1-golfs_2%2F-tag-1983-campaign&redirected=1#post_1551531
Posted
Old Timer


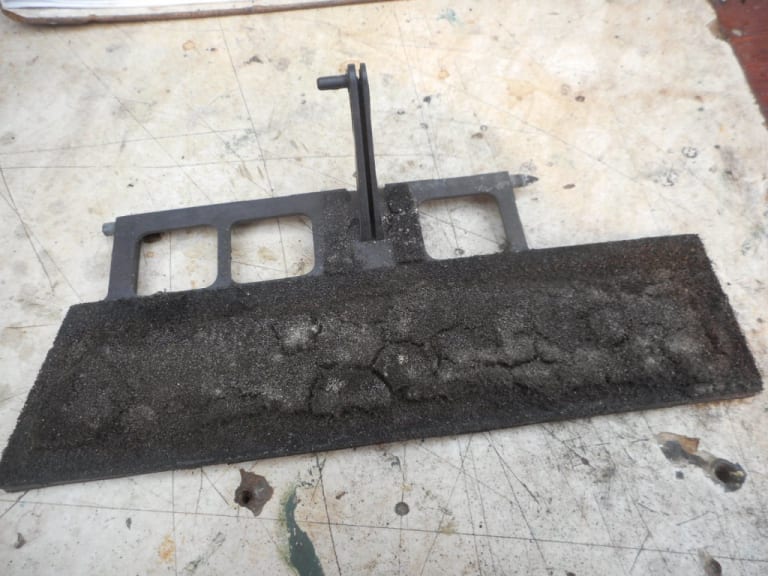
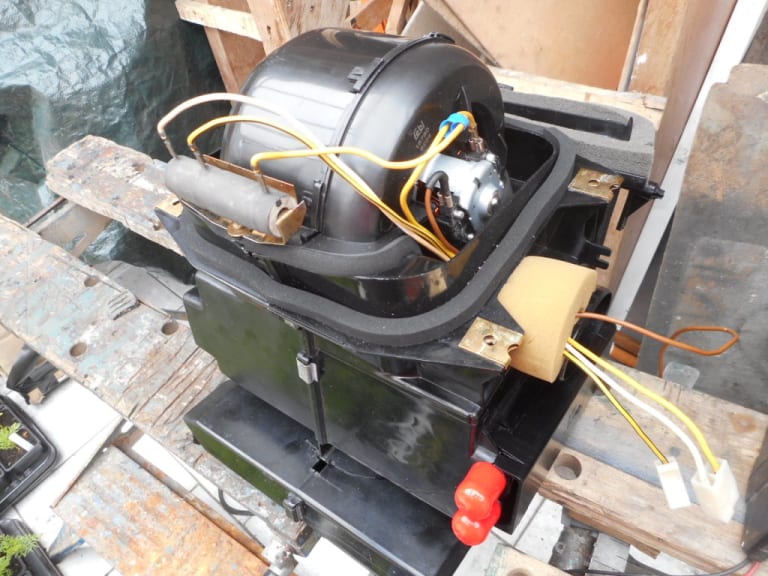
First off the heater box. I dismantled this & removed all the years of debris inside.
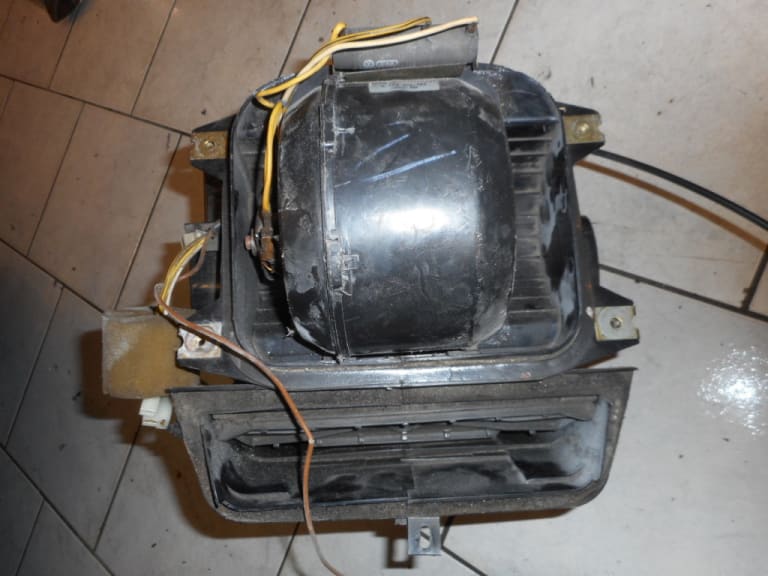
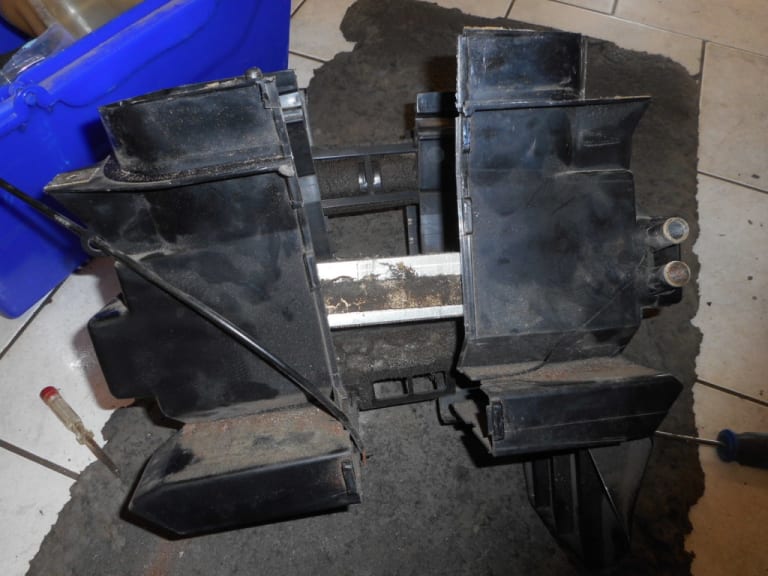
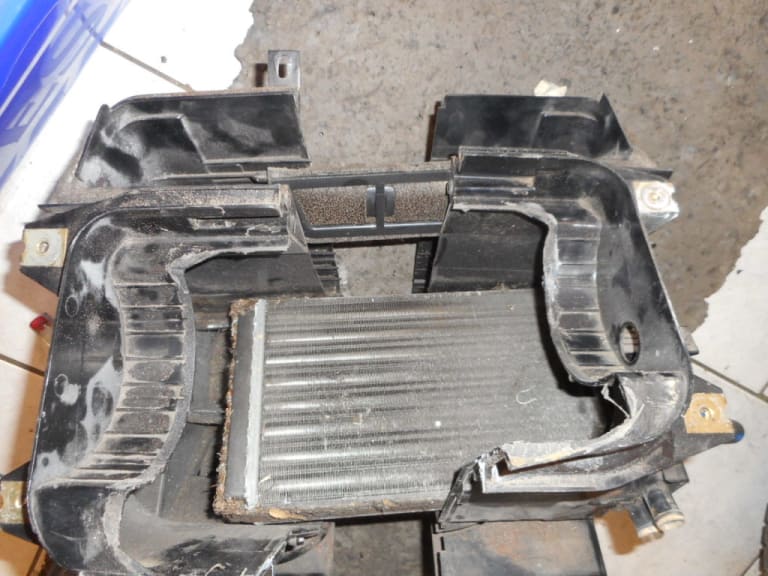
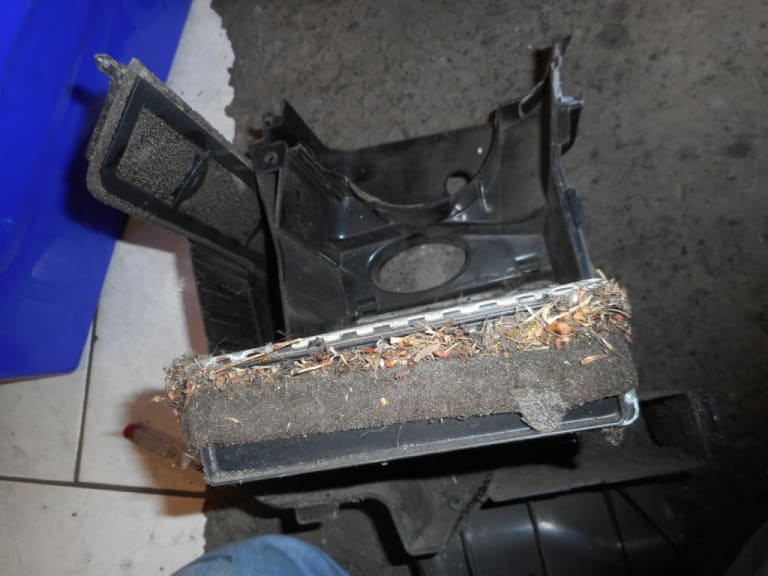
I could see immediately that the main seals between it and the body were perished and needed replacement. Also the two heater air flaps foam coverings had also badly deteriorated and needed attention.
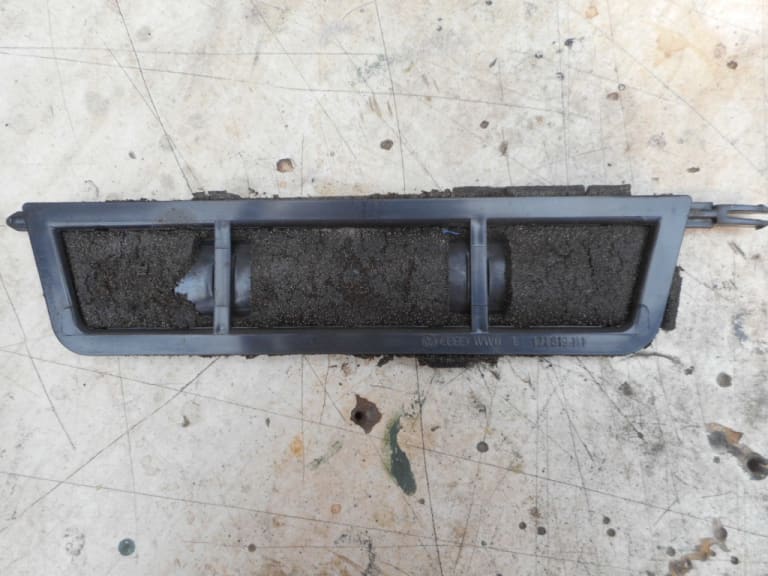
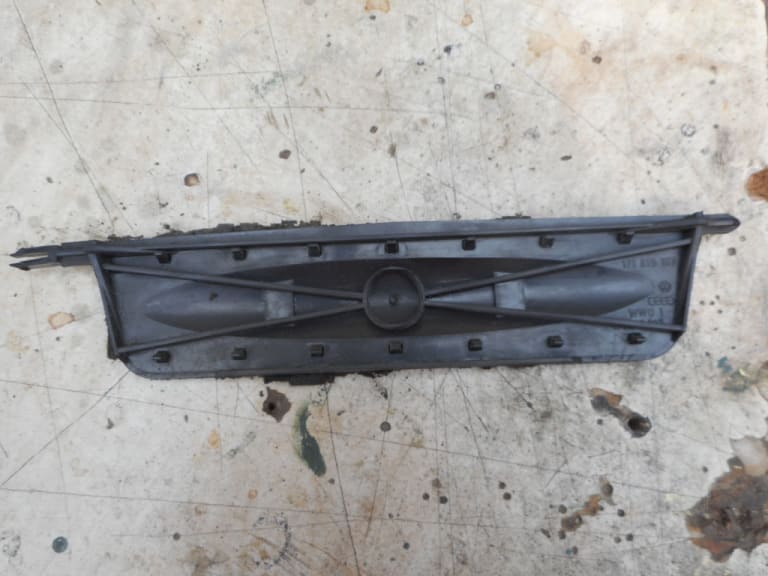
It was a simple job of separating the two halves and then using some old foam headlining making a new section.
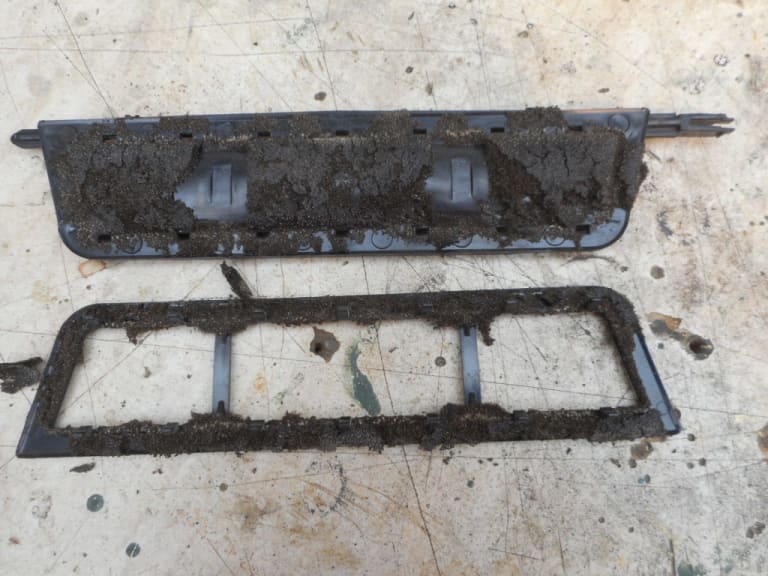
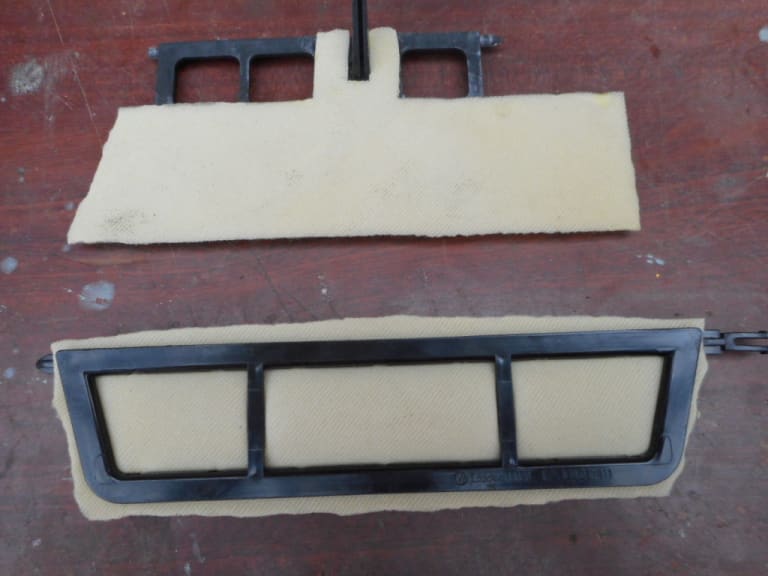
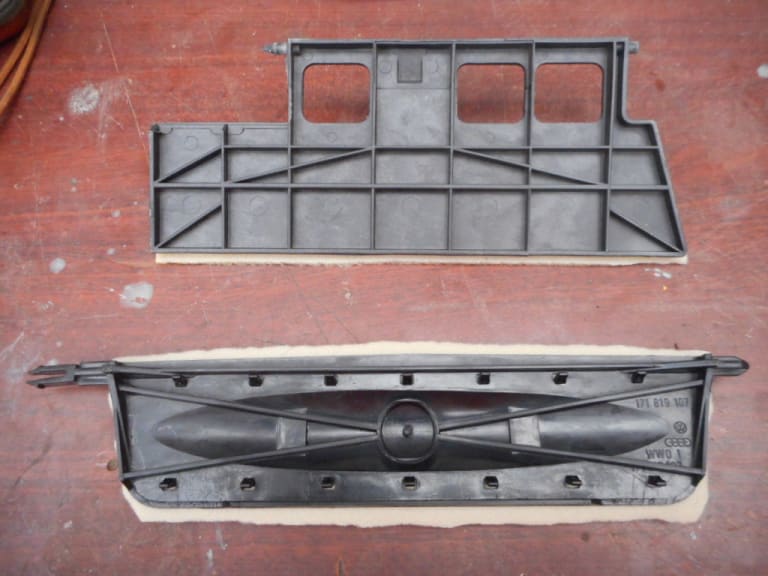
Then a matter of reassembly.
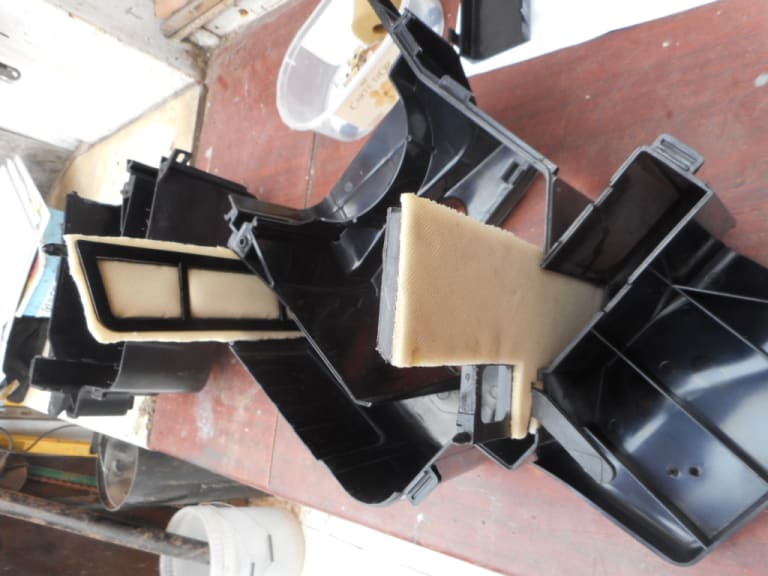
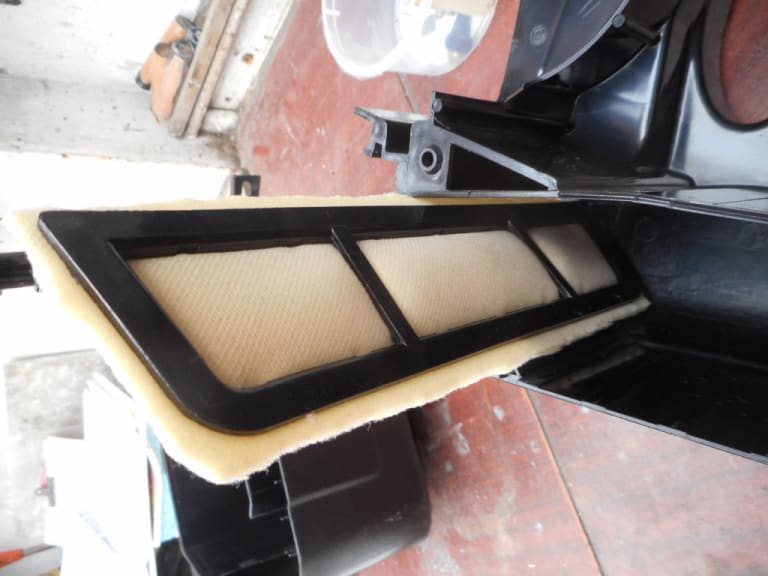
New heater matrix fitted and new foam seals.
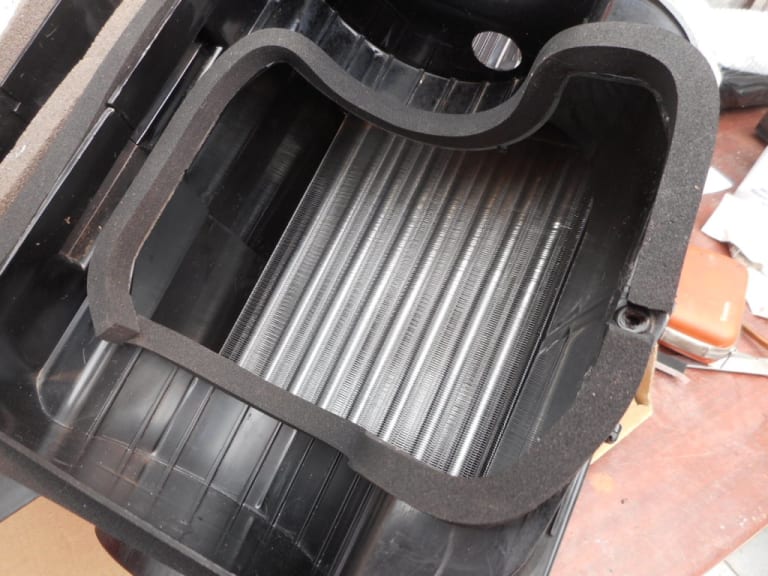
Finally looking rather better than before and should hopefully work rather better!
1983 Golf GTi Campaign Edition, Diamond Silver
http://vwgolfmk1.org.uk/forum/index.php?page=topicview&id=projects%2Fyour-mk1-golfs_2%2F-tag-1983-campaign&redirected=1#post_1551531
http://vwgolfmk1.org.uk/forum/index.php?page=topicview&id=projects%2Fyour-mk1-golfs_2%2F-tag-1983-campaign&redirected=1#post_1551531
Posted
Old Timer
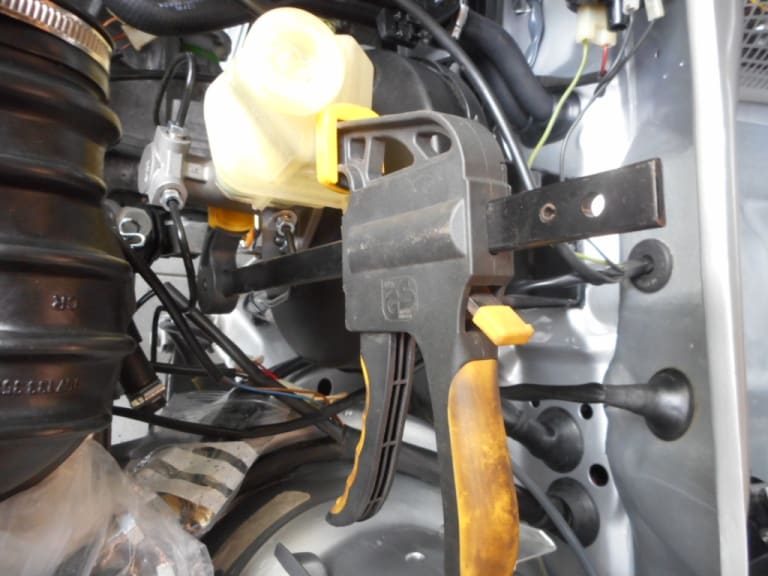
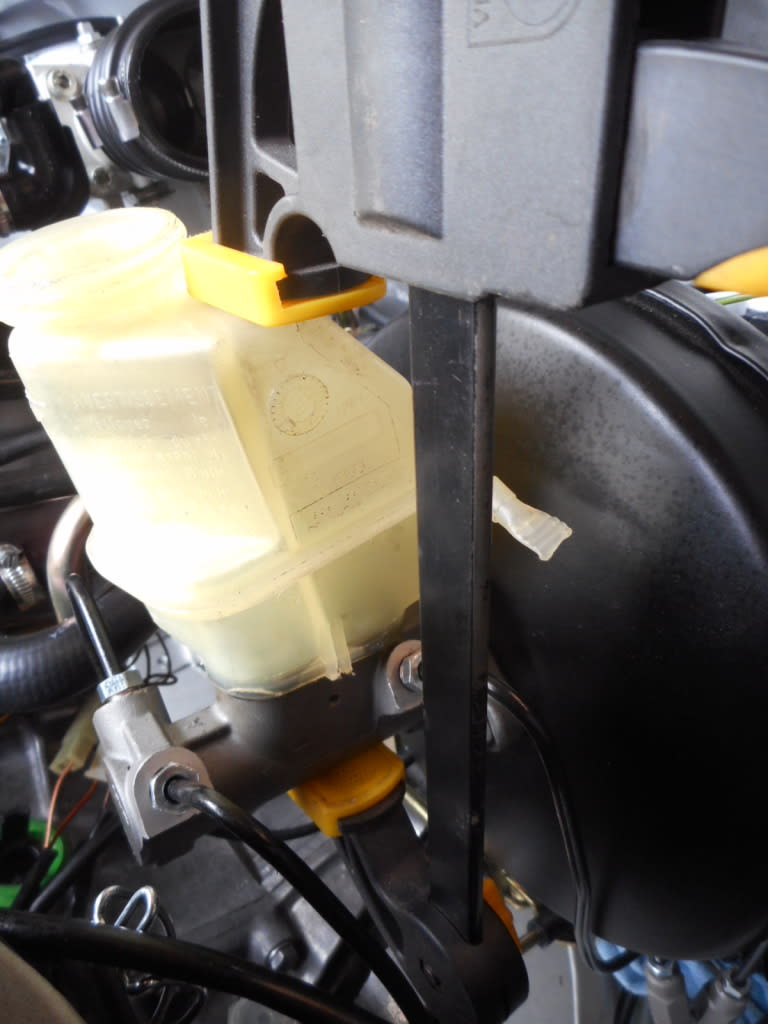


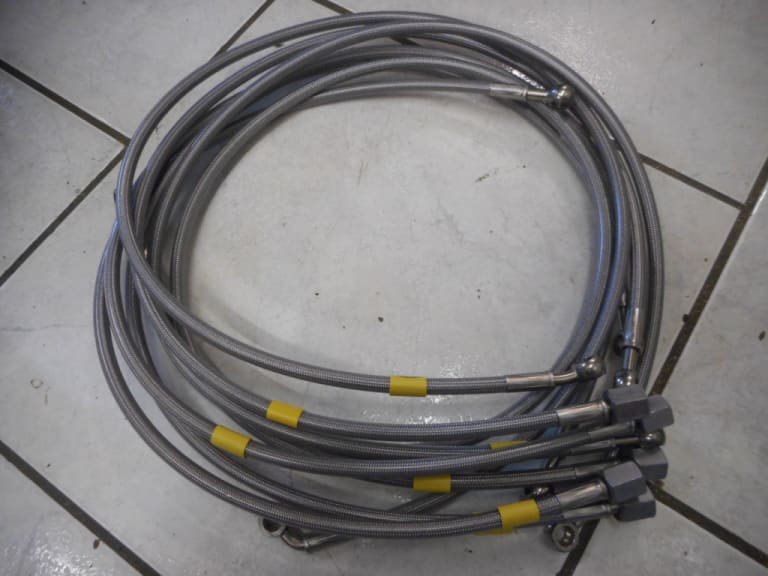
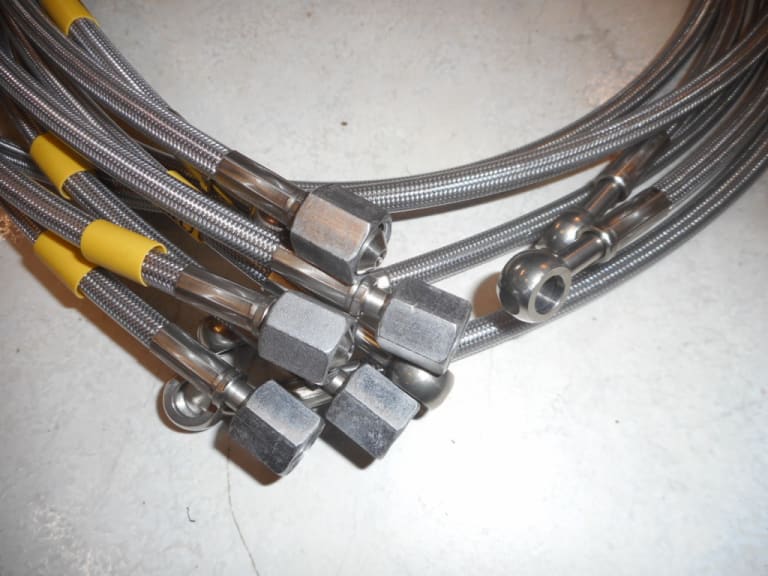
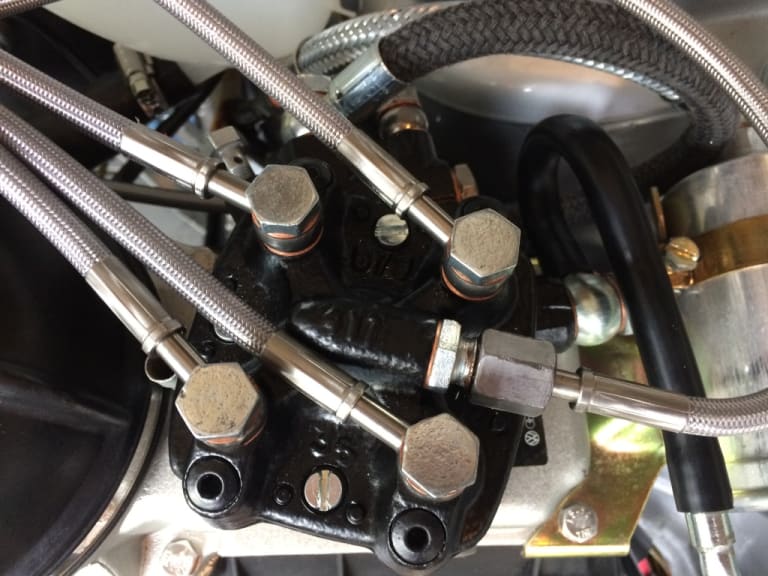
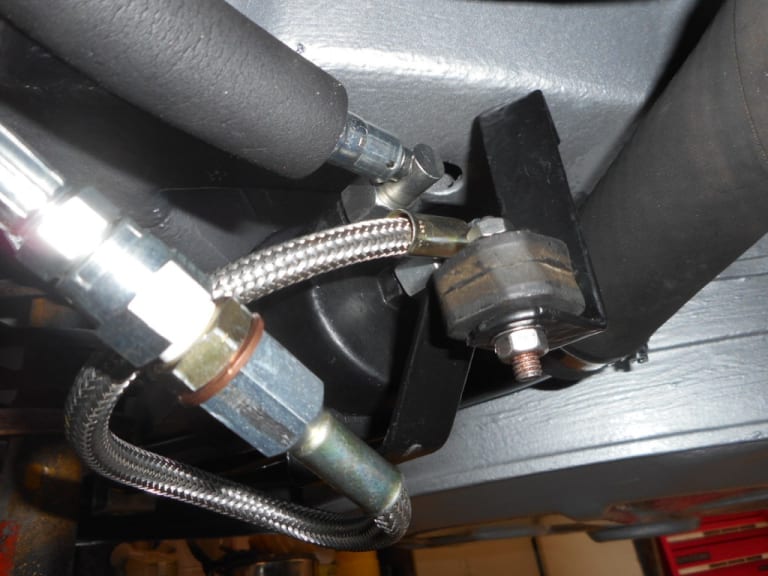
I used new copper crush washers throughout and found that using a torque wrench they are not done very tight at all.
Nice looking result! OK they cost a lot but great peace of mind to know they shouldn't give any future issues - and they add a bit of bling to the engine compartment.
1983 Golf GTi Campaign Edition, Diamond Silver
http://vwgolfmk1.org.uk/forum/index.php?page=topicview&id=projects%2Fyour-mk1-golfs_2%2F-tag-1983-campaign&redirected=1#post_1551531
http://vwgolfmk1.org.uk/forum/index.php?page=topicview&id=projects%2Fyour-mk1-golfs_2%2F-tag-1983-campaign&redirected=1#post_1551531
Posted
Old Timer
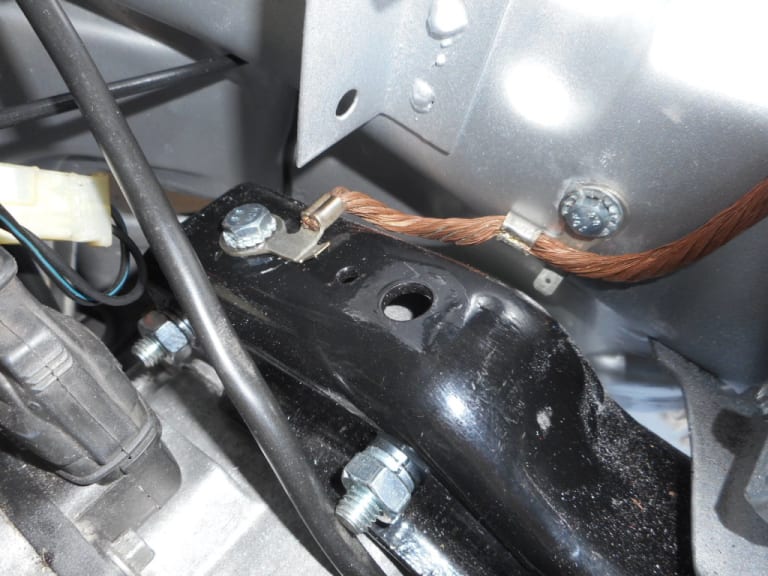
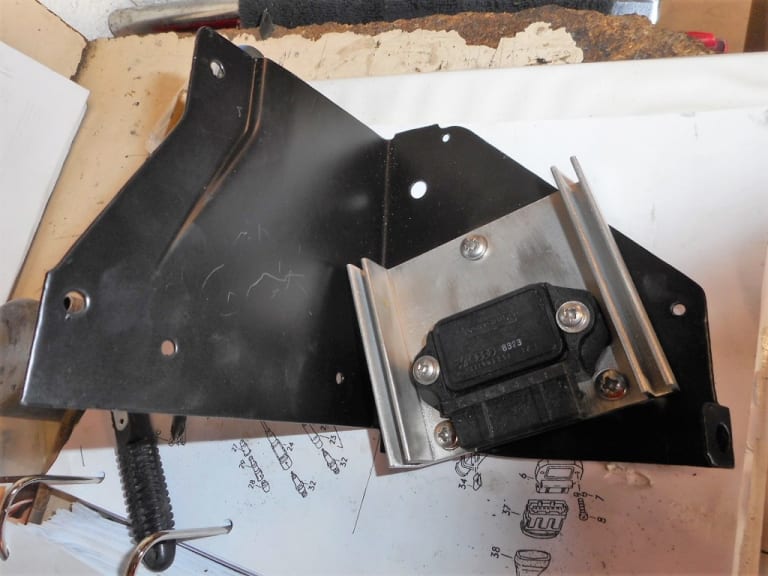
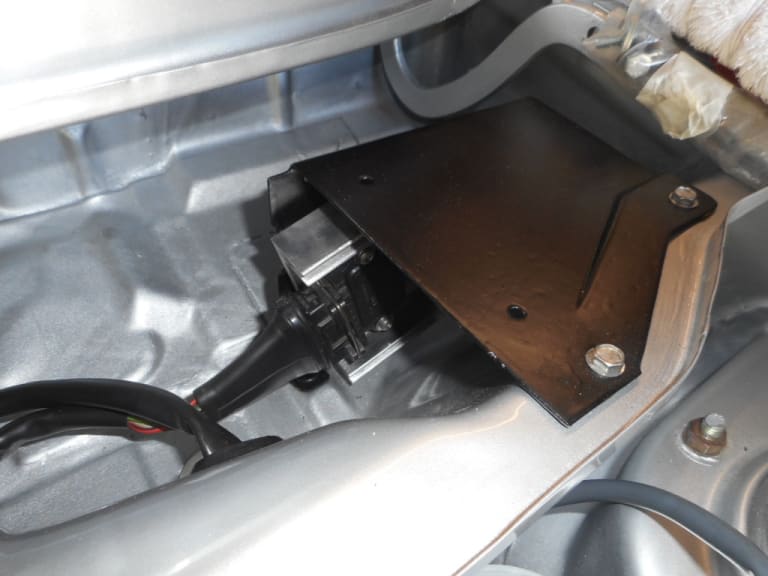
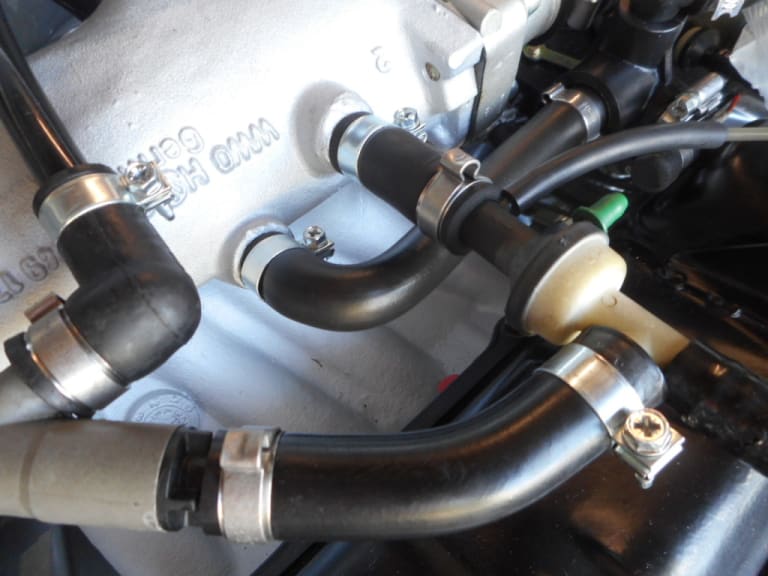
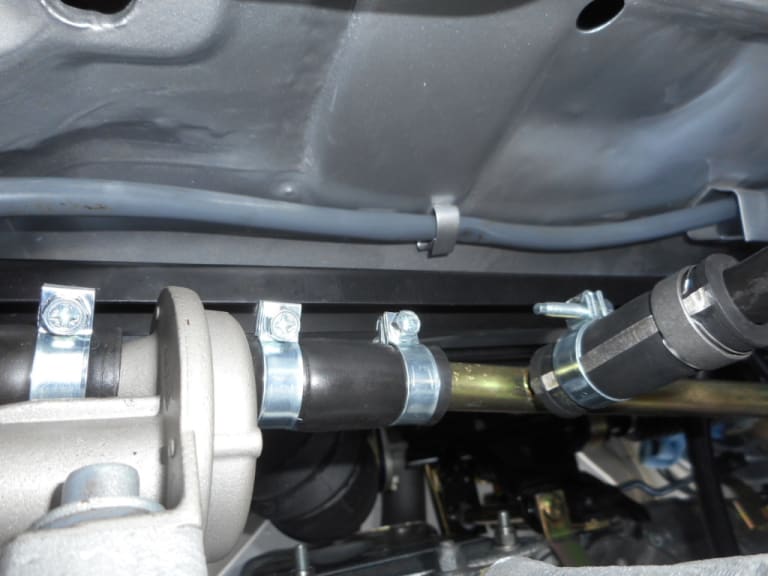
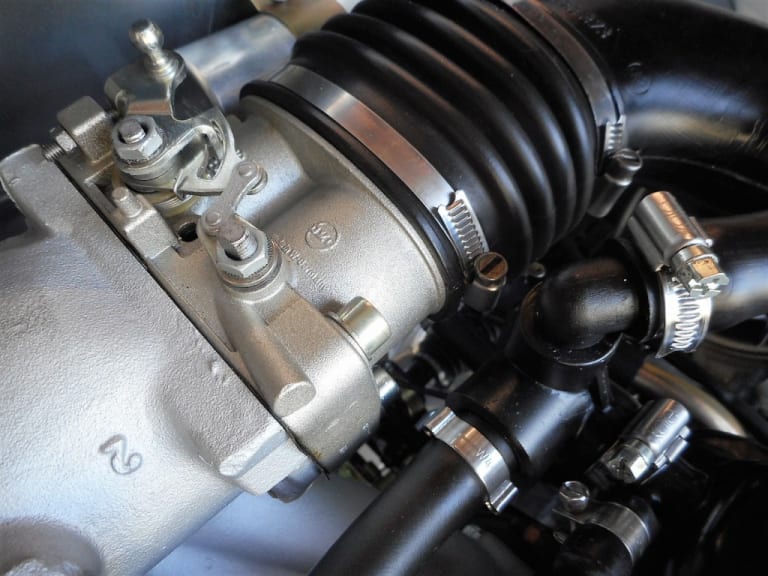
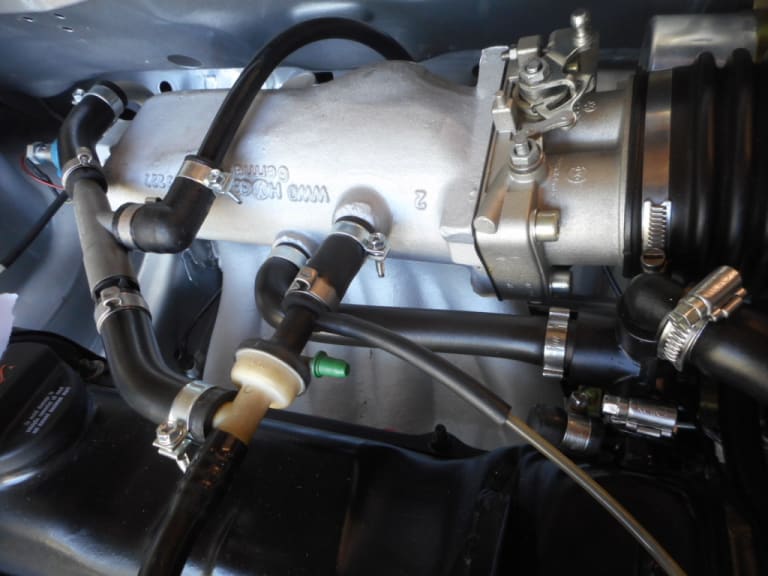


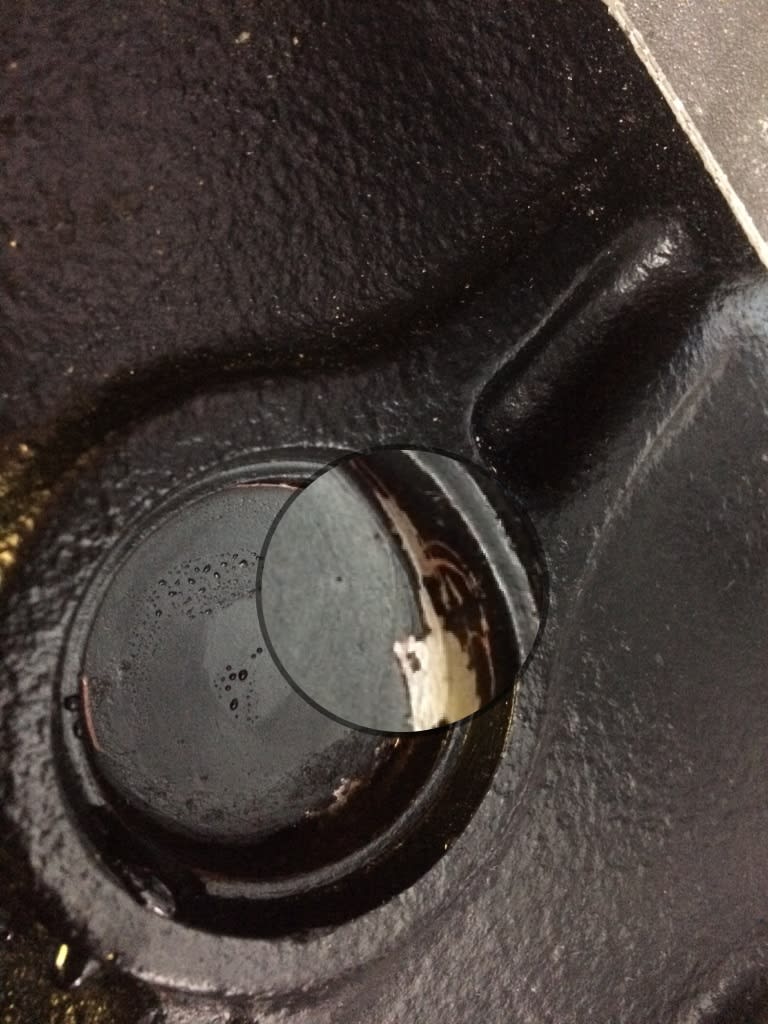
I managed to bang a hole in the middle of the plug and hoped to "hook it out". No way!!!! Even managing to hook a large L shaped allen key into the enlarged hole it would not budge. Finally managed to use a punch and bang on the edge of the plug to "spin" it round in the hole. Getting thoroughly drenched in coolant in the process - even having drained as much off as possible.
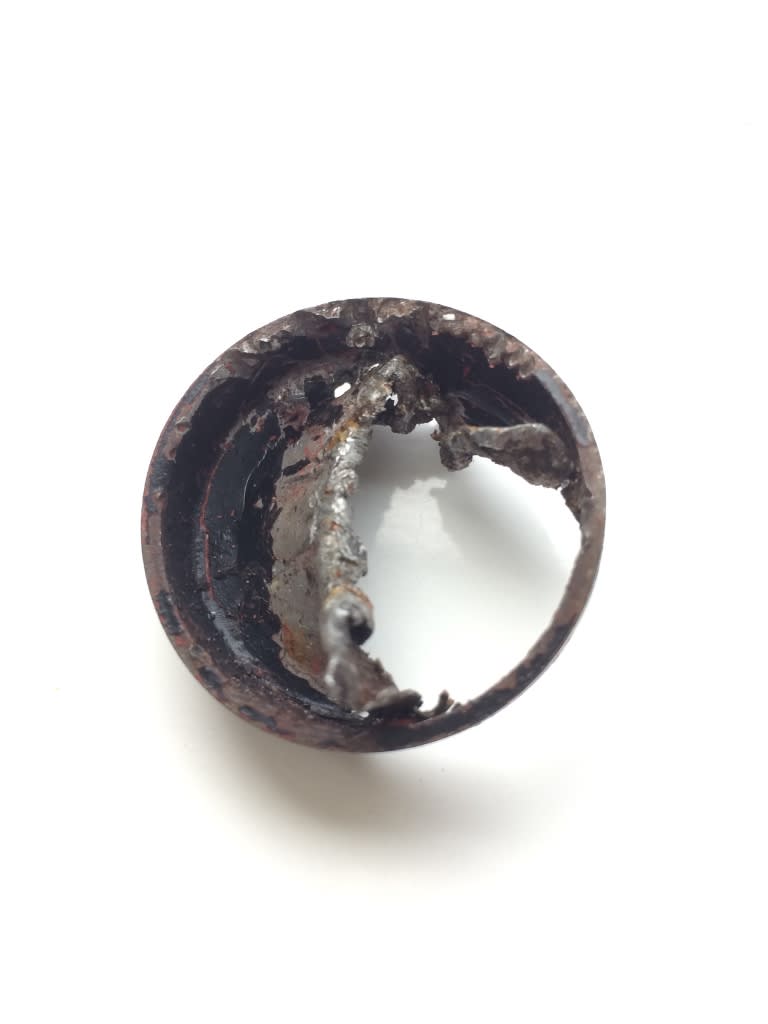
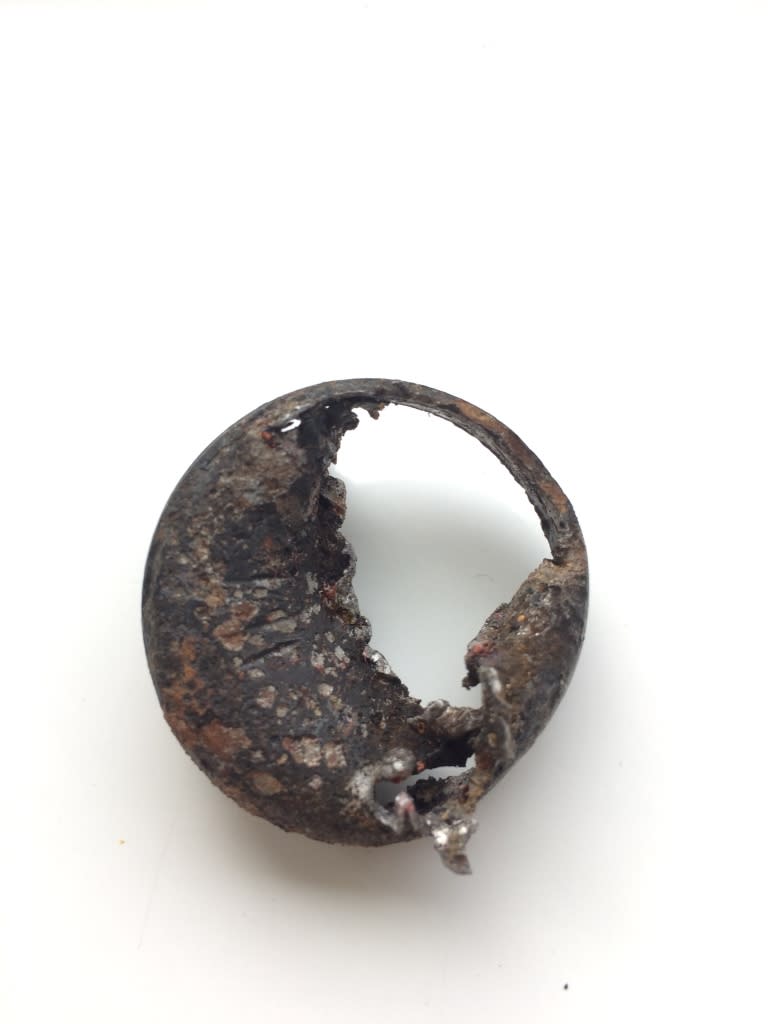
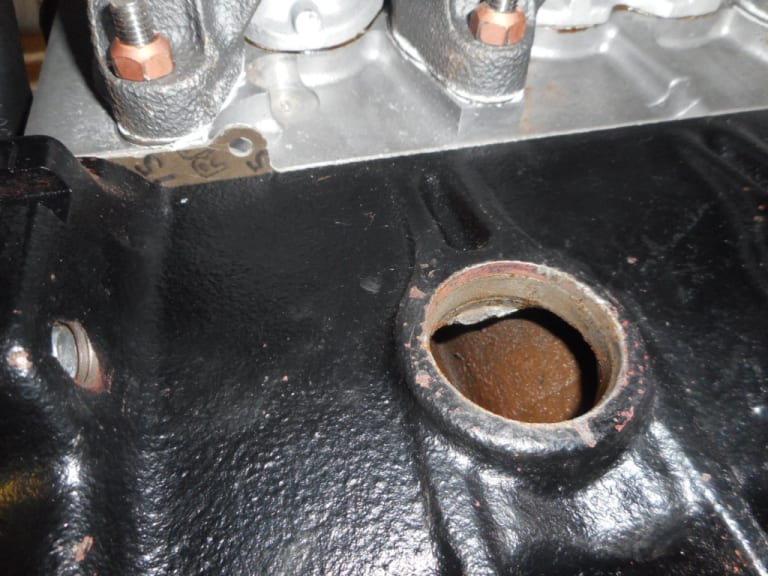
Bought a new plug from VAG (!) - still fitted to current models (!) and tapped into place with some Bondlock B577 as recommended by the engine builder. Thankfully no further leaks.
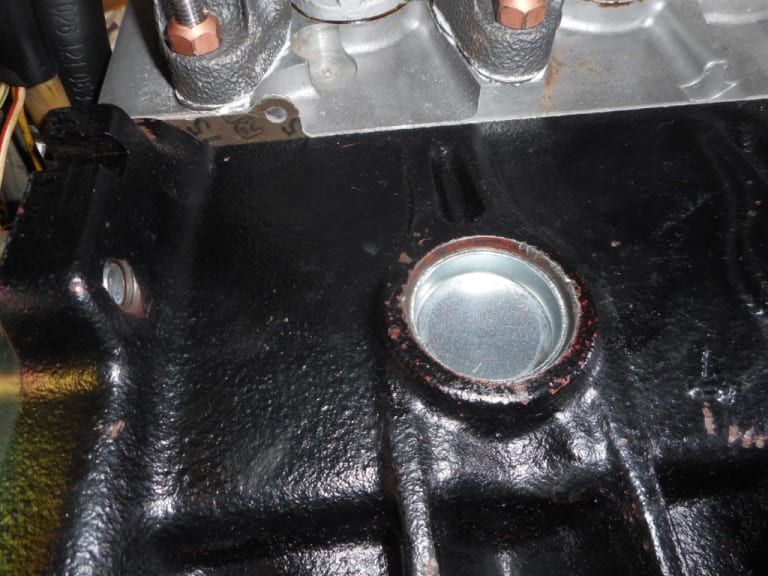
On examining the old plug - although badly destroyed it had remarkably little corrosion on the reverse side and no evidence of why it was leaking.
1983 Golf GTi Campaign Edition, Diamond Silver
http://vwgolfmk1.org.uk/forum/index.php?page=topicview&id=projects%2Fyour-mk1-golfs_2%2F-tag-1983-campaign&redirected=1#post_1551531
http://vwgolfmk1.org.uk/forum/index.php?page=topicview&id=projects%2Fyour-mk1-golfs_2%2F-tag-1983-campaign&redirected=1#post_1551531
Posted
Old Timer


Looks the part - but will it start!!!
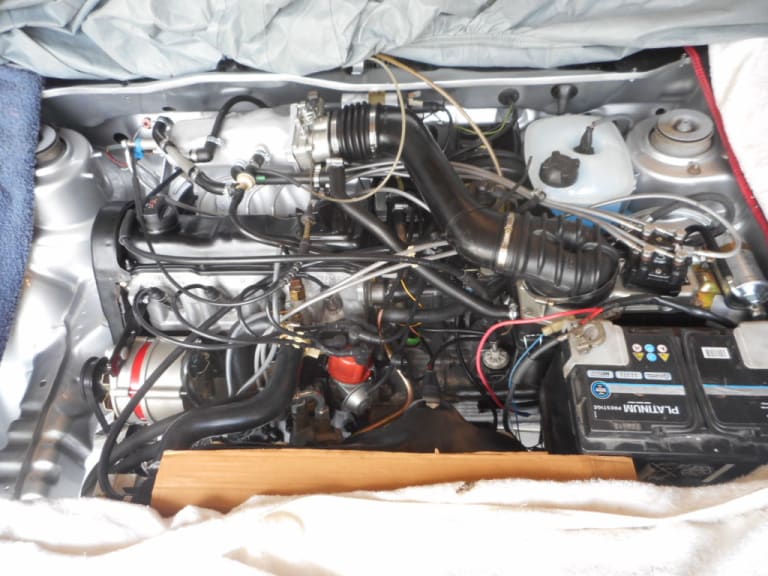
MK7 helped resuscitate the MK1
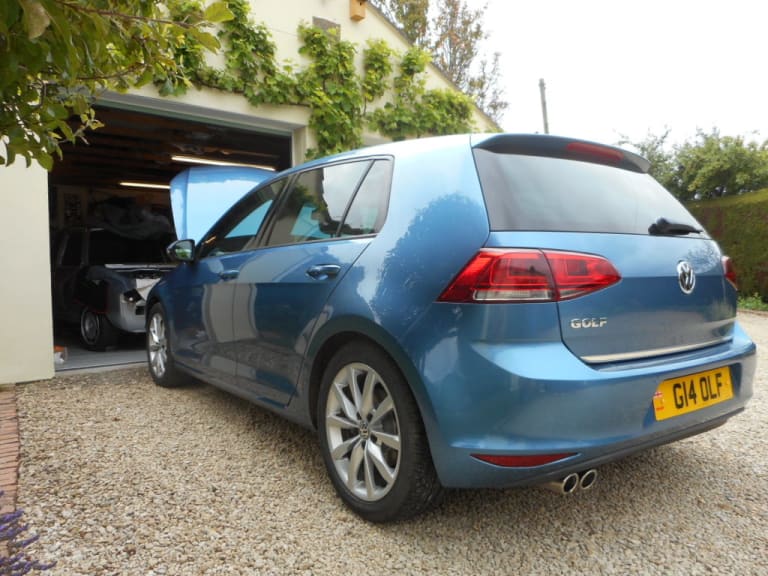
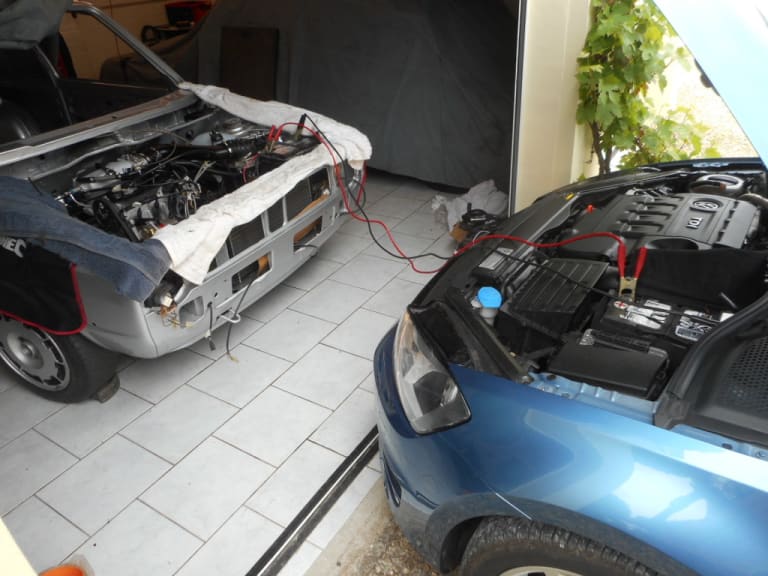
Took a while to get it running. Didn't want to know initially. I checked the fuel was getting to the injectors, good spark, all static timing correct on TDC… still nothing. The found I had put the distributor back in slightly the wrong orientation. Easy fix and then…
SUCCESS!!!!!!
Running for the first time in 4 years!! Finally after all the hard graft it sounded really sweet!
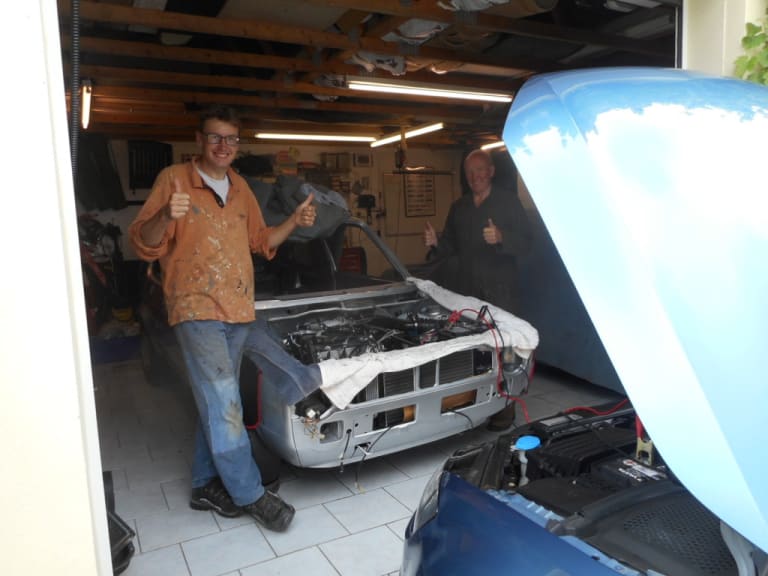
Video here on the club Facebook site of the happy moment.
Having broken down 4 years ago, prompting the start of total nut/bolt restoration - today my rebuilt GTi engine ran for the first time. It works!!!!!!!!... | By Guy
1983 Golf GTi Campaign Edition, Diamond Silver
http://vwgolfmk1.org.uk/forum/index.php?page=topicview&id=projects%2Fyour-mk1-golfs_2%2F-tag-1983-campaign&redirected=1#post_1551531
http://vwgolfmk1.org.uk/forum/index.php?page=topicview&id=projects%2Fyour-mk1-golfs_2%2F-tag-1983-campaign&redirected=1#post_1551531
Posted
Old Timer


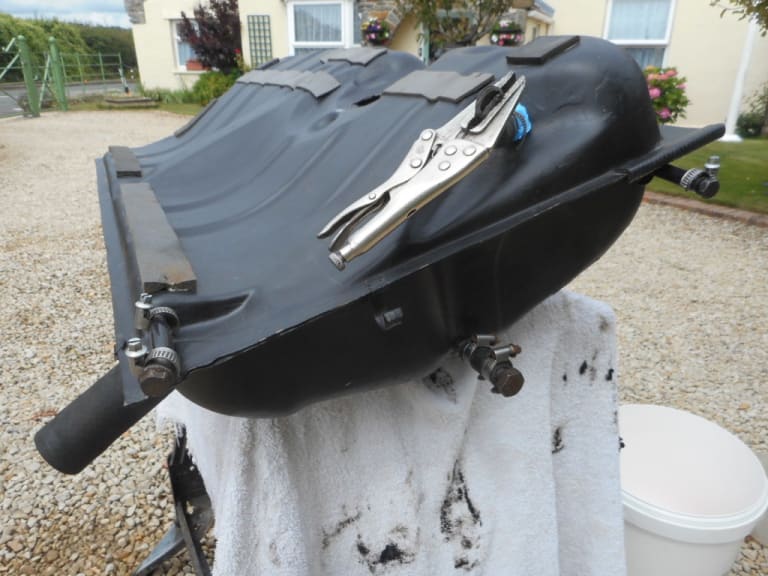
The cleaned with Bilt Hamber DeoxC and hot water for a couple of hours - turning the tank regularly and "sloshing" it around inside.

The reattached the heat shield which I have sprayed in high temp paint.
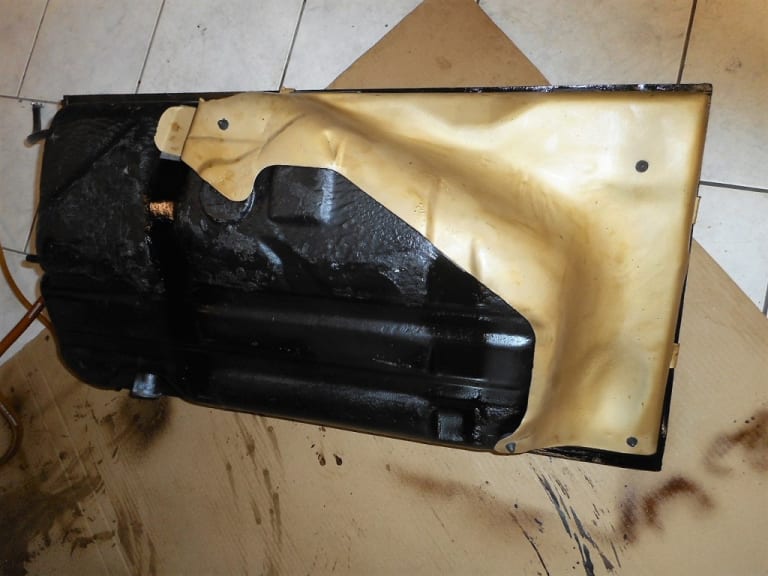
Pipes attached and sprayed in Bilt Hamber S50
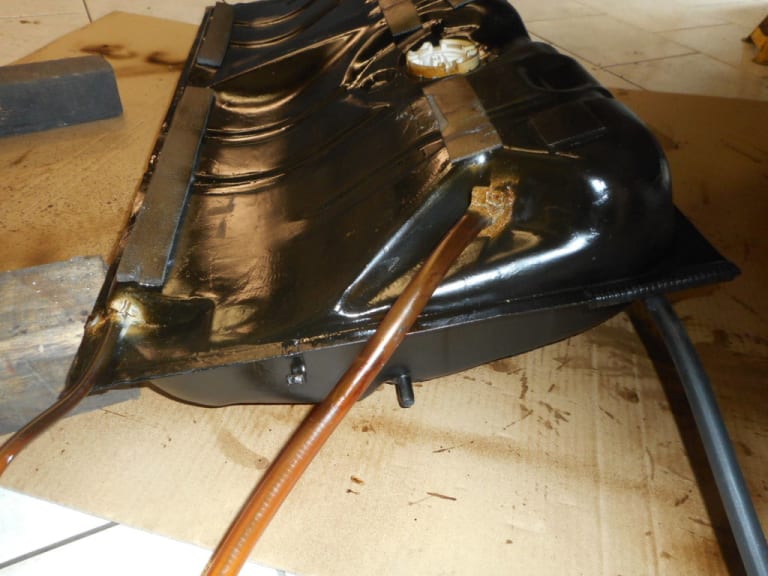
1983 Golf GTi Campaign Edition, Diamond Silver
http://vwgolfmk1.org.uk/forum/index.php?page=topicview&id=projects%2Fyour-mk1-golfs_2%2F-tag-1983-campaign&redirected=1#post_1551531
http://vwgolfmk1.org.uk/forum/index.php?page=topicview&id=projects%2Fyour-mk1-golfs_2%2F-tag-1983-campaign&redirected=1#post_1551531
Posted
Old Timer
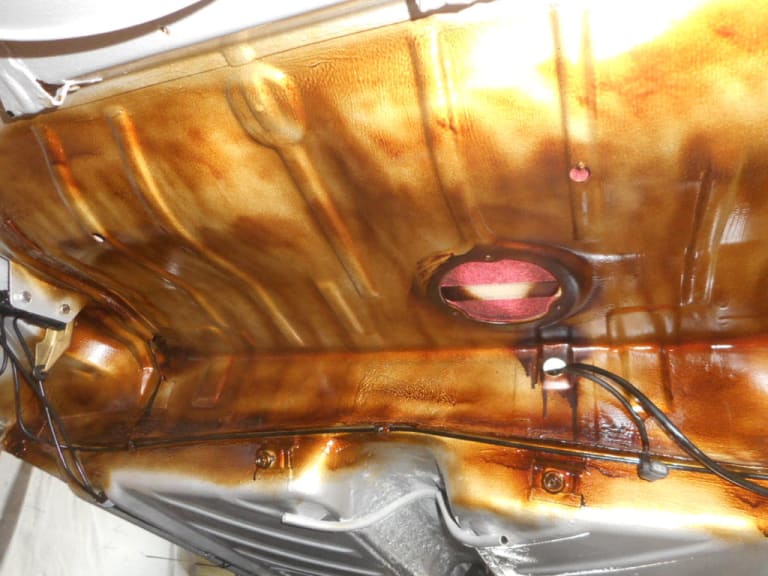
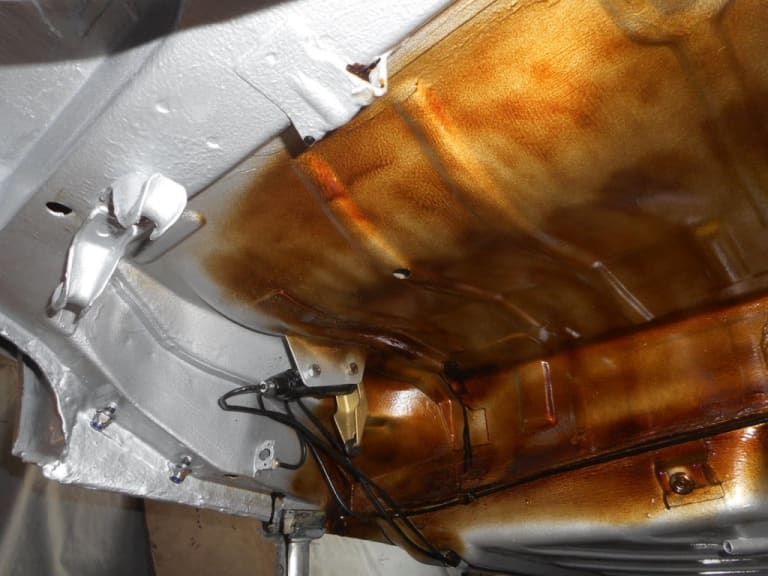
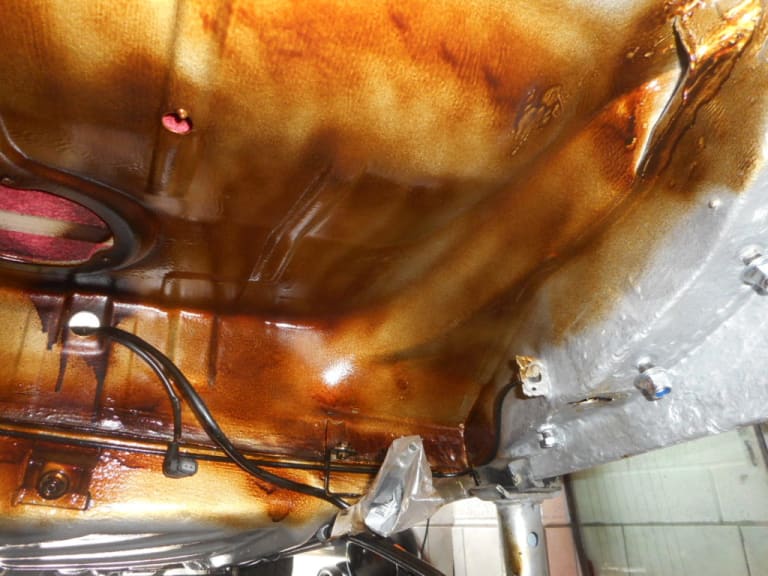


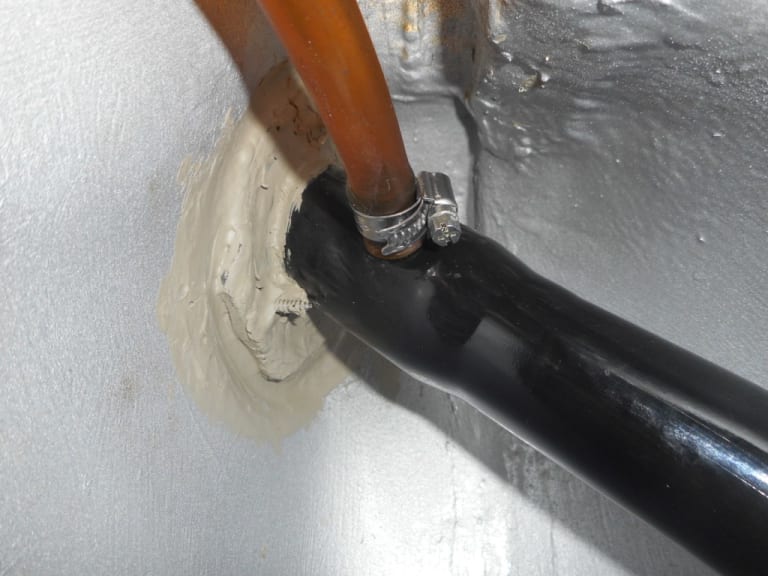
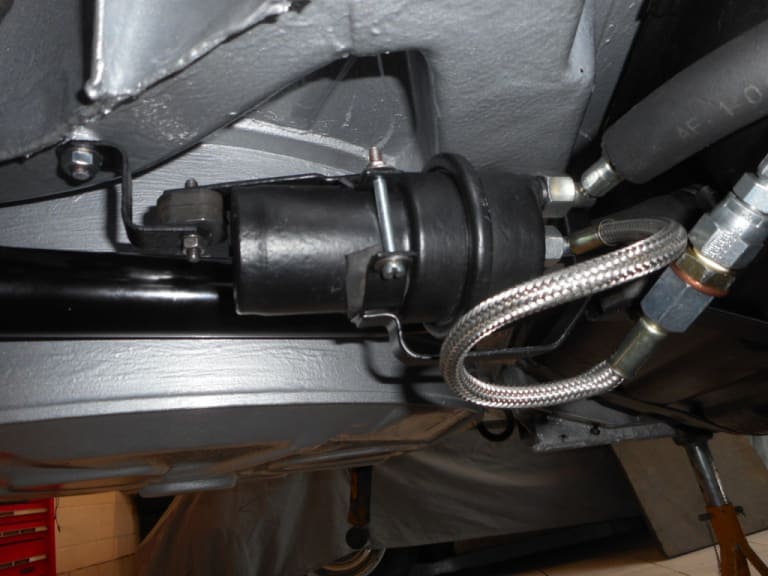
Gravity valve and pipework attached with new bracket I made previously.
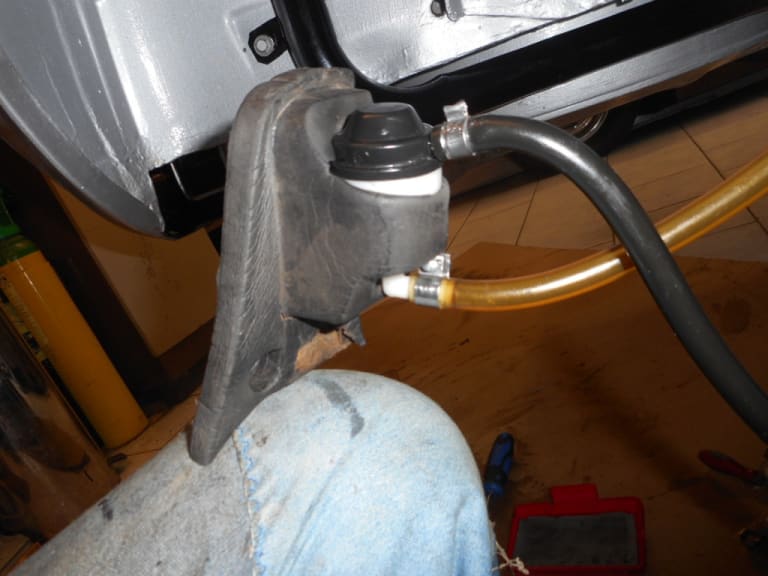
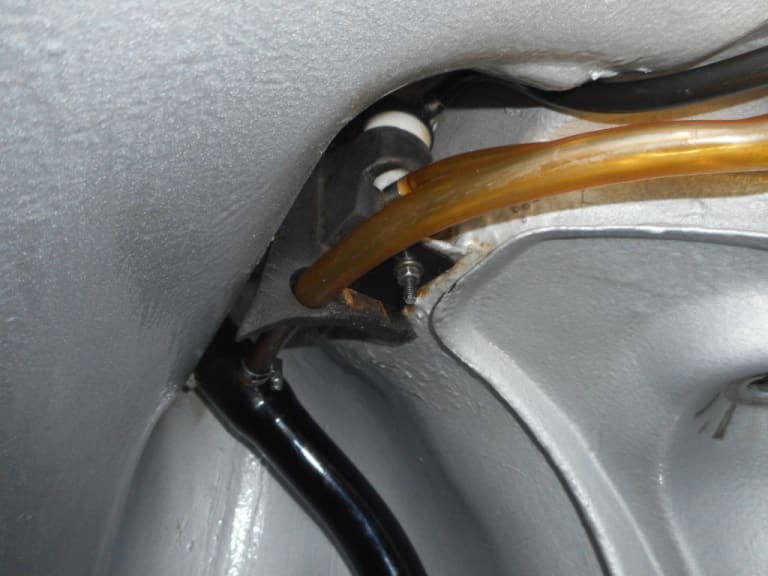
1983 Golf GTi Campaign Edition, Diamond Silver
http://vwgolfmk1.org.uk/forum/index.php?page=topicview&id=projects%2Fyour-mk1-golfs_2%2F-tag-1983-campaign&redirected=1#post_1551531
http://vwgolfmk1.org.uk/forum/index.php?page=topicview&id=projects%2Fyour-mk1-golfs_2%2F-tag-1983-campaign&redirected=1#post_1551531
Posted
Old Timer


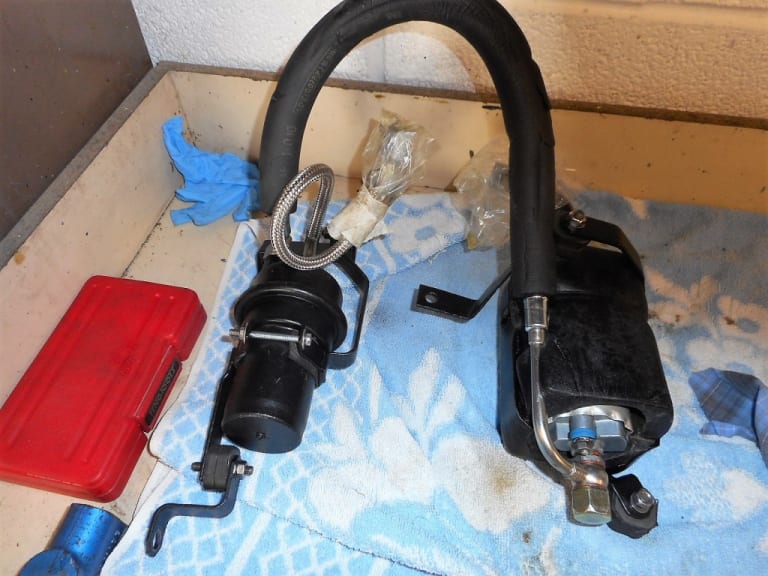
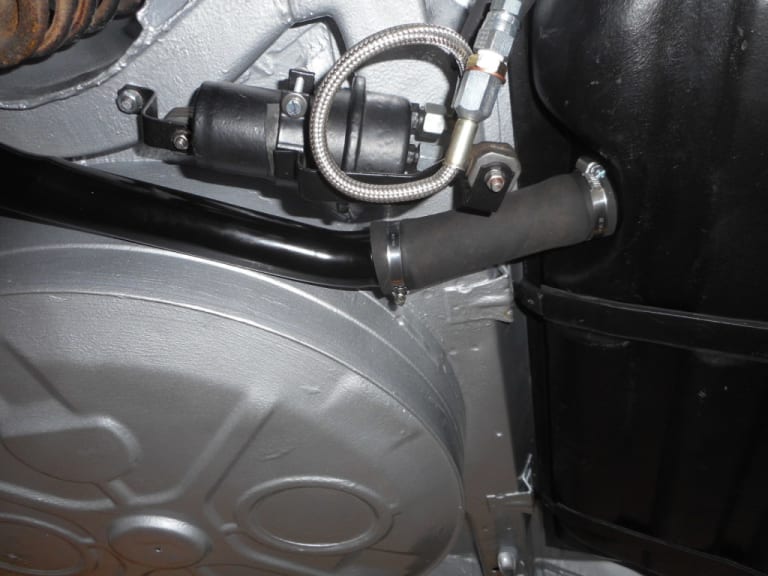
Fitting the new fuel tiller neck > tank hose was certainly challenging!!!
1983 Golf GTi Campaign Edition, Diamond Silver
http://vwgolfmk1.org.uk/forum/index.php?page=topicview&id=projects%2Fyour-mk1-golfs_2%2F-tag-1983-campaign&redirected=1#post_1551531
http://vwgolfmk1.org.uk/forum/index.php?page=topicview&id=projects%2Fyour-mk1-golfs_2%2F-tag-1983-campaign&redirected=1#post_1551531
Posted
Old Timer


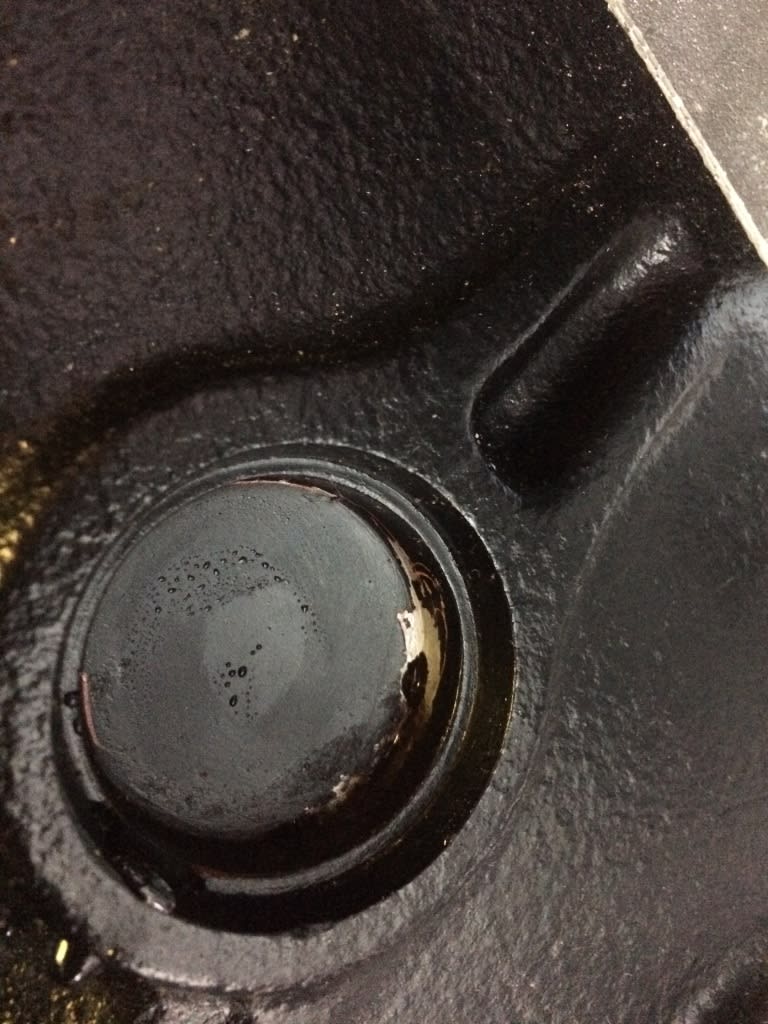
The damage magnified.
1983 Golf GTi Campaign Edition, Diamond Silver
http://vwgolfmk1.org.uk/forum/index.php?page=topicview&id=projects%2Fyour-mk1-golfs_2%2F-tag-1983-campaign&redirected=1#post_1551531
http://vwgolfmk1.org.uk/forum/index.php?page=topicview&id=projects%2Fyour-mk1-golfs_2%2F-tag-1983-campaign&redirected=1#post_1551531
Posted
Old Timer


Sounds really sweet and looks stunning. What a shame about the core plug but you got it sorted
Posted
Old Timer


Posted
Old Timer


1983 Golf GTi Campaign Edition, Diamond Silver
http://vwgolfmk1.org.uk/forum/index.php?page=topicview&id=projects%2Fyour-mk1-golfs_2%2F-tag-1983-campaign&redirected=1#post_1551531
http://vwgolfmk1.org.uk/forum/index.php?page=topicview&id=projects%2Fyour-mk1-golfs_2%2F-tag-1983-campaign&redirected=1#post_1551531
Posted
Old Timer


1983 Golf GTi Campaign Edition, Diamond Silver
http://vwgolfmk1.org.uk/forum/index.php?page=topicview&id=projects%2Fyour-mk1-golfs_2%2F-tag-1983-campaign&redirected=1#post_1551531
http://vwgolfmk1.org.uk/forum/index.php?page=topicview&id=projects%2Fyour-mk1-golfs_2%2F-tag-1983-campaign&redirected=1#post_1551531
0 guests and 0 members have just viewed this: None.


