"TAG" - 1983 Campaign restoration blog
Posted
Settling In

Posted
Old Timer


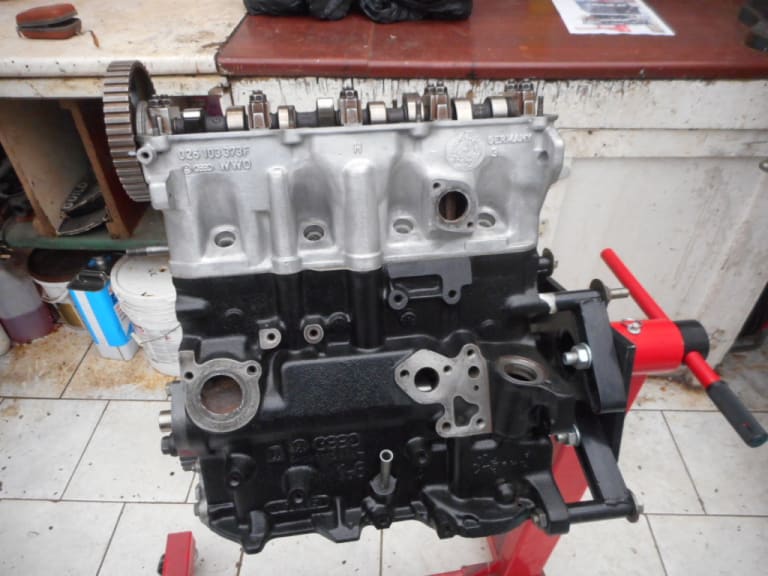
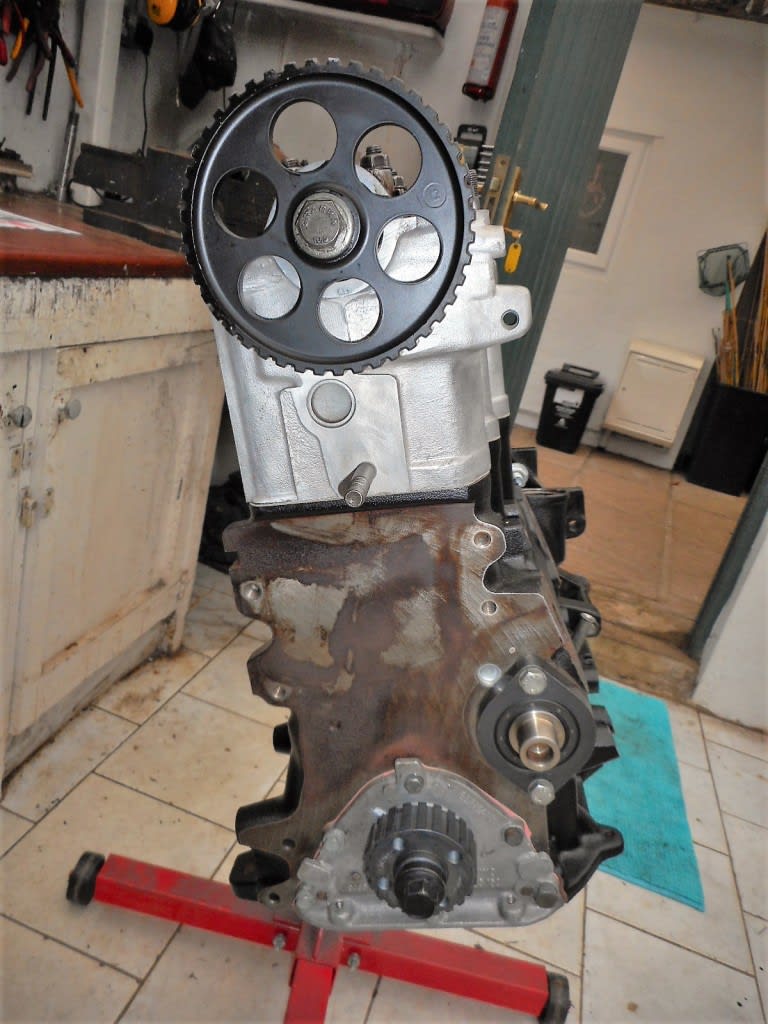
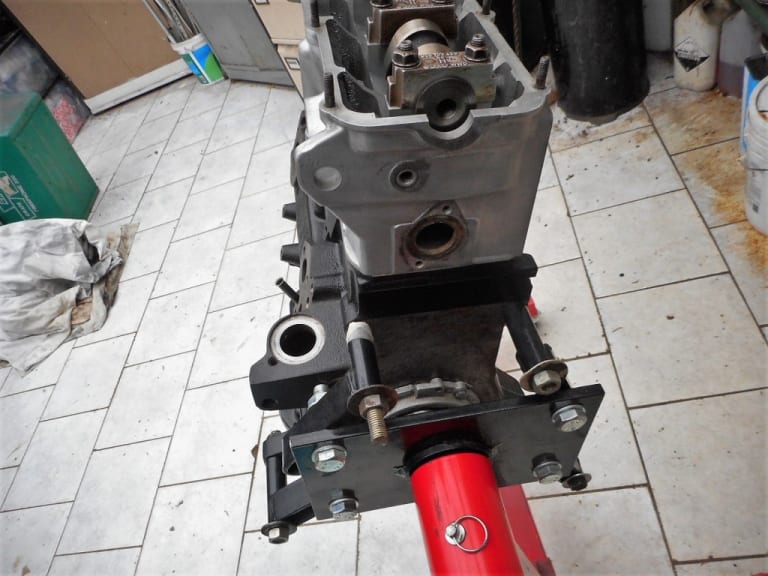
DSCN0973.JPG
thumb=
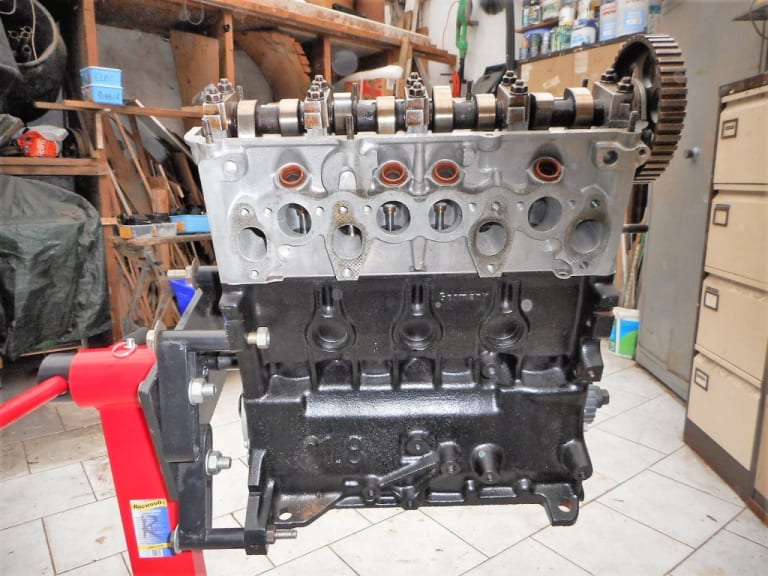
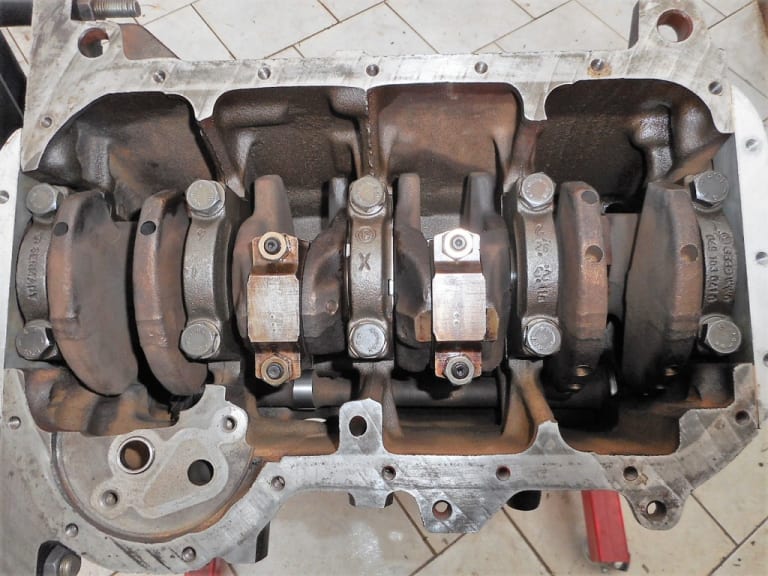
1983 Golf GTi Campaign Edition, Diamond Silver
http://vwgolfmk1.org.uk/forum/index.php?page=topicview&id=projects%2Fyour-mk1-golfs_2%2F-tag-1983-campaign&redirected=1#post_1551531
http://vwgolfmk1.org.uk/forum/index.php?page=topicview&id=projects%2Fyour-mk1-golfs_2%2F-tag-1983-campaign&redirected=1#post_1551531
Posted
Old Timer


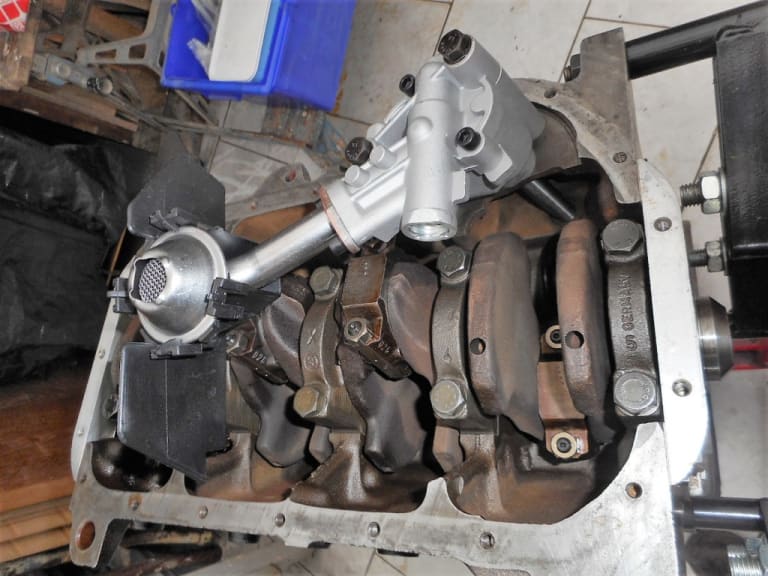
New Oil pump
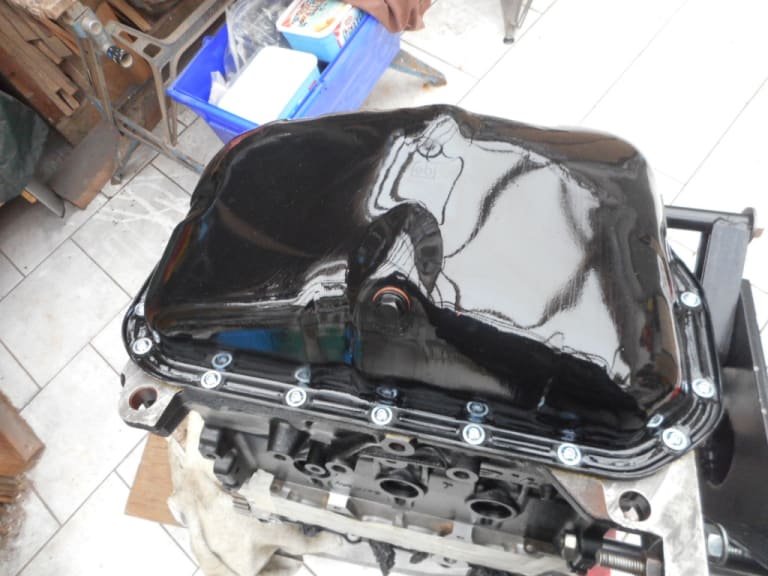
New sump and new socket head button bolts
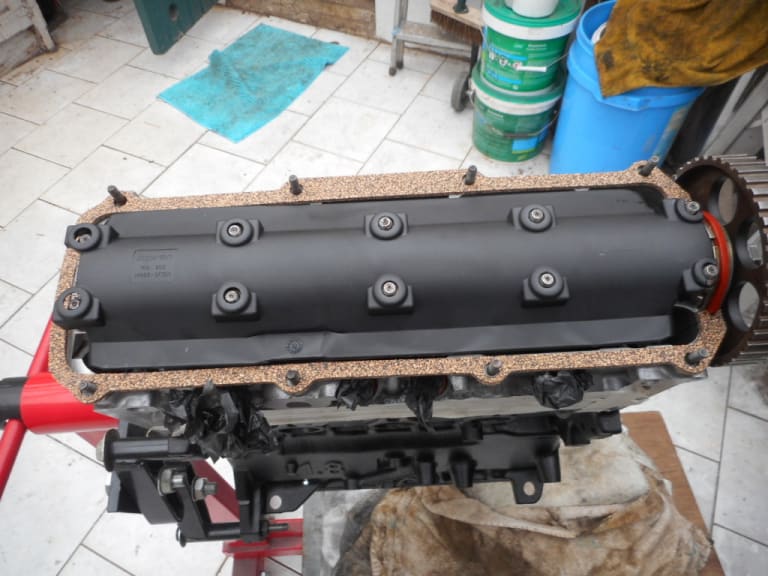
New oil splash guard and rocker gasket
Fitting the Topran branded item below proved impossible due to warpage along the length of the plastic splash guard. No way the rocker nuts would have pulled down. Had to get a Febi item which fitted great.
1983 Golf GTi Campaign Edition, Diamond Silver
http://vwgolfmk1.org.uk/forum/index.php?page=topicview&id=projects%2Fyour-mk1-golfs_2%2F-tag-1983-campaign&redirected=1#post_1551531
http://vwgolfmk1.org.uk/forum/index.php?page=topicview&id=projects%2Fyour-mk1-golfs_2%2F-tag-1983-campaign&redirected=1#post_1551531
Posted
Old Timer


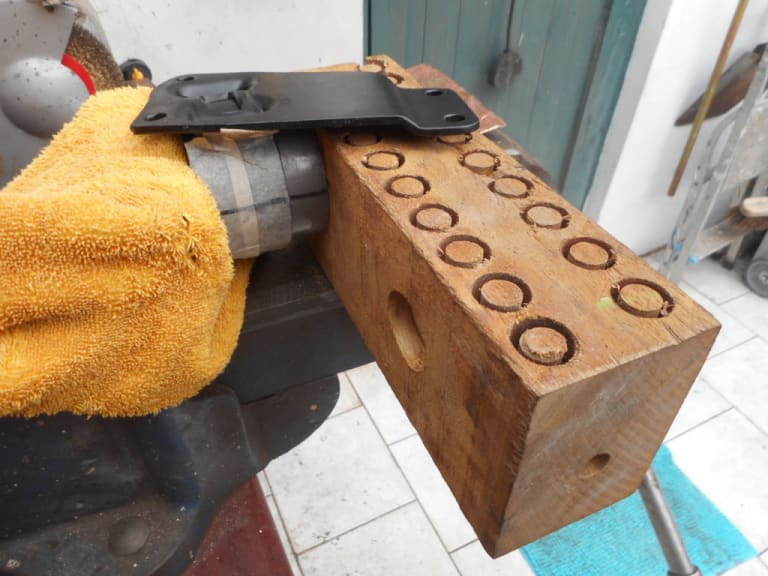
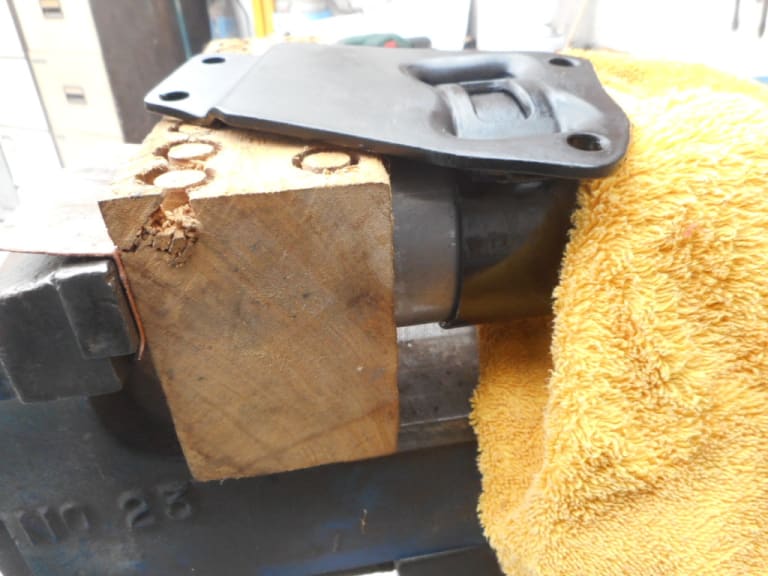
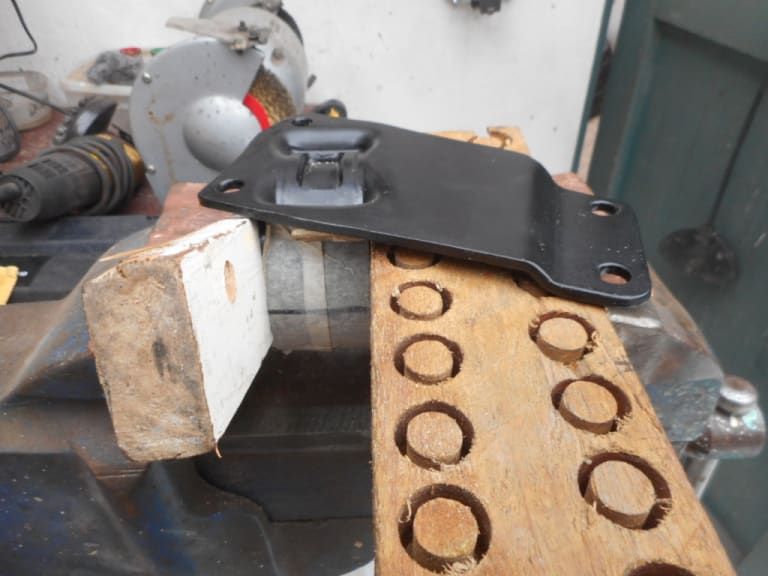
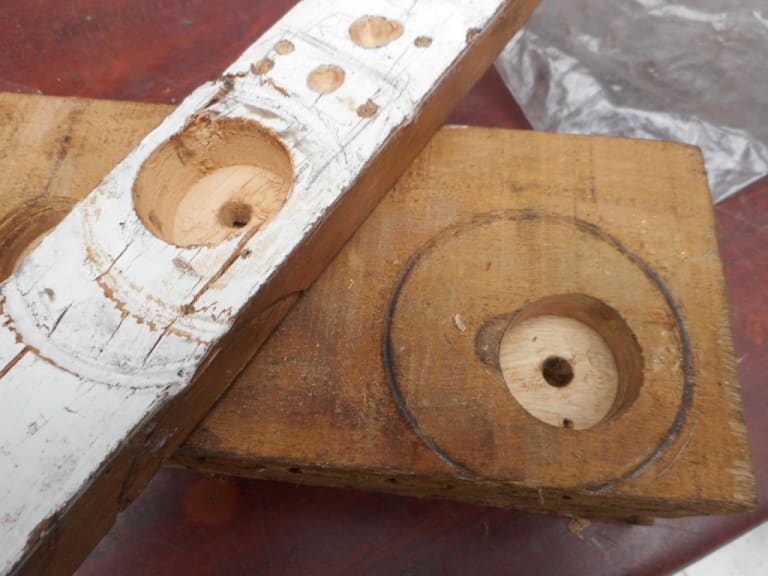
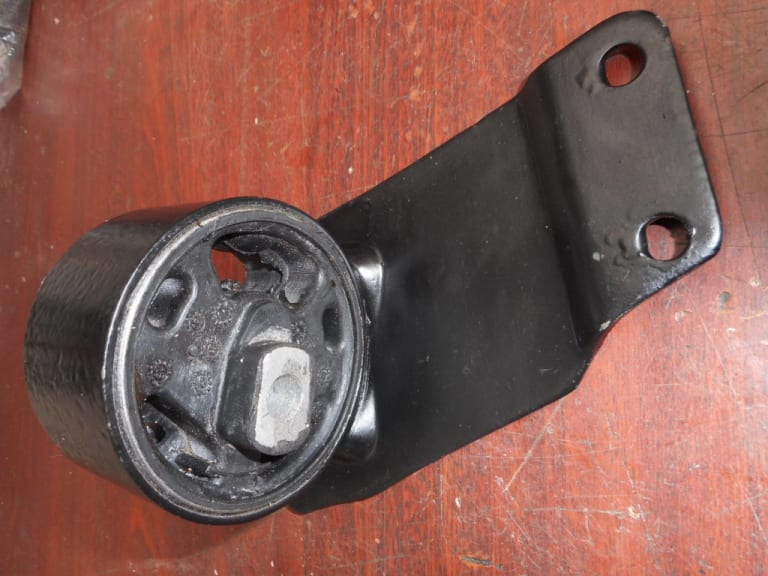
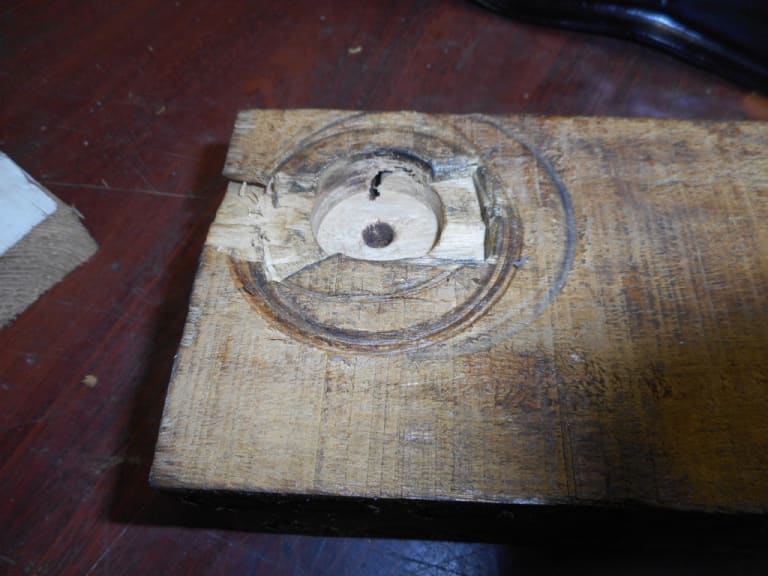
Used a block of wood with a large hole drilled out to allow for the protruding middle of the bush. Using a large vice and lashings of Vaseline I managed to get the bush in. For the last bit I had to use another block of wood, again drilled out to allow for the protruding middle. Worked well - but alot of leverage on the vice required!! Just proves you dont need a press to fit the insert - just some wood Vaseline and a good large vice.
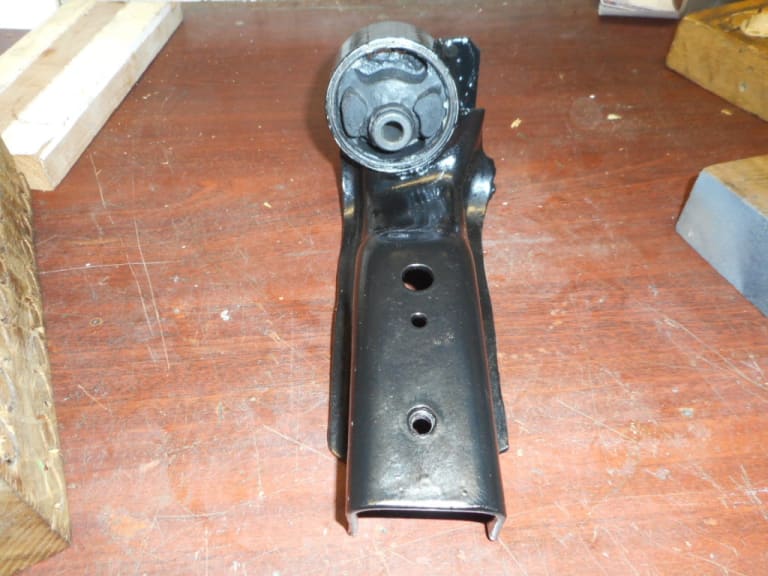
Before fitting it I had a debate on here and with others about the orientation of the rubber bush insert. The bolt does not pass through the vertical centre of the bush, so if fitted the wrong way up would mean the engine either too high or too low. I eventually confirmed that the bolt hole is at the BOTTOM of the support - with the gap in the rubber uppermost. I was surprised at how little info there was on this matter. Only one small photo in Haynes mentioned it. I reckon there are quite a few fitted incorrectly out there!
1983 Golf GTi Campaign Edition, Diamond Silver
http://vwgolfmk1.org.uk/forum/index.php?page=topicview&id=projects%2Fyour-mk1-golfs_2%2F-tag-1983-campaign&redirected=1#post_1551531
http://vwgolfmk1.org.uk/forum/index.php?page=topicview&id=projects%2Fyour-mk1-golfs_2%2F-tag-1983-campaign&redirected=1#post_1551531
Posted
Old Timer


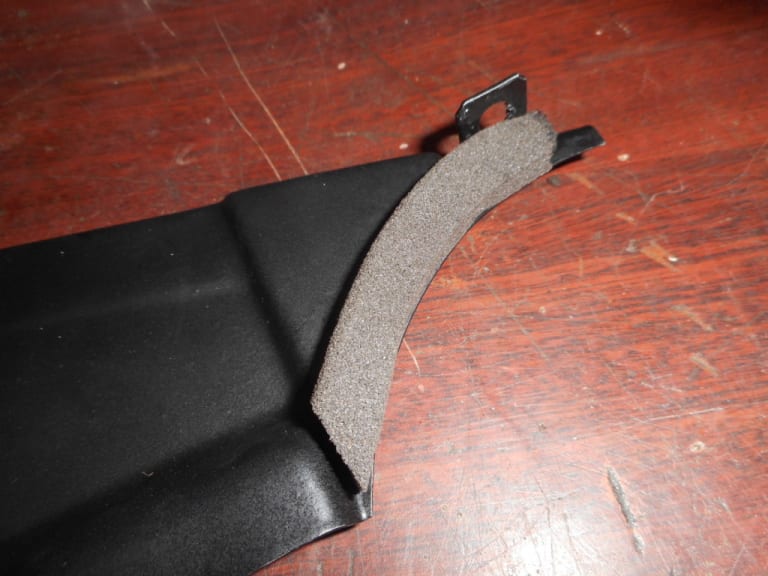
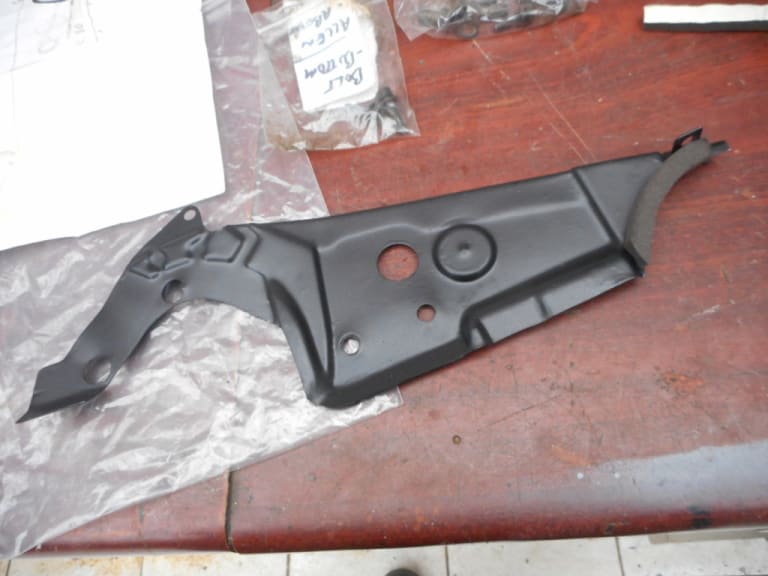
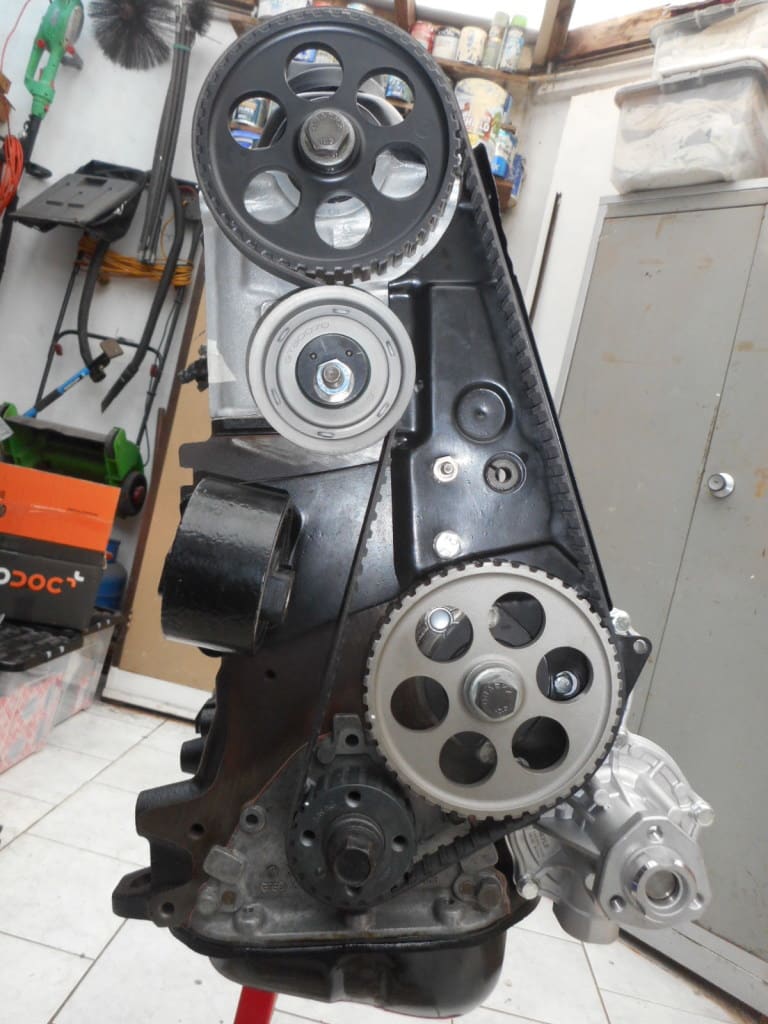
Cam belt fitted
1983 Golf GTi Campaign Edition, Diamond Silver
http://vwgolfmk1.org.uk/forum/index.php?page=topicview&id=projects%2Fyour-mk1-golfs_2%2F-tag-1983-campaign&redirected=1#post_1551531
http://vwgolfmk1.org.uk/forum/index.php?page=topicview&id=projects%2Fyour-mk1-golfs_2%2F-tag-1983-campaign&redirected=1#post_1551531
Posted
Old Timer


Injectortune - Ultrasonic fuel injector cleaning by Post.
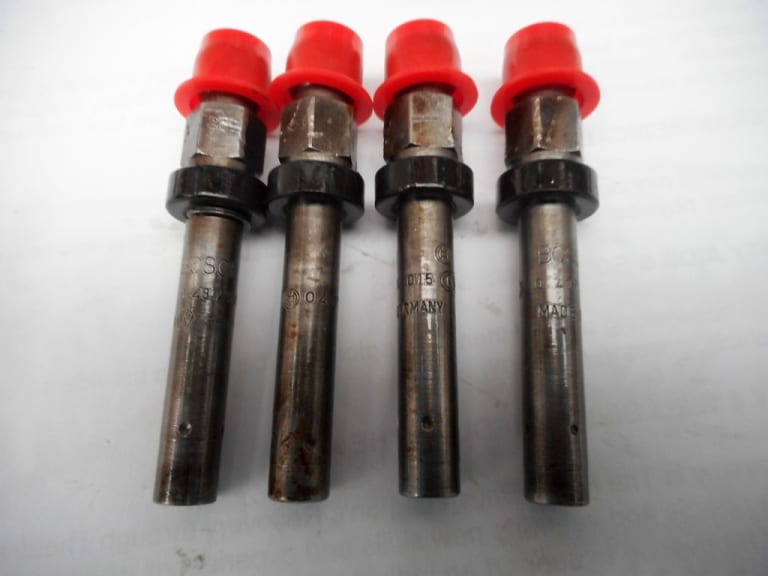
1983 Golf GTi Campaign Edition, Diamond Silver
http://vwgolfmk1.org.uk/forum/index.php?page=topicview&id=projects%2Fyour-mk1-golfs_2%2F-tag-1983-campaign&redirected=1#post_1551531
http://vwgolfmk1.org.uk/forum/index.php?page=topicview&id=projects%2Fyour-mk1-golfs_2%2F-tag-1983-campaign&redirected=1#post_1551531
Posted
Old Timer
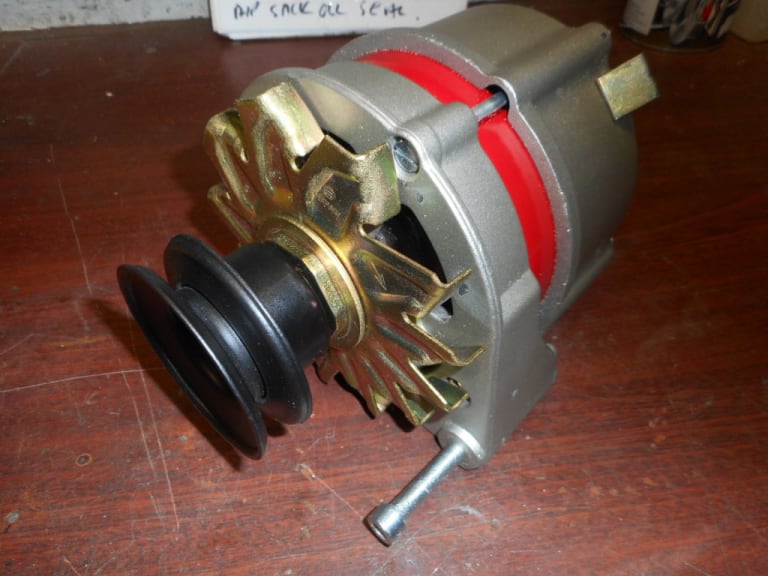


Beginning to look like an engine once again!
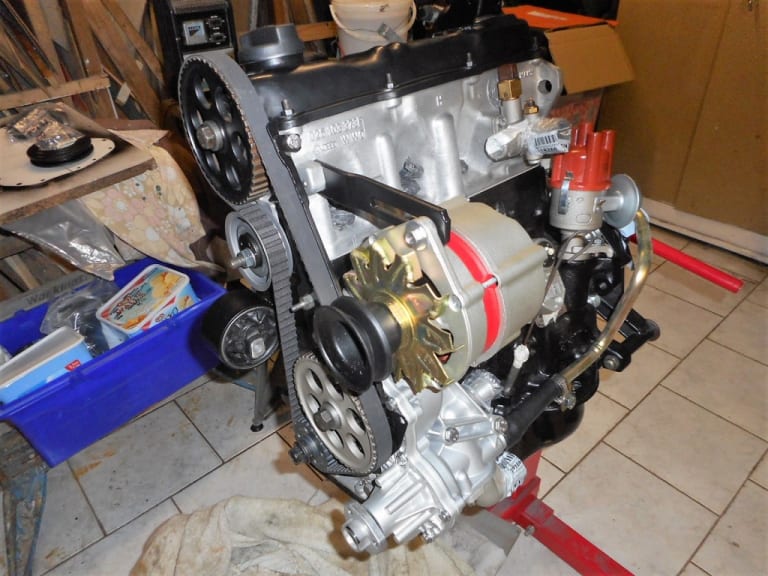
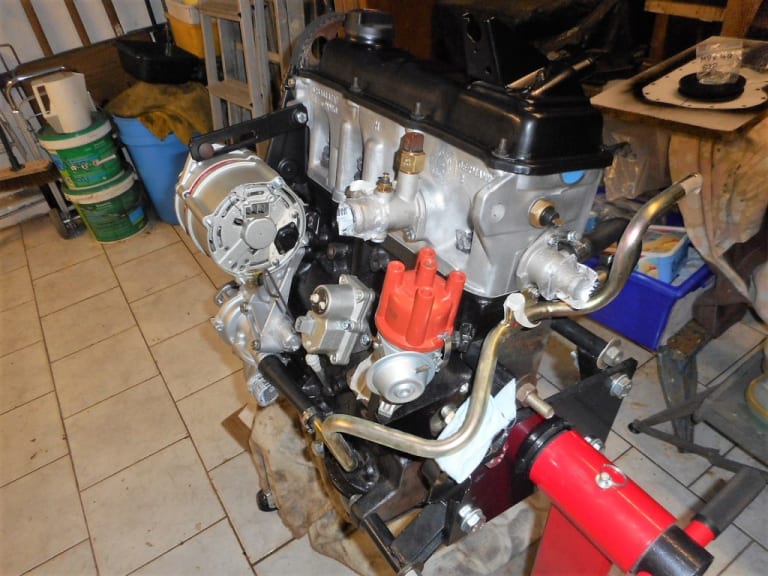
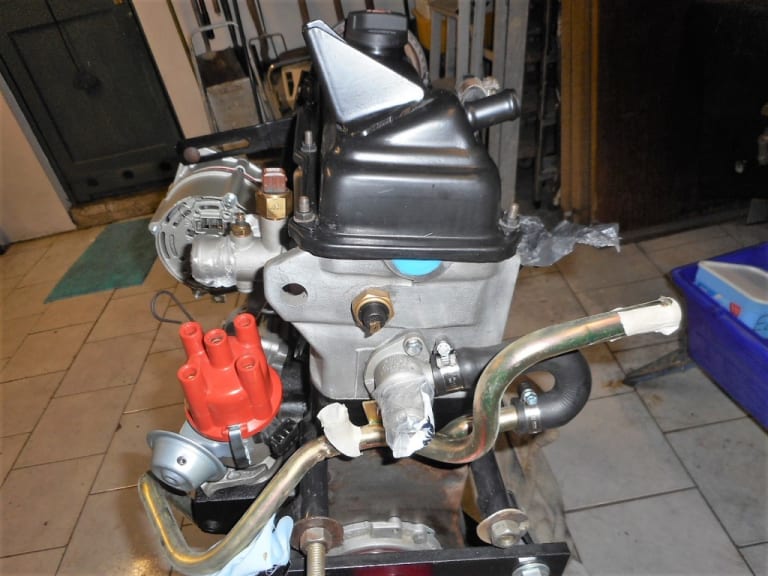
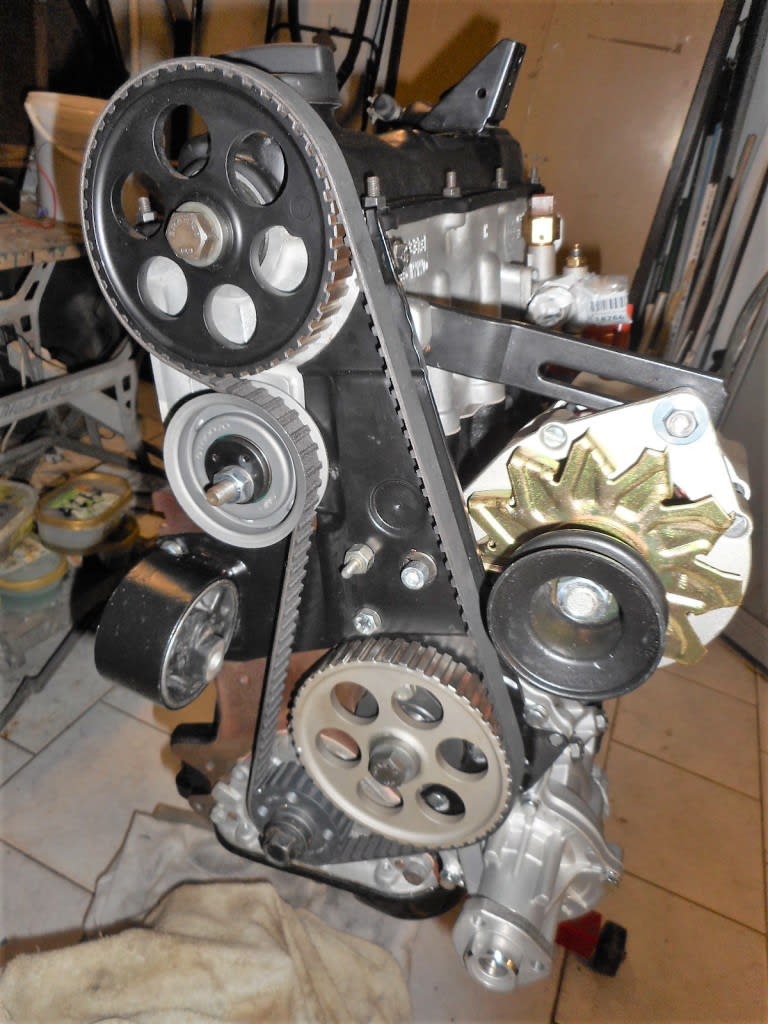
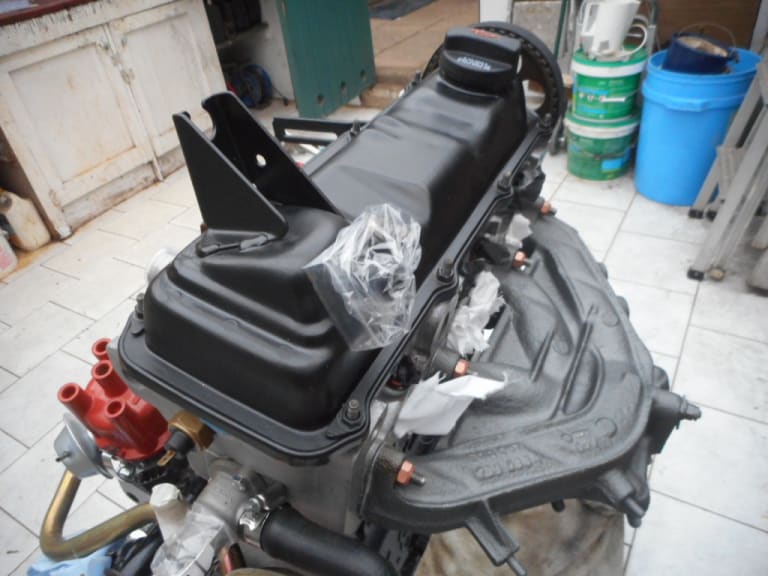
1983 Golf GTi Campaign Edition, Diamond Silver
http://vwgolfmk1.org.uk/forum/index.php?page=topicview&id=projects%2Fyour-mk1-golfs_2%2F-tag-1983-campaign&redirected=1#post_1551531
http://vwgolfmk1.org.uk/forum/index.php?page=topicview&id=projects%2Fyour-mk1-golfs_2%2F-tag-1983-campaign&redirected=1#post_1551531
Posted
Old Timer


"TAG" - 1983 Campaign restoration blog
Sent from my H3113 using Tapatalk
Posted
Old Timer


"TAG" - 1983 Campaign restoration blog
I need to get across to you sometime soon and see how your getting on.
Sent from my iPhone using Tapatalk
Mars red 1.8 GTI tintop now MOT'd and on the road!
http://vwgolfmk1.org.uk/forum/index.php?page=topicview&id=projects%2Fyour-mk1-golfs_2%2Fwent-to-look-at-a-golf&kfs79=150
http://vwgolfmk1.org.uk/forum/index.php?page=topicview&id=projects%2Fyour-mk1-golfs_2%2Fwent-to-look-at-a-golf&kfs79=150
Posted
Old Timer


I admire your persitence with the engine mount, I tried doing mine in a vice but it wasn't going anywhere. Took it to my local mechanic, and for the price of a couple of bacon sarnies, he pushed it in on his hydraulic press.
Need to do the same with the gearbox side one now I've found it!
J
Posted
Local Hero


Posted
Old Timer


Saulty said
That’s looking really good Guy. Where did you get the new sump from?
I need to get across to you sometime soon and see how your getting on.
Sent from my iPhone using Tapatalk
From Heritage I think. I've had it n the shelf for ages!
1983 Golf GTi Campaign Edition, Diamond Silver
http://vwgolfmk1.org.uk/forum/index.php?page=topicview&id=projects%2Fyour-mk1-golfs_2%2F-tag-1983-campaign&redirected=1#post_1551531
http://vwgolfmk1.org.uk/forum/index.php?page=topicview&id=projects%2Fyour-mk1-golfs_2%2F-tag-1983-campaign&redirected=1#post_1551531
Posted
Old Timer


paceman said
Tidy work there, looking good!
I admire your persitence with the engine mount, I tried doing mine in a vice but it wasn't going anywhere. Took it to my local mechanic, and for the price of a couple of bacon sarnies, he pushed it in on his hydraulic press.
Need to do the same with the gearbox side one now I've found it!
J
Thanks paceman. I was on the verge admitting defeat with the engine mount bush but then it suddenly started and in it went.
Just finished the gearbox side this afternoon. Proved harder due to the fact that the mount isn't so easy to get in the vice due to it's shape. The main issue was that the rubber bush insert protrudes in several places - not just the central bolt hole. I had to adapt a piece of hardwood with recesses made using a drill/spade bit so as not to damage the insert when pressing it in.
I felt so chuffed when I'd done it!
Until I realised it was upside down! Some choice words were uttered! Thankfully due to the Vaseline lube it tapped out remarkably easily and without any damage…… before fitting it the correct way up!
1983 Golf GTi Campaign Edition, Diamond Silver
http://vwgolfmk1.org.uk/forum/index.php?page=topicview&id=projects%2Fyour-mk1-golfs_2%2F-tag-1983-campaign&redirected=1#post_1551531
http://vwgolfmk1.org.uk/forum/index.php?page=topicview&id=projects%2Fyour-mk1-golfs_2%2F-tag-1983-campaign&redirected=1#post_1551531
Posted
Old Timer


Spudfingers said
The detail on this blog will help the mk1 community immensely. Well done for posting everything in such detail mate. Looks like you will have a belter of a car when this is finished!!
Thanks very much Spudfingers. I know how useful I find it looking at other peoples photos for reference and gaining knowledge.
Just glad people read the blog, and if it helps then I'm really glad.
1983 Golf GTi Campaign Edition, Diamond Silver
http://vwgolfmk1.org.uk/forum/index.php?page=topicview&id=projects%2Fyour-mk1-golfs_2%2F-tag-1983-campaign&redirected=1#post_1551531
http://vwgolfmk1.org.uk/forum/index.php?page=topicview&id=projects%2Fyour-mk1-golfs_2%2F-tag-1983-campaign&redirected=1#post_1551531
Posted
Local Hero


cdgthreesalmons said
Thanks very much Spudfingers. I know how useful I find it looking at other peoples photos for reference and gaining knowledge.
Just glad people read the blog, and if it helps then I'm really glad.
Keep the updates and pics coming mate

Posted
Old Timer


As explained above this mount was more tricky!
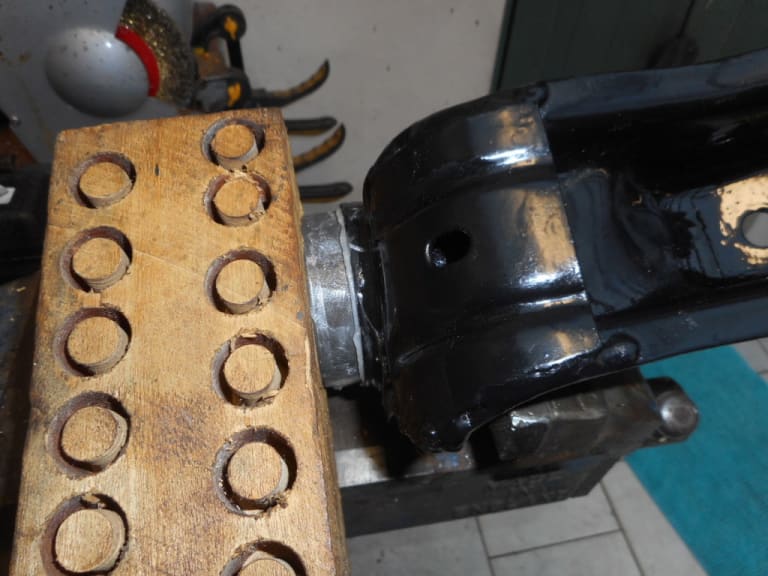
DSCN1044.JPG
thumb=
1983 Golf GTi Campaign Edition, Diamond Silver
http://vwgolfmk1.org.uk/forum/index.php?page=topicview&id=projects%2Fyour-mk1-golfs_2%2F-tag-1983-campaign&redirected=1#post_1551531
http://vwgolfmk1.org.uk/forum/index.php?page=topicview&id=projects%2Fyour-mk1-golfs_2%2F-tag-1983-campaign&redirected=1#post_1551531
Posted
Old Timer


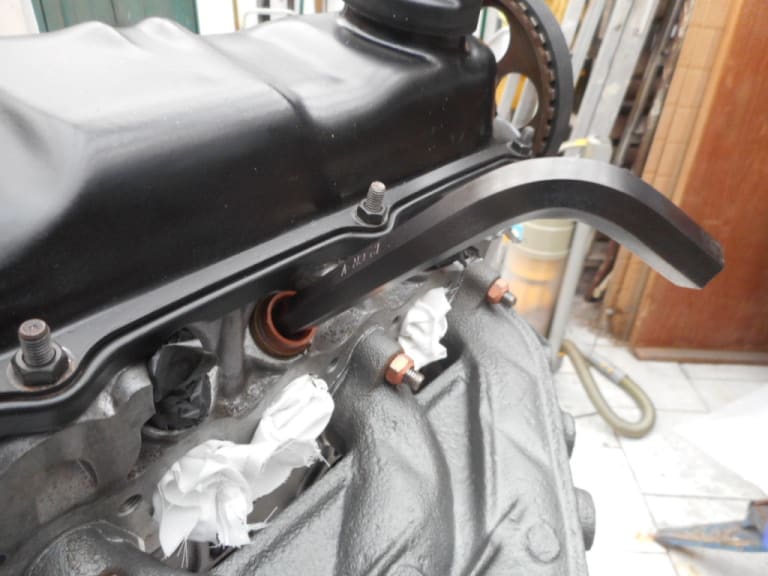
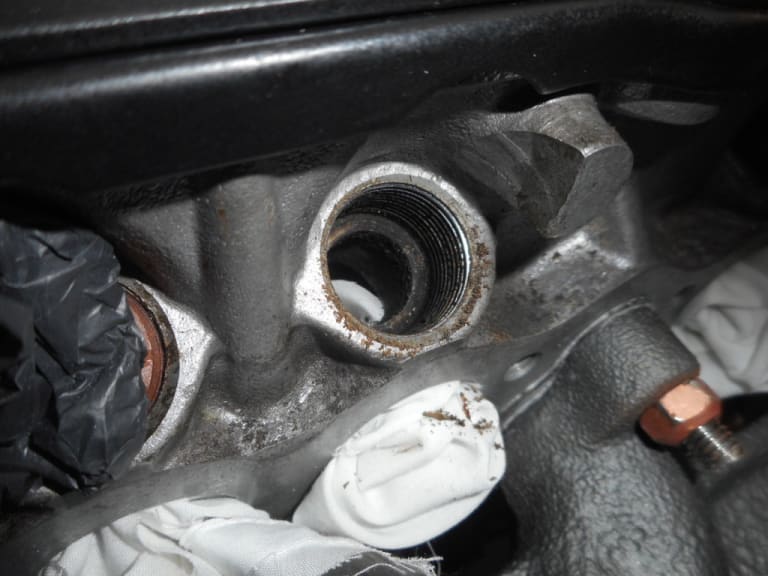
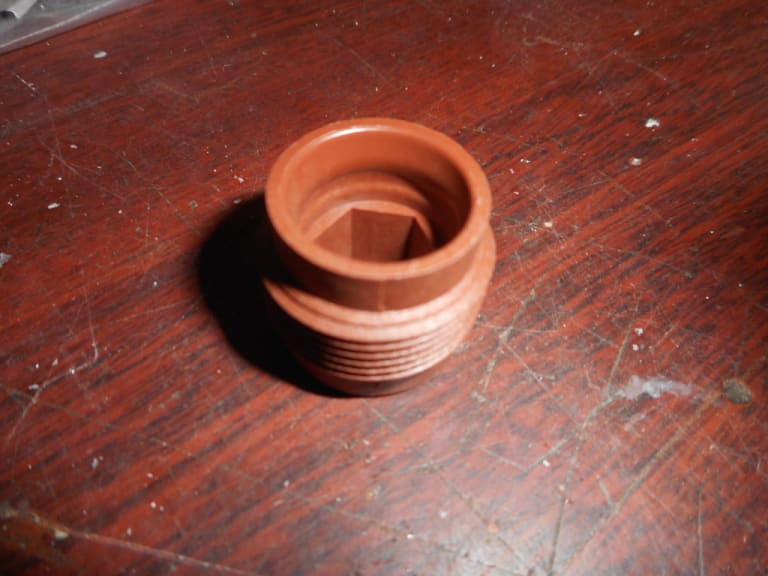
Need a 12mm Allen key for this.
One of them was so very tight I have left it in situ for fear of rounding off the socket hole and creating a whole load of trouble!! It is not split so am happy to leave it alone.
Plenty of muck after removing the insert. Vacuumed out and then cleaned the hole before refitting.
1983 Golf GTi Campaign Edition, Diamond Silver
http://vwgolfmk1.org.uk/forum/index.php?page=topicview&id=projects%2Fyour-mk1-golfs_2%2F-tag-1983-campaign&redirected=1#post_1551531
http://vwgolfmk1.org.uk/forum/index.php?page=topicview&id=projects%2Fyour-mk1-golfs_2%2F-tag-1983-campaign&redirected=1#post_1551531
Posted
Old Timer
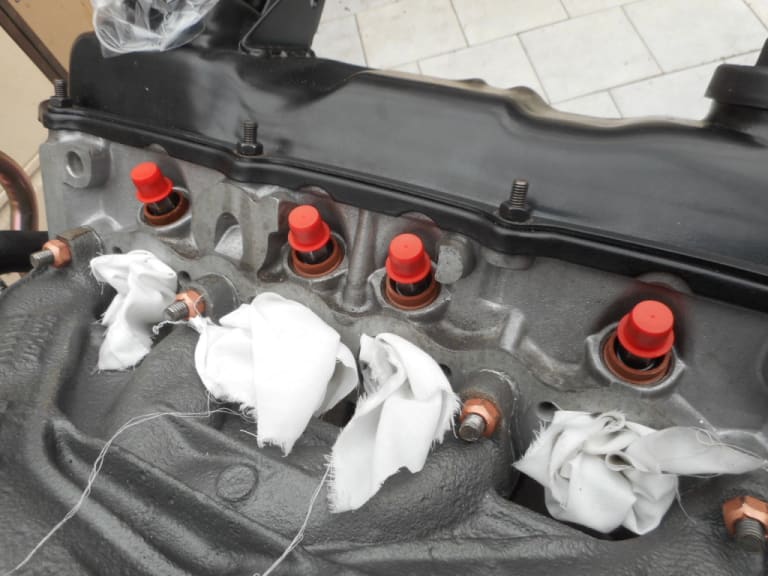


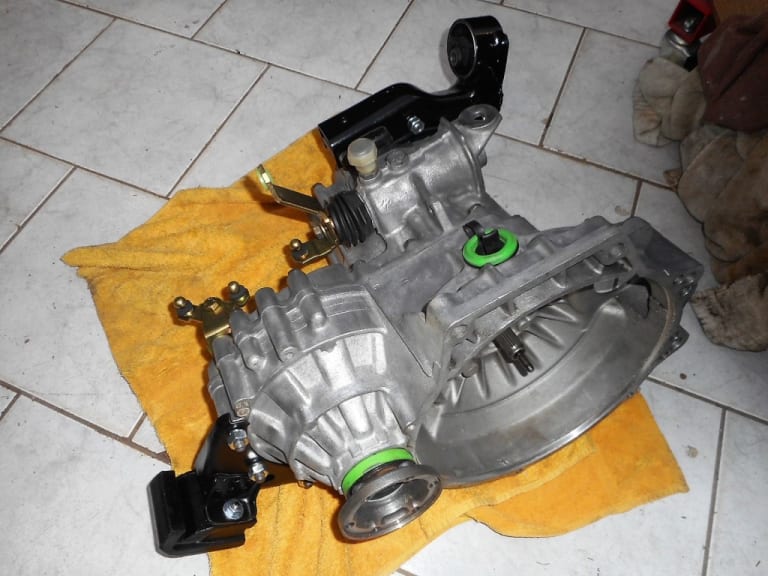
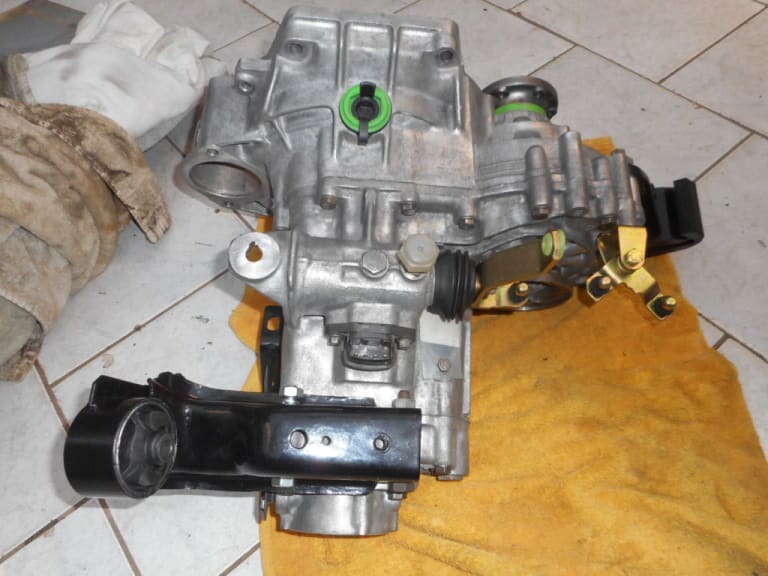
Temporarily fitted renovated brackets.
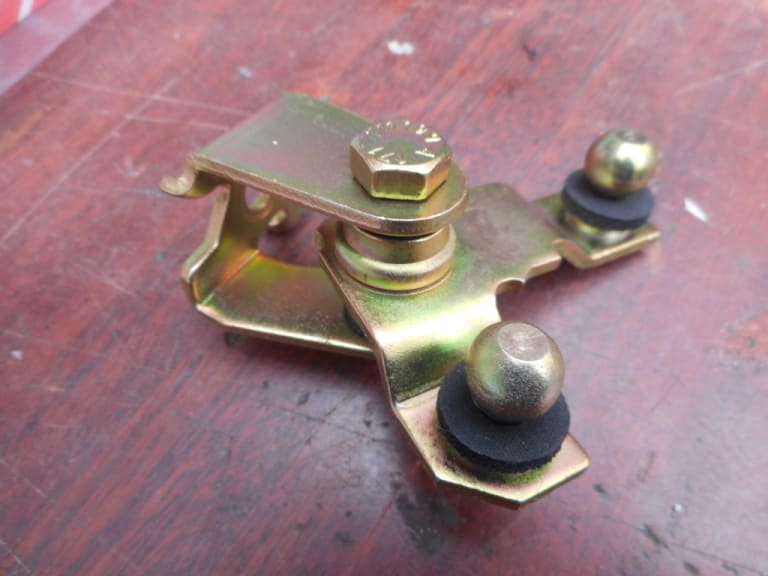
Nicely plated gear linkage parts with new bushes.
1983 Golf GTi Campaign Edition, Diamond Silver
http://vwgolfmk1.org.uk/forum/index.php?page=topicview&id=projects%2Fyour-mk1-golfs_2%2F-tag-1983-campaign&redirected=1#post_1551531
http://vwgolfmk1.org.uk/forum/index.php?page=topicview&id=projects%2Fyour-mk1-golfs_2%2F-tag-1983-campaign&redirected=1#post_1551531
0 guests and 0 members have just viewed this: None.


