"TAG" - 1983 Campaign restoration blog
Posted
Old Timer


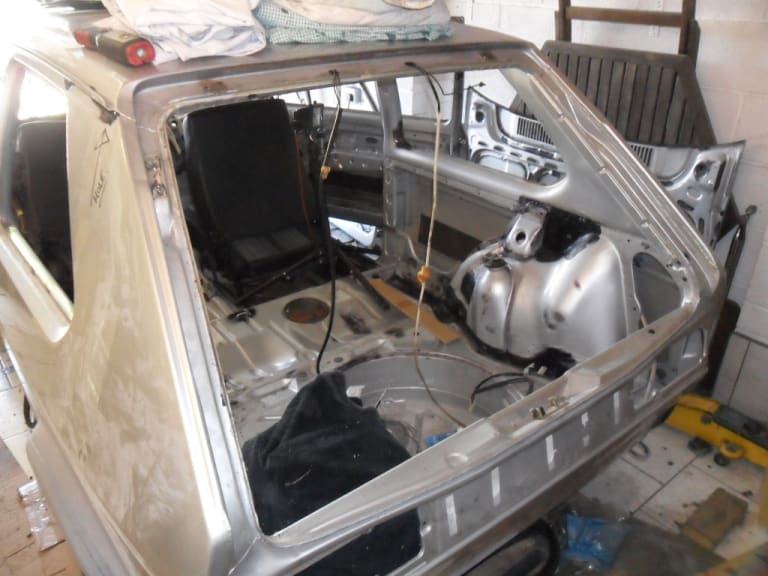
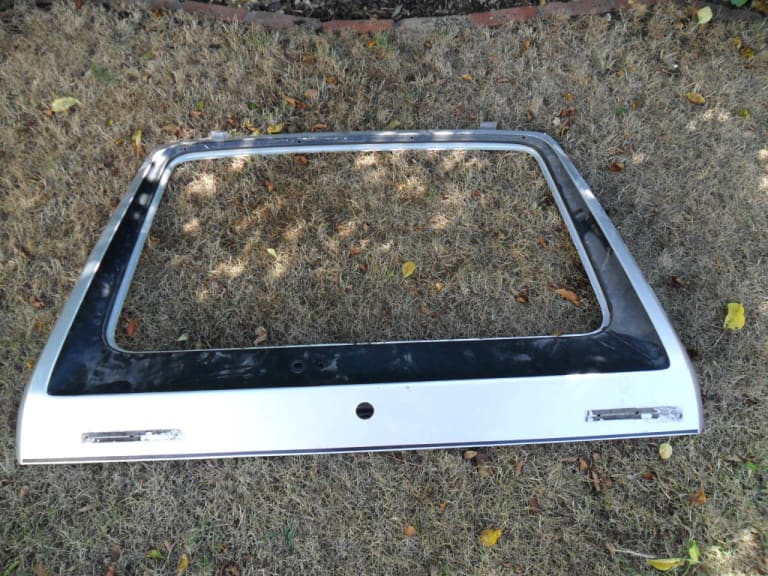
1983 Golf GTi Campaign Edition, Diamond Silver
http://vwgolfmk1.org.uk/forum/index.php?page=topicview&id=projects%2Fyour-mk1-golfs_2%2F-tag-1983-campaign&redirected=1#post_1551531
http://vwgolfmk1.org.uk/forum/index.php?page=topicview&id=projects%2Fyour-mk1-golfs_2%2F-tag-1983-campaign&redirected=1#post_1551531
Posted
Old Timer


I used a hot air gun to lift the surface layer, which left a VERY sticky layer of adhesive that I removed with thinners. The hot air gun/thinners did lift some areas of the underlying paint but I am not concerned as I have to take it back to bare metal anyway.


1983 Golf GTi Campaign Edition, Diamond Silver
http://vwgolfmk1.org.uk/forum/index.php?page=topicview&id=projects%2Fyour-mk1-golfs_2%2F-tag-1983-campaign&redirected=1#post_1551531
http://vwgolfmk1.org.uk/forum/index.php?page=topicview&id=projects%2Fyour-mk1-golfs_2%2F-tag-1983-campaign&redirected=1#post_1551531
Posted
Old Timer
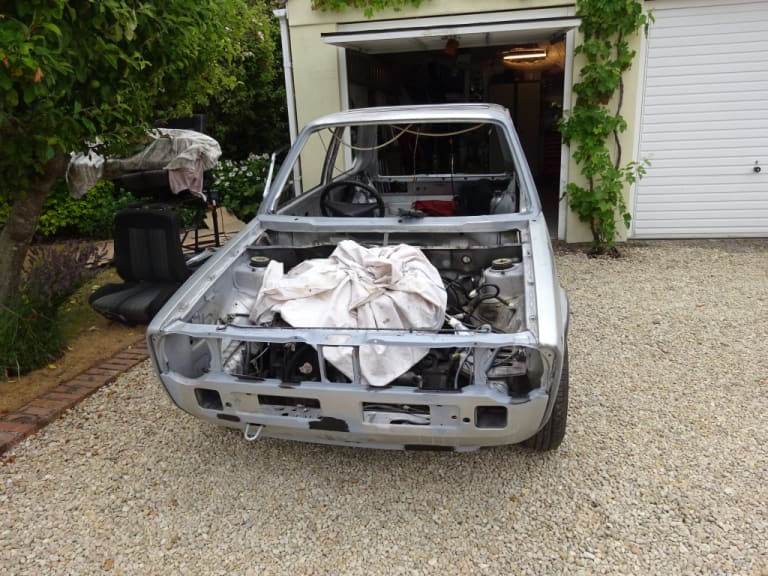
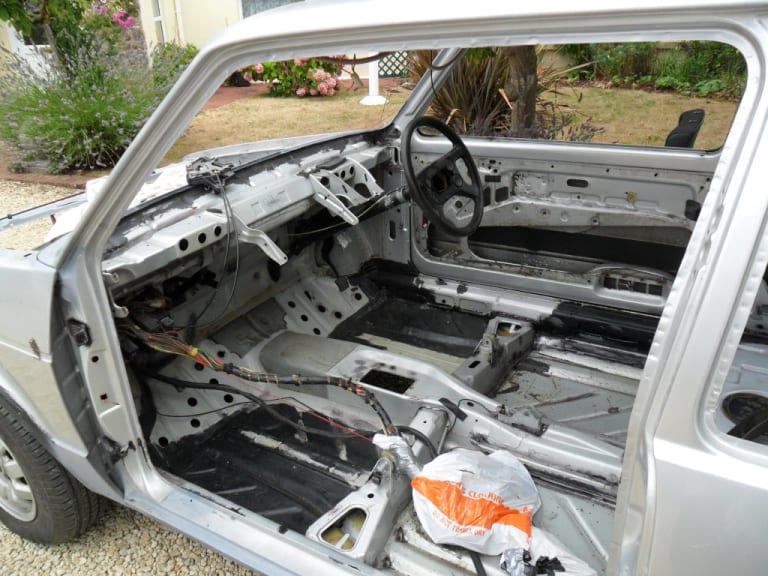
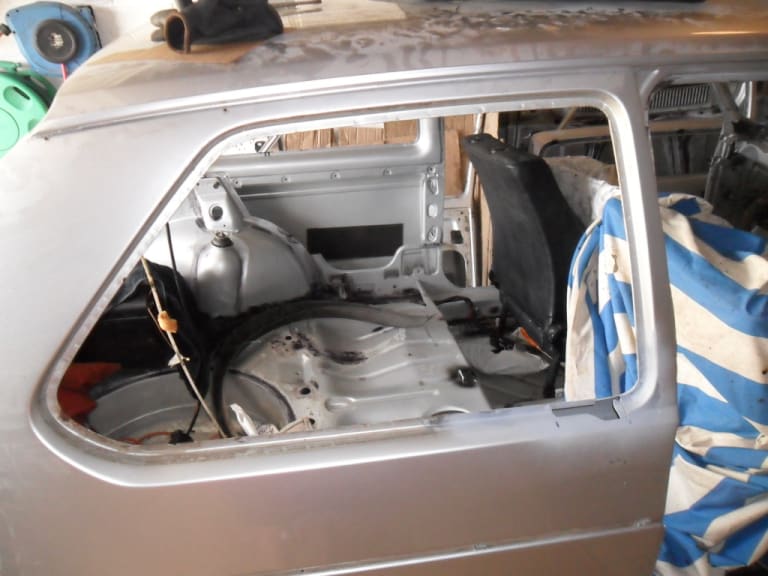


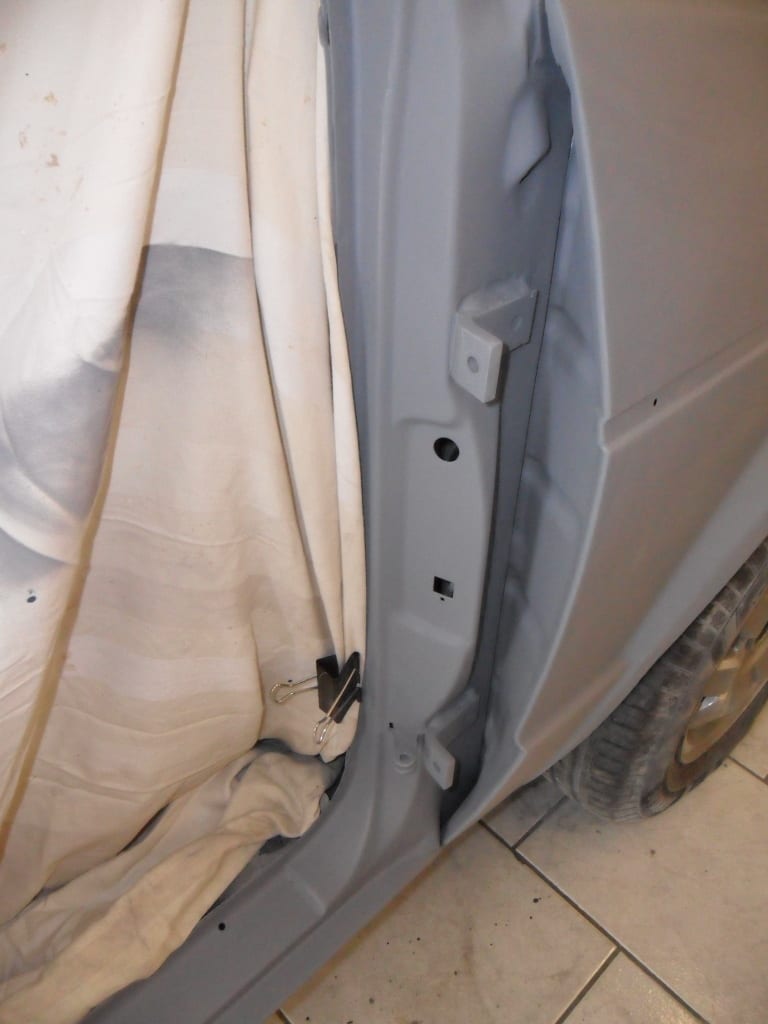
Firstly I have fitted the repair sections I made for the window reveal repair.

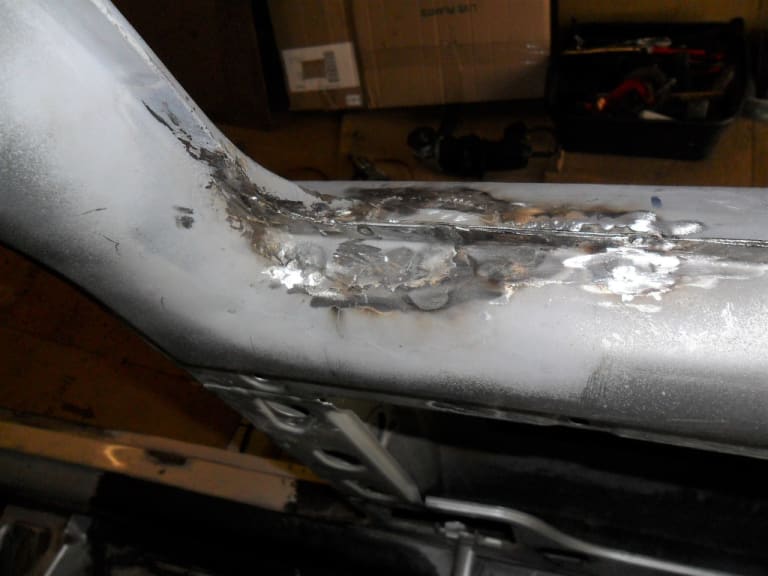


1983 Golf GTi Campaign Edition, Diamond Silver
http://vwgolfmk1.org.uk/forum/index.php?page=topicview&id=projects%2Fyour-mk1-golfs_2%2F-tag-1983-campaign&redirected=1#post_1551531
http://vwgolfmk1.org.uk/forum/index.php?page=topicview&id=projects%2Fyour-mk1-golfs_2%2F-tag-1983-campaign&redirected=1#post_1551531
Posted
Old Timer


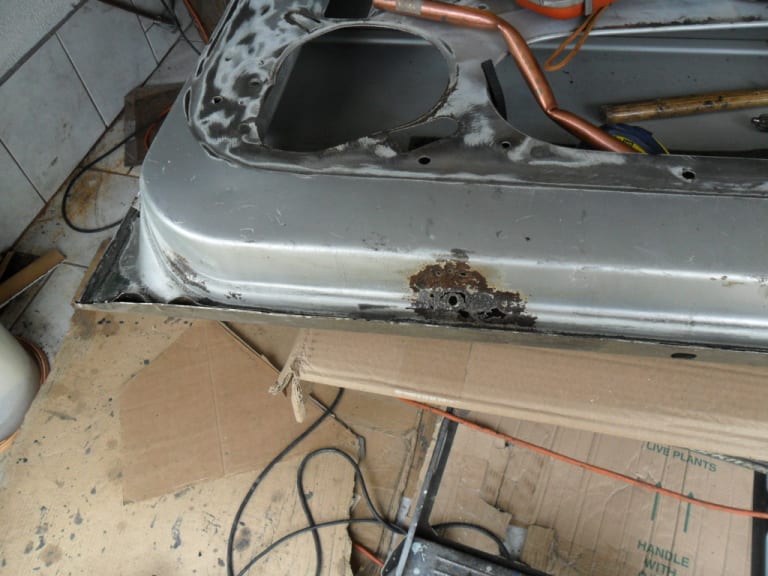
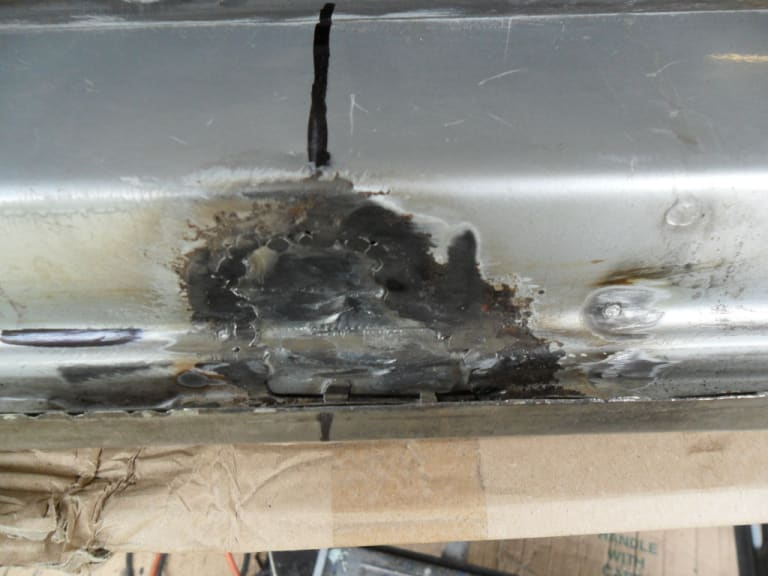
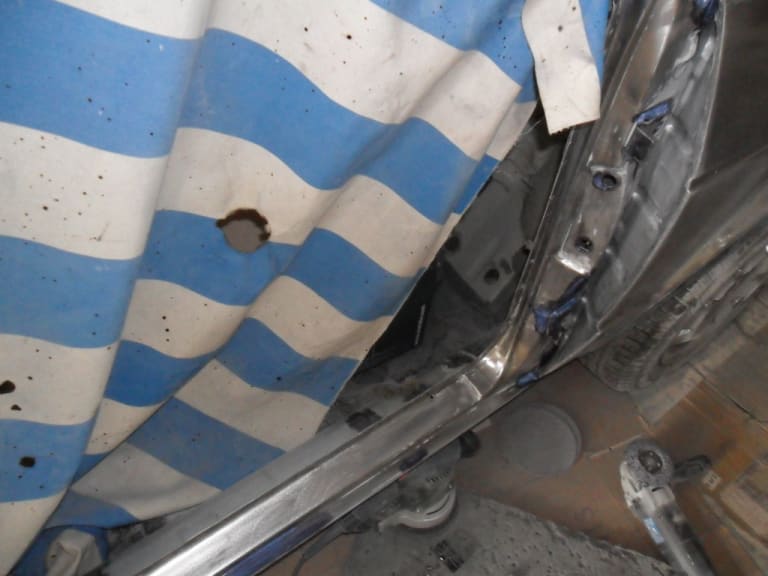
Worst spot was around the hole for the quarter-light window support bar in the door bottom. It had corroded badly around the fixing hole. This needed a plate on the inside of the bottom of the door - a very tricky place to reach/repair!



1983 Golf GTi Campaign Edition, Diamond Silver
http://vwgolfmk1.org.uk/forum/index.php?page=topicview&id=projects%2Fyour-mk1-golfs_2%2F-tag-1983-campaign&redirected=1#post_1551531
http://vwgolfmk1.org.uk/forum/index.php?page=topicview&id=projects%2Fyour-mk1-golfs_2%2F-tag-1983-campaign&redirected=1#post_1551531
Posted
Old Timer


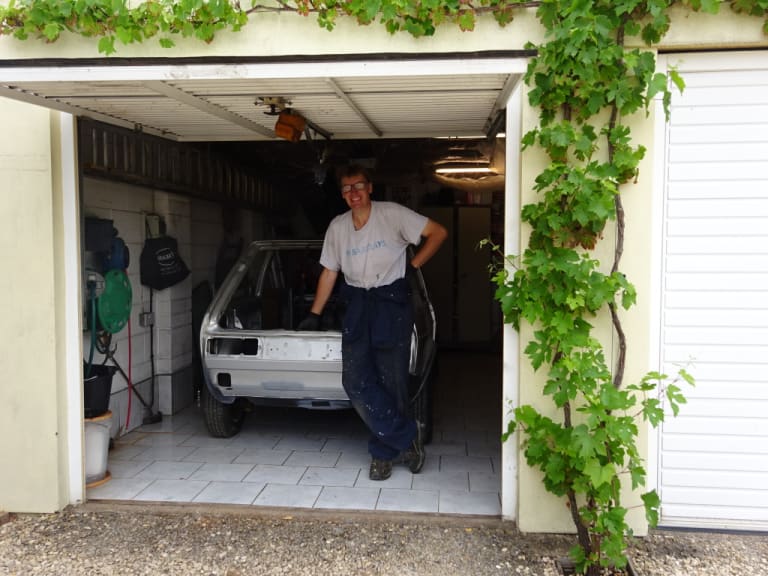
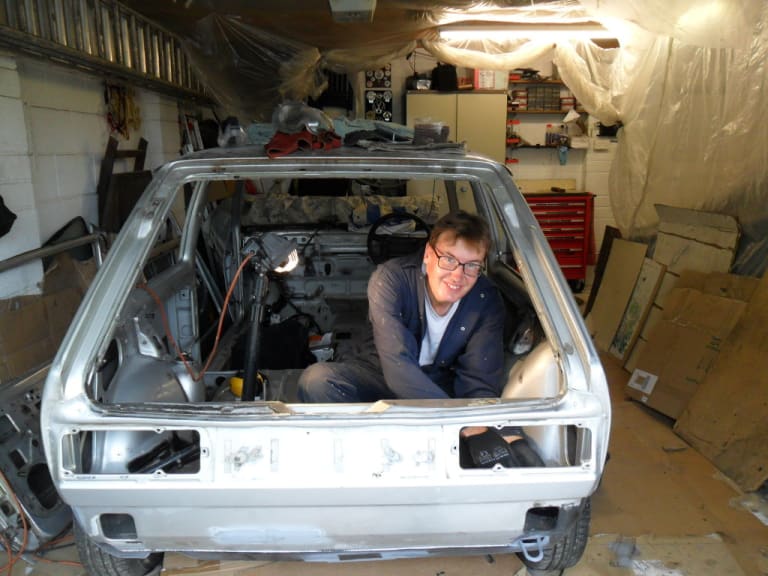
He did recommend that due a previous respray I take the whole car back to bare metal. As he explained the lines of the car loose their crispness after multiple layers of paint.
So I could either pay him for the man hours involved…. or I could accept the challenge and save a few pounds in the process.
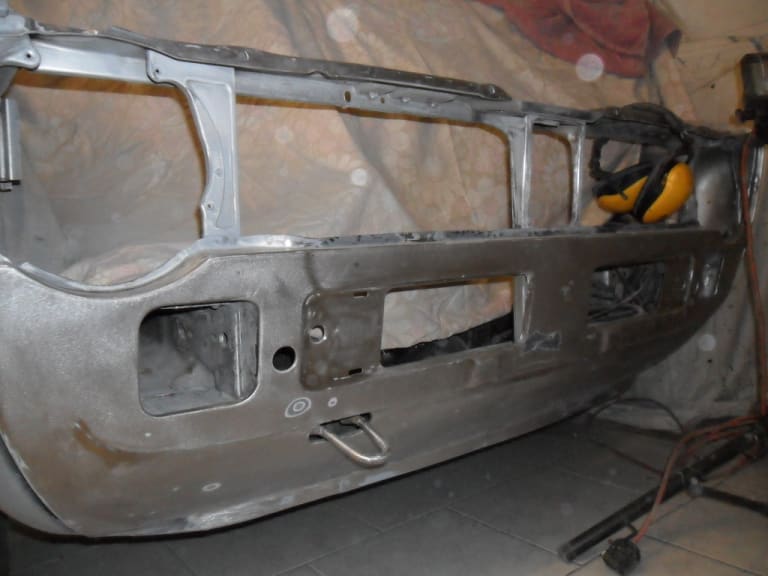
I therefore researched and bought a good quality DA sander and specialist mesh car sanding discs; a pile of 80 and 180 grit automotive sandpaper and strip disc attachments for grinder and drill for places the DA sander cant get to.
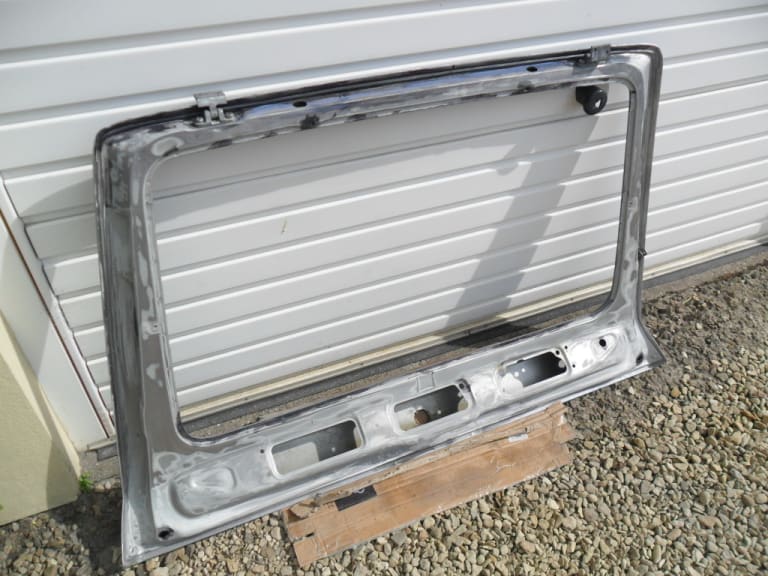
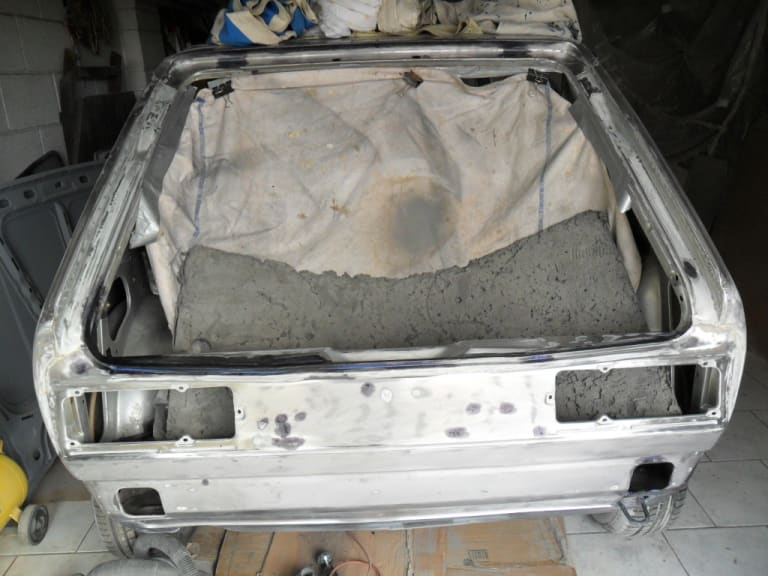
The inside edges and inside faces of the doors, tailgate, bonnet have now been hand sanded back to nearly bare metal. As they have not had a respray it was not as important to take them right back.
A trick the bodywork man explained was to fit an old vacuum cleaner hose to the DA sander outlet and put the far end under a sheet. The sander creates enough suction to remove most of the dust and deposit it under the cloth. Unless you have a professional vacuum designed to handle the incredibly fine dust it will knacker a vacuum in a very short time. Indeed he told me he written off a Dyson in less than 1 day!



1983 Golf GTi Campaign Edition, Diamond Silver
http://vwgolfmk1.org.uk/forum/index.php?page=topicview&id=projects%2Fyour-mk1-golfs_2%2F-tag-1983-campaign&redirected=1#post_1551531
http://vwgolfmk1.org.uk/forum/index.php?page=topicview&id=projects%2Fyour-mk1-golfs_2%2F-tag-1983-campaign&redirected=1#post_1551531
Posted
Old Timer


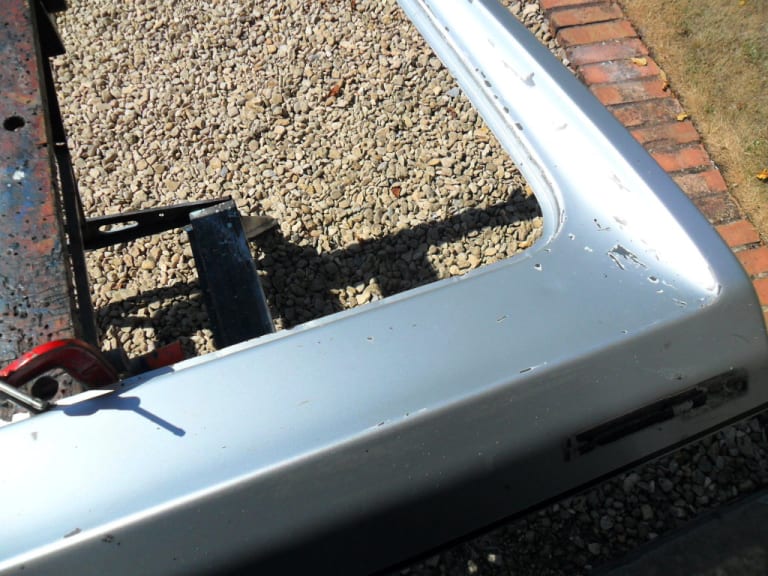
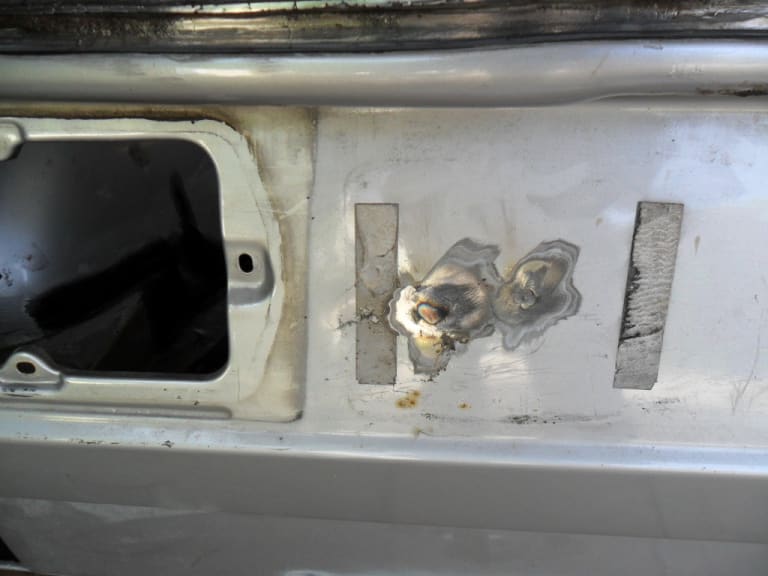
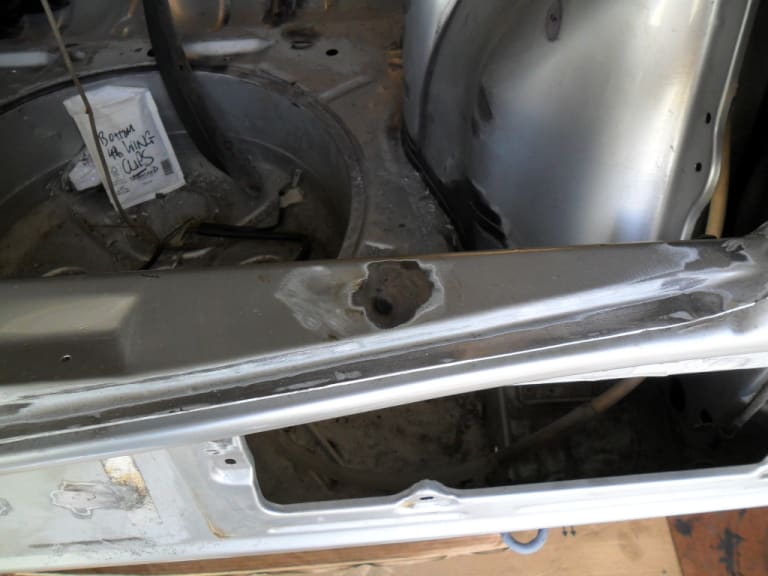
A previous alarm fitment had left holes from door contacts. These needed welding up. Also the left hand side of the boot slam panel edge was made of filler! This needed removing and new metal welding in. Again a rather tricky area to weld. Finally over the years a few different holes had been drilled to mount number plates - now welded up.


1983 Golf GTi Campaign Edition, Diamond Silver
http://vwgolfmk1.org.uk/forum/index.php?page=topicview&id=projects%2Fyour-mk1-golfs_2%2F-tag-1983-campaign&redirected=1#post_1551531
http://vwgolfmk1.org.uk/forum/index.php?page=topicview&id=projects%2Fyour-mk1-golfs_2%2F-tag-1983-campaign&redirected=1#post_1551531
Posted
Old Timer
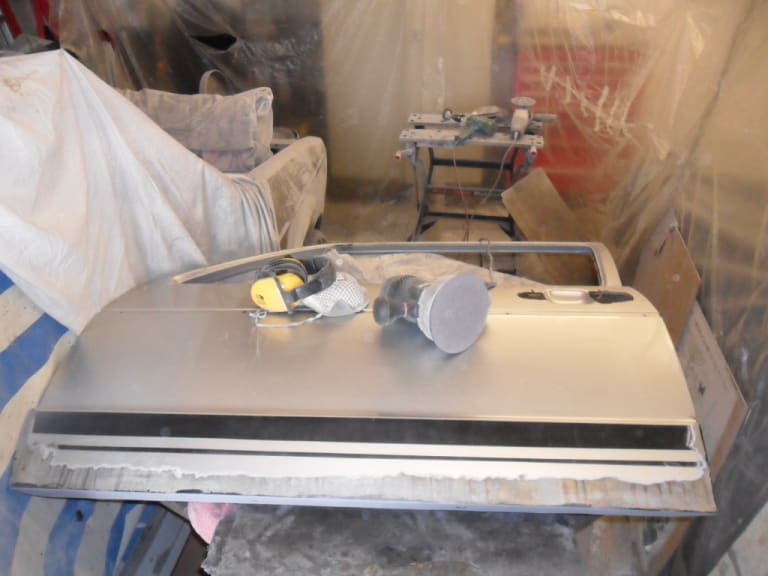
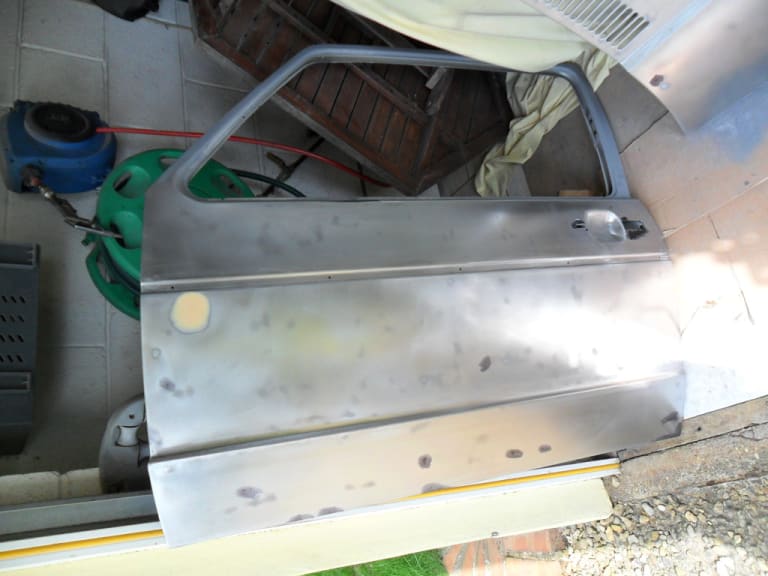


Workmanship looks good, particularly around the sunroof, you were brave taking that on.
Have you got a date for paint yet?
Mars red 1.8 GTI tintop now MOT'd and on the road!
http://vwgolfmk1.org.uk/forum/index.php?page=topicview&id=projects%2Fyour-mk1-golfs_2%2Fwent-to-look-at-a-golf&kfs79=150
http://vwgolfmk1.org.uk/forum/index.php?page=topicview&id=projects%2Fyour-mk1-golfs_2%2Fwent-to-look-at-a-golf&kfs79=150
Posted
Moderator


With your welding skills you should have left it bare metal and just cleared over the top of it.
Keep up the good work. Nice tip on the sheet and hose. Bet I'll forget it when I come to do any sanding though
Ian
Posted
Old Timer


man hours and dust!!
borednow - maybe I should go for the "Delorean brushed stainless look"…………….
saulty - no date for painting yet as I need to take out the engine and then clean up the engine bay.
1983 Golf GTi Campaign Edition, Diamond Silver
http://vwgolfmk1.org.uk/forum/index.php?page=topicview&id=projects%2Fyour-mk1-golfs_2%2F-tag-1983-campaign&redirected=1#post_1551531
http://vwgolfmk1.org.uk/forum/index.php?page=topicview&id=projects%2Fyour-mk1-golfs_2%2F-tag-1983-campaign&redirected=1#post_1551531
0 guests and 0 members have just viewed this: None.


