"TAG" - 1983 Campaign restoration blog
Posted
Old Timer




1983 Golf GTi Campaign Edition, Diamond Silver
http://vwgolfmk1.org.uk/forum/index.php?page=topicview&id=projects%2Fyour-mk1-golfs_2%2F-tag-1983-campaign&redirected=1#post_1551531
http://vwgolfmk1.org.uk/forum/index.php?page=topicview&id=projects%2Fyour-mk1-golfs_2%2F-tag-1983-campaign&redirected=1#post_1551531
Posted
Old Timer


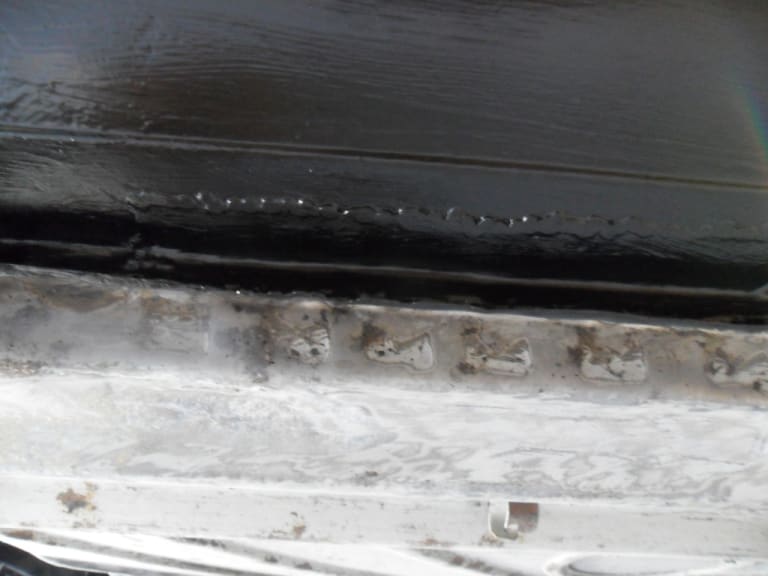
 I have then treated all seams with Bilt Hamber Dy]nax Seam seam sealer.
1983 Golf GTi Campaign Edition, Diamond Silver
http://vwgolfmk1.org.uk/forum/index.php?page=topicview&id=projects%2Fyour-mk1-golfs_2%2F-tag-1983-campaign&redirected=1#post_1551531
http://vwgolfmk1.org.uk/forum/index.php?page=topicview&id=projects%2Fyour-mk1-golfs_2%2F-tag-1983-campaign&redirected=1#post_1551531
Posted
Old Timer


Now ready for seam sealing.


1983 Golf GTi Campaign Edition, Diamond Silver
http://vwgolfmk1.org.uk/forum/index.php?page=topicview&id=projects%2Fyour-mk1-golfs_2%2F-tag-1983-campaign&redirected=1#post_1551531
http://vwgolfmk1.org.uk/forum/index.php?page=topicview&id=projects%2Fyour-mk1-golfs_2%2F-tag-1983-campaign&redirected=1#post_1551531
Posted
Old Timer


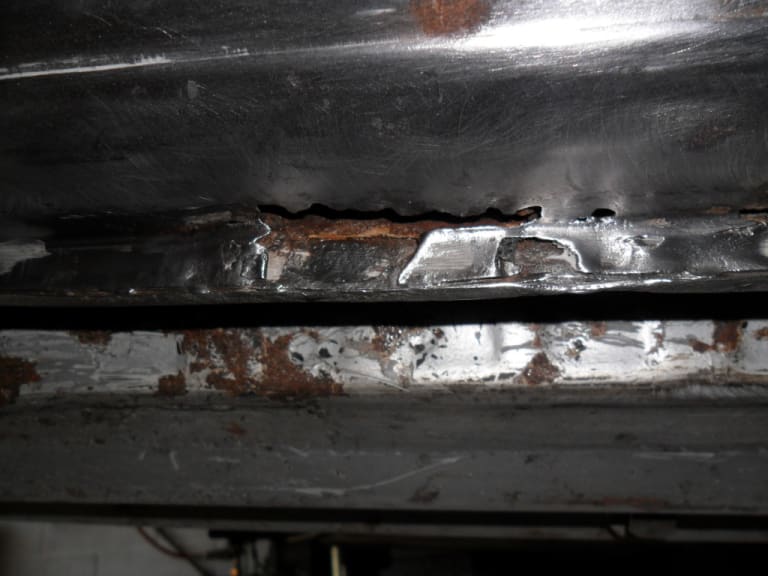
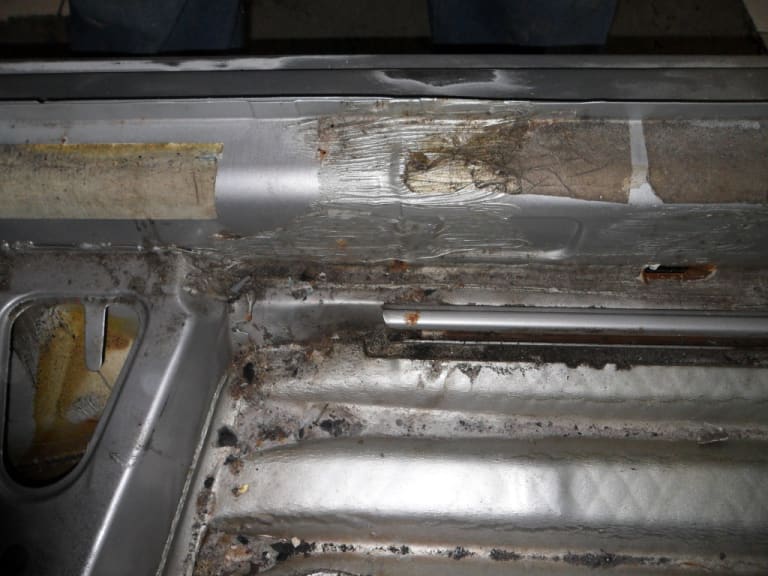
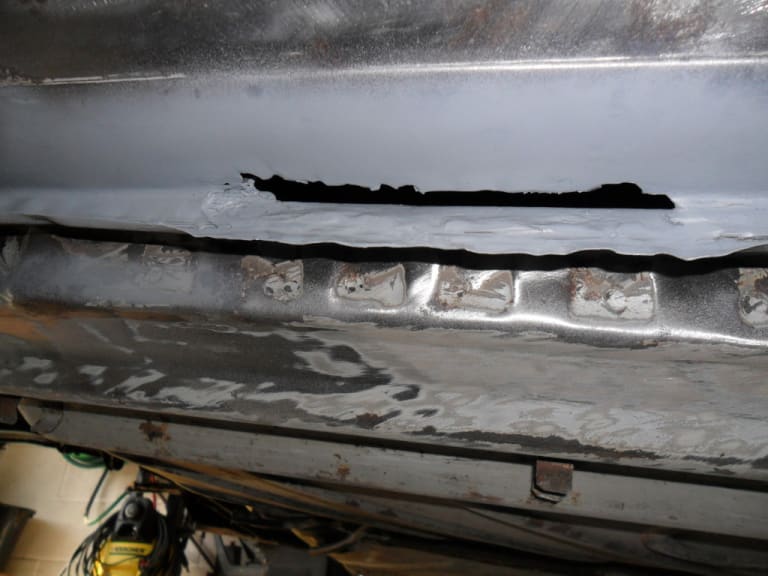
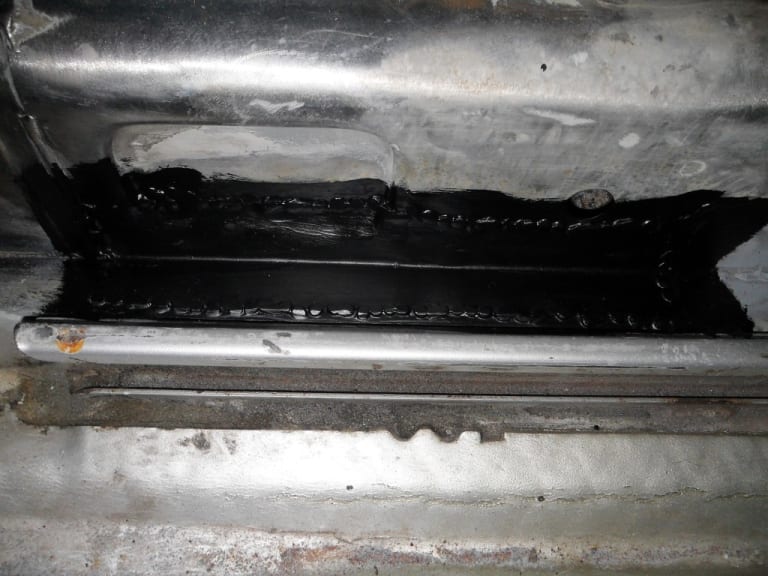
What started a small orange stain on the underside of the sill beneath the drivers door soon developed however.
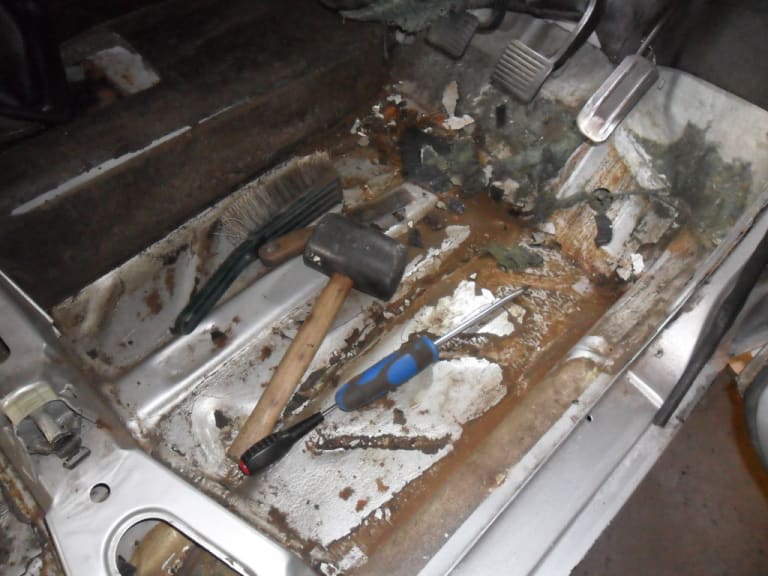
Inside under the carpet I found a matching orange stain by the sill/seat runner. Having cleaned it up it revealed quite a nasty area of rot which I have cut out, rust treated, welded new metal in and painted with Rustbuster Epoxy 121.


1983 Golf GTi Campaign Edition, Diamond Silver
http://vwgolfmk1.org.uk/forum/index.php?page=topicview&id=projects%2Fyour-mk1-golfs_2%2F-tag-1983-campaign&redirected=1#post_1551531
http://vwgolfmk1.org.uk/forum/index.php?page=topicview&id=projects%2Fyour-mk1-golfs_2%2F-tag-1983-campaign&redirected=1#post_1551531
Posted
Old Timer


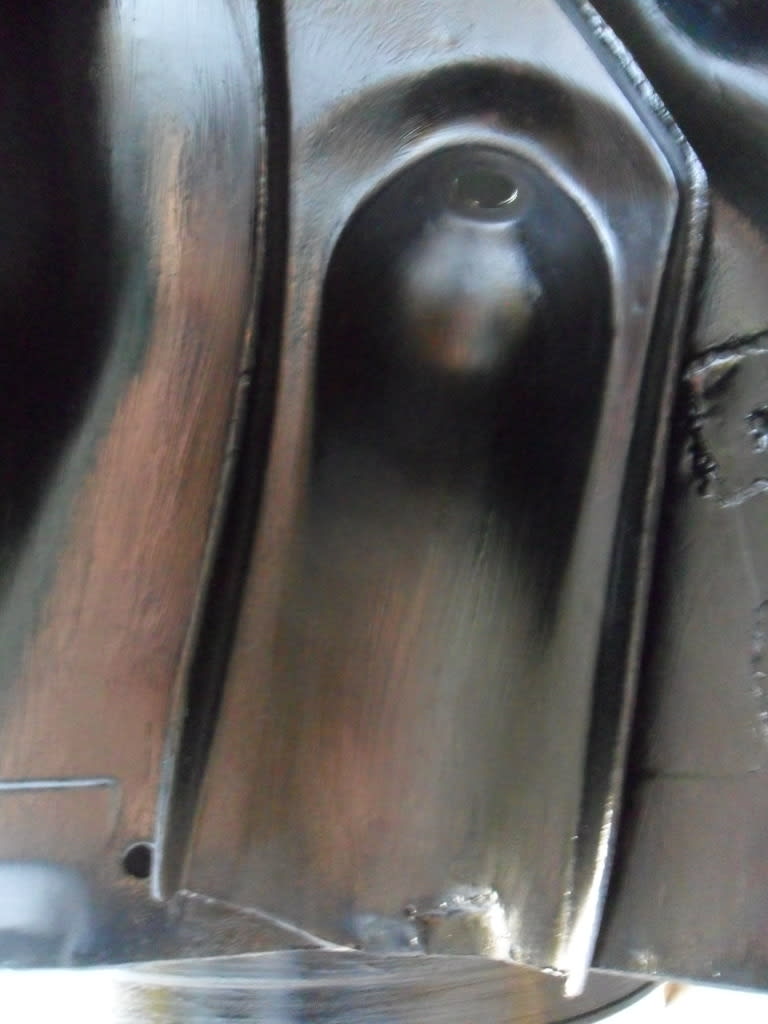
Before rust treating, painting, seam sealing the ear end I have drilled new exit holes, with some difficulty due to access, in the inner rear wing facing under the car facing away from the wheel. I have also created a new drain hole in the same area to release any future condensation in the wing. I then found some clear tubing that fits snuggly over the existing drain tube that I shall lead out of the newly drilled holes.
Sorry not great pics.


1983 Golf GTi Campaign Edition, Diamond Silver
http://vwgolfmk1.org.uk/forum/index.php?page=topicview&id=projects%2Fyour-mk1-golfs_2%2F-tag-1983-campaign&redirected=1#post_1551531
http://vwgolfmk1.org.uk/forum/index.php?page=topicview&id=projects%2Fyour-mk1-golfs_2%2F-tag-1983-campaign&redirected=1#post_1551531
Posted
Old Timer


Love the attention to detail, particularly with the welding, quite a challenge, I imagine.
In answer to your question at the show, the product I used was Duralac Jointing Compound. It can be purchased for as little as £5m but typically £11-15. Goes a long way.
http://www.ebay.co.uk/itm/DURALAC-ANTI-CORROSIVE-JOINING-COMPOUND-YACHTS-BOATS-SAILING-FISHING-BOATS-/371147564373?hash=item566a1e6555:g:FusAAOSw9r1V8Vug
Hope this helps.
Malcolm
Posted
Moderator


Re the bonding of metal together. I work as a civil engineer on the railway and we bond new metal into old knackered bridge on occasion. We also use Sika stuff. Never considered it for metal repairs on cars though. Nice thinking! I shall be stealing the idea for future projects
Looks like she's coming along nicely
Ian
Posted
Old Timer


Also thanks for the Duralac info.
1983 Golf GTi Campaign Edition, Diamond Silver
http://vwgolfmk1.org.uk/forum/index.php?page=topicview&id=projects%2Fyour-mk1-golfs_2%2F-tag-1983-campaign&redirected=1#post_1551531
http://vwgolfmk1.org.uk/forum/index.php?page=topicview&id=projects%2Fyour-mk1-golfs_2%2F-tag-1983-campaign&redirected=1#post_1551531
Posted
Old Timer


Yes it is great fun with the splatter down ones neck and in the hair!!!!!!!! I won't be sorry to finish underneath!
Interesting your comments on bonding metal. It is of course how they put together a new car so it cant be too bad! I am sure there is lots of "sucking through teeth" at the idea - only time will tell though! As always make sure the preparation is thorough and then proof the areas well afterwards.
1983 Golf GTi Campaign Edition, Diamond Silver
http://vwgolfmk1.org.uk/forum/index.php?page=topicview&id=projects%2Fyour-mk1-golfs_2%2F-tag-1983-campaign&redirected=1#post_1551531
http://vwgolfmk1.org.uk/forum/index.php?page=topicview&id=projects%2Fyour-mk1-golfs_2%2F-tag-1983-campaign&redirected=1#post_1551531
Posted
Old Timer


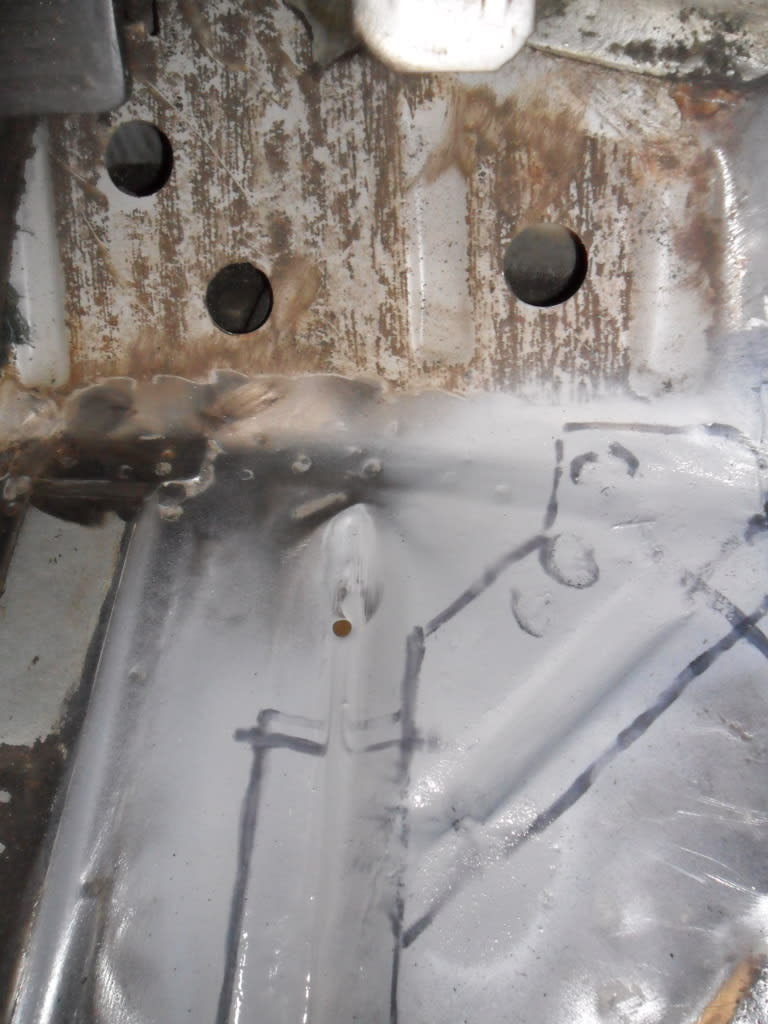
They are about 7-8mm diameter and don't appear to due to rot - unlike some of the other holes I have found in the floor
Should these holes be there????? They were covered by the original sound mats/bitumen that I have removed.
Are they drain holes??????
Hope the photos make sense………

1983 Golf GTi Campaign Edition, Diamond Silver
http://vwgolfmk1.org.uk/forum/index.php?page=topicview&id=projects%2Fyour-mk1-golfs_2%2F-tag-1983-campaign&redirected=1#post_1551531
http://vwgolfmk1.org.uk/forum/index.php?page=topicview&id=projects%2Fyour-mk1-golfs_2%2F-tag-1983-campaign&redirected=1#post_1551531
Posted
Old Timer

Matt
Posted
Old Timer


1983 Golf GTi Campaign Edition, Diamond Silver
http://vwgolfmk1.org.uk/forum/index.php?page=topicview&id=projects%2Fyour-mk1-golfs_2%2F-tag-1983-campaign&redirected=1#post_1551531
http://vwgolfmk1.org.uk/forum/index.php?page=topicview&id=projects%2Fyour-mk1-golfs_2%2F-tag-1983-campaign&redirected=1#post_1551531
Posted
Old Timer

The one on the right in the top picture looks like a drain hole. The other looks like a bodged repair.
Posted
Old Timer


1983 Golf GTi Campaign Edition, Diamond Silver
http://vwgolfmk1.org.uk/forum/index.php?page=topicview&id=projects%2Fyour-mk1-golfs_2%2F-tag-1983-campaign&redirected=1#post_1551531
http://vwgolfmk1.org.uk/forum/index.php?page=topicview&id=projects%2Fyour-mk1-golfs_2%2F-tag-1983-campaign&redirected=1#post_1551531
Posted
Local Hero


Andy
LINCOLNSHIRE REGION - https://www.facebook.com/groups/467122313360002/
1983 MK1 Golf GTI Campaign Model - Under (looooong) resto!
1962 Rover P4 80
2002 BMW 745i
2008 BMW Z4 2.5Si
LINCOLNSHIRE REGION - https://www.facebook.com/groups/467122313360002/
1983 MK1 Golf GTI Campaign Model - Under (looooong) resto!
1962 Rover P4 80
2002 BMW 745i
2008 BMW Z4 2.5Si
Posted
Old Timer


1983 Golf GTi Campaign Edition, Diamond Silver
http://vwgolfmk1.org.uk/forum/index.php?page=topicview&id=projects%2Fyour-mk1-golfs_2%2F-tag-1983-campaign&redirected=1#post_1551531
http://vwgolfmk1.org.uk/forum/index.php?page=topicview&id=projects%2Fyour-mk1-golfs_2%2F-tag-1983-campaign&redirected=1#post_1551531
Posted
Old Timer


1983 Golf GTi Campaign Edition, Diamond Silver
http://vwgolfmk1.org.uk/forum/index.php?page=topicview&id=projects%2Fyour-mk1-golfs_2%2F-tag-1983-campaign&redirected=1#post_1551531
http://vwgolfmk1.org.uk/forum/index.php?page=topicview&id=projects%2Fyour-mk1-golfs_2%2F-tag-1983-campaign&redirected=1#post_1551531
0 guests and 0 members have just viewed this: None.


