DX to ABF conversion wiring
Posted
Settled In

DX to ABF conversion wiring
Do I need to connect to the dash in a different way?
Where does the gauge wiring connect to at the fusebox?
Thanks
Posted
Settled In

I havent had a chance to start it. Is this correct?
thanks
Posted
MOTY 2013

to test it earth the temp sender wire, if gauge goes to full wiring is ok. if not check your wiring over again, look at the clock plug too sometimes pins become a bit loose or clock contact pads wear
Hello my name is John and I'm a dub addict.
My wiring diagrams and other documents have moved here:
VAG Documents & Downloads
You'll need to sign into google/gmail for the link to work! (its free!)
My wiring diagrams and other documents have moved here:
VAG Documents & Downloads
You'll need to sign into google/gmail for the link to work! (its free!)
Posted
Settled In

Thanks
Posted
MOTY 2013

Hello my name is John and I'm a dub addict.
My wiring diagrams and other documents have moved here:
VAG Documents & Downloads
You'll need to sign into google/gmail for the link to work! (its free!)
My wiring diagrams and other documents have moved here:
VAG Documents & Downloads
You'll need to sign into google/gmail for the link to work! (its free!)
Posted
Settled In

http://m.vwheritage.com/productDetails.cfm?iItemID=167631
Is this not what i am looking for?
Also would it be possible that my old mk2 engine has the same temp sensor?
Thanks
Posted
MOTY 2013

Hello my name is John and I'm a dub addict.
My wiring diagrams and other documents have moved here:
VAG Documents & Downloads
You'll need to sign into google/gmail for the link to work! (its free!)
My wiring diagrams and other documents have moved here:
VAG Documents & Downloads
You'll need to sign into google/gmail for the link to work! (its free!)
Posted
Settled In

Posted
MOTY 2013

Hello my name is John and I'm a dub addict.
My wiring diagrams and other documents have moved here:
VAG Documents & Downloads
You'll need to sign into google/gmail for the link to work! (its free!)
My wiring diagrams and other documents have moved here:
VAG Documents & Downloads
You'll need to sign into google/gmail for the link to work! (its free!)
Posted
Old Timer


I am just at the wiring point for my ABF conversion into my DX gti. In the interest of sharing info and keeping it in the same place i'll post here.
This is what I had
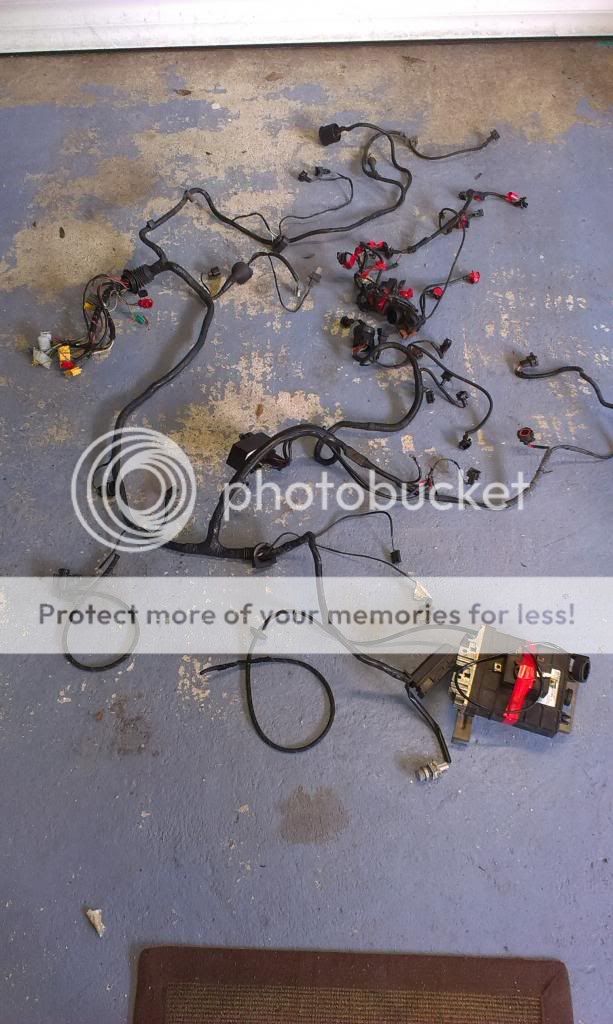
This is what I have now - oops…
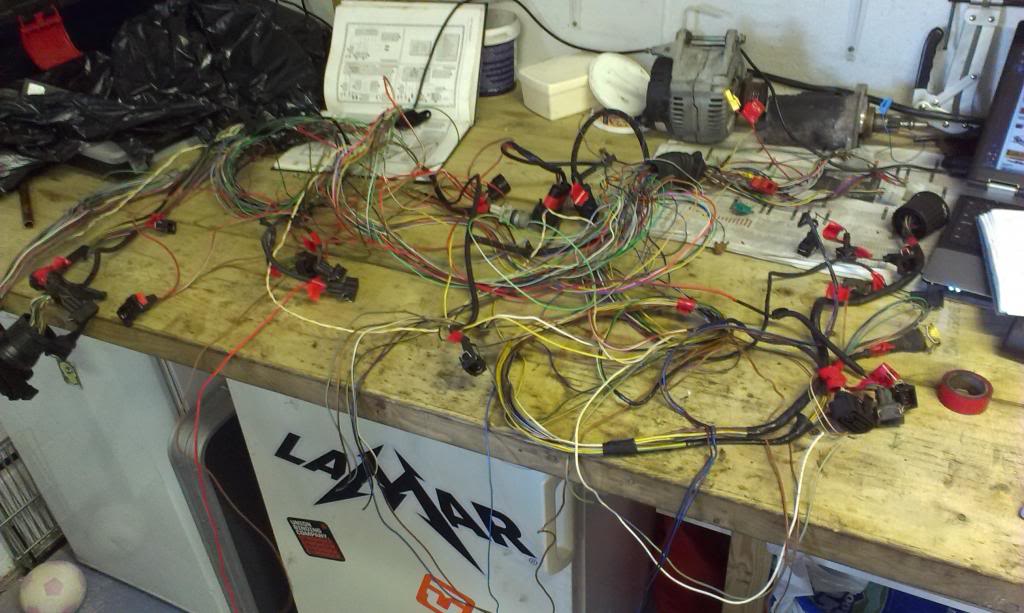
Rubjonny has been a great help so far and his last message to me was as follows:-
leave all the white plugs for now, these will have the engine wires and its way easier to keep track of em with the plugs still on.
all the yellow plugs can go, as can the thick brown and red wires to the battery. you'll have several brown wires tapped into the main brown, just chop them all off the main brown and deal with em later. theres a 3 pin plug with black/green, black/white and purple/white, thats for the clocks and can be chopped. the purple/white wire goes to ecu mpg signal that can be chopped too.
if you look on the engine loom near the main engine loom plug you may find a fat egg shaped plug and possibly a smaller 10 pin one next to it, thats for the mk3 fan controller all of that can be binned. it mnight have aircon if so all the a/c wires go to the smaller 10 pin plug and all of it can be binned off, any wires that go to ecu can just be snipped and taped.
you'll have a fair few single wire plugs, keep em all for now and go back later, the ones in particular to look out for and keep is red with yellow plug thats Z/1 for fuel injectors, grey/white thats diagnostics and blue/white thats VSS for the ecu
basically, you should be left with the ecu plug, the round ecu plug and all of the wires from them to the fusebox once you are done. one of the whiote plugs is for the wiper motor, you can use that to convert your loom to take a mk2/3 motor or just bin. you'll have the starter and reverse wires in there too, again you can keep them or bin. I like the mk3 starter plug as its a nice waterproof clippy type, but you'll need a mk3 starter to use it. same for the reverse, need later mk2 or mk3 switch. what starter/switch you need depends on the gearbox you plan to use.
I plan to use the Mk3 DPA box.
I didn't take the Mk3 loom out, so it is not labelled. This makes me nervous cutting things out as I'm not 100% sure what I'm cutting, so I'm going to take pics of each connector, and post the wire colours. If anyone can help identify each connector that would be awesome (rubjonny
Thanks
Posted
Old Timer


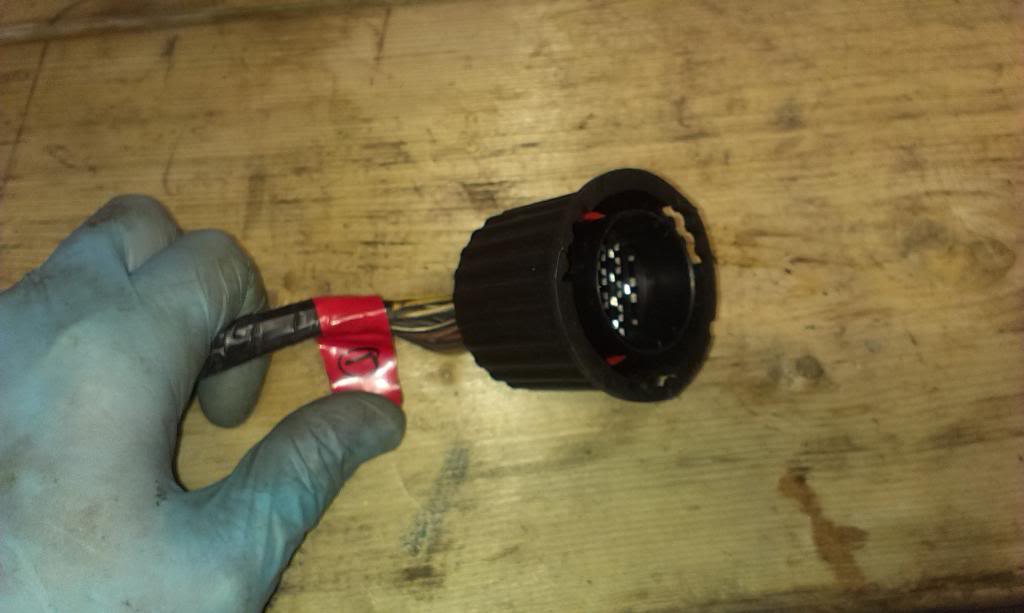
Connector 2 - Brown with blue trace & White with yellow trace.
Connector 3 - Black with white trace & Green
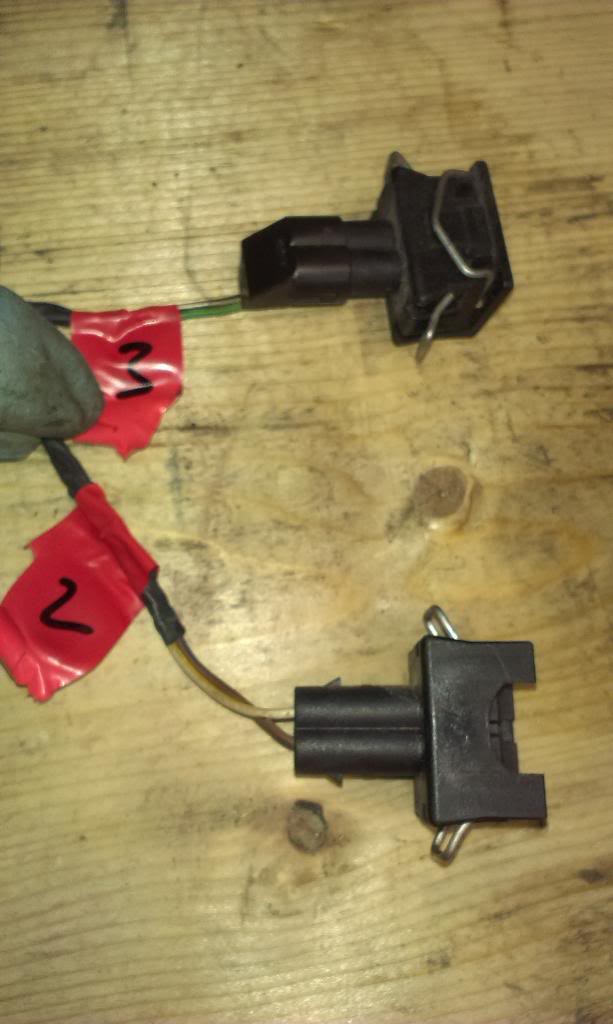
Connector 4 - Black/yellow, blue/white, green/red, green/blue
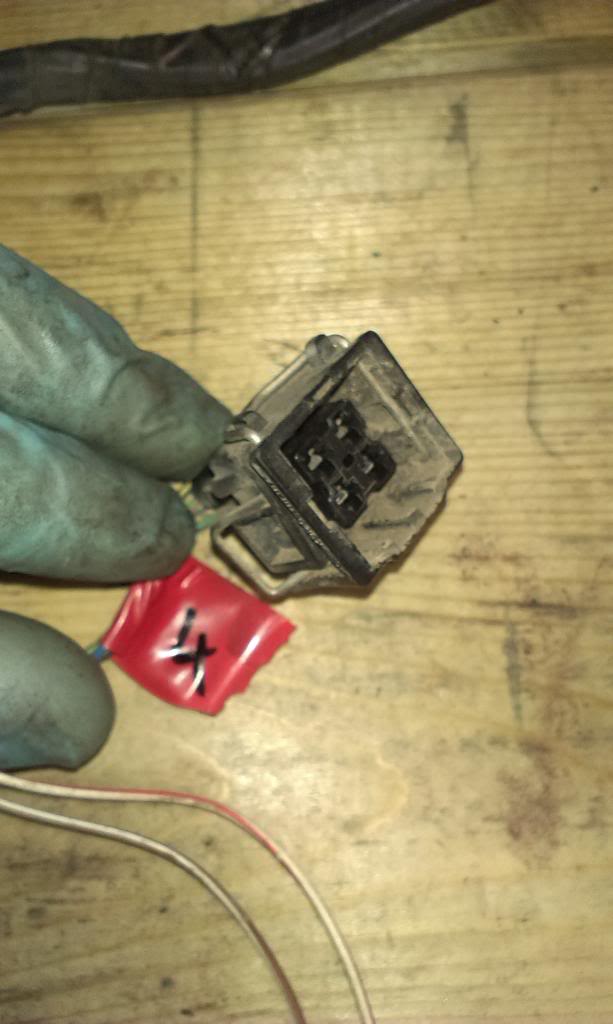
Connector 5 - Brown/white, Red/white
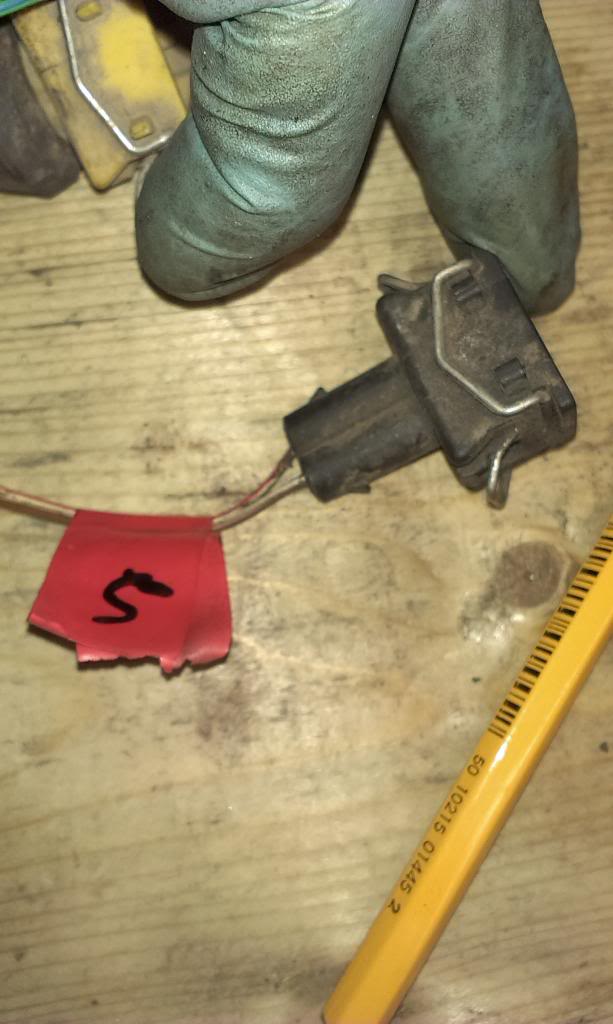
Connector 6 - Yellow plug with 2 yellow wires.
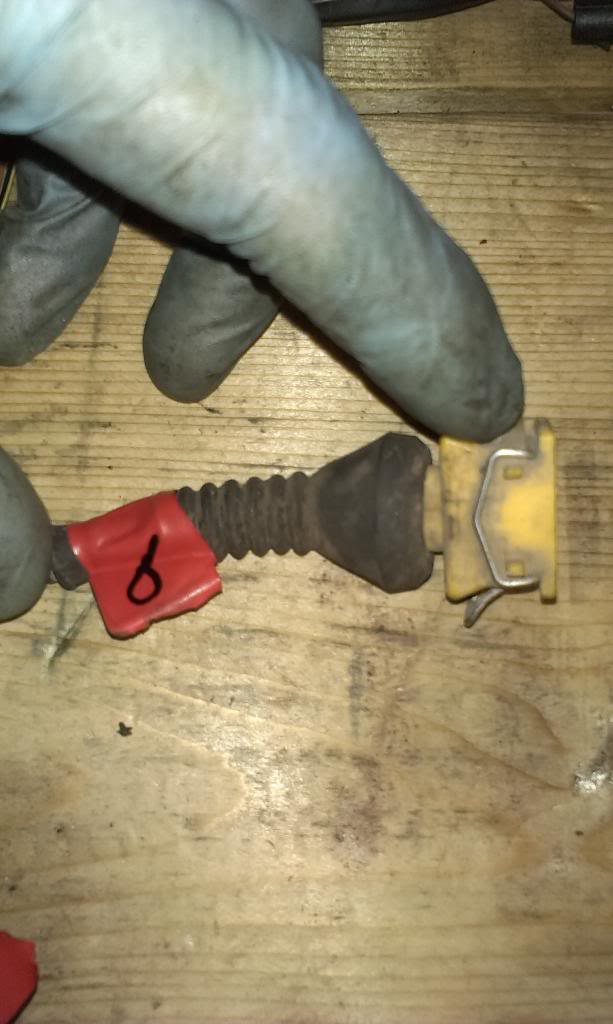
Connector 7 - I believe this is the Lambda
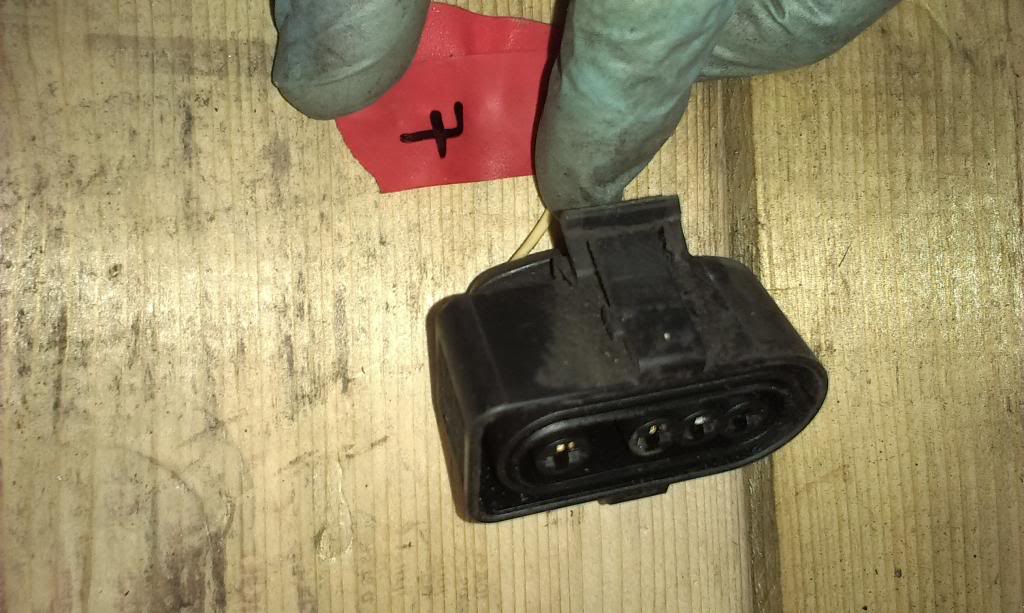
More to come, I have 18 in total…..
Thanks
Posted
Old Timer


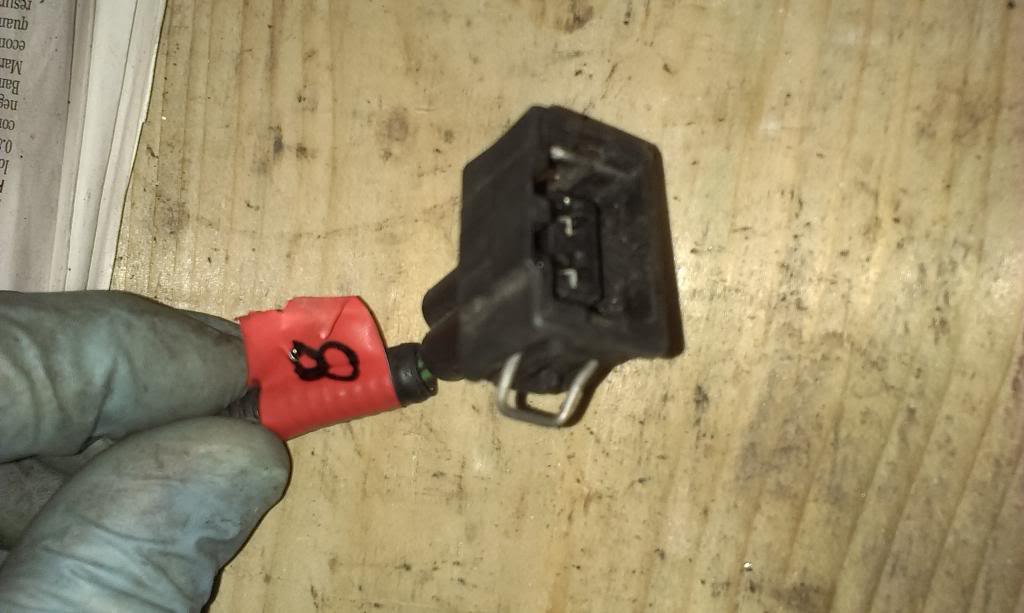
Connector 9 - 1 pin Blue (Alternator?)
2 pin unknown - Red/black, Blue/black
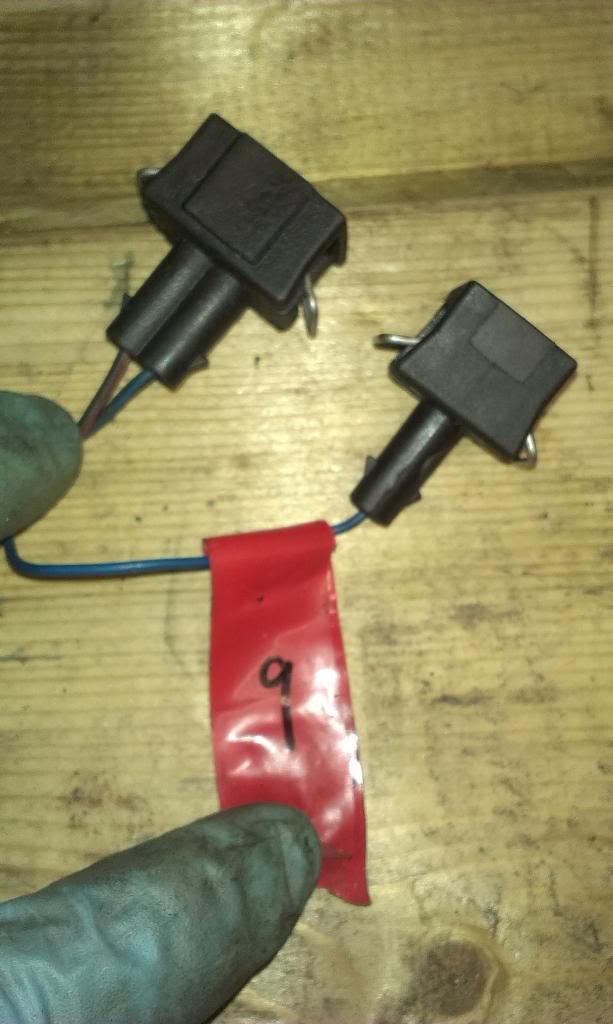
Connector 10 - Red/Black (Starter motor)

Connector 11 - \green/white, Brown/white
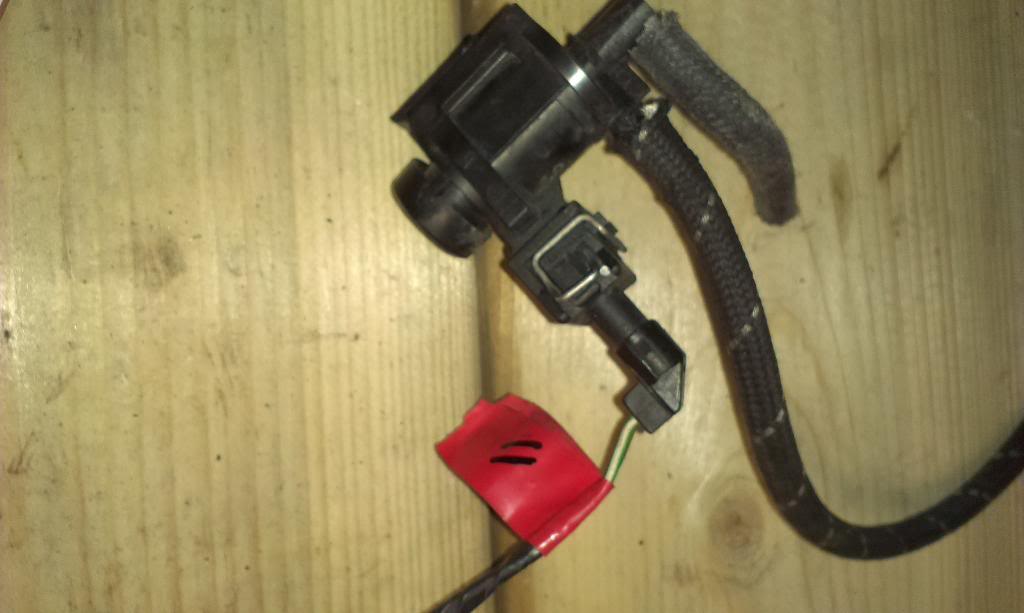
Connector 12 - Green/blue, green/grey (or purple)
(carbon canister?)
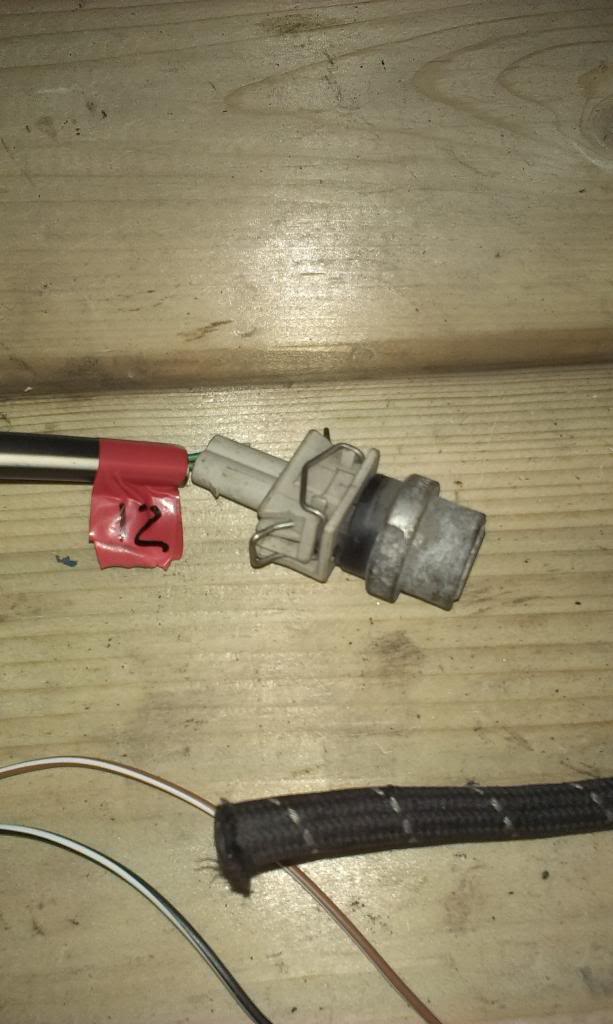
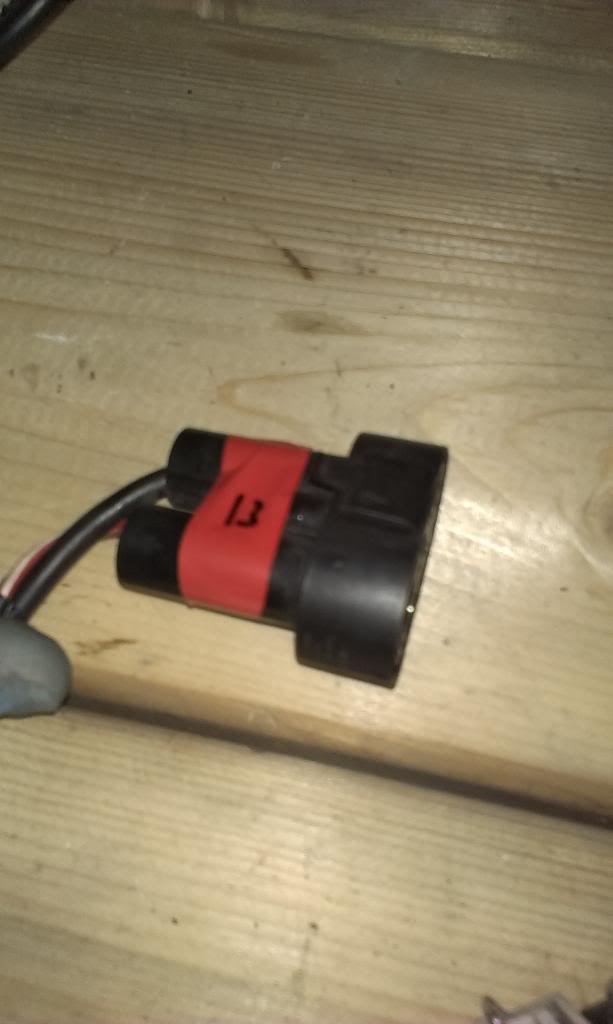
Connector 13 - Red/white, red/grey, fat red
Posted
Old Timer


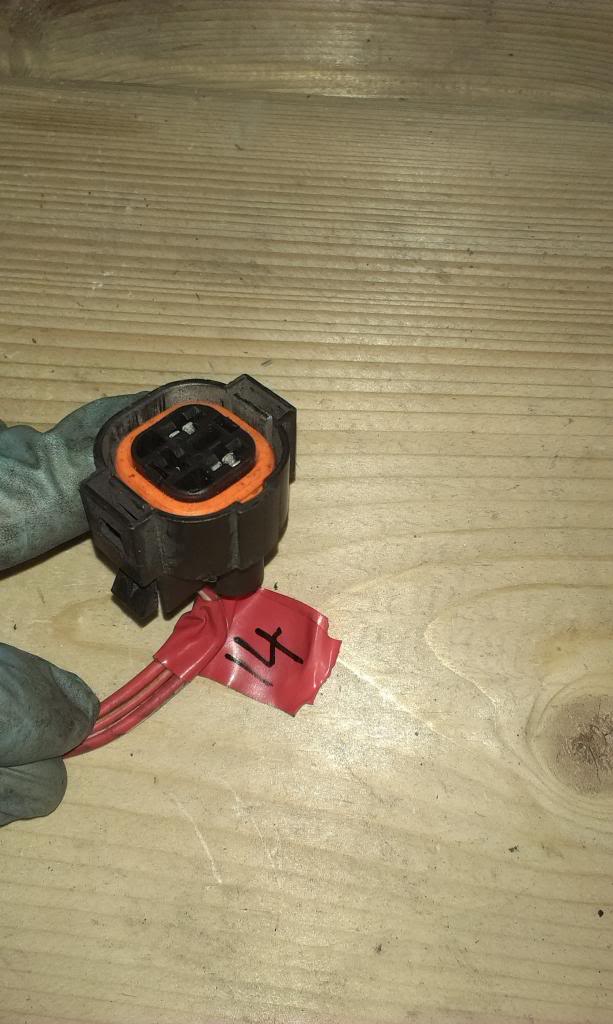
Connector 15 - Black, Brown, green/red

Connector 16 - lots…

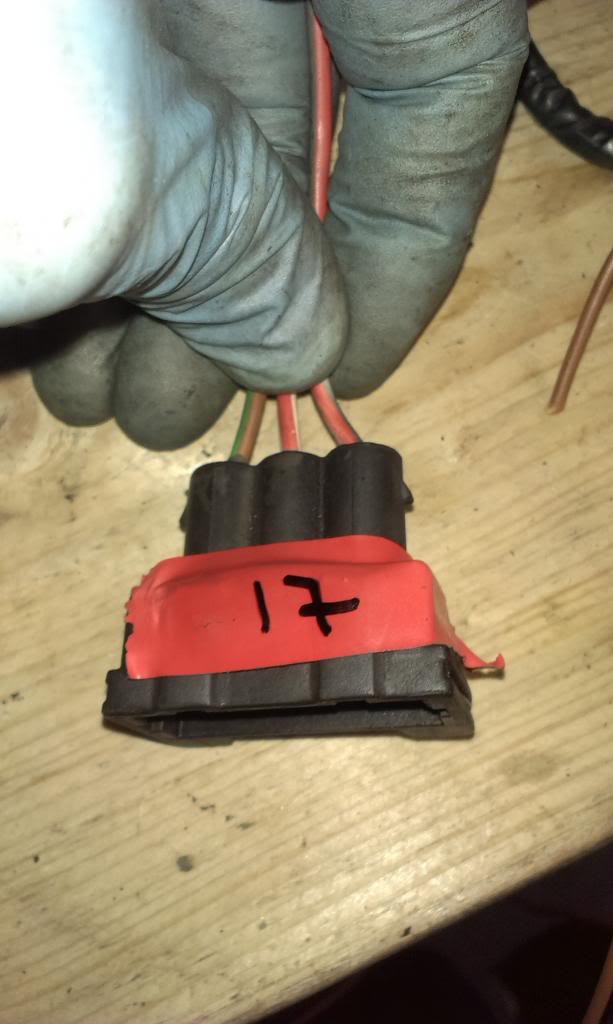
Connector 17 - red/grey, red/white, brown/green
Connector 18 - red/blue, red/brown
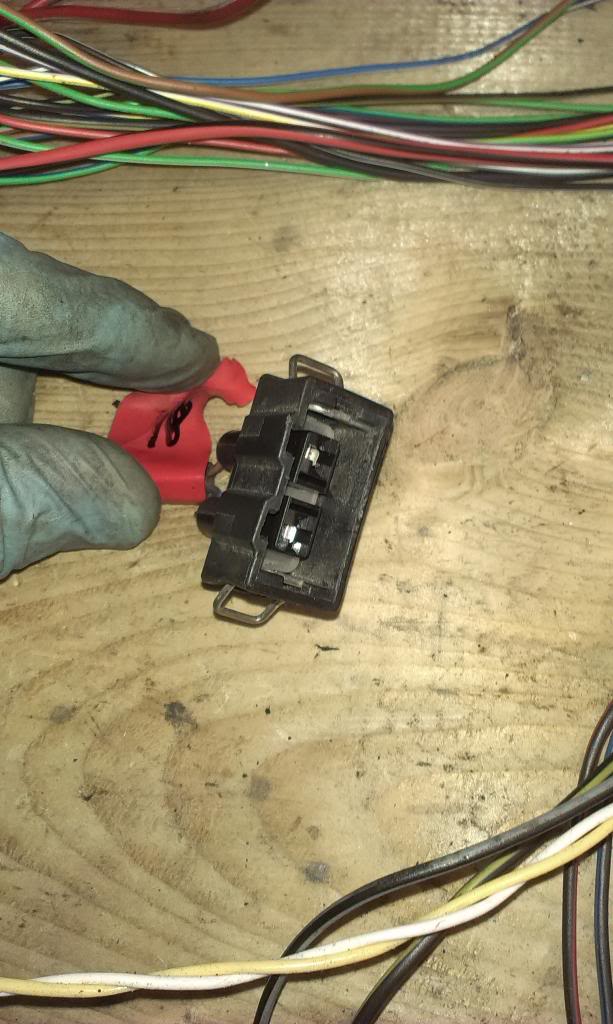
If any one can identify any of the above connectors or confirm the ones I think I know, that would be awesome.
Many thanks
Huw
Posted
MOTY 2013

2. inlet air temp sensor, keep
3. carbon canister, bin
4. aircon, bin
5. outside temp sensor for MFA, bin
6. dimdip resistor, bin
7. lambda, keep
8. indicator/side repeater, bin
9. 1 pin blue is alternator, chop it out but keep a good length of wire, splice this to the mk1 blue wire near the battery. then the mk3 alternator loom can be used and will plug straight in
2 pin is reverse lights, as above I recommend you splice to the reverse switch wires on lighting loom as its a better plug waterproof and wont fall off. if you have mk1 020 box use a 90spec mk2 1.6-1.8 or mk3 1.8-2.0 8v switch
10. starter, as above but I recommend you splice to the old red/black wire on engien loom. that way a mk3 starter plugs in, its a better type connector as its waterproof and wont fall off. if you use abf box then use abf starter, if you use mk1 020 then get a 1.8-2.0 8v starter
11. aircon, bin
12. aircon, bin
13. fan controller, bin
14. fan thermoswitch, bin
15. mk3 coil, chop and splice wires as per mk1/2 electronic ignition coil conversion (can keep for now if you dont have mk1/2 tci loom etc)
16. aircon, bin
17. fan, bin
18. low level coolant switch, bin
some of the above tap into the wiring that you are keeping (low level coolant switch earth), just trace to the join and snip then tape up the cut ends. some wires run to the ecu (aircon and carbon canister), just cut them and tape up
Hello my name is John and I'm a dub addict.
My wiring diagrams and other documents have moved here:
VAG Documents & Downloads
You'll need to sign into google/gmail for the link to work! (its free!)
My wiring diagrams and other documents have moved here:
VAG Documents & Downloads
You'll need to sign into google/gmail for the link to work! (its free!)
Posted
Old Timer


Thank you big time!
Posted
Old Timer


Mk3 coil plug has 3 wires. Brown, black, green/red. Do I just cut the green/red at the plug and as this will splice to the mk1 TCI. Can I bin the brown and black as these will already be in the TCI loom?
I think I got a bit too 'choppy' with the pliers. There are 2 green/grey wires hanging out of the engine plug loom and ECU that I may need to re-join. I think these go to the water plug on the dizzy side of the head.
Posted
MOTY 2013

any ya, the green/red is your wire for TCI pin 6.
the green/grey are aircon, the 4 pin plug on the head can go as can all the wiring to the 10 pin plug on the fan control unit
Hello my name is John and I'm a dub addict.
My wiring diagrams and other documents have moved here:
VAG Documents & Downloads
You'll need to sign into google/gmail for the link to work! (its free!)
My wiring diagrams and other documents have moved here:
VAG Documents & Downloads
You'll need to sign into google/gmail for the link to work! (its free!)
Posted
Old Timer


hmm, it's a 2 pin on the side of the head. Sensor sits in the plastic outlet flange just in front of dizzy.
Cheers
Huw
Posted
MOTY 2013

Hello my name is John and I'm a dub addict.
My wiring diagrams and other documents have moved here:
VAG Documents & Downloads
You'll need to sign into google/gmail for the link to work! (its free!)
My wiring diagrams and other documents have moved here:
VAG Documents & Downloads
You'll need to sign into google/gmail for the link to work! (its free!)
Posted
Old Timer


0 guests and 0 members have just viewed this: None.


