


Bouchay's Kamei Mk1 RC Replica

Posted
#1256793
(In Topic #150693)
Old Timer


 �I got the bug and it ate and ate away at me for months. So in December my father-in-law asked me what I wanted for a chrimbo present. Now I usually get the junk that gets used once on Christmas Day and then put in the attic never to be seen again. But afterward couple if days I found this on eBay:
A Mardave V12 racer with a Lexan Golf mk1 shell. TIDY!
So Christmas Day was mostly spent chasin the cats around the house.
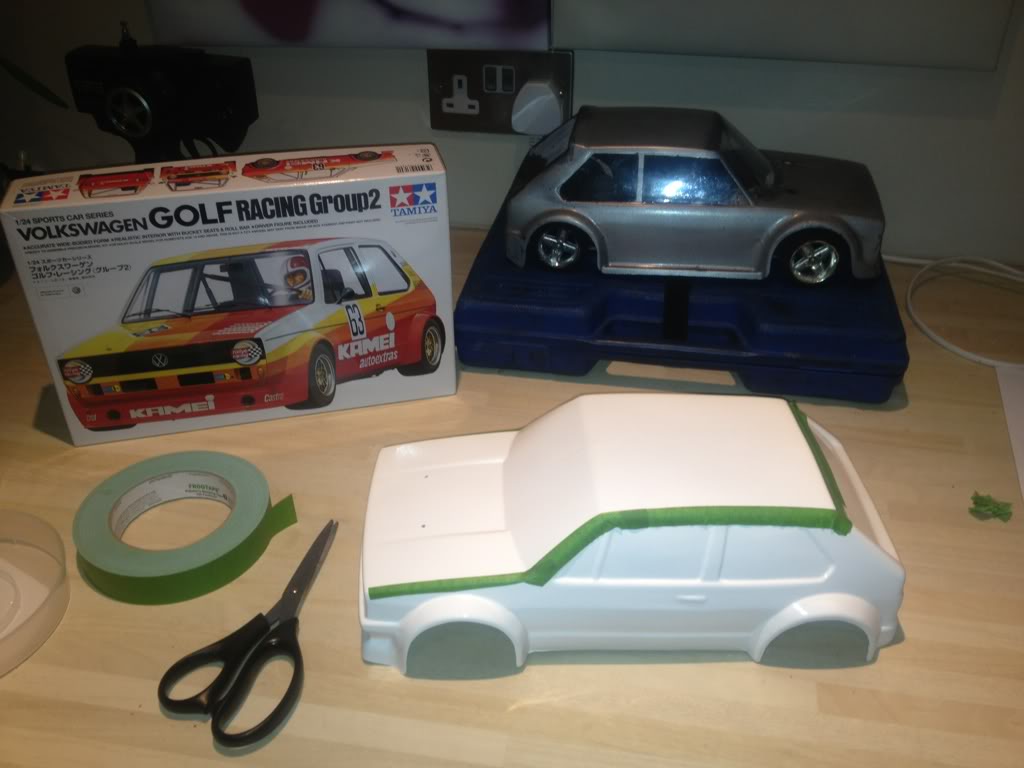
 Anyway the bug had well and truly bitten, Boxing Day saw this ABS shell ordered as I thought it was a better shape.
 Last edit: by bouchay

Posted
Old Timer

It went the entire length of the shell
 cf_emoticons__BangHead:
Then roughly cut the shell to shape

I bought a cheap version of a Dremel to do this and started with a small cutting disc then used a small sanding drum to smooth out and shape it.
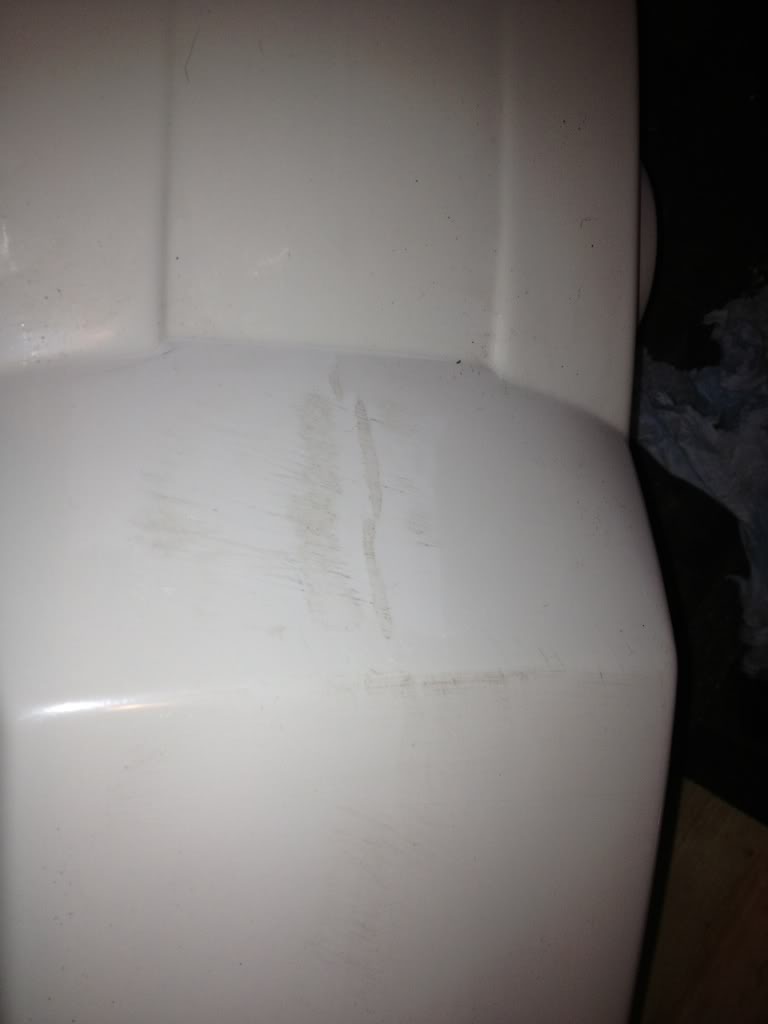
Next i wanted to modify the shell as I didn't like the way the headlights bulged out.

Posted
Old Timer
Then super glued a flat square section behind the hole, and then super glued the circle to the square piece. Filed down the high spots.


Posted
Old Timer

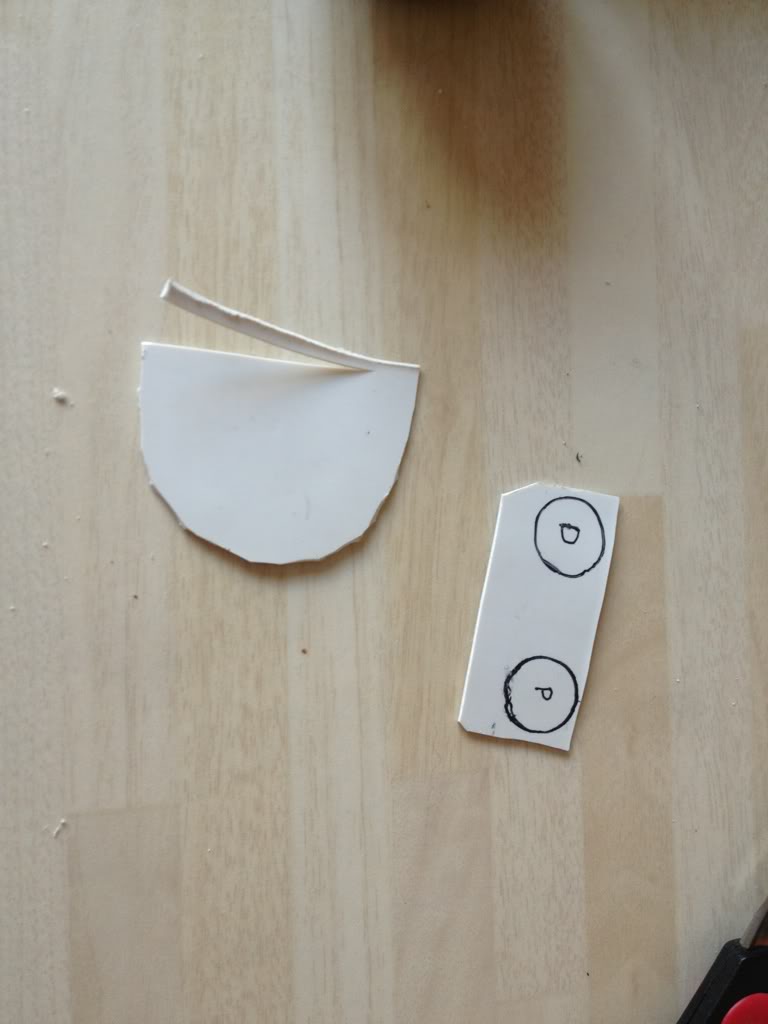
And a metal post and hook at the front:

The advantage of these is that you only see the screw head on the out side I the shell.
Now on to the paint job.
First was some white plastic primer, then some white acrylic down the tops of the doors and bonnet. Then I had to mask off the white.
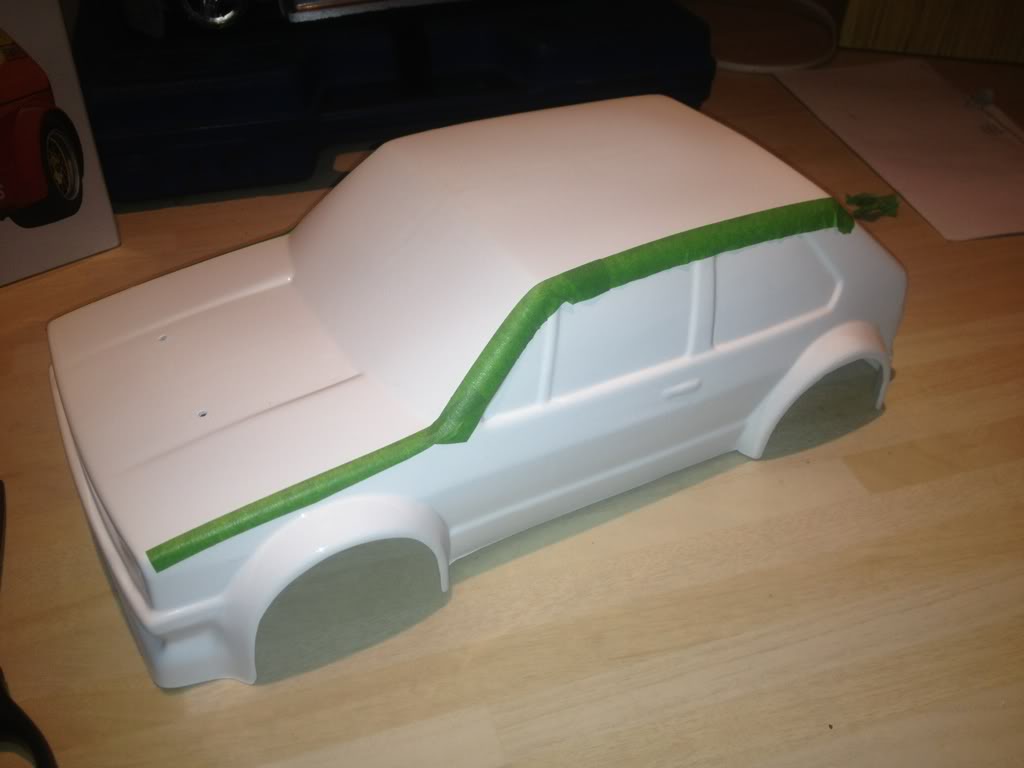

With the white masked a layer of yellow acrylic.

Then mask the yellow and give it a coat of orange.
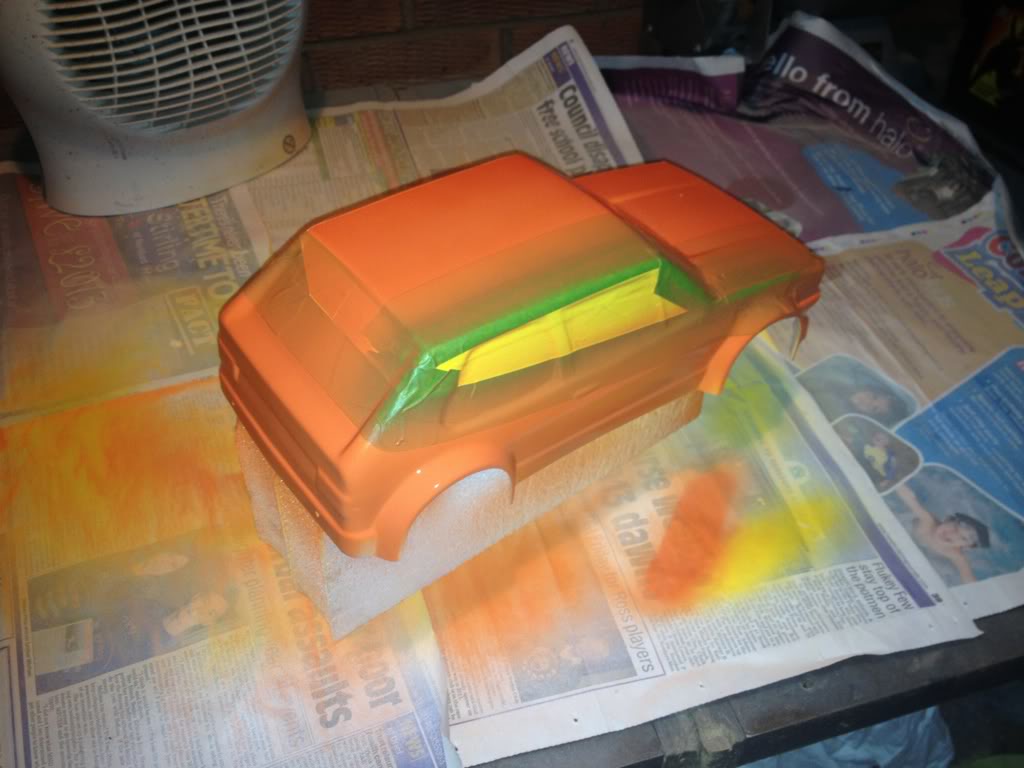

Then mask the orange

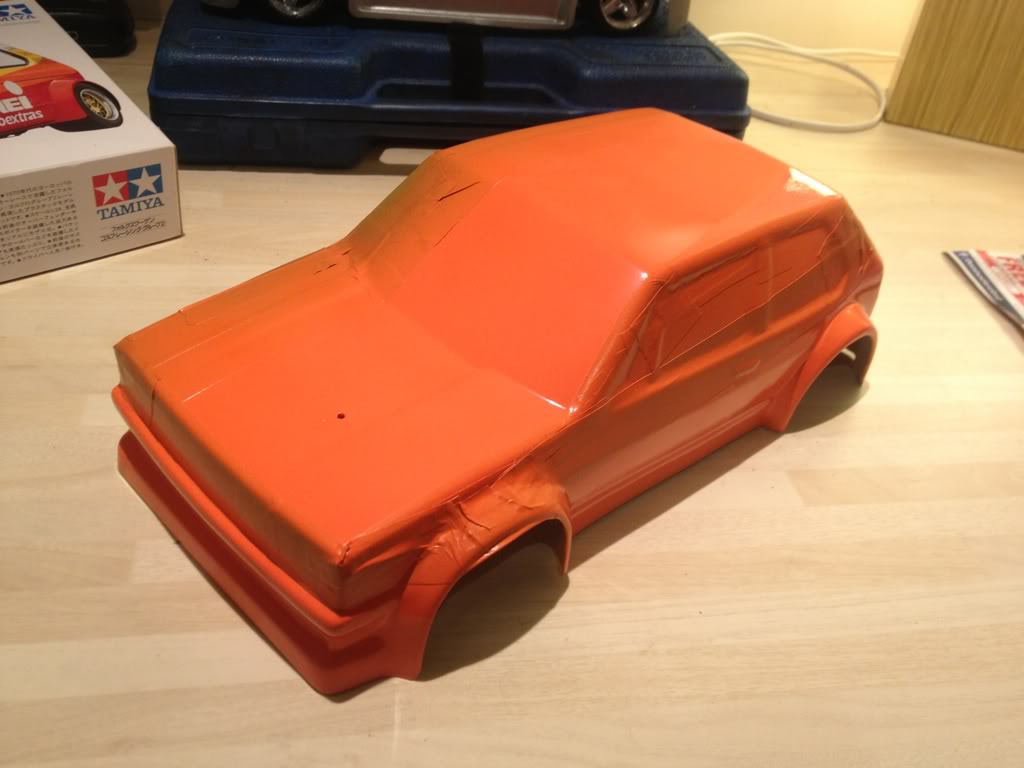
And give it a coat of red


Posted

Moderator


Posted

Old Timer


whats your plans with the windows

Posted
Old Timer
The paint reacts with the frog tape I was using
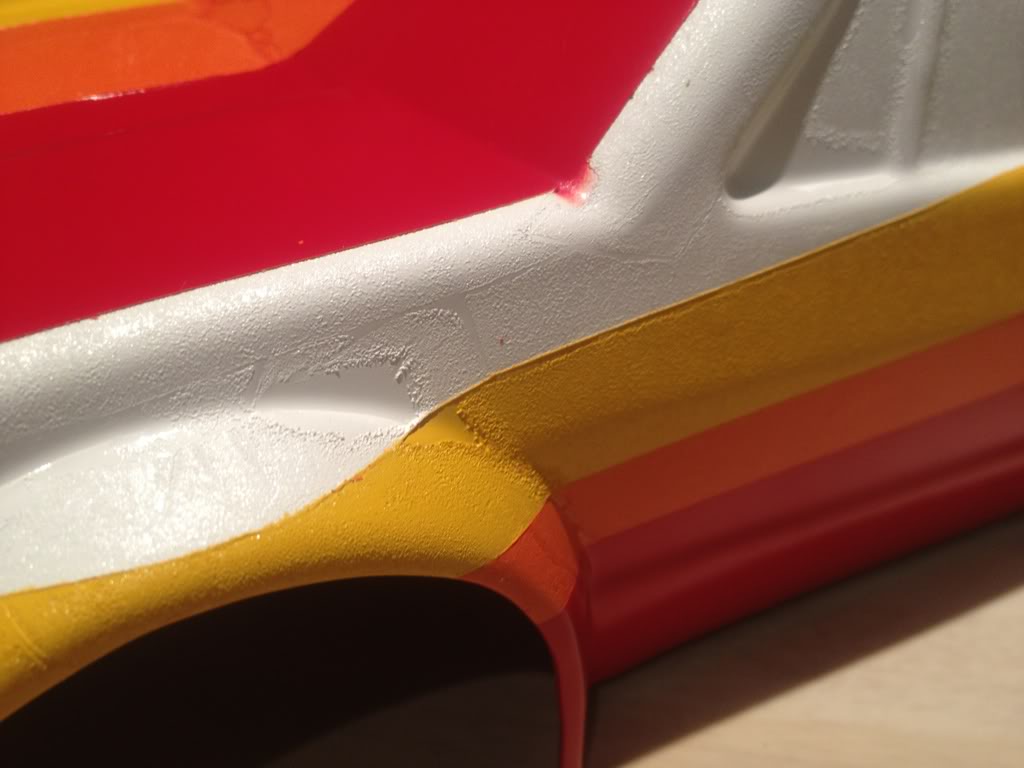

So then I had to fix all the naff paint�
cf_emoticons__BangHead: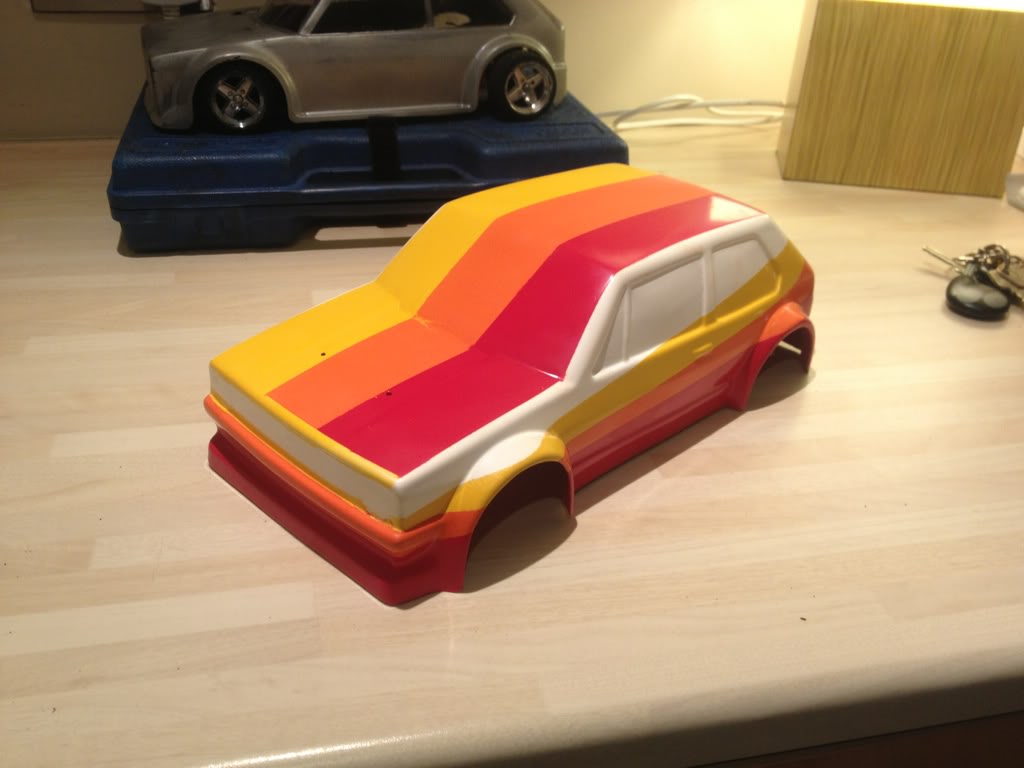
So that's where I'm pretty much at at the moment. I've designed a complete set of graphics from loads of pics off the Internet, but the most info on the graphics was in a 1/24 scale model that I bought off chorlte. Here's a little teaser of what the windows will look like:
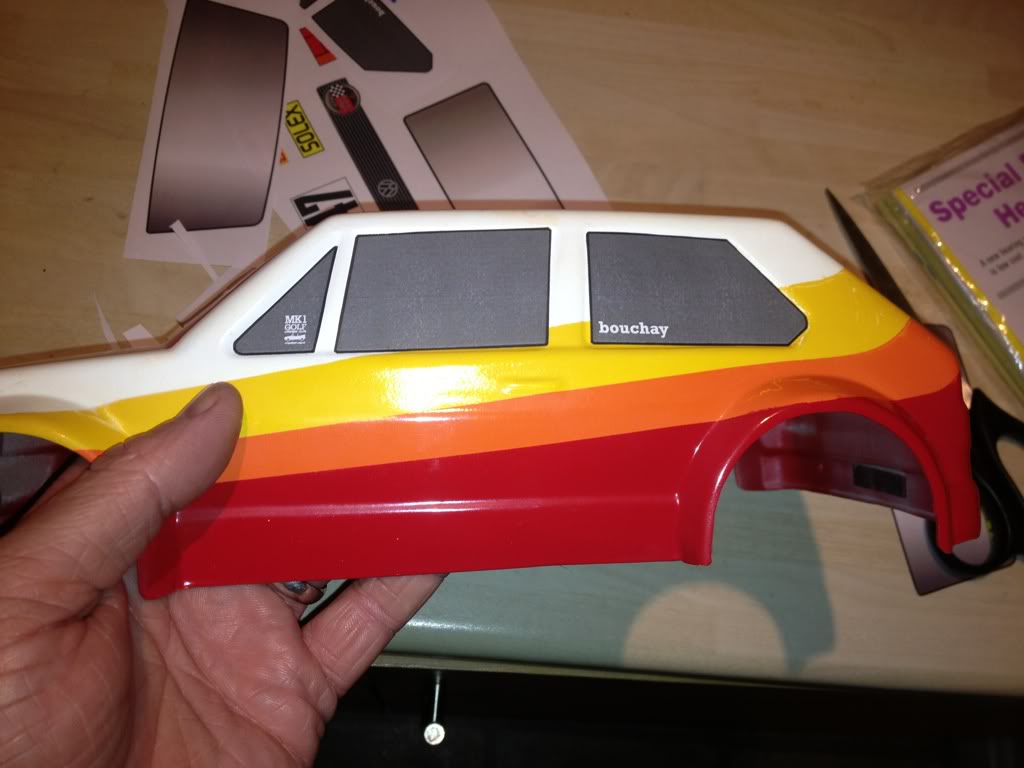
You can see some of the prototypes in the background.
Let me know what you think so far!
Posted
Moderator

Posted

Settled In

Posted
Website Manager


Cheers,
Ade

Ade
Posted

COTM Team

Chris
Posted
Old Timer
Any way here's some pics.


Right first major headache. The decals arnt as opaque as I'd hoped. On the windscreen you can see through the white to the coloured stripes underneath. I think I'll sort this by printing another and sticking it over the top.


Although I'm chuffed with the grille effect.
Finally looking better but then headache no. 2 & 3. 2 being that one side of the shell is slightly different to the other, on the windows they fit the passenger side a treat but not quite on the drivers side. 3 is that the shell is not straight/level so fitting some decals highlight this.

O


Next step is the white Kamei decals, fingers crossed they come out better!
Last edit: by bouchay
Posted

Local Hero

Andy
LINCOLNSHIRE REGION -�https://www.facebook.com/groups/467122313360002/
1983 MK1 Golf GTI Campaign Model - Under (looooong) resto!
1962 Rover P4 80
2002 BMW 745i
2008 BMW Z4 2.5Si
LINCOLNSHIRE REGION -�https://www.facebook.com/groups/467122313360002/
1983 MK1 Golf GTI Campaign Model - Under (looooong) resto!
1962 Rover P4 80
2002 BMW 745i
2008 BMW Z4 2.5Si
Posted
Local Hero
SOUTHWEST Regional Host. Bristol Meet - 1st Friday of the month - Toby Carvery Bradely Stoke Bristol Bristol Region Facebook Group
1.8T CABBY
TINTOP THREAD (SOLD 2016) SPORTLINE THREAD (SOLD 2015) CLIPPER THREAD (SOLD 2012)
1.8T CABBY
TINTOP THREAD (SOLD 2016) SPORTLINE THREAD (SOLD 2015) CLIPPER THREAD (SOLD 2012)
Posted
Old Timer
Posted

Old Timer

Posted
Moderator

Posted
Old Timer
Posted
Old Timer
Good work. I like how you sorted the headlights. they look loads better now.

Posted

Old Timer
"Mk1 Golf Gti...all things to all men"
0 guests and 0 members have just viewed this: None.