


The Yeti (cab with pics)

Posted
#1004228
(In Topic #119150)
Settling In

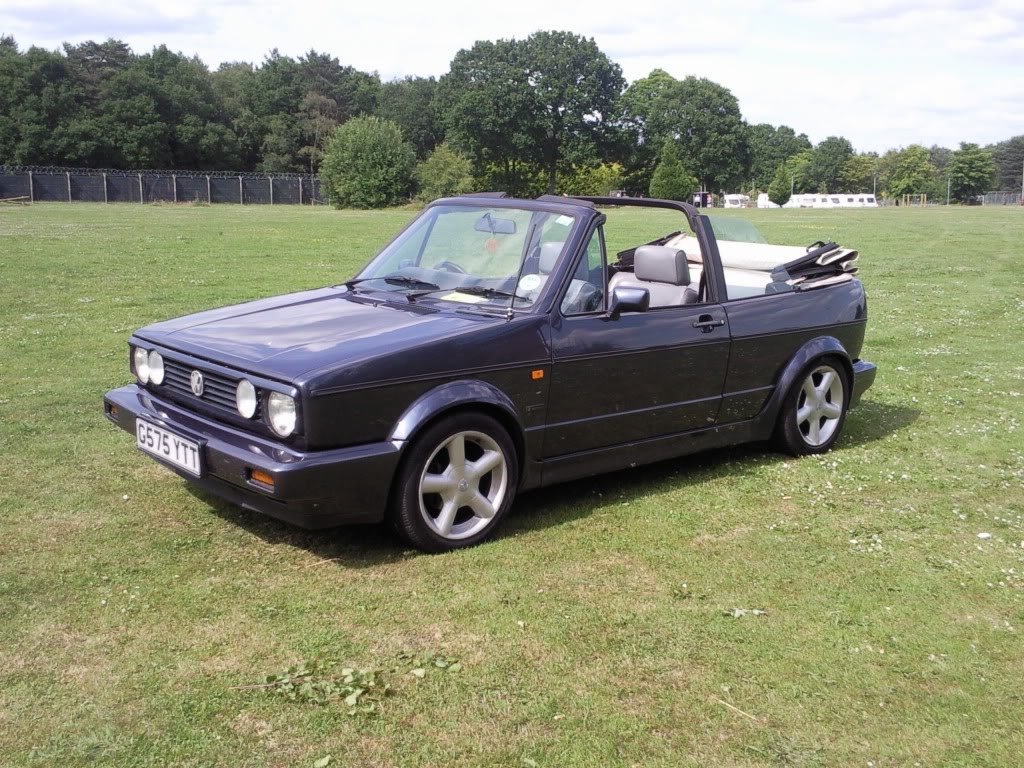
The Yeti (cab with pics)
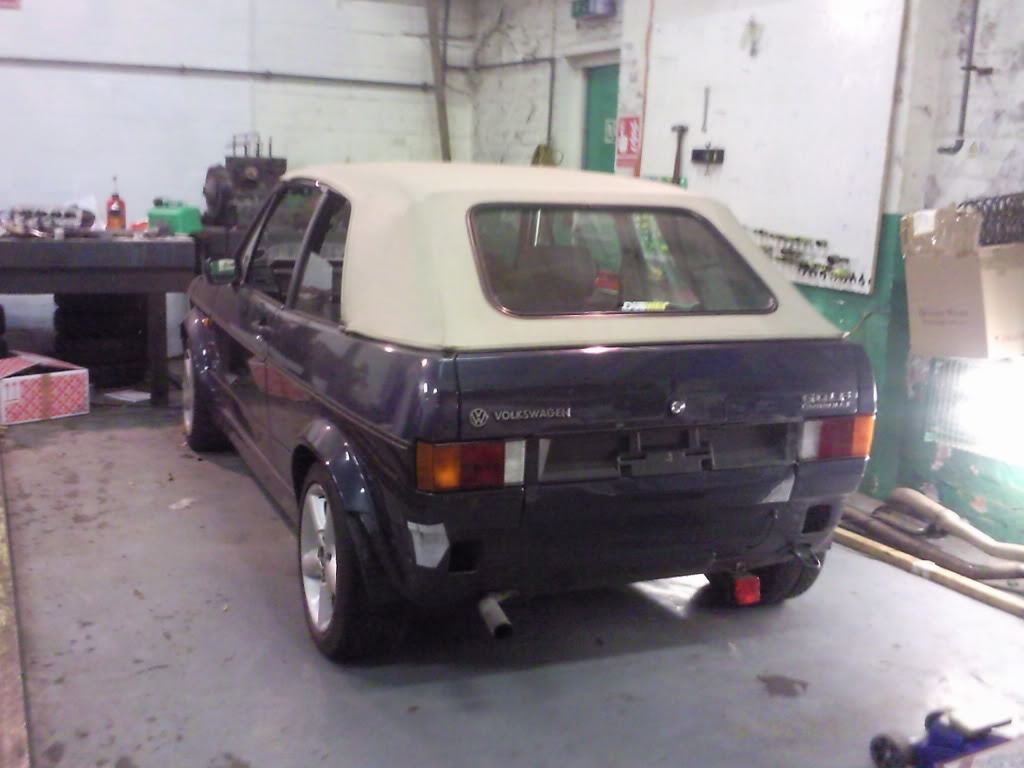
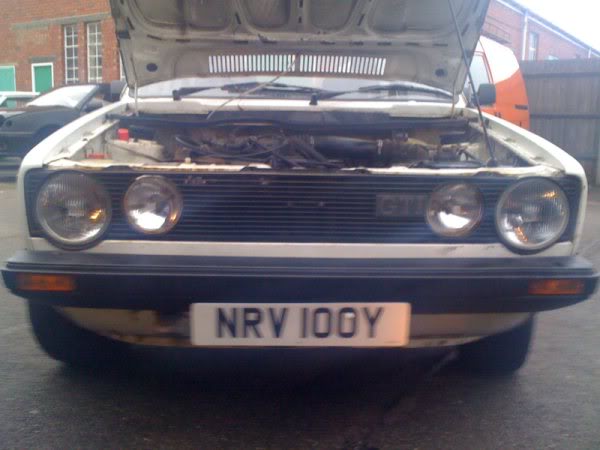
Was advertised on fleabay as '89 Cab - v good condition, everything works, no rust and starts first time…deposit paid!
Brother and I went to pick up the car in June 09 and after a 5 min examination the following found…
Battery not secured (was on its side wedged between body and fan housing)
Fuel lines had holes taped up with insulation tape
Clutch on its last legs
No coolant in bottle
Wouldn't idle unless choke fully out…heaven knows what else was lerking!!!!
Money exchanged and Halfords plumbed into the sat nav before we even attempted the 200miles home!
Next 2 hrs was spent in Halfords car park replacing all the fuel lines in the engine bay, air filter was drenched in oil - new one popped in. And a quick tune of the carb to help sort the fuel / air mixture.
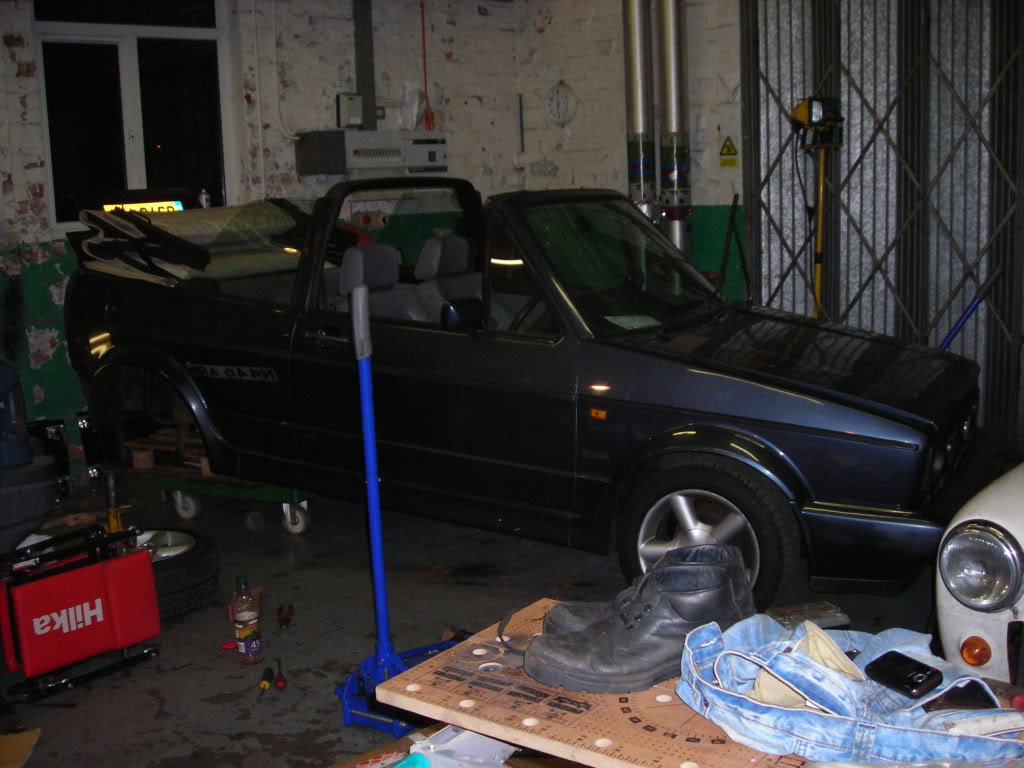
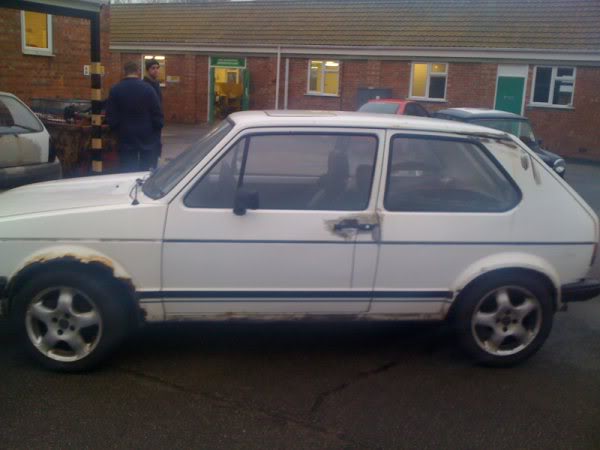
And here he looks when i got home
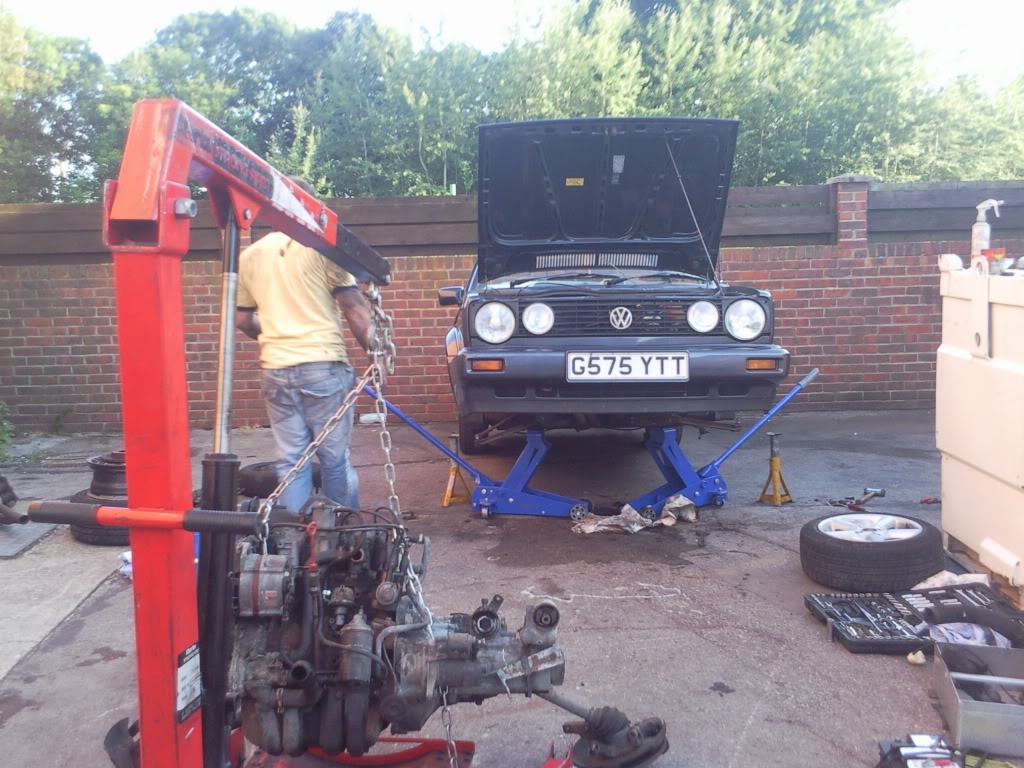
Needed a good service etc, so the next weekend we took him into the garage. Wheels off, lubs dropped, engine out and first on list was that clutch…but…when I got the car it was advertised as a 1600 (this was also on the docs) so when the clutch came out we were surprised to see it was a different size to the one I had sourced. After rubbing down the thick grime on the block it read 1.8 ARGH!!! Not to worry my bro luckily had a spare 1.8 block in the garage and the clutch was in decent nic.
Gear linkage refurb kit from GSF was placed in too.
Engine back in with all new gaskets, lubs, belts, dizzy, rotor arm etc replaced and now attention to the carb and tuning. Carb was sitting on a split mount, but couldn't get a spare right away. So cleaned out all the dirt as idle speed was up and down and he tuned up ok.

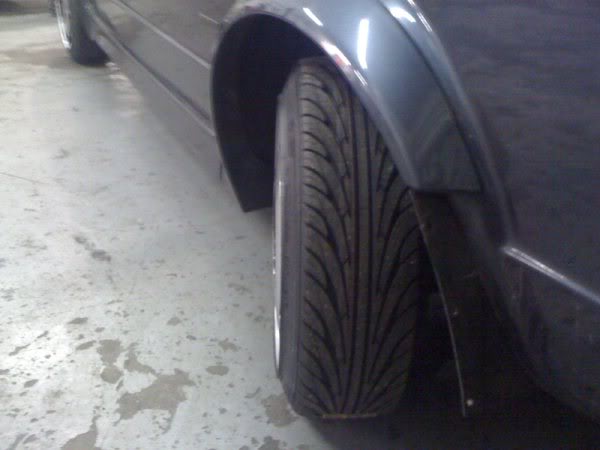
Had decided on some p slots, so thanks to a member on the forum 4 were bought and sent for refurb, not 100% happy with the end product but will put the rubber on and live with them for next summer…stretched tyres in the form on Nangang 165/55/14
Was a month before we next took him down the garage and with limited time only sorted an exhaust gasket issue and rocker gasket seal and gave him another tune as was idling to fast.
Back to the garage in Oct 09 with a boot/back seat full of parts.
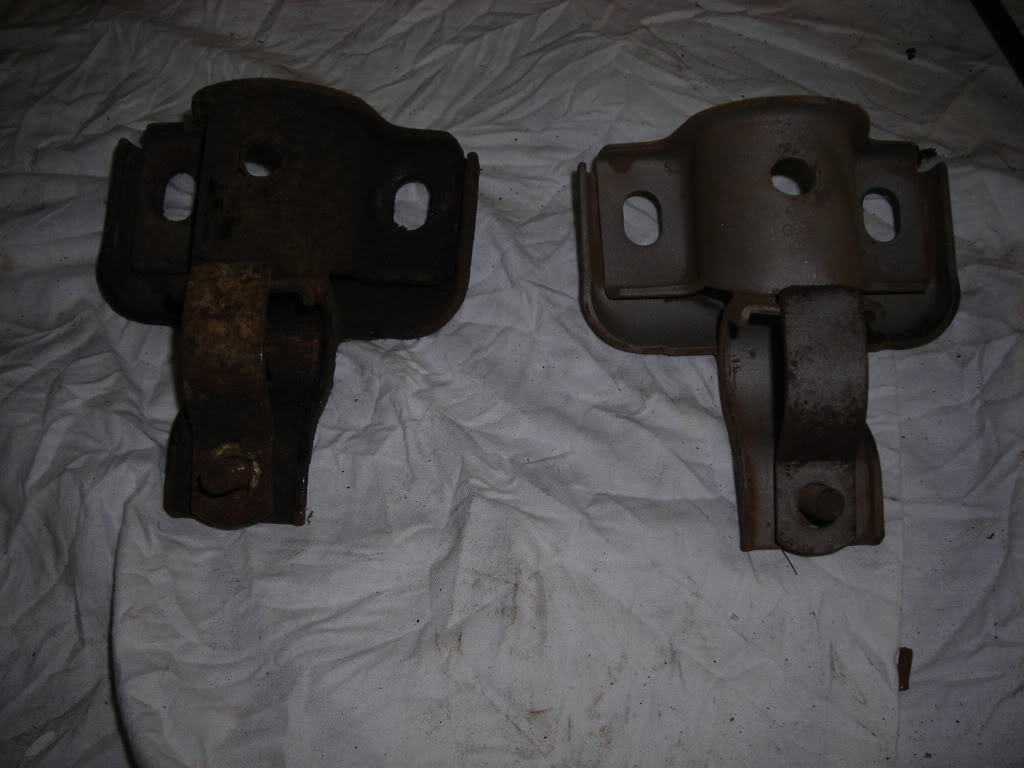
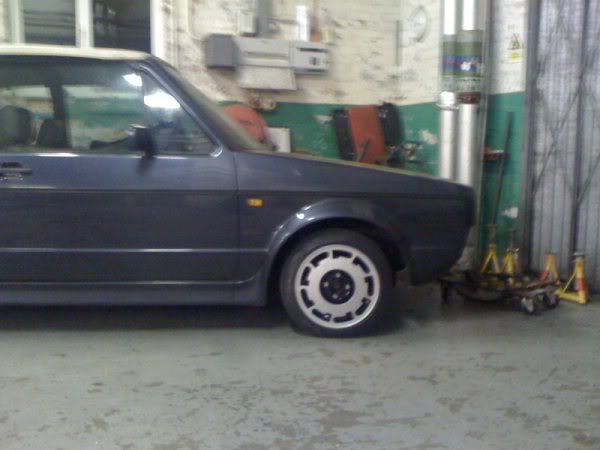
If you look at these pics you will see that he sits lower on the front passenger side, down to different spings on either front corner, couldn't believe it!
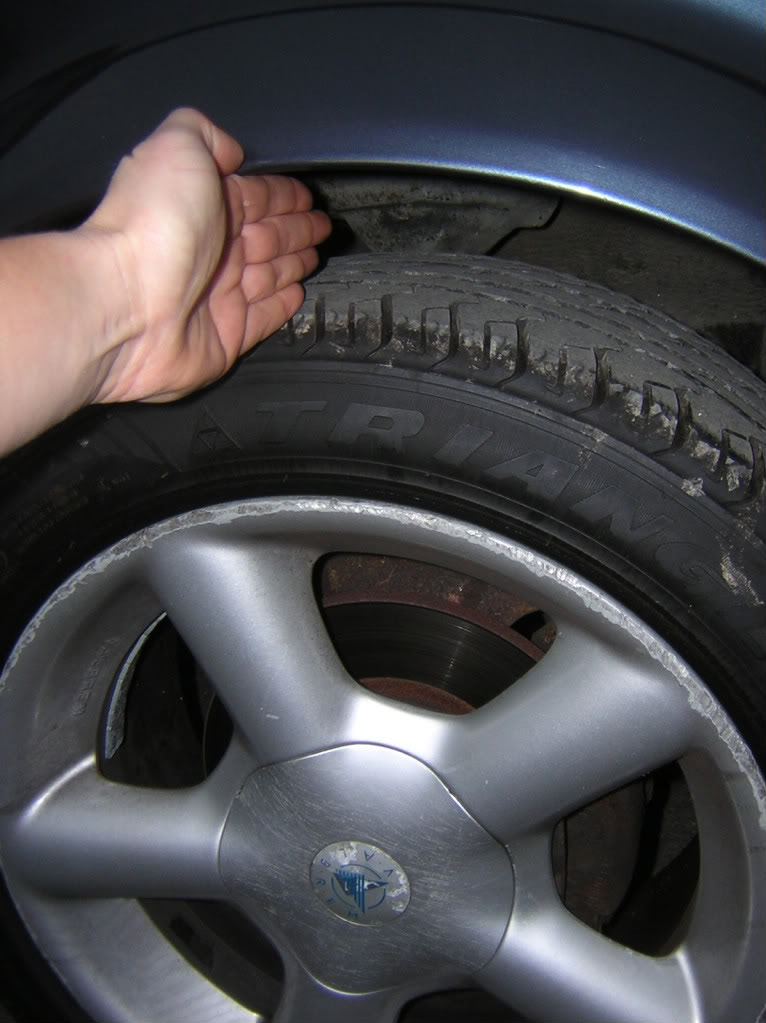
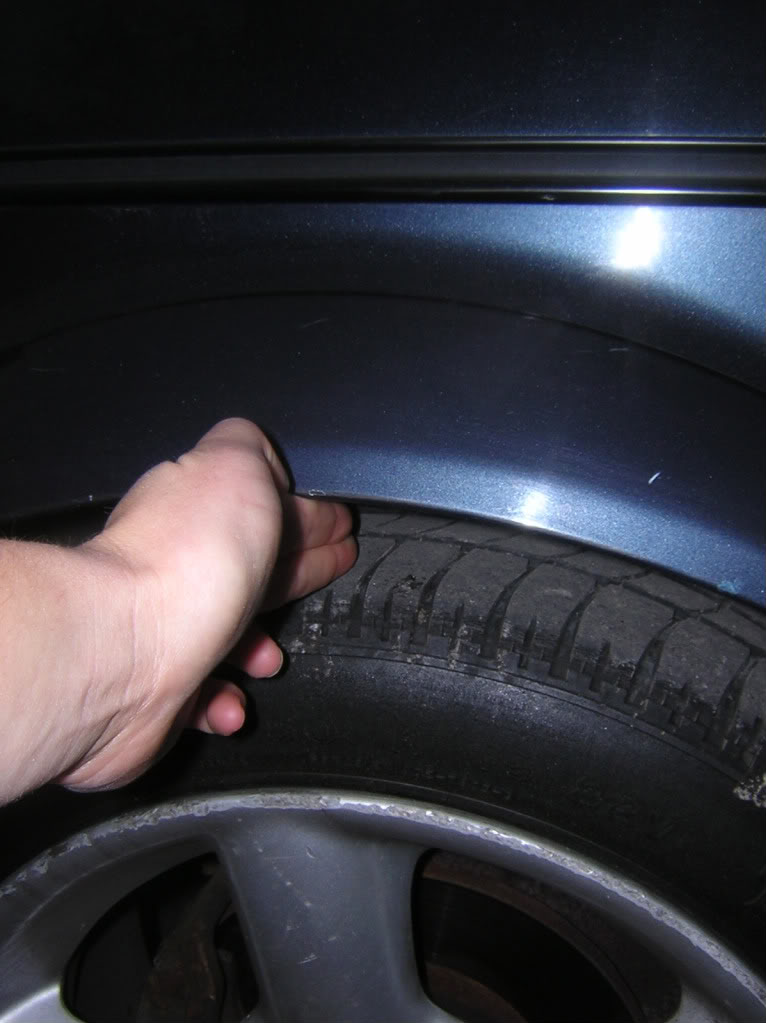
i didnt curb the wheels before you ask

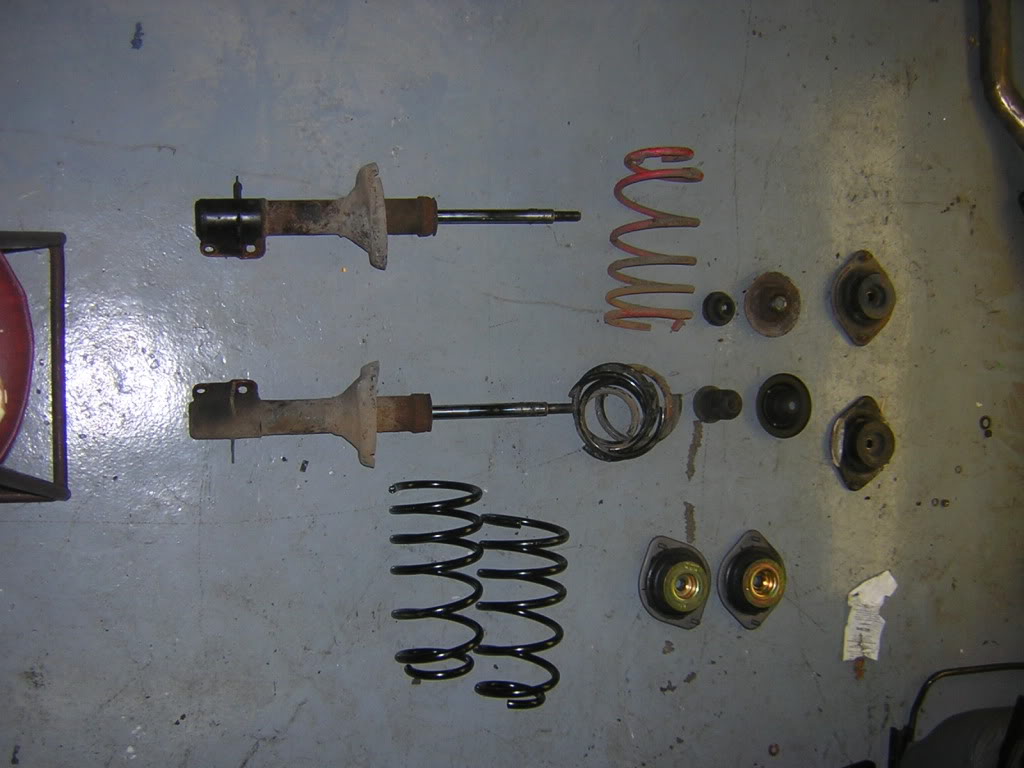
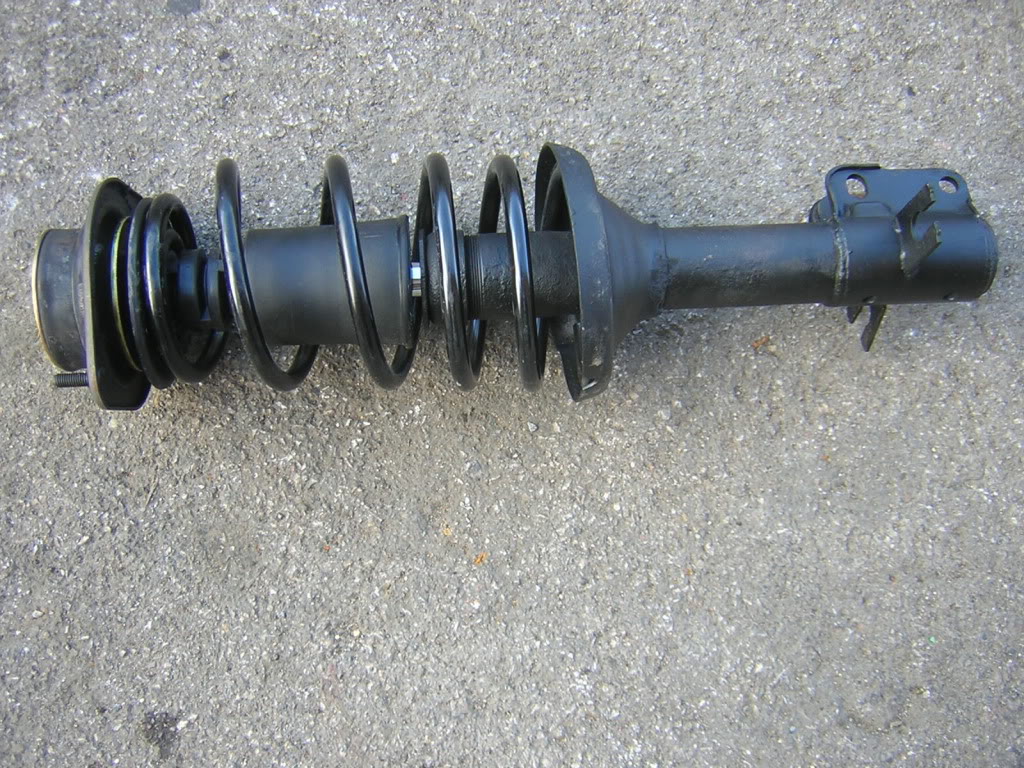
GSF 40mm lowering springs and top mounts from avg car parts were sourced and fitted. Once removed you can see that parts were missing from the springs…scrap yard and GSF provided the replacements. I also gave a few parts the sand blasting and paint treatment to make them good to go for longer.
and after some tlc
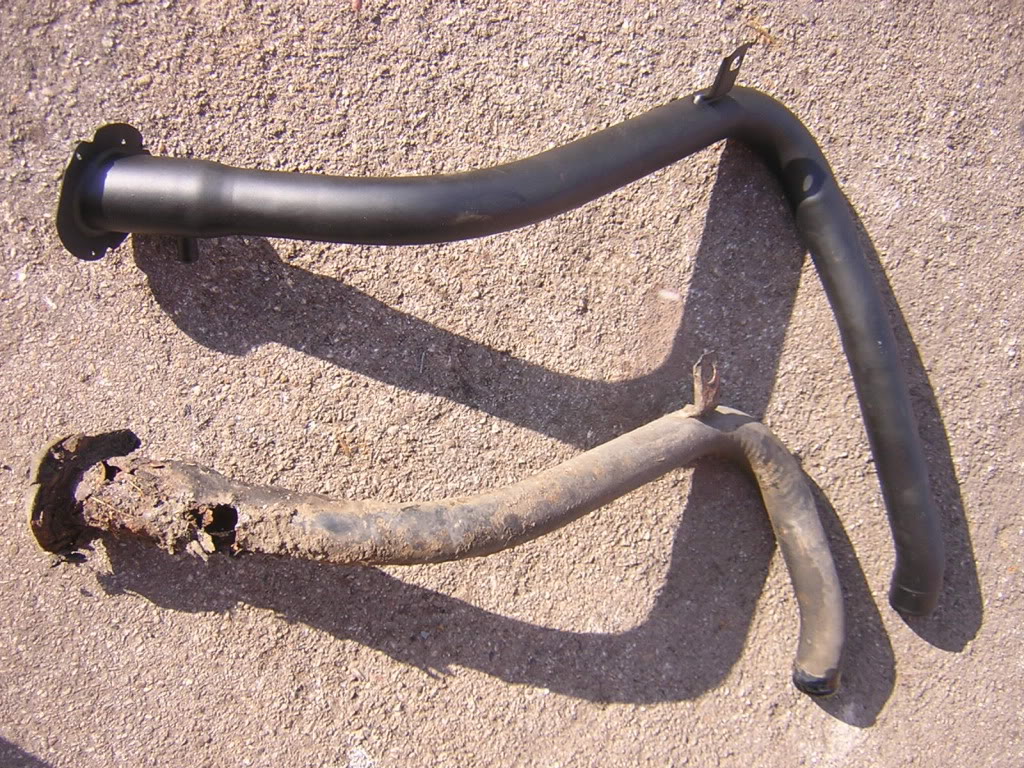
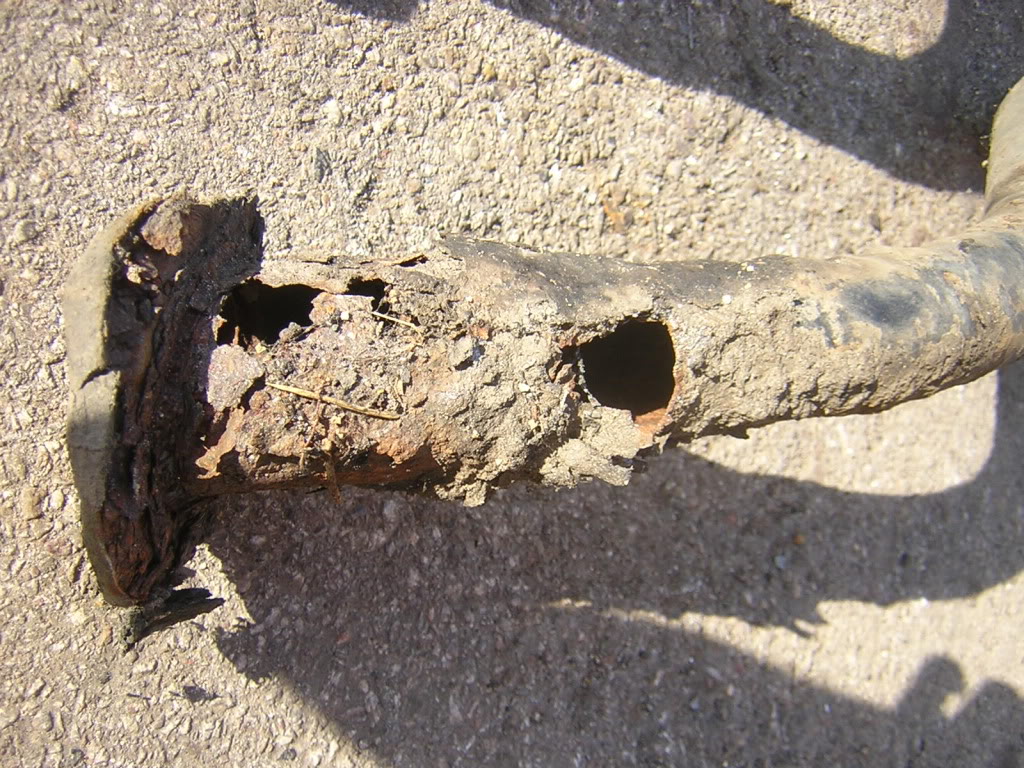
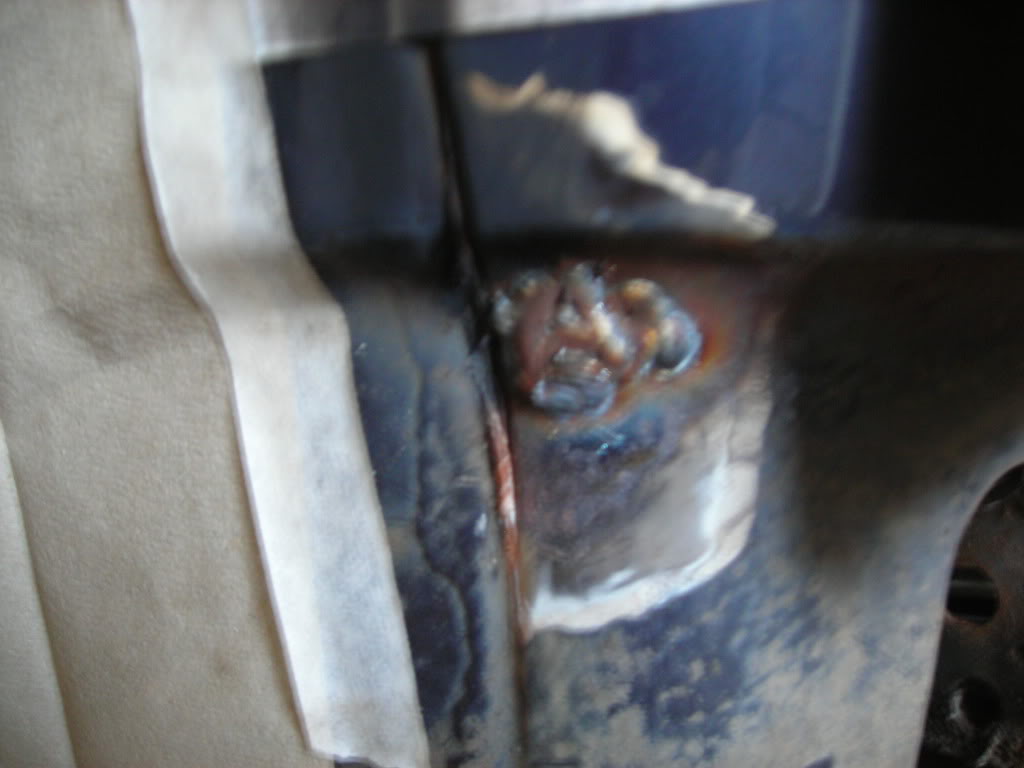
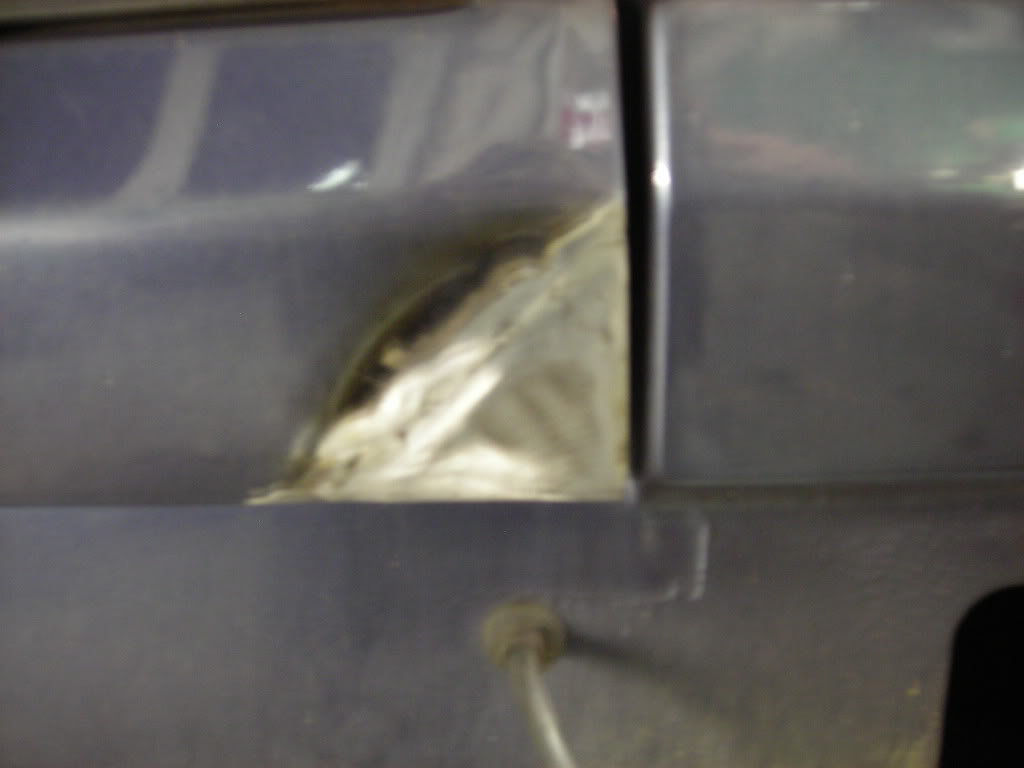
When I first fuelled the car up I was surprised to see petrol trickling out the bottom of the car…new fuel filler required. The pictures say it all.
That split carb mount was replaced, again from avg car parts. Also got a new timing upper cover from VW to replace my broken one.
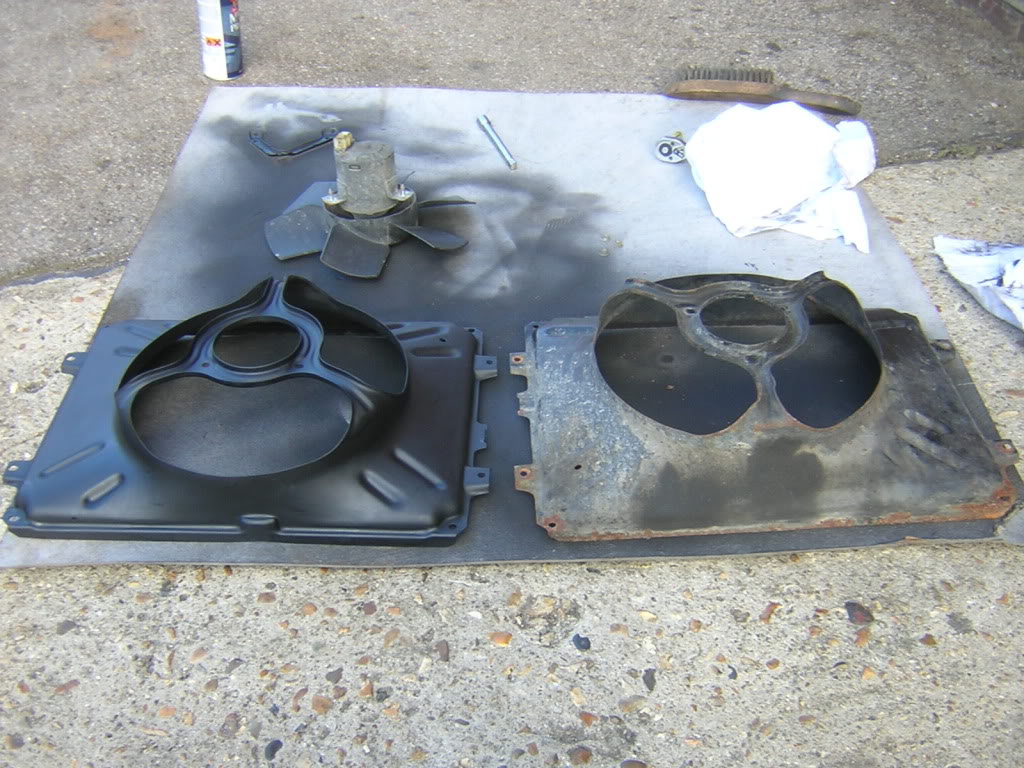
Whilst at the scrapper I found a radiator fan housing and fan belt cover, both in excellent condition, gave them a clean and in they went
Next out came the washer and coolant tanks/bottles for cleaning. Couldn't believe the amount of gunk built up inside.
Clutch cable wasn't in great condition so some grease and new grommets later and things looking and working much better.

Since owning the car it has sprung a leak on the passenger side, so up came the carpets and detective work undertaken. Both drain holes on the scuttle panel were blocked and a loose cable gasket from engine bay to interior were to blame…or were they?
Anyway problems sorted, floor dried and a present received in the form of a set of brand new black carpets WHOOP
And then another leak!!! Hadn't fitted them carpets yet thou so detective work again. Now its leaking hood handles on both sides…''how to'' section for help with this one. Foam replaced and no leak as yet but I am missing the plastic rigid strips that are pot riveted to the hood frame…can anyone provide me with replacement? Don't want to buy a complete hood for these 4 parts.
Then back to the garage in Nov to put him to bed for the winter and fix a few more problems. Battery charging issue meant a new alternator was required, again my faithful bro had a spare in the garage and within minutes the battery was charging again.
And the heater/fan had given up the ghost so out it came and now waiting to receive my replacement
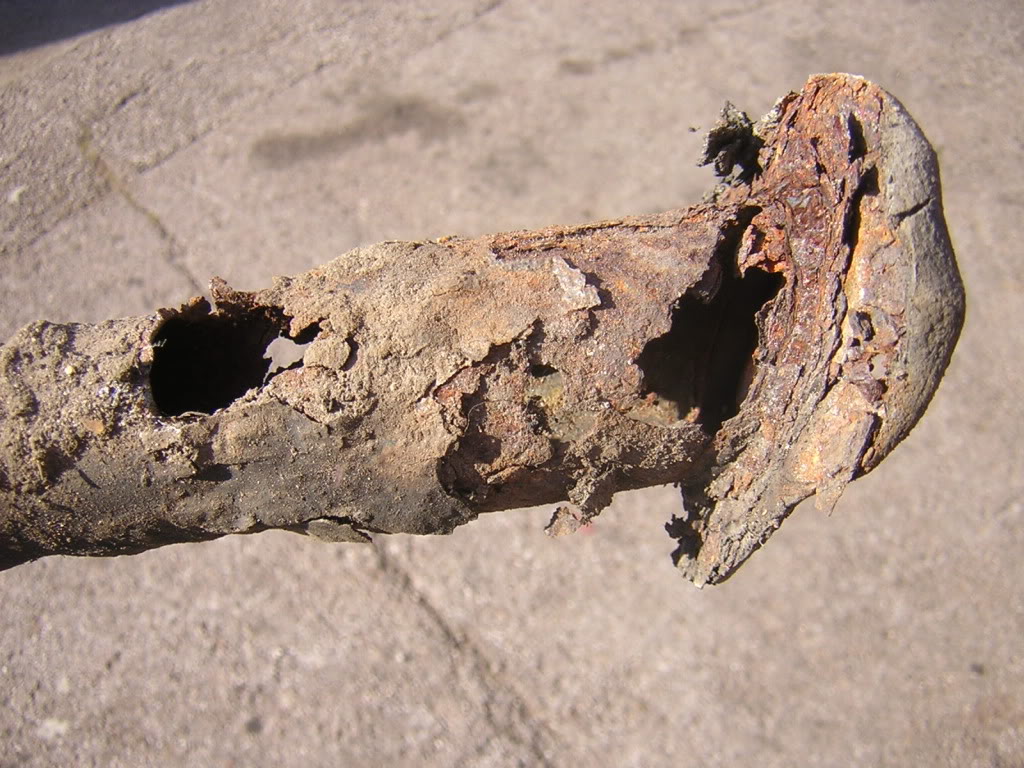
Another poke and prod underneath and a small hole was found, nothing serious. But I now need to remove all that lovely waxoyl and recoat it over the winter months…
and heres another pic alongside my daily wheels
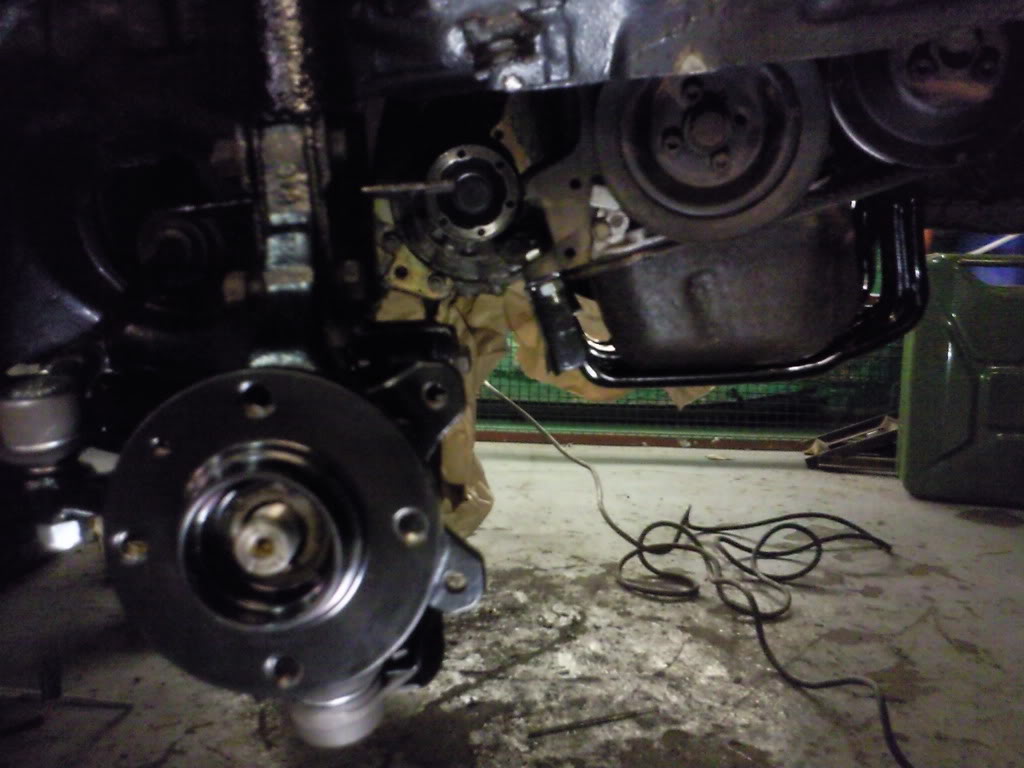
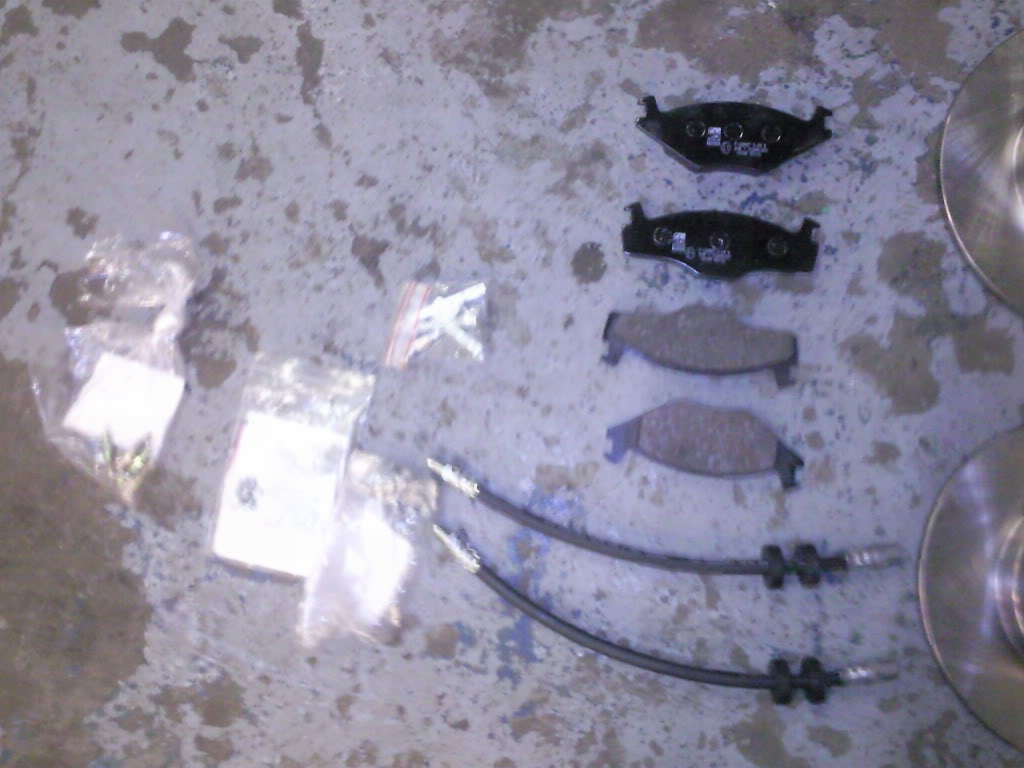
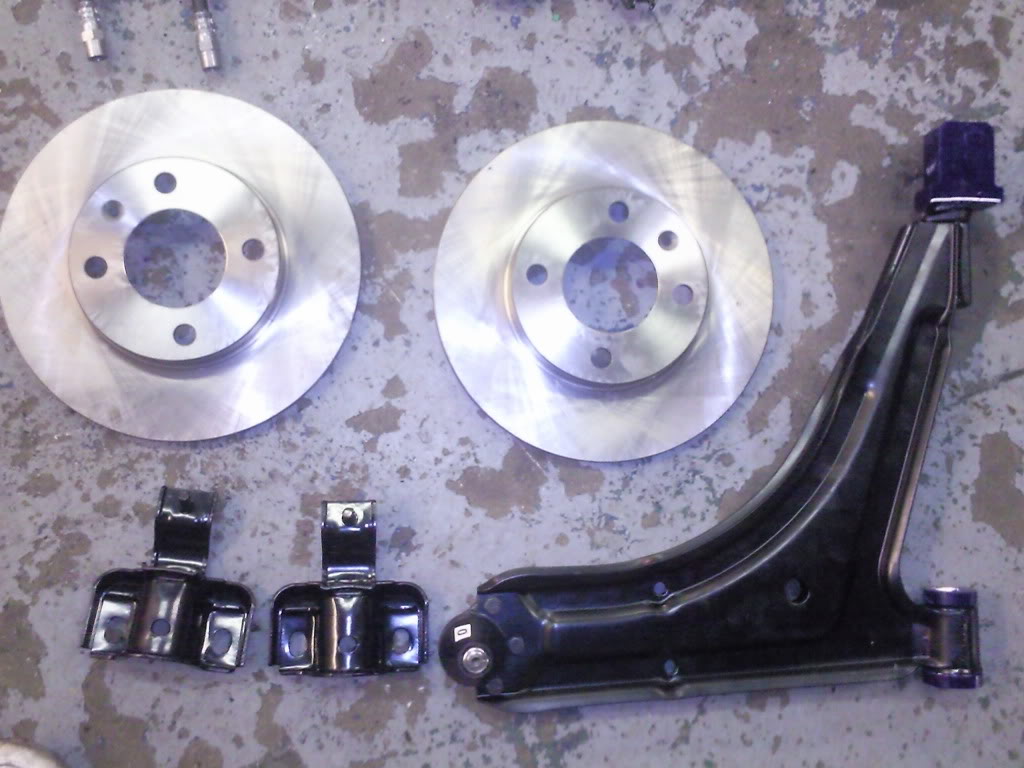
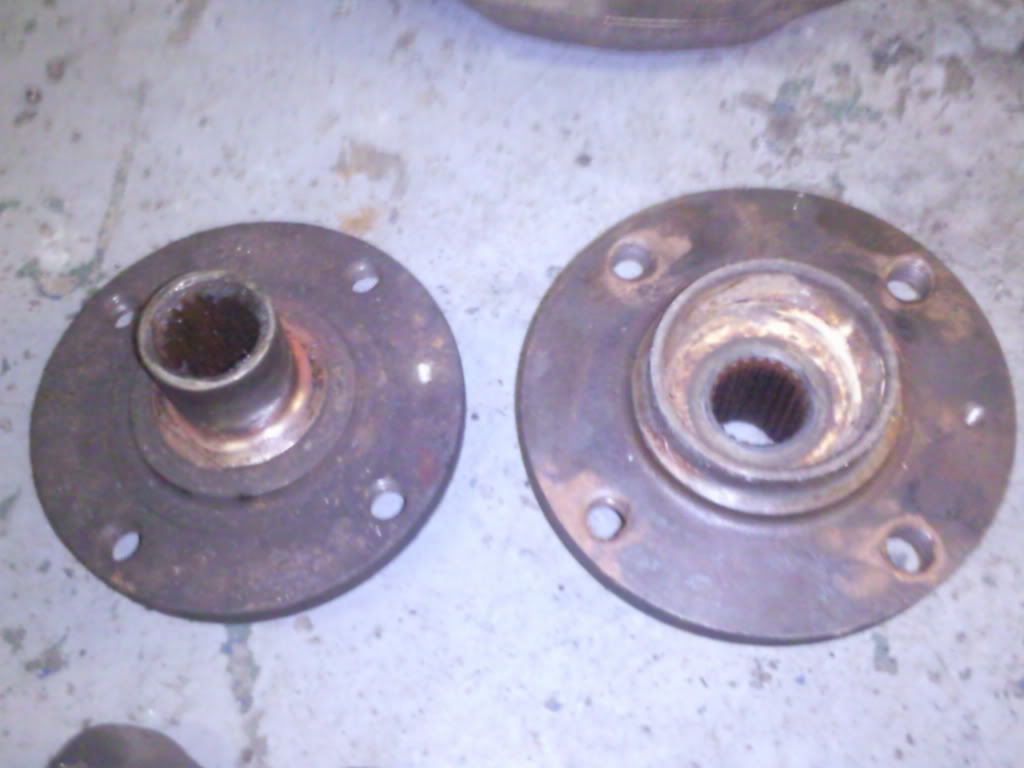
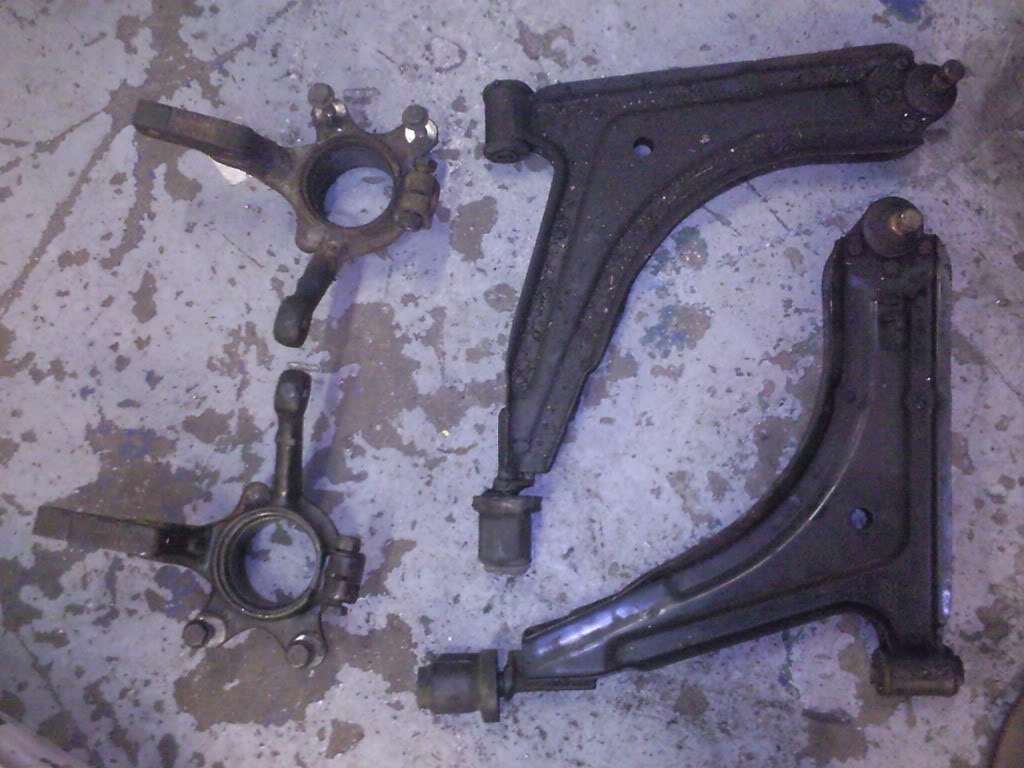
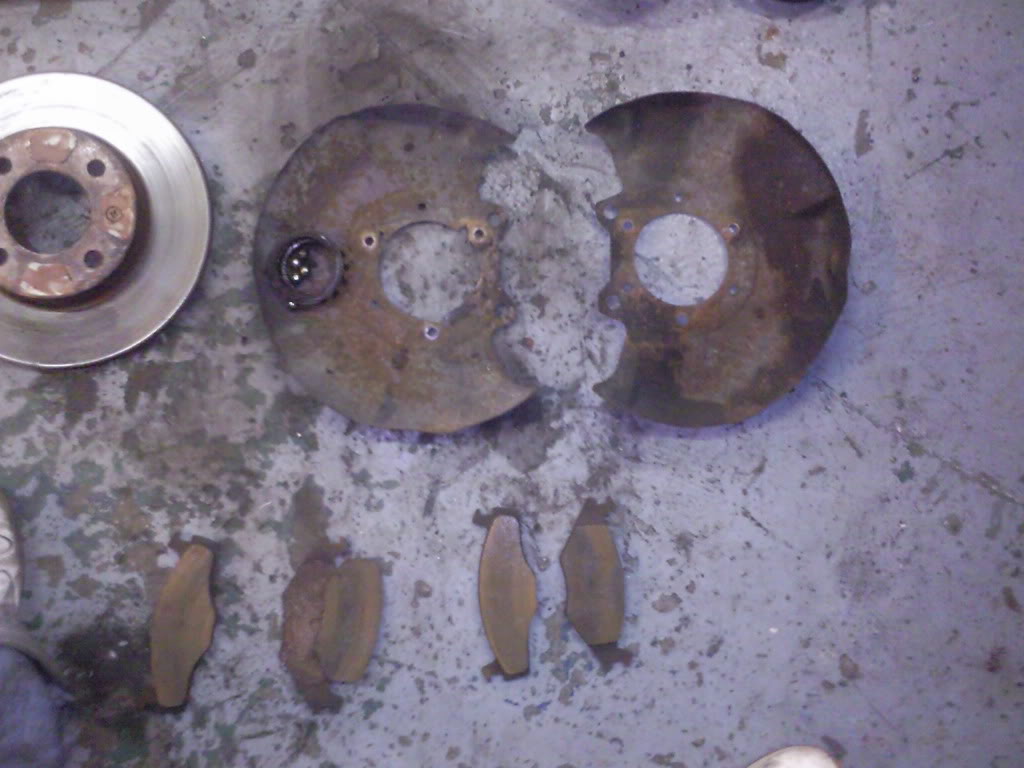
 received new brake parts and wheel bearing today…so a weekend in jan awaits for welding and replacing more broken/worn parts
59 TDI GT 3 Dr Black
89 Cab Helious Blue
83 GTI Tintop White
83 GTI Tintop Black
89 Cab Helious Blue
83 GTI Tintop White
83 GTI Tintop Black
Posted
Settling In
Posted

Local Hero


1983 Mars Red 1.8 Golf GTI
1987 Alpine White 1.8 Clipper Cabriolet
The trouble with doing nothing is that you never know when you are finished.
1987 Alpine White 1.8 Clipper Cabriolet
The trouble with doing nothing is that you never know when you are finished.
Posted
Old Timer

Agreed!Early-1800 said
Good work showing how relatively simple and inexpensive spannering + some effort can keep a MK1 in tip top condition.

Posted
Old Timer
Posted
Settling In
girls and boys on todays menu is
1. drum brakes
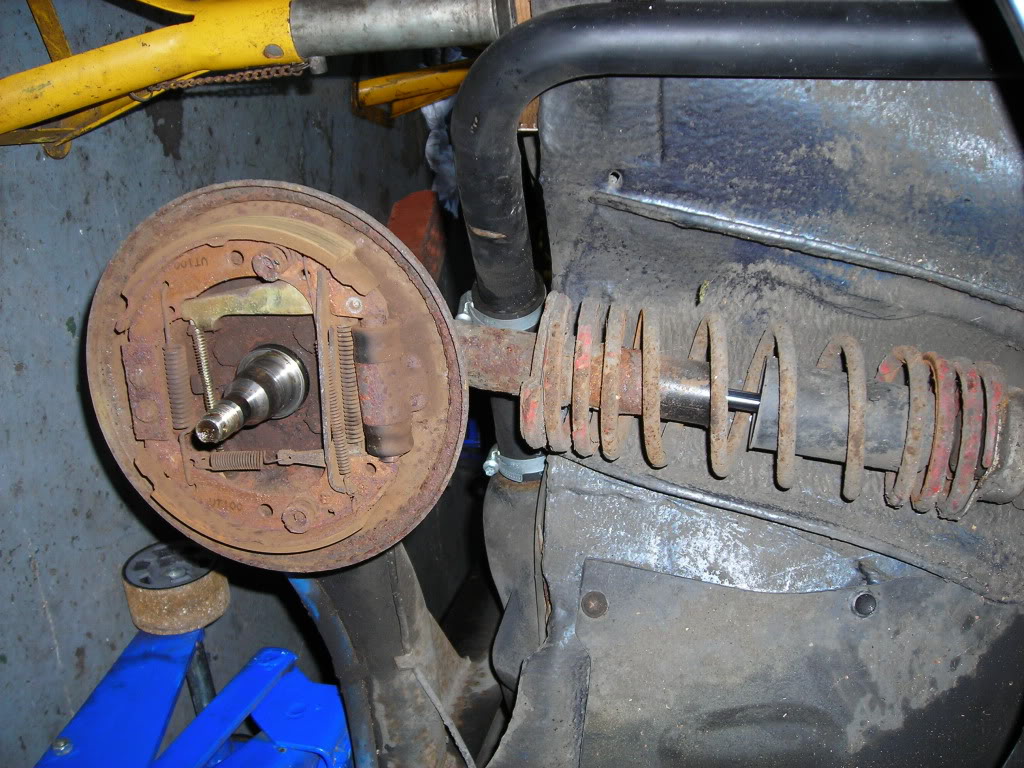
drivers, wheel cylinder seized on one side, filthy! does everyones look like this?

otherside, handbrake didn't work :roll: lots of dust, rust and maybe a leaky wheel cylinder…more filth
most new parts in boxes waiting, not sure which wheel cyclinders i need, looked on avs and there are two types, anyone shine some light?
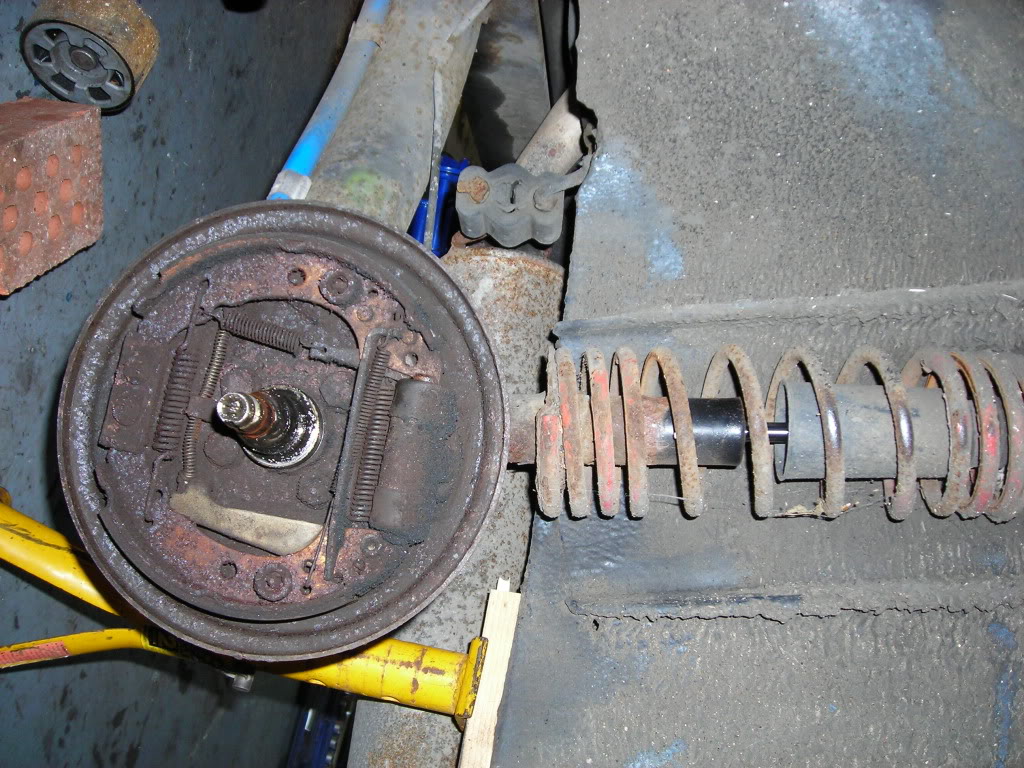
2. rear beam
bit of a clean, brother going to weld all the seams to make it stronger then off to the powder coaters
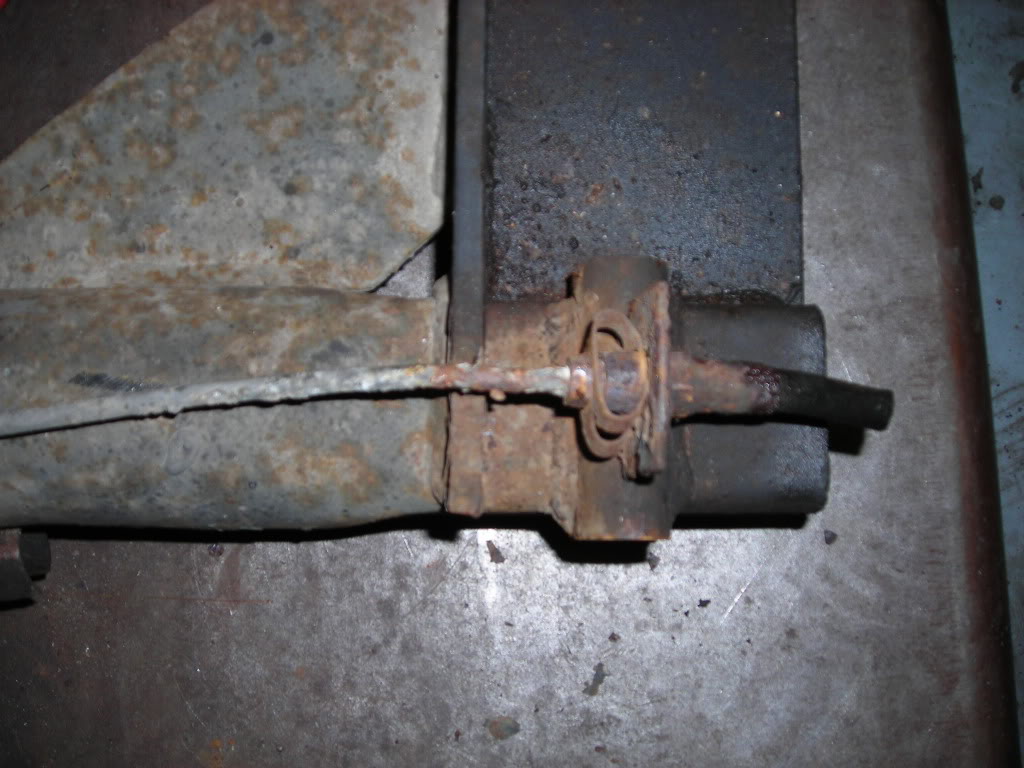
one of these rounded off, nothing the mole grips can't sort
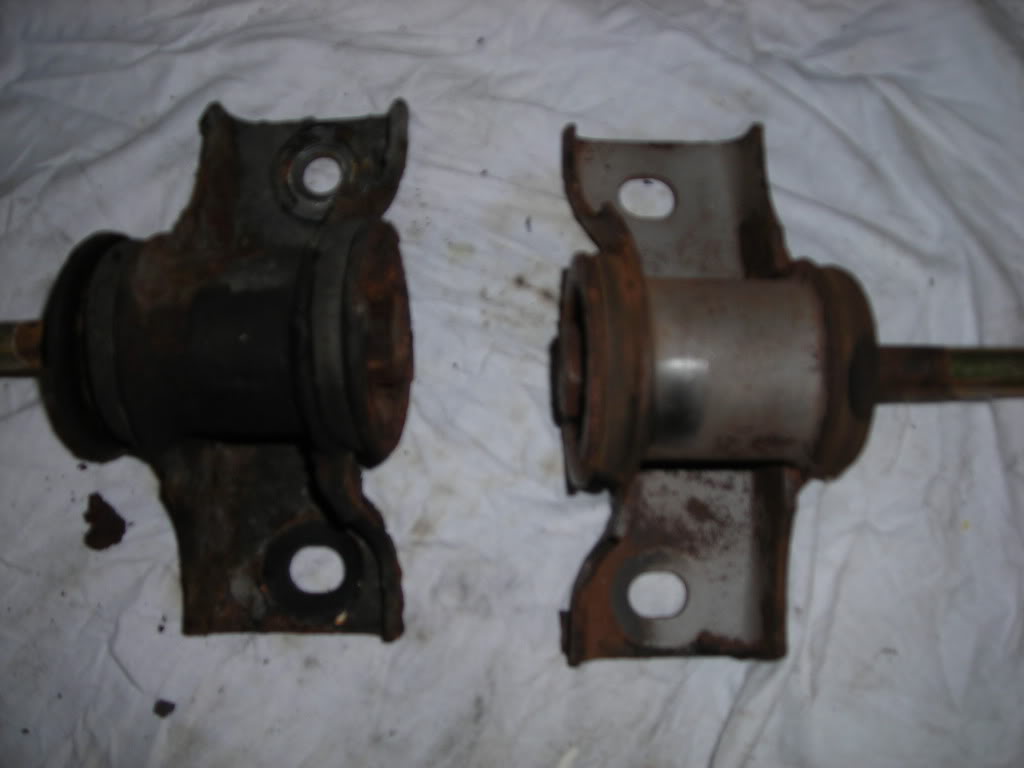
bit of before and after sand blasting, still lots required yet
3. rear bumber
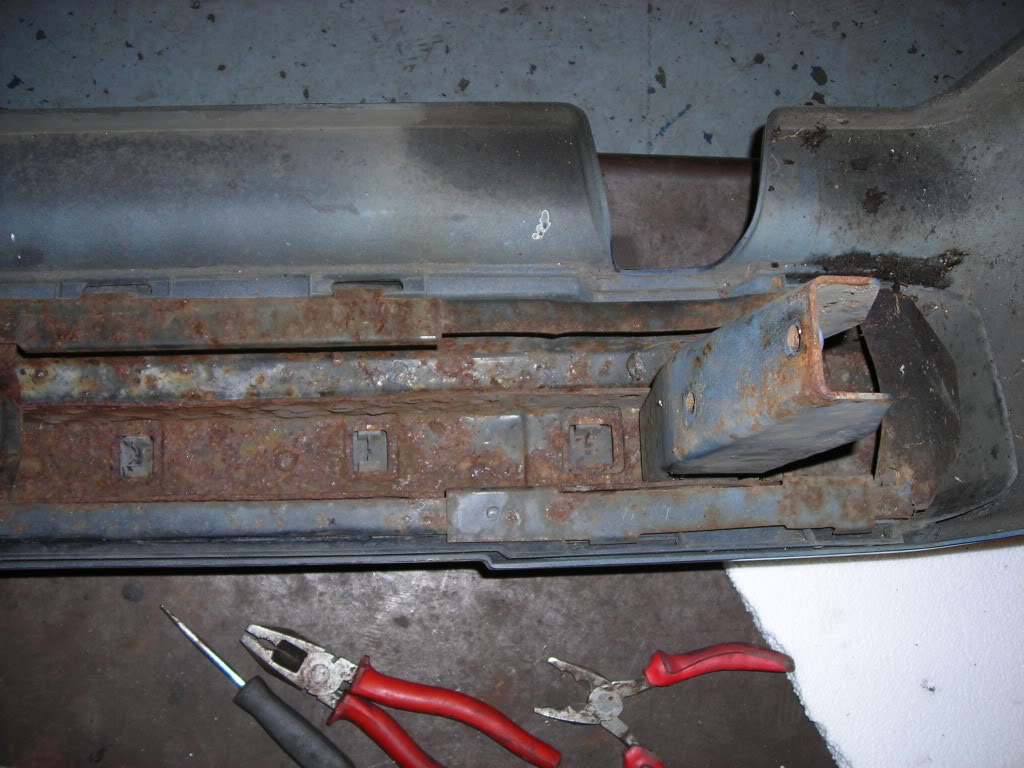
took it off but we can't get it apart. pulled the plastic blocks out, pushed the clips out slightly but there is some glue between the plastic and metal, what is the best way to seperate. :dontknow: heat gun? knife? how deep is the glue?
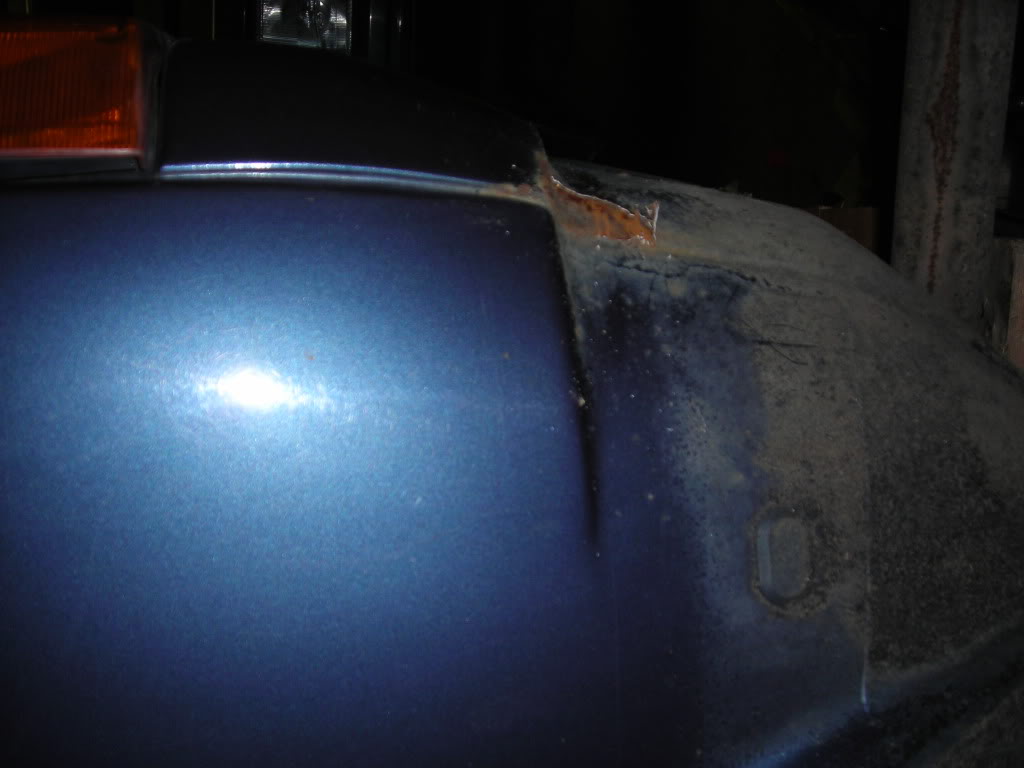
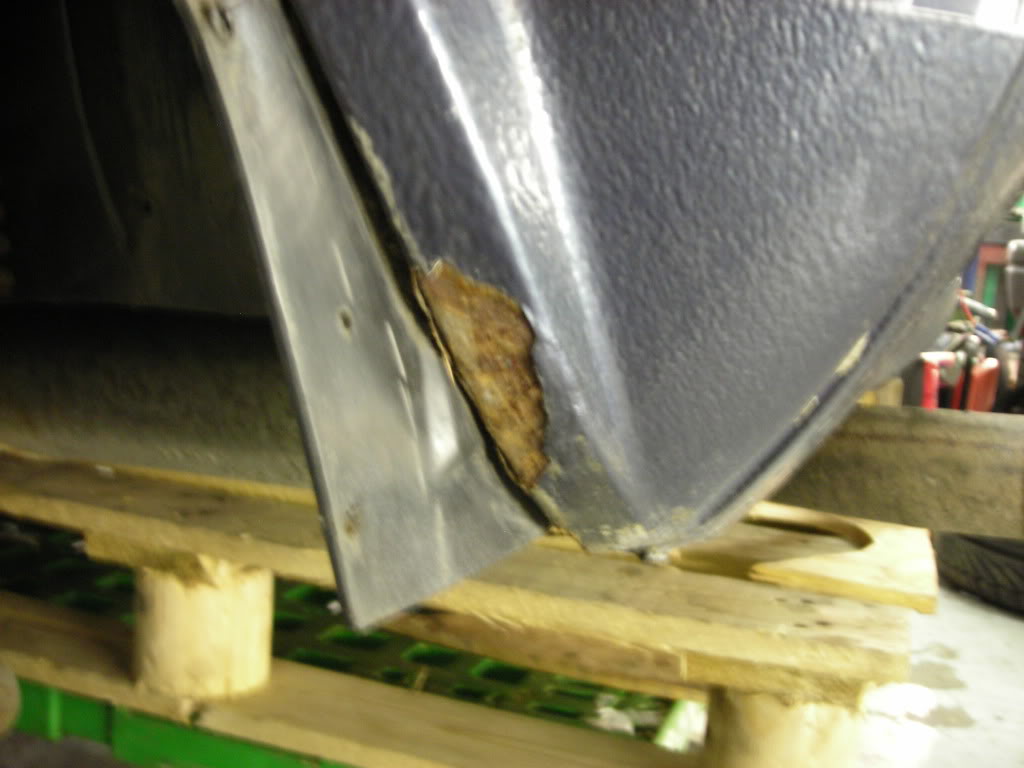
this is the only bit of rust that we can find on the rear under the bumber, hopefully be able to save it as the screwdriver didn't go right through…will keep you posted
4. new heater/fan installed (working again) brrrrrrrrrrrrrrr
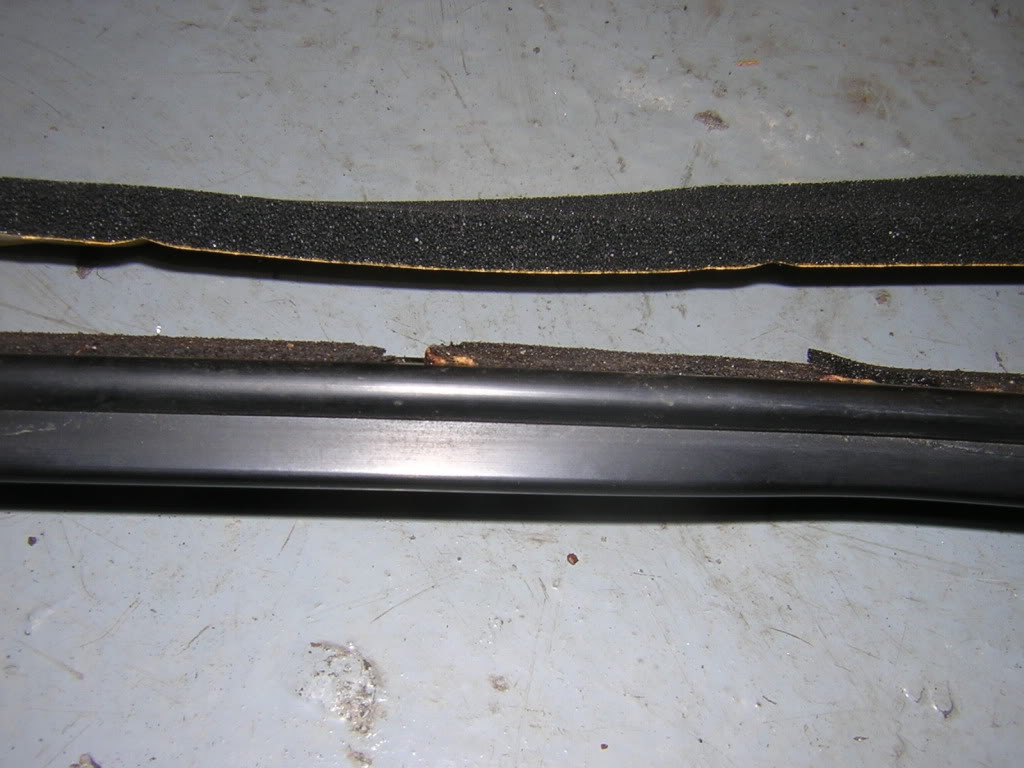
5. wipers back in (all working)
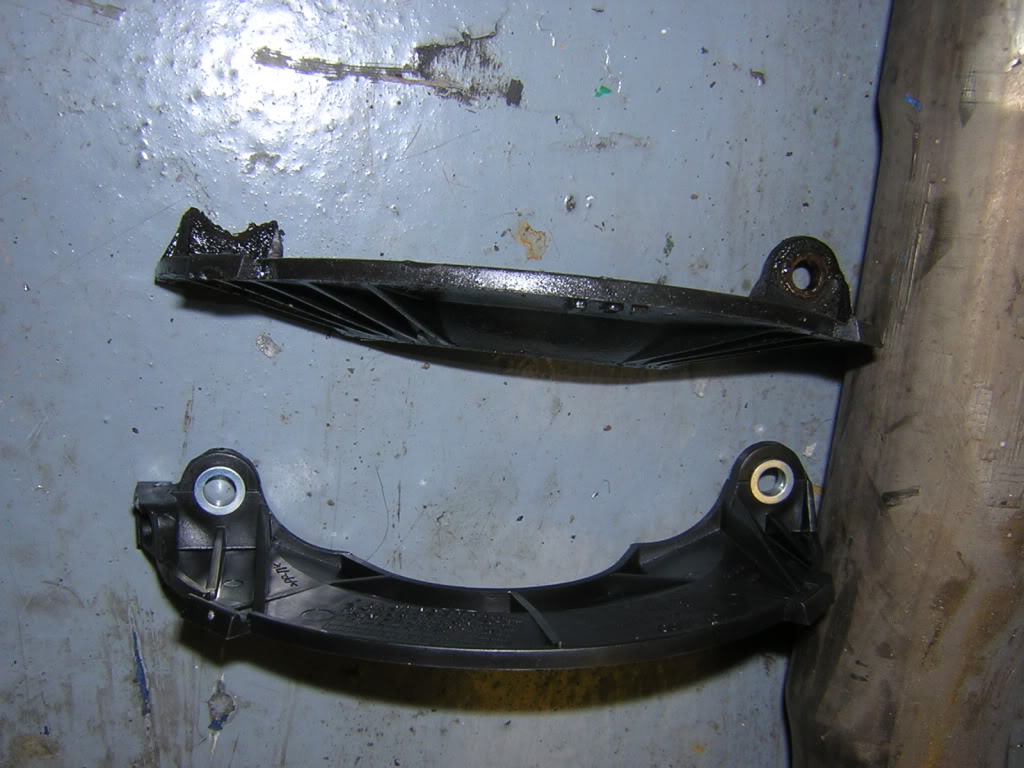
6. ARB
bit more before and after.
and this is how we left him…back to the garage tomorrow
oh and here is my brothers project…nitro pixie!

and if anyone wants a megajolt he is 'nitropixie' on megajolt forum
any comments and advice welcome…till tomorrow
59 TDI GT 3 Dr Black
89 Cab Helious Blue
83 GTI Tintop White
83 GTI Tintop Black
89 Cab Helious Blue
83 GTI Tintop White
83 GTI Tintop Black
Posted
Old Timer
My ideal project garage has a golf (done) and a mini…it's on my to do.
I remember reading that a 1600 block has 1.8 on it, just a different bore or something?? could be wrong, but i reckon the 1.8 on the block doesn't mean it's an 1800, and will be a 1600 as stated on the V5.
Keep up the good work!
'83 Black GTI Cab on BBS RAs - DreamBoat 3000'
Resto = http://www.vwgolfmk1.org.uk/modules.php?name=Forums&file=viewtopic&t=67552

Resto = http://www.vwgolfmk1.org.uk/modules.php?name=Forums&file=viewtopic&t=67552
Posted
Local Hero
There are two types of rear cylinder with different bore sizes. One for cars equiped with the rear compensators and one for more basic models that don't have rear compensator. Sorry I can't remember which is which.
On the bumpers I'd just spray the rusty metal with waxoyl type stuff so it doesn't get any worse.
1983 Mars Red 1.8 Golf GTI
1987 Alpine White 1.8 Clipper Cabriolet
The trouble with doing nothing is that you never know when you are finished.
1987 Alpine White 1.8 Clipper Cabriolet
The trouble with doing nothing is that you never know when you are finished.
Posted
Settling In
early 1800 - cheers for advice on cyclinders, mine doesnt have a brake conpensator so thats the ones i will buy
really want to get that bumper apart though as want to blast and paint the frame to give it some life and thats all i will think about if i dont do it!
thanks for your comments, much appreciated
59 TDI GT 3 Dr Black
89 Cab Helious Blue
83 GTI Tintop White
83 GTI Tintop Black
89 Cab Helious Blue
83 GTI Tintop White
83 GTI Tintop Black
Posted
Local Hero
1983 Mars Red 1.8 Golf GTI
1987 Alpine White 1.8 Clipper Cabriolet
The trouble with doing nothing is that you never know when you are finished.
1987 Alpine White 1.8 Clipper Cabriolet
The trouble with doing nothing is that you never know when you are finished.
Posted
Old Timer
check your engine code against haynes manual/this site. If you can't find it, (it's on the front right of the block as you look in the bay) get local VW to tell you with the reg.
from this site:
1600 to 1800 'conversion'
The GTI up to 1981 had a 1600cc (EG code) engine, 1982 and onwards used the DX (1800cc) engine. These blocks are very similar (see differences here) and with the age of the original engine, its not uncommon to find a 1981 or earlier car with an 1800 engine. The 'conversion' at a minimum, involves nothing more than swapping the 1600 top radiator hose at the same time as the engine. If you wanted to be authentic, you could also swap the other items, for example, gearbox, metering head, exhaust back box.
'83 Black GTI Cab on BBS RAs - DreamBoat 3000'
Resto = http://www.vwgolfmk1.org.uk/modules.php?name=Forums&file=viewtopic&t=67552
Resto = http://www.vwgolfmk1.org.uk/modules.php?name=Forums&file=viewtopic&t=67552
Posted
Settling In
well today was more mini day, with my brother rigging up a new heater with variable speed…its still in progess!
and my update
remembering back i found a rust patch on the rear?!!?!?! well after some cleaning up it looked like this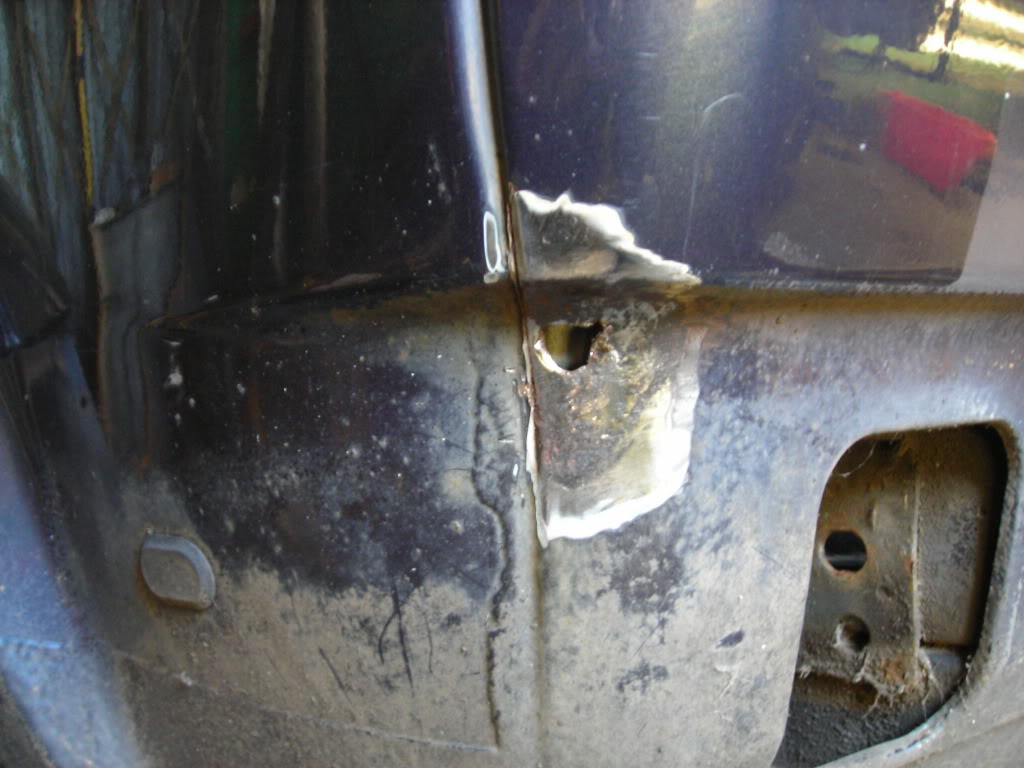
bit of welding and this
bit of grinding..
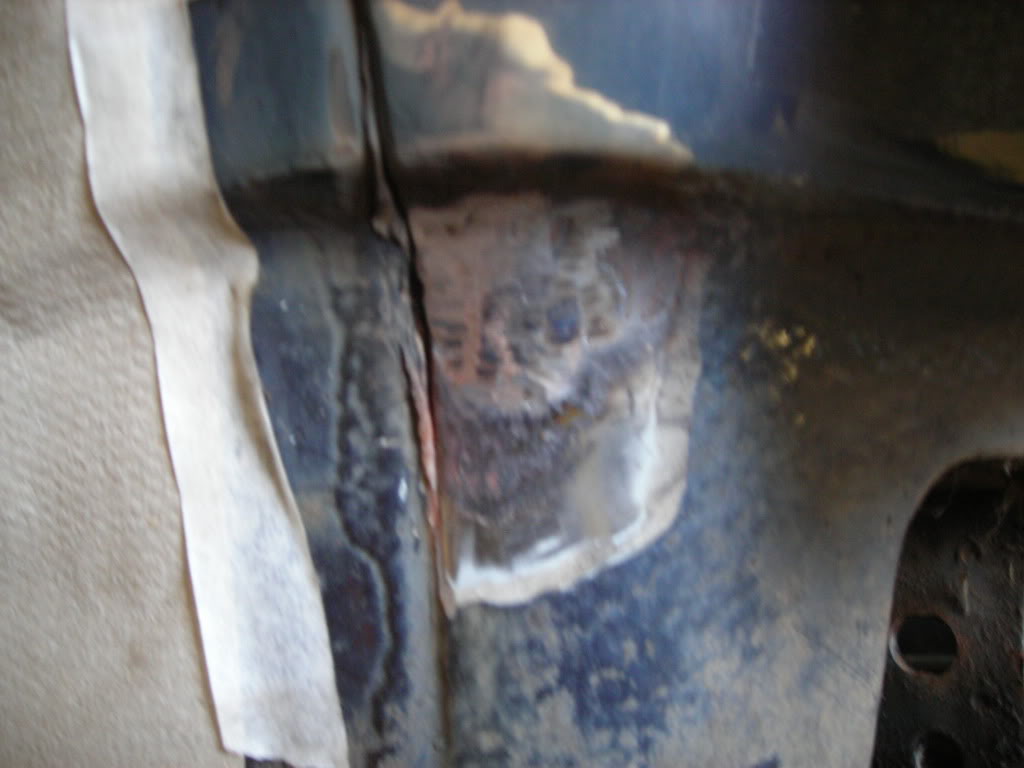
more sanding…
looks like there is a dent but its probably the flash on the camera making it look like that. done more sanding since and a bit more work on the seam to do but its covered in etch at the moment.
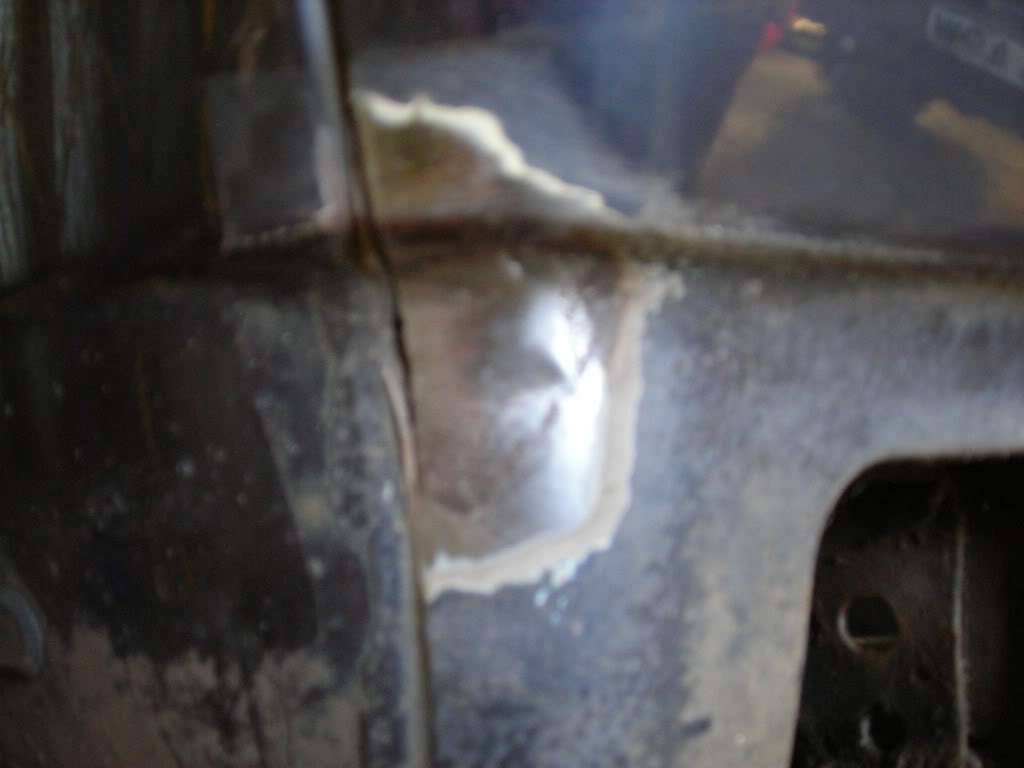
now the boot rear corner…looked like this after a bit of sanding
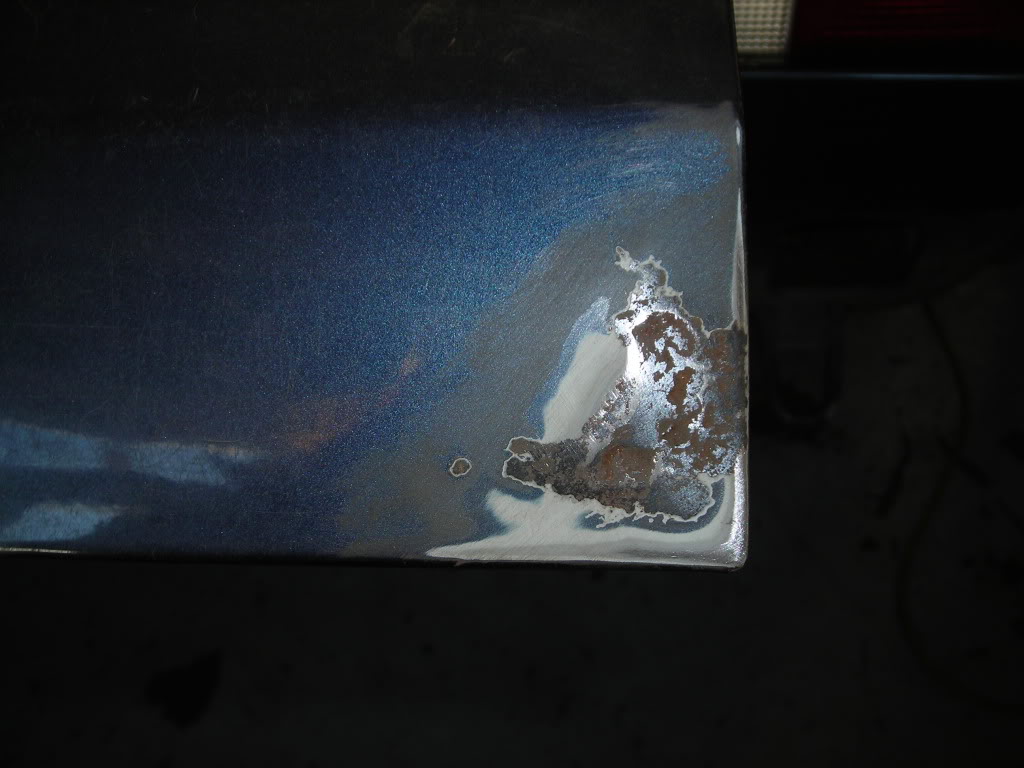
more sanding showed this

i sanded and grinded it all back down to fresh metal, bit of etch inside and then held the repair patch in place…looks ok to me
and after welding (oops burnt a bit of the paint) 8O
and here is the Yeti looking a bit sorry for himself on the pallet complete with grey corners
least it can be wheeled in and out of the garage with ease :wink: 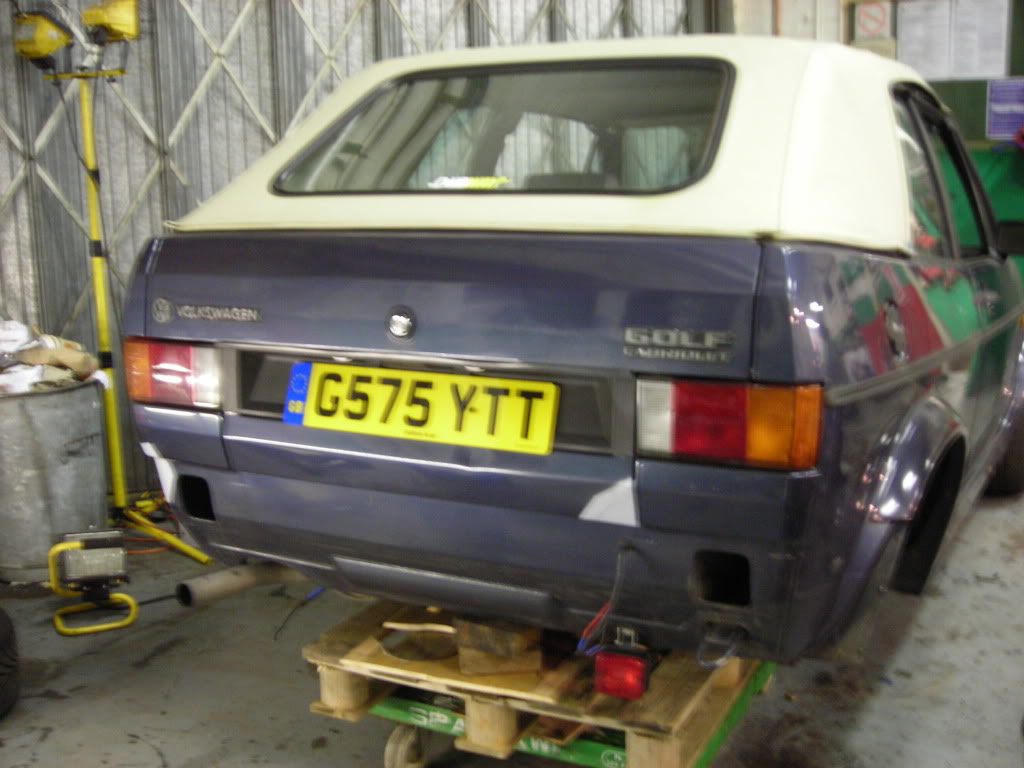
then found this :dontknow:
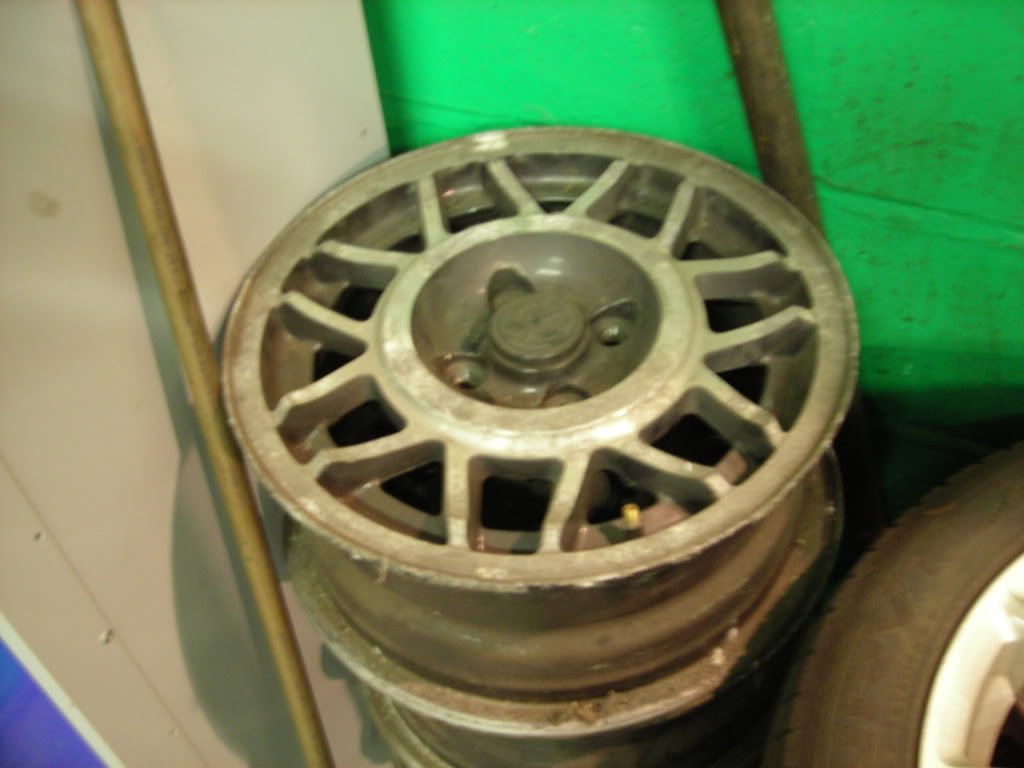
but made me happy when i found these in the corner of the garage…mine mine mine for nowt :mrgreen: :mrgreen: :mrgreen:
and except for more sand blasting and arch cleaning thats it. Won't bore you with my before and after blasting shots
hope someone finds this interesting…oh new favourite toy is the grinder! sandblaster is so yesterday :mrgreen:
59 TDI GT 3 Dr Black
89 Cab Helious Blue
83 GTI Tintop White
83 GTI Tintop Black
89 Cab Helious Blue
83 GTI Tintop White
83 GTI Tintop Black
Posted
Settling In
mini old skool of course - 1310, lightened and balanced bottom end, fast road cam, MG head, Megajolt + EDIS, stripped out interior
Metro Autograsser - built myself
Metro Autograsser - built myself
Posted
Settling In
back end now all rebuilt…fuel tank had some attention, all new parts in the rear brakes, sandblasted and powder coated the main components.
back on wheels and propped the snowflakes up to see wot the final look maybe like.
front end now in parts and main components sandblasted and powder coated. awaiting crazy quiffs to get some brake back plates then all ready to be built up. :wink:
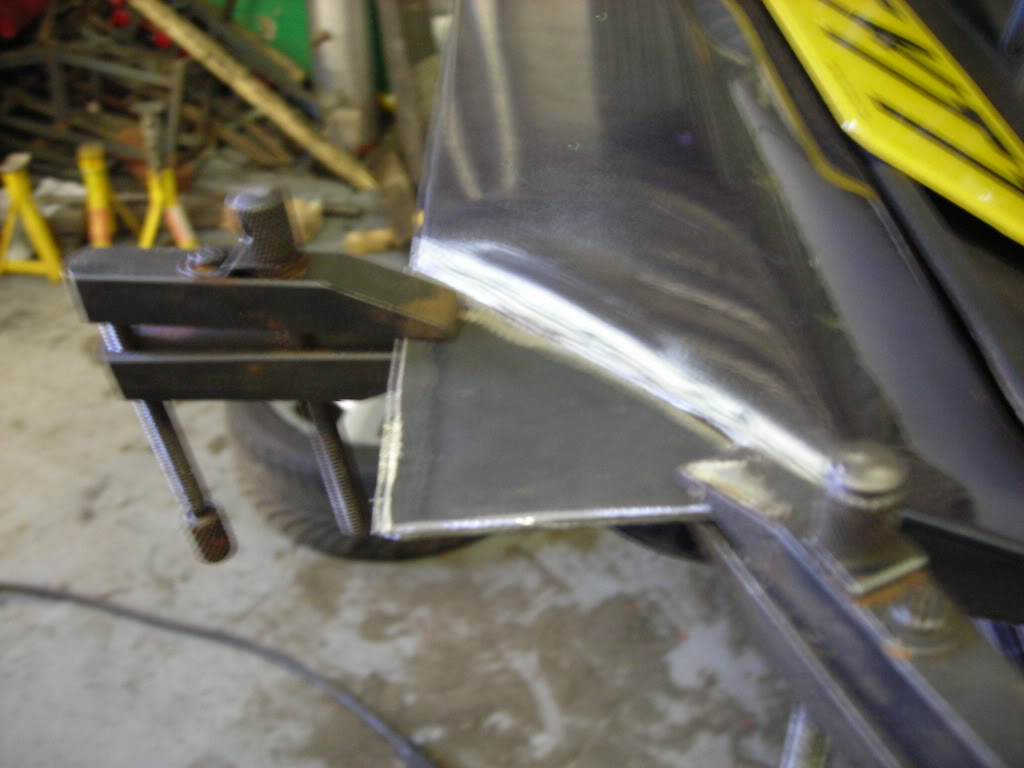
cut out some rust on the front wishbone mounting point and a small patch was welded on. looks good, left the paint to dry this evening.
did finally fit the stretch tyres to the p sluts and stuck on the cab. not the look im after so the snow flakes will defo go on one day
let me know wot u think
oh all the body kit now removed, awaiting some tlc and paint before going back on.
got loads more pic to upload but having problems with phone and uploading
59 TDI GT 3 Dr Black
89 Cab Helious Blue
83 GTI Tintop White
83 GTI Tintop Black
89 Cab Helious Blue
83 GTI Tintop White
83 GTI Tintop Black
Posted
Settling In
big plans ahead…including complete white underneath and everywhere i can get it painted…next years project!
and the p sluts will be fitted to him eventually.
59 TDI GT 3 Dr Black
89 Cab Helious Blue
83 GTI Tintop White
83 GTI Tintop Black
89 Cab Helious Blue
83 GTI Tintop White
83 GTI Tintop Black
Posted
Settling In


59 TDI GT 3 Dr Black
89 Cab Helious Blue
83 GTI Tintop White
83 GTI Tintop Black
89 Cab Helious Blue
83 GTI Tintop White
83 GTI Tintop Black
Posted
Old Timer

Mk1 Golf Gti Abf conversion Project
Mk2 Golf Gti 16v
Mini Cooper S R53 (Daily)
Posted

Local Hero
Posted
Newbie

slam it damn it!
Posted
Settling In
The Yeti update
much appreciatedheres an update.
had 2 flat tyres on the p sluts and havent driven anywhere yet!!!!!!
 maybe a little to much stretch on them.
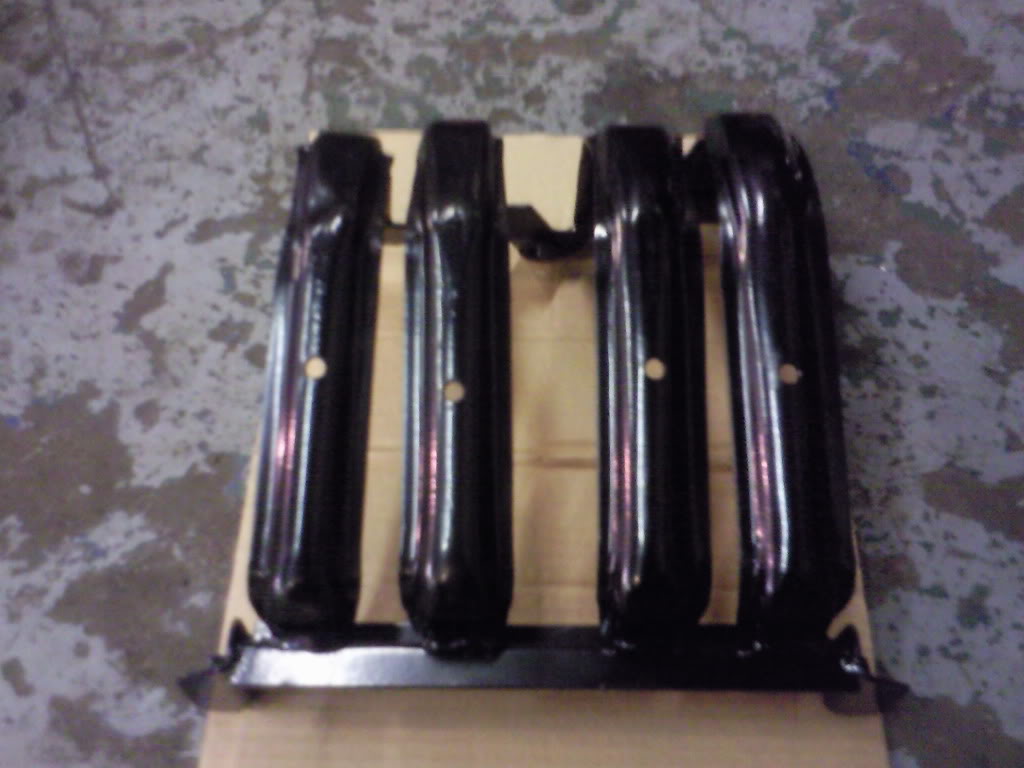
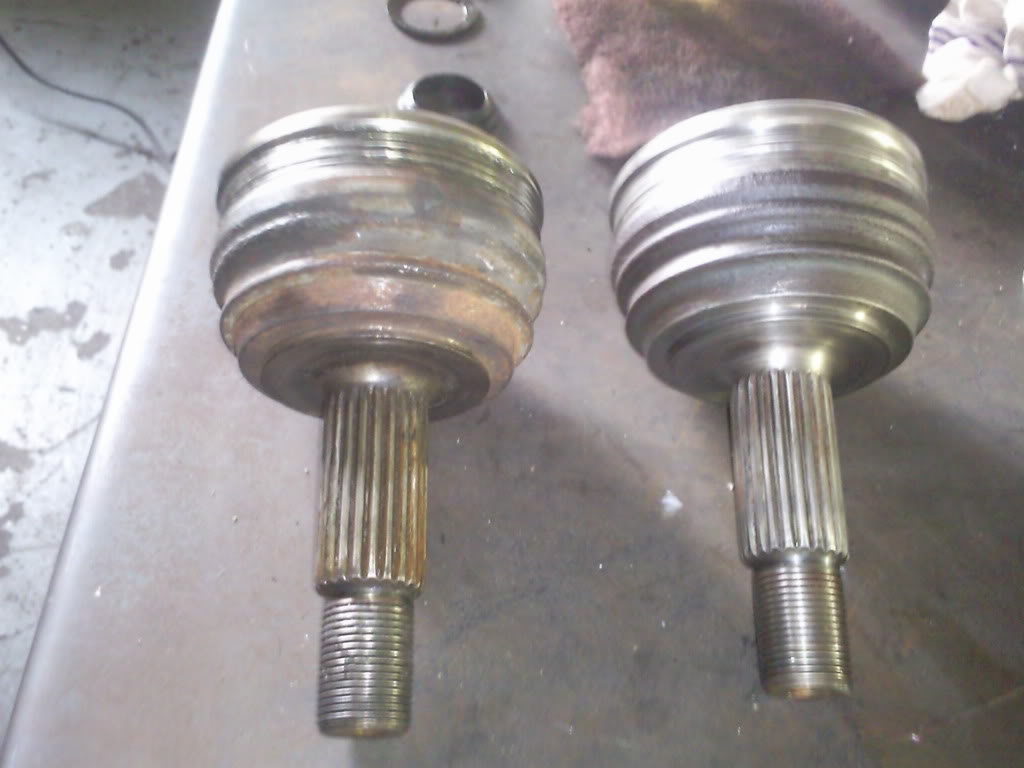
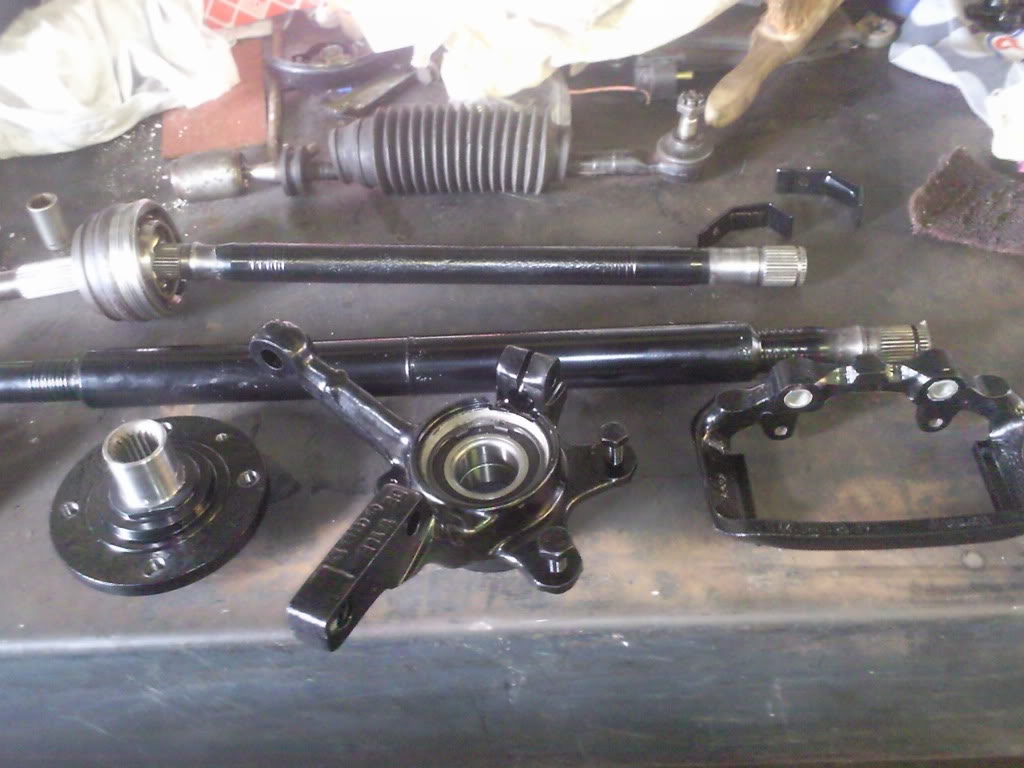
finally got the correct size cv gaiters as wanted to change them all and not just the one that had split. changed the steering gaiters where i was there to.
decided on a new bootlid rather than get it sprayed so if anyone has a mint cabby bootlid in helious blue let me know pls
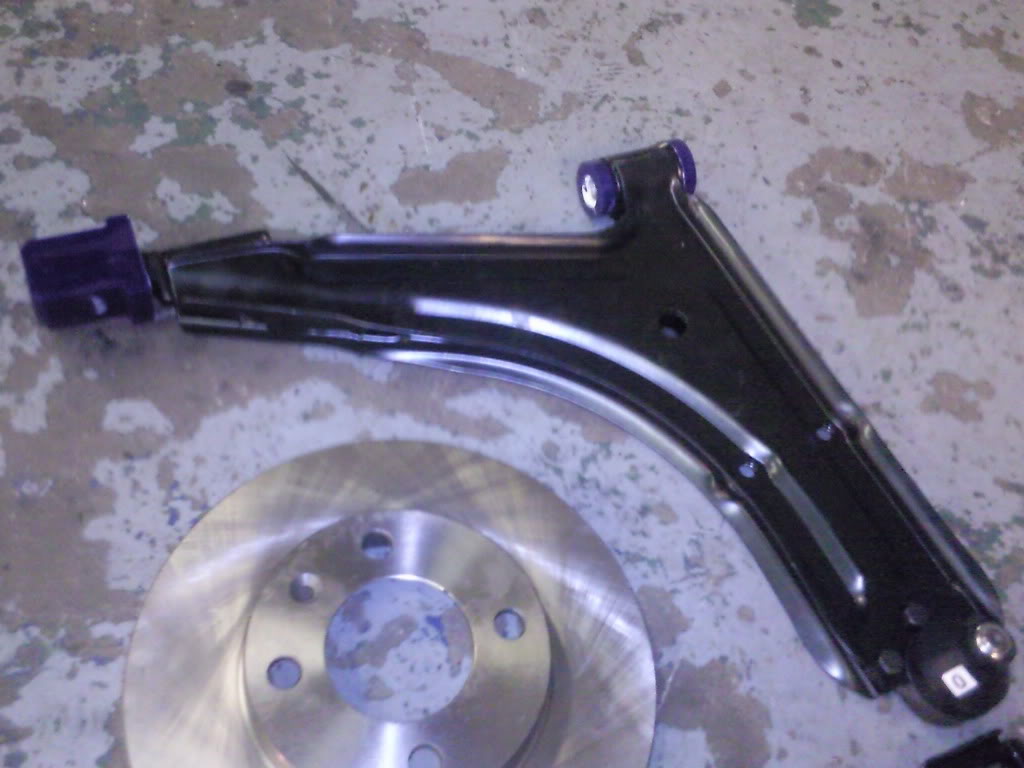
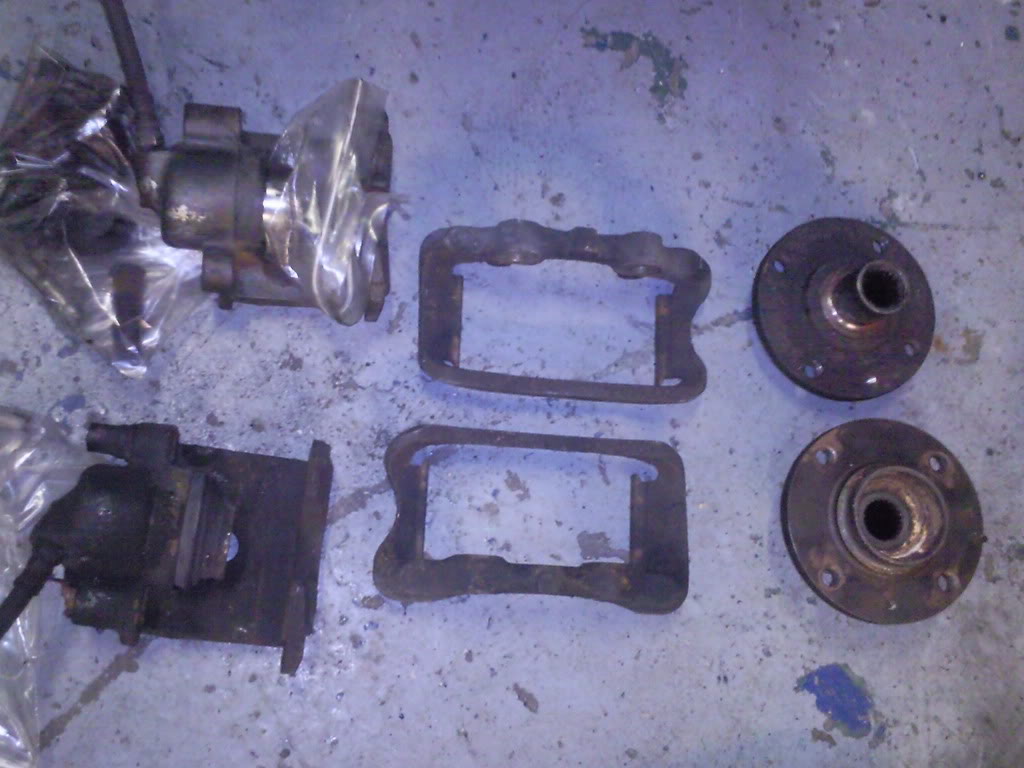
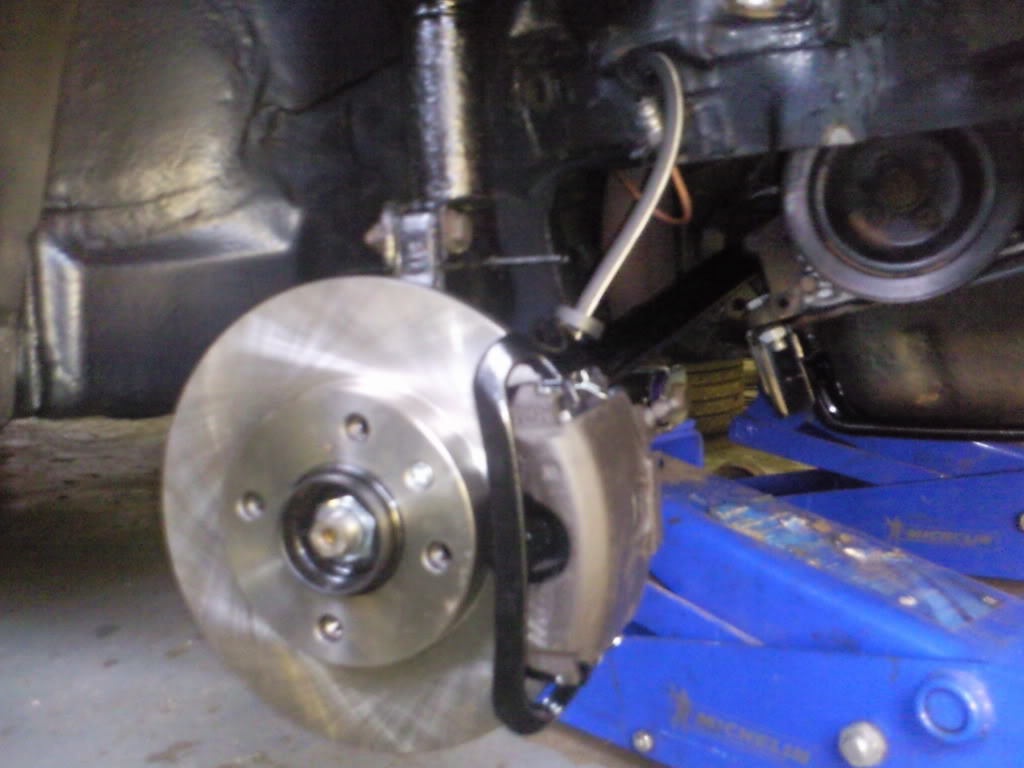
refurbed the brake calipers and fitted new hoses so all the sludge and dirt is now removed so should be loads better on braking

oh and new brake lines, pads and discs now on
finally fired up the engine again, sounds a little rough so a bit of attention needed but was able to drive him out the garage instead of the old push method :mrgreen: :mrgreen: :mrgreen: thanks to funkstar (i think) for the fuel sender unit i searched high and low 4
all that is left is bleed the brakes, fix the indicators, fix the horn then off to get tax
the clipper kit will be going back on later in the year but will run him like this till the funds gather for a new hood in blue and a respray to sprush him up like new.
and does anyone know where these wheels come from, i have 4 which came will a recent gti i aquired.
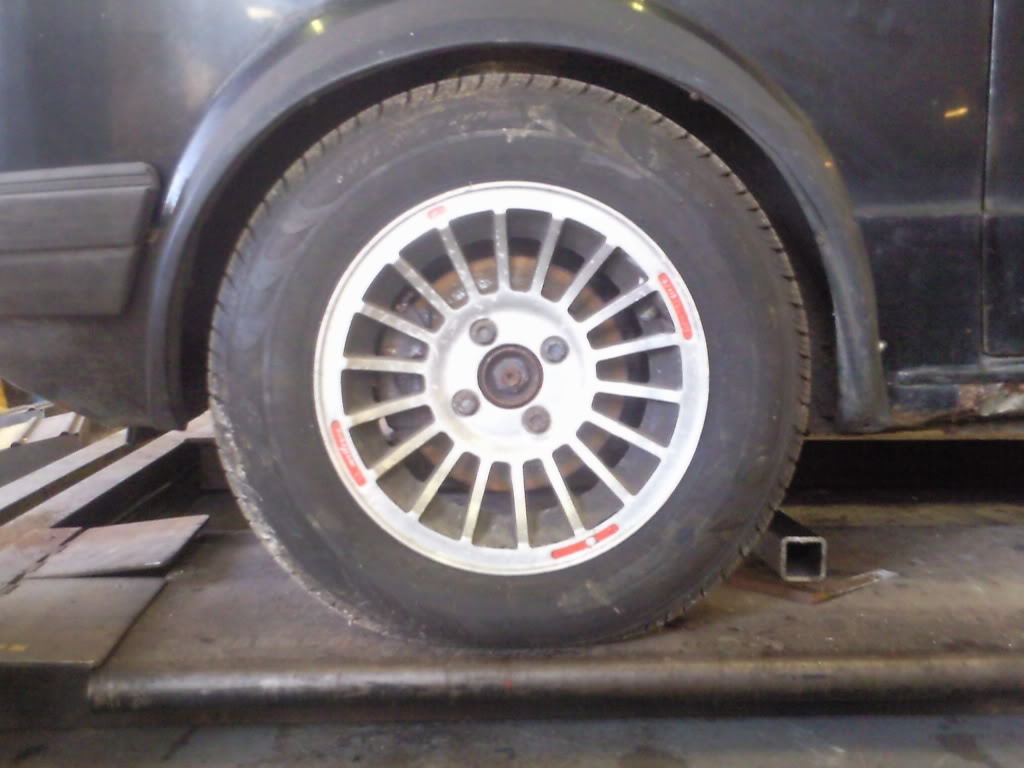
they are 13inch but look rather awesome i think.
and to keep people informed my brother is rasputin on here and he has a build thread for our (my) other mk1s, currently building a frame to mount the chassis for rebuild of 2 gti's
59 TDI GT 3 Dr Black
89 Cab Helious Blue
83 GTI Tintop White
83 GTI Tintop Black
89 Cab Helious Blue
83 GTI Tintop White
83 GTI Tintop Black
0 guests and 0 members have just viewed this: None.