


Project Uncle Albert 77 GLS Auto

Posted
#1120610
(In Topic #134034)
Settling In

Project Uncle Albert 77 GLS Auto
Some will recognise from the pics below that the car was for sale last year on Ebay, �1007.69 and a short drive to collect and I had what looked like a nice series 1 that needed front inner wings and a repair to the rear panel. Just 2 of a million things I uncovered….Id never planned on buying it just bid last minute and was shocked to win. Meaning I'd have another mk1 alongside my 1983 1.1c
Car is a 1977 LHD Import from Germany
1.5 Auto with under 100,00 km on the clock, plenty of history too so seems a shame to break
Nick name Uncle Albert is due to my other Mk1 being named Albert by and ex and this one being purchased by an Albert in 1977
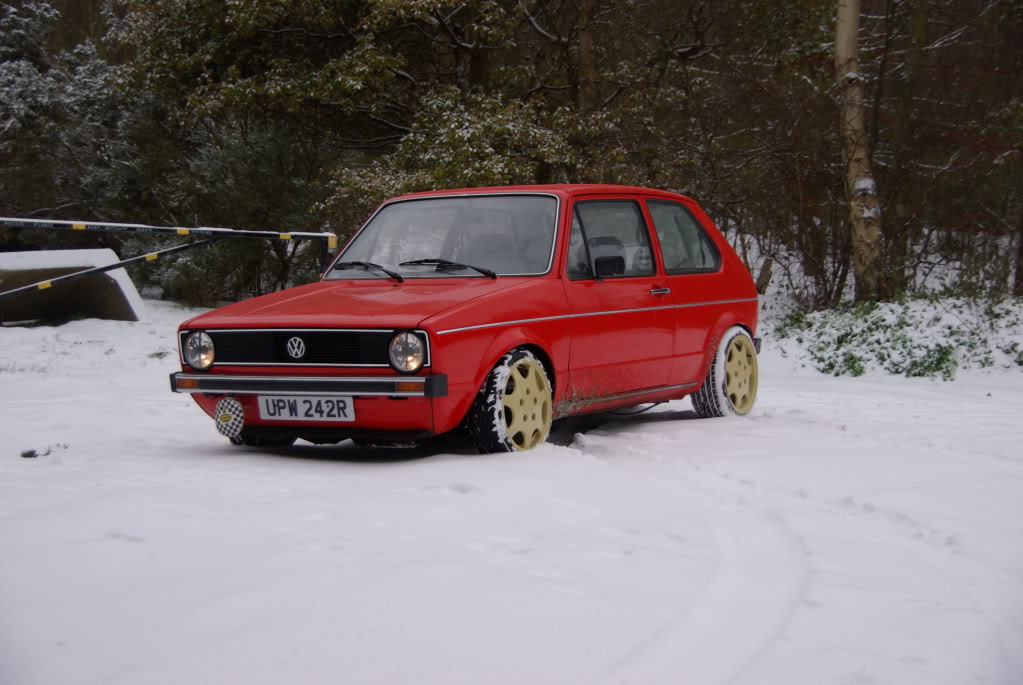

So drove it round for a bit, with the intention of getting it up to scratch in the standard colour….
Some of these pics will be out of sync as there's to many to post as I've taken 100's
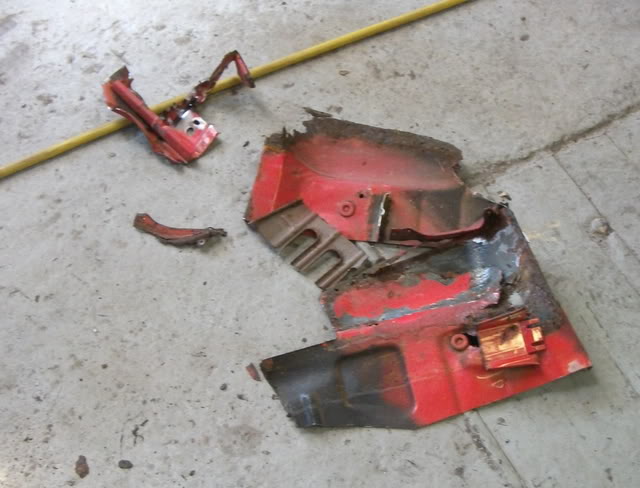
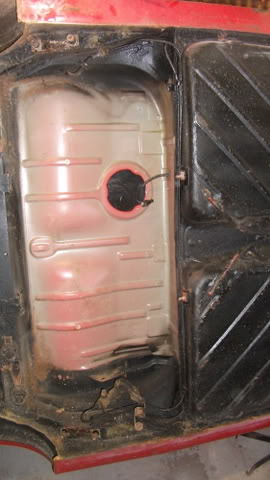
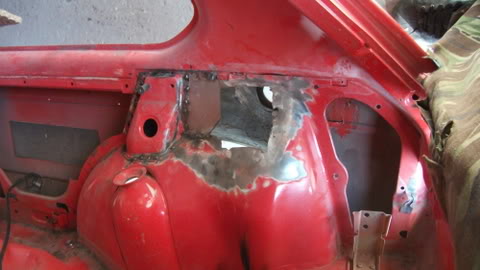
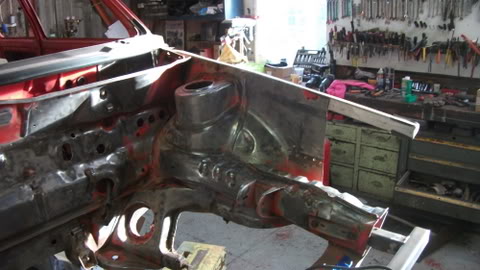
Heres what I was greeted with after a little digging…
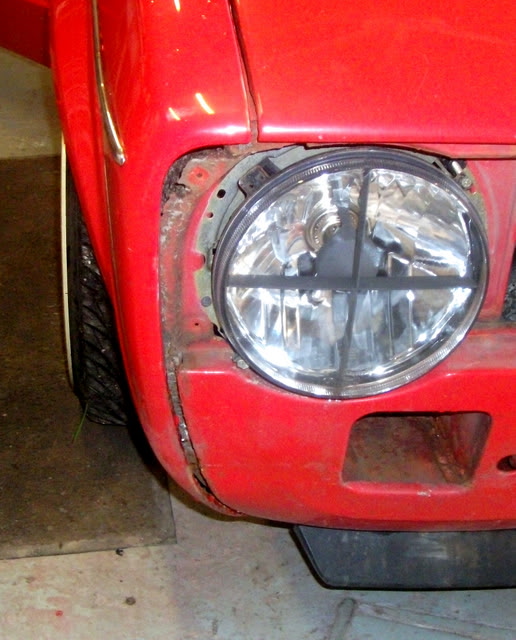

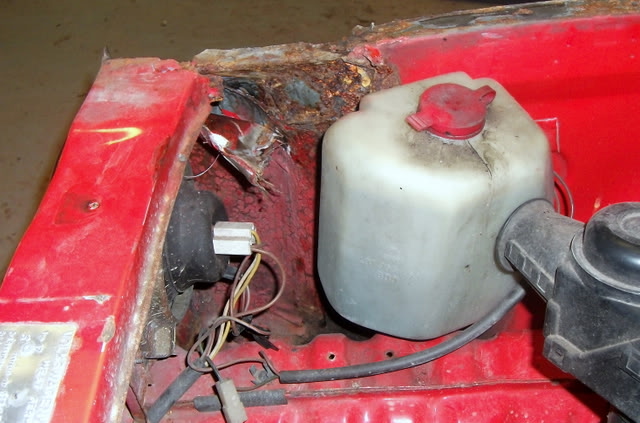
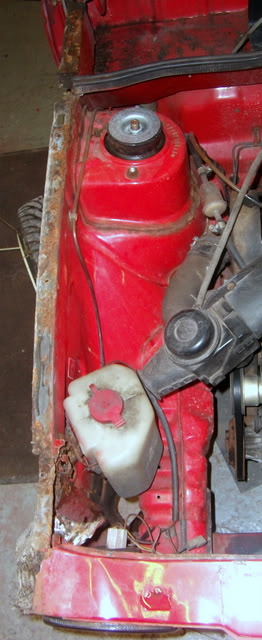

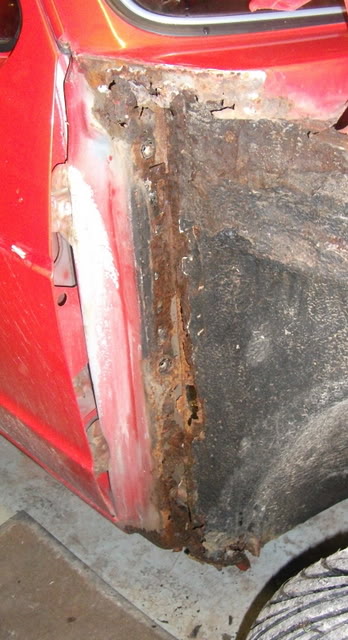

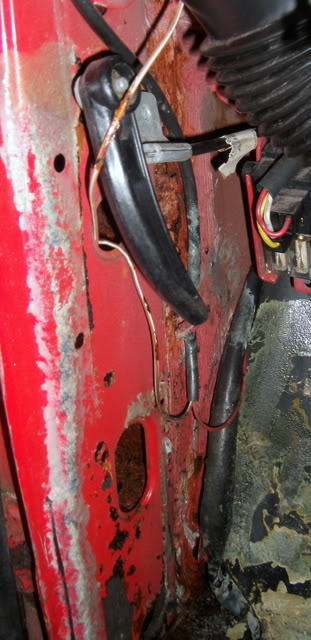
After finding these I realised our welder wasnt up to it so picked up a new one off ebay…Car sat outside for a few days and then i got stripping it down to the shell and cleaning the rusty areas up…

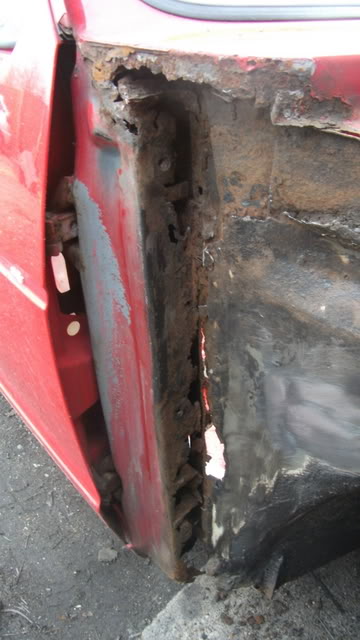
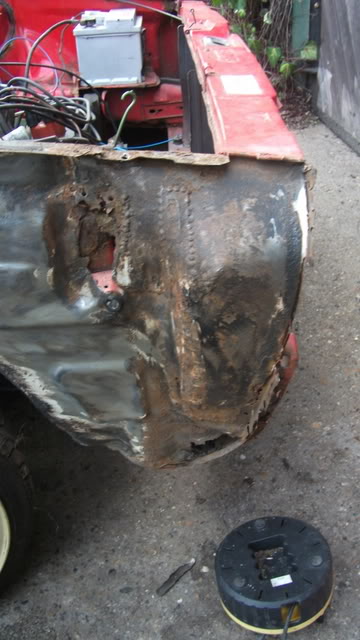
Next I thought it was a good idea to cut all the rusty bits of the panel out (Just made it harder to get motivated as at this point id never welded in my life)

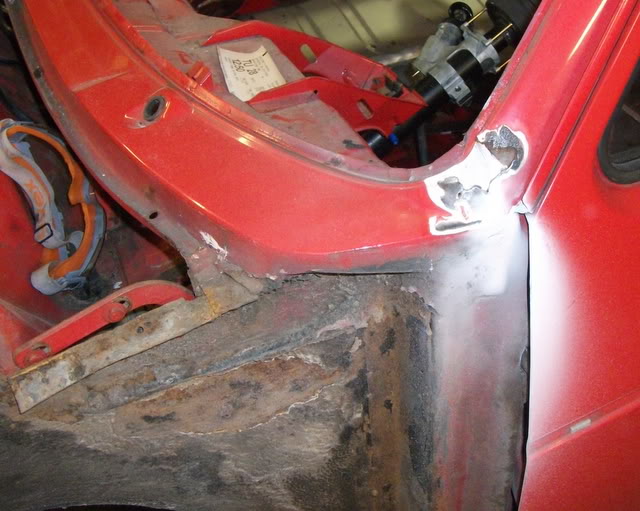


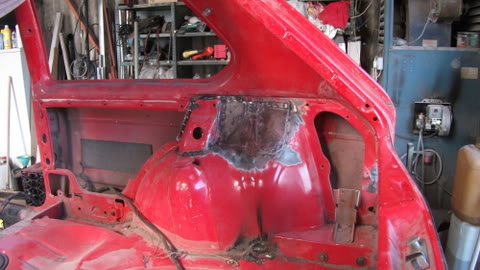
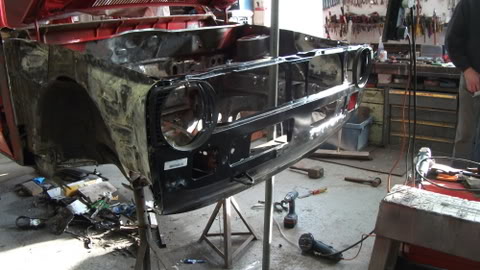
By this stage i had sourced a mk1 shell and cut the front inner wings out and a few bits needed for the repairs, was also at the stage of ordering panels from BBT daily as i found more rust and shoddy german repairs..
So this is what i ended up ordering:
Complete Front Assembly
Wiper Panel
Both Sills
Both Rear Arches
Rear Panel
Fuel Filler Panel
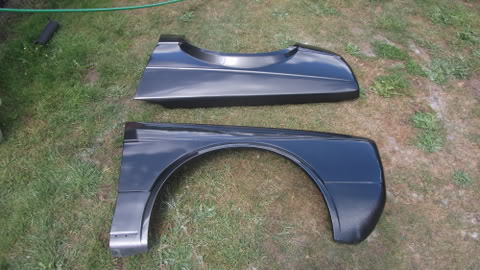
Some other panels were sourced on ebay along with some genuine wings.
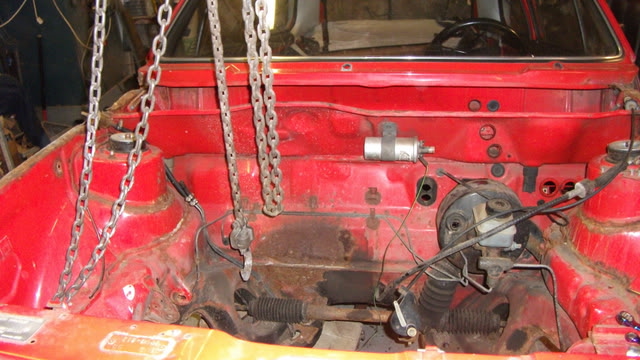
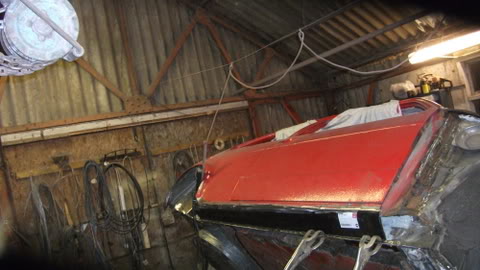
So with what i had already uncovered in a week, i decided to buy a jig so that I could start by stripping the underside and doing any repairs needed and reseal it.
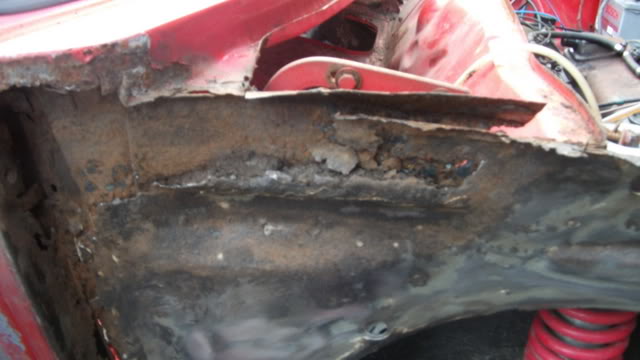
And I started to see what was hidden under the black underseal…
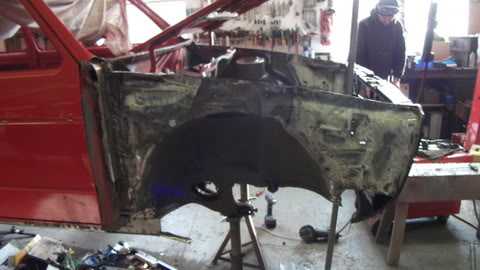
After doing that I attacked the sills as they were an unusual shape.

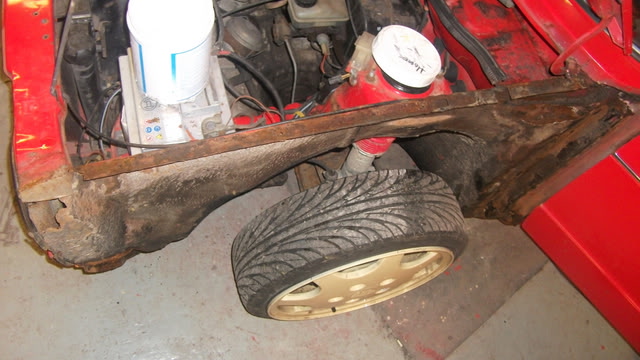
After the floor I moved onto the inner rear arches, few minor repairs and my welding was getting abit better


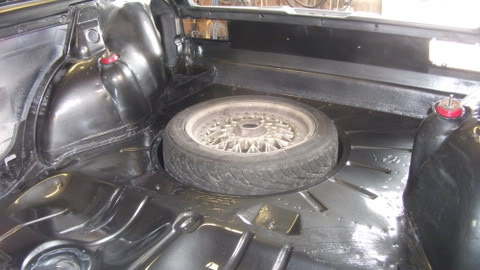
Then cleaned the spare wheel well, and uncovered more rust.
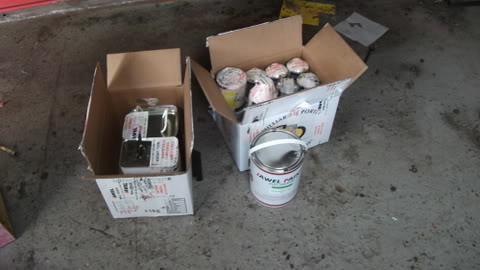
Then my paint arrived, slightly premature but ordered it while I had the money, New colour will be revealed later in the thread.
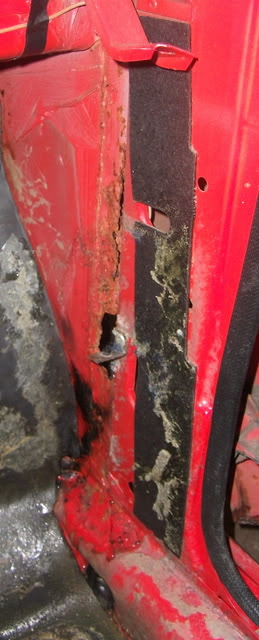
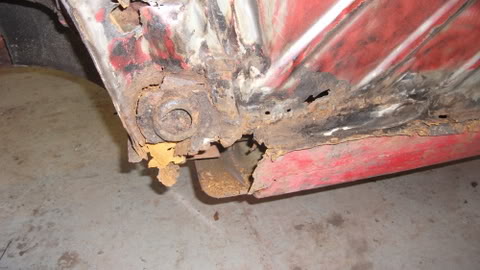
Then I removed part of the passengers sill and started on the floor repairs, Classic damage on the jacking point.
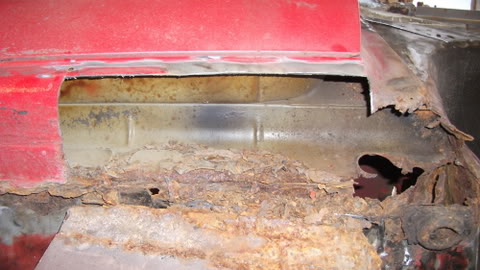
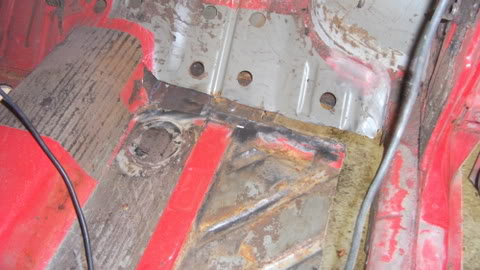

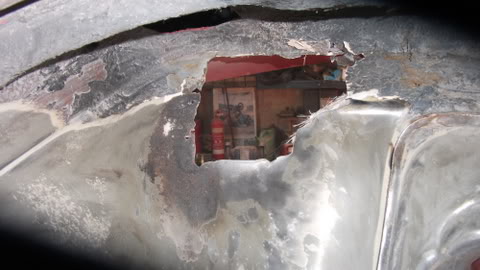
Found this gem of a hole lurking under a load of fibreglass, so started repairing it with metal.
Most of these small repairs were done on week days as I waited till the weekend and my dad was free for assistance with bigger jobs as he is an ex VW beetle mechanic and has the experience to pass to me.
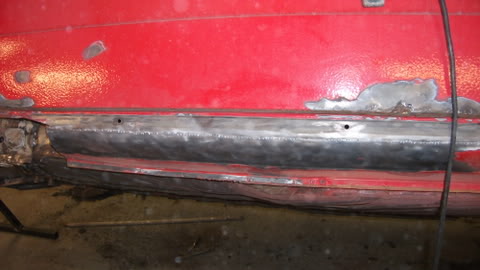
So we started to replace the sill, had to get some sheet metal cut at a local engineers and a lip folded on the edge for the sill. Then tacked the sills in place.

Also made a repair for the floor
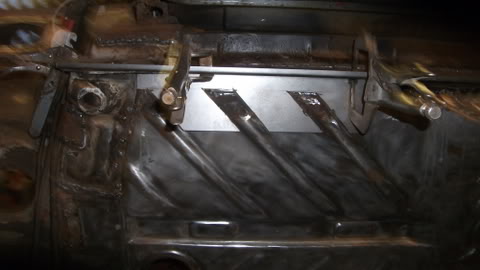
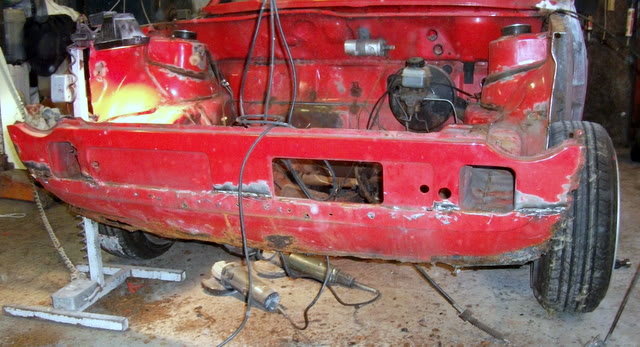
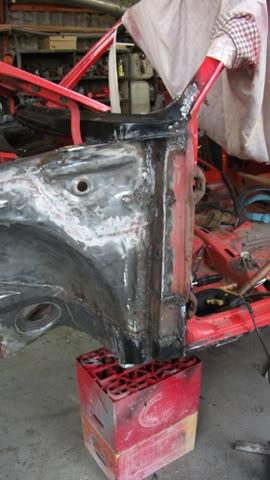
Next major job was to weld the inner wings in and front panel on, I fabricated the tops that the wings bolt to by getting some steel folded by my local engineer company again. By this stage my welding was getting good.


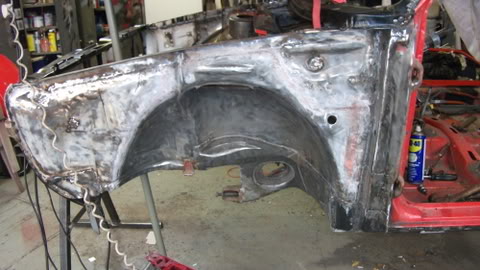
Next I carried on with the floor repairs.
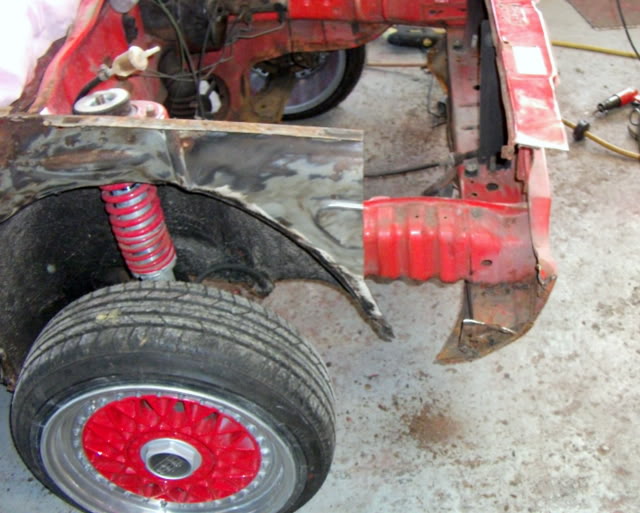
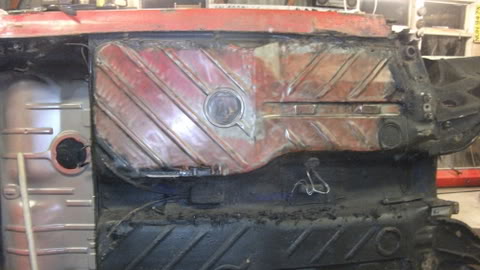
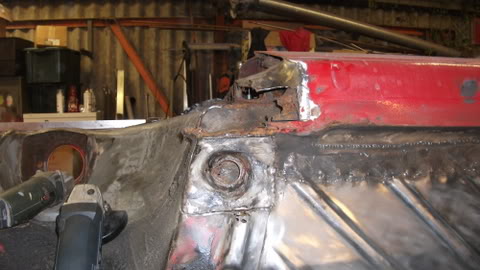
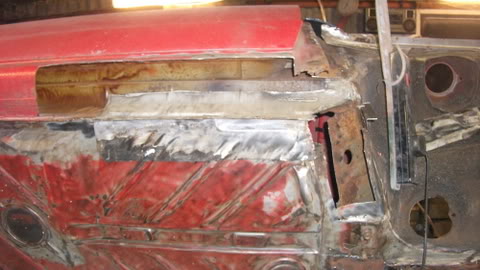
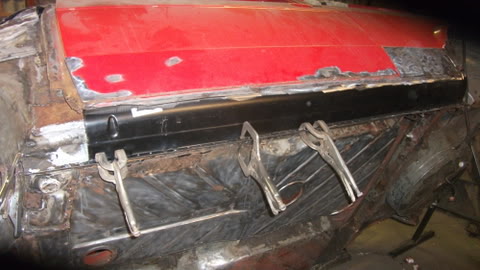
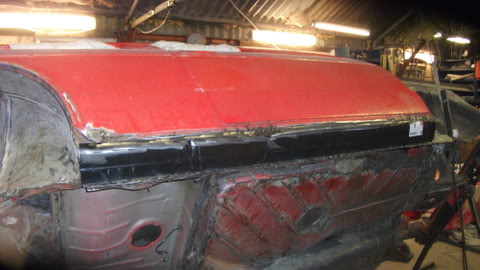
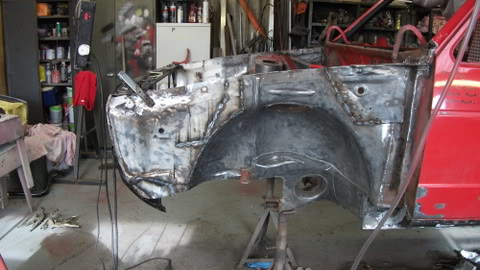
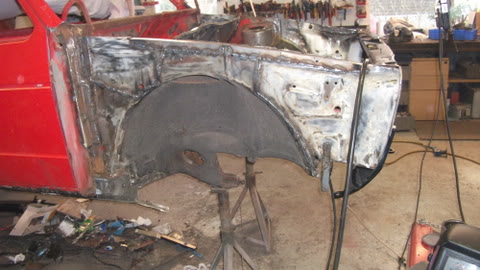
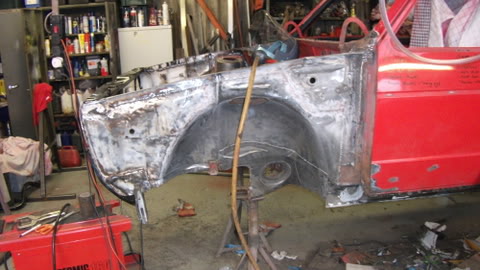
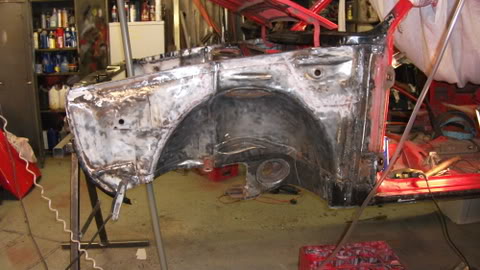
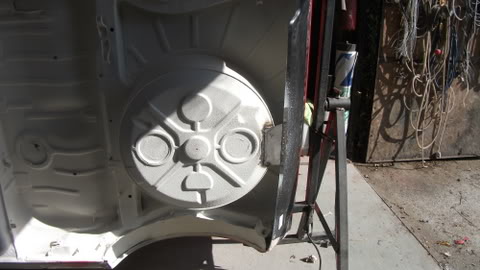
Next job was to see what lurched under the rear arches….and repair it


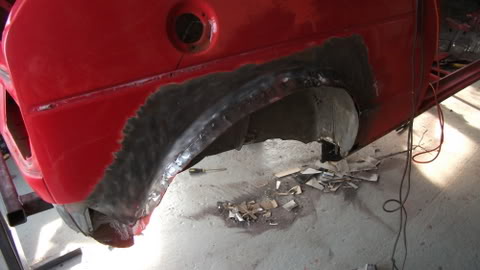

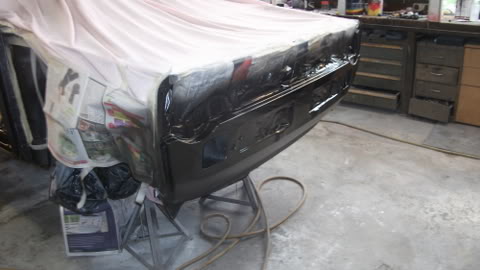
While doing the arches I fitted the rear panel too…
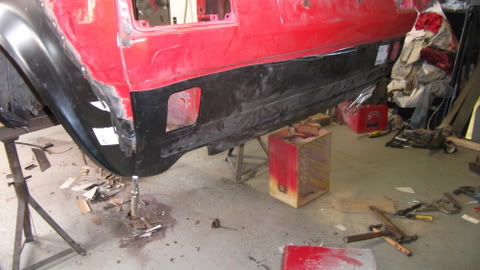
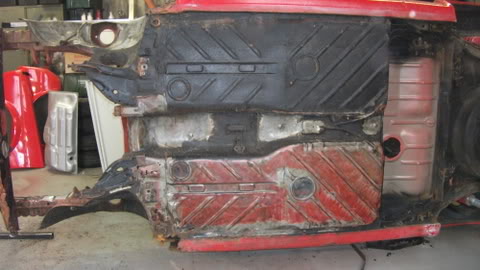
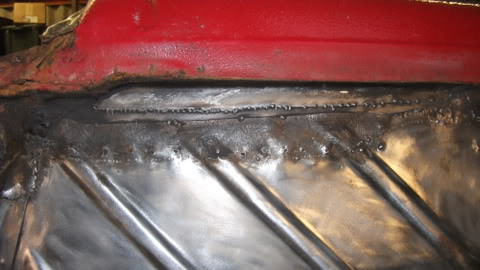
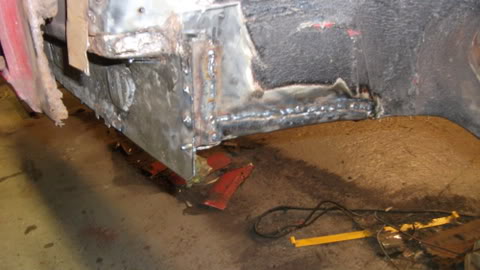
Next step was to weld all the panels that were tacked in place on and move on to etch priming the underside and seam sealering all the joints ready for stonechip.

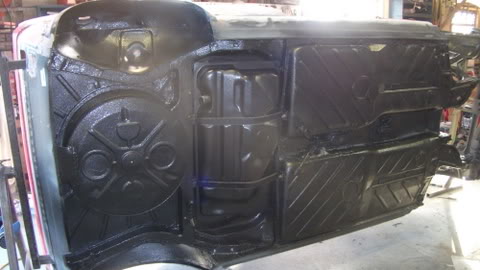
Next came about 10 tins of stonechip ( was a satisfying moment to see the underside in one colour again) Also welded the support for the rear panel on
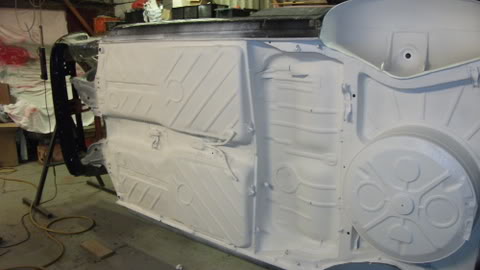

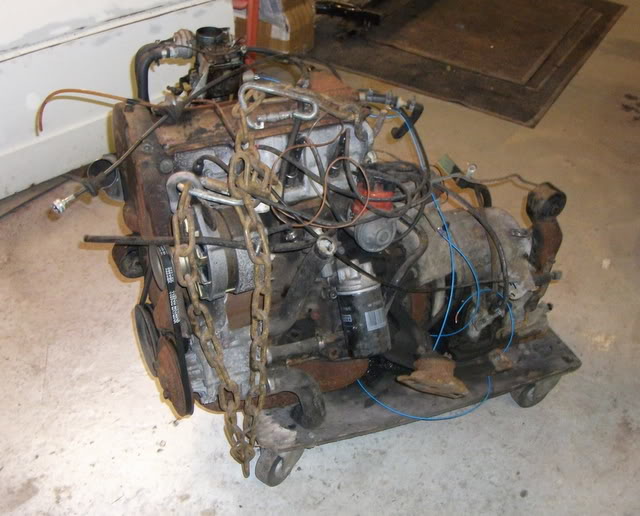
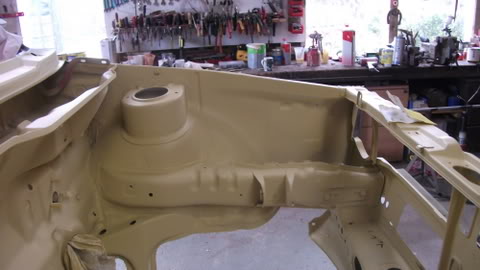
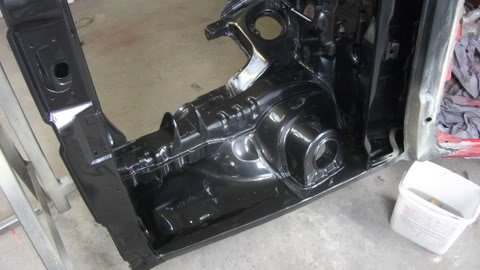
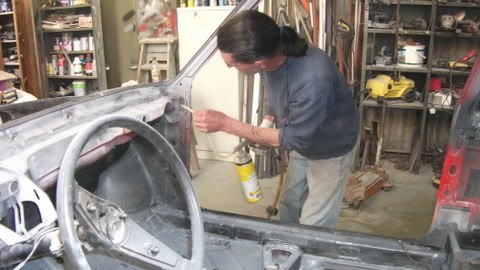
Next up I etched the engine bay, after welding any unnecessary holes and all the welds, then built it up with high build primer and 3m Reface (Spray Filler, Great stuff for a restoration)
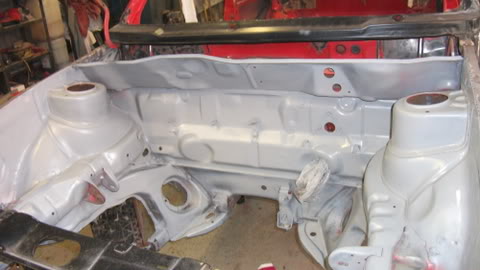


Then it was on to putting the base and lacquer on the underside.

Then the bay:

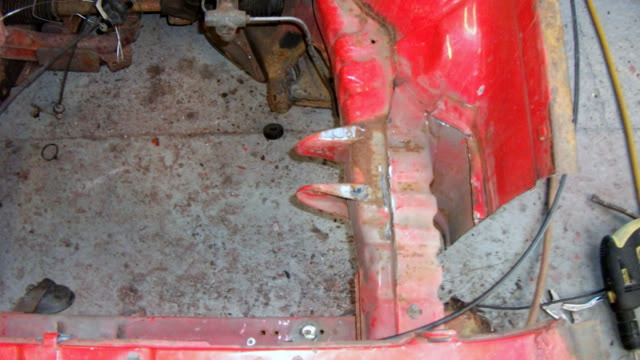
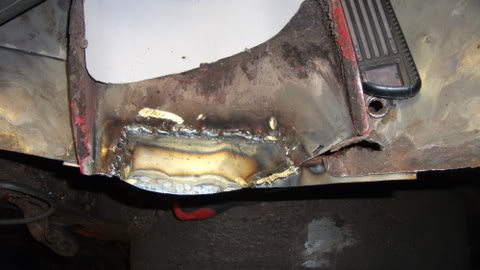
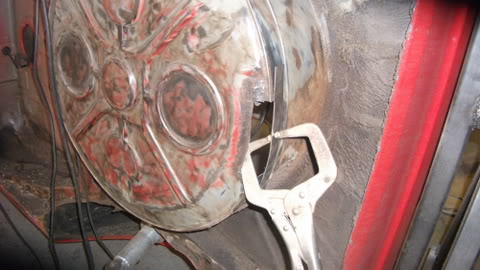
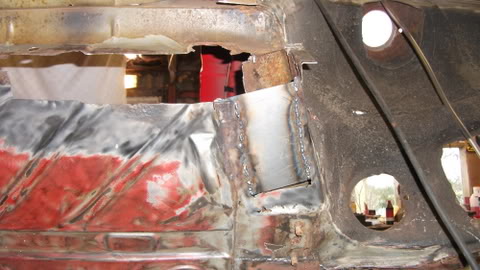
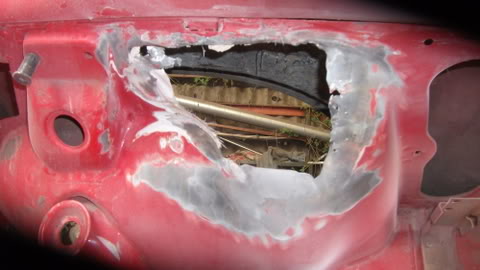
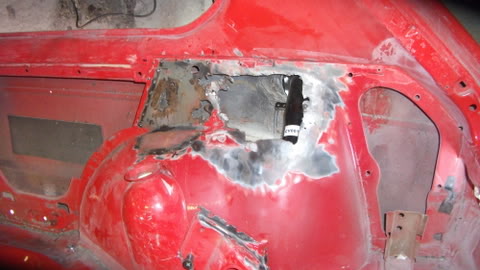
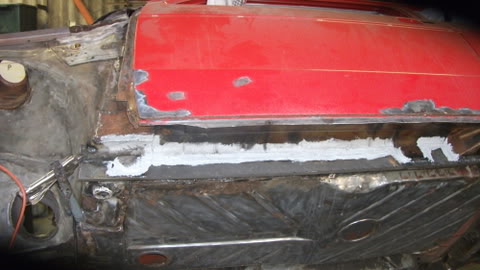
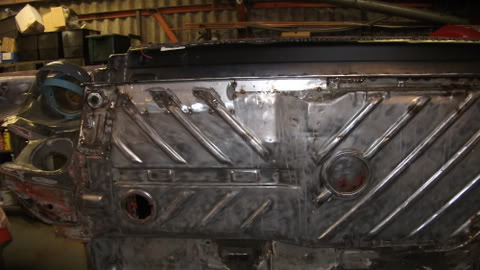
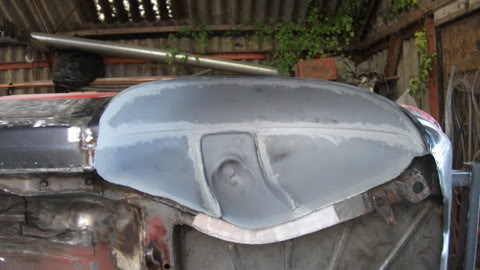
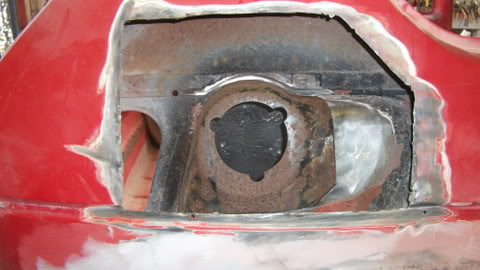
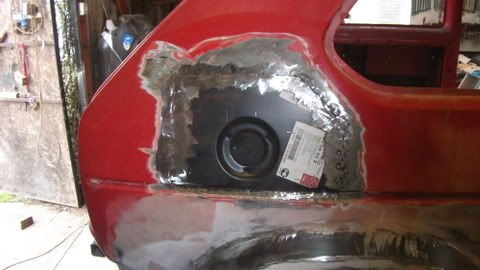
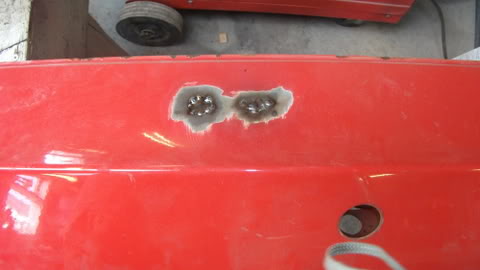
So by this stage I thought it was plan sailing, got the arches, rear panel and sills all filled and ready for primer, then started flatting down round the filler cap panel and found this…..
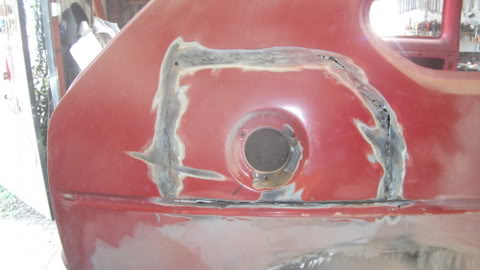

Panel wasn't even welded in on all four sides and the inner panel was repaired with fibreglass, by this point I was losing the will to live…..
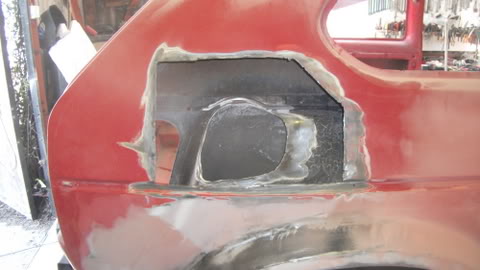
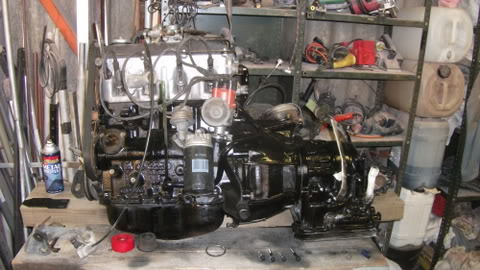
But picked up a repair panel cheap on ebay, so while it was on the way I painted the engine and box and drove to Gatwick to collect some genuine wings.
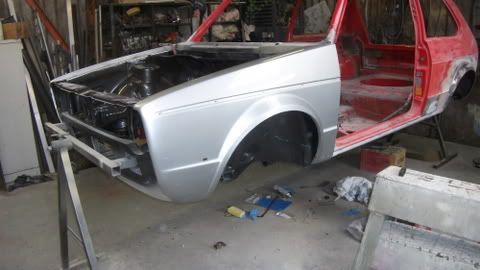
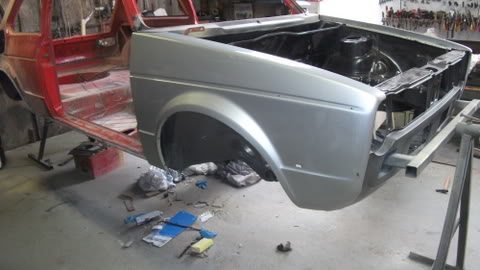
Didn't take long to get the wings to fit.
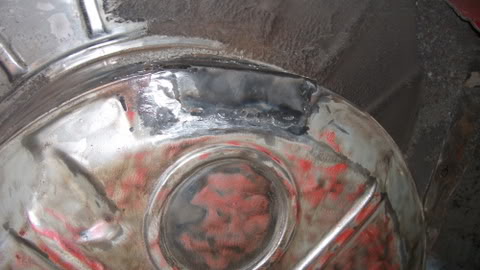
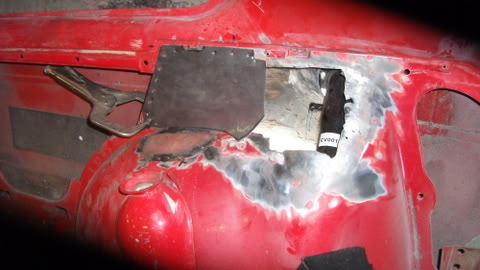
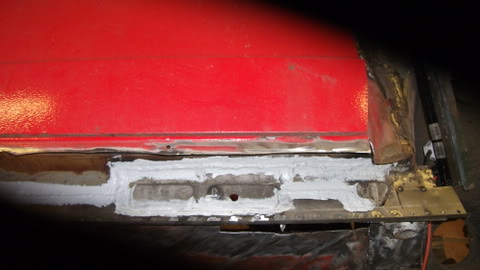
So back onto the fuel filler repair…
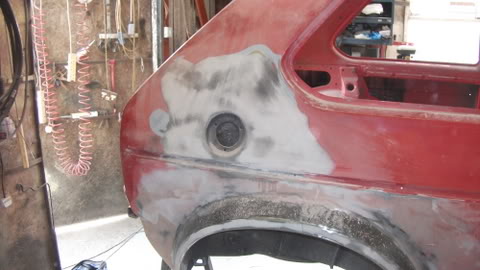
After alot of filling to get the panel to the right shape, I used reface again to fill the arches, rear panel and filler cap panel


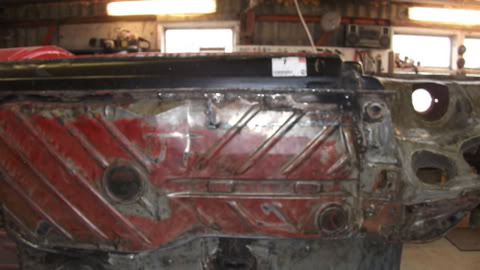
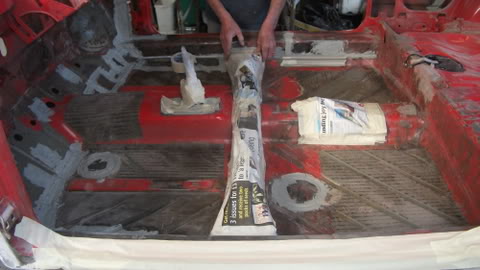
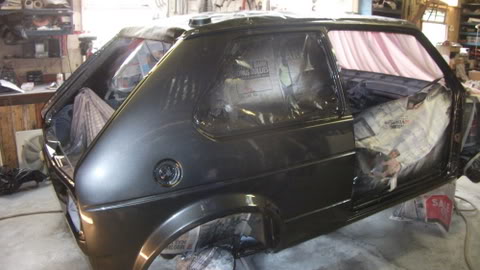
Then the inside was masked and stonechiped for sound deadening, then primed and painted.
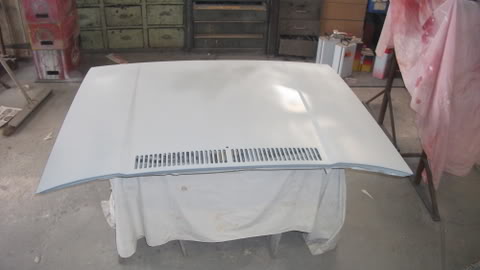
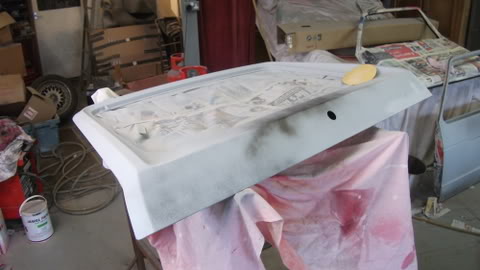
We decided to paint the roof and wiper panel while the car was still on the jig, handed over to my dad as I had never done any painting at this stage.

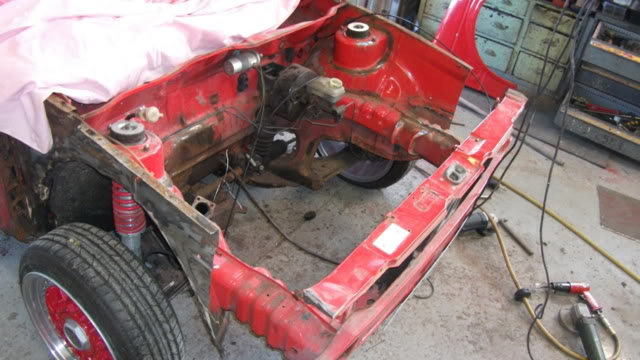
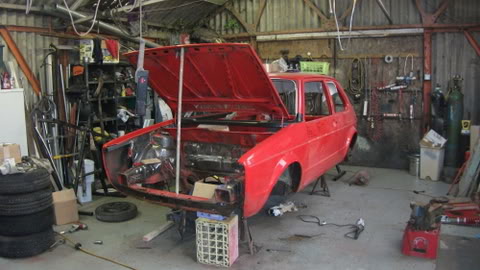
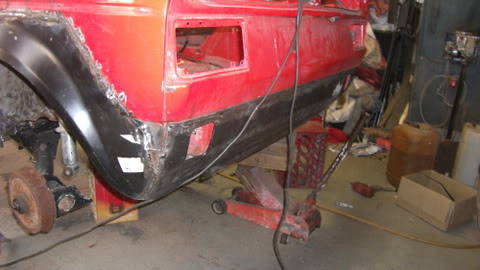
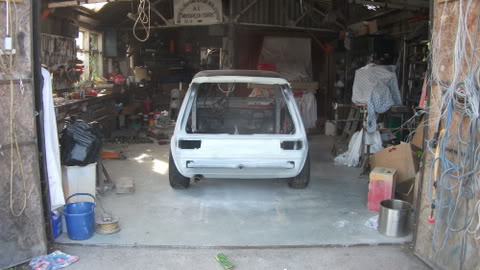
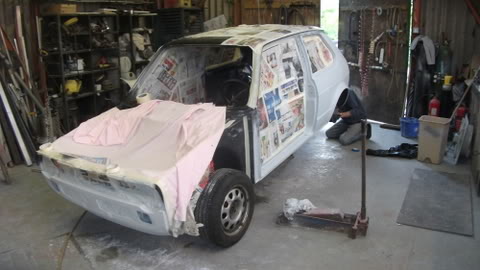
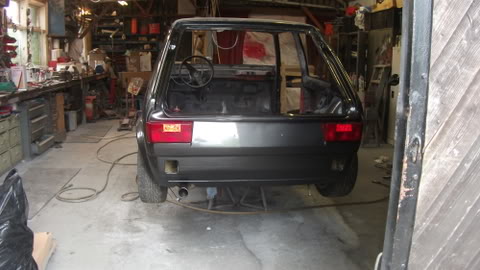
So it was now time to add the suspension and get the car back on the ground after about 3 months on the jig, was strange to see it on the floor.


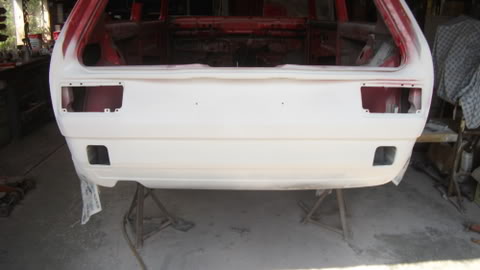
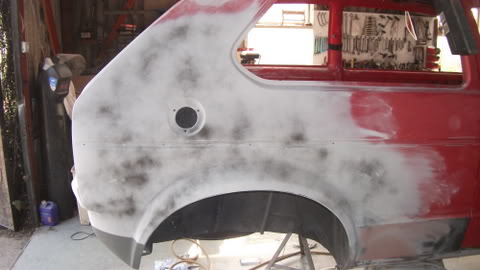
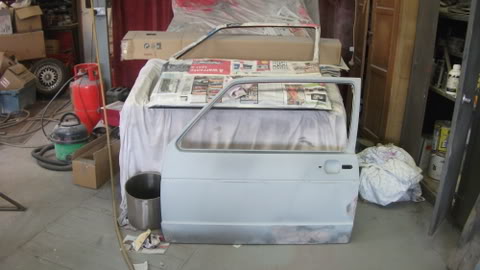
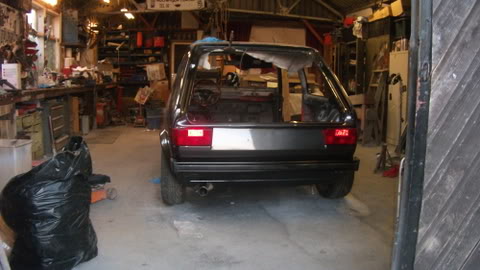
The next step was to get all the panels prepared and into primer and painted, Tailgate was dewipered and debadged the left hand side.
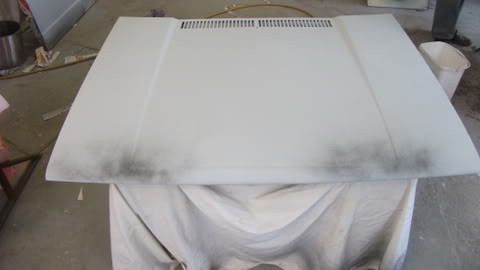
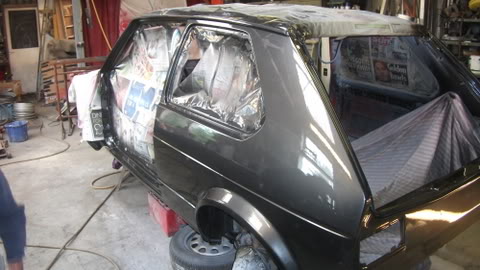
All the panels were painted, but need to re lacquer the bonnet and tailgate as there was shit in the lacquer, Problems with doing it in a dusty garage, At this stage I decided to have a go at the painting under supervision. Seeing as I'd already learnt so much doing this car

Next day Sat 14th May, we cleaned and got rid of as much dust as possible ready to flat the shell and get it into paint. Didnt start painting till about 7pm and got the final coat of laquer on by 23.30.
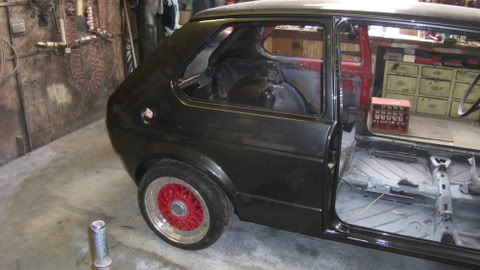
Pretty pleased with the outcome for my 1st attempt, couple of small runs but nothing that can't be flatted and polished out….

And that's what it looked like this morning when I went out to it.
So today the 1st thing we did is waxoil all the cavities on the car, to prevent any new rust setting in and to try make the car last another 34 years.
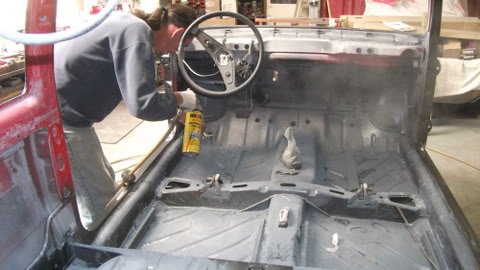
Dad in action…..waxoil is horrible stuff to work with but should look after the car.
So later on it was a nice feeling to start reassembling the car, decided to start with the head liner, but i couldn't resist putting the rear lights and bumper on.
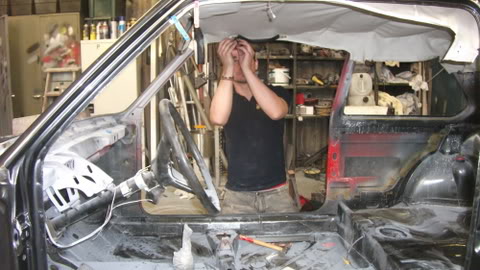
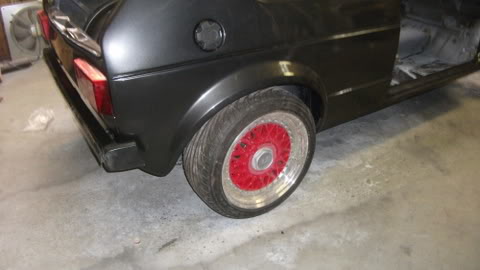

And that was the end of play today……
I now have 3 weeks to finish the car before I fly out for a summer season in Greece, so got alot of work too do yet, along with collect the a few finishing touches
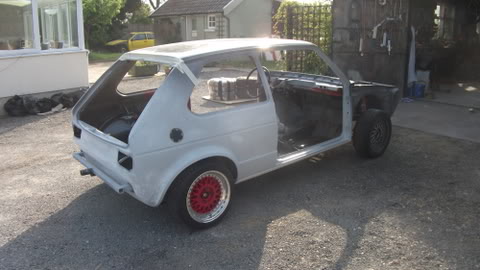
Wheels split ready for paint and refurb…

Hope you have enjoyed it so far and there will be more updates in the next 3 weeks, fingers crossed reaching completion
Oh and the colour is Volkswagen Indium Grey X3X3, metallic option on the new scirocco…..
Jack
Posted

Settled In

Mk1GTi
Rallye Golf
Mk5 GTi
Mk7 GTD
Rallye Golf
Mk5 GTi
Mk7 GTD
Posted
Settling In
Posted
Settled In
Mk1GTi
Rallye Golf
Mk5 GTi
Mk7 GTD
Rallye Golf
Mk5 GTi
Mk7 GTD
Posted
Settling In
Posted
Settled In
Posted
Settled In
amazed how quikley you did the resto. very jelouse of how much space you have to work in. my garage is small haha. keep up the good work. will look spot on when finished.
mk1 golf - resto
mk3 polo breadie - daily banger
mk3 polo breadie - daily banger
Posted
Settling In
0 guests and 0 members have just viewed this: None.