


project lead foot - resto underway!!

Posted
#1069959
(In Topic #127975)
Settled In

project lead foot - resto underway!!
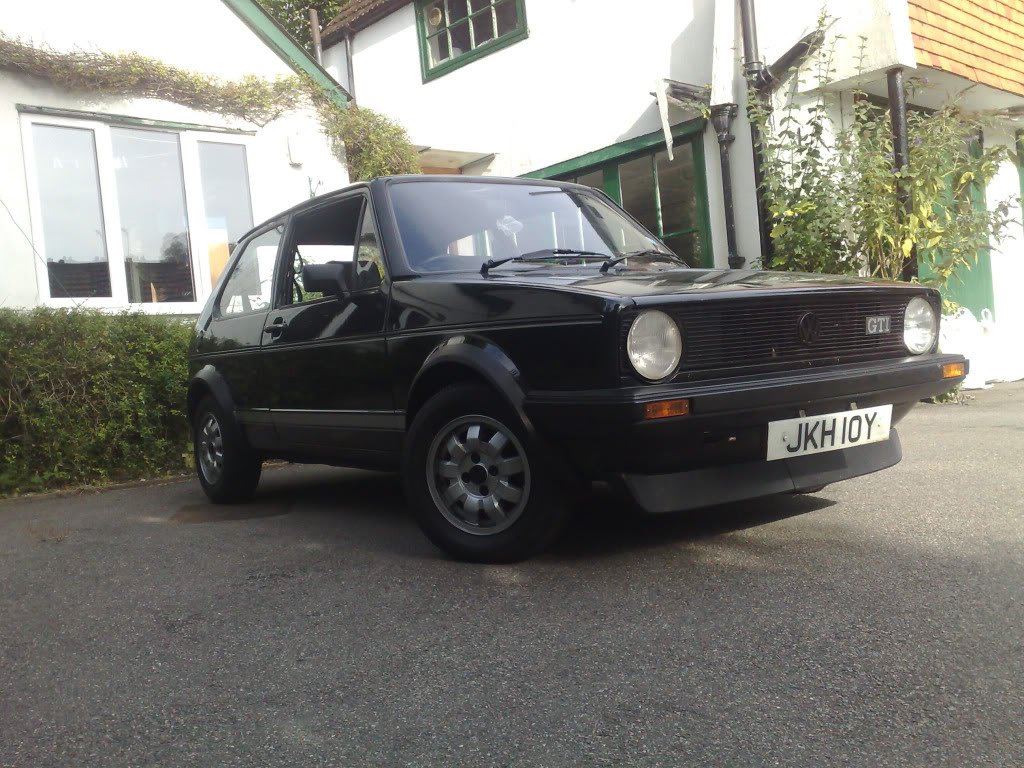
when in bought my golf last July it was completely standard and i knew from the first day i had it that it was guna be an adventure but never realised how many ups and downs these old gems can bring! it started on the 5 hour drive home with it that it all began when i stopped to fill the tank up at services it didn't want to start again and i had to be bumped to get going. then the throttle cable fell out of the pedal due to a worn bush.and so it began…….
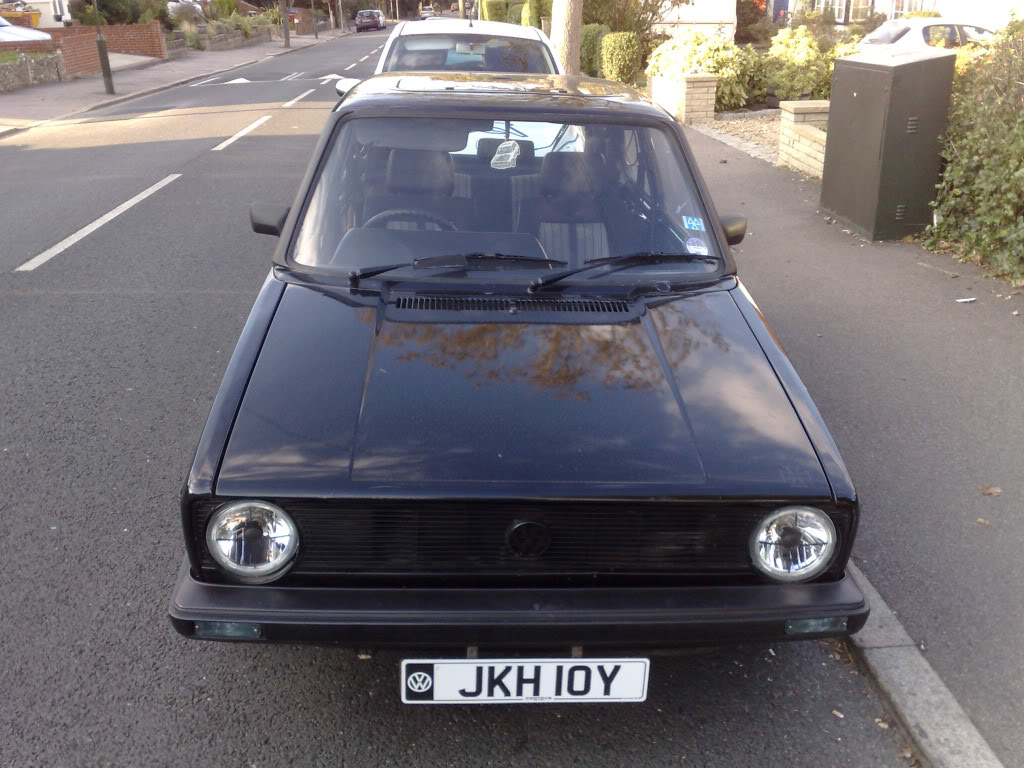
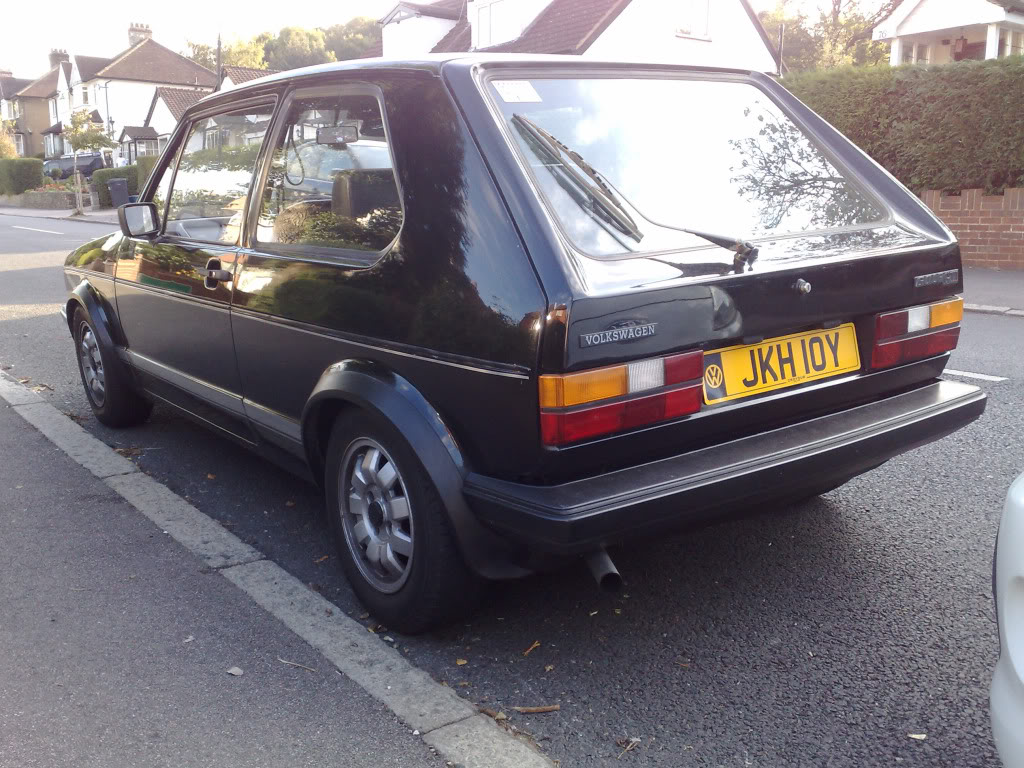
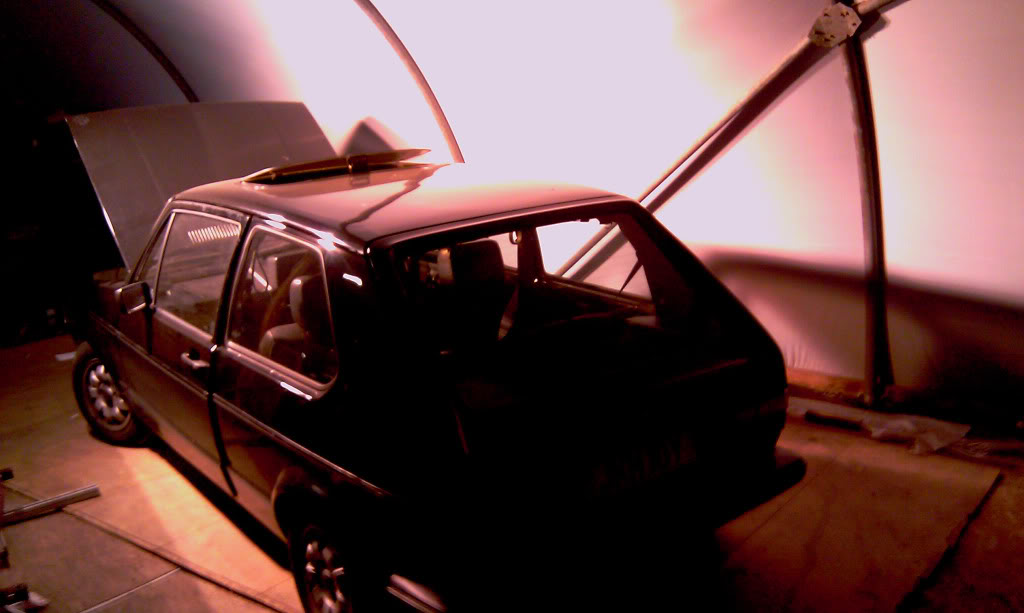
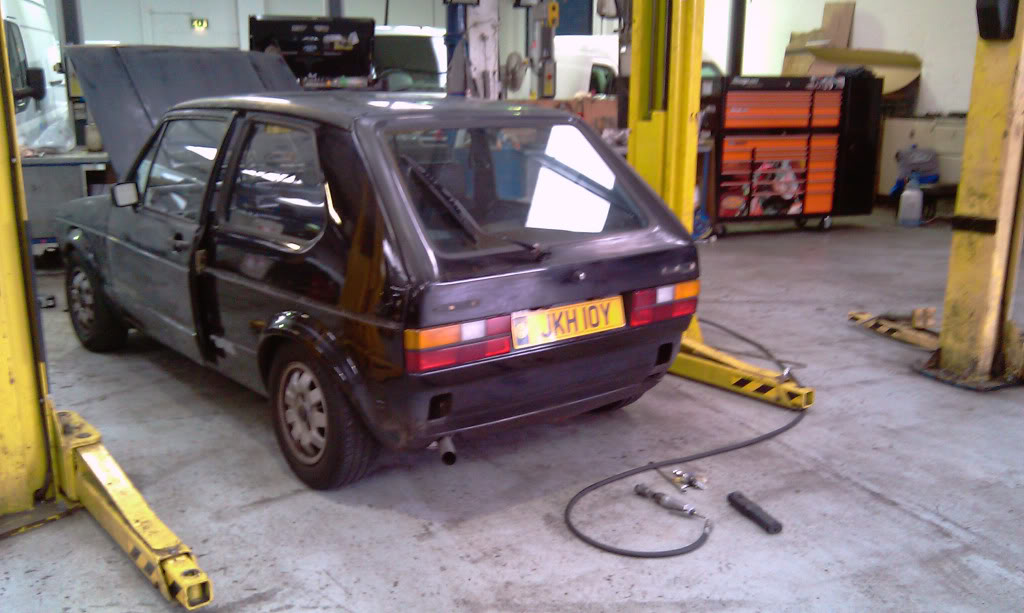
heres how she looked when i got her home. completely standard an sitting waaaaaay too high for my liking but nice and shiney and in fairly good nick i thort

the next day i realized that she wont start when hot and you'll have to wait at least 2 hours to cool down before starting again. this fault plagued me for ages whilst i tried to work out the problem. me an the guys at my work (ford commercial service) tried everything we knew to solve the problem.
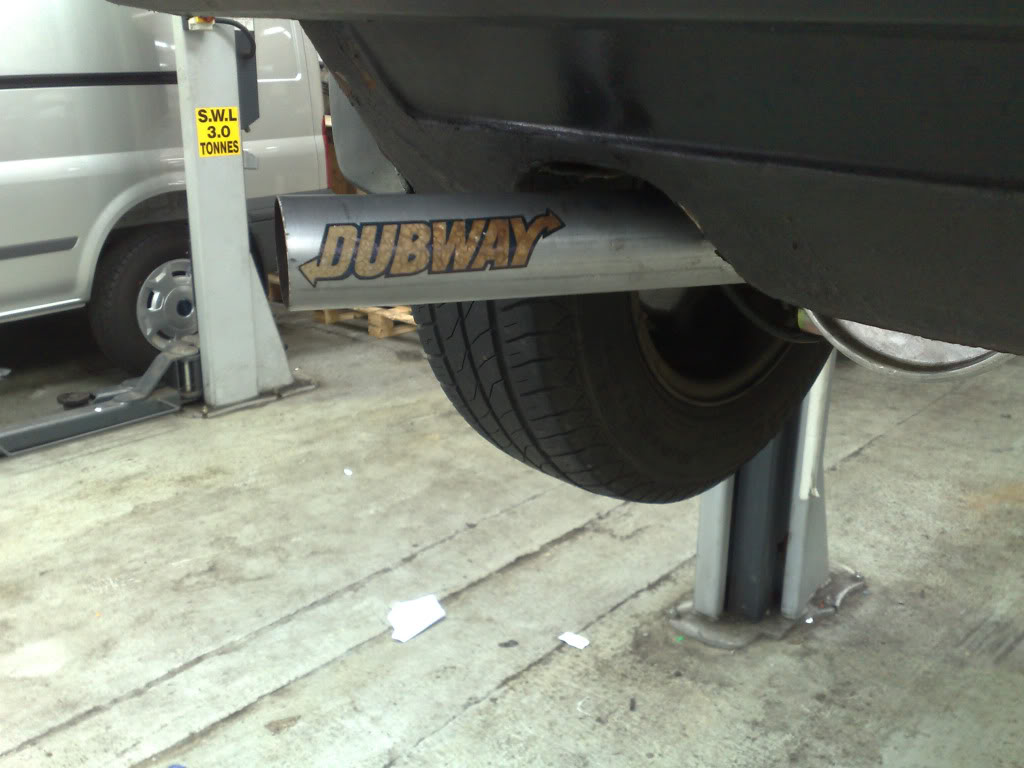
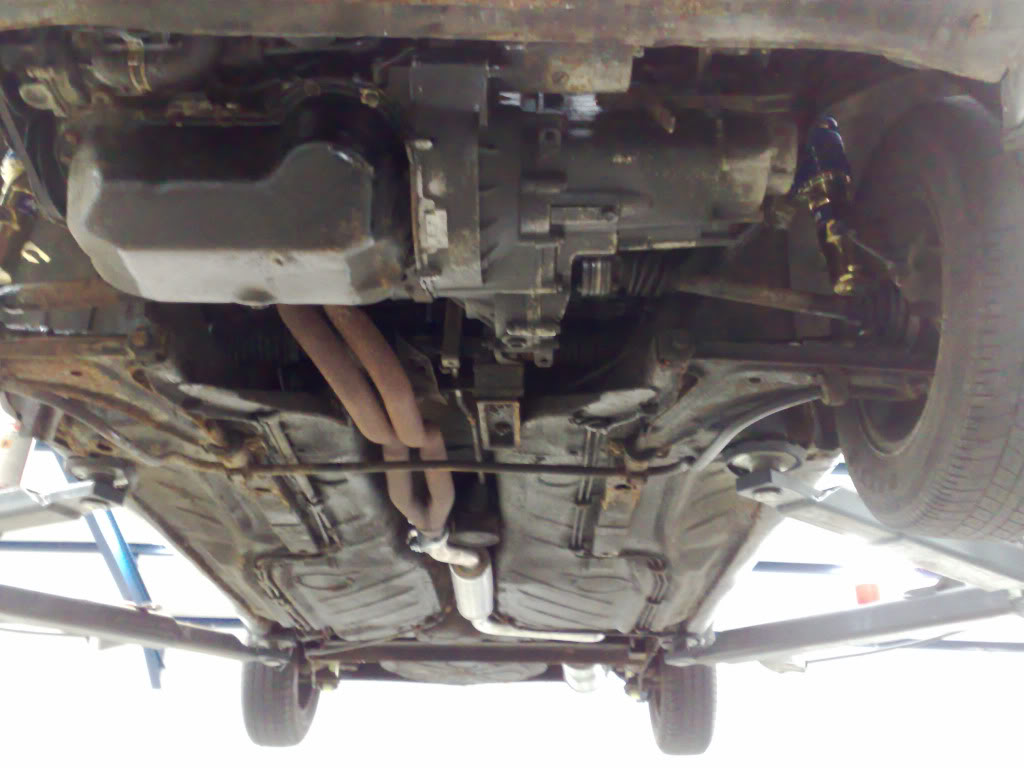
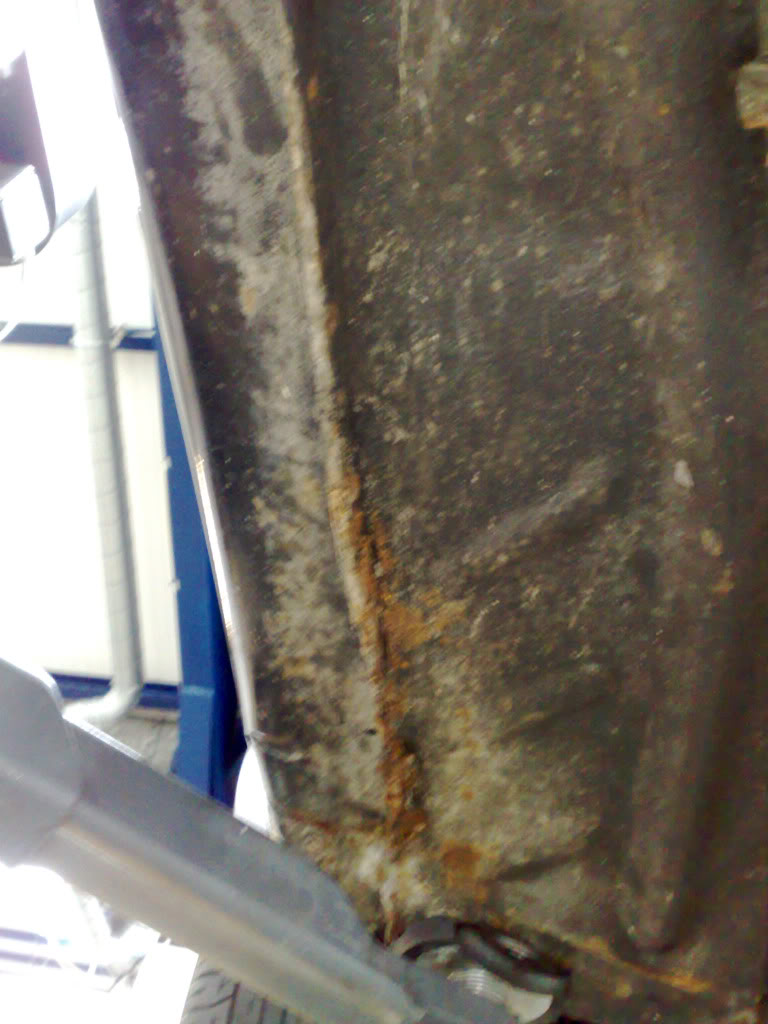
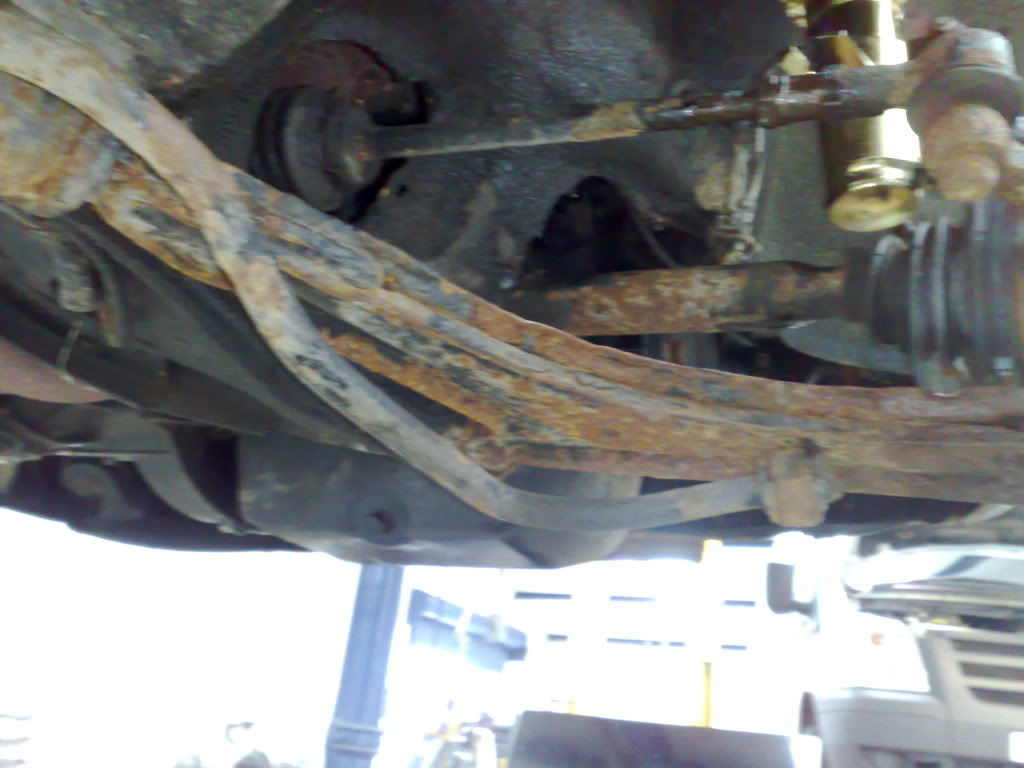
these are sum piks of her up on a ramp for 1st inspection and to fit sum nice shiney new fk sport edition pro coilies with adjustable bump and rbound settings.
rusty sills are never a good sign.
took off all the arch trims and there was no rot. result.
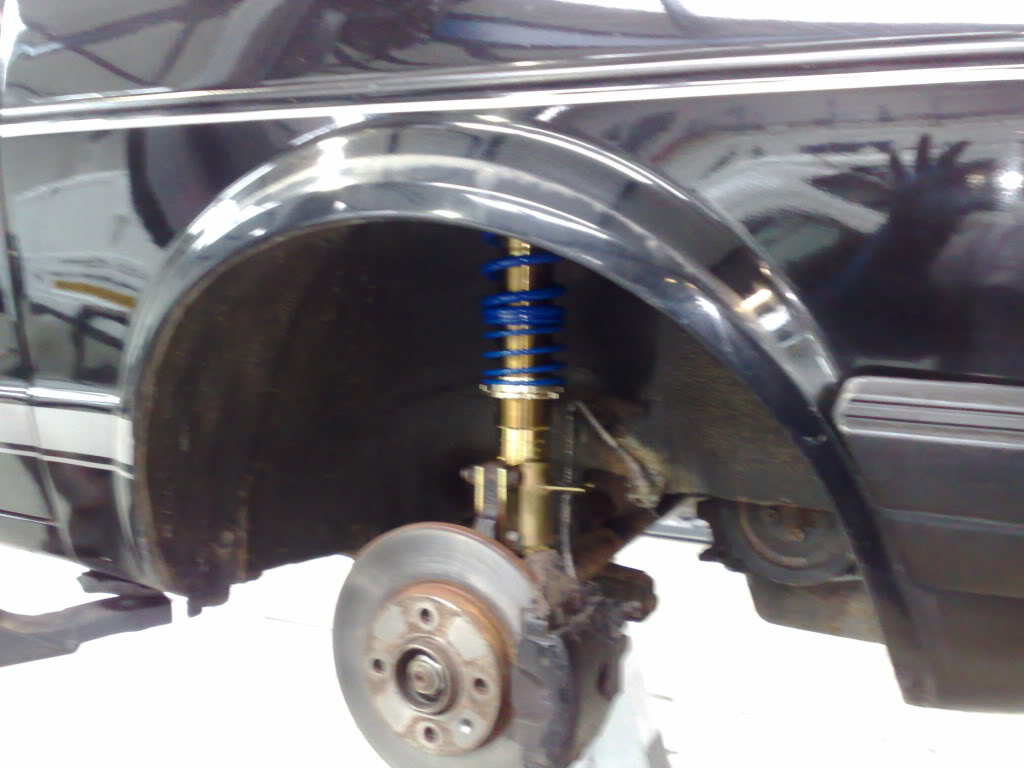
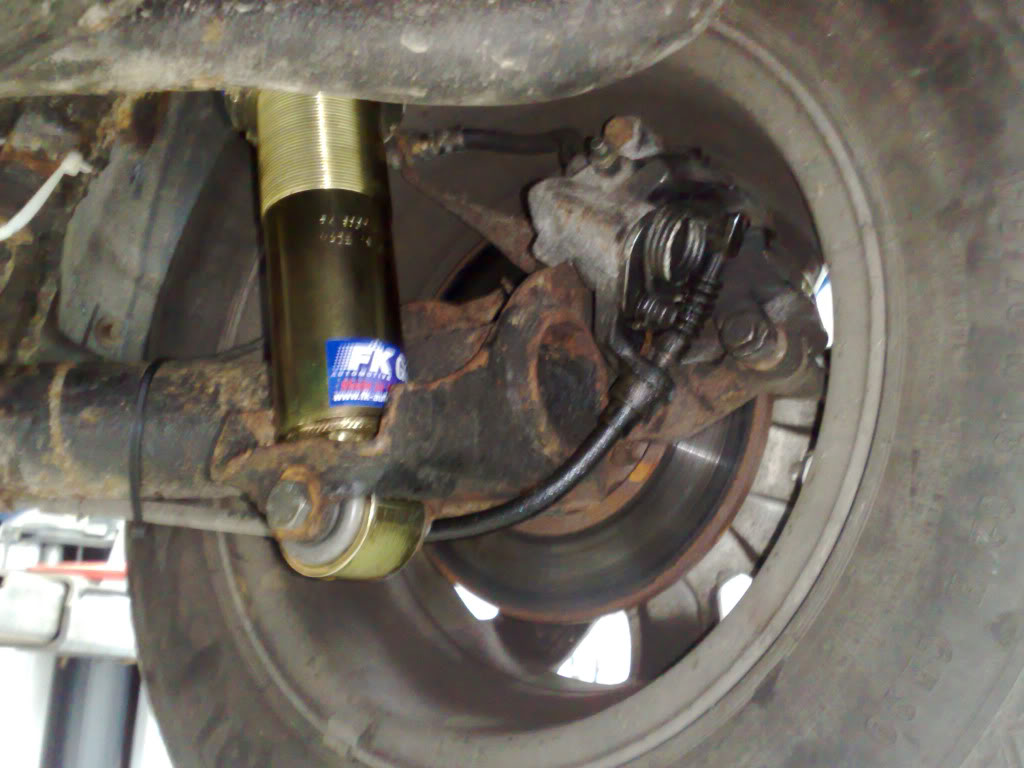
rear coilie with rear disc conversion
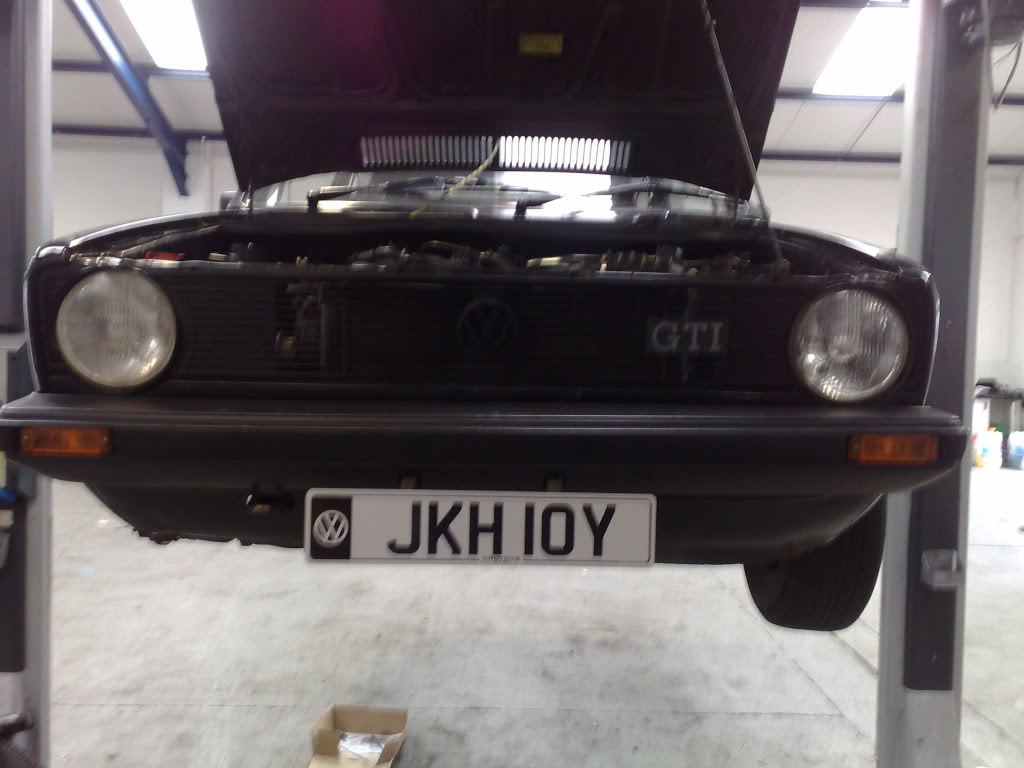
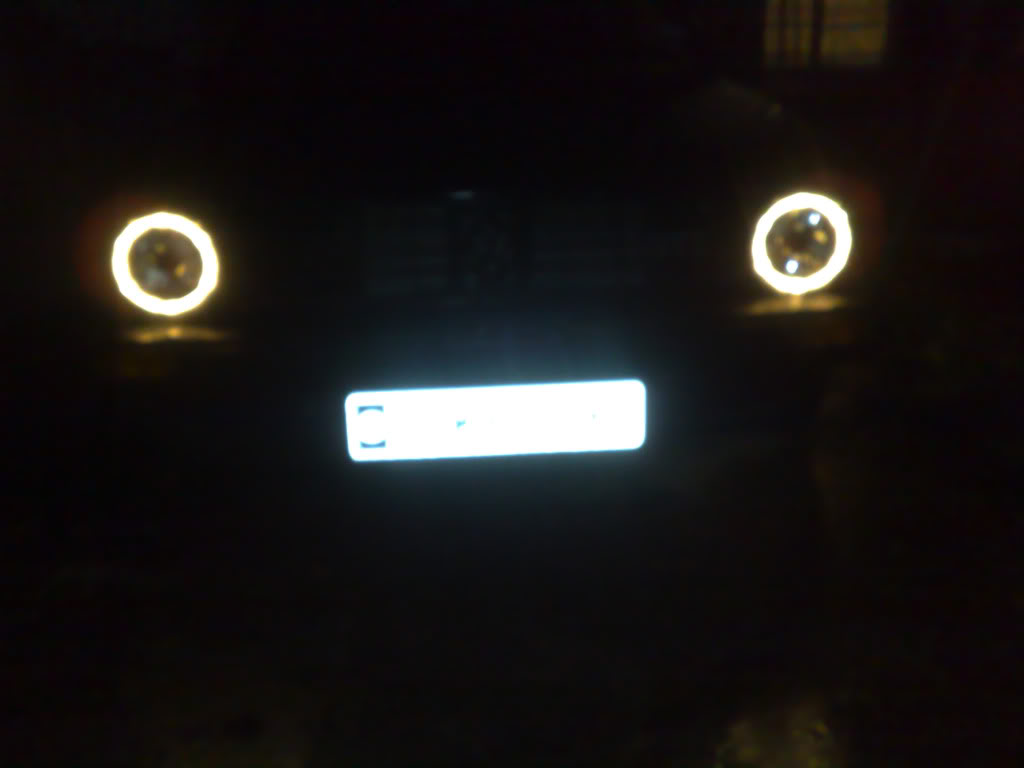
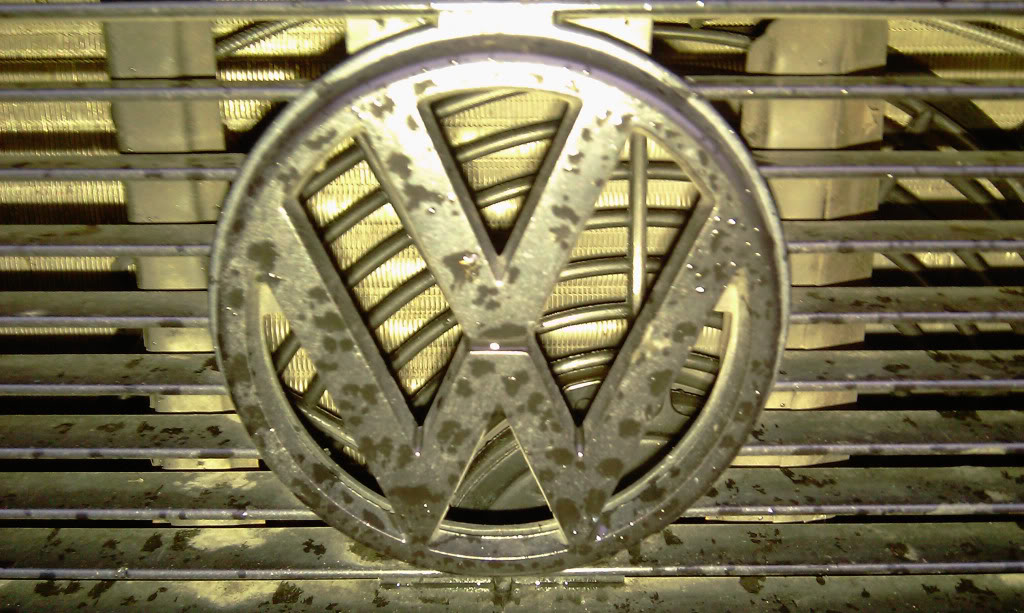
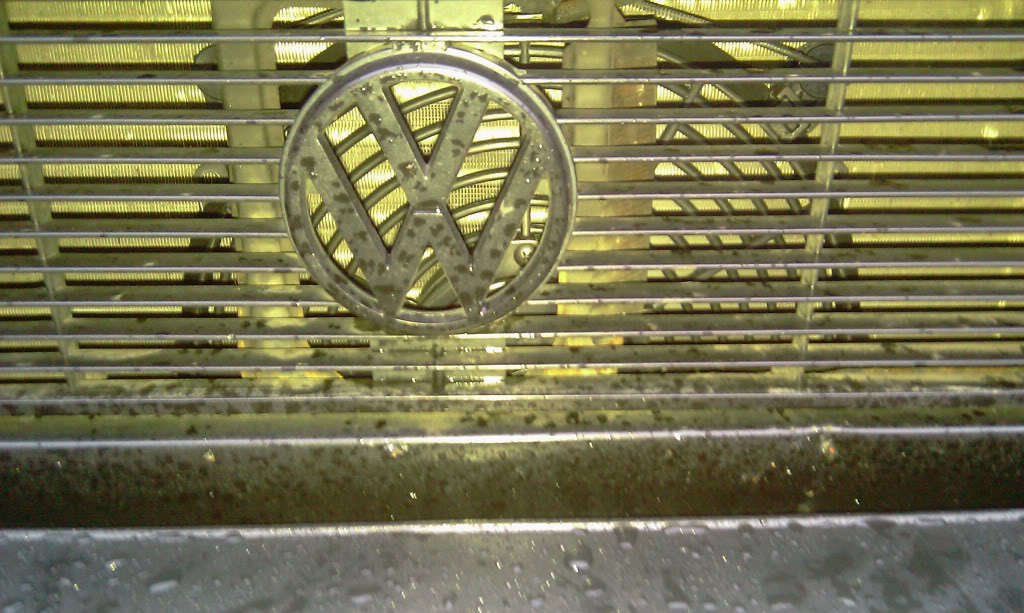
i didnt like the look of the front end as the lights were a bit 80s for my liking so i got sum angels eye crossed hair headlights and sum smoked front indicators to blend in with the bumper. this is how i left it looking for a wile with the lights an lowered. i also changed the number plates that i made up at work with a vw emblem on. stuck them on instead of screwed as it looks tidier.

i changed so many bits tryin to narrow down the problem with the not starting when hot!it was proper gettin on my tits!, coil, dizzy cap an arm, starter, leads, plugs,. after a wile i had enough an took it to a mechanic that had too many years experience workin on k-jet systems an he tuned it for me as it was runnin extremely lean. my god did it fly after that tunein but fault still persisted. we then got the pressure gauge on an the warm up regulator wasnt workin properly, replaced that but it still wouldnt go. in the end it turned out to be loosing fuel pressure in the main fuel feed line from the pump an we put it down to the non return valve inn the pump. so i purchased a new pump and found out that sum retard had just put a banjo bolt in the fuel pump line so there never was a non return valve.how annoying.problem solved.
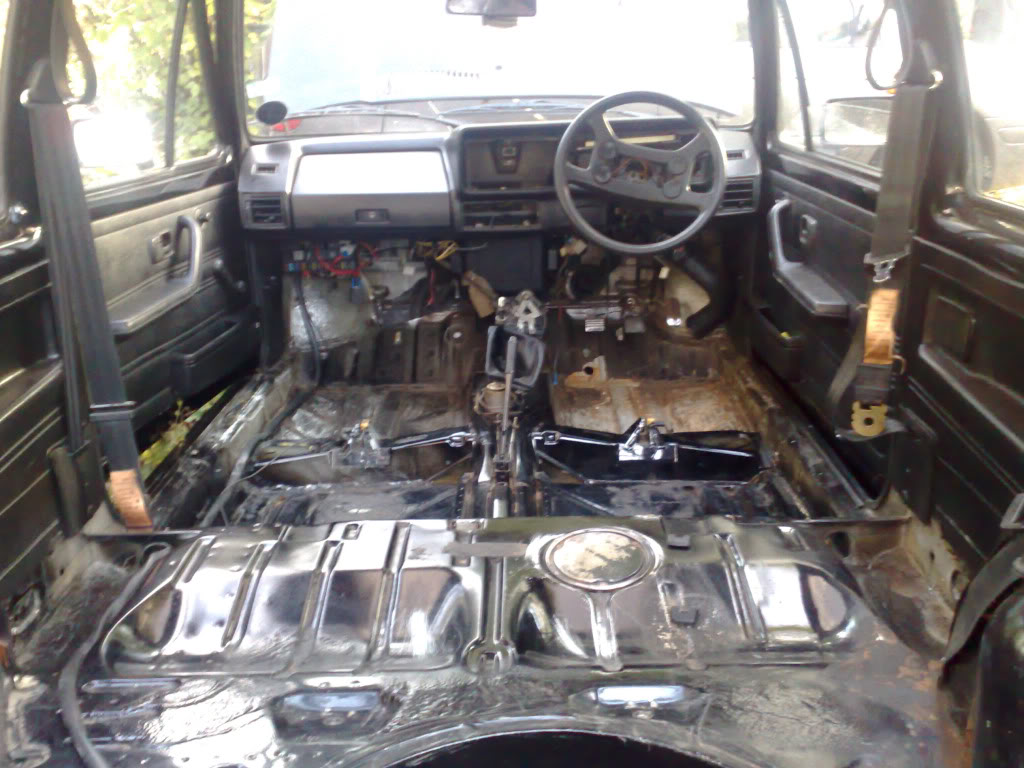
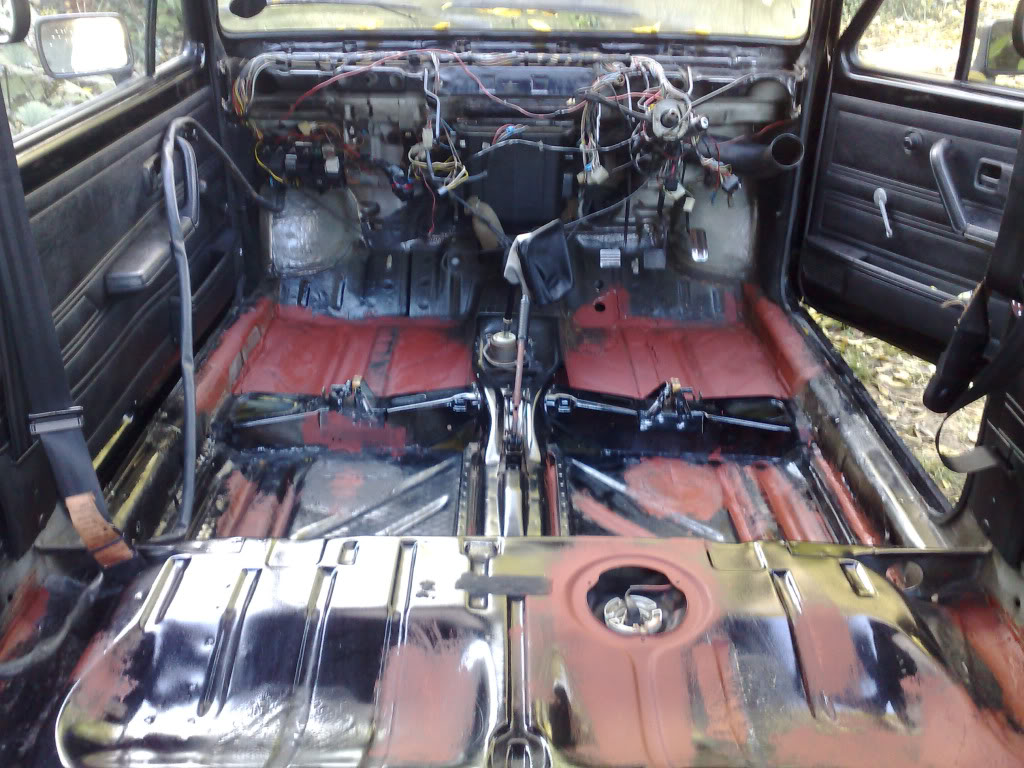
as bought the car in the summer and the weather was quite nice i didn't know how many water leaks there was until it started to rain everyweek. i only found out when i found a puddle in the rear foot wells .oh dear!!! i had water coming in everywhere. the sunroof, behind the dash, the doors,the windscreens, windows and the boot was one big puddle. so i stripped all the interior out and started to do water tests to locate exactly where they were coming in!
everything but the dash out
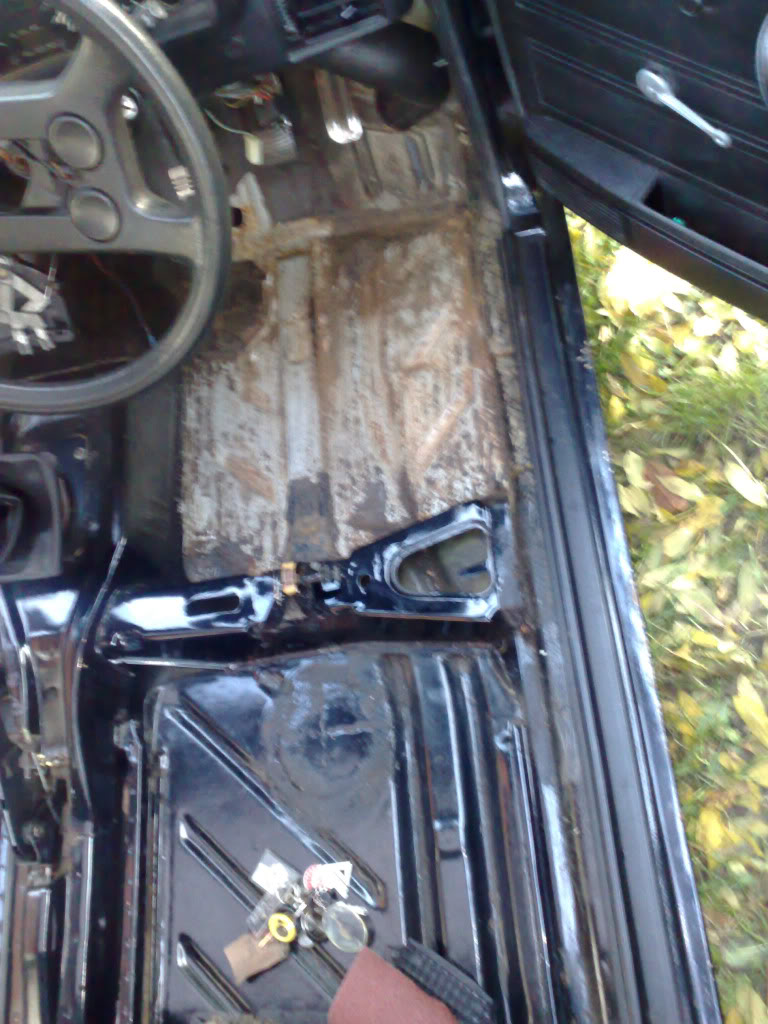
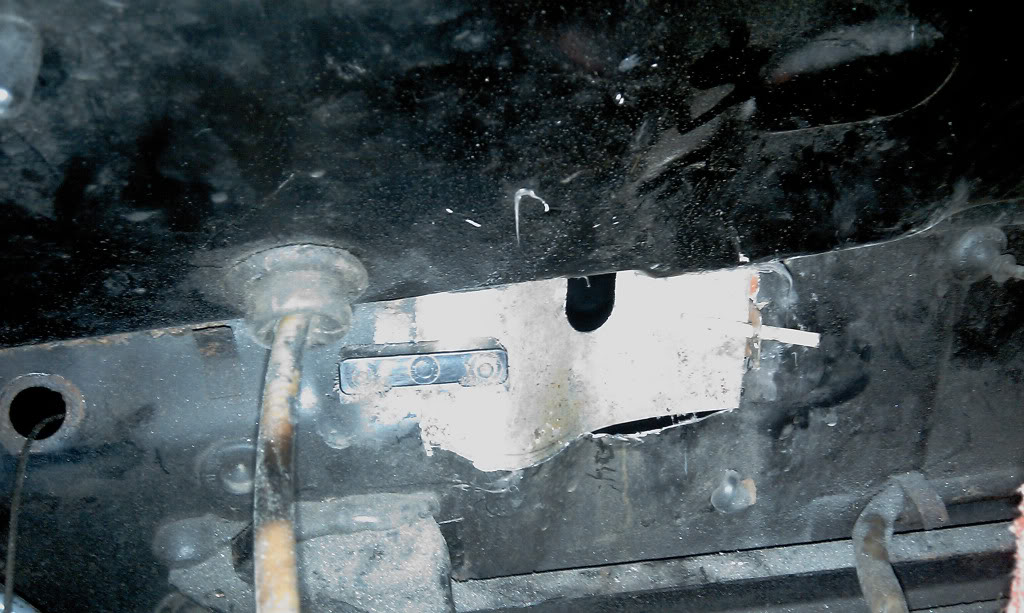
in the process i had to hack the original sound proofin out and i uncored a hole in the floor.
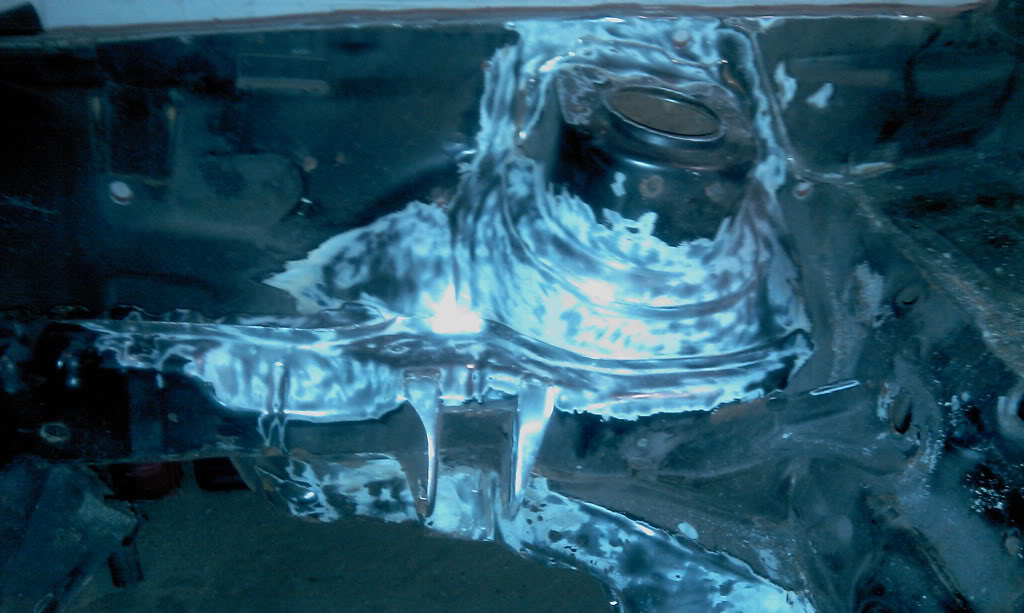
so we welded a plate in for the meantime as i ddnt want to be cuttin at that chassis rail.
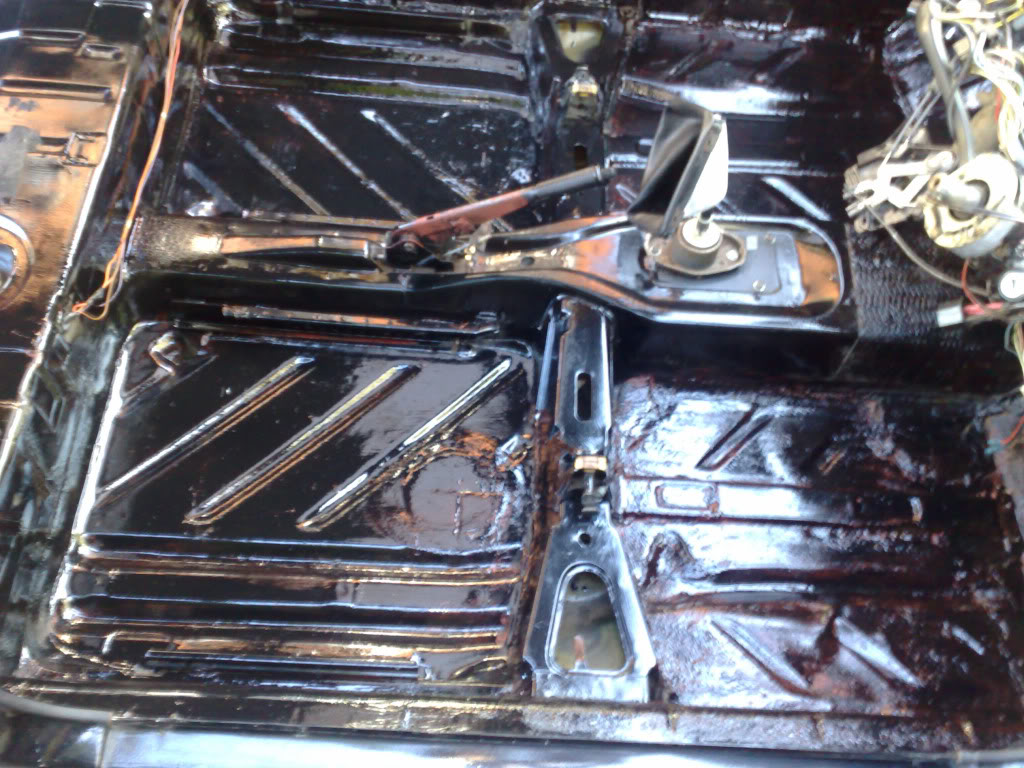
then i gave the floor a lik o paint in sum red oxide tostop any more rust and then a top coat of hammerite black
i wired this cheeky lil bugger in to stop chavs from trying to steal my car haha.cant run a car without a fuel pump!lol.
put everything back together bur the boot jus kept leaking water in.resealed everything an still leaking. it was coming in through the rubber grommet for the boot electrics wiring. doh. more sealant. no more leaky boot!
then about a month before Christmas about a week before it started snowing i broke down.just cut out and wouldn't start again. left the car a few miles from my house an went back a couple o hours later and it started.waahay. got 2 miles an it cut out. then 1 mile and it cut out. then half a mile, the 100 meters. then nothing……
something was causing my engine to cut out. it took me ages to work out what the problem was a si could only work on the car for half hour ata time. only so long u can spend in the dark and snow before u cant feel your hands enough to work!
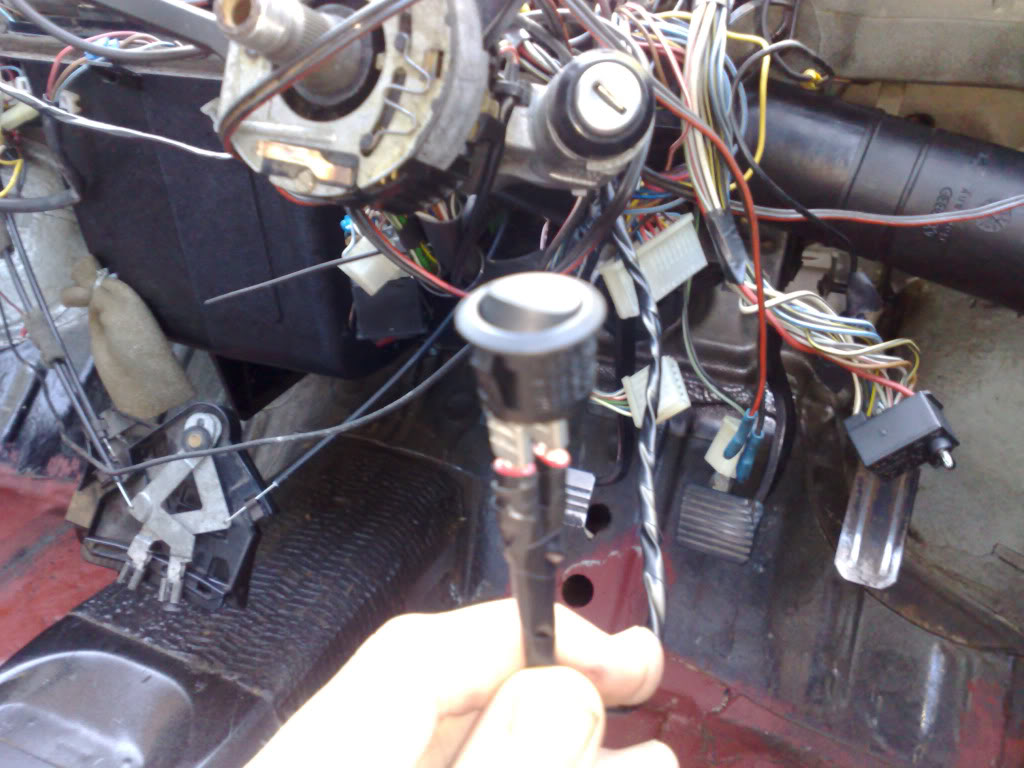
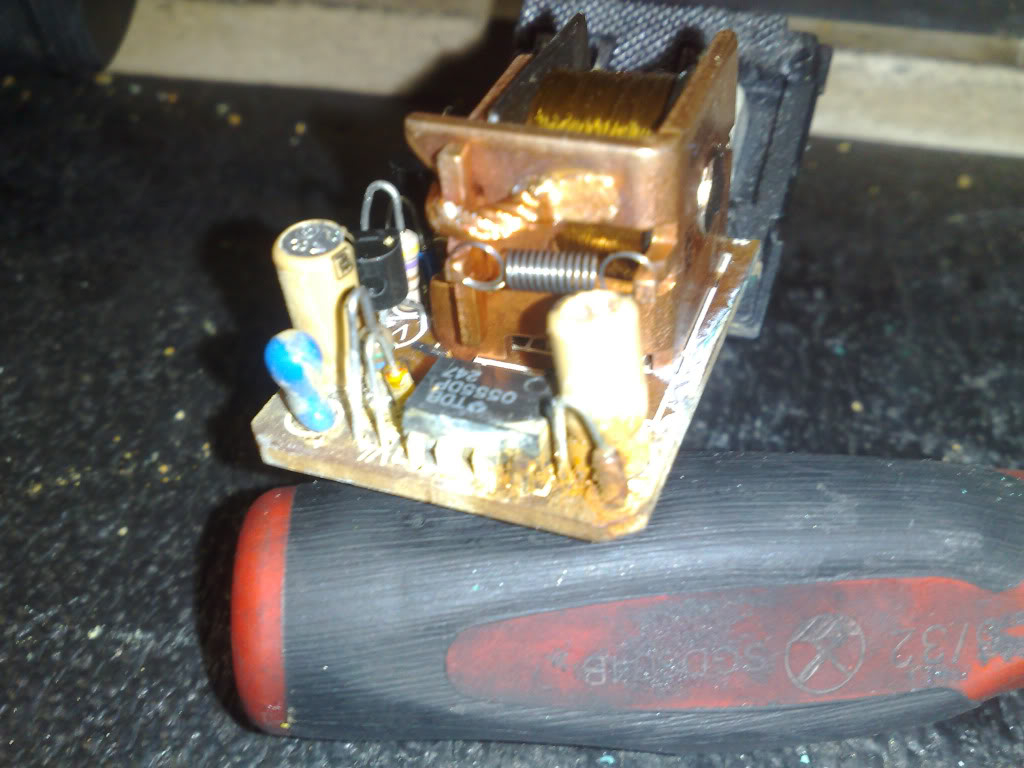
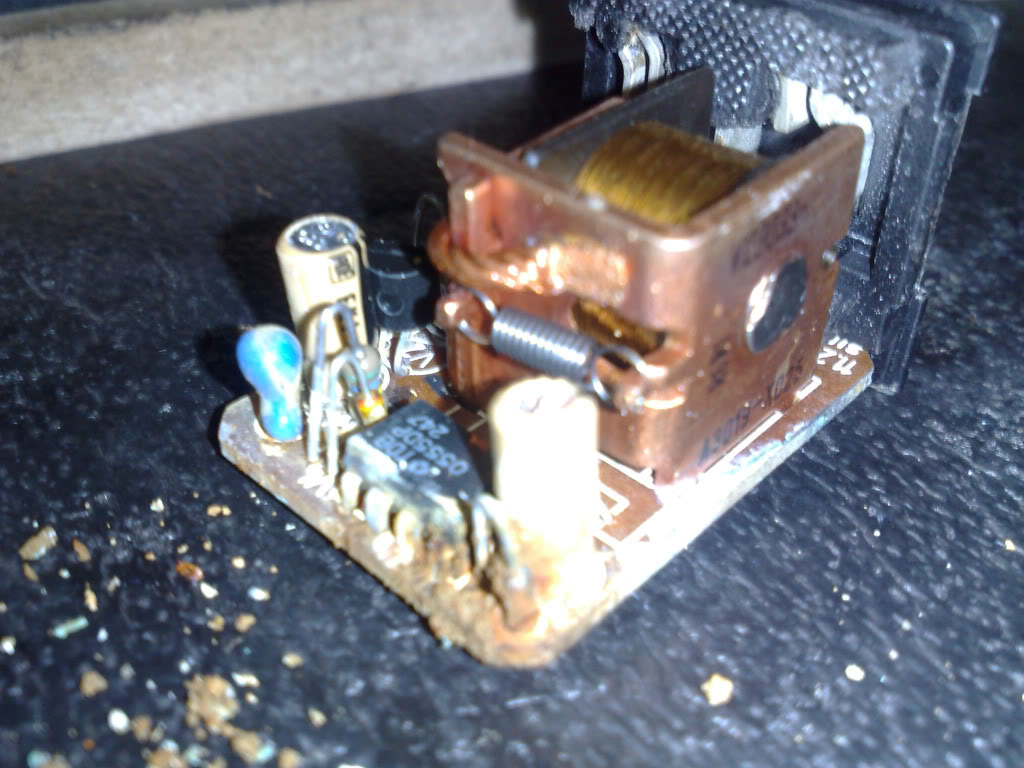
i carried out checks on the ignition system and stumbled across a dodgey lookin connector on the back of the fusebox that was black and melted. hello!! it was the ignition coil feed to the fuse box which the fuel pump needs to run. bad connection of this pin=cutting out of fuel pump and no car.
pulled off all the rest o the connectors to find a nice whites crust in them.water ingress! pulled open the fuse box to see something i didn't wana see!
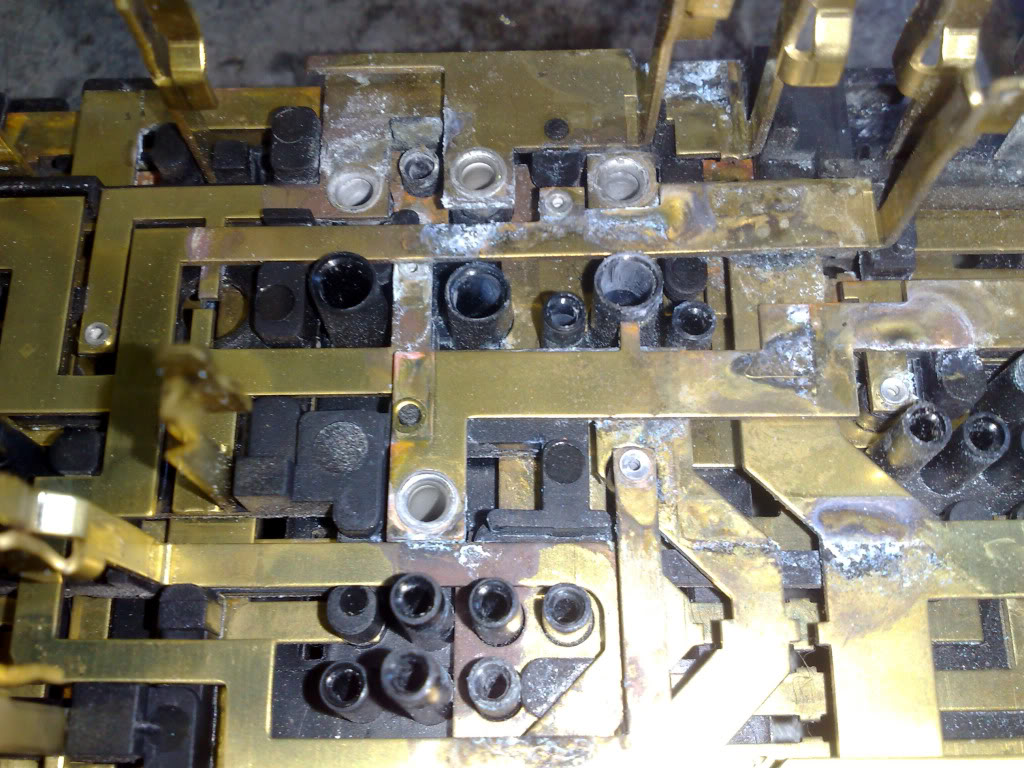
very crusty as you can see.this is the offending pin that caused me to have to get the bus to work in the snow for a month!
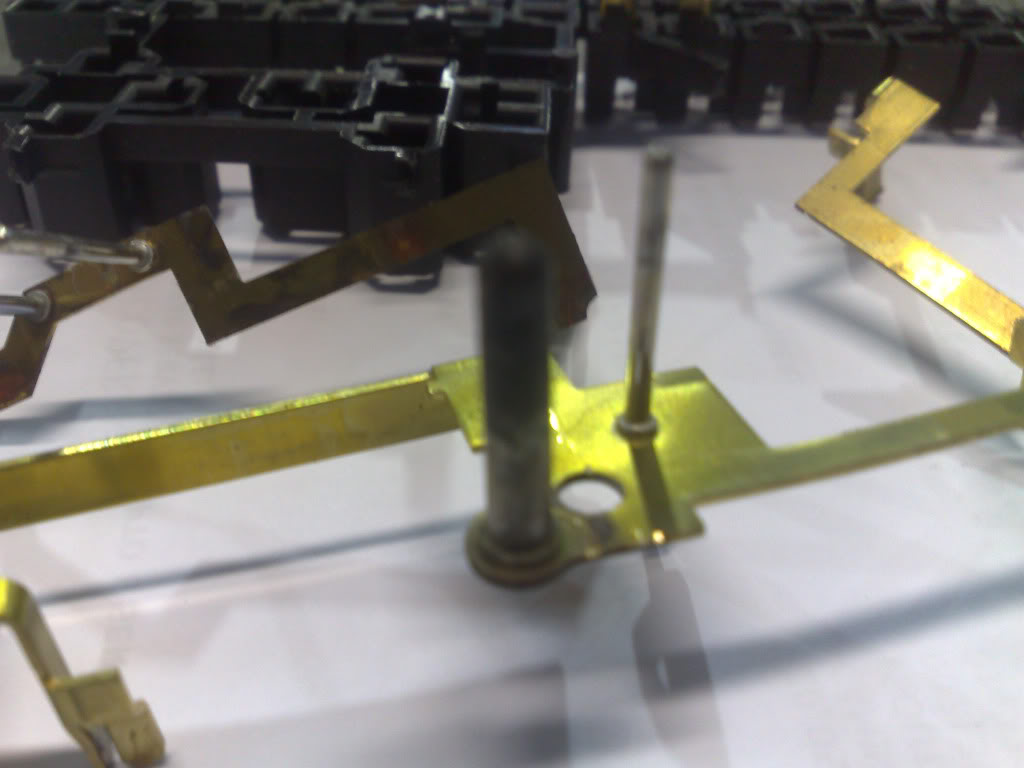
not what the inside of a fuel pump relay is supposed to look like
it turns out that all the water i had coming in from behind the dash was gettin in my fuse box. so i orderd a new 1 from crazyquiffs an it came xmas eve. how many people can say they spent there xmas day mornin working on their car to get the bugger started. just me. thats what i thought lol.
bad thing was it wouldn't start unless i bridged the fuel pump.more wiring checks later reveiled that some utter moron had been at the dash wiring before me and made a hell of a mess of it. that previous fusebox had prob been causing problems before i owned the vehicle so joe bloggs took feeds an earths from where ever they could find em. so the dash came out…..again….. an i had to sit there with a wiring diagram from my haynes manual and go through almost every wire and rewire incorrect wires. and finally it worked again and i had a car again. just as the snow thawed out.!
a tip for cleaning ur connectors on your fuse box is that electrical contact cleaner spray and those tiny lil brushes that u use to clean between ur dentures/teeth. there like the shape of pipe cleaner rushes but really small and work a treat.get all the crud out.
i bought this from a dude in Australia to put in my rear screen but havent fitted it yet.its pretty big haha

So after fixing my dash wireing and makin the car run i thought i should see why that number plate light has never worked…….
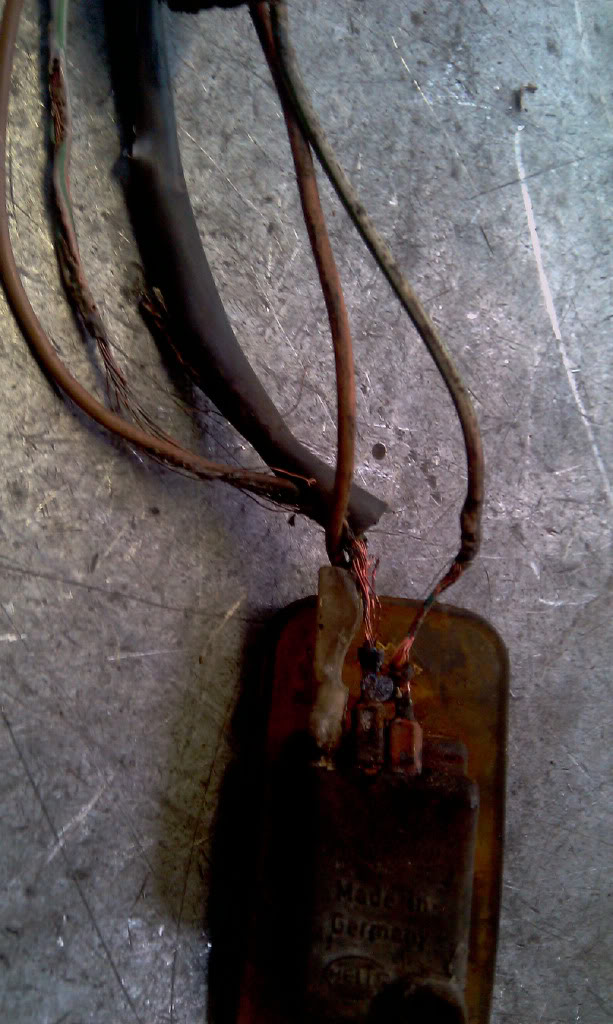
thats why hahah
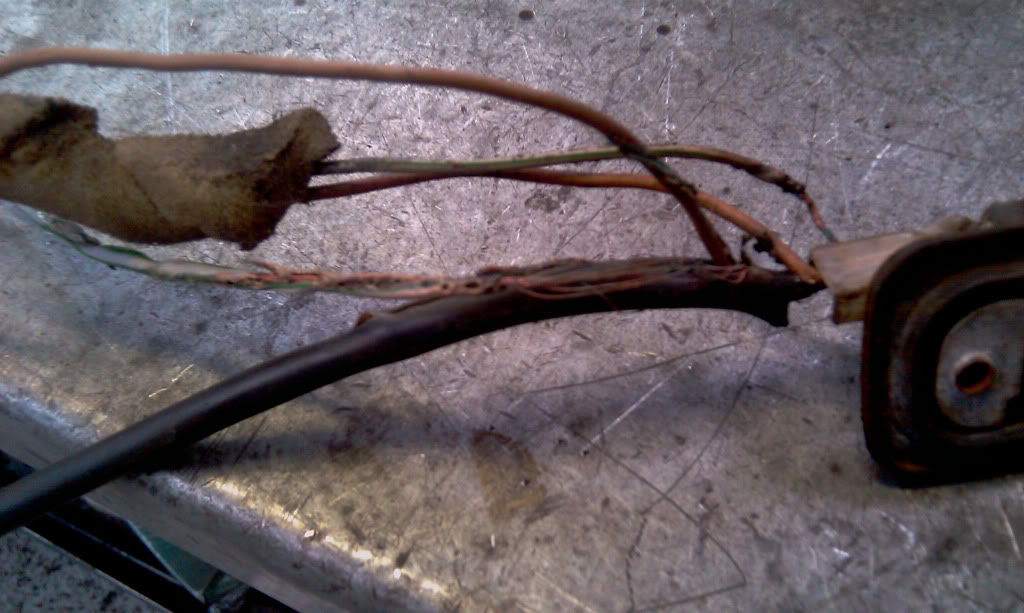
so i wired in a cupl o new lamps. used lamps off a cabby. there not as bulky as the tintop ones. found abit of vertigreen in the rear lights loom that runs along the bootfloor so i cut it and stripped back till i found good wire ti repair it….i never found good wire!!
rewired all the rear lights. long!
now i had owned the car for around 9 months an i was enjoying raggin it around. but my clutch pedal started to make a creaking noise and was finding it ever increasingly hard to select gears until it got to the point where i ciuld get no gears and i was in clapham 10 miles away from home. 3rd time id broke down now. another previose owner repair had failed on me and i was stranded. the clutch cable had actually pulled through the bulk head and ripped a great tear init. i called out me mrs's dad an we bodged it up enough to get home(pair of mole grips either side hahahah.) it worked so i cant fault it lol.
it needed to be repaired with a new panel so we took it to his tunnel the next night and cracked on with it.
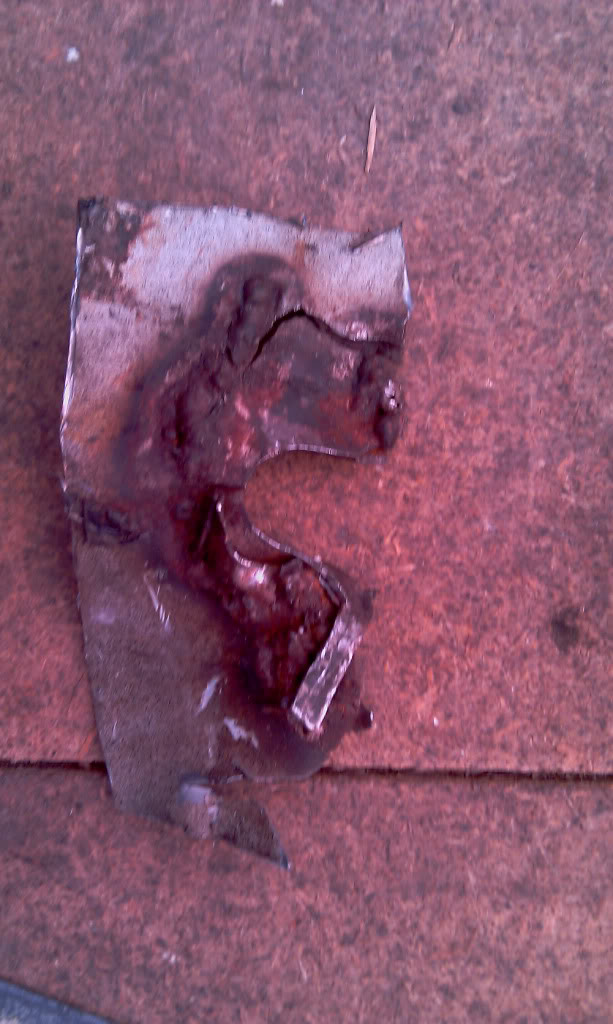
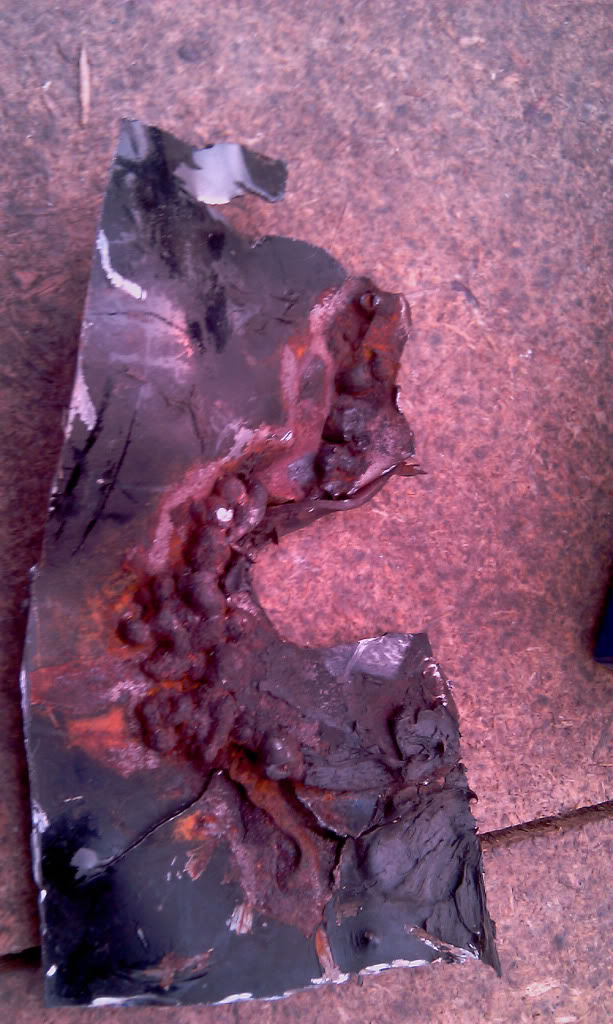
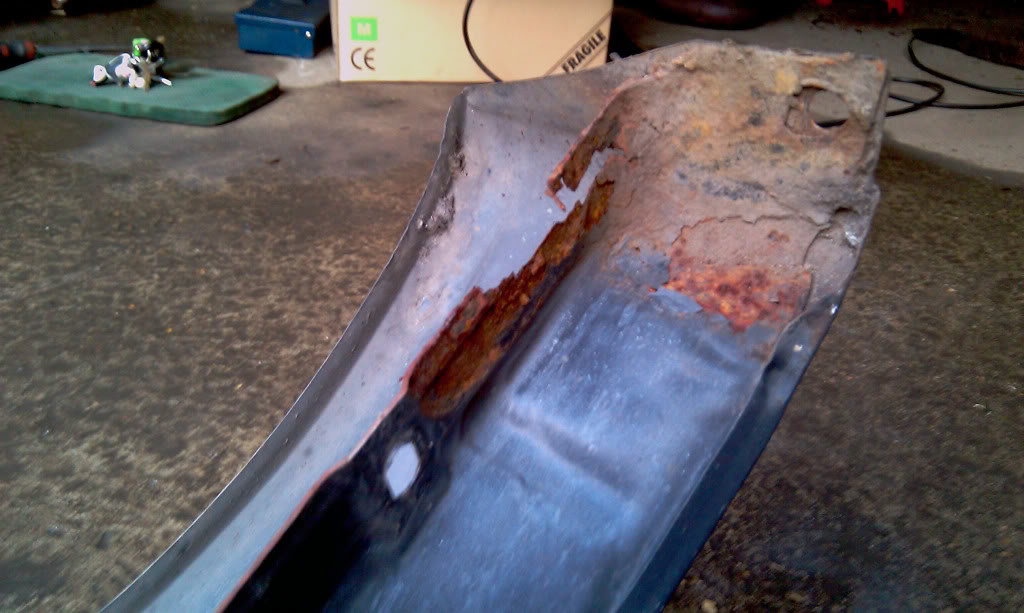
this is what i cut out of the bulkhead.looks like someone has just got a welder and rasberryed all over a repair patch.and not even ut some primer onit to stop the rust. whoever did this needs to have the fingers chopped off so they can never weld again.well not on my car anyway!
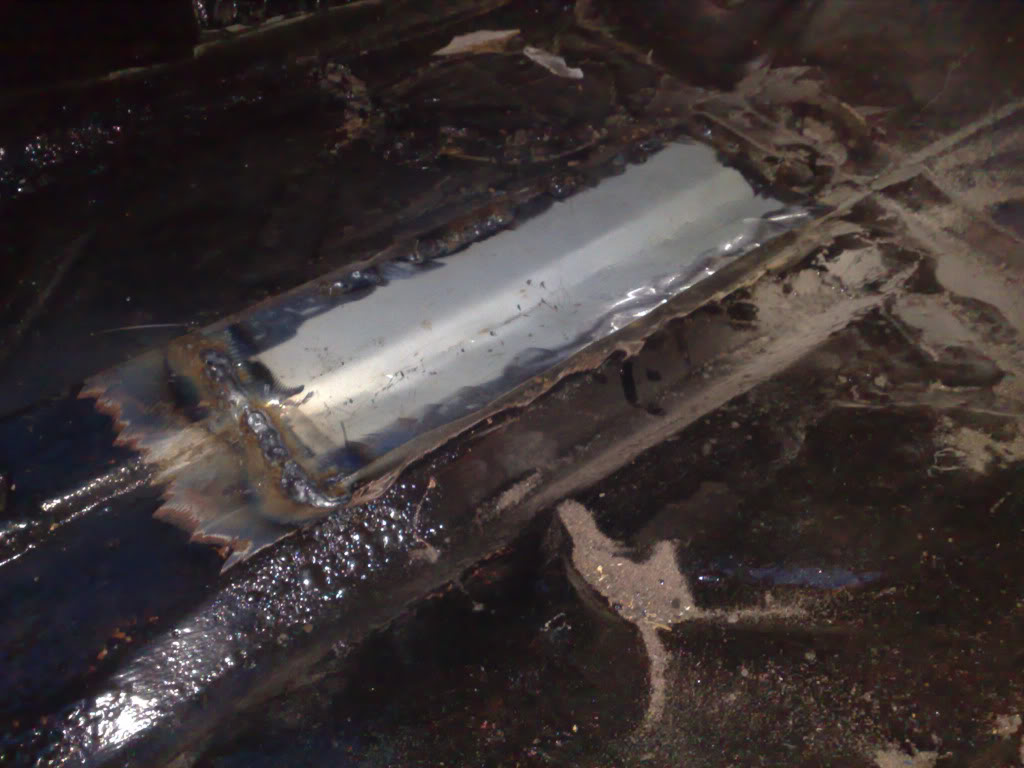
then we set about putting a new panel in with sum extra strengthening bars on the inside to stop it happening again. Dash out for the 3rd time!!!!
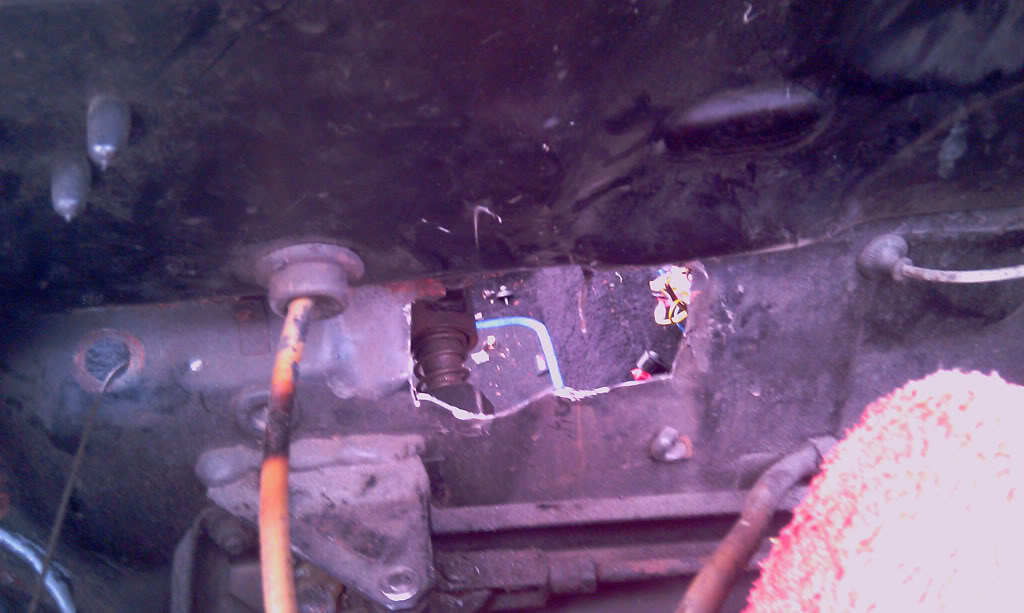
hole in the bulk head
mockin up a new plate
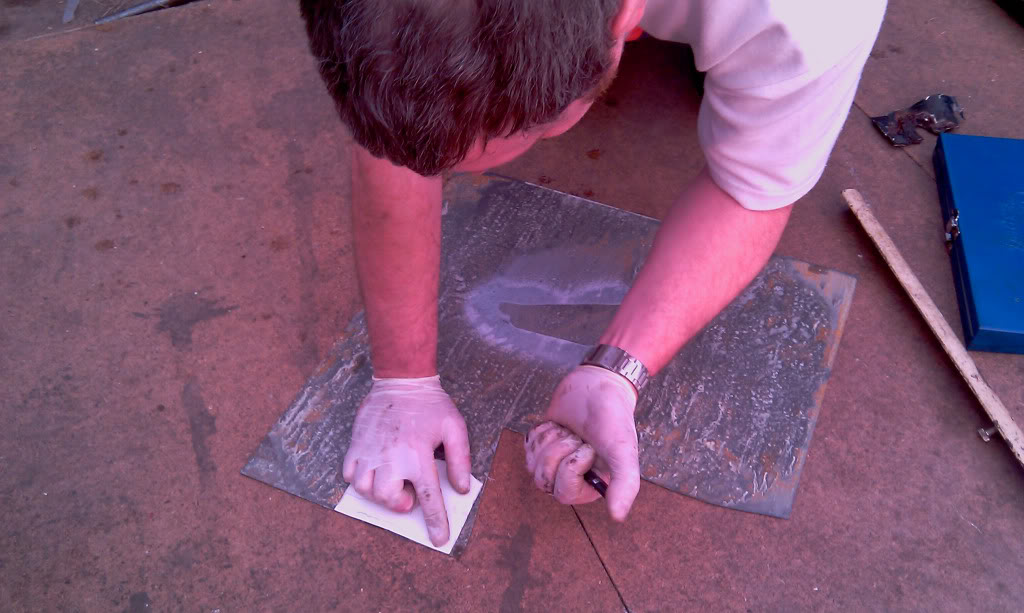
plate in place ready to be welded
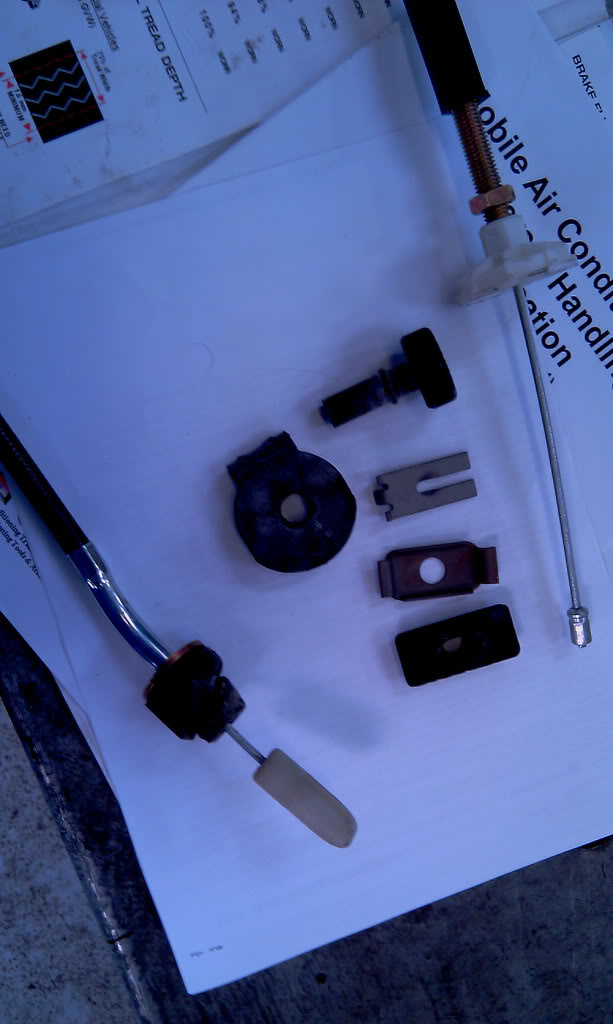
brand new vag clutch cable and all opposing gaskets/clips. the old ones had been sawn through by the cable.eek!
heres a few arty shots i took whilst we worked. bonus points for whoever can tell me what the other two cars are in the piks with my golf.
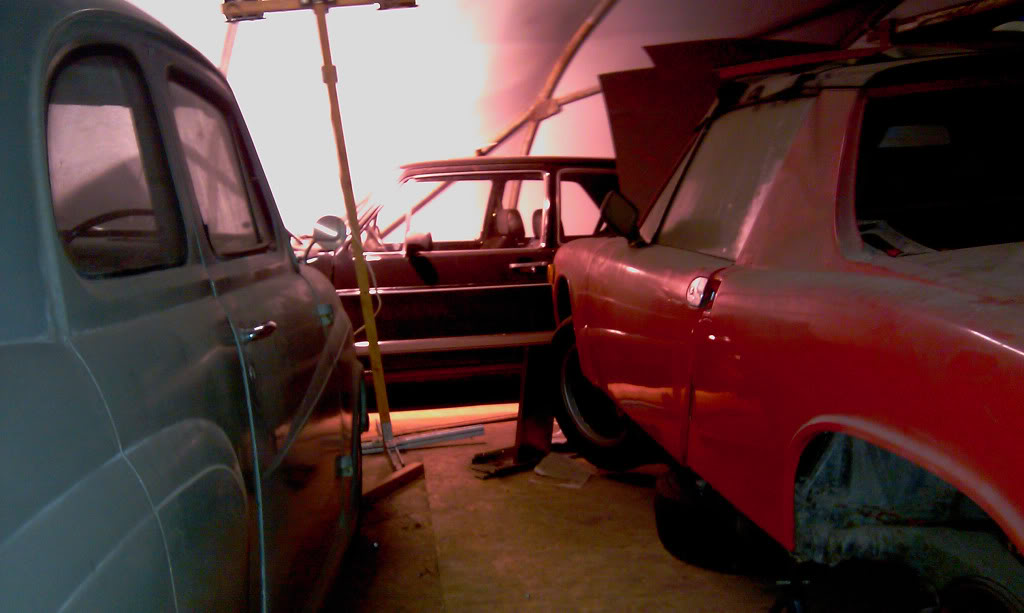


mk1 golf - resto
mk3 polo breadie - daily banger
mk3 polo breadie - daily banger
Posted
Settled In
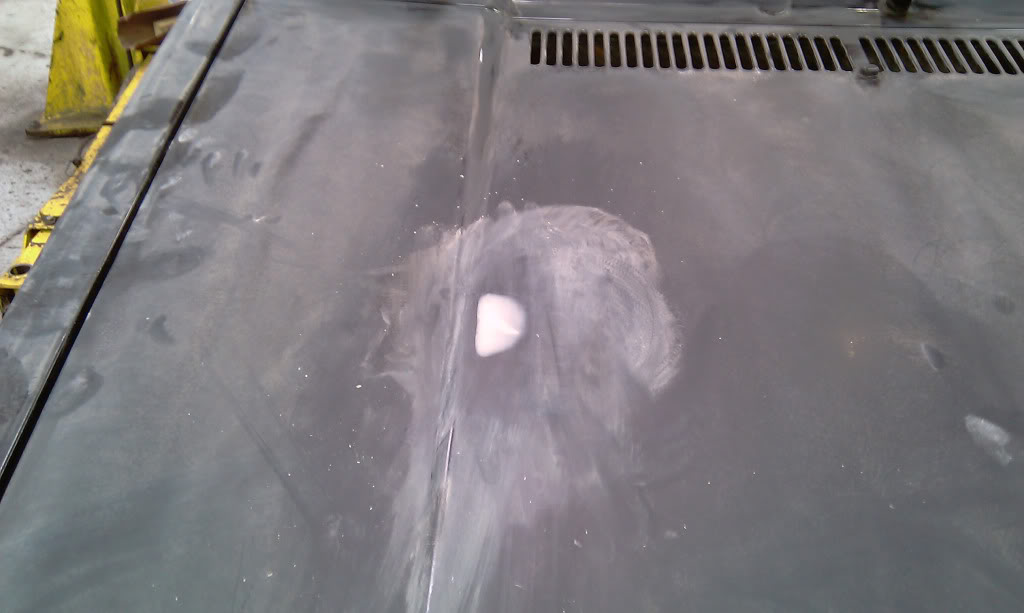
screw it ill paint the whole car while im there.fancied a change haaha. strated rubbin her down with the DA
NO GOING BACK NOW…but what colour ?

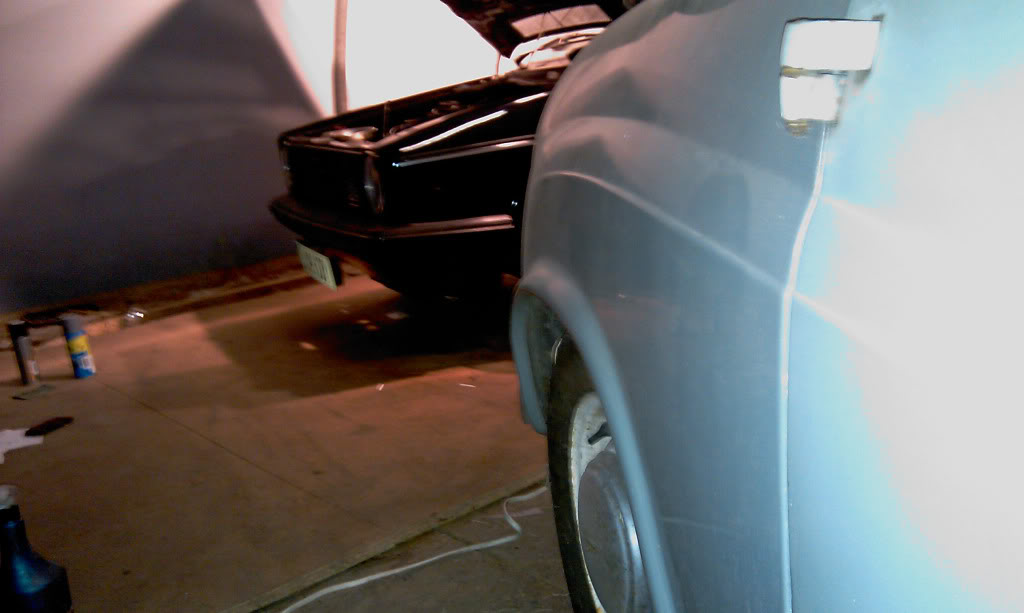
in the workshop with no bumpers on getting rubbed down.i love the look of the front with no bumper but the back jus dont look right with out one in my opinion.


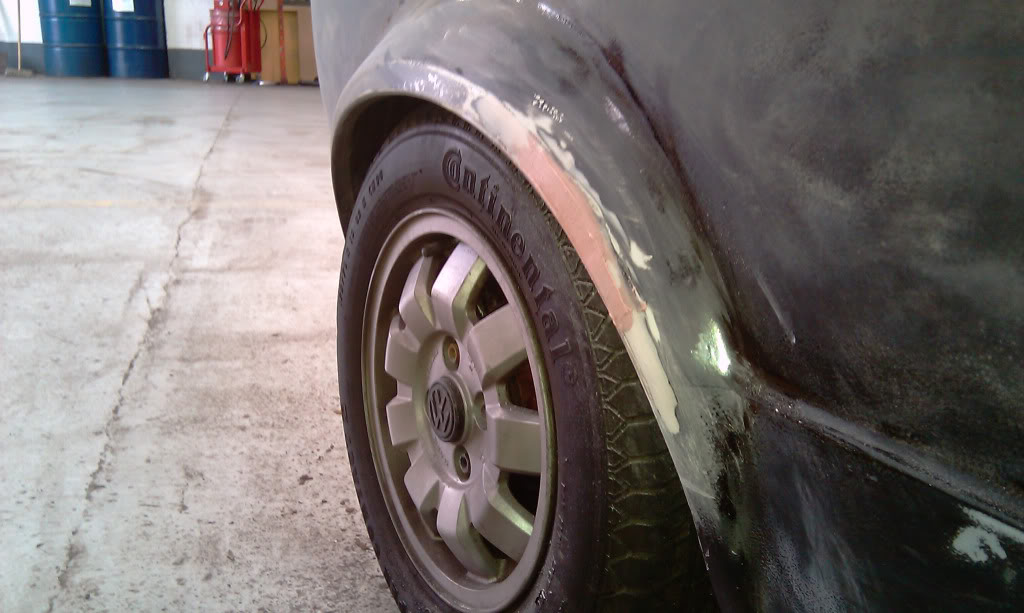
a couple of light skims of filler were needed!
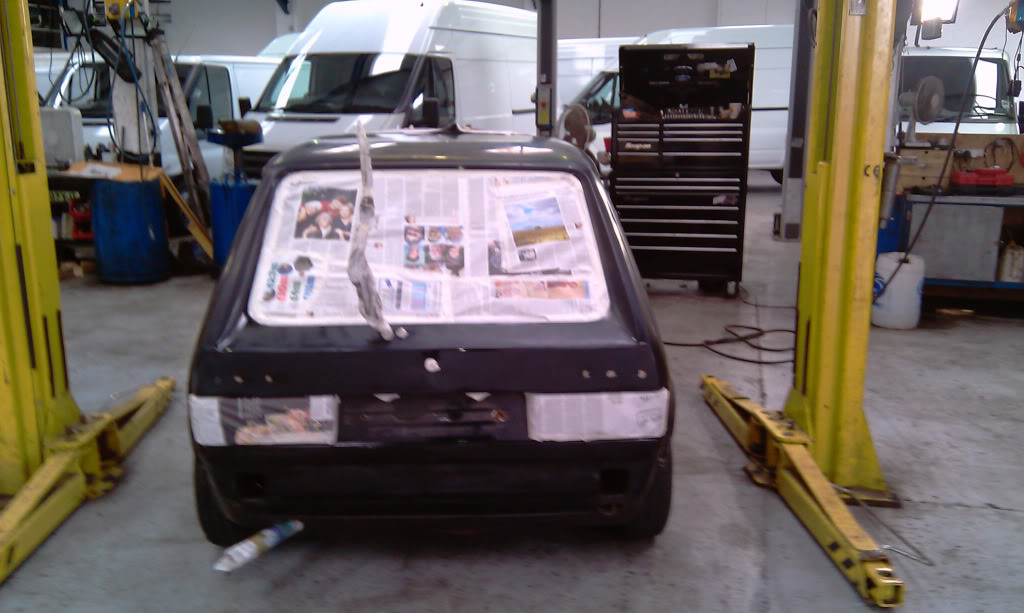
all masked up and ready to go

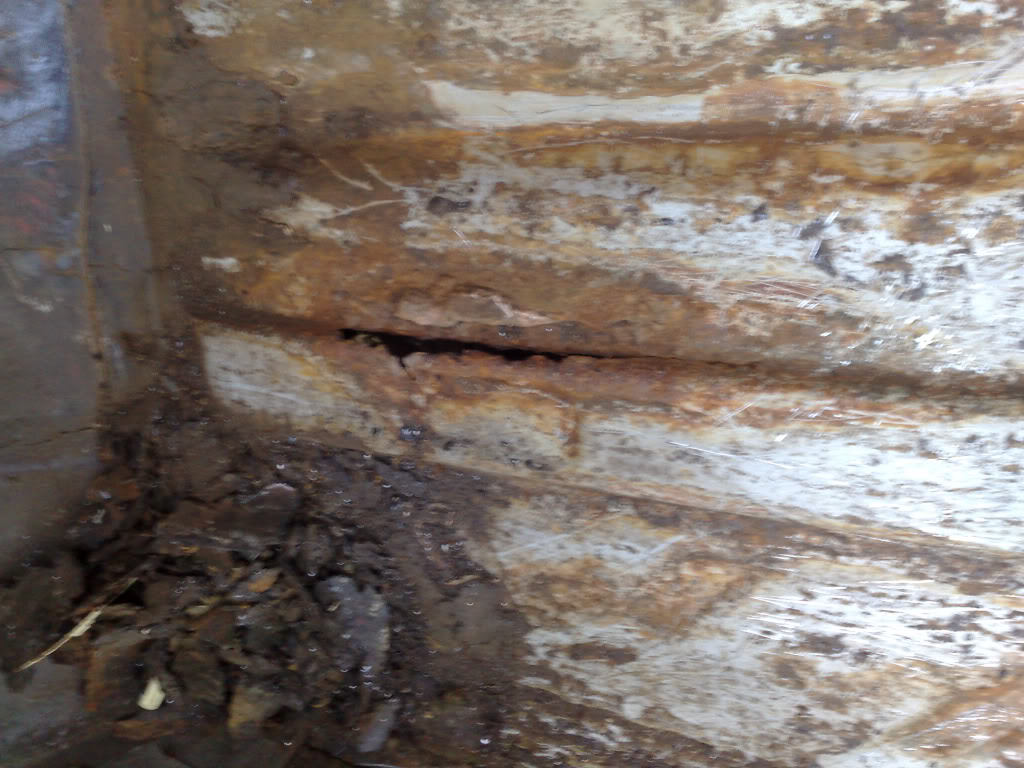
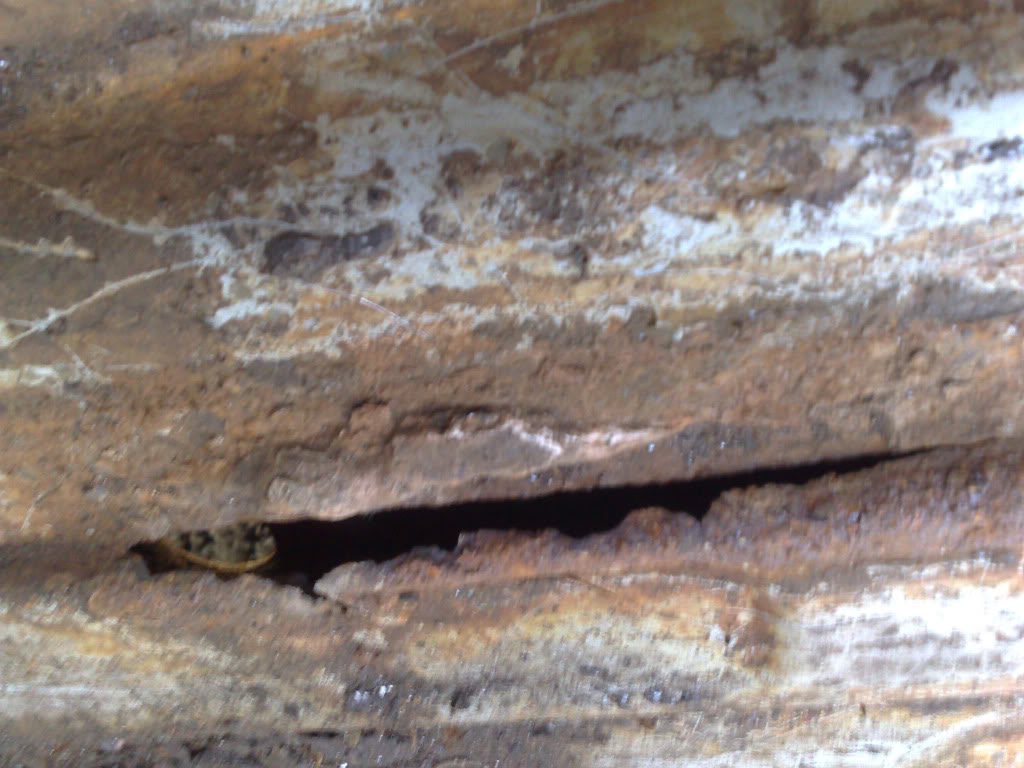
i found sum rust that i wasn't pleased about, and a crack in the o/s/r quater arch at the bottem.how did it get there?
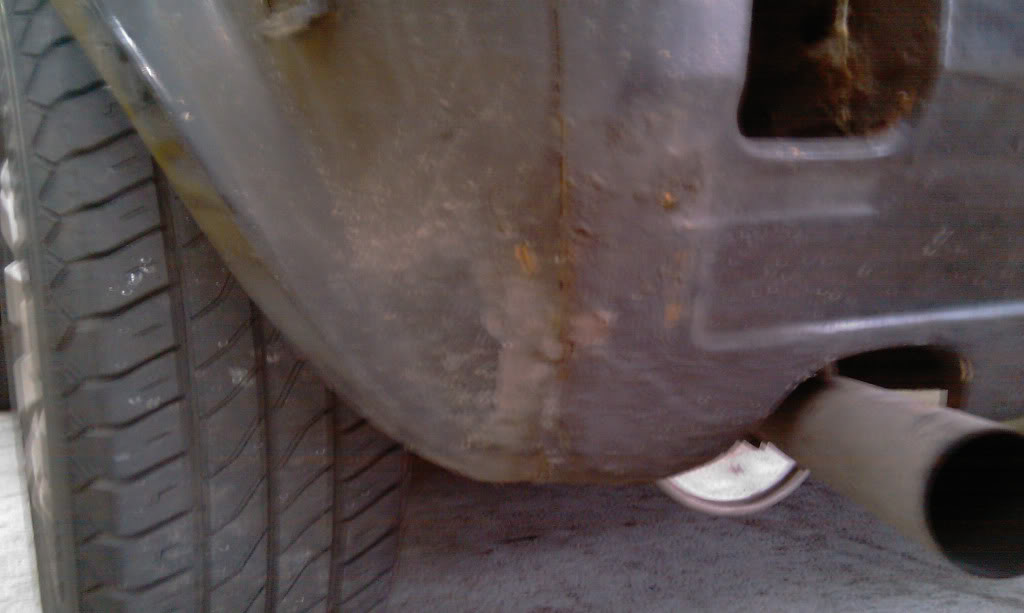
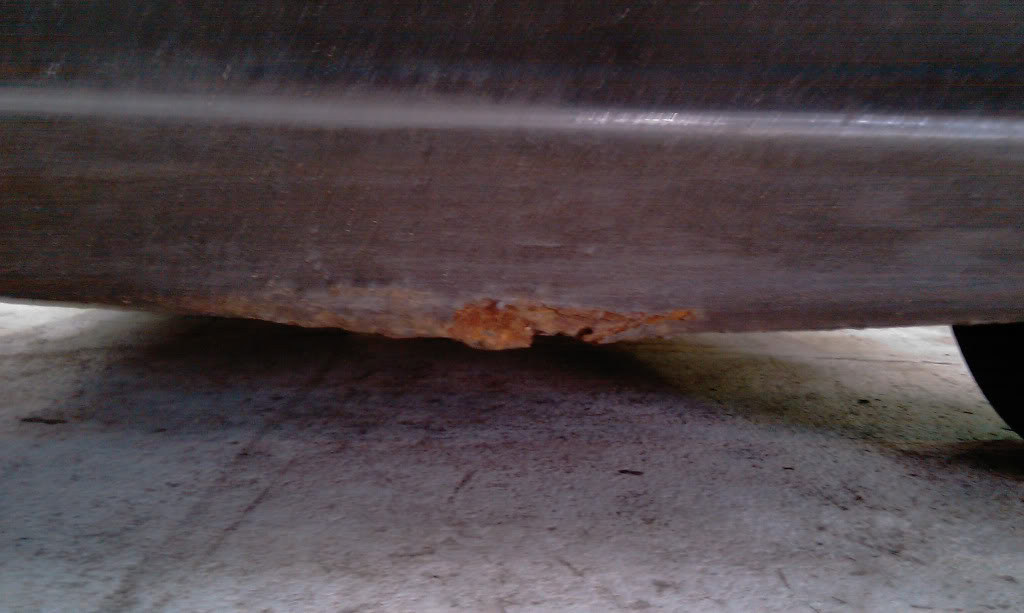
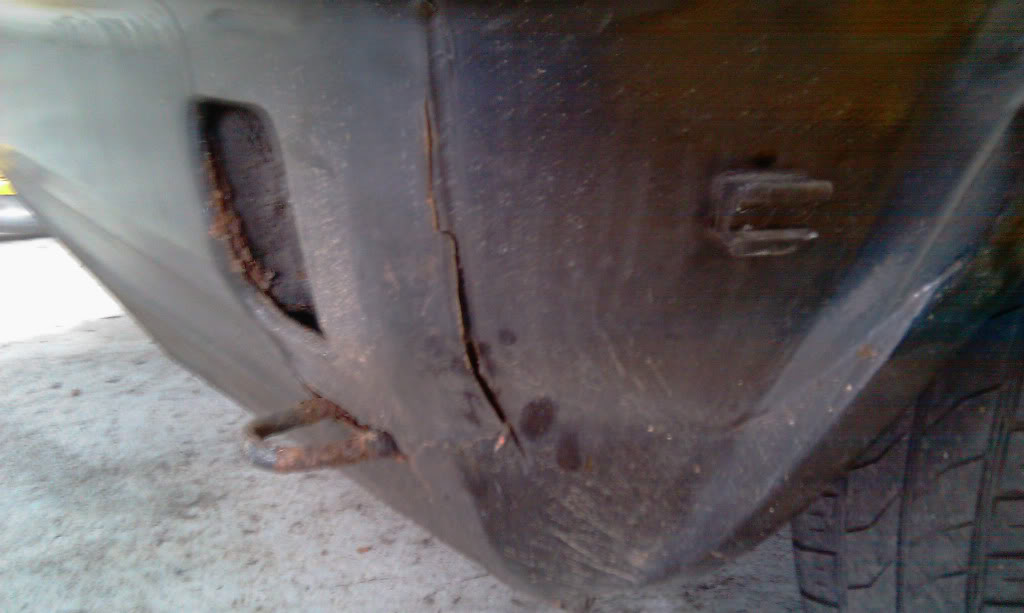
need new bumper me thinks
we wernt allowed to paint it in the workshop. too many new cars around supposedly.??
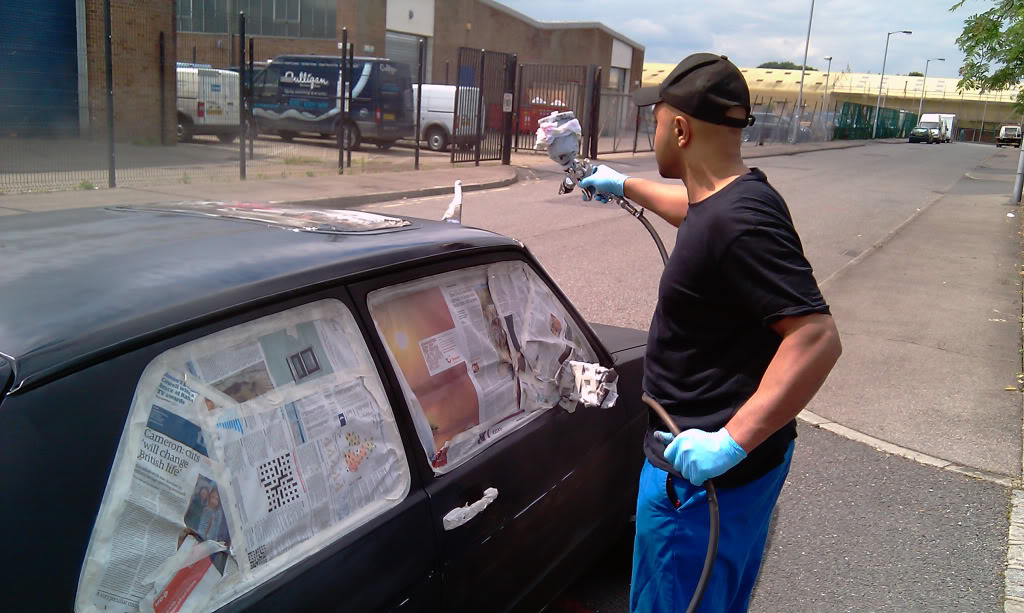
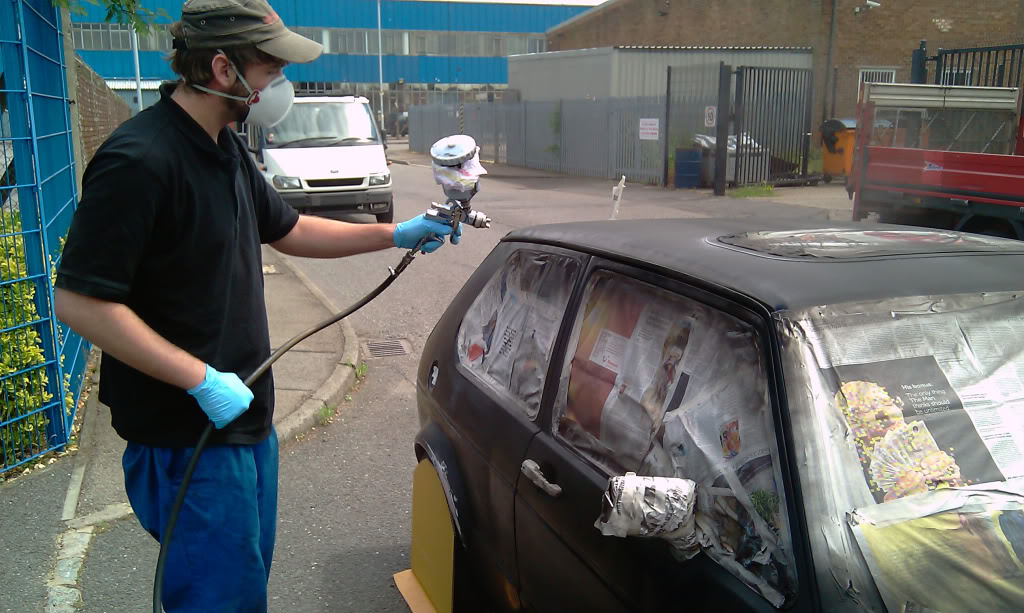
so we painted it outside!!! my work mate shaun spraying my car.guys a amazing sprayer an will be doin all my sprayin from now on.got a real talent for it
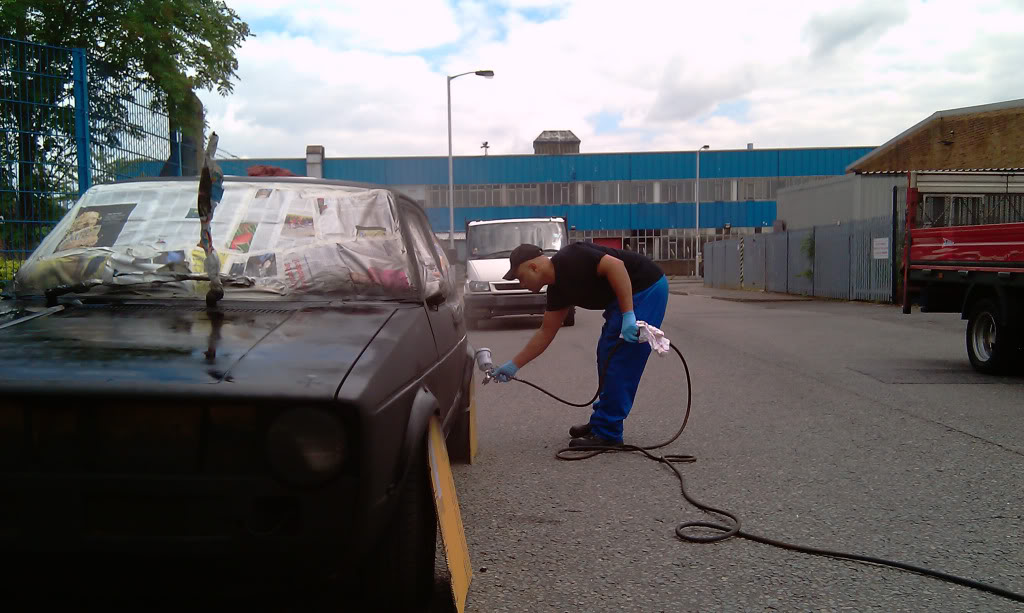
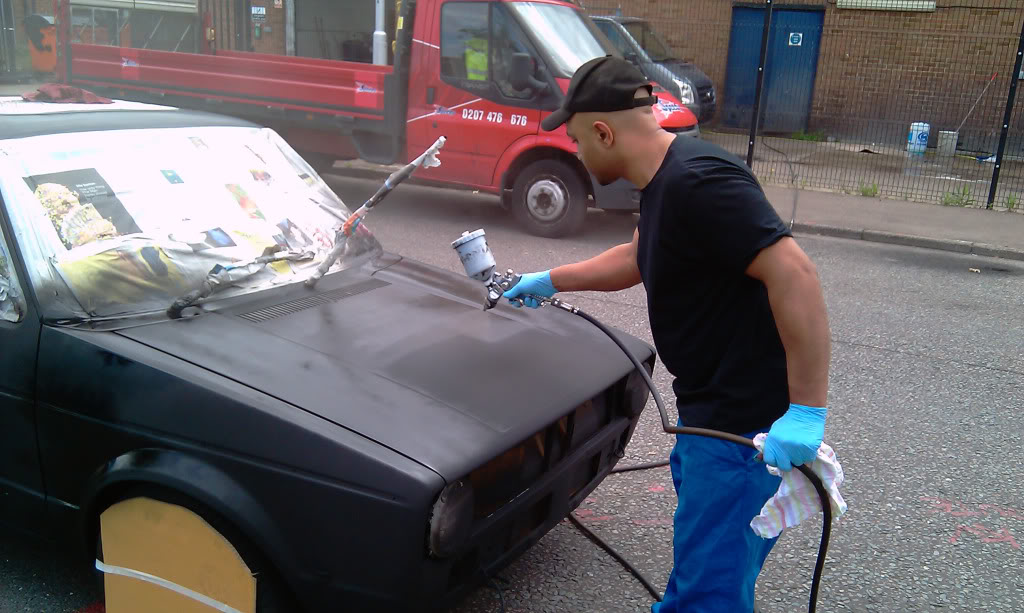
this is me spraying. i was a car sprayin virgin up until this point but it came out spot on!
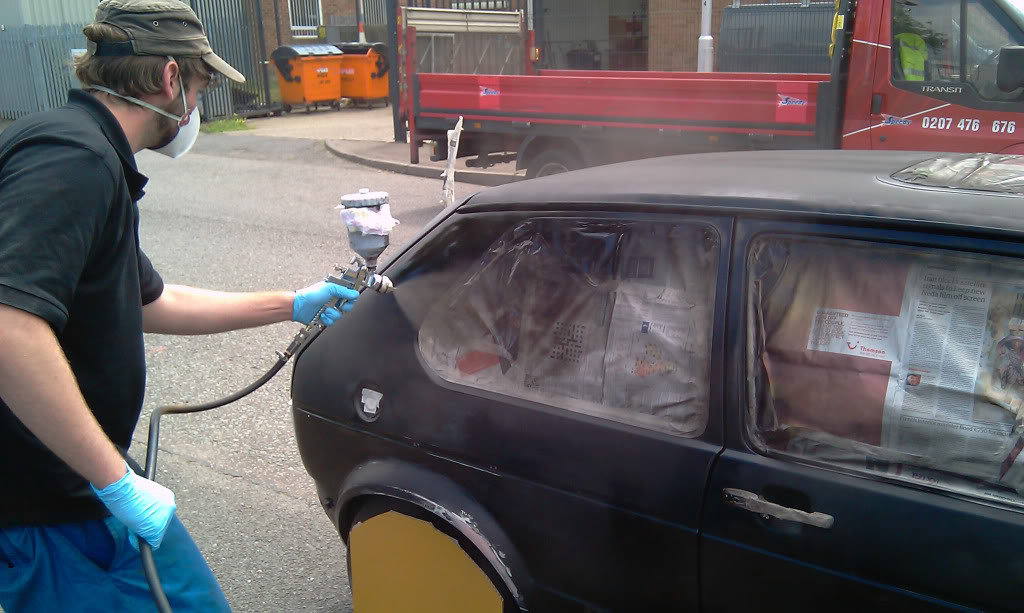
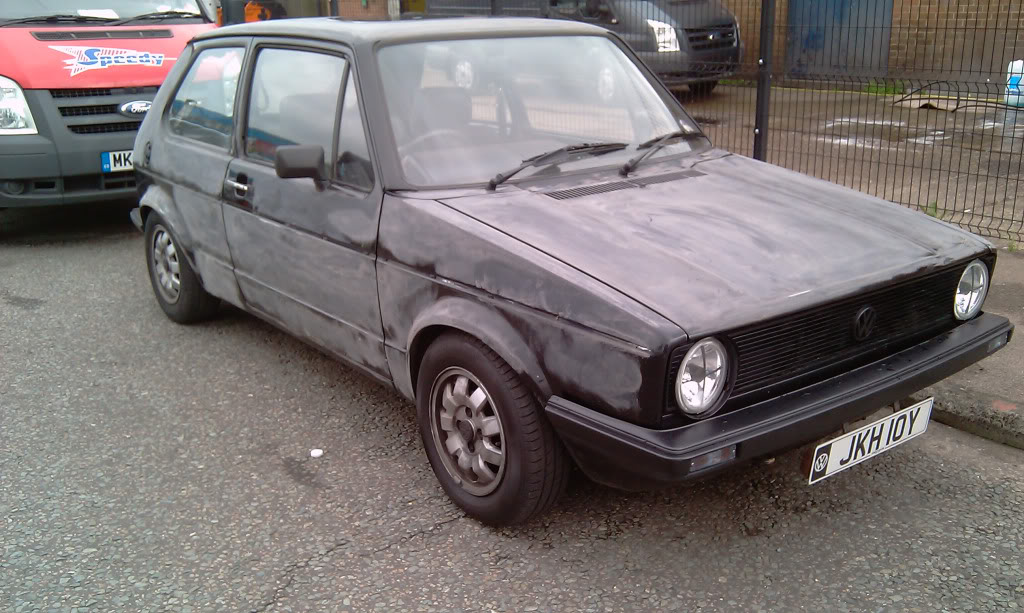
i dont know if u guessed it yet but we sprayed it matt black.
heres the end result
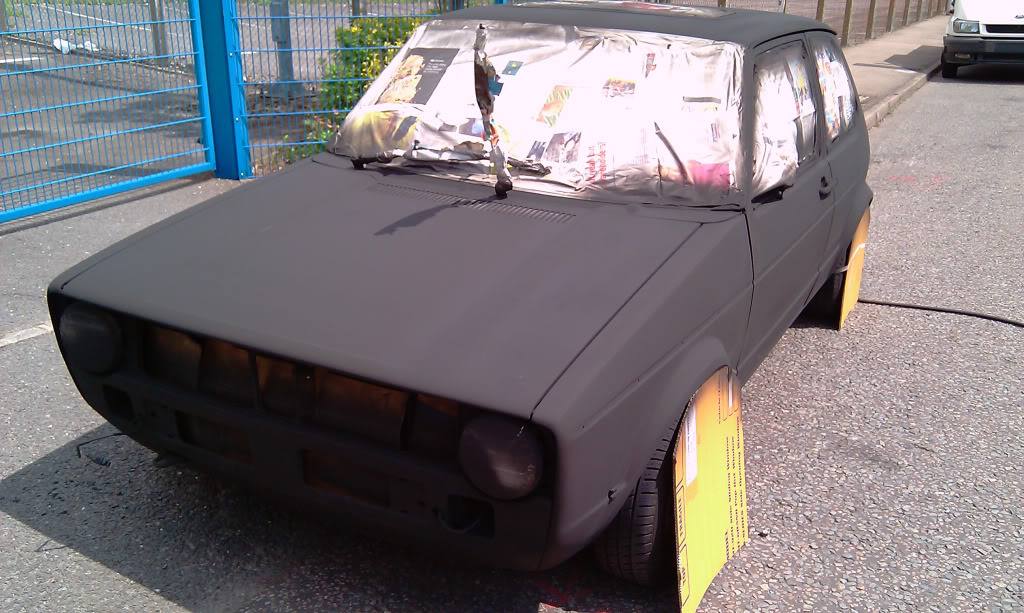
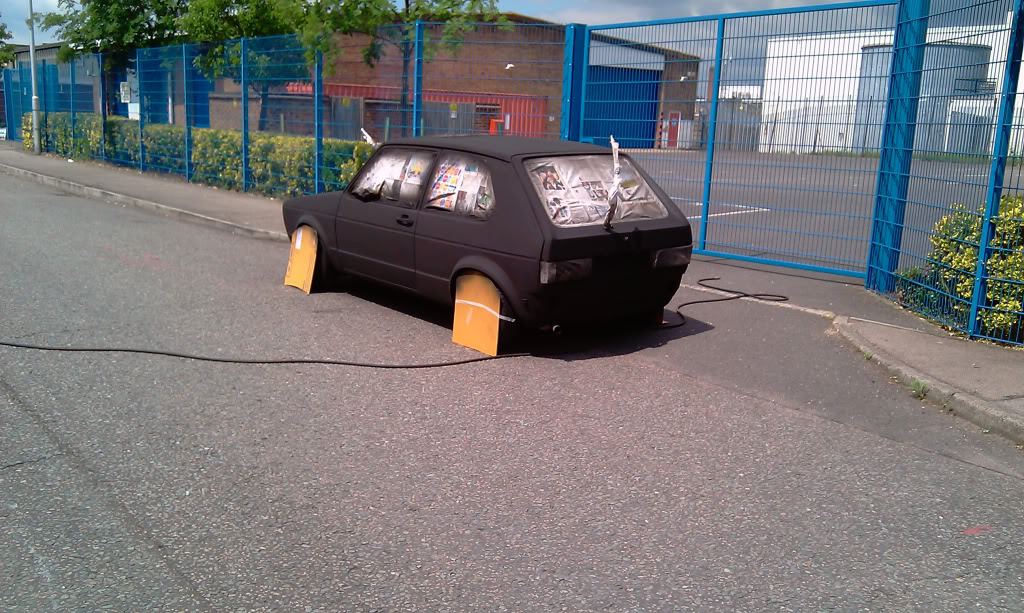


so there we have a matt black mk1 golf.quote of the day from Shaun "from old banger to stealth bomber"…
let me give anyone a warning ifyour thinking of spraying your car matt. IT MARKS!!! REAL BAD! you literally touch it and it marks.bird crap is the worst.and cleaning it is a bitch too!
treated my car to some new goodies. my fan packed up so i got a slimline 12" fan and mounted it in front of the rad and mad it blow rather than suck.and got rid of that old tired looking fan and cowling
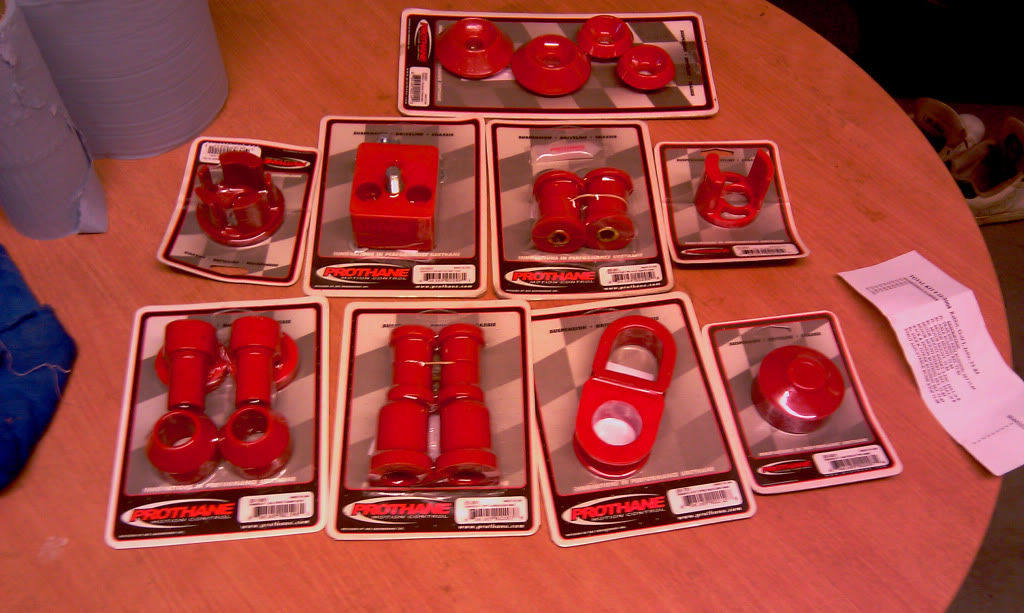
new "poly"bush kit.haven't fitted yet.will explain later!
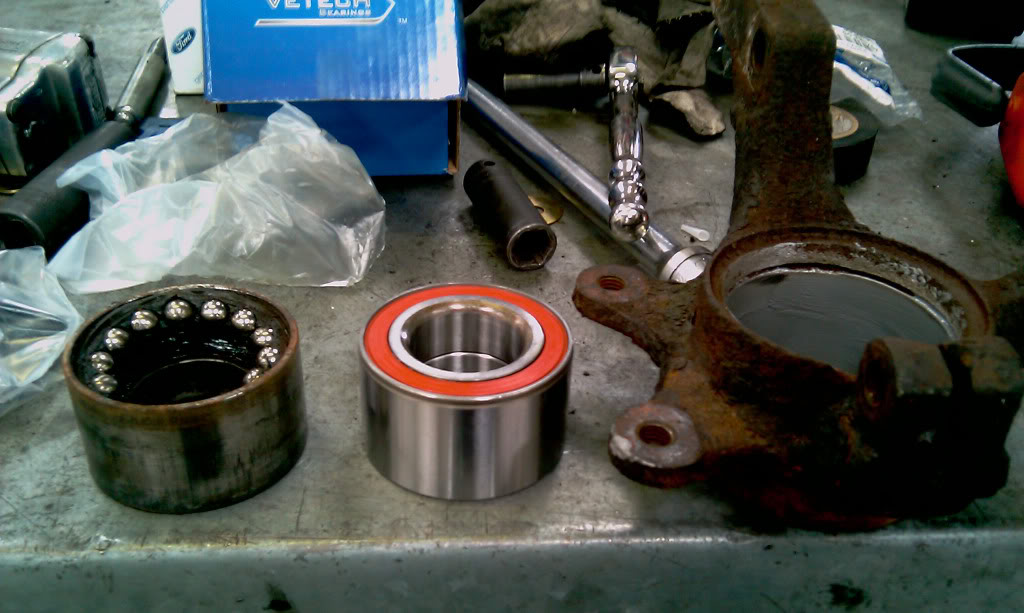
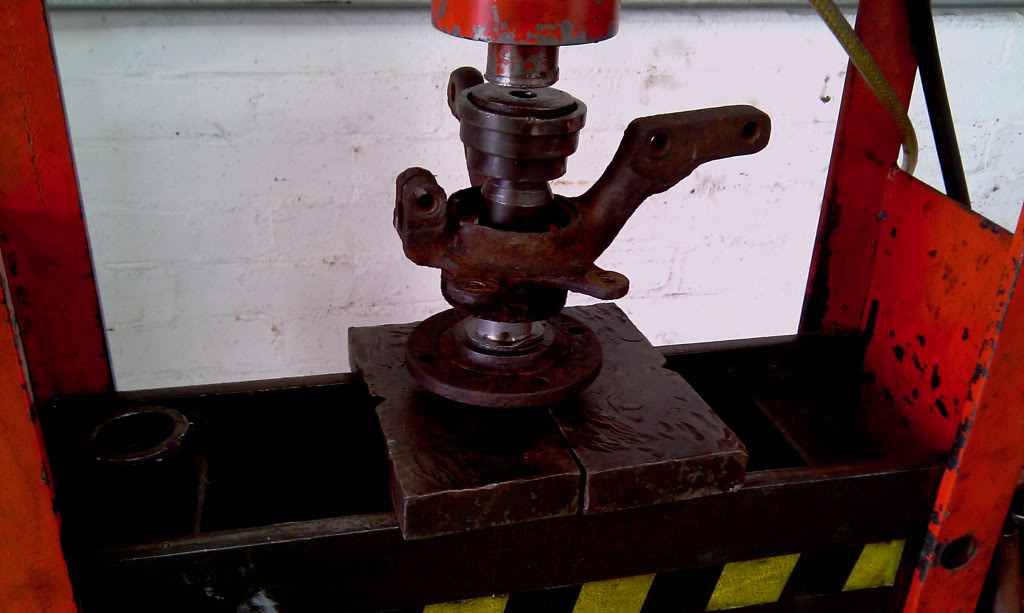
stuck new wheel bearing on the front as mine were noisy
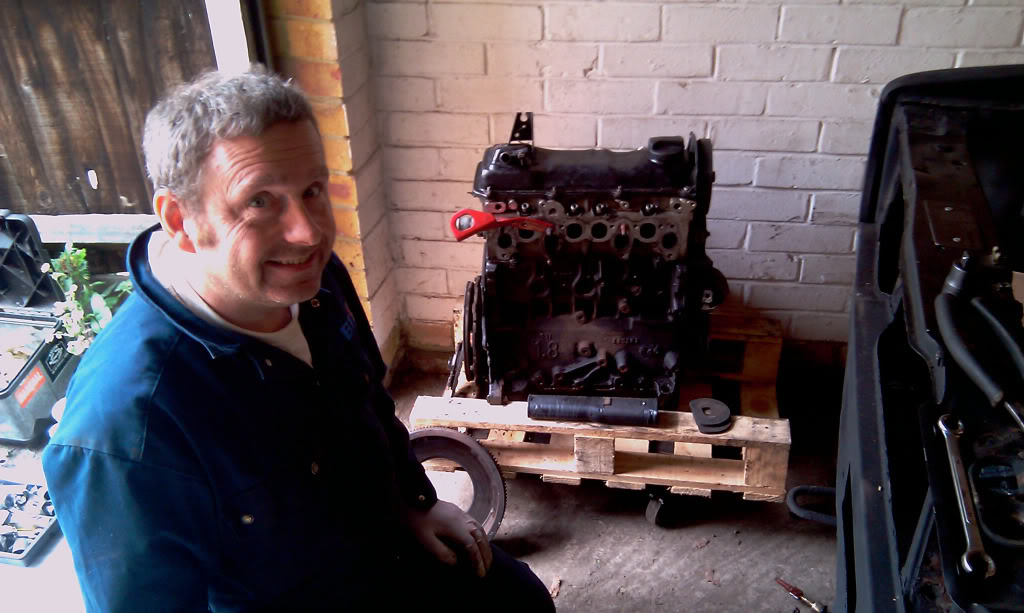
a mornings trip to gypsy hill and i came home with this lil bute
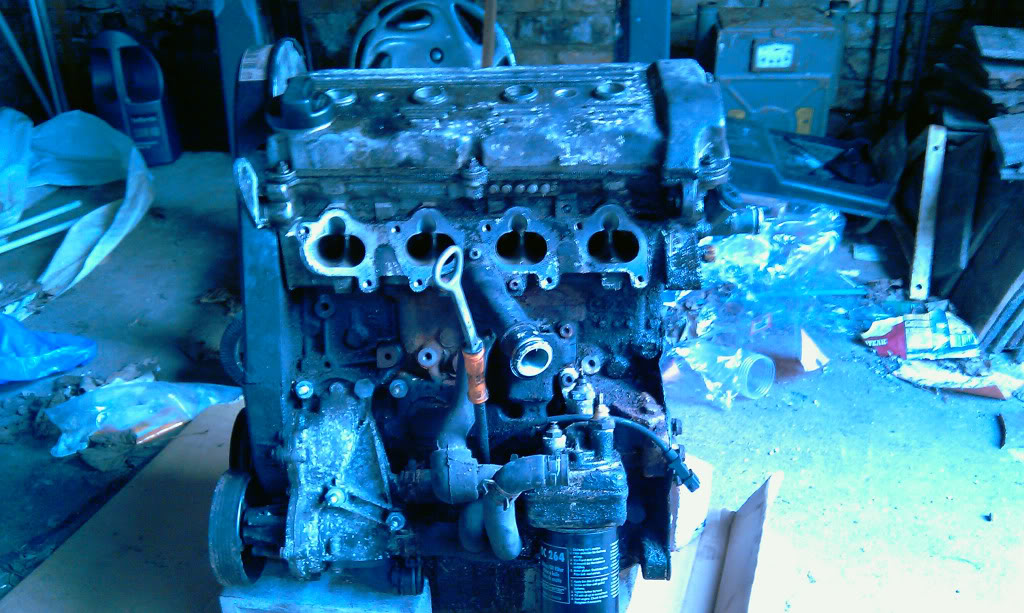
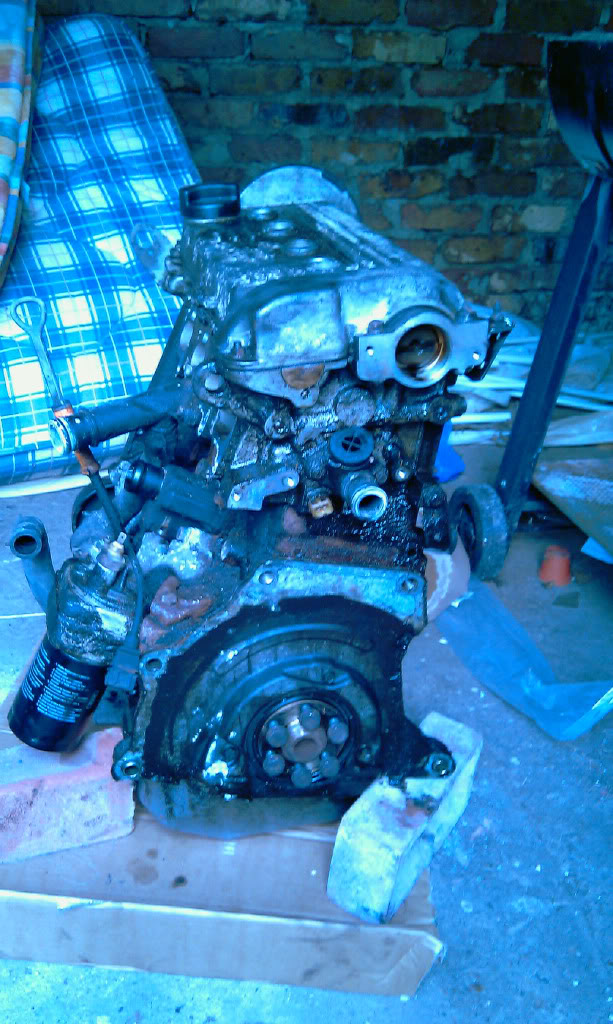
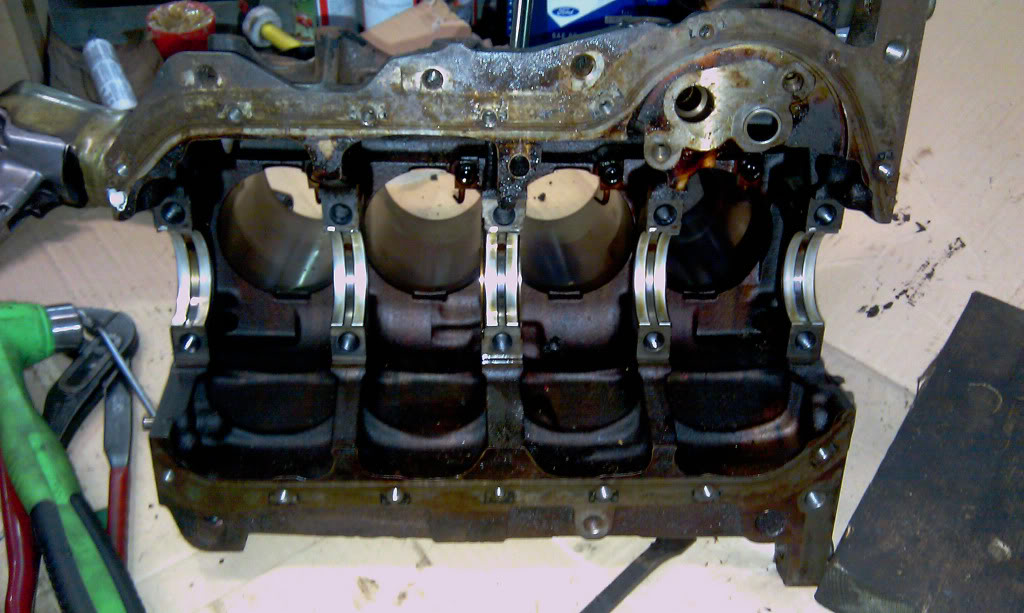
its a 2 litre 16v abf out of a mk3 golf gti.oh yes. so my planis for a new beasty engine for the golf. i ddnt want to jus chuck it in an be done with it so i pulled it apart and gave everything a good look over to make sure shes all good.which so far it is.plans for the engine are jus new big end shells, new piston rings. block honed, head skimmed and new gaskets all round. oh yeh a a set of twin 45 weber carbs roaring away at the front. as i wanted to do this properly and not mess aboout i decided to take my golf of the road for a complete restoration!
i was sick of it breaking and trying to fox it as i go and still be my dailye driver so ive rented a garage and im strippin her down to find all whats wrong. fix it.repaint it.new engine.drive it!in that order to haha
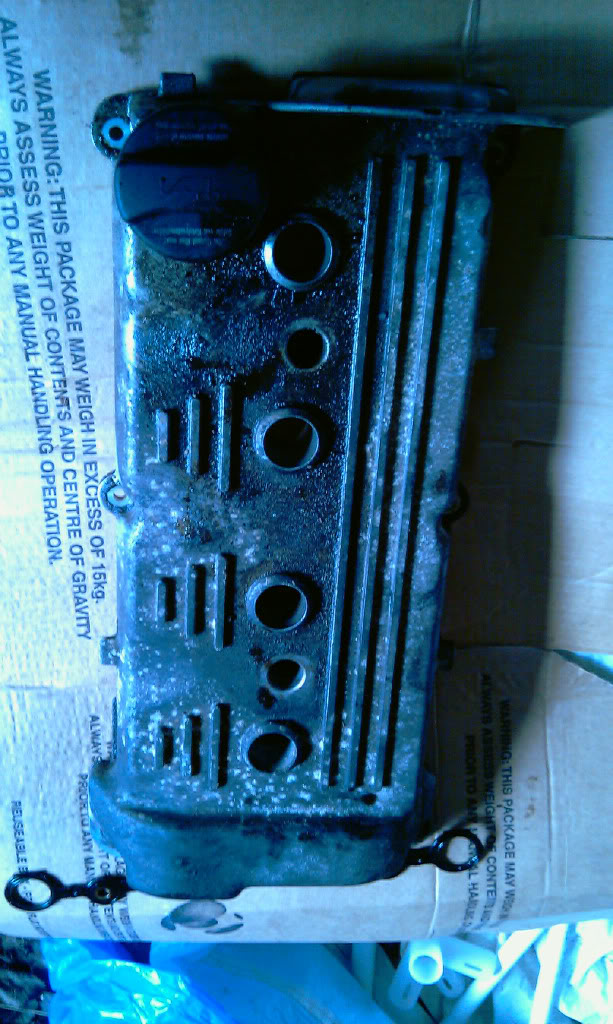
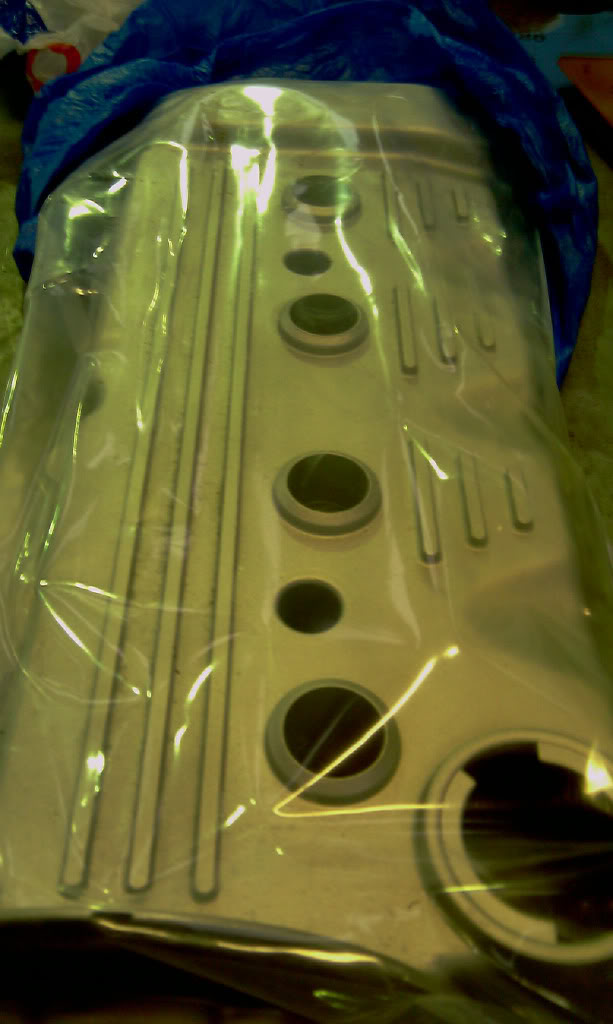
heres my rocker cover when i got it.yuk
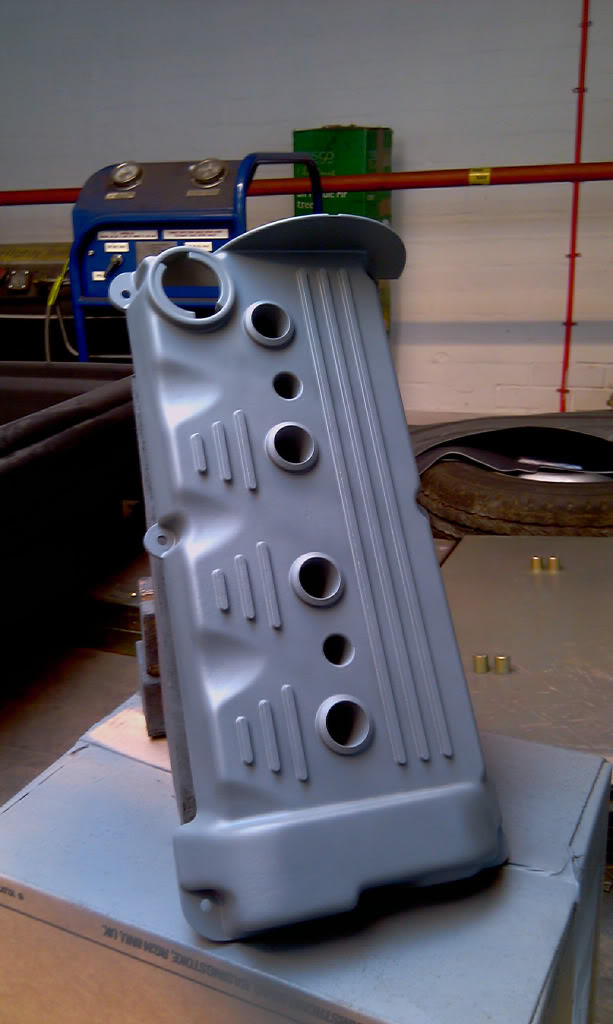
back from sand blasting and a lik o zinc primer paint
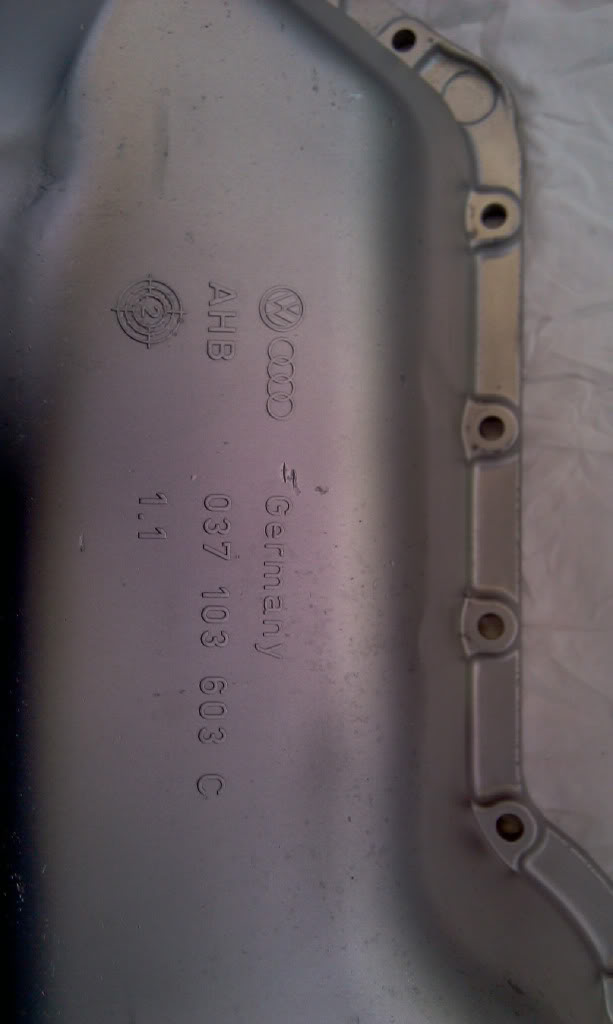
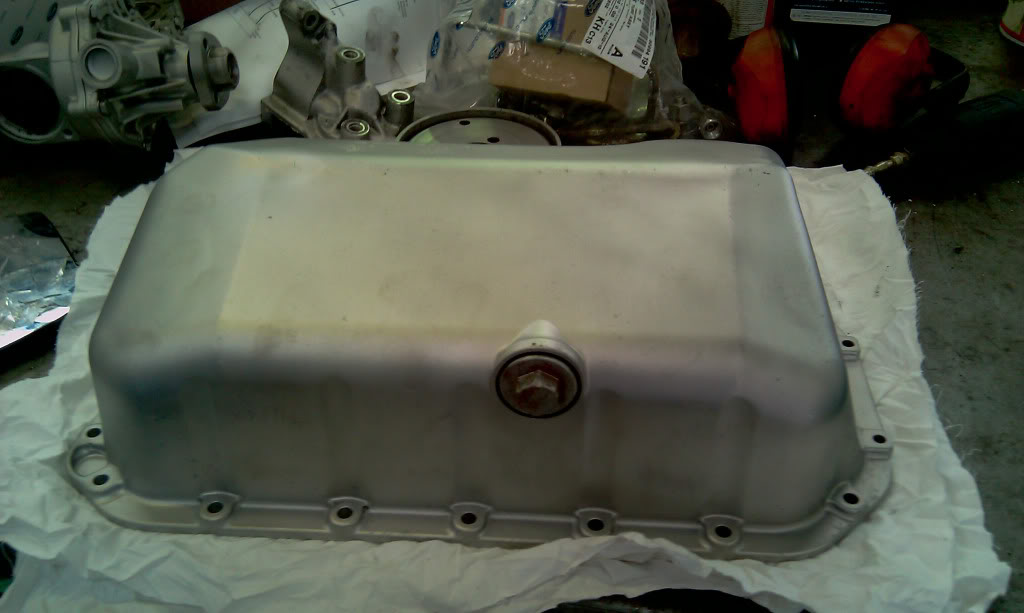
other parts been blasted
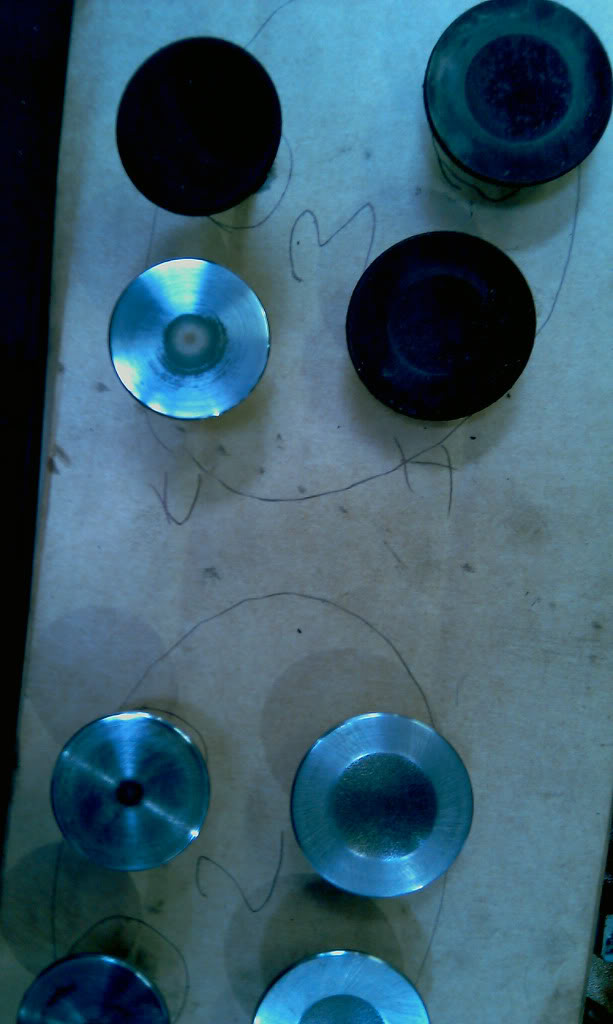
my valves being cleaned up!
my baby in her new home ready for hibernation.shell have a new lease on life when she gets out.
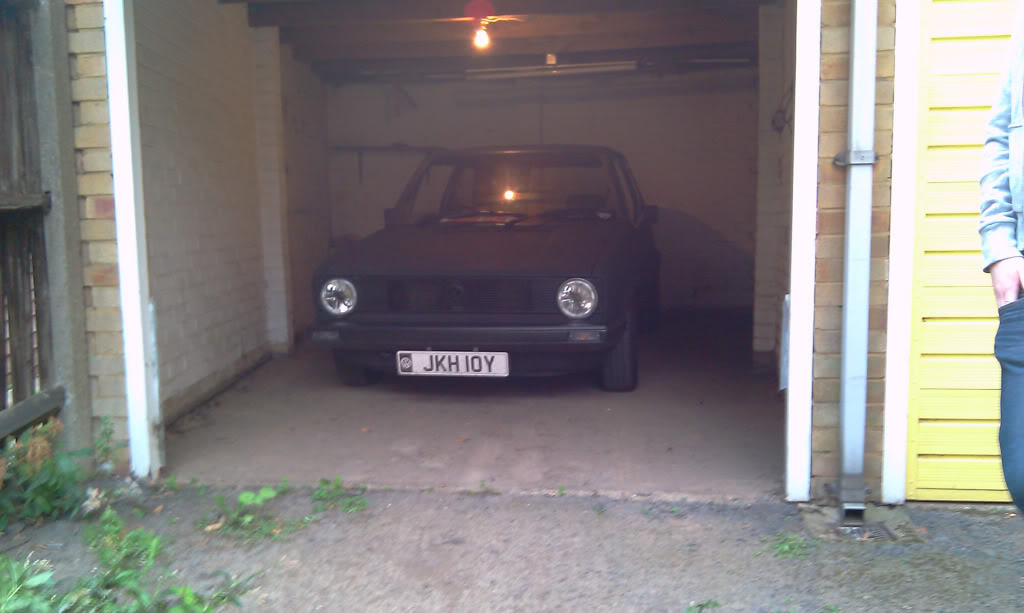
LOTS MORE TO COME!but now i need to sleep…..
mk1 golf - resto
mk3 polo breadie - daily banger
mk3 polo breadie - daily banger
Posted
Settling In

love your spray booth

Posted
Settling In
love your spray booth
Posted

Settled In
Posted
Settled In
I was getting abit fed up with my car breaking down and constantly fixin what othere people have bodged together so i decided to restore my golf the way i want it. ive got some plans of what i wana do to it and youll all see where im goin with it as time goes on,its not going to be concourse or standard atall im making it how i want it and how i like golfs to look.some will like it some wont. but im making it for how i like it so meh!!!. mainly im guna smooth the bay to buggary and sort outall the rust.belive me theres alot! i dont know how long this is guna take me. given the size of my wallet im guessing quite a long time. i dont really wana rush i just want to make sure everything is right and done properly to my satisfaction.
heres what i have been upto over the last month.been busy! got her in the garage and up on axle stands and pulled the front suspension off. only snapped one stud off an anti roll bar bracket but they were knackerd and gettin replaced so im not botherd. ive got all new lower arms, ball joints, bushes and all new vag bolts and nuts and washers. got what ever is still made really lol.
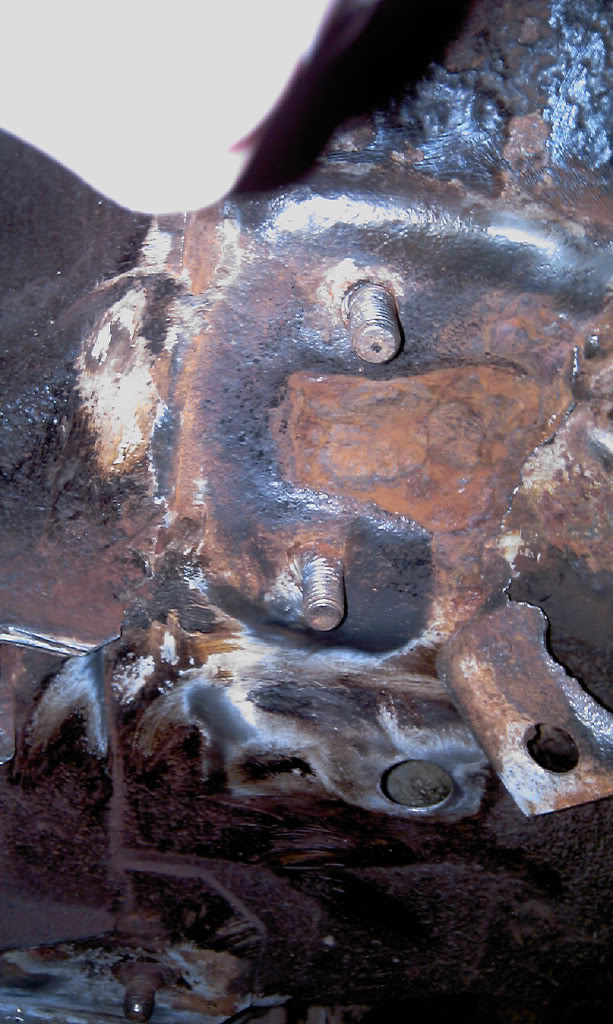
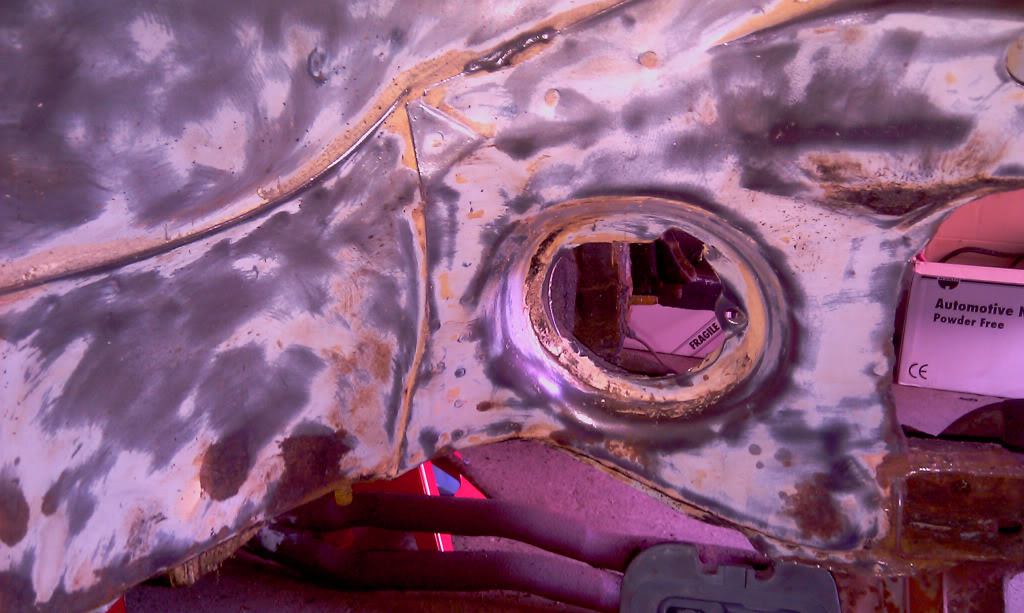
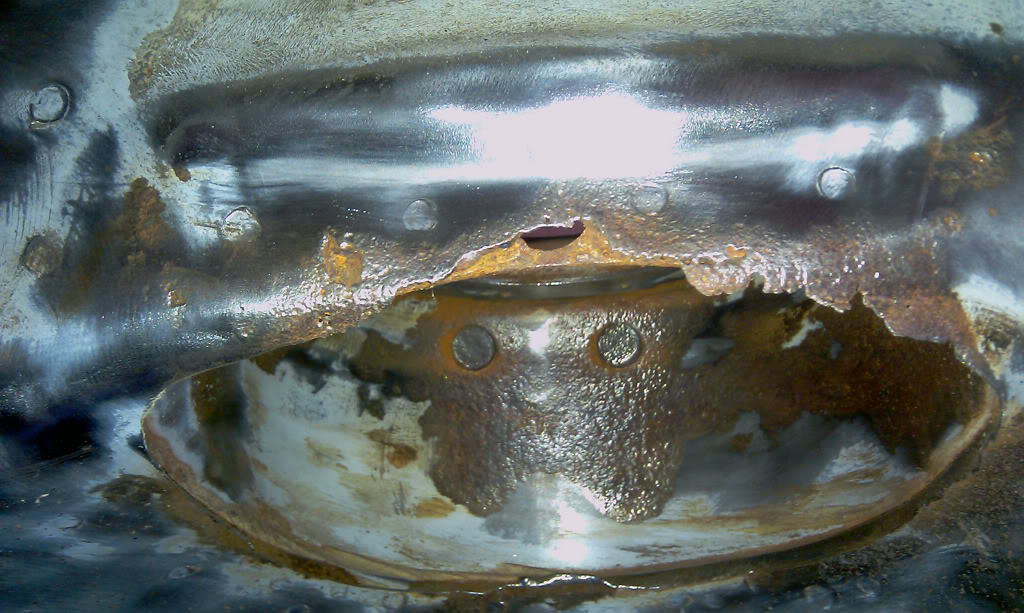
who wants to see the worst lookin lower arm bushes EVER!!even i was shocked at how bad they were

and this is what it did to the mounting point. ooooh dear. does anyone know if theres a repair panel for this bit or is it guna be a try to repair or cut section from another golf?
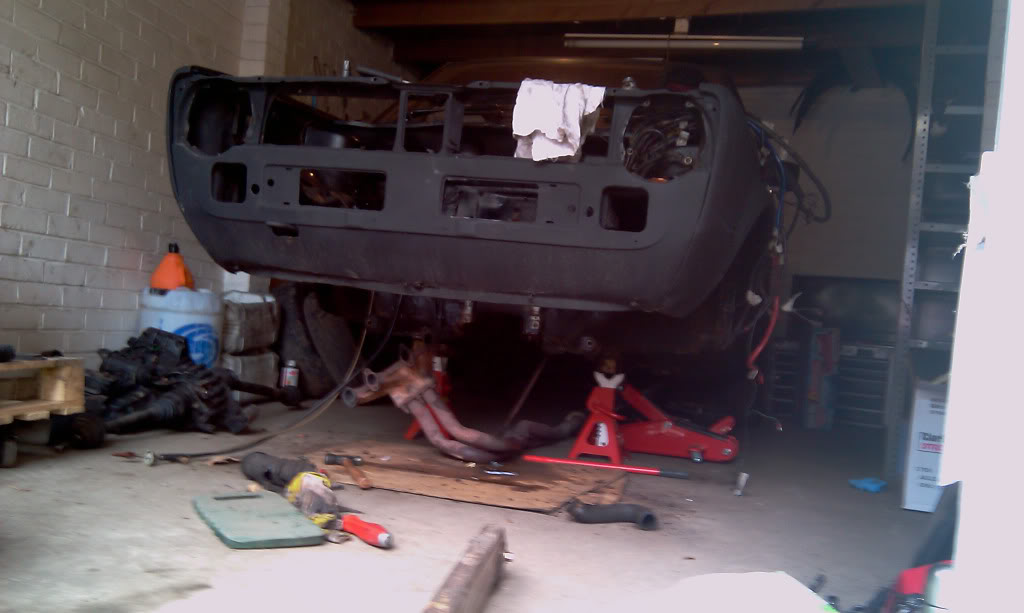
so with the suspension off i set about whippin the old engine out
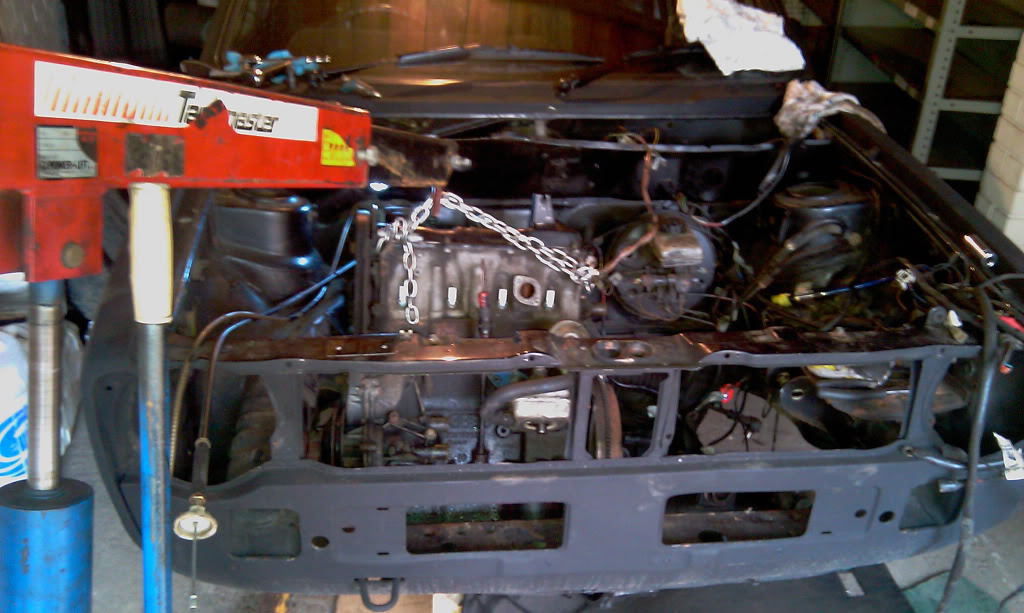
i made a lil trolley from a small upside down crate and a square sheet of wood with wheels onit. i supported the engine with the crane and dropped the box out onto the trolley fing. got the box out off the trolly and lifted the engine out through the top and rested in the crate/trolley thing.it fit perfectly lol

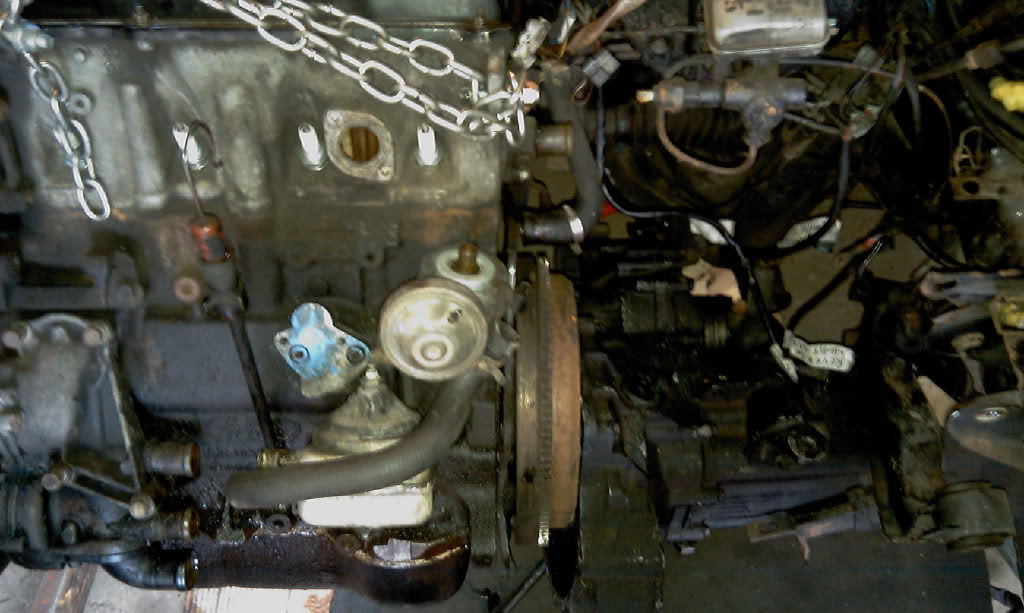
mrs's dad who helped get the lump out with the old smelly engine on crate.
my box with shafts still attached. guna use the same box but overhaul it first!

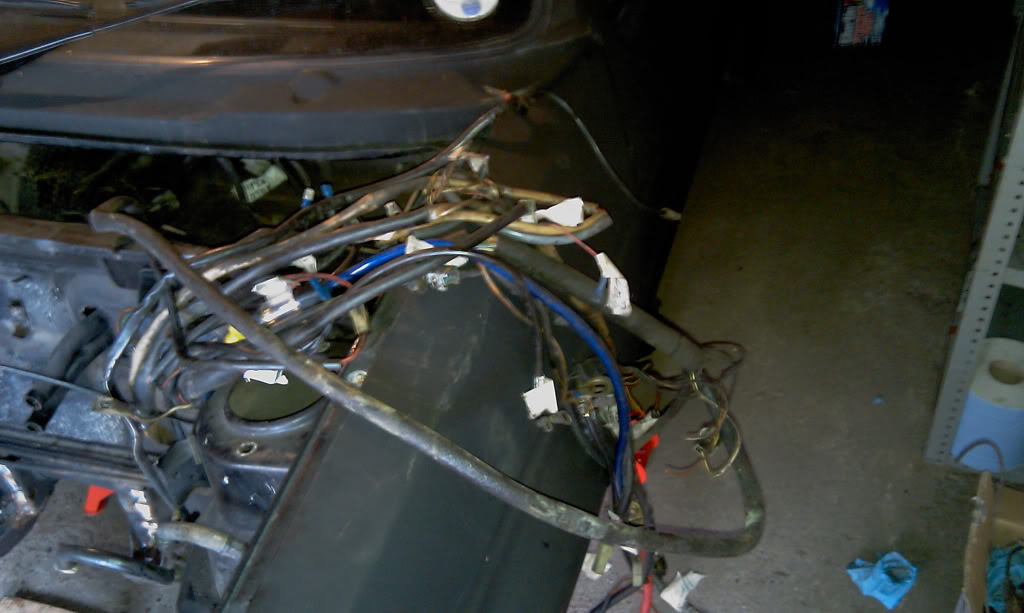
bay wiring loom
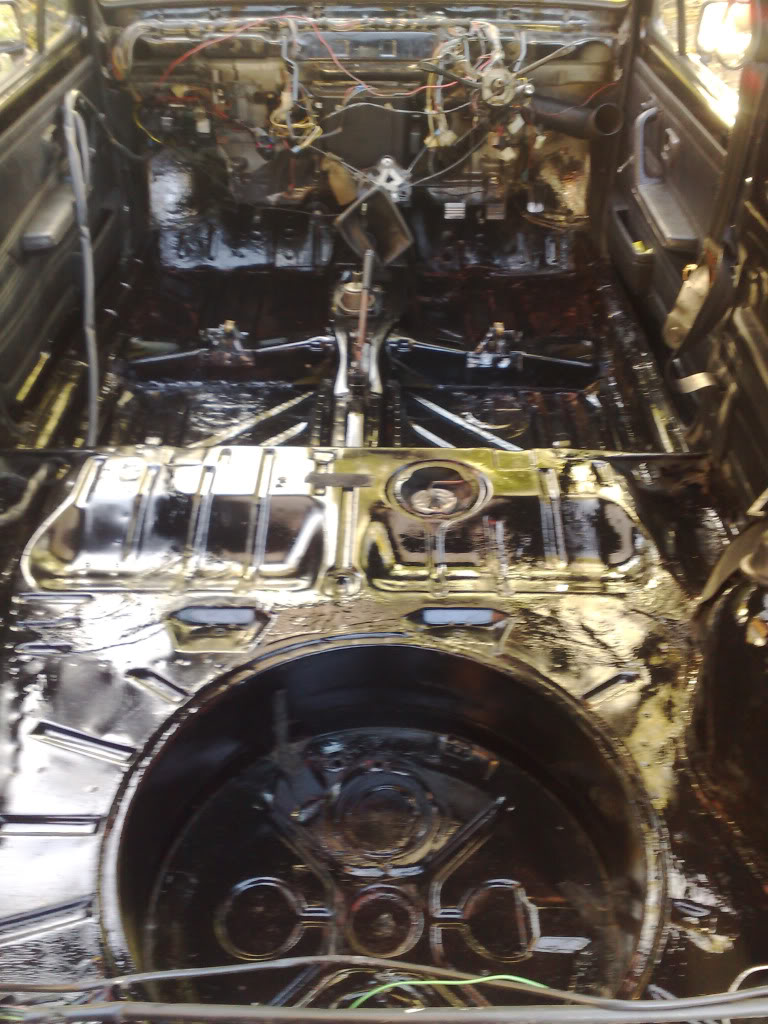
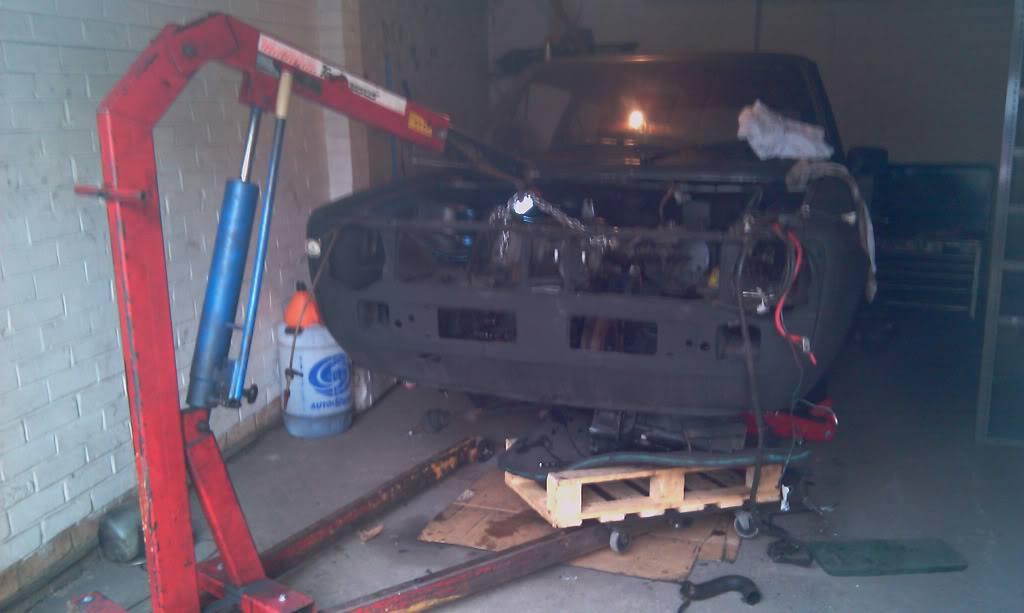
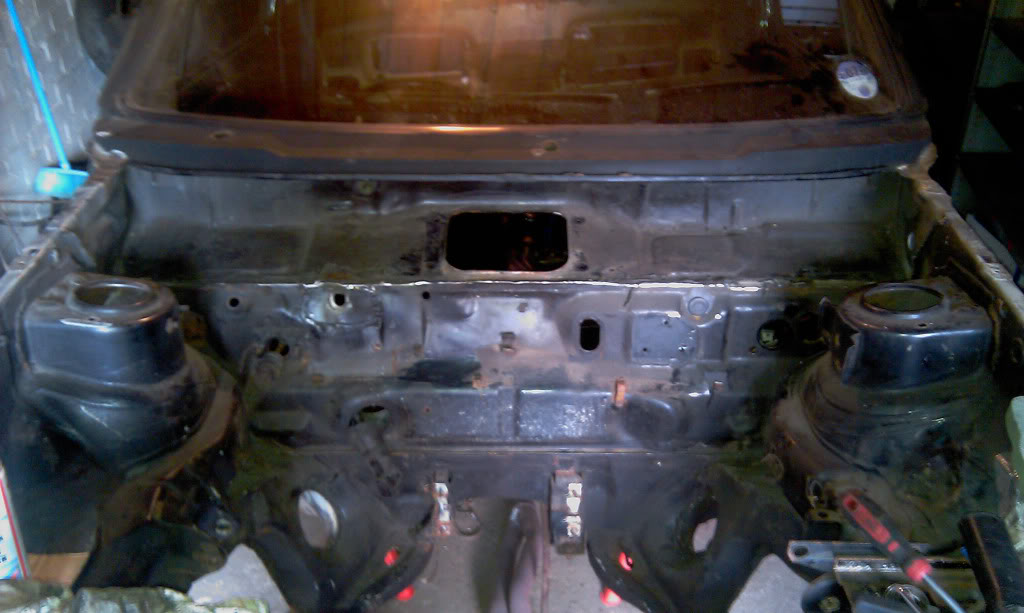
with the engine out i stripped everything out the bay, rack , brake servo an linkage, fuel and brake lines. it ended like this
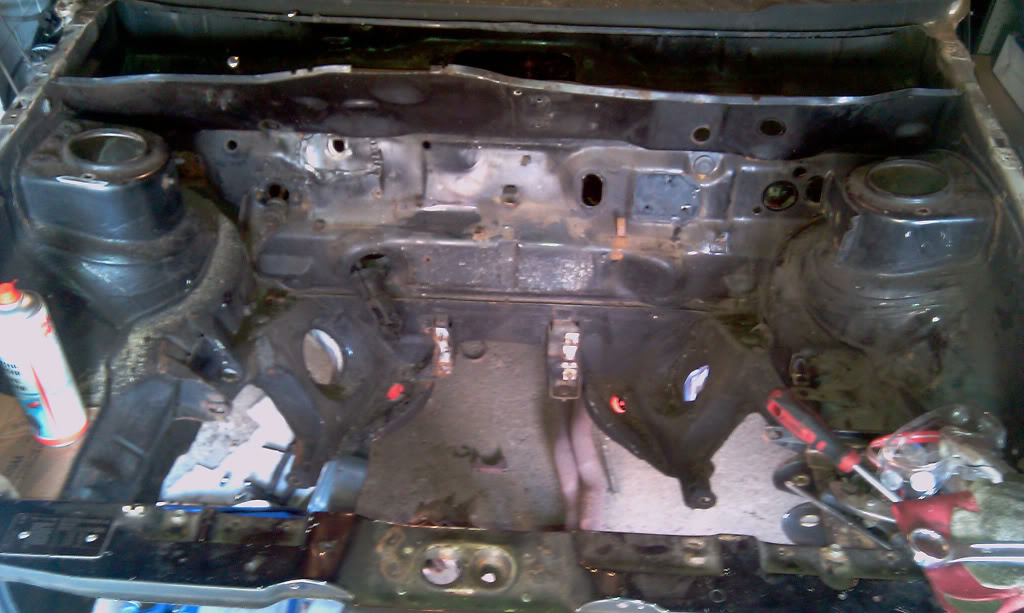
this is how i left her that day.quite productive i thort
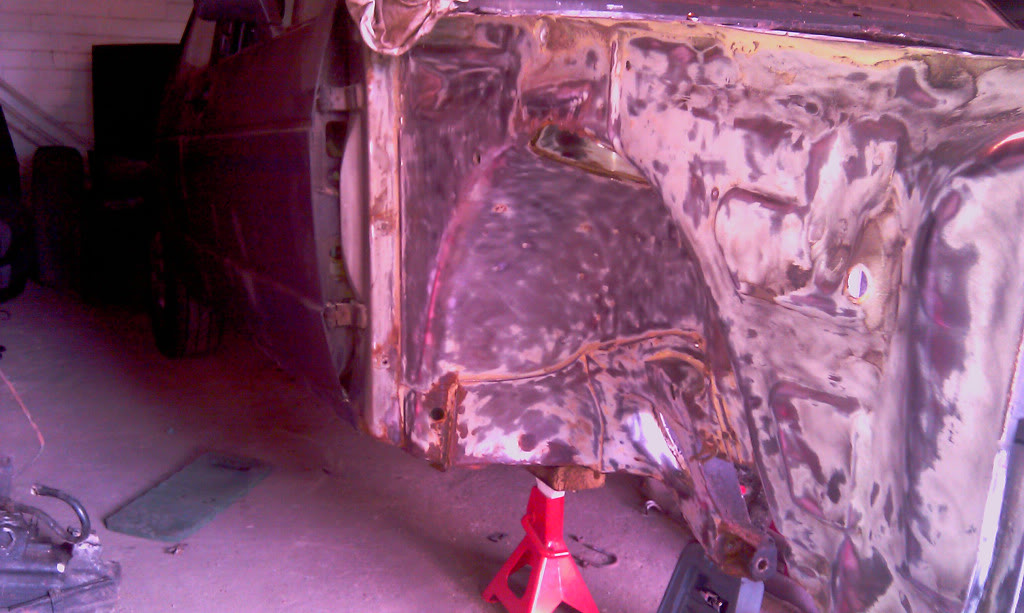
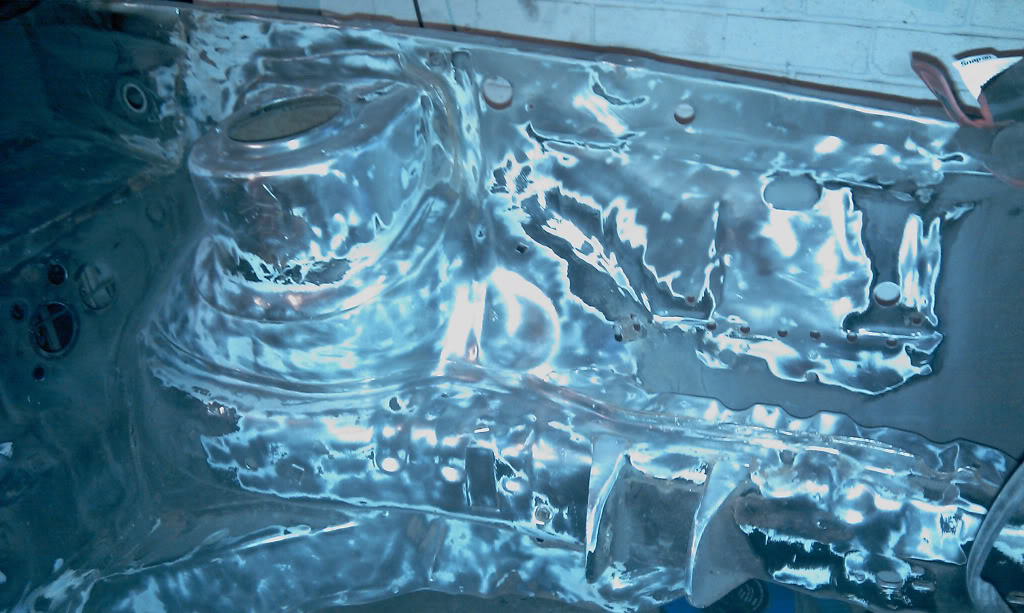
with the engine out i got the front wings off too i started to strip all the underseal off the lower bay and inner arches with the wire brush angle grinder attachment in search of rust and to get rid of the old skool underseal crap. it took me hours to get to where iam now and theres still so much more of it to do.i find it quite therapeutic now thought lol. crap goes everywhere mind!
then i slipped with the grinder and this happend lol
good bye scuttle panel.hello smoothness haha.
then i read the thread on here about legality of removing that due to the chassis number printed onit.luky i kept that part aye. guna weld it in elsewhere.
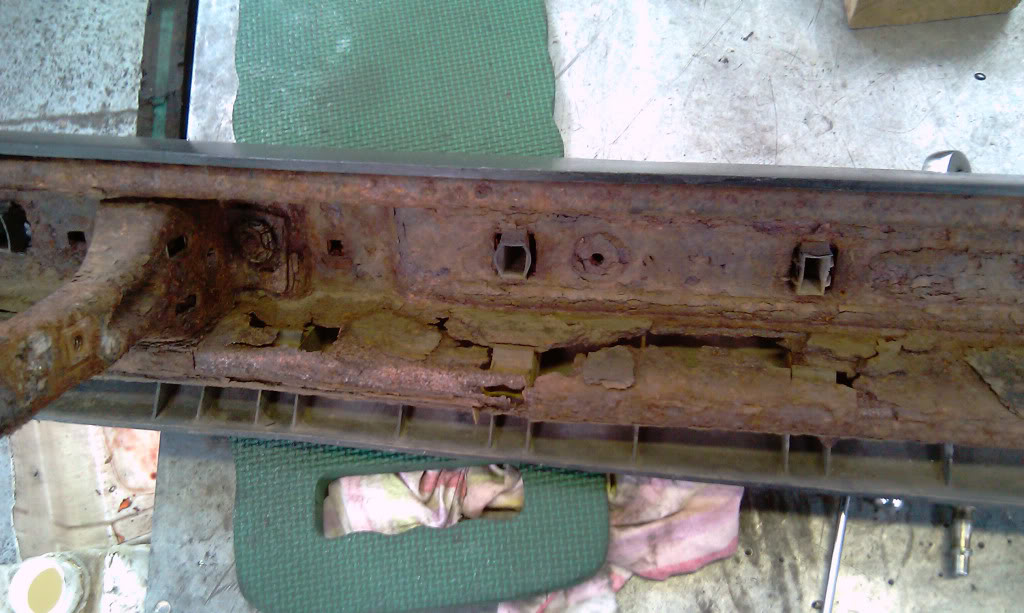
i went in search of rust……..and i found it.doooh. i knew my sills on both sides were knarckerd but i keep uncovering more.so far i need
-both sills.probably inners too.
-front quater floor pans due to rustyness of sills.
-rear valance panel
-rear arch back corner repair panels
-n/s/f wing
-doors
-corner of panel under front screen
and whatever bits i need to make up to repair bits here an there.oh and i need to learn to weld. might help lol
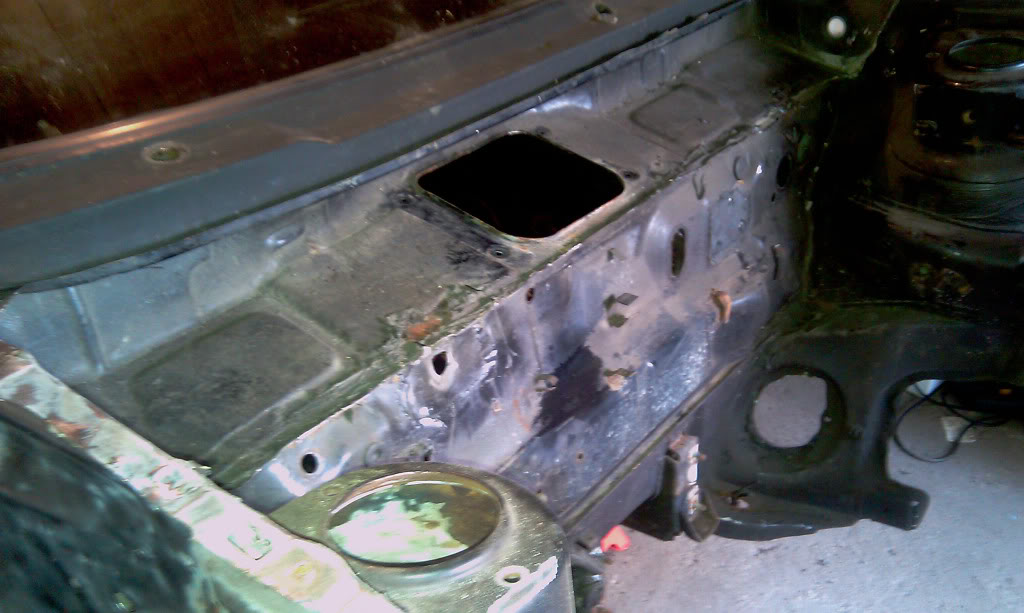
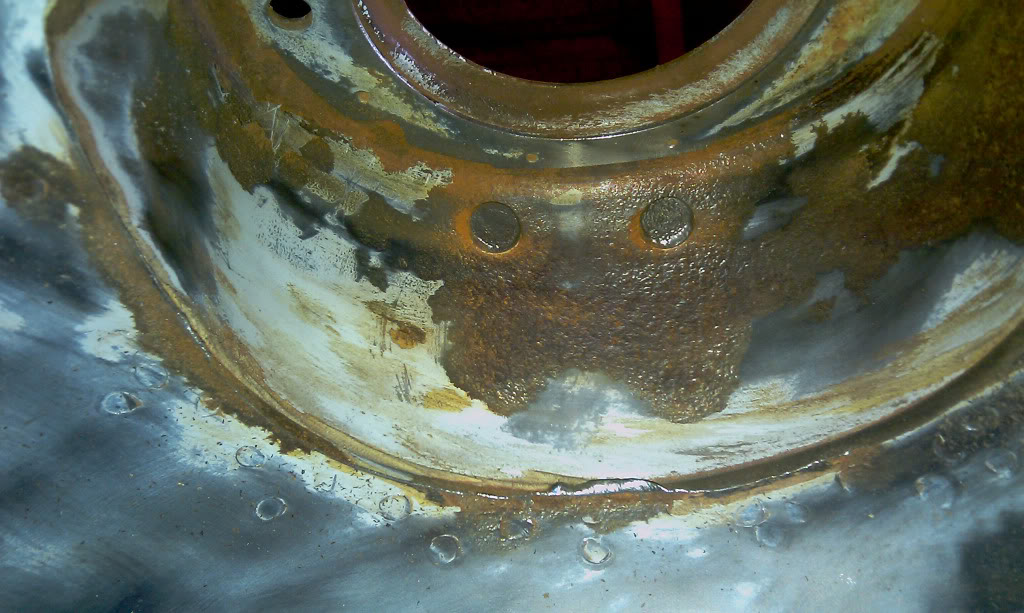
inner arch that attaches to strut turret.this side is worse than the other side
inside the turret needs attention!
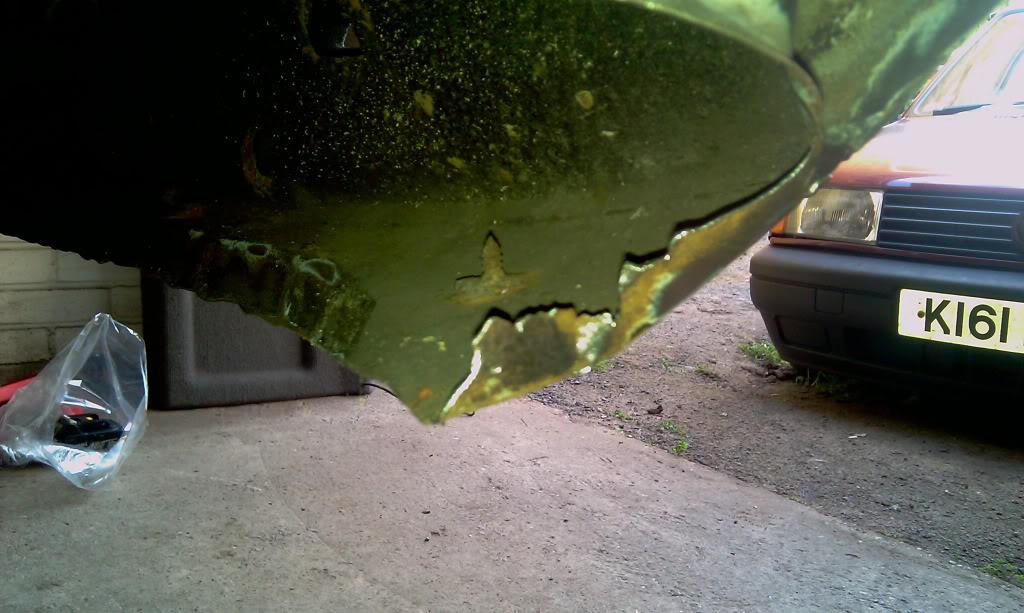
so does front panel, you get a cheeky glimpse of my stop gap car here, its a mk3 polo breadvan in maroon.i named it phillip rostig van kratzur jr III. dont ask….
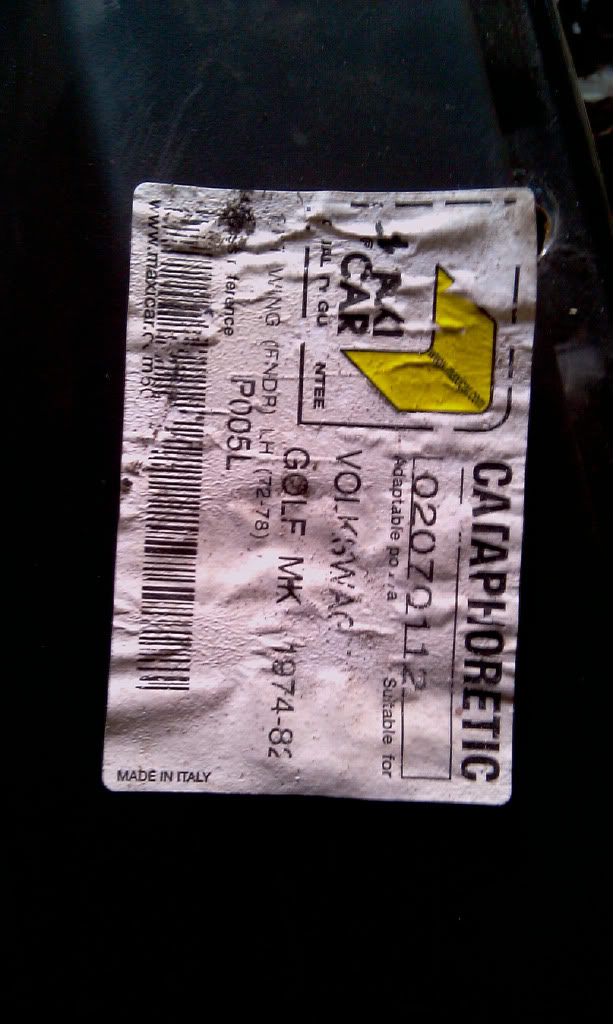
i throt my front wings were genuine until i found this sticker on the rusty one.i wd have tried repair it if it was genuine but its not so i dnt feel guilty bout just replacing it!
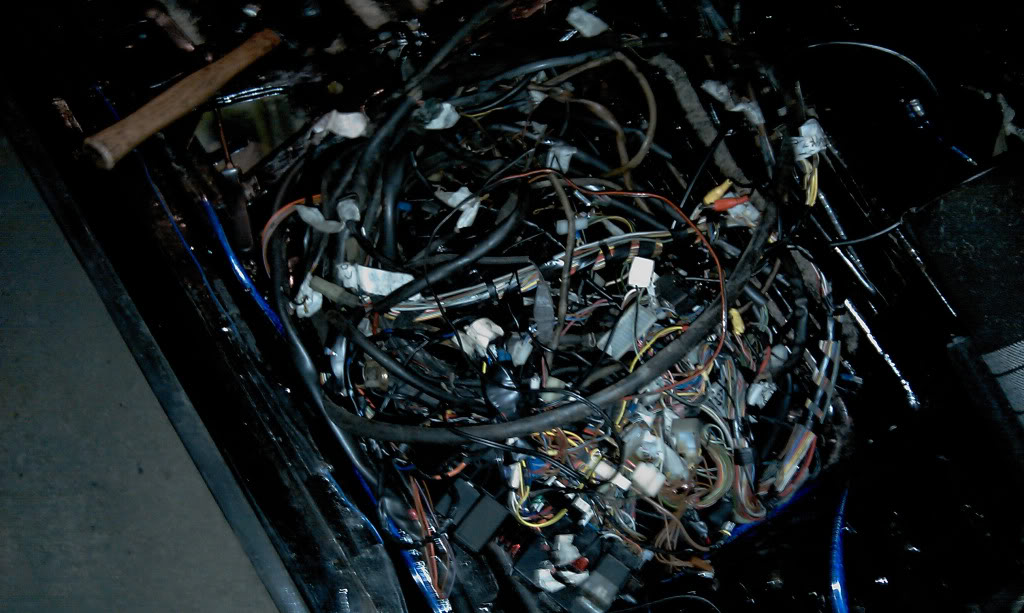
this is my whole cars wiring loom in a pile. scary to some, jus abit annoying to me.ino im guna find loads more dodgey bit people have got their unprofessional mitts on!
so now my cars nearly completely stripped down to bare shell.the only bits left are the rear axle, fuel tank and glass.all the interior and doors and whatnots have been all strippedan carefully labeled and put away. jusneed sum more stands before i can go any further. guna make a car stand/spit so i can get underneath with the wire brush and uncover more rust. im dreading what the rear chassis might look like but fingers crossed an all that! but in the mean time im guna keep hacking at that underseal an strip that bay right back an learn to weld then i can actually start to reapir bits. im really looking foward to cutting and welding new metal back in.
keep an eye out for updates.they will be coming.
mk1 golf - resto
mk3 polo breadie - daily banger
mk3 polo breadie - daily banger
Posted
Settled In
lots of work done,
i ll be watching this :wink:

Posted

Old Timer

Pics of the other cars are, Left: Austin A30/35 and the right is: Lancia? (or something Italian) :wink:
Keep us posted.
Dib.
Golf MK1 GLi Golf MK2 GTi Golf MK3 GTi Galaxy 2.3 Ghia X Seat Inca 1.9 Diesel Tomorrow is almost over, today went by so fast The only thing to look forward too is the past.
Posted
Local Hero

I reckon the 2 cars in the tunnel are an Austin A30 and a Porsche 914
Mk1 Golf floor mats - for tin top and cabriolet - Zero7796 17298Five
Posted
Settled In
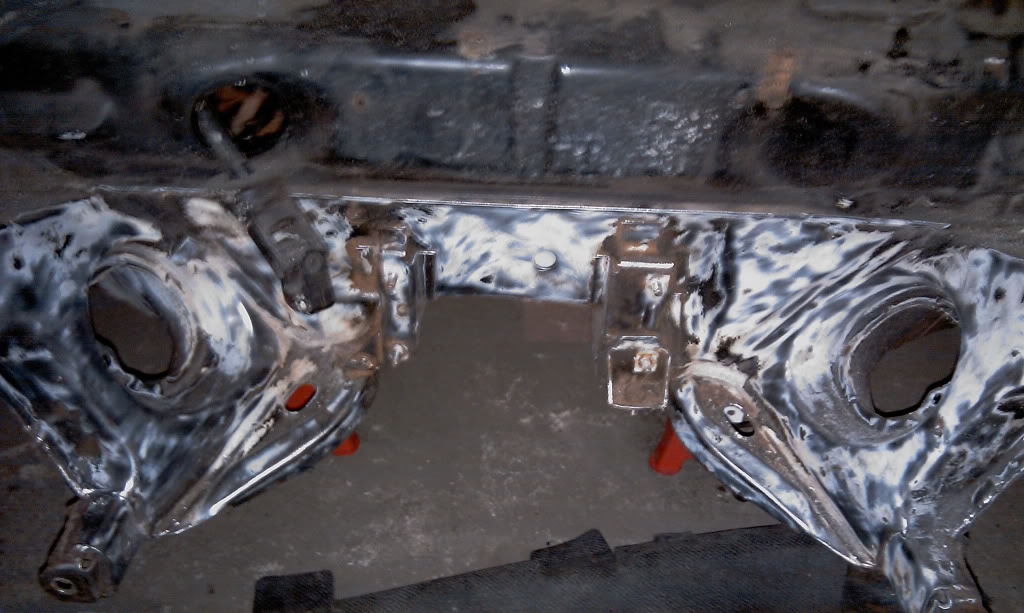
been at the garage agen today. more underseal an seamsealer removal. i think ive done at least 10 hours just of that. finished the n/s/f inner arch and found sum more rust but nuthing major. started on the struts in the bay.got more off the o/s one as i havent got round to cutting the batery try out as yet.goin to get a spot weld drill bit tomoro and remove the tray and whats left of my scuttle panel.
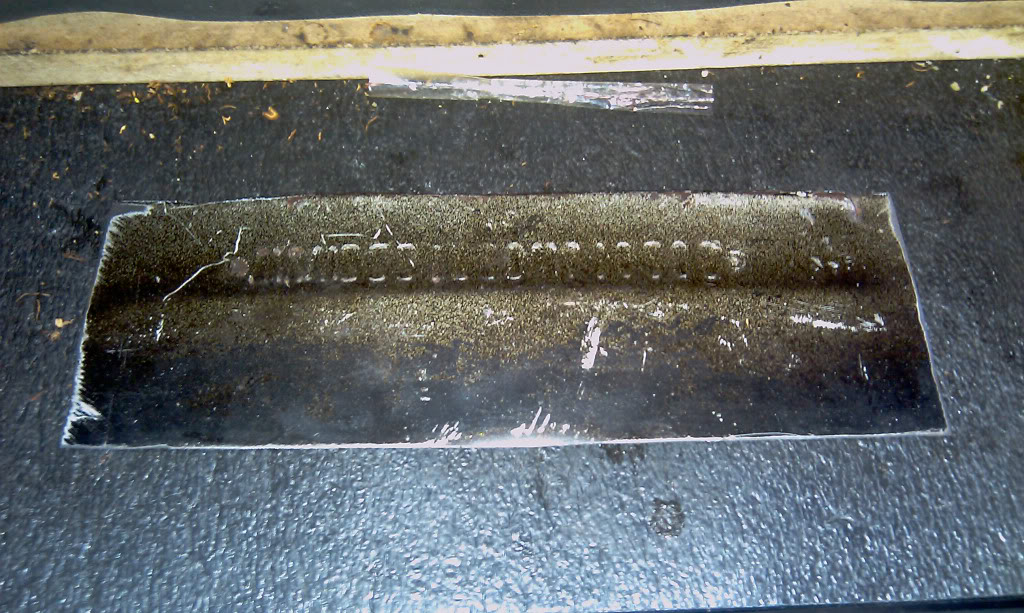
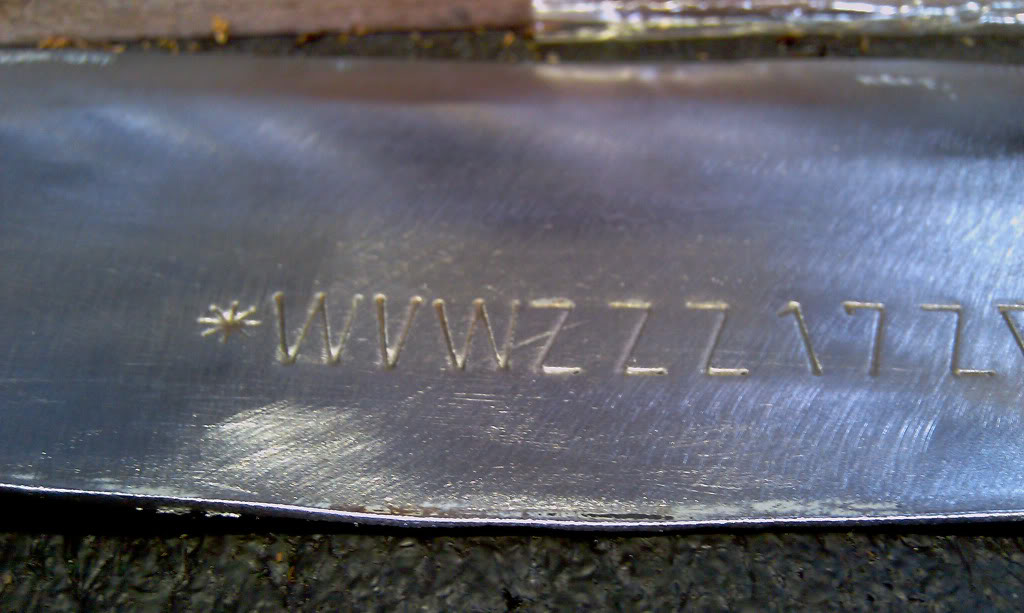
been workin on the bit i cut out aswell. need to relocate the chassis number that is printed on there, havent quite decided where its guna go just yet but woti did know is that it needed to be a different shap to what it was. if you guys know where its located then ull know that it is just above a nice bend in the panel.great place to put it. so i set about cutting out what i needed.gave my self enough room round the edge to work with and stripped all the paint off. i then spent the whole hour of my lunchbreack hammering it flat tryin not to damge the lettering.came out pretty well.needs a couple more taps here and there though but will do for now until i know where im puttin it!
the strut.not great quality pik.it was abit dark by this point!

i had a go at the scuttle panel too with the ol wire brush on the grinder. i dont know what vw use on that panel but my god is it thick and tar like and smells of beef caserole when hot and smoking. made me feel abit queasy after a wile! at least iv got sumin too look foward to for tomoro haha
mk1 golf - resto
mk3 polo breadie - daily banger
mk3 polo breadie - daily banger
Posted

COTM Team
should be great motor when finished, good luck with it
chris


Chris

Posted
Settled In
im not guna do the golf matt agen, guna go for something different this time. matts just too much hassle. thinking some sort of audi dark grey!
mk1 golf - resto
mk3 polo breadie - daily banger
mk3 polo breadie - daily banger
Posted
Settled In
removed a couple of brackets from the bay and the remnants of my scuttle panel. had a go at the battery tray butt didnt get it all out. does any one know if its spot welded in or wot or do i have to just cut it out as i dnt wana damage the mount or chassis.
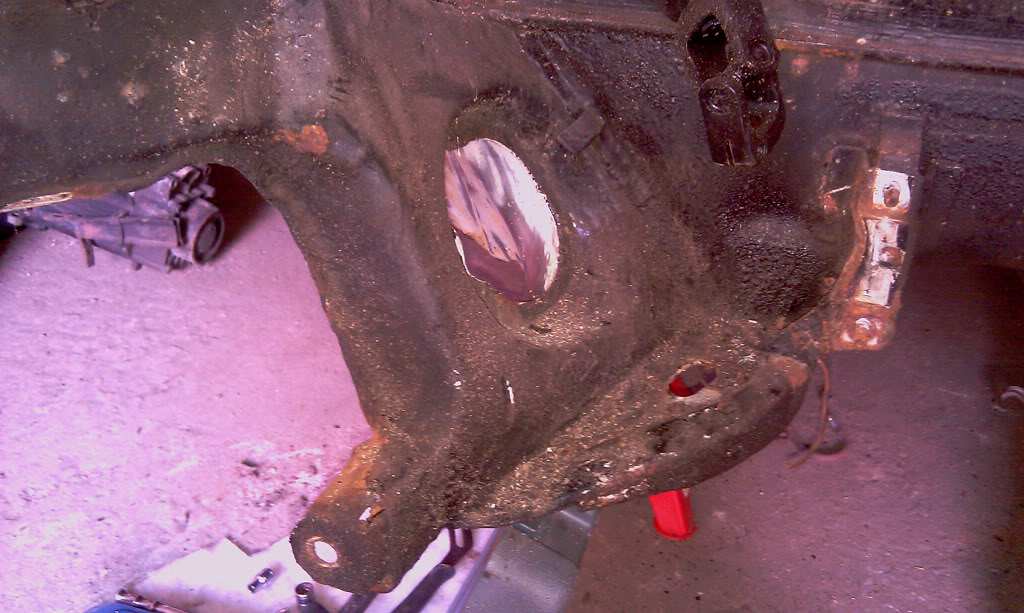
removed the bonnet catch and gave it a wizz with the wire brush and found a couple of holes. it rusted where the front panel middle support bits are.worse than the pik looks too! doh! if i find much more rust on the front panel then i have already im contemplating replacing the whole thing. nite end up quicker than repairing loads of small bits!

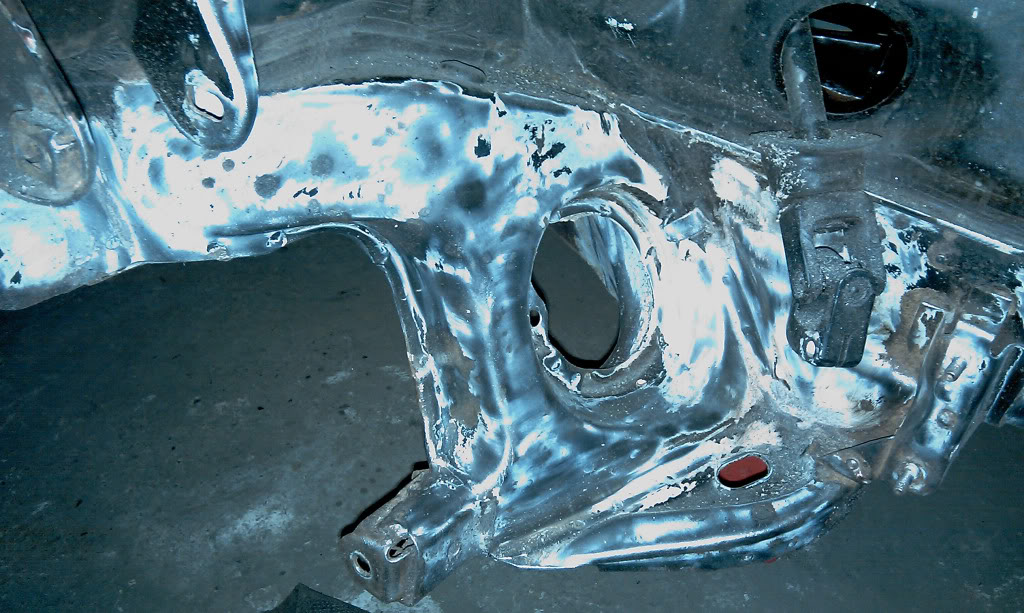
the o/s bay so far

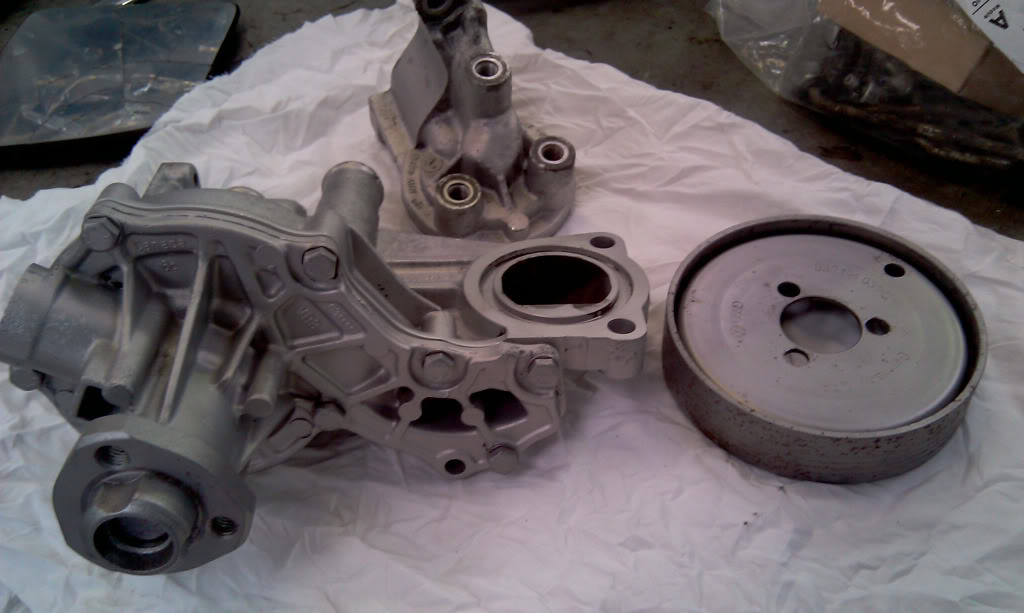
got real bored (no pun intended) at work so i got my "new" block out and removed the last few bits onit. took out the crank, oil pump shaft and pulley. will giv it a blast tomorrow if works dead.
bare block.forgot to take a pik of the crank before i wrapped it in bubble wrap an put it in the cupboard. gave it a liberal dose of wd40 first to proted it whilst in storage
thats all for now. guna carry on stripping the bay until i get my spit made and flip the car over to see what lurkes beneath. more underseal i know that lol. im quite enjoying removing that crud now. u can see the original shapes that things where before being raped (yes raped not wrapped) in underseal an seamsealer! im sad i know….
mk1 golf - resto
mk3 polo breadie - daily banger
mk3 polo breadie - daily banger
Posted
Settled In
been busy on the golf lately.the bay is now completely stripped of all braketry an bits that dont need to be there an is waiting for some welding to be done on it as soon as i get sum gas!
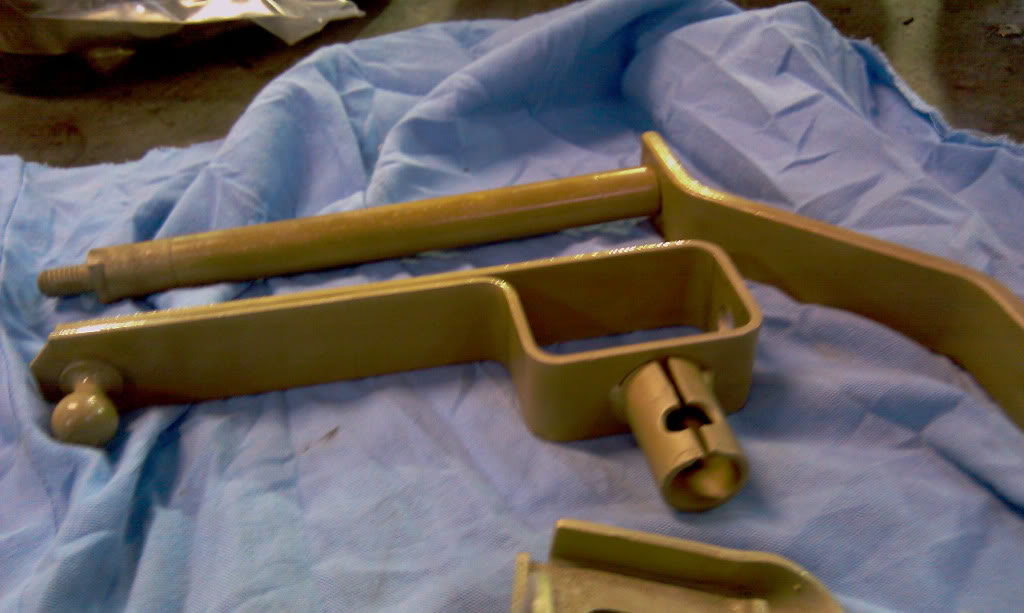
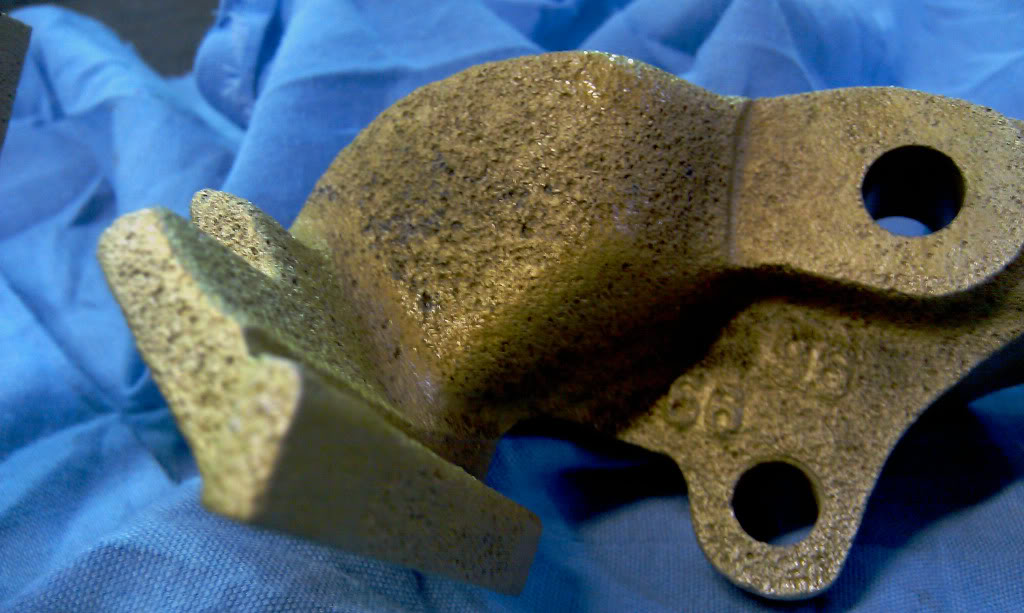
got some more parts back from sand blasting got sum suspension bits, caliper carriers, engine and box mounts and a few of the gear linkage bits done. ol matey (not the bubble bath) even zinc dipped most of the bits for me apart from the mounts which i gave a coat of zinc primer to stop rust before they get properly painted!
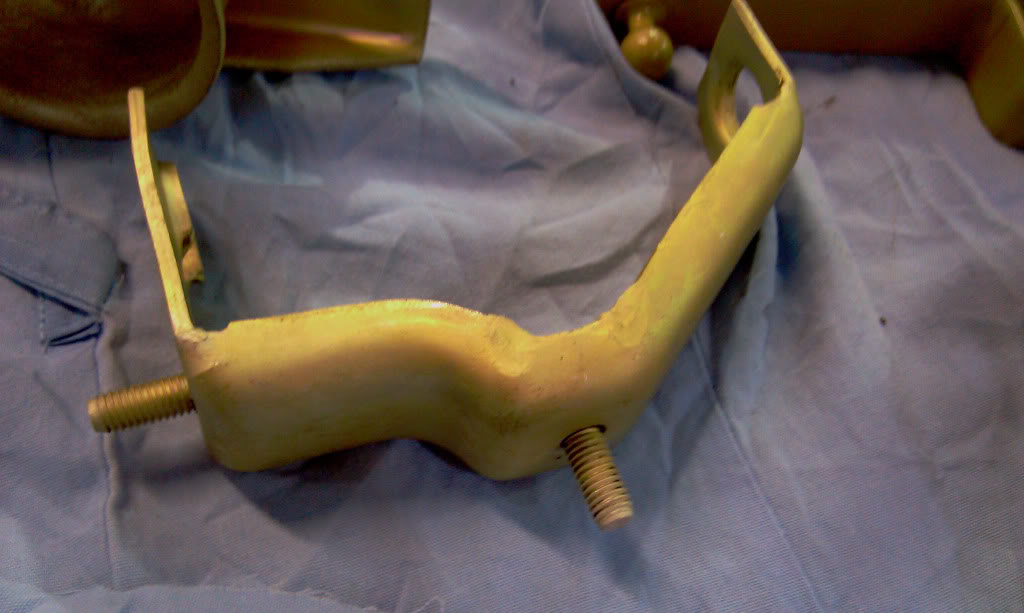
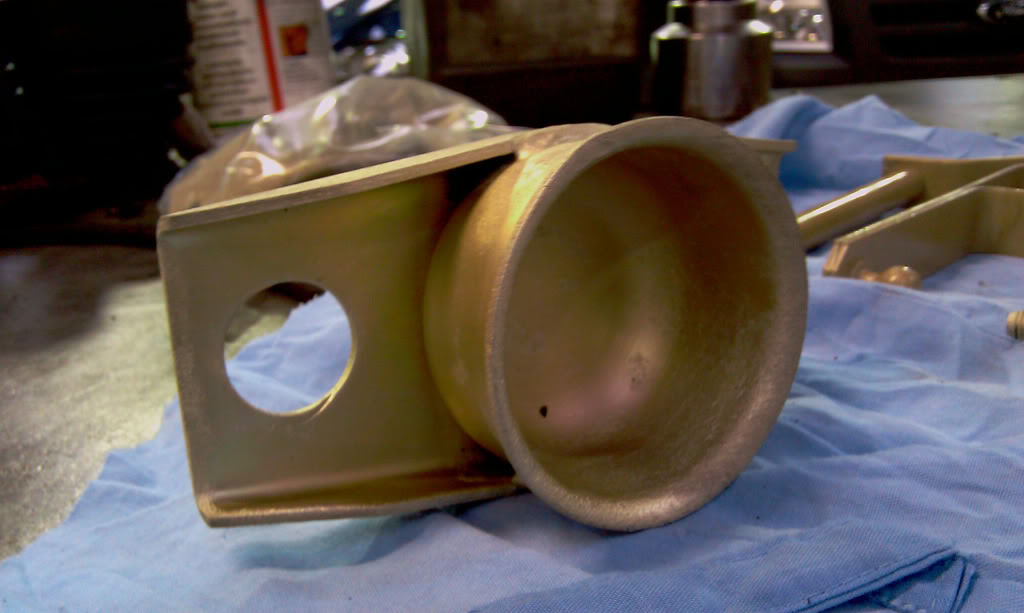
one of these lower arm brackets came out really pitted but you cant get new ones.doh. mite try locate a newer one!
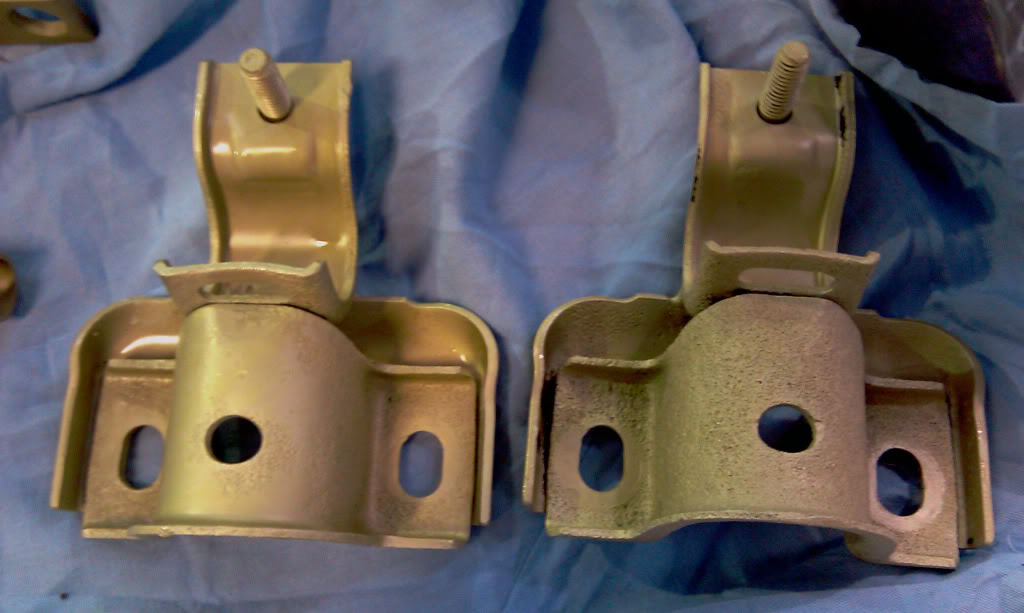
this carrier also came out very pitted but im hoping to be able to put bigger anchors on so these might not be needed!
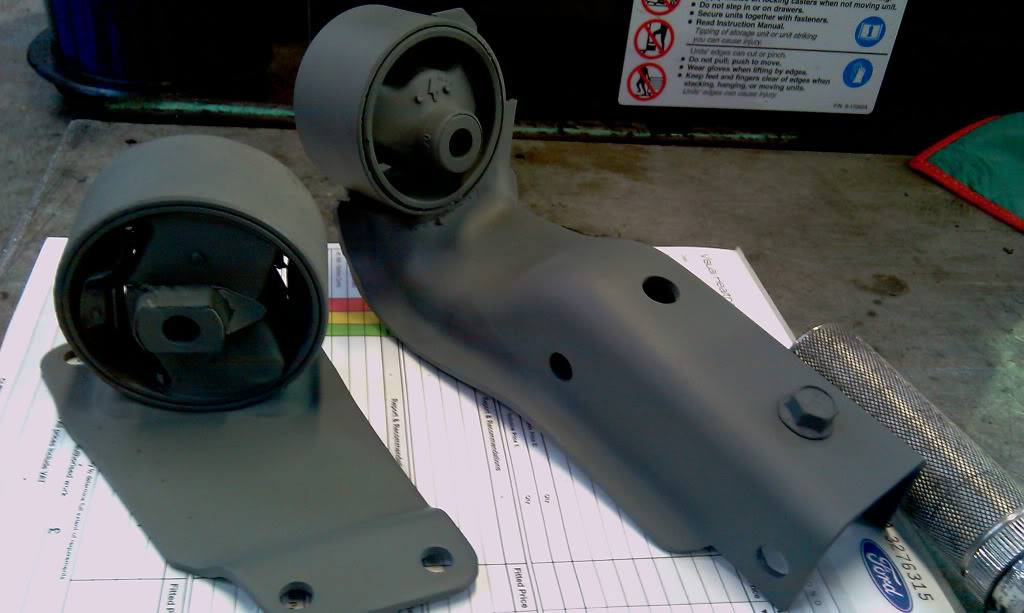
mounts in primer. engine mount insert needs replacing due to splitting in the rubber. g/box mount seems good
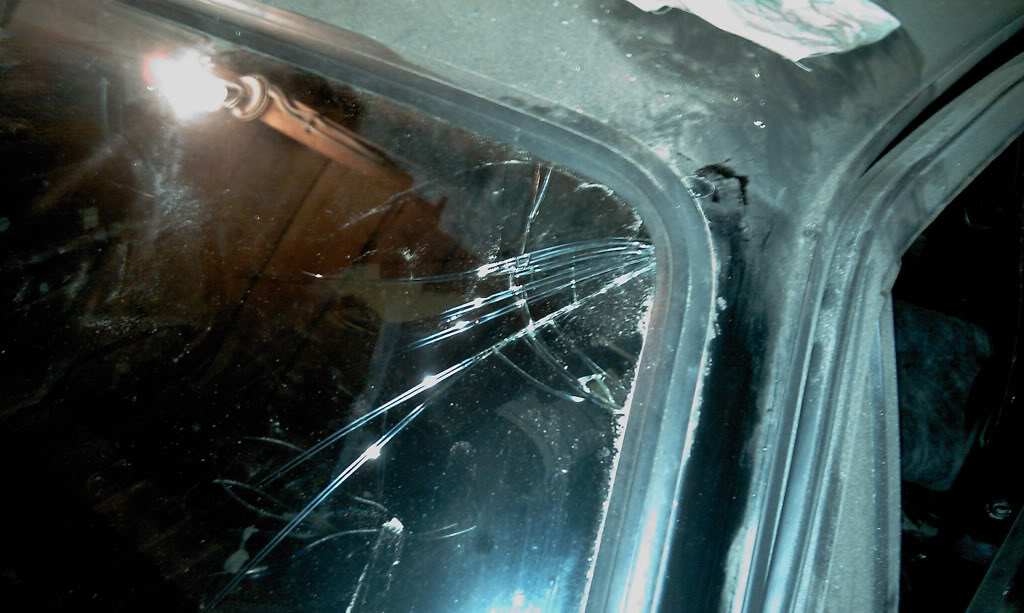
took all the glass out apart from the boot lid glass. managed to break my windscreen in the process which im not best pleased about at all. no matter how much i shouted and swore at it it was still broken. doh. found some mega rust under the screen seal which needs sorting. that explains why my screen was leaking as there was a lack of metal haha.
how annoying
without trim.guna leave em off as ive never liked the look of em. got a mint pair for sale if anyone wants em

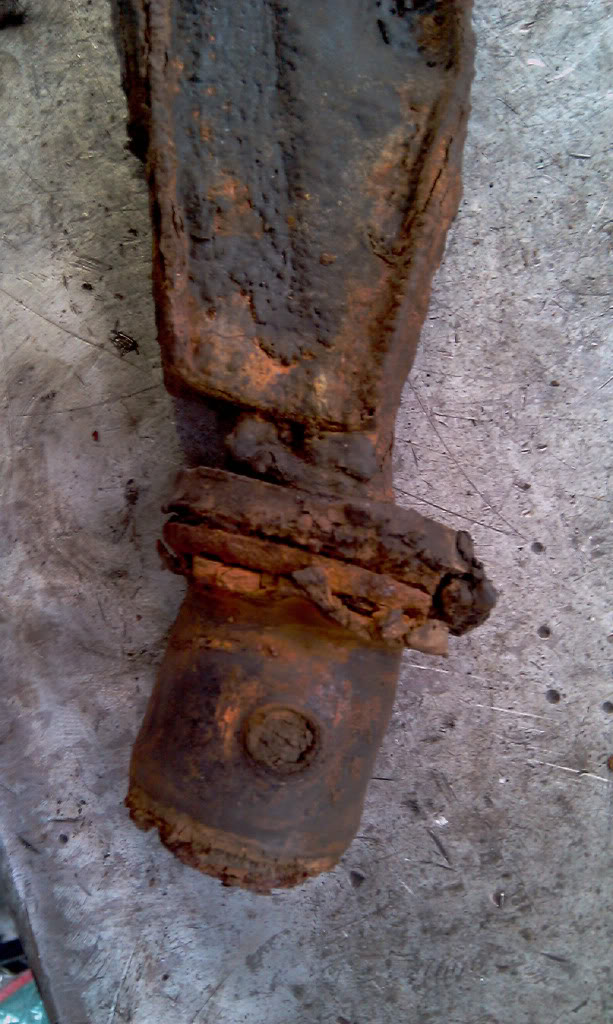
found aload more rust in the boot too. well on the o/s/r wheel arch/tub. found this by takin out the rear seat belts and not being able to under the o/s one.lifted the whole car on a 3/8 ratchet lol.then the metal broke and took the whole seatbelt mount with it. bugger. so now i need a new rear tub as its completely rotten. can see where someones put a big plate over it which ddnt hold for long!
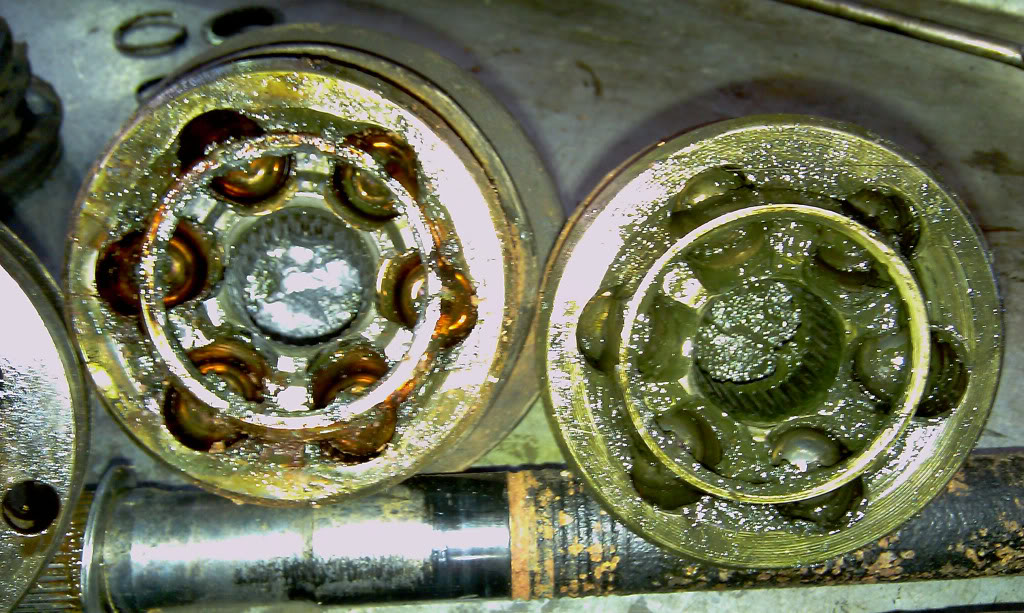
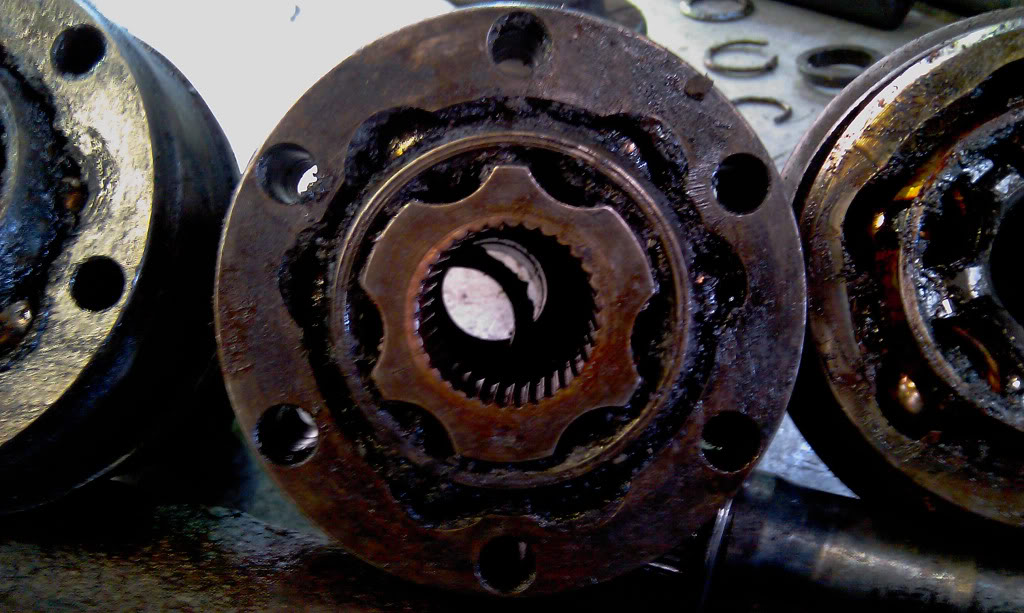
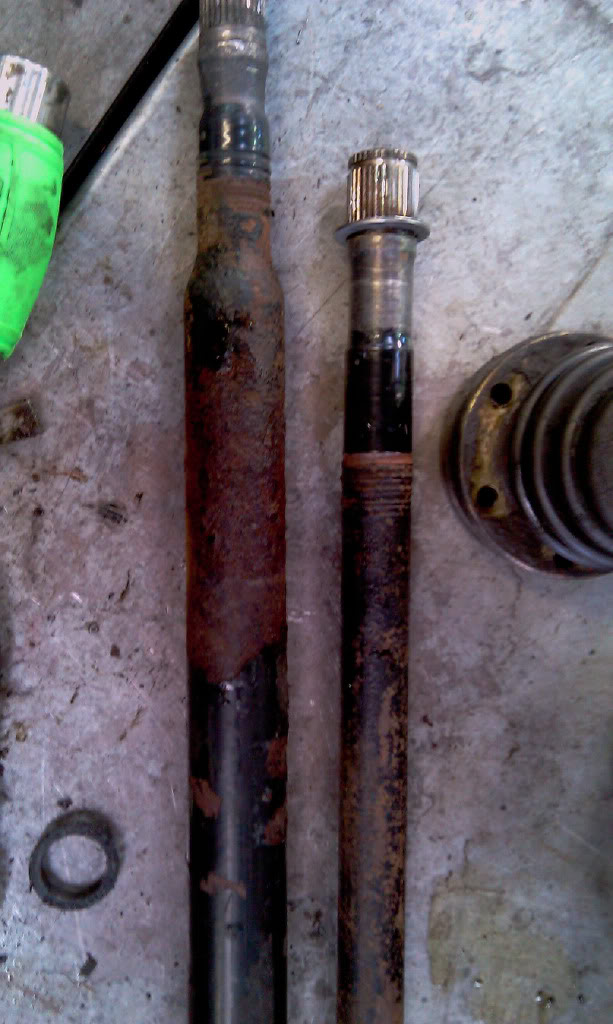
stripped the shafts down to inspect and as i thort they were dry as a nuns *#!?. bit of play in one of em too. need new joints aswell it seems. shafts has seen better days as all the plastic coasting had come off an rusted.see how they come out after blasting. lil bit o filler an theyll be good as new……..ha?
got my order in at the metal workers shop dwn the road for sum lengths of angle iron to make my spit out of. will make a start on that hopefully at the weekend if i can get the time and gas for my welder. got the whole week off work next week tho so should be able to get a fair bit done i hope.
mk1 golf - resto
mk3 polo breadie - daily banger
mk3 polo breadie - daily banger
Posted
Old Timer
Where are you going to put your chassis number? I still need to deside on a place for mine from the scuttle.

Mk1 Golf Gti Abf conversion Project
Mk2 Golf Gti 16v
Mini Cooper S R53 (Daily)
Posted
Settled In
i was contemplating puttin it back on the scuttle on one of the raised sections or puttin it on the bit of arch between the o/s/f strut turret and the bulkhead. kinda out the way but there if you need to prove its there yano.
up here sumwhere

mk1 golf - resto
mk3 polo breadie - daily banger
mk3 polo breadie - daily banger
Posted

Local Hero
DubPartz
Posted
Settled In
mk1 golf - resto
mk3 polo breadie - daily banger
mk3 polo breadie - daily banger
Posted
Local Hero
boyle_sbd said
i thort that actually. its all off now haha. will be done properly when it gets rebuilt. thanks for the heads up.
Extra ground clearance then :wink:
DubPartz
Posted
Settled In
mk1 golf - resto
mk3 polo breadie - daily banger
mk3 polo breadie - daily banger
0 guests and 0 members have just viewed this: None.